
A guide to set up a Realsense camera with Tulip Vision.
The Realsense camera offers quality depth for use in your applications and with Tulip Vision.
Warning
Before you begin setting up the Realsense camera, ensure you close out of the Tulip Player.
- Connect the Realsense cameras to USB 3.0+ ports only.
- Download the latest Intel Realsense Viewer here. Scroll down to assets section under the current release.
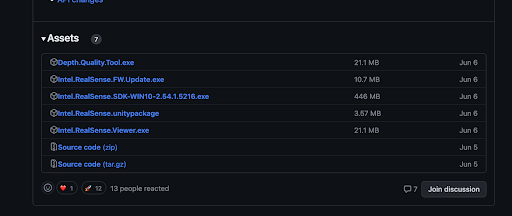
- Click on IntelRealsenseViewer.exe to download the file.
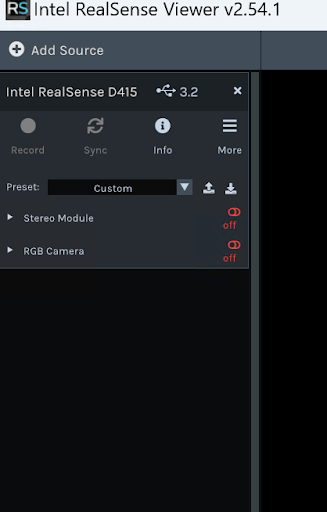
- Start the Realsense Viewer application once the download is complete.
- Confirm that the camera is connected to a 3.0+ port at the top of the left-side tab. The example below shows a camera connected to a 3.2 port.
- On the right side of Viewer, look for any notifications. Common notifications are “Enable frame metadata” and “Update firmware”. It’s recommended to enable frame metadata, and highly recommended to update the camera firmware.
NOTE
While updating firmware, do not disconnect the camera.
- Switch the streaming profile from 3D -> 2D. You can do this at the top right side of the application.

- After updating, click on the RGB camera toggle. By doing this, you should see the camera begin to stream.
- Click on the Stereo module toggle to get sound.
- Verify that the depth frames are streaming. For reference, see this example from Intel Realsense Viewer page.
- Once all the above steps have been successfully completed, close the Viewer application, and start Tulip Player. You can now begin configuring your camera to be able to see a live stream.
Did you find what you were looking for?
You can also head to community.tulip.co to post your question or see if others have faced a similar question!