Use this guide to learn how to bring OPC UA tags into Tulip
In this guide, you will learn:
- How to set up an OPC connector in Tulip
If you have a functioning OPC UA server with tags that you would like to connect to Tulip, then you are ready to set up an OPC UC connector and create your first machine monitoring app.
Setting Up An OPC UA Connector
OPC UA Servers differ in their implementation of the OPC UA spec. Tulip has been built for complete compatibility with PTC Kepware-compliant OPC UA servers, and may only support a subset of functionality for other OPC UA servers.
OPC UA servers implemented directly by PLCs often implement unique signatures for their OPC UA servers. Kepware has invested the time to build implementations to each of these server specs. Learn more.
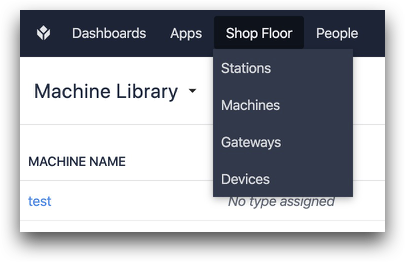
First, click into the Machines option under the Shop Floor tab on the Menu Bar.
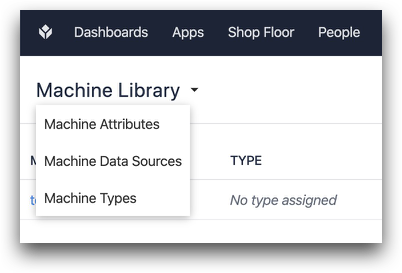
Then, click Machine Data Sources from the dropdown in the top left.
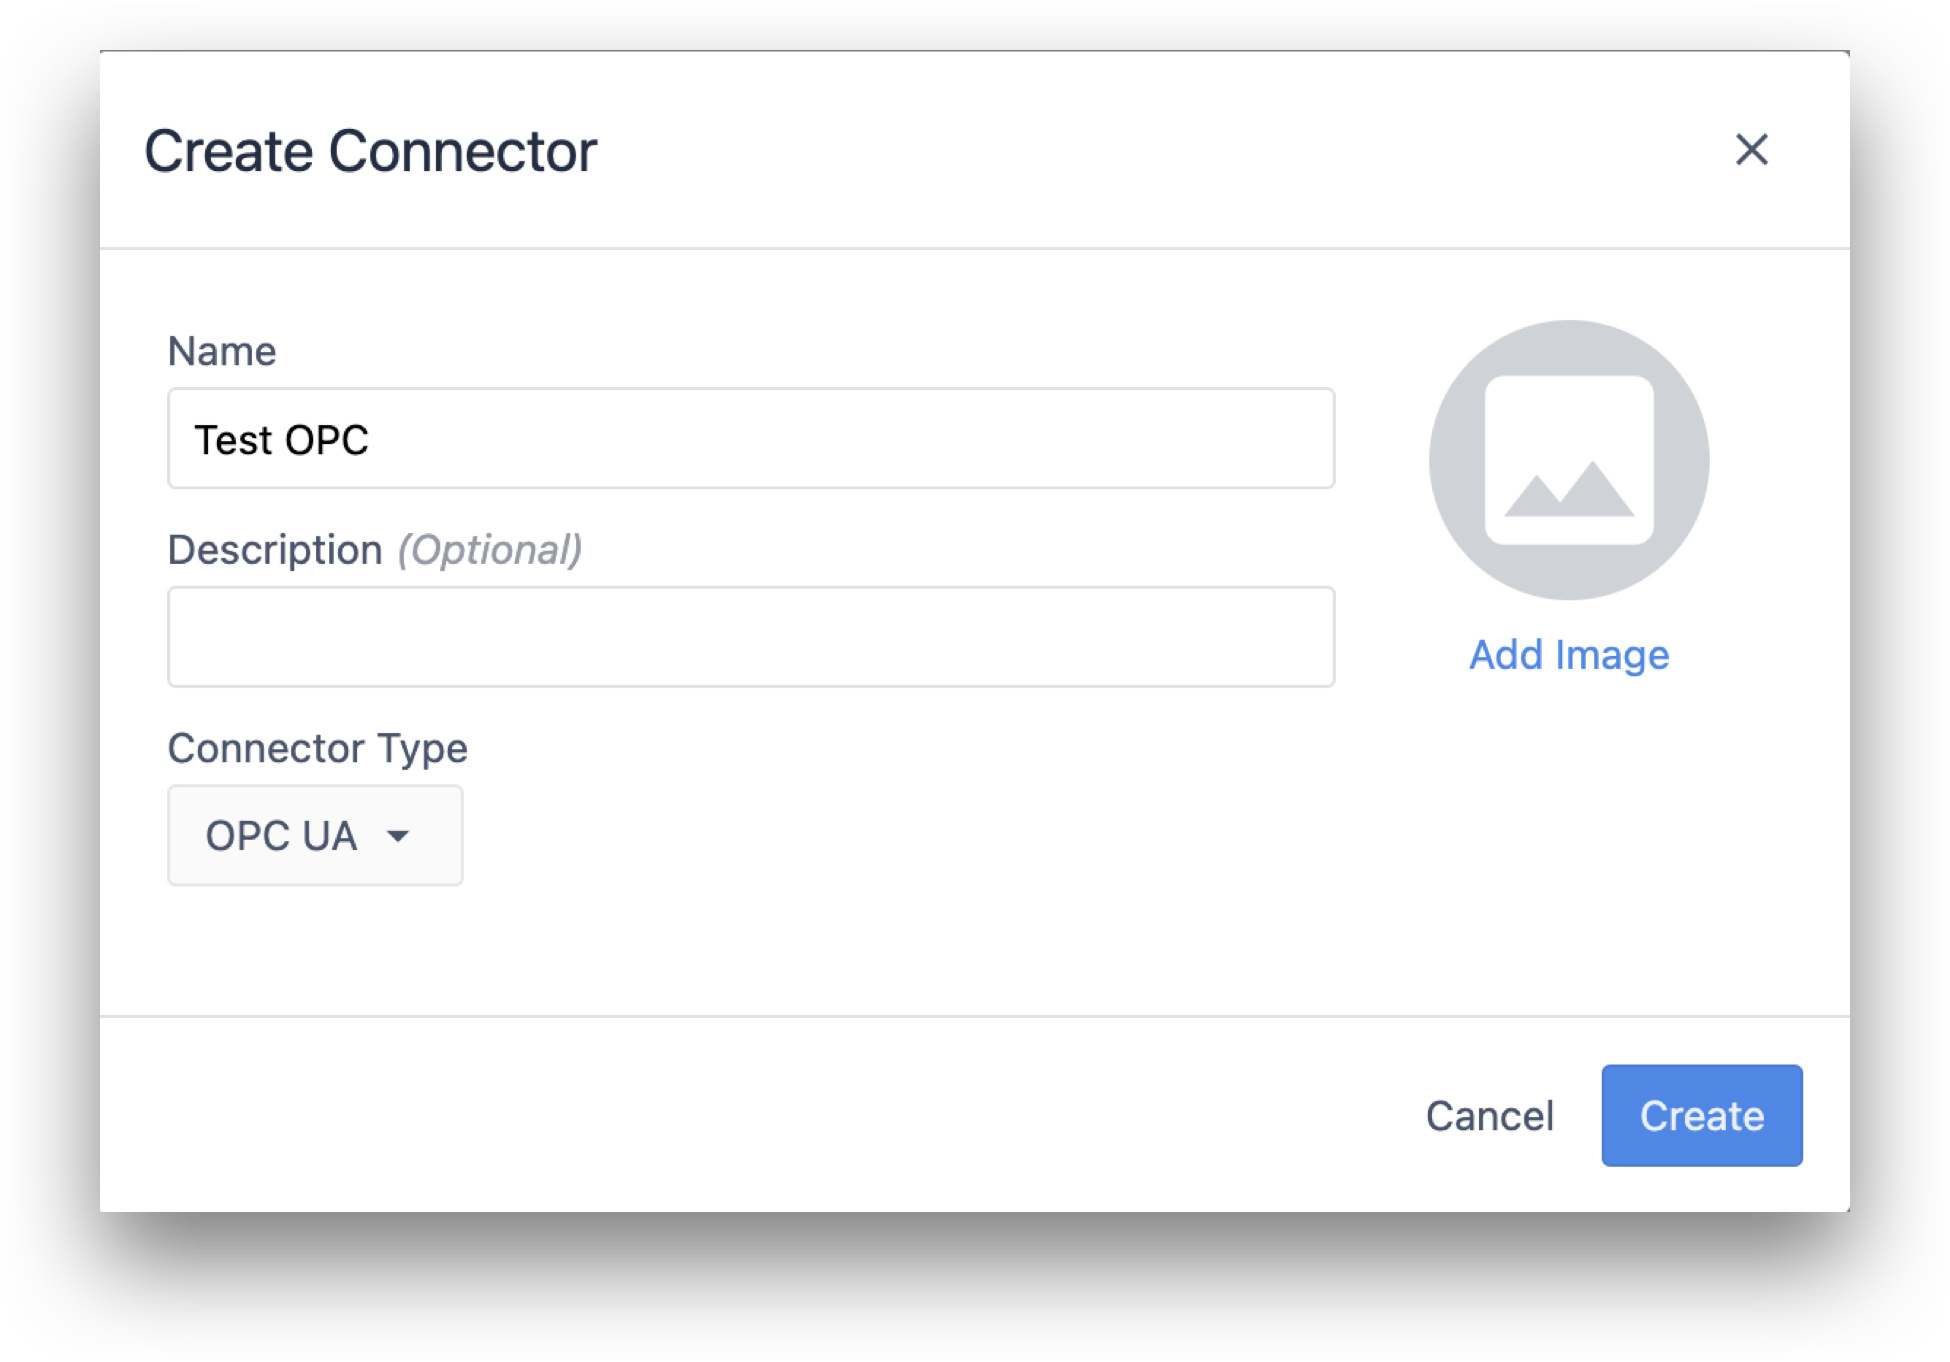
Then, click Create Connector from the Machine Data Sources page.

Name your Connector and hit Save.
Then click the new connector from the list of OPC UA connectors.

Configuring the OPC UA Connector
After that, you will have 4 new fields to fill in:
- Running On
- Agent URL
- Security Mode
- Authentication Method
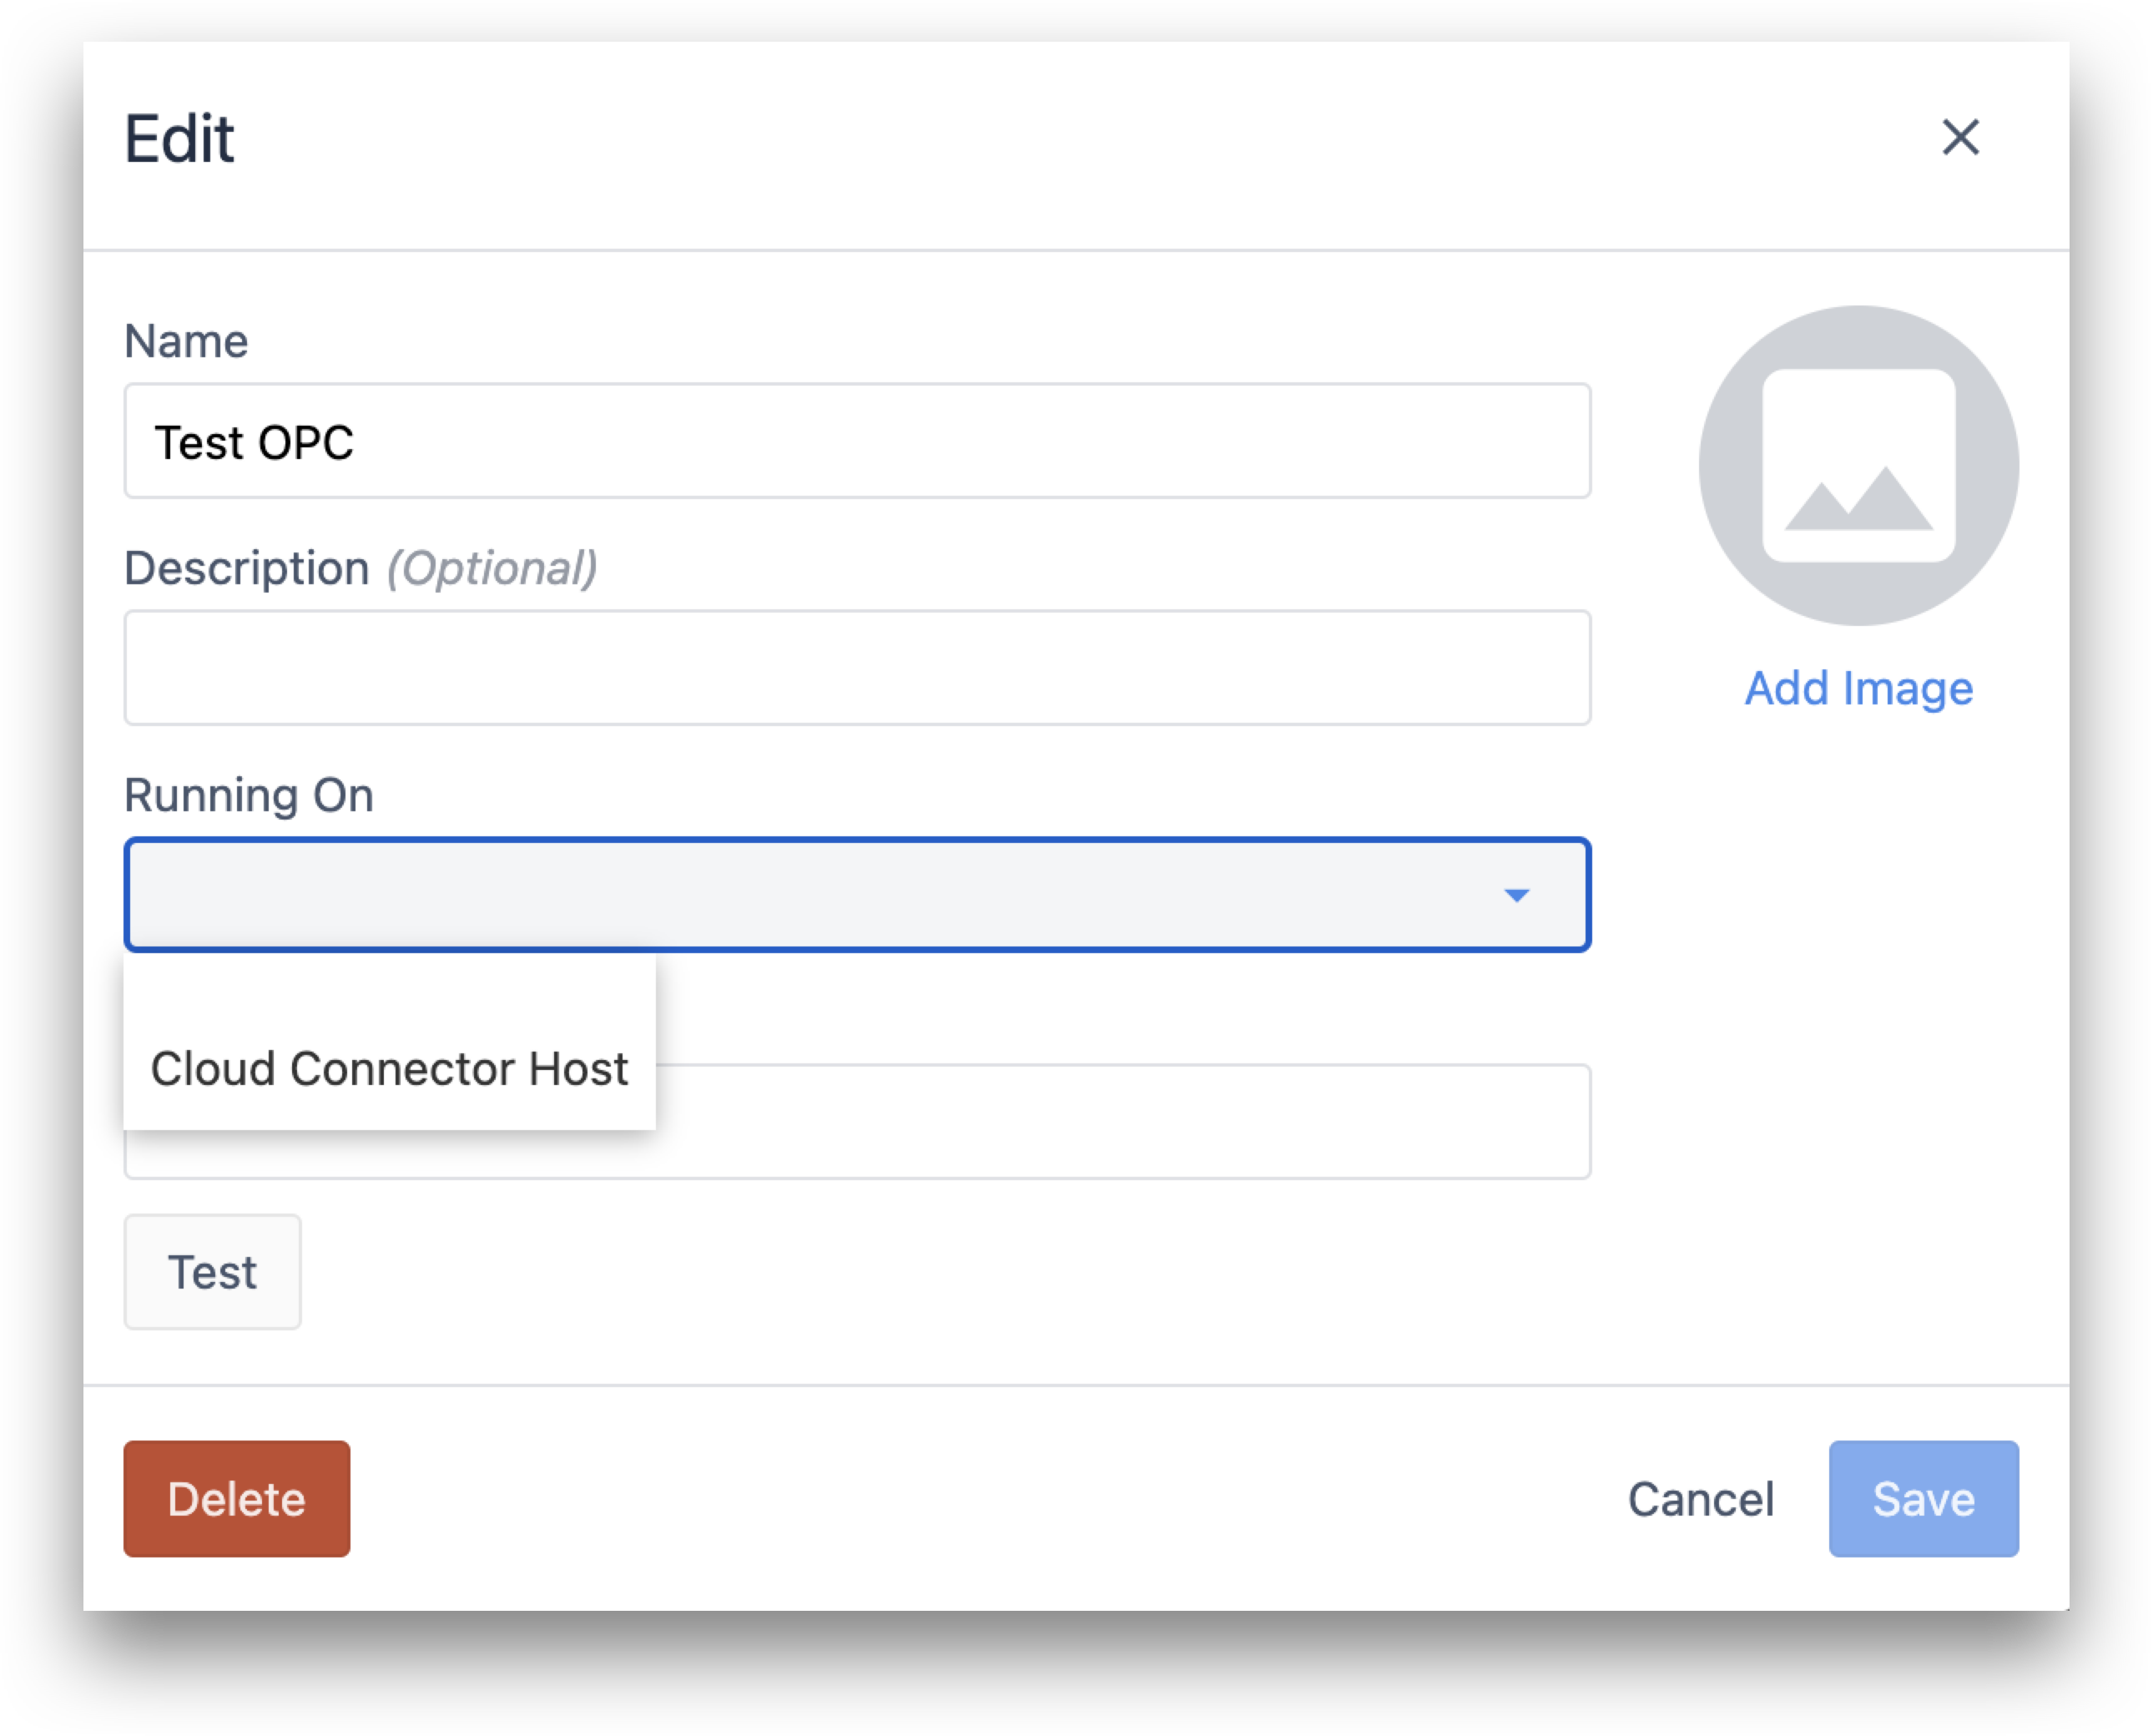
"Running On" Field
For the Running On field, choose Cloud Connector Host unless you have a special setup that you have discussed with a Tulip representative.
Agent URL Field
For the Agent URL field, you should have a local TCP server with an IP address and port. If you are using a service like Kepware, this will be exposed in the UI. For example:
opc.tcp://192.164.54.1:49320
Then, if your server is local, you will need to add a redirect so that cloud services can access this IP address. Here’s an example of a redirect that is accessible in the cloud:
207.172.213.113/opc:40534
Depending on the OPC UA endpoint available at the indicated server, configure the Security Mode and Authentication Method fields.
Security Mode field
Choose a Security Mode. Pick either Sign or Sign&Encrypt to sign or sign and encrypt the connection made between Tulip and the OPC UA server living at the indicated Agent URL.
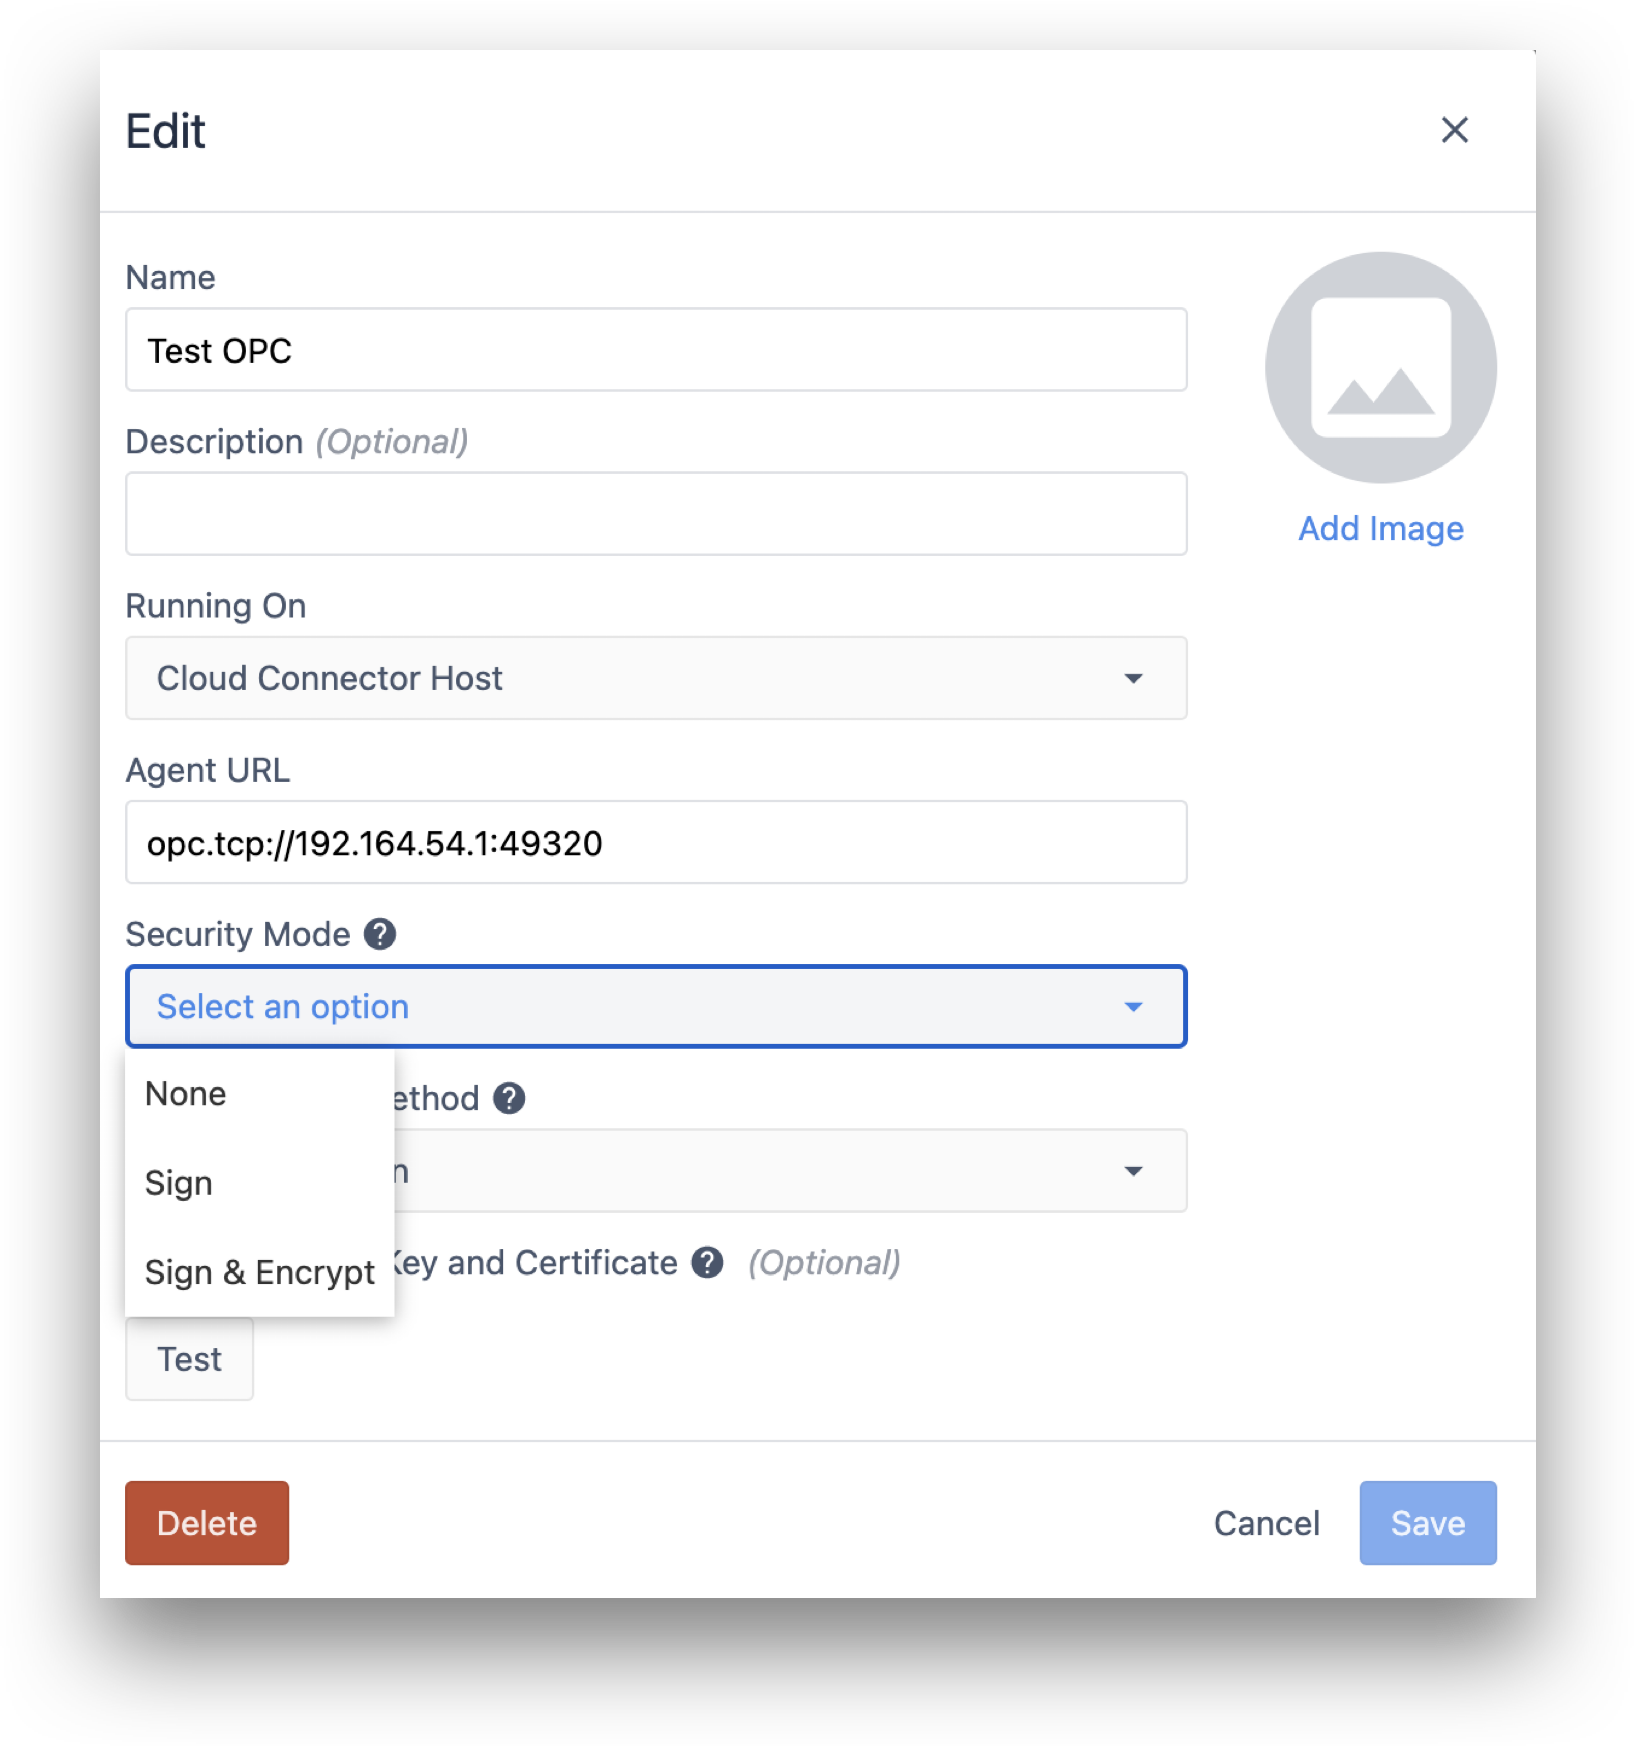
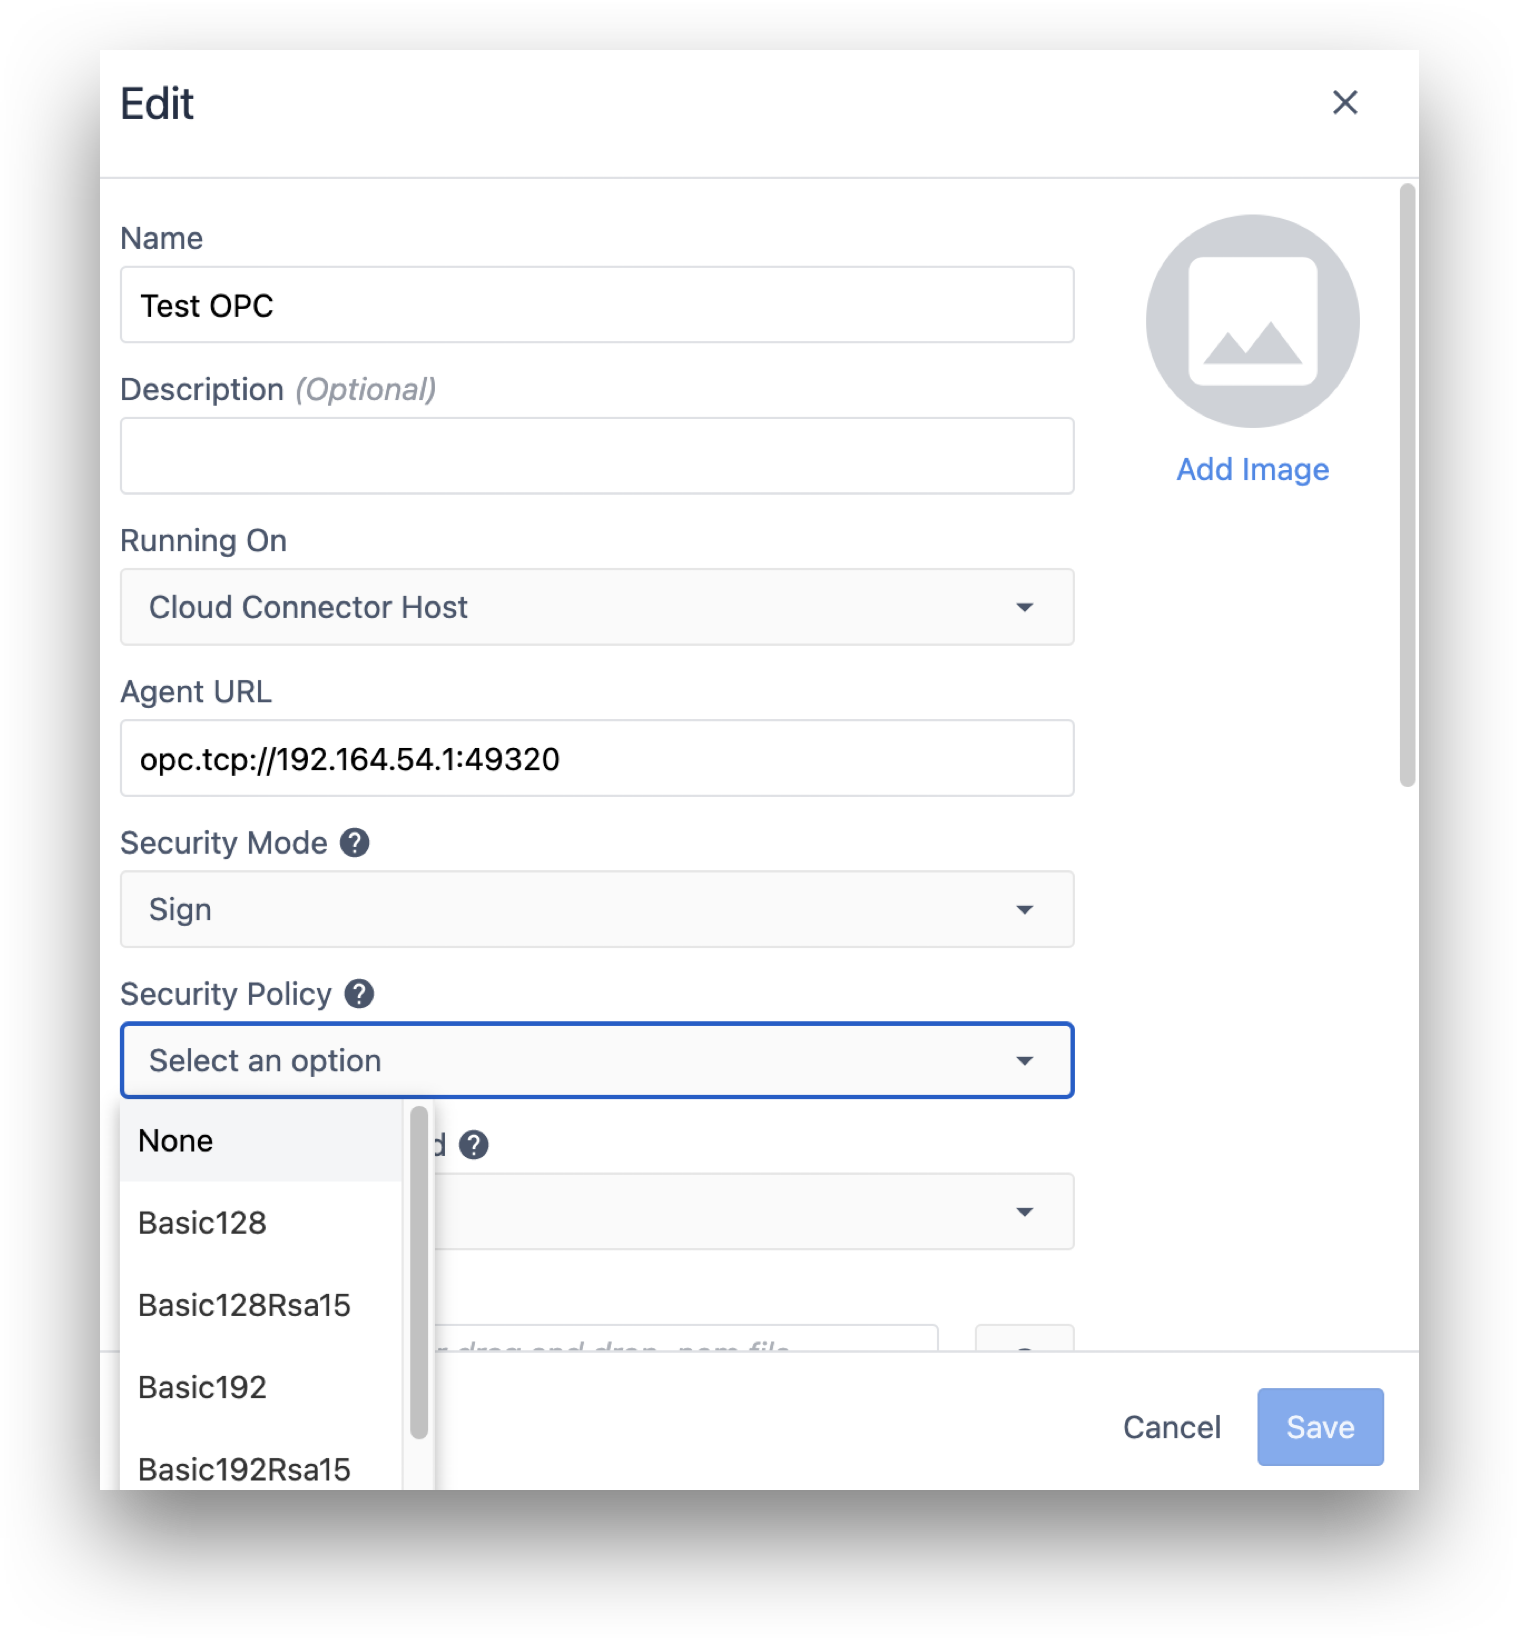
If choosing either Sign or Sign&Encrypt, you must then choose a Security Policy and provide both a Private Key .pem file and a Certificate .pem file in the text boxes that appear below:
Authentication Method field
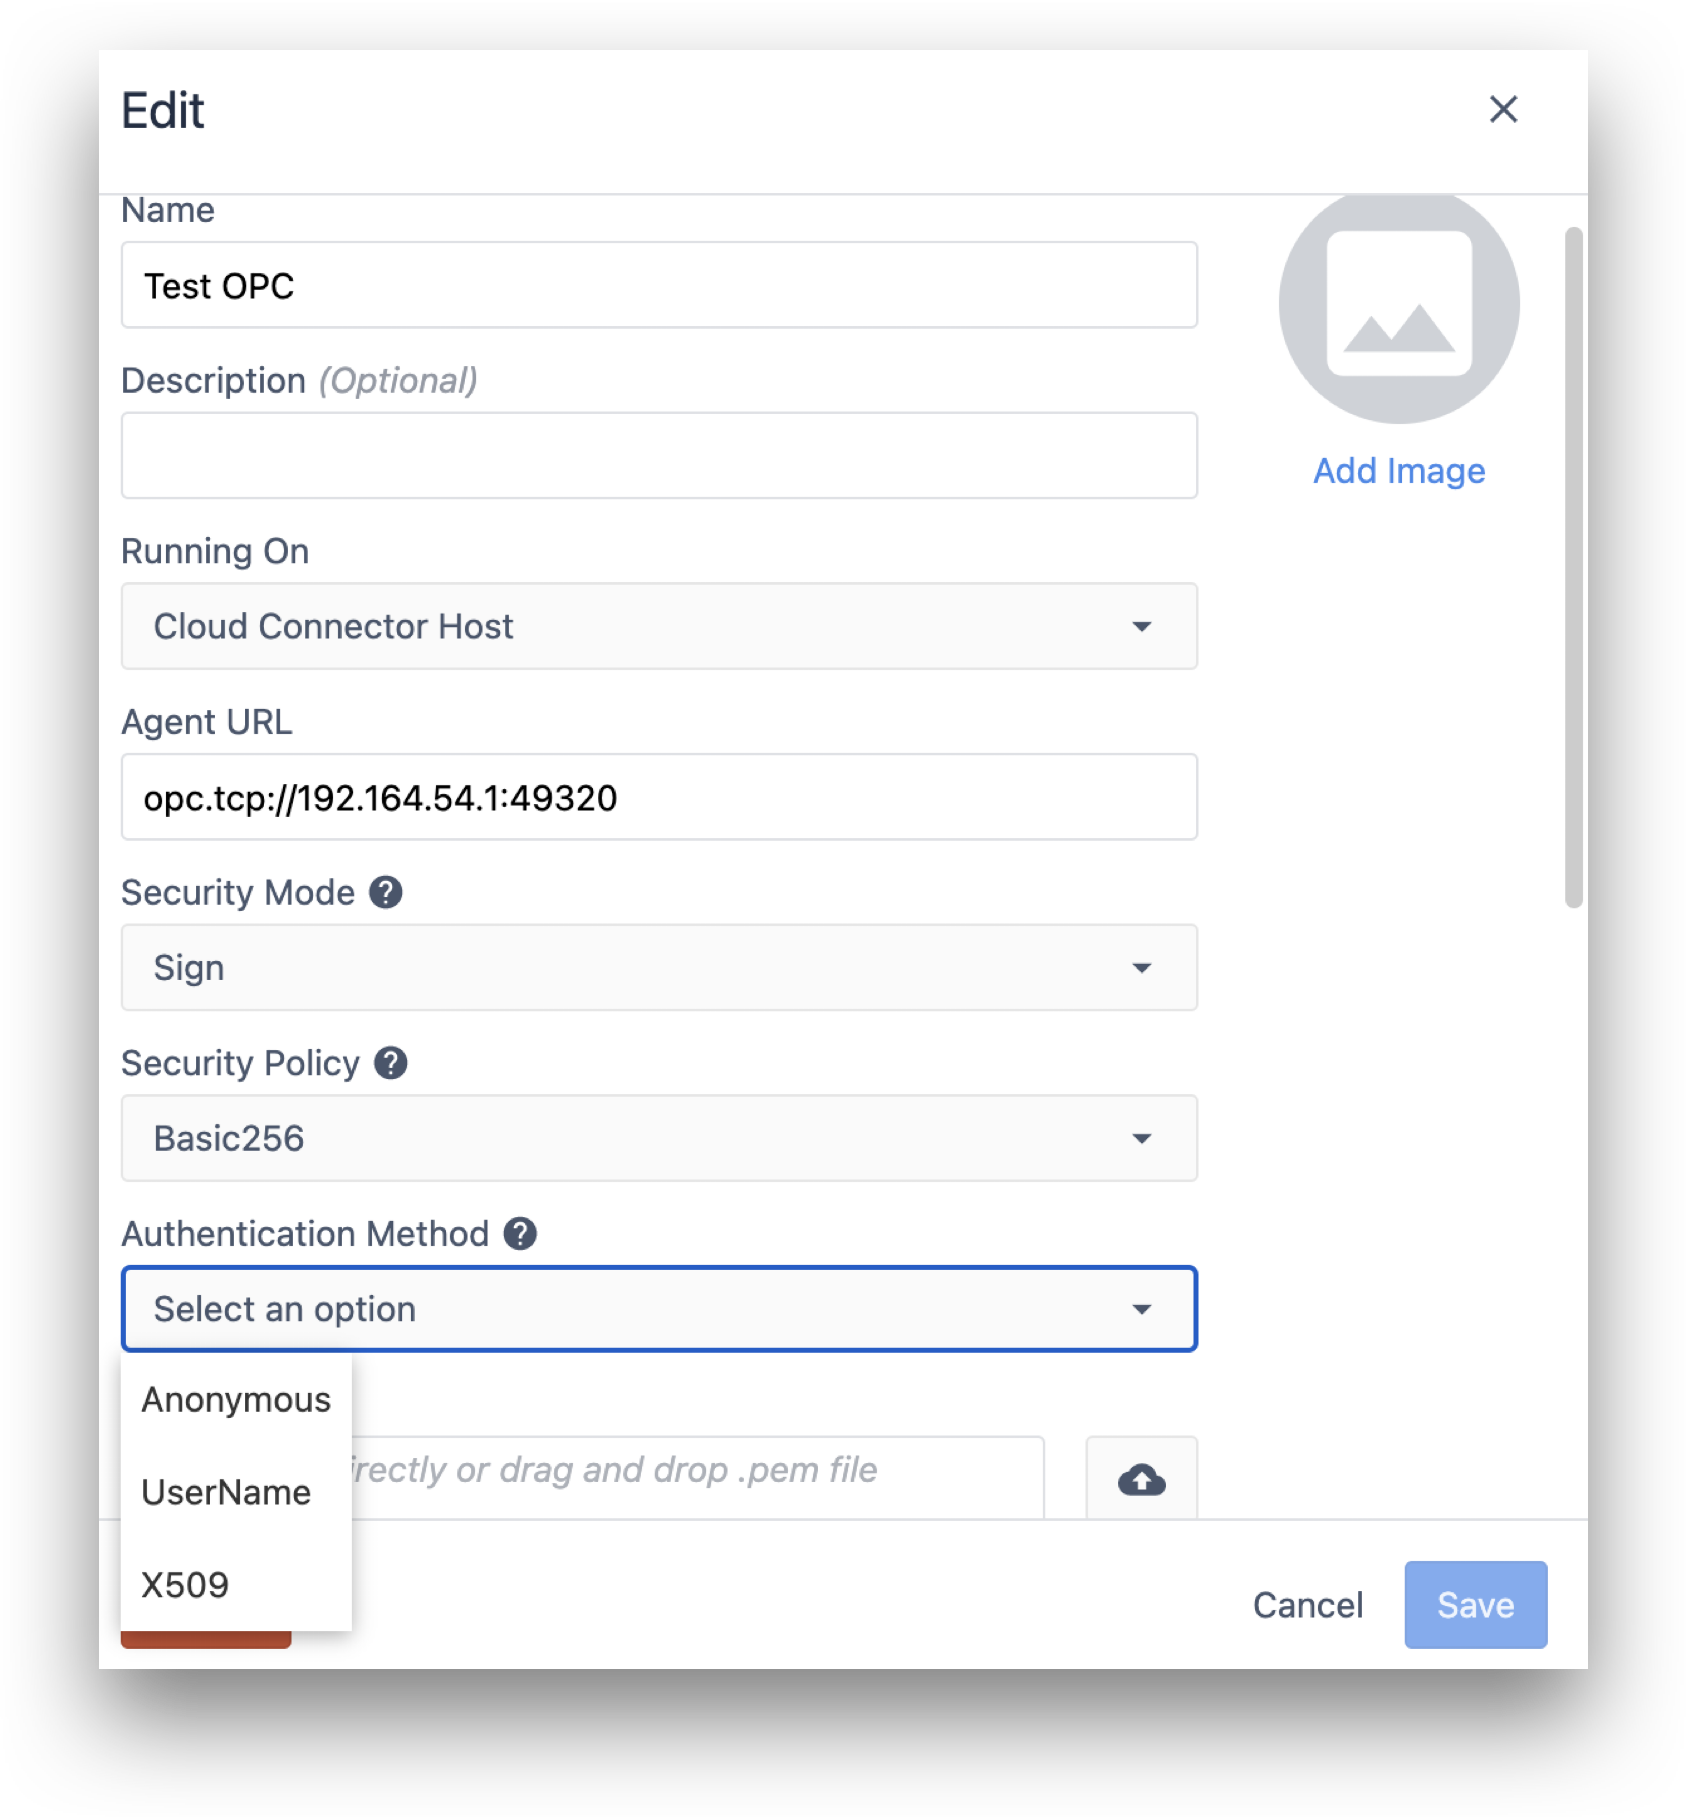
Choose an Authentication Method. The Anonymous method opens a session on the OPC UA server without authentication. The UserName method authenticates a given user via the provided Username and Password fields.
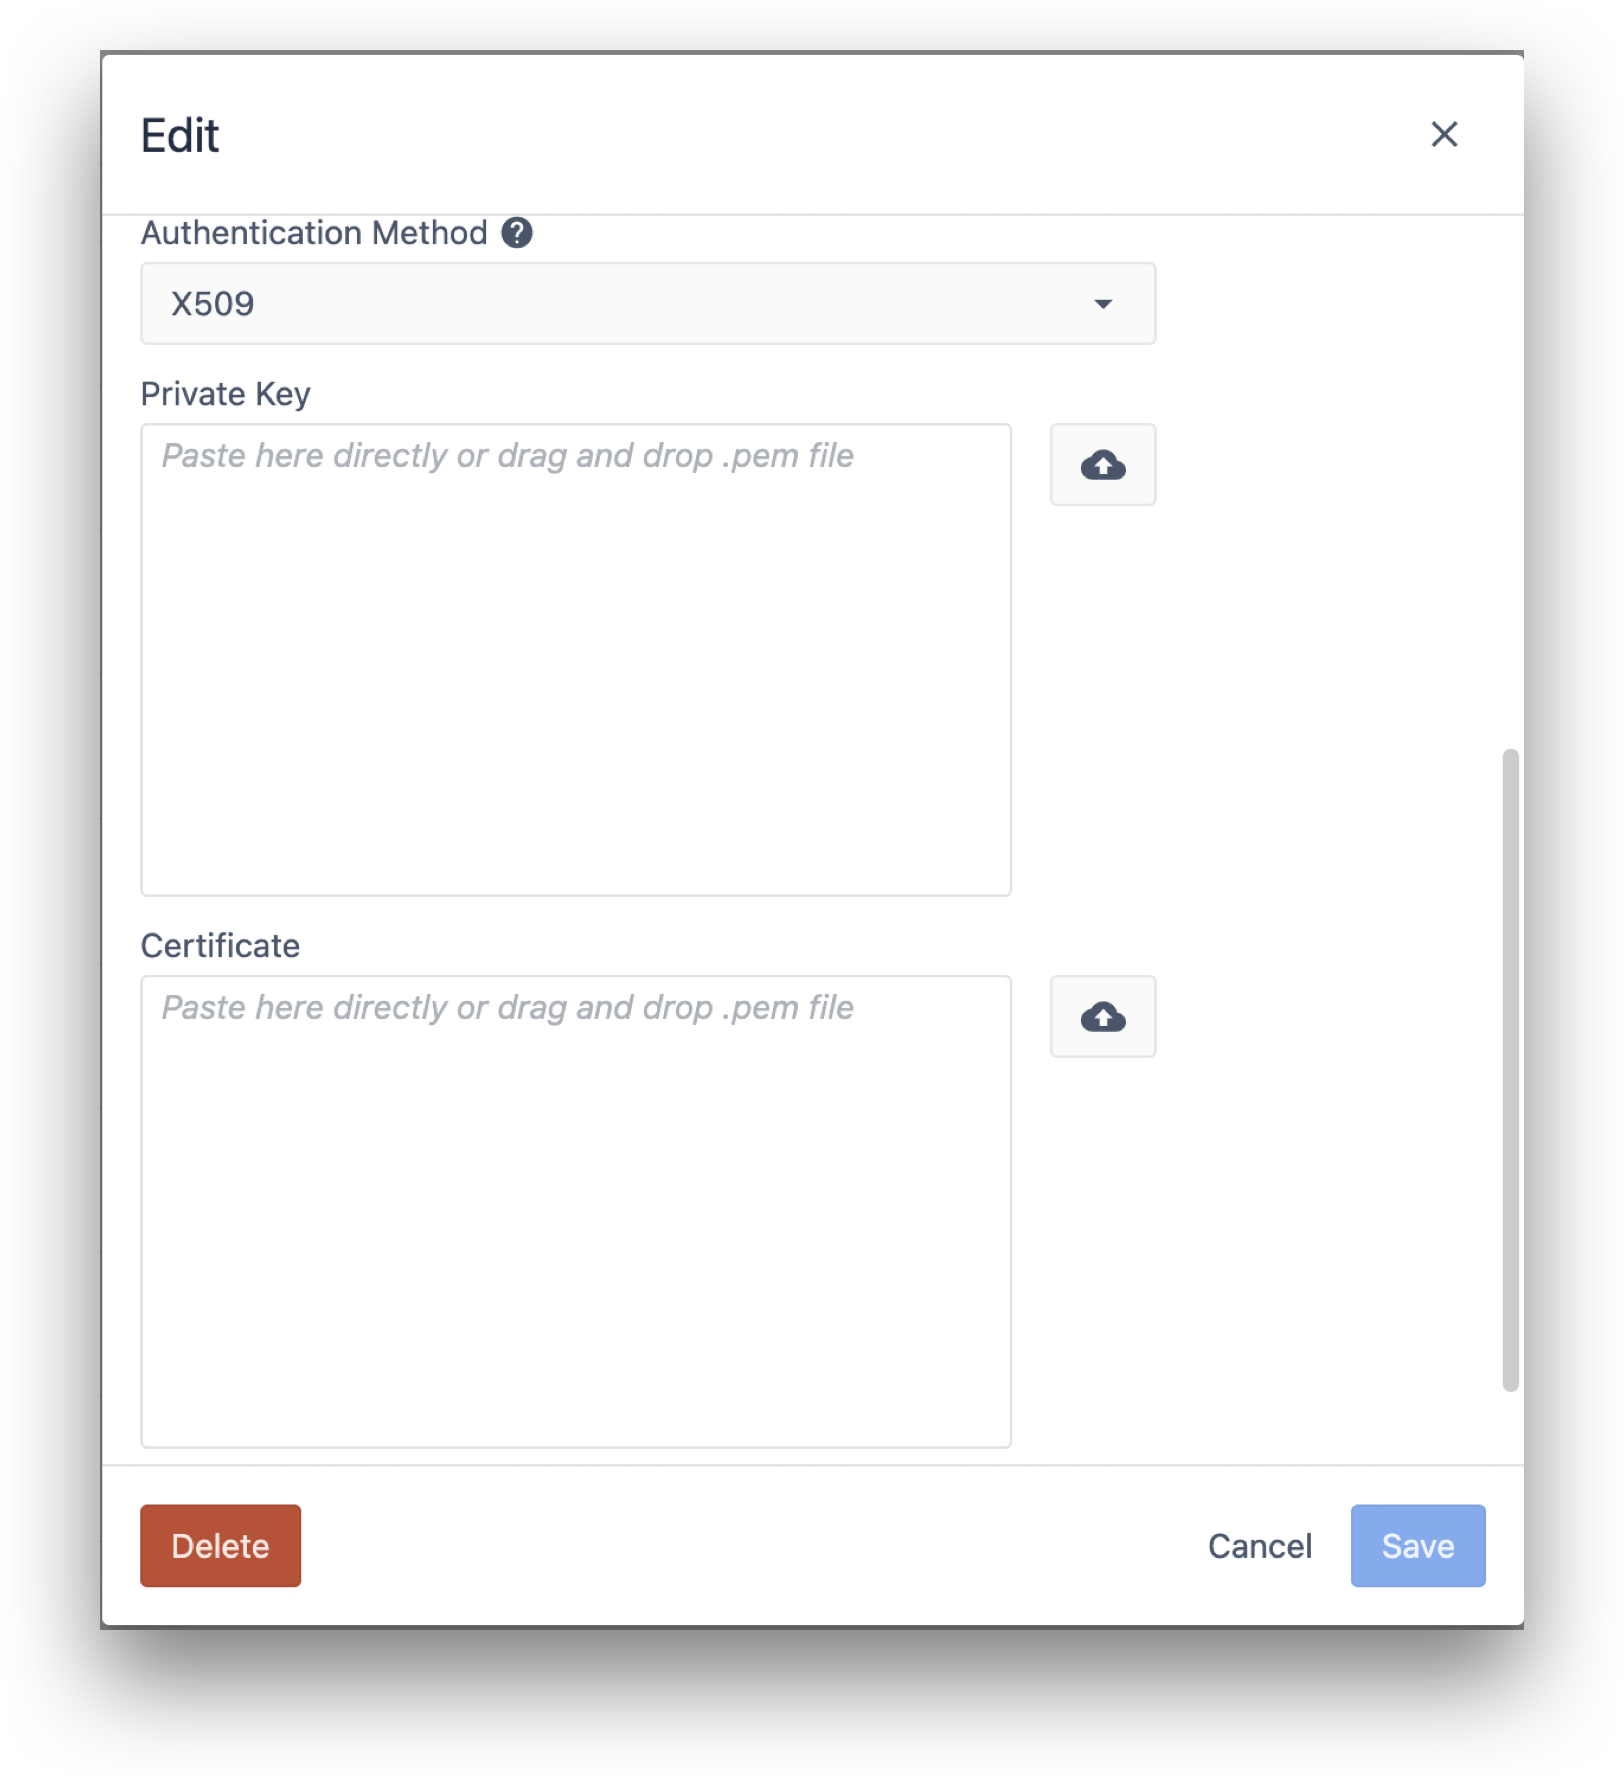
Similarly, you can generate a certificate and private key pair of .pem files for a user on your OPC UA server, select the “X509” method, and provide them in the “Certificate” and “Private Key” text boxes to authenticate.
Testing your Connection
Hit “Test” to see if you can successfully connect to the server.
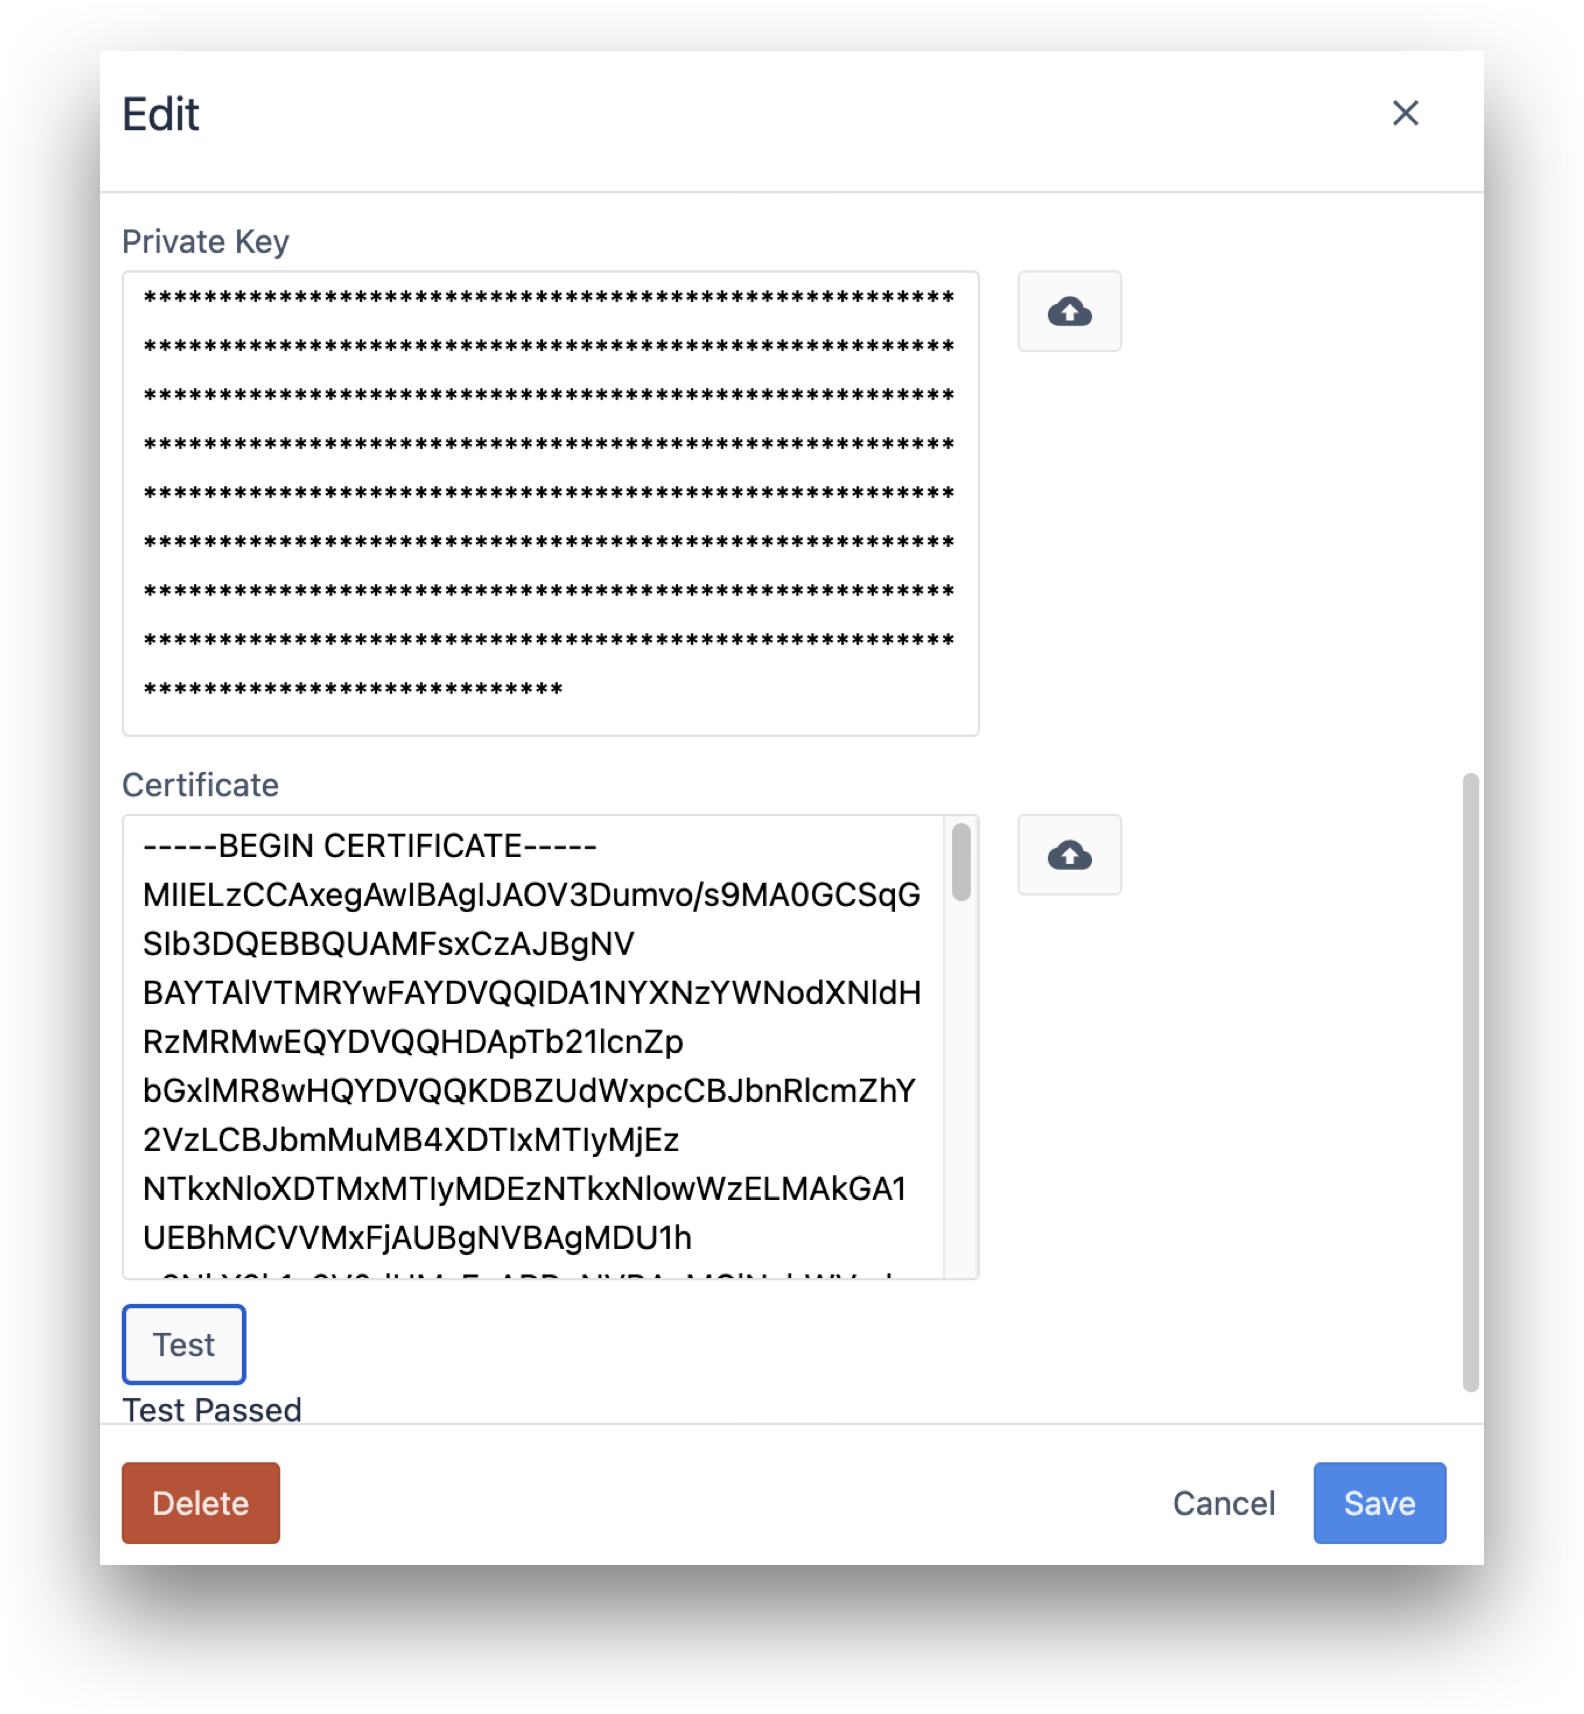
If the test is successful, then you are ready to set up a machine. Click "Save", and then go to the "Machine Types" page to set up your first category of machines.
Did you find what you were looking for?
You can also head to community.tulip.co to post your question or see if others have faced a similar question!


