

Learn how IT administrators can configure the integration between their IdP and Tulip to use SAML.
Users on Professional plans and above.
This guide will show you how to set up this mapping.
Three important notes to consider before setting up this mapping:
- Review our guide on adding and managing users to understand the different types of roles in Tulip.
- To understand authorization and authentication methods supported by Tulip, please read the Authorization and Access Control using SAML guide.
- If you would like operators to continue to log in with their badge ID, there is a toggle under the "Player" page in "Account Settings" to allow you to do this.
Tulip-created SAML certificates expire yearly. Contact Tulip Support before the expiration date to rotate the certificate.
Connecting your IdP via SAML (all instances)
You will need to have the Account Owner role to set this up.
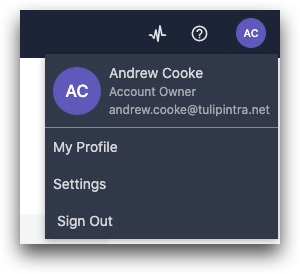
- Click your user profile in the top right of the screen, and select Settings.
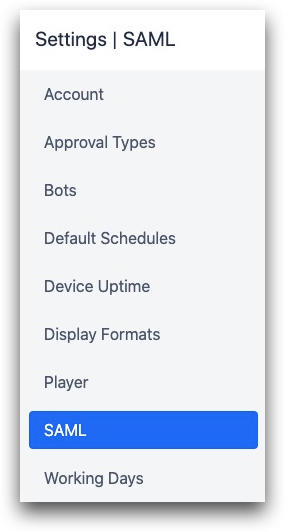
- Select SAML from the list of options on the left.
From here, you can enable the SAML feature.
-
Download our Metadata XML file and create the Tulip application in your Identity Provider.
-
Tulip can accept a Metadata XML from your provider, or you can manually provide the following:
- SSO Login URL
- SSO Logout URL
- Certificates (in PEM format)
To verify SAML responses, the certificates for your IdP server must be in PEM format. You can enter multiple certificates separated by blank lines.
Set up user mapping
Learn about authorization and access control using SAML here.
Test the configuration
Use the Test SAML Authentication tool at the top right of the screen to ensure that your setup works correctly. This will ensure that at least one user can continue to log into the instance after the configuration has been saved.
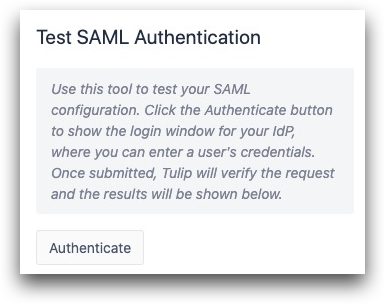
When you click Authenticate, you can try to log in with any SAML user's credentials.
Any errors will be shown if the login fails.
If the login succeeds, all details from that SAML user will be displayed on the right side of the screen. The nameID will be successfully mapped into Tulip, and this user will be able to log into Tulip with their IdP credentials going forward.
After you have entered all the integration details, click Save button at the bottom.
SAML SSO migration (existing instance only)
If you are already using email/password to authenticate users, here's how to switch.
In order to switch and keep existing user data, your account will need a user migration to SAML.
Use the Migration tab at the top of the SAML page to ensure that all existing users can continue to use Tulip.
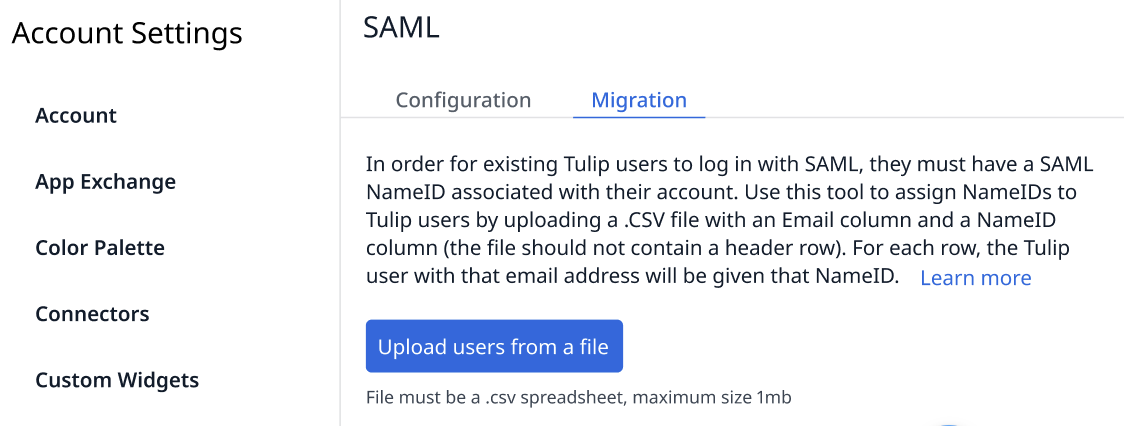
There are two columns needed in this order:
- The current user's email address that they use to sign into Tulip.
- The SAML nameID of the user. While the format can be flexible, this must be a unique ID that will link a user’s Tulip account with their SAML account. Every user in Tulip must have a distinct nameID in SAML. SAML nameIDs are case-sensitive.
Do not include any headers.
Make sure that you have already confirmed and verified that SAML is working in Tulip, see Testing Your SAML configuration. Make sure to turn off SAML once tested if you still need users to login with traditional email and password.
After uploading your CSV, you will get feedback on which users were successfully mapped into Tulip. The ones that were successfully mapped will be able to log in with their SAML credentials immediately.
If using Azure, please refer to Microsoft's Tutorial for using MS Entra with Tulip to ensure the setup is correct for Name ID Format. For an Email Name ID format, the format setting on the IdP must be changed to persistent.
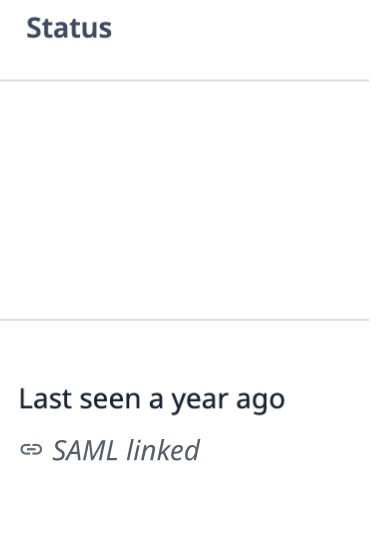
Check your SAML logins over time
On the Users page, you can see which users have successfully logged in with their SAML credentials.
Use the Status column on the right side of the Users page to see each user's connection to your IdP.
Further reading
Did you find what you were looking for?
You can also head to community.tulip.co to post your question or see if others have solved a similar topic!