

How To Build A Digital Work Instructions App
Use this step-by-step guide to learn how to replicate your paper work instructions in Tulip
Note: This topic is featured in the "Build a Basic Work Instructions App" course in Tulip University.
If your company uses paper-based work instructions, you need a fast and easy way to import each step in your manufacturing process into Tulip.
Here’s one set of instructions from a 65 page guide to building and shipping a product:
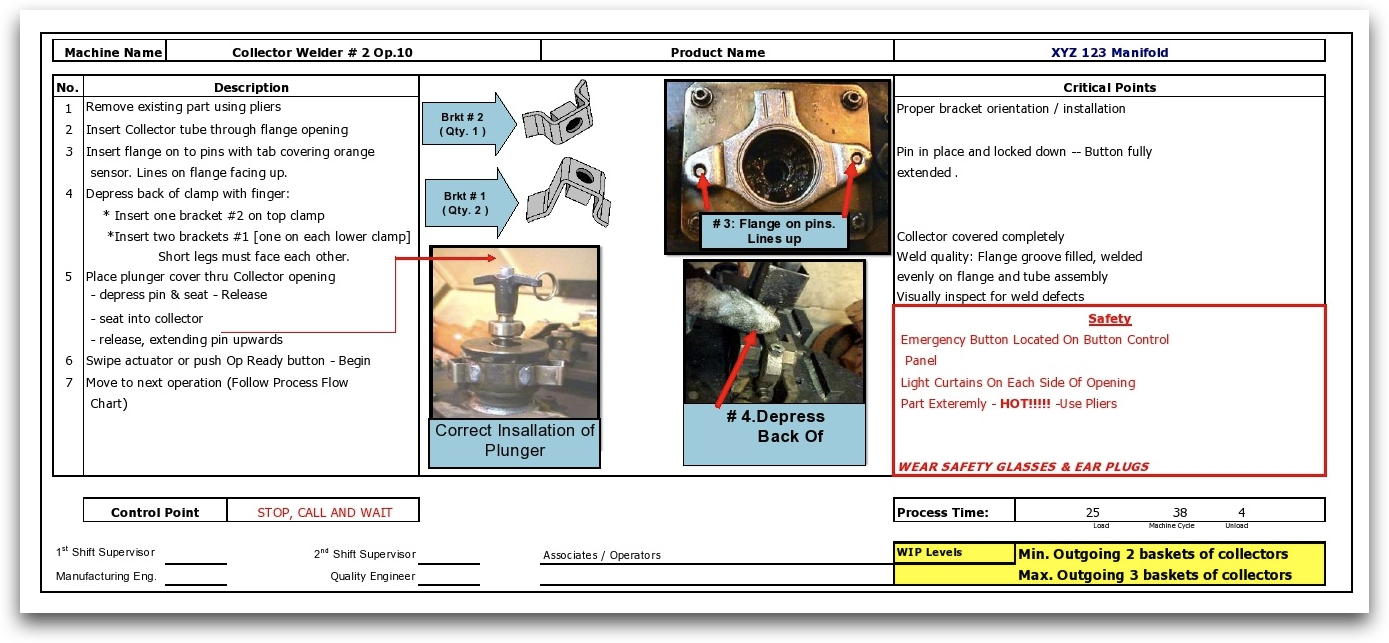
That’s a lot of copying and pasting.
Here’s the good news: work instructions use a few reliable patterns, so you won’t need to worry about complicated logic within the app.
Before you begin importing your instructions into Tulip, you should split them up based on different stations throughout your factory. For example, the 65-page guide mentioned above contains 9 different processes and subassemblies. That means that you would need 9 separate apps- one for each station on your line.
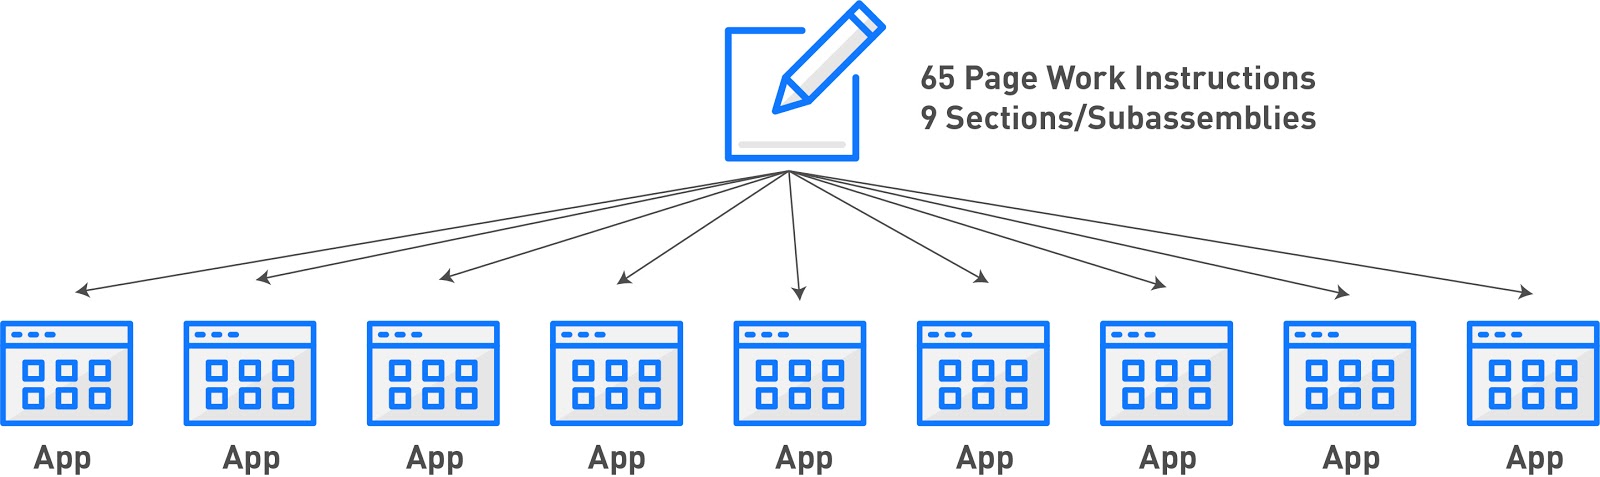
You will probably want to start by building just one app, and testing it on your production floor before continuing to build the other 8.
The Tulip Terminal will make this even easier. Most operators will not want to click into every individual step. Instead, they will only need to reference the work instructions when they do not remember the next step. The Tulip Terminal makes it easy for operators to selectively review instructions. Check out the guide to the Tulip Terminal before creating work instructions in Tulip.
A work instructions app commonly has the following steps:
- Scanning a barcode or manually typing in a barcode ID
- Checking the quality of the part
- One work instruction
- Step index to allow navigation within the app
Here's a potential layout of those steps:
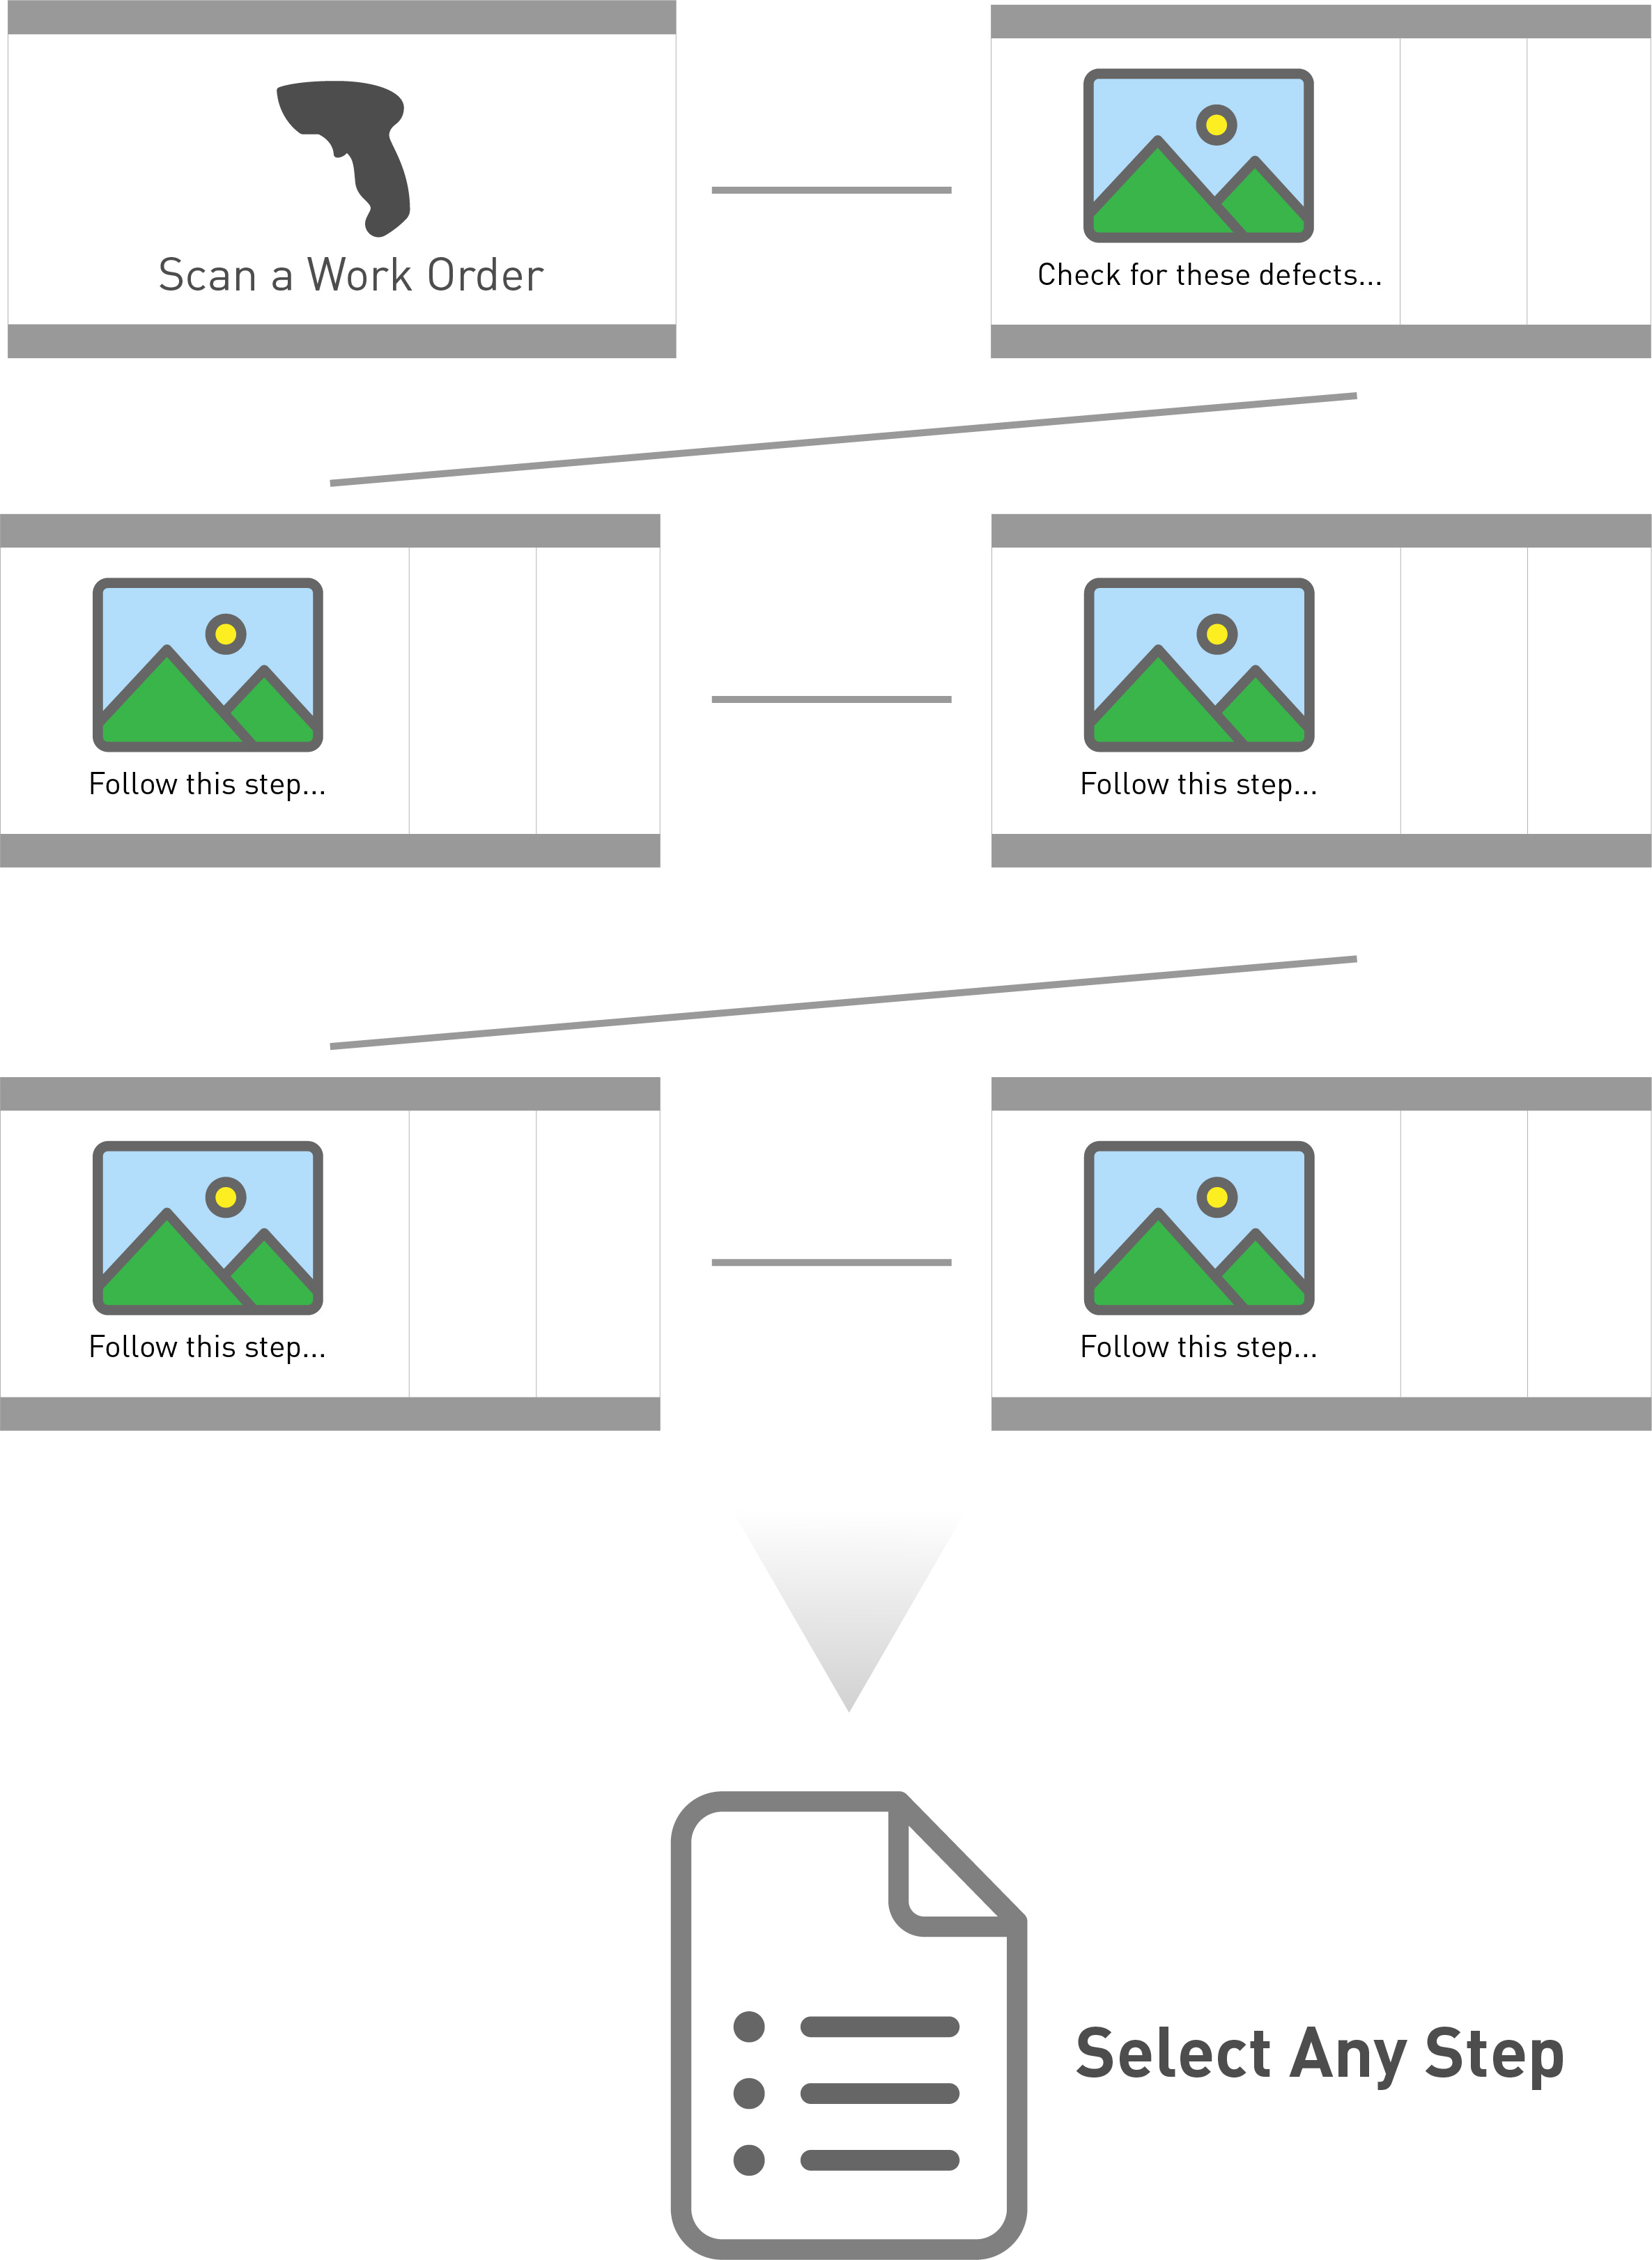
This assumes that the quality checks happen alongside work instructions. So, if you maintain separate documents for quality checks and work instructions, this is a good opportunity to merge them into one flow.
Or, if your team has separate quality specialists that are dedicated to defect reporting, check out this guide to build a dedicated quality app
At the end, you will be able to view real-time analytics on each operator's cycle time by part.
Here’s how to build a work instructions app.
Step 1- Scan A Barcode
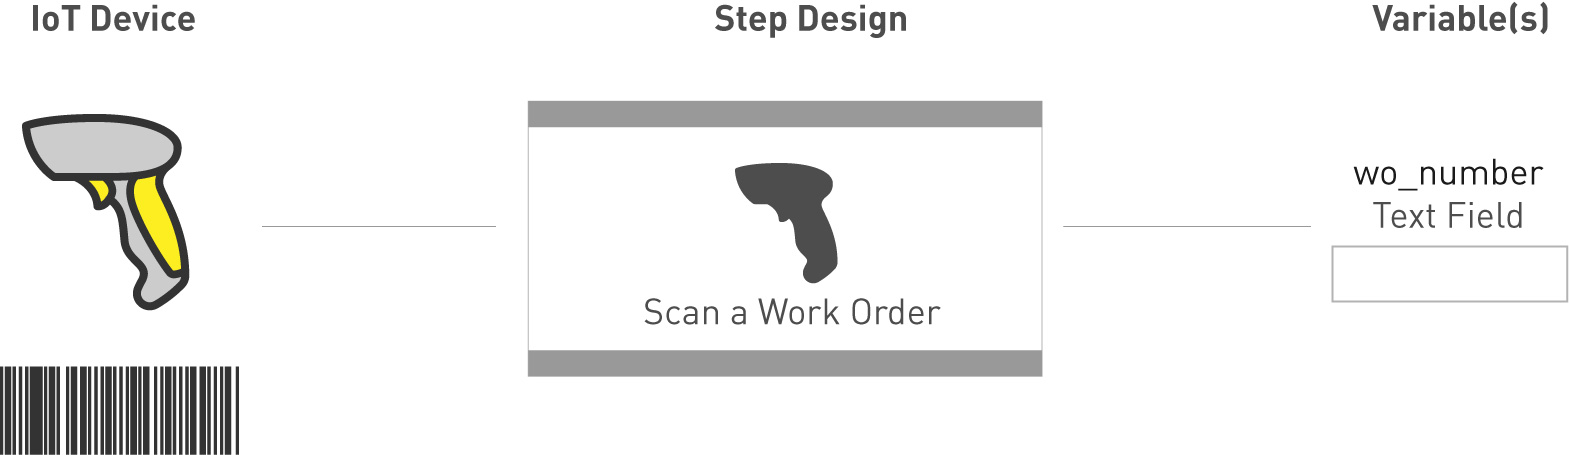
This step prompts the operator to scan their work order using a barcode scanner that has been integrated into Tulip Then, after a successful scan, the operator is automatically advanced to the next step. The work order number is stored in a variable called “wo_number”.
Then, the work order number will be attached to this particular completion of the app for later analysis.
Building It In Tulip
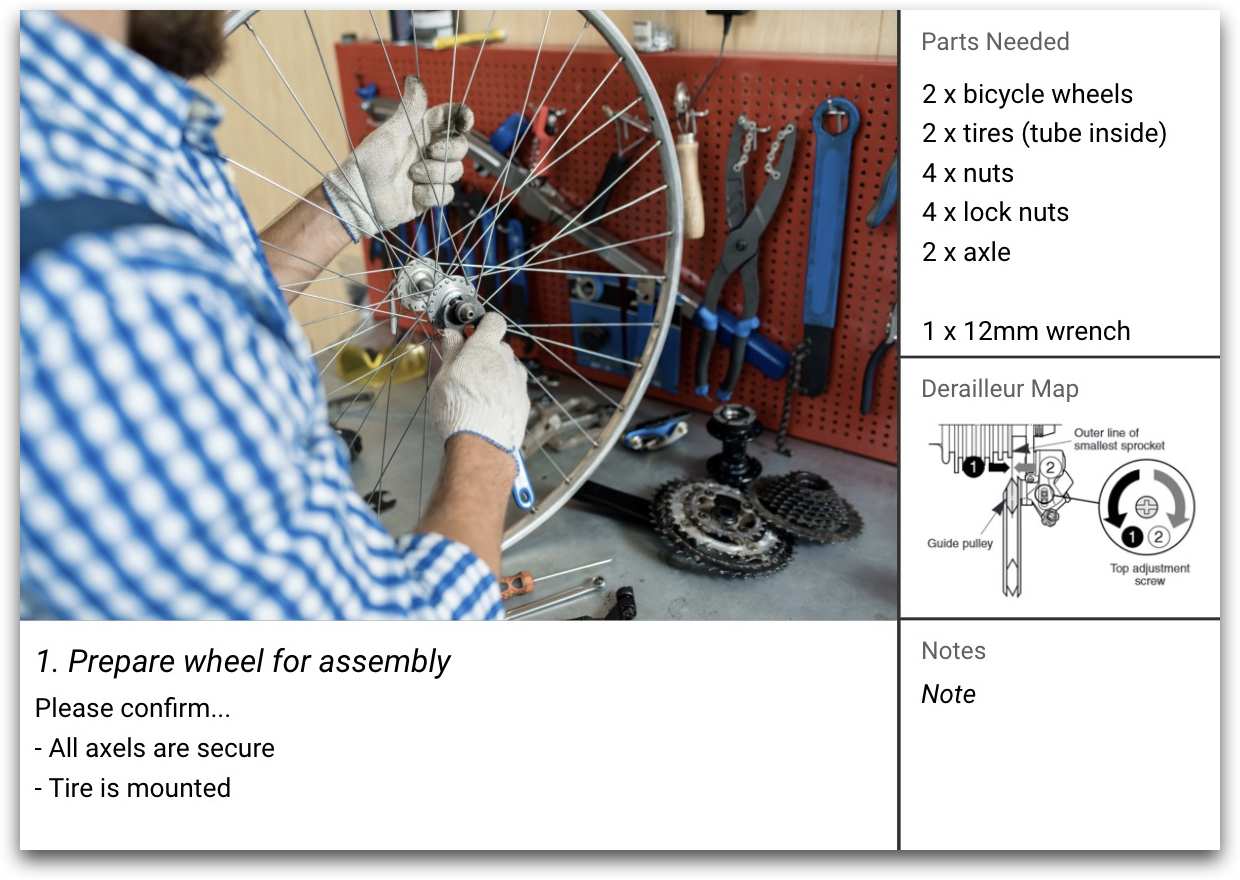
Here’s an example of what the screen might look like:
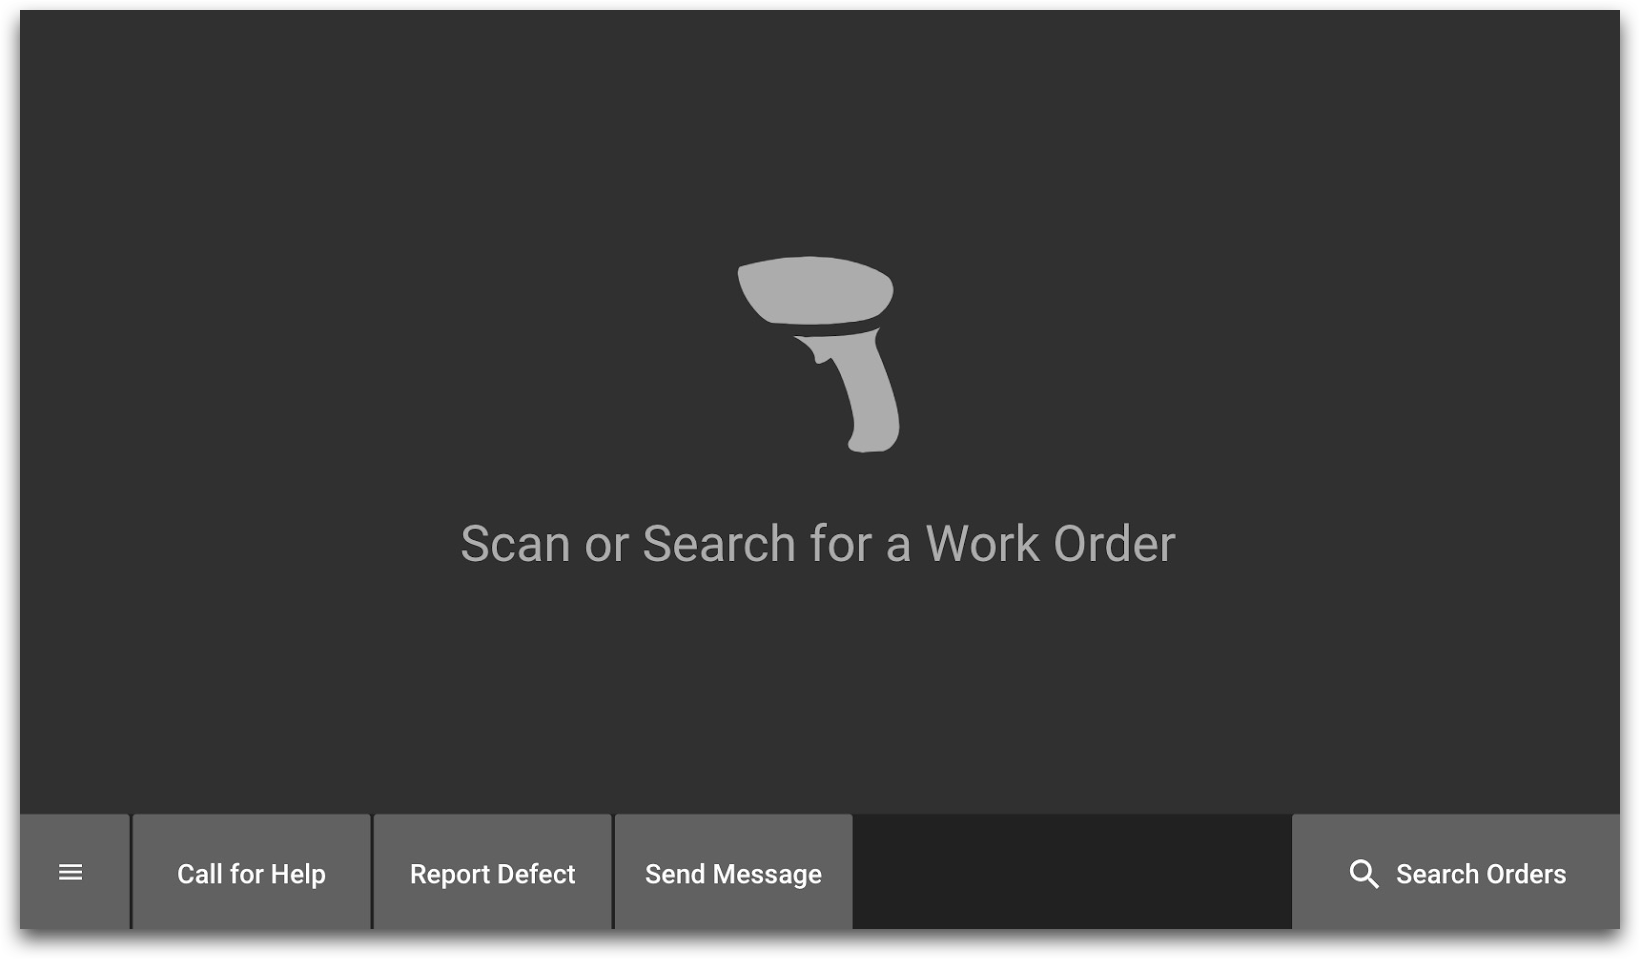
The step uses the following Widgets:
- Image from the default library
- Custom buttons
- Text box
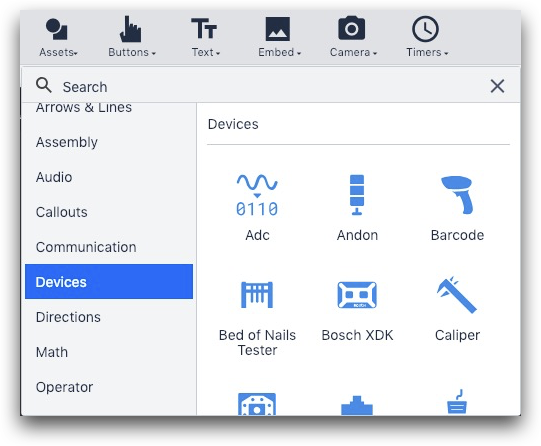
You can add a barcode image from the "Devices" library within the Assets tab on the Toolbar.
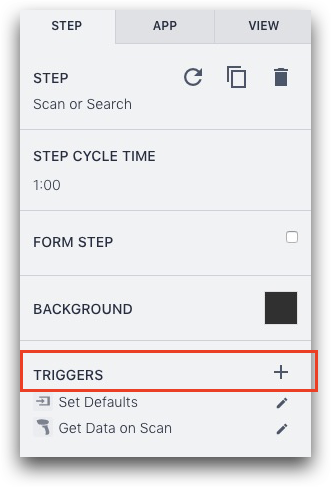
The screen has no automatic way to advance to the next step. In order to react to a barcode scan, you must add a Trigger on the step itself (also called a "Step Trigger").
The only ways that an operator can advance are:
- Scanning a valid barcode
- Pressing the "Search Work Orders" button in the bottom right and manually entering a work order
To add the Step Trigger, click the background of the app, and then you will be able to create a Trigger in the side pane on the right. You can call it “Get Data on Scan”.
Here’s how to set up the Trigger:
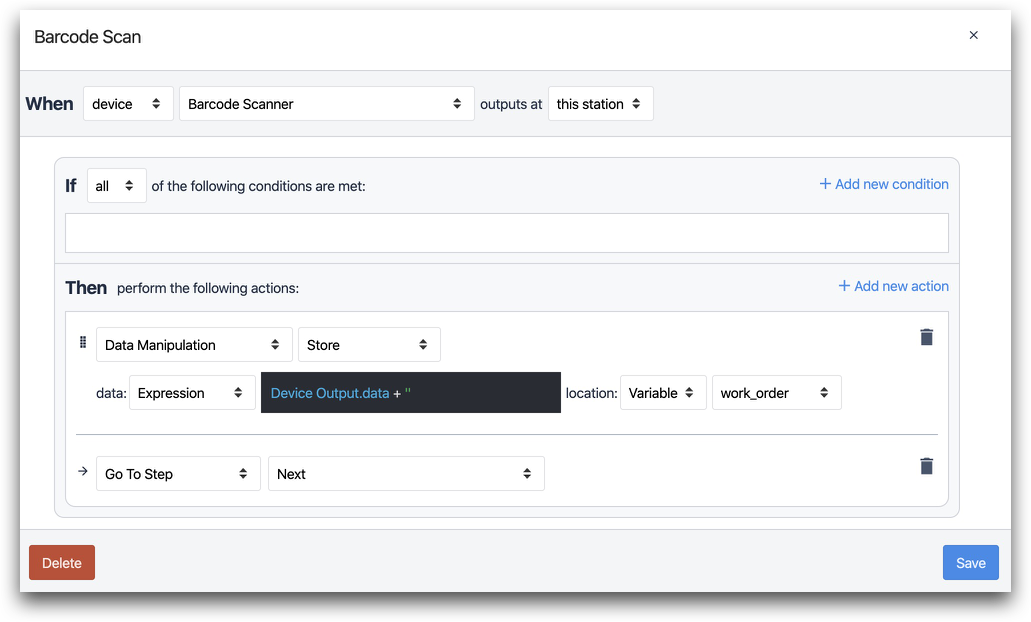
In the dropdown at the top, select a barcode scanner that has been integrated into Tulip.
Then, create an expression that parses the barcode number. Store that in a variable called “wo_number”.
Here is the text from the Expression Editor:
@Device Output.data + "
If you haven’t already created this variable, you can do it from this screen using the dropdown menu next to “variable”.
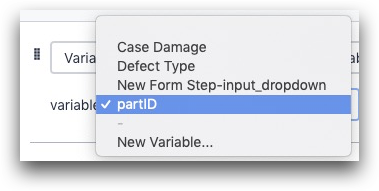
“Device Output.data” contains the barcode number from this particular barcode scanner.
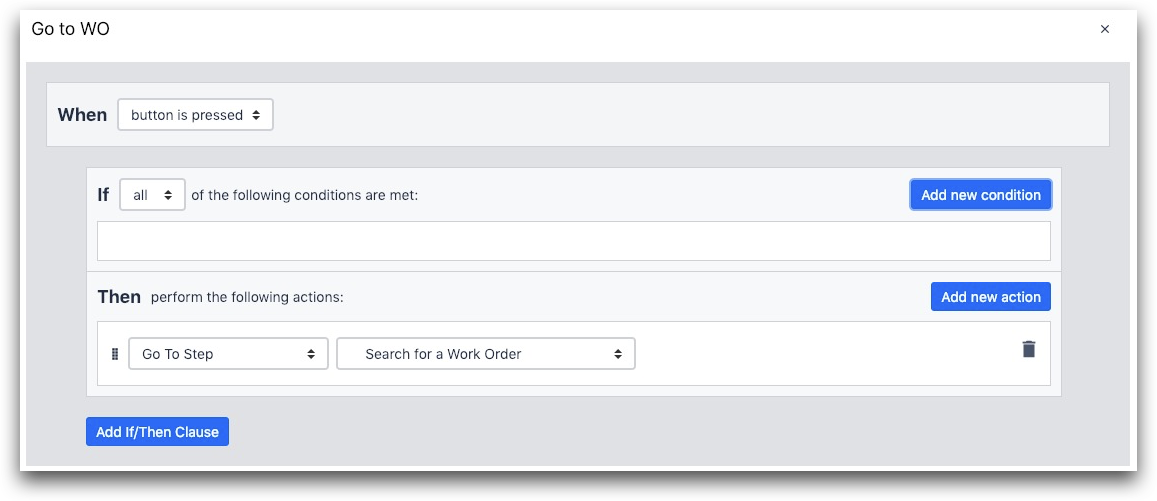
For the "Search Order" button, you can send operators to a step called "Search for a Work Order" using a trigger on the "Search Orders" button. Here's what that trigger might look like:
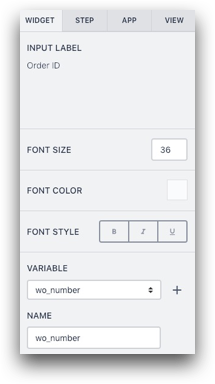
Then, the "Search for a Work Order" step will be a Form Step with a single input: a number field where operators can manually input a number.
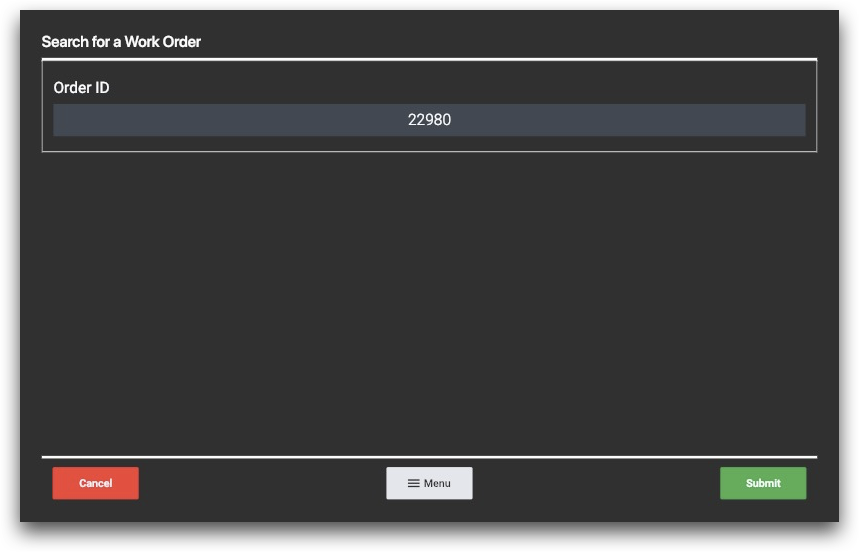
This should also store the value of the number field in a variable called "wo_number" using the side pane.
Combining This Step With Other Steps
If you have data stored in an external database (like an ERP system) related to this work order, you can also use the barcode scan to call a Connector function and import that data into the app.
Then, you can reference those data points later in the app.
Analytics Possibilities
This is the step that allows you to tie a specific work order to an app completion. If you have a 9-step process, and all 9 operators scan the work order before they begin, then you can use the “Compare Variables” Analysis to view the production value stream across each individual work order.
Further Reading
- How to set up a 3rd party barcode scanner
- Setting up Factory Kit USB devices
- How to use the Expression Editor
Step 2- Checking Quality of Incoming Part
You may have documentation on what a part should look like BEFORE an operator starts working on it, including an explanation of common defects.
If that is the case, you can include a “check” step before the set of work instructions so that the operator has a chance to inspect the part and report rework or scrap.
Building It In Tulip
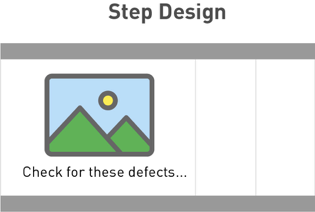
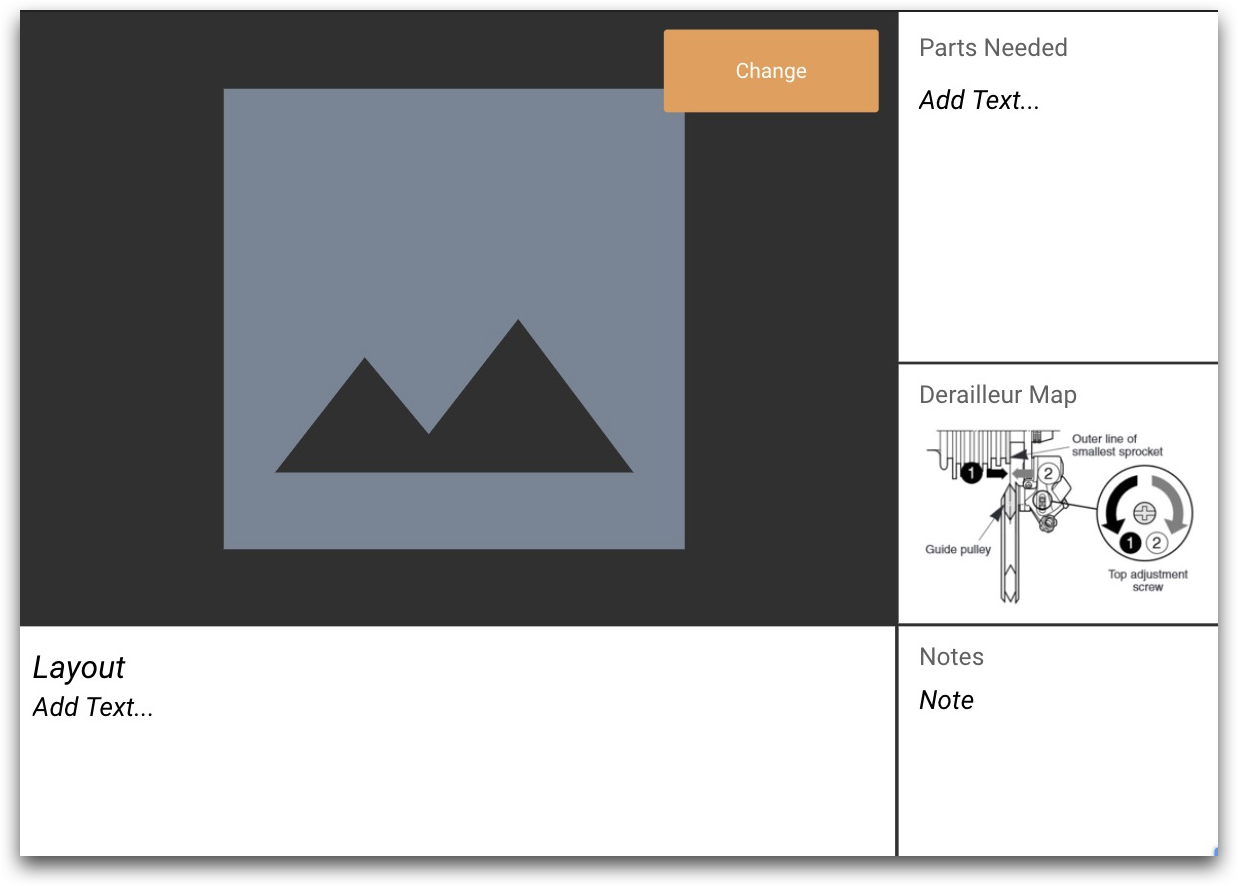
In the Tulip Terminal, there is a panel for an image and a panel for instructions. Like this:
You can import an image of a common defect, or include a diagram that shows the correct layout. There is no need for variables or triggers.
For each "check" step, you will just need to use:
- Image that you upload
- Text box
Combining This Step With Other Steps
You may want to include a quality check step before a series of work instruction steps. Operators can use this step to check if their part is defective before continuing to work.
If there is a defect, the operator can report it within their flow using a "Report Defect" button on the bottom of the step.

Further Reading
Step 3- One Step within Work Instructions

A step in Tulip maps to a step from paper work instructions. You can use the same pattern from the “Quality Check” step above- one image and one piece of text.
You may want to put all quality check and work instruction steps in one continuous sequence so that operators can easily flip through them.
Building It In Tulip
The design of a work instruction step is the same as the design of the quality check step.

It may also be helpful for the operator if you use Step Groups for each type of activity at the workbench.
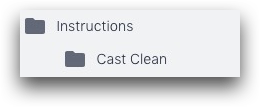
Here’s a Step Group called “Cast Clean”:
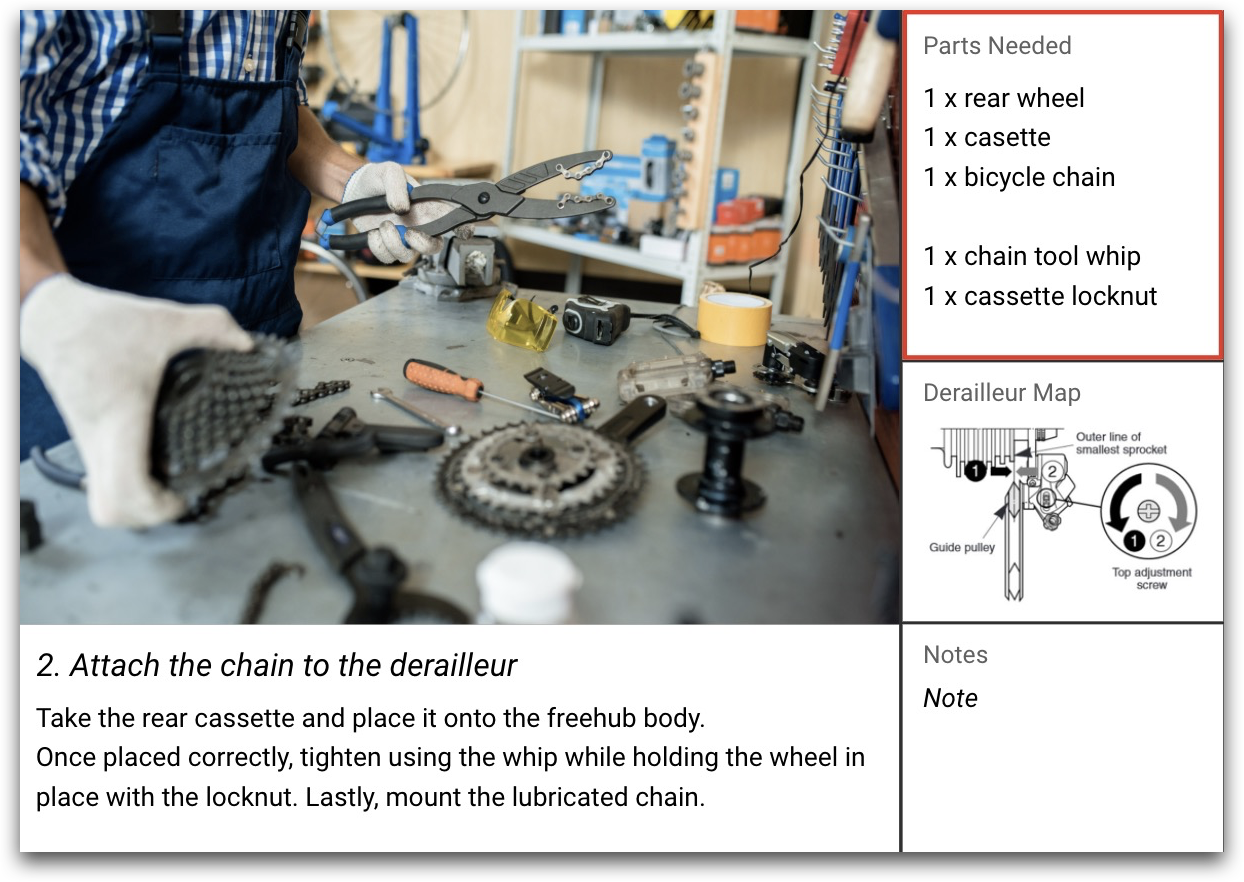
Within the Step Group, you can update the “Parts Needed” list on every step to let the operator know which tools they will need.
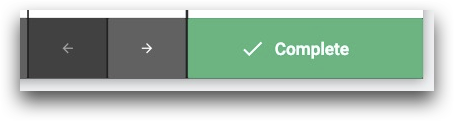
Also, make sure to include "Next" and "Previous" buttons so the operator can advance:
Further Reading
Step 4- Step Index
Operators need an easy way to reach different parts of the instructions. You can create a “Table of Contents” with a Form Step, and then put a button on every Step so the operator can reach the Table of Contents.
Building It In Tulip
First, add a button on the Base Layout so operators can reach the Step Index at any time. In this case, the button has an orange background.
Use a Button Trigger to send operators to the Step Index. In this case, the step is called “Step Index”.
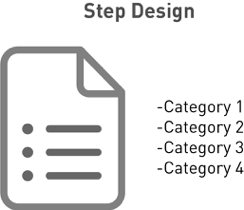
The Step Index is a Form Step with 5 options to represent the 5 types of activities within the app.
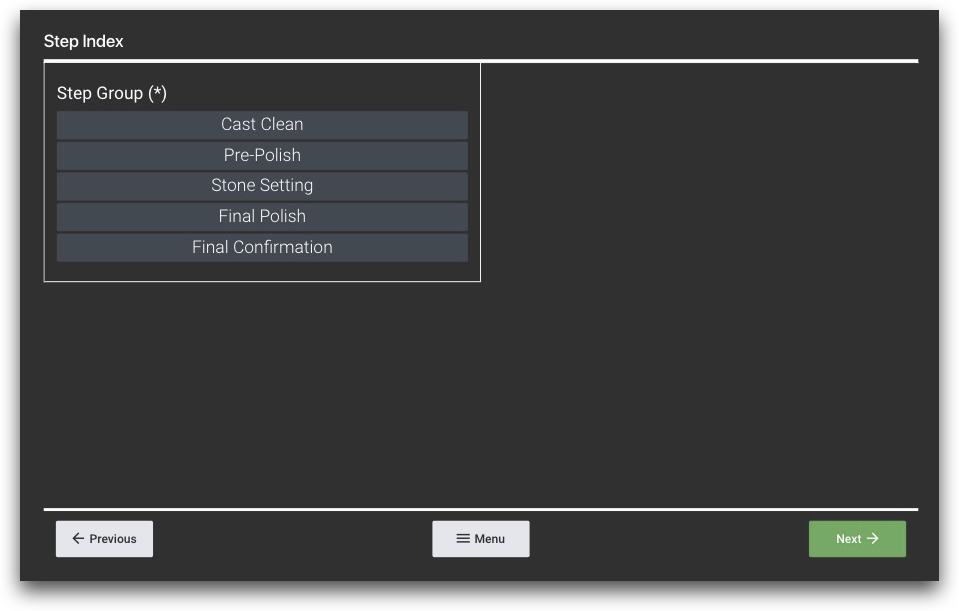
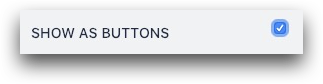
After creating the Form Step, add a Dropdown field and check the box in the side pane that says "Show as Buttons".
After clicking the dropdown, use the Variables section on the right menu to create a variable that is updated when an operator chooses one of the options.

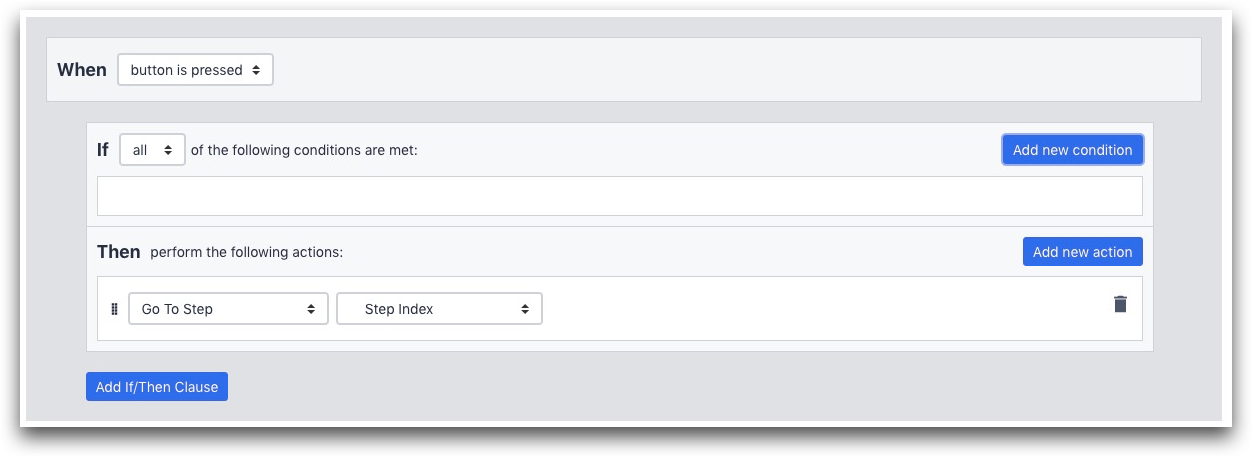
Then, set the “Submit” button as a custom action so you can add if/then logic.
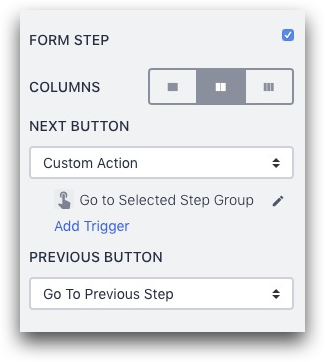
Access the value of the variable that you just created using the Expression Editor. Use if/then logic to send the operator to a specific step in the app based on the option that they chose.
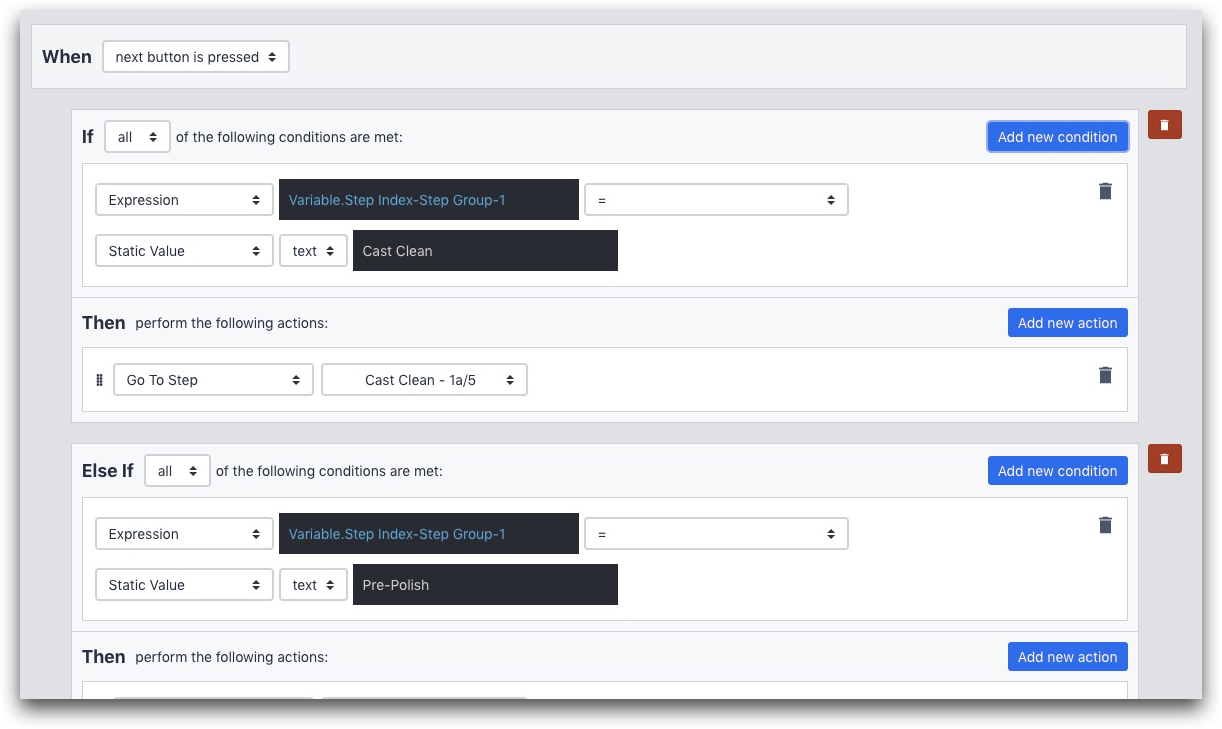
Here's one example:
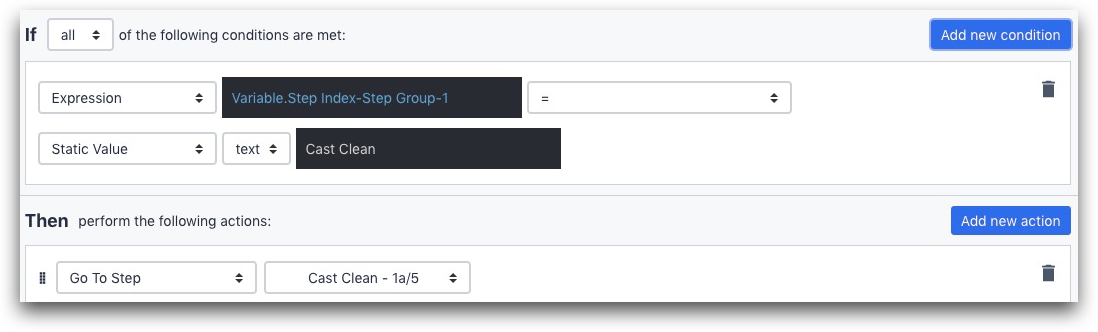
The If statement uses the Expression Editor to examine the value of the "Step Index" variable.
Variable.Step Index
If it is equal to "Cast Clean", or in other words, if the operator chose the first option in the dropdown, then it will send them to the Cast Clean step in this particular app.
Further Reading
Overall Notes
Here’s a diagram of the full app, including all 4 types of steps.

You can answer these two common questions with this work instructions app:
- How long does it typically take each operator to finish a specific task?
- What’s the average cycle time for a product?
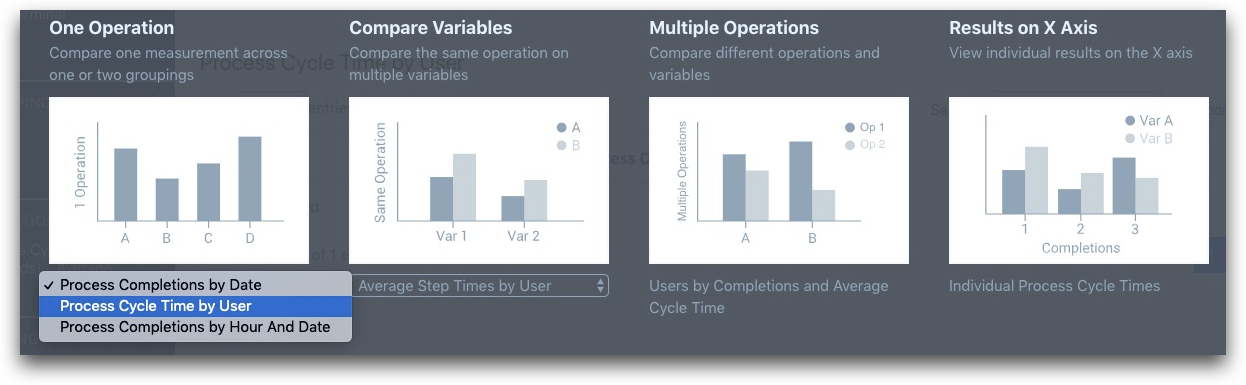
You can look at “Process Completion Time by User” to answer the first question. Use this default Analysis option in the “Analytics” tab of the app.
To answer the second question, you will need to combine data from multiple apps. In the introduction, we gave the example of a production value stream that is split into 9 apps. If you scan the work order at the beginning of each app, you will be able to combine data from all 9 apps to track the cycle time for the whole product.
Check out this guide on modifying an analysis) to learn more.
Did you find what you were looking for?
You can also head to community.tulip.co to post your question or see if others have faced a similar question!