Overview
Steps are different screens of your app.
Think about steps similar to slides of a presentation, they can be configured to show different content to operators. Steps don't need to transition in chronological order. Triggers can move users through steps in any order.
Steps make up most of your application. Steps can be adjusted in just about any way to fit your needs. Any Widgets can be added to a step.
Steps can also have Triggers that run when the step is first displayed, or when the step is complete.
Read more about step-level triggers here.
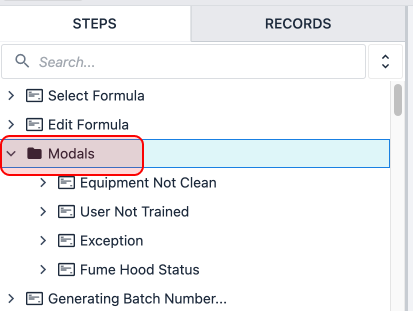
Step Groups
Step Groups are folders for app steps primarily to help organize your applications. Step groups can be added within step groups, to further organize your applications.
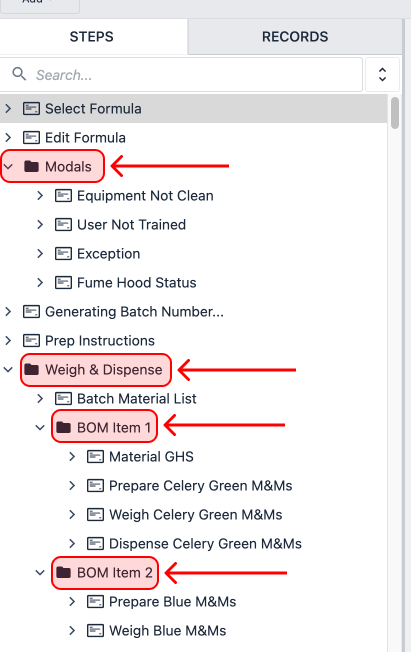
Additionally, step groups can be leveraged to do bulk operations like rearranging/duplicating steps and printing step groups.
Form steps and signature forms
As of r235, Form steps have been disabled for all new Tulip Instances.
Form Steps streamline data collection use cases but lack much of the flexibility and reusability of normal steps.
Form steps are only recommended for cases where the use case is heavily reliant on data collection and where extensive customization of functionality isn't required.
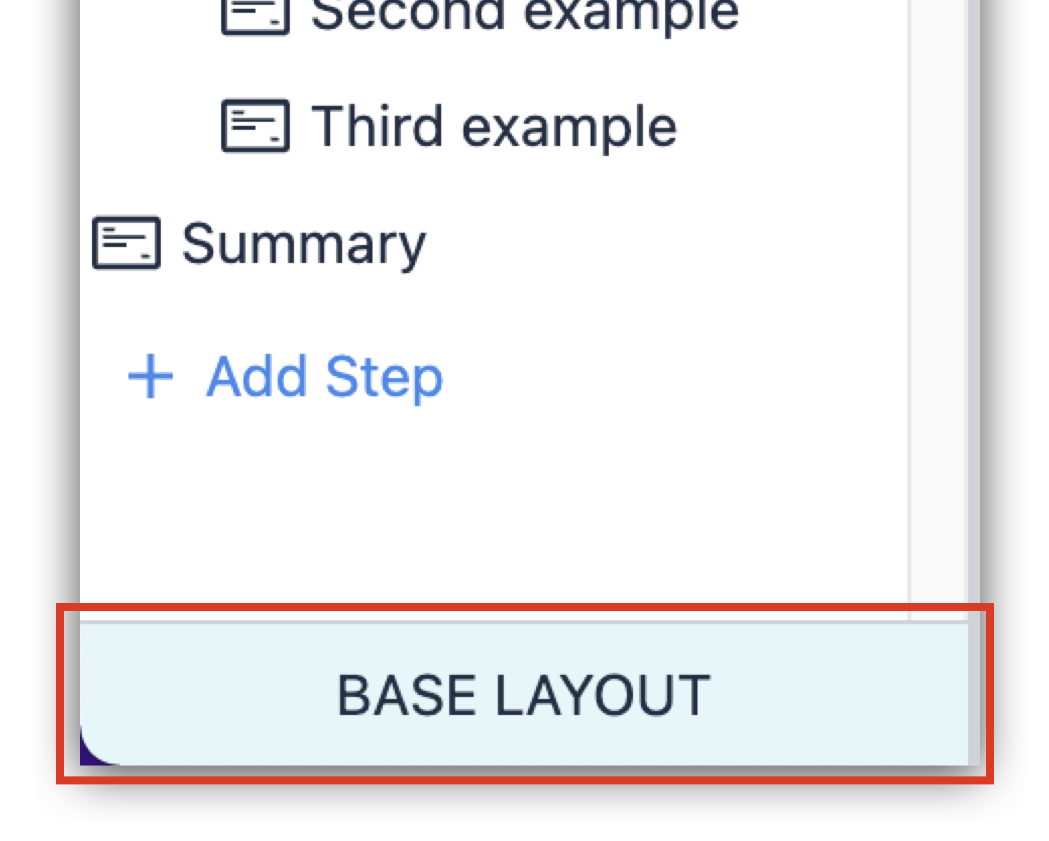
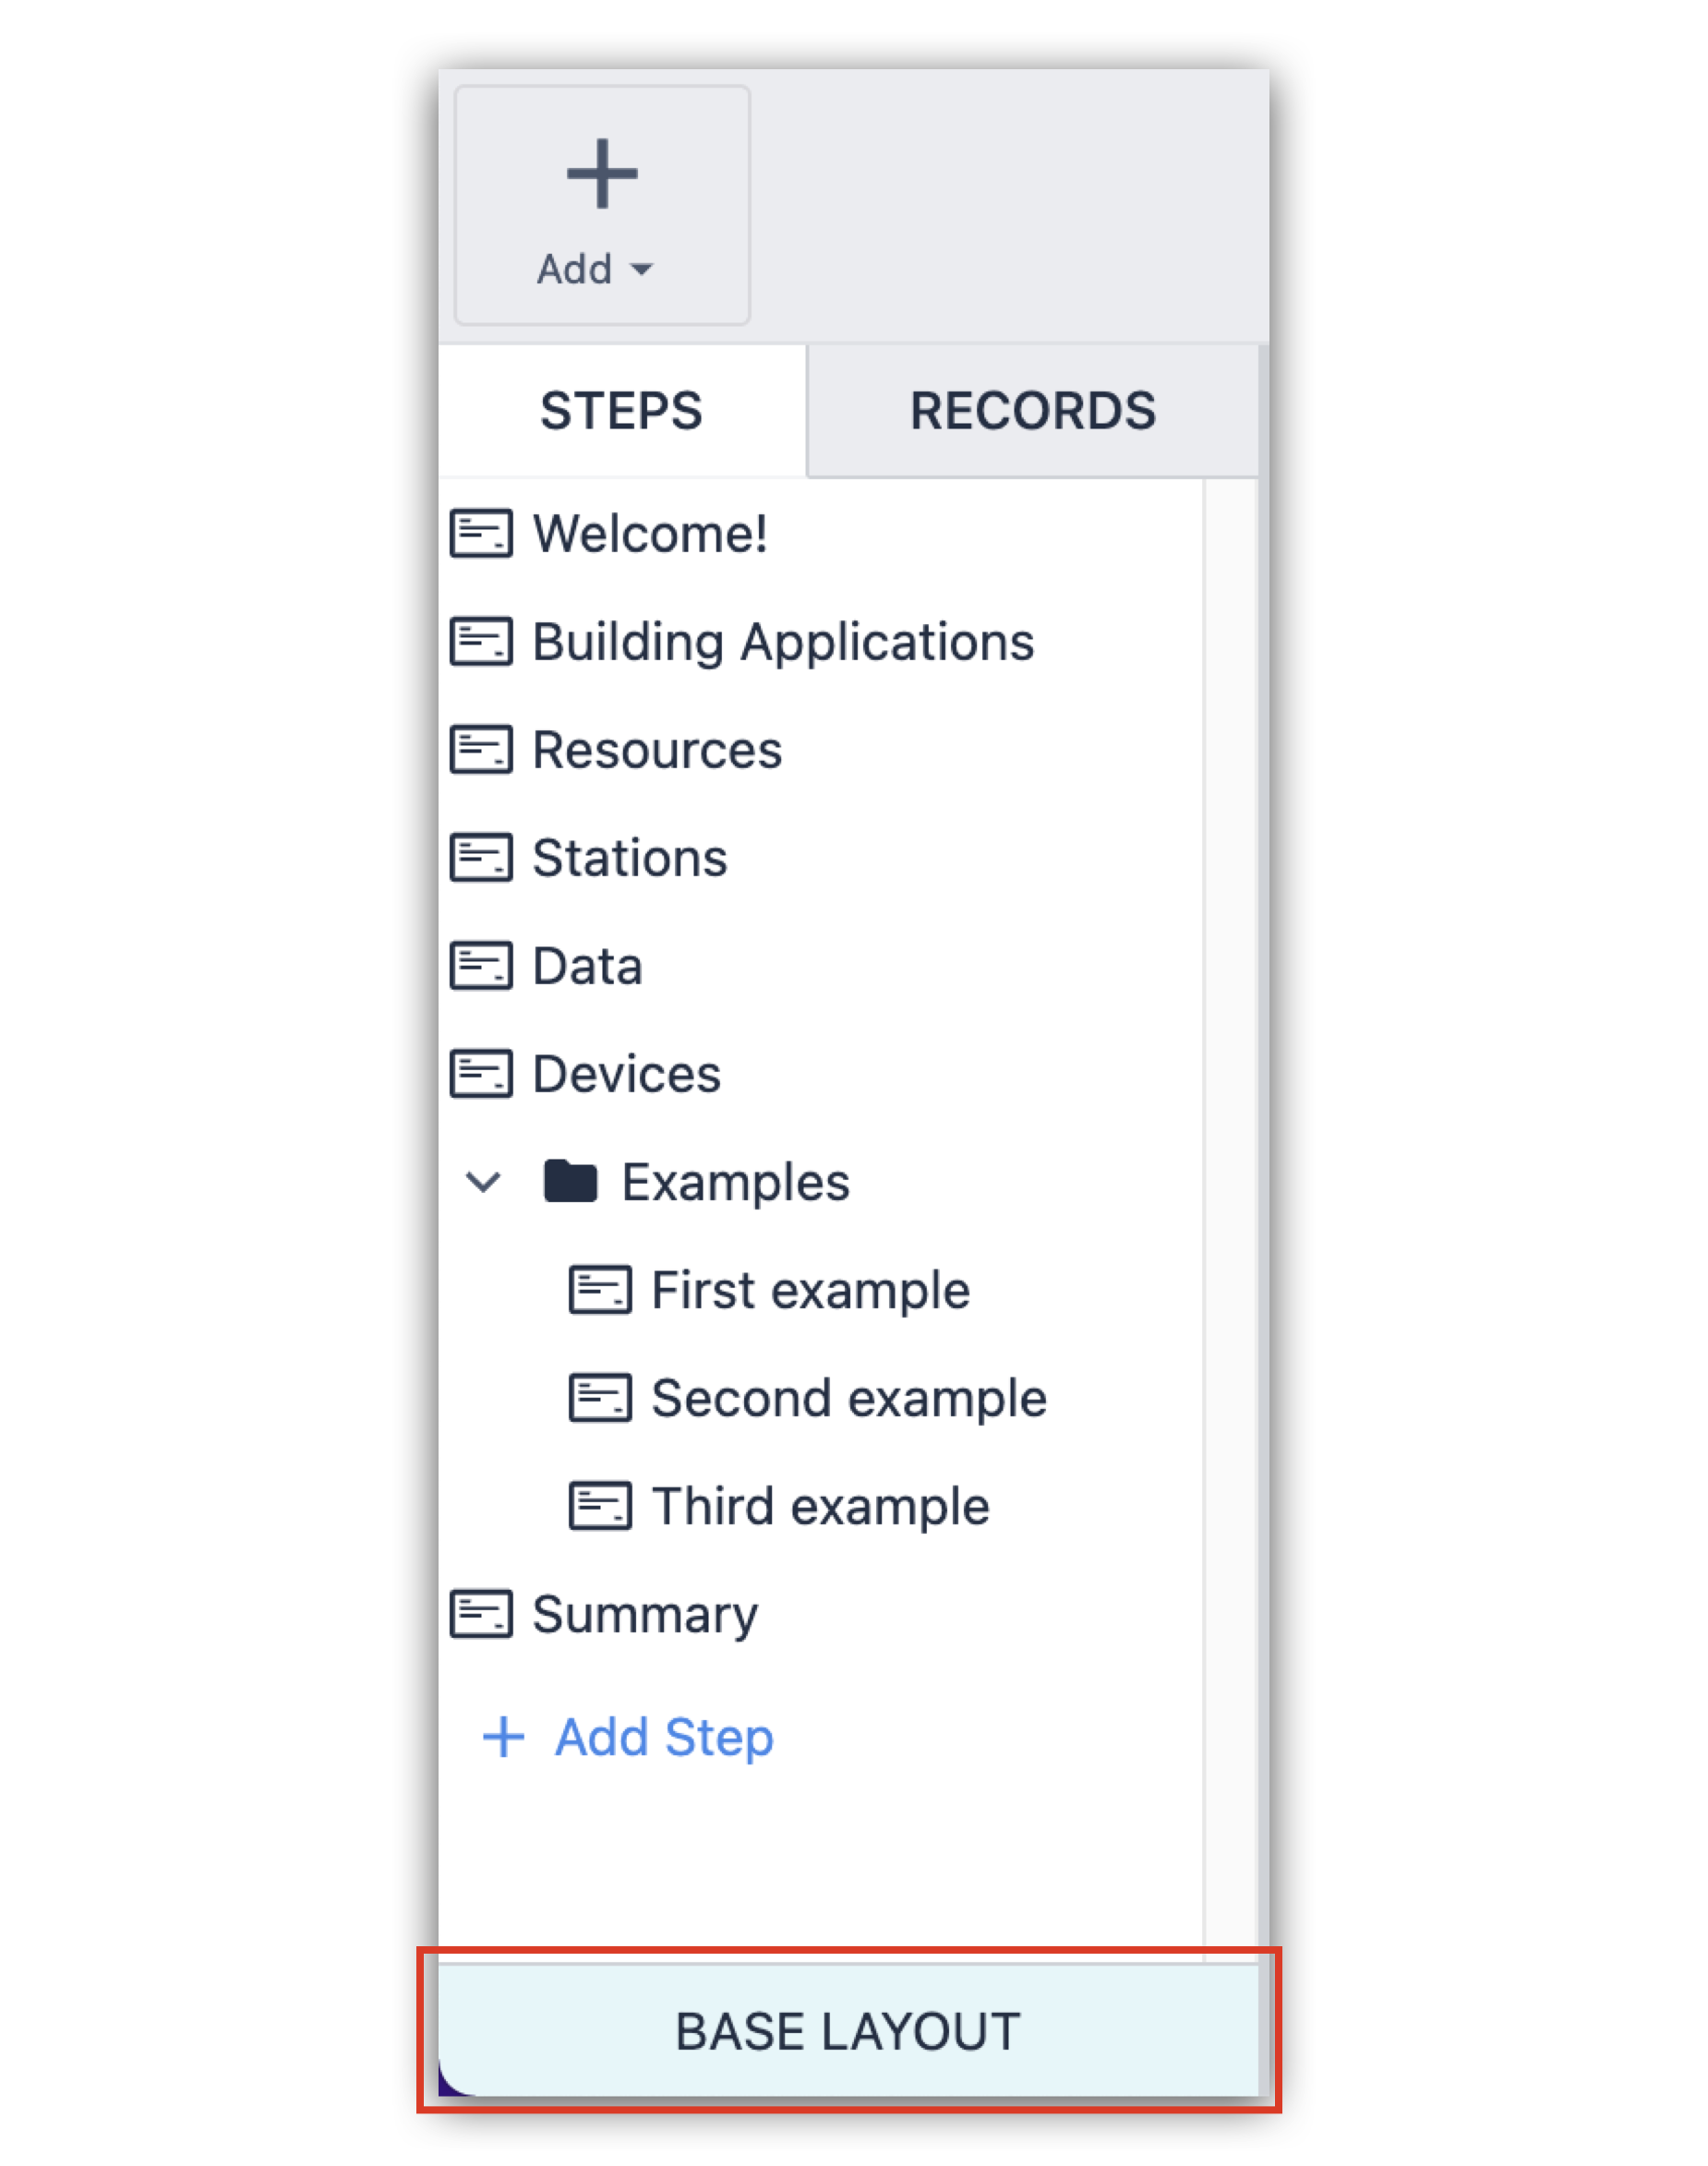
Base Layout
The Base Layout is the base template that all other steps will be built on top of. Establishing common navigation buttons, and a consistent app background and style across all of your app steps can expedite the training and app-building processes.
Additionally, Base layout can have their own Step Level Triggers, enabling you to add logic that will run throughout your application.
Steps are the building blocks of applications. This document covers the basics of creating, editing, and managing of app steps.
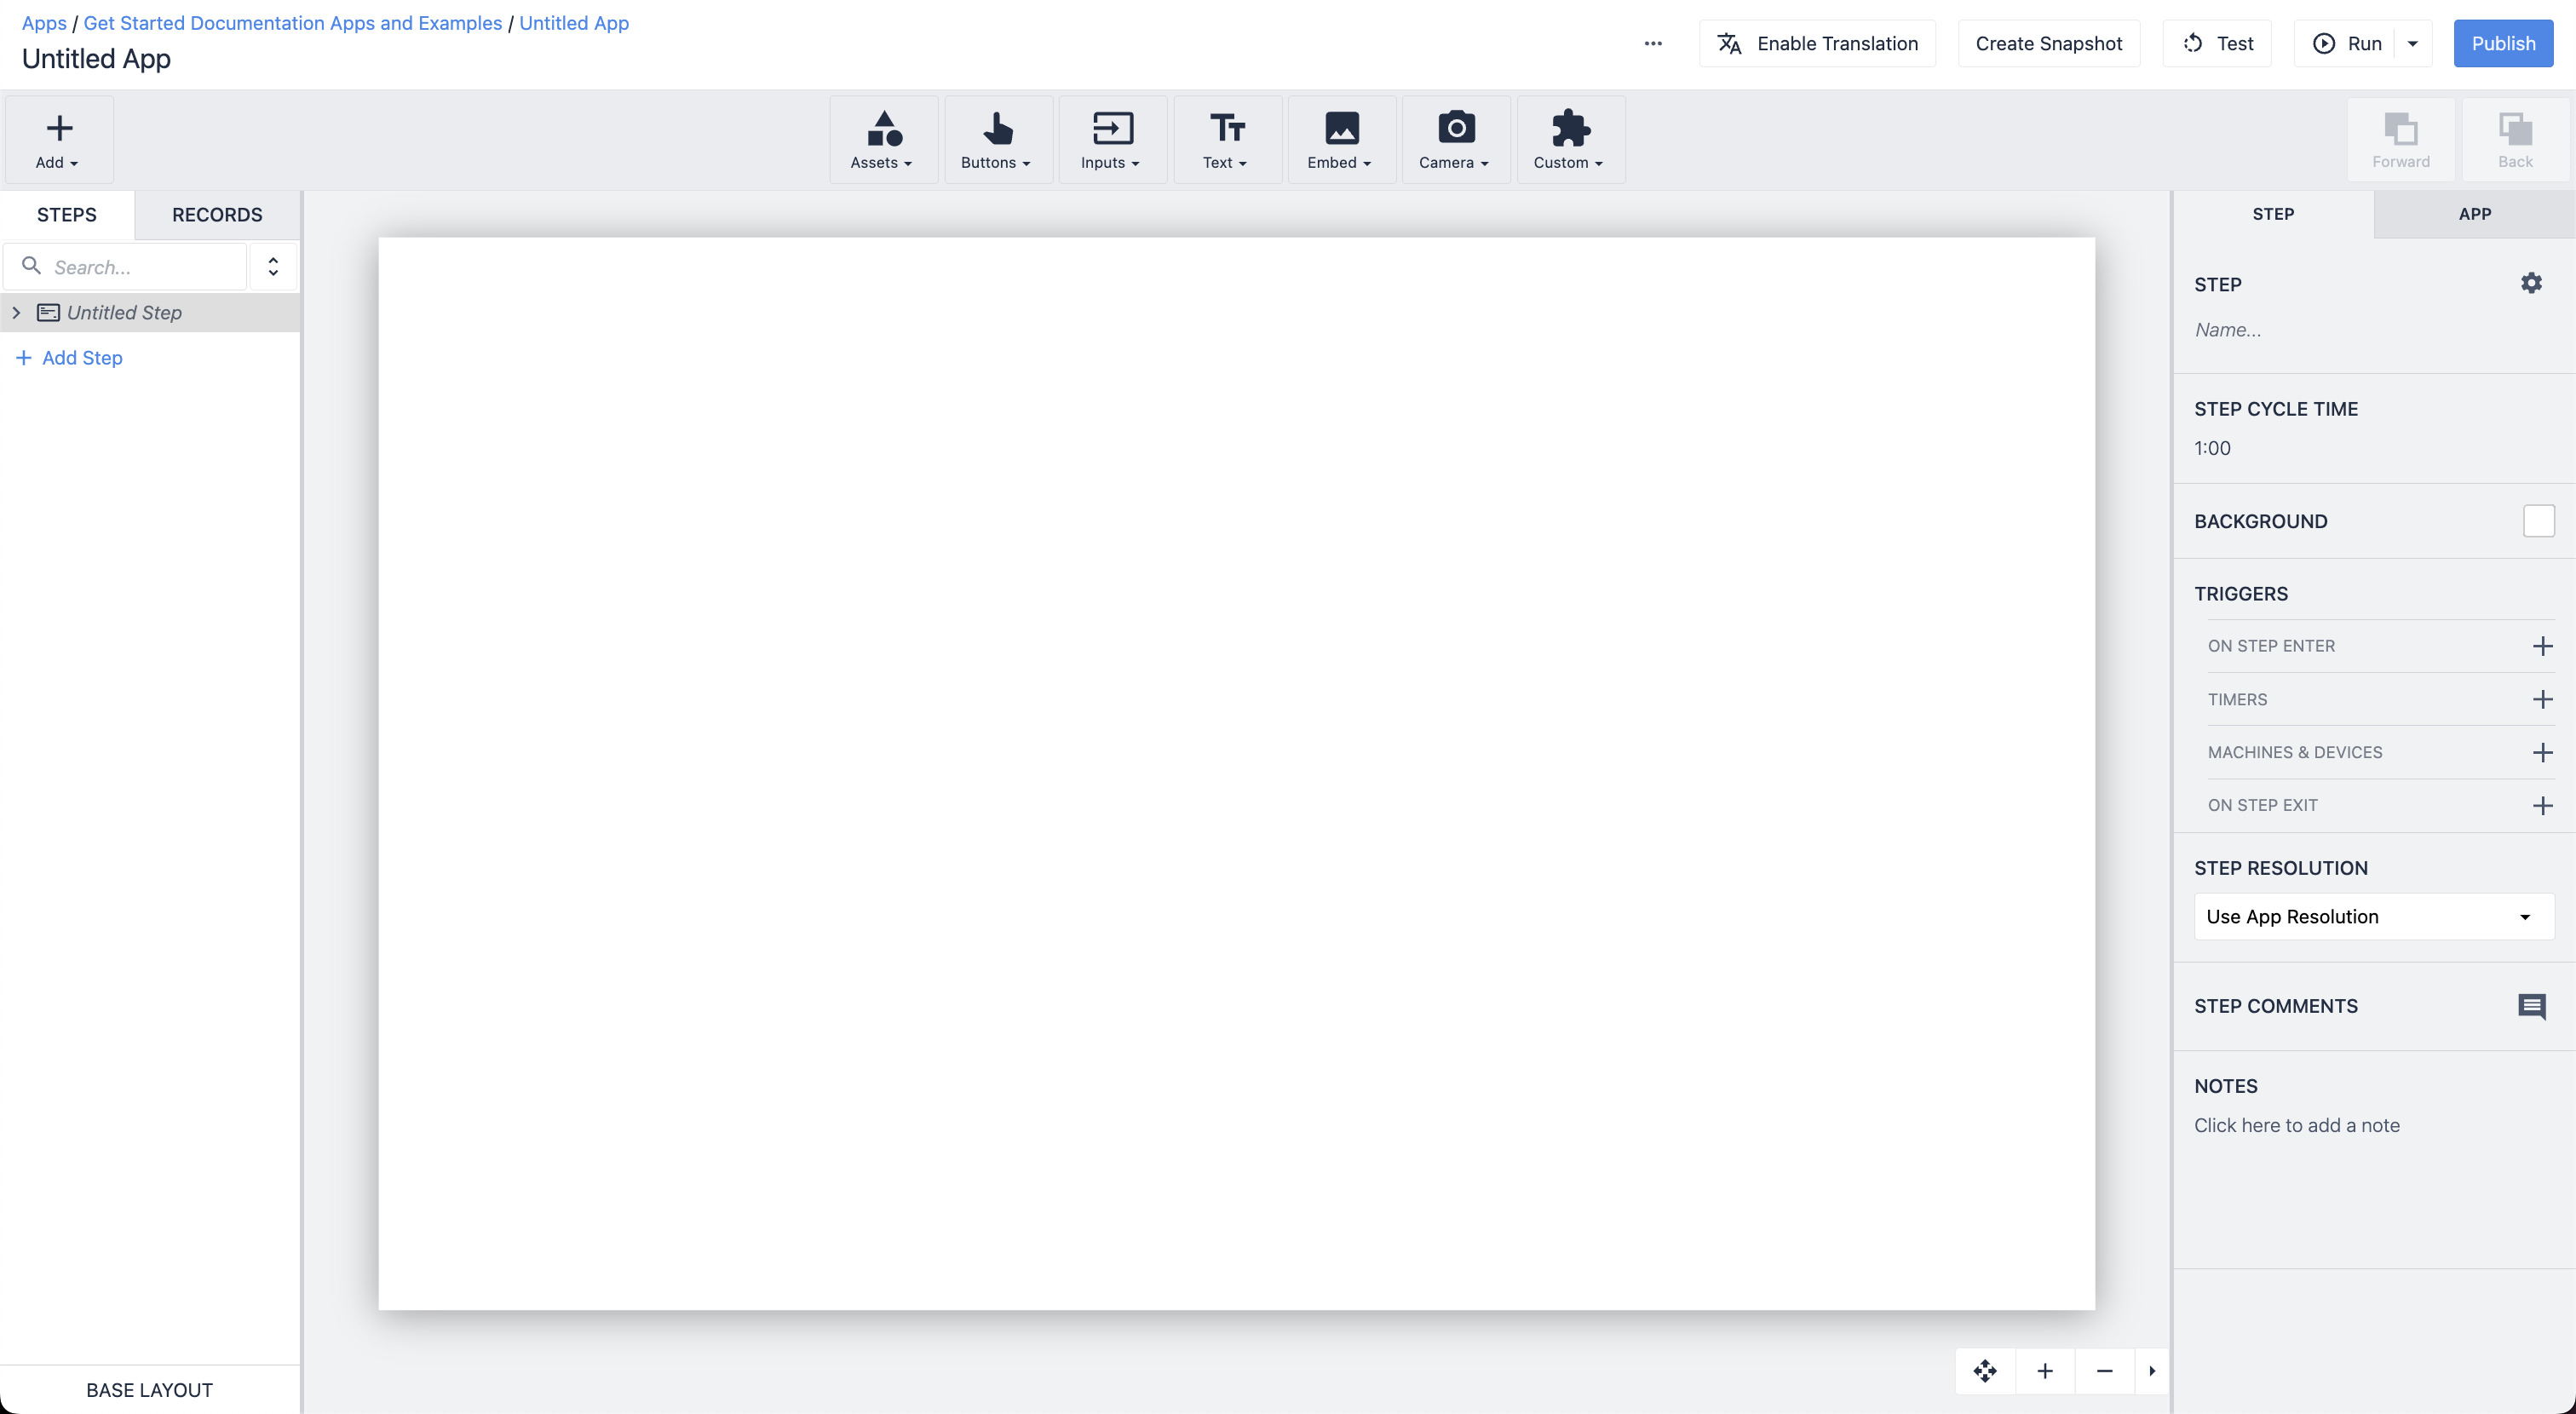
Create a Step
- From within the app overview for your application, click Edit to open the App Editor.

- In the Steps panel on the left, click + Add Step.
- Name the new step to identify the step's purpose (ex: Create work order, Attach rotor, Room A3 cleaning checklist).
Duplicate a Step
From the App Editor
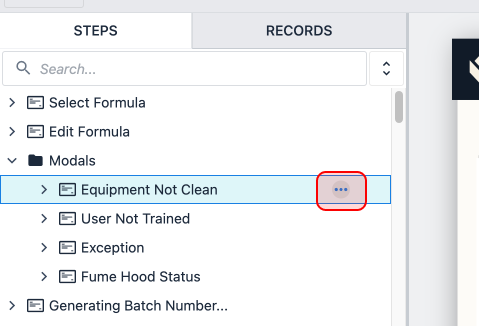
- Select the step you would like to duplicate.
Select multiple steps by holding down CTRL/CMD.
-
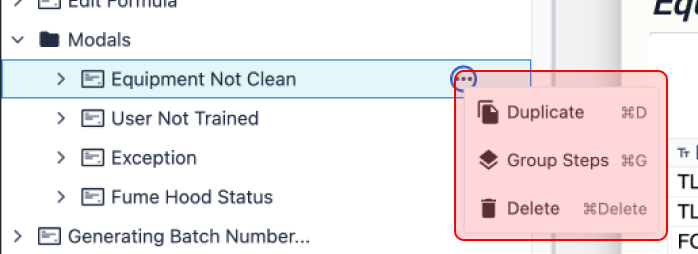
Select the three dot menu next to the step name, or right click the step to open the menu.
-
Click Duplicate.
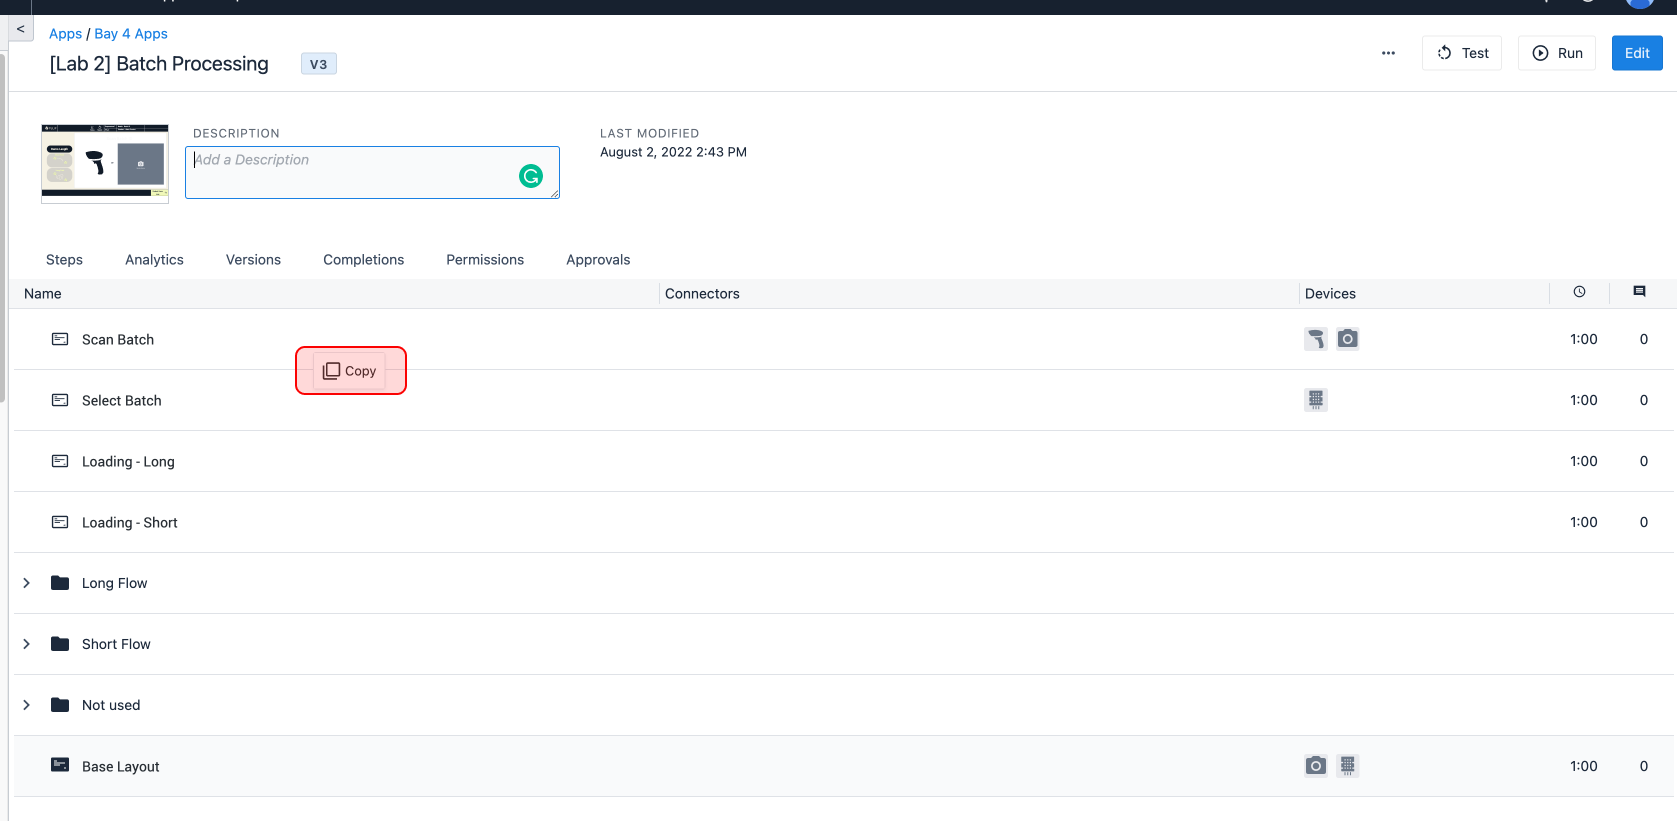
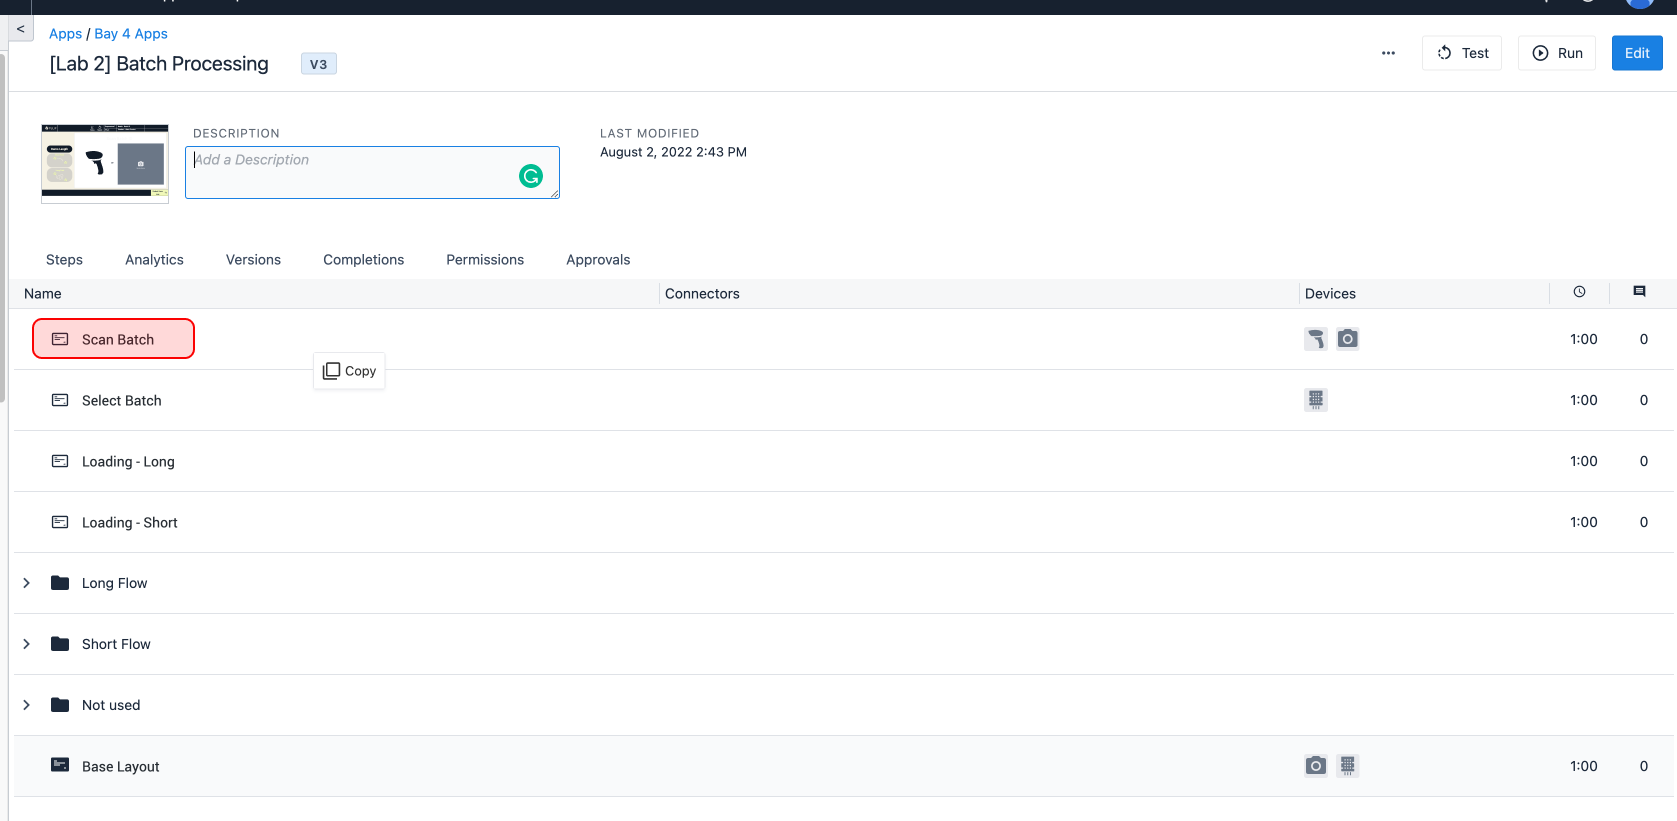
From the App Overview Page
-
Right click the Step name.

-
Click Copy.
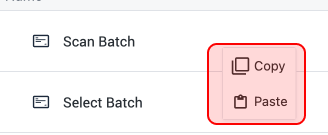
-
Right click the step name.
-
Click Paste.
Between Two Separate Apps
You need reconfigure the logic in the duplicated step to work in the new app.
- Right click the Step name and click Copy.
- Navigate to the app you want to paste the step in.
- Right click the Step name that you want to come before the duplicated step.
- Click Paste.
Delete a Step
-
Select the step you would like to delete.
-
Select the three dot menu next to the step name, or right click the step to open the menu.
-
Click Delete.
The last step cannot be deleted, you must first reorder the steps.
Reorder Steps
Any step can be dragged and dropped anywhere within the step menu from within the app editor. Steps can be dragged in and out of step groups to further organize your applications.
By default, the Next button will move to the preceding step in the app step menu, so reordering steps may impact existing app functionality.
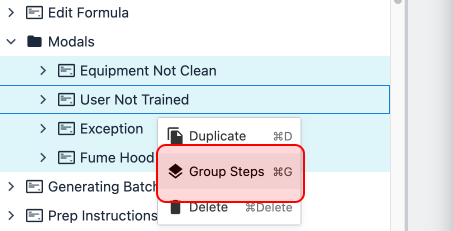
Group Steps
Step Groups help organize the content of your applications.
-
Select the steps you would like to group by holding CTRL/CMD and selecting each step.
-
Right click, and select "Group Steps"
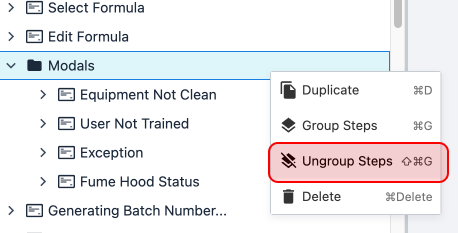
De-group steps
-
Select the Step Group.
-
Right click, select "de-group steps".