

Here's how to assemble your Light Stack.
Tulip discontinued sales of the Andon Light Stack kit in June 2022.
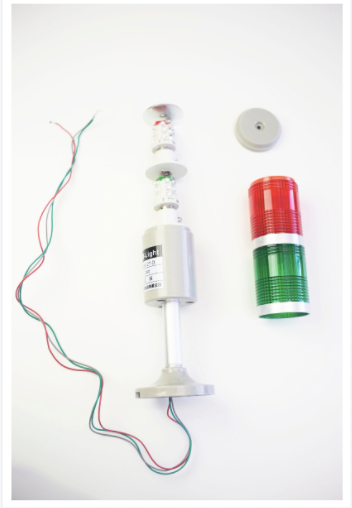
The last device that needs to be setup is the Andon Light Stack. In order to setup this device, we will need the parts referenced in the image below.
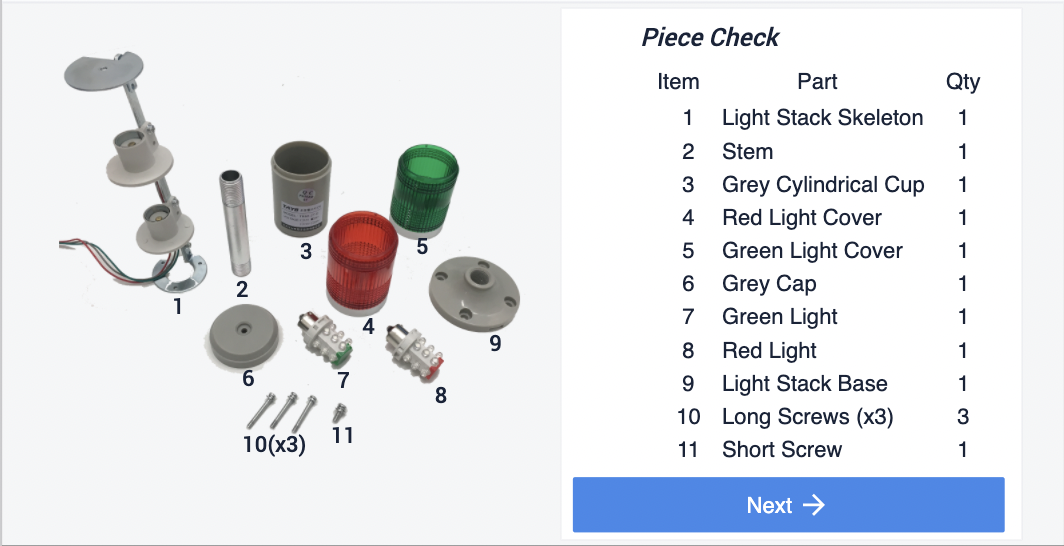
Please make sure you have all the parts required before proceeding to setup the Andon Light Stack. You will also need a Phillips Screwdriver to assemble the Light Stack.
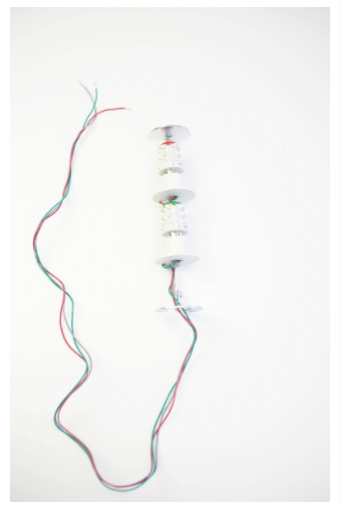
Bulb Connection
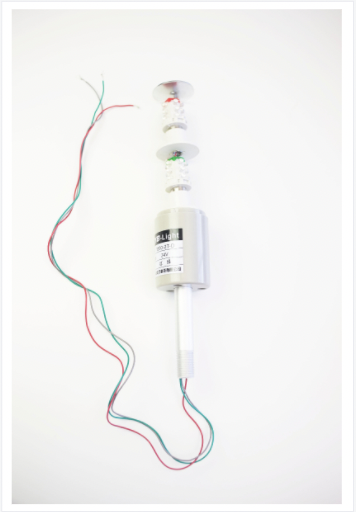
Connect the bulbs to each socket in the Andon Skeleton. Match the color of the wire leaving the socket to that of the bulb.
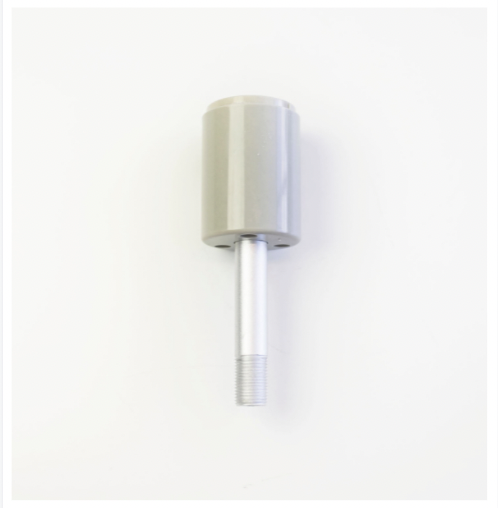
Light Stack Base
Place the shorter threading such that it connects to the grey cylinder. Screw the two pieces as shown below:
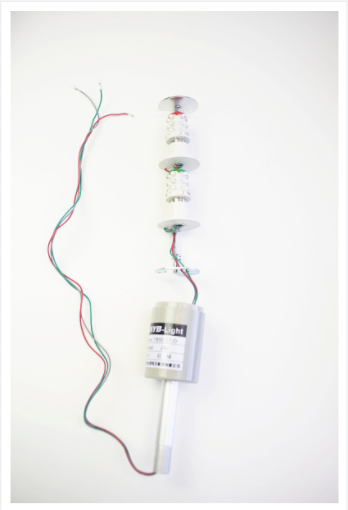
Wiring
Pass the wire threw the stem as shown in the image below:
Secure Base
Attach the base of the light stack to that of the grey cylindrical cap using the long screws as shown in the image below:
Light Stack Base
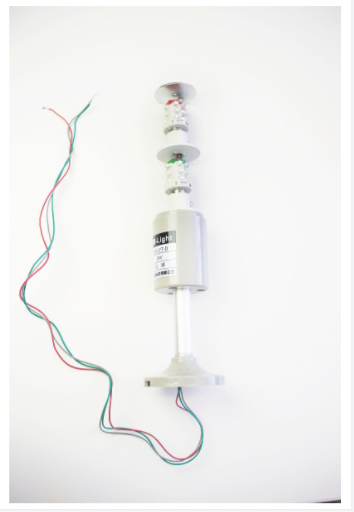
Screw the base of the Light Stack to the free end of the stem (longer thread) as shown in the image below:
Light Case
Arrange and connect the red and green translucent, hollow, cylindrical tubes to the grey cap as shown in the image below:
Secure Cap
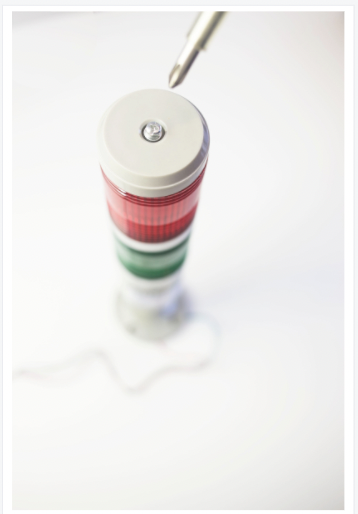
Secure the cap on top of the light stack using the screw as shown in the image below:
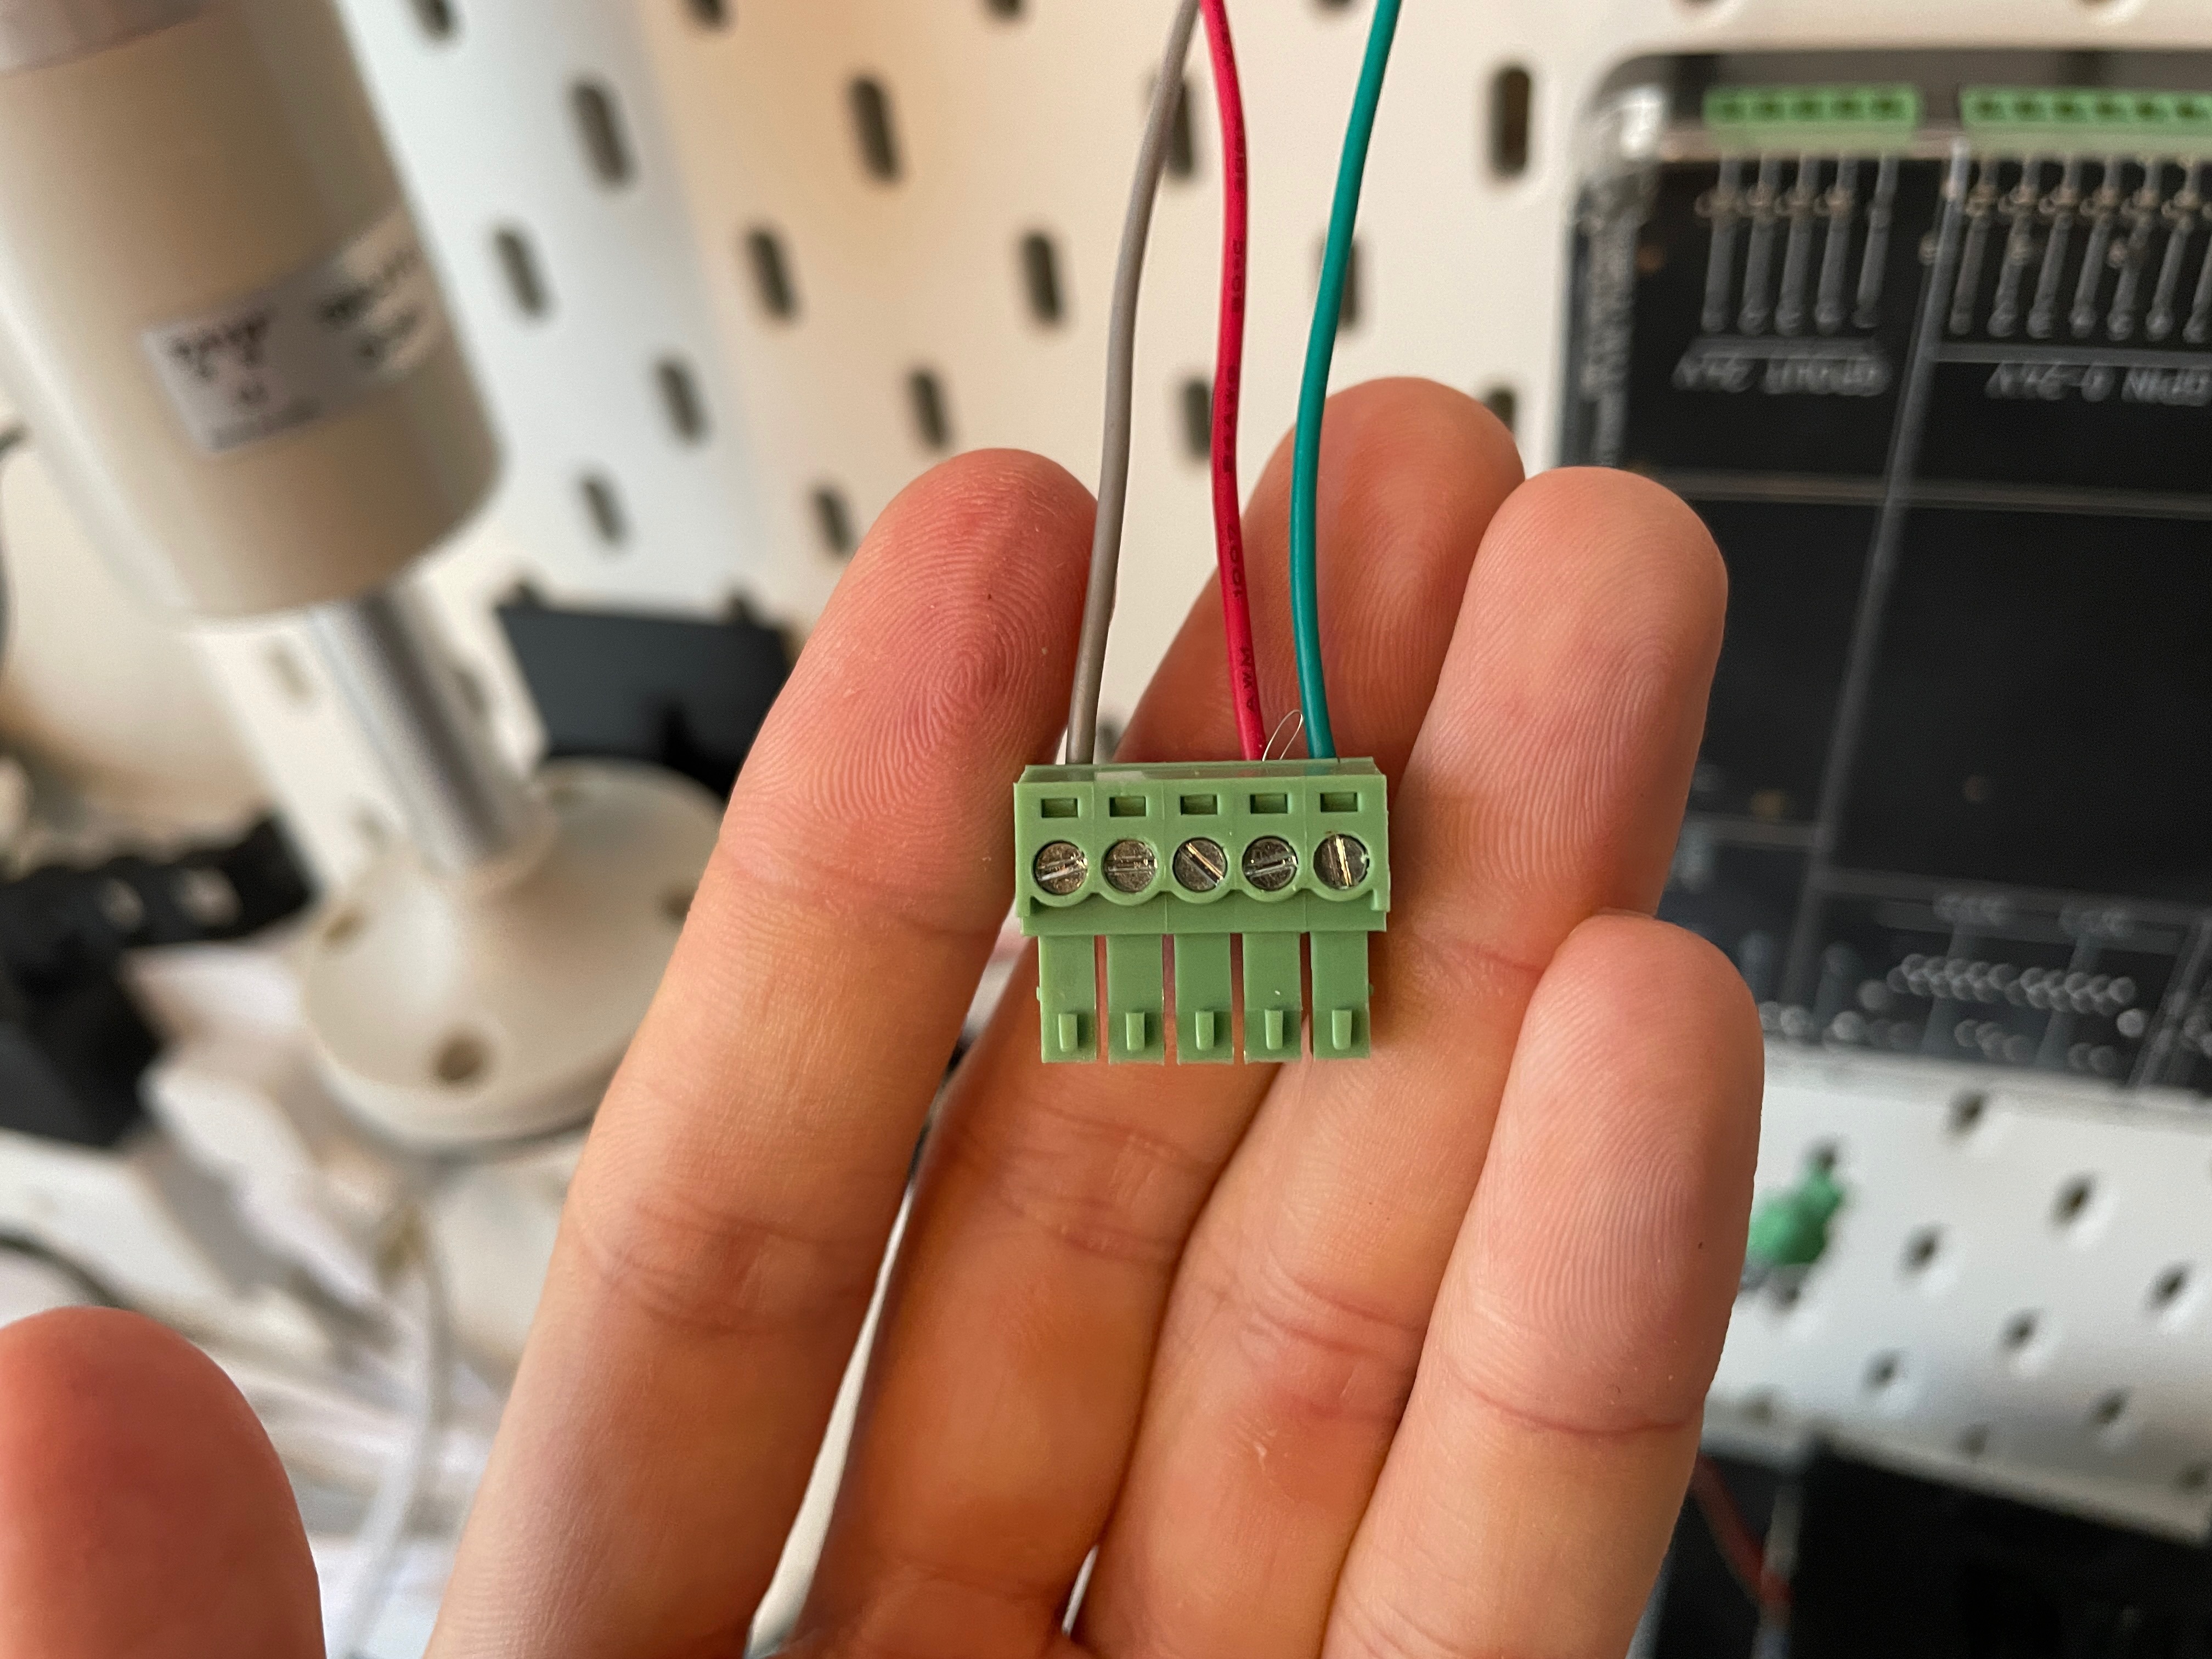
Wire to Connector
Select the 5 pin GPOUT connector from your EIO packaging. Connect the wires to the GPOUT connector: The Grey wire goes to return (-). Green goes to Pin 1. Red goes to Pin 2.
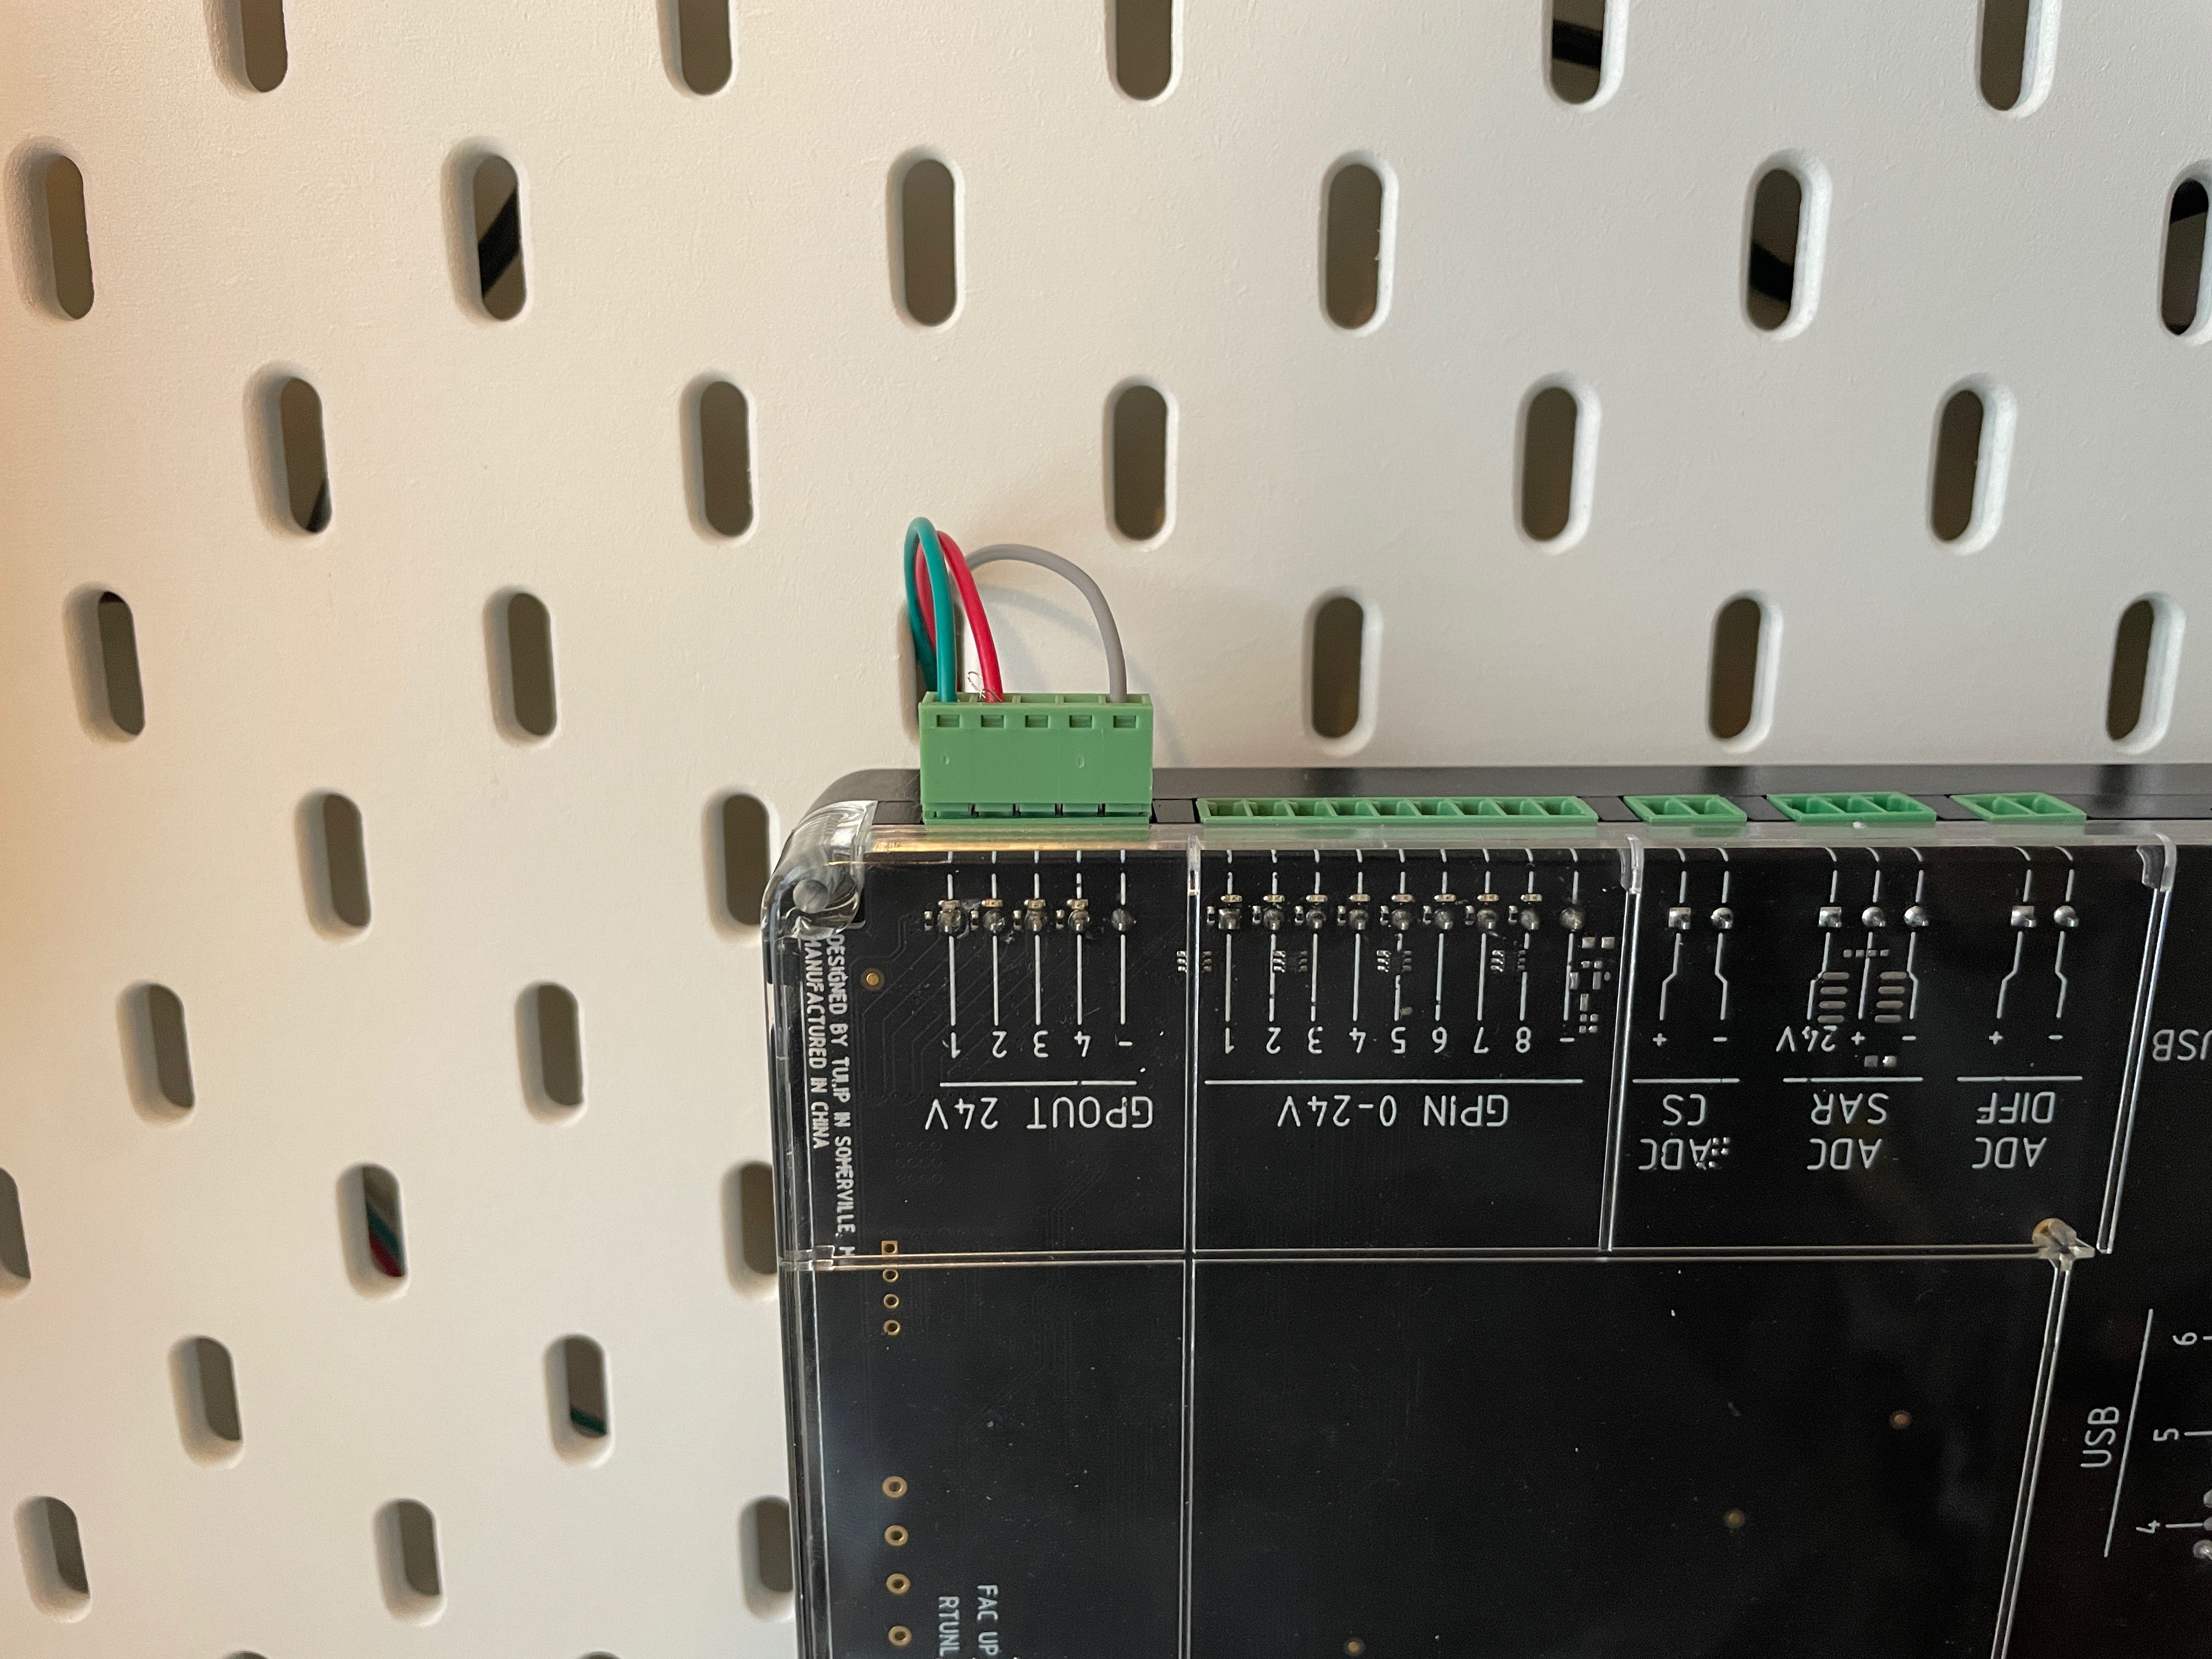
Connect to Edge IO
Attach the GPOUT connector to the Edge IO with the wires attached as shown in the image below:
Confirm that the Andon Light Stack is working by:
- Selecting Light Kit Unit Test on the Factory Kit Navigator Page.
- Follow the instructions on the Light Kit Unit Test application and see whether the red and green lights come on.
Following Tulip's discontinued sale of the Andon Light Stack kit in June 2022, the Tulip library deprecated the Andon Light Stack Unit Test.
You can find additional Andon content to get started below:
Congratulations! You’ve completed the Factory Kit Quick Start Guide. That means
- You’ve completely assembled your Factory Kit
- You are familiar with how to configure and use your Tulip edge devices with some basic edge devices
- You know how to use Unit Tests to confirm that your devices are working as expected within Tulip.
Check out the Tulip + Edge Devices section of the knowledge base to learn how to set up third party devices and learn how to build apps that include devices.
Remember, if at any point you need help you can send us a note using our "live chat" or browse our knowledge base at support.tulip.co.