The Inventory app suite lets you to manage end to end inventory flow in your operations. By being able to manage your inventory flow you’ll be able to streamline your ordering process to optimize material flow.
Prerequisites
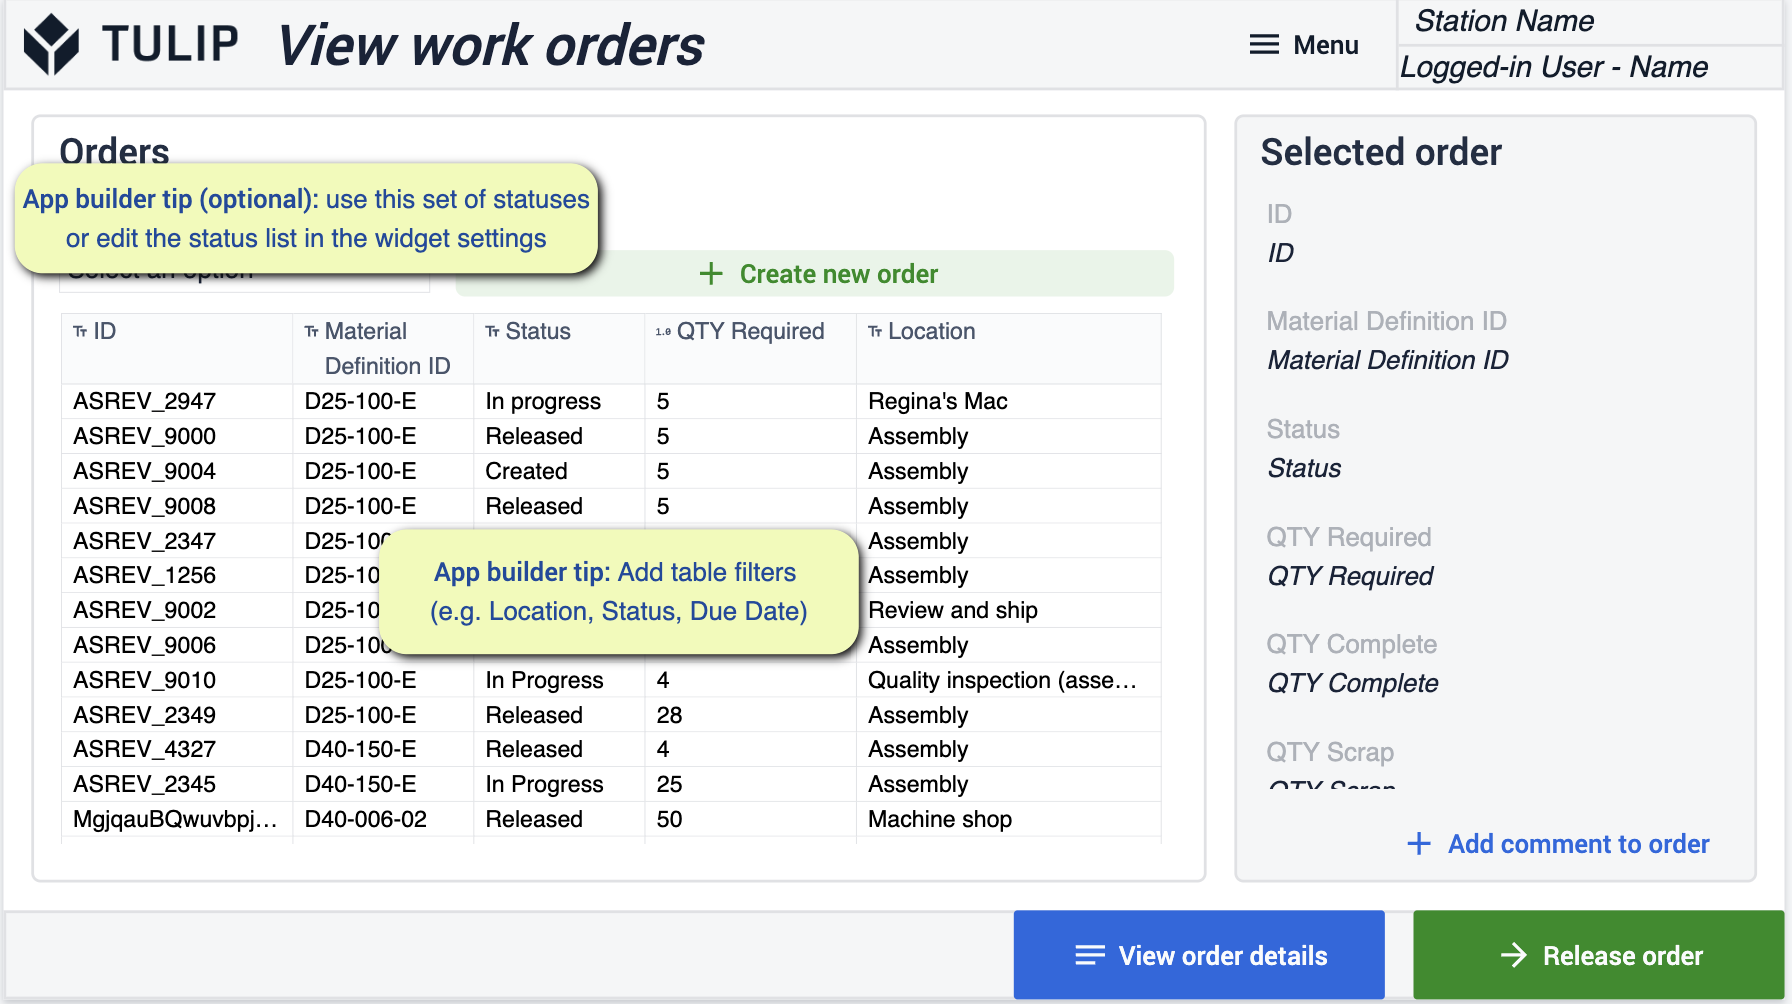
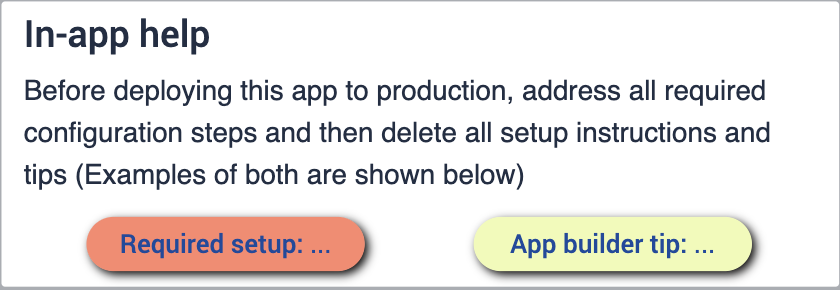
In this app suite there will be a variety of App Builder Tips to follow.
Before you can configure the app suite, ensure you're familiar with the following skills:
- Basic app building
- Tulip tables (including editing fields, using filters, and record placeholders)
Deployment
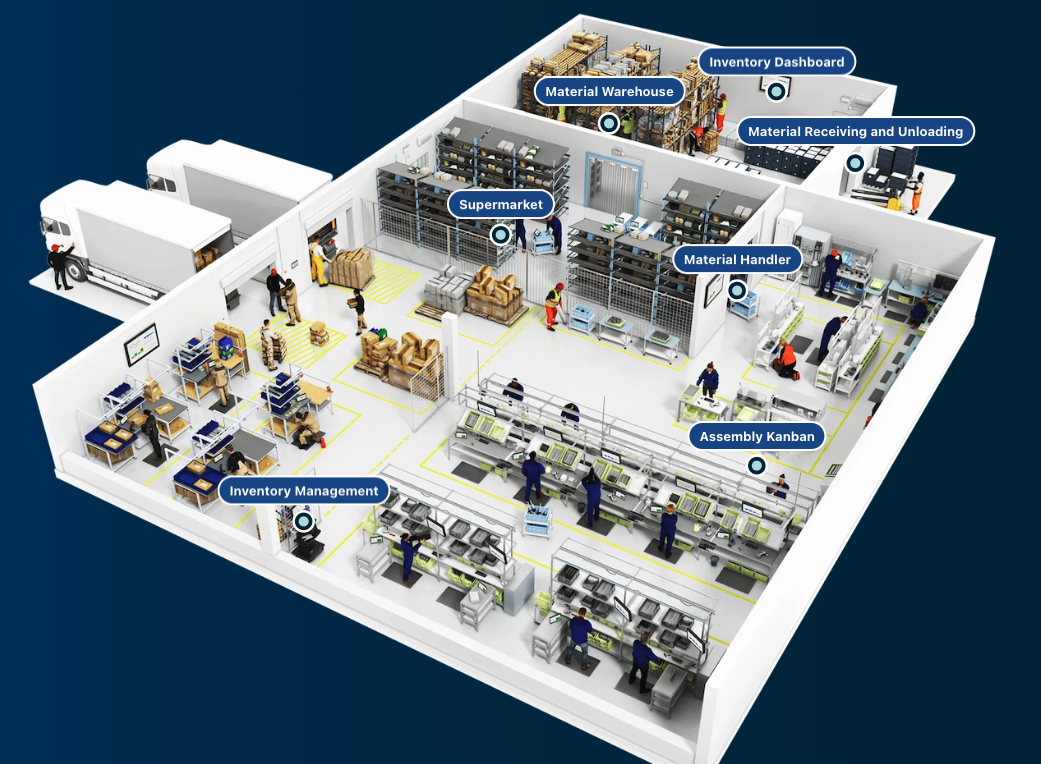
You will want to make sure that you have a proper understanding on how to deploy these applications to your desired devices and how to run them at a station. It's important to understand the flow of your business. Having a diagram of your shop floor will give you a better understanding of where you want your apps to live as you go through the process.
Connected Tables
The Tables that you will use throughout this app suite will be used and connected throughout your various applications. This allows you to have an easier user experience as well as a network of tables that can be used with development of future applications. Learn more about how the tables will minimize redundancy and maximize compatibility through using a common data model.
Get familiar with the common tulip tables used throughout the cMES.
Downloading
Click the link to the Inventory App Suite. This will take you to the library page where you can add the app to your instance.
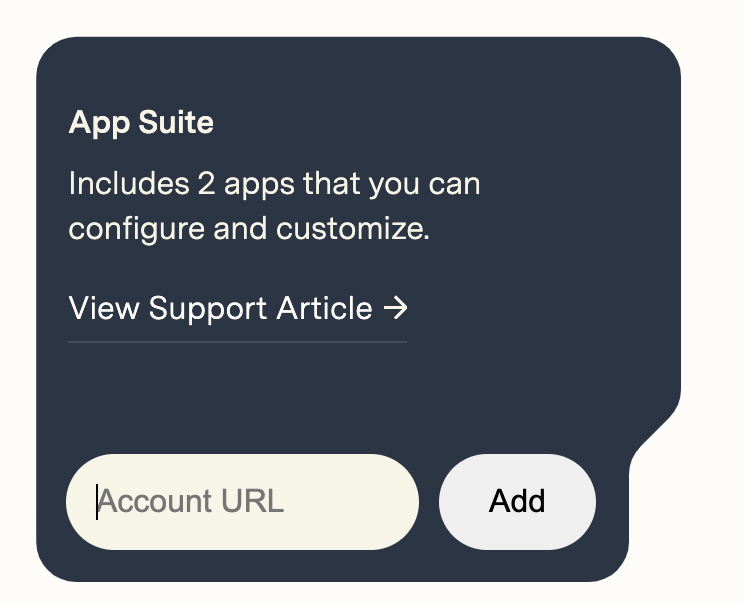
Once the App Suite has been added you will find a folder in your instance titled Inventory. This will allow you to see all the apps that are in the Suite.
Inventory Material Systems
This App Suite is focused on improving the flow of material and maximizing stock within your assembly process. Giving you clearer visibility into where your materials are going for Improved Inventory Accuracy.
Configure Apps
While configuring applications, any changes made to tables need to be made across all applications for connectivity.
Material Request
This app will allow you to streamline the creation of your material request form.
Request Material
On this step you will be able to request the material that you need by selecting them.
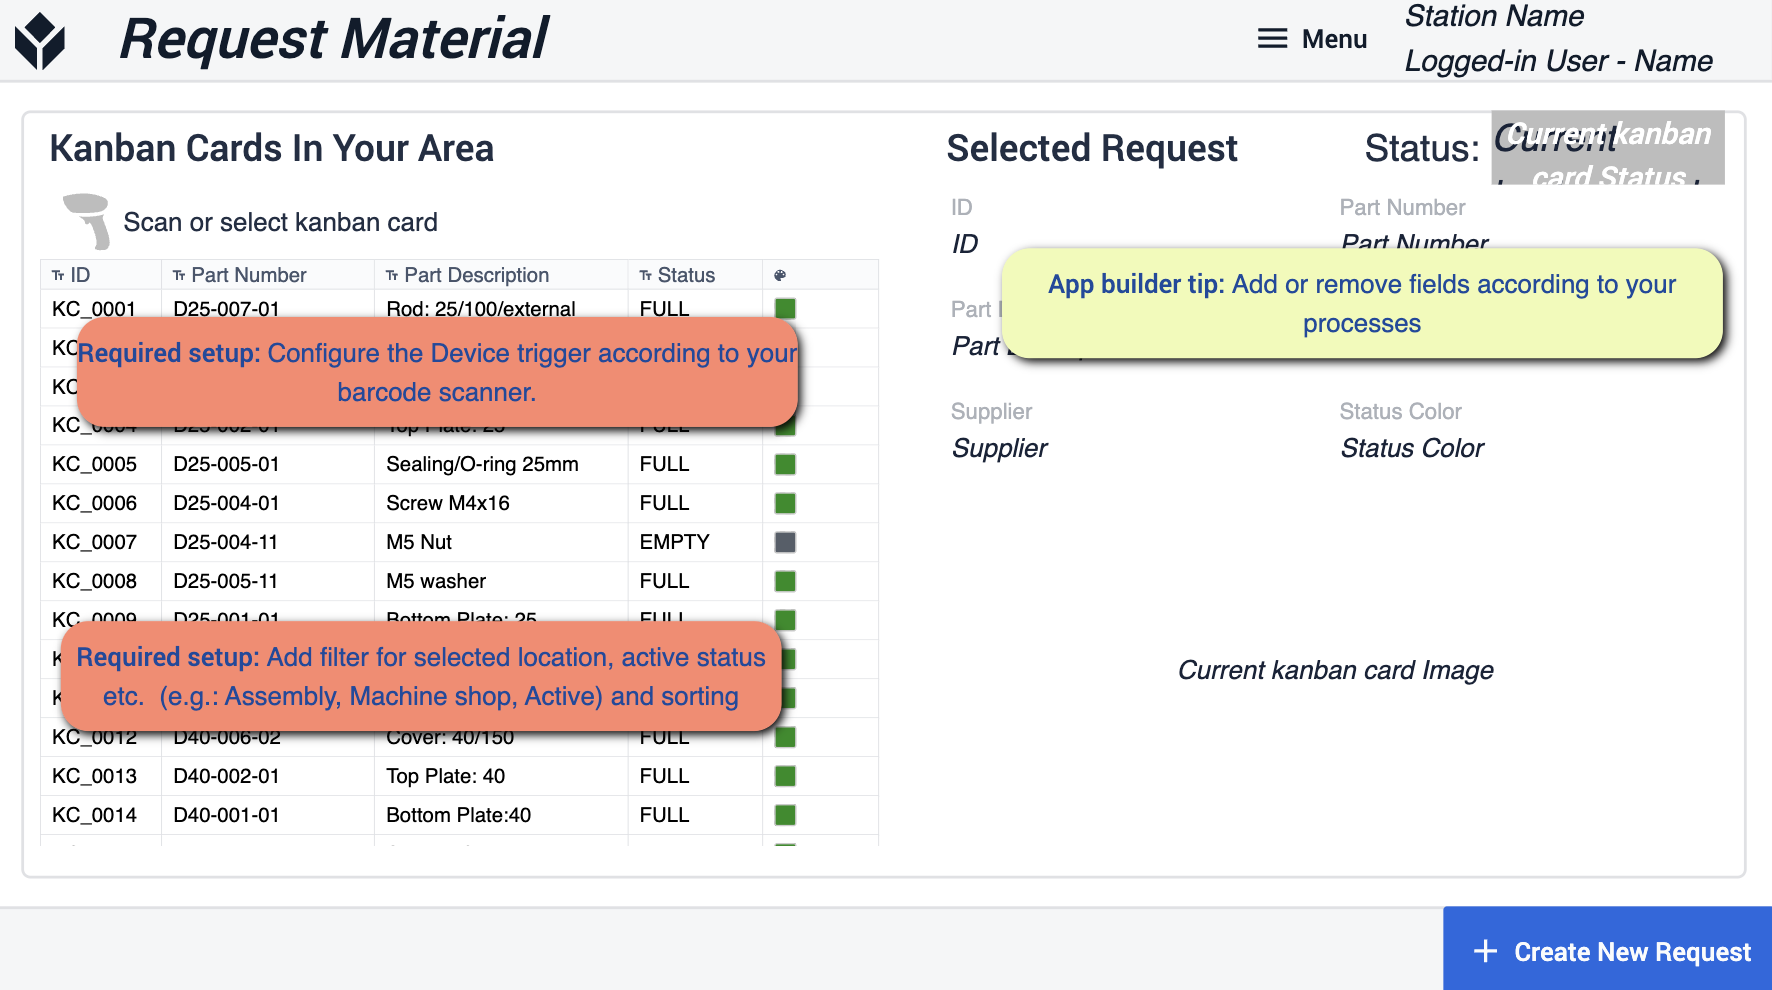
- App builder tips to follow focus around adding filters for a selected location and active statuses. You’ll need to configure the device you’re using to your barcode scanner. If need be you can remove certain fields to match your process.
Confirm
On this step you will get a view of your request before creating it

- Here you’ll want to make sure that you configure material request statuses and request ID. This will make sure the request goes where it actually needs to be.
Inventory Dashboard
This Dashboard is meant to give you full scope of your operations. What is happening at each location within your process and where your material are moving your facility
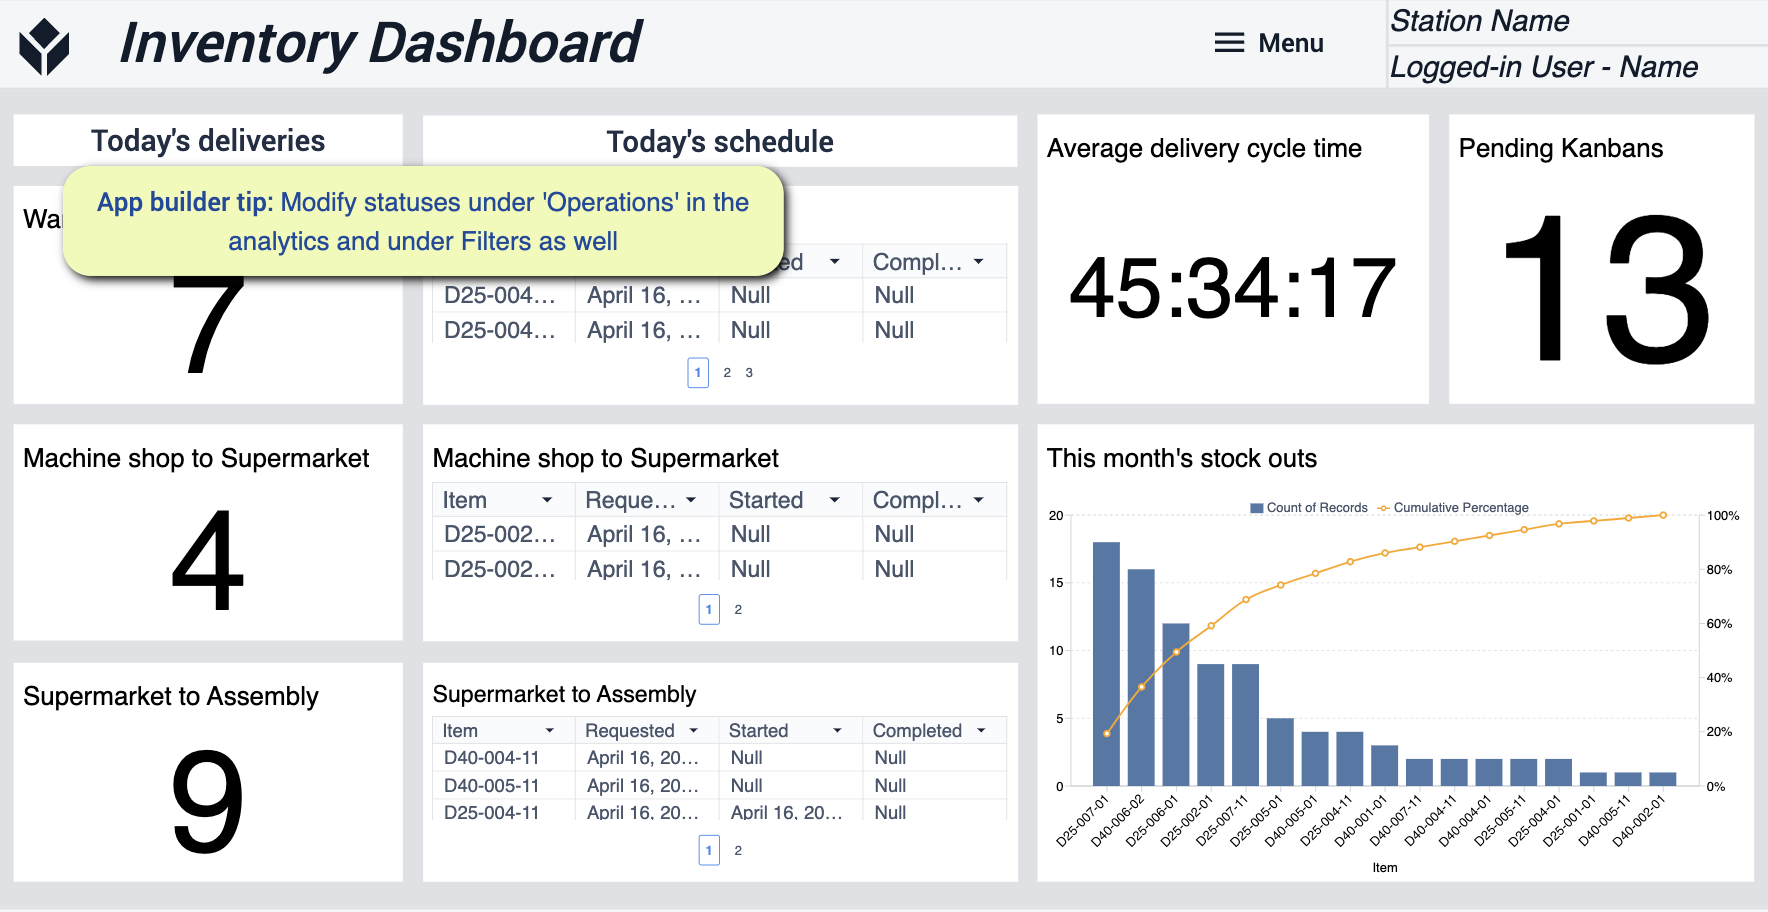
- For this app you’ll want to modify statuses under ‘Operations’ to make sure your analytics match your needs.
Material Loading and Receiving
The focus on this app is to help you with tracking and handling new materials that are received
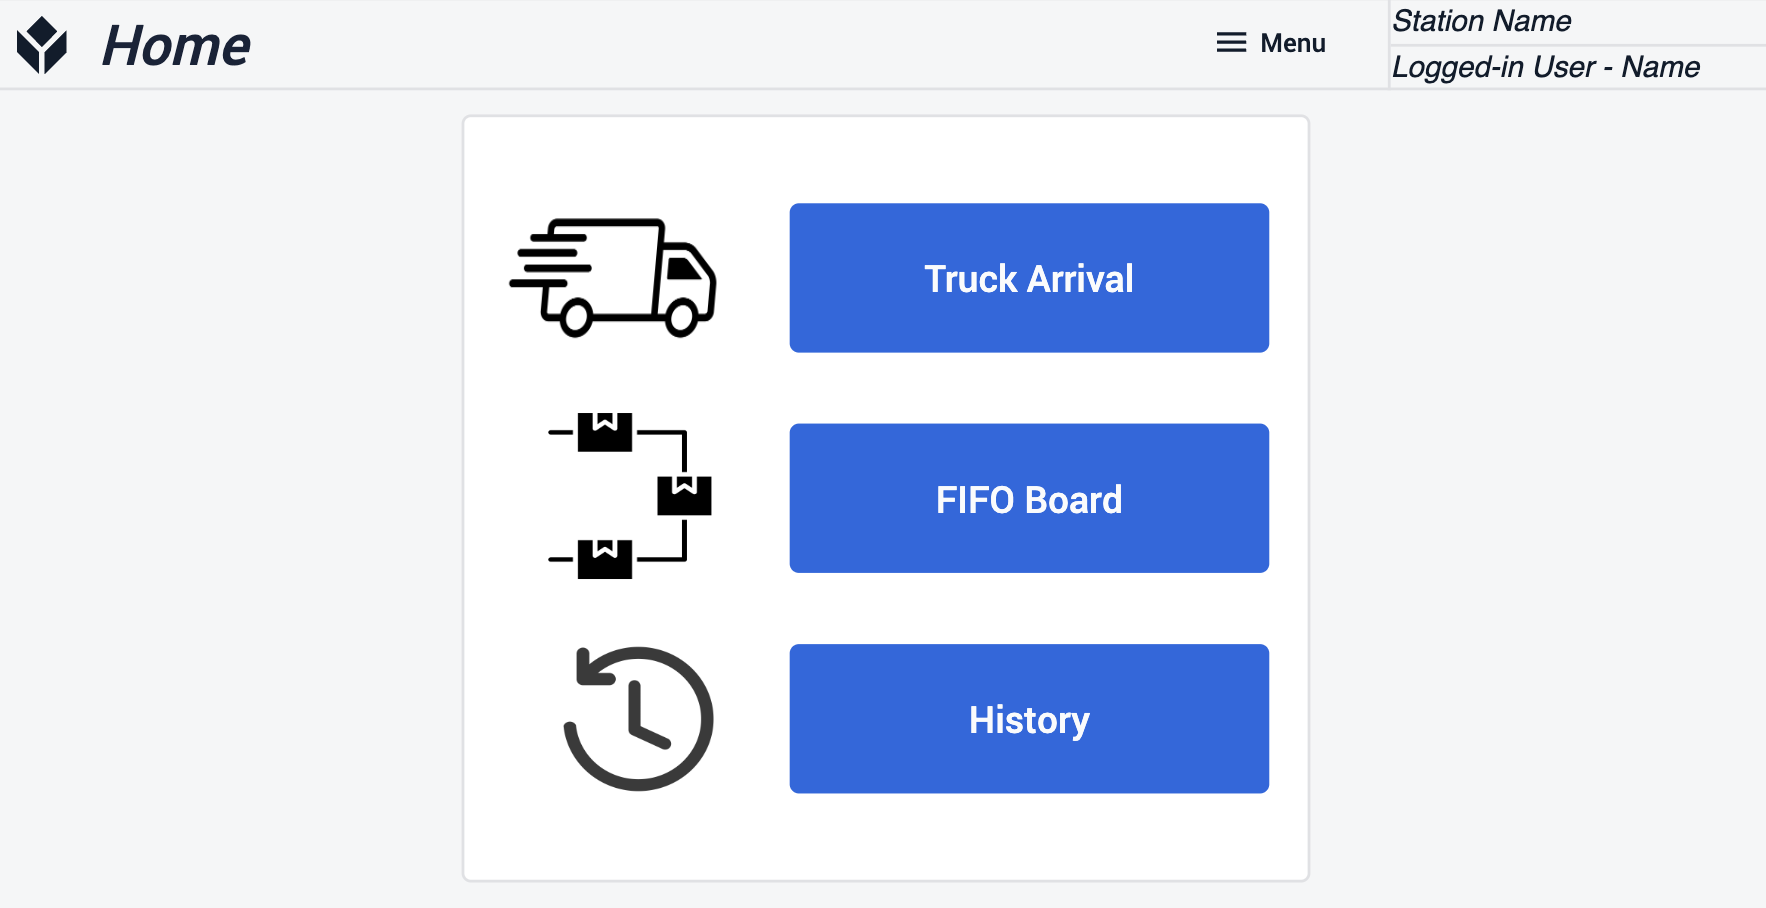
Home
This screen is meant to help with directing you to different functions of the app.
Truck Arrival
Keep track of the trucks that are delivering the material. Keeping a record of what you have actually received.
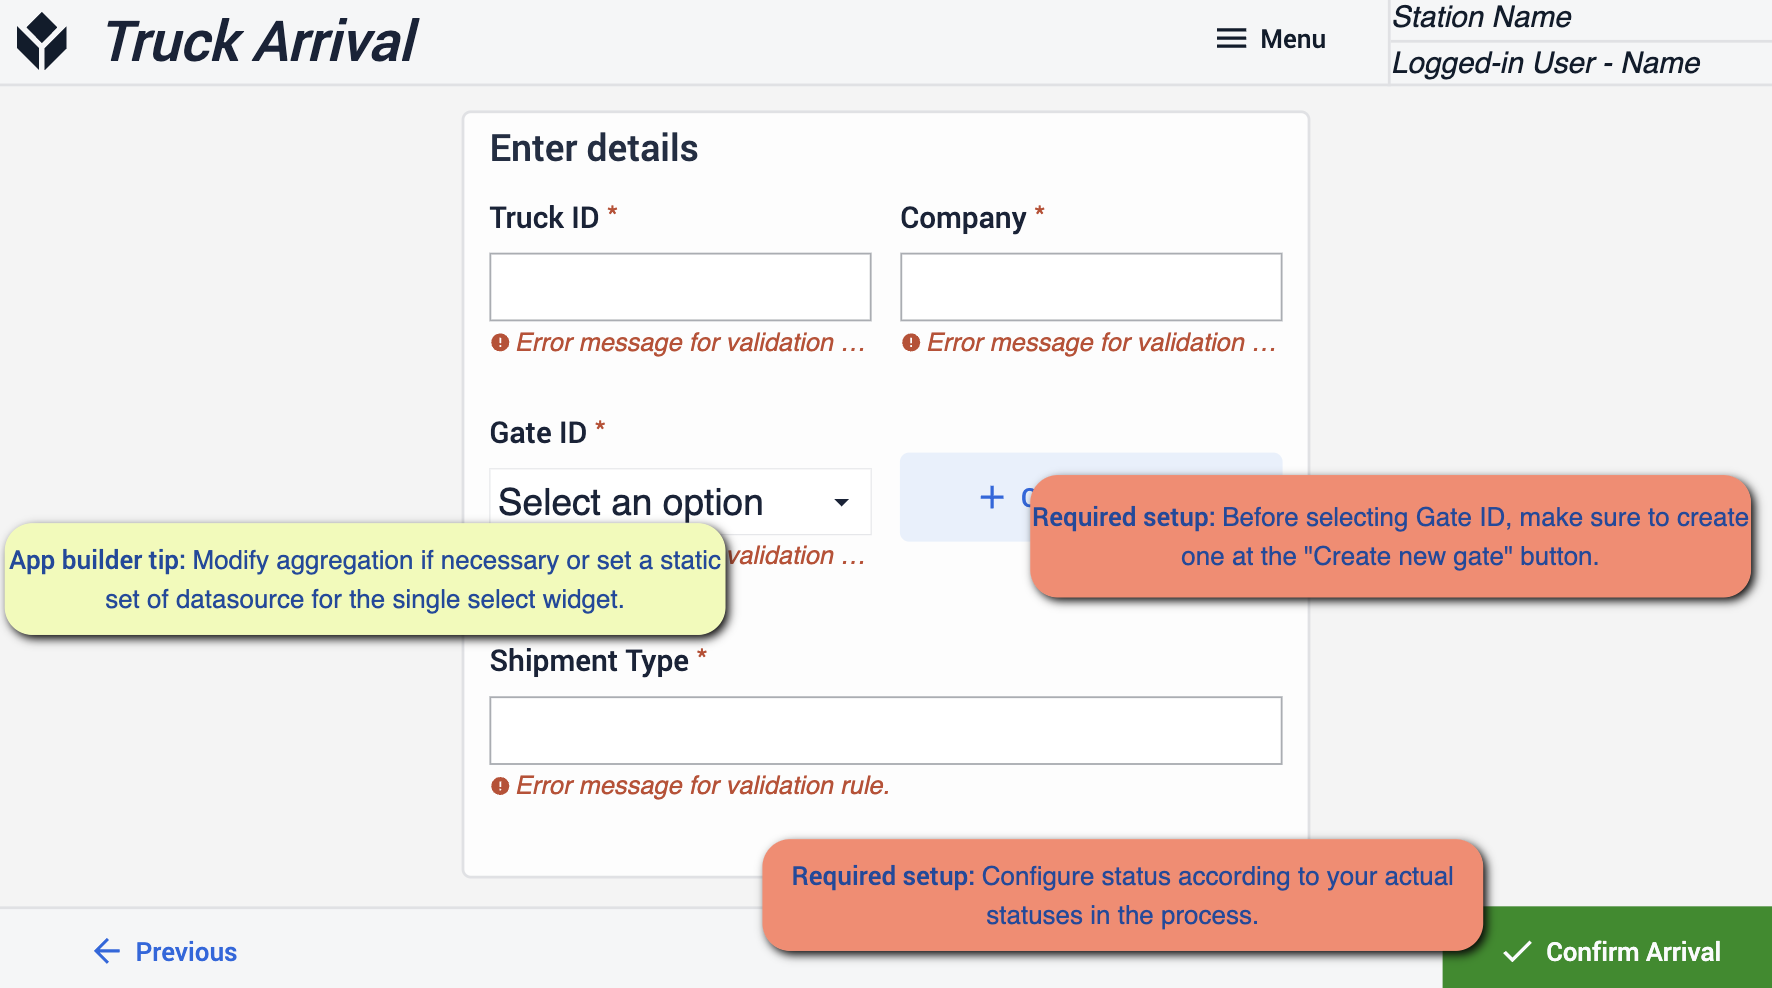
- When it comes to this step it will be important to use the “Create new gate” button before selecting a gate, this way you’ll have a gate to select. Make sure that your status matches the statuses that are involved in your process.
Upload Image
This step is to make sure that you capture the arrival of the materials. Keep visual evidence of the shipment as it comes in

- Make sure that your statues match your process
FIFO Board
On this step you will get a visual for all of your orders that have arrived.
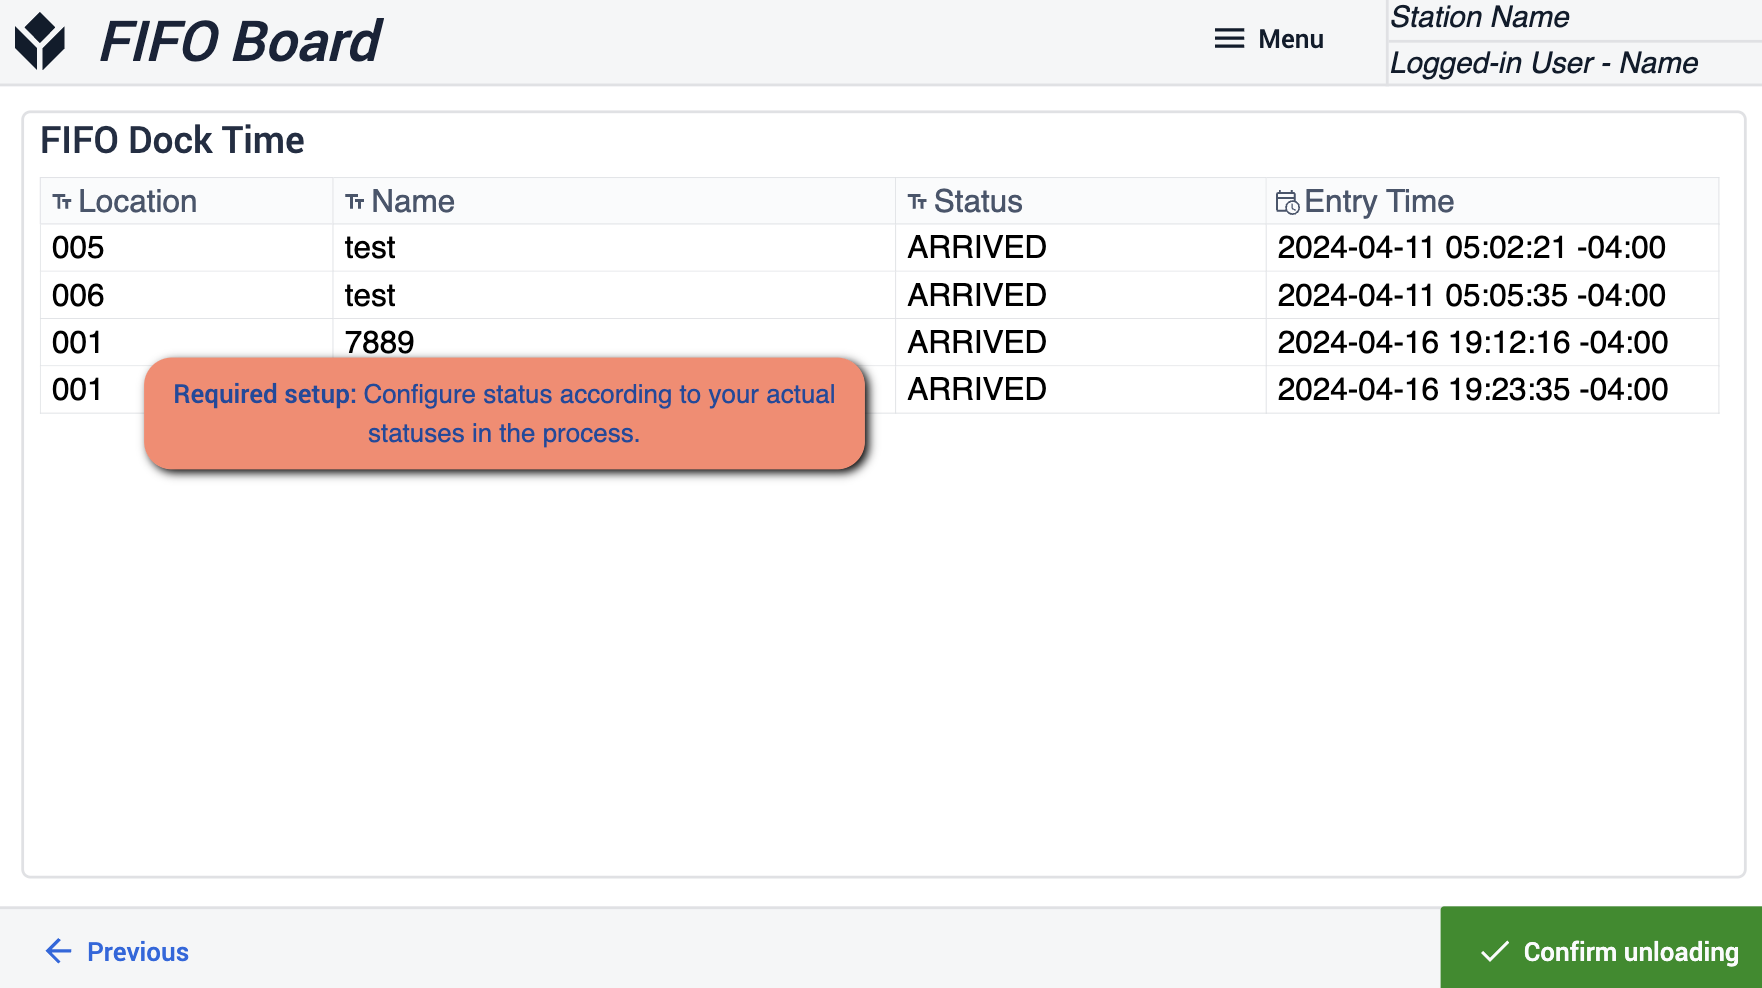
- Make sure that your statues match your process
Unload Confirmation
Here you make sure to capture the fact that you unloaded the material.
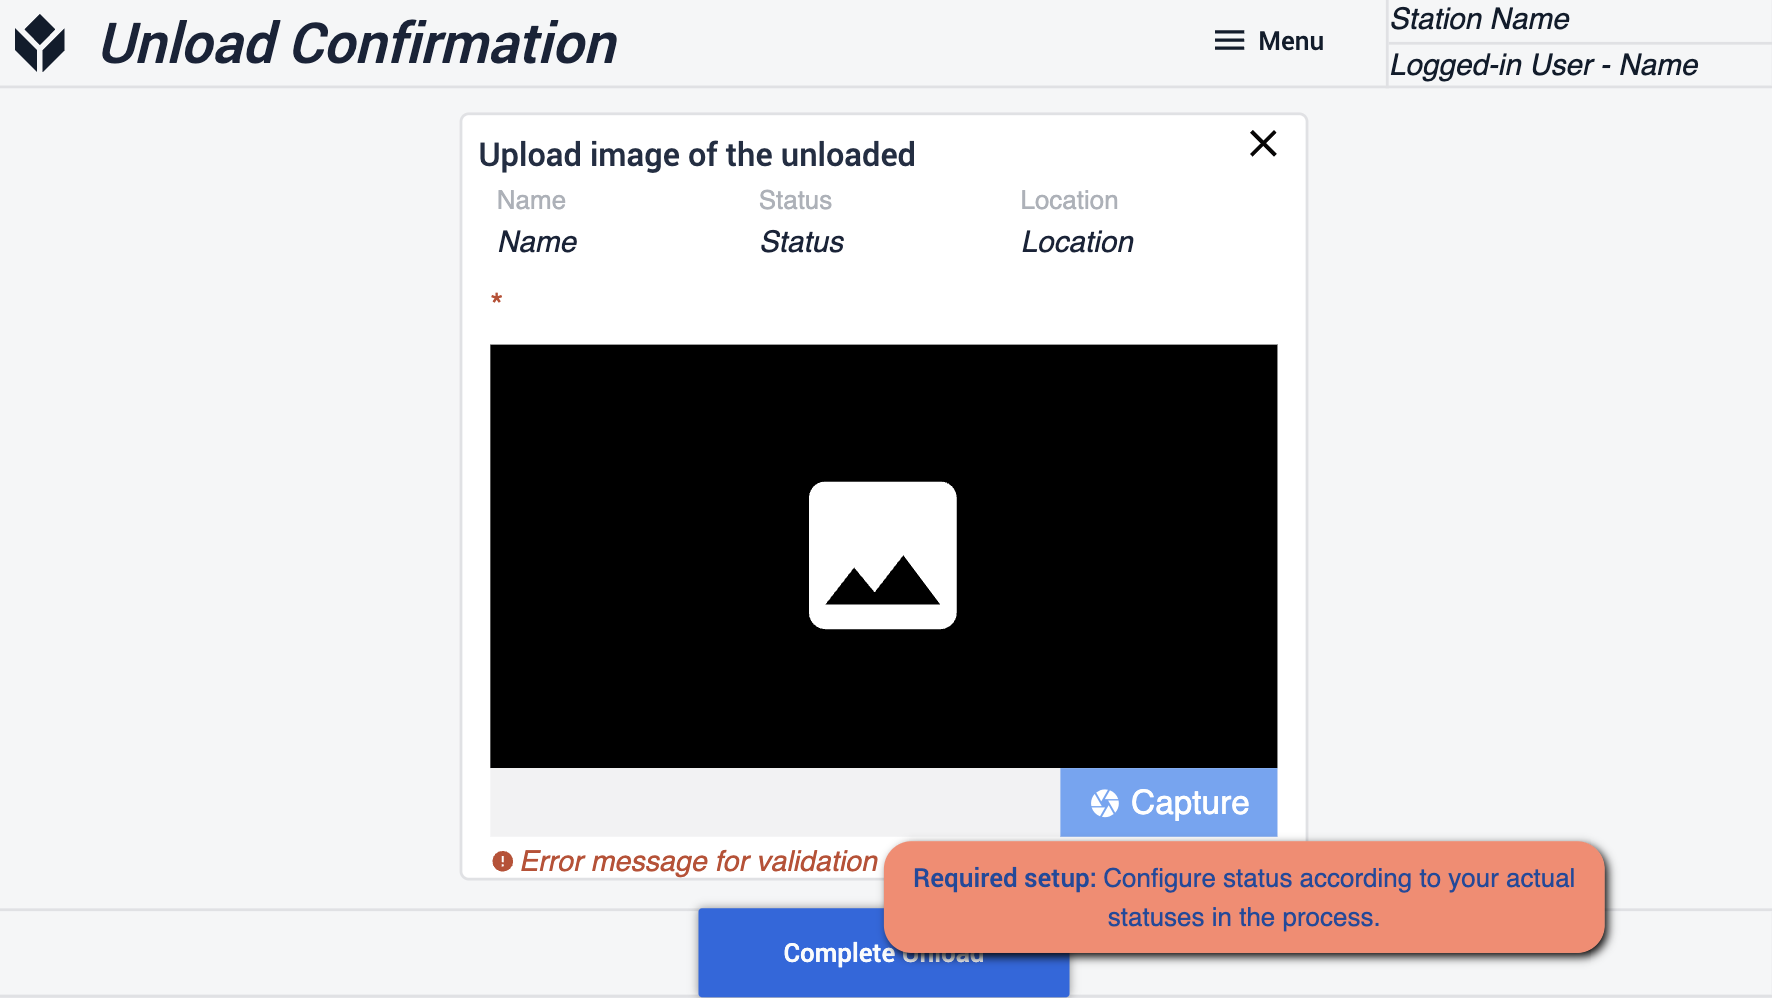
- Make sure that your statues match your process
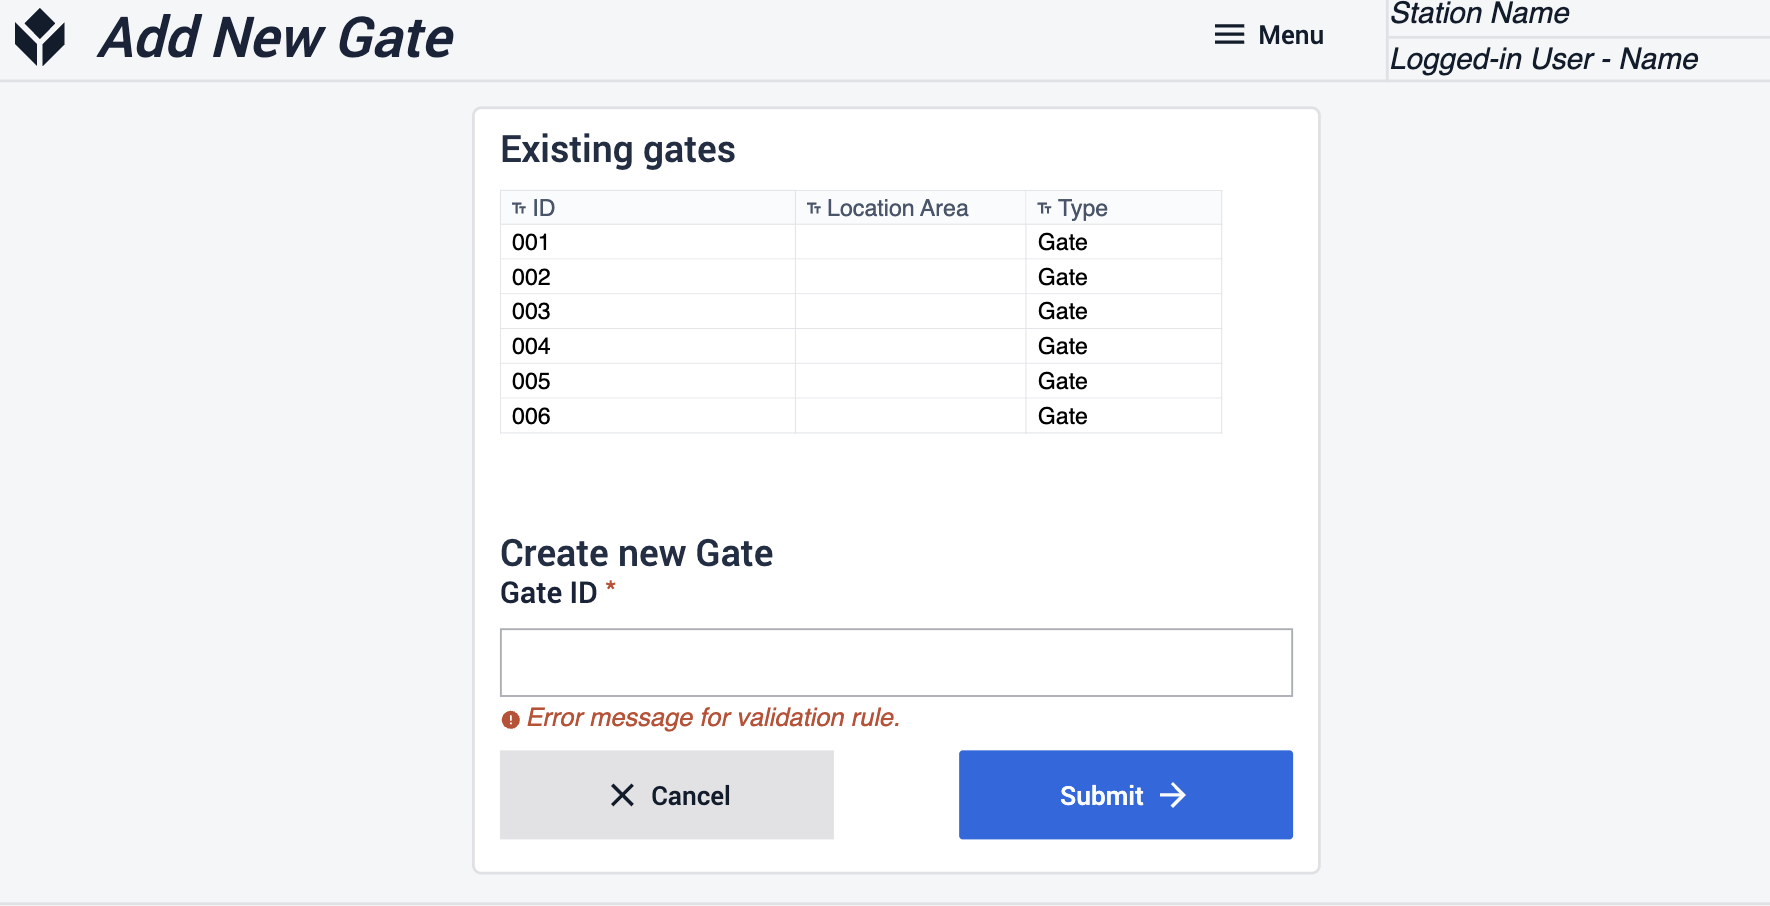
Add New Gate
On this step you will be able to make new gates for receiving materials.
View History
This step allows you access information about past arrivals and you can search for specific data that has been captured.

Replenishment
This application can streamline material replenishment and movements by reducing manual data entry and administrative overhead, allowing staff to focus on more value-added tasks.
View Open Material Requests
On this step you will get visibility into all pending material requests. See details on where to pick the materials and where they need to be delivered.
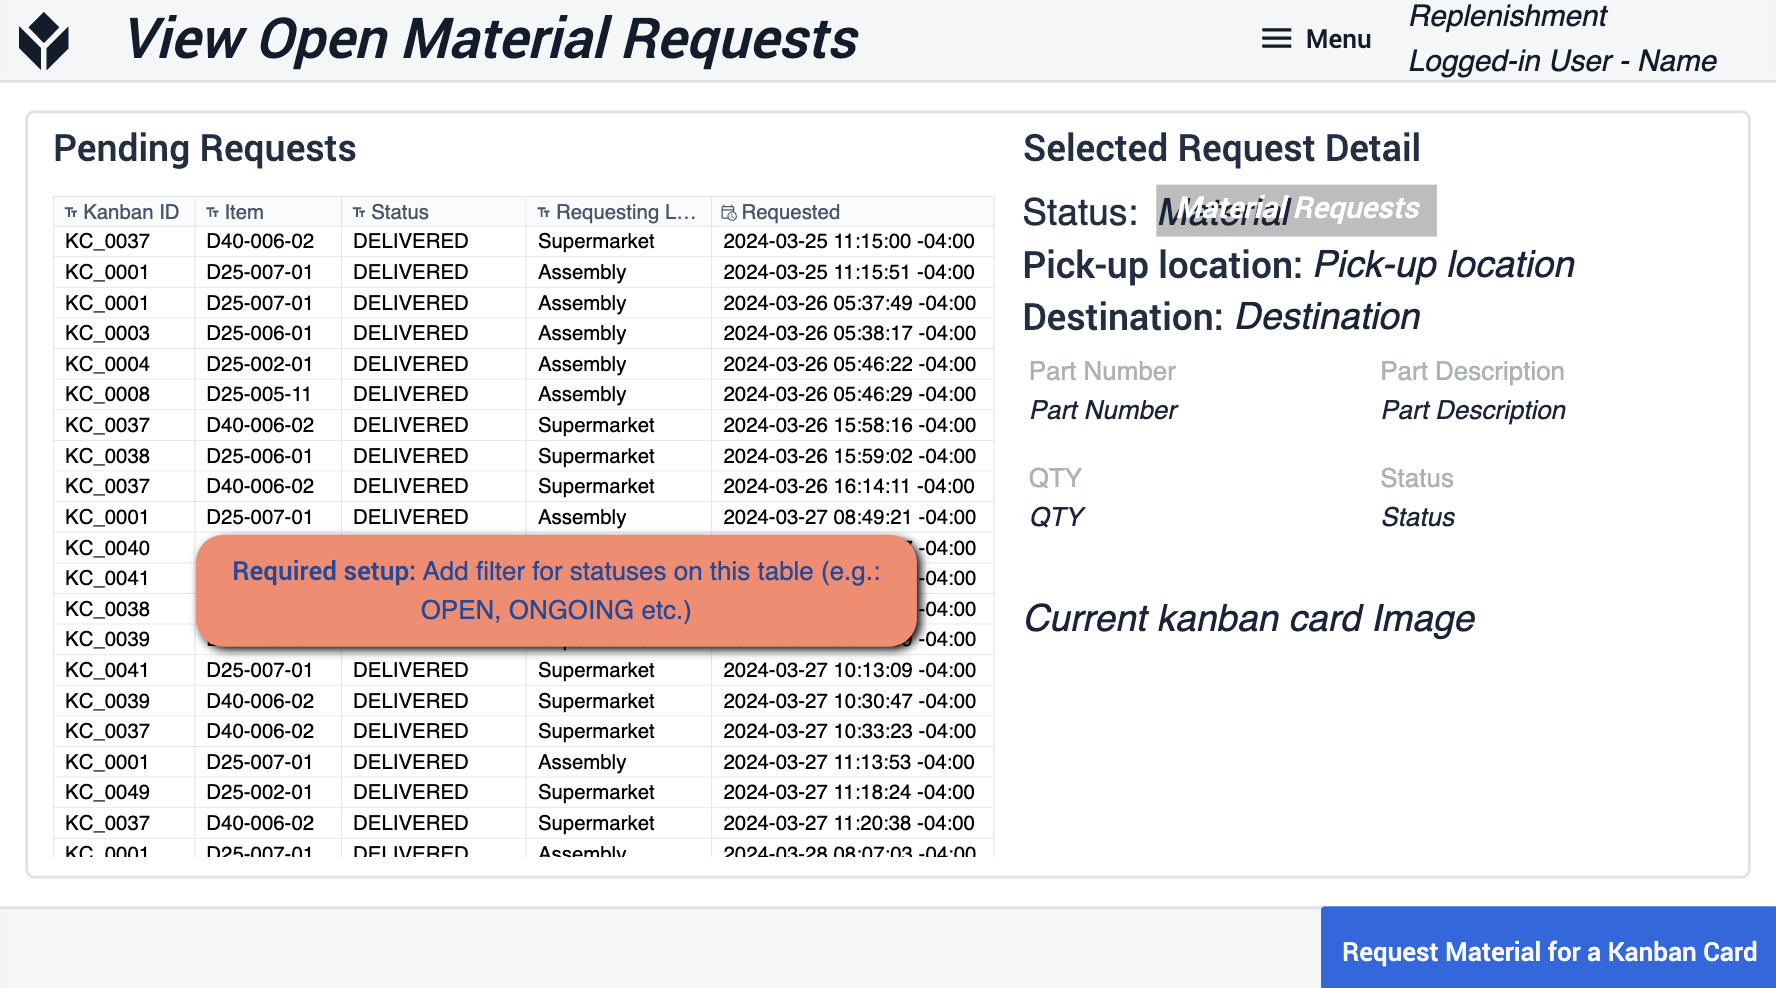
- Add filters to the table to match the statues you would use in your operations
Select Kanban Card
Here you can scan the kanban cards for the materials in the designated area. Giving you visibility as to how much of your material is in stock.
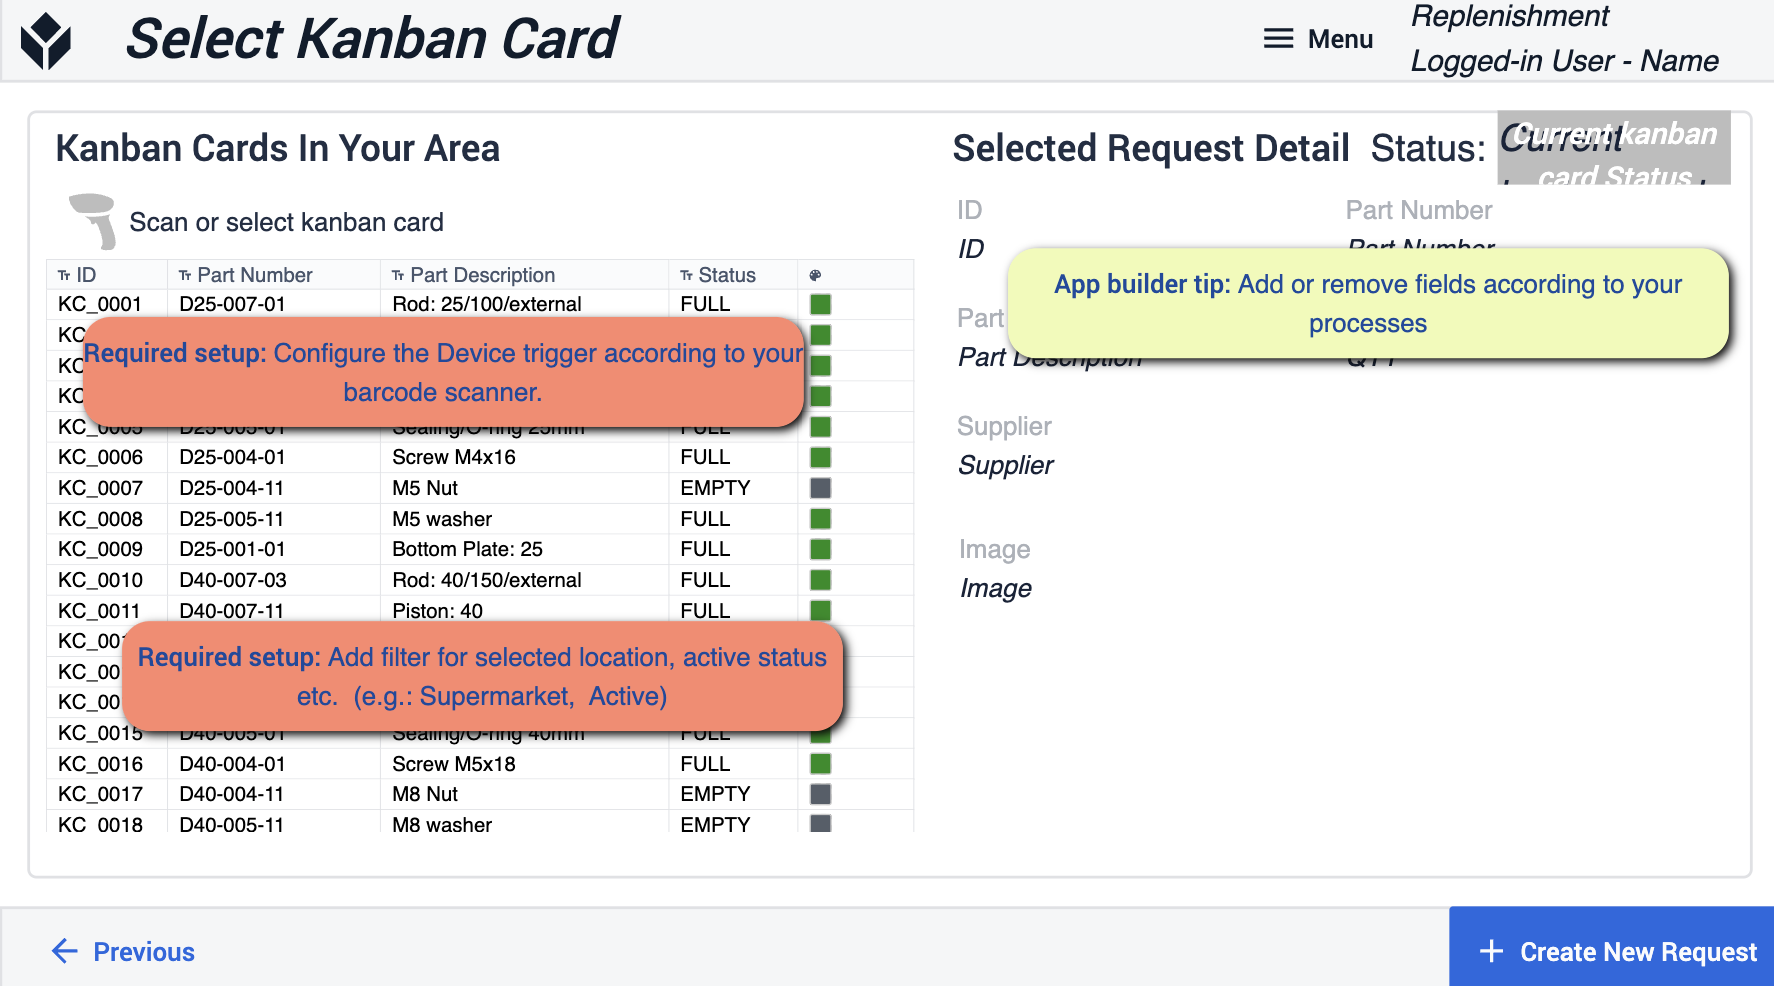
- App builder tips to follow focus around adding filters for a selected location and active statuses. You’ll need to configure the device you’re using to your barcode scanner. If need be you can remove certain fields to match your process.
Confirm Requesting Material
After selecting the material request, this step will be for confirming the actual request itself.
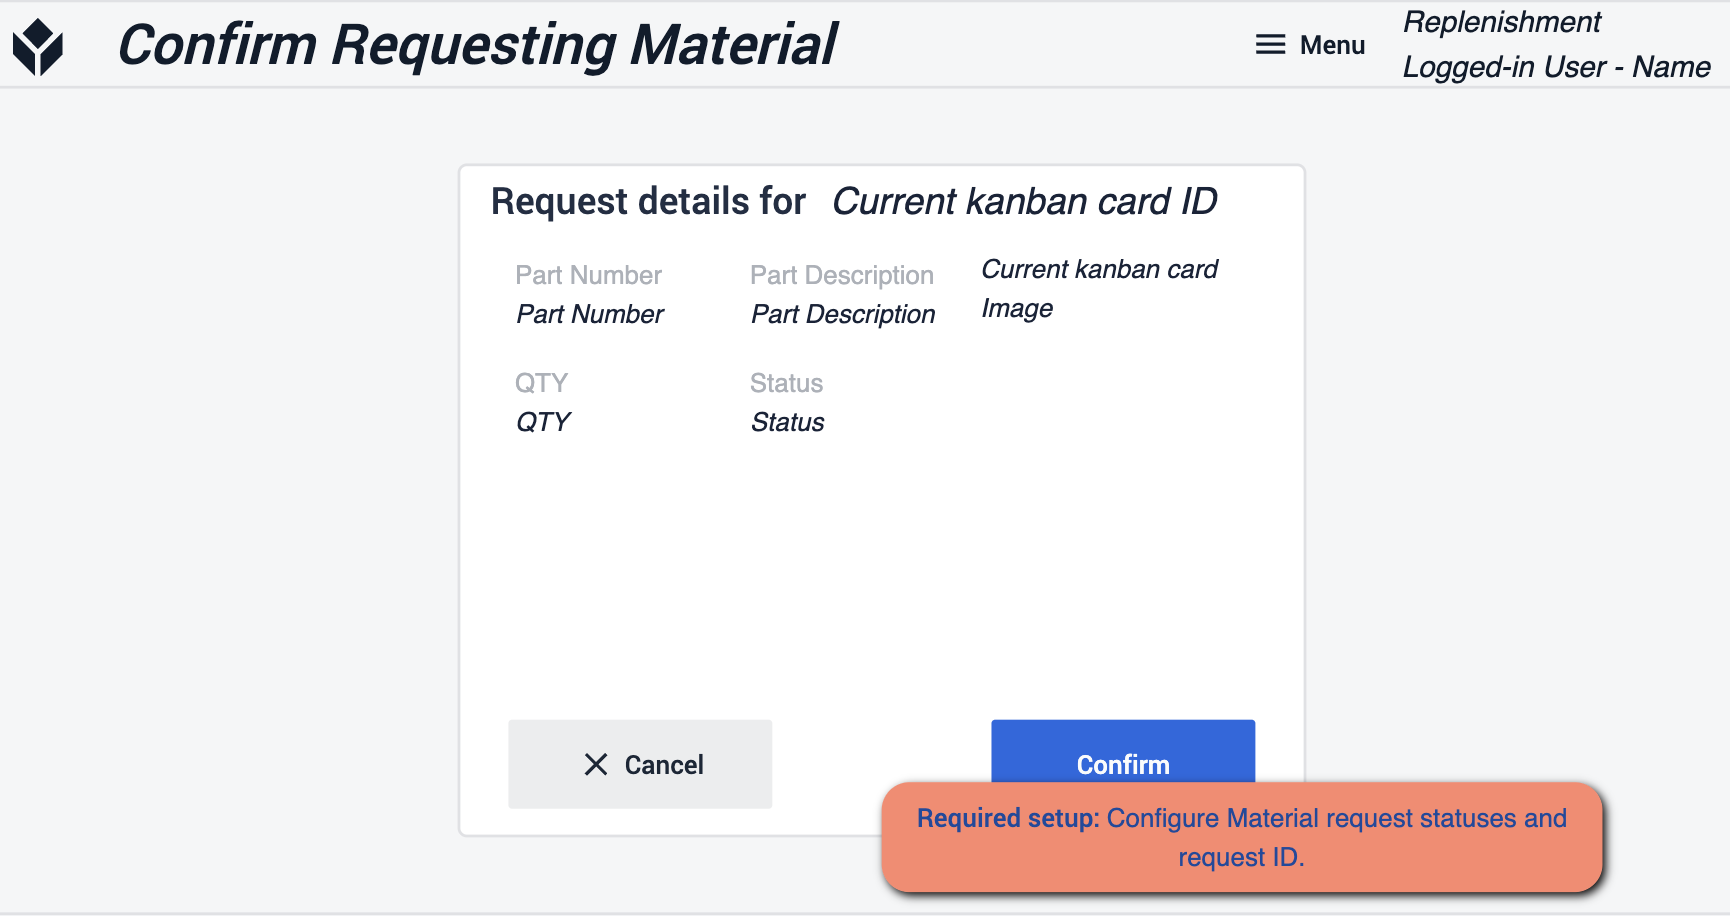
- Here you’ll want to make sure that you configure material request statuses and request ID. This will make sure the request goes where it actually needs to be.
Inventory Management
This app will manage and view your inventory items. Your data will be stored and displayed through tables, which can also be changed to match the changes that happen on the floor.
Main Screen
The main screen will be your navigation tool for navigating through various steps within this application.
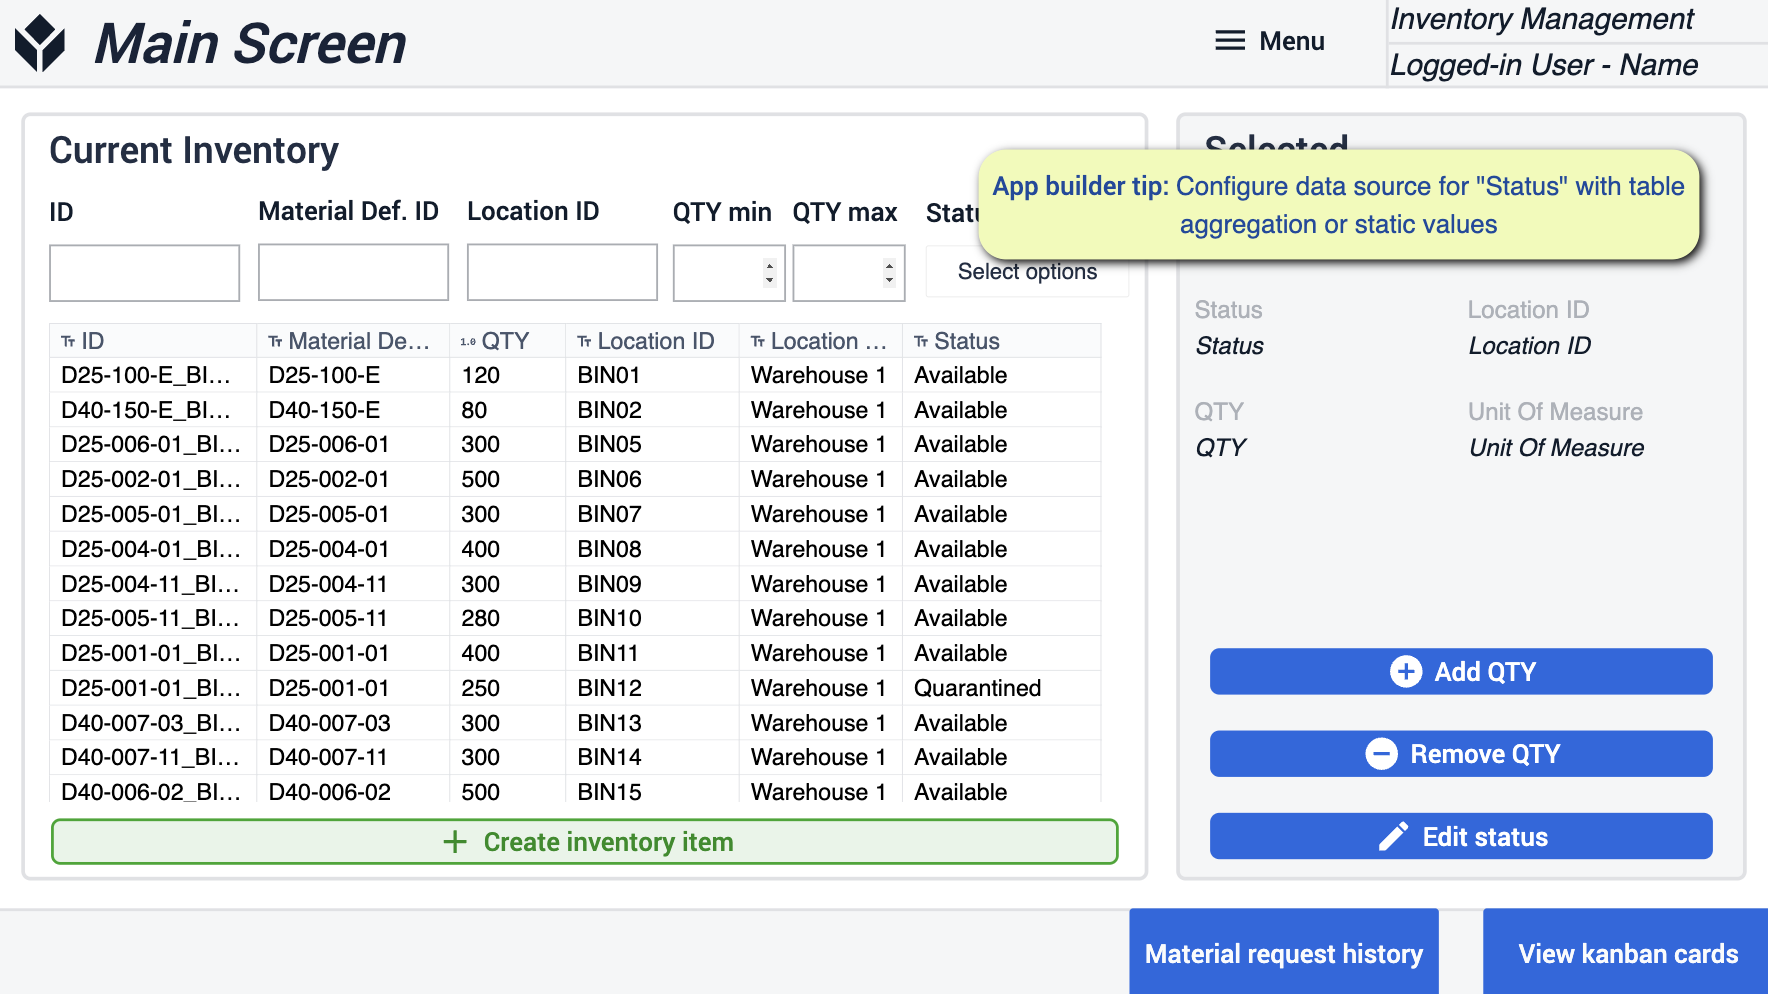
- Here you’ll want to configure your data sources for “Status” with static values or aggregations.
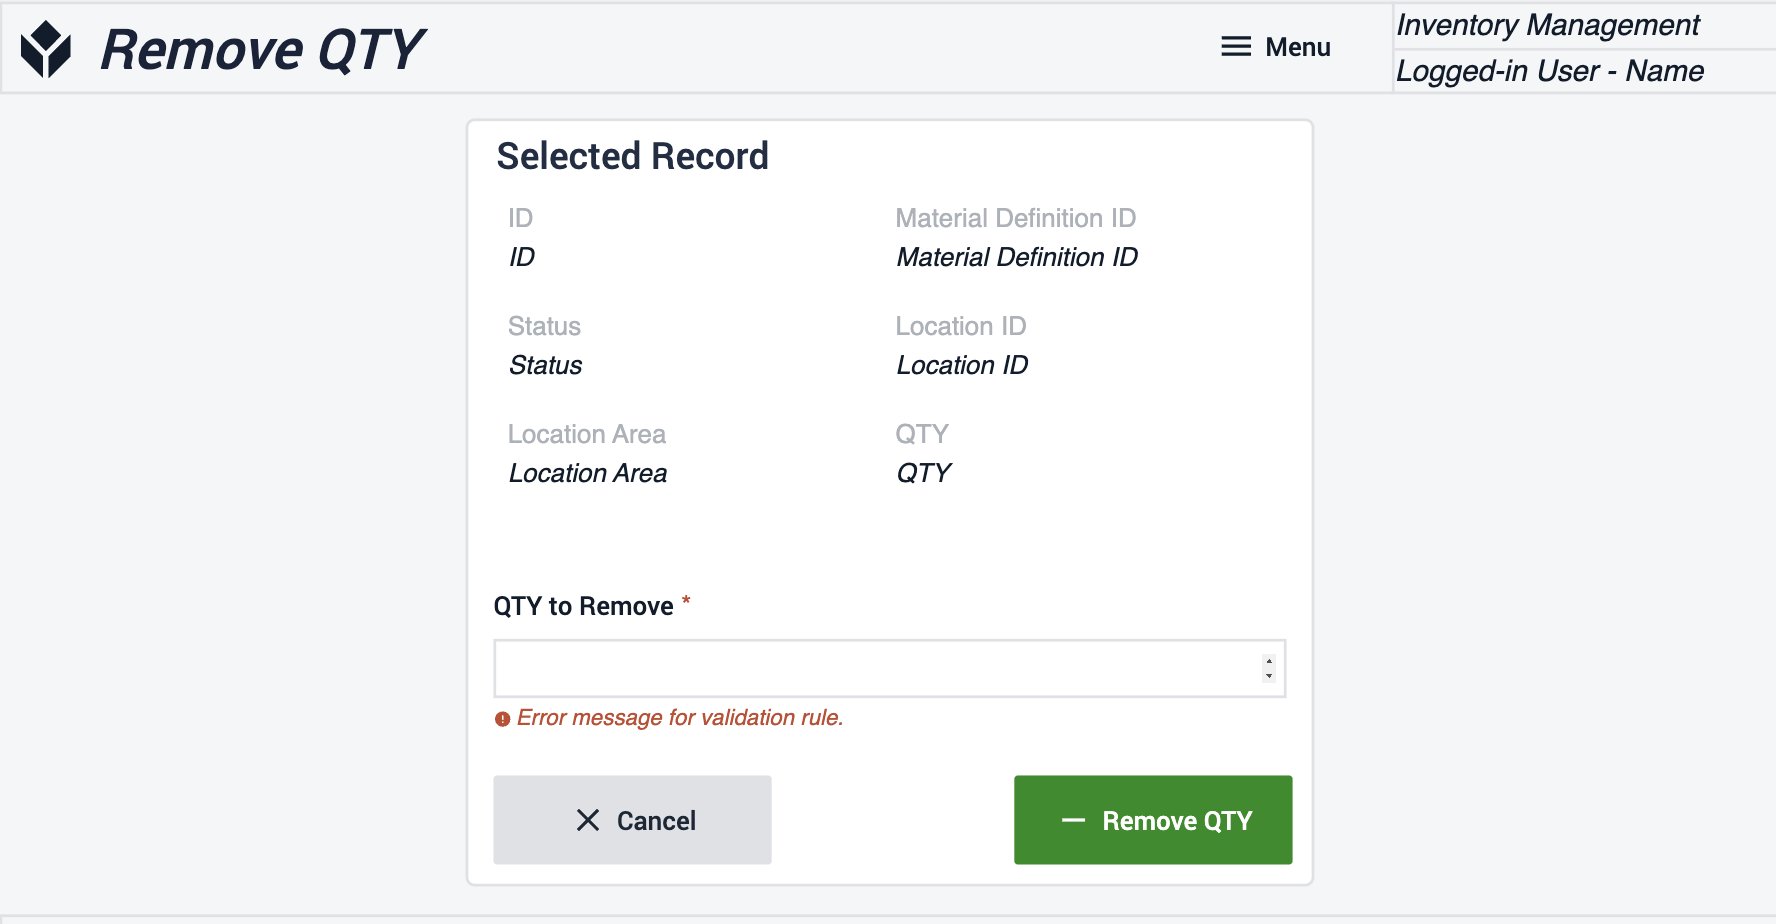
Remove QTY / Add QTY
On these steps you will be able to add or remove the amount that you desire to your selected inventory items.
Edit Status
Here you can edit the status of the items in your inventory. Identify the quantity of items you wish to change.
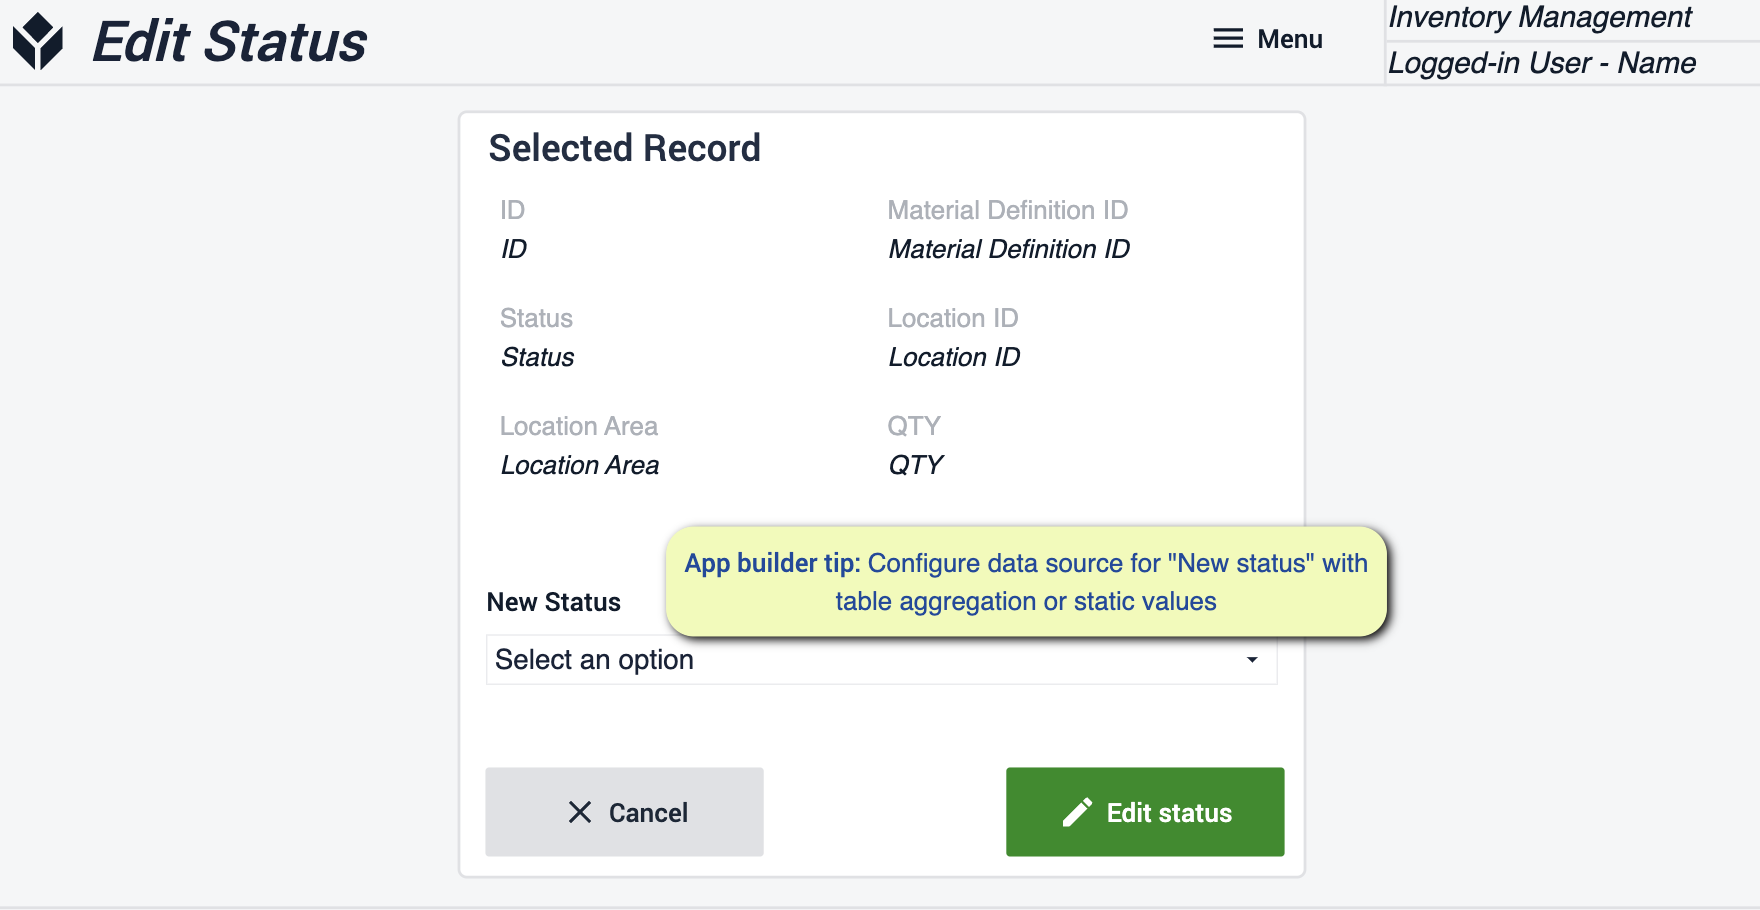
- Here you’ll want to configure your data sources for “New Status” with static values or aggregations.
Create Inventory Item
Create new inventory items by filling out the required fields and saving these new items to your current inventory.
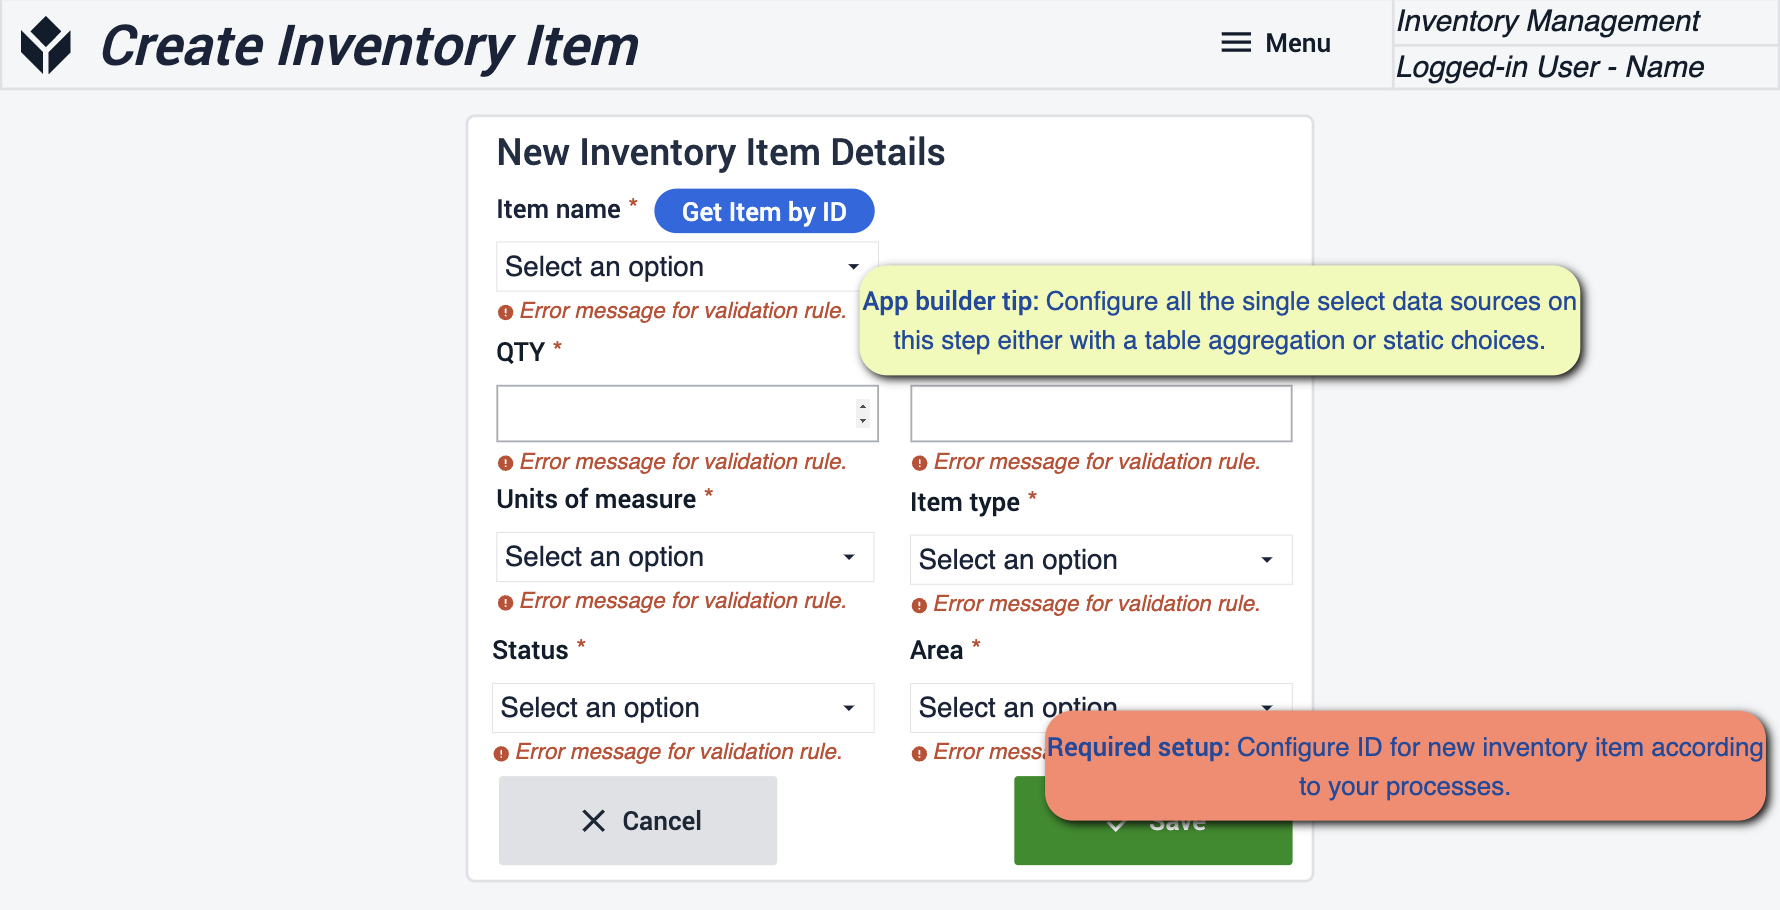
- On this step you will need to configure all sources of data with either table aggregations or static values. Also important to configure the ID of the new items according to your process.
View Kanban Cards
Here you can view all kanban cards that have been made. You’ll have the ability to print the labels and create new cards. If some cards have matching properties you can create a duplicate of that card with changes.

- Tips to follow here would be to configure your data sources for single select widgets with Static values or table aggregation.
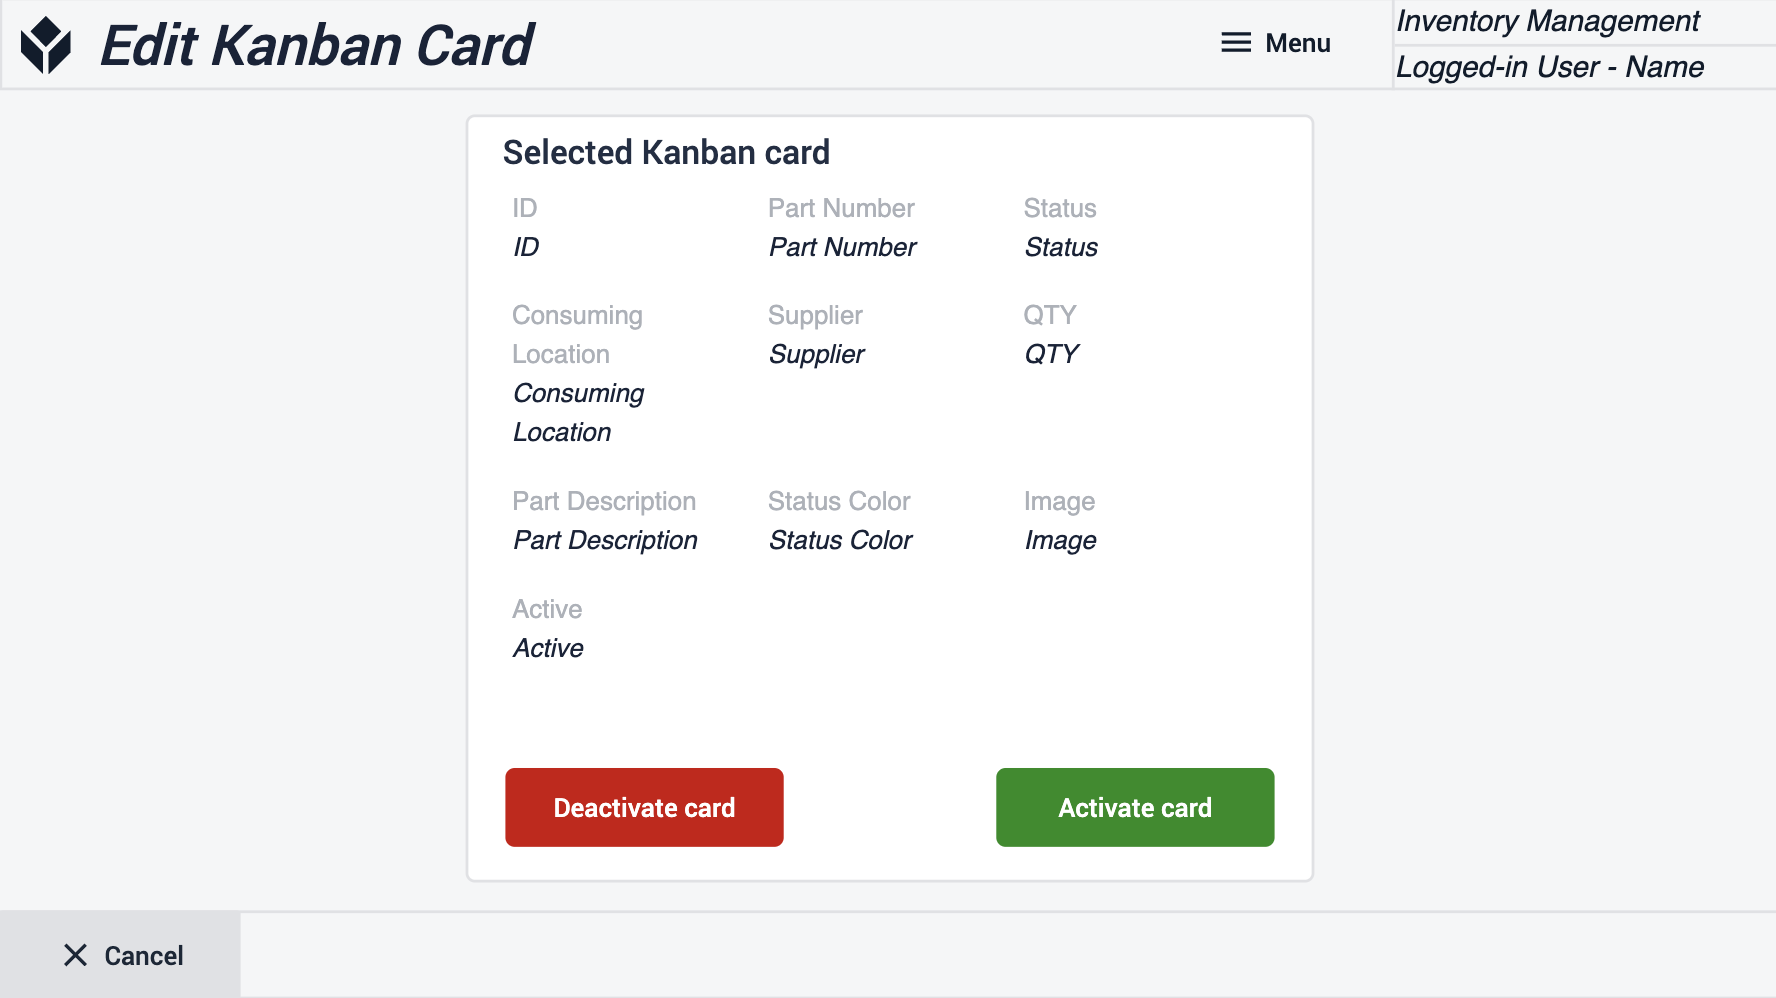
Edit Kanban Card
Here you will make adjustments to your Kanban card. In this step you can either deactivate or activate the card.
Create Kanban Card
For creating your card make sure to fill out all the required fields.
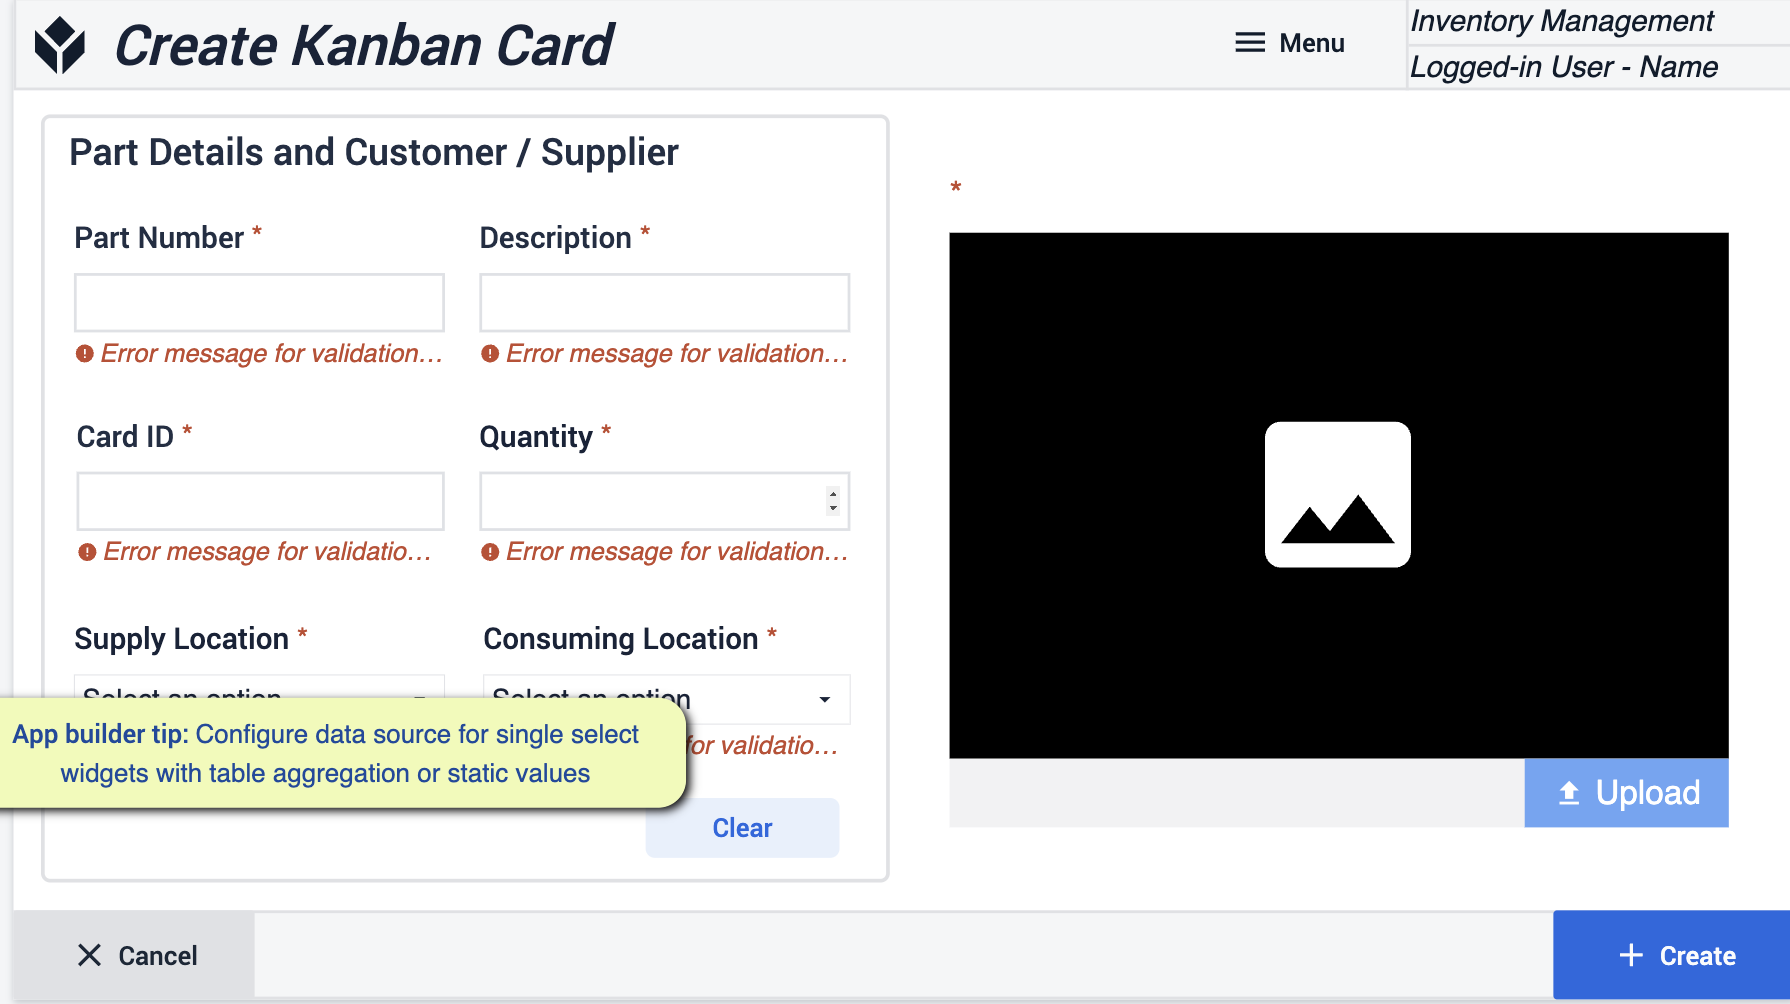
- Tips to follow here would be to configure your data sources for single select widgets with Static values or table aggregation.
Print Label
Create a label of your card
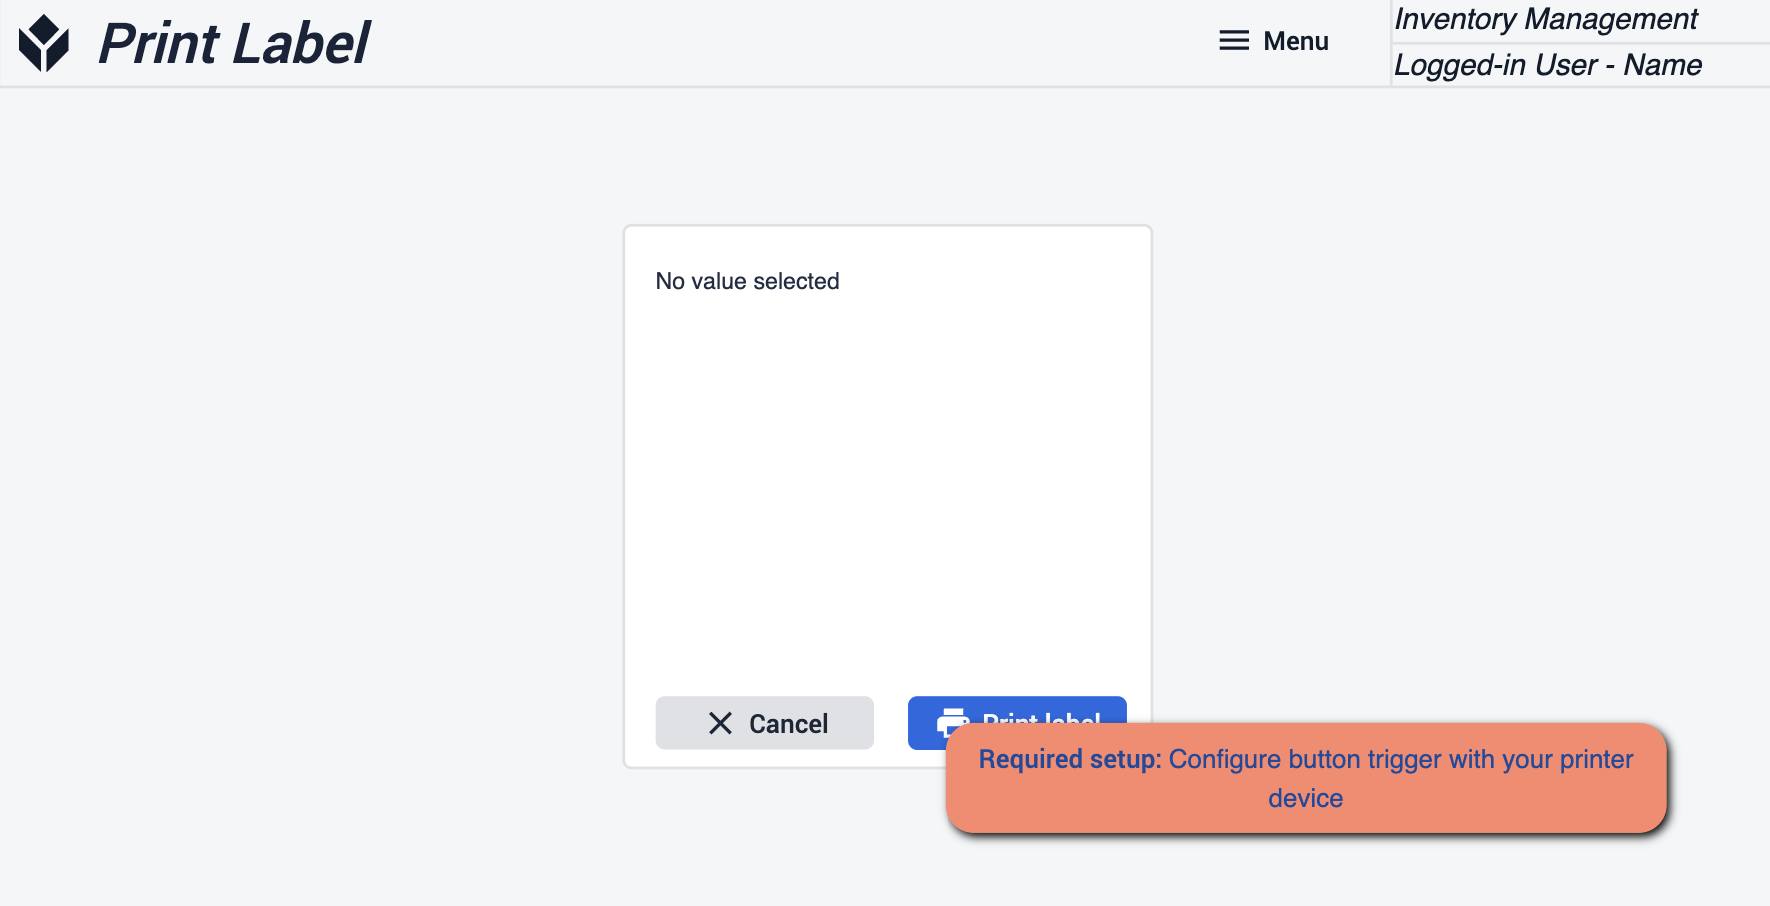
- Make sure the ‘print label’ button is configured with your device to print the label.
Material Request History
See the History of all request Materials. Select orders to gain more information on its history
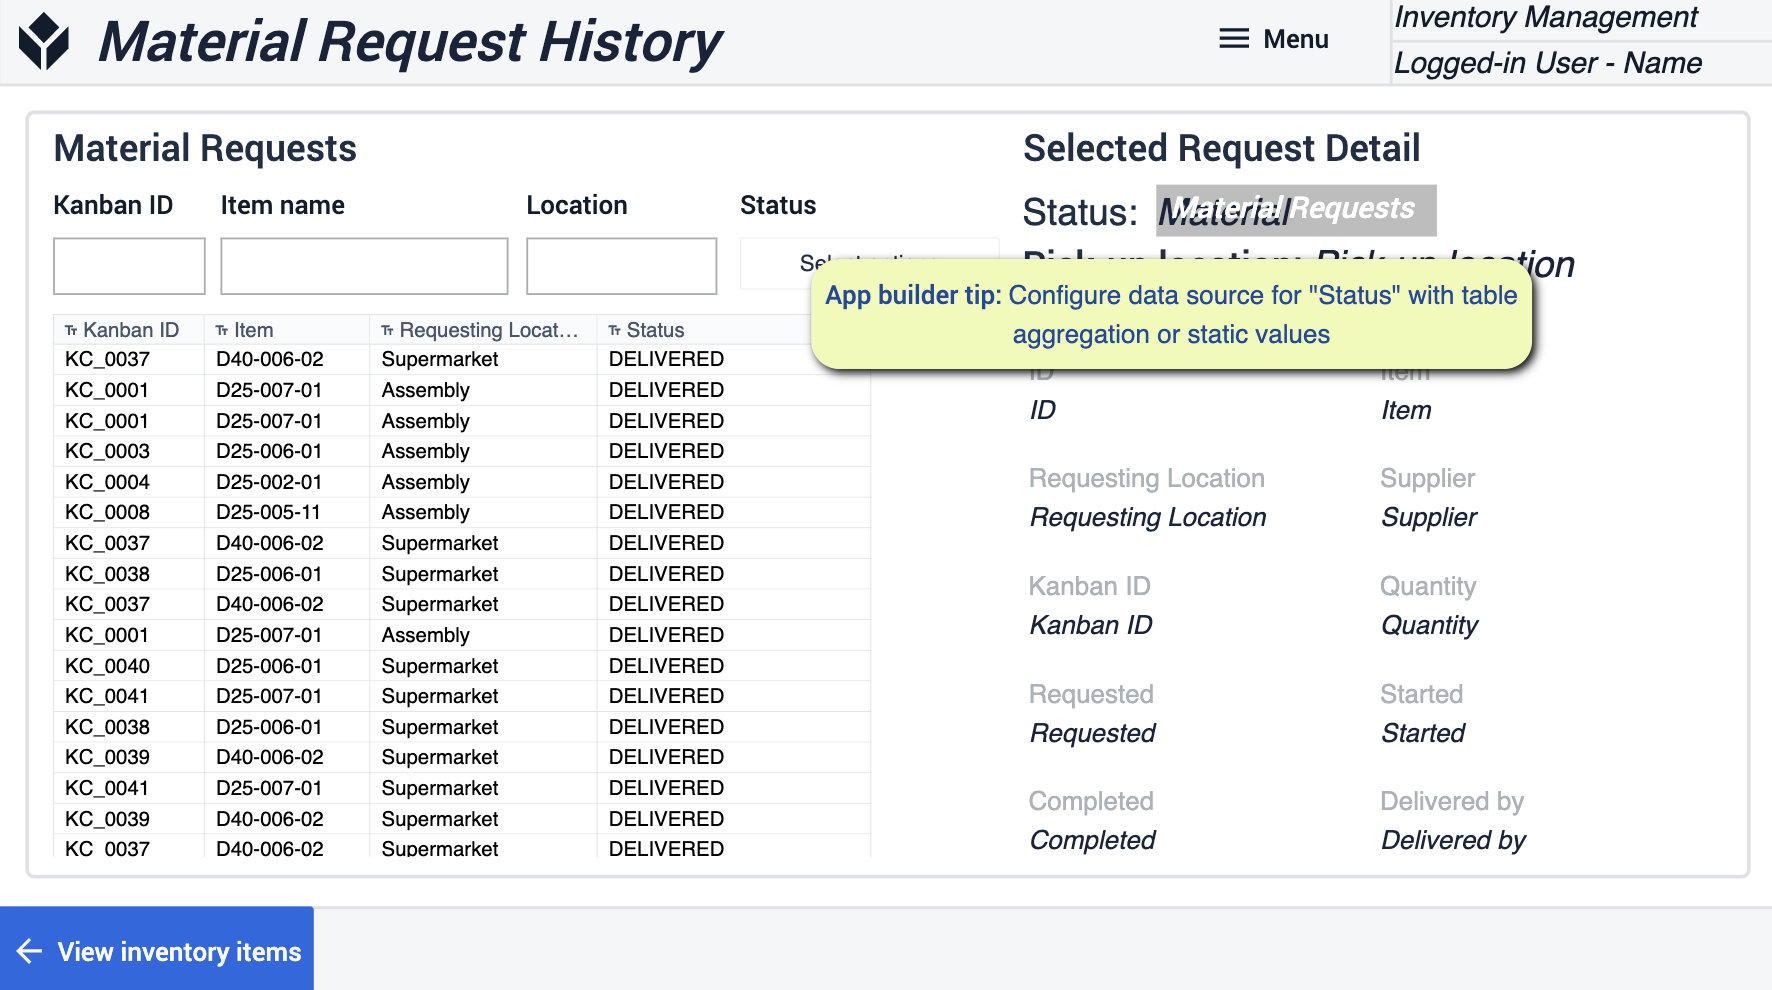
- Make sure to configure your data source for “status” with table aggregations or static value
Material Warehouse
This mobile app allows the users to transact materials to Tulip, greatly increasing inventory accuracy. Easy and straigthforward to use, helps digitalize newly arrived materials as soon as possible.
Home
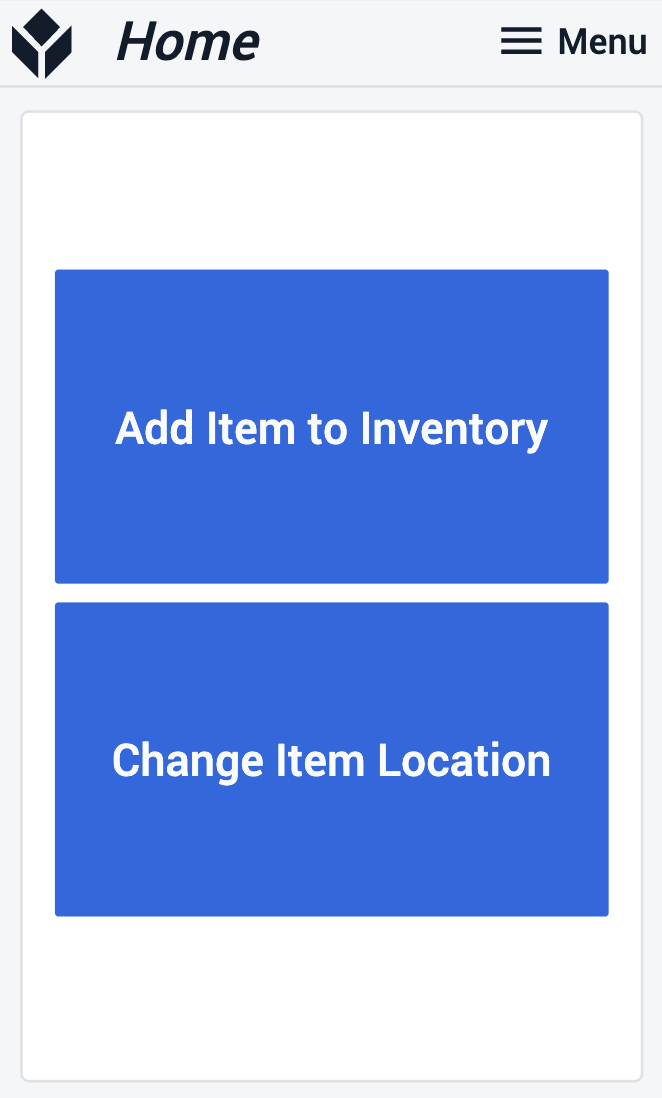
In the Home step, the user needs to choose a flow, depending on whether it's a completely new item to add to inventory or an existing item that requires relocation.
Scan Item
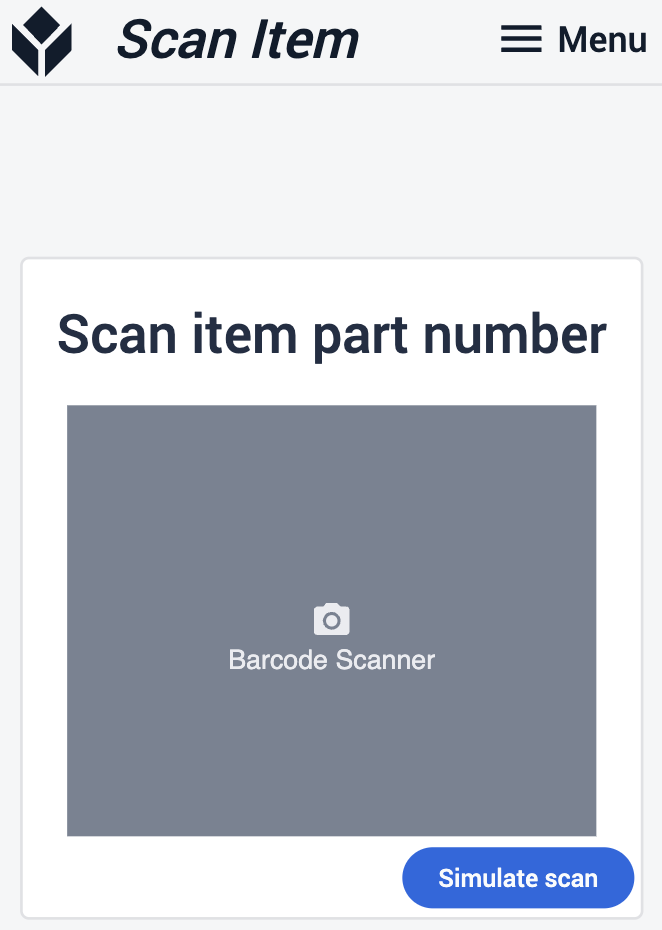
In the Scan Item step you can scan an item either with a barcode or an optical scanner.
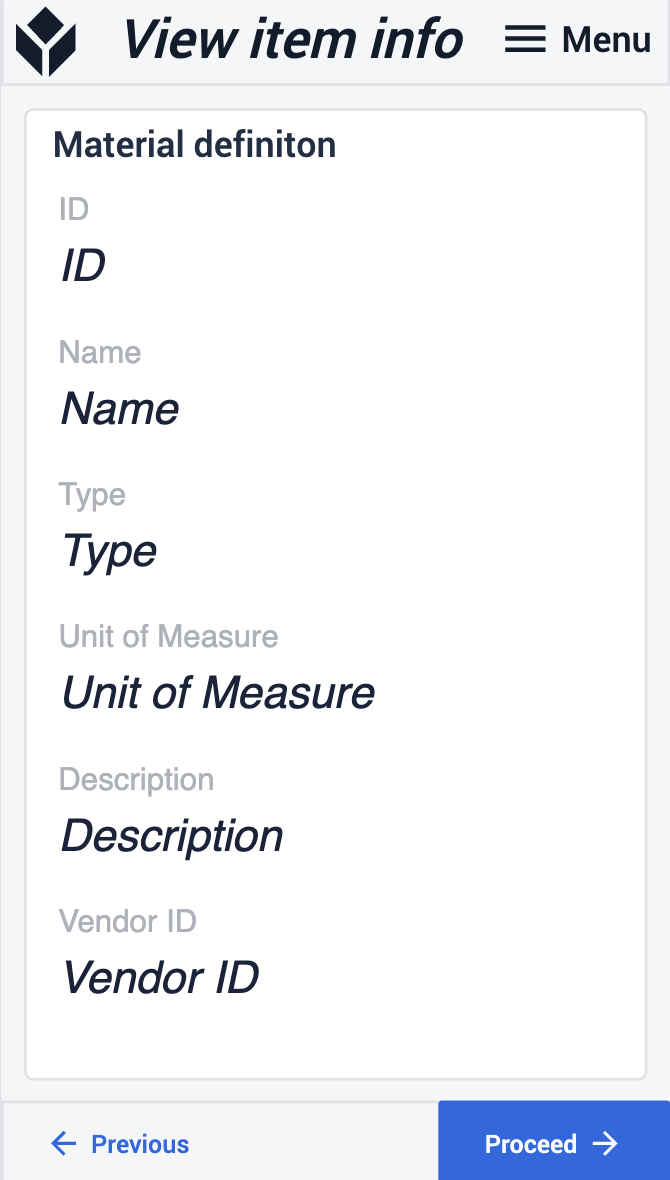
View Item Info
Type Item Quantity
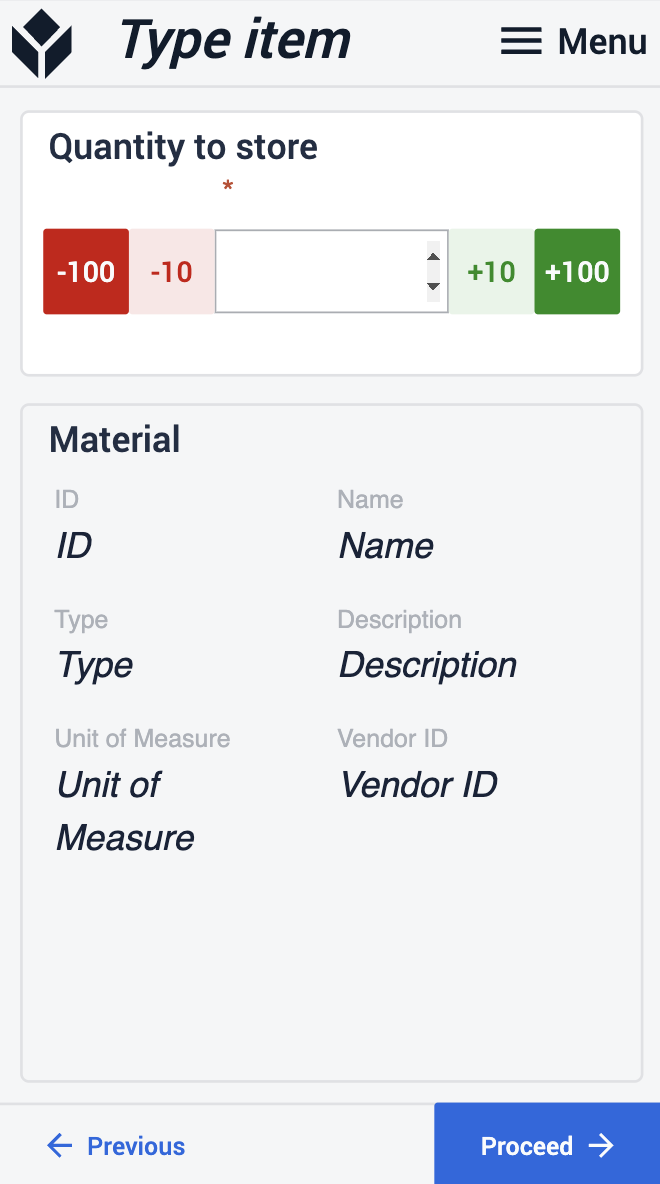
After you scanned an item and viewed all its details, type in the quantity you want to store or move between locations. Note, that if you choose to move items, you can't type in more quantities, than stored in the original location.
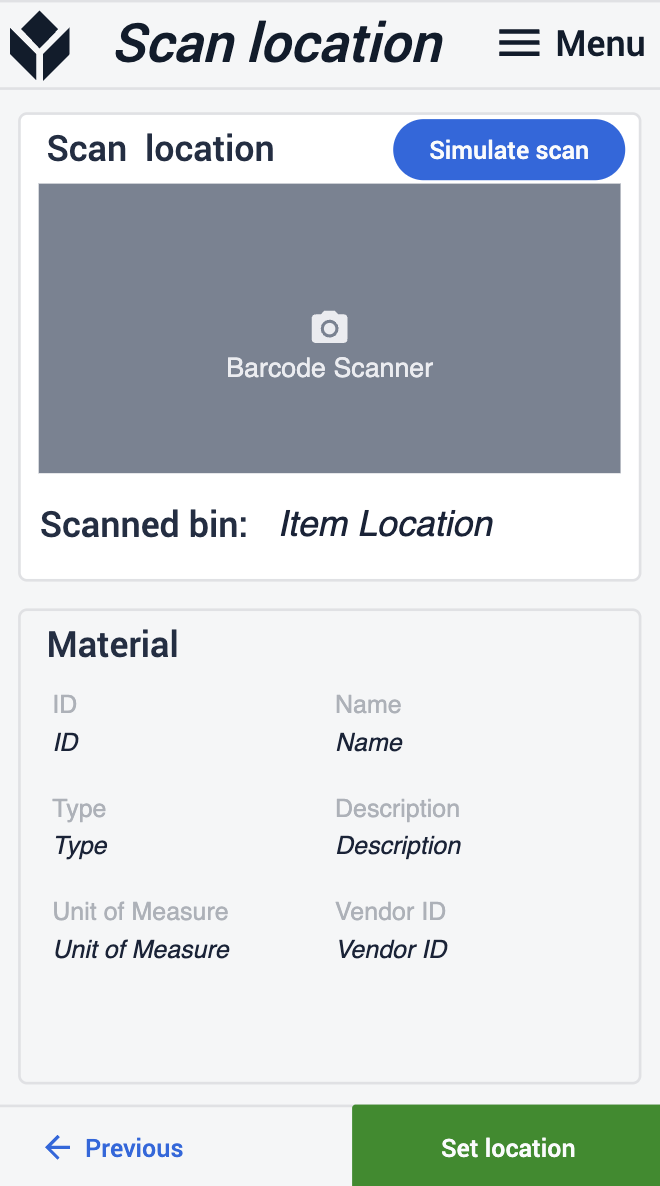
Scan Location
Inventory
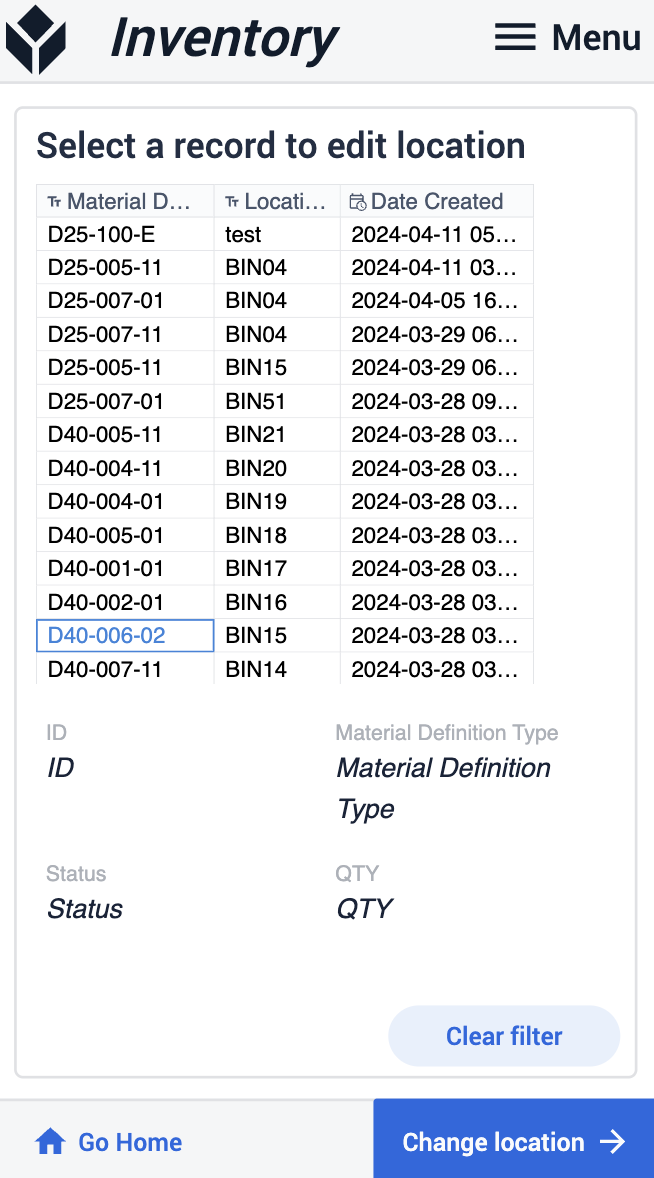
In the next step scan the new location you want to store the items. After it's done, on the Inventory step you can see whether the storing or moving was successful.
Material Mover
This application allows you to have control over the movement of your materials throughout the plant.
Kanban Request
Here you will see all the kanban requests that have been made. You’ll be able to view detailed information once you select a request.
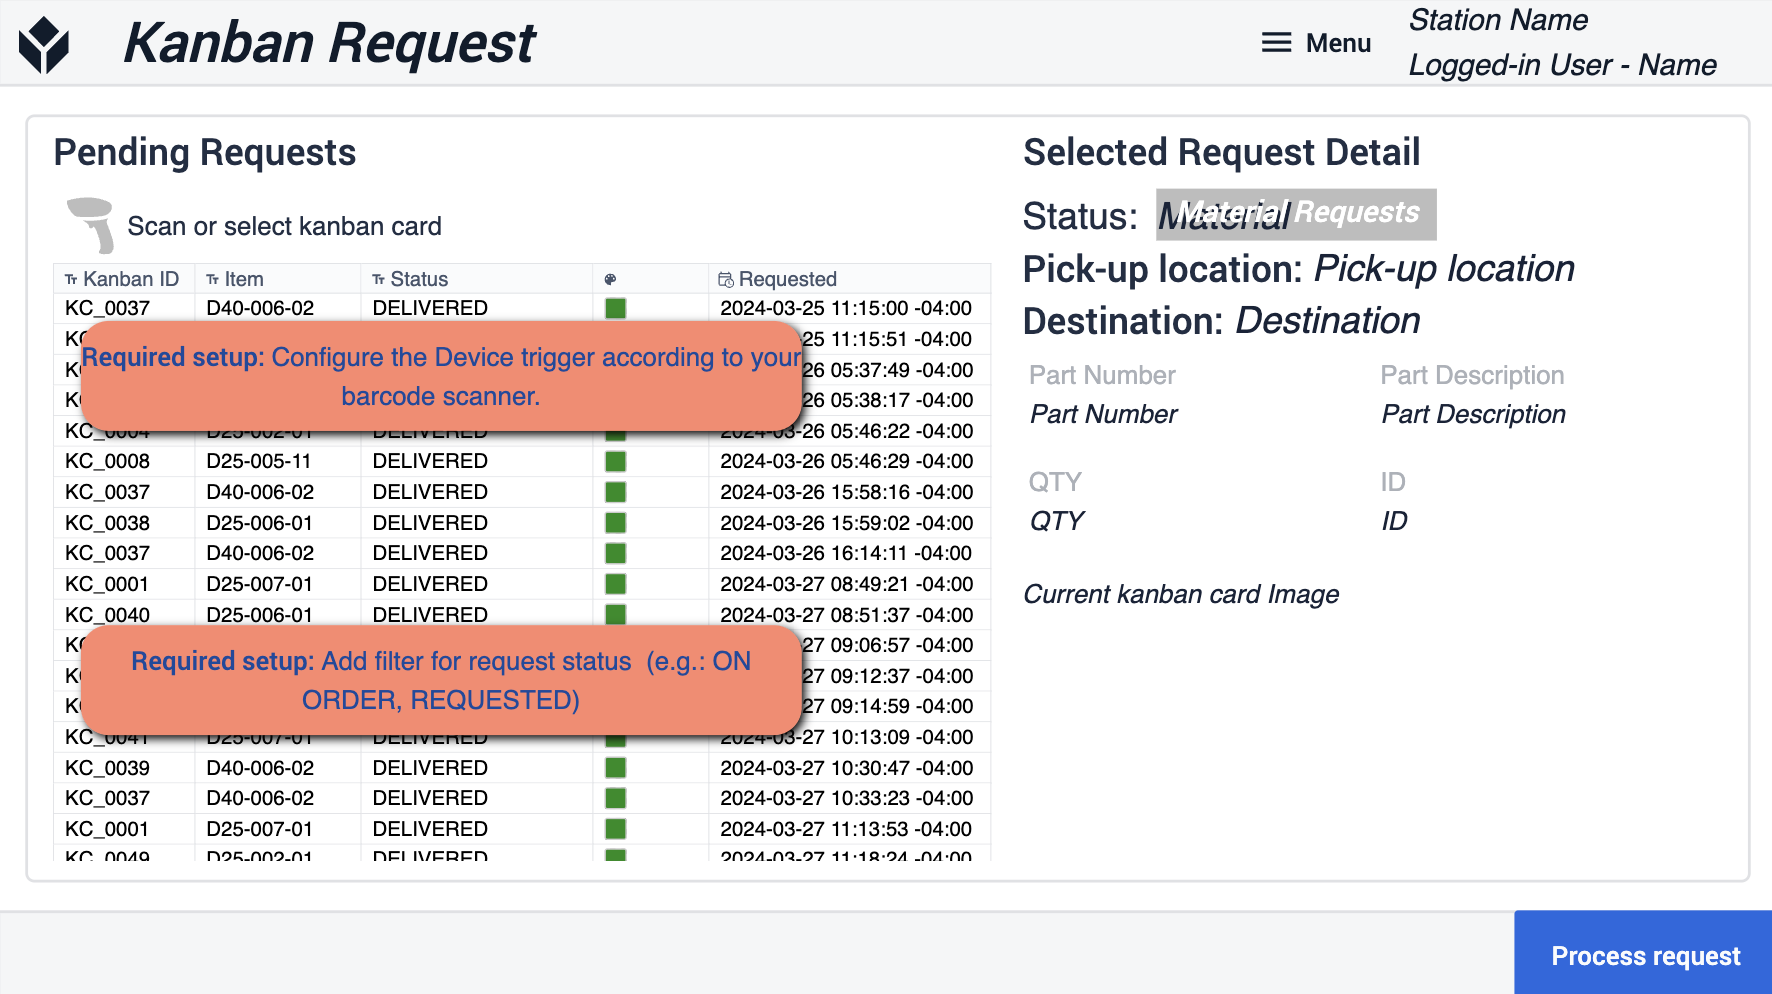
- On this step you will want to make sure that you configure your device trigger according to your barcode scanner. As well as add the filters to the for the request status to match your operations.
Confirm
On This step you will confirm the actual request
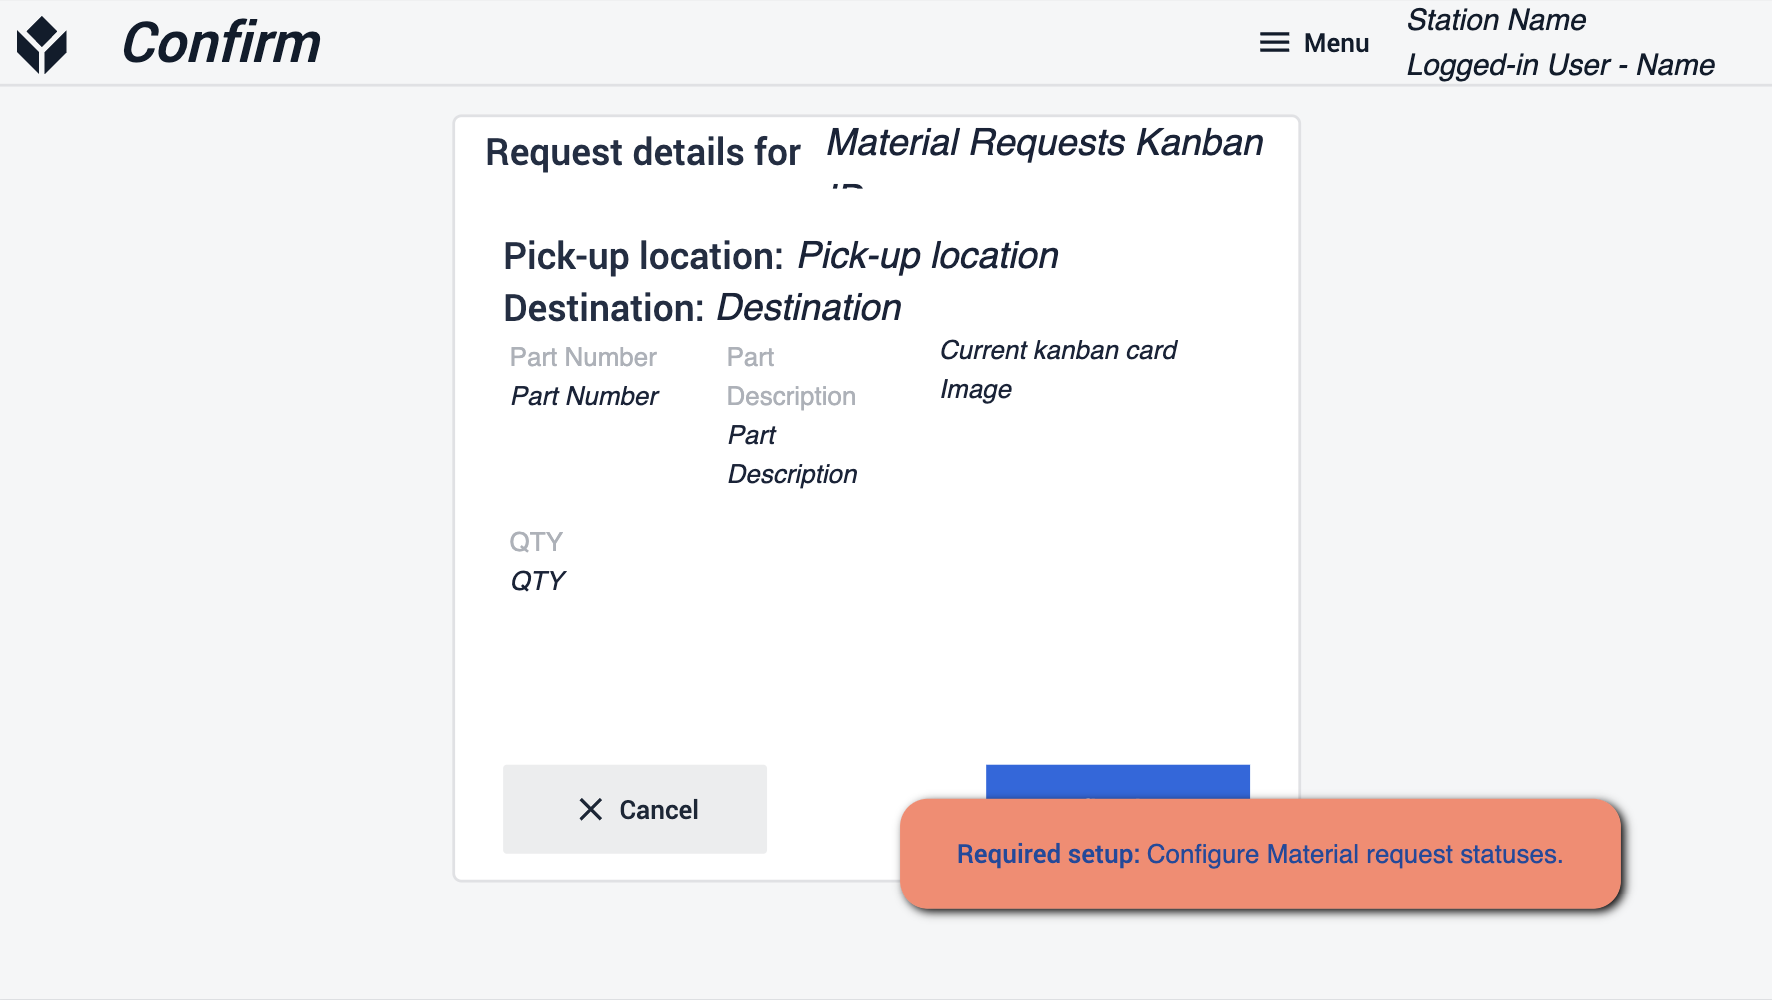
- Make sure to configure the material request status so it updates when completed.
Readiness
When going through the app suite it's important to make sure that you follow the App Builder Tips. These tips will be your guide to preparing your applications for deployment. It’ll be important to reference the prerequisites and make sure that you followed both the Required Steps and App Builder Tips within each step.