

Learn how to add new apps and manage existing ones within the Apps page.
This article details different procedures you can perform on apps in your instance. From creation to archival and everything in between, the Apps page allows you to add and manage all the applications in your instance.
Create an app or app folder
-
Navigate to the Apps page from the Menu Bar.
-
Click Create App in the top right of the page. To create a folder, click the arrow and then Create App Folder.

Limits on apps and app folders
| Item | Limit |
|---|---|
| Number of apps | No limit. |
| Number of app steps | No limit. |
| Number of app folders | 50 app folders within another app folder |
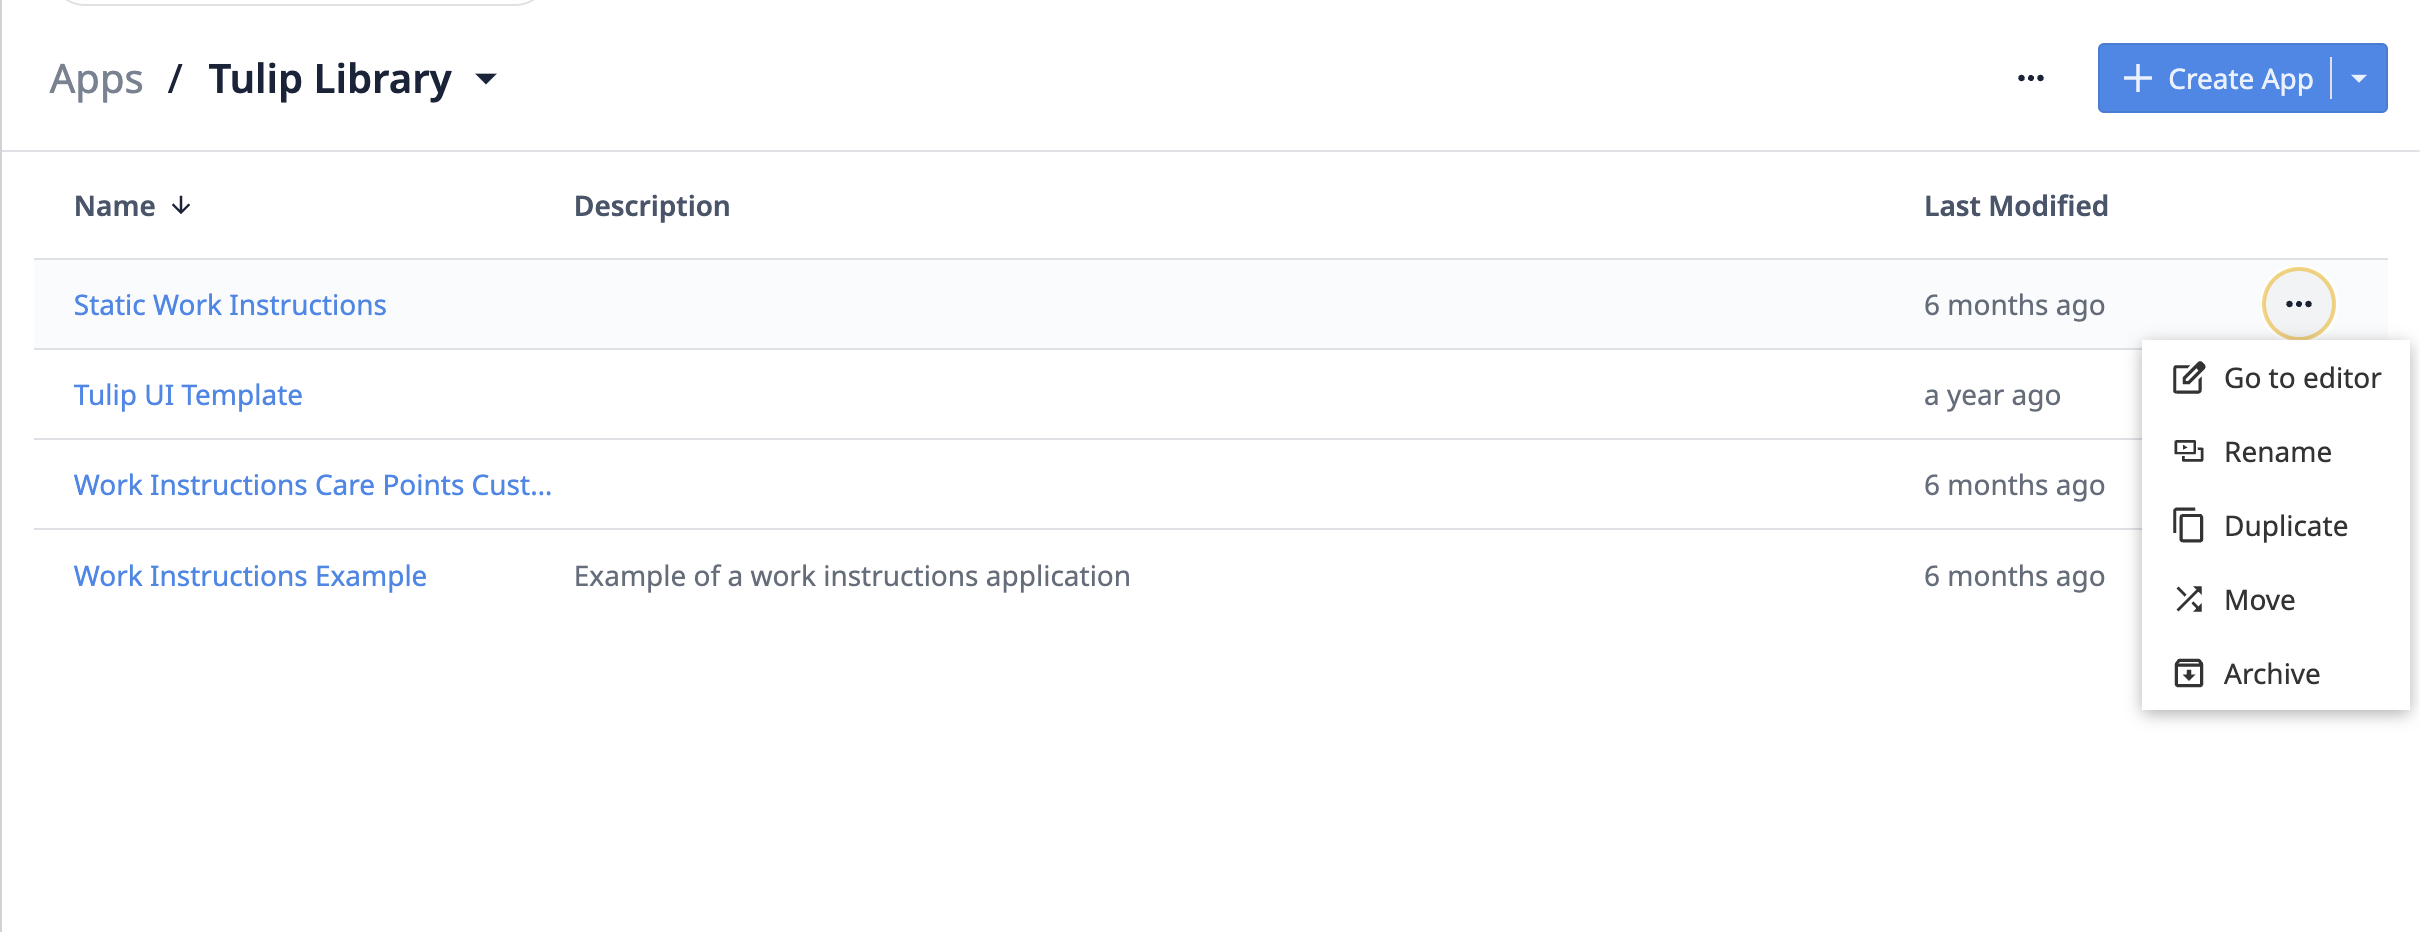
Duplicate, print, or archive an app
-
From the Apps page, select an app from the app folder or search for an app via the search bar.
-
Click the three-dot-menu to access app options.
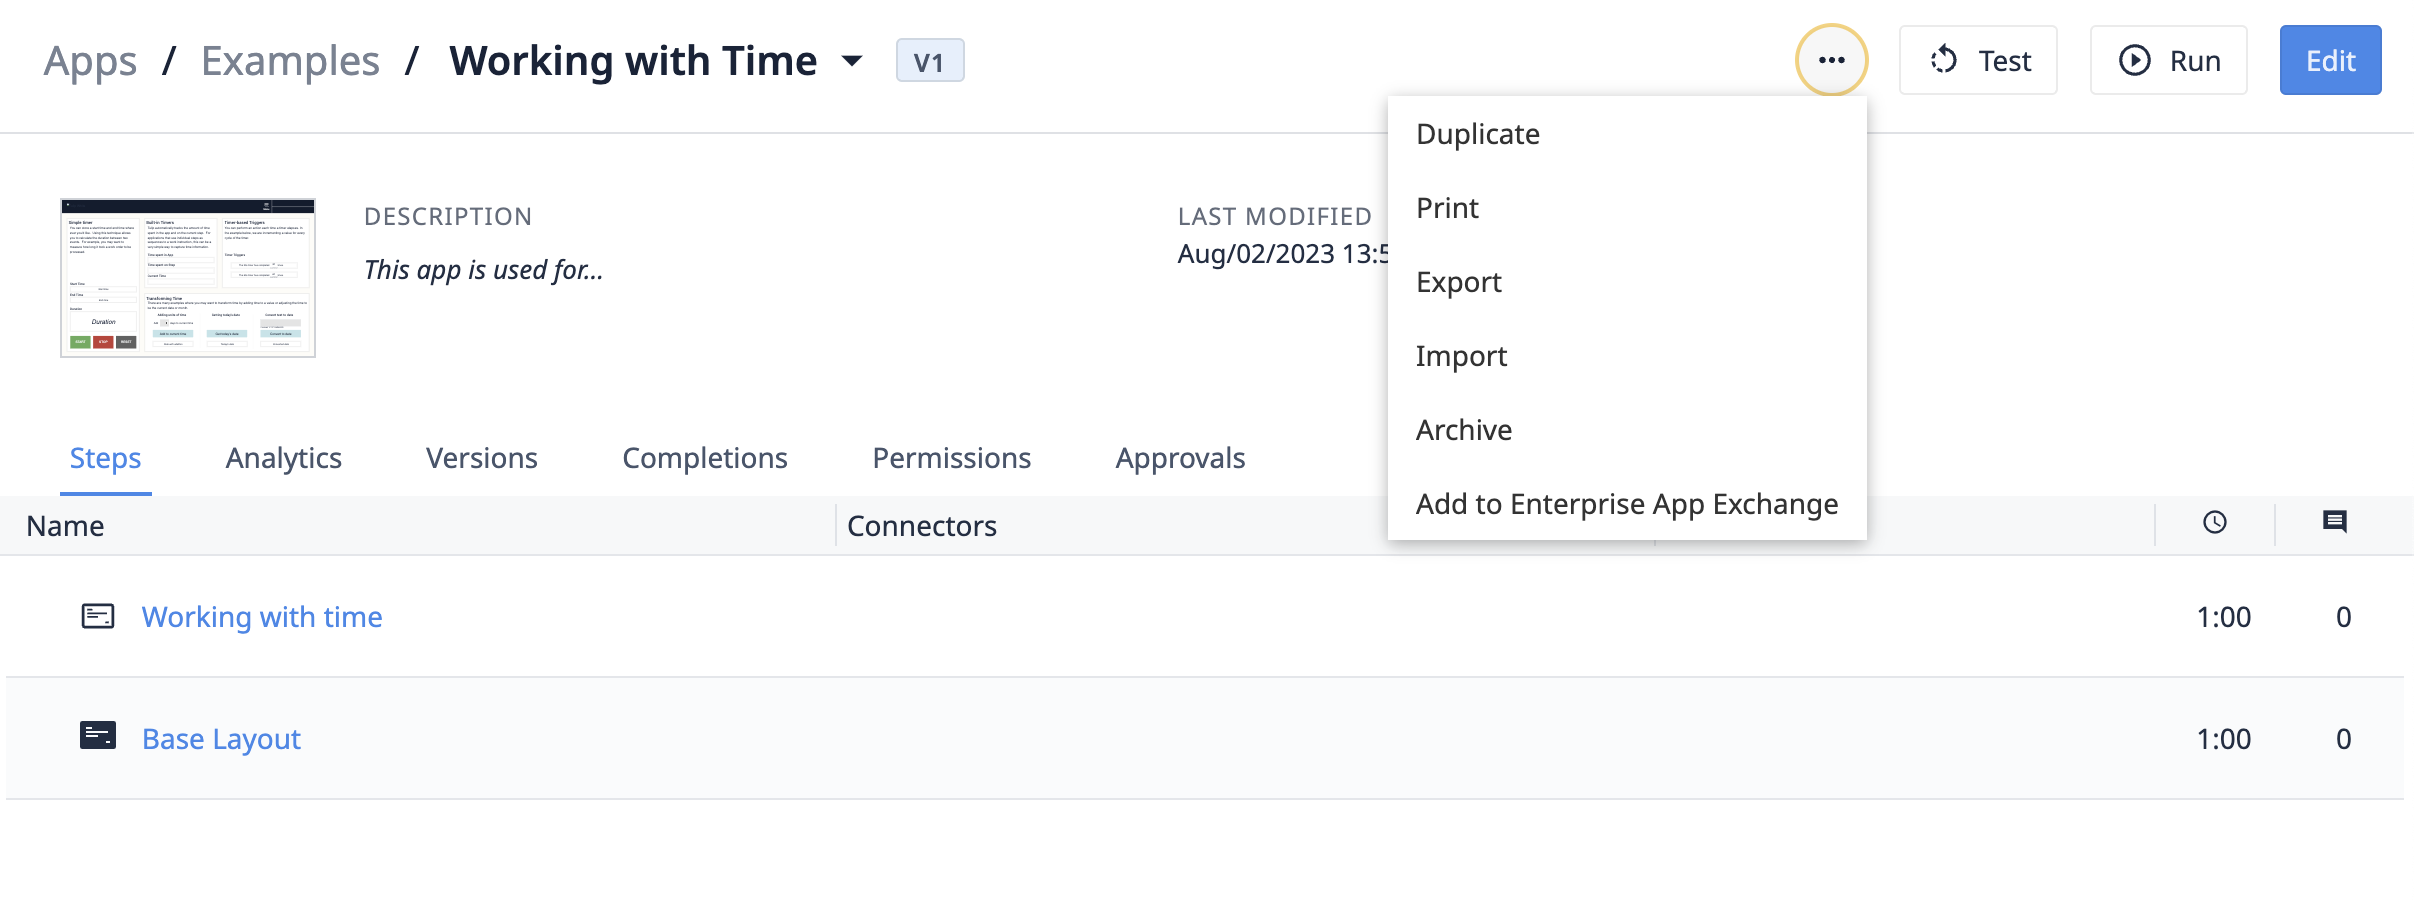
- Select the desired action:
- Duplicate
- Export
- Import
- Archive
- Add to Enterprise App Exchange
Duplicating an app will create a copy of the Development Version of the selected application.
Archived apps are recoverable under the Archived Apps menu option.
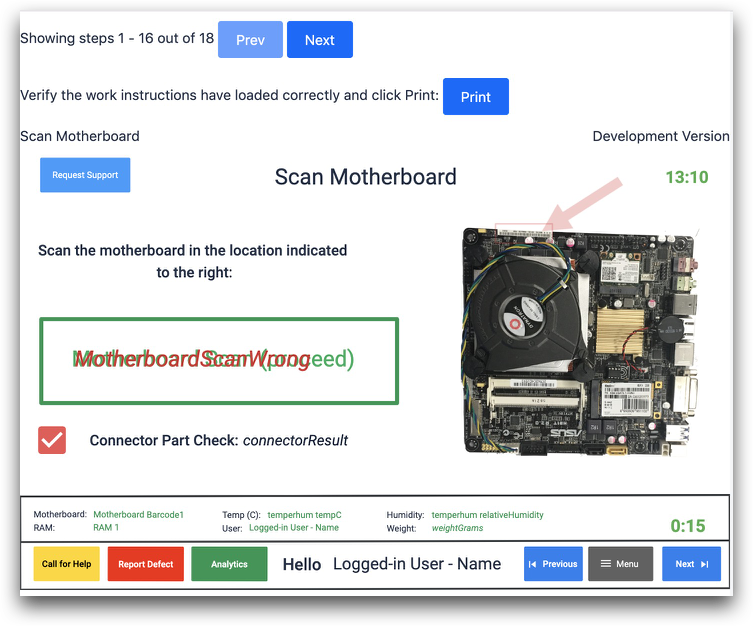
Best practices for printing apps
If you want to print app data in real-time, see this separate guide This guide only shows how to print all steps in the app without dynamic content.
Due to a limitation in Google Chrome, you may only print 16 steps at a time. Each step will be printed on a new page.
If your app has more than 16 steps, use the Next button at the top of the print screen to advance to the next set of steps. Then, choose Print again.
Duplicate, print, or archive an app folder
-
Select an app folder from either the left-side panel or from the list of folders on the Apps page.
-
Click the three-dot-menu next to the Create App button.
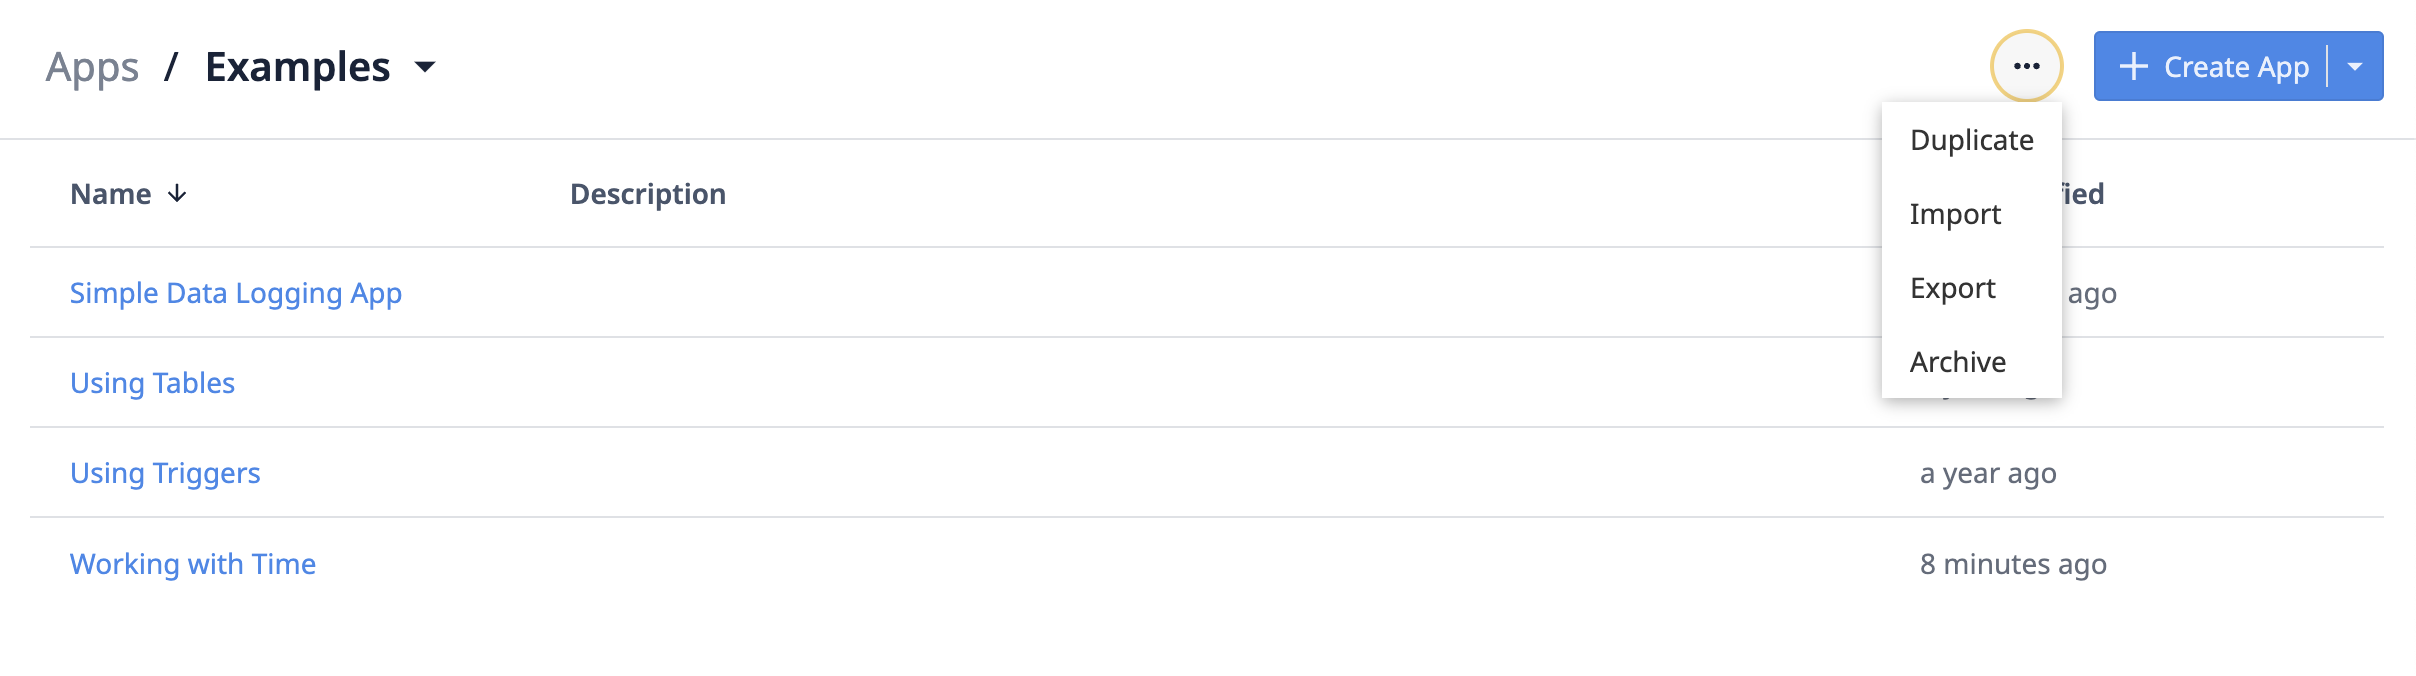
- Select the desired action:
- Duplicate
- Import
- Export
- Archive
Archived app folders are recoverable under the Archived Apps menu option.
Move an app between folders
Storing apps into folders helps organize your Tulip space and separates apps into their respective process stages. To reorganize an app in your instance, follow these steps:
- Navigate to the Apps page.
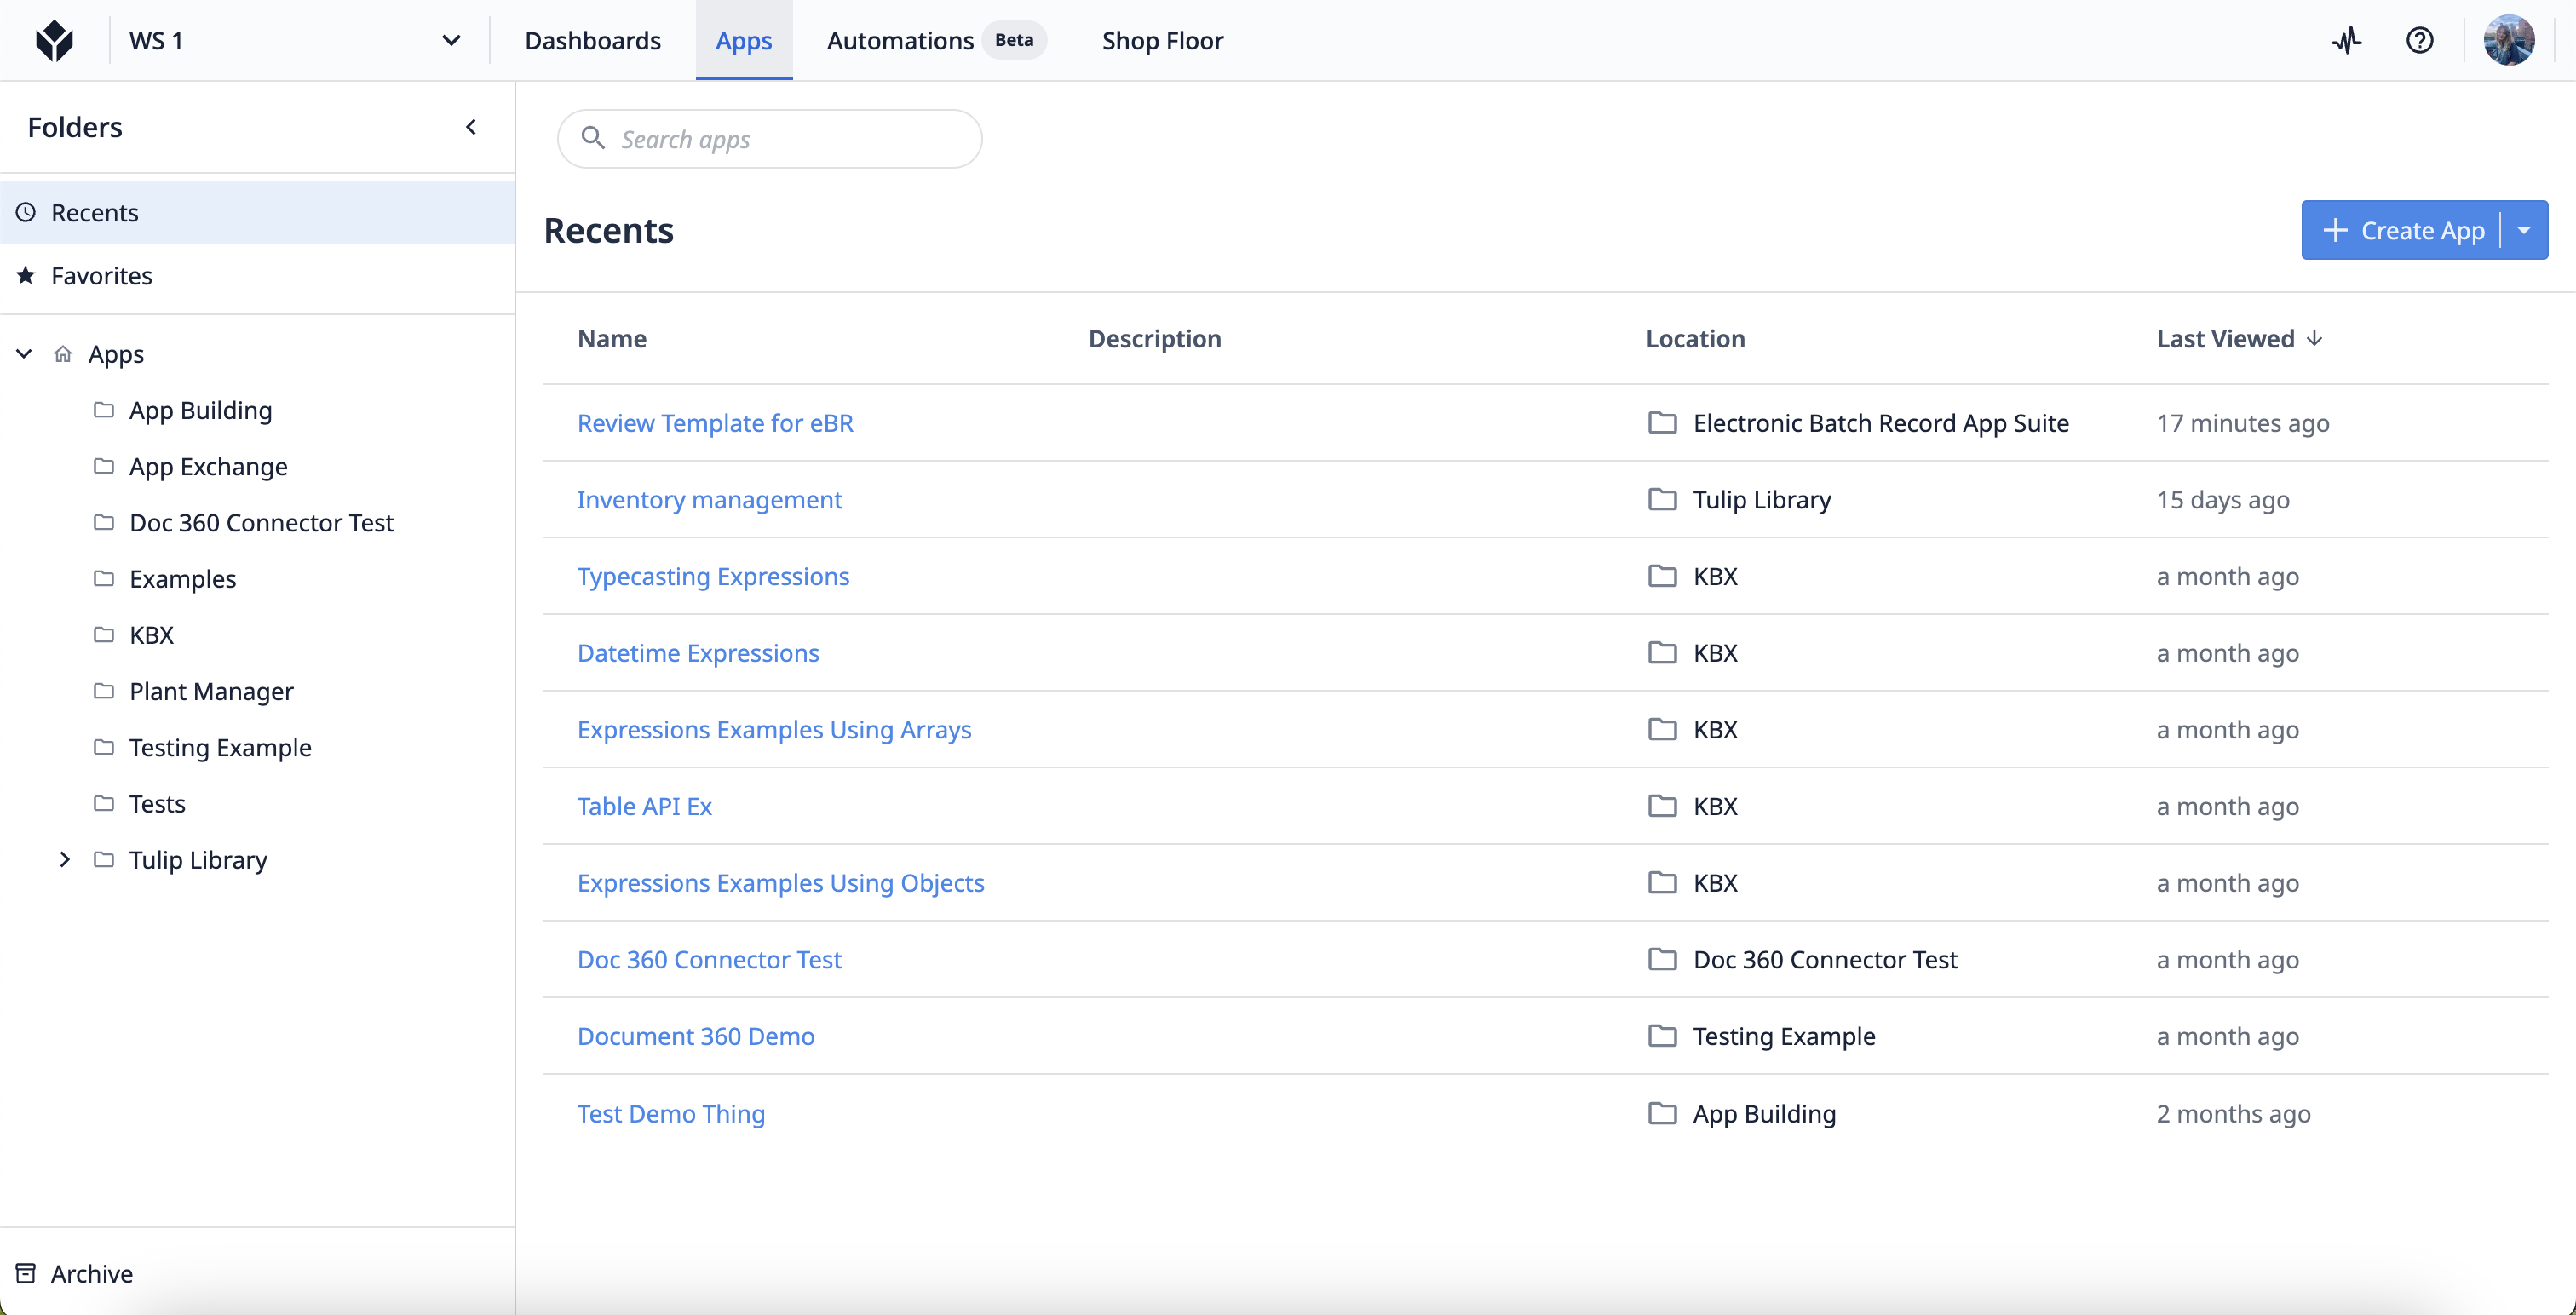
- Select an app from a folder and click the three-dot-menu to show the options.
- Select Move. A modal pops up prompting you to select a new folder to move the app to.
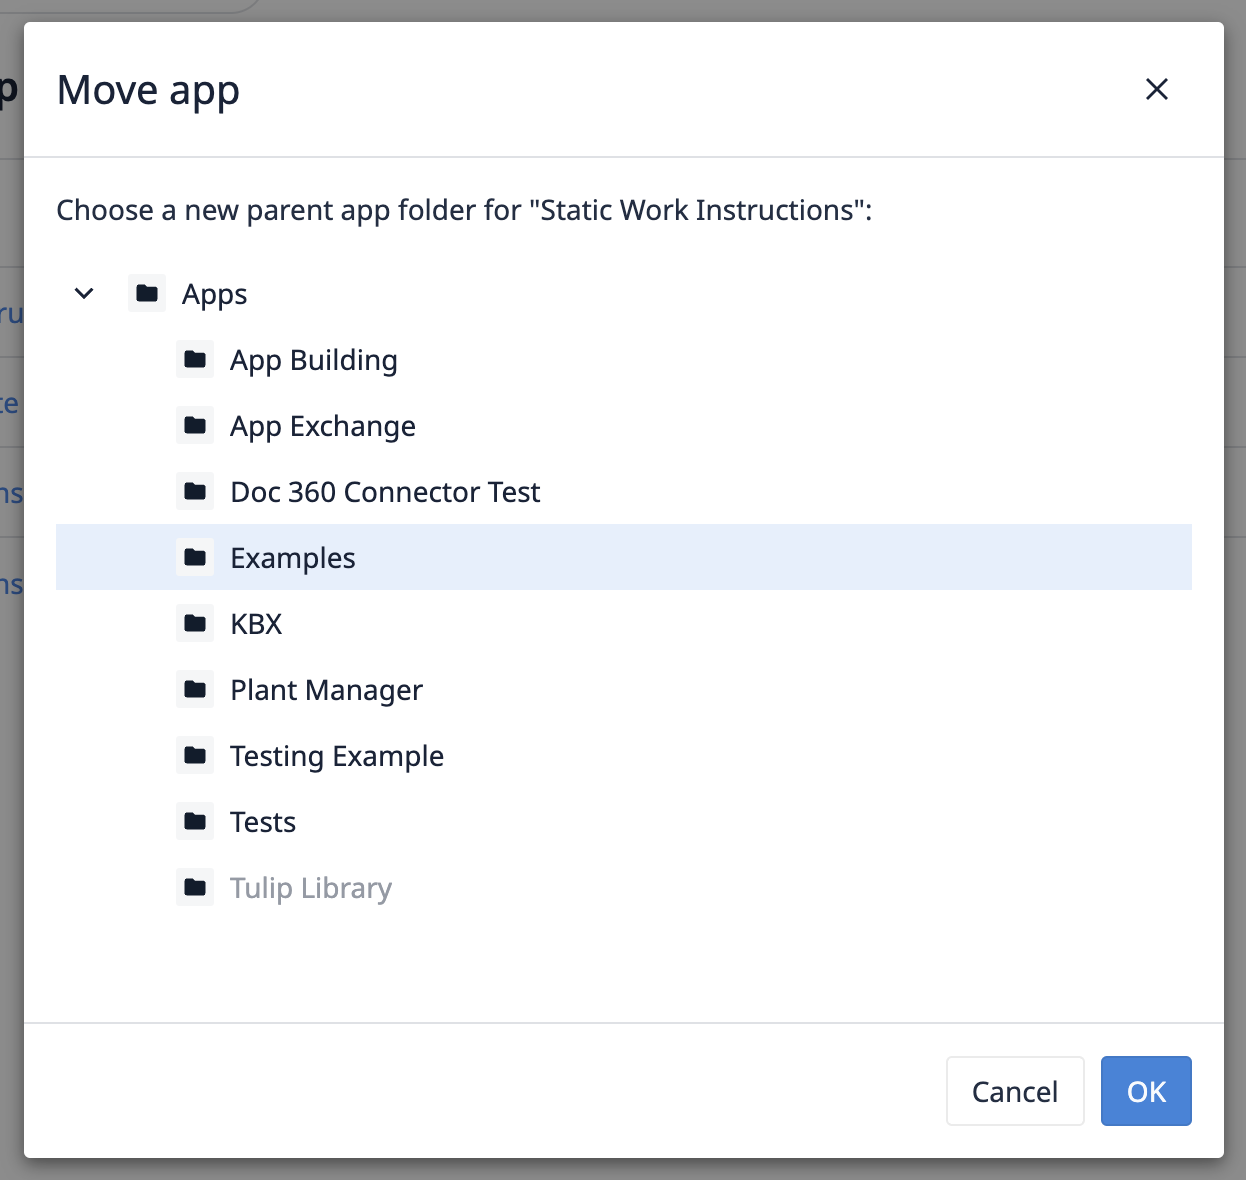
- Select the new app folder and click OK.
Did you find what you were looking for?
You can also head to community.tulip.co to post your question or see if others have solved a similar topic!