To download the app, visit: Library
Purpose
This article provides an overview of the structure and purpose of the Defect Tracking Template.
Purpose of the Defect Tracking Template
The Defect Tracking Template serves the purpose of enabling users to report and monitor defect events effectively. The application encompasses essential defect management functionalities, allowing users to organize defect events and provide rework details when necessary.
Tables Used by the Defect Tracking Template
Defects are stored in a Tulip Table named "Defect Events," where each record represents a unique defect event. This table serves to inform users about defect event details by presenting the information in an interactive table widget.
Fields of the Defect Events Table
ID: Unique identifier for the defect event.
Reported Date: Date when the defect was discovered and reported.
Reported by: The user who reported the defect event.
Material ID: Identification of the defective material.
Description: Free-text field to describe the defect.
Quantity: The number of defective materials.
Assignee: The person responsible for the next steps.
Status: The current status of the defect event (e.g., sent to rework).
Comments: Any remarks regarding the defect event (e.g., marked as scrap).
Photo: Image of the defect event.
Location Detected: Shop floor location where the defective material(s) was found.
Severity: Severity of the defect event.
Rework Station: Station name where the rework should occur or has occurred.
App Structure
The Defect Tracking application comprises several steps to facilitate defect reporting and management:
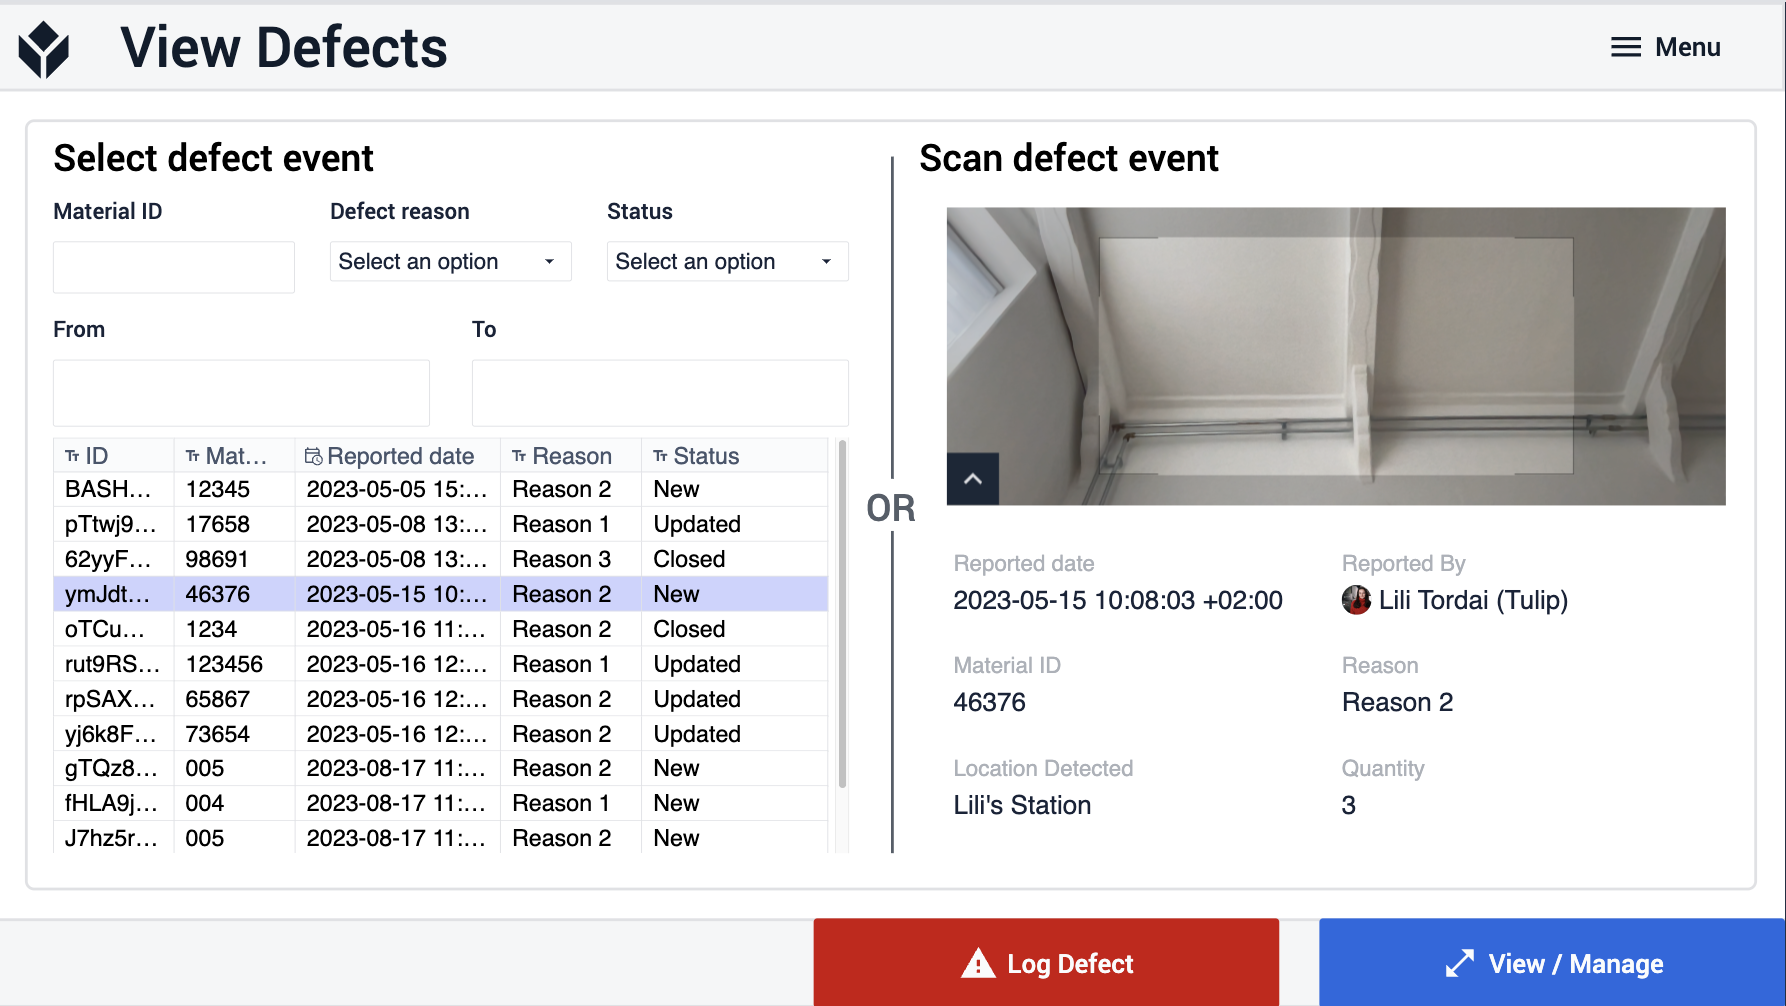
View Defects Step: Users can view all logged defect events on the shop floor and choose to log a new defect event or manage an existing one. Defect events can be selected by either choosing a record from the interactive table or scanning the printed barcode using a barcode scanner widget.
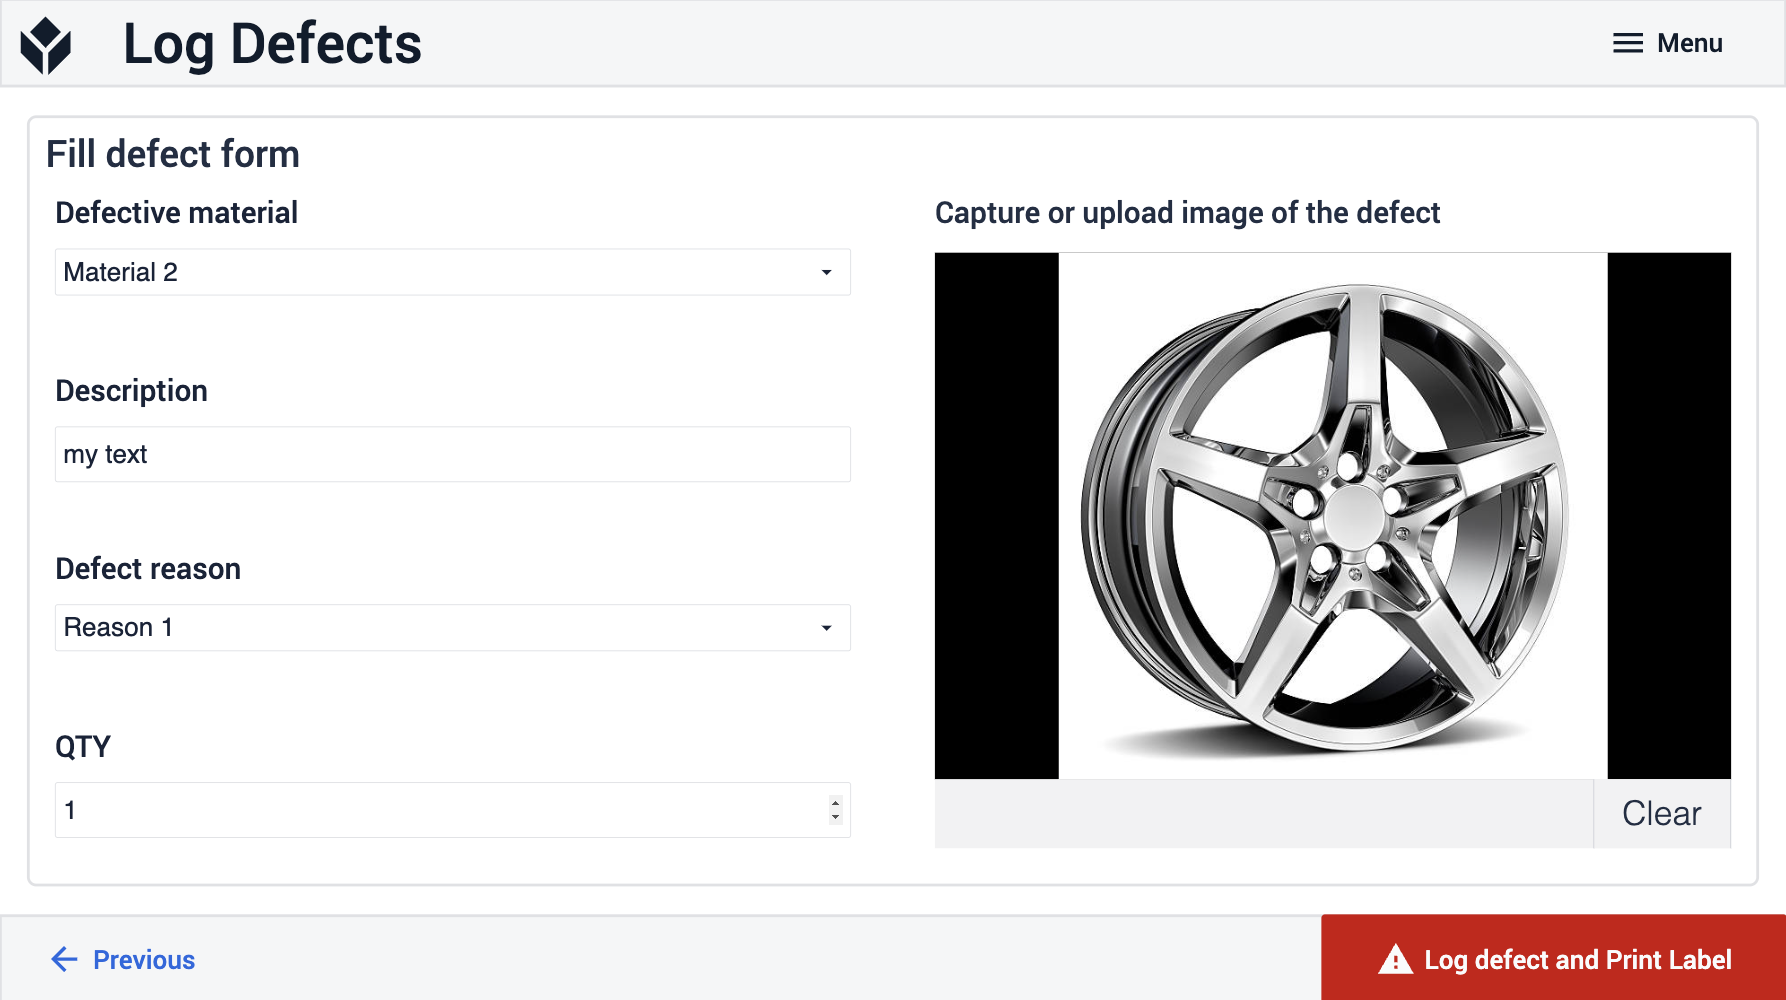
Log Defects Step: Upon clicking the red "Log Defect" button, users are directed to this step where they can fill in the defect form with detailed information and click "Log Defect and Print Label."
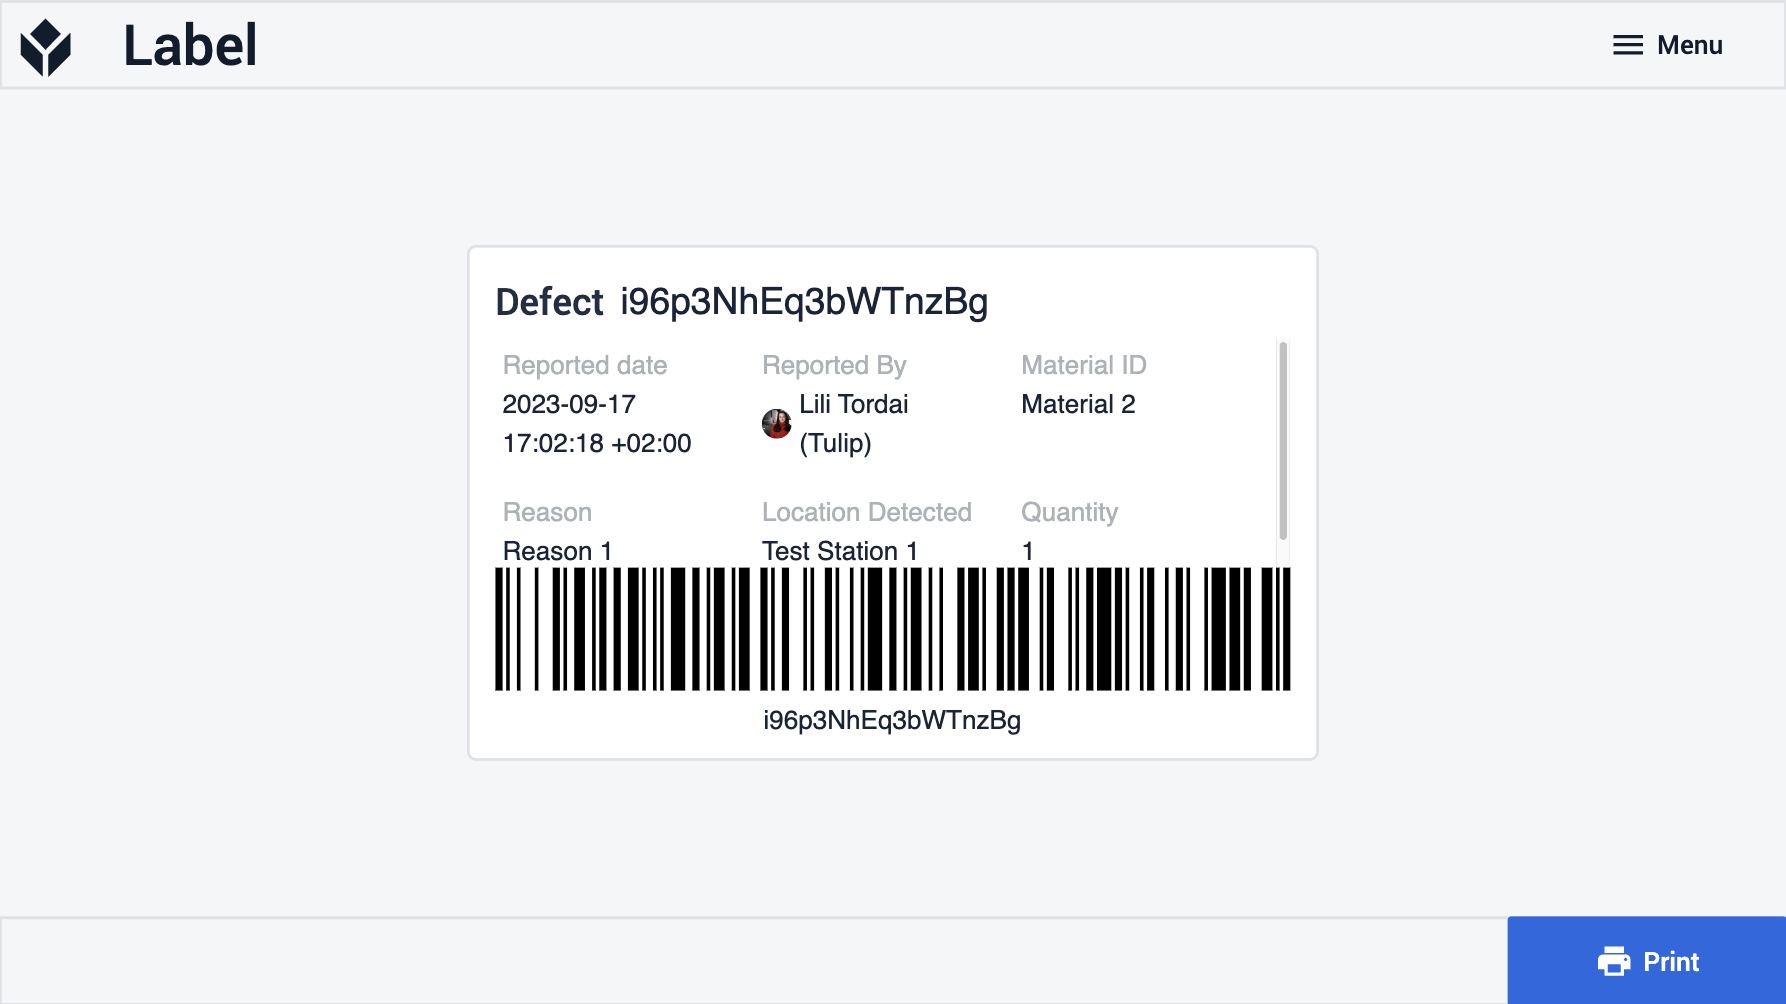
The next step of the template generates the sticker that would be printed on the material, however, this template is not linked to any printers. For using the application with a printer, create the device connection.
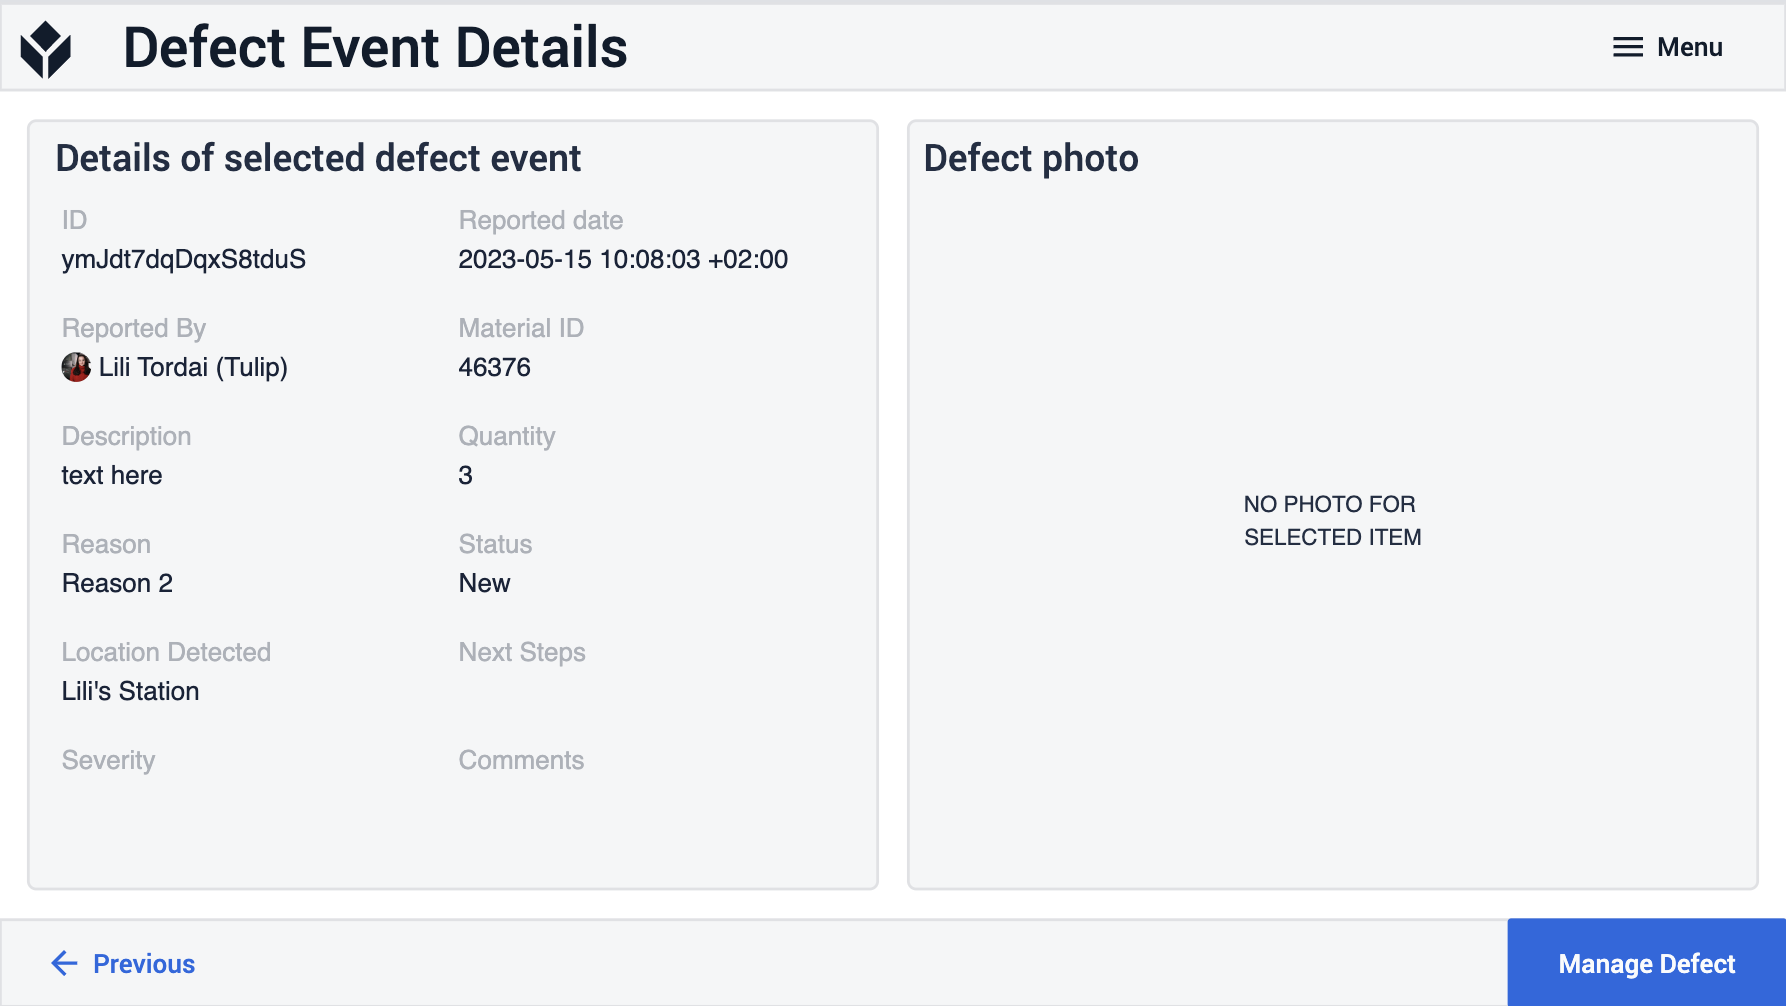
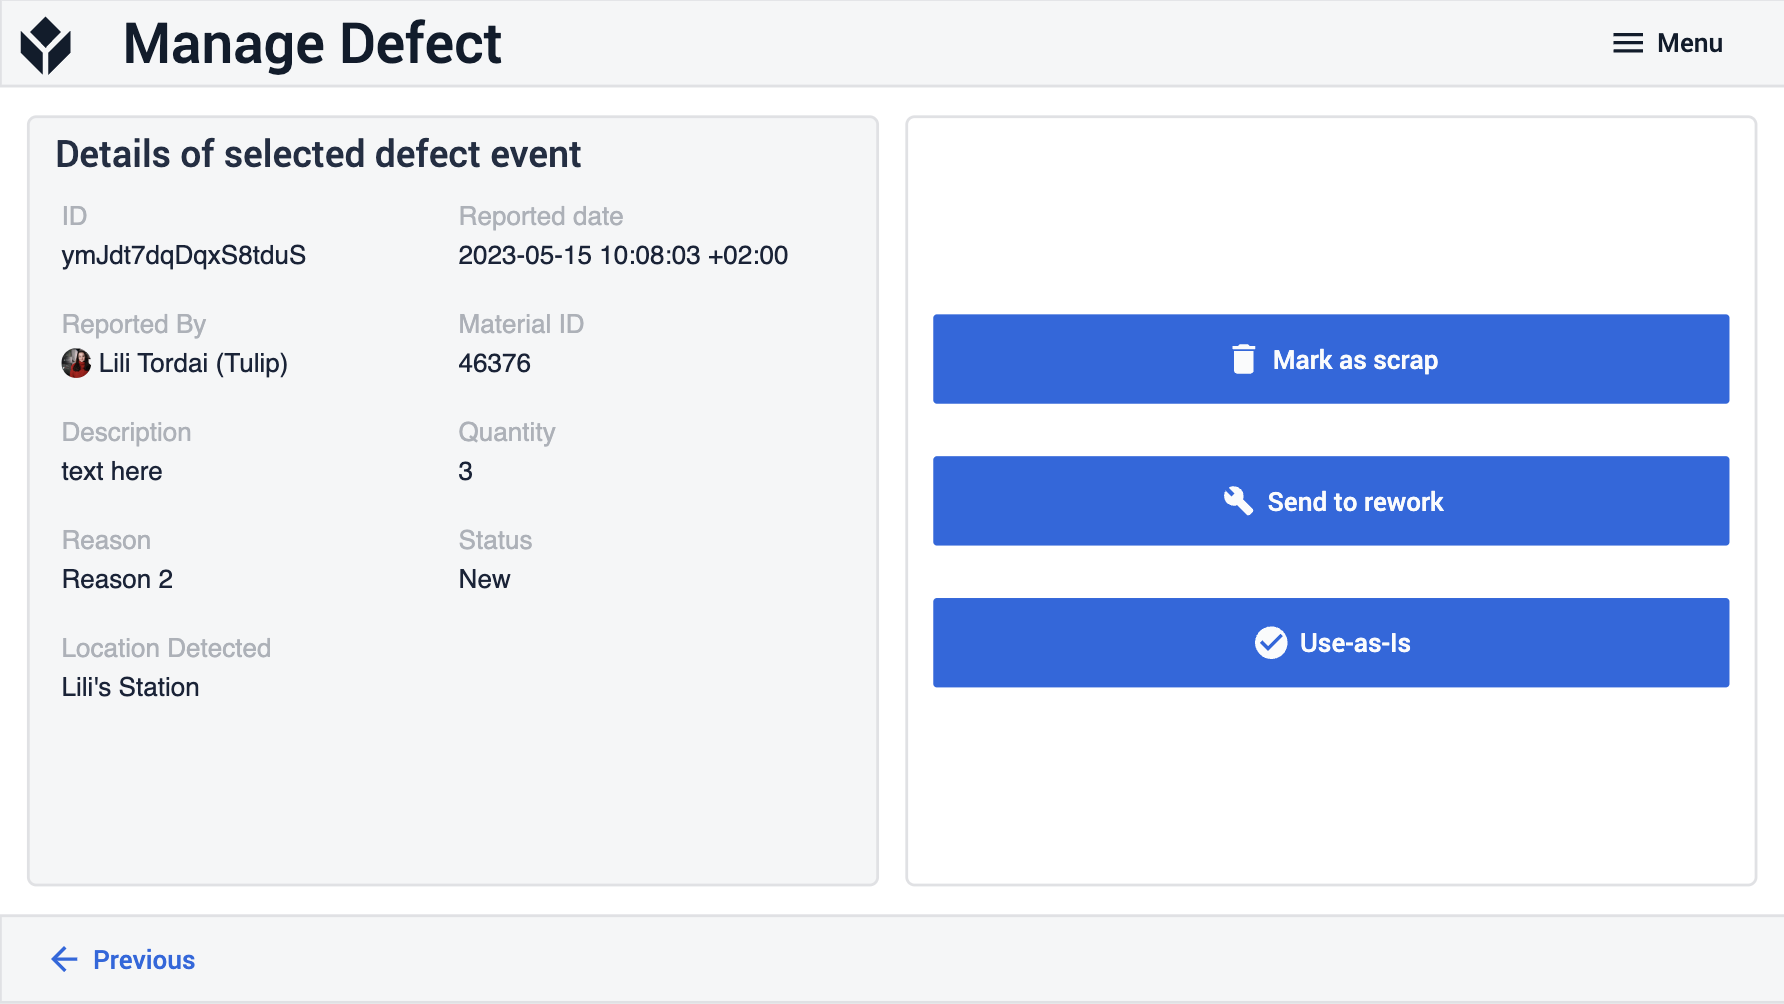
View/Manage Step: Users can view the details of a defect event and define the next steps. If the event is not closed, they can proceed to define the next steps. If the event is closed, they can navigate back to the View Defects step.
Defect Disposition Step: Users have three options for defect disposition: mark as scrap, send to rework, or use as-is. Based on their selection, the defect event's status changes accordingly.
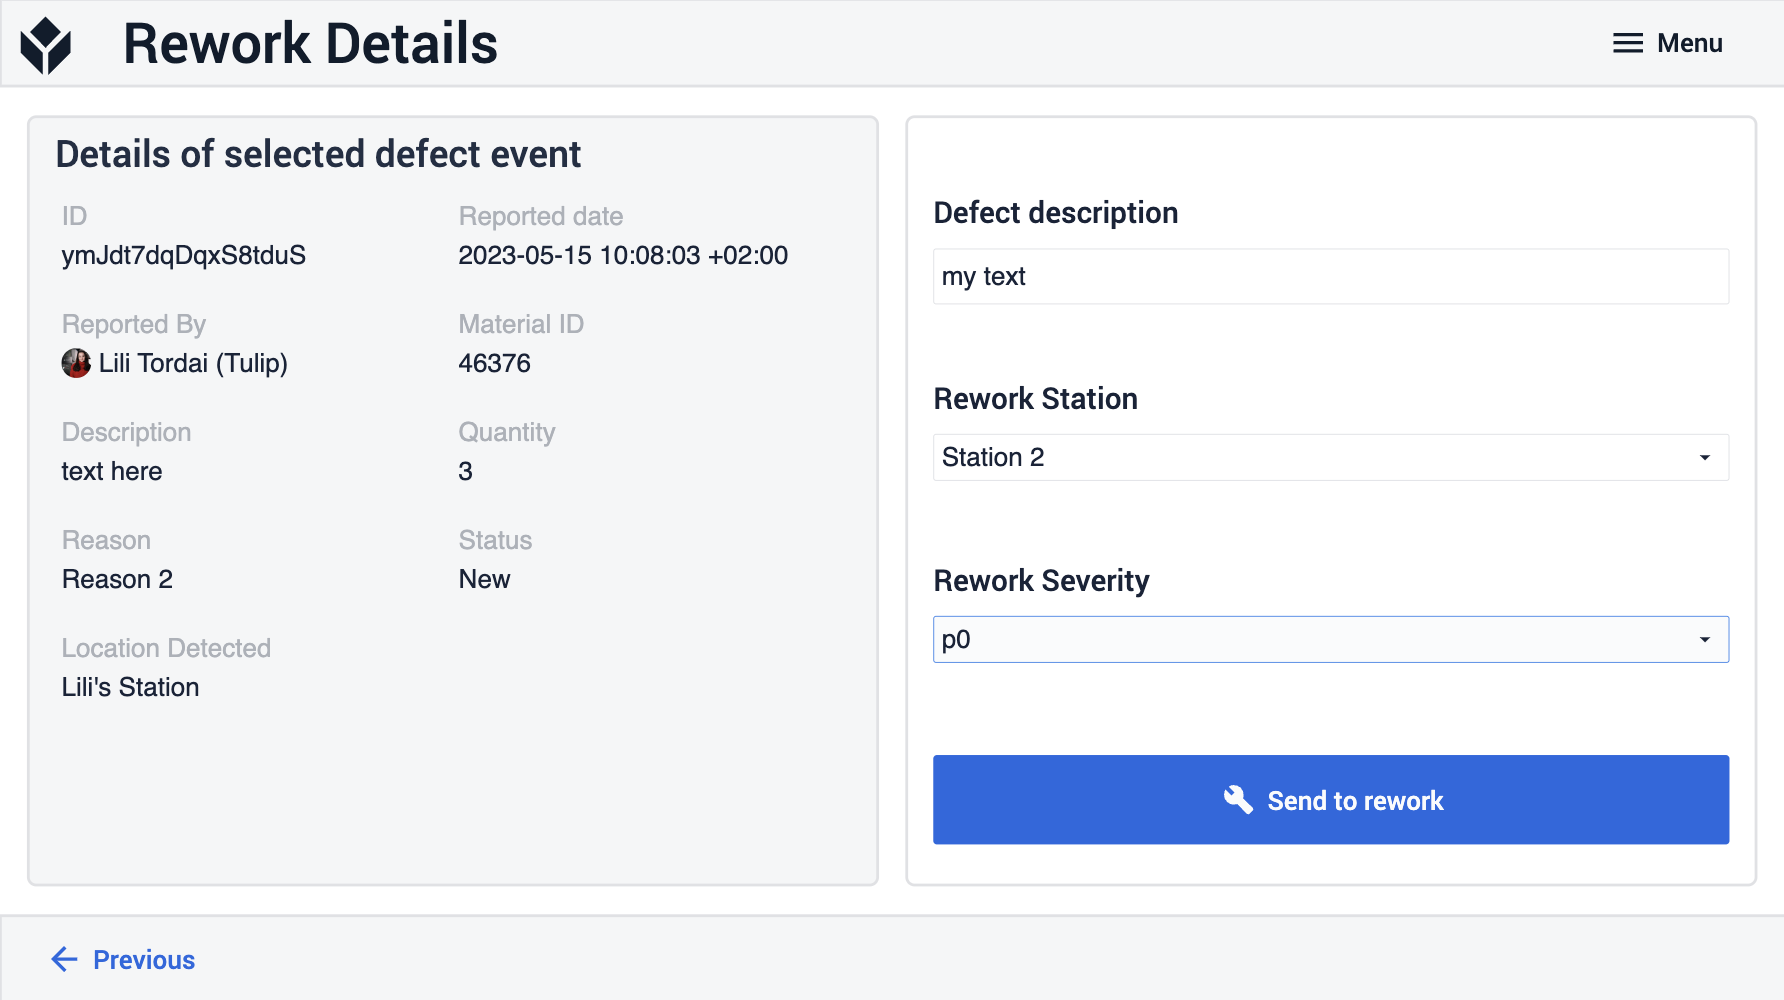
Rework Details Step: If the part is sent for rework, users specify rework details such as defect description, rework station, and severity of the job. After sending the part for rework, the application navigates back to the View Defects step.
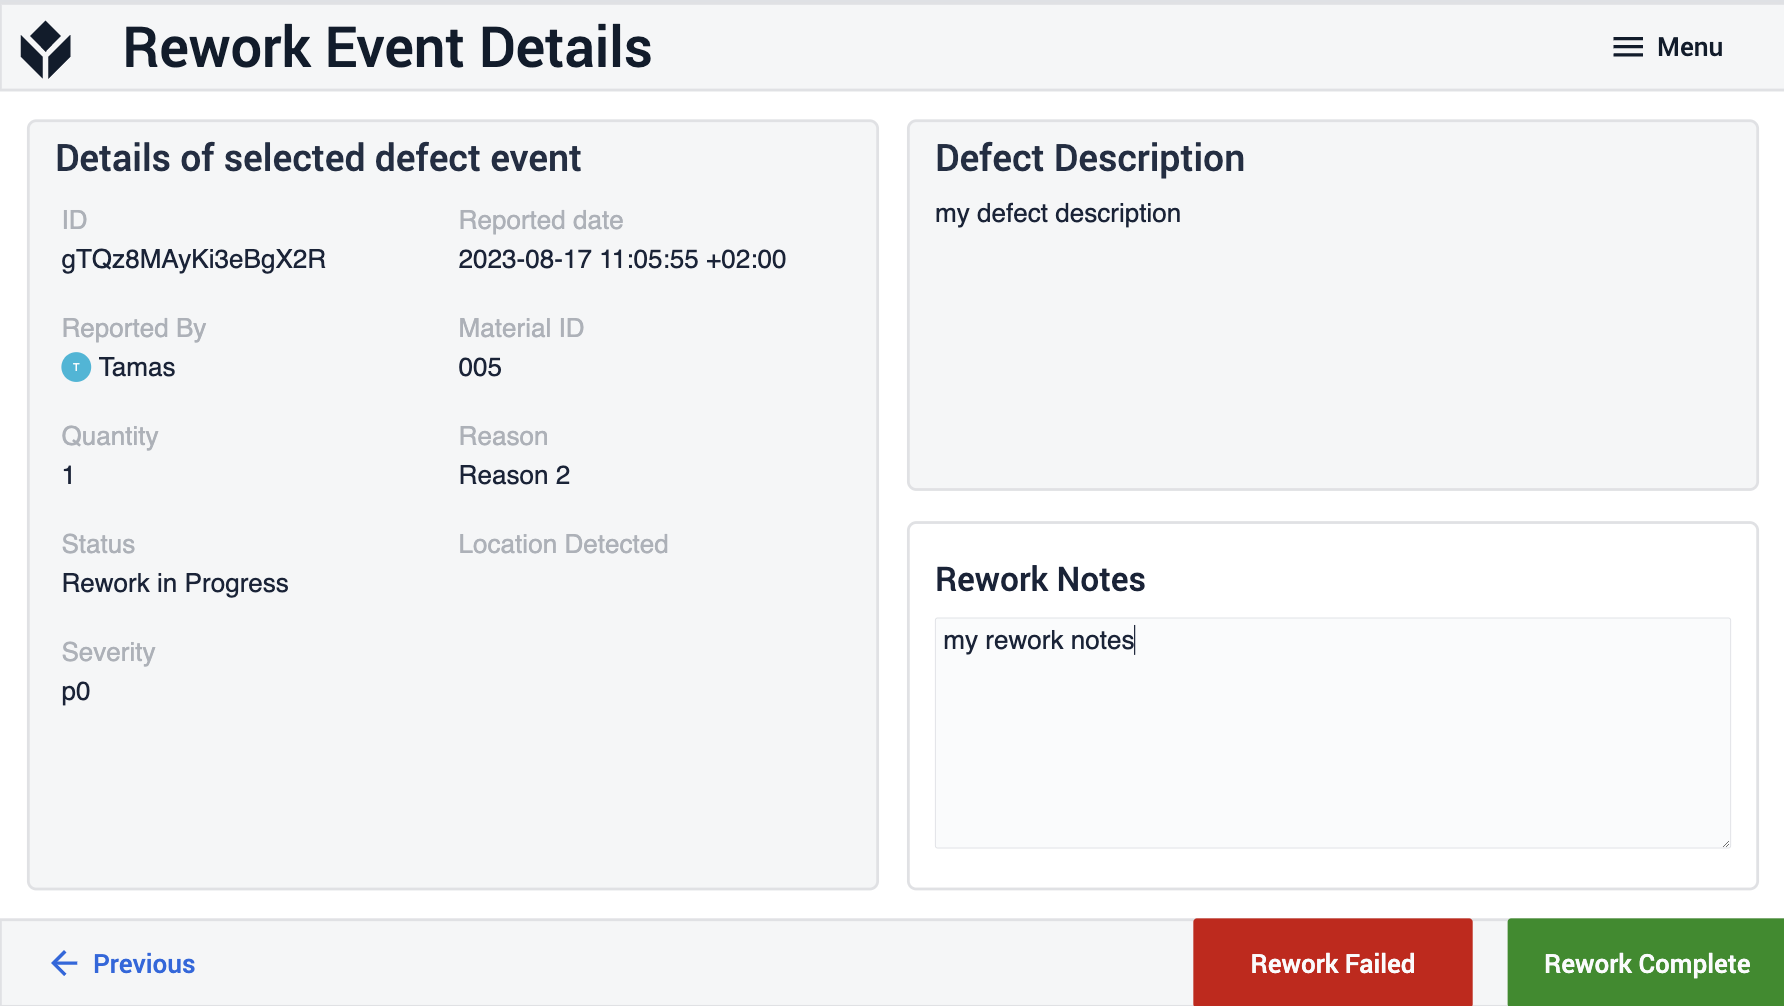
Rework Event Details Step: If an event is in "Rework in Progress" status, users can log whether the rework was successful by providing rework notes and selecting either the "Rework Failed" or "Rework Complete" button.
By following this structured approach, the Defect Tracking Template supports effective defect reporting, tracking, and management within the manufacturing process.