Before reading this article, make sure you are familiar with "How to Use a Base Layout".
The Base Layout is the heart of your application formatting. Having a good format on your base layout will streamline the development of each Step.
How to design an effective base layout
When designing an app, one of the first things you should do is decide what your Base Layout is going to look like.
A Base Layout is a design that is applied to every step in the app. Any Widgets added to the Base Layout are present by default in all subsequent steps.
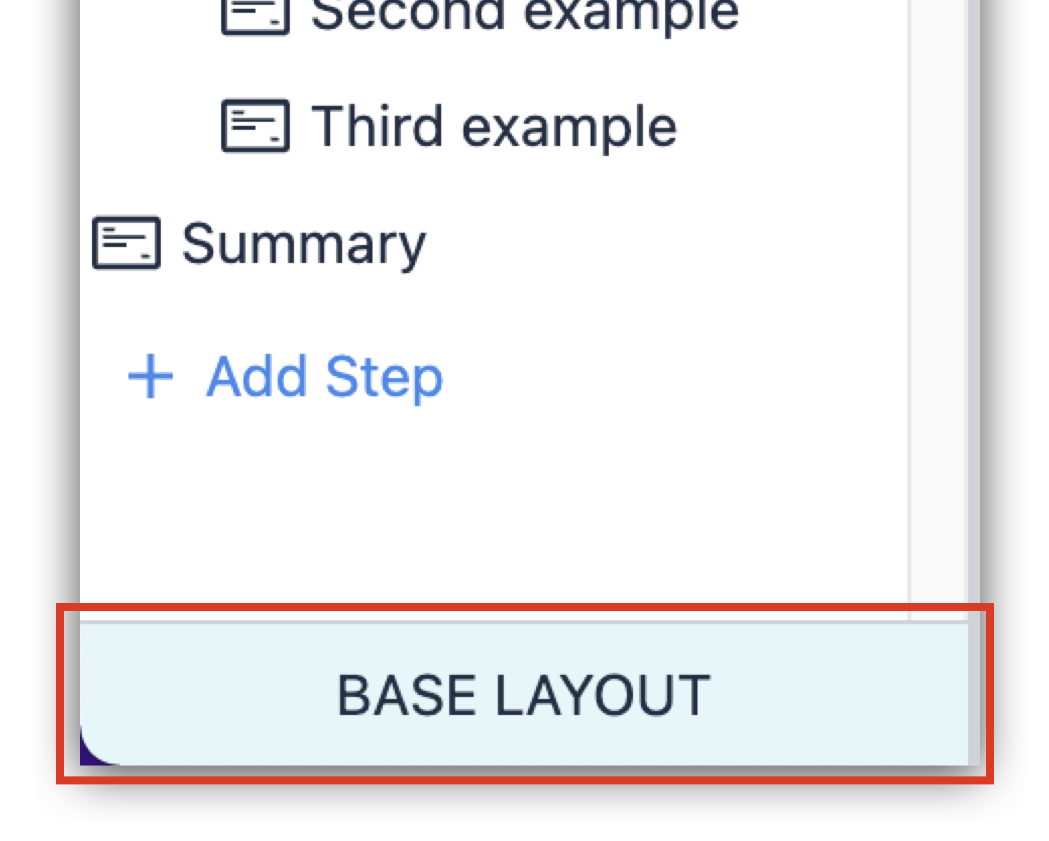
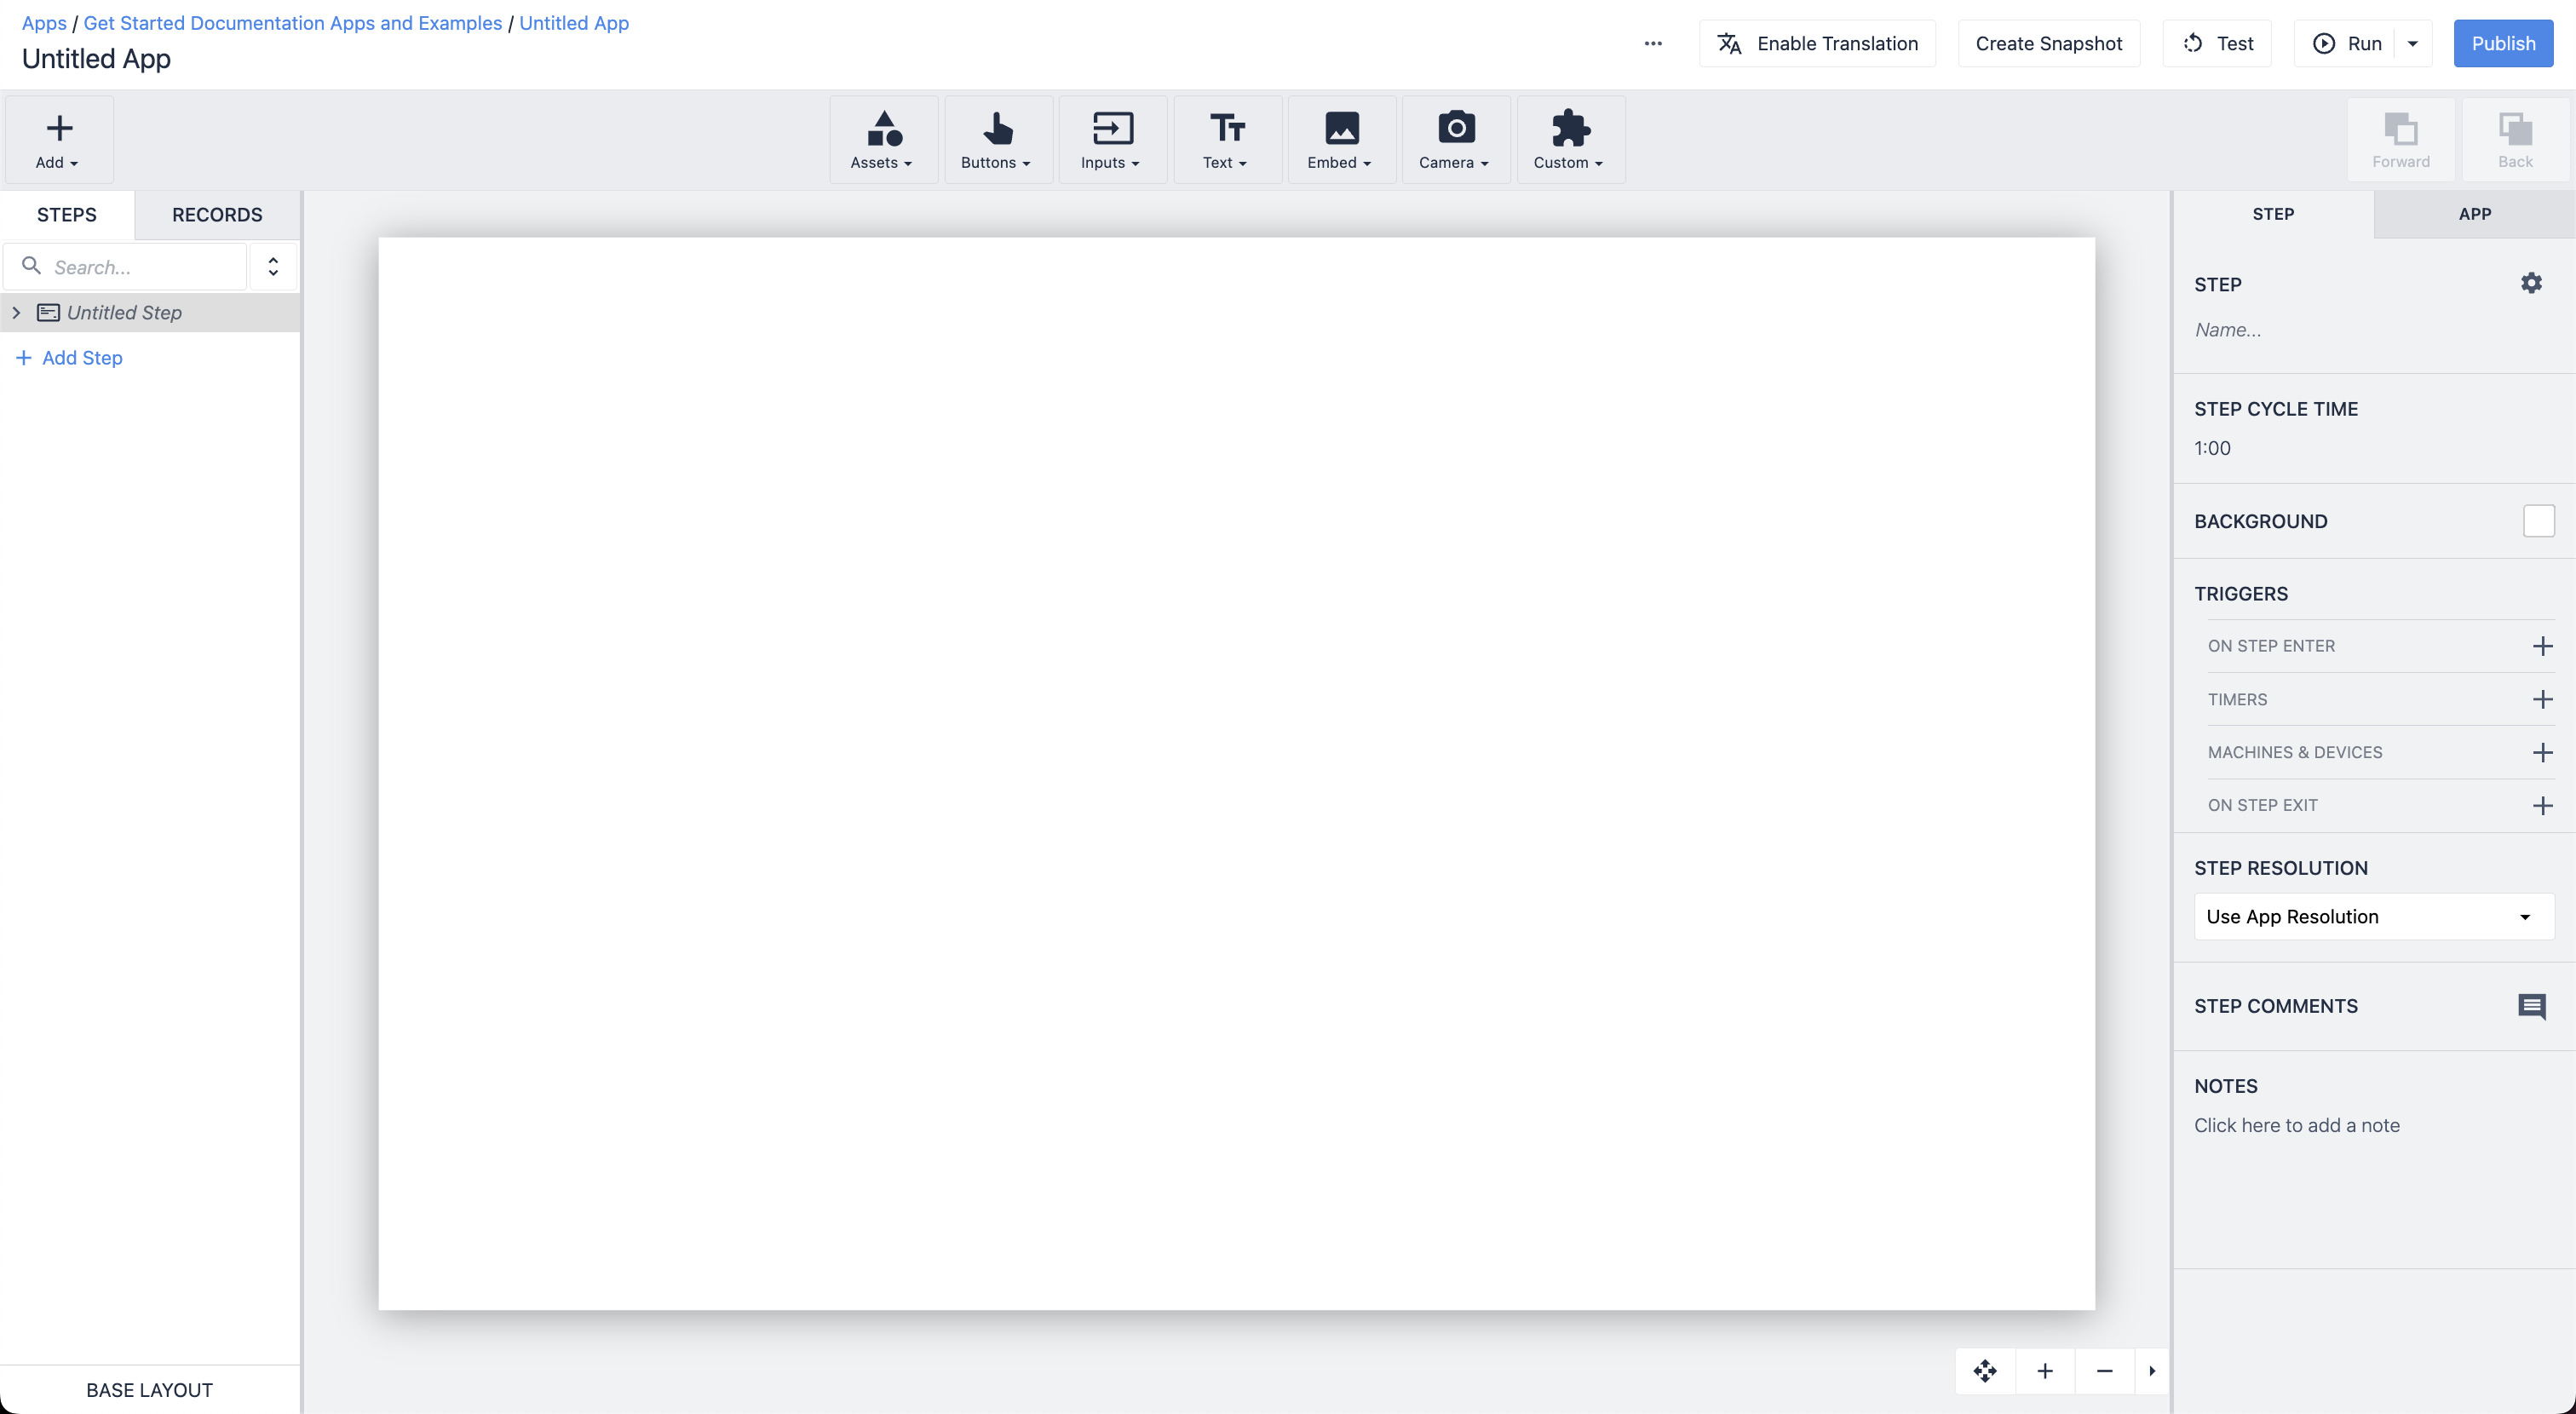
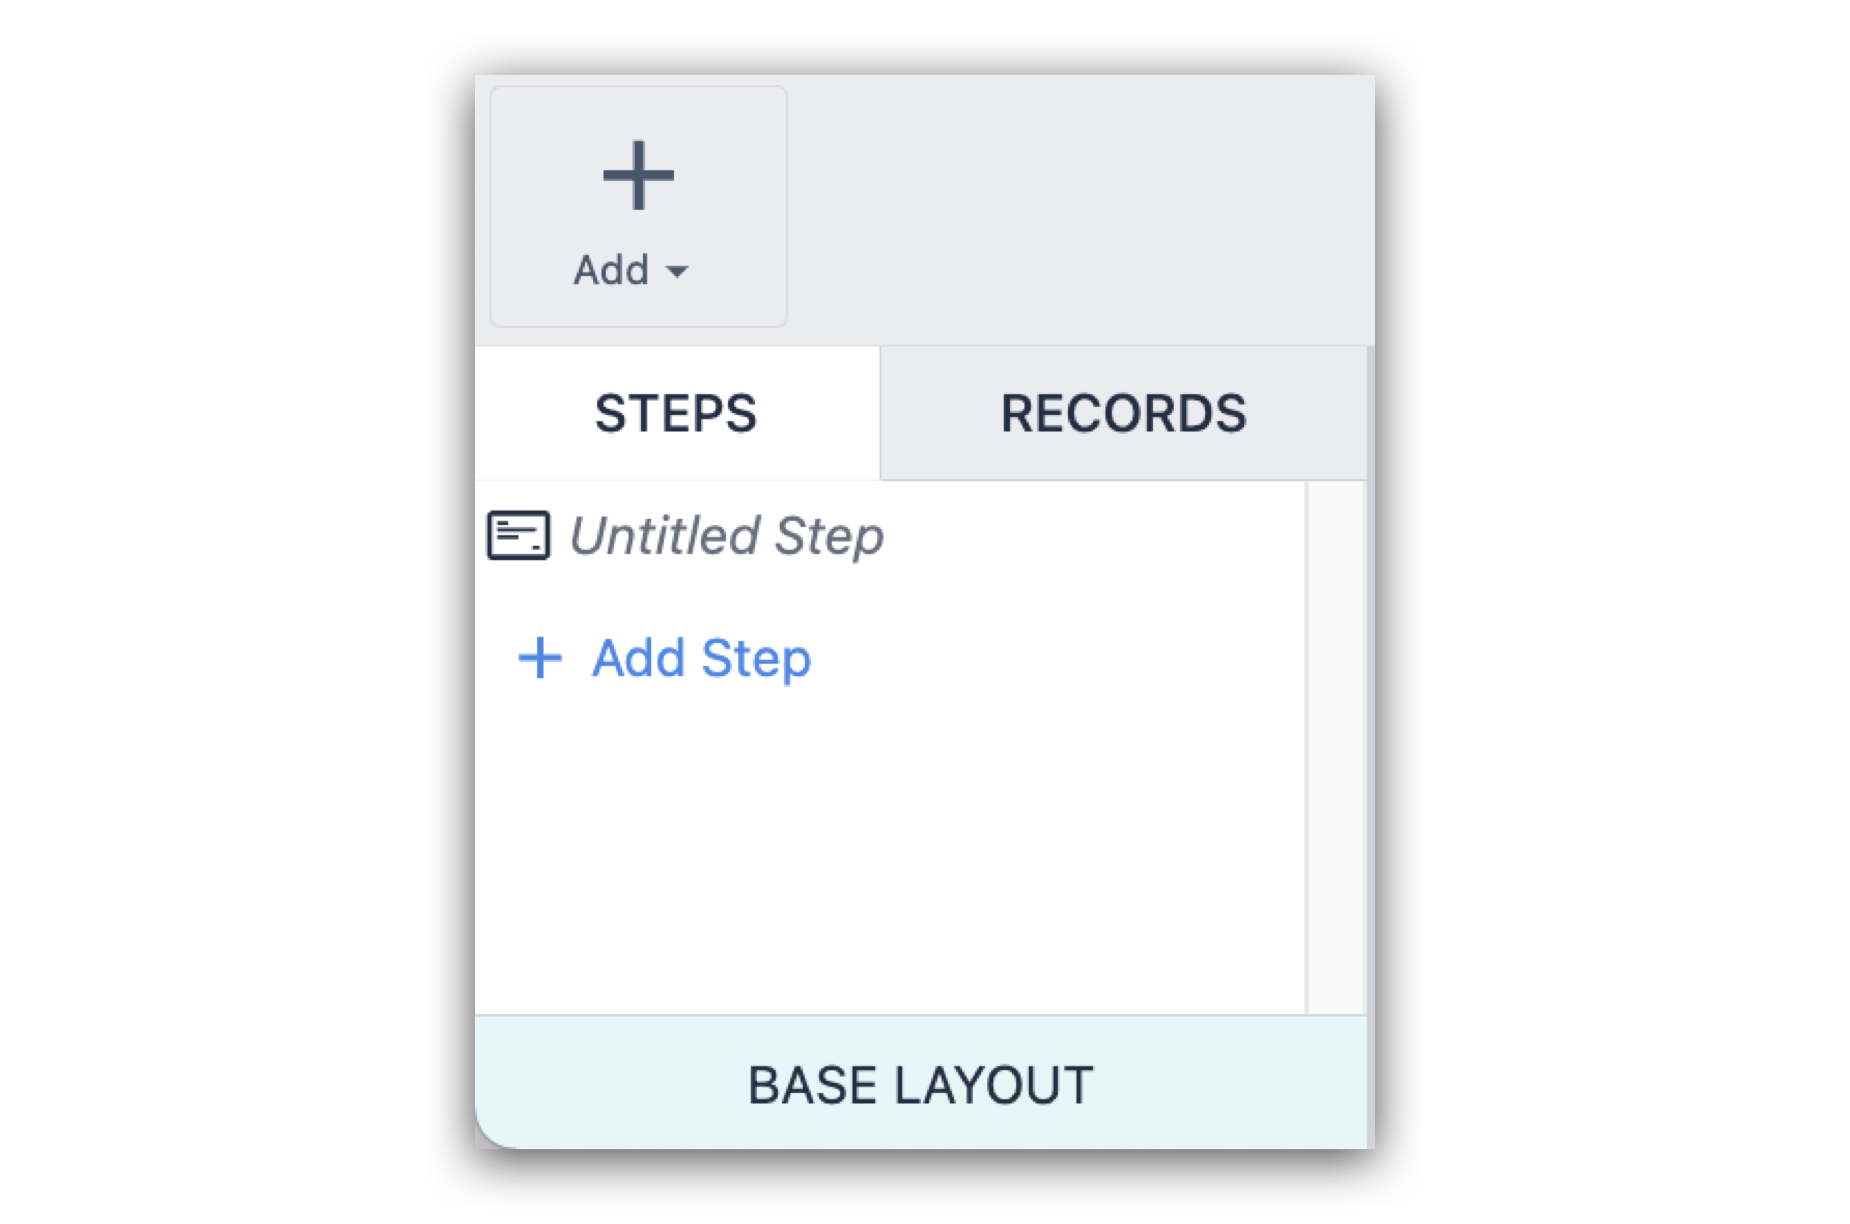
You can access the Base Layout in the bottom left of the App Editor.
If Triggers are added to the Base Layout, the Trigger will be applicable on all the steps in the App; however, they cannot be accessed from any step other than the Base Layout.
Since the Base Layout is the template for the rest of the Steps in your App, it makes sense to lay out Base Layout Widgets on the periphery of the step.
The steps below outline the creation of a sample Base Layout and give you an idea about how to design your own.
-
Decide which widgets you will need on every (or almost every) step
Some reasonable examples are: buttons that go to the next or previous step, a company logo, and a timer to track how long an operator spends on each step.
As a best practice, base layouts should include a Cancel button, the Menu button, or a Logout button, so that users can always leave the step. -
Decide where the base layout widgets should be placed.
A good starting point is to create a header and/or footer for your App. Below, you can see a visual layout for a header and a footer constructed by using a rectangles, buttons, text, and an uploaded image.

-
Leave space for new content on every step.
Widgets on the base layout should be arranged to allow for maximum visual area in the center of the step. -
Note which widgets you want or need to unlock from the base layout.
When you design a Base Layout, it is important to note which widgets you will need to unlock in specific steps. Try to keep those widgets visually separated from other aspects of the Base Layout in order to create less drastic Transitions. -
Consider extensibility of the base layout design.
Lastly, consider the extensibility of the design. In the example App above, the Menu button could take up the majority of the width of the footer; however, this would leave you with a lot of redesigning work if you decide to add another widget. By leaving space for additional widgets, you reduce the need to reconfigure the existing ones in the future.
Did you find what you were looking for?
You can also head to community.tulip.co to post your question or see if others have solved a similar topic!