How to Register a I/O Gateway
Register a I/O Gateway to your Tulip account
On November 1, 2021, Tulip will no longer sell I/O Gateway devices. Edge IO and Edge MC Devices are still available. Learn More
To register the I/O Gateway, you will need to connect to the I/O Gateway’s Wi-Fi network and launch the Gateway Portal on your computer.
Once you have a Wi-Fi dongle connected, and your I/O Gateway is powered on, it will broadcast a local Wi-Fi network that serves as a local access point for logging into the I/O Gateway.
Please note: If you're registering an Edge MC follow this separate guide. If you are registering an Edge IO follow this separate guide.
Connect to the I/O Gateway's access point:
-
Find and open Wi-Fi network settings on operating system
-
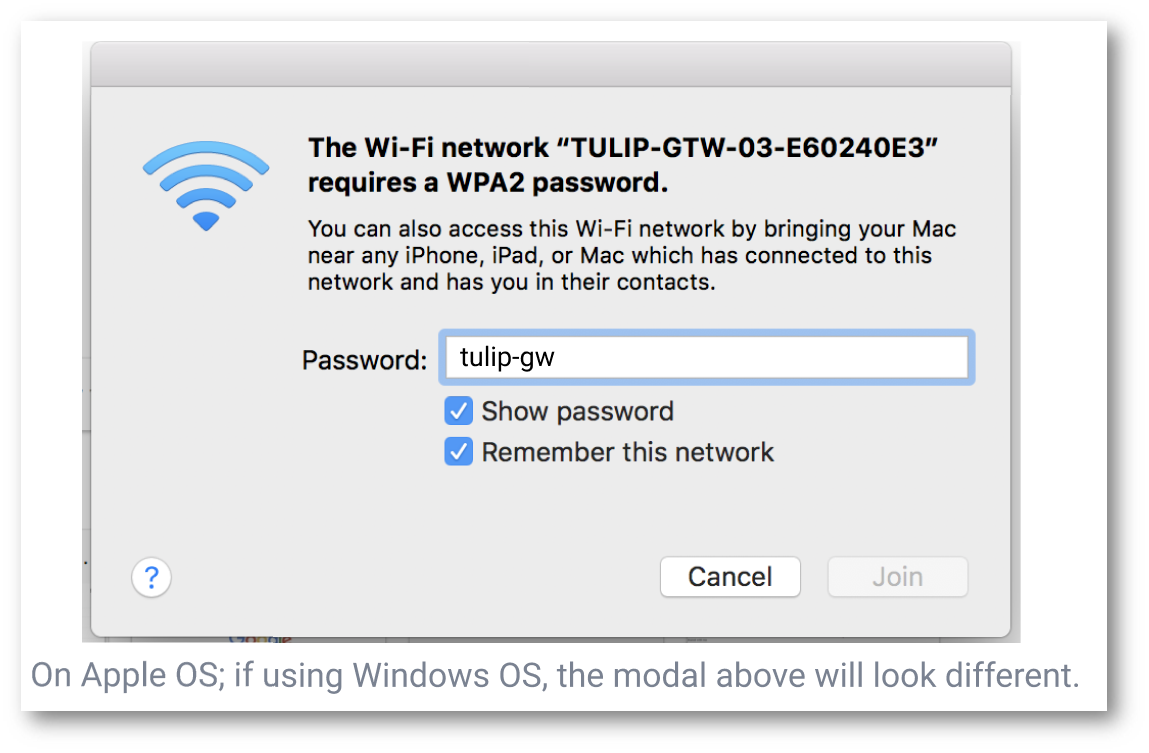
Select I/O Gateway's access point. It will be the same as the serial number on the device. (e.g. Tulip-GTW-03-E60240E3)
3.In the password field, type the password of the local host: tulip-gw
- Open browser and type in the IP address http://10.0.3.1 to launch the Device Portal.

-
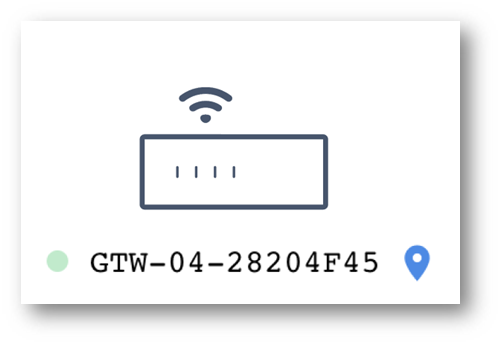
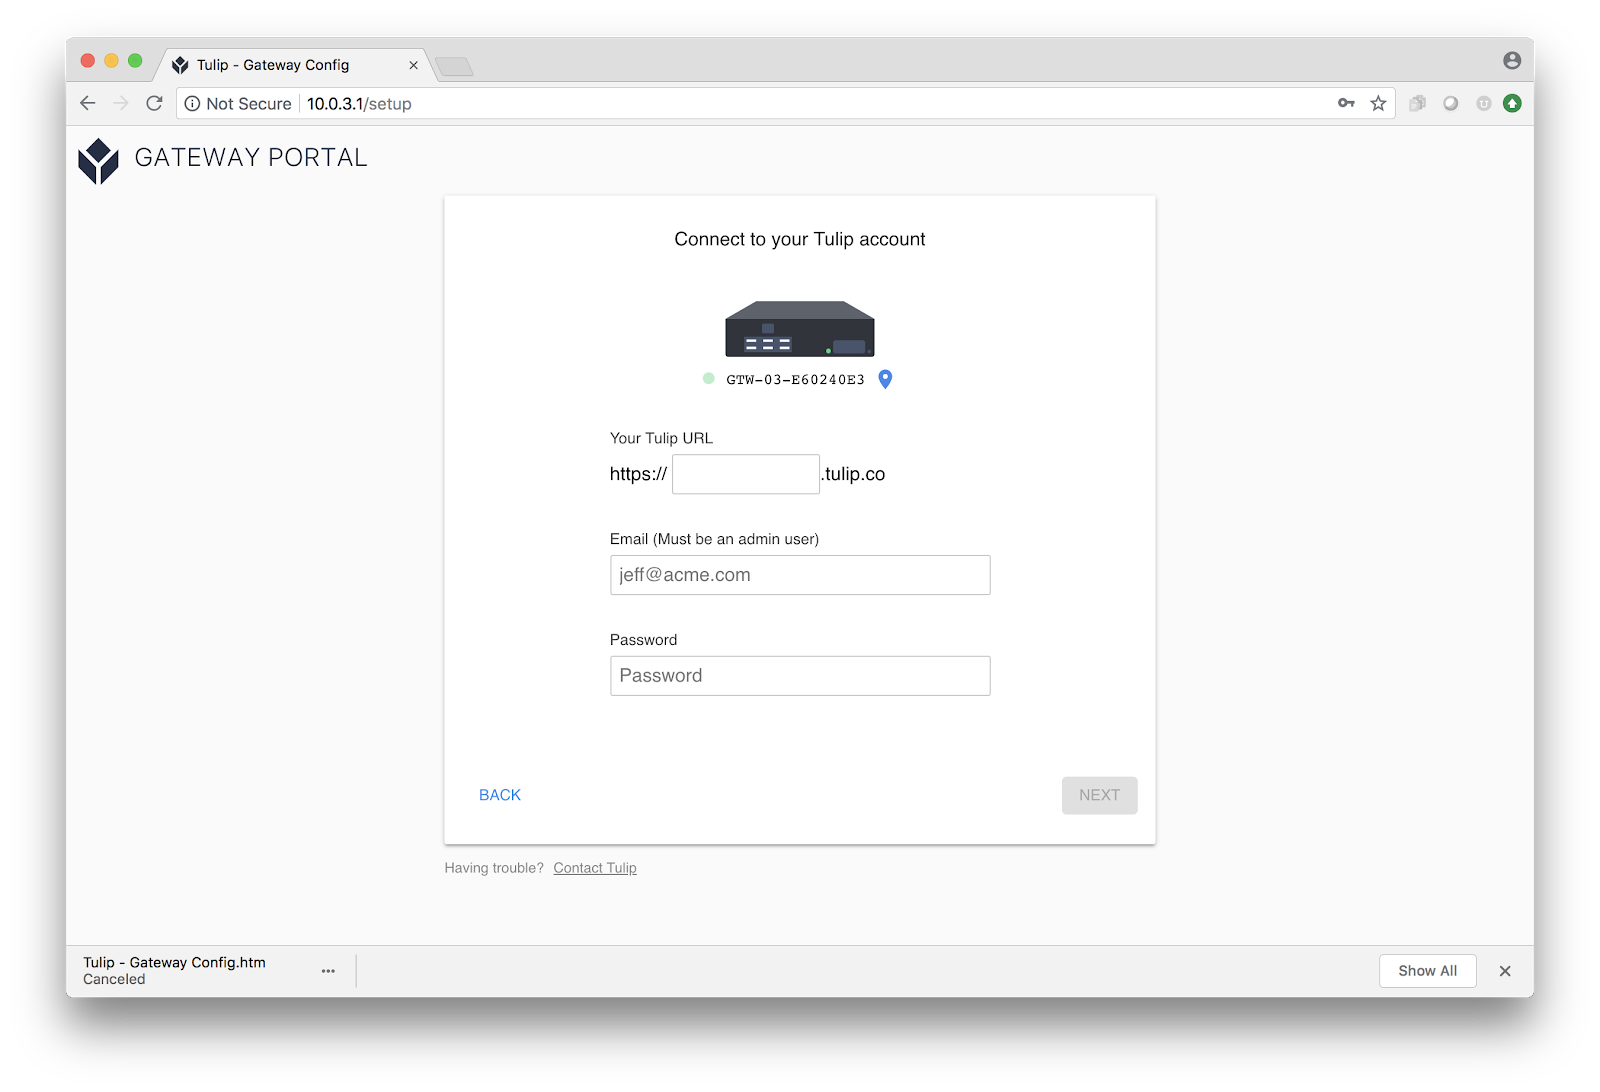
Verify I/O Gateway name on portal matches I/O Gateway serial number.
-
Click the button to continue setting up your I/O Gateway.
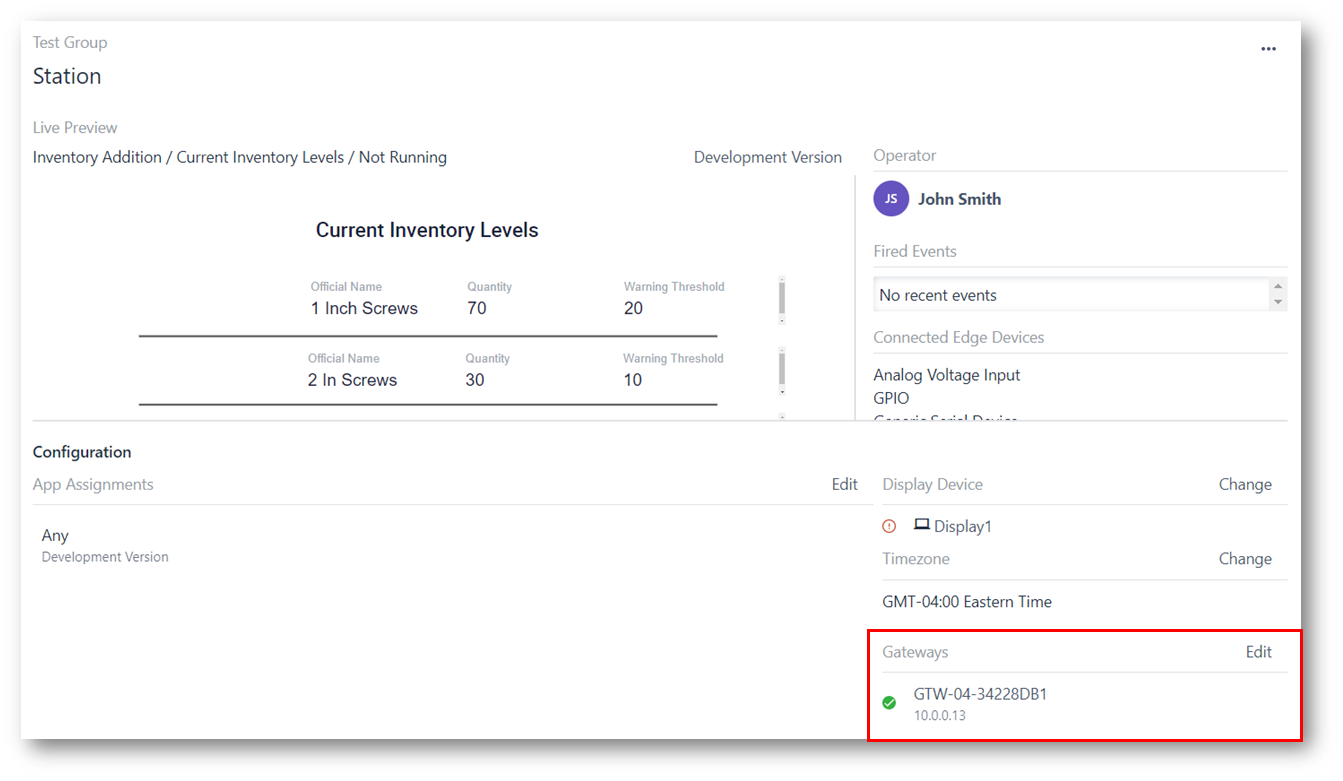
Once the I/O Gateway is online, you can obtain the assigned IP address of the I/O Gateway by clicking on it and checking the Gateway Modal in the 'Stations' Tab.
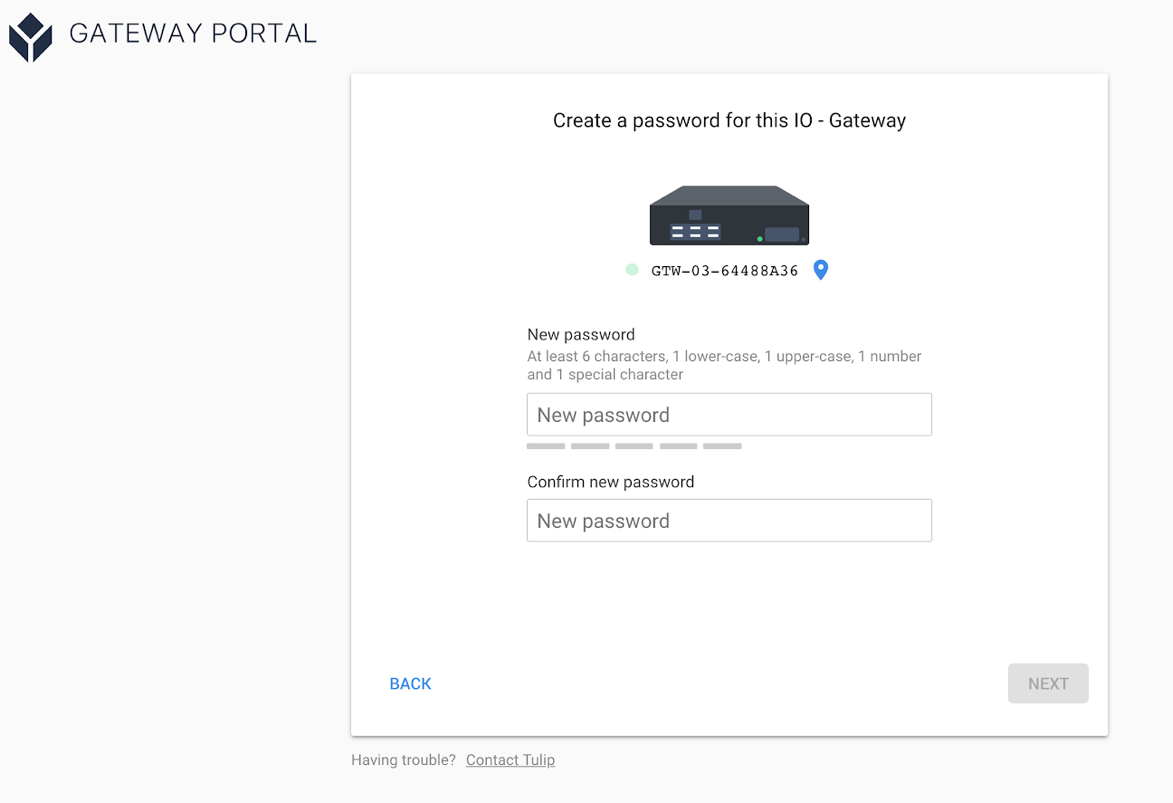
You will be prompted to make a password for the I/O Gateway. This is a device-specific password and is different from the WPA2 password and your Tulip account password.
Once registered, we disable the access point on the Edge IO after the device is rebooted. If you update to OS58, then it will disable the access point on boot.
This can be re-enabled on the device portal and via button press for remote access.
Save this password. If you forget it, you will not be able to re-configure the device.
 {height="" width=""}
)Register the I/O Gateway using the address of your Tulip account which is <your_account>.tulip.co. You will need to use your login credentials that have already been validated on your Tulip account.
Troubleshooting
Forget Edge Device Password or Need to Reset? Click here
Forgot Account Password? Click here
Forgot Account? It is usually the name of your company. Ex: Company's name is King Fisher then the account would be king-fisher.tulip.co
Still Having Trouble? Click here to set-up your username/password, or contact us on live chat.
Having Trouble? If you are unable to load your account on your local network, please make sure the network is aligned with these requirements.
To check if there is an issue, type http://10.0.3.1/diagnostics into your browser. You will see a menu like this.
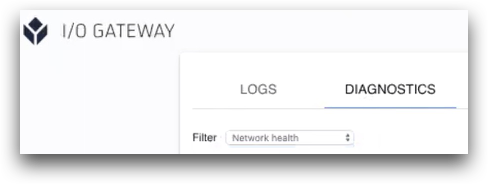
Select the Network Health filter, and then you will be able to see if any of the ports are being blocked.
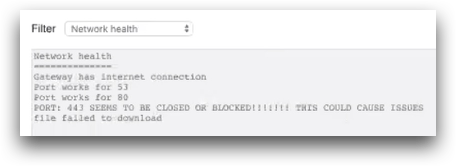
If this is the case, you will need to contact your IT team to whitelist the device or unblock the port.
If you are still having trouble, contact us on live chat.
Note: The Device Portal is also where you will go to make any changes to the Tulip Light Kit bin size. We’ll cover this more in “How to set up my Light Kit”
When you have finished registering the device to your Tulip account, re-connect your laptop to your local network and log back into Tulip.
Assign your Edge Device to a “station” in Tulip Shop Floor
Once the set-up is complete, it may take 1-2 minutes for the I/O Gateway to connect to your Tulip account. Once connected, you will see it on the Shop Floor. Follow the steps below to verify:
1- Log into your Tulip account. Navigate to the "Shop Floor" tab via the menu bar.

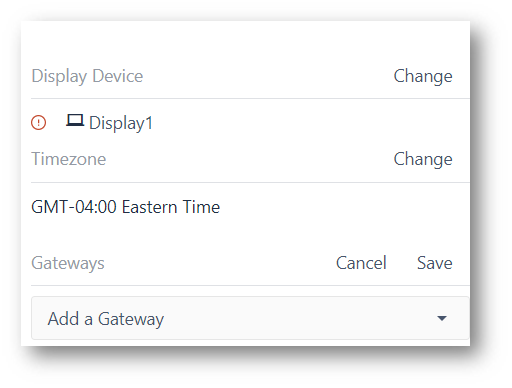
2- Locate the I/O Gateway from the dropdown and select it, then click Save. The I/O Gateway will be listed by its serial number, which can be found both on the box and on the Edge Device itself.
Clicking the I/O Gateway will open up information about this device, including the length of time online and any connected devices.
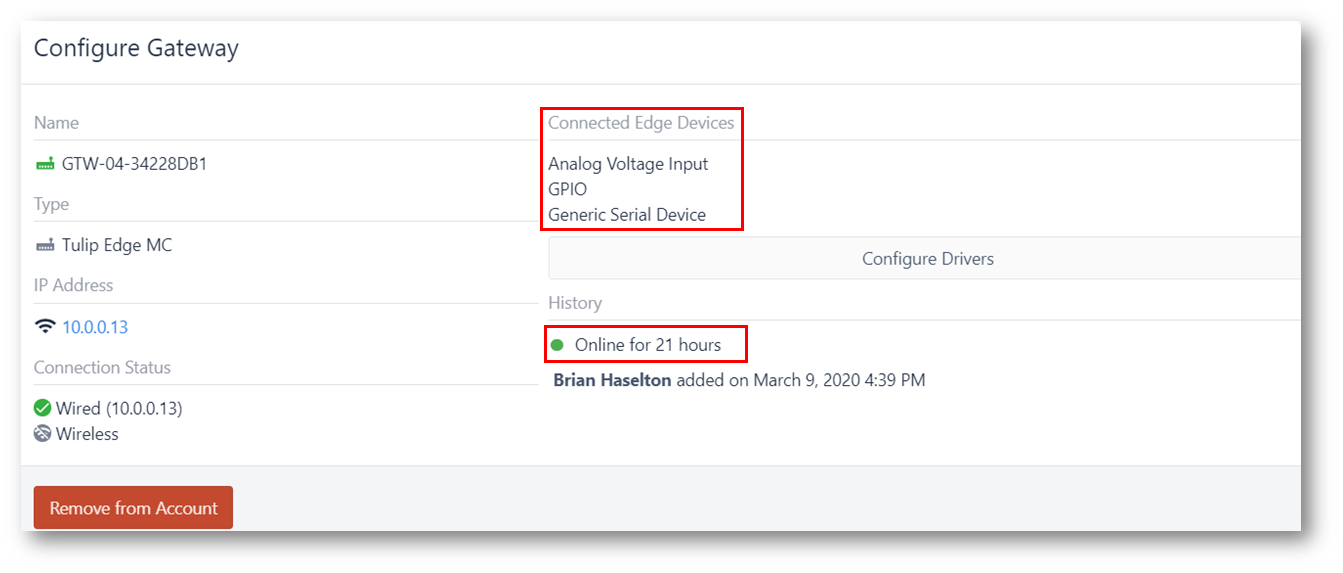
Selecting the Configure Drivers button will allow you to turn on drivers and configure them.
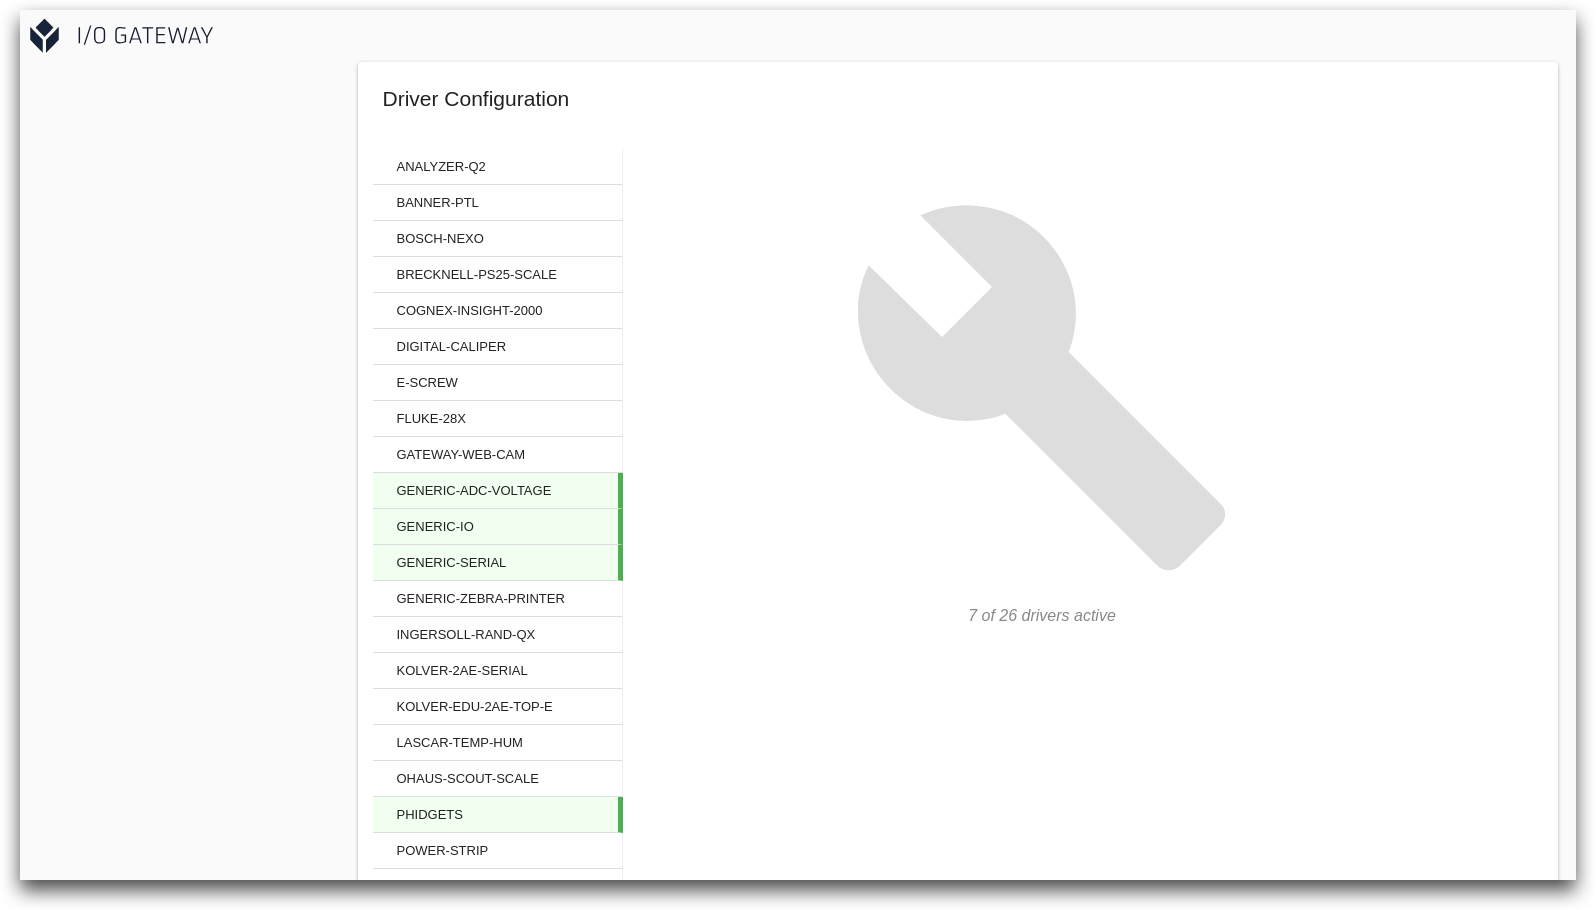
Now that the I/O Gateway is online and assigned to a station, we can begin to setup the other devices in the Factory Kit.
This article will walk you through the next steps, "Connecting the Factory Kit USB Devices"
Have more than one I/O Gateway? Run through the instructions again to setup the other devices(s).

