With Frontline Coplilot™, Text can be extracted directly from images and documents, significantly simplifying the process to do OCR against images in Tulip. Going forward this is the recommended approach.
Detect text in a camera's view, and Trigger app Actions using Vision's OCR Detector
OCR Detector Overview
Optical Character Recognition (OCR) is the process of decoding images to find and read the text in them. OCR is a long and focused pursuit of computer vision technology for decades, however it is still one of the difficult recognition problems in existence.
Using the OCR detector, you can monitor pre-defined regions on your camera's stream to detect text in real-time. You can then use text detection events, to build logic within your app.
The real-time OCR detector results are highly dependent on the quality of the input image. To be successful and get repeatable results, make every effort to have a consistent and very well lit reading environment. Get the camera as close as possible to the location where the text would appear. Consider using a Zoom or Document cameras, as suggested in the hardware recommendation article.
In this article, you will learn...
- How to set up an OCR Detector
- Using the OCR Detector events in-app triggers
- How to adjust the Settings of an OCR Detector
Prerequisites
- Please review Getting Started with Vision to get an understanding of Vision's functionalities & requirements, and for instructions on how to set up your camera.
- This feature works with both Color and Depth cameras.
- The OCR feature is available in Tulip versions r210+ and Player 1.1.0+
Setting up the OCR Detector
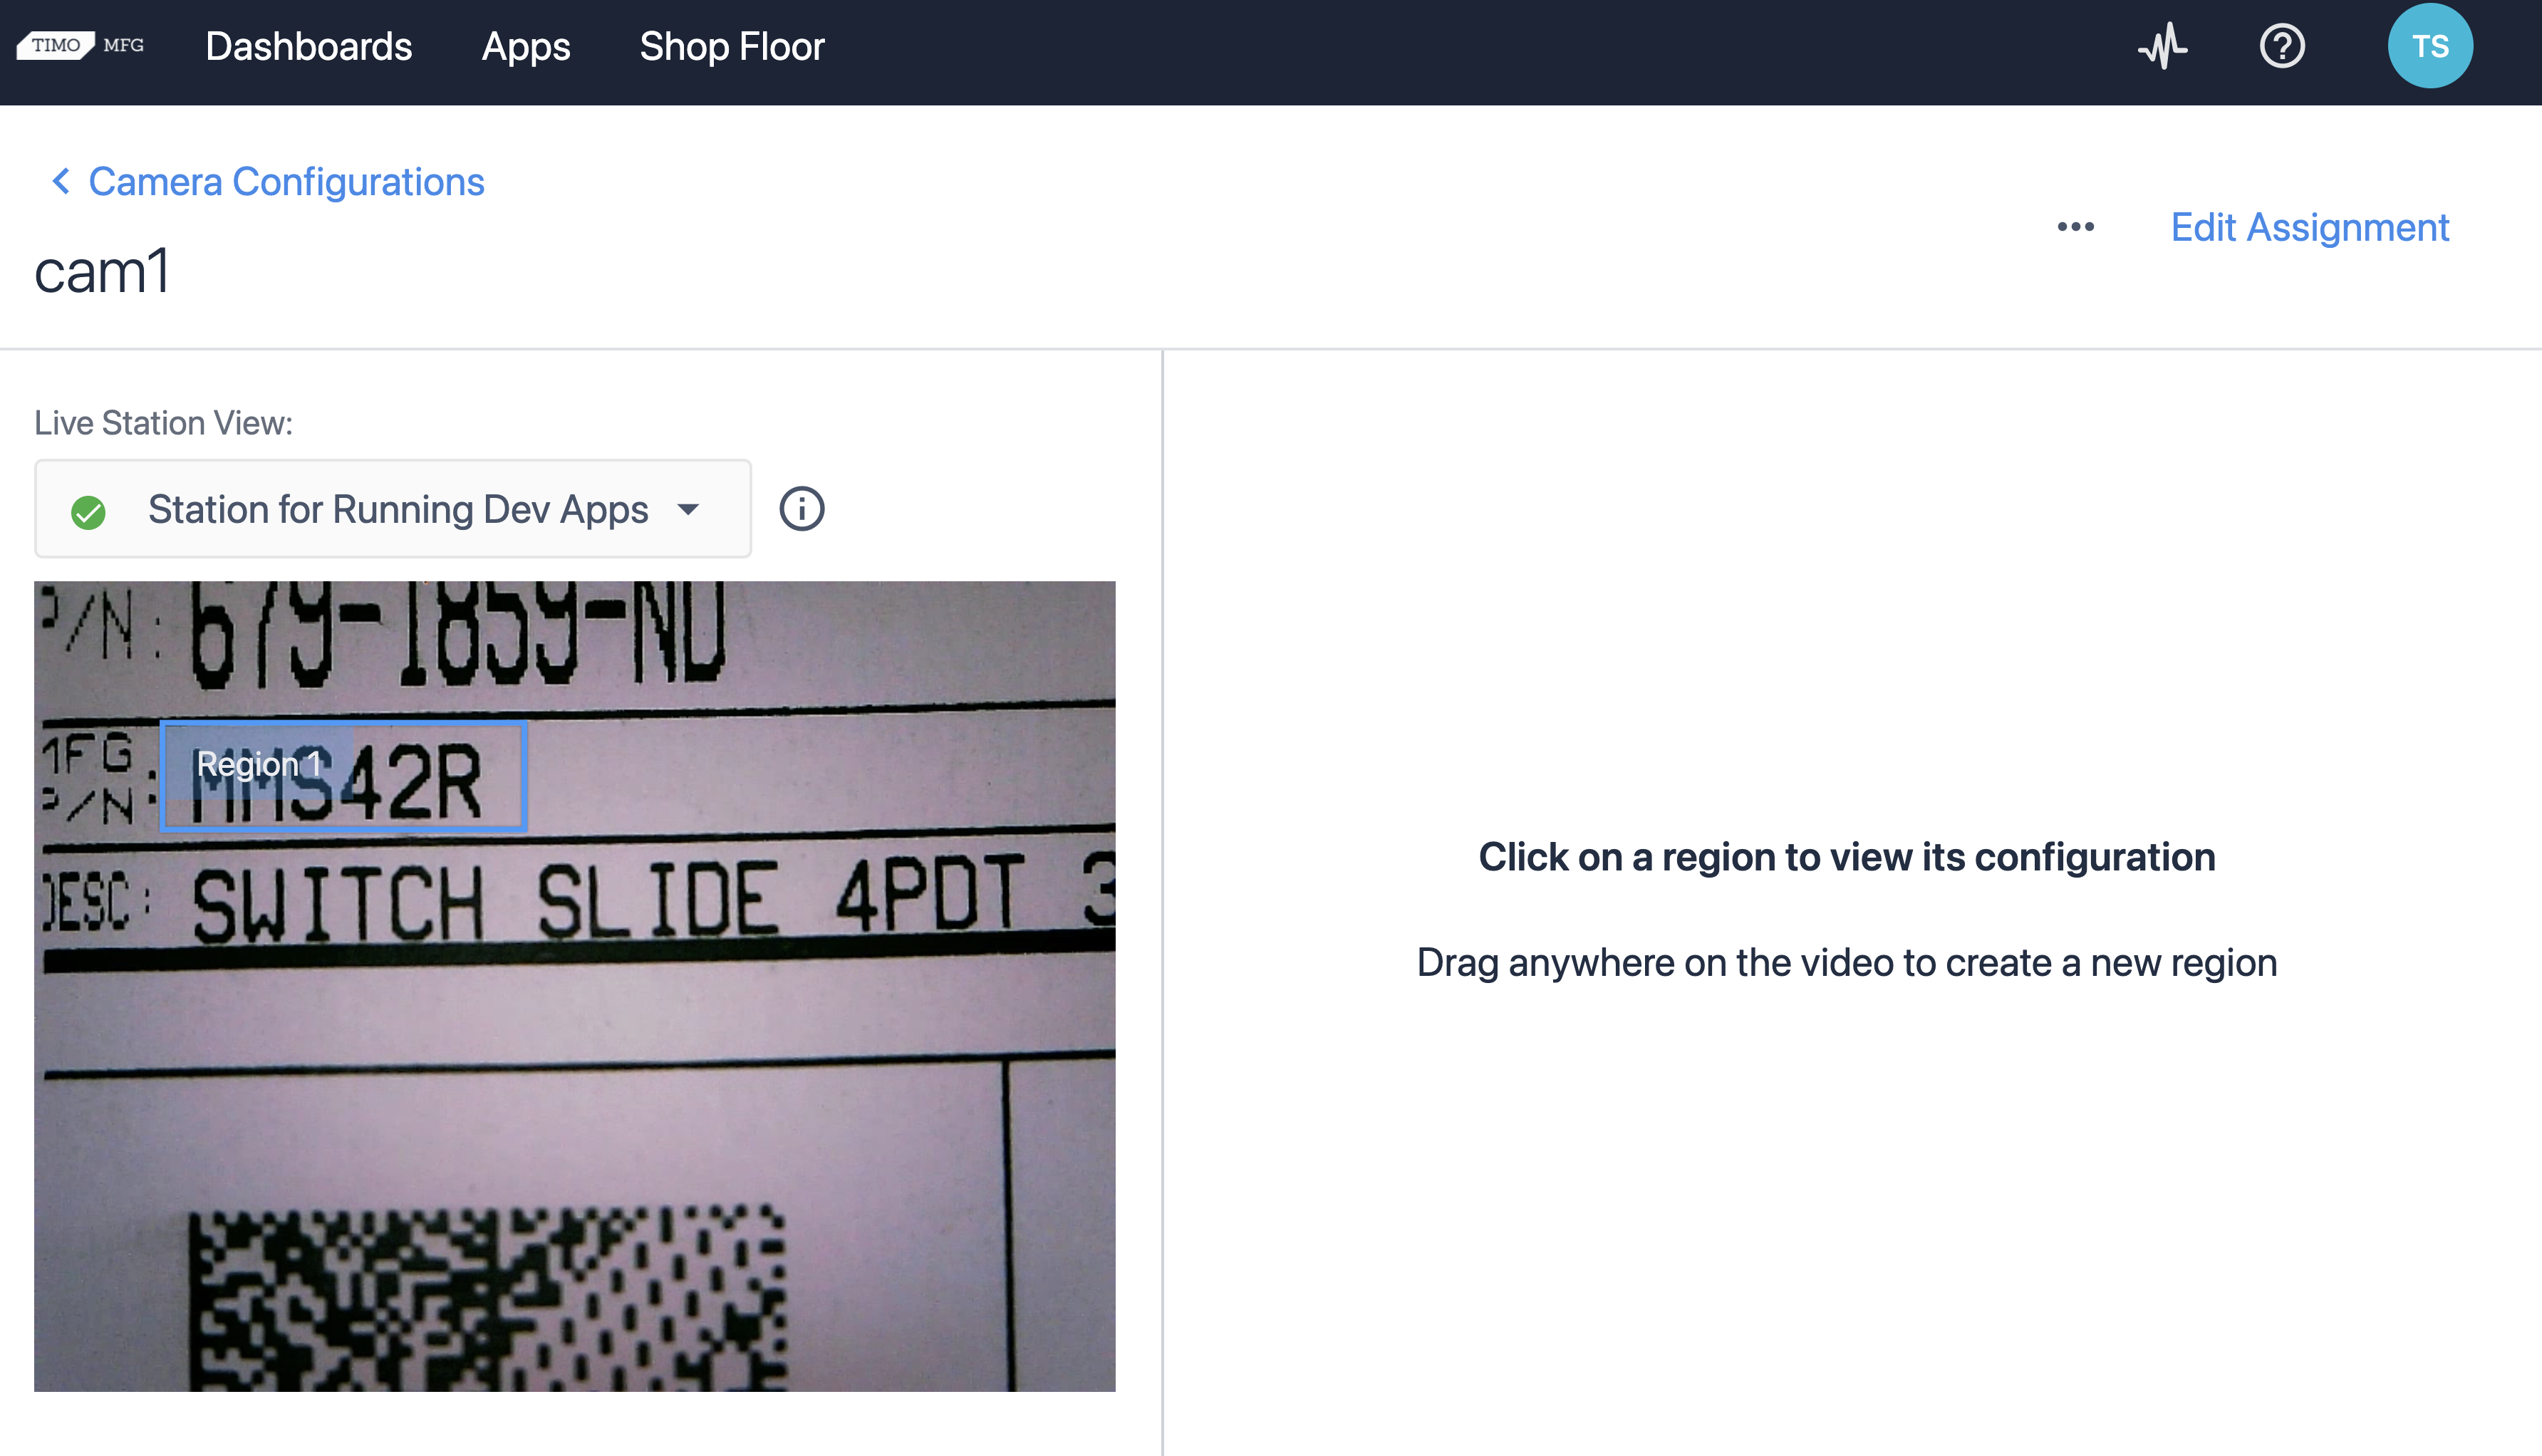
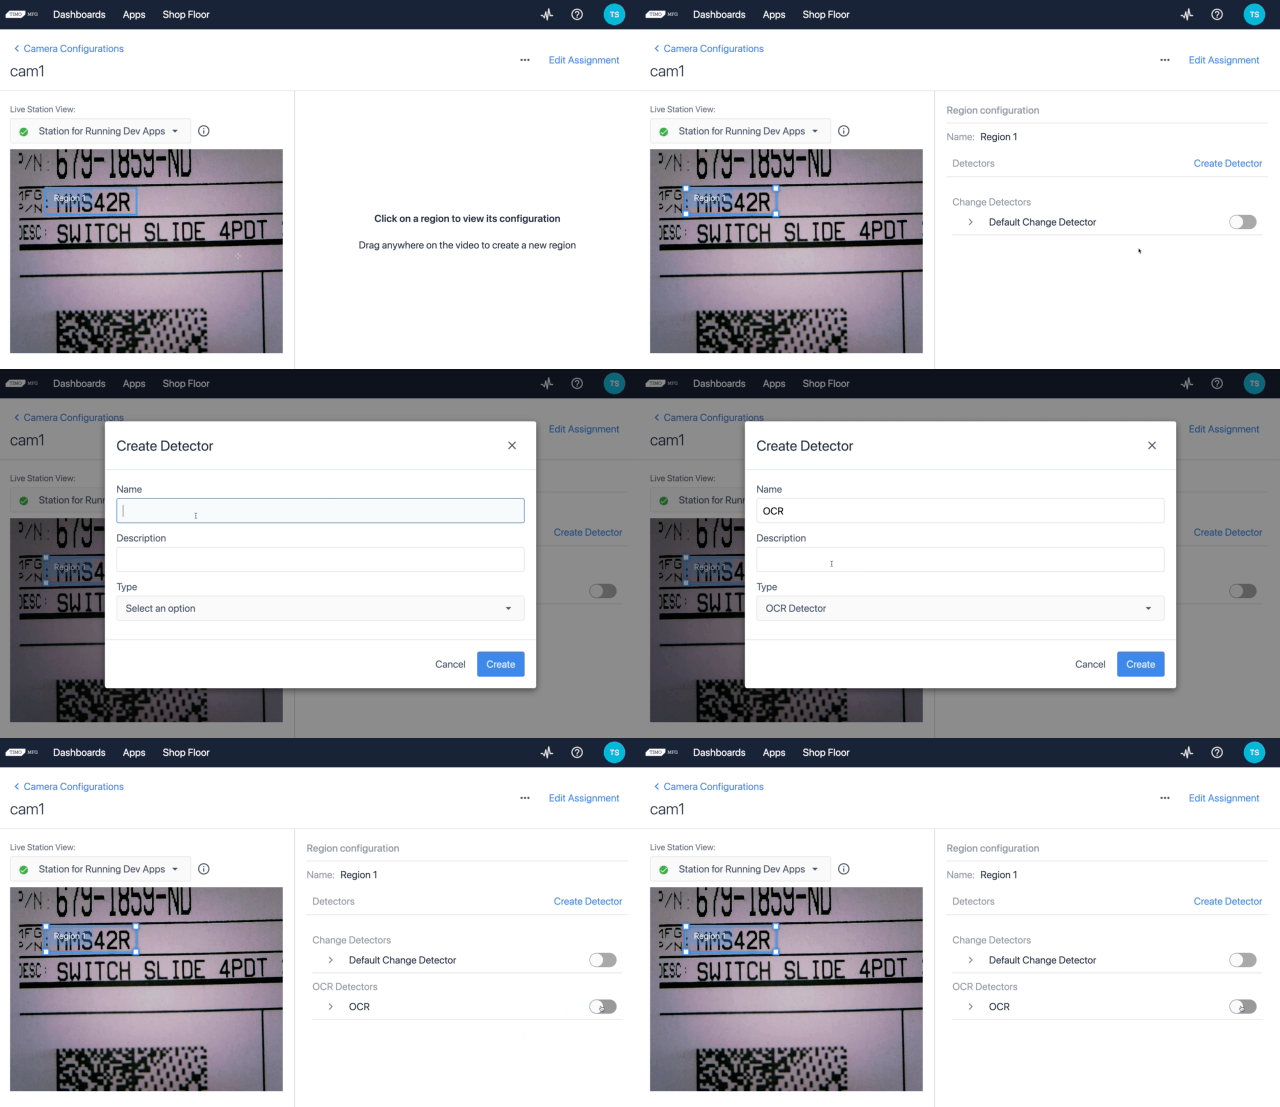
After completing your Camera Configuration setup, you should see the video stream. To set up the OCR detector, select the region that you want to monitor for detecting text. You may have to create a new region, by clicking and dragging on the picture to define your region:

Next, create an OCR Detector by clicking the Create Detector link. Name the detector and give a description (optional) and choose OCR as the type of detector. Enable the OCR detector for this Region using the toggle.

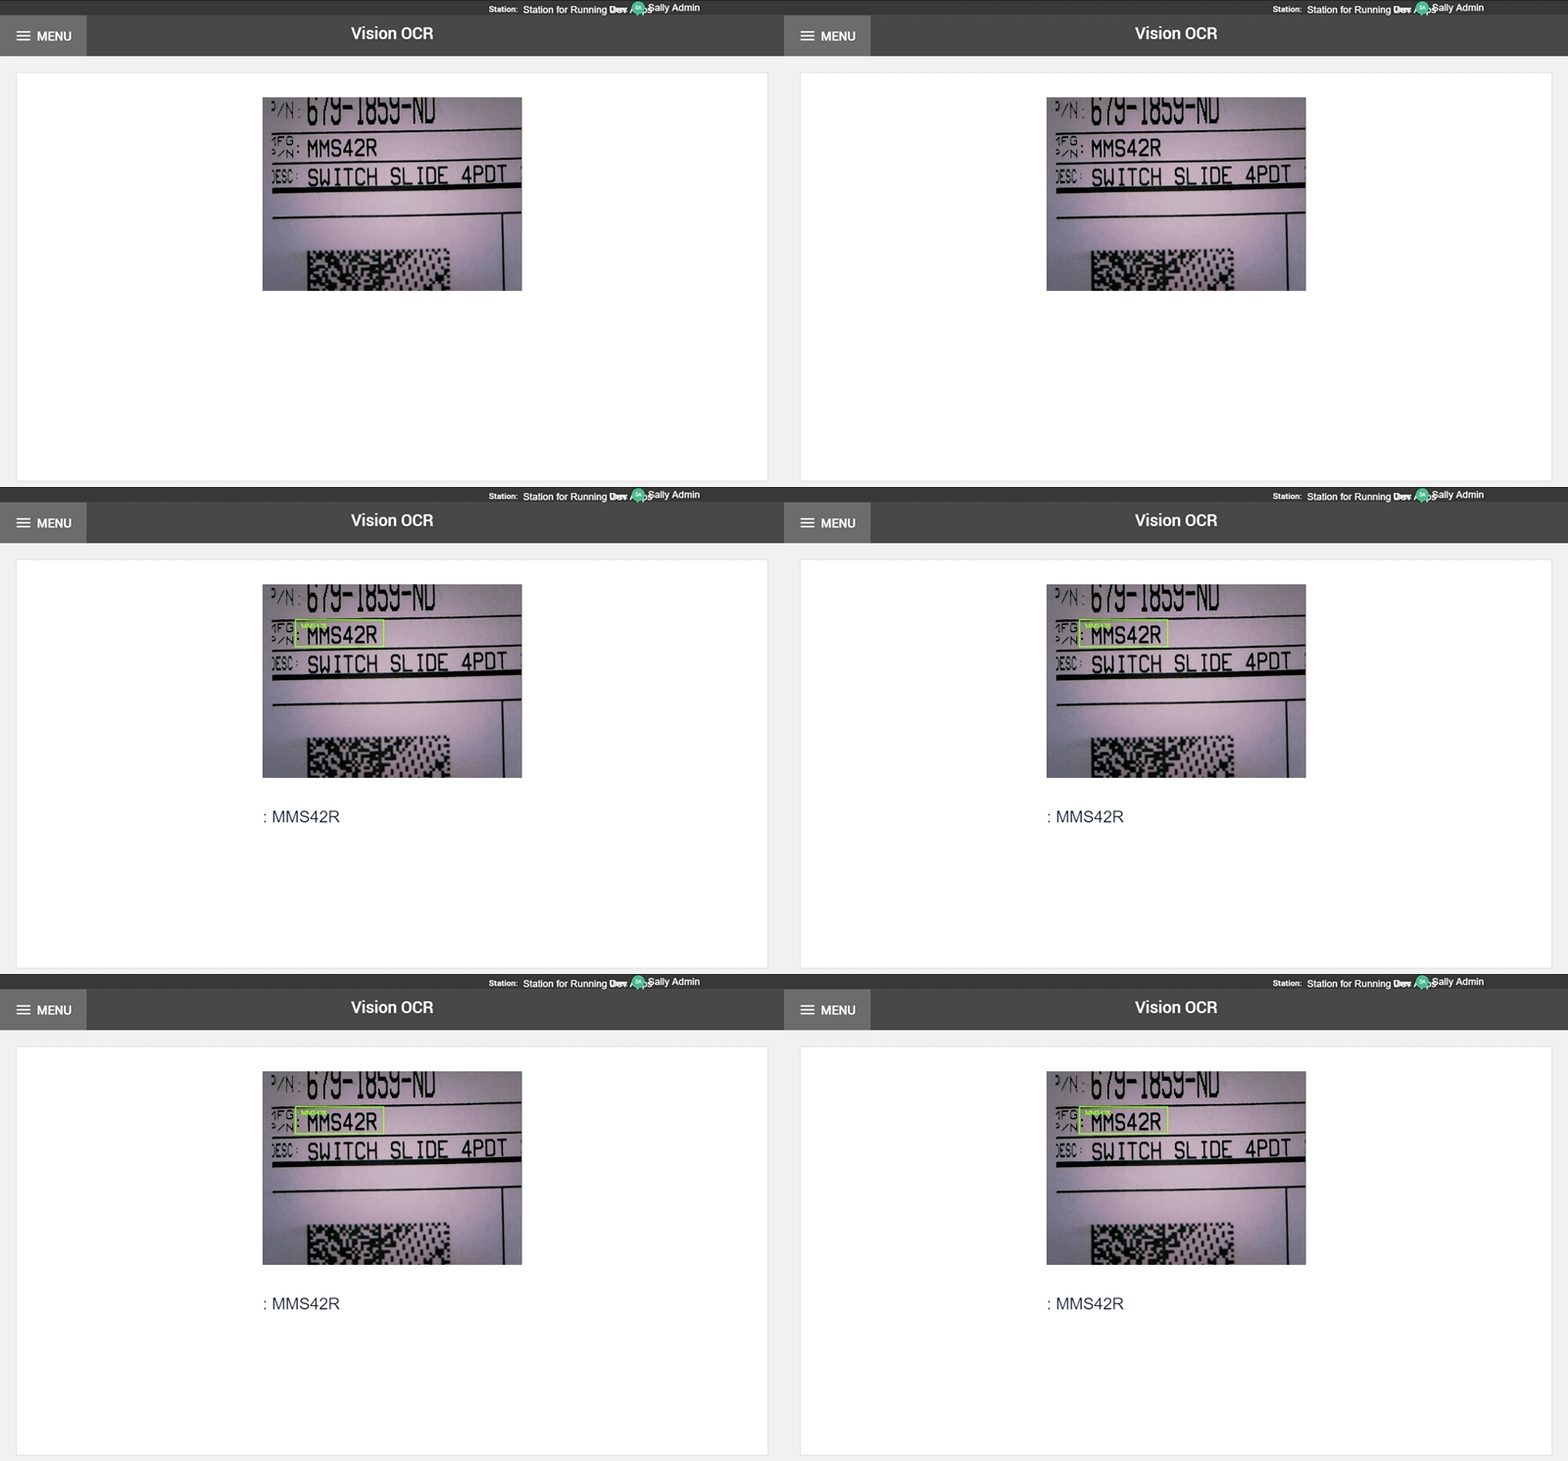
The region boundary will turn green if the text is detected in the region, else it will stay as red. If the detection threshold is 50%, then the text detected in this region should have more than 50% confidence that it is correctly detected. It's at this point that an event will be triggered in the app that is using this Camera Configuration.
OCR Detector Region Settings
You will likely need to adjust a region's settings to yield results that fit your use case appropriately. To edit your region's settings, click on your Camera Configuration and select the regions you wish to adjust.
The following settings are available:

OCR Confidence detection threshold
This is the percentage confidence that is required to Trigger a 'Text Detected' event. If you need the text to be detected under harsh conditions, you can set this threshold to a lower value like 40-50%. Any value above this threshold will trigger the Text Detected event if there was no text being detected previously in the region.
Using the OCR Detector in an App
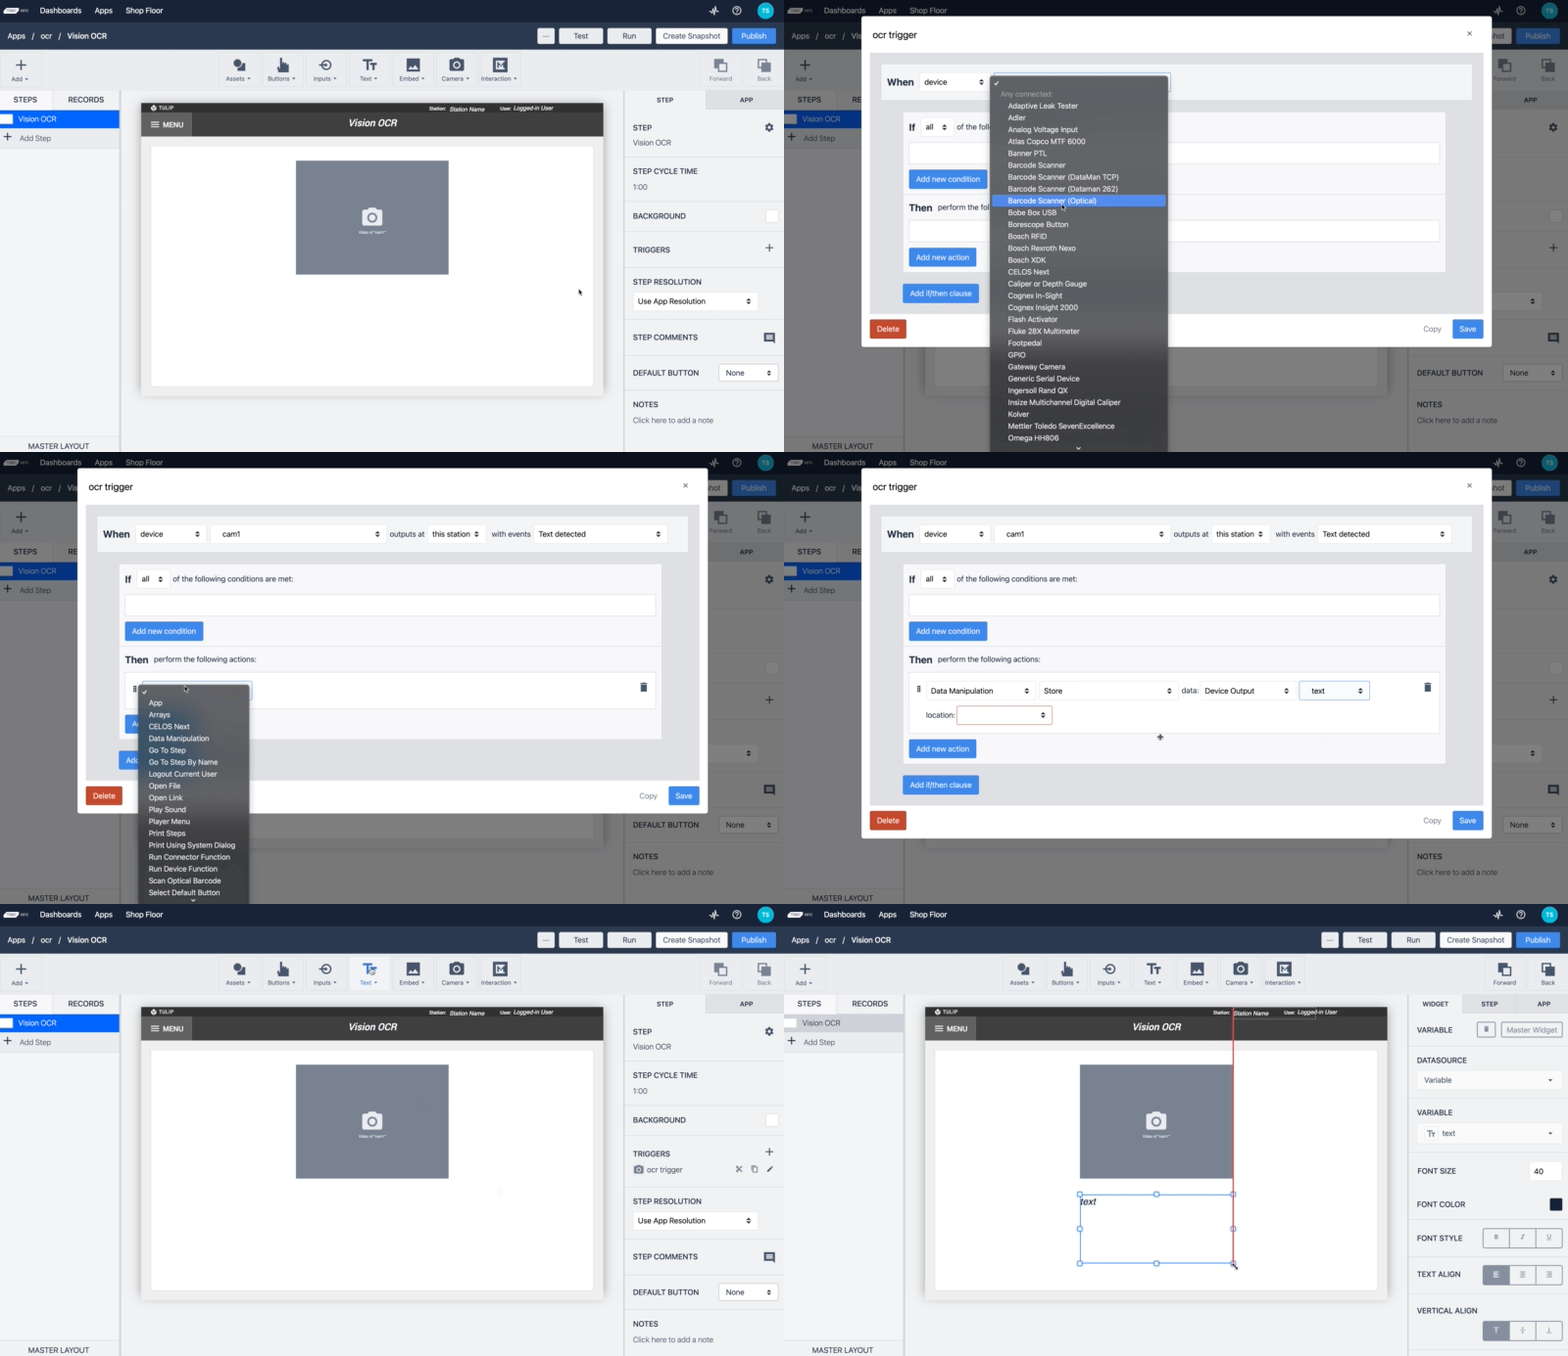
Switch over to your app editor, and create a new Device Output Trigger.
All Camera Configurations will appear under the sub-list of Specific device. Please select your Camera Configuration from the dropdown.
Note, that the Specific device section allows you to use multiple cameras in the same app. Any station that runs this app must have the specific Camera Configuration that you selected for the camera. Otherwise, a warning will be shown when the app runs.
Now you will see a dropdown of various events to run the trigger off of:
For this example, select Text Detected from the list of events.

If you have a video preview Widget in your Step, note the "Show Overlay" option allows you to disable showing the Regions on top of the video. Enable the "OCR DETECTOR" lay overlay to display OCR detection information.
Run the app at the station to which you assigned your Camera Configuration.
When opening the step with the Vision Camera Widget in your Player, you will see the video stream of the camera. When you move an object inside the region which has a similar color as specified in the settings, the region boundary will turn green, and the Trigger Action will take place.

You have now successfully completed setting up the OCR detector in the camera configuration, and are ready to build this functionality into production apps.
Further Reading
- Using the Jig Detector
- Using the Vision Camera Widget in Apps
- Using the Snapshot feature in Apps
- Hardware Recommendations for Vision
