This guide will help you understand the full capability of HTTP Connectors.
If you want to connect an external system like an MES or ERP to Tulip, you will need to use an HTTP connector. Tulip's HTTP Connectors can interface with most types of HTTP APIs, including REST and SOAP.
For a step-by-step walkthrough of this feature, take the HTTP Connectors University course!
Configure an HTTP connector
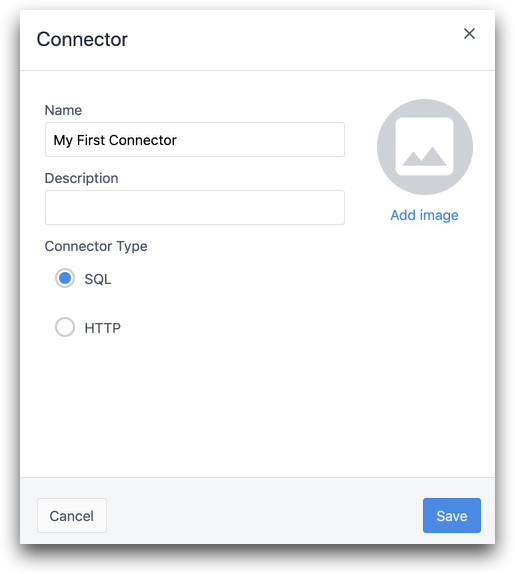
Click Add Connector in the top right of the Connectors page, then name the Connector and select HTTP.
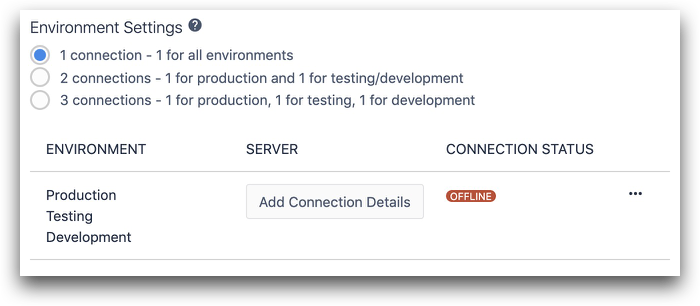
On the Environment tab, select the connector environment.
Choose Add Connection Details to add more details about the server you would like to query.
Connection details
Host: Only include the domain that you would like to query. Do not include http:// or https:// Eg. myaccount.restlet.api.netsuite.com
Port: This should be specified by the service you are querying. HTTP requests typically use port 443.
TLS: Select "Yes" if you are using HTTPS, and "No" if just "HTTP".
Click Test to see if you can successfully connect to the server, then click Save.
Edit, duplicate, or delete connector
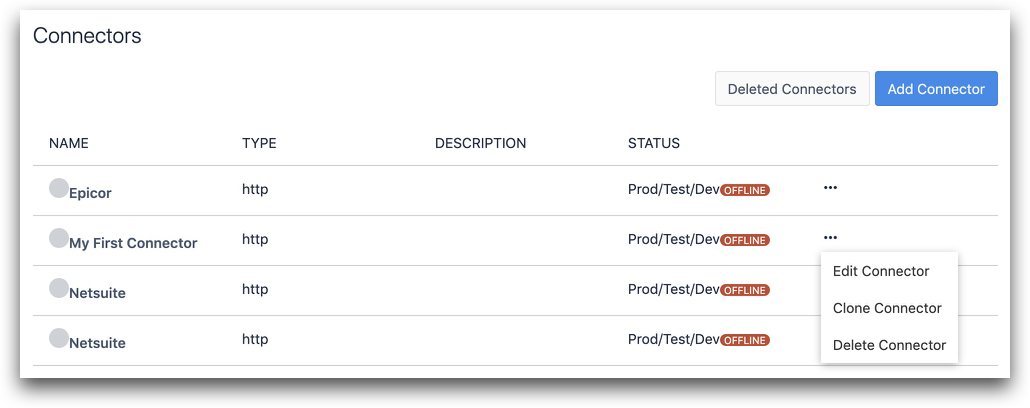
To edit, duplicate, or delete the connector, go back to the Connectors page, and then click the three dot menu icon on the right side of the connector.
Next steps
Learn how to use Connector Functions to make API Calls here.
Further Reading
Did you find what you were looking for?
You can also head to community.tulip.co to post your question or see if others have faced a similar question!