- Print
New to automations and not sure where to start? You’ve come to the right place!
Automations is a new Tulip feature that allows you to automate and expedite Workflows in your processes. This article will cover the basics of what automations are, how you build them, and the capabilities for specific use-cases.
Automation Tasks
Tasks are how Tulip measures automations. Automations are priced based on the number of tasks performed. A task is the work done by an Action Block, or the evaluation of a condition within a Decision Block.
See Overview of the Automations Editor for a more detailed description.
User Permissions
Existing roles are authorized for the Automations Page as defined below. All roles are able to create, archive, and edit an automation from the Automations page.
- Account Owner
- Workspace Owner
- Administrator
Similar to apps, any role can view automations. If you need to change access permissions for a user, you can do so via the Account Settings page.
Automations Page Overview
Let’s take a tour of the Automations page to get familiar with the layout and information available. To get to the automations page, click the Automations tab in the top navigation bar.
At the start your page may be blank, but soon your page will be full of all the automations you need to efficiently run through your process. Let’s break down what this page looks like:
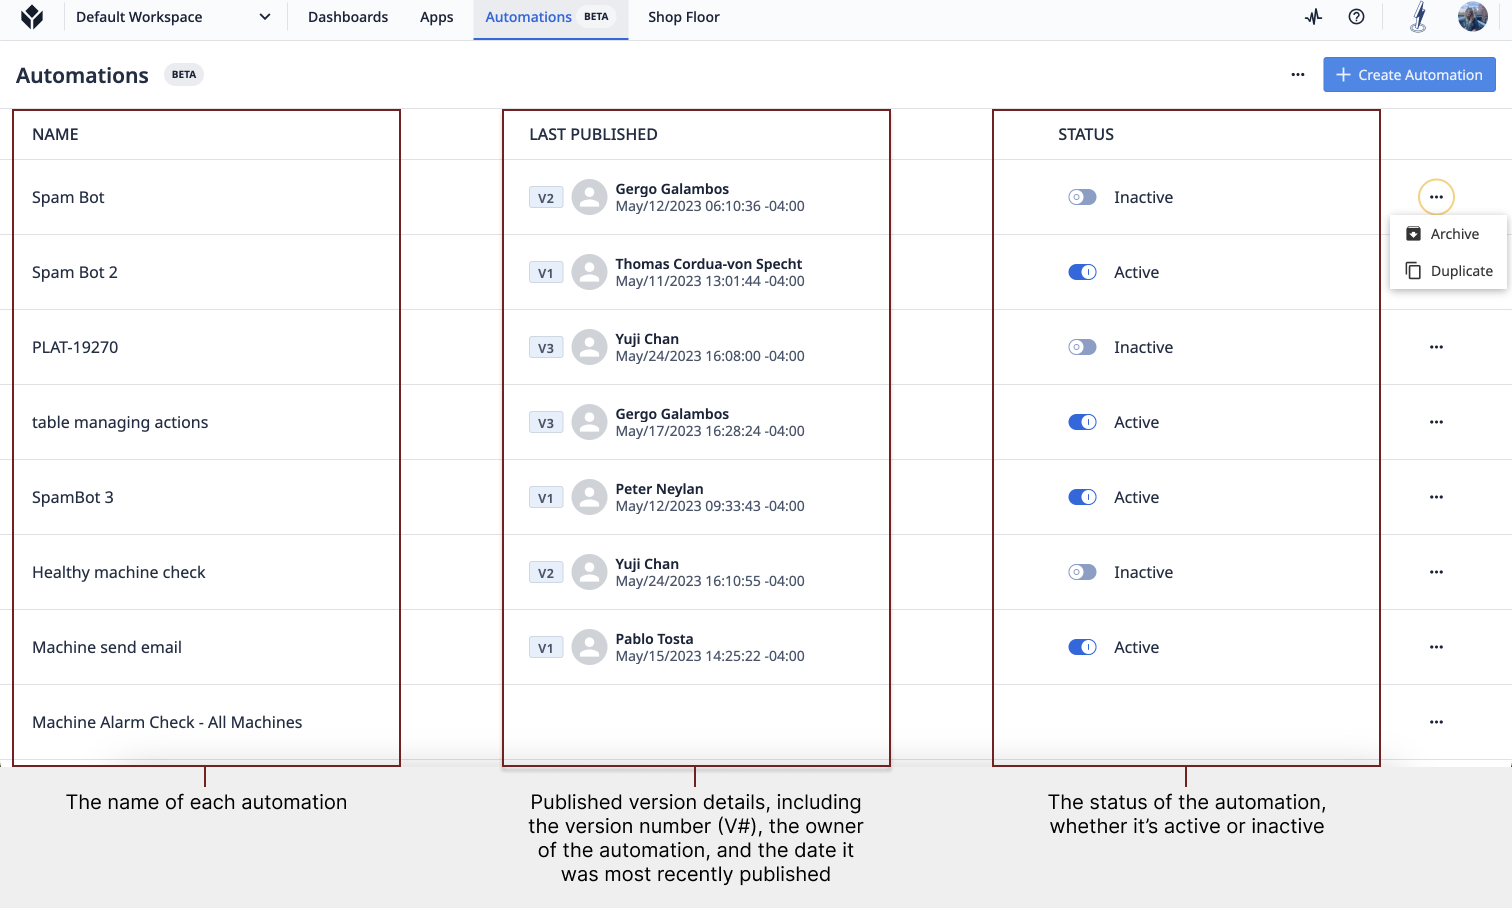
The automations page reveals information for each automation in your instance, organized by the date they were created. The status of the automation indicates where it’s active or inactive. Click the toggle button to change the status. Finally, the “...” button to the right of each automation allows you to duplicate or archive the automation.
You cannot delete an automation for traceability purposes.
To view archived automations, click the “...” in the top right corner of the page and select View Archived Automations.

How To Write Your First Automation
To start writing your first automation, click + Create Automation in the top right corner of the automations page.
Welcome to the Automations Editor! First, give your automation a name by clicking on Untitled Automation in the top left corner. Be sure to name it something identifiable that states the action or the process it completes.
Optimizing Automations for Your Shop Floor
In order to get the most out of automations, it’s important to know the capabilities and integrations possible with this feature so you know exactly what’s possible. Automating processes should create streamlined workflows in order to allocate time and resources towards other, more manual tasks. To accomplish this, let’s go over some use-cases of how to incorporate automations into your shop floor.
Dispatch work to the right people to minimize downtime.
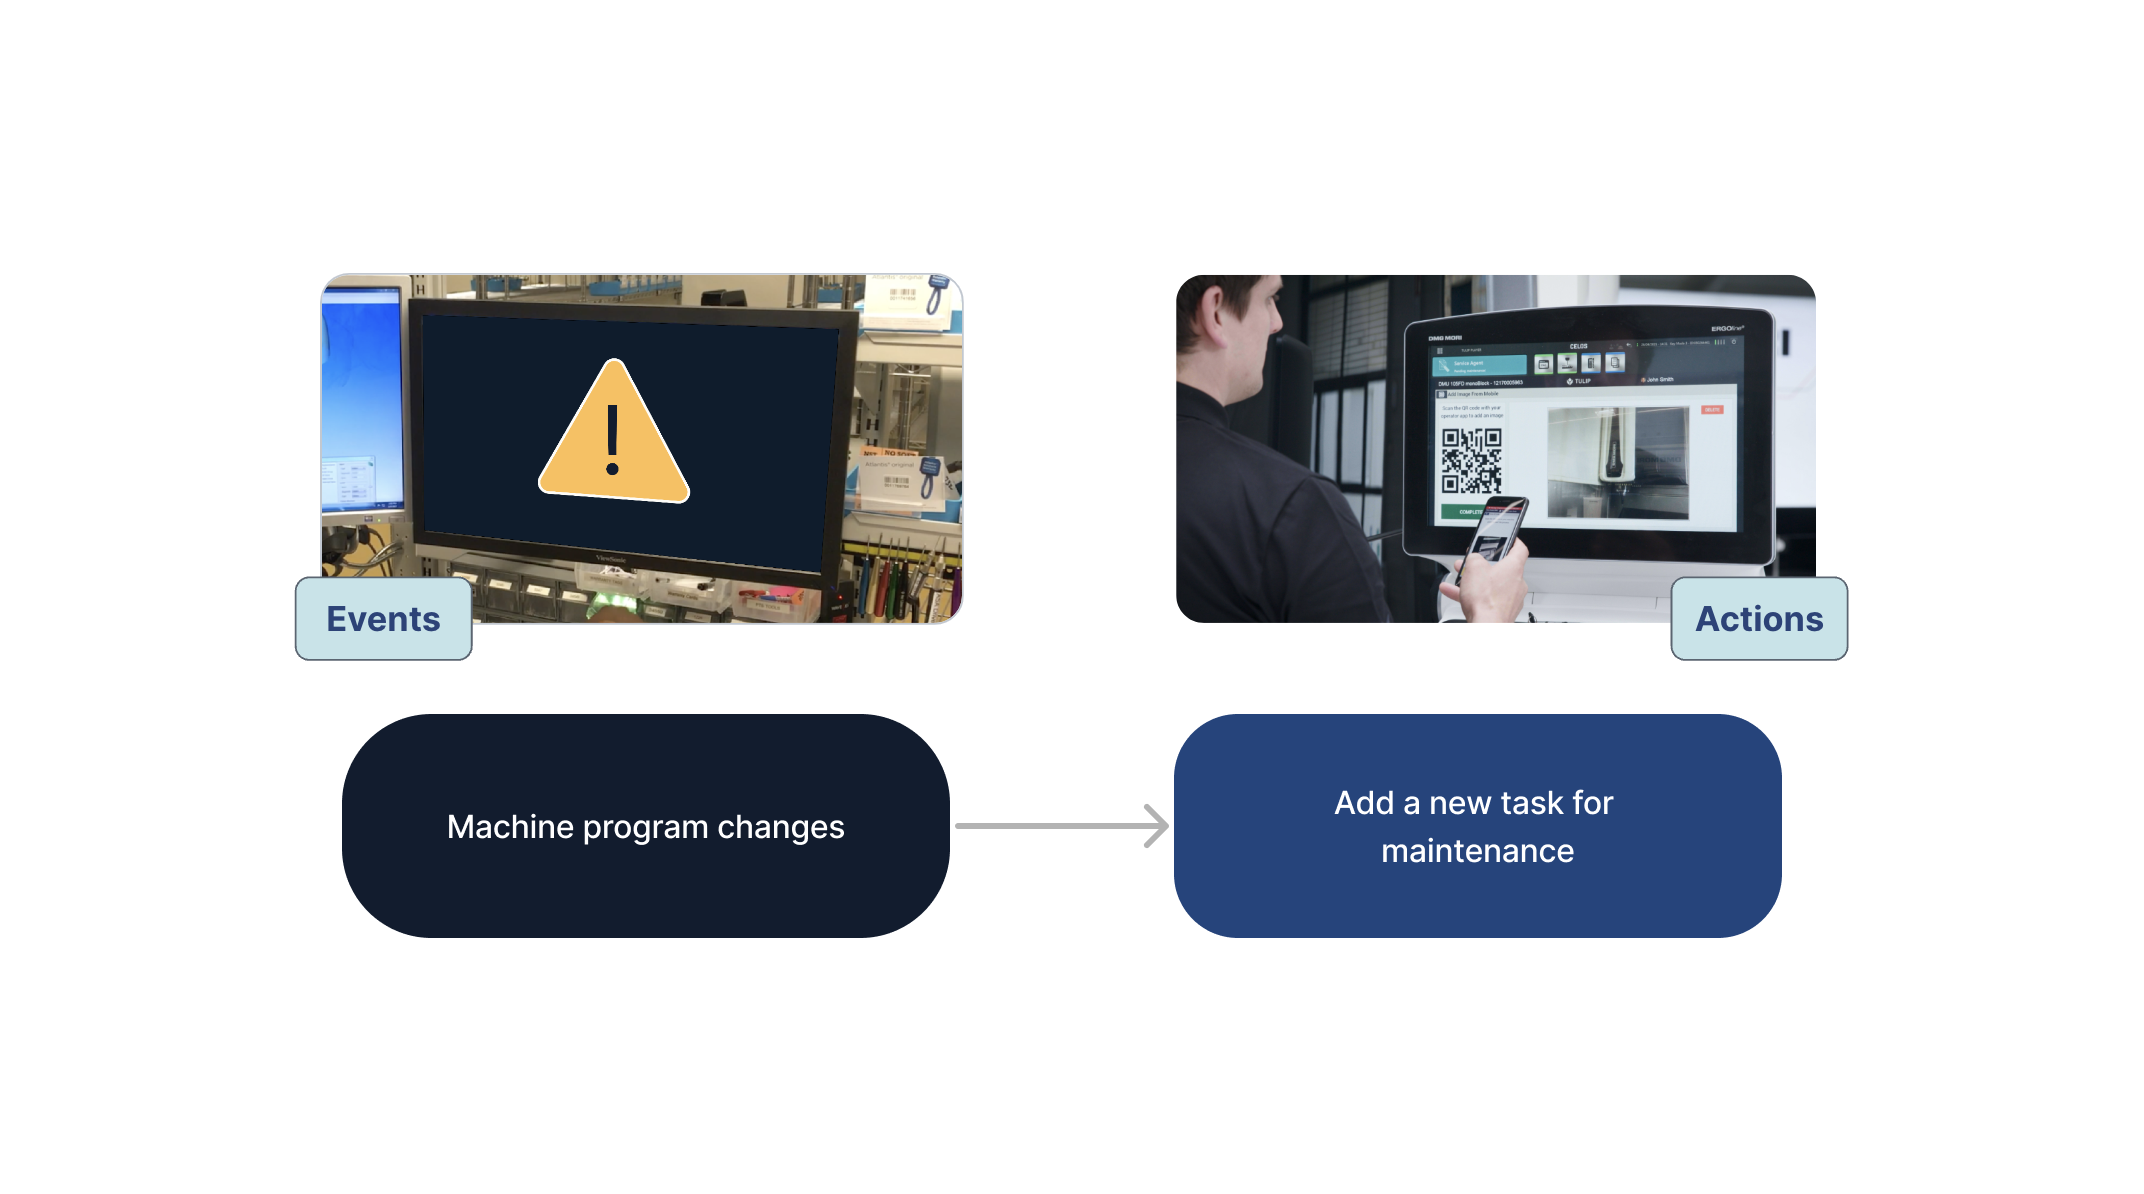
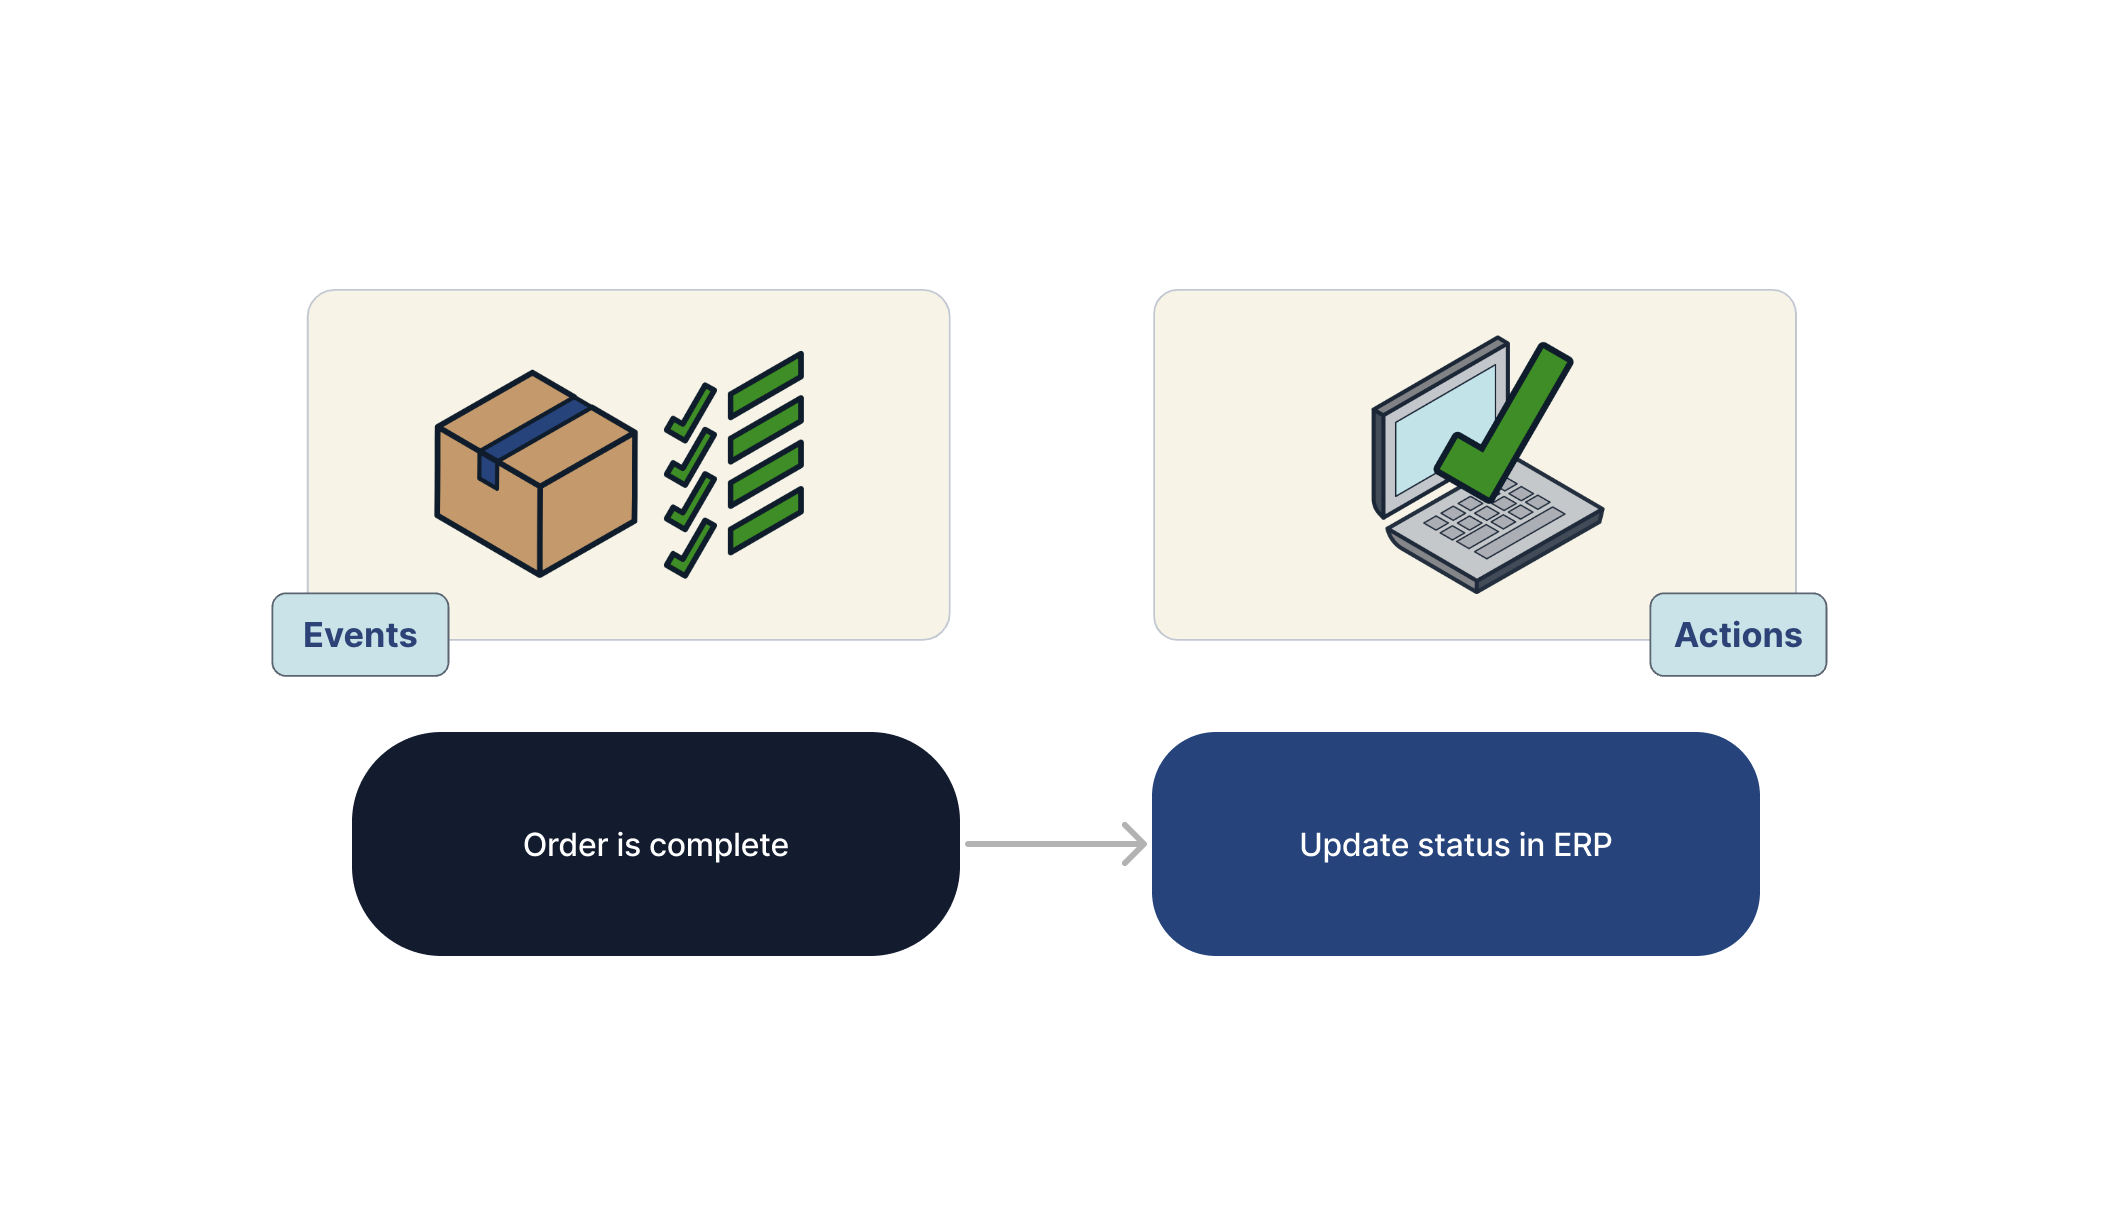
Process data and update records in your system.
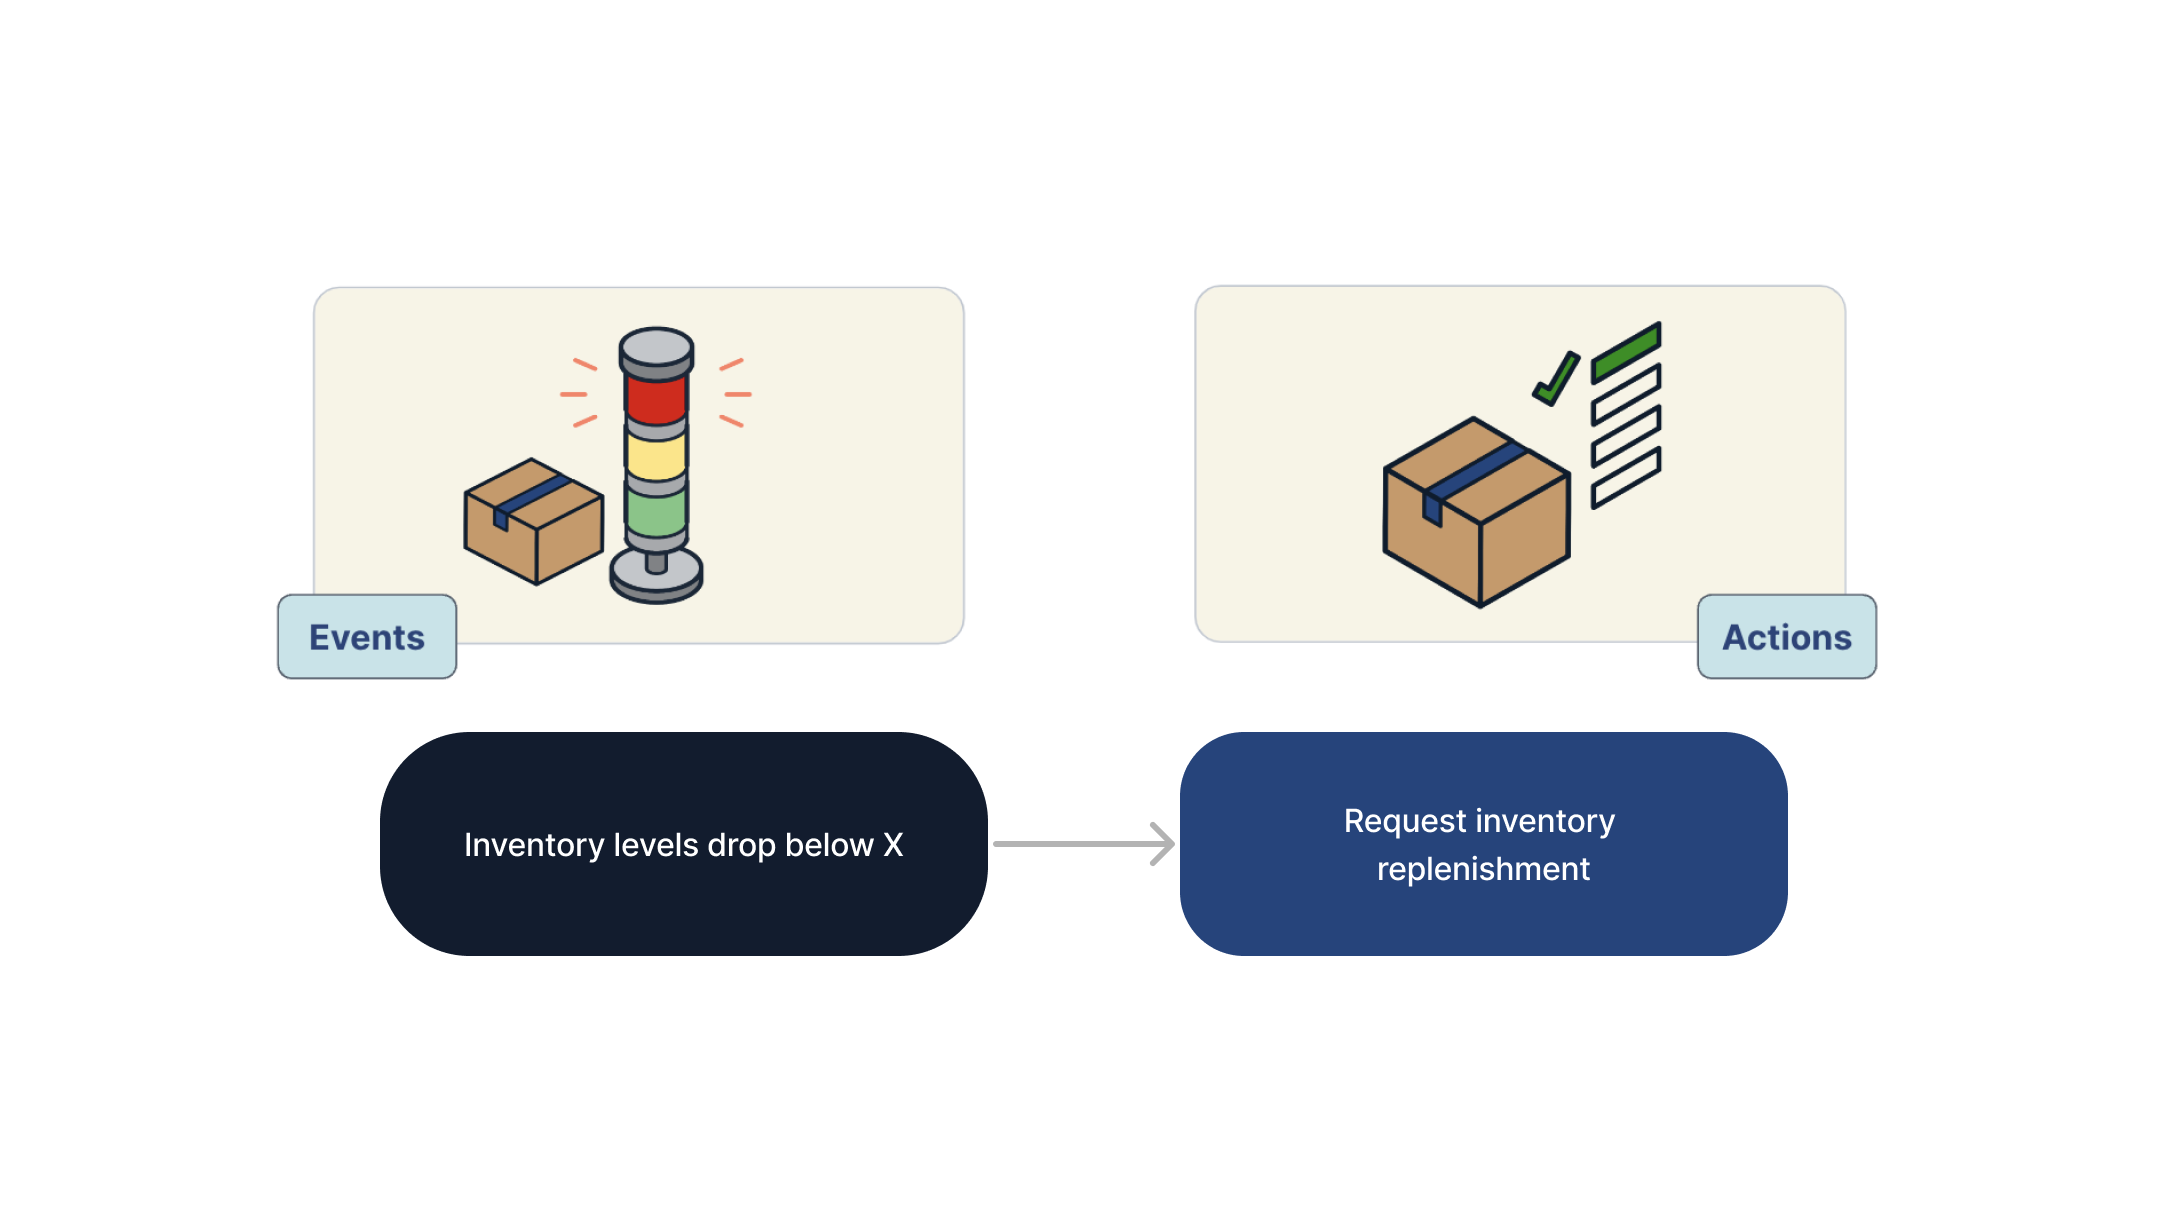
Get ahead of requests to keep production running smoothly.
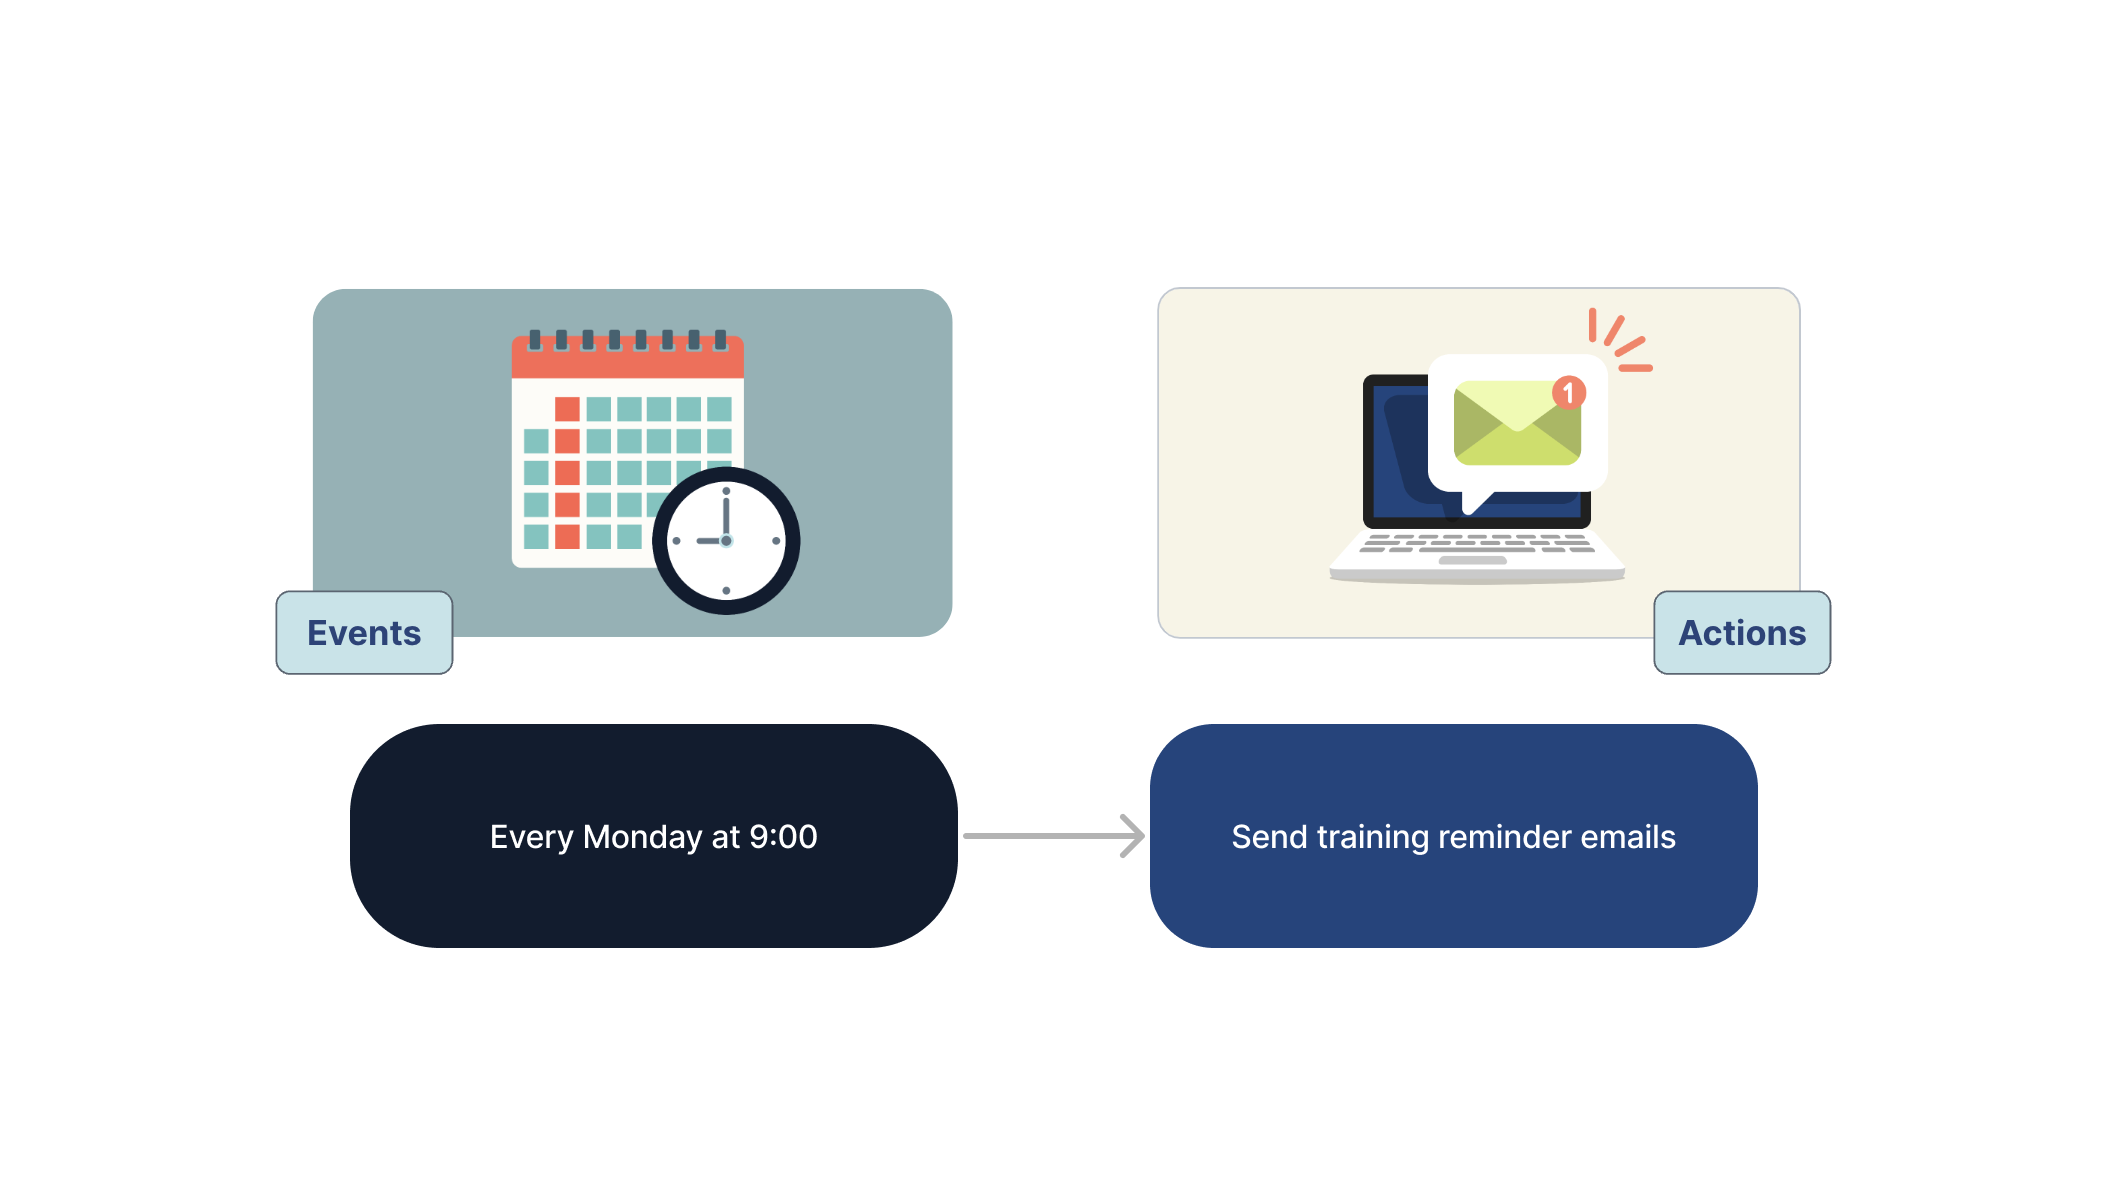
Ensure procedures are followed and stay up to date with compliance.
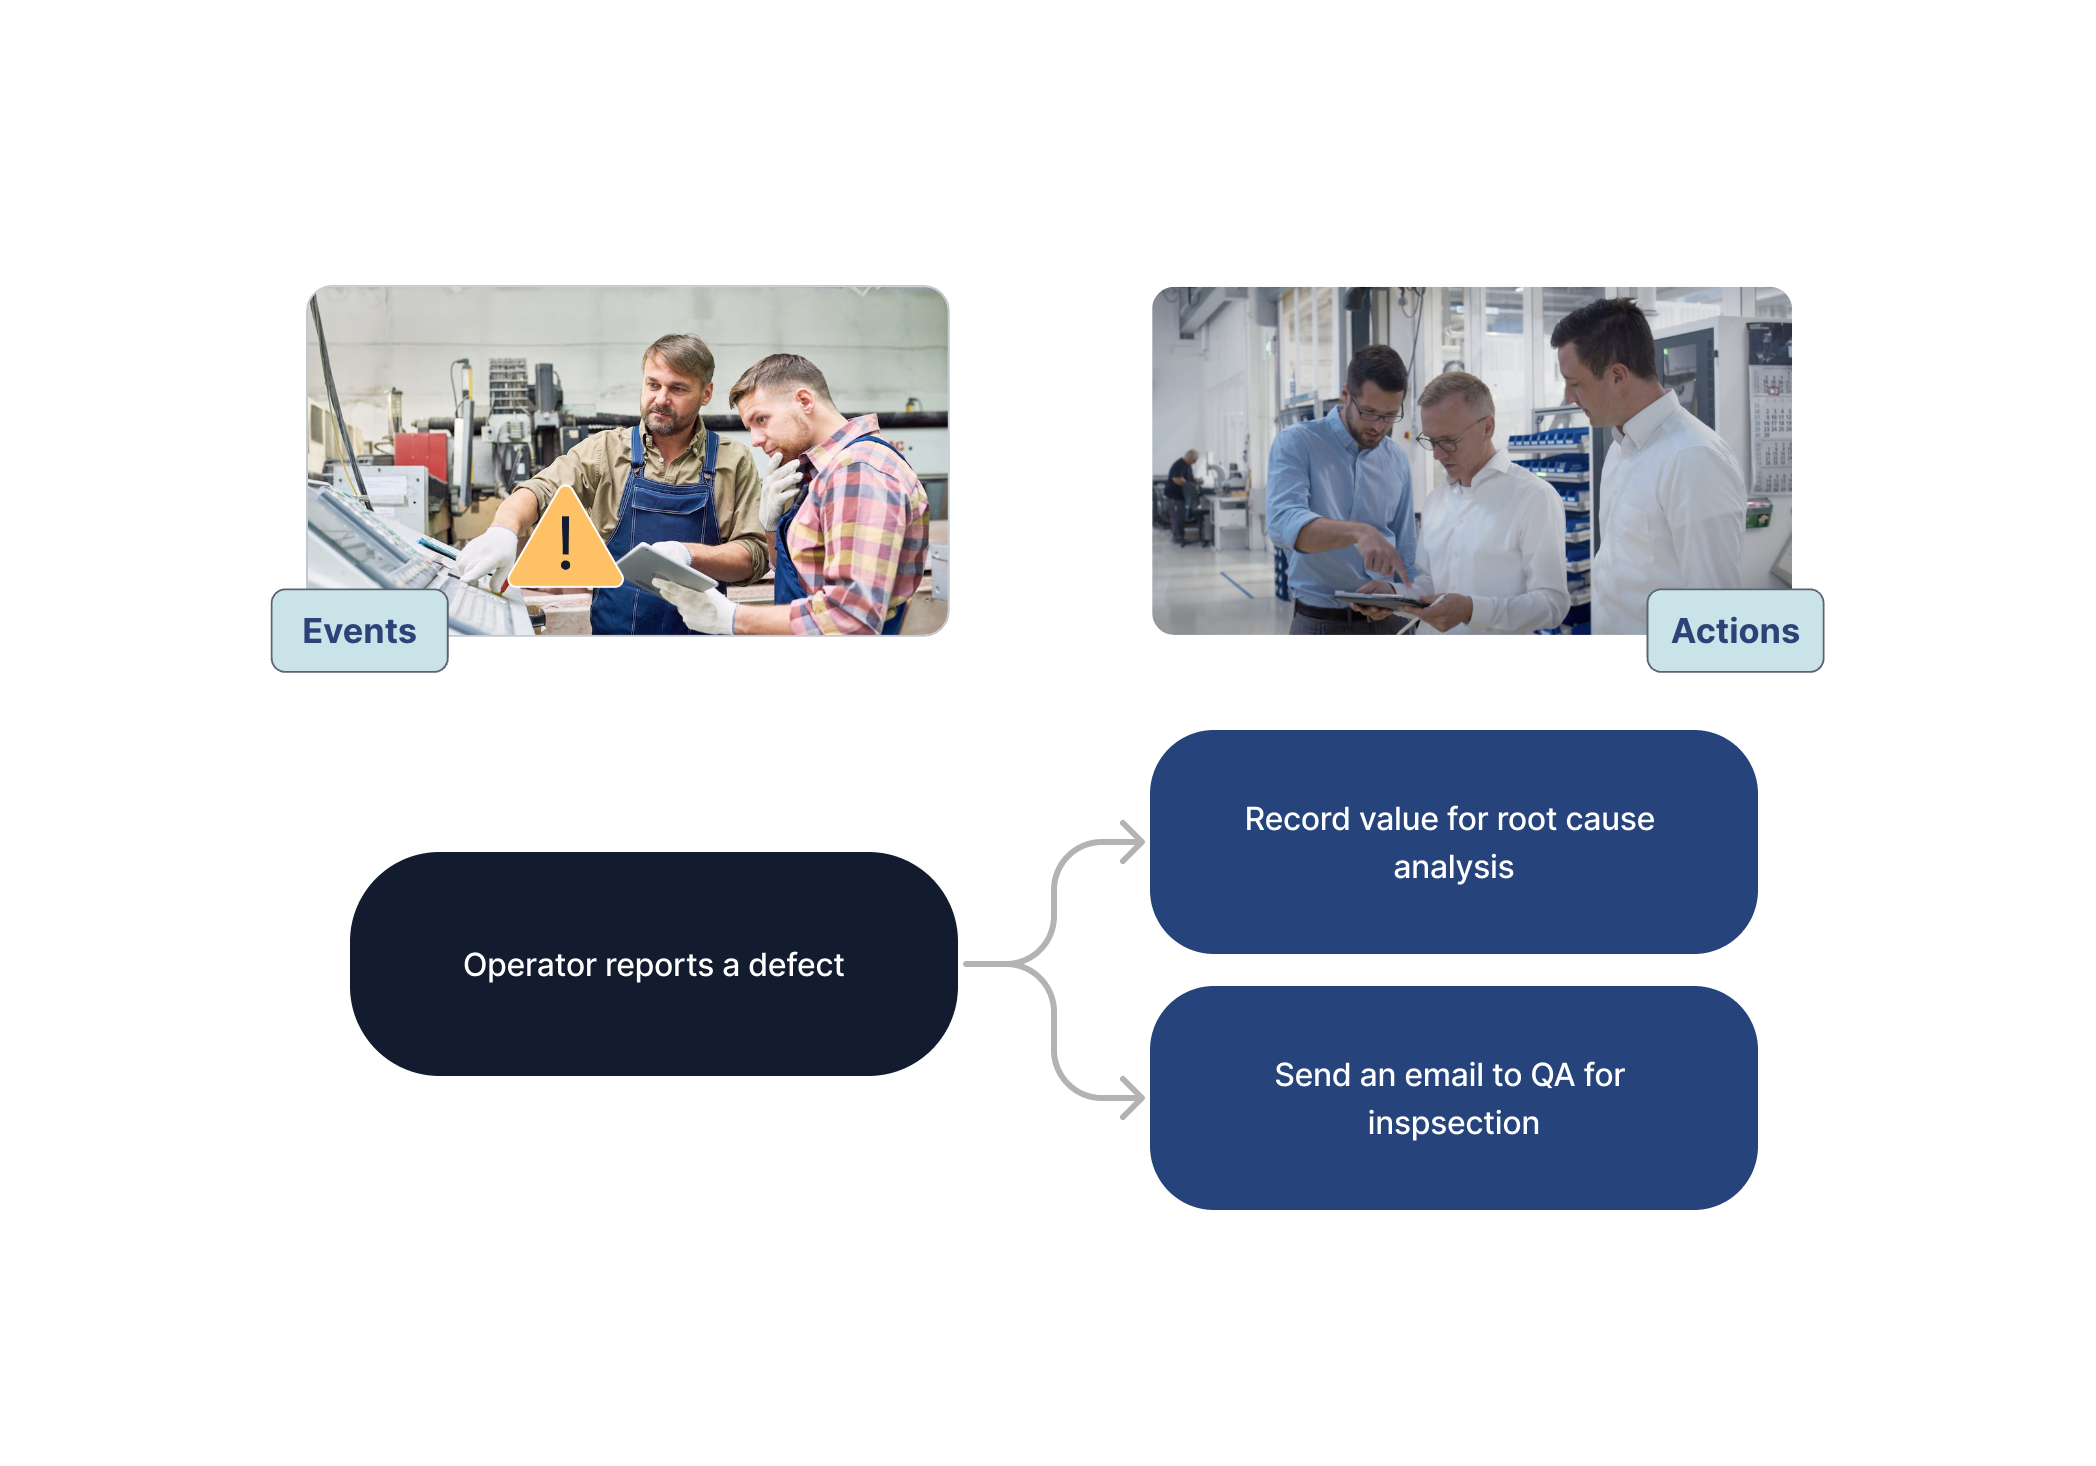
Respond to quality issues quickly and maintain accurate records.
Integrations
You can integrate Machines with automations, and soon you’ll be able to use Connector Functions as well. Link Tables so you can get a notification when a row updates. Coming soon, you’ll also be able to set alerts for Analytics (Insight Detected) and run the automation on a schedule or timer. The integrations with automations allow you to customize your experience and take full advantage of the Tulip platform.
Collecting Data
Collect data on your automations with versions and run history features. These tools give insights on the number of automation versions created and the performance of the automation itself.
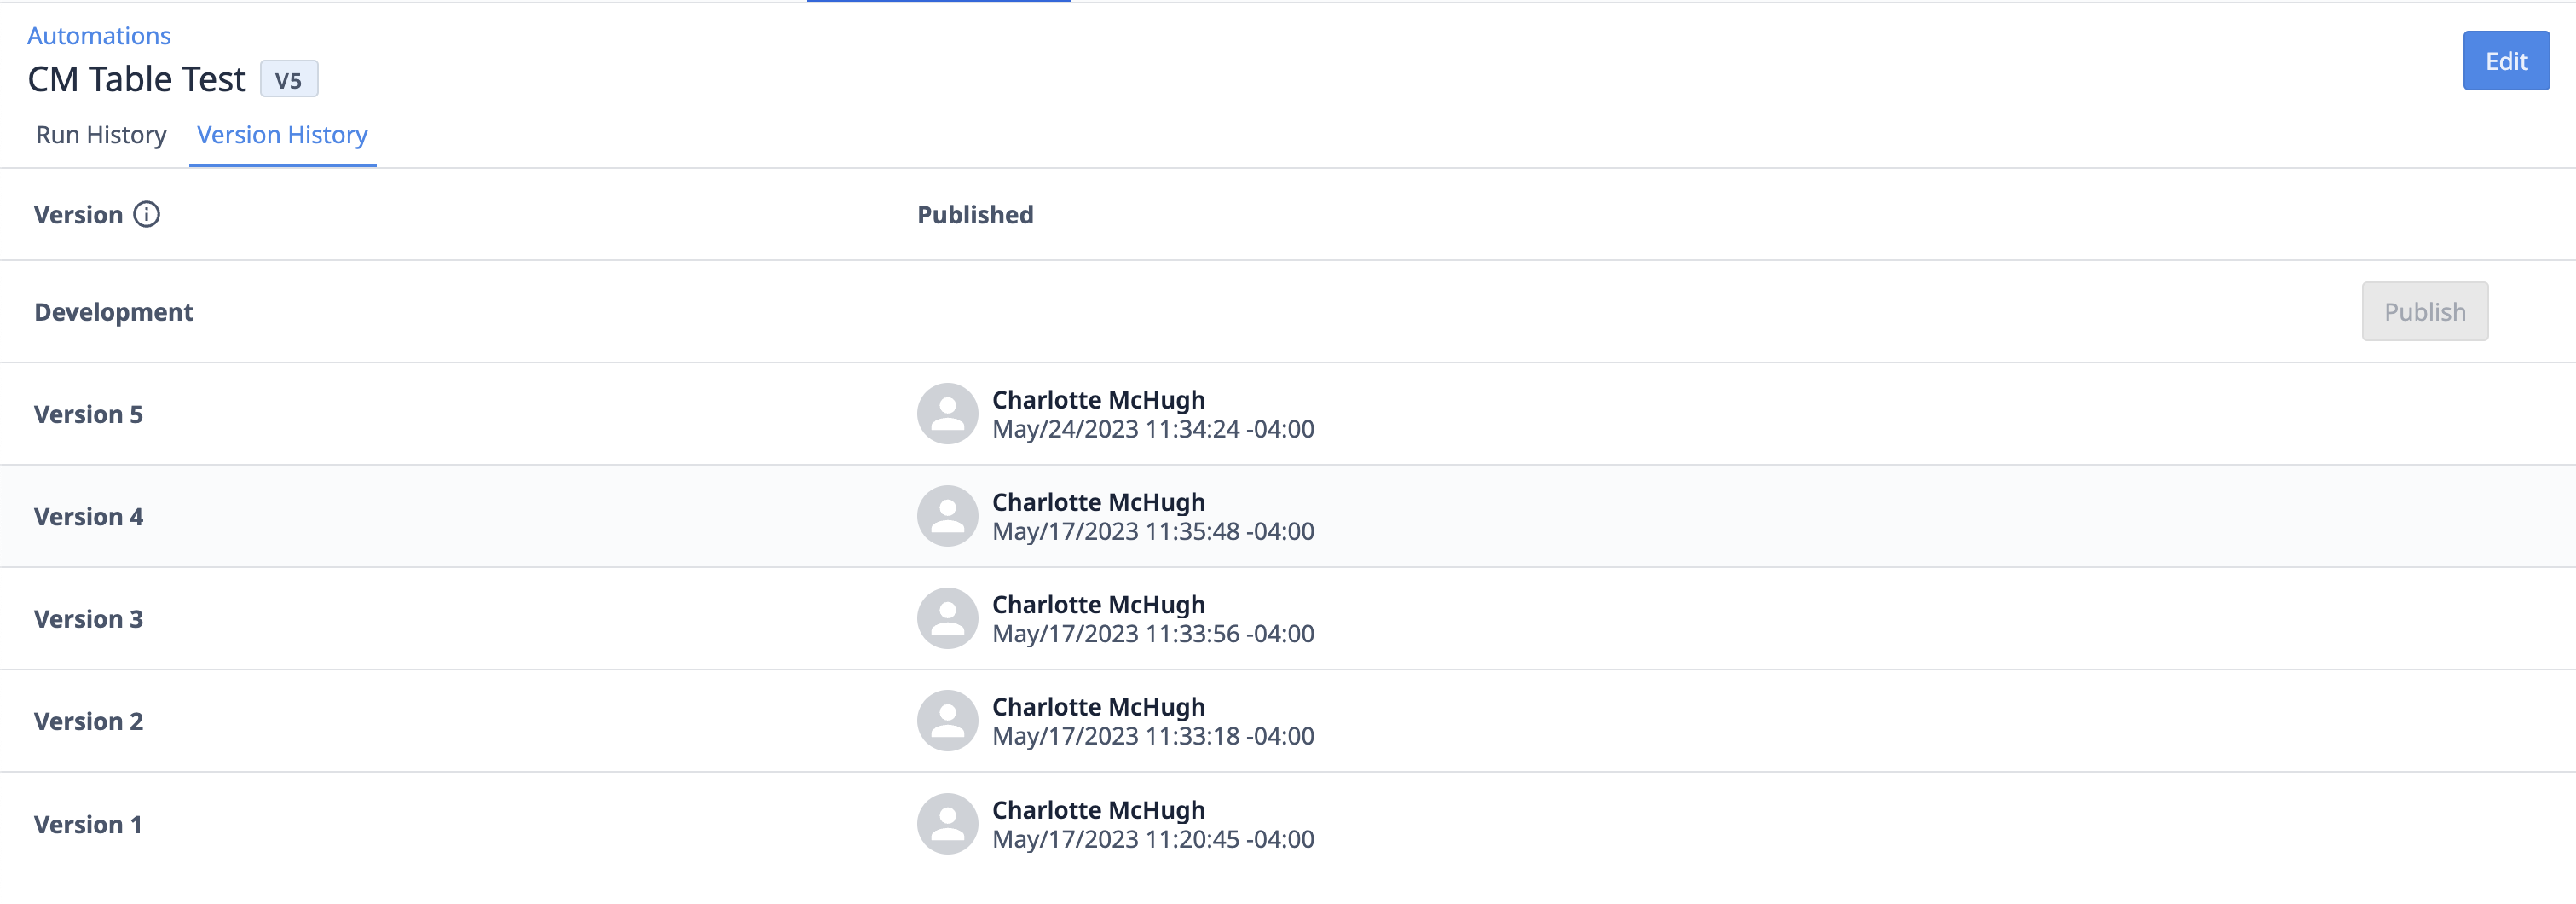
Versions are iterations of an automation. Each time you edit an automation, it creates a new version and archives the former one. View the current version number from the Automations main page or the Version History page for a specific automation.
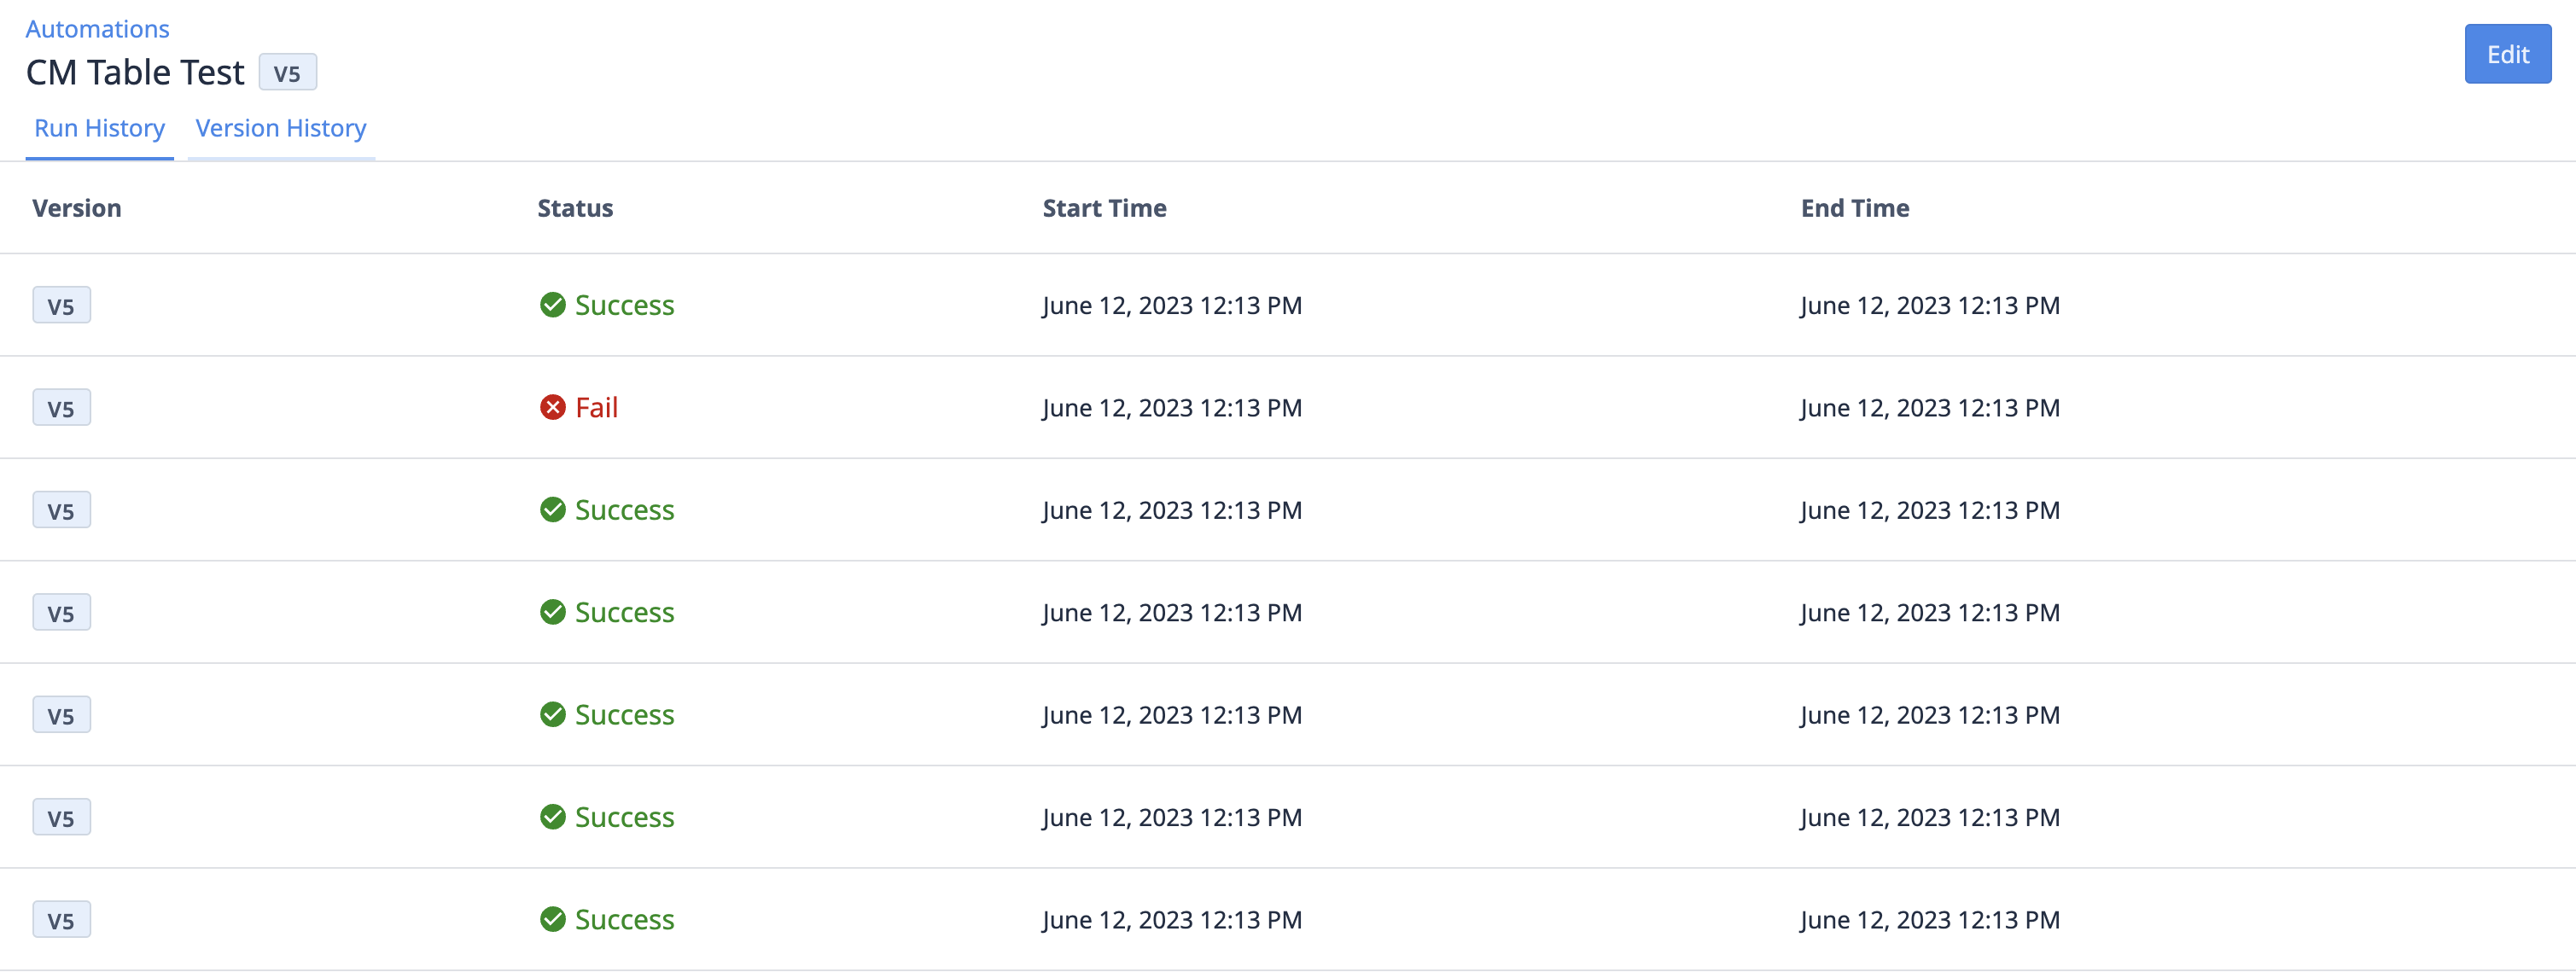
Run history is the record of events an automation has encountered. A Run refers to each time an event is invoked and an action is fired. The run history page gives details such as the version per firing, the status, the start time, and the end time.
Now that we’ve covered the basics of Automations, you can get started creating your own for your specific processes.


.gif)
