To download the app, visit: Library
Purpose
This app suite serves as a foundational tool for users to create customized eDHR (Electronic Device History Records) apps. It incudes two primary areas:
Process execution:
- Emphasizes part traceability and verifications.
- Offers multiple templates for data capture.
- Provides solutions for logging defects.
Review Process:
- Enables users to access general order information and review process histories.
- Facilitates viewing all logged deviations.
- Allows for documented order releases using the signature widget.
Required Skills
- Customize the template steps: Edit the predefined steps to align with your specific process requirements.
- Edit the pictures: Replace default images with visuals relevant to your production environment or products.
- Set up the scanners: Configure scanners to integrate seamlessly with the app for barcode scanning and data input.
- Set up the printer: Ensure printers are properly configured to generate labels or reports as needed within the app.
- Select the steps required for your process: Choose the appropriate steps from the template that align with your workflow and production procedures.
- Set up your devices: Ensure all devices are properly set up.
App Configuration
As this is a template app suite, customization is required after downloading the app. Within the app, several steps are marked with the word "template" in their names, indicating that customization is necessary on this step. Within each group, multiple steps are available, so users can choose the steps that best fit their needs or processes.
Tables and Record Placeholders
This template relies on three tables to manage various aspects of the production process:
Work Orders and Units: These tables help identify the materials that operators are working on.
Defects: This table records any deviations that occur during the process, ensuring comprehensive tracking of issues.
Equipment and Assets: Used to track available equipment and assets, allowing end-users to see which equipment is necessary for specific processes if predefined in the app.
App Structure
Process App Template
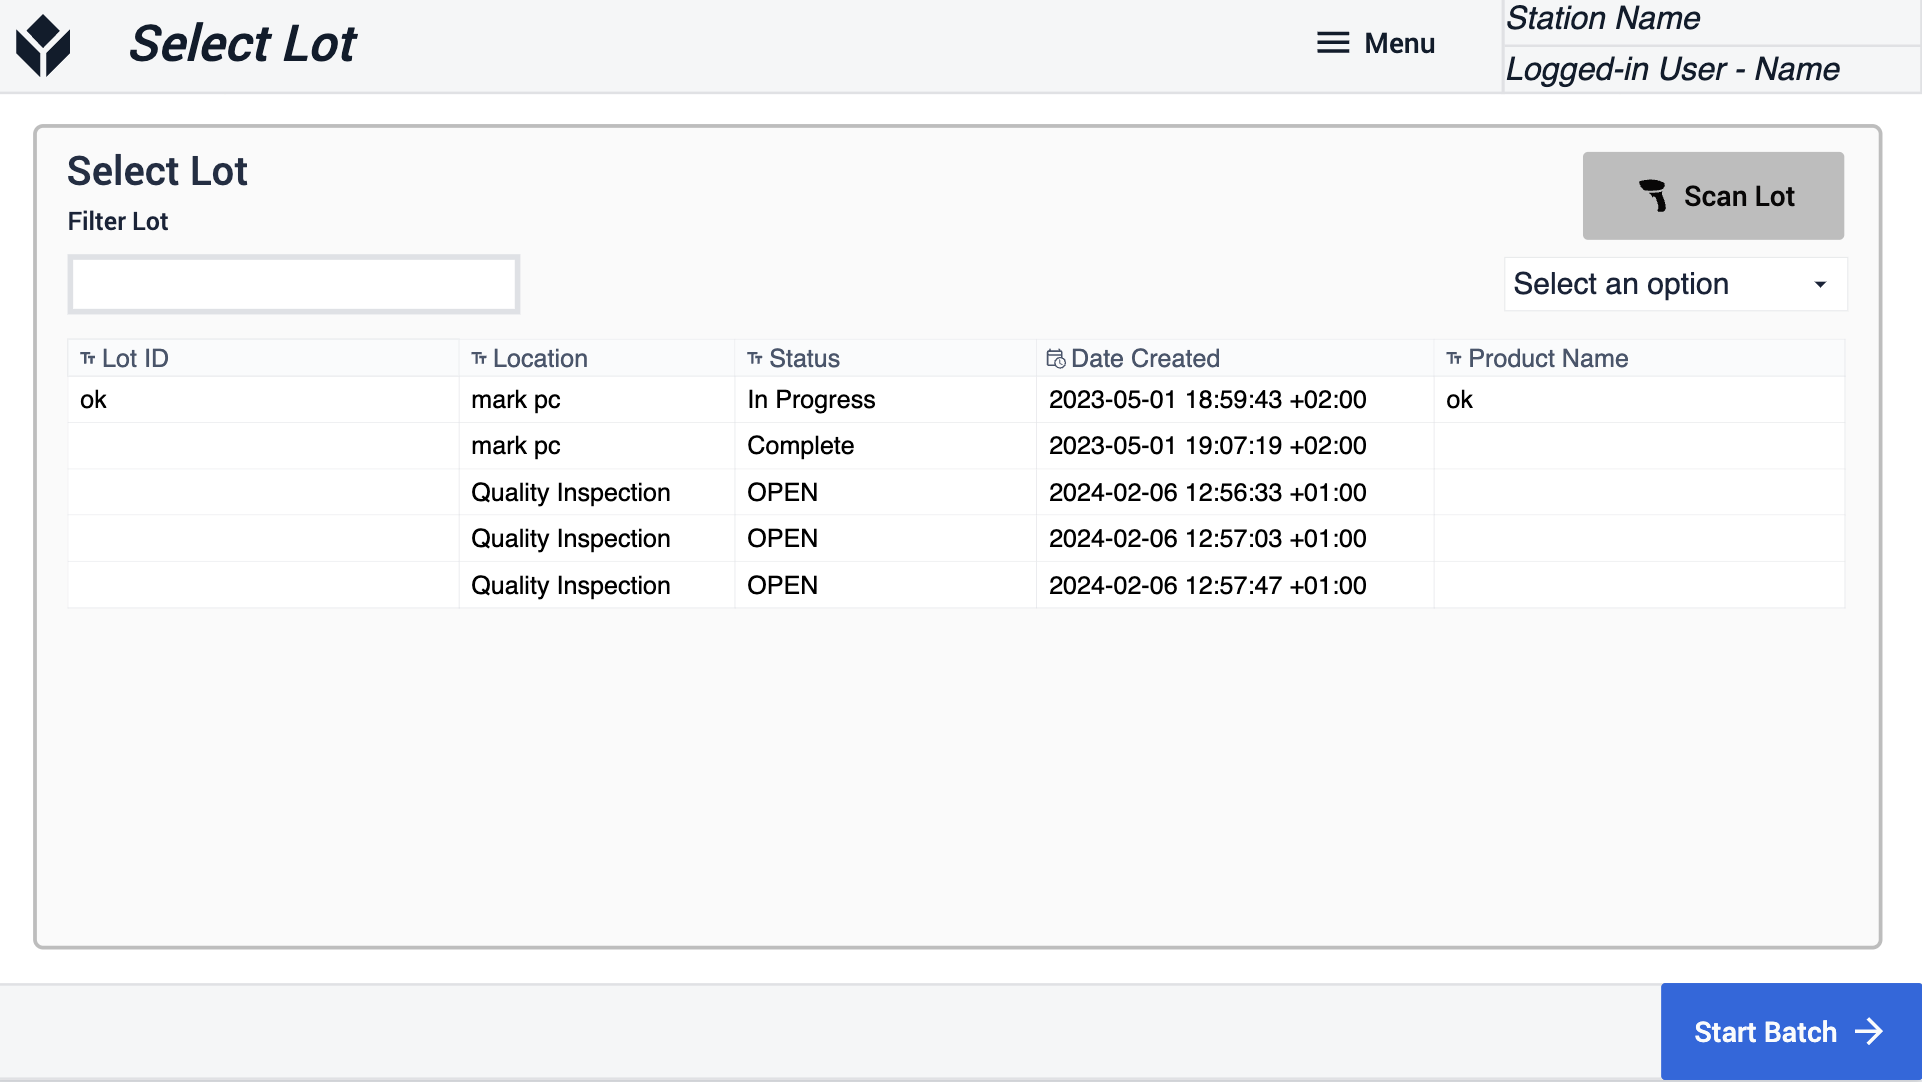
The application, derived from this template, serves as a work instruction for users in the production area. The first set of options allows users to choose the artifact they need to work on. Options include selecting a lot, order, or unit from a table, or using a scanner.
In this step has two filtering option. The first one is filtering the table for the Lot, order or unit ID. The other option to filter the table by status. For that you should edit the status list in the widget settings.
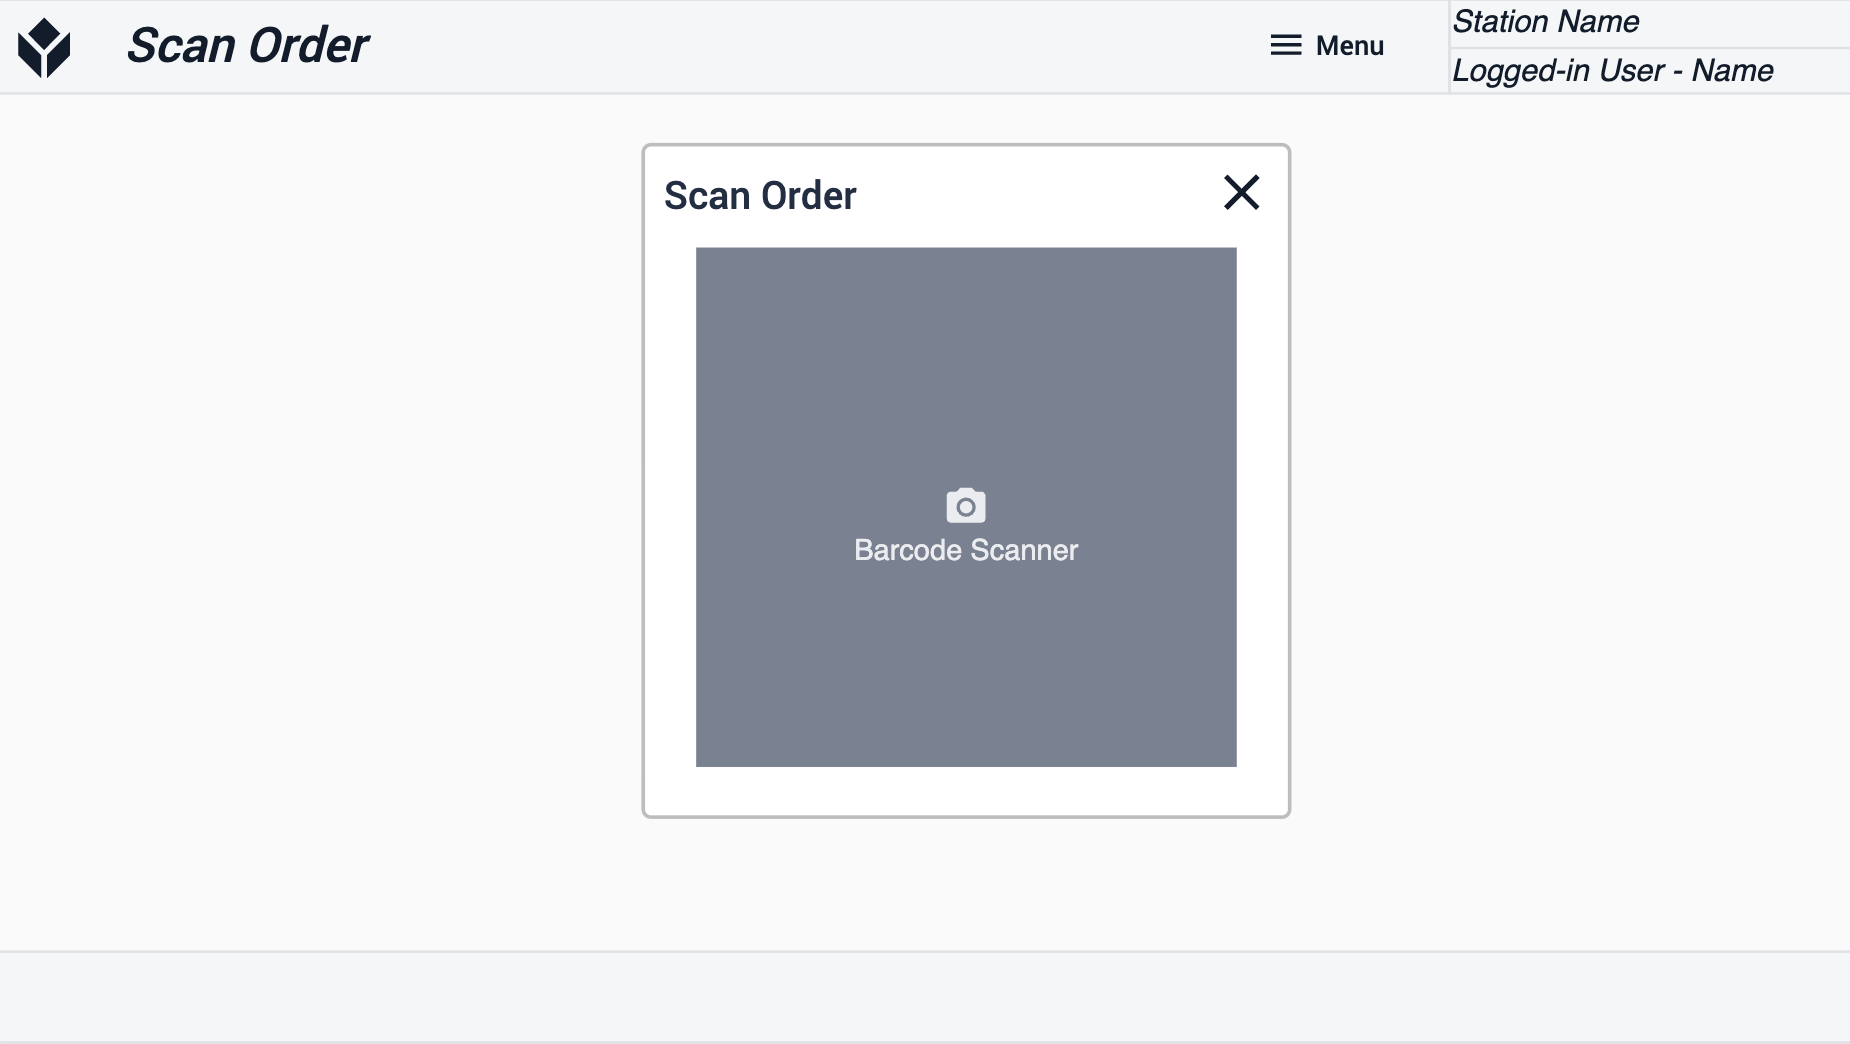
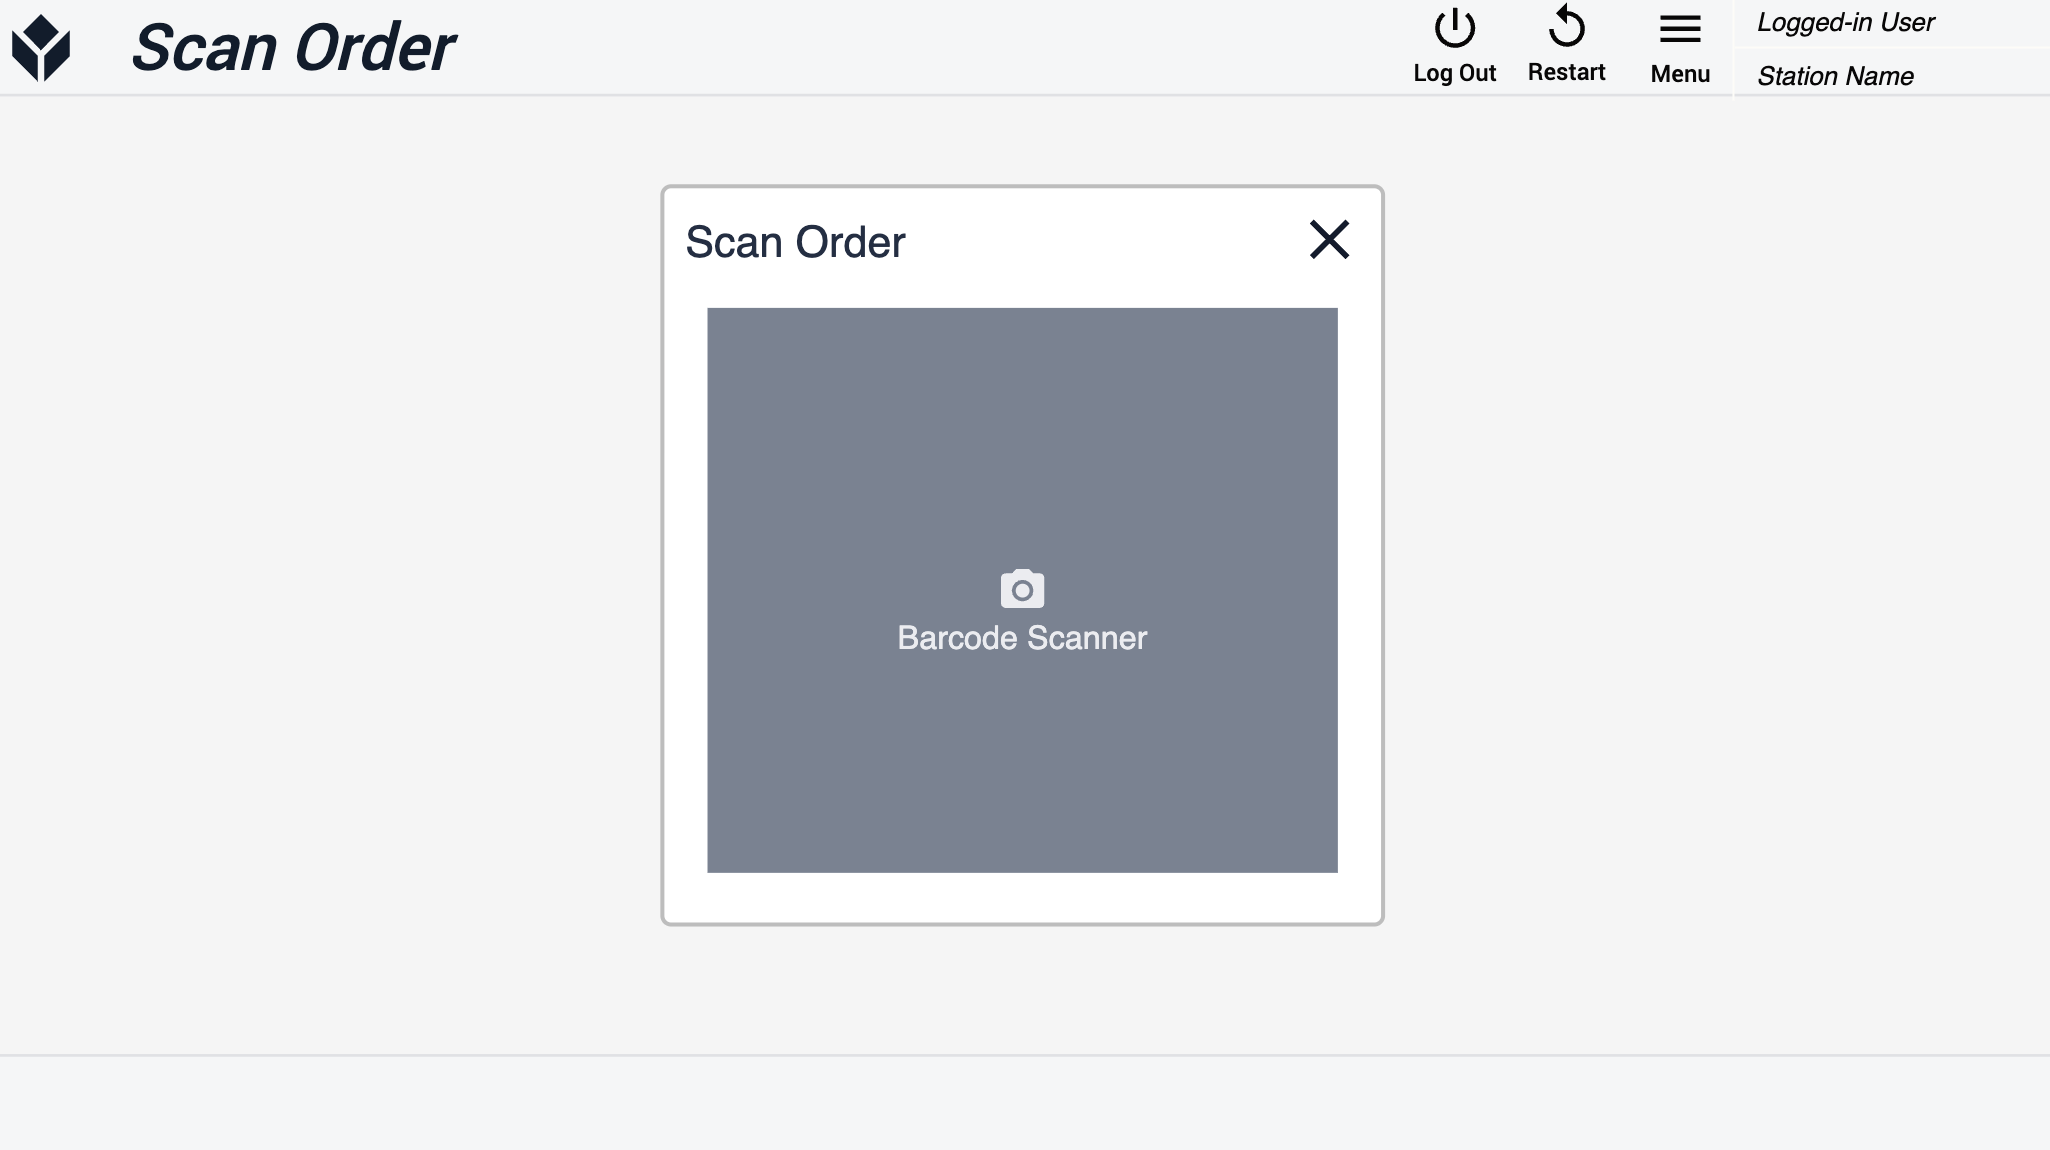
By clicking on the 'scan' button, the app directs users to the 'scan order' or the 'Scan or edit unit' step depending on which step users navigate. This step showcases an example of a trigger to utilize your device's built-in camera.
If you want to know more about how to set up a barcode scanner check out this article.
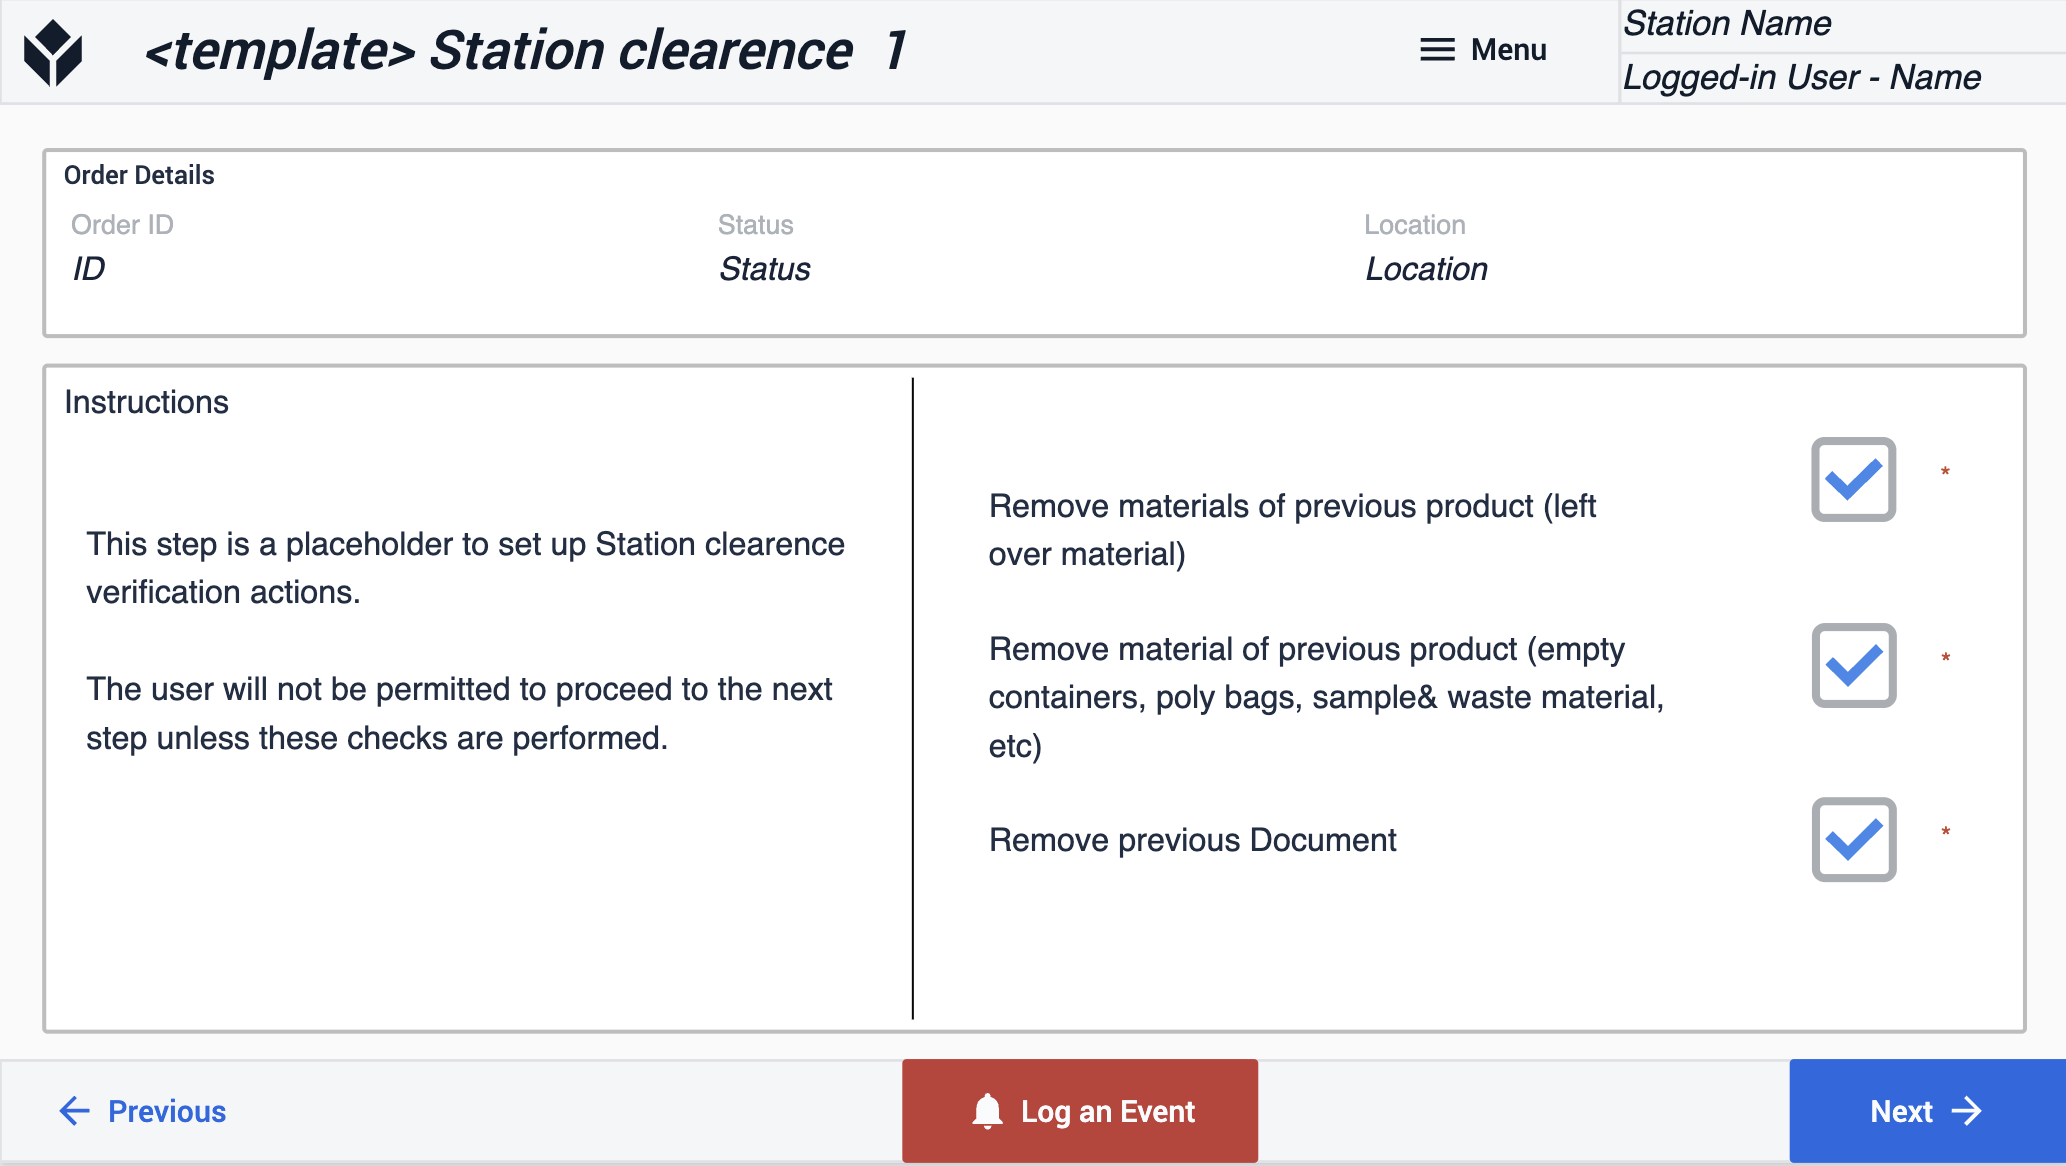
In the 'Line Clearance' step group, there are two steps. The first step provides instructions for line clearance, and users can confirm its completion by utilizing the provided checkbox.
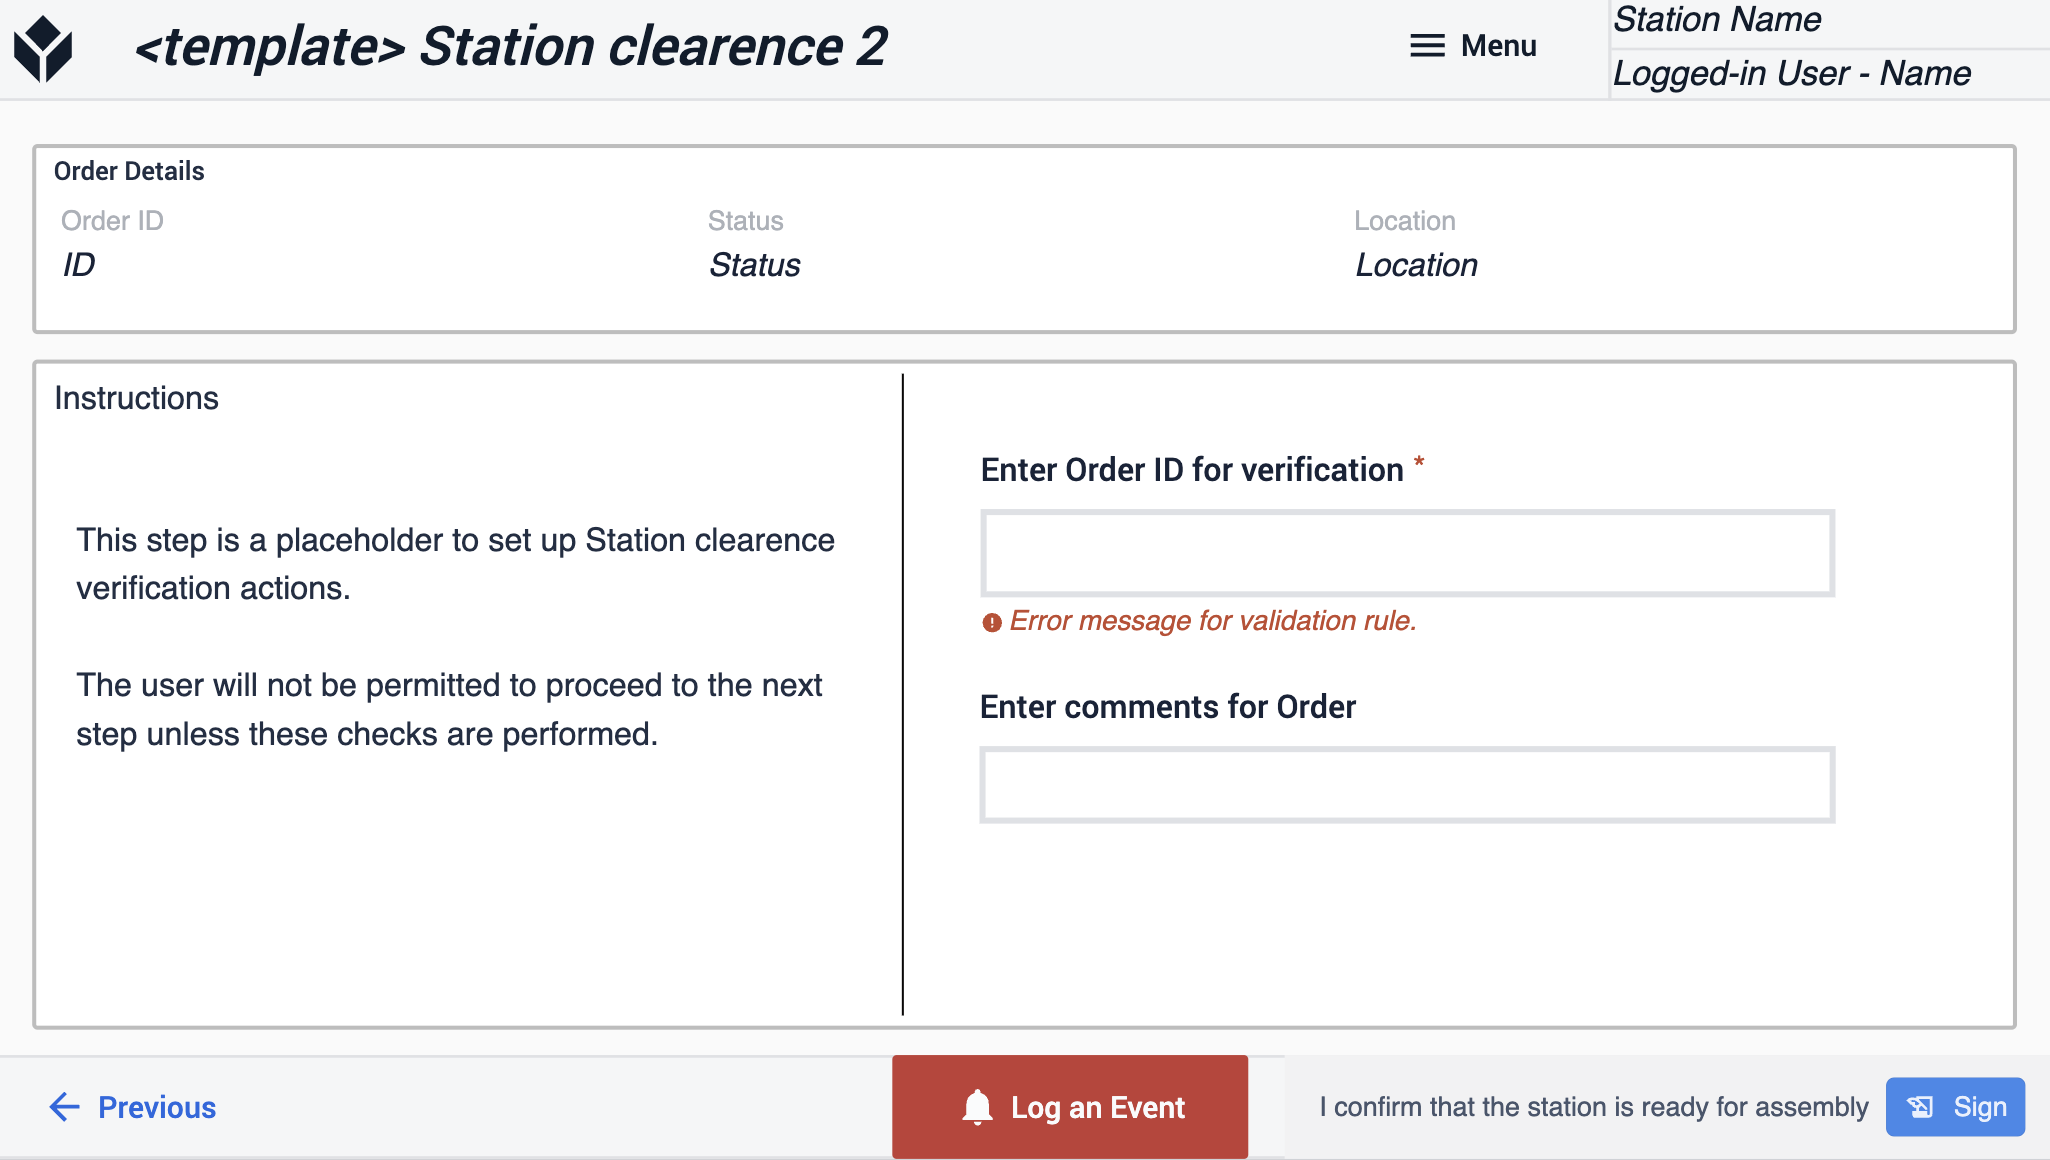
In the second step, users are required to input the order ID for verification. They can then confirm that the station is ready in a regulated manner by using the signature widget.
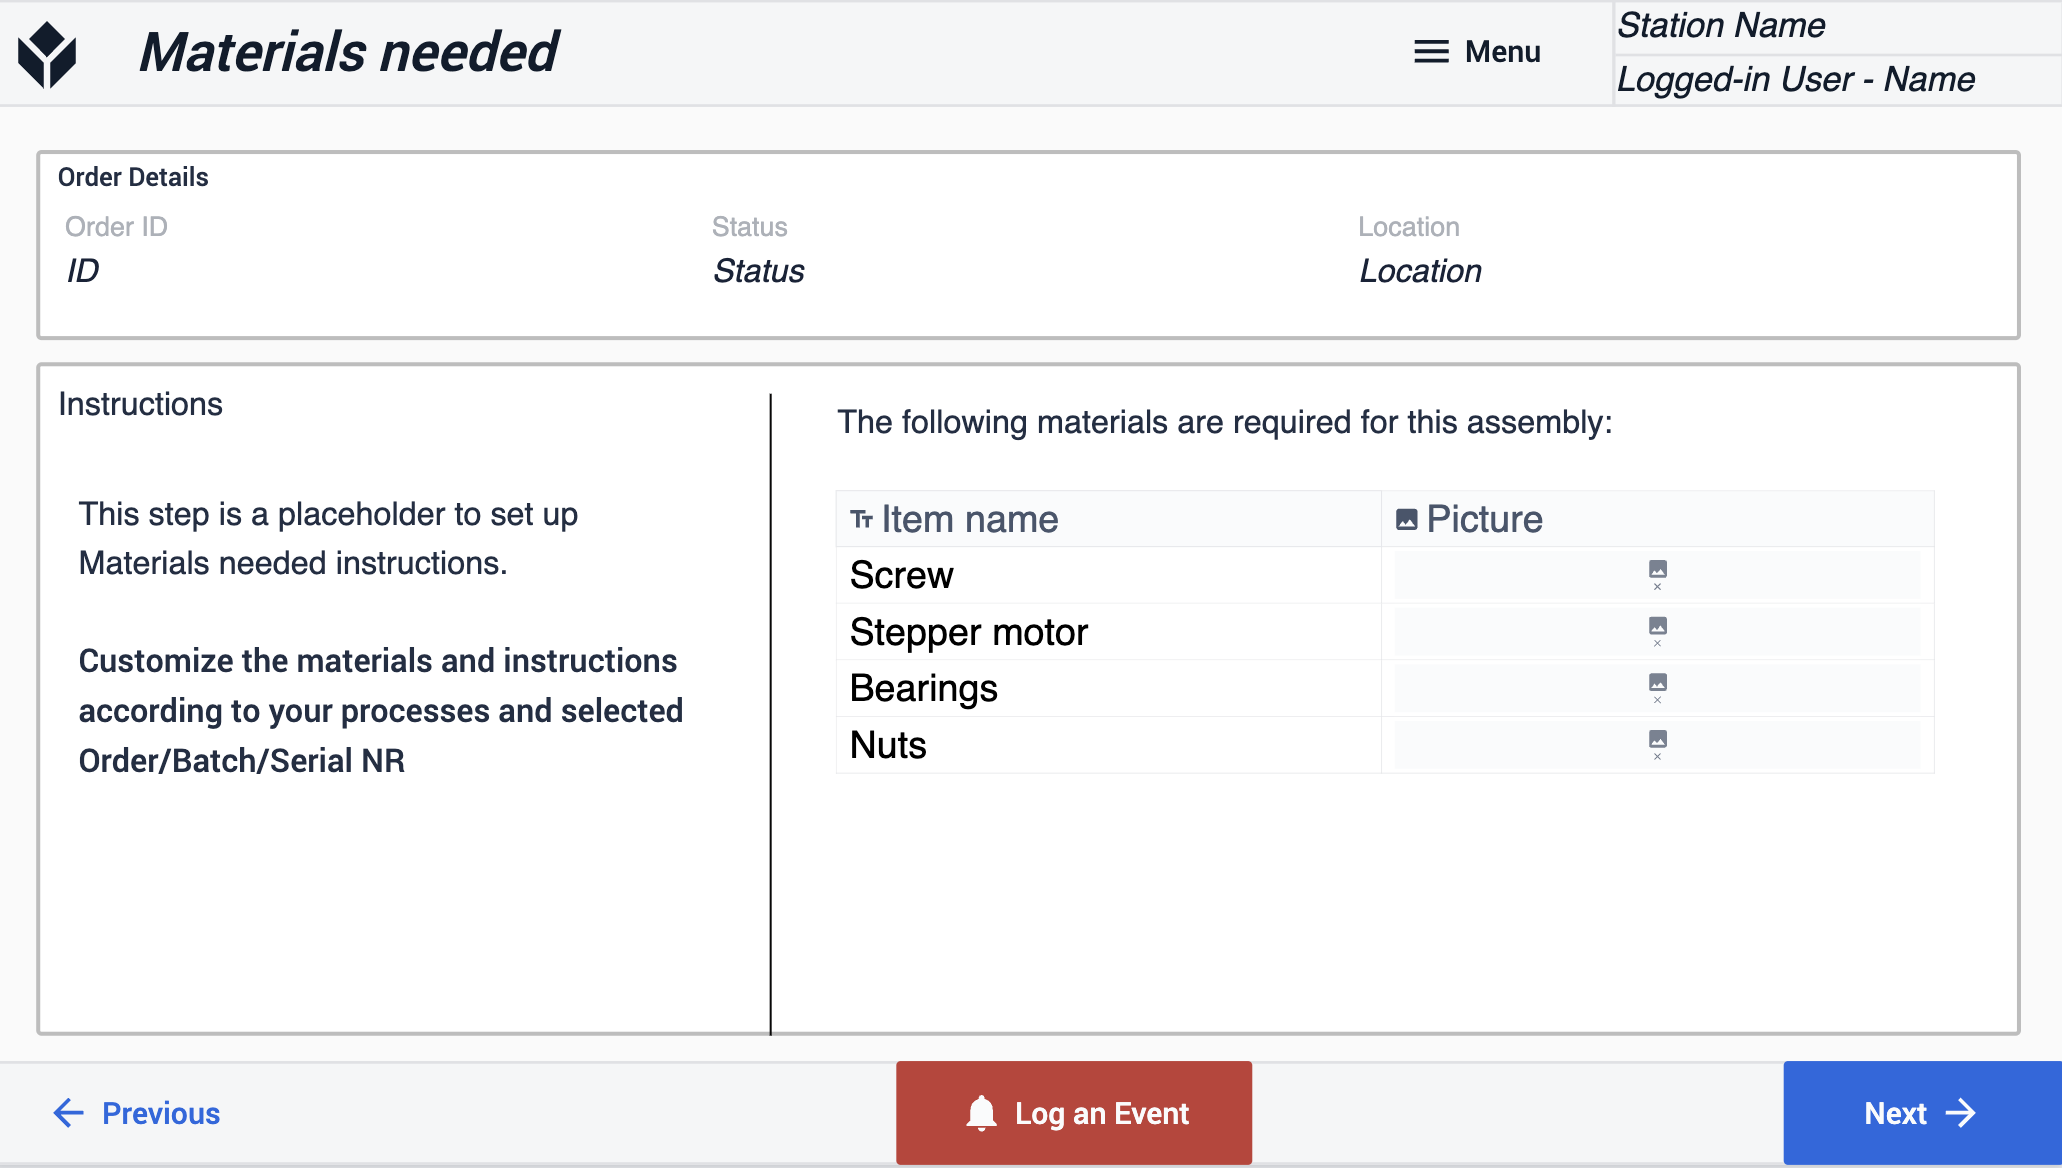
Setup: In this group of steps, you're given the option to configure both the material and equipment requirements.

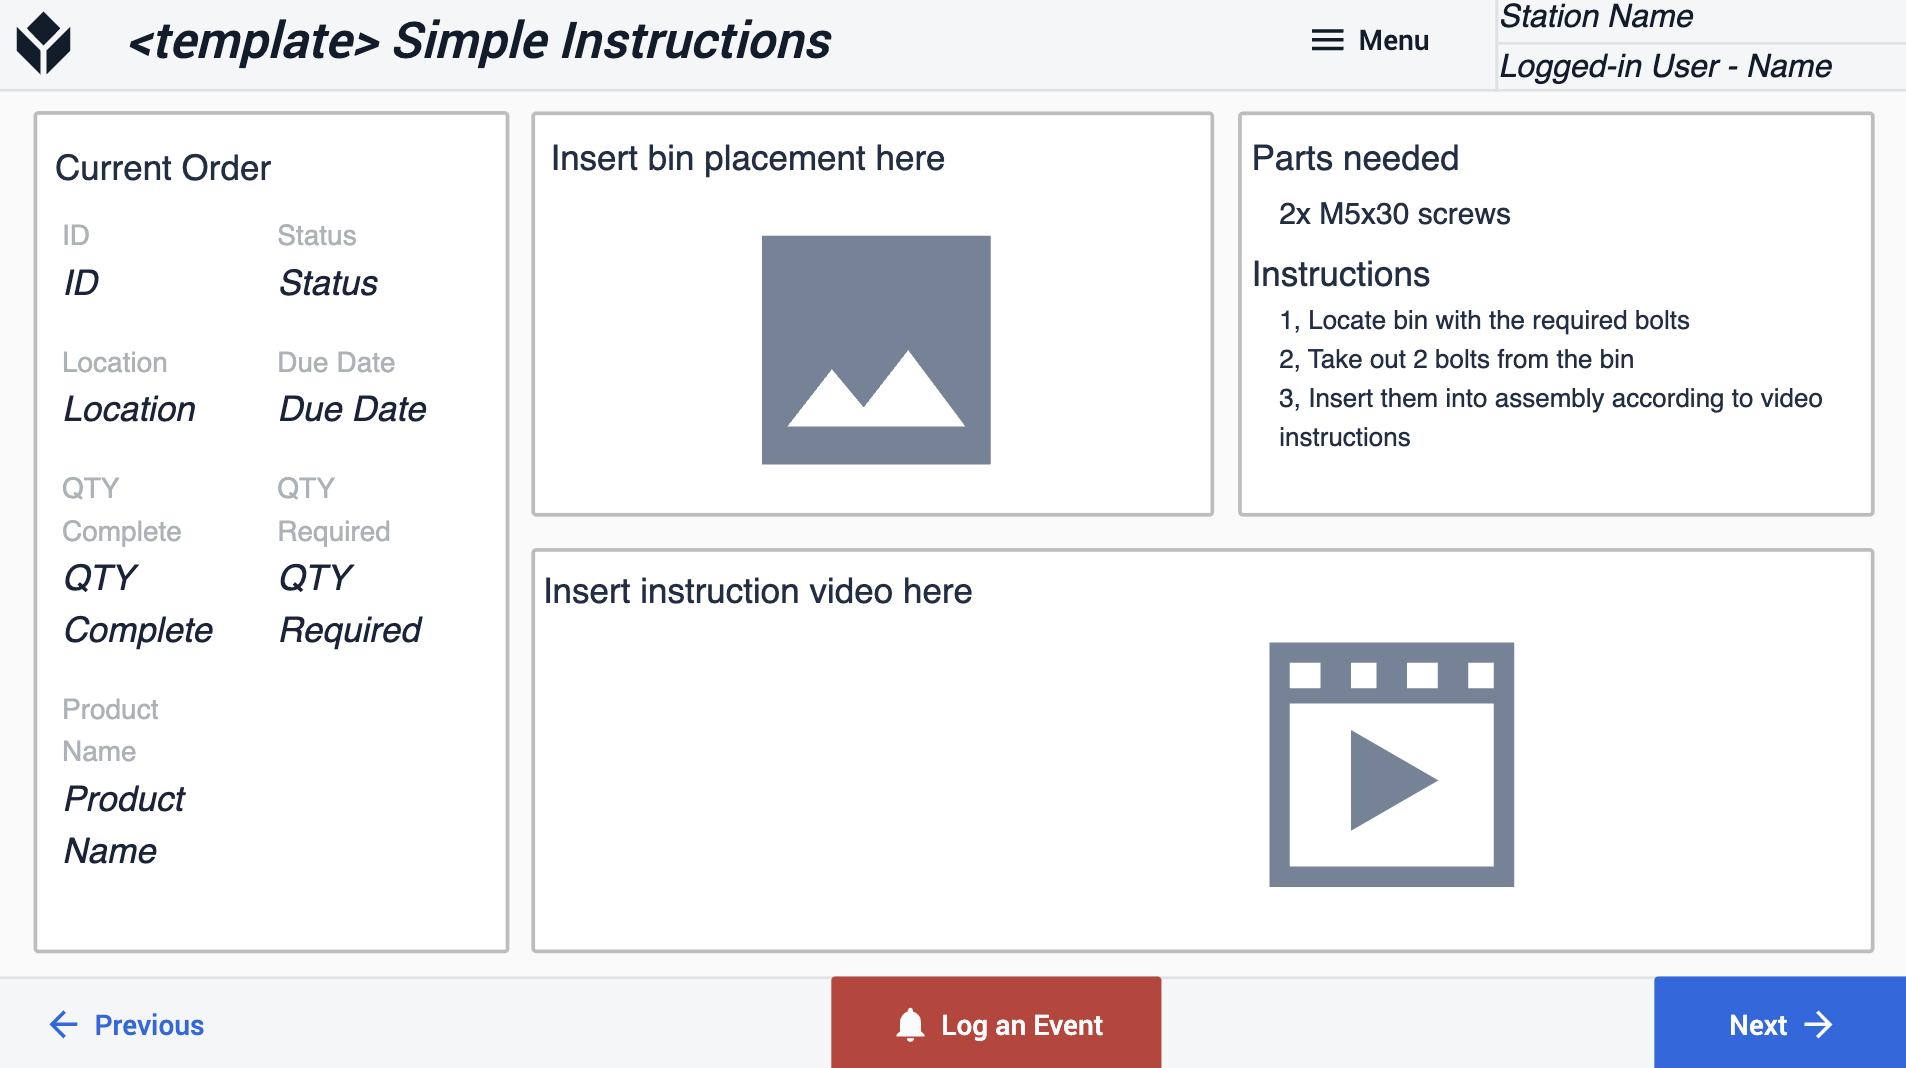
Once the materials and equipment are set up, the subsequent step relates to the assembly process. This step provides simple instructions. Here, you have the option to insert a video about the process steps, which can demonstrate to the operator the required parts and provide step-by-step instructions.
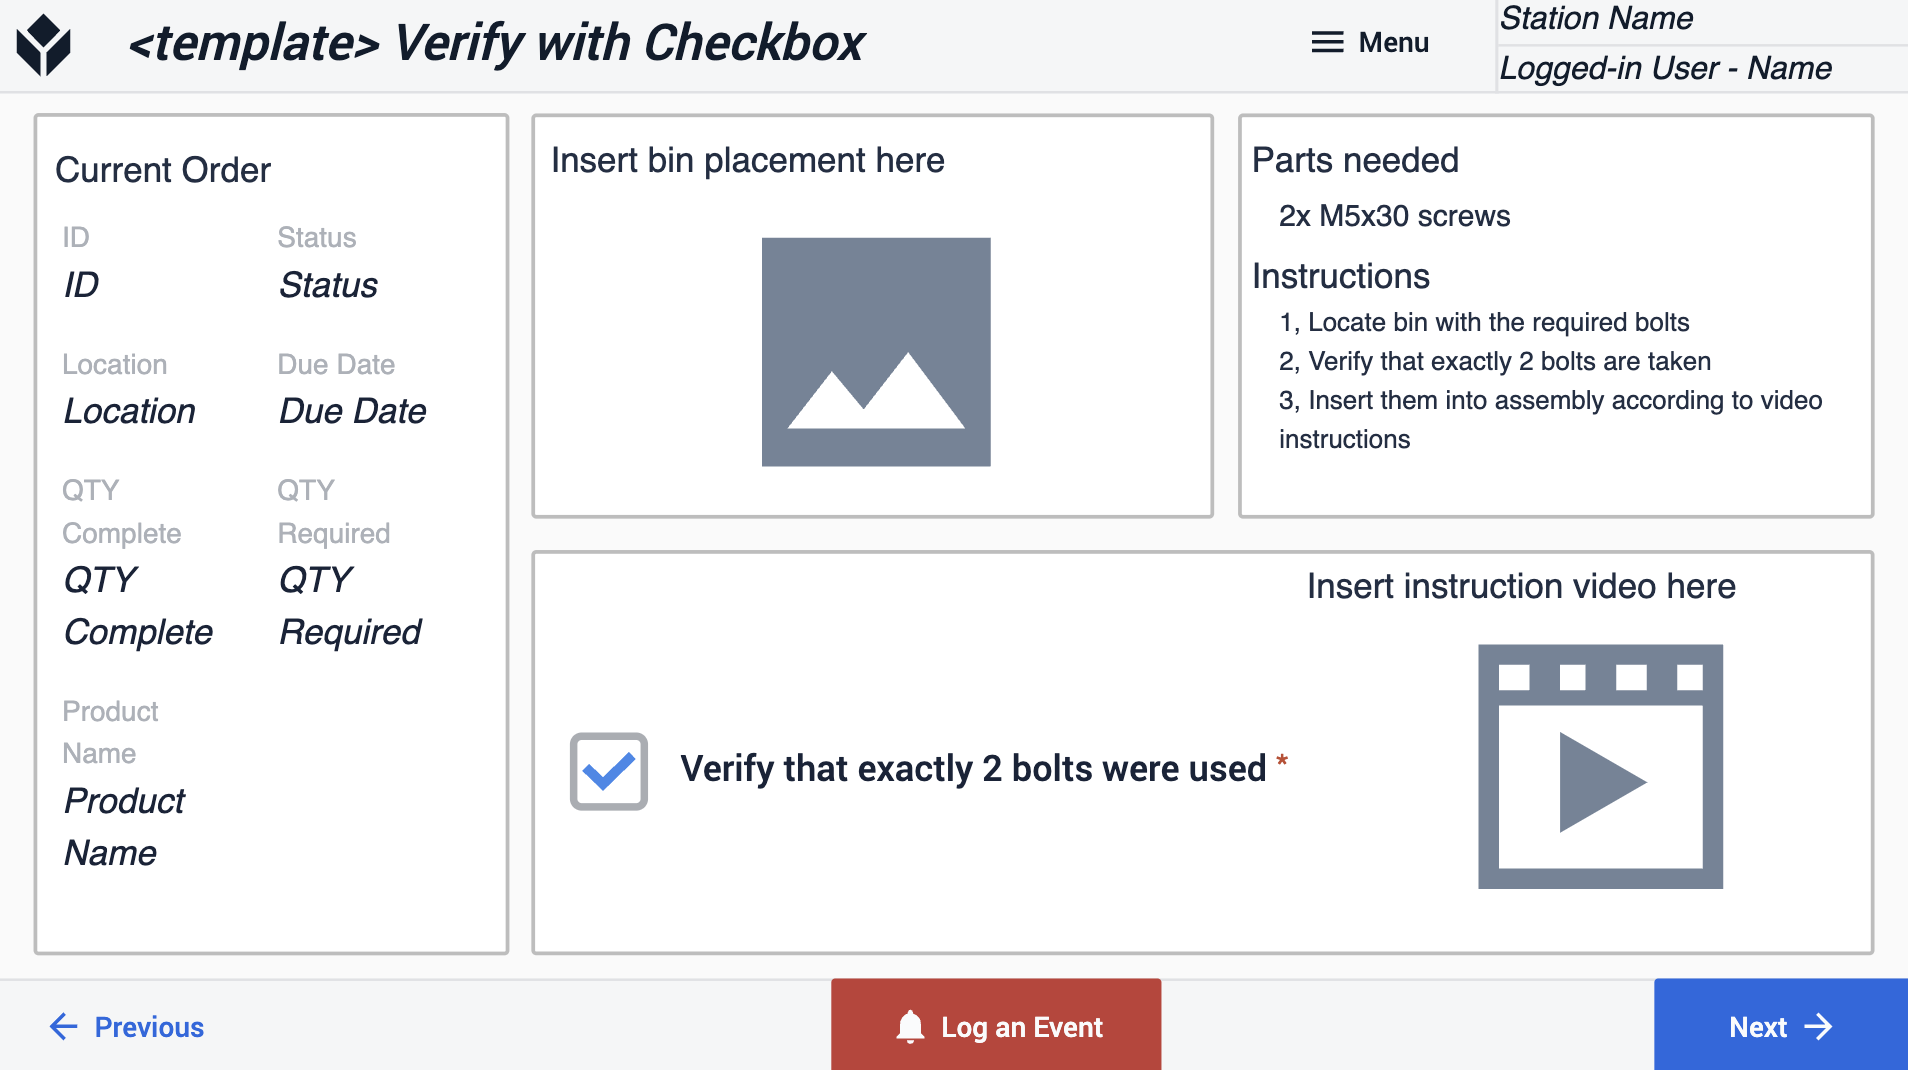
If you want operator to verify that they comleted, you can use the 'Verify with checkbox' template step.
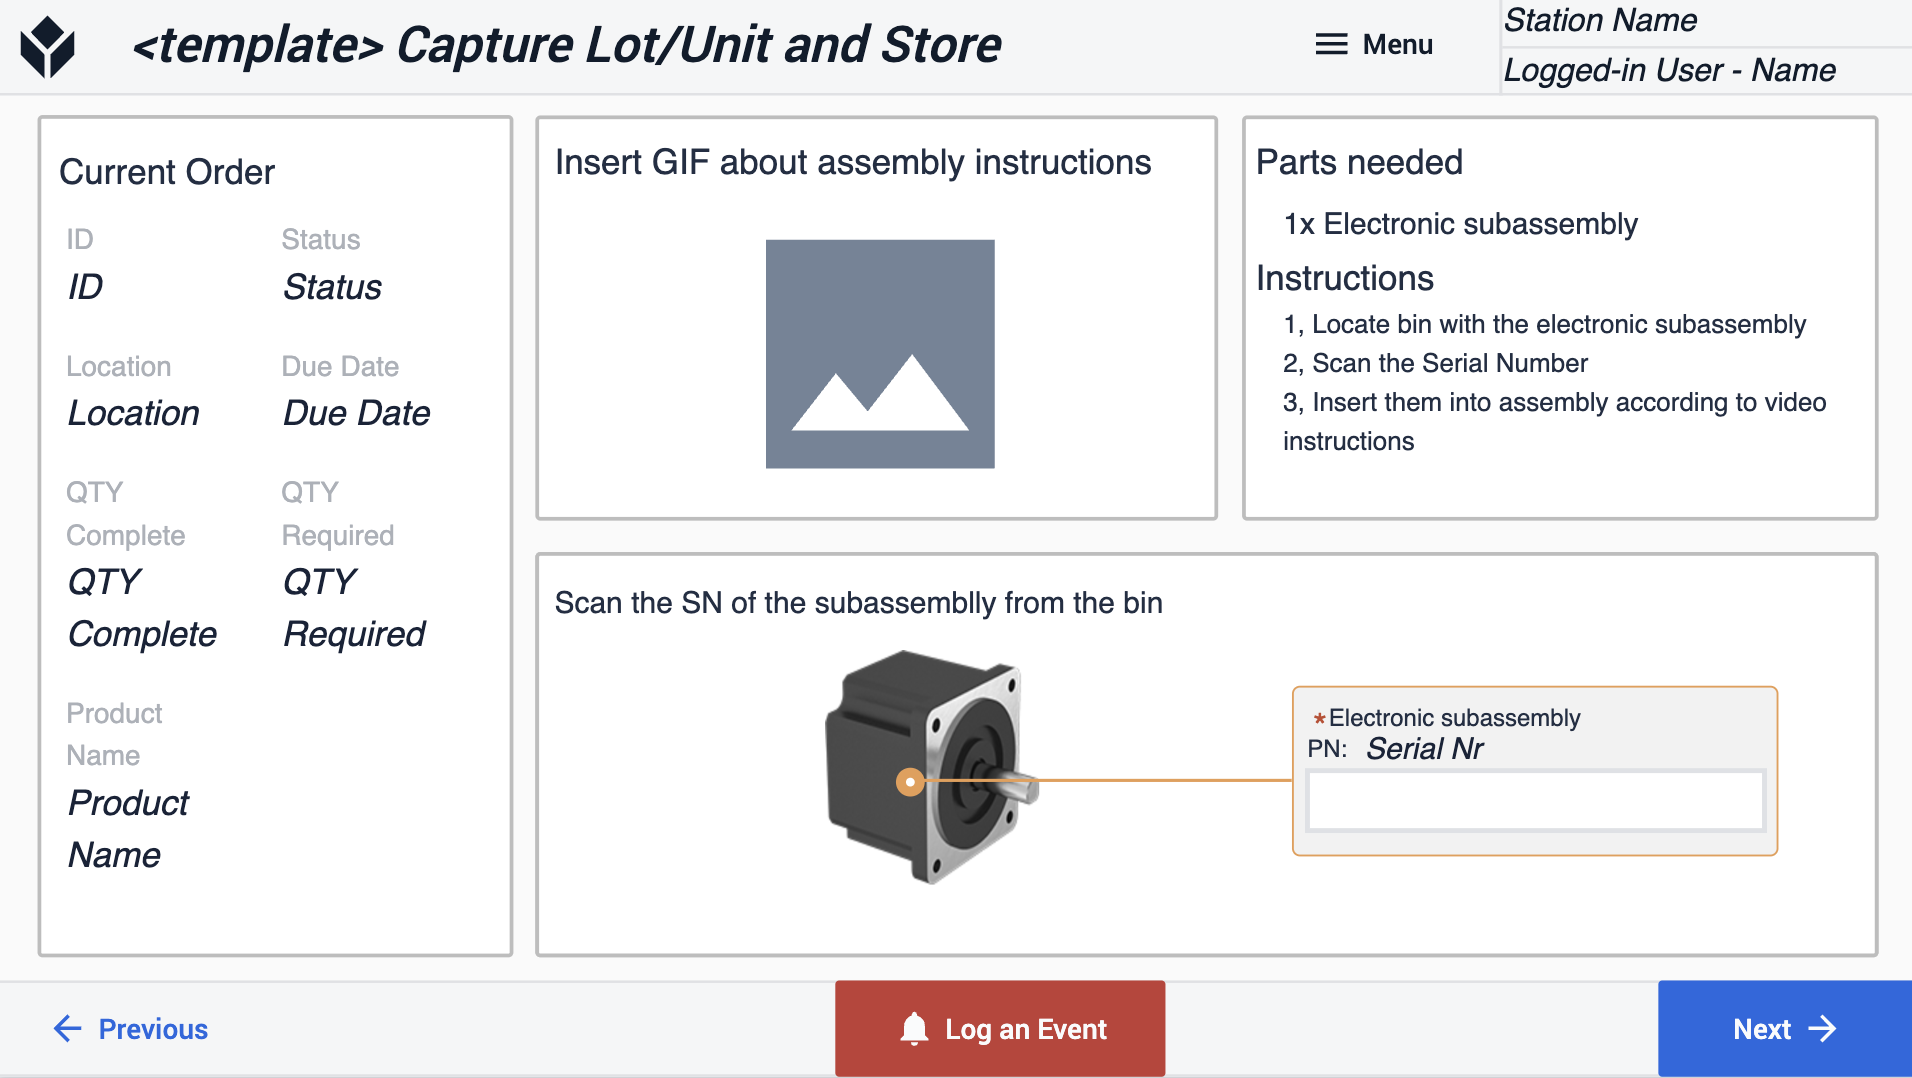
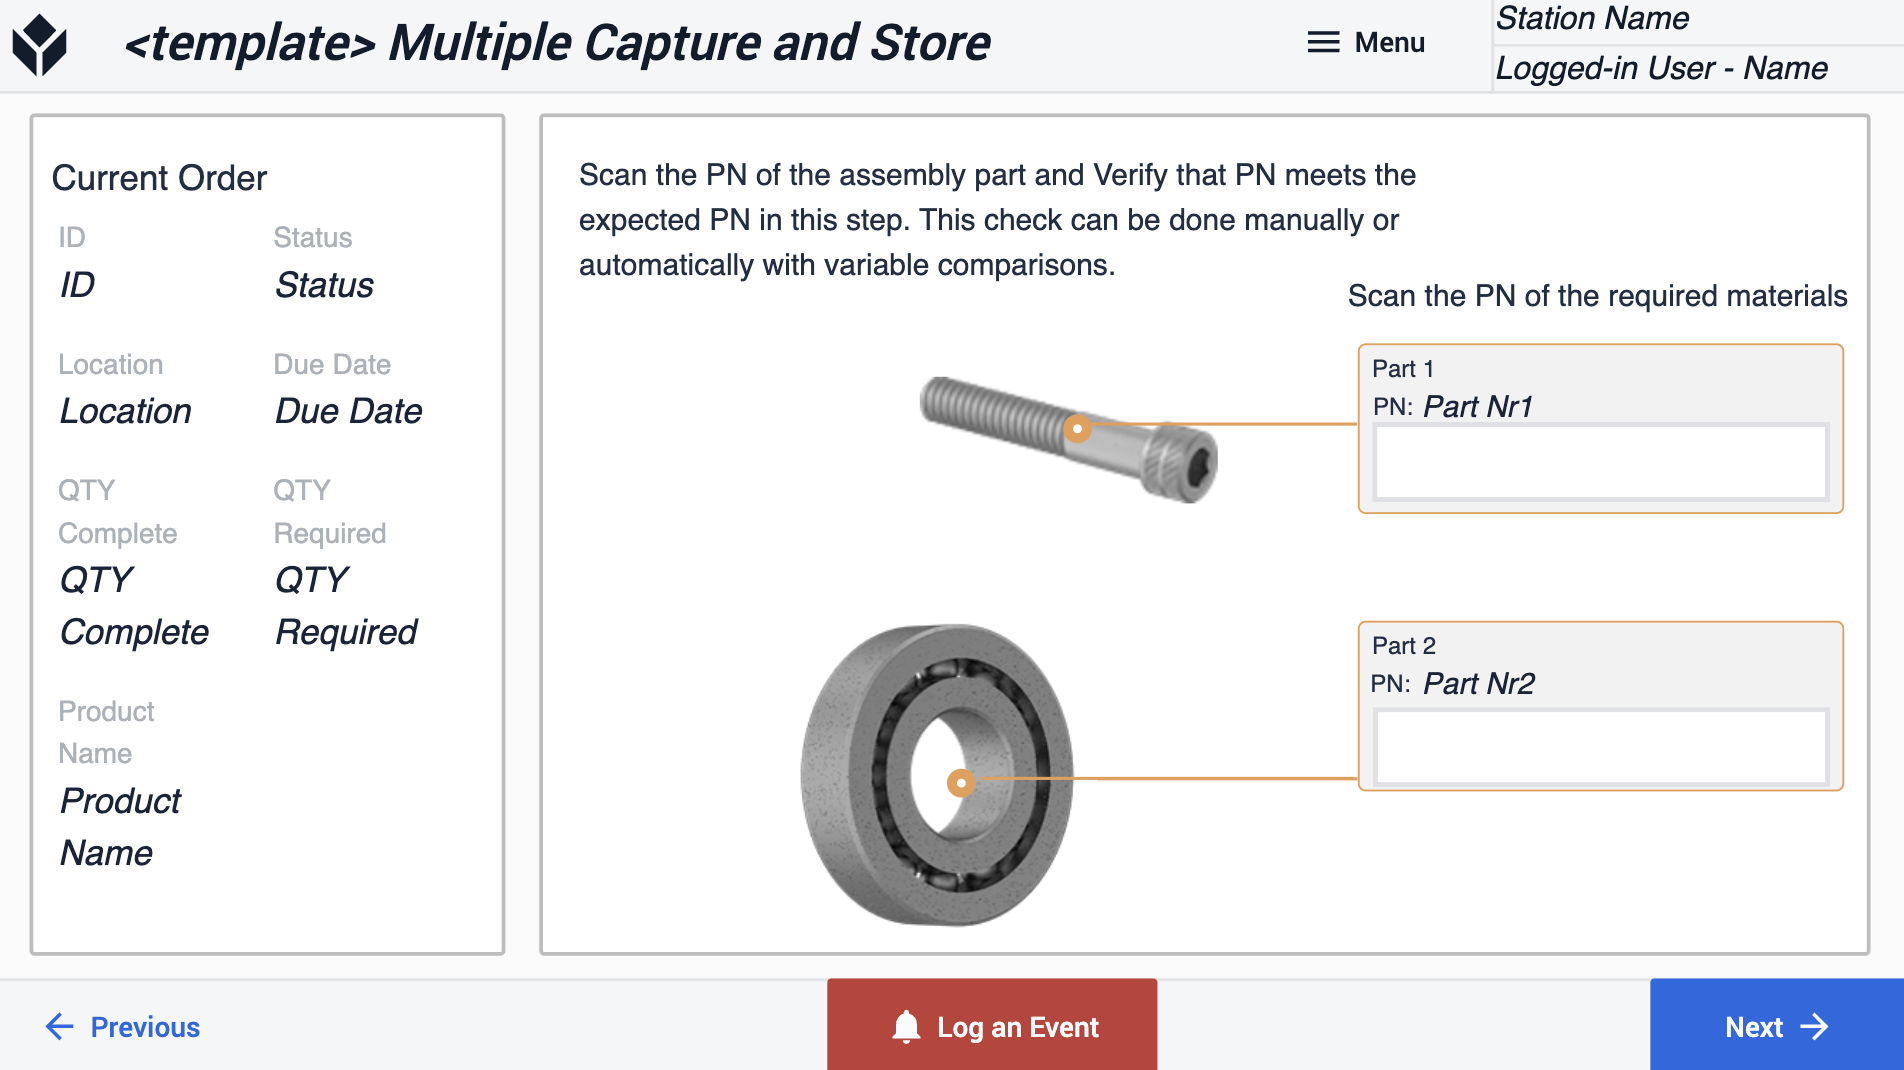
This template offers multiple options for capturing and storing data. In this step, users can scan the serial number (SN) of the subassembly directly from its bin.
The subsequent step showcases an example for scanning multiple parts. Within the trigger titled 'multiple scan', an example is provided of how to correctly direct the data to store it in the appropriate field.
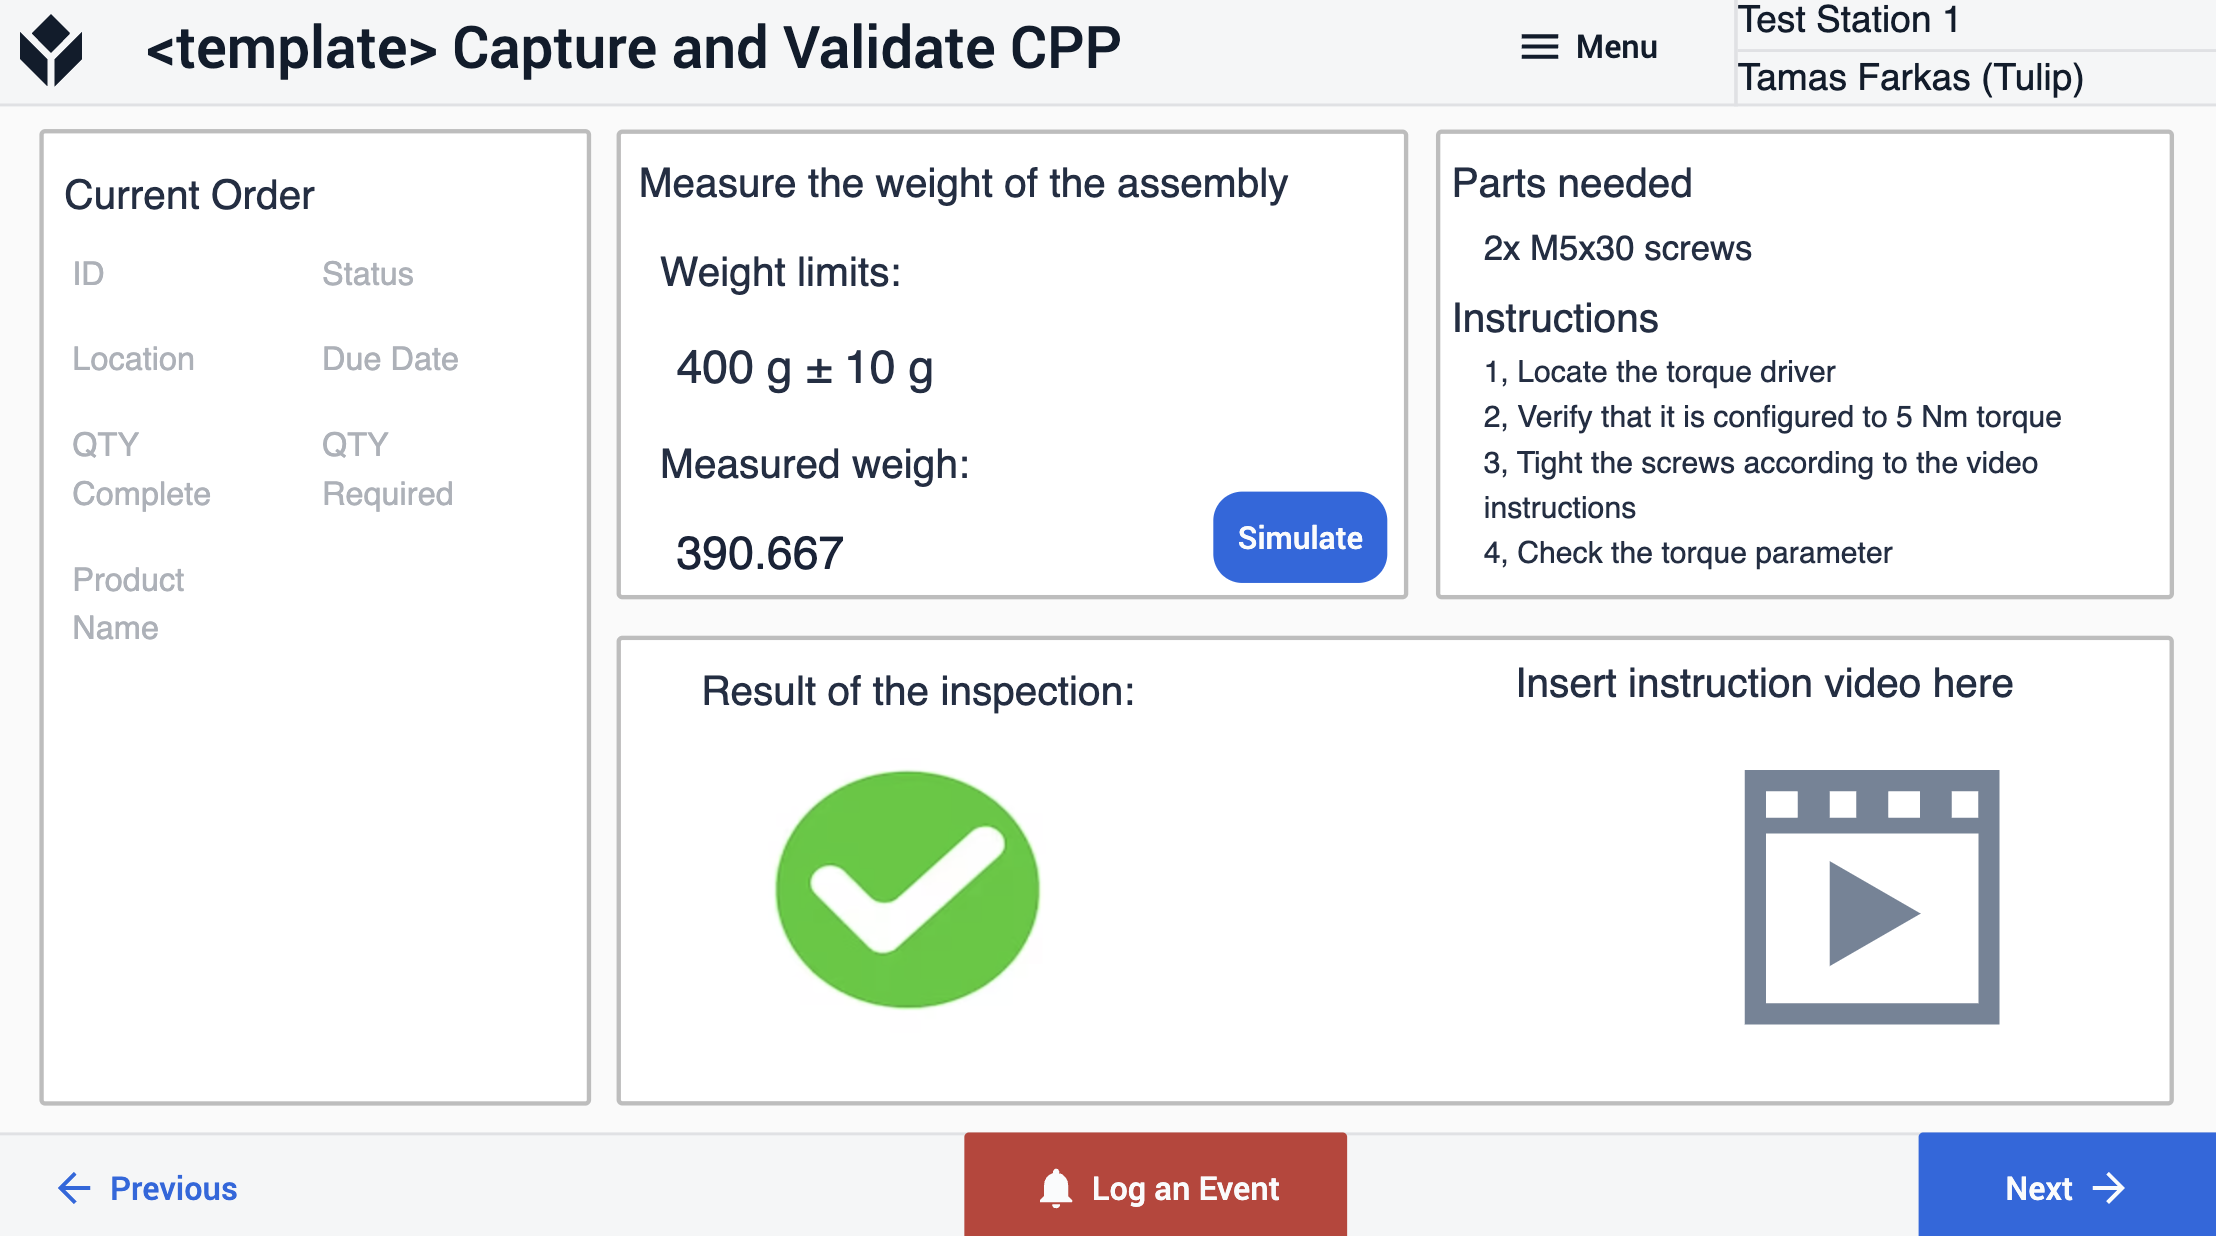
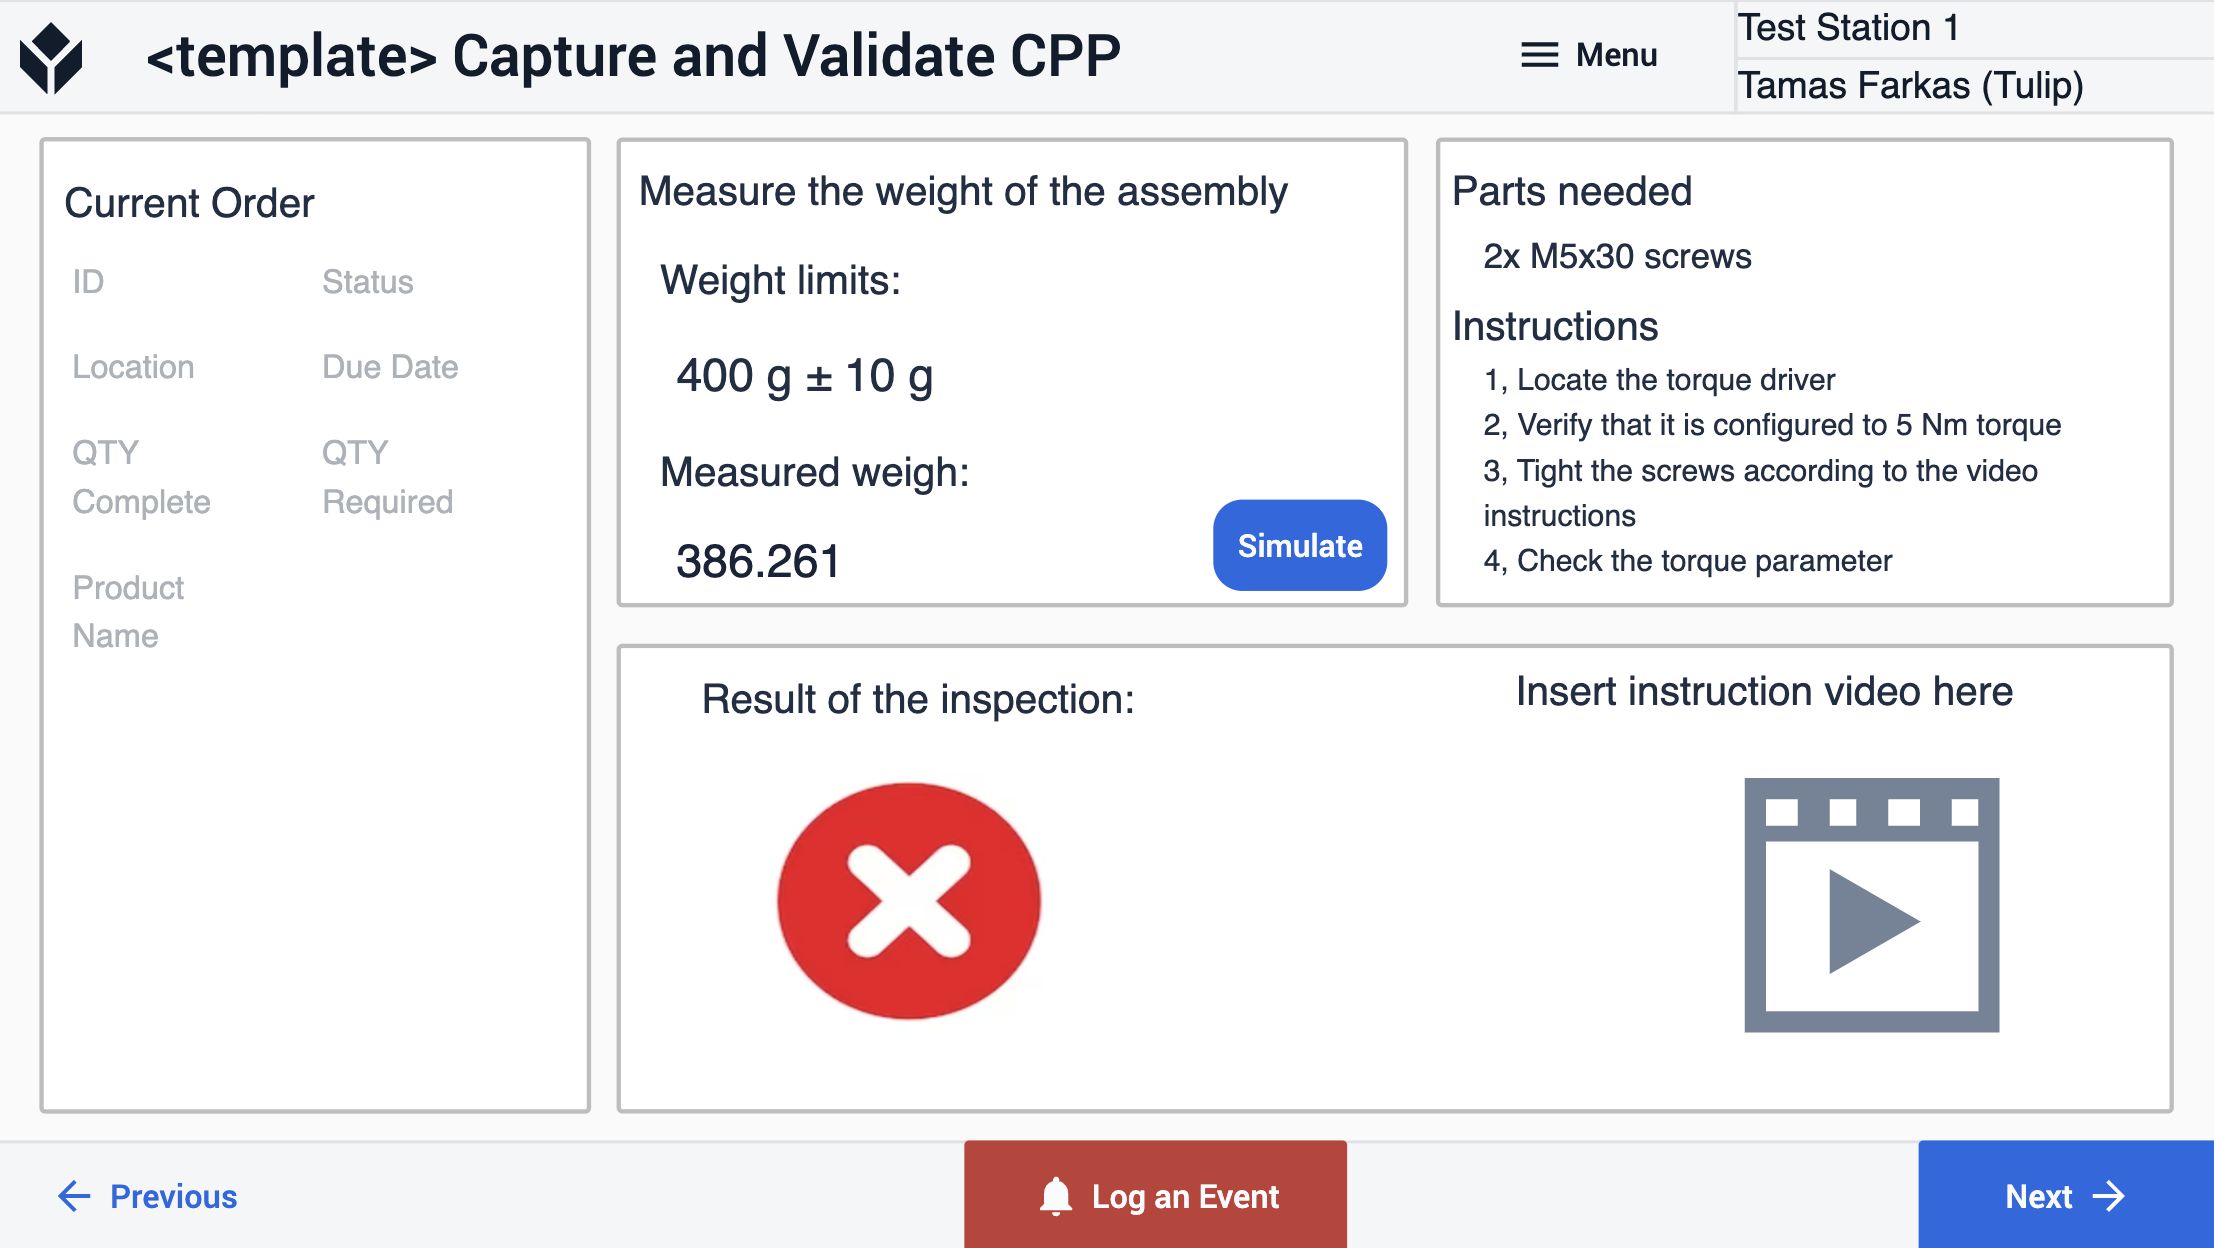
In the 'Capture and Validate CPP' step, there's an integration with a scale to measure and verify if the measured value is within predefined limits. If the measurement is within the permissible range, the inspection result icon turns green; otherwise, it changes to red.
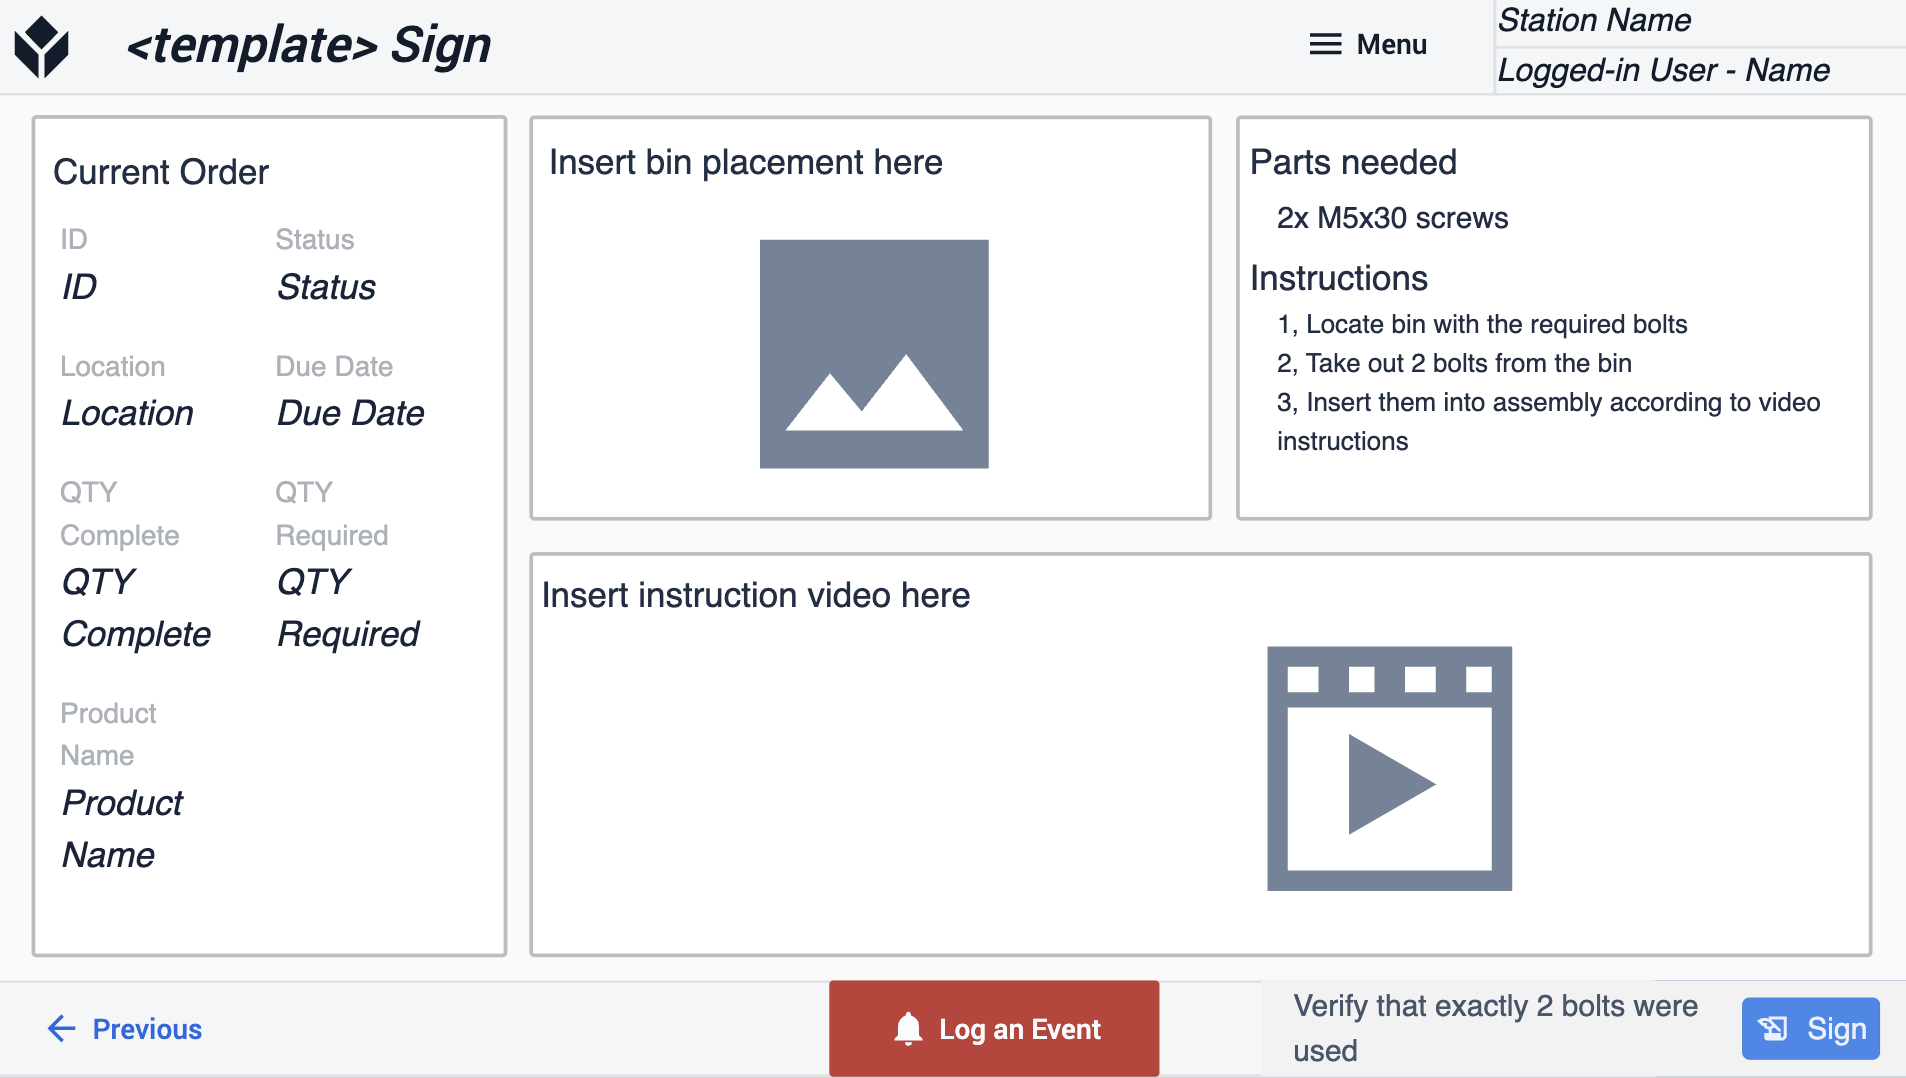
The final two template steps within this assembly template group provide an example of how users can capture data and authenticate it using the signature widget.
At the end of the process, users can print a label for the products. For more information on how to connect a Zebra label printer with Tulip, please refer to the linked article.
How To Integrate a Zebra Printer with Tulip
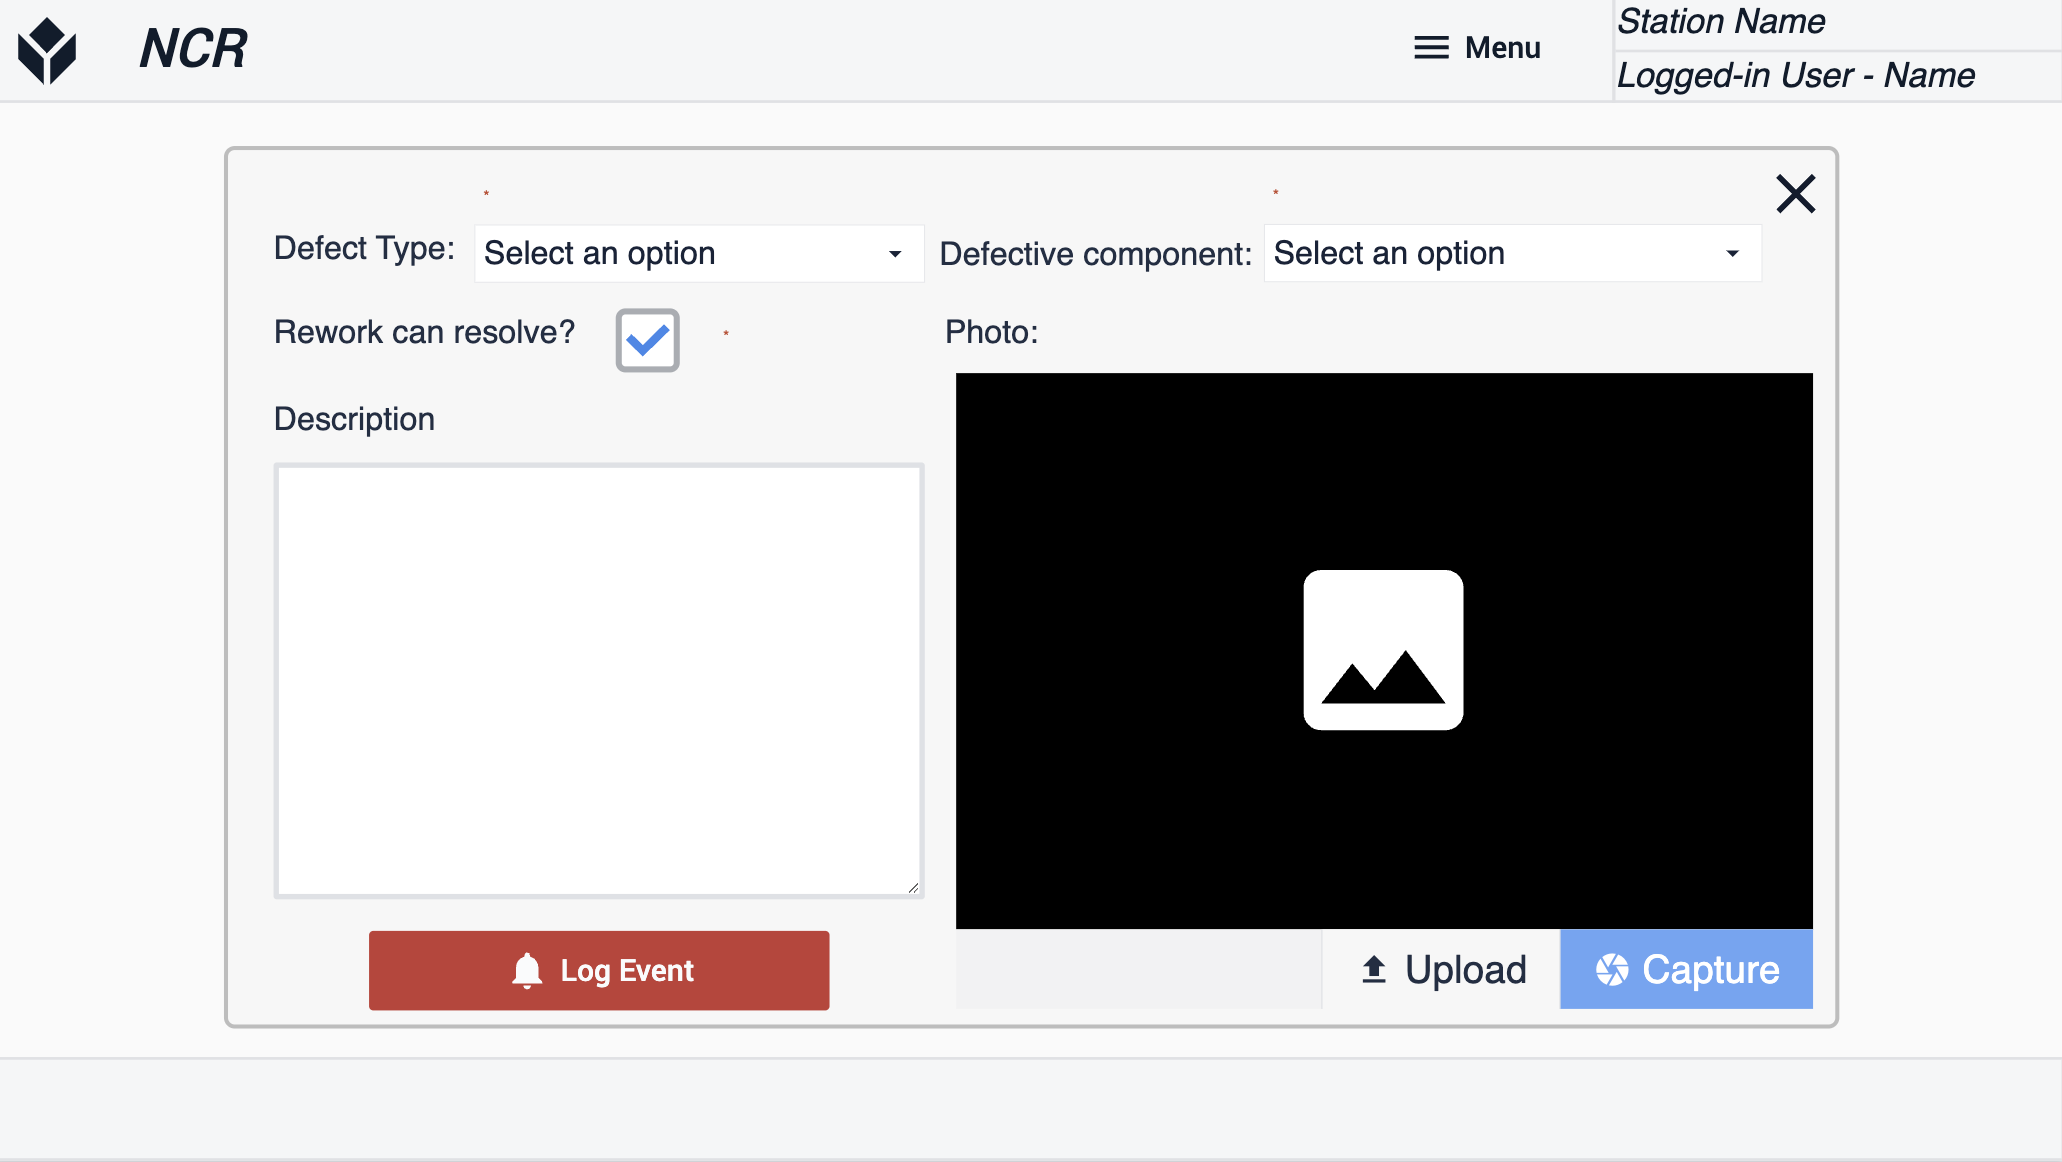
Within the app, users can log an event by clicking on the 'Log an Event' button. This leads users to the 'Log Event' step. After completing all the required fields, users can successfully log the event.
Review App Template
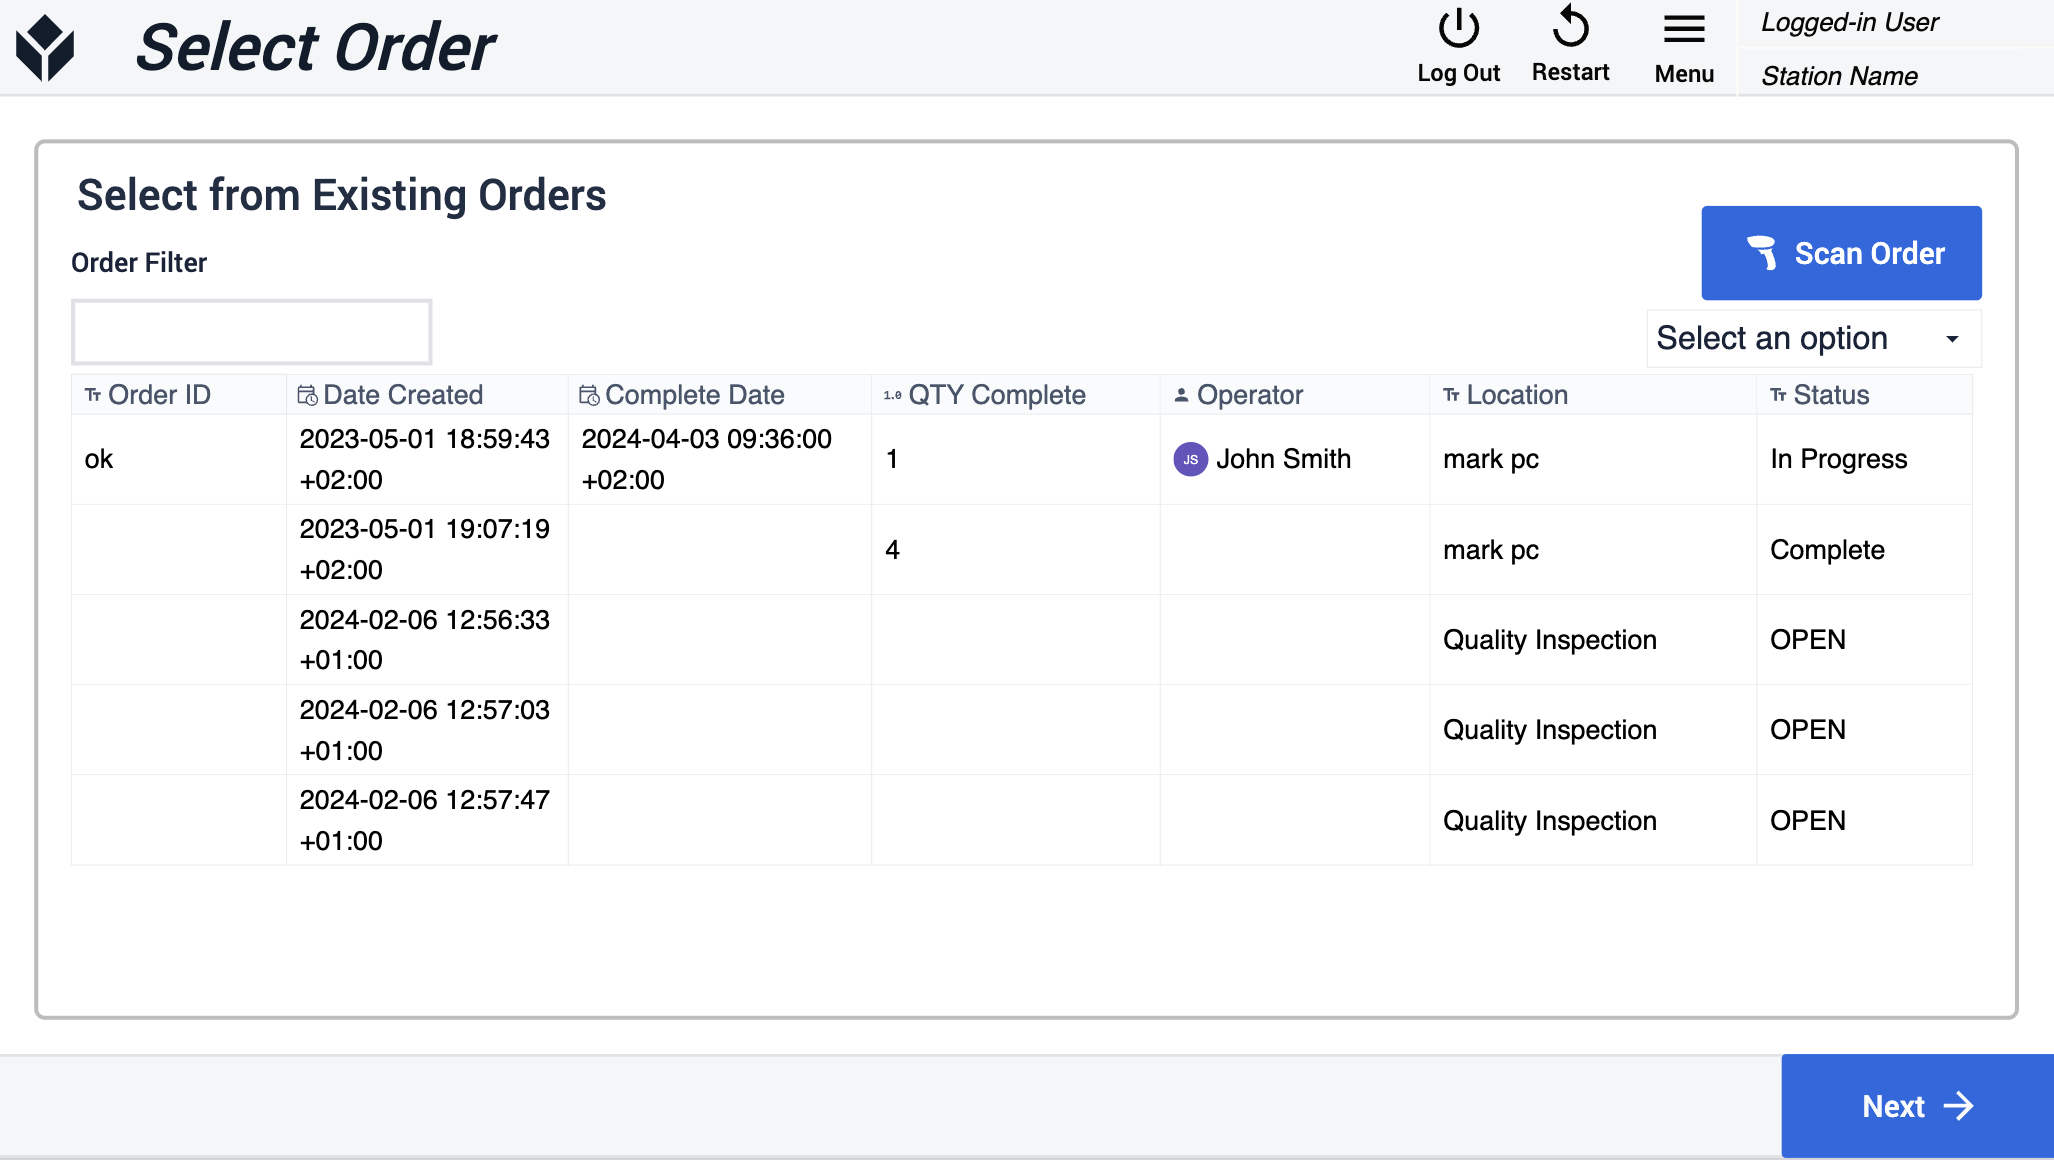
In the 'Select Order' step, users have the option to either select an order from the table or scan a barcode using their device's built-in camera.
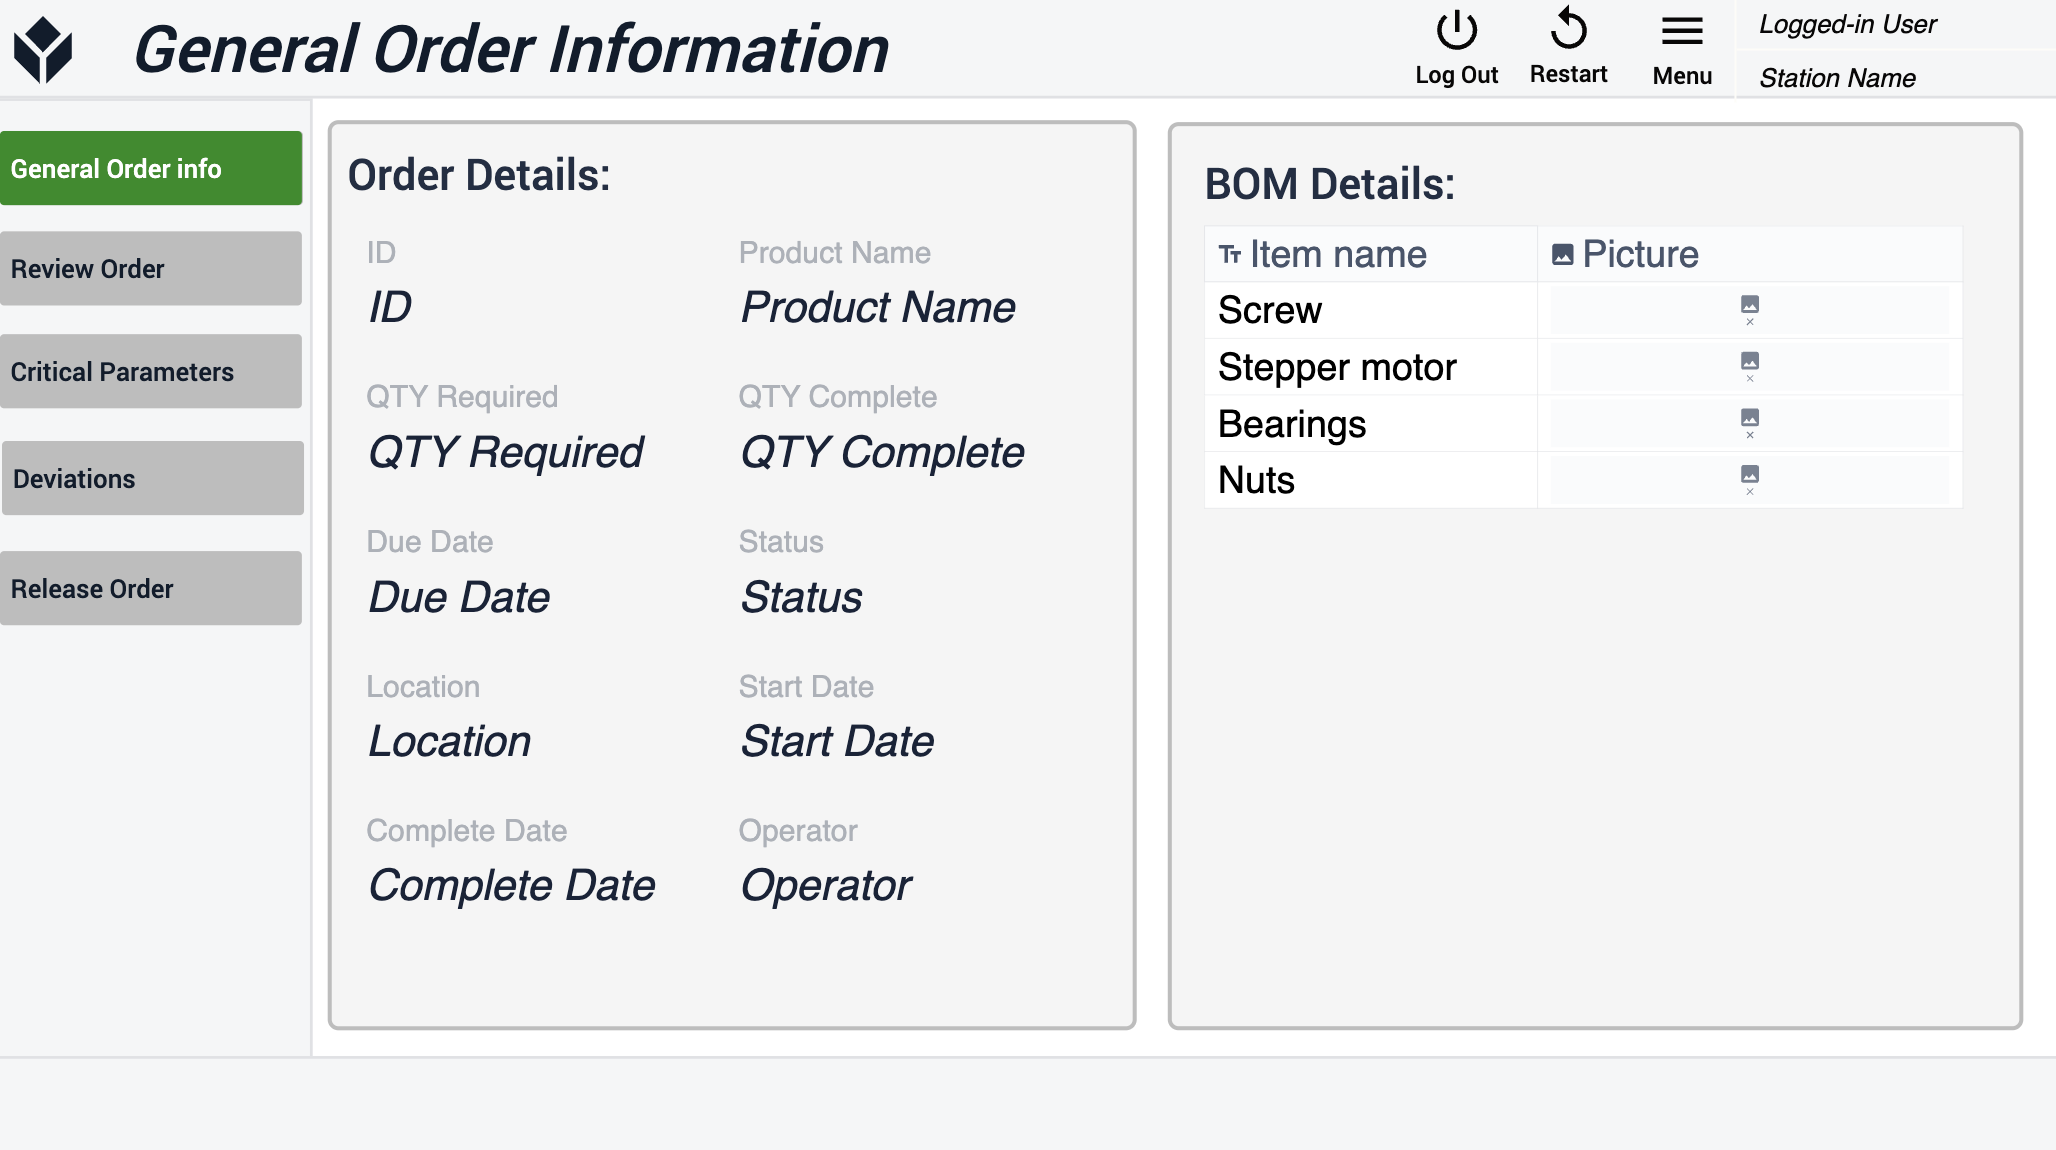
After choosing the order, users can navigate to the 'General Order Information' step. Within this step, users can review the order details and the Bill of Materials list.
By clicking the buttons on the side menu, users can navigate to the appropriate steps.
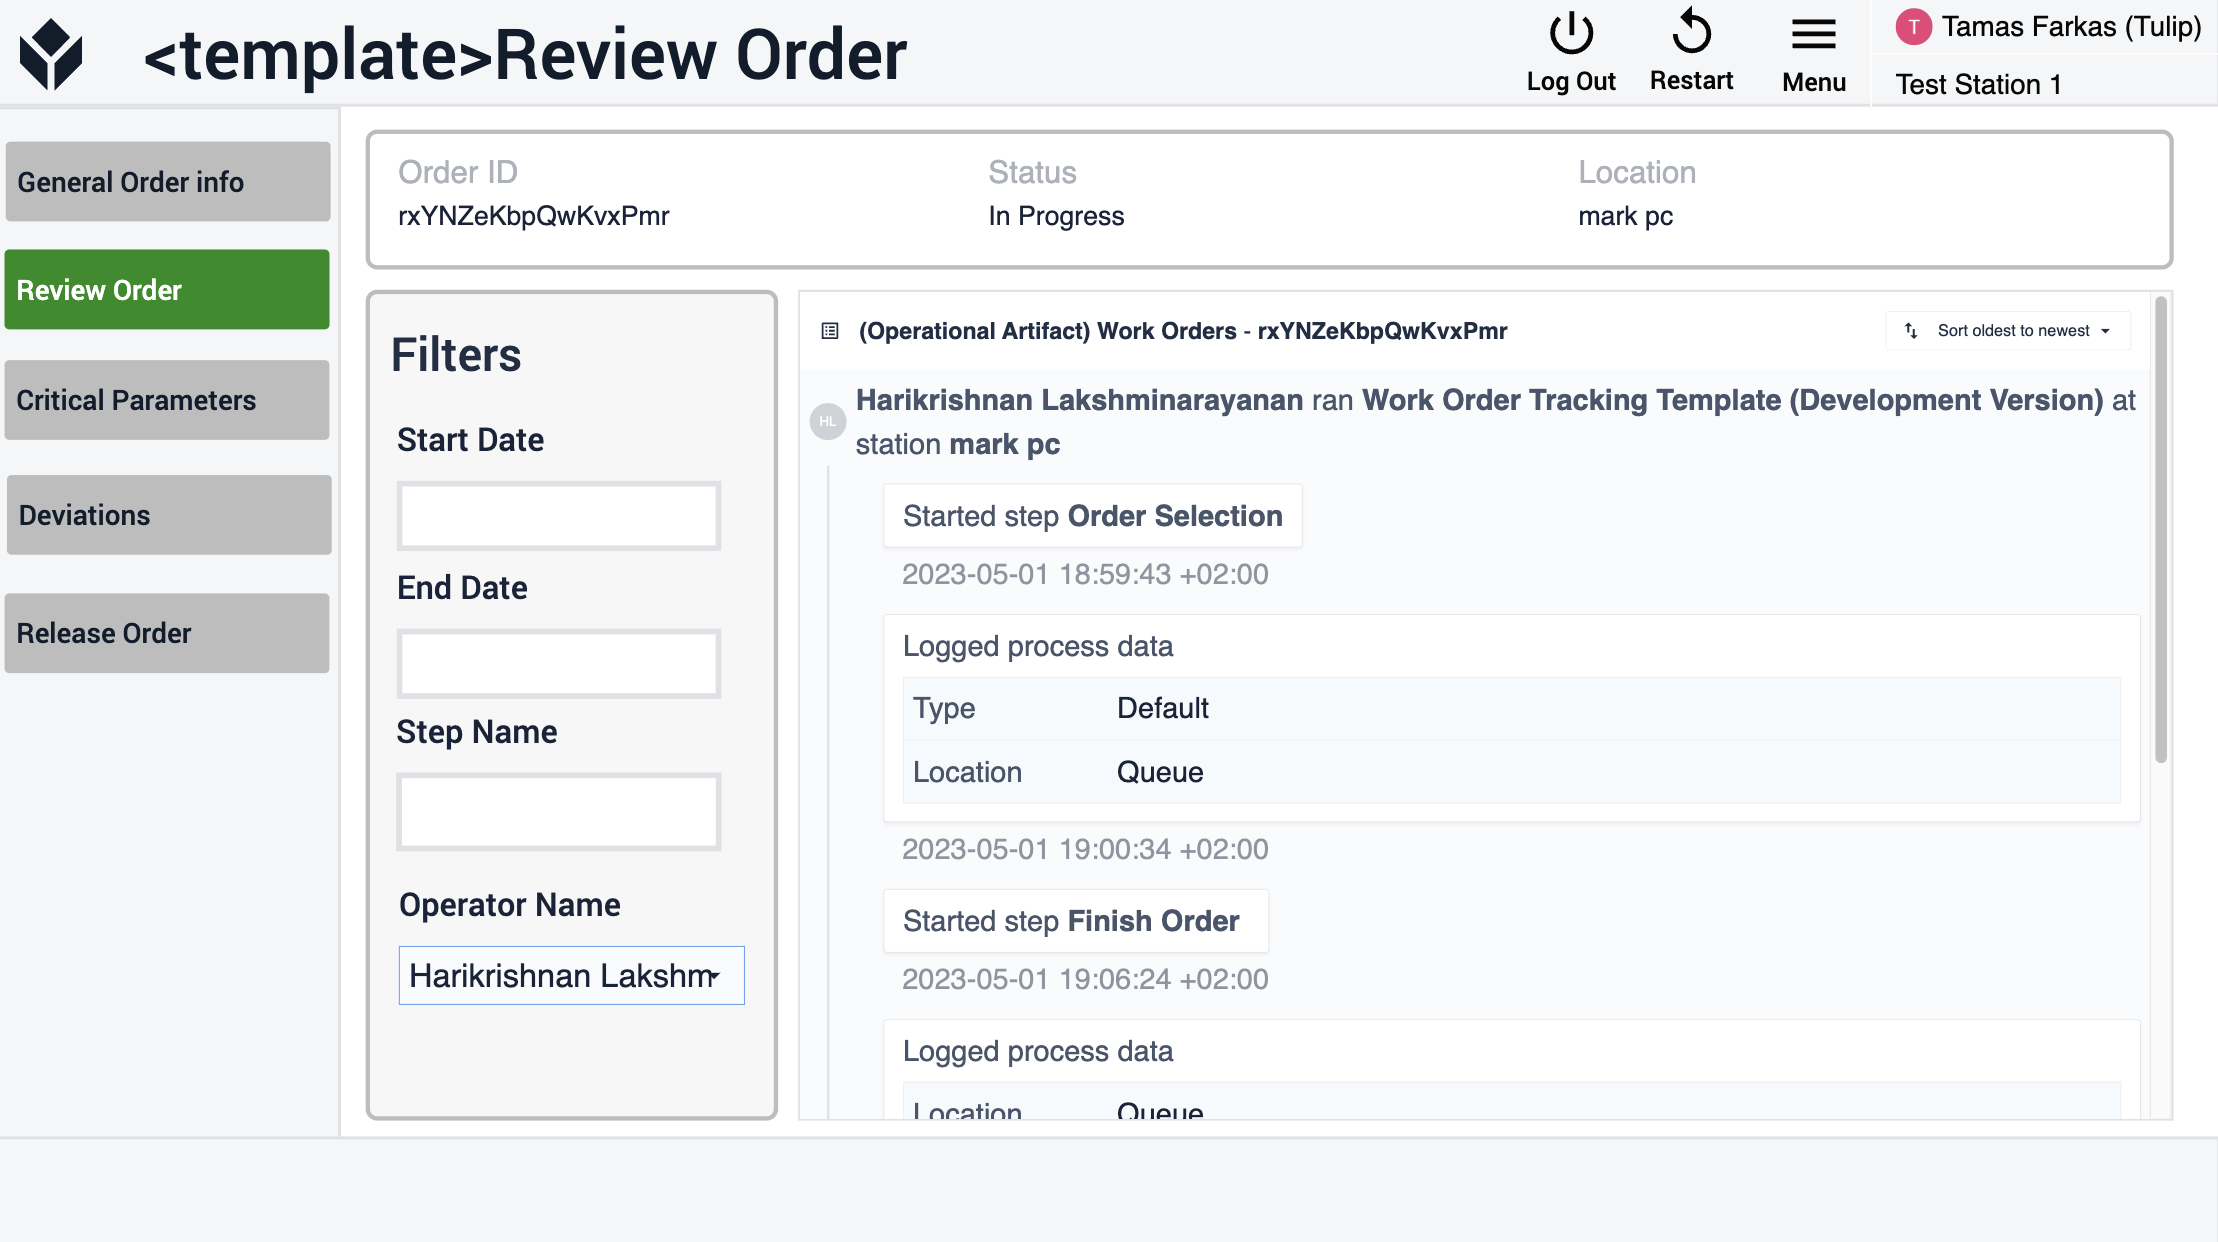
In the 'Review Order' and 'Critical Parameters' steps, users can view the historical records of the selected order. They have the ability to filter records by date, step name, and based on the operator who executed the process.
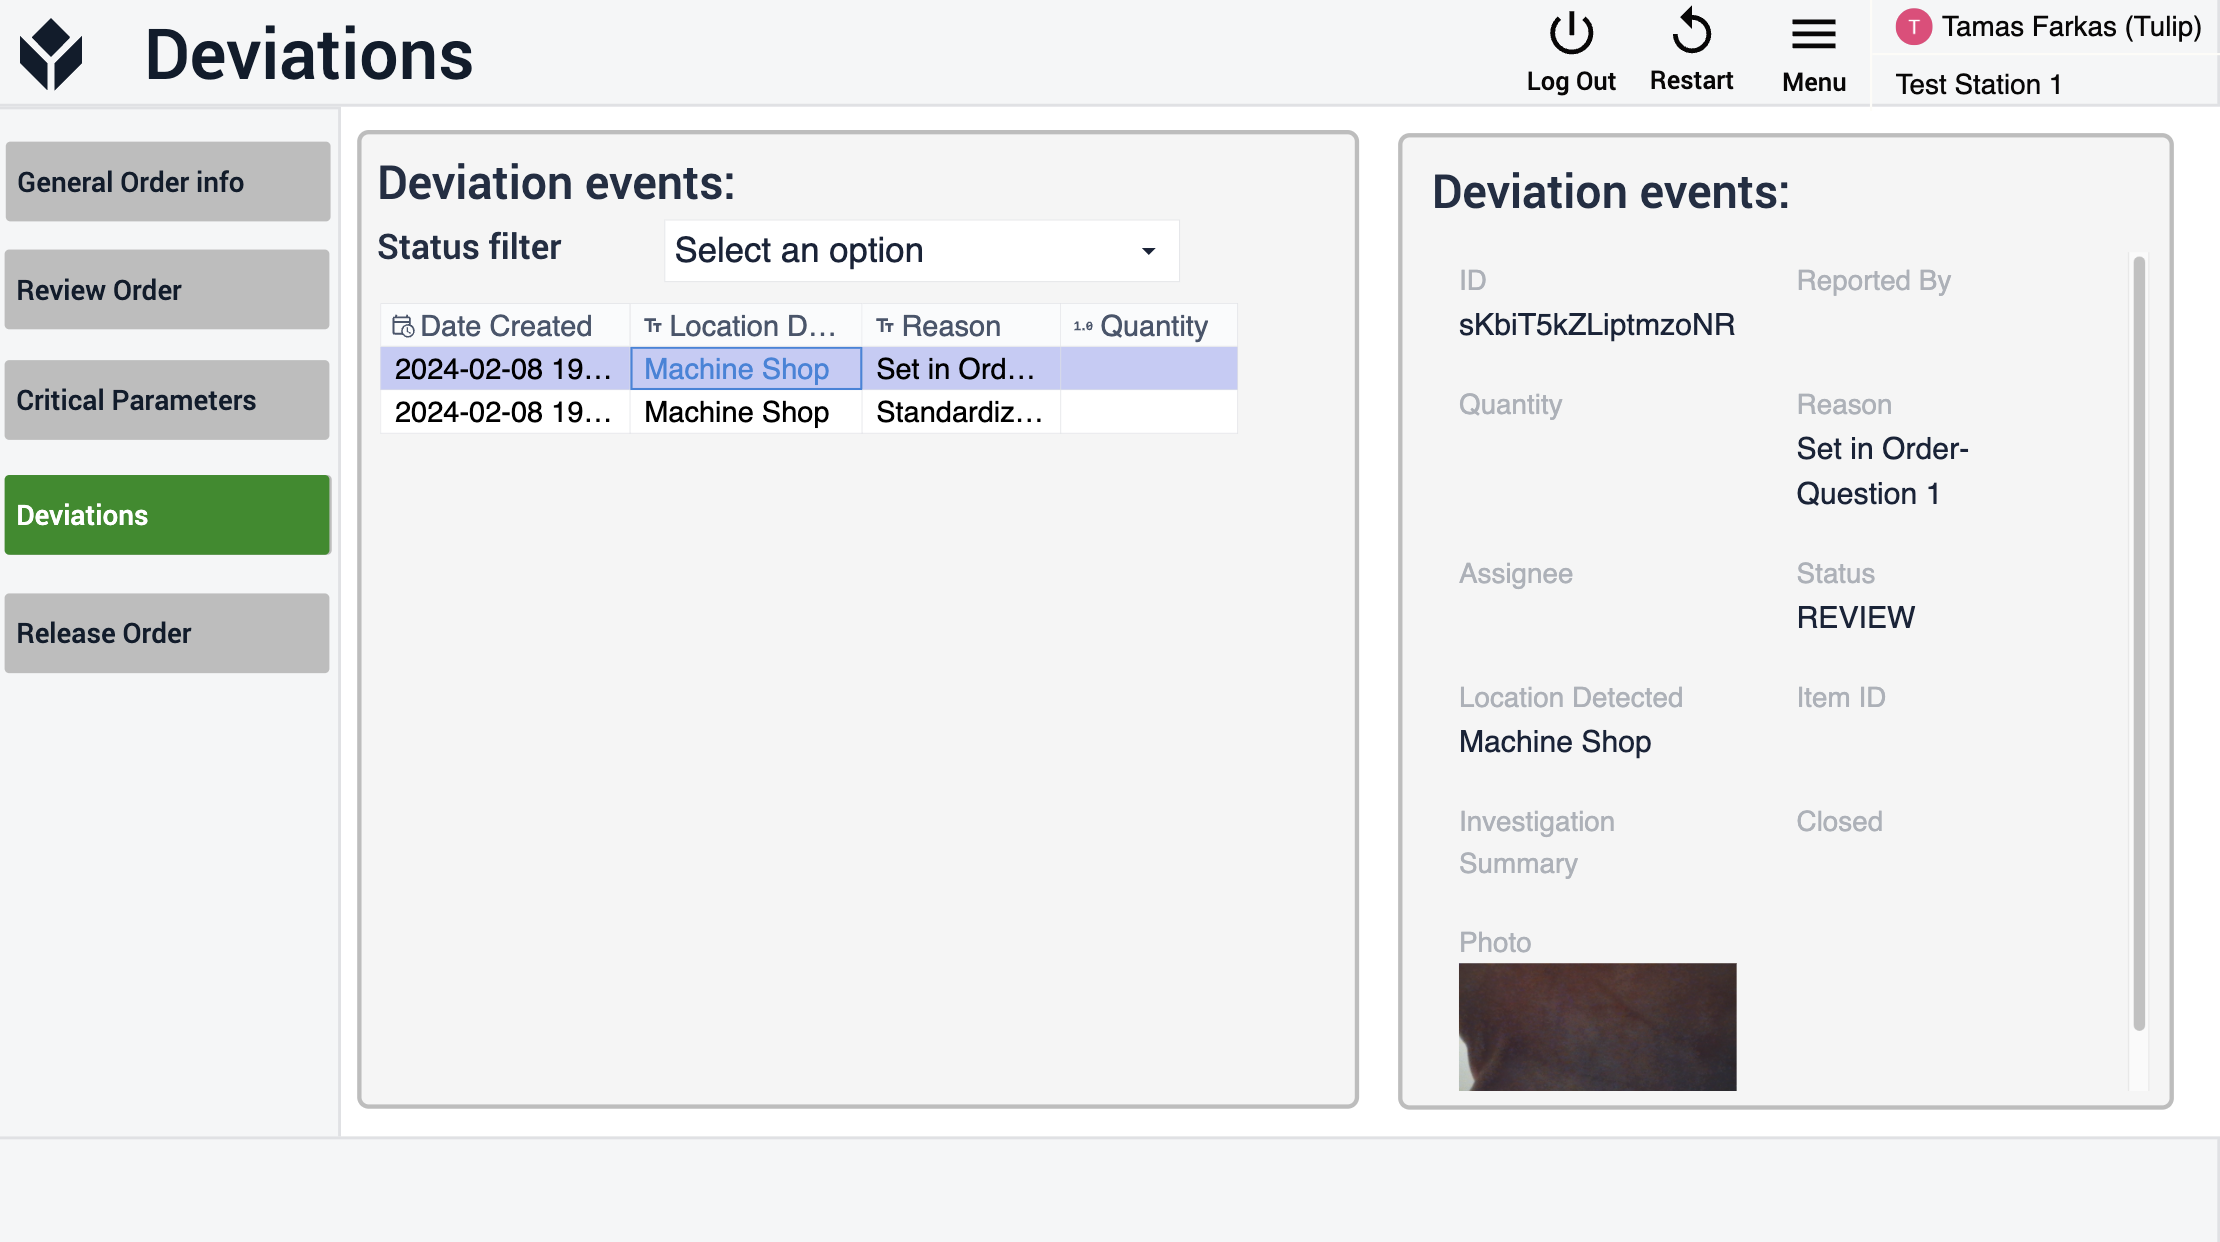
In the 'Deviations' step, users can view all events related to the selected order. Detailed information about a particular event can be seen by selecting it from the table.
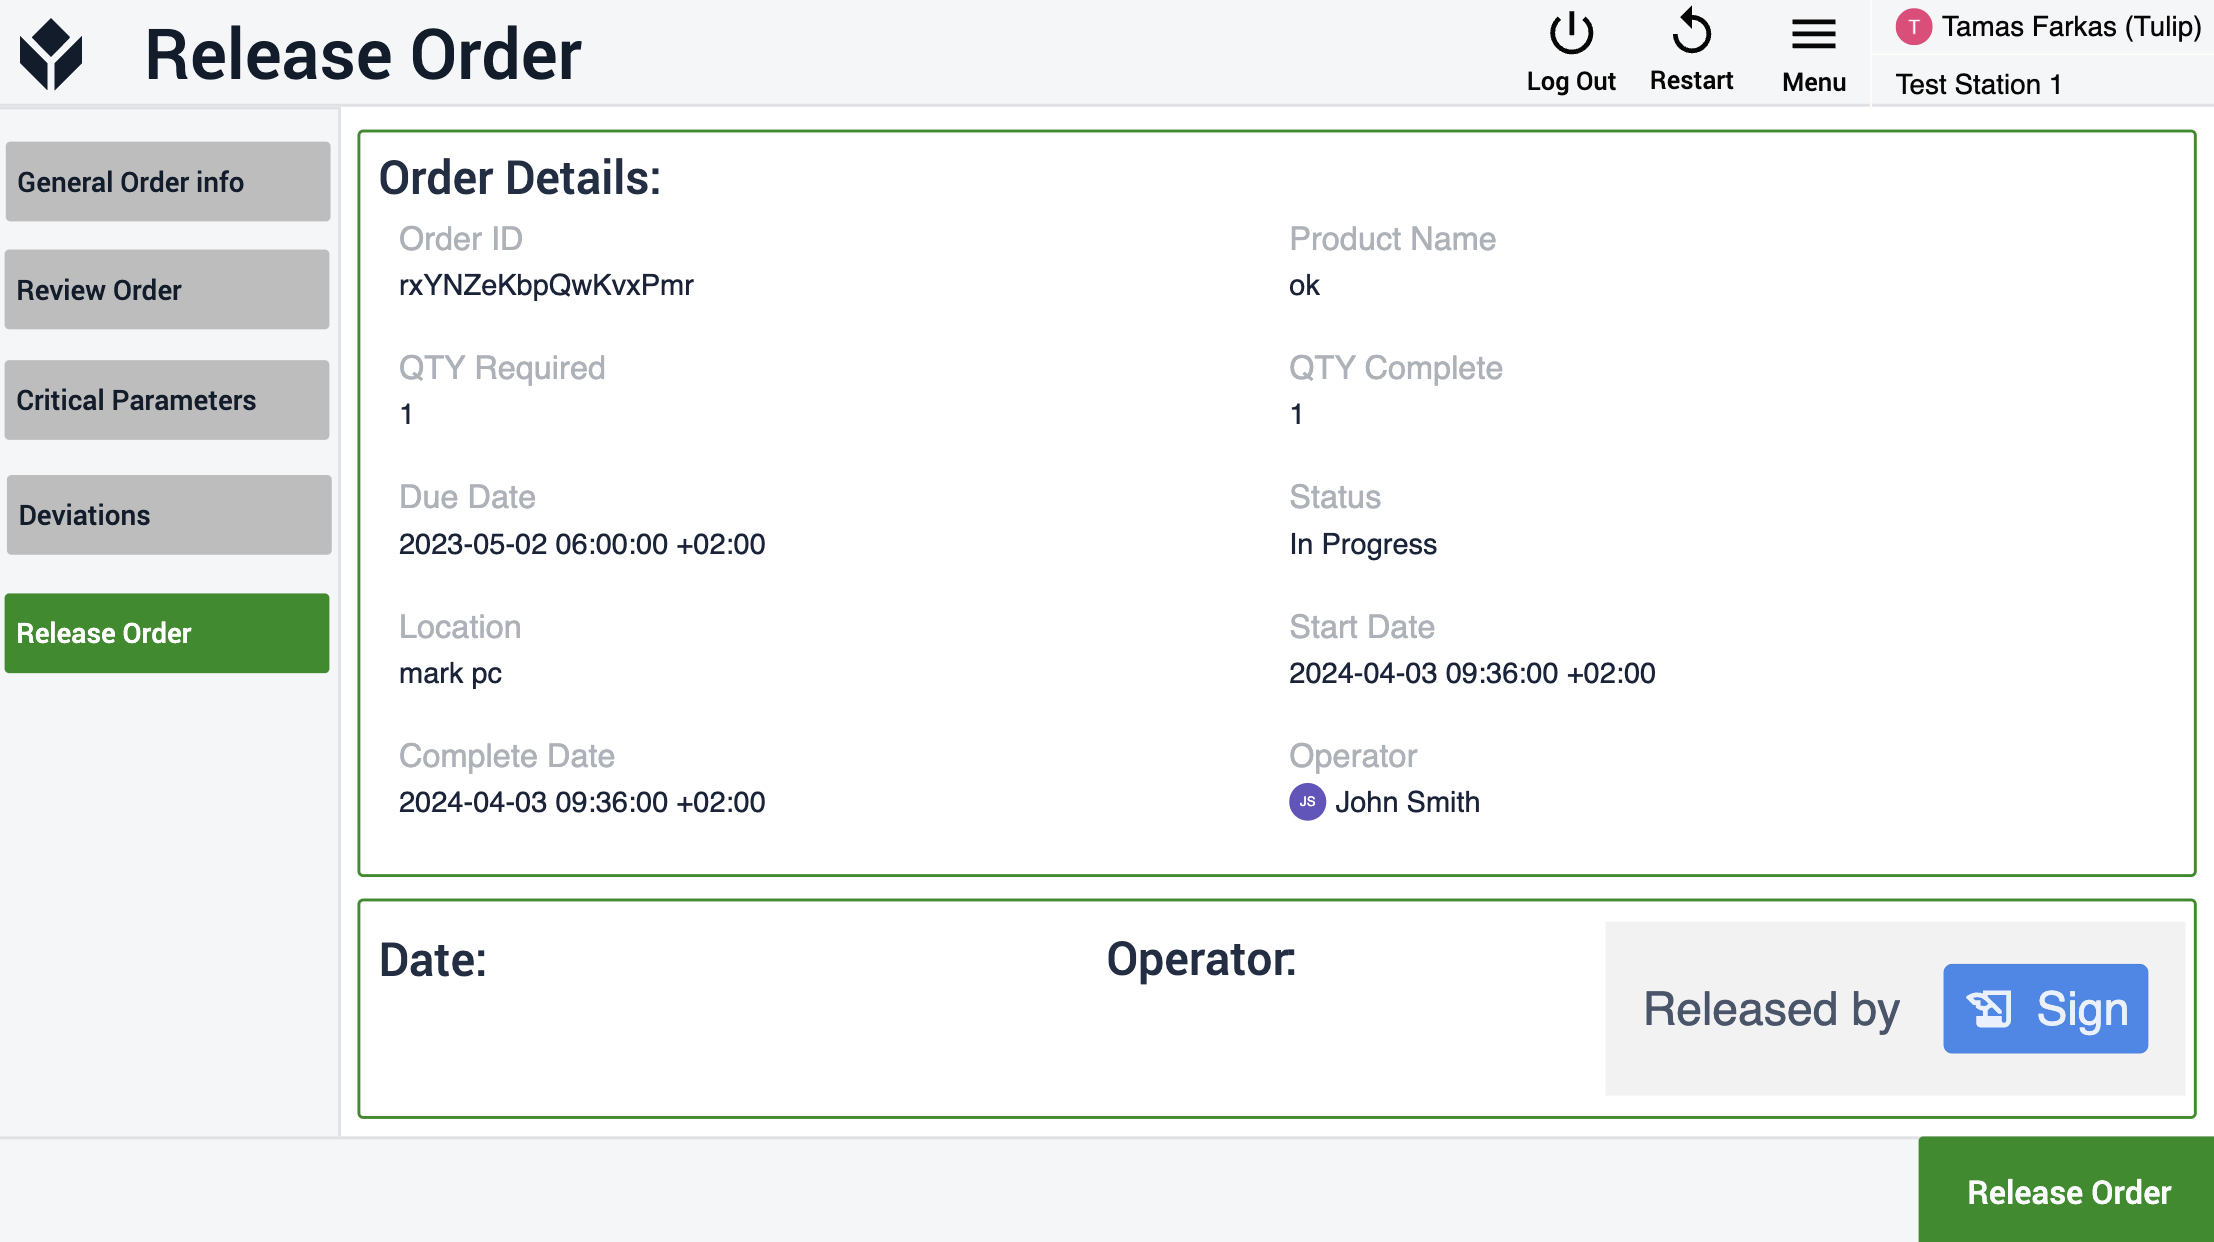
In the 'Release Order' step, users can see an overview of the order. This information can then be confirmed by users signing it using the signature widget before navigating back to the 'Select Order' step.
Further Reading
If you're interested in learning more about the best practices for GxP app building, please refer to this article (Best Practices for GxP App Building).
If you're also interested in the eBR app suite, you can find it in the library via this link.