Using Azure CustomVision.ai with Tulip Vision is an easy no-code way to implement visual inspection on your workstations and beyond.
In this article we will demonstrate on how to use Microsoft Azure's CustomVision.ai service for visual inspection with Tulip. The CustomVision.ai service is for easily creating machine learning models for visual recognition tasks. With Tulip you can collect data for training the machine learning models that CustomVision.ai offers.
Visual inspection is an important part of frontline operations. It can be used to ensure only high quality products are leaving the line, reduce returned parts and re-work, and increase the true yield. Automatic visual inspection can save up on assigning manual labor to perform visual inspection, reducing overall costs and increasing efficiency. With Tulip Vision, visual inspection can be added to any workstation with speed and ease, by connecting an affordable camera to an existing computer and building a Tulip App for inspection.
Prerequisites
- A working Tulip Vision workstation with a camera for visual inspection. Follow the getting started guide for Tulip Vision
- An account to use on CustomVision.ai/alternatively, you can use Landing AI - read more here.
- A product to use for the visual inspection task
- A dataset of at least 30 images for each category class you wish to inspect (e.g. "Pass" or "Fail", "Defect 1", "Defect 2", "Defect 3", etc.). Follow the instructions on the guide for collecting and exporting visual inspection data from Tulip
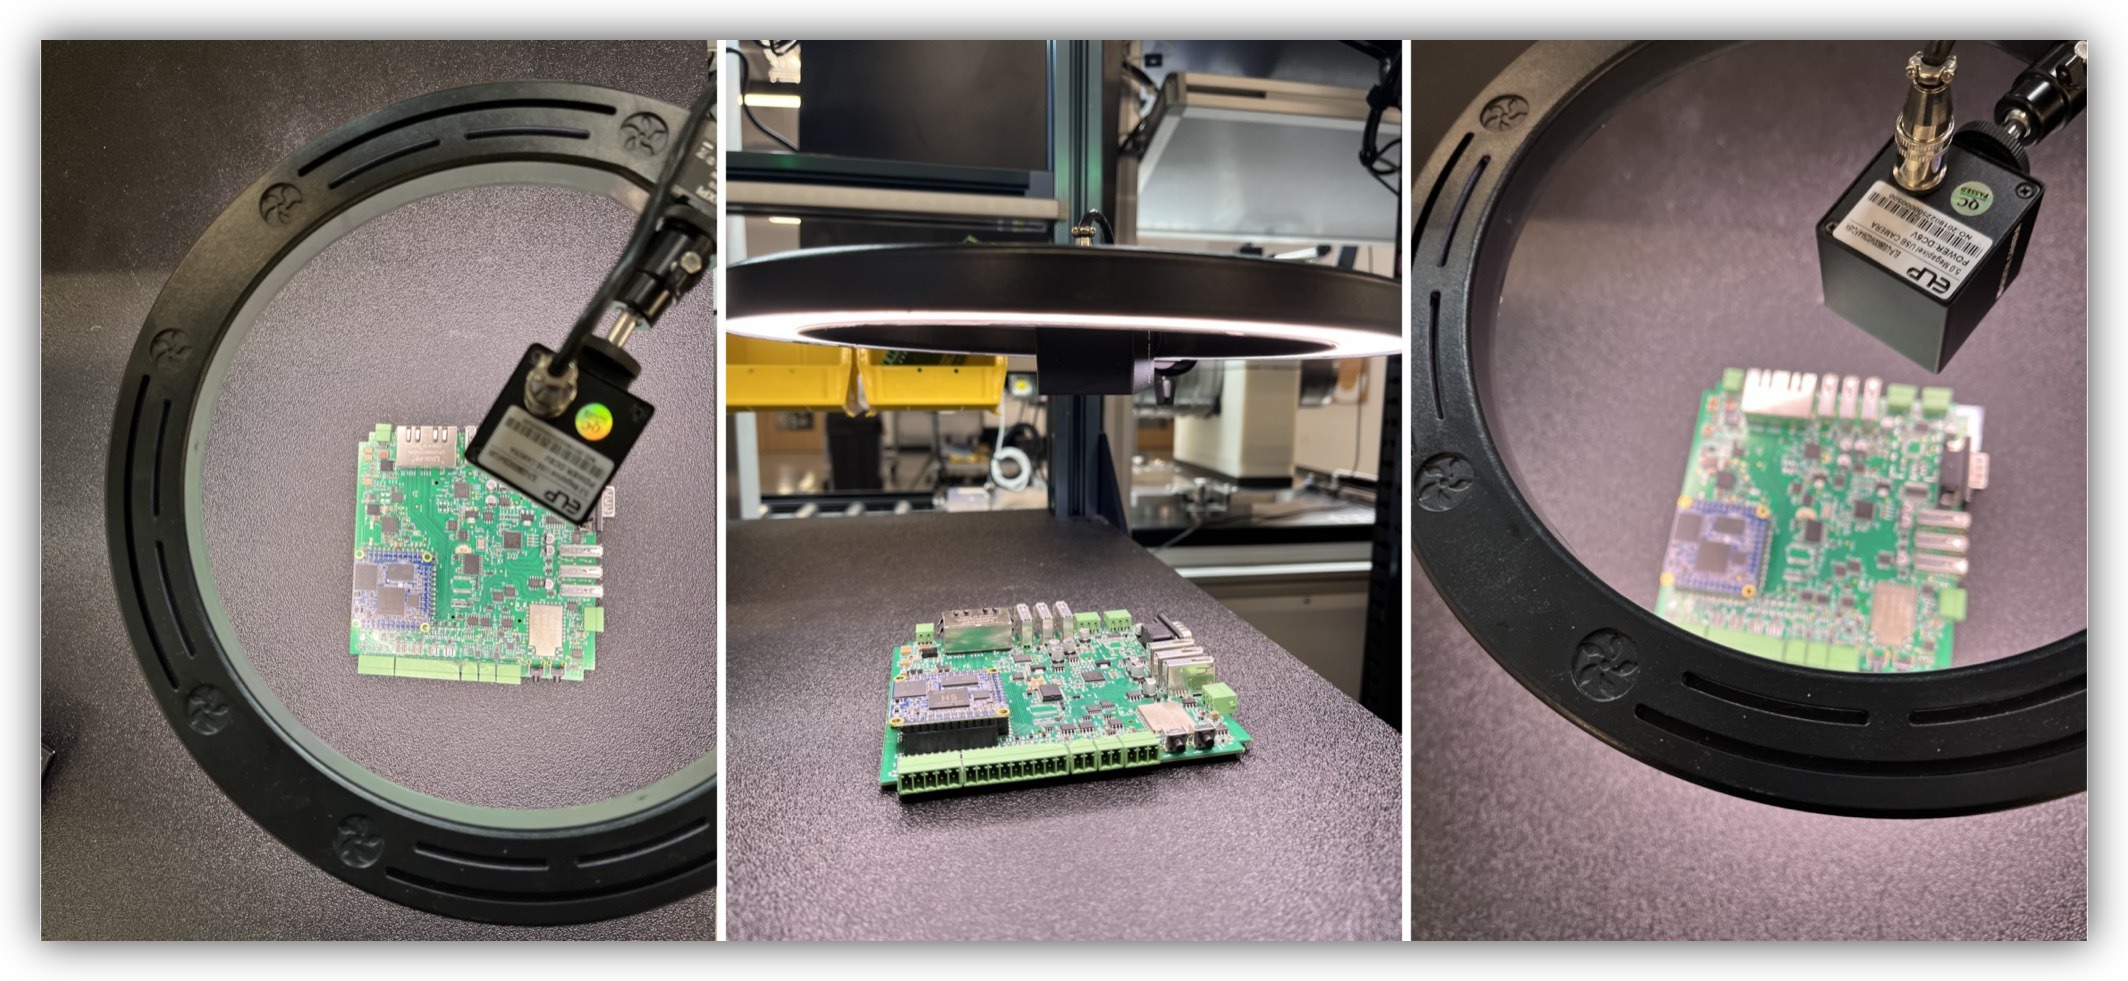
Example Visual Inspection Setup
Uploading the Inspection Images to CustomVision.ai
From the dataset Tulip Table click "Download Dataset" and select the relevant columns for image and annotation. Download and unzip the dataset .zip file to a folder on your computer. It should have a number of subfolders per each category of detection according to the annotation in the dataset table.
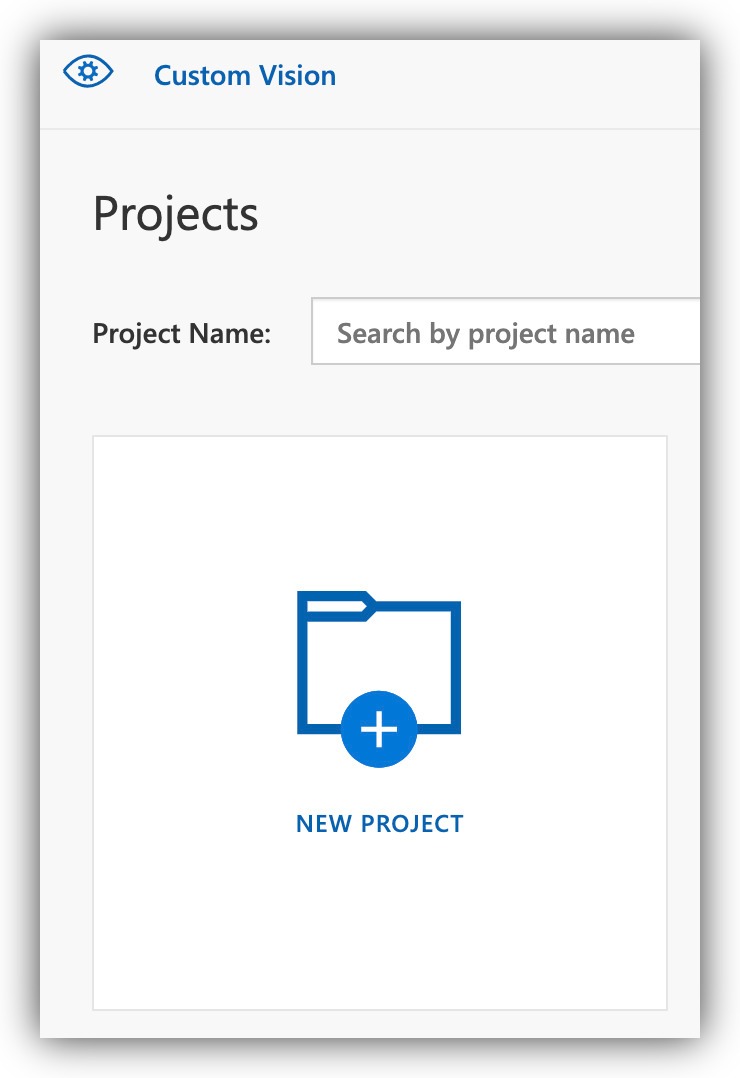
Create a new project on Customvision.ai:
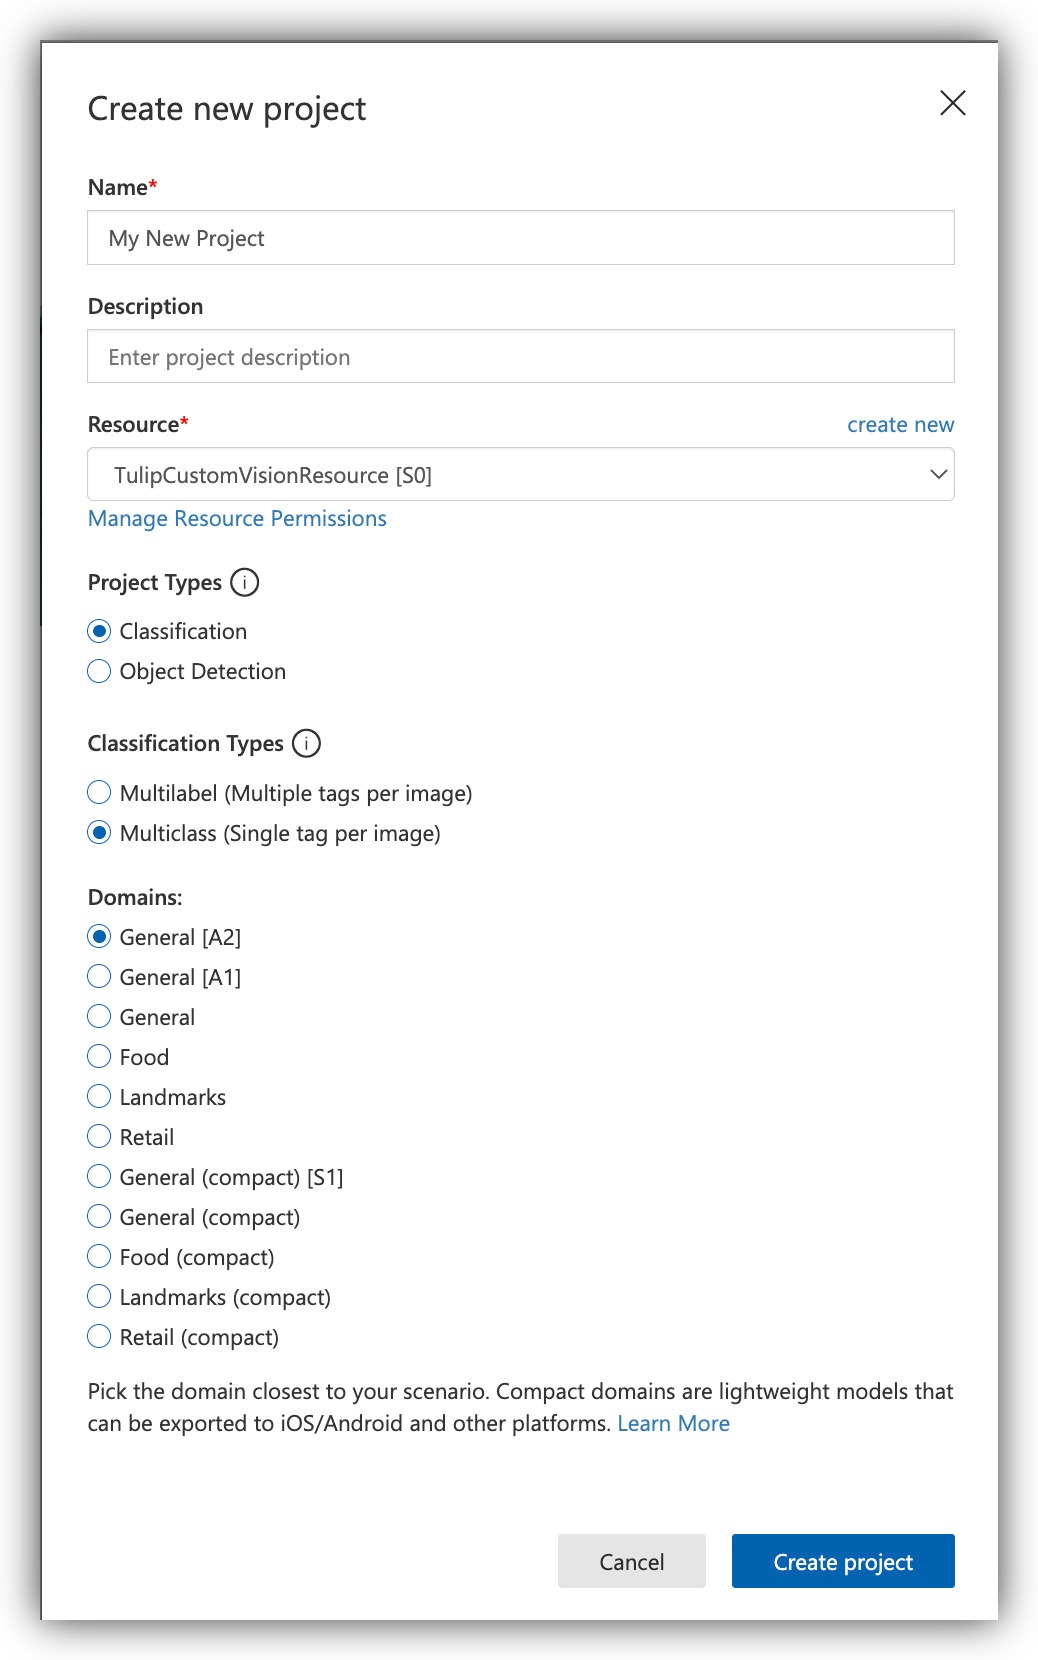
Name your project and select the "Classification" Project Type and "Multiclass (Single tag per image)" Classification. Type options: (these options are selected by default)
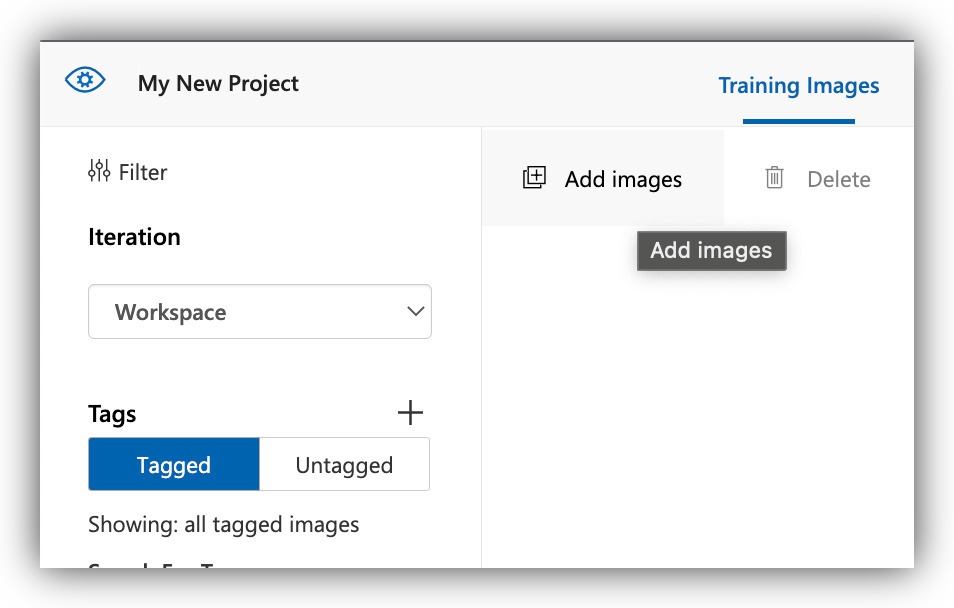
Click "Add Images".
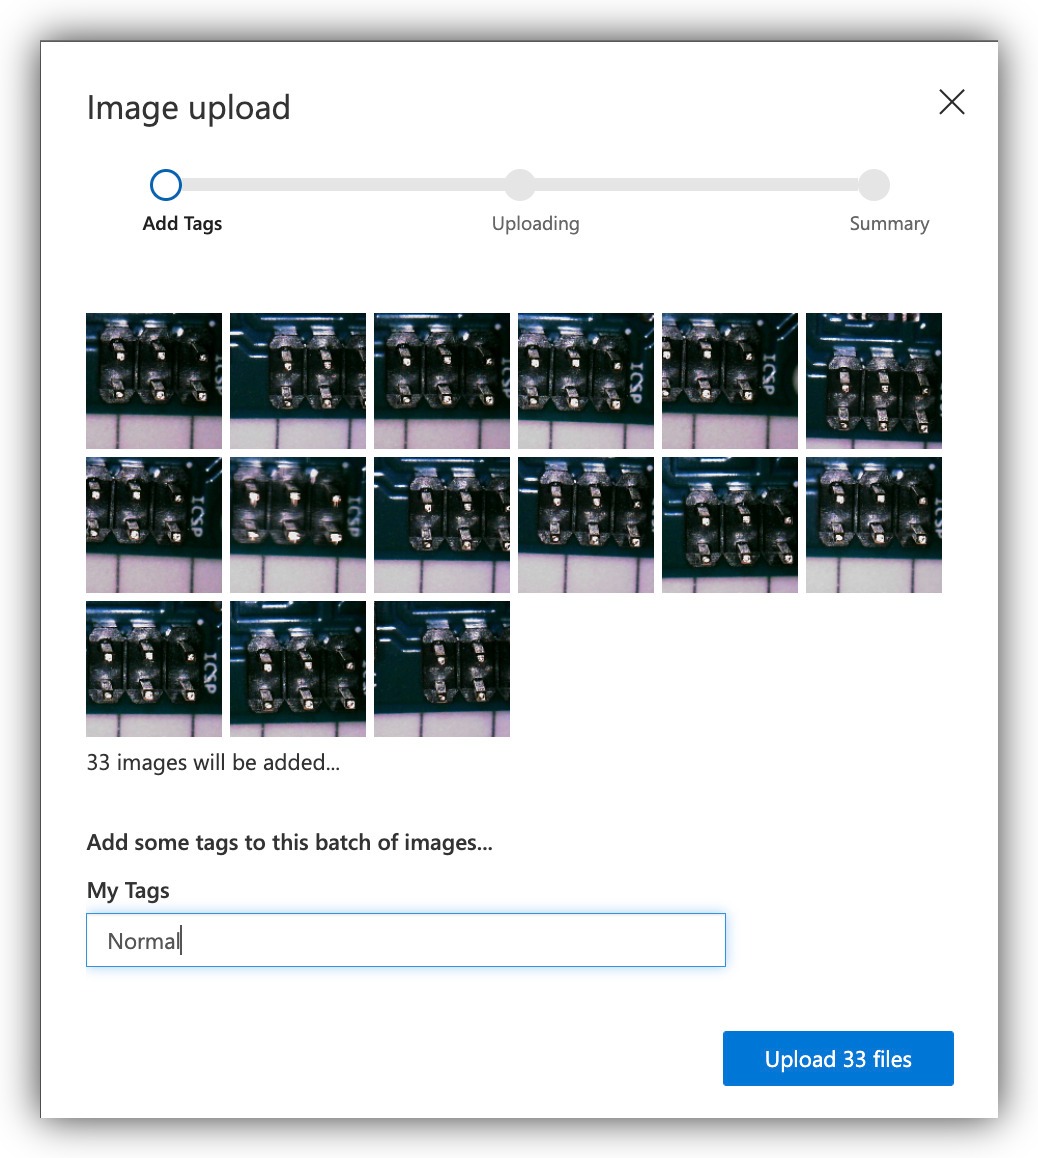
Select the images on your computer for one of the classes. You can select all the images in the subfolder you got from the Tulip Table unzipped dataset. Once the images are loaded in Customvision.ai you can apply a tag to all of them at once, to save on tagging them one-by-one. Since all the current images are from the same class, this is possible.
In the following example we upload all the "Normal" class images and apply the tag (class) to all of them at once:
Repeat the same upload operation for the other classes.
Training and Publishing a Model for Visual Inspection
Once the data for training is in place, proceed to train the model. The "Train" model on the top right corner opens the training dialog.
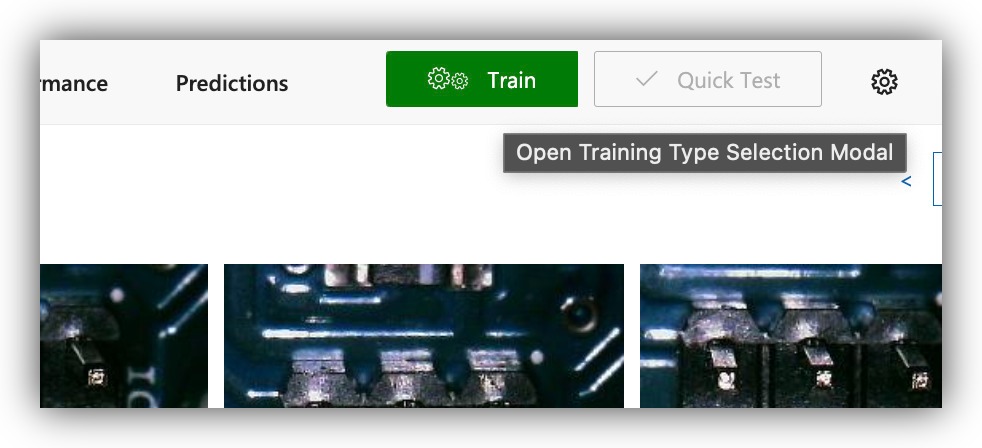
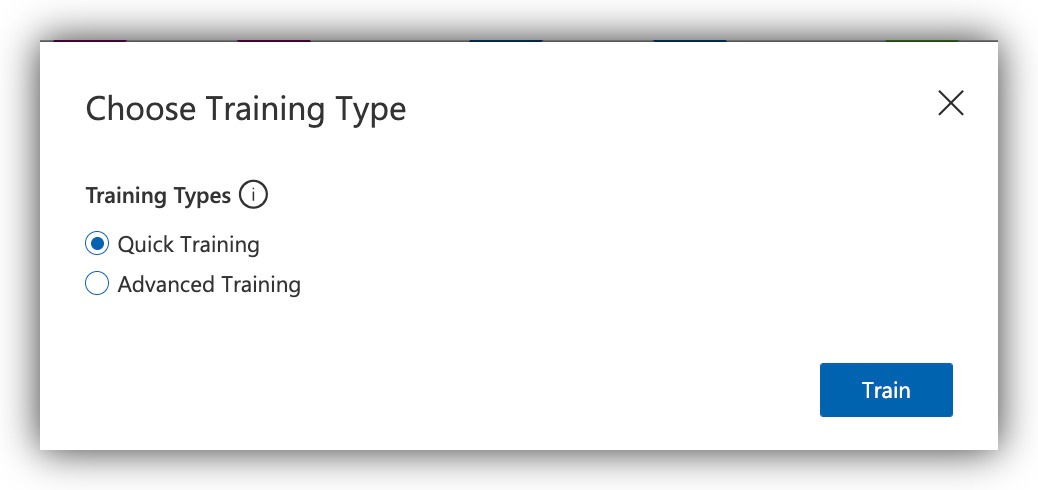
Select the training mode appropriately. For a quick trial run to see everything is working properly, use the "Quick" option. Otherwise for best classification results, use the "Advanced" option.
Once the model is trained, you will be able to inspect its performance metrics, as well as publish the model so it's accessible via an API call.
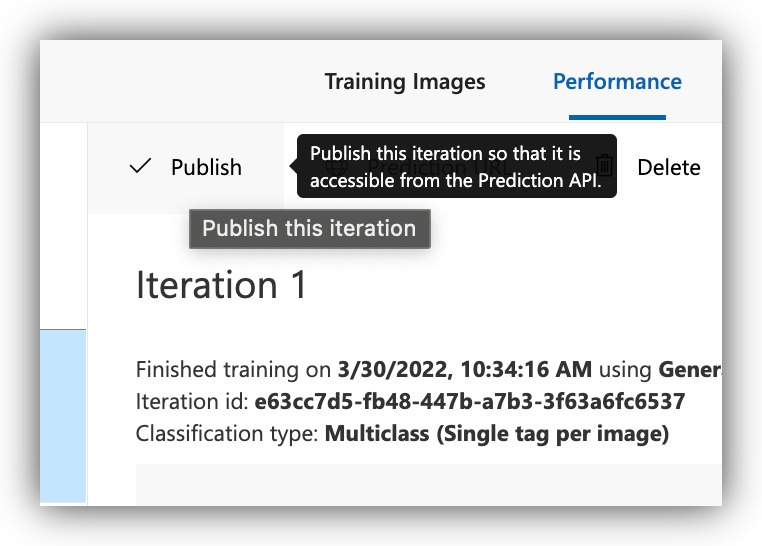
Select the proper resource for the publication and continue.
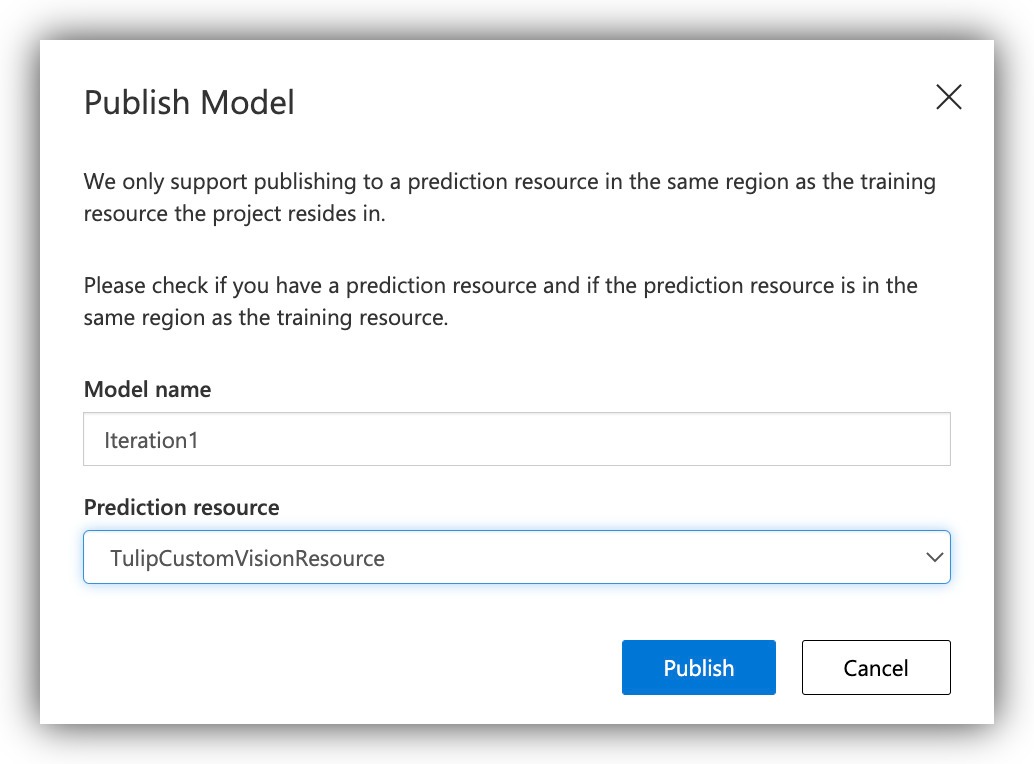
At this point your published model is ready to accept inference requests from Tulip. Take note of the publication URL as we will be using it shortly to connect from Tulip.
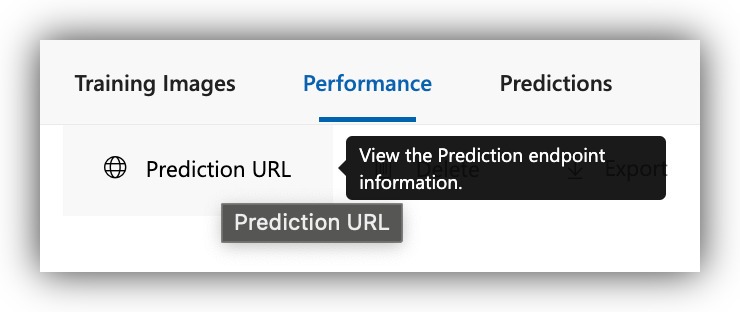
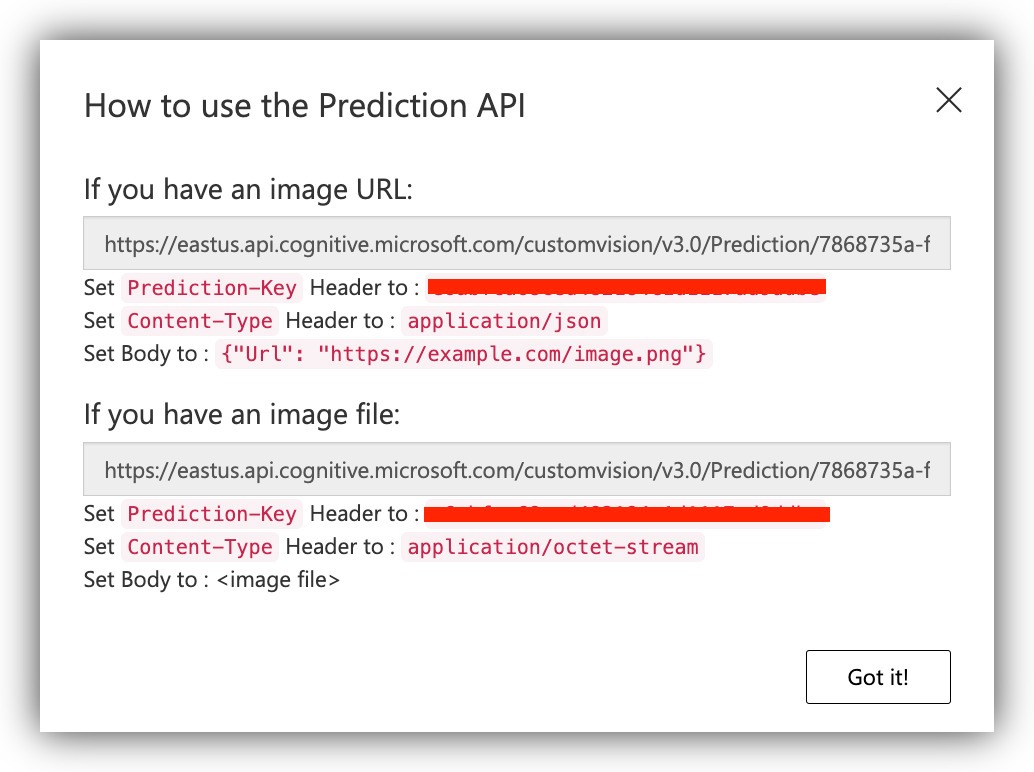
Widget for Making Inference Requests to the Published Model
Making inference requests to Azure CustomVision.ai service can be done on Tulip by using a Custom Widget. You'll find the Custom Widgets page under Settings.
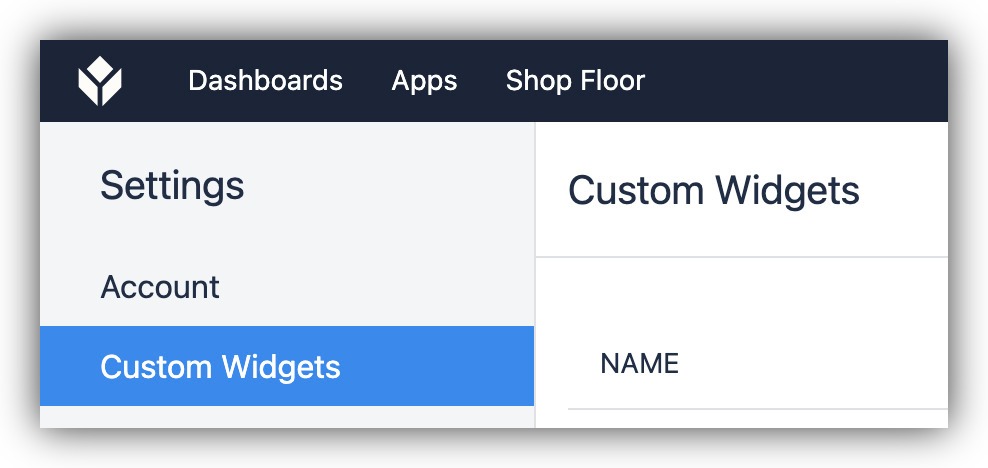
Create a new Custom Widget and add the following inputs:
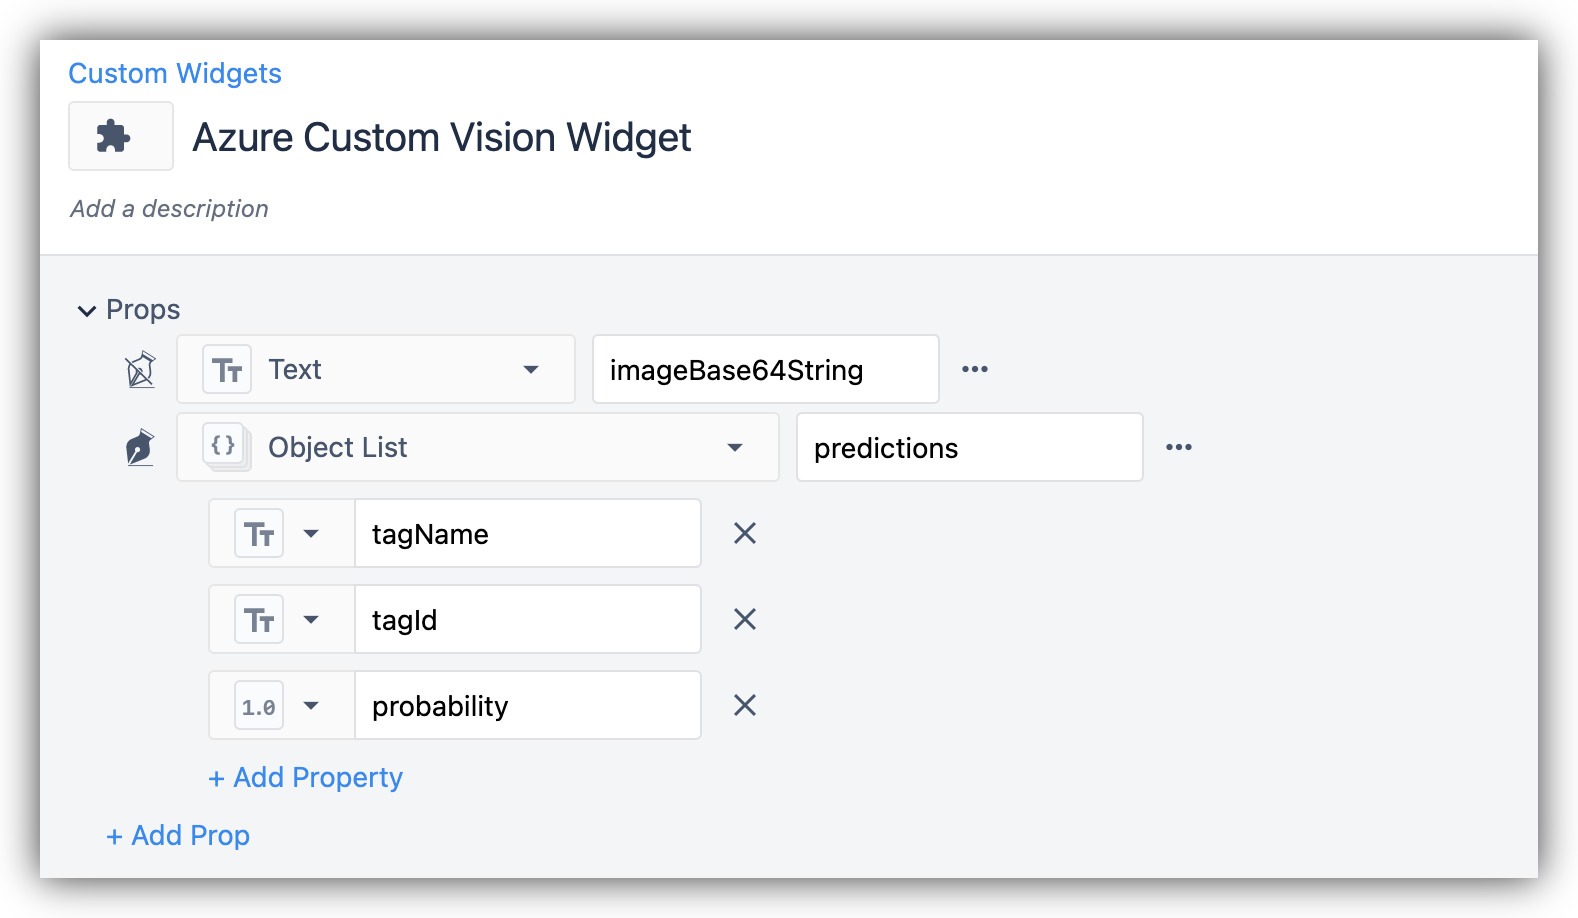
For the code parts, use the following:
HTML
<button class="button" type="button" onclick="detectAnomalies()">Detect Anomalies</button>
JavaScript
Note: Here you need to get the URL and prediction-key from the CustomVision.ai published model.
function b64toblob(image) {
    const byteArray = Uint8Array.from(window.atob(image), c => c.charCodeAt(0));
    return new Blob([byteArray], {type: 'application/octet-stream'});
}

async function detectAnomalies() {
    let image = getValue("imageBase64String");
    const url = '<<< Use the URL from CustomVision.ai>>>';
    $.ajax({
        url: url,
        type: 'post',
        data: b64toblob(image),
        cache:false,
        processData: false,
        headers: {
            'Prediction-Key': '<<< Use the prediction key >>>',
            'Content-Type': 'application/octet-stream'
        },
        success: (response) => {
            setValue("predictions", response["predictions"]);
        },
        error: (err) => {
            console.log(err);
        },
        async: false,
    });
}
CSS
.button {
  background-color:

##616161;
  border: none;
  color: white;
  padding: 15px 32px;
  text-align: center;
  text-decoration: none;
  display: inline-block;
  font-size: 16px;
  width: 100%;
}
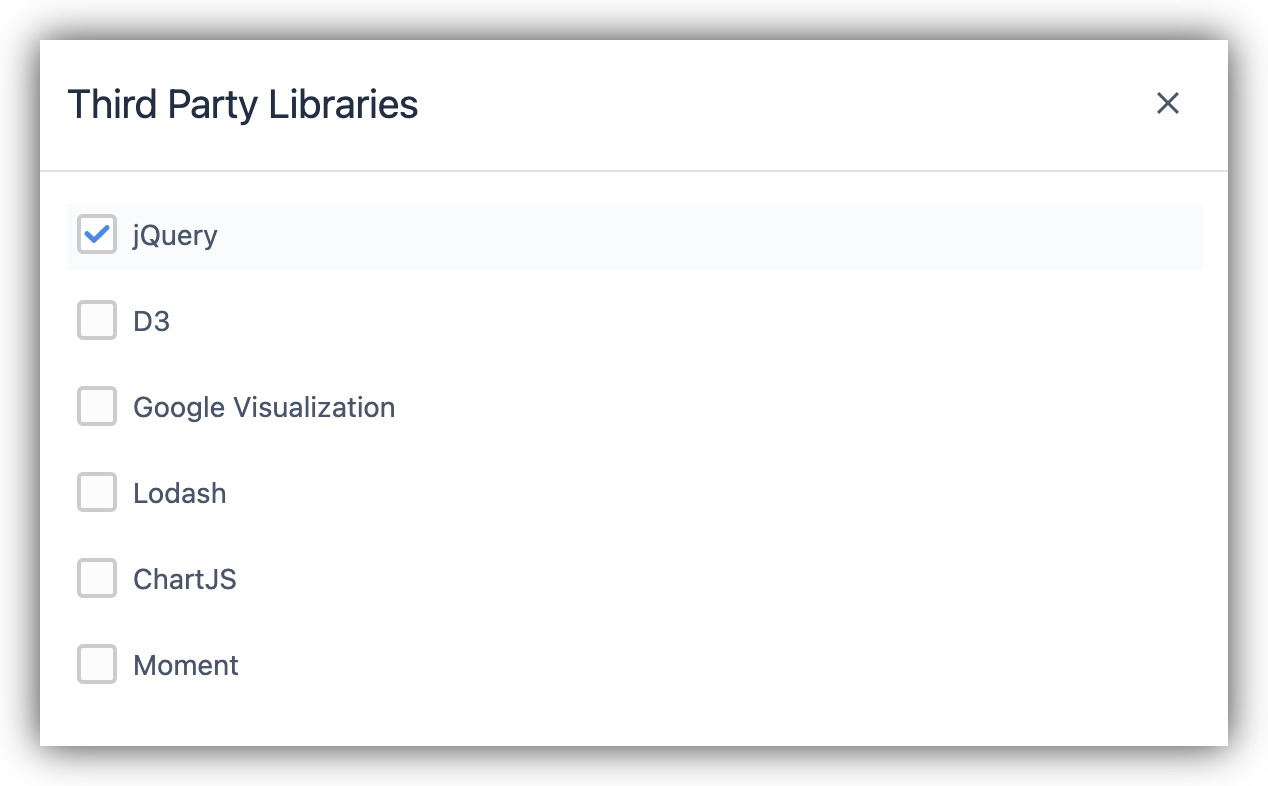
Make sure to enable the jQuery external library on the custom widget.
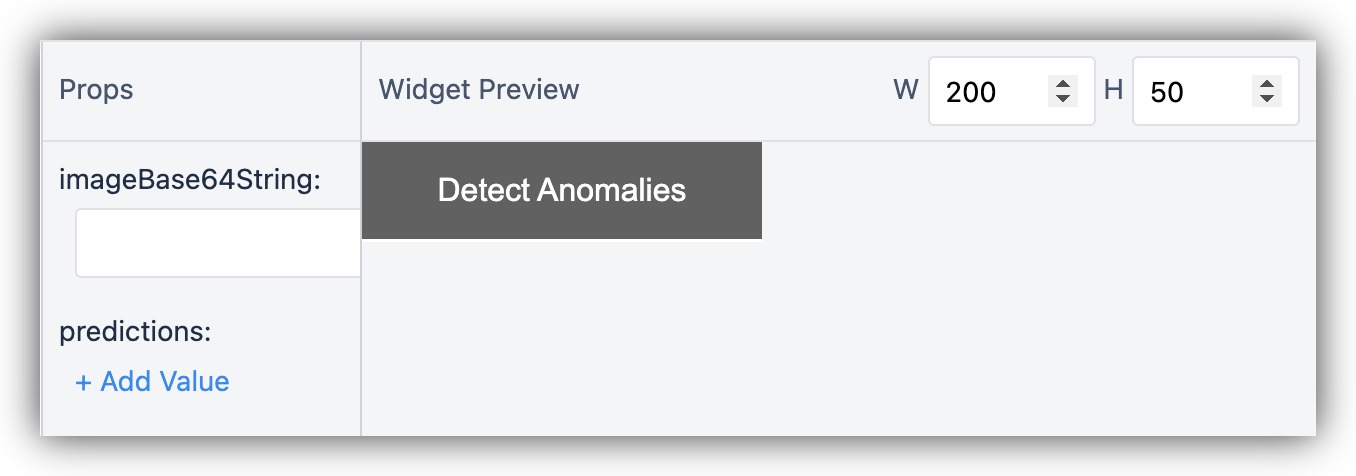
Your custom Widget should look like the following:
Using the Prediction Widget in a Tulip App
Now the Widget is set up you can simply add it to an app in which you will be running the inference requests. You may construct an app Step as the following:
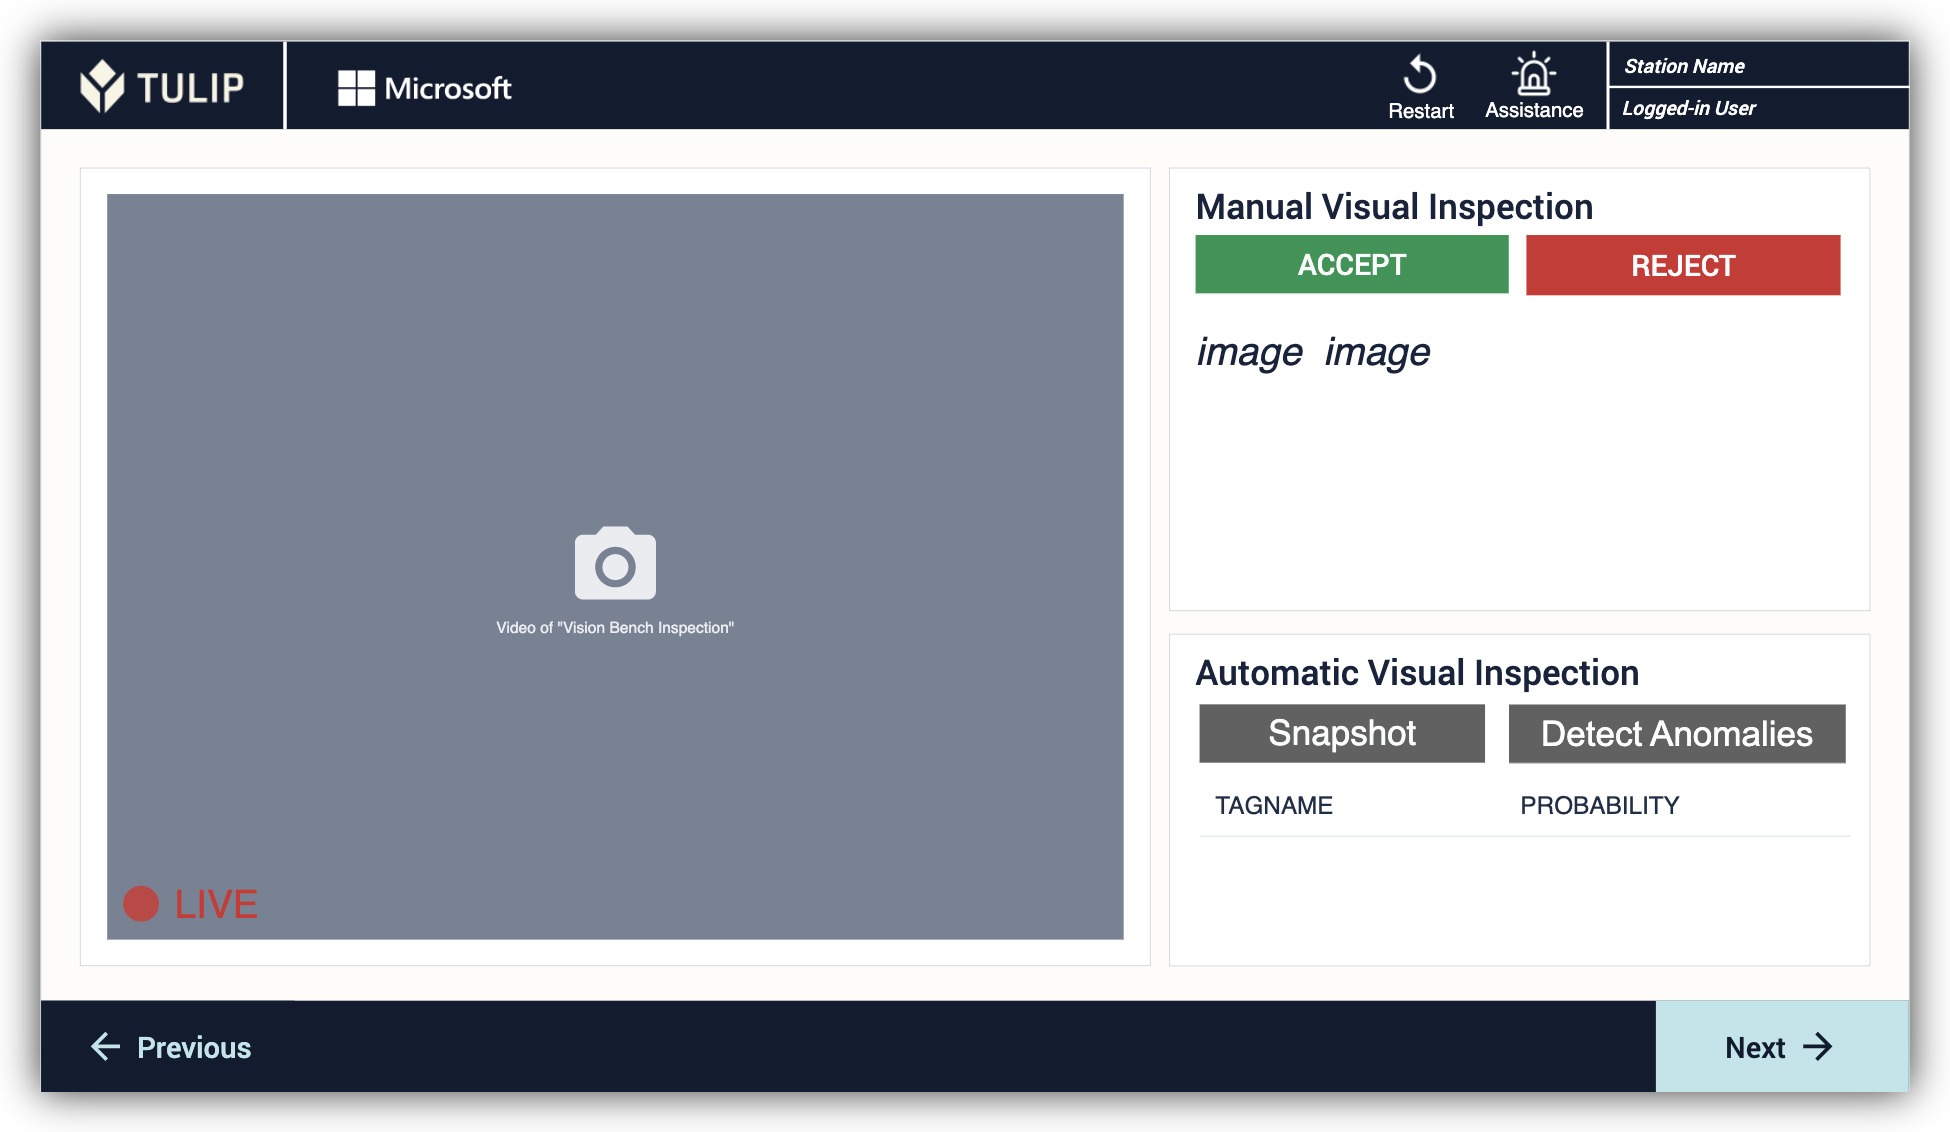
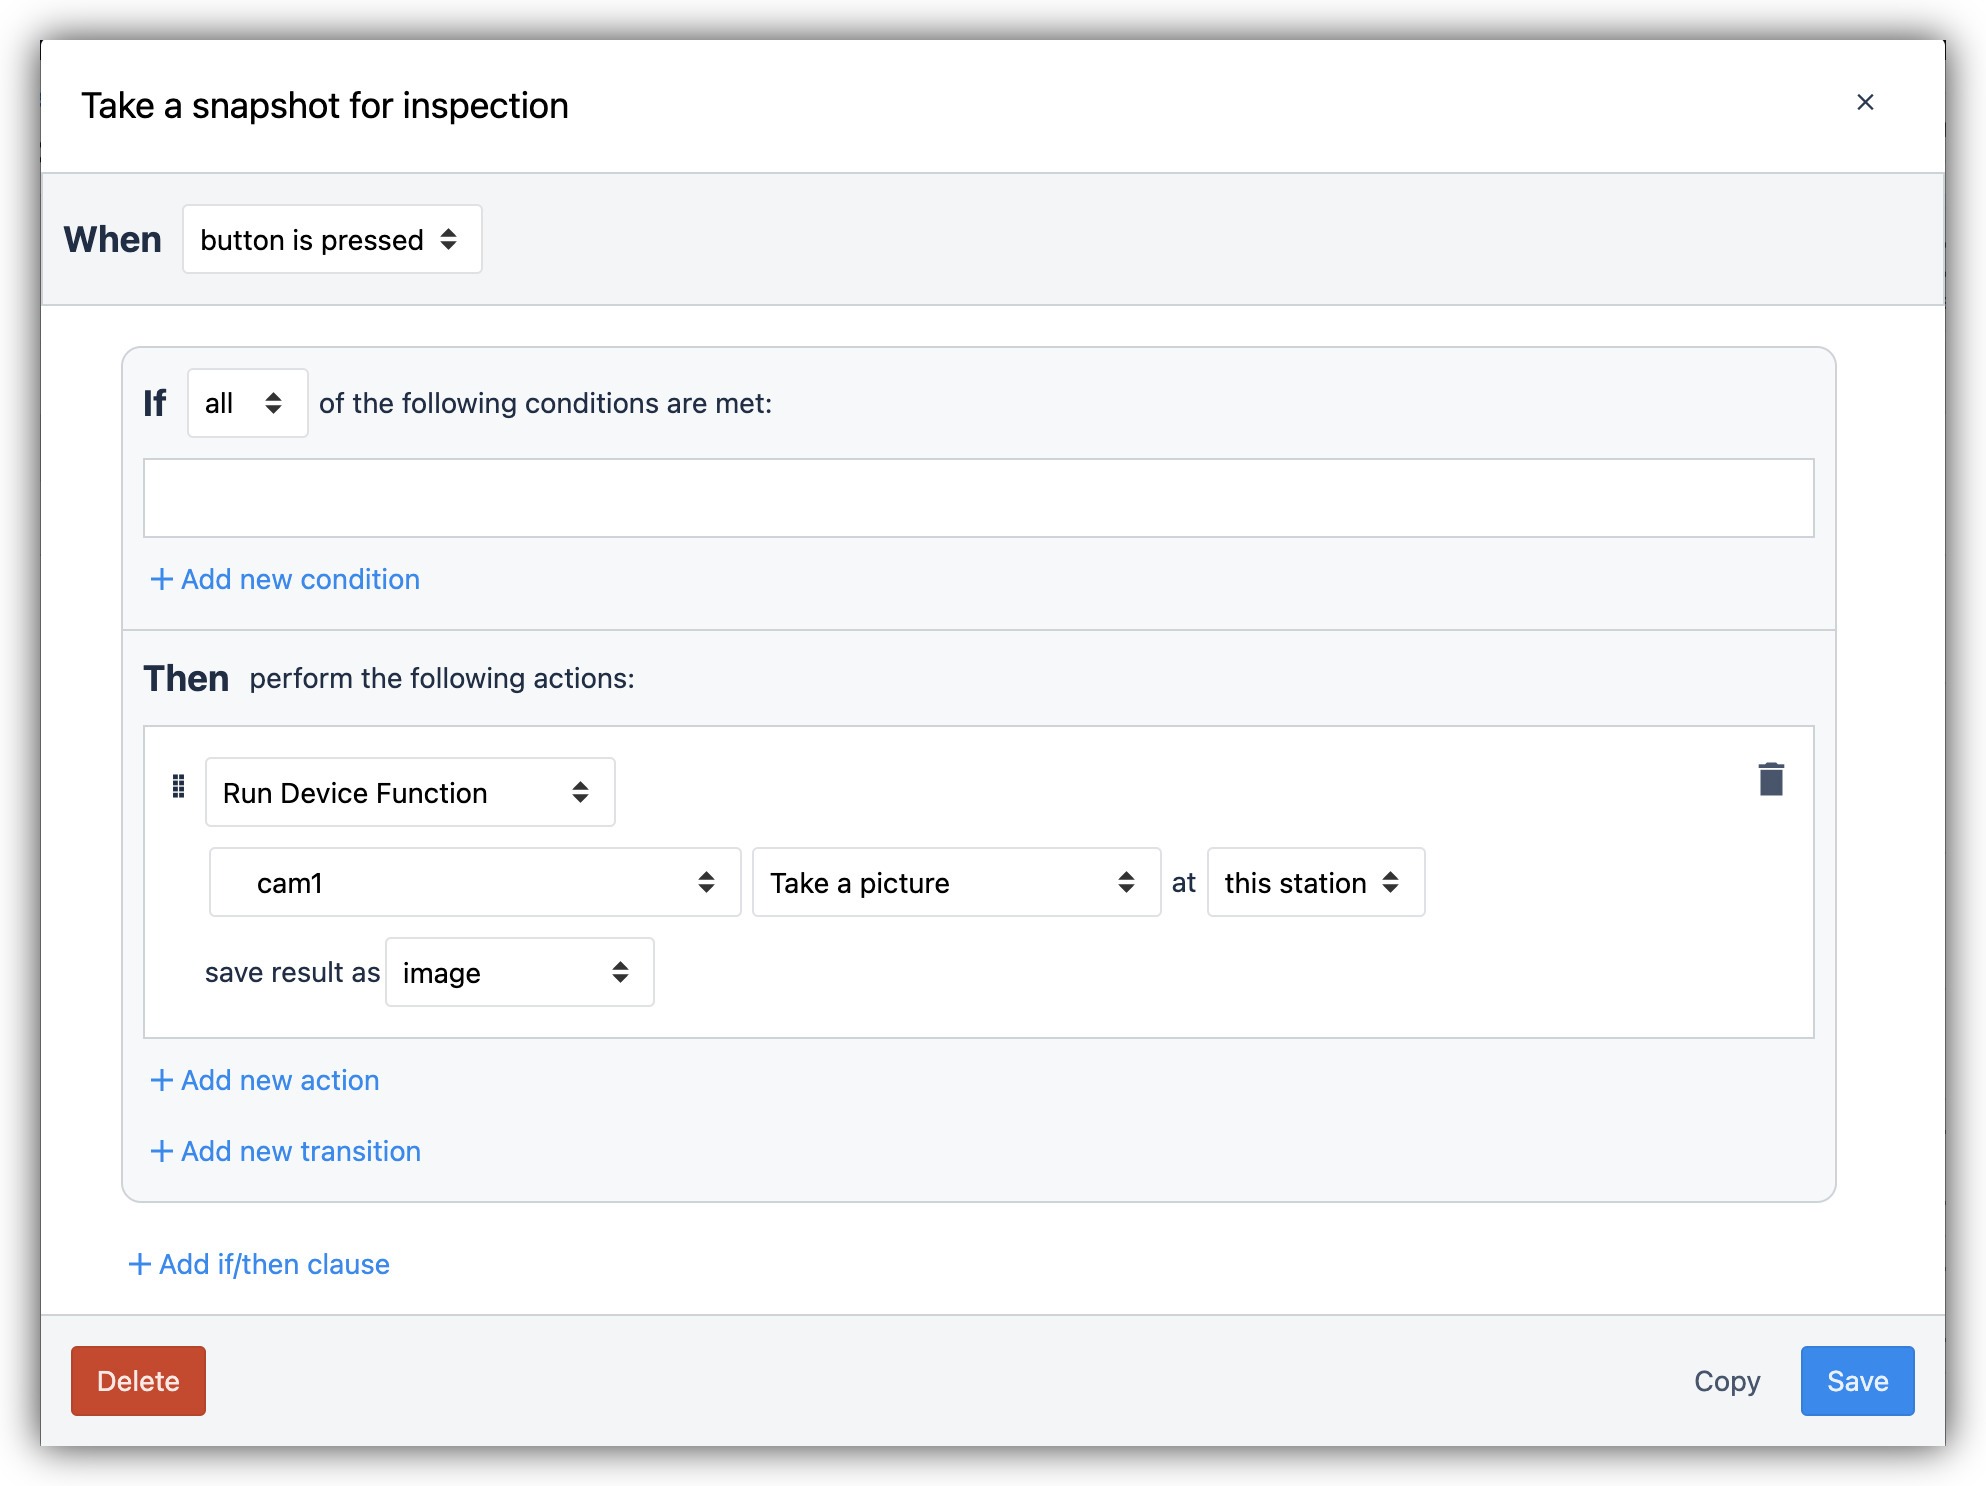
Use a regular button to take a Snapshot from the visual inspection camera and save it in a Variable:
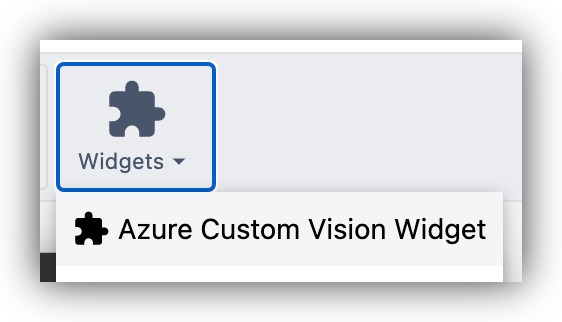
Use the "Detect Anomalies" custom widget.
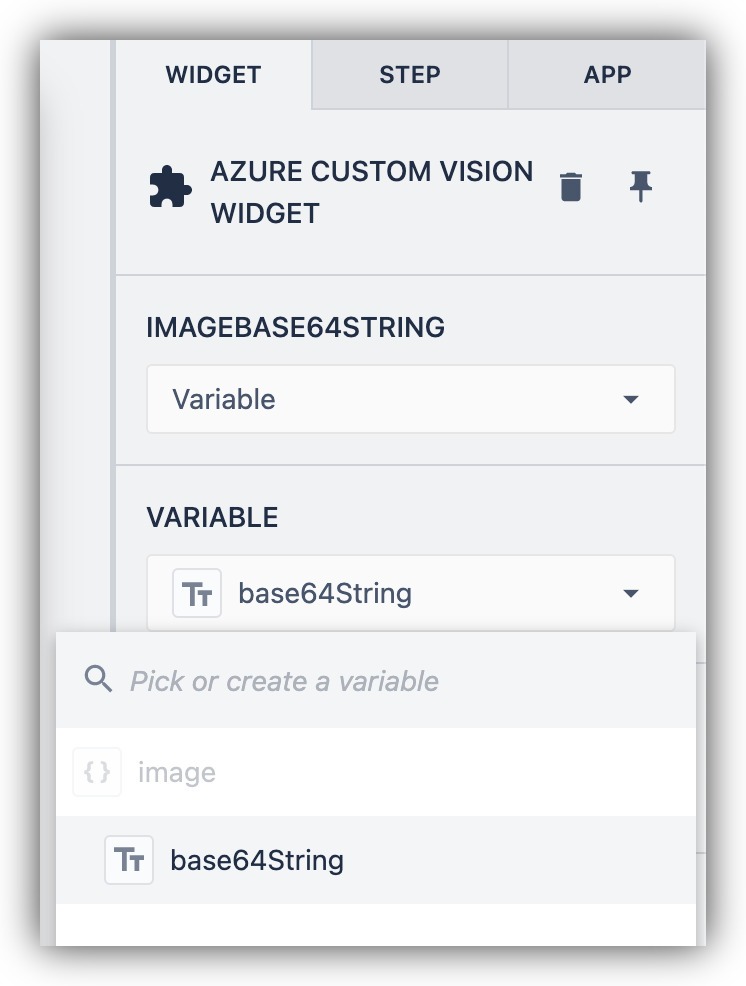
Configure the widget to accept the snapshot Image Variable as a base64string.
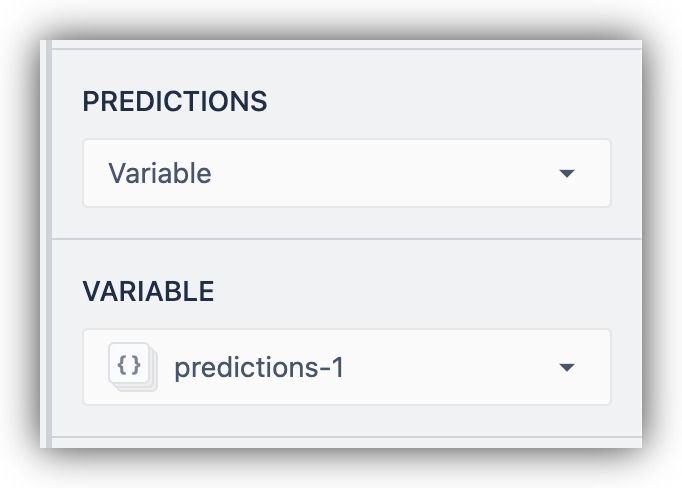
Assign the output to a variable to display on screen or use otherwise.
Your app is now ready to run inference requests for visual inspection.
Running the Visual Inspection App
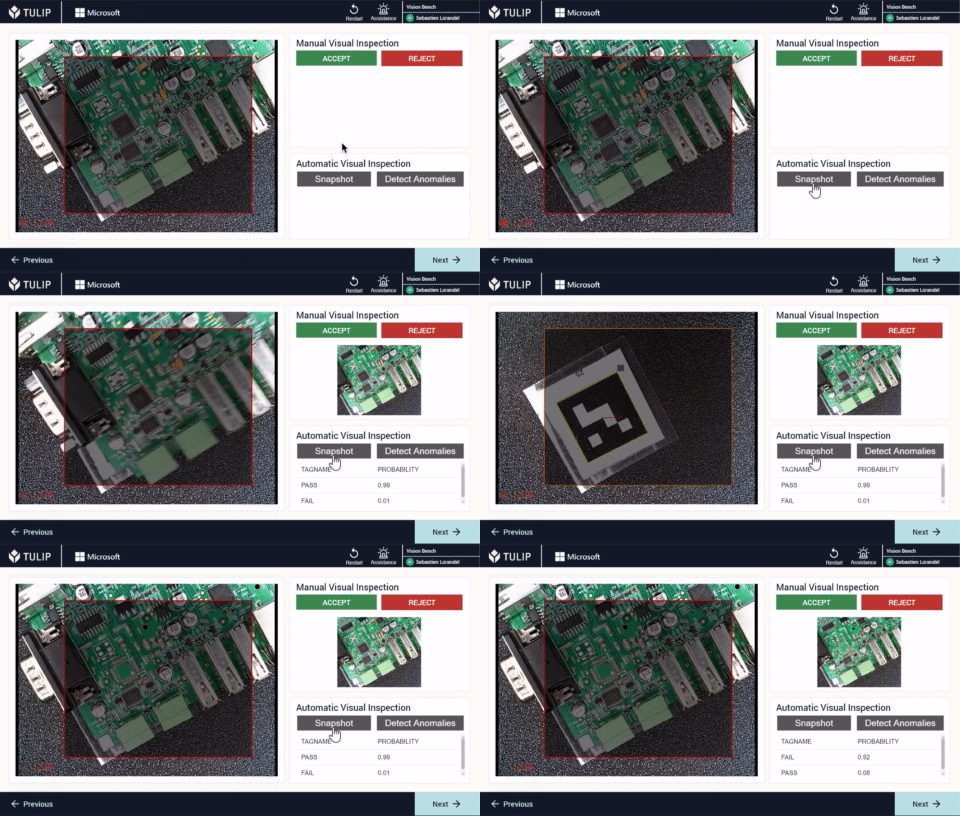
Once your app is ready, run it on a Player machine with the inspection camera you used for data collection. It is important to replicate the same situation you used for data collection as for inspection inference, to eliminate any error from variance in lighting, distance, or angle.
Here is an example of a running visual inspection app:
Further Reading
- Getting Start with Vision
- Collecting Data for Visual Inspection
- Landing AI Custom Widget
- Landing AI Unit Test
- Custom Widgets Overview


.gif)