Purpose
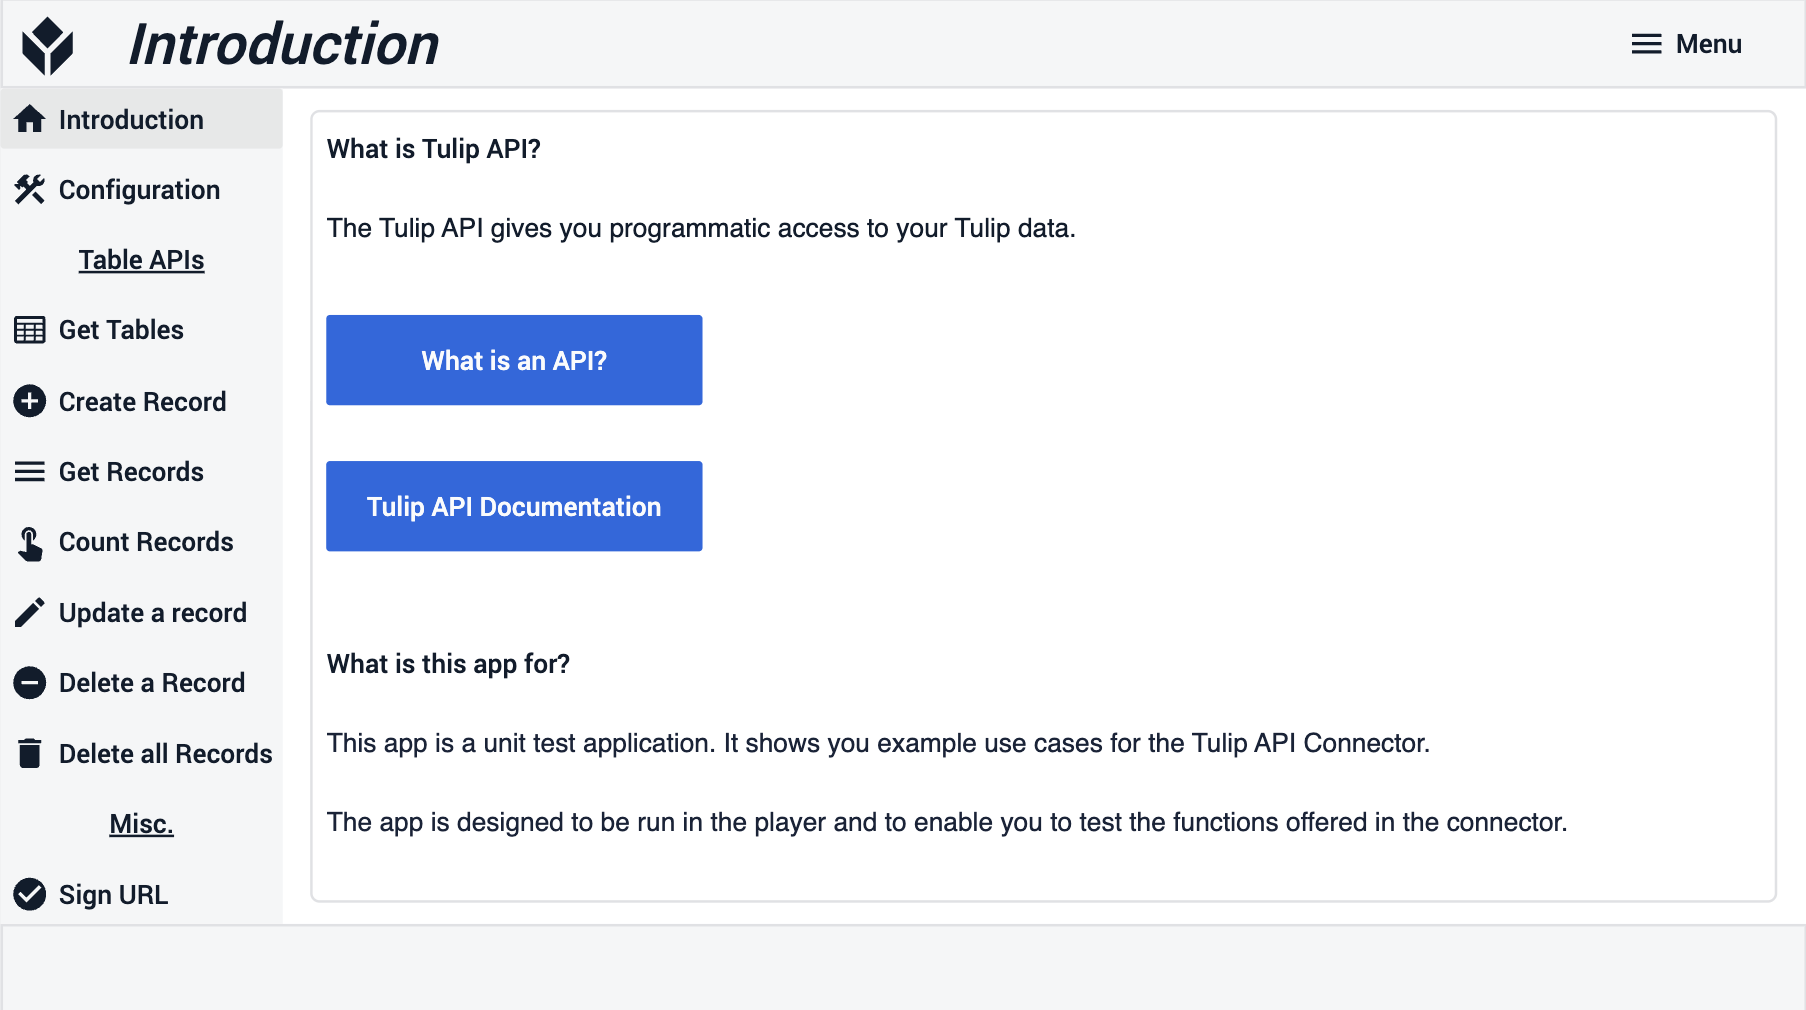
This Article summarizes how the Tulip API is structured and built.
What purposes does the Tulip API Unit test serve?
It enables testing some of the most frequently used Tulip API functions.
Functions included in the application:
- List Tulip Tables
- List records of a Tulip Table
- Create a Tulip Table record
- Count records of a Tulip Table
- Delete a record of a Tulip Table
- Update a record of a Tulip Table
- Delete all records of a Tulip Table
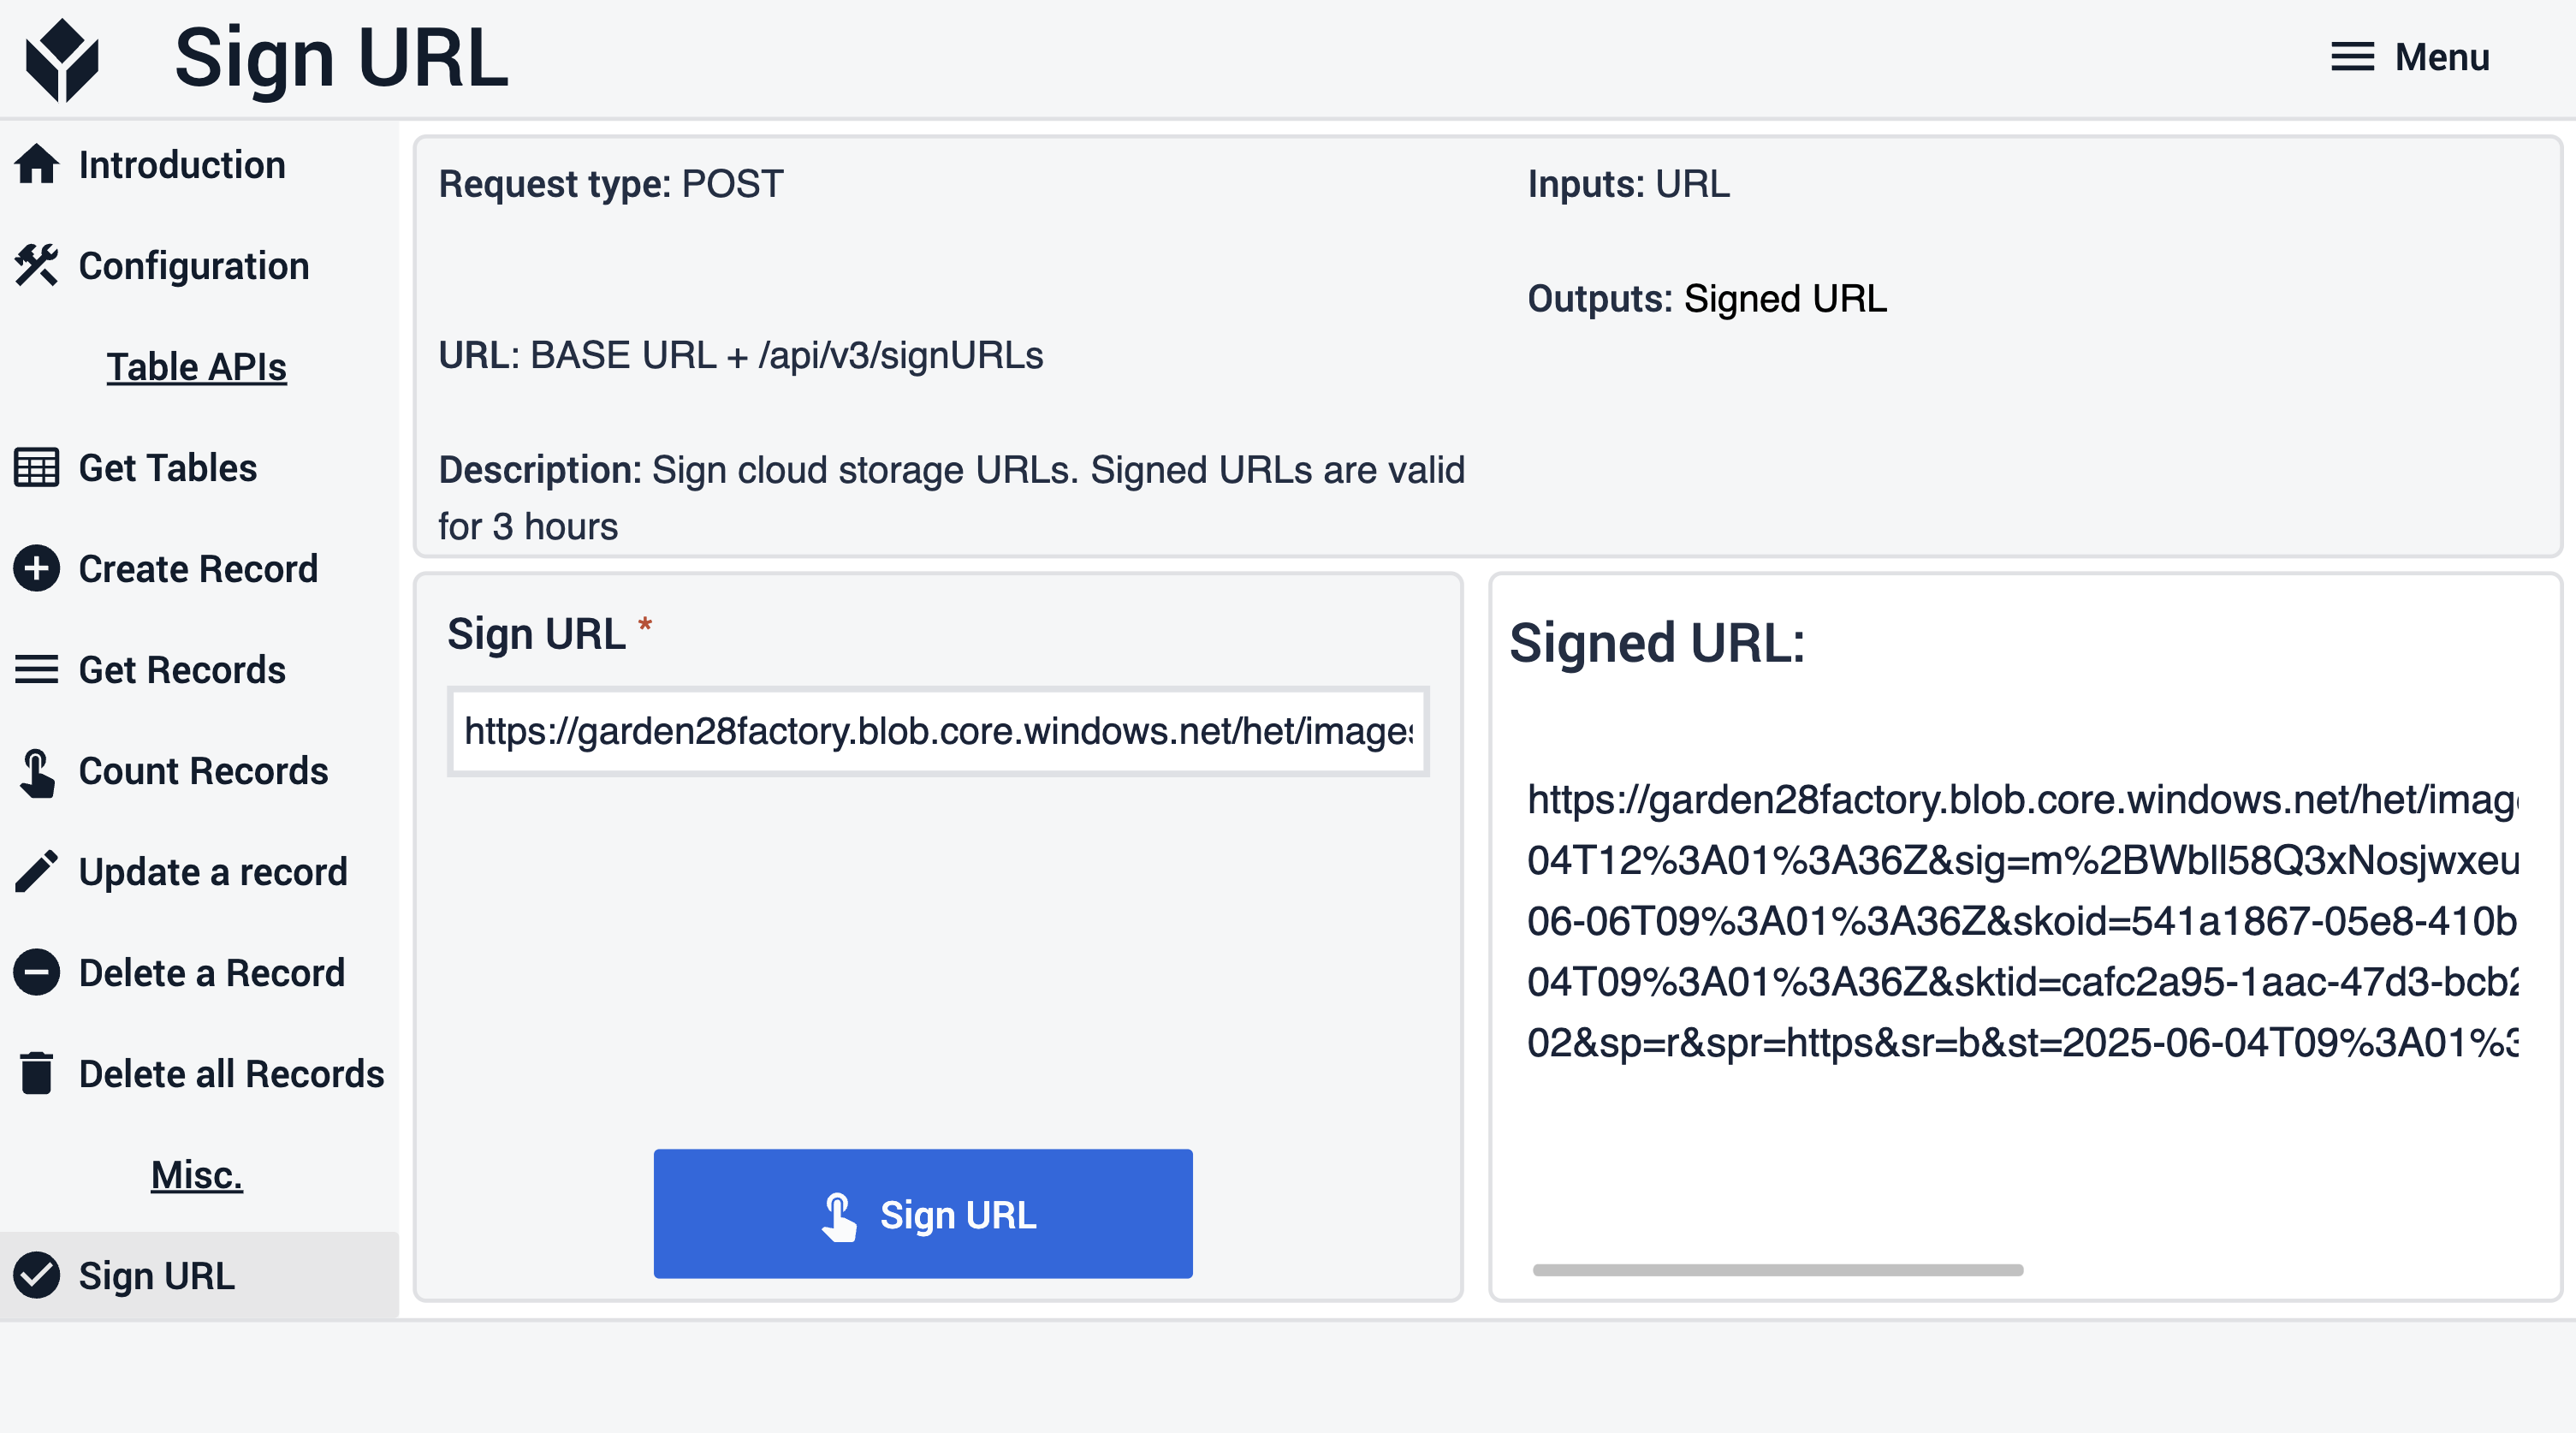
- Sign URLs
Table used in the unit test
To test the Tulip Table API functions the user needs a test table, namely the Tulip API sample table.
App structure
There is a menu on the left side of each step.
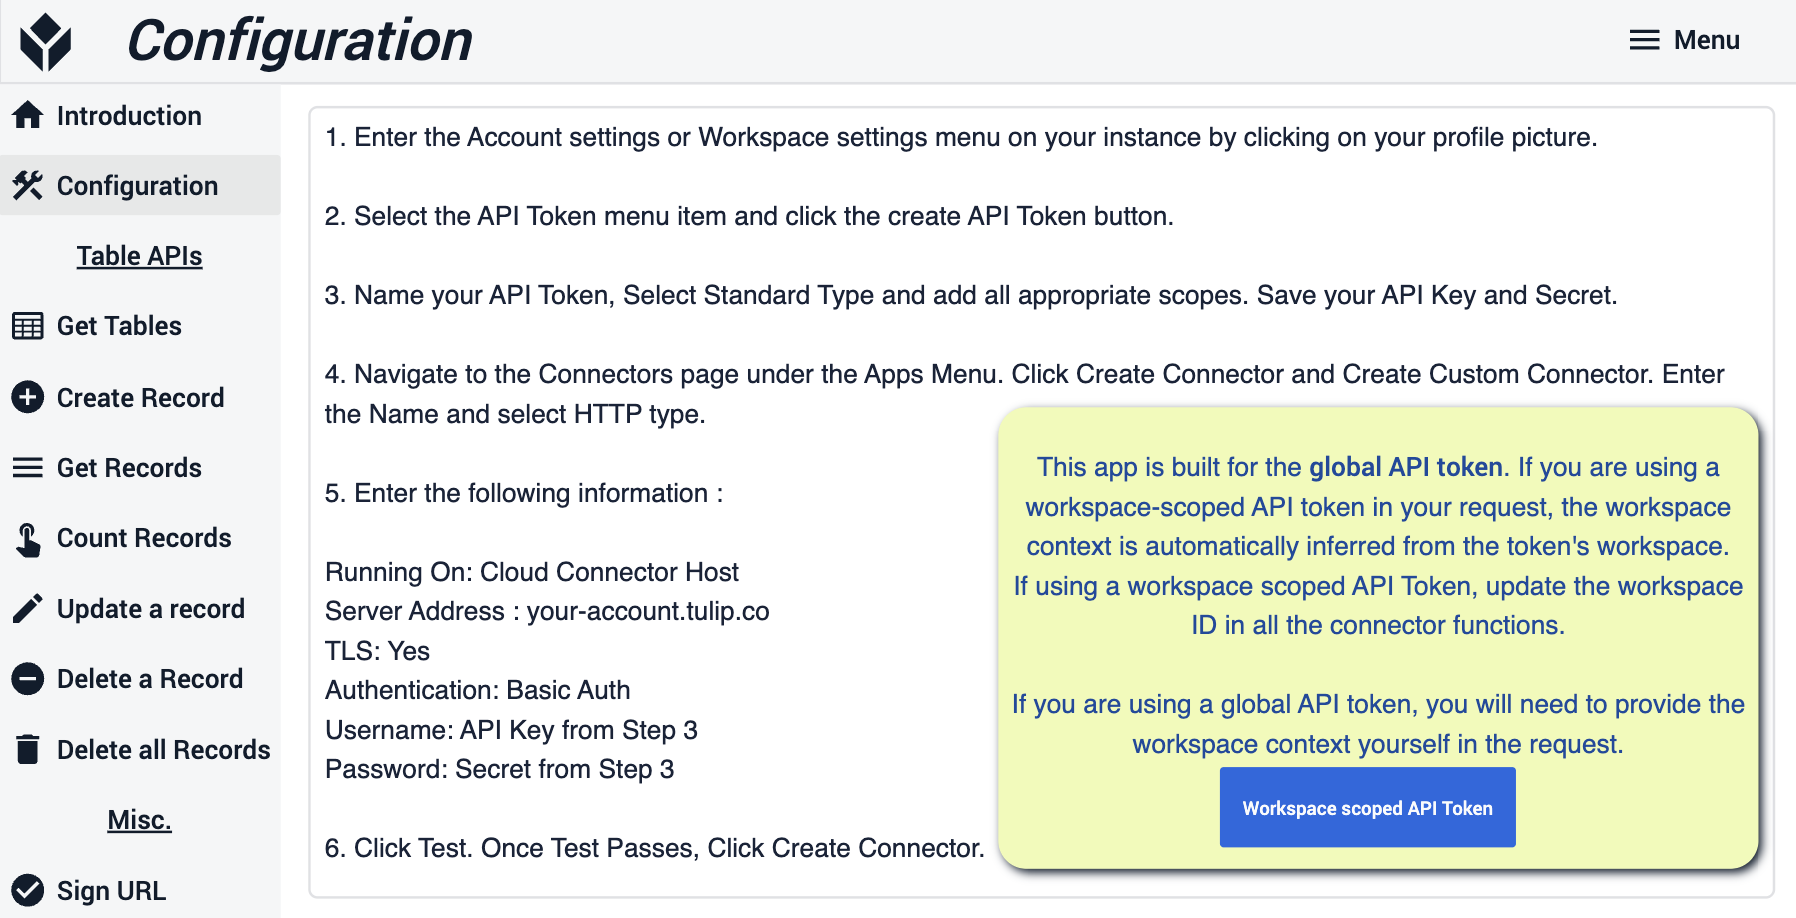
In the Introduction and the Configure connection steps, the user can read about the purpose of the application and also find instructions on how to configure the connection between the Tulip API connector and their instance.
If your instance does not have Workspaces enabled, navigate to account settings > API Tokens to generate your token. In this case, you do not need to reference /w/DEFAULT in your API Endpoint, i.e. to get tables, your endpoint will be -
BASE URL + api/v3/tables
If you have workspaces enabled and are using a Global API token (found under Account Settings > Api Token), you will need to define the workspace in your API Endpoint, i.e. to get tables, your endpoint will be -
BASE URL + api/v3/w/<workspaceID>/tables
Learn more about this here - https://support.tulip.co/apidocs/introduction#workspaces
If you have workspaces enabled and are using a Workspace scoped API token (found under Workspace Settings > Api Token), you do not need to define the workspace in your API Endpoint, i.e. to get tables, your endpoint will be -
BASE URL + api/v3/tables
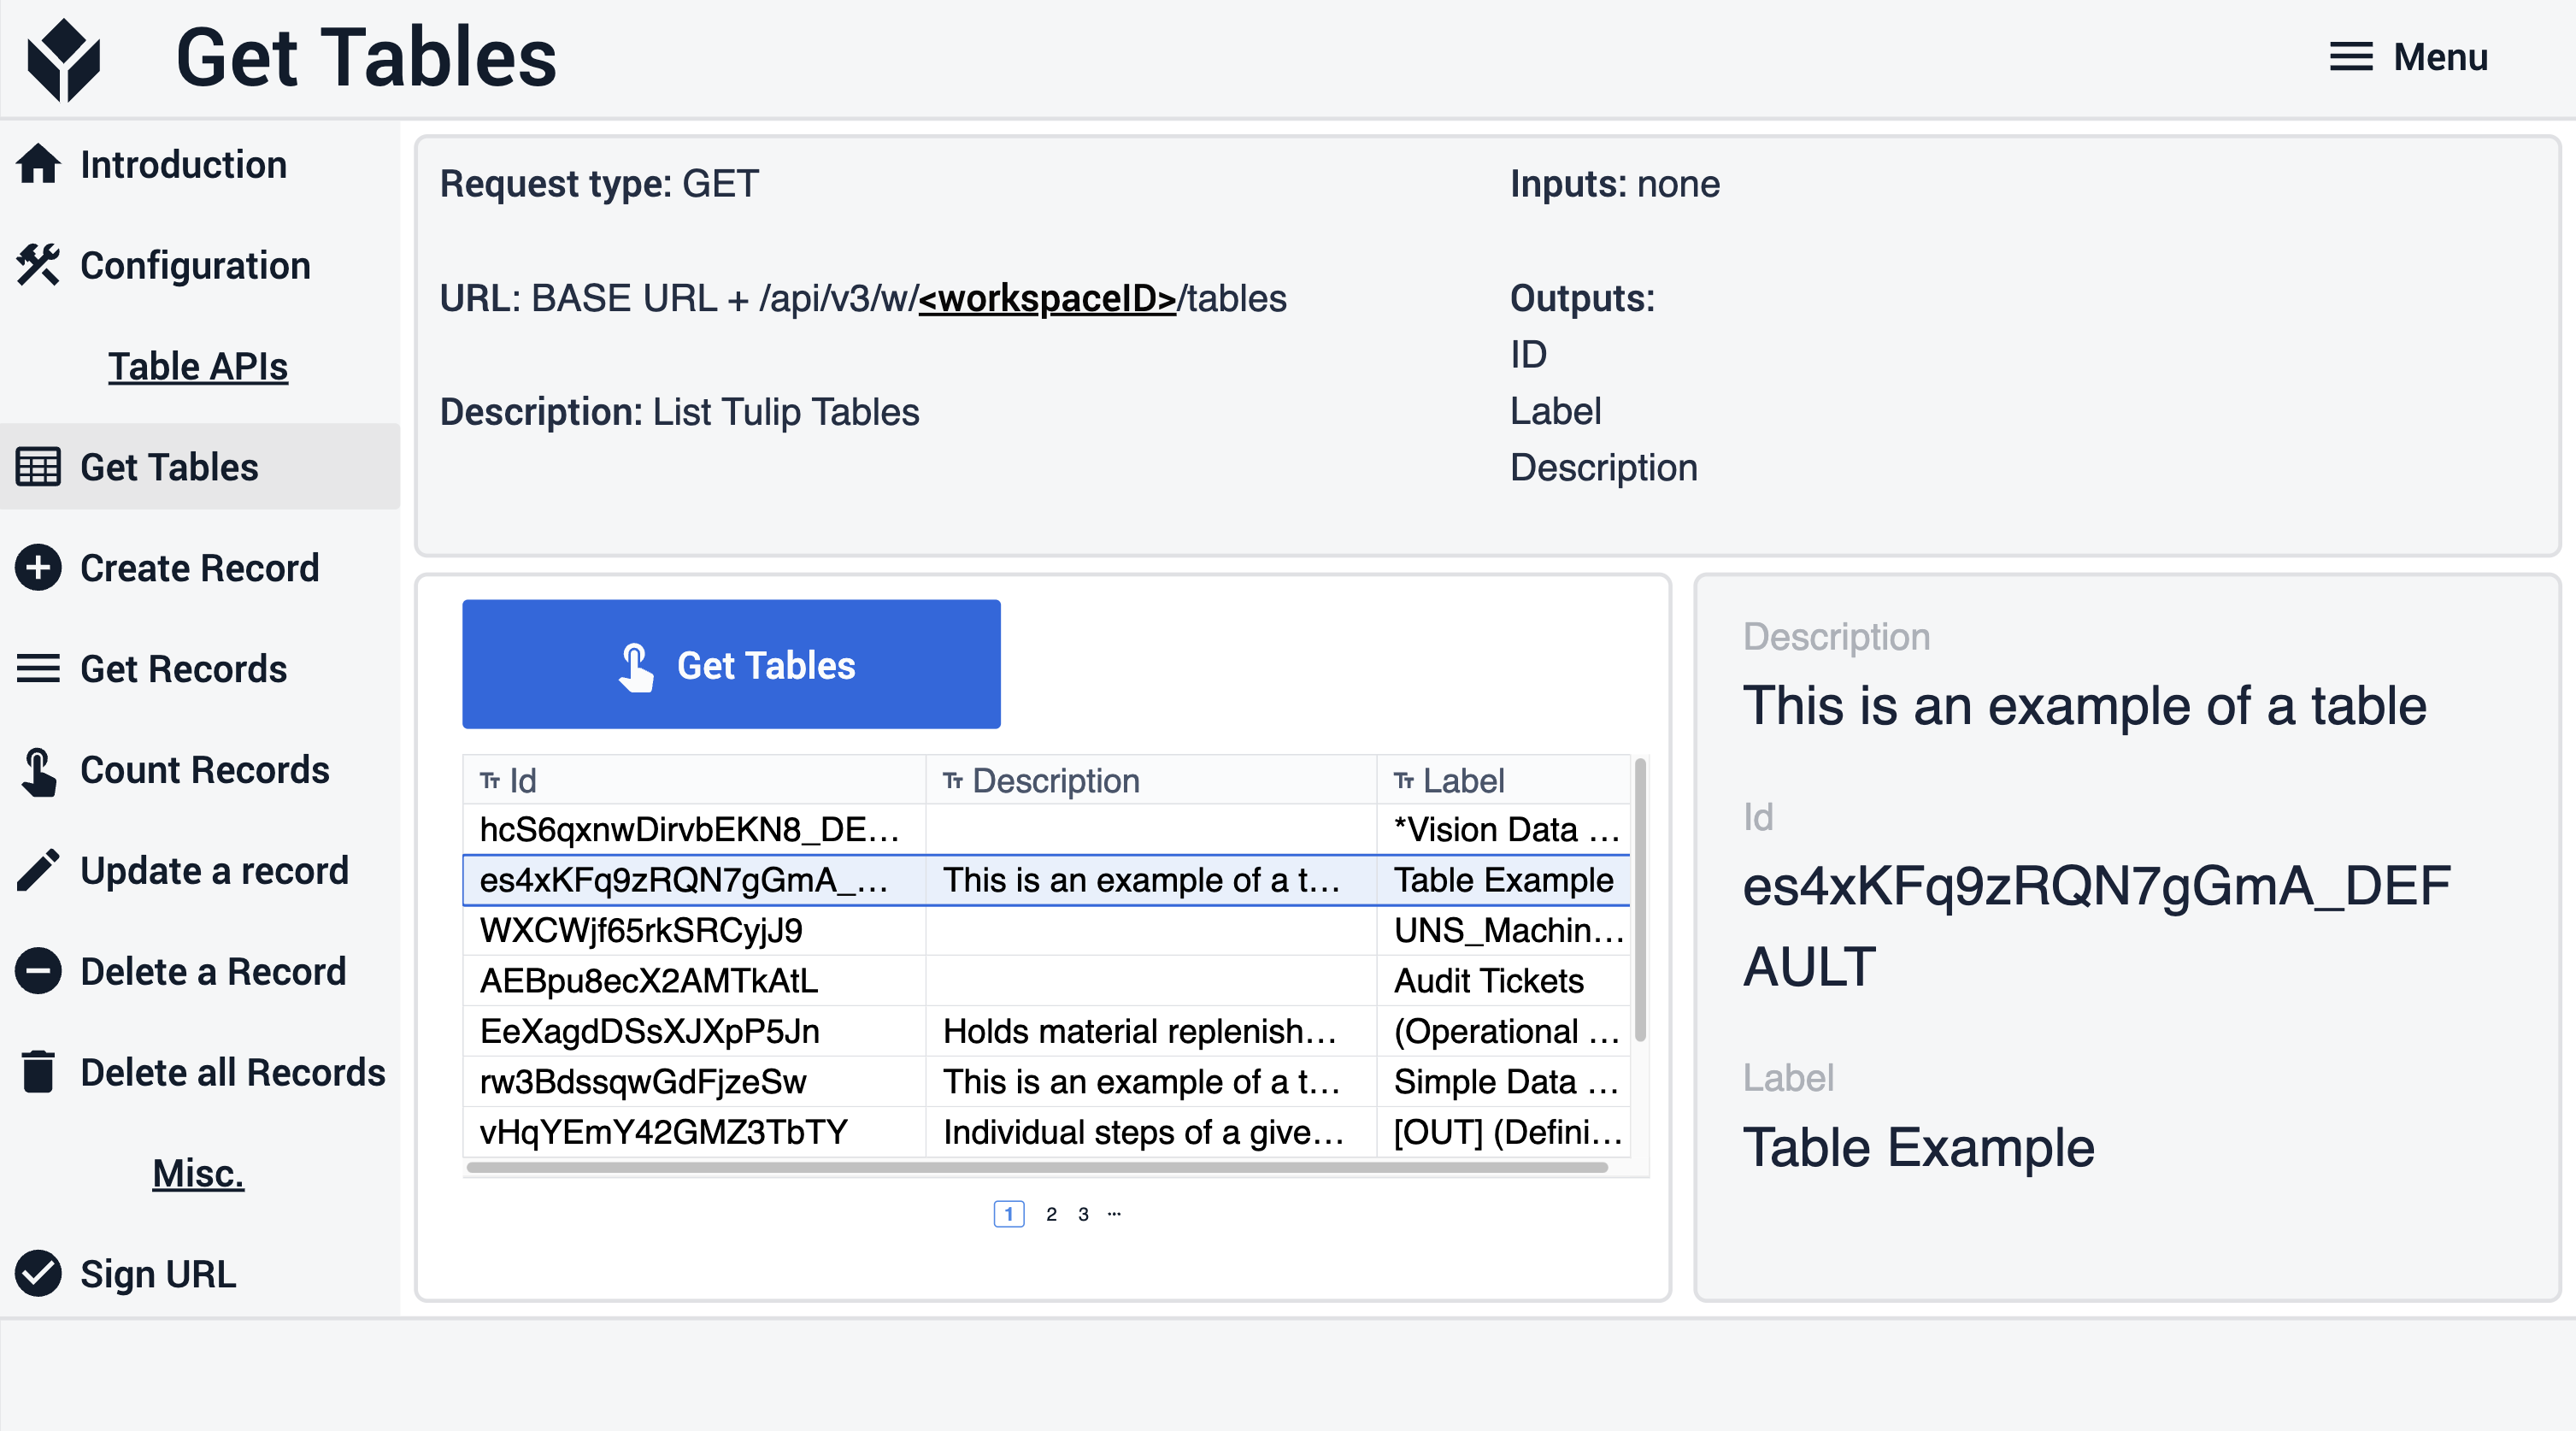
In the Get Tables step, the connector function runs on the Get Tables button press to list all the tables in the instance. The user can select a table from the interactive table on the left and view its details on the right.
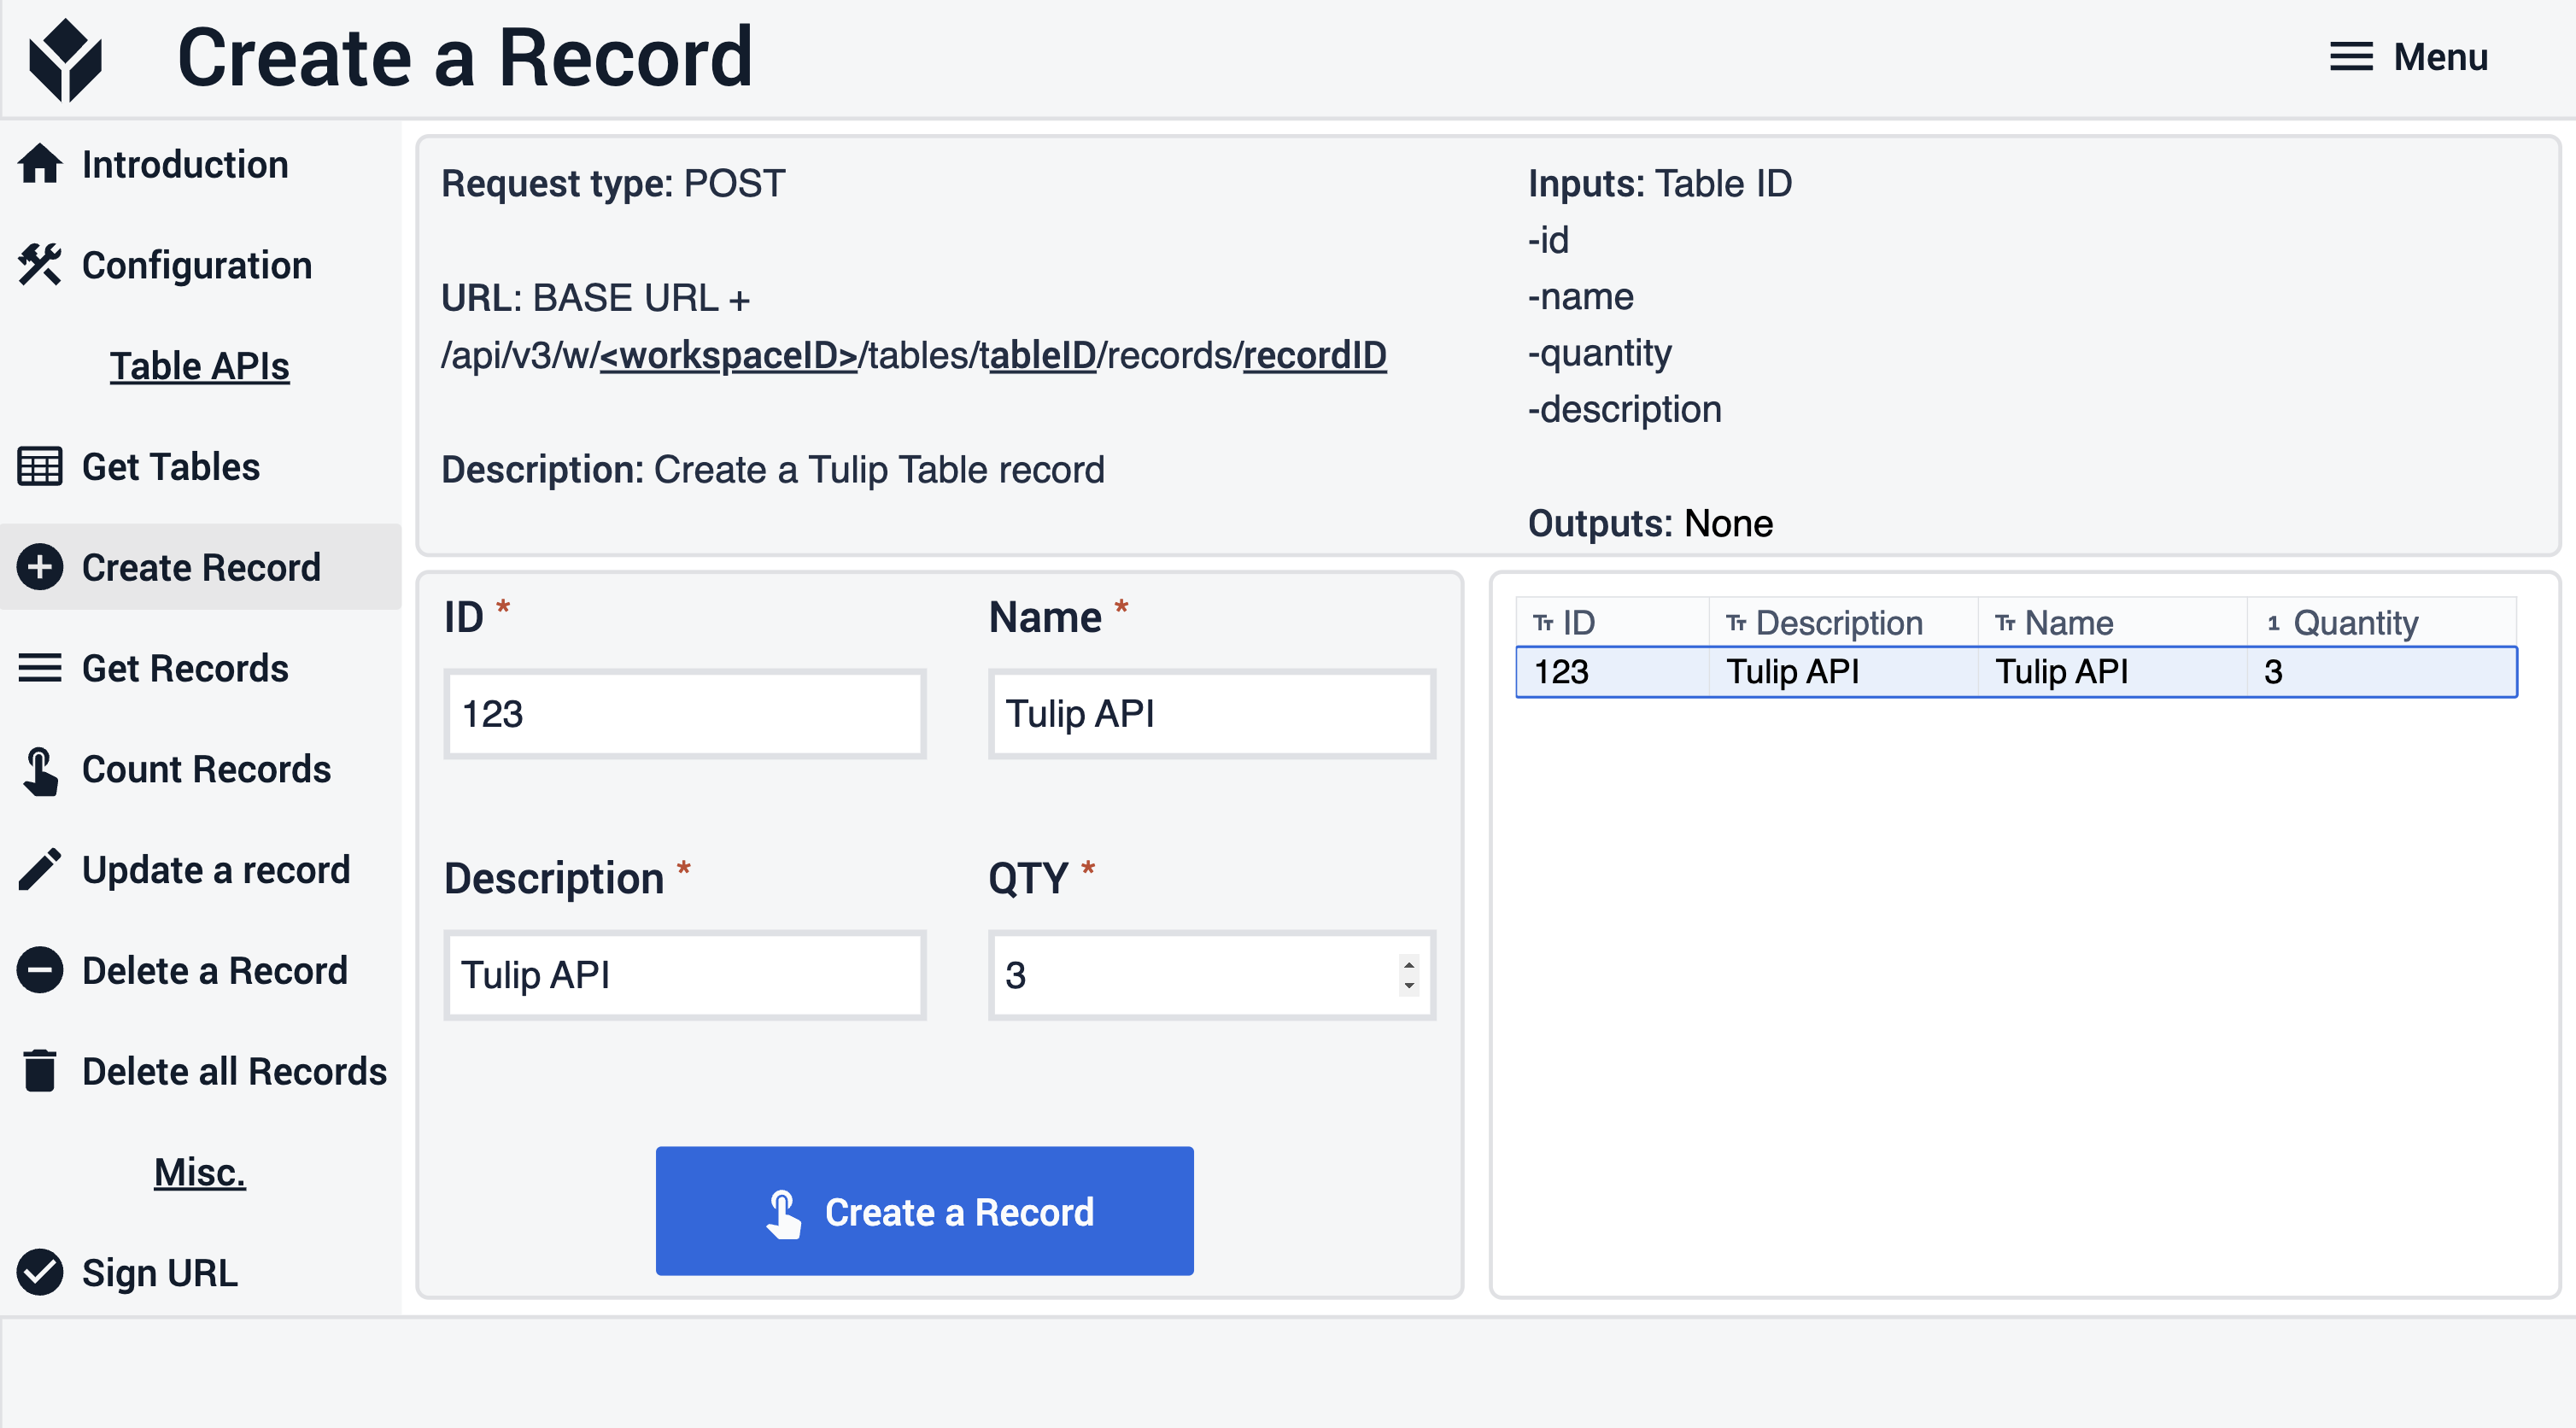
In the Create record step, the user can create a new record by filling in the input fields. When the Create a record button is clicked and all the fields are filled in, the new record can be viewed in the interactive table on the right.
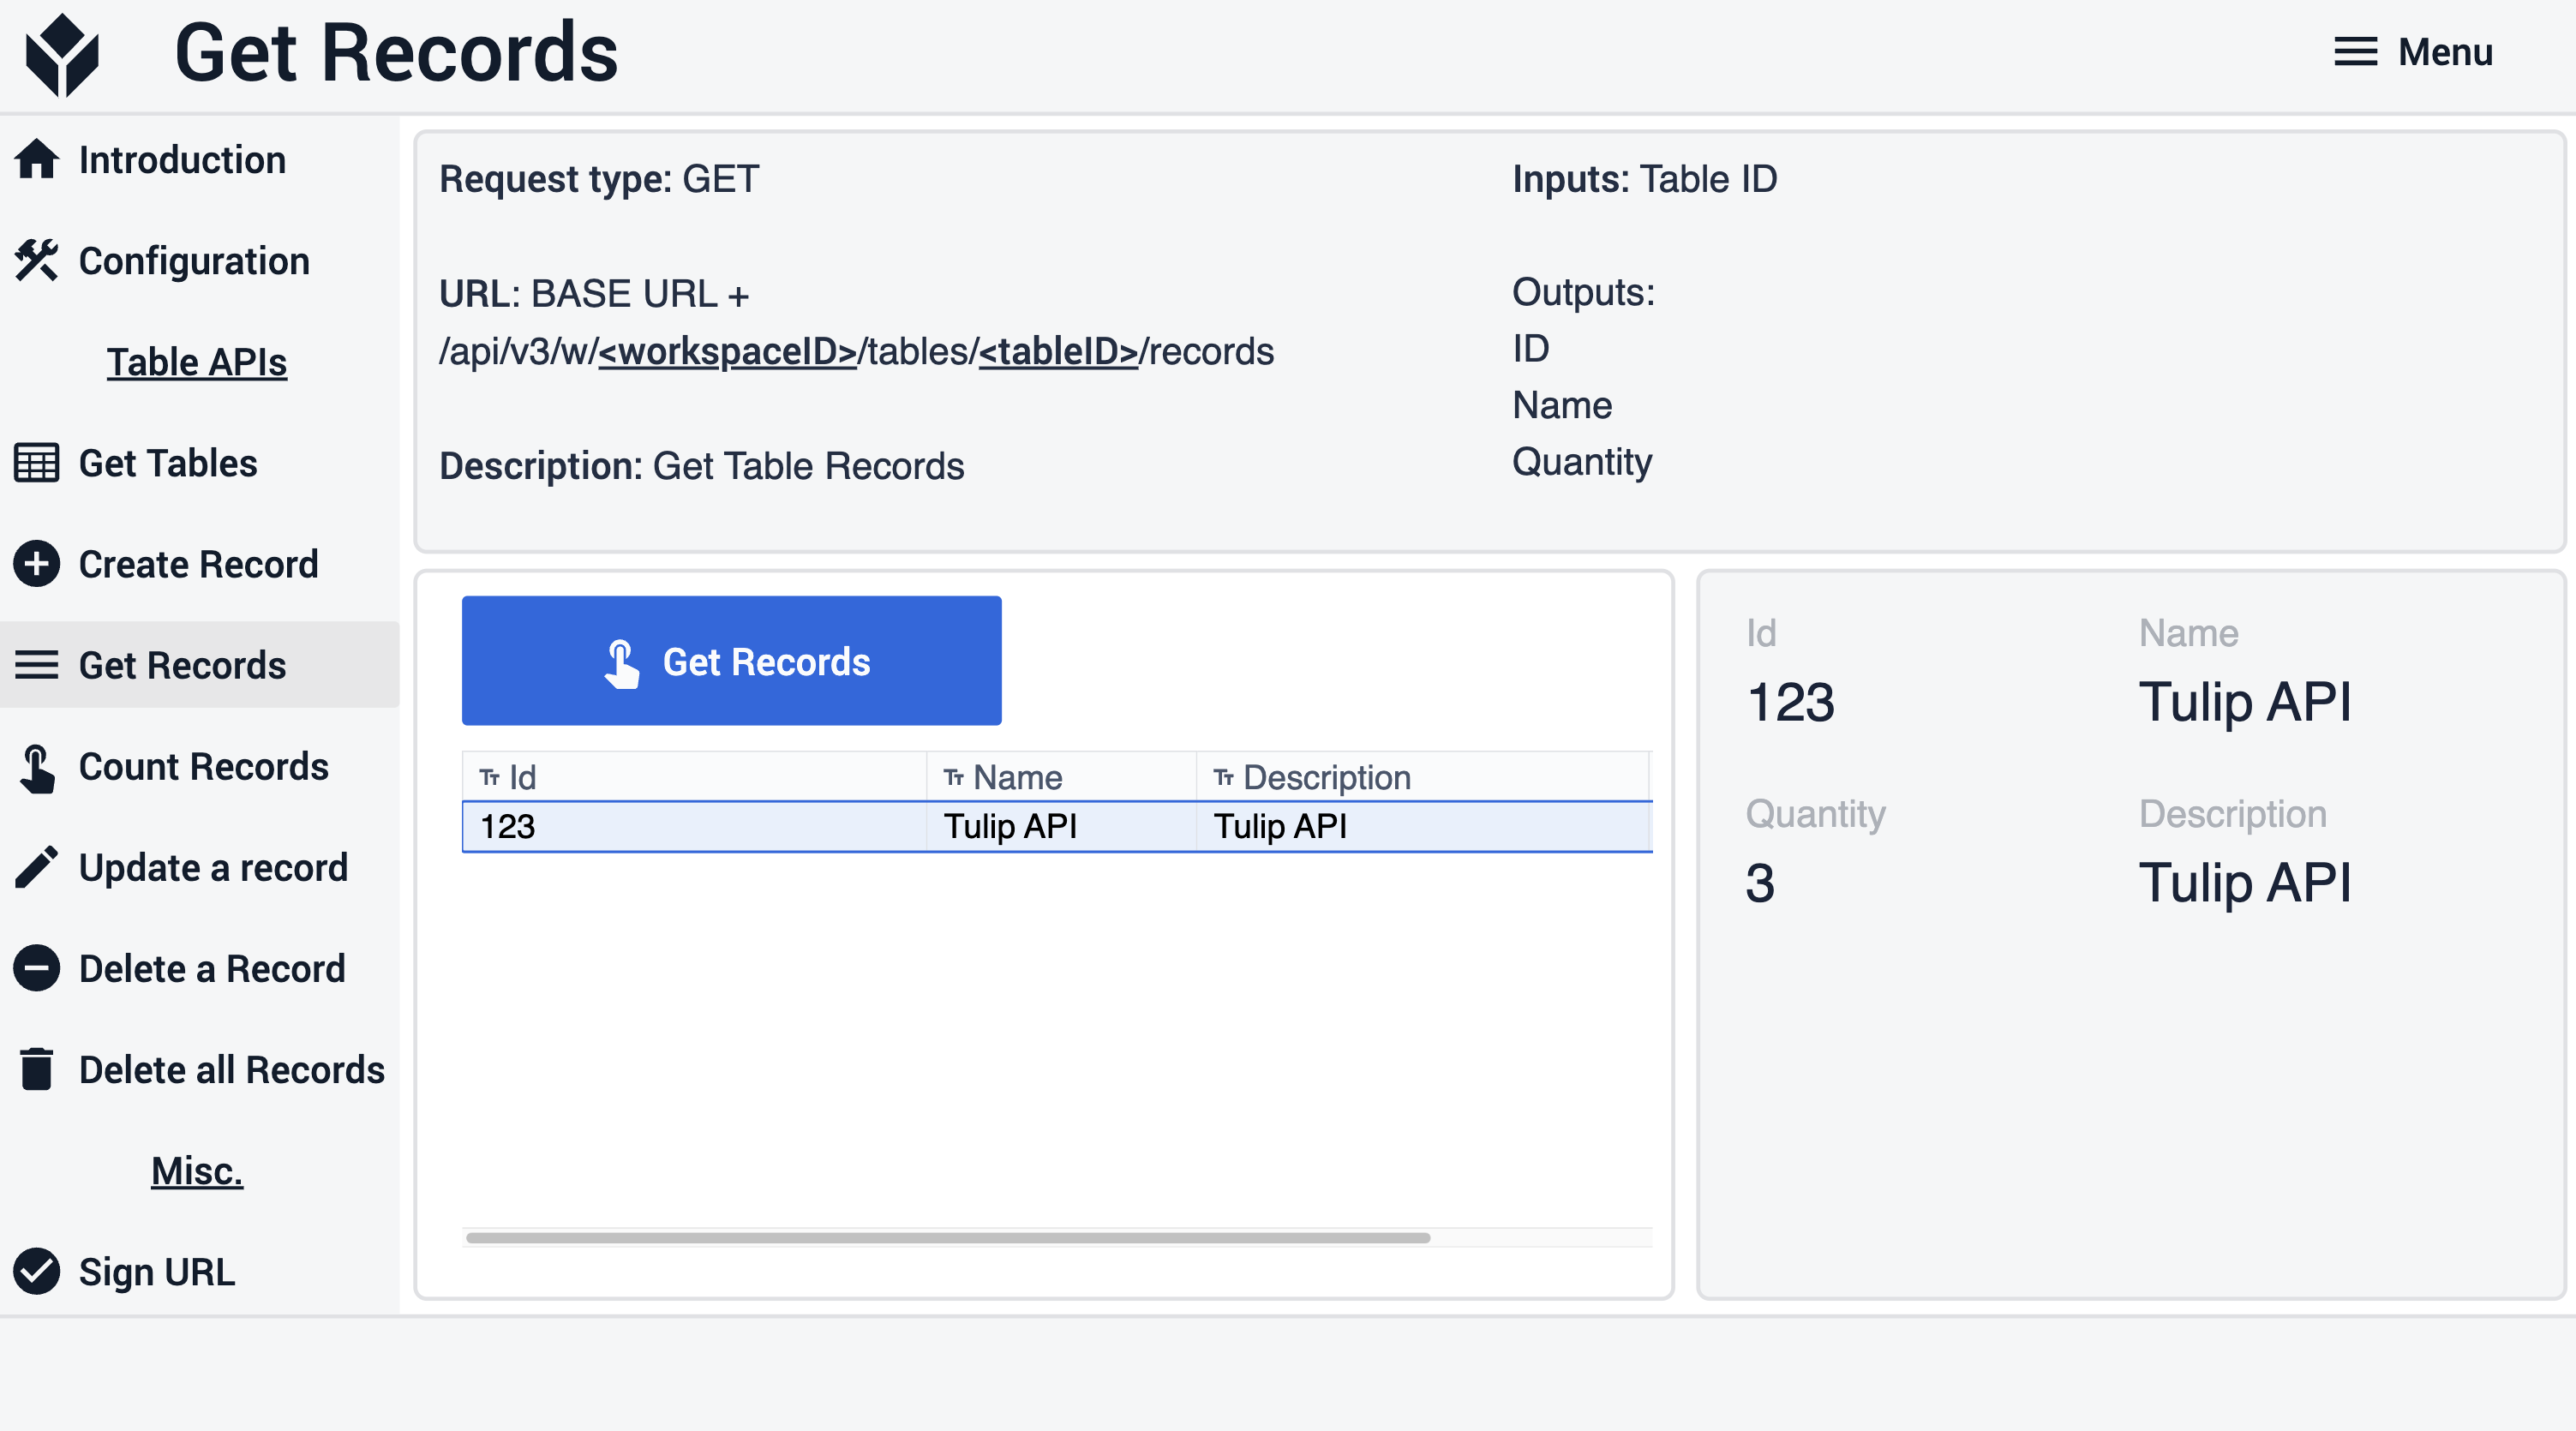
In the Get records step, the records of the Tulip API Sample table are listed on the Get Records button press. The user can select a record from the interactive table on the left and view its details on the right.
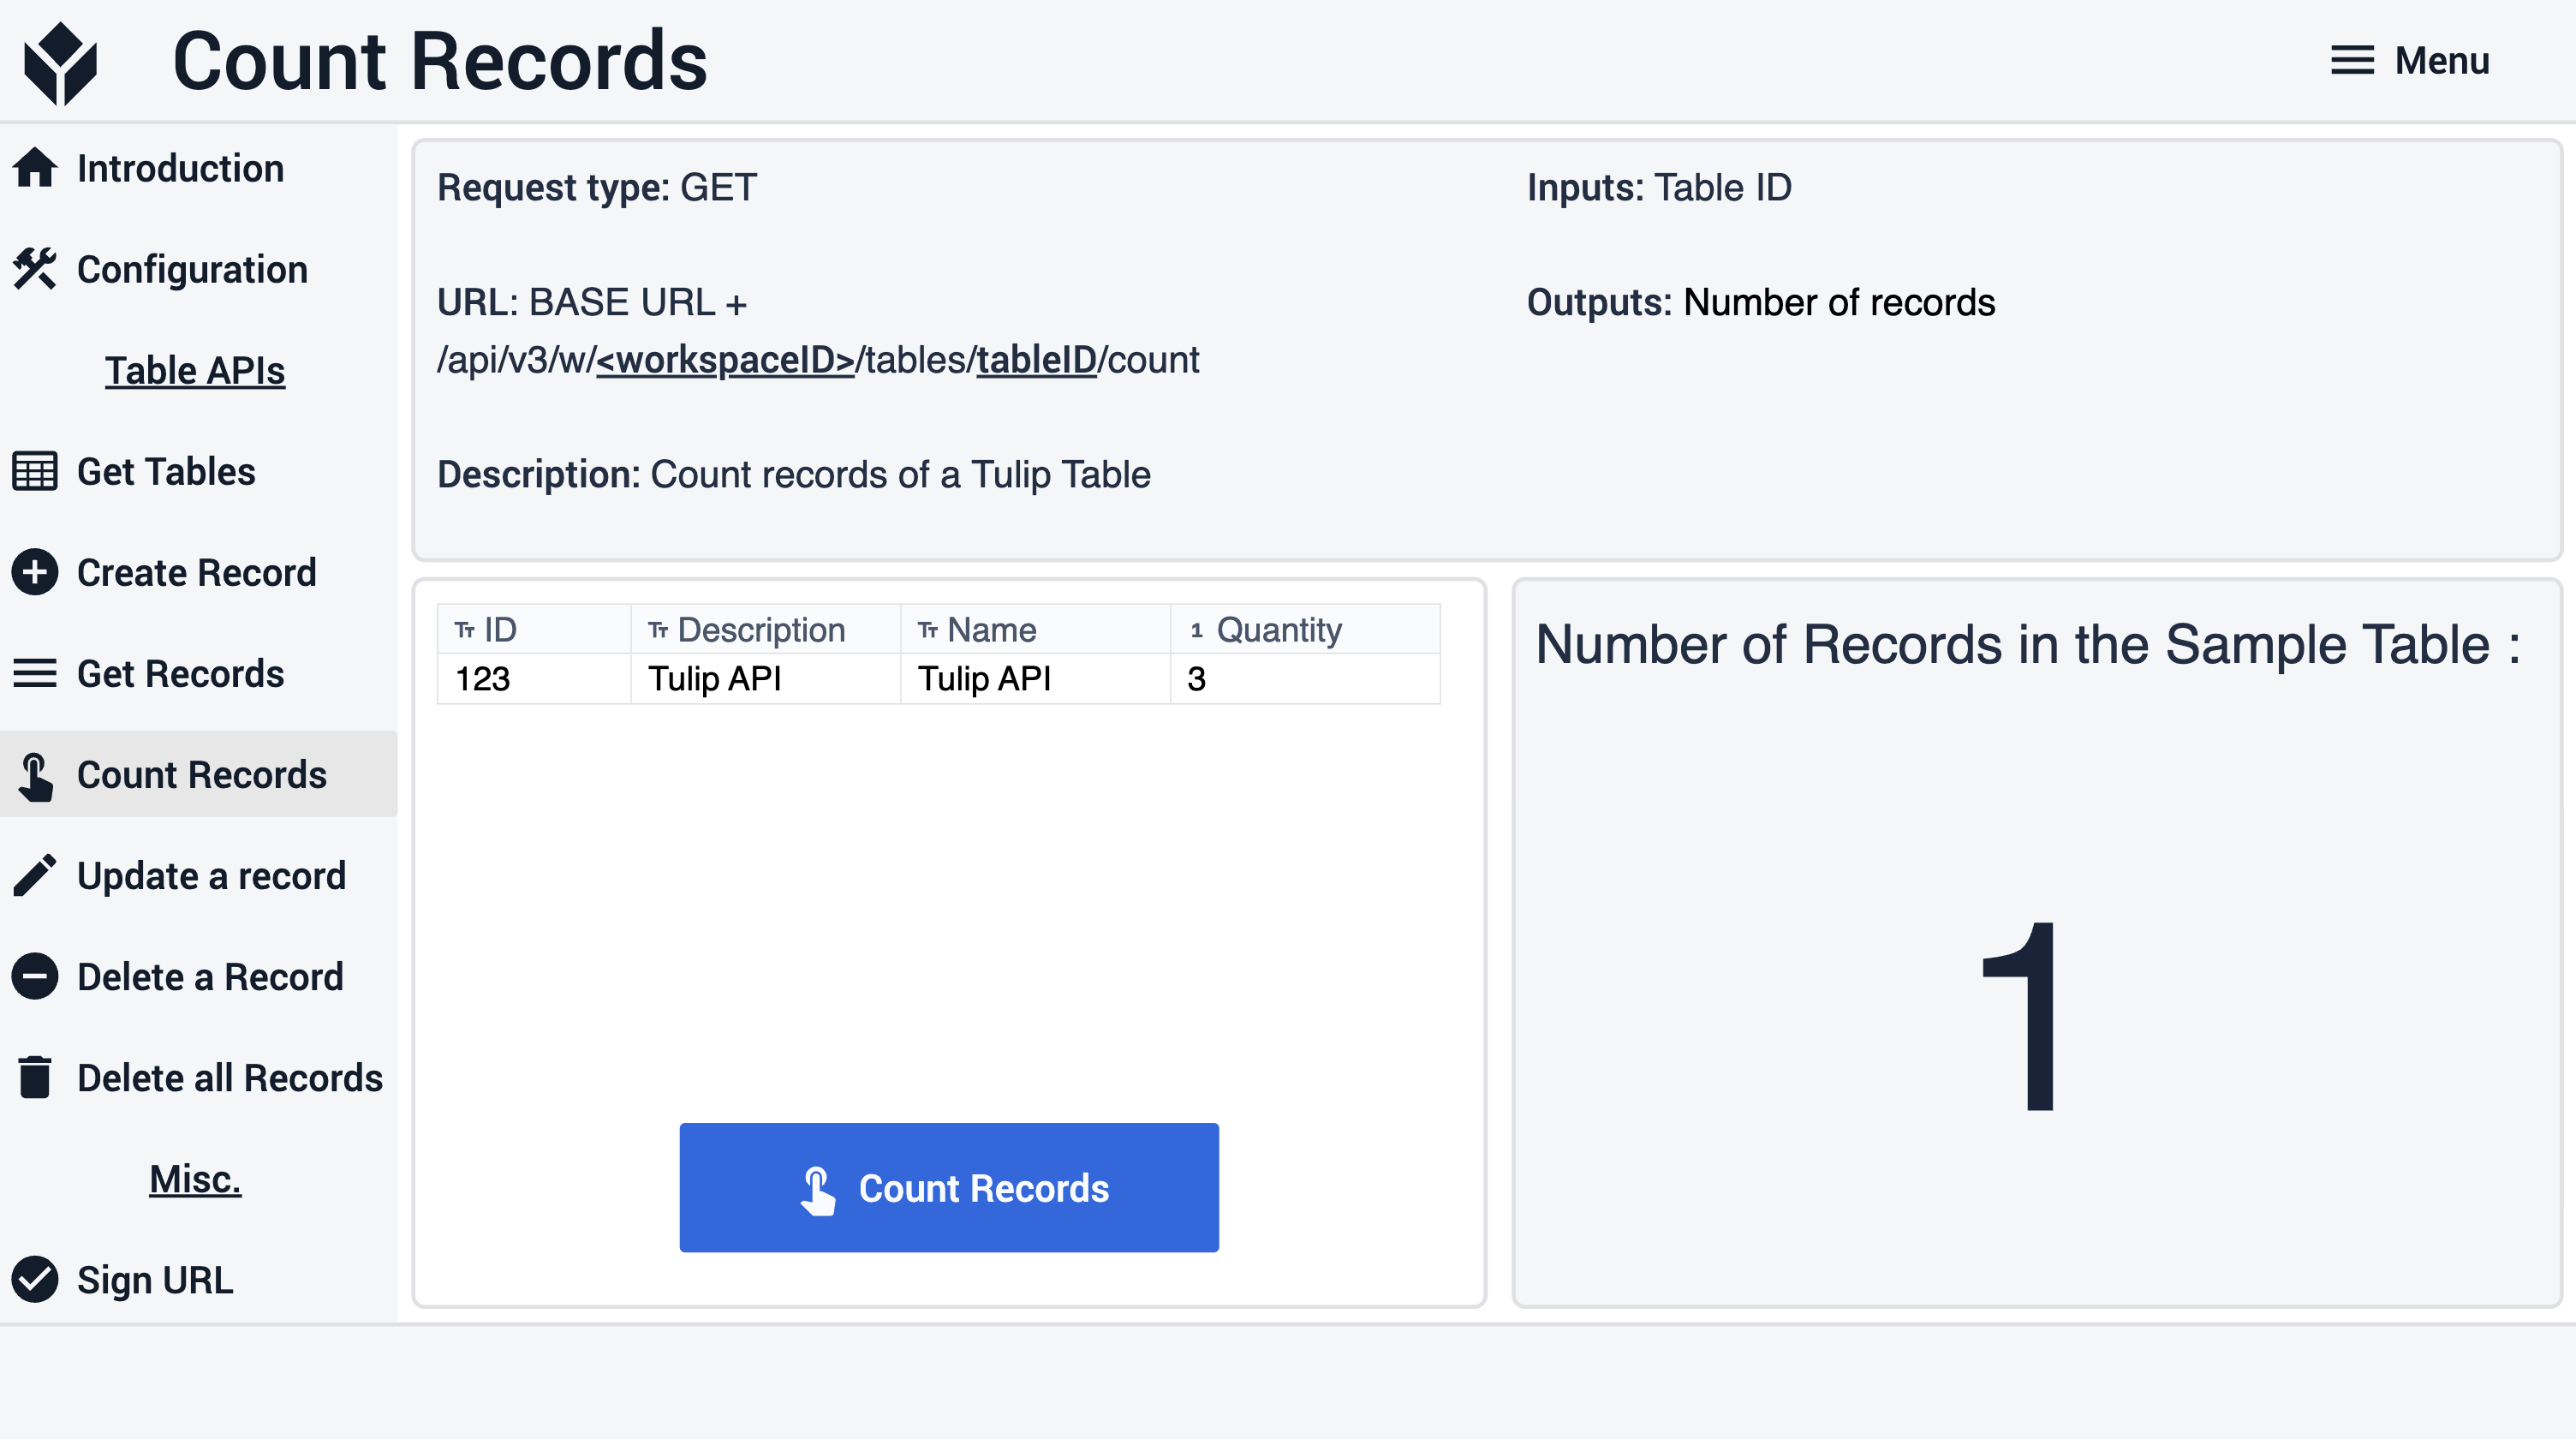
In the Count records step, the connector function is run on button press, and the number of records can be seen on the right.
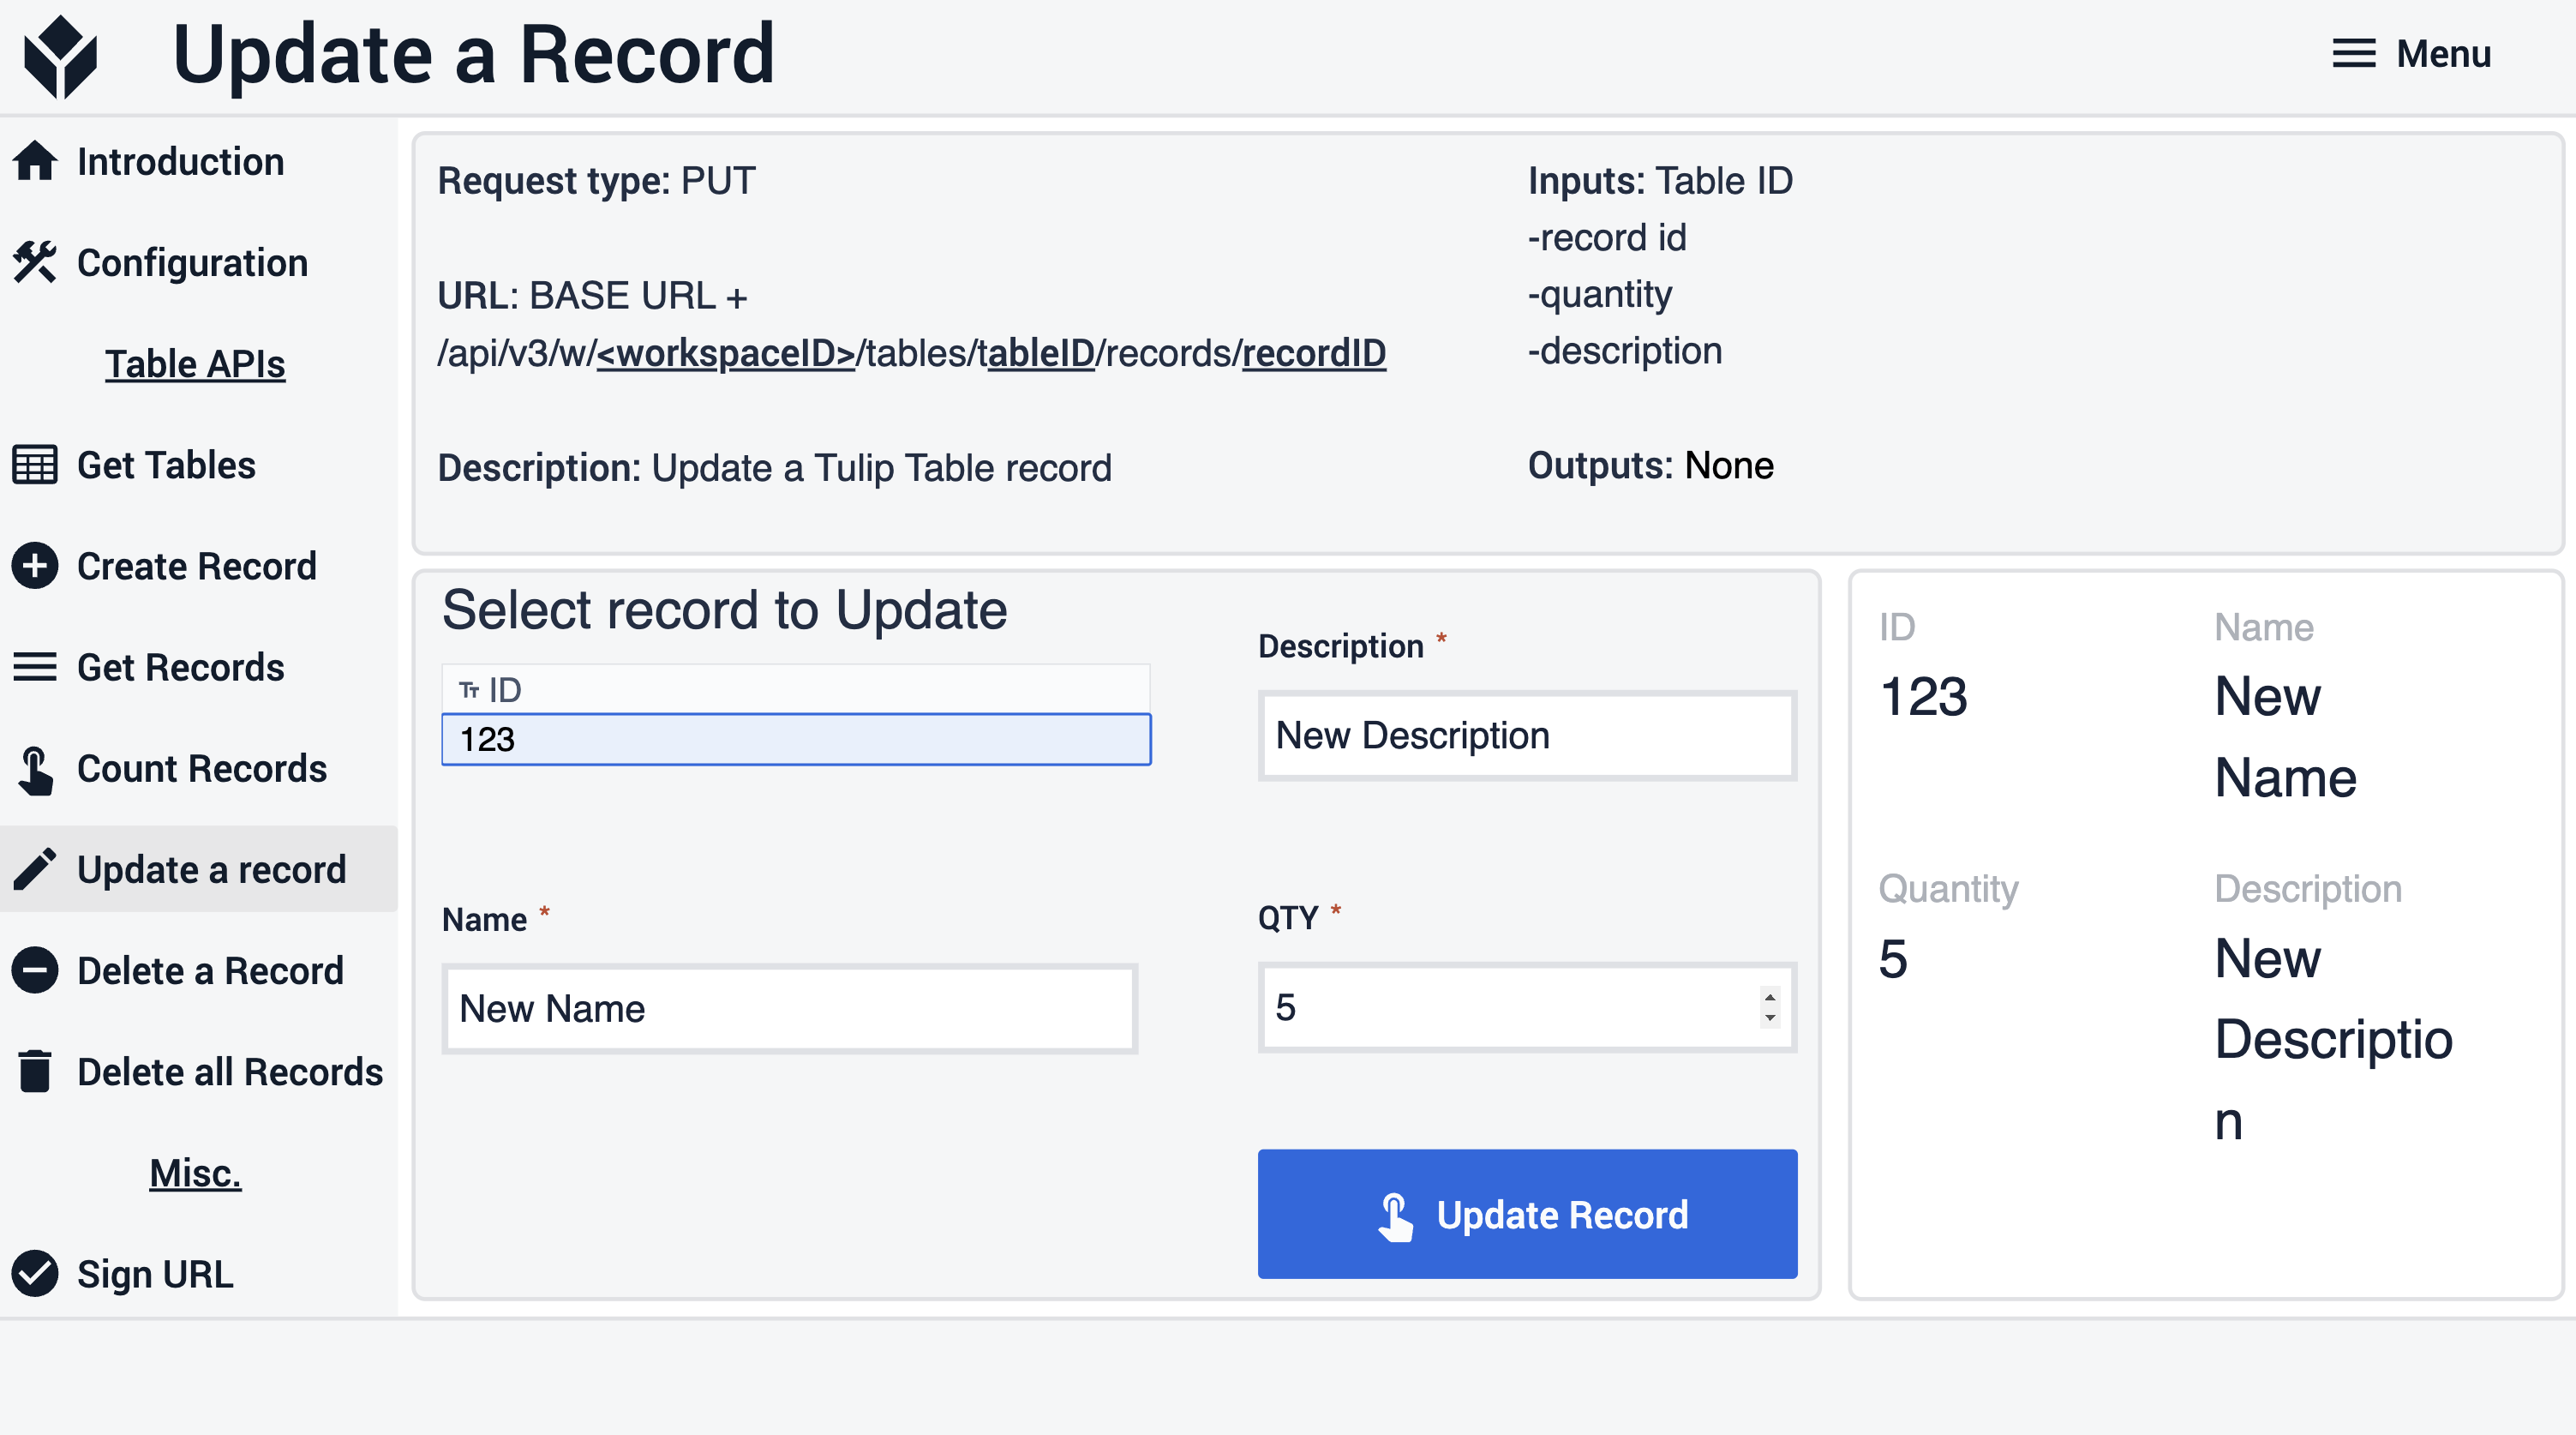
In the Update record step, the user can select the the record ID to update, and fill in the input fields to be updated. As soon as the Update record button is clicked, the updated record can be viewed on the right.
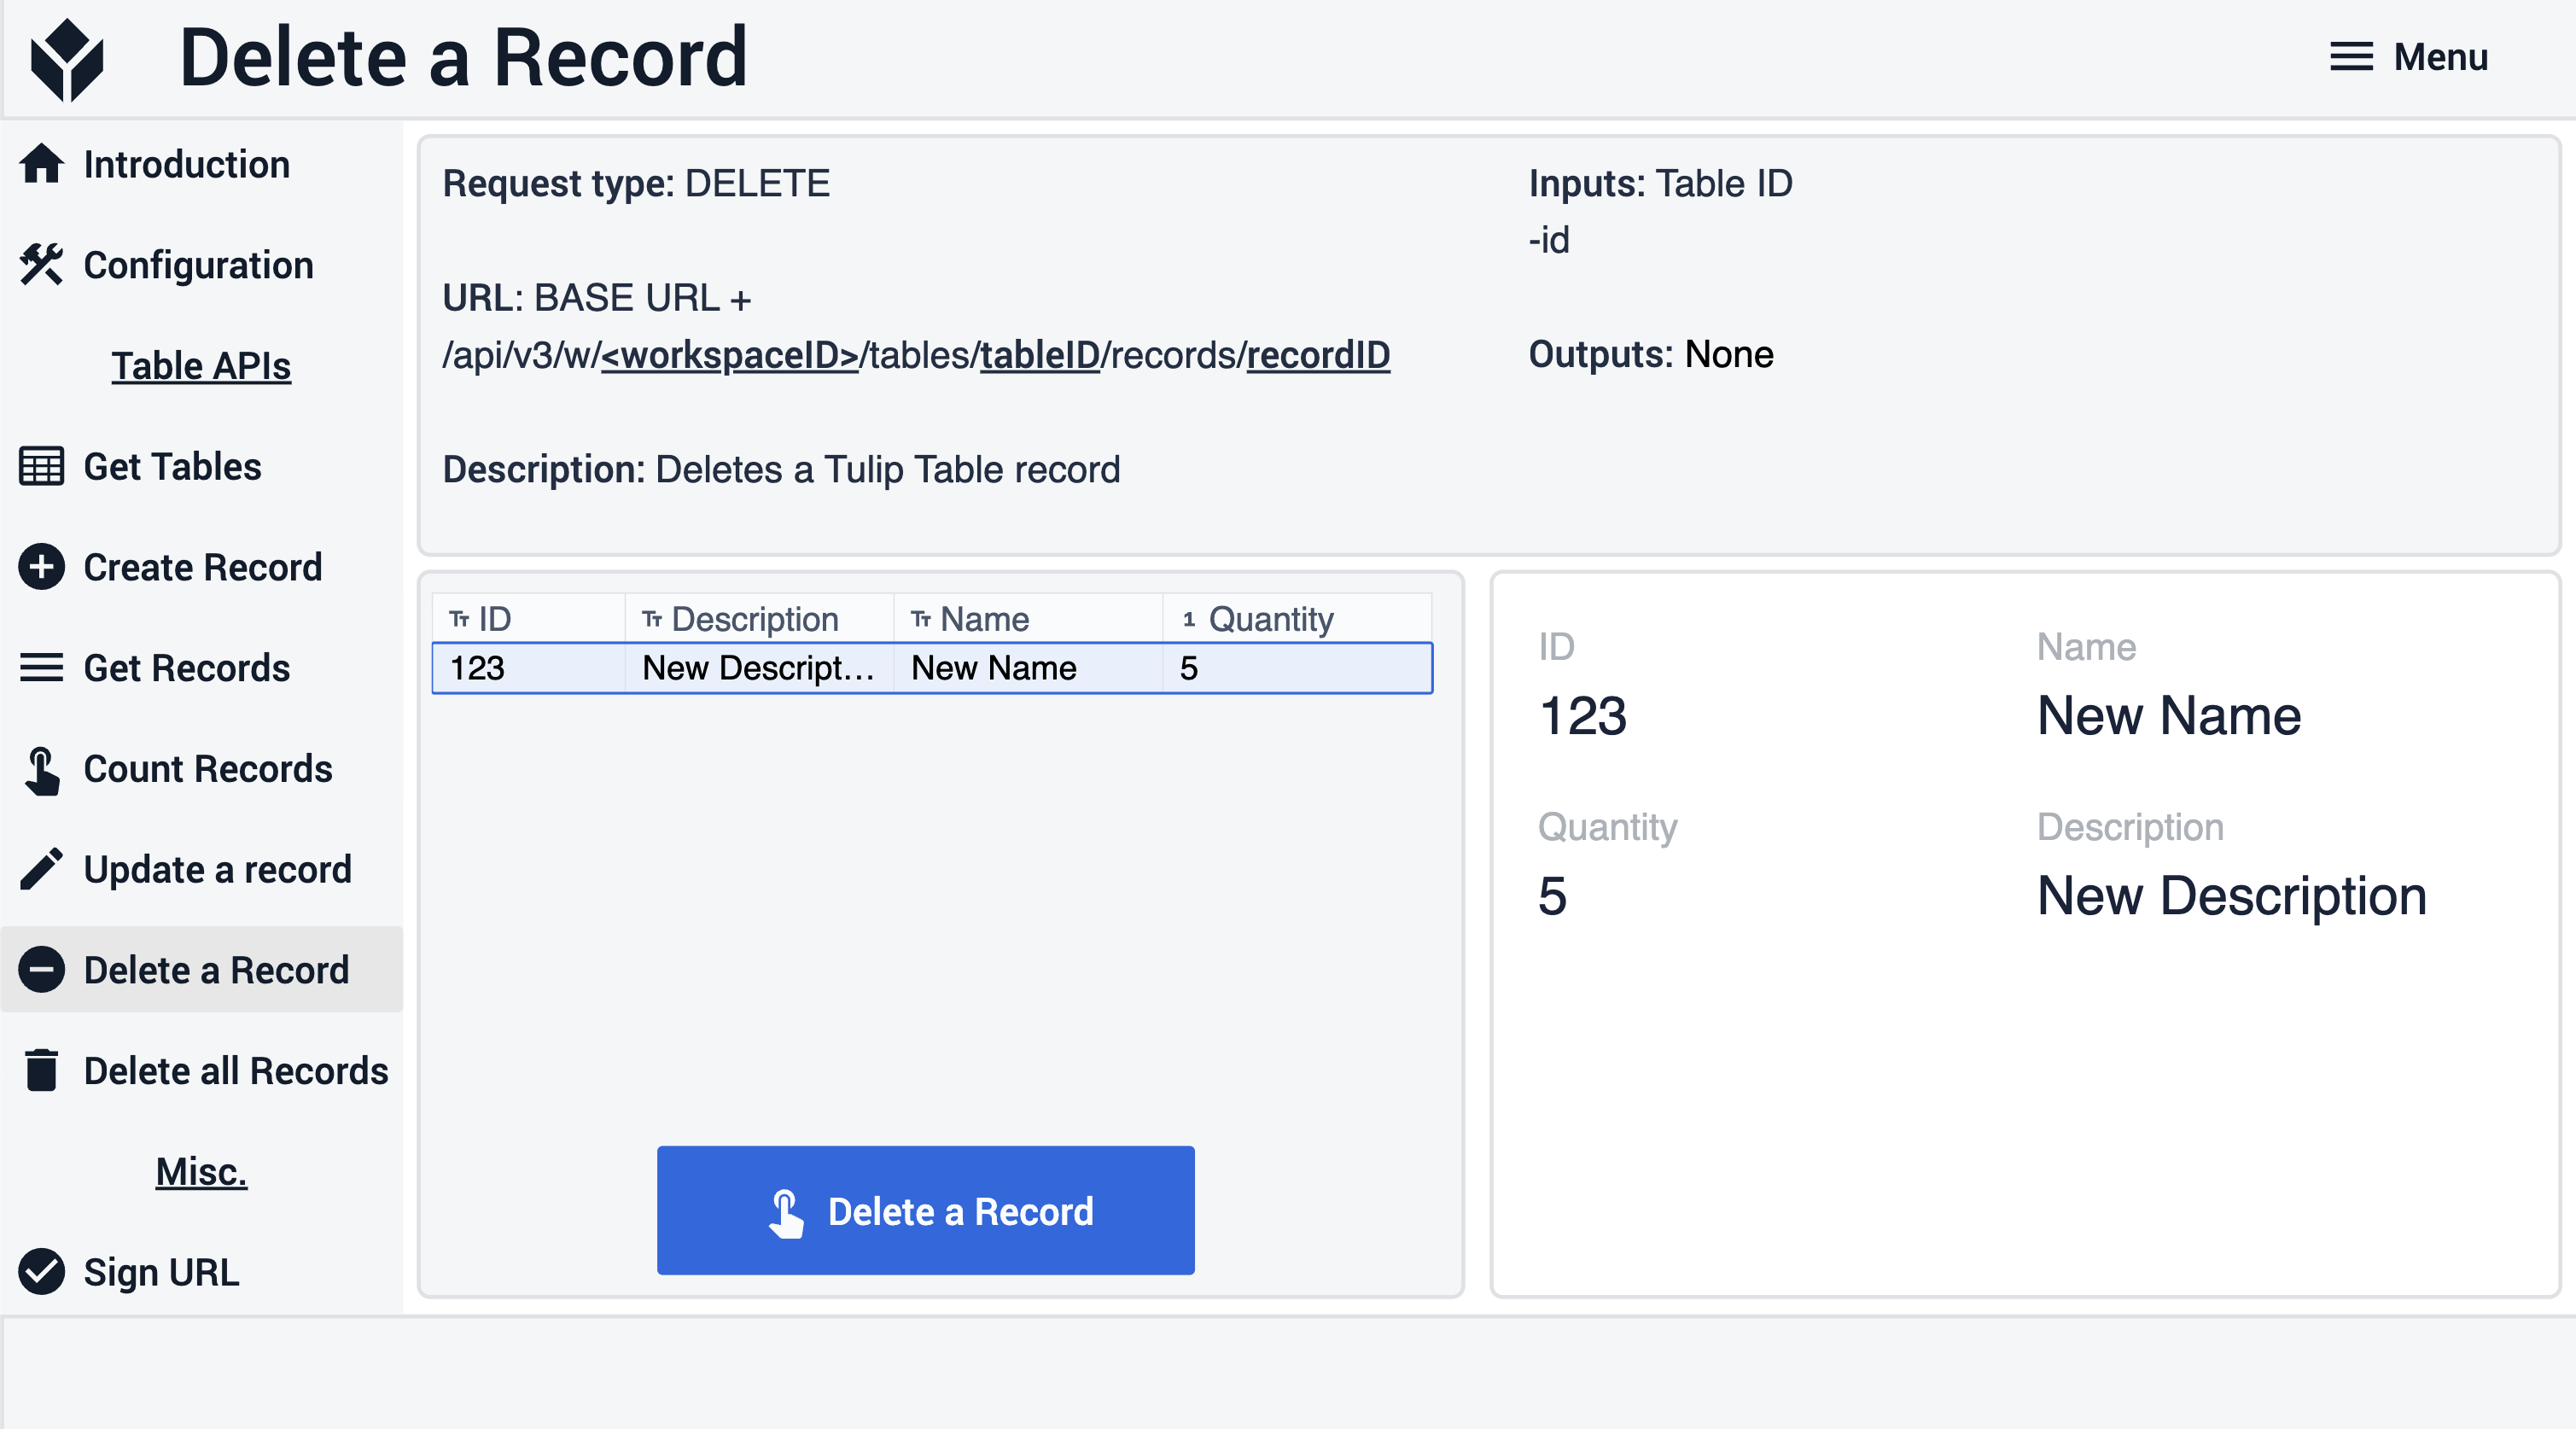
In the Delete record step. The user needs to select a record from the interactive table on the left. When the Delete record button is clicked, the record is deleted from the sample table.
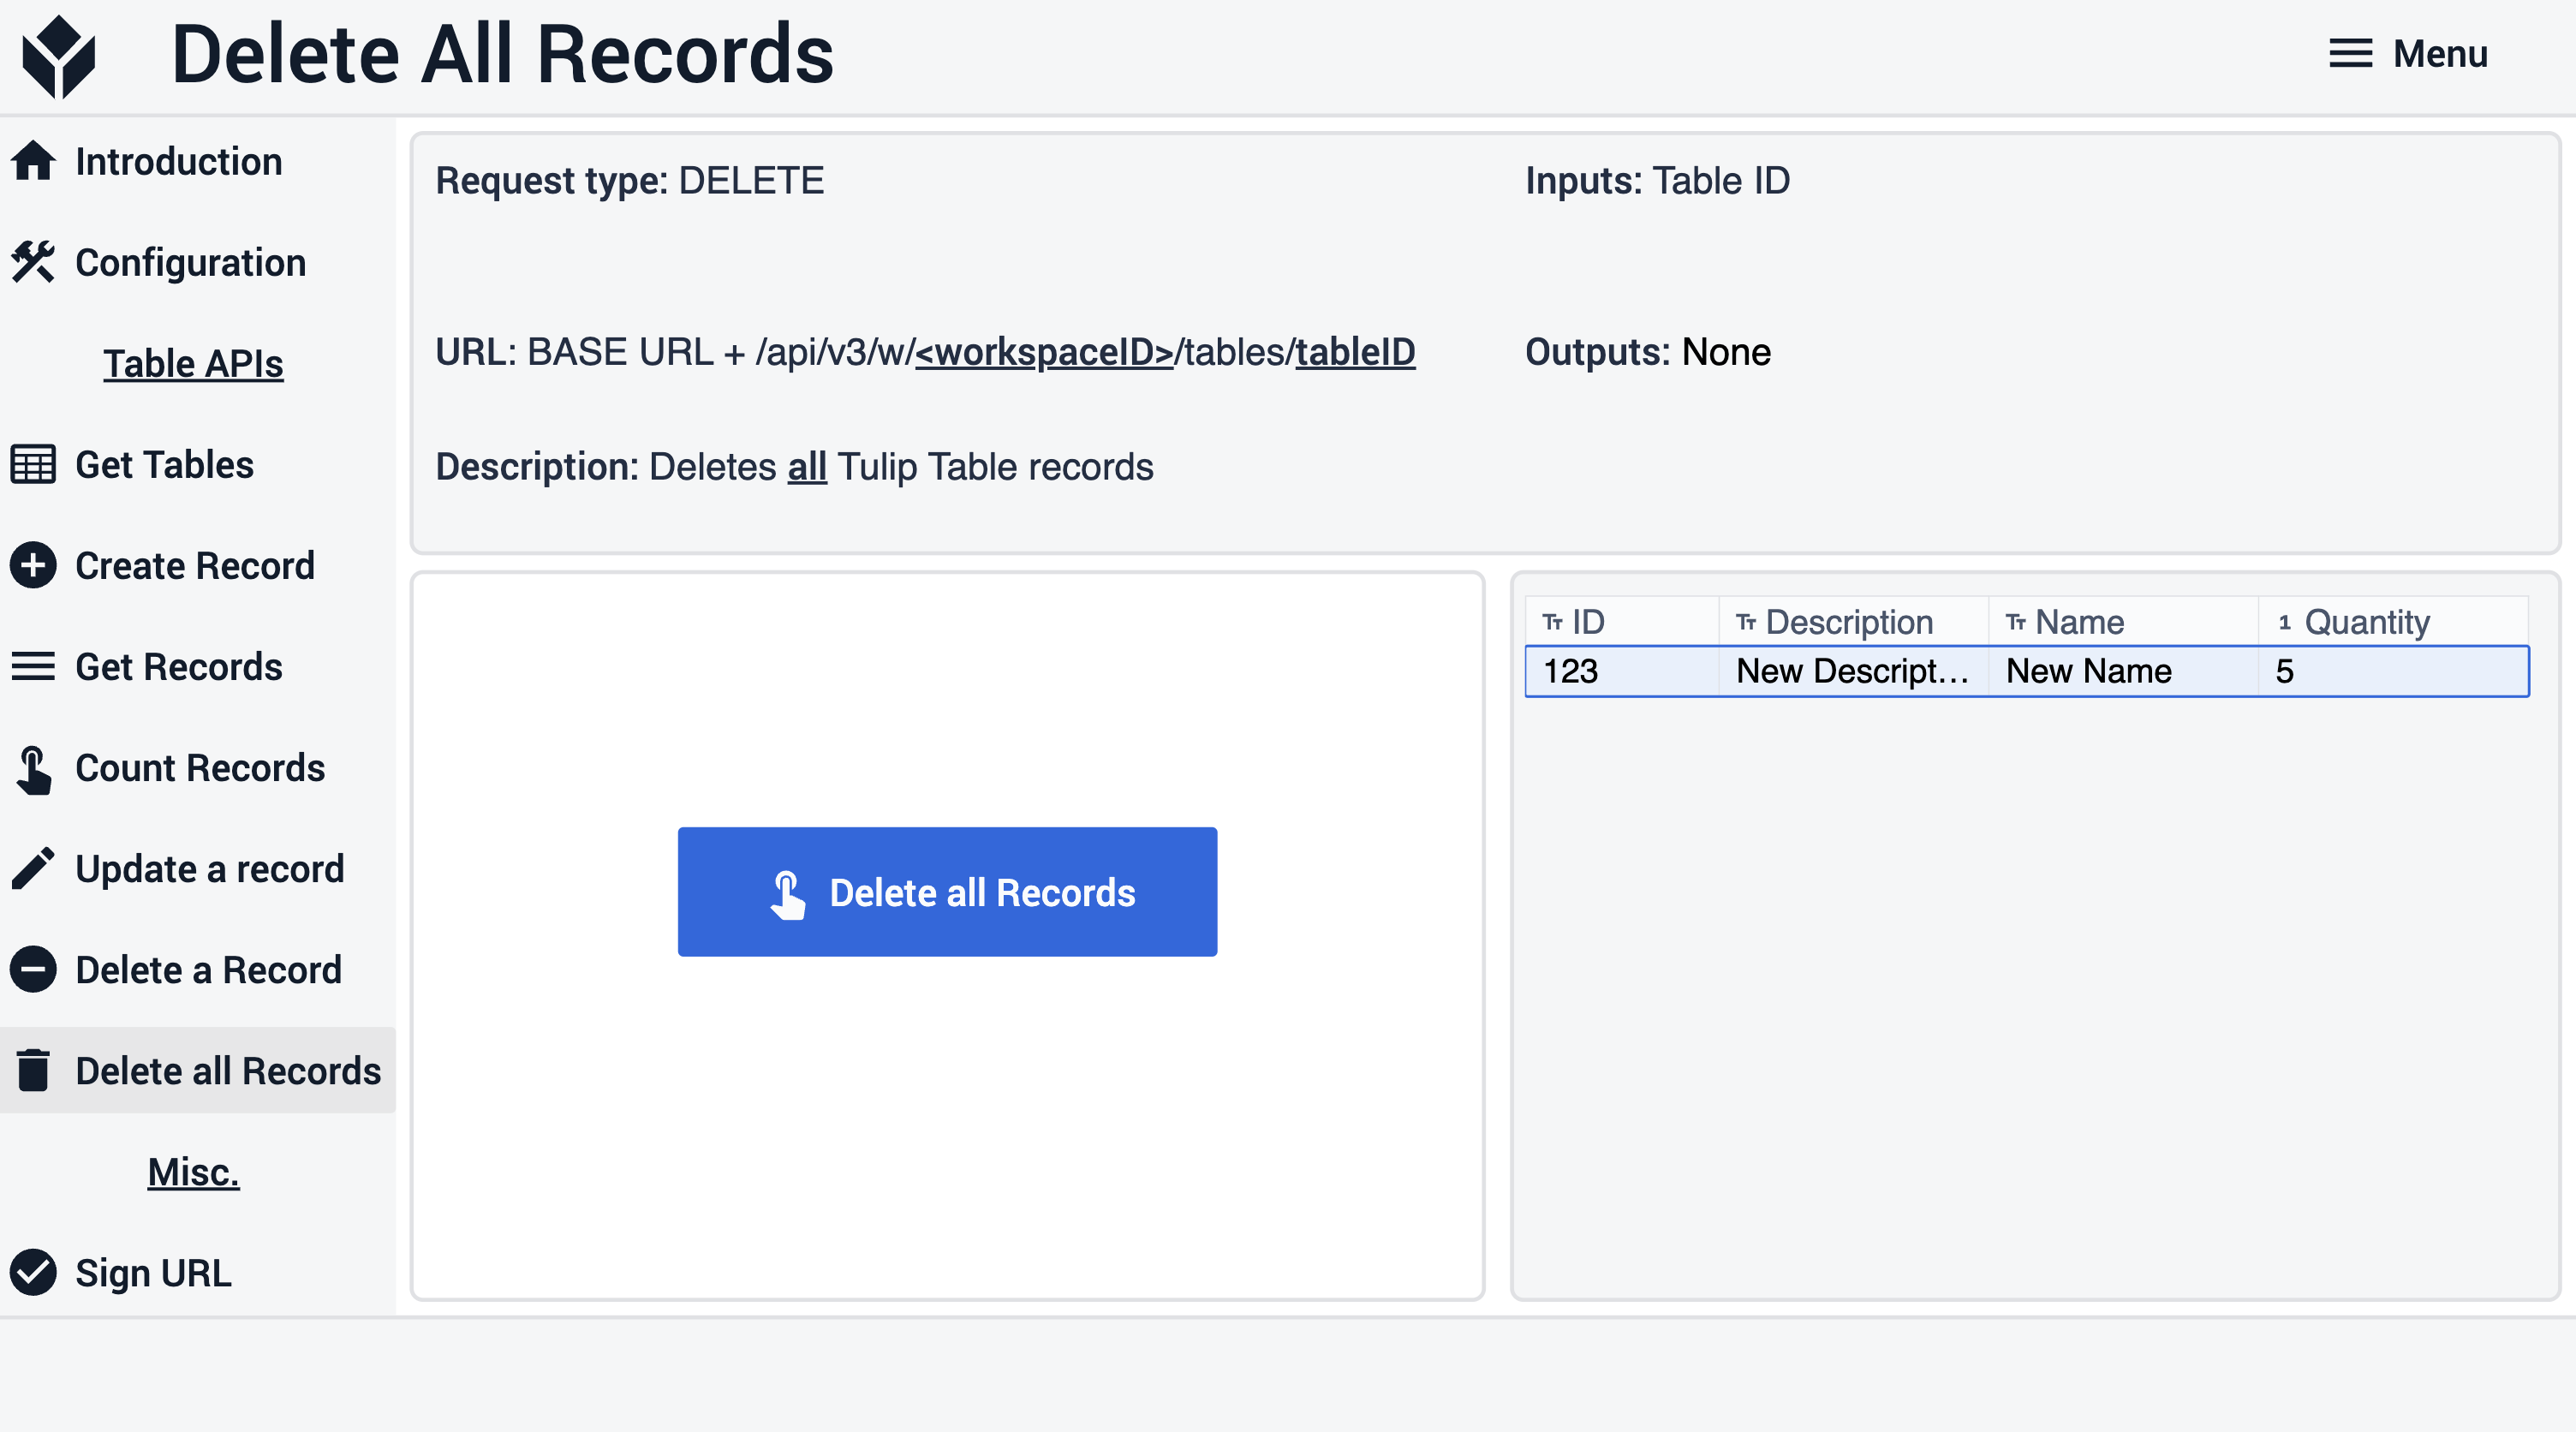
In the Delete all records step, when the Delete all records button is clicked, all records are deleted from the sample table.
In the Sign URL step, the user can enter a URL and sign it. When the URL is signed, the signed URL can be viewed on the right pane.