
Instruction and methodology for defining your access policy and managing SAML for your organization.
SAML allows organizations to manage authentication and access rights of Tulip users using their existing identity provider (IdP). This guide will detail the available options for implementation of enterprise-level IdP integration via the SAML protocol.
This article focuses on all the options for configuring your SAML and Tulip integration. For the guide on how to set this up within Tulip, see Set up SAML SSO .
Prework
- Understand Tulip user roles
- Bucket anticipated Tulip users by role so you are ready to update a SAML attribute with their Tulip role
- Identify who within your organization will configure your IdP and Tulip account
IdP configuration
When your Tulip instance is configured to use SAML for login, Tulip maintains a link between users in Tulip and users in your enterprise Identity Provider (IdP). A given user who has an account in the IdP should have at most one account in a given Tulip instance. Tulip maintains that this link is using a SAML-specific concept called a "NameID". A NameID is an opaque type of identifier that SAML authentication provides and is defined by the IdP.
Because NameID is used to maintain this link, Tulip expects NameIDs to be stable, meaning that the NameID Tulip receives for a particular IdP user should not change over the lifetime of the user. If the NameID of a user does change, the link will be broken, and you may encounter errors on login.
Tulip strongly recommends that you configure your IdP to provide a NameID that will not change over time. For this reason, Tulip discourages the use of names or email addresses as NameIDs, because these values can change over time. We recommend you configure your IdP to use internal object IDs or account names which are guaranteed never to change.
Note that NameIDs do not need to be human-readable or recognizable (in fact, it is generally better for security to use non-recognizable values for NameIDs).
When configuring your IdP, we recommend that you set your NameID Format to Persistent, which indicates to Tulip that the value should remain constant over the lifetime of a user.
When mapping the source value of the NameID attribute, map it to a value that is known to be immutable, such as "object ID" or "user principal name".
Microsoft Entra
For customers using Microsoft Entra as their IdP, follow these specific instructions to configure your Tulip application to use persistent NameIDs:
-
In Entra, start from the Enterprise Application associated with your Tulip instance.
-
In the left-hand navigation menu, click on "Single sign-on" under the "Manage" group.
-
Edit the "Attributes & Claims" section.
.png)
-
In the "Required Claims" section, click on the row for the claim named "Unique User Identifier (Name ID)".
.png)
-
Ensure that the "Name identifier format" is set to "Persistent". Set the "Source" to "Attribute" and select an attribute that will be stable over the entire lifetime of the user.
user.userprincipalnameanduser.objectidare good choices.
.png)
SAML and Tulip configuration options
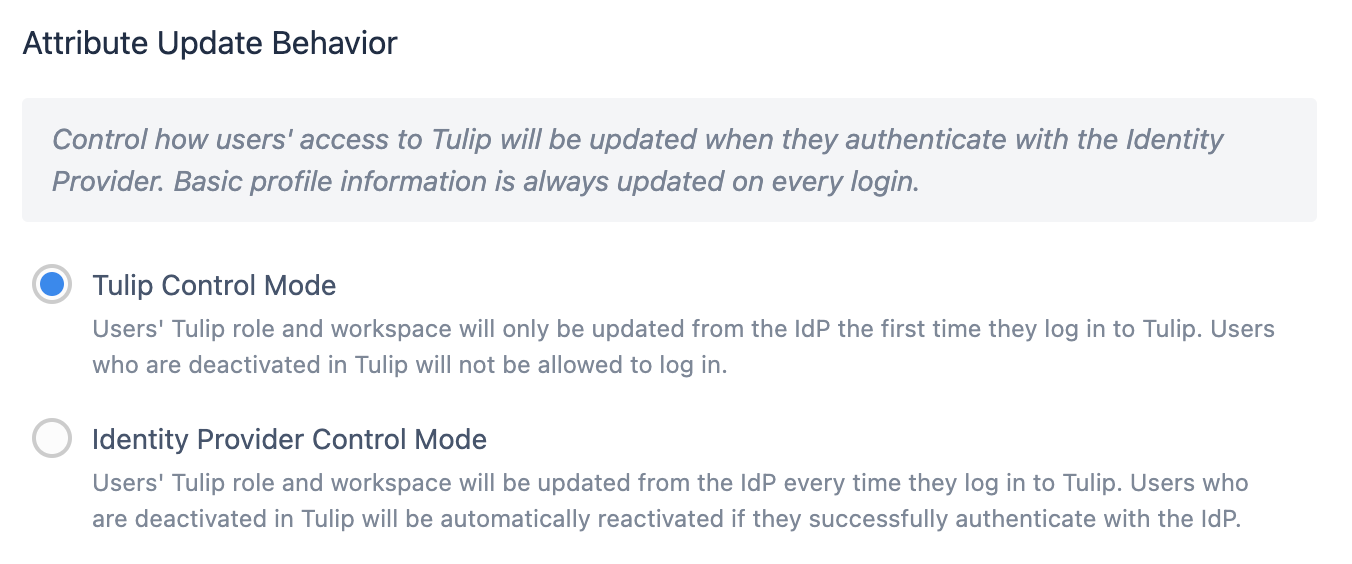
Control modes
Tulip Control Mode indicates that a user's Tulip role and workspace are taken from the SAML attribute mapping only the first time they log into Tulip.
Users deactivated in Tulip are prevented from logging in.
IdP Control Mode means that a user's Tulip role and workspace will update from the IdP every time they log in.
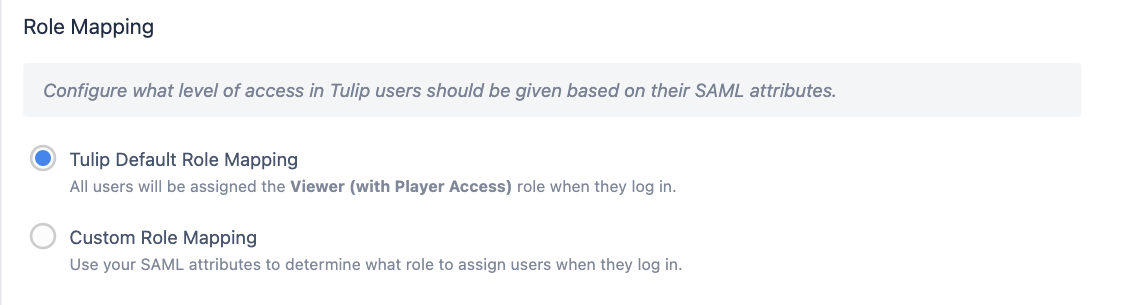
Default role mapping (Tulip control mode only)
On the first login, all users are given a default level of access (Viewer with Player access). The Account Owner will then need to adjust the role to the appropriate level manually within Tulip.
Workspaces
Learn more about Workspaces
Like the role attribute, you will now be given the option to map users to a specific workspace automatically when the user is initially created. After user creation, account owners can flexibly move users between workspaces.
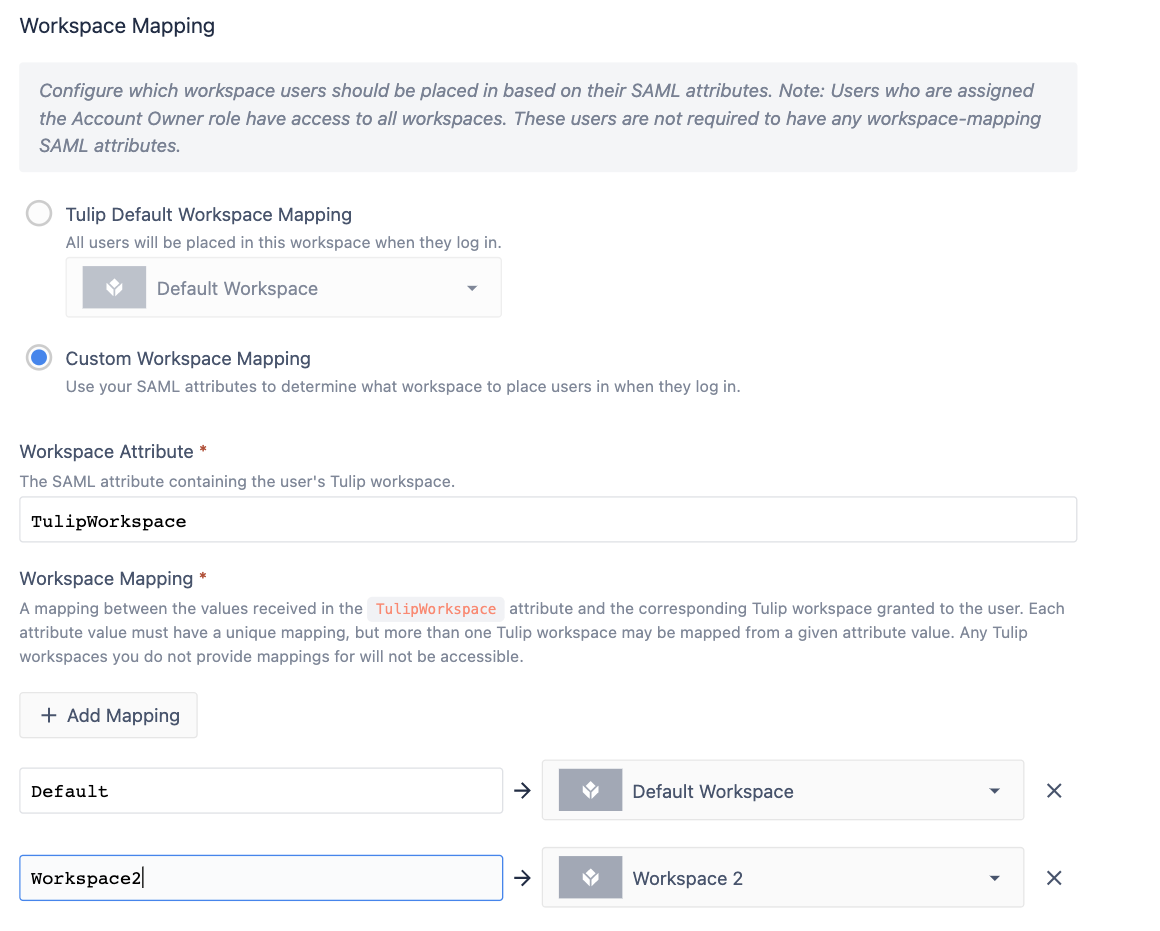
SAML custom workspace mapping
Please note that you can only map users into multiple workspaces in Tulip Control Mode.
In IdP Control Mode, each user can only be a member of a single workspace.
On the first login, a user is assigned workspace access based on the group presented in their workspace attribute. After that point, Tulip will no longer read the workspace attribute of that user, and any workspace changes must be done in the platform by an account owner.
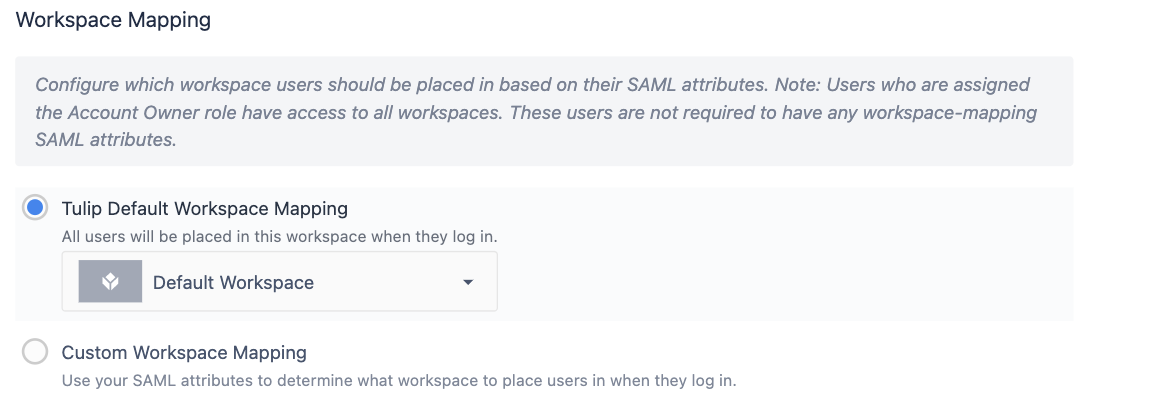
Default Workspace Mapping
On the first login, all users are given access to a default workspace of your choosing. An account owner can then adjust workspace access.
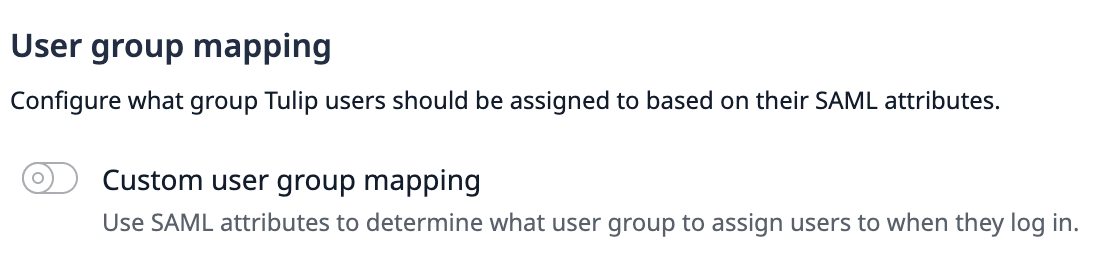
User groups
You can maps users into Tulip's User Groups feature in all SAML configurations.
User Groups exist at the Account level. Once a user is mapped into a user group, they will be a member of that User Group in all workspaces.
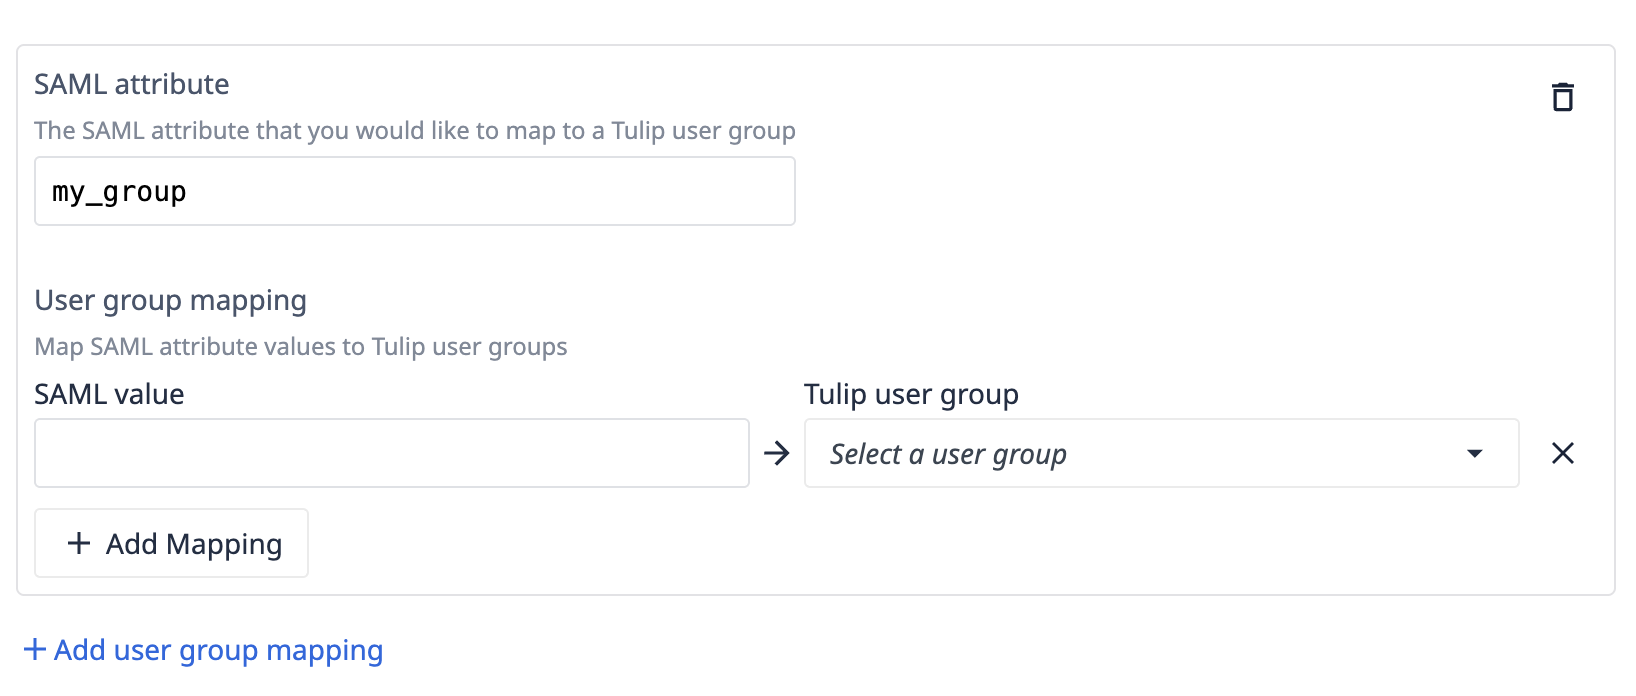
Once you toggle "on" the User Groups option, you will be able to map users from your IdP into User Groups in Tulip based on the value of an attribute in SAML.
After that, you can name up to 100 SAML attributes, and map values from each one to a user group. A user can then be mapped to multiple user groups.
Authentication options
If you would like to use FIDO keys for user authentication, you will need to "Disable Authentication Method Matching".
Authentication context class
Authentication context class is the specified method by which users authenticate.
When enabled, users will only be able to authenticate using the specified method.
When disabled, the authentication method selection will be deferred entirely to the Identity Provider.
Force authentication
Tulip uses the SAML forceAuthn parameter to control whether users must re-authenticate with their IdP on each login, or whether an existing OS-level SAML session can be reused. Tulip does not use the isPassive parameter. Here, the existing session is the OS-level SAML session (e.g., a Windows session tied to your identity provider), not a Tulip-specific session.
Force Authentication ON (default): Tulip sends forceAuthn=true, requiring the user to actively authenticate with their IdP on each login, regardless of any existing OS-level SAML session. This setting ensures users cannot bypass re-authentication.
Force Authentication OFF: Tulip sends forceAuthn=false. If the user already has an active OS-level SAML session recognized by the IdP, they will be logged into Tulip automatically without re-entering credentials.
The exact behavior of forceAuthn depends on your IdP's implementation.
Desktop Player: OS default browser for authentication
If your SSO login or OAuth connector authorization requires integration that is only available through your default browser, the Tulip Player can be configured to open authentication flows in the OS default browser rather than an embedded window.
Contact Tulip Support to enable this behavior for your instance.
Version requirement
For OS default browser authentication, you must meet the following Tulip version requirements:
- Desktop Player 2.8 or above
- Factory release 318 or above
Feature behavior
This behavior applies both to logging into the Desktop Player via SSO and to authorizing OAuth connectors within Tulip apps. In both cases, when a user initiates authentication, their default system browser opens to handle the following flow:
- The system browser launches and navigates to your organization's identity provider login (IdP) page.
- The user completes their login (entering credentials, completing MFA, etc.) in the browser exactly as they would on the web.
- Once authentication is complete, the browser page displays the following message:
"Done! You may close this window." - The browser window remains open. It is not closed automatically. The user should close it manually.
- The Tulip Desktop Player detects the completed login and proceeds normally.
Expected permission prompts
Users may encounter one or two permission prompts depending on their OS and browser configuration:
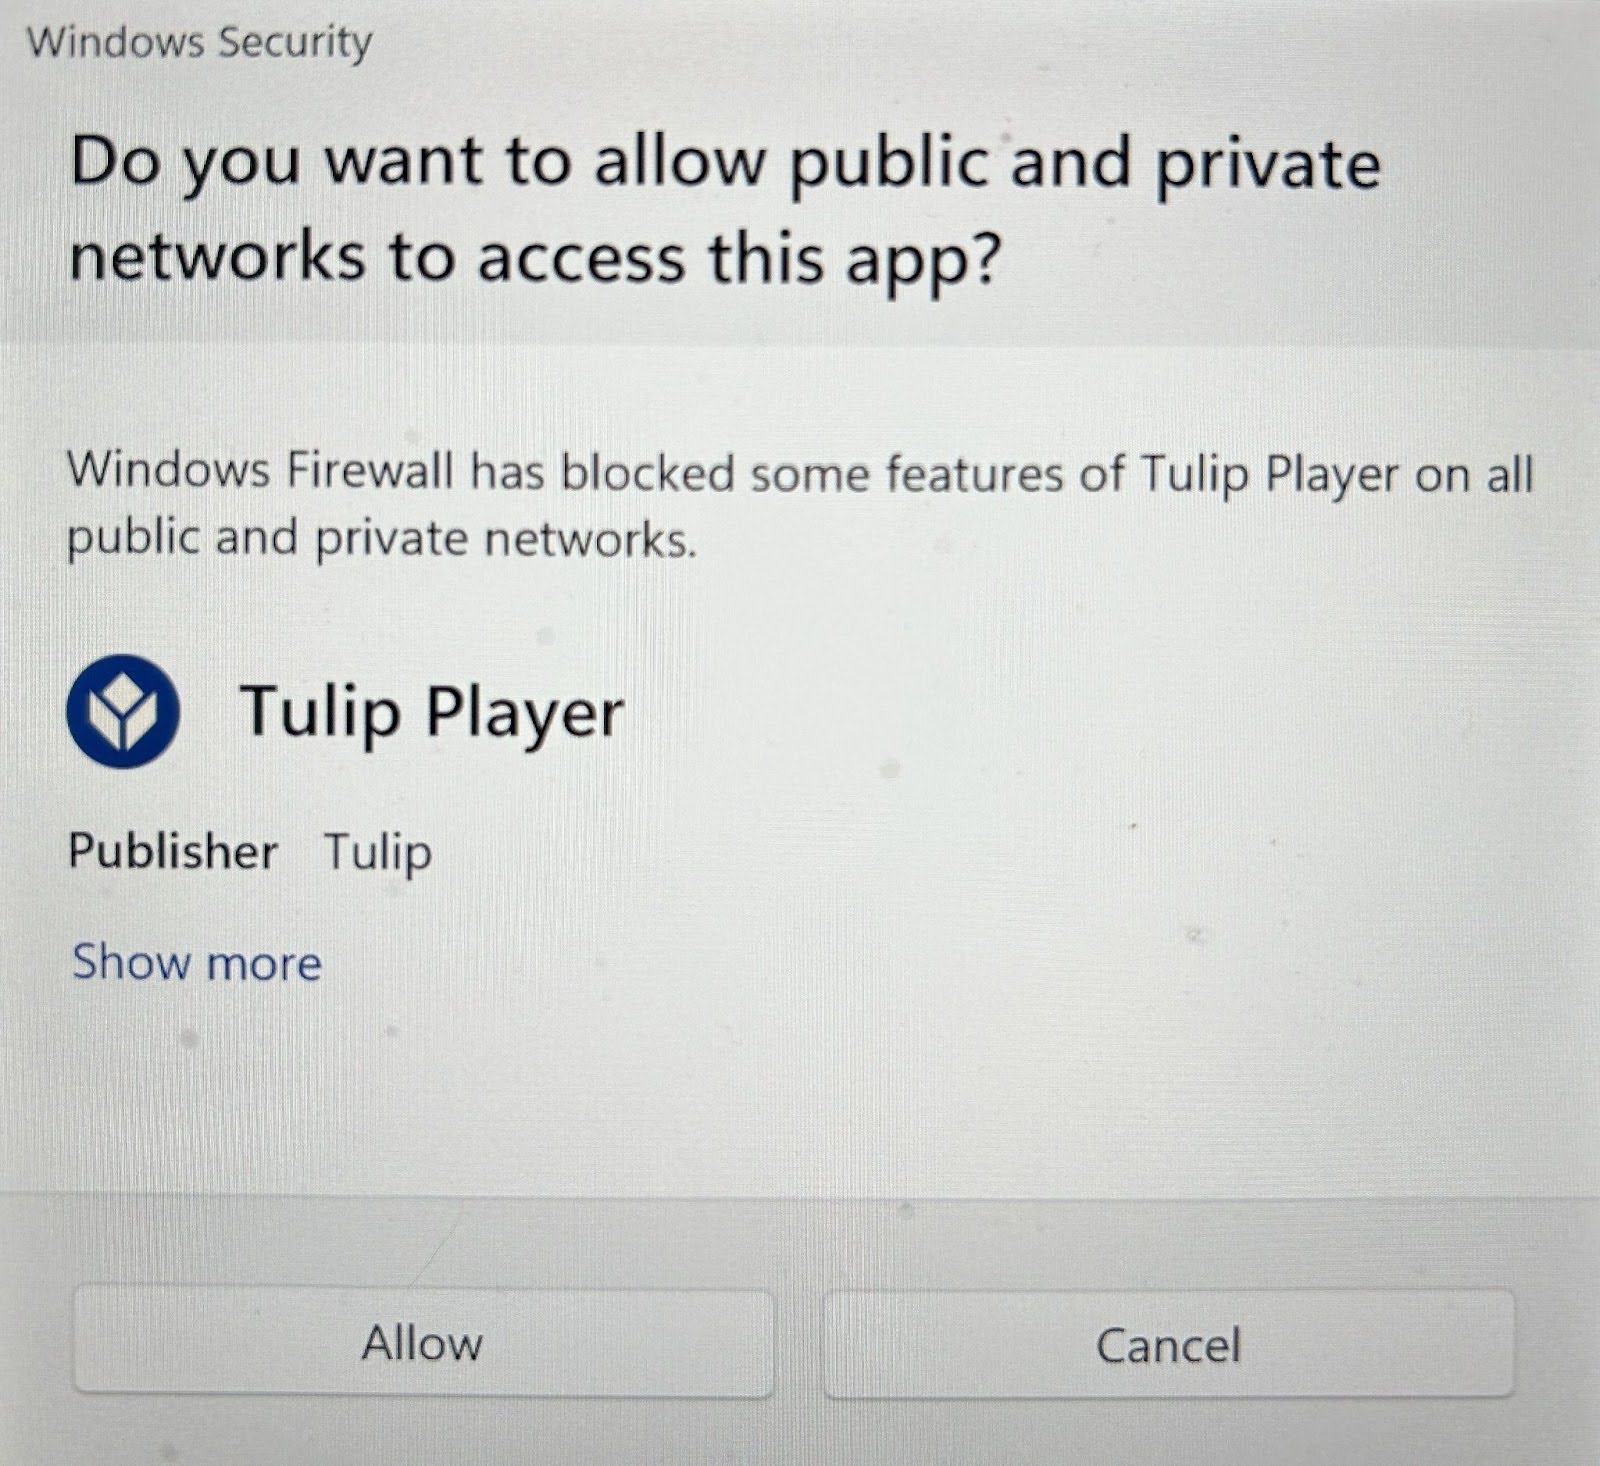
1. Desktop Player firewall / local server permission (OS-level)
When authentication is initiated, the Desktop Player creates a temporary local server to receive the authentication response. Depending on OS and security settings, a system firewall or network access prompt may appear asking whether the Desktop Player is allowed to accept incoming connections.
- Action required: Allow the connection. This is expected behavior and is required for the login to complete.
- Depending on the OS setting, this prompt may appear only the first time or each time.
2. Browser local network access permission (browser-level)
After the user completes login with their identity provider, the browser's authentication completion page sends the result back to the Desktop Player by making a request to the local server described above. Some browsers display a permission prompt asking whether the page is allowed to access devices on the local network.
- Action required: Allow the access. This is a secure, expected step in the authentication flow.
- The request is made only to
localhostand contains only the encrypted authentication response. No sensitive credentials are transmitted at this point.
Summary of user-facing differences
The table below compares the behaviors of default authentication and OS browser-enabled authentication:
| Behavior | Default (not enabled) | OS browser enabled |
|---|---|---|
| Where login happens | Inside the Player window | System default browser |
| Browser window closes after login | Automatically | Must be closed manually |
| Firewall permission prompt possible | No | Yes (first use or per-session) |
| Browser local network permission prompt | No | Possibly (browser/OS dependent) |
| Supports browser-saved passwords / SSO session | Limited | Full (uses user's existing browser session) |
Example: Create access groups within your IdP
The following example will help you see how all the different options in SAML settings can be used together.
Create standardized Tulip roles
Every user will need a role attribute specified in your IdP so that Tulip can determine their privileges once they’ve authenticated with their IdP username and password.
You can also use this Role field to determine what sites they have access to using a standard naming convention. While a role field can just be a set variable, it is recommended that you assign the user to Tulip specific groups within your IdP and map those to an attribute.
Role
Every user will be assigned a single role in one workspace.
When Tulip receives multiple valid roles for a user, it applies the following logic:
If the set includes any built-in roles (Operator, Builder, etc.), Tulip selects the built-in role with the highest rank based on a static internal hierarchy. Custom roles are always ranked below all built-in roles, so they will never be selected if any built-in role is present.
If the set includes only custom roles, Tulip selects the first custom role received in the SAML payload.
There must be at least one Account Owner per site.
Learn about Tulip user roles.
Site
Let’s say your organization has two sites, with a Tulip Instance for each.
We can denote each site by its location (Texas and London, respectively).
Combining site and role
We can combine these two properties to create a group matrix for users to be assigned. We recommend that organizations append or prepend the value with Tulip, so it’s easier to filter by.
Convention: tulip-siteRole
| acme-texas.tulip.co | acme-london.tulip.co | |
|---|---|---|
| Account Owner | tulip-texasAccountOwner | tulip-londonAccountOwner |
| Application Supervisor | tulip-texasApplicationSupervisor | tulip-londonApplicationSupervisor |
| Viewer | tulip-texasViewer | tulip-londonViewer |
| Operator | tulip-texasOperator | tulip-londonOperator |
| ... |
If Jane Smith is the site lead at the Texas site, you would assign her to the group tulip-texasAccountOwner. If Jane Smith also needs view access into the London site, she could be added to the group tulip-londonViewer.
Expose these groups as an attribute for Tulip
In your IdP, Jane should have an attribute, tulip-role, where any groups she is a member of that contain the prefix “tulip-” will be mapped.
When she signs into Tulip, the attribute tulip-role has two values: tulip-texasAccountOwner, tulip-londonViewer. You can configure the role mapping for each Tulip instance individually so that she receives the correct permissions in each instance.
Global roles
You may also want to create global access roles, as a "Viewer" role for example. These users will be able to log into every Tulip instance with the same permissions. The recommended format for that is:
tulip-globalViewer
You would need to set up this role mapping on each individual instance within the SAML configuration page in Account Settings to enable this user to access each instance.
Did you find what you were looking for?
You can also head to community.tulip.co to post your question or see if others have solved a similar topic!