This article explains how to integrate your Duro PLM to Tulip.
Purpose
The purpose of the Duro PLM Unit Test is to allow users to verify whether their connection between Tulip and the Duro PLM platform is correct and functioning as intended.
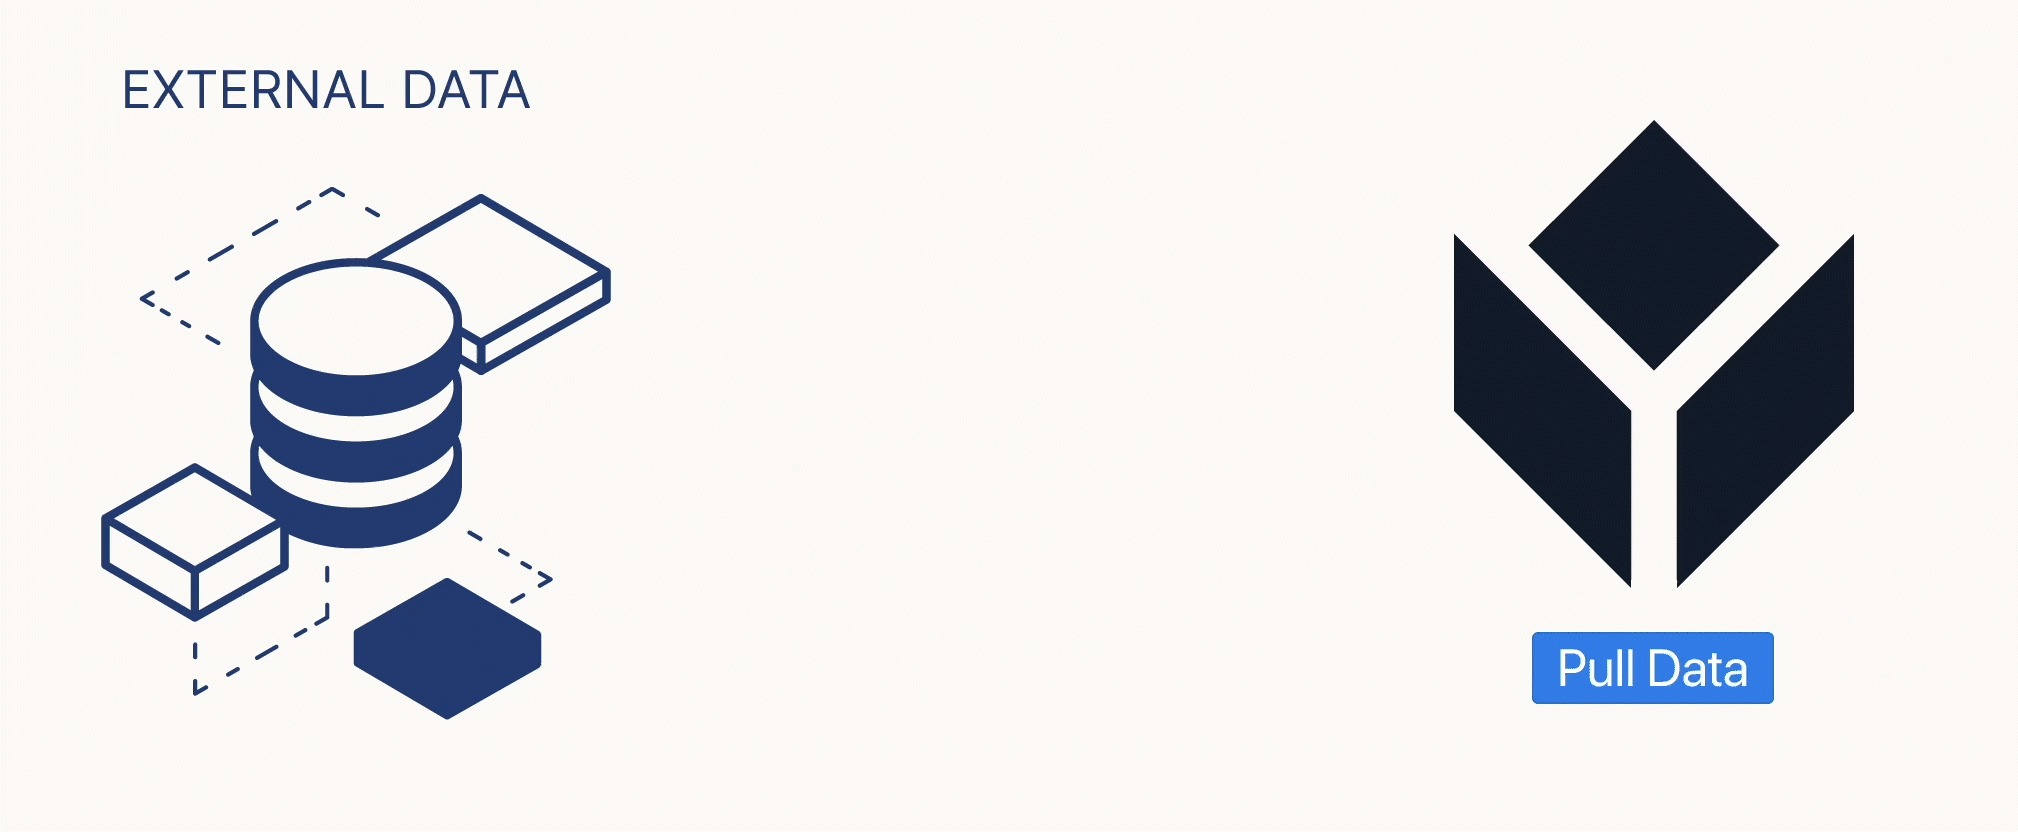
The API connector enables users to view Product definitions, Revisions, Bill of Materials (BOM) details, pictures, documents, and specifications in Tulip.
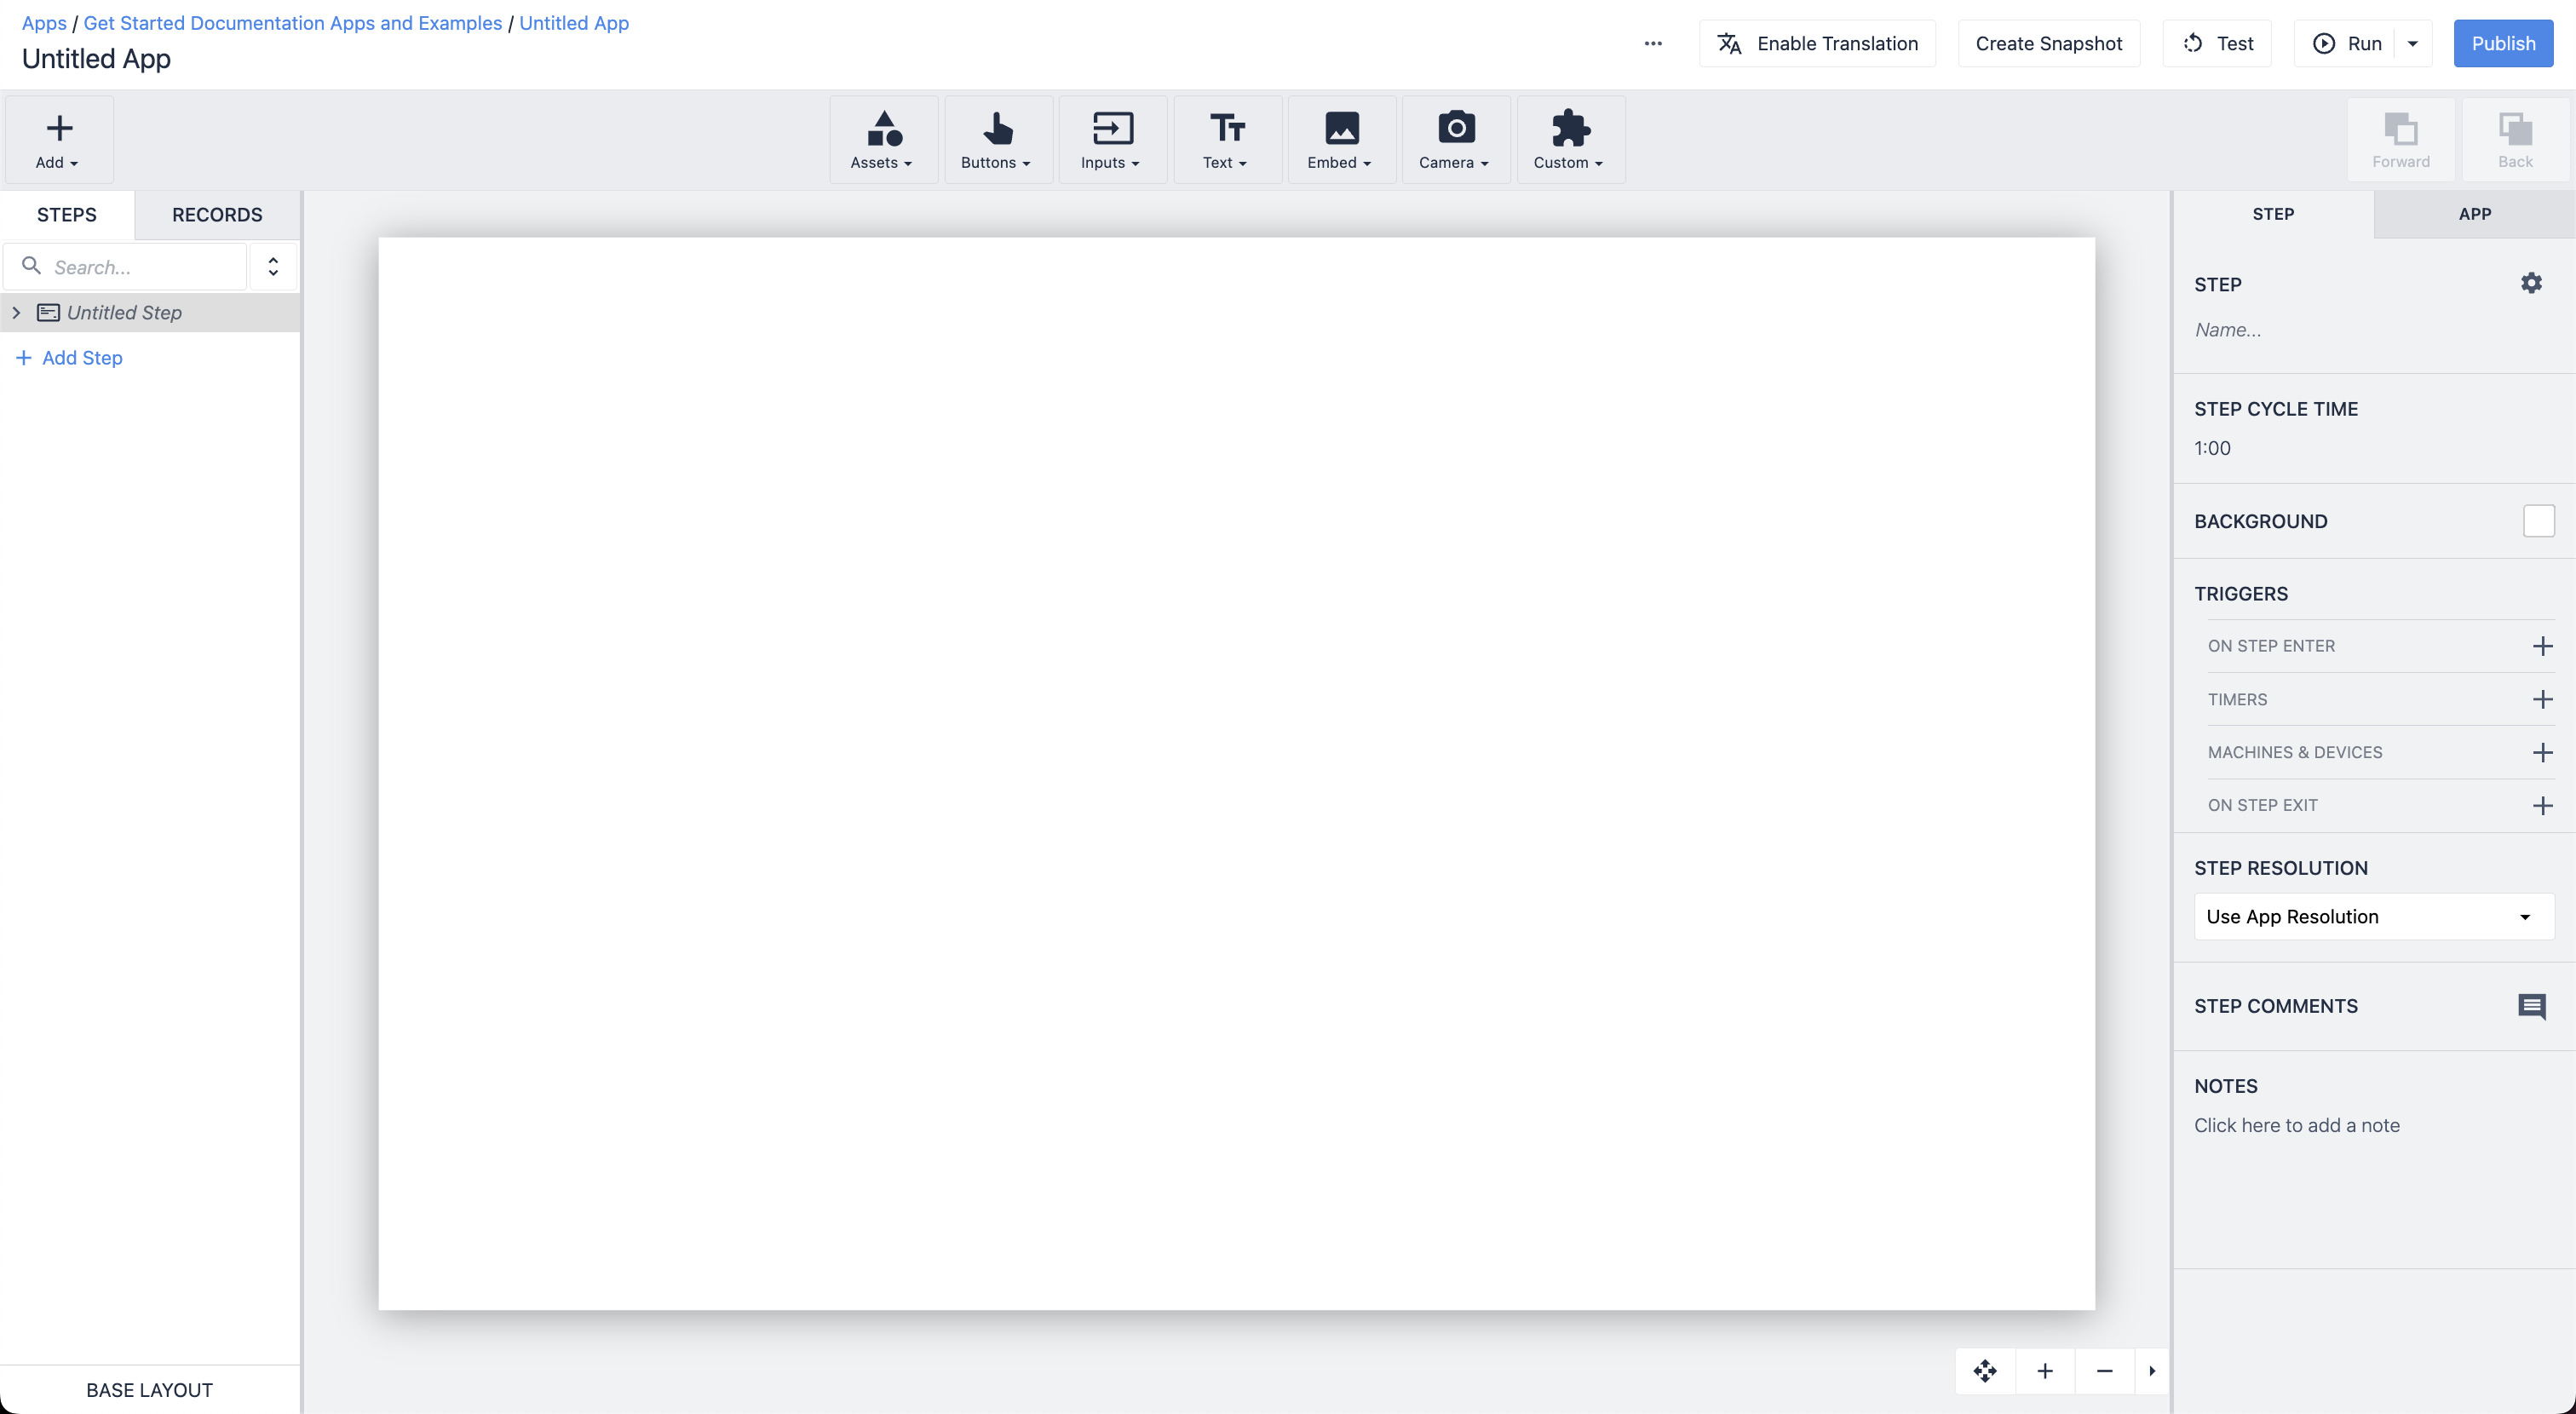
A Starter App was also defined to make use of the Connector Functions and Graph QL APIs.
Getting Started with Duro
Duro’s cloud-native PLM platform empowers hardware engineering teams to manage sourcing, BOMs, change orders, and revisions all in one place. The platform's intuitive interface and predefined agile workflows allow everyone involved in hardware development to make informed, timely decisions. Additionally, integrations with best-of-breed hardware partners, like Tulip, make it easy to centralize or share data in minutes without costly integrations.
Setup
Generate a Duro API key:
- Log into Duro PLM
- Generate a key by following Duro’s Starter Guide
- Save the new API Key
Configure Tulip Connector
-
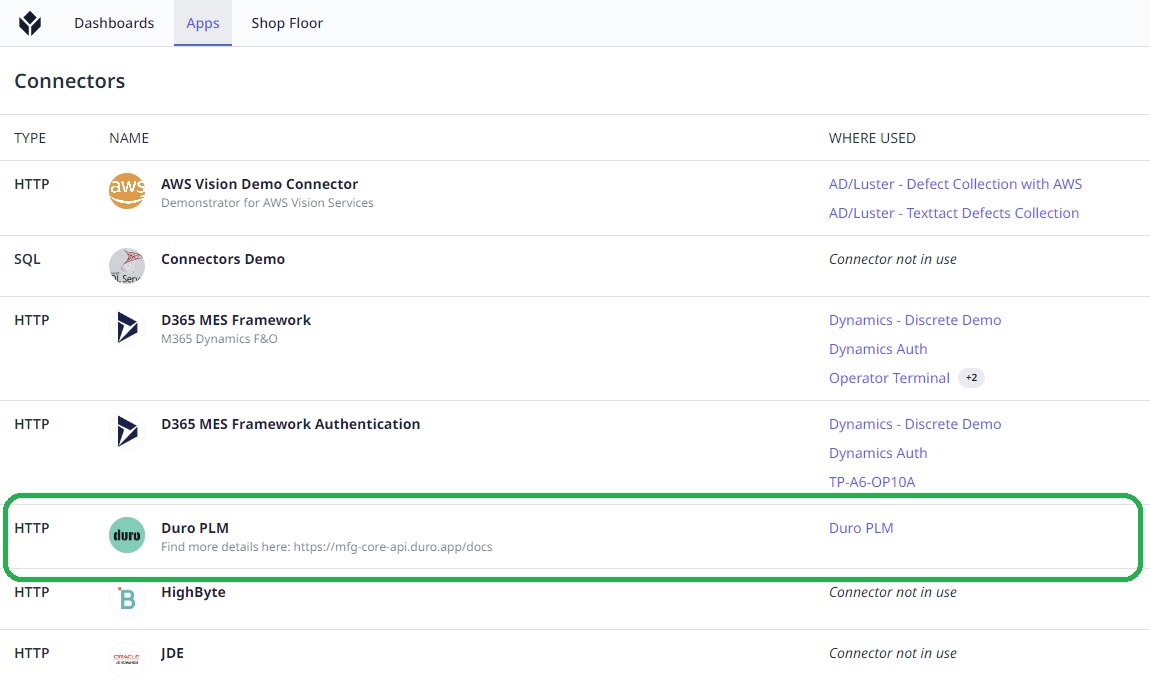
In the Connectors page, find the Connector.
-
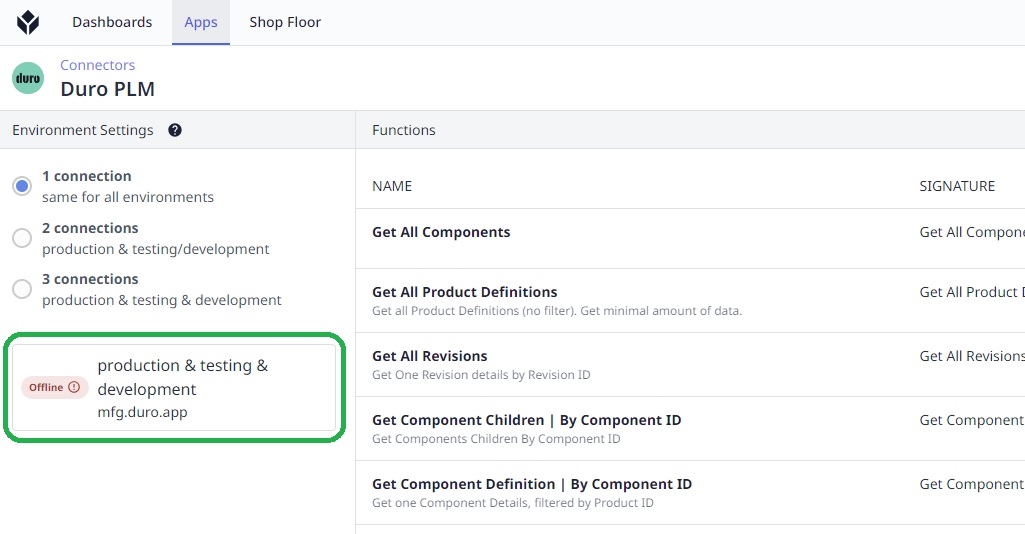
In the connector, click production & testing & development to view connection settings.
-
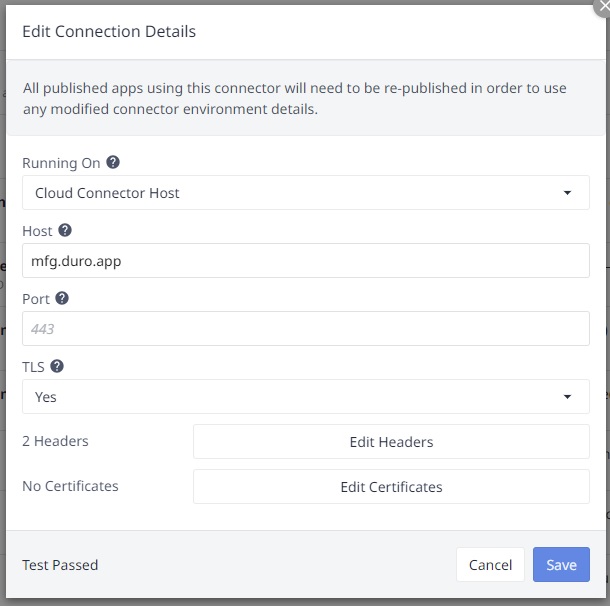
Set the connection setting as follows:
Running On: Cloud Connector Host
Host: mfg.duro.app
Port: 443
TLS: Yes

-
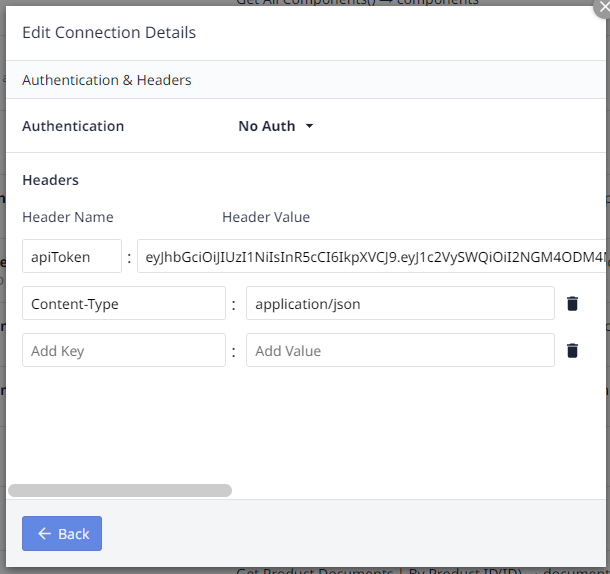
Click Edit Headers and set your "apiToken” header using the value retrieved from Duro’s settings.
-
Go back and click Test, then Save the details.
How it works
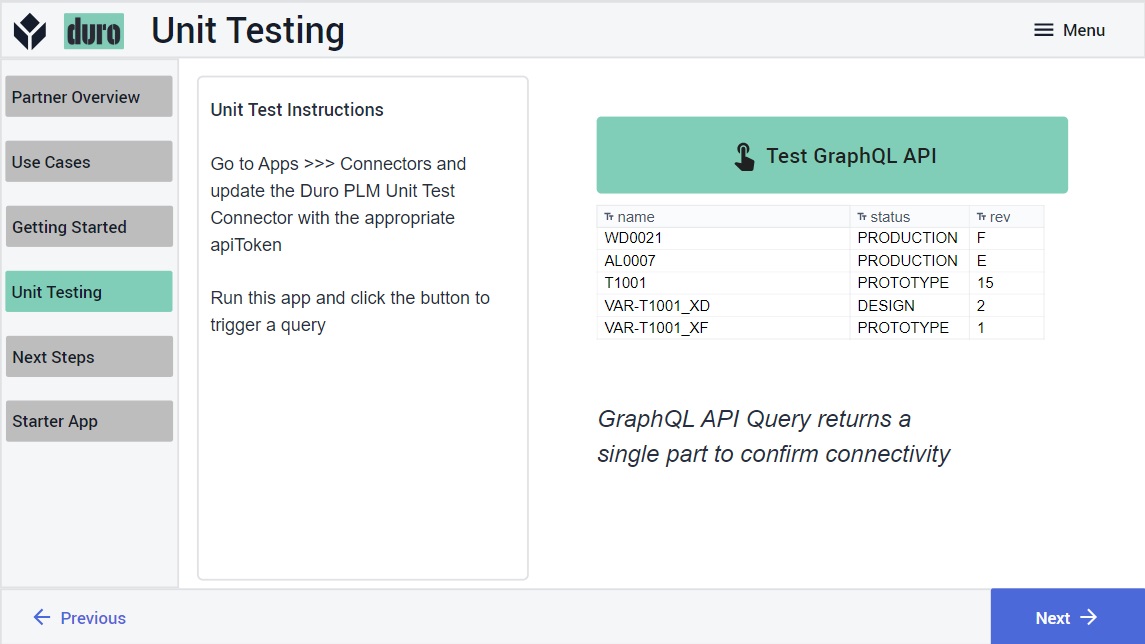
Once you have configured the Connector as shown in the Setup paragraph, you can test the Connector Functions in the app by clicking Test Graph QL API in the Unit Testing step.
The list of products defined in your Duro account will show up like the following:
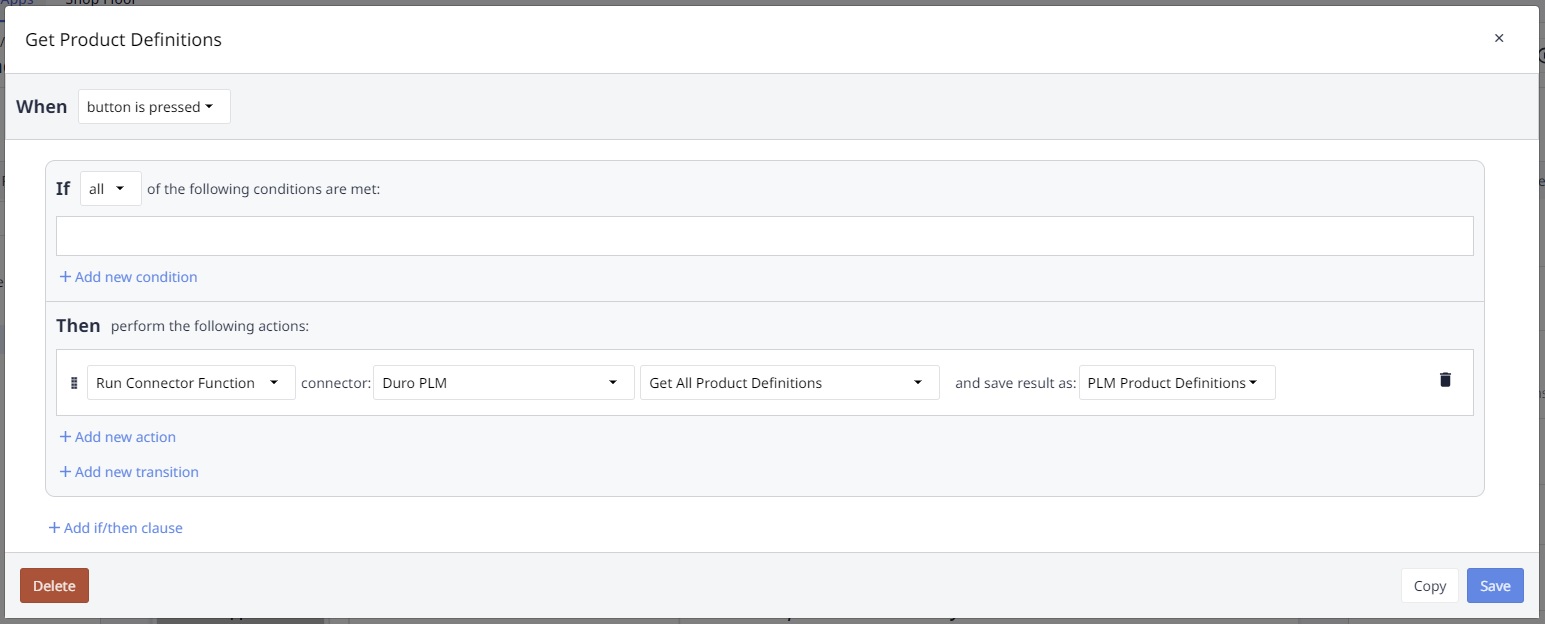
In the App Editor, you can see how the Trigger for the button is configured to call the Connector function:
The result of the Connector Function call is stored in a Variable which is then displayed in a Tulip interactive table:

Connector Function
The Duro Connector makes use of Graph QL queries, it comes with predefined functions and can be extended to support any API offered by Duro (see Graph QL documentation here).
Tulip does not support Graph QL and requires to transform Grahp QL into JSON queries, use the following website to transform the queries: GraphQL to JSON body converter
Current Connector comes with the following API Calls:
| Function Name | Description |
|---|---|
| Get All Components | Retreive a list of all Components |
| Get All Product Definitions | Retrieve a list of all Product Definitions |
| Get All Revisions | Retreive a list of all Product Revisions |
| Get Component Children - By Component ID | Retrieve a list of all components children of a component by Component ID |
| Get Component Definition - By Component ID | Retrieve a Component details by Component ID |
| Get Component Documents - By Component ID | Retrieve a list of Component documents by Component ID |
| Get Component Documents - By Component Name | Retrieve a list of Component documents by Component name |
| Get Product Children - By Product ID | Retrieve a list of product children for a Product by Product ID |
| Get Product Definition - By Product ID | Retrieve a Product Definition details by ID |
| Get Product Documents - By Product ID | Retrieve a list of product documents by Product ID |
| Get Product Revisions - By Product Name | Retrieve a list of Product Revisions by Product Name |
| Get Revision - By Revision ID | Get Product Revision details by Revision ID |
| Get Revision Children - By Revision ID | Get list of Revision children by Revision ID |
| Get Revision Documents - By Revision ID | Get list of Revision documents by Revision ID |