How to Use the Table API
  • 30 Sep 2022
  • 5 Minutes to read
  • Contributors

How to Use the Table API


Article Summary

Purpose

Set up and use the Tulip API to interact with Tulip from other systems.

Note: Advanced Article.
Assumes previous experience with APIs.

NOTE

Advanced Article: Assumes previous experience with APIs

Tulip interacts with many other system's APIs via Connectors. Using connectors A Tulip app can initiate an HTTP or SQL query.

In other cases, you may want to allow an external system to query data that only exists within Tulip. It is possible to communicate with Tulip from external systems using the Tulip API. This article will walk through the set up and testing for the Tulip API.

The Tulip API is useful for integrating these external systems with Tulip in many ways. The API currently only works with Tulip Tables This might include updating a table record with new information, creating a table, or getting the count of records in a table.

Adding an API

Navigate to the Settings page of your Tulip Account.

In the Settings Menu, select Bots.

This page allows you to configure "Bots", which are API configurations equipped with an API Key, secret, and authorization header. To add a Bot, select the Add Bot button on the top right of this page. When selected, configure the Bot as desired.

Give the Bot a name, and define the scopes it will be allowed to perform. In this example, the Bot is able to read from Tulip Tables, and also write to them.

Upon clicking Create, the API information will be given. Make sure to save this information, it cannot be accessed again!

This information can now be used to configure a connection to the Tulip API.

Testing the API

Close the info popup, and navigate over to the API Documentation button, next to the Create Bot option.

This will take you to a page which allows testing of the API with the Key made. It also provides documentation, and gives examples to request bodies for various uses.

This page also holds the server URL needed to configure API requests from external systems. To familiarize yourself with the API, click on the Authorize button.

This button will give some further information on the configuration of the API for testing purposes. In the fields, enter the following:

  • Username: API Key
  • Password: Secret

Click on authorize, and you can begin to test some common HTTP requests for Tables.

Each of the options in this page can be expanded and tested. Each request provides useful information on corresponding responses.

Within this page, there is also information on Schemas for some of the components of Tulip. For example, to create a table record, it is useful to know the appropriate JSON formatting for each column. Example Schema for Columns shown below:

Querying with Filters

Filters can be very useful to extract only the data you are interested in. These filters can sometimes be a bit tricky with their syntax. The following outlines how each is formed in the example of a GET request for records, followed by a full example.

Field names for custom fields are always prefixed with a five-digit string identifier. These can be found most easily after a GET all request to check the true name of the field.

  • Ex. "field"="maytq_scrap_count"

Argument values are often straight forward. If it is a text value, make sure to put it in quotes.

  • Ex. "arg":15

Match the function type you'd like to use.

  • Ex. "functionType":"greaterThan"

A full request for this might look something like this:

https://brian.tulip.co/api/v3/tables/W2HPvyCZrjMMHTiip/records?limit=100&sortBy=\_sequenceNumber&sortDir=asc&filters=[{"field":"maytq\_scrap\_count","arg":15,"functionType":"greaterThan"}]&filterAggregator=any

Multiple Filters

In some cases, you may have multiple filters to check in the table. In this case, you can add multiple to the filters object. This might look something like this:

filters=[{"field":"maytq\_scrap\_count","arg":15,"functionType":"greaterThan"},{"field":"maytq\_scrap\_reason","arg":"scratch","functionType":"equal"}]

Examples

The following examples will walk through the process to make requests to the Tulip API. These examples will use Postman to make the requests from Tulip.

Get Table Names and Information
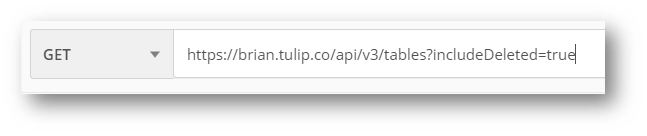
This Get request allows the external system to retrieve the IDs and column information of all the tables within the Tulip Instance. This may be useful as a method to find a Table of interest in order to set up a POST request.

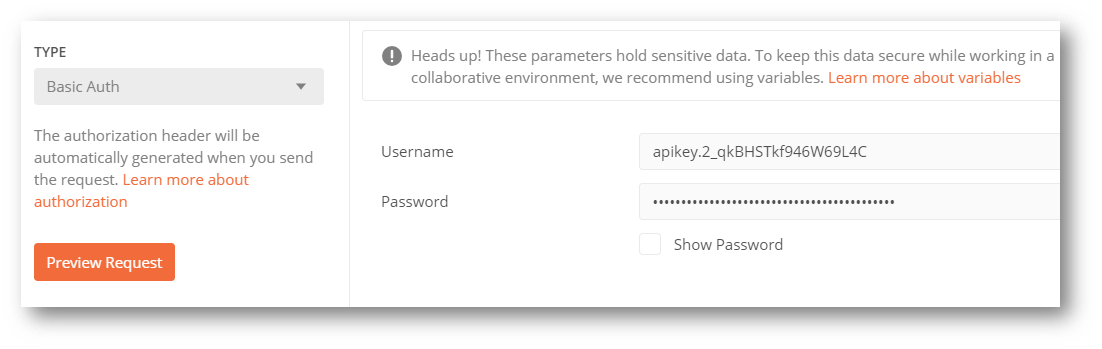
In Postman, set the Authorization to Basic Auth, and enter the API Key and Secret.

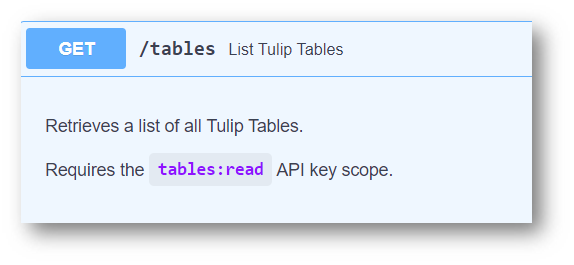
Now, the request needs to go to the right place. In Tulip, find the request you'd like to make from the API documentation. In this case, the request is to get all Table info.

In order to get the Request URL, run the Execute button, and check for the Request Information.

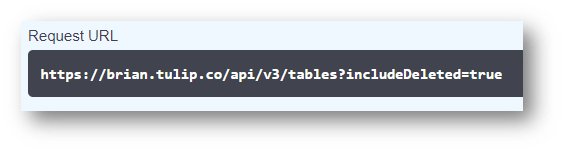
This Request URL can then be used as the Server URL to process the GET request from Postman.
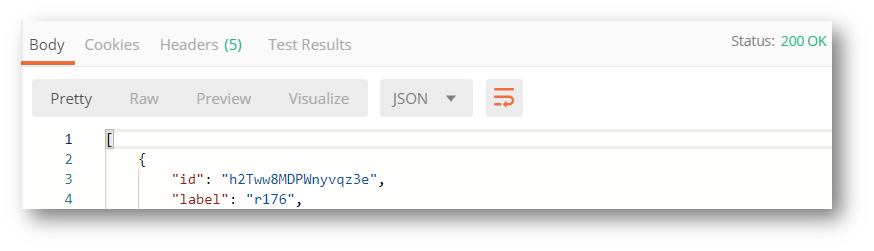
Hit Send, and the request will return all of the information from the Tables.

Create a Table Record

Using a POST, and the Table ID found above, a Table Record can be created from the external system. The Authorization and Header will remain the same, but the Request URL will be a bit different.

First, determine the Table you'd like to create a record in. The request URL will always follow the following structure:

https://.tulip.co/api/v3/tables//records

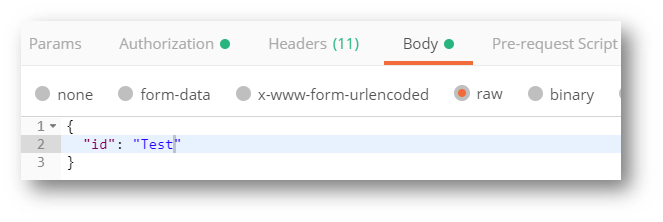
Once input, the request will also need a body to process the POST properly. The columns Schema is given above in the Testing section, and can be found in the API documentation. The only column that is fully necessary for this to succeed is the ID column. For any other columns that are not added, they will be stored as null in the table record upon creation. Add this content as a Body for the request.

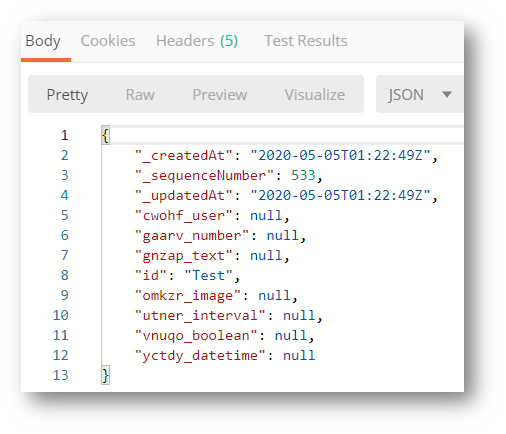
On submission, Postman verifies that the record has been created.


Did you find what you were looking for?

You can also head to community.tulip.co to post your question or see if others have faced a similar question!


Was this article helpful?