This article assumes previous experience with APIs.
Please see Tables, Operators, and Machines articles to see how to set up the API key.
Use Tulip Connectors to test Tulip's API
Read through how to configure a connector and set up a connector using the API key you've configured (see this article on how to confiure an API.
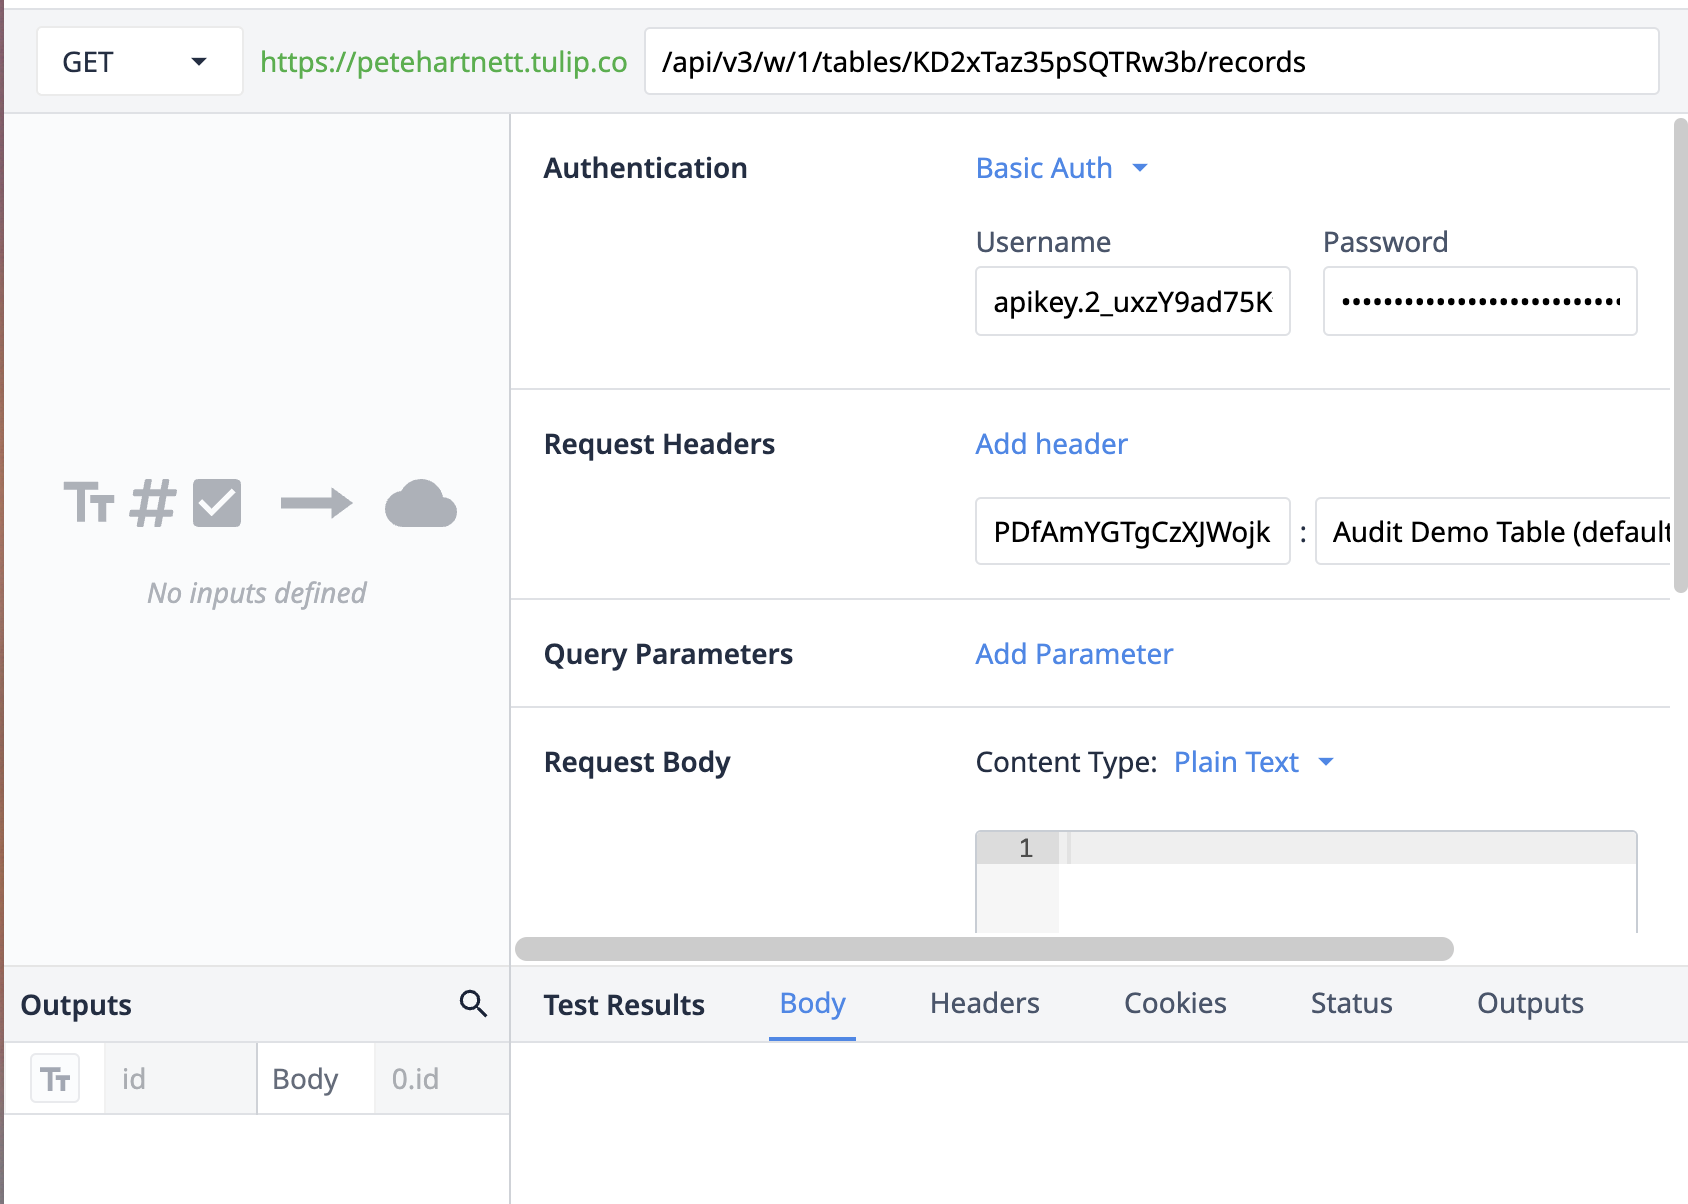
Once you've set up your connector, click on create function. In this example, we'll walk through how to get records from a table.
First, you need to form a request using the GET, POST, PUT, HEAD, PATCH, or DELETE then specify the specific url you'd like to form a request to (read here for more information about our API capabilities and ).

If you are using a global API key, you need to specify the workspace. If your API key is workspaced scoped, it is optional.
https://(yourinstancenamehere).tulip.co/api/v3/w/(workspace)/tables/(TableID)/records
Make sure to add your authentication(from the API key itself), request headers(if needed), and query parameters(either in the URL itself or query parameters - read how to set query parameters for additional information).
Additionally, you can specify any inputs or outputs that the connector function may need to feed back into an app or automation.
Using Postman to test Tulip's API
The following will go through how to create an operator. In this case, the example will use Postman to perform the creation.
First, add your API endpoint to the Post request.

Then, under Authorization, select Basic Auth and plug in the API Key as the Username, and the API Secret as the Password.

Under Headers, add the Auth Header.

In the Body, format the request to take in the JSON object. The generic format for this request is as follows.
{ "role": "operator", "name": "string", "badge_id": "string" }
This will look something like this:

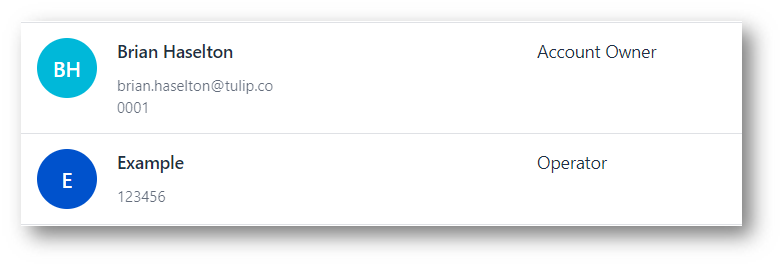
Hit send to run the request, and you will receive a 201 response to indicate success. To verify, you can check your list of Users in Settings, and confirm the user was successfully created.
If the request failed, make sure to check the Key and Secret are correct. For more information on specific response codes, check out the API Documentation section on the API Tokens page.
Using API Documents to test Tulip's API
In your Workspace or Account settings, navigate to API Tokens. From there, navigate over to the "Learn More" next to the Create API Token option.
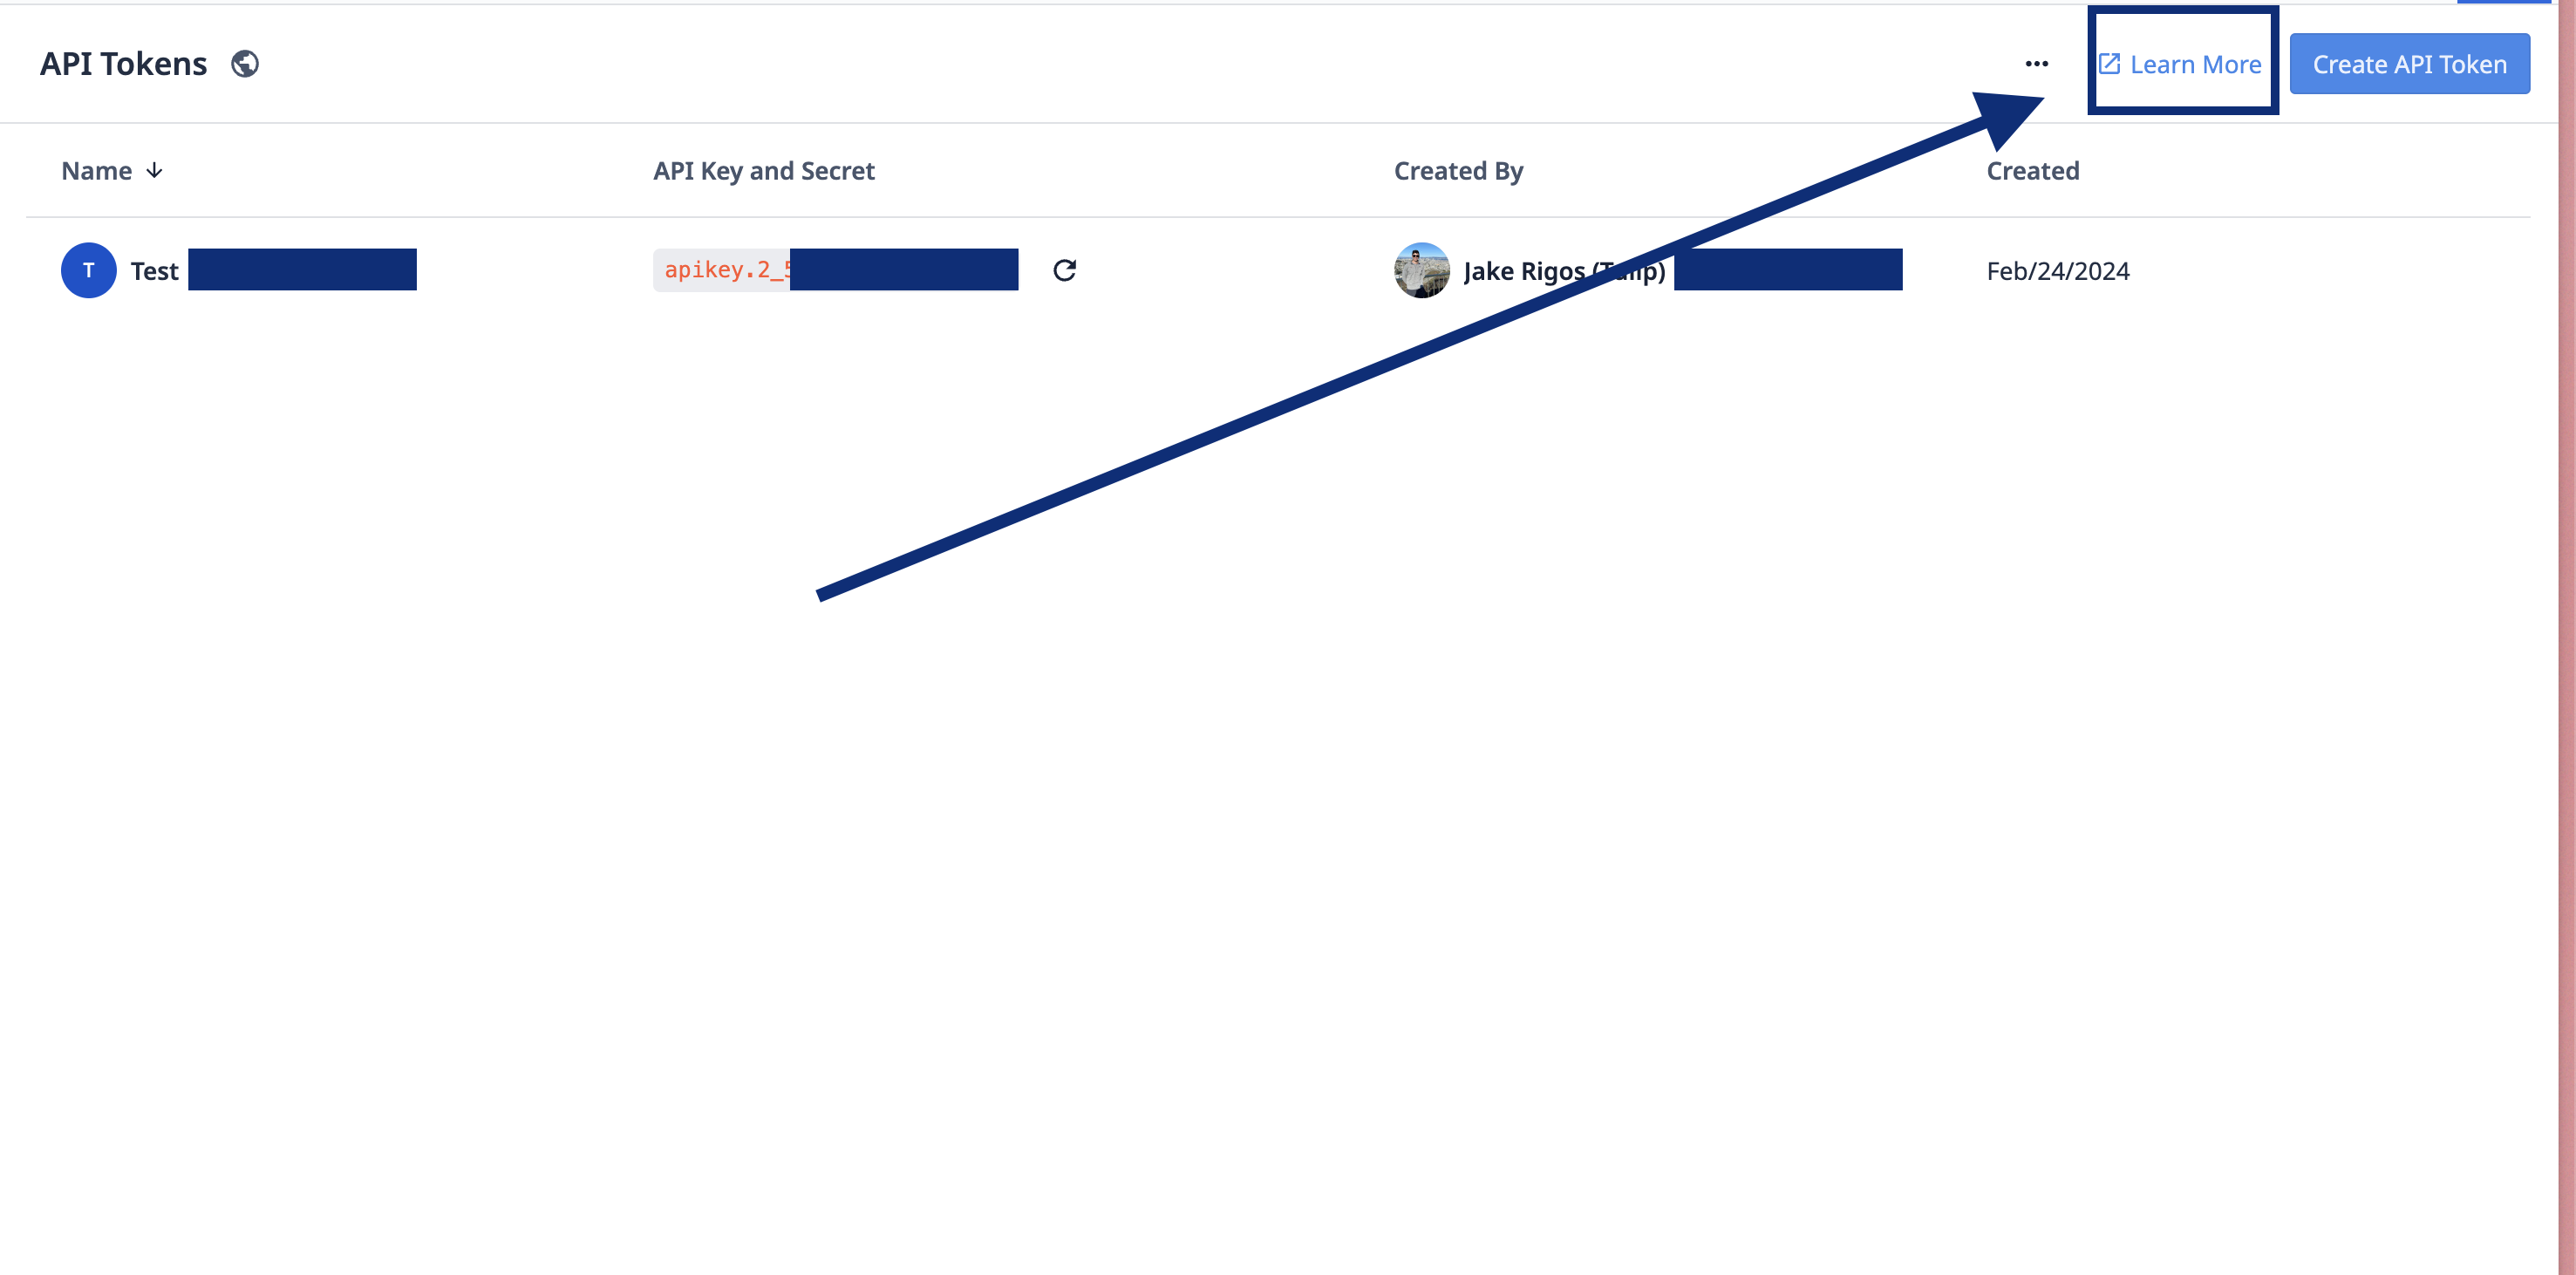
This will take you to a page which allows testing of the API with the Key made. It also provides documentation, and gives examples to request bodies for various uses.
This page also holds the server URL needed to configure API requests from external systems. To familiarize yourself with the API, click on the Authorize button.
This button will give some further information on the configuration of the API for testing purposes. In the fields, enter the following:
- Username: API Key
- Password: Secret
Click on authorize, and you can begin to test some common HTTP requests for Tables.
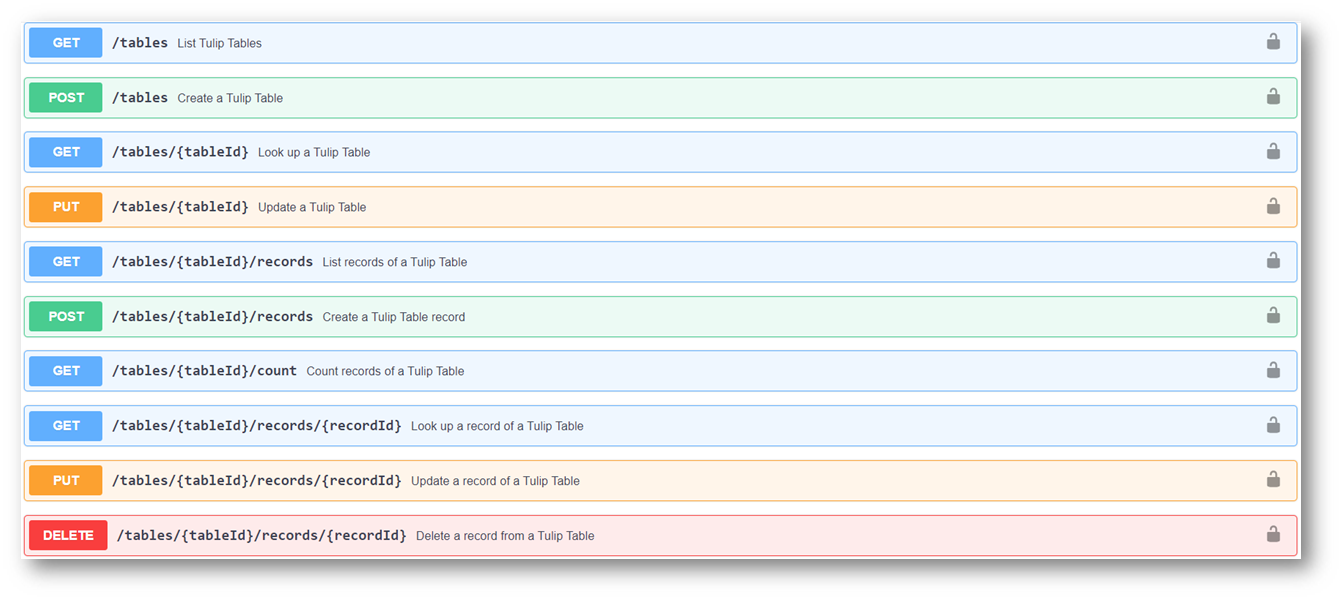
Each of the options in this page can be expanded and tested. Each request provides useful information on corresponding responses.
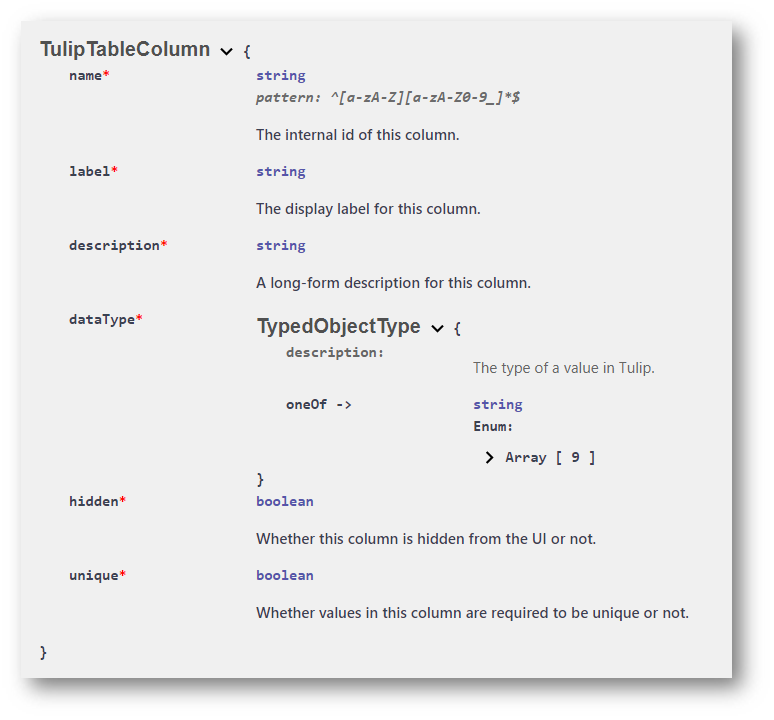
Within this page, there is also information on Schemas for some of the components of Tulip. For example, to create a table record, it is useful to know the appropriate JSON formatting for each column. Example Schema for Columns shown below:
