Learn about using stations and interfaces, running apps, and creating different versions of applications.
From r283 onwards, display devices are renamed interfaces.
In this article, you will learn:
- How and when to create and assign stations and interfaces
- When to test apps in developer mode vs the Tulip Player
- How to publish an app and create app versions
- The importance of gathering feedback and iterating apps
Stations
A Station is the virtual entity where work or a process is being performed. Each Instance needs to have a station set up in order to run. Stations should imitate real-life stations on the shop floor so that you can have a production-ready environment to run your apps.
Instances can use up to 10,000 stations.
Name stations to align with the work or operation that occurs at the physical station.
Examples
- Testing
- Assembly line 1
- Water spider
Learn more about stations here.
Interfaces
Interfaces are the physical devices used to run an application. Each station must map 1:1 to an interface.
Name interfaces according to the physical device.
Example
- Serial number
- Device label
Learn more about interfaces here.
Interfaces are separate from stations so that you can switch an interface easily if need, for example if a device stops functioning.
The visual below shows the relationship between operational benches with devices, 1:1 interface to stations, and the app running on the interface.

A physical station may have more than one interface, such as a work orders table on one interface and assembly instructions on another interface. However, both of these interfaces need separate stations for the work being performed.
Assign an app to a station
Assigning apps to a station should happen at the station group level first, if applicable. This ensures that stations related to a specific process all use the same app and version.
Stations should always be assigned to the most recent published version of an app, unless the station is for a developer. Make sure you pay attention to the version of the app, and update the assigned app version whenever needed.
To assign an app to a station:
- Navigate to the stations page by hovering over the Shop Floor tab in the top navigation bar.
- Select the station you want to use and click Edit next to station app assignments.
- Click the Add an App dropdown and select the app you want to assign among the list.
- Click Save.
Only users with station management permissions can assign apps to a stations. Learn more here.
Publish an App
The lifecycle of an application typically has 2-4 phases, depending on the complexity of your process:
-
Development
- Changes can be made freely and flexibly by users with adequate permissions.
-
Pending Approvals [optional]
- In this phase, approvers can review and test applications.
-
Pending Release [optional]
- In this phase, applications can be used for training and staged for release.
-
Published
- In most cases, these will be the versions running on the shop floor.
Learn more about the app publication process here.
Once you publish an app from its first development stage, you have created an app Version.
A published version is an unchangeable copy of the development version at the time of publishing. Each time you edit an app following publication, you work in a new version.
Learn how to publish an app here.
App Versions
When building your app, there are two different versions: a Development Version and a Published Version. A development version is an iteration of the app that hasn’t been made available for public use, whereas a published version has been published and is ready for users.
Developing versions of apps are helpful when making edits to an already published version, users can still operate the published version of the app while developers are working on changes. Your data remains in the same state when you publish a new app version, carrying over from the previous one.
Test apps in developer mode
As you’re creating an application, it’s crucial that you test its functionality to ensure buttons, Widgets, Steps, and other assets are all operating as intended. This is where Developer Mode becomes essential for testing.
Developer Mode is meant to run in Google Chrome.
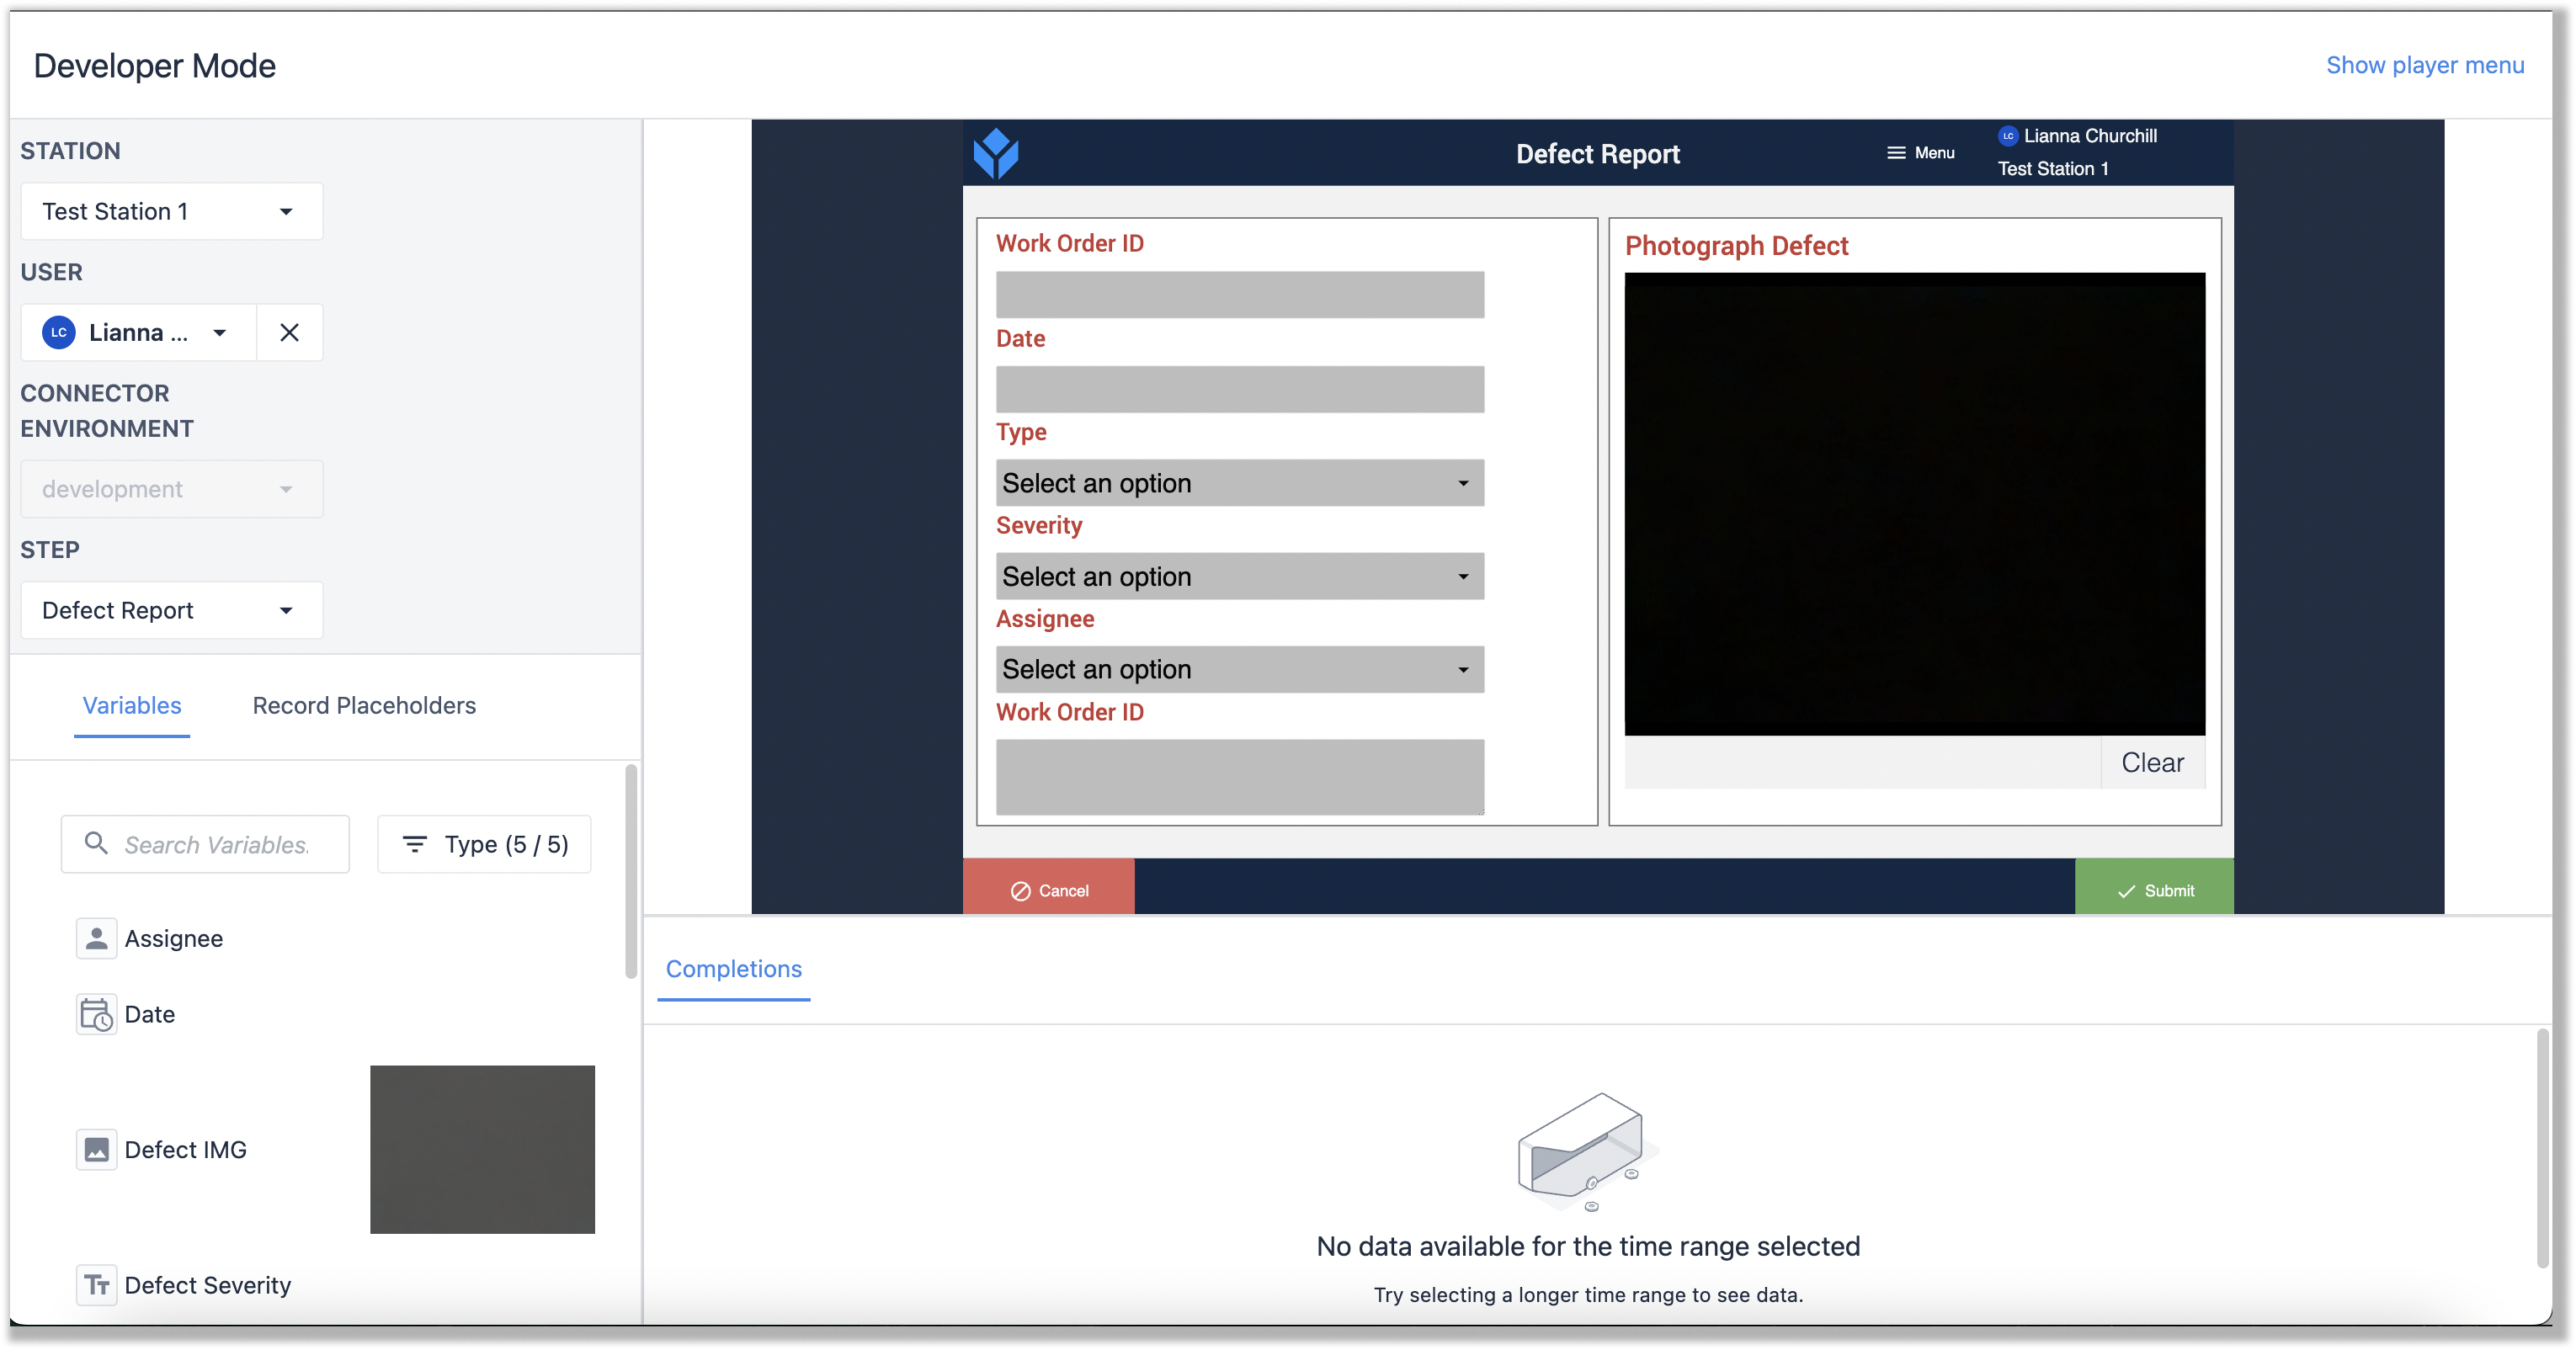
Developer Mode is a separate window from the App Editor that allows you to use your app without affecting its utilization in production. This means that information you input won’t write to tables, completions, or connectors. Tables are mirrored as how they start when you open Developer Mode. No changes you make in the data will be reflected in the actual records of the app.
Developer Mode is useful for giving debugging information on assets and functions in your app to ensure that your logic is working properly. You can quickly diagnose issues to understand errors that need attention. When testing in Developer Mode you also have access to the Variables and Record Placeholders that are used on every step.
Since Aggregations are linked to tables, any data written to a table in Developer Mode will not impact your aggregation values.
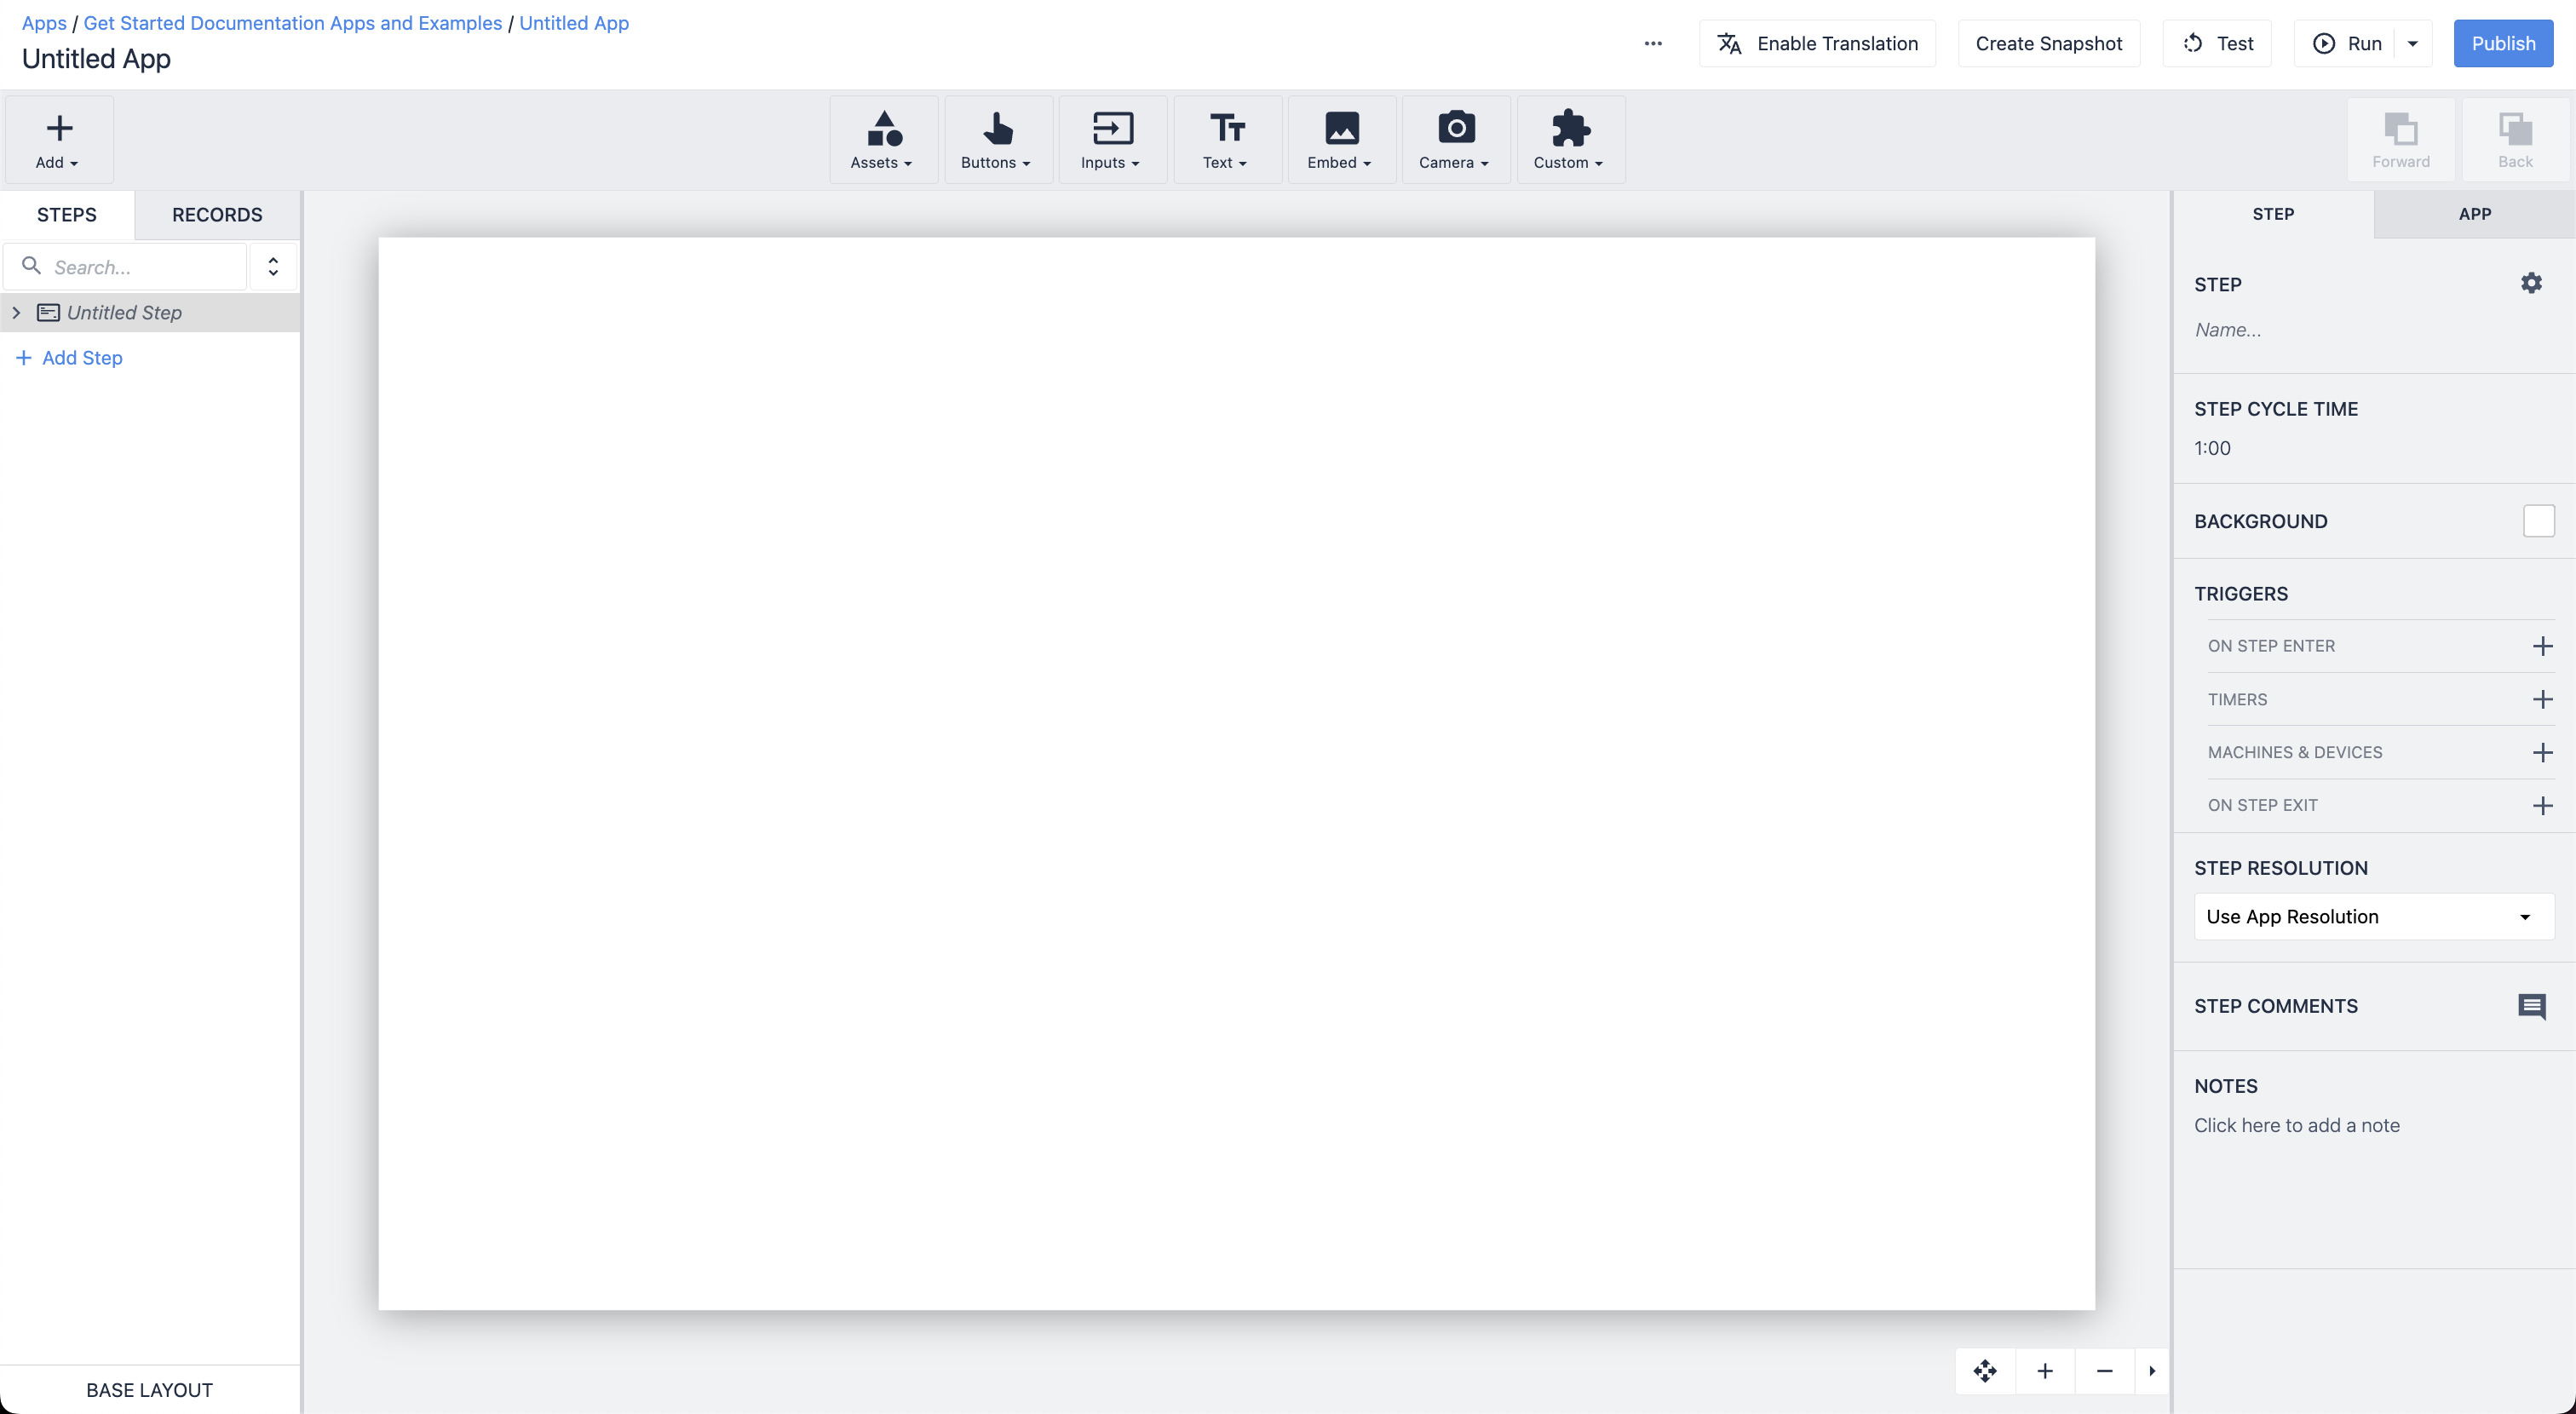
To enter Developer Mode, click the Test button located at the top right of the App Info and App Editor pages. A new window opens that shows your app in Developer Mode.
Read more about features available in developer mode here.
Run apps in the Tulip player
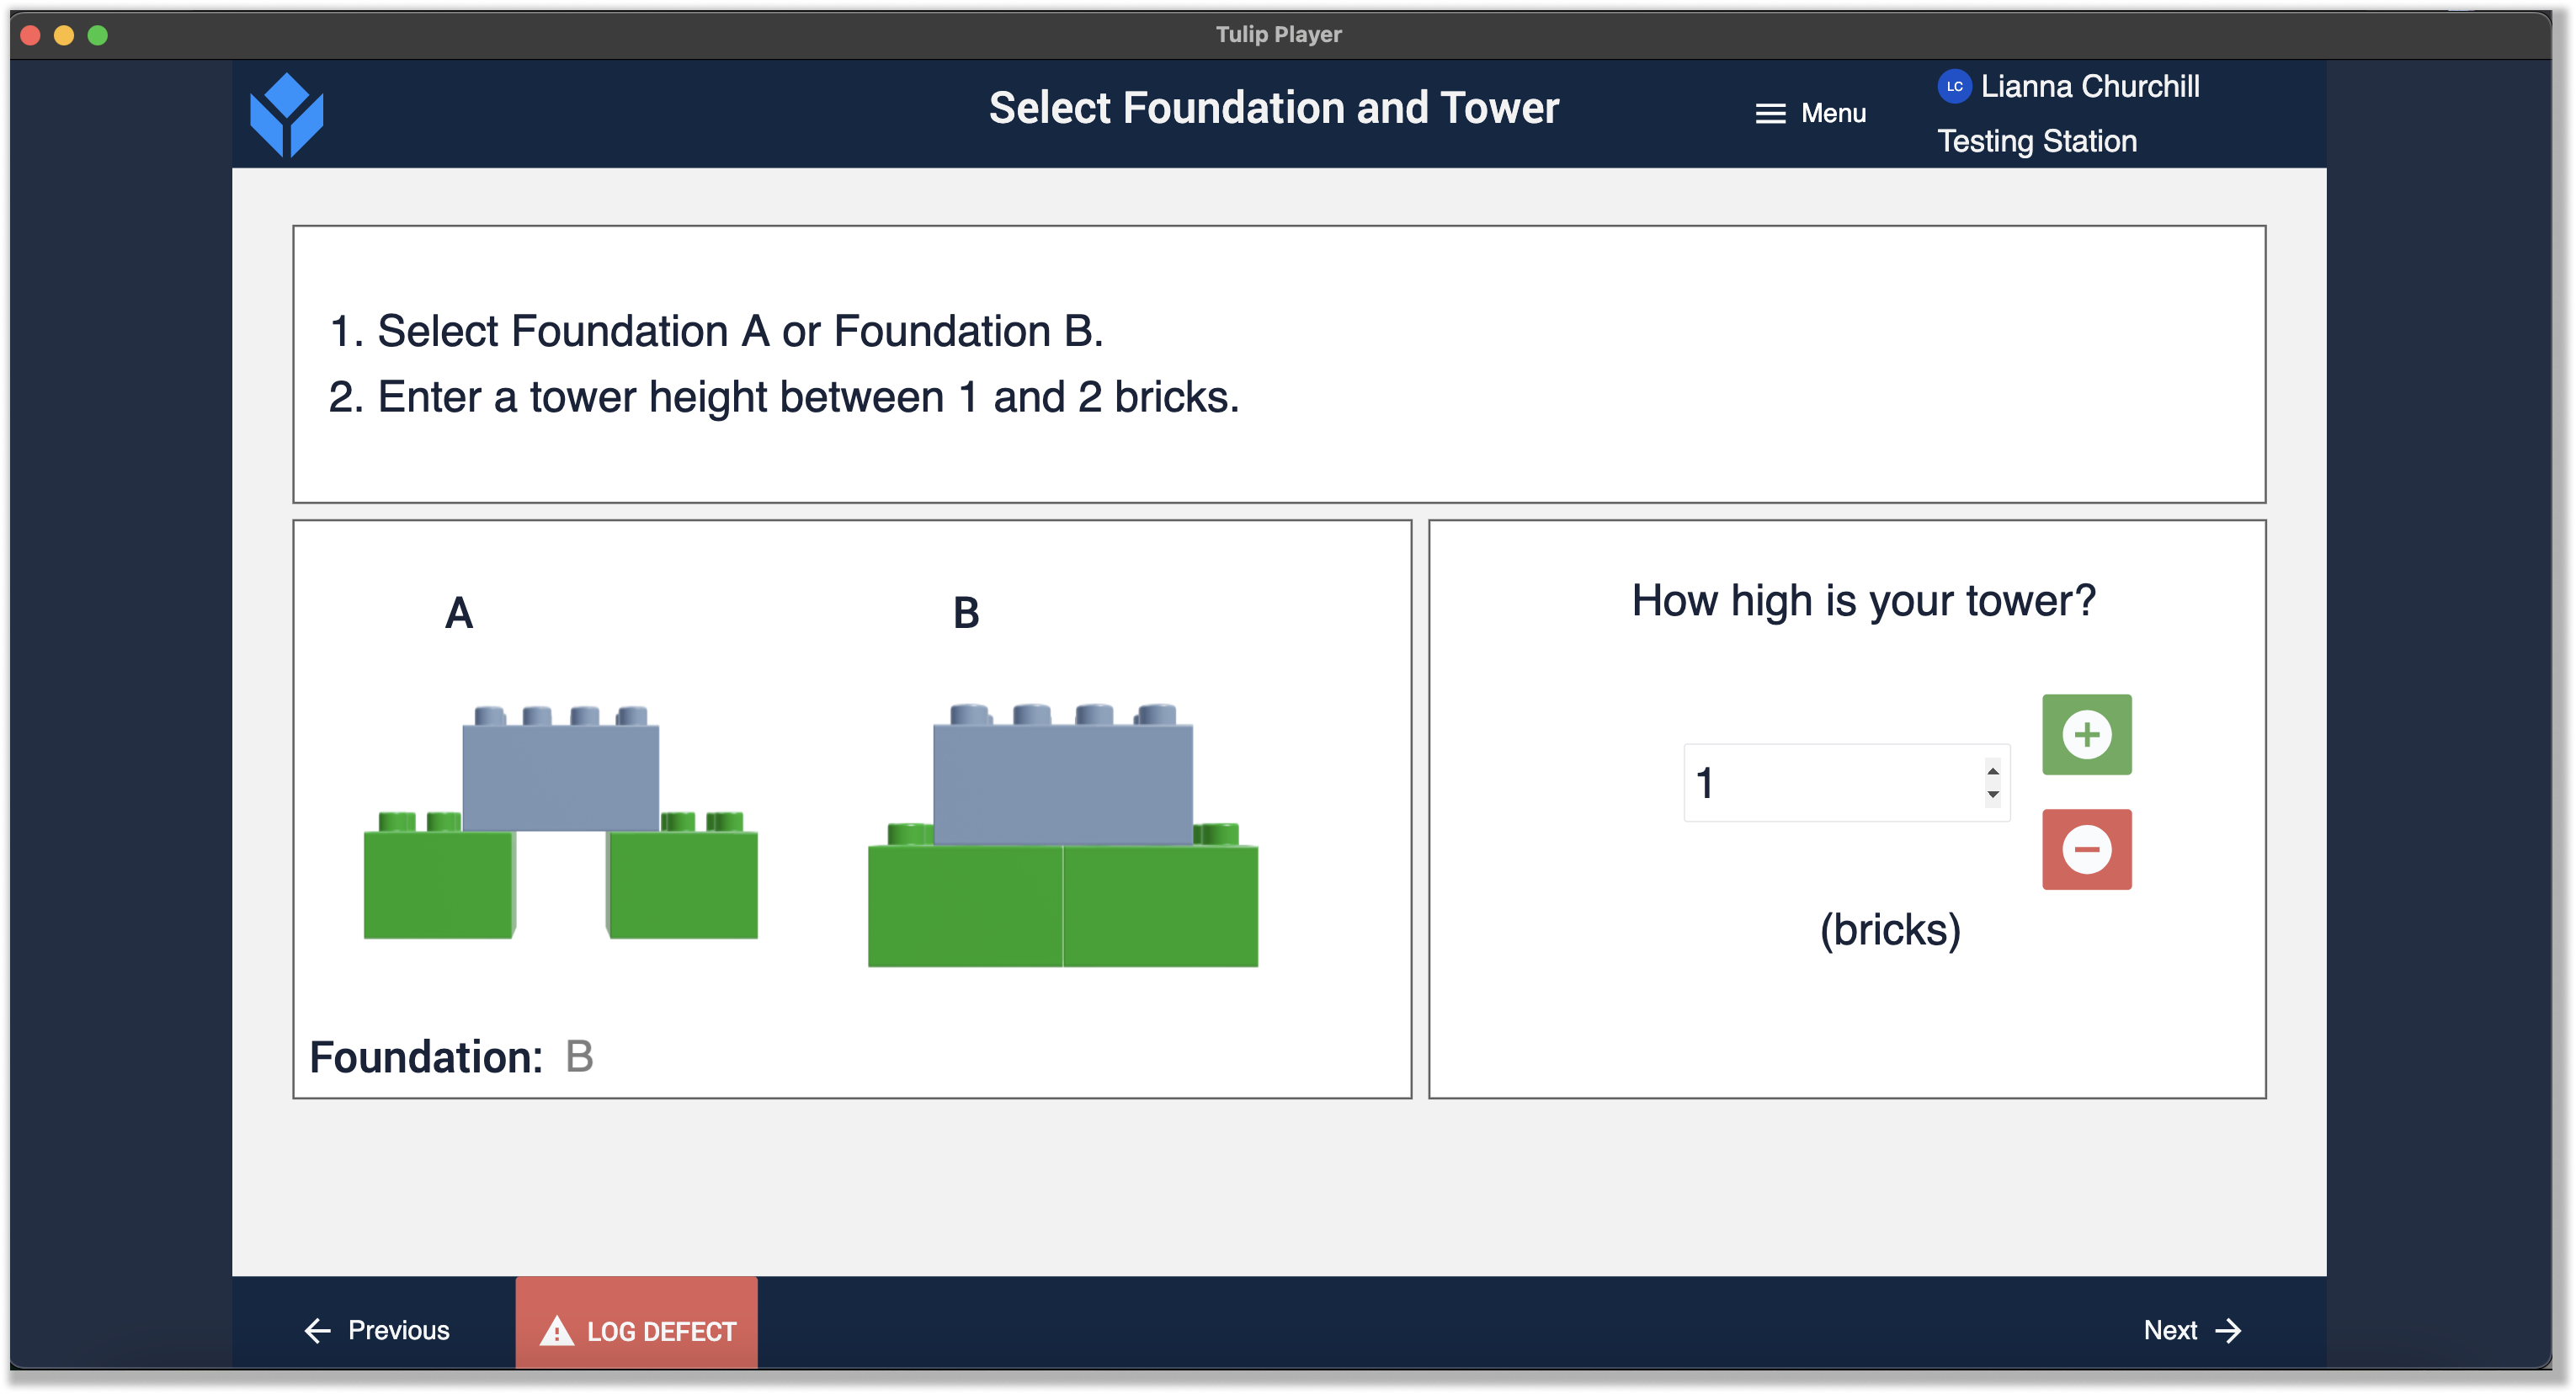
The Tulip Player is designed to run your apps and change between them effortlessly. In the Tulip Player, you experience exactly what your users do, with the ability to call to connector functions, write to tables, and talk to external machines.
The Tulip Player is an external application that runs your apps, allowing you to switch between apps under your instance. Running apps through the Tulip Player should be done as the app is ready to be used.
Before running an app in the player, you’ll need to download the Tulip Player, which you can do here: Download the Tulip Player.
To open an app in the Tulip Player, click the Run button in the top right corner of the App Info and App Editor screens (next to the Test button). The Tulip Player opens and you can begin running your app.
Learn more about testing apps in the Tulip Player here.
Improve and Iterate Apps
Improvements on app versions should be based on feedback from operations and app users, and guided by the KPIs and objectives you outlined in the app development process.
To gather feedback, conduct usability testing soon after an operation begins to use the app. Testing can include observing usability to note points of confusion, difficulty, errors, or excessive workflows. These observations inform necessary changes to the app.
Learn more about usability testing here.
Next Steps
Want to dive deeper? Check out these related articles to build on what you’ve learned:
Did you find what you were looking for?
You can also head to community.tulip.co to post your question or see if others have faced a similar question!