

Vue d'ensemble
Connecter les systèmes logiciels existants avec Tulip
Tulip est une plateforme ouverte conçue pour s'intégrer de manière transparente à votre infrastructure informatique existante. Cette intégration est facilitée par des connecteurs.
Les connecteurs sont une fonctionnalité de Tulip qui permet l'échange de données entre les API HTTP, MQTT, et les bases de données SQL et Tulip. Ils sont essentiels pour se connecter à des serveurs et systèmes externes, y compris l'API de la Table. La mise en place d'un connecteur vous permet d'intégrer des informations externes dans vos applications Tulip, rationalisant ainsi vos processus.
Types de connecteurs
- HTTP - Accéder à des données provenant d'API externes.
- MQTT - Ecrire dans votre espace de noms MQTT.
- SQL - Accéder à des bases de données externes à Tulip.
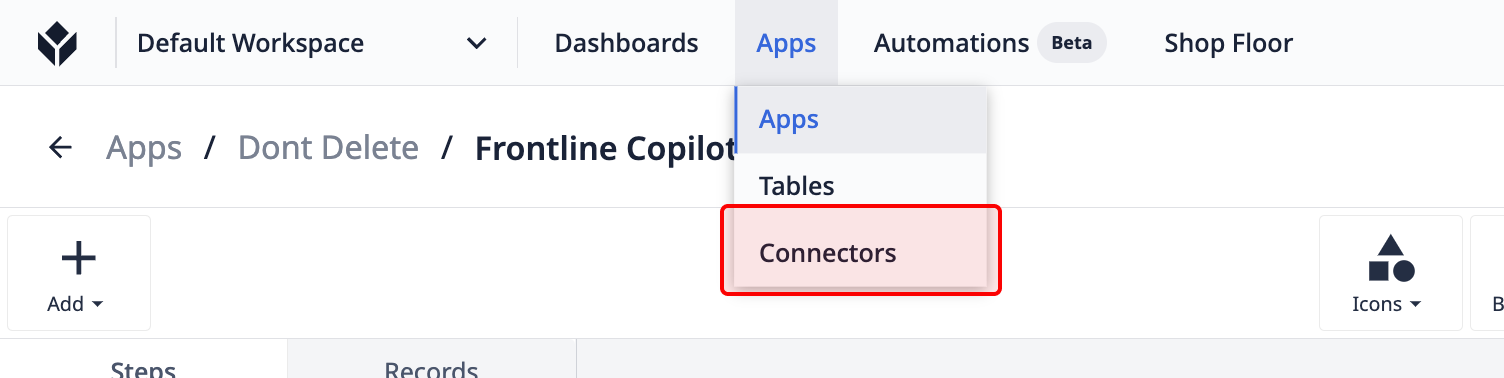
Pour accéder aux connecteurs, survolez l'onglet Apps et sélectionnez Connecteurs.
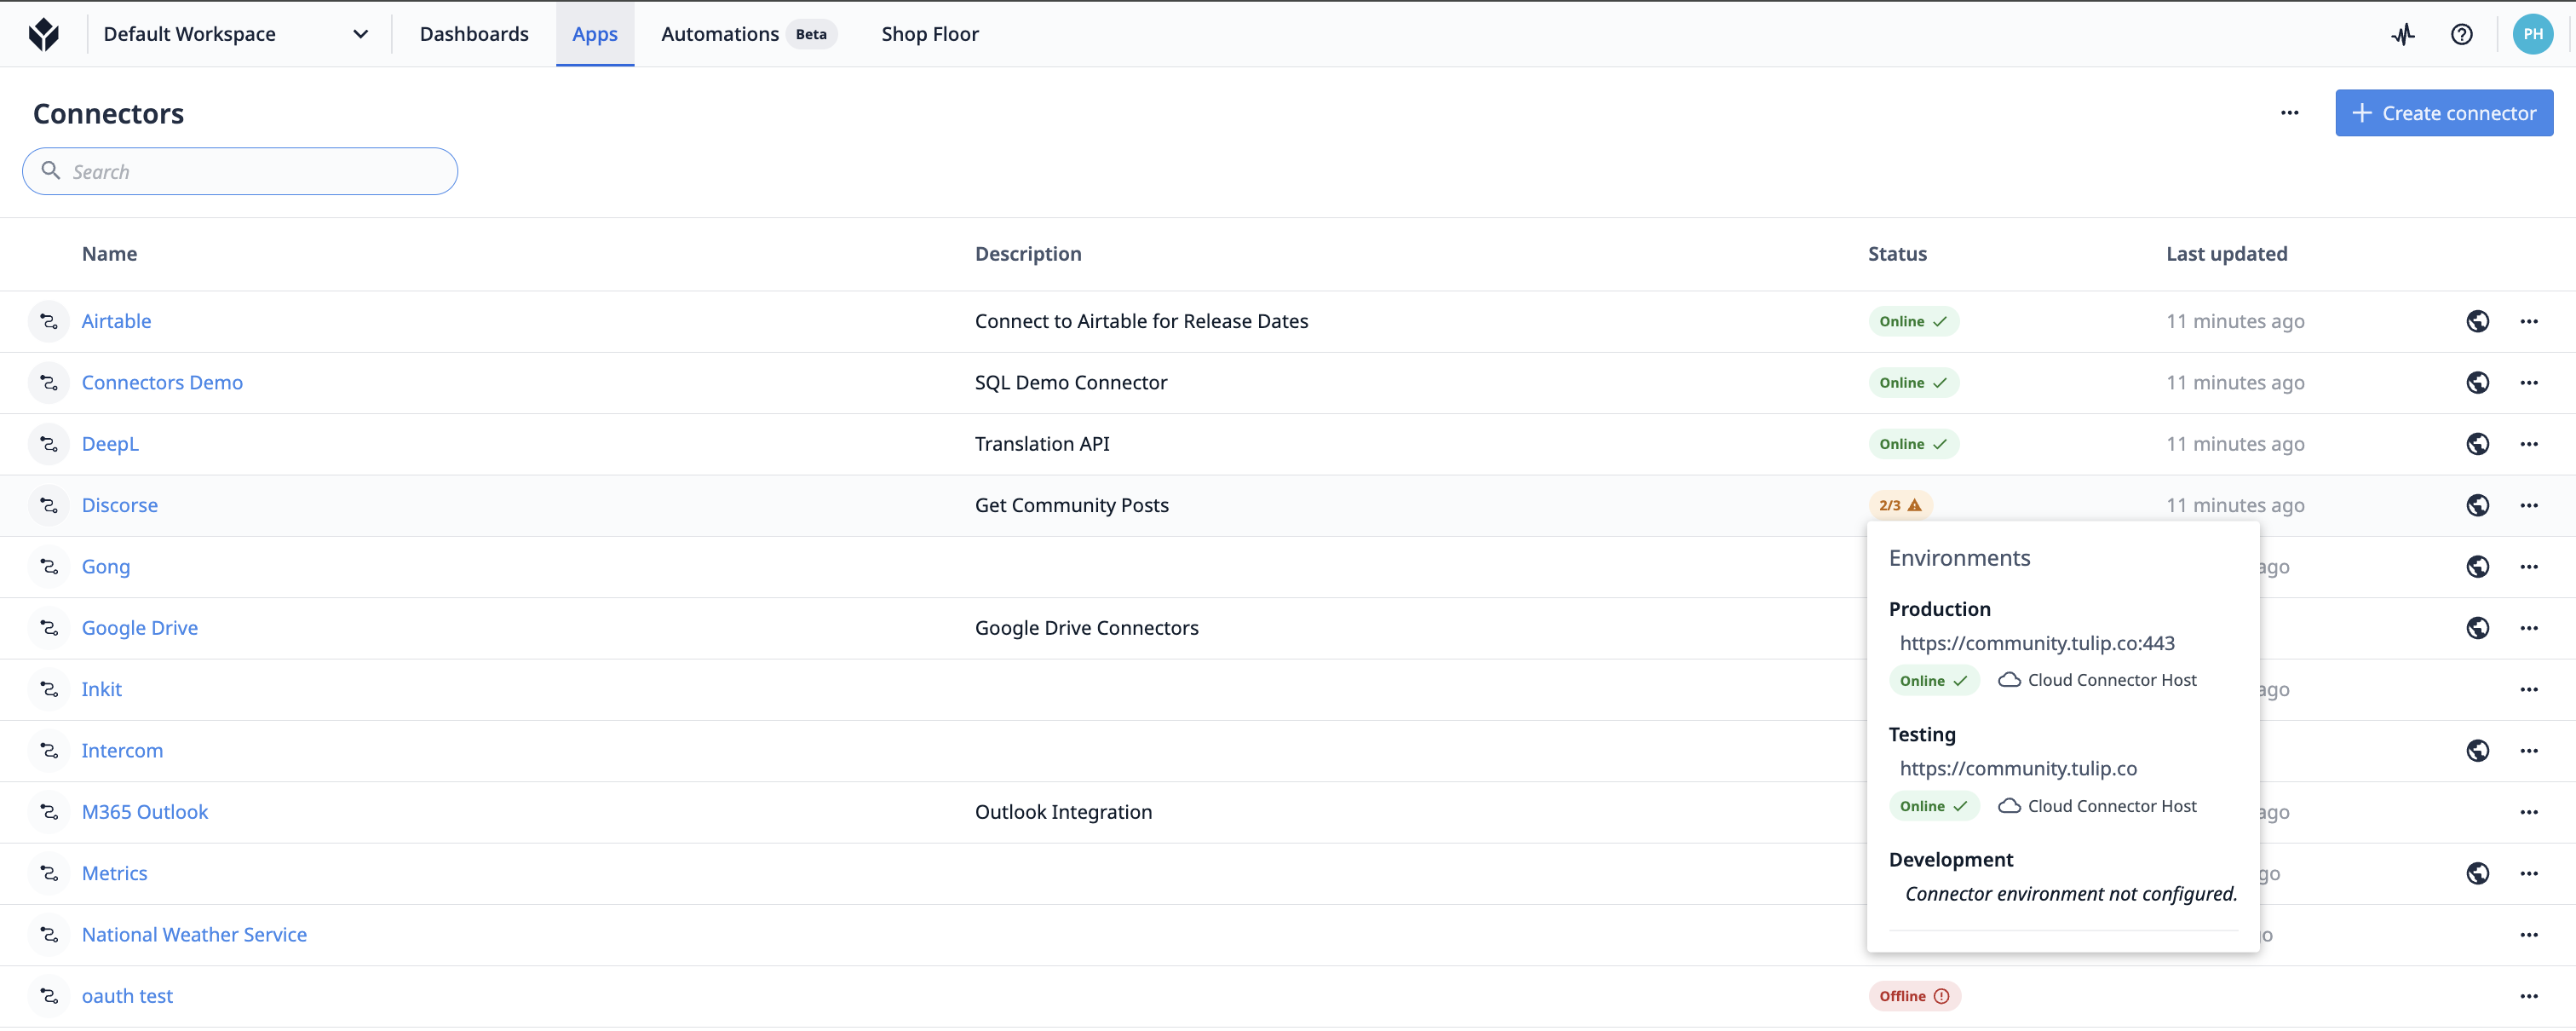
Sur la page Connecteurs, vous pouvez voir le statut, la description et la dernière mise à jour de vos connecteurs.
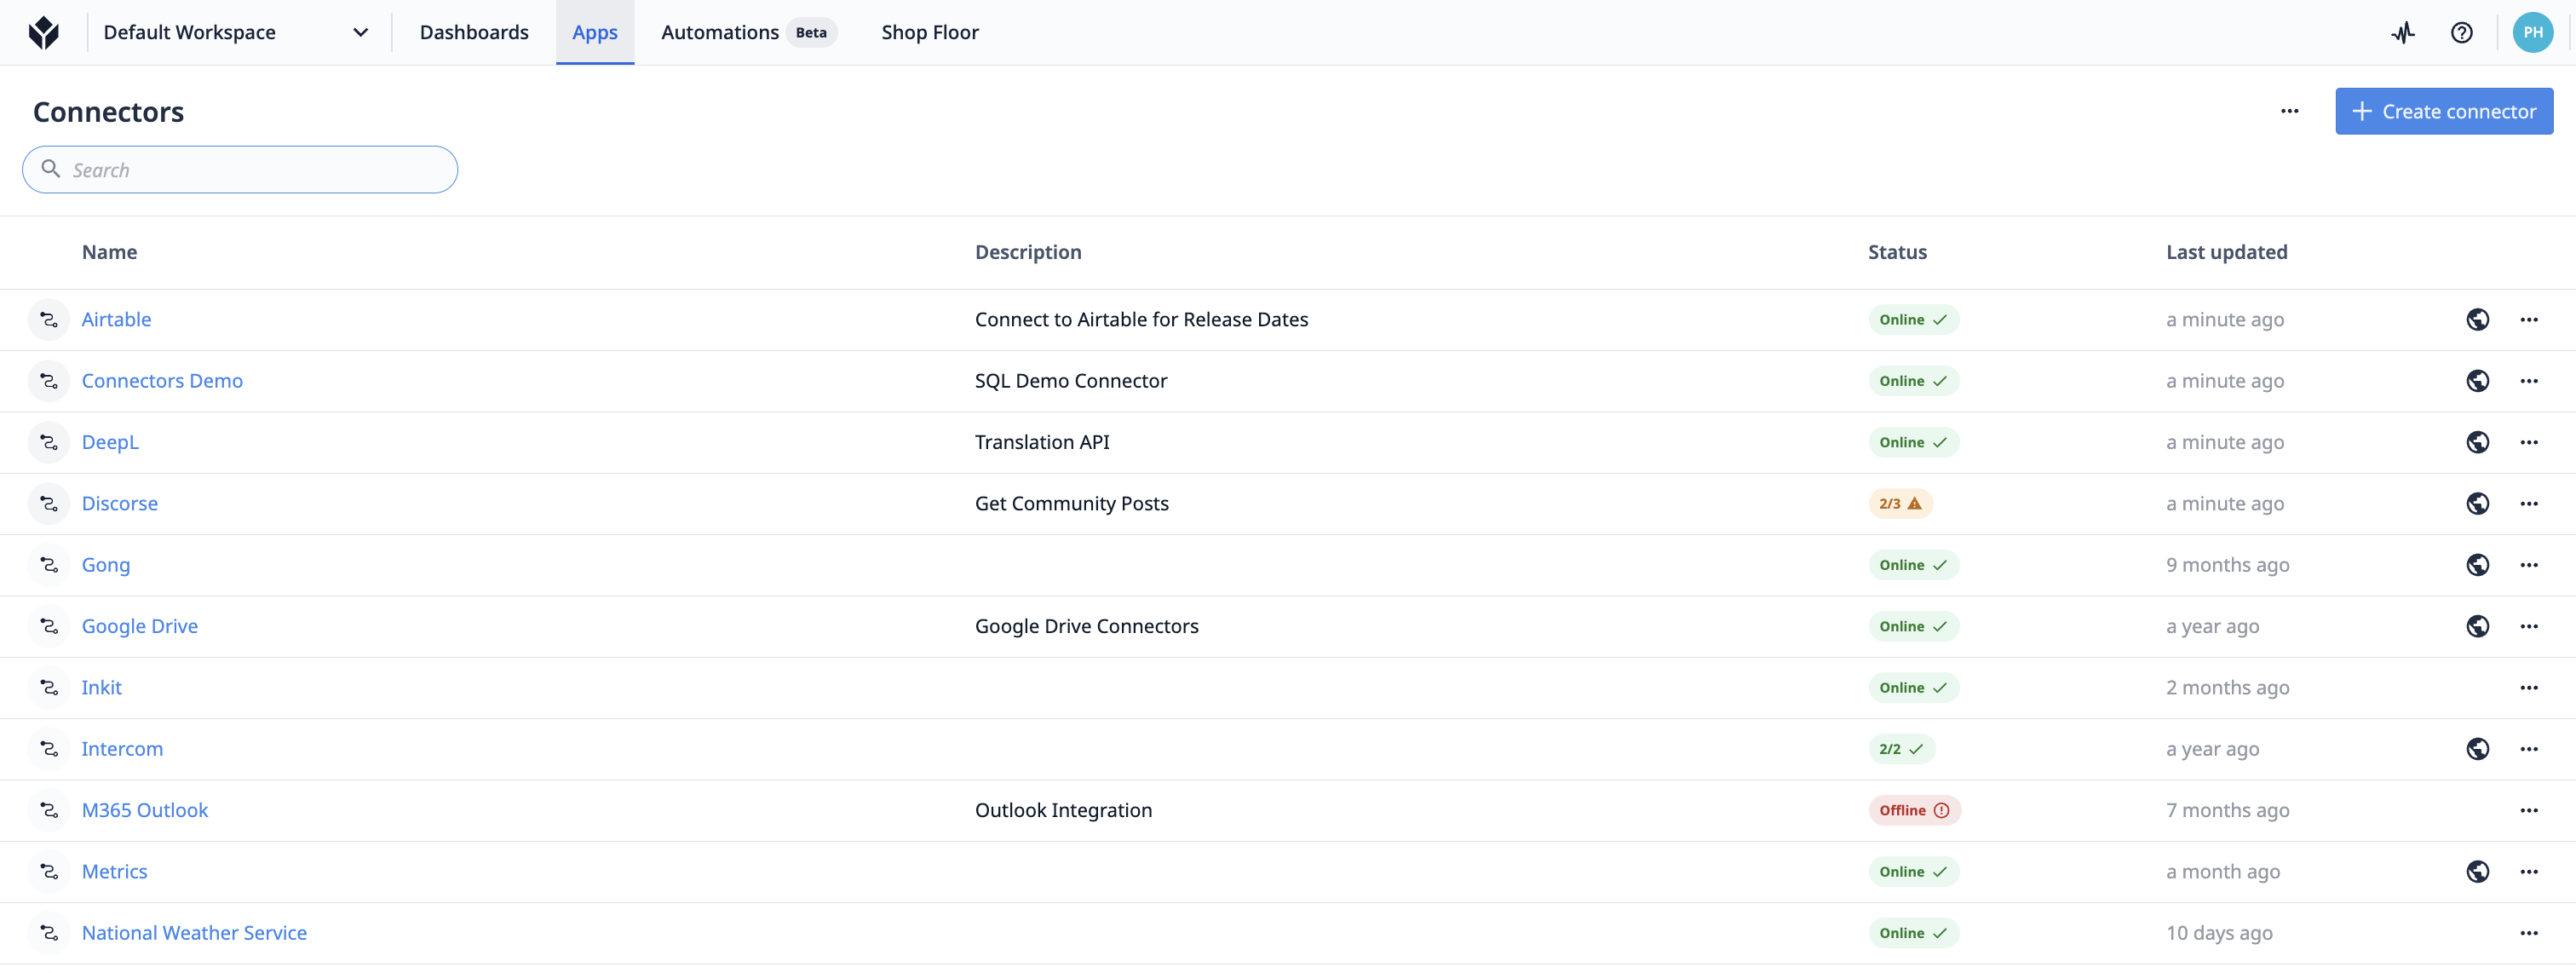
En survolant la pilule de l'état, vous obtiendrez des informations supplémentaires sur l'état de chaque {{glossaire.Environnement}}.
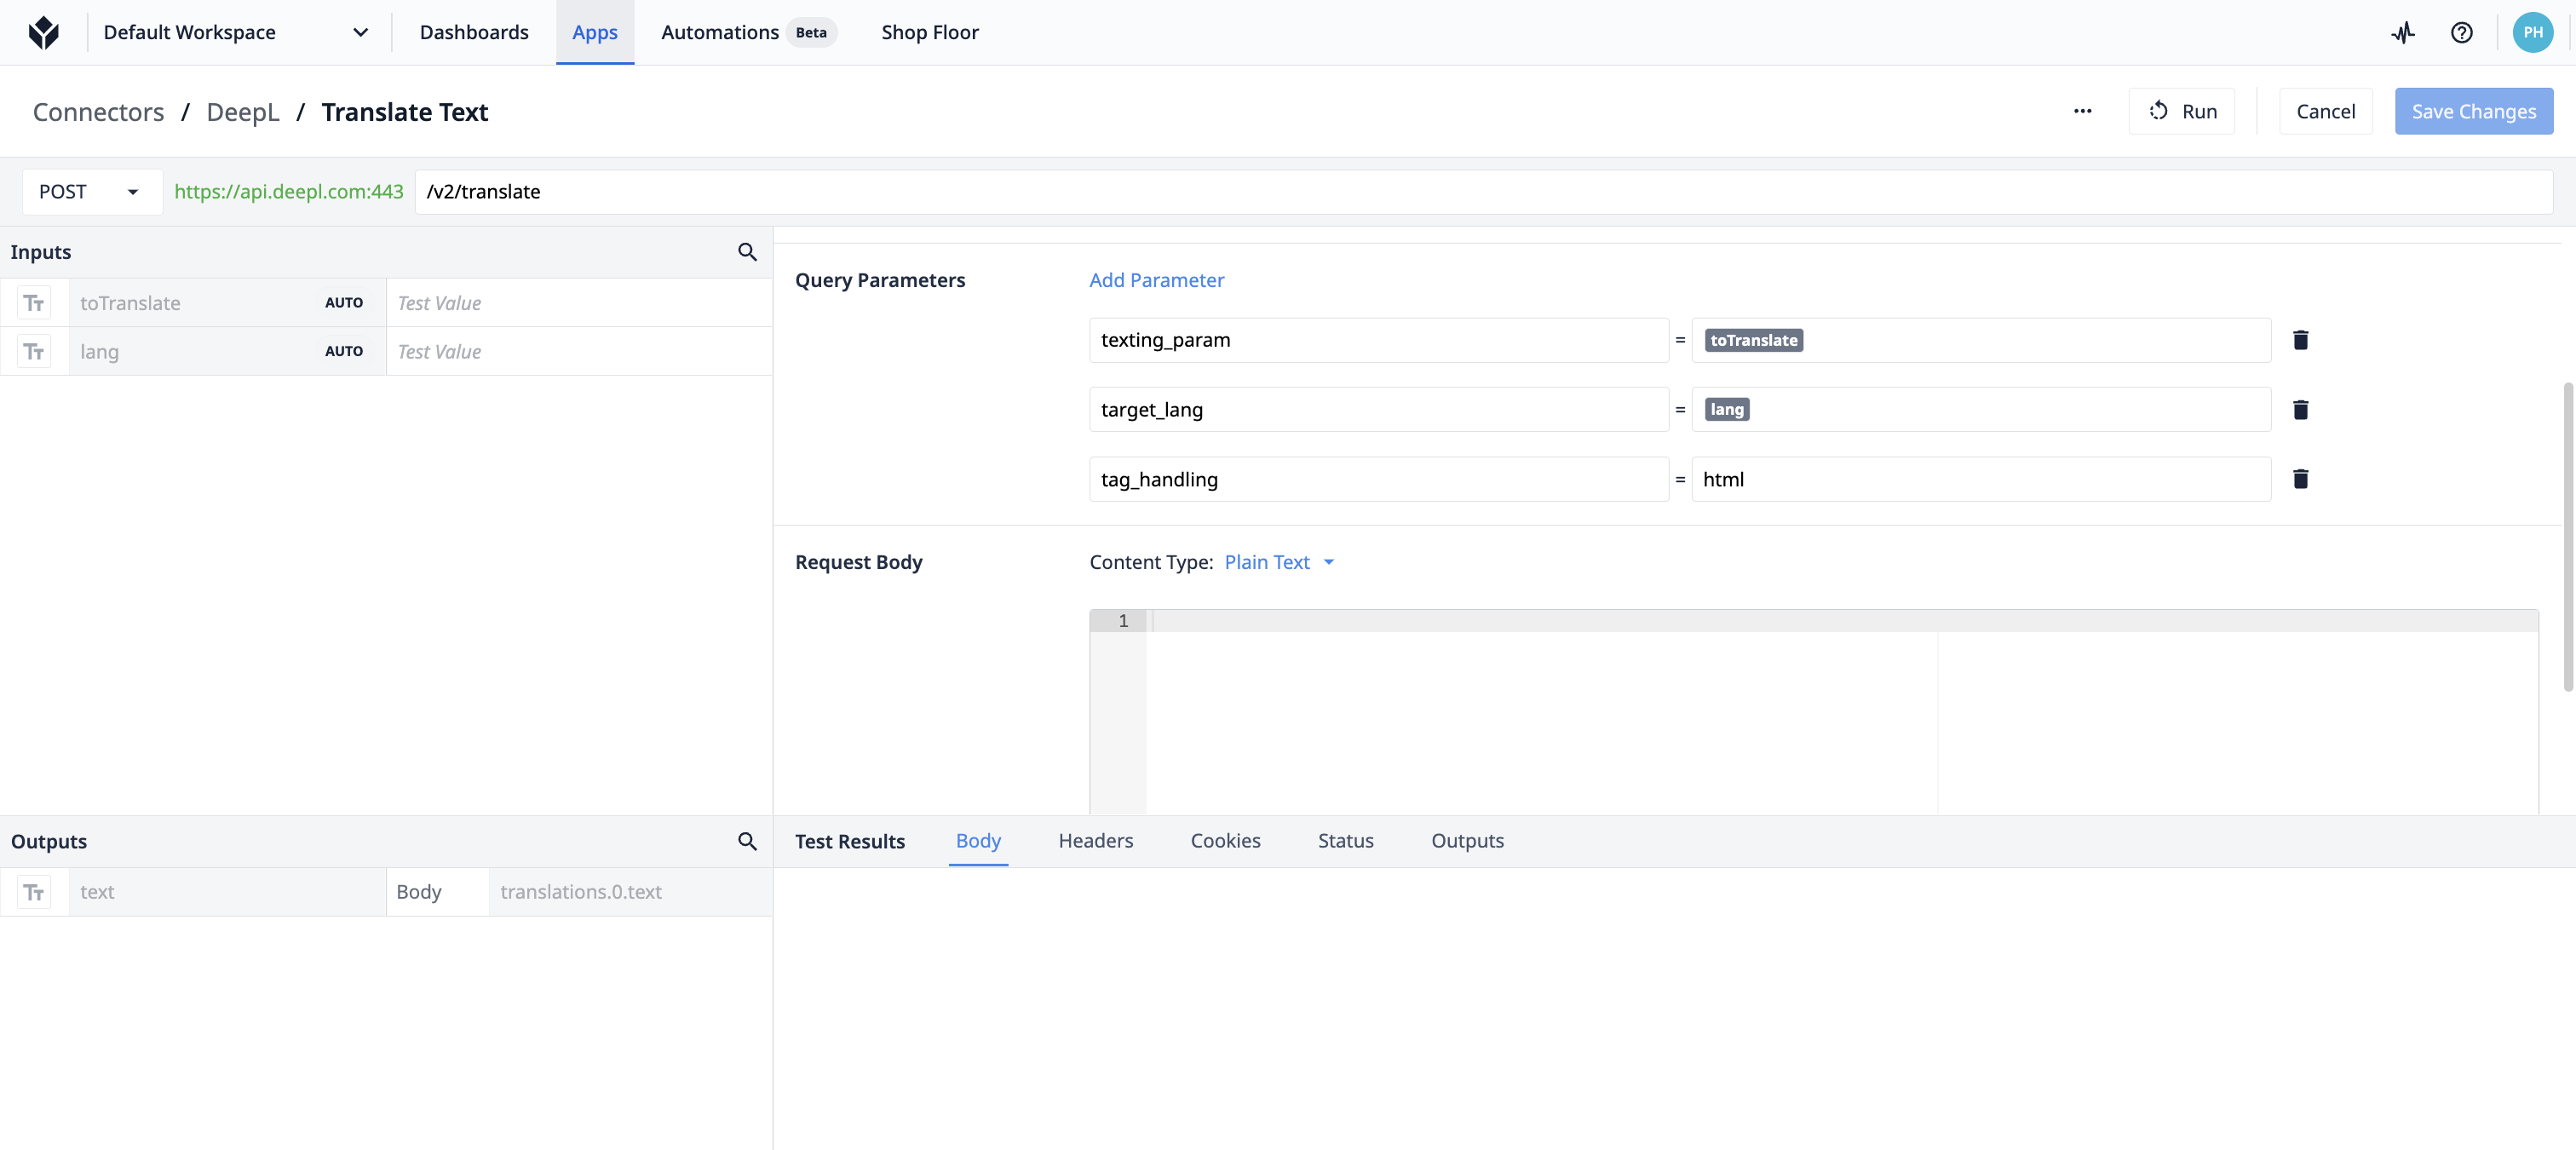
Chaque connecteur peut avoir plusieurs fonctions de connecteur ou des requêtes qui sont déclenchées dans une application.
Voici un exemple de fonction de connecteur :
Comment utiliser les connecteurs
Les connecteurs peuvent être utilisés dans les déclencheurs ou {{glossaire.Automation}} {{glossaire.Automation}} ou dans les {{glossaire.Blocs d'action}}.
Exemple 1
- "Lorsque l'opérateur scanne un code-barres"
- "Rechercher ce code-barres dans ma base de données SQL"
- "Naviguer ensuite vers l'une des trois étapes différentes en fonction de ces données."
Exemple 2
- "Lorsque l'opérateur appuie sur ce bouton"
- "Envoyer une requête à mon API HTTP qui suit les problèmes de production dans mon usine."
Ces deux exemples sont en libre-service. Si vous pouvez interroger une base de données SQL ou un service logiciel externe (comme un MES ou un ERP), vous pouvez écrire la requête dans Tulip.
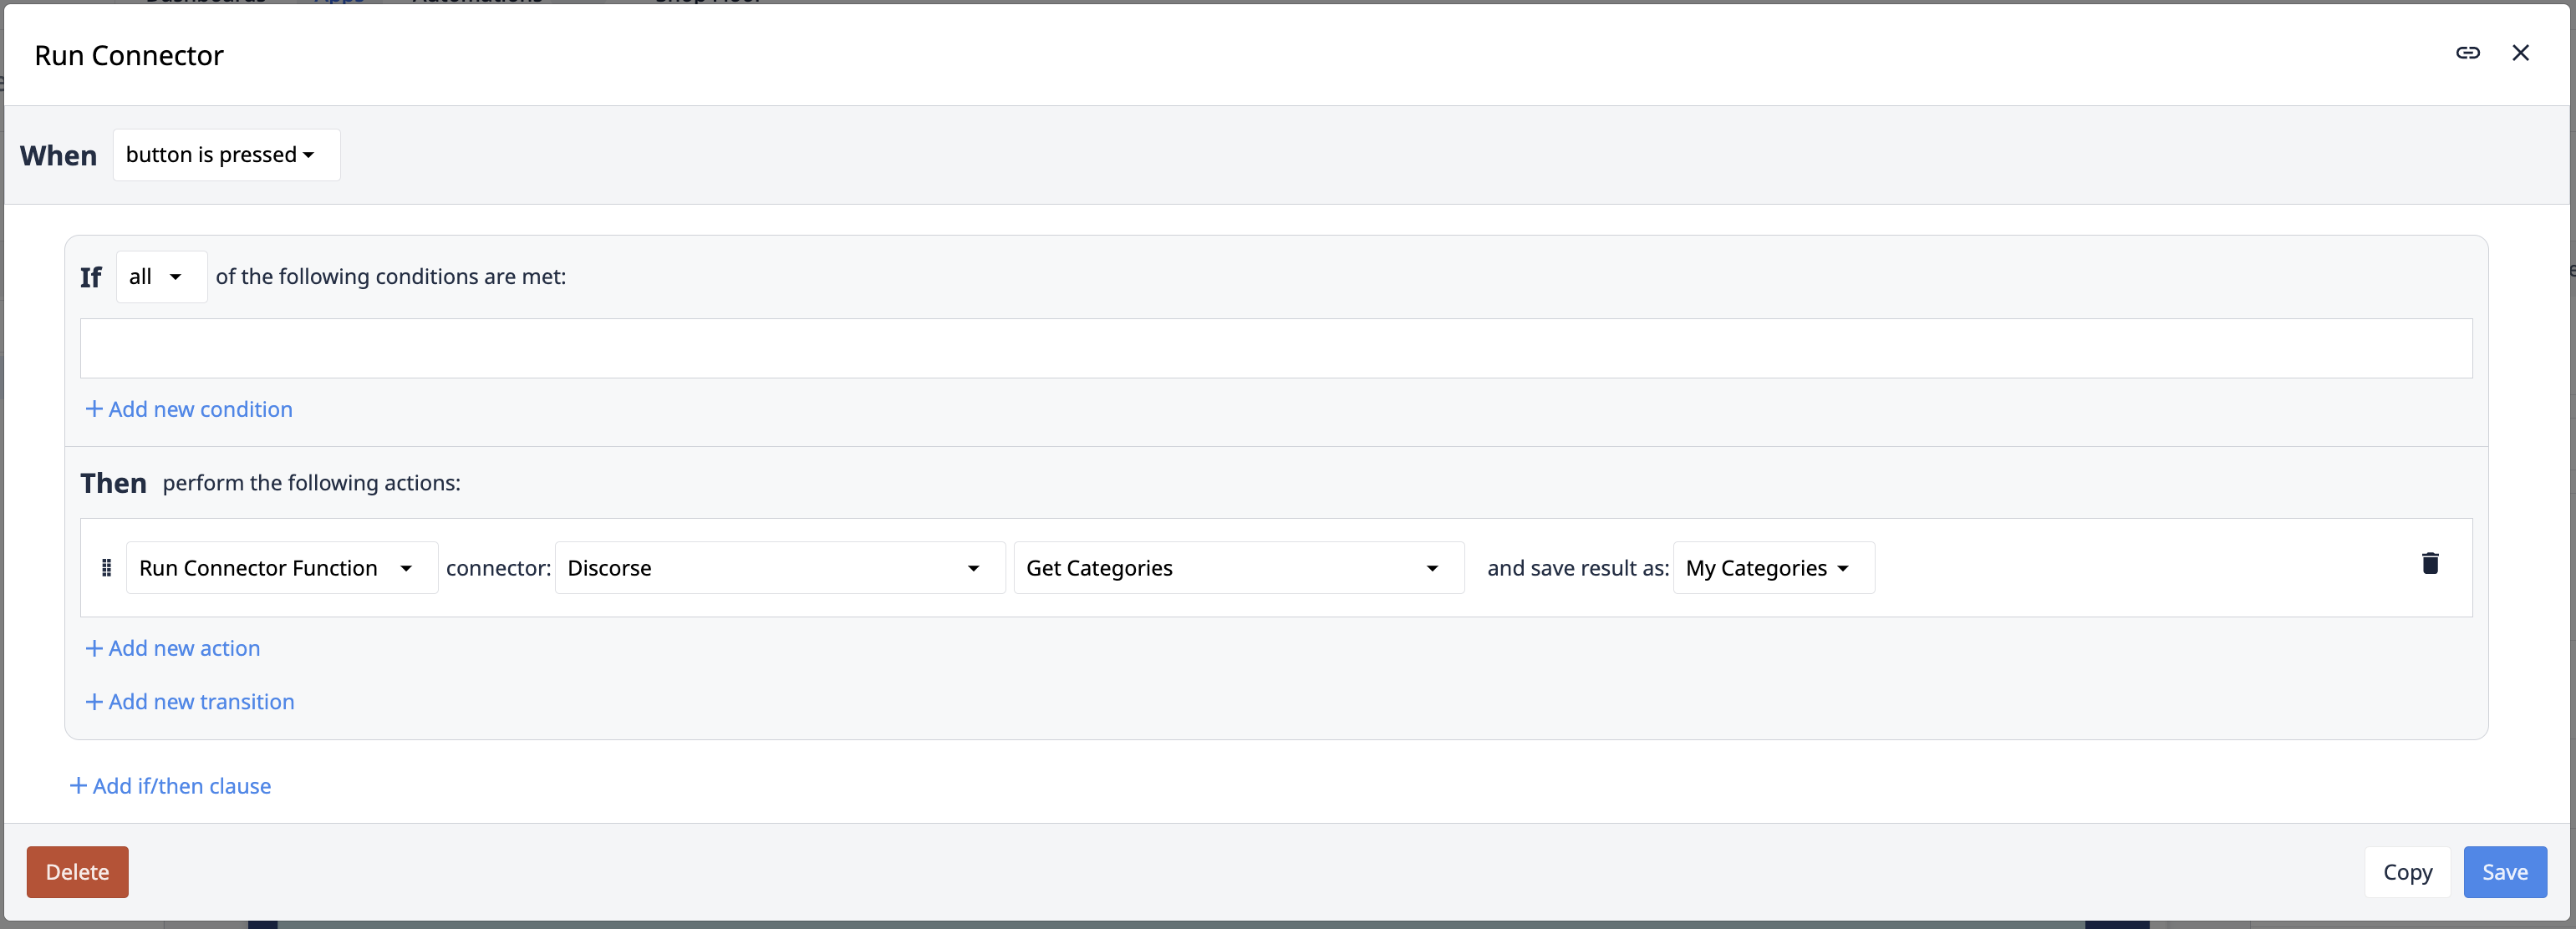
L'image ci-dessous montre la logique de l'éditeur de déclencheurs afin d'exécuter une fonction de connecteur :
Environnements des connecteurs
L'onglet Environnements vous permet de configurer plusieurs serveurs pour chaque fonction de connecteur. Les environnements vous permettent de segmenter les informations impactées en fonction du cycle de vie de vos applications et de vos automatismes.
Plus de détails sur les environnements sont disponibles ici.
Détails techniques
Comme les connecteurs communiquent avec des systèmes externes, il est essentiel de comprendre comment les configurer pour qu'ils s'adaptent à votre environnement informatique personnalisé. Le Connector Host est un composant de la plateforme Tulip qui gère ces connexions.
Pour les bases de données et les API qui sont ouvertement disponibles depuis votre Tulip Cloud, aucune configuration supplémentaire n'est nécessaire. Cependant, si des problèmes surviennent ou si vous avez besoin de vous connecter à une base de données, une API ou une machine qui n'est pas ouvertement disponible depuis le Tulip Cloud, référez-vous à cet article sur les Connector Hosts.
Créer un connecteur
La mise en place d'un nouveau connecteur ne nécessite pas de connaissances approfondies en matière d'API ou de bases de données, mais une certaine familiarité avec les types de connexion est utile.
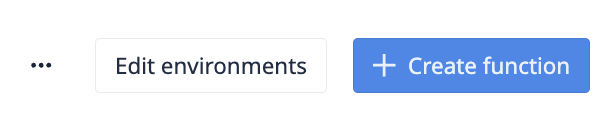
Pour créer un connecteur, accédez à la page Connecteurs sous Apps. Cliquez sur + Créer un connecteur dans le coin supérieur droit. Vous pouvez sélectionner un connecteur rapide existant ou cliquer sur Créer un connecteur personnalisé.
Mise en place d'un nouveau connecteur
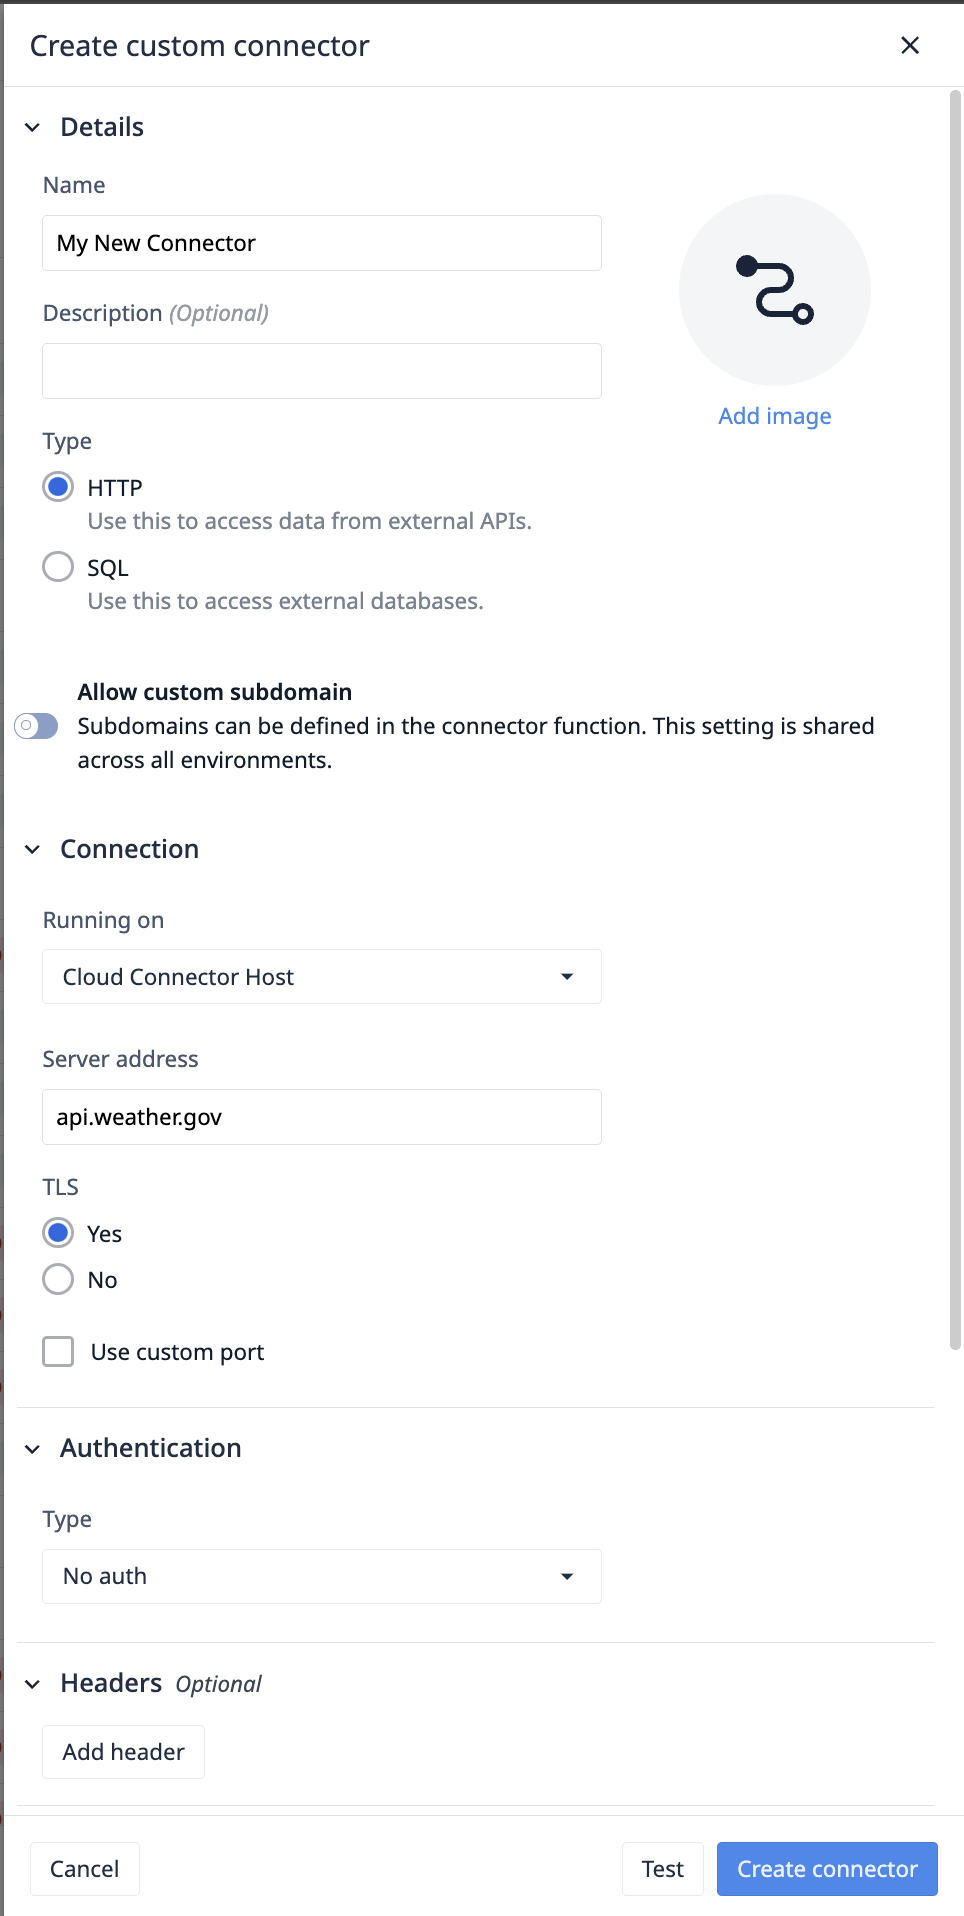
Informations de base
- Ajoutez un nom et une description pour votre connecteur. Ceux-ci peuvent être modifiés à tout moment.
- Sélectionnez un type de connecteur. Il n'est pas possible de le modifier après la création du connecteur.
- [Activer les sous-domaines personnalisés vous permet de configurer des sous-domaines uniques pour chaque fonction, ce qui facilite l'intégration avec des architectures de services plus complexes.
Par exemple, si l'adresse du serveur est tulip.co, la première fonction peut utiliser community.tulip.co et la deuxième fonction peut utiliser support.tulip.co.
Lorsque les sous-domaines personnalisés sont activés, un sous-domaine par défaut doit être fourni pour vérifier l'état du connecteur.
Exécution sur : hôte du connecteur
Sélectionnez l'hôte du connecteur qui exécutera vos demandes. L'hôte du connecteur cloud, fourni par Tulip, effectue les requêtes via Tulip Cloud. Tout hôte de connecteur sur site enregistré sur votre compte apparaîtra également.
Pour en savoir plus sur les connecteurs hôtes , cliquez ici.
Some connector hosts do not support certain features. These hosts will be disabled or hidden in the connector host dropdown.
Configuration du connecteur HTTP
Apprenez comment configurer les fonctions du connecteur HTTP ici.
Autoriser un sous-domaine personnalisé
Lorsque cette option est activée, des sous-domaines peuvent être ajoutés au niveau de la fonction. Lorsque cette option est activée, il faut ajouter un sous-domaine par défaut qui sera utilisé pour vérifier l'état en ligne du connecteur.
ExempleLeserveur est acme.co, et certaines fonctions interrogent sales.acme.co, d'autres s'adressent à shipping.acme. co, etc.
Adresse du serveur
Spécifiez l'adresse réseau, c'est-à-dire un nom d'hôte ou une adresse IP, à laquelle Tulip se connecte.
TLS
Transport Layer Security (TLS) est un protocole cryptographique conçu pour fournir une communication sécurisée sur un réseau informatique. Il garantit la confidentialité et l'intégrité des données en chiffrant les données transmises entre les parties. TLS est le successeur de Secure Sockets Layer (SSL) et est largement utilisé pour sécuriser les connexions internet.
Port
Votre serveur écoute les requêtes sur un port réseau spécifique fourni par votre fournisseur de serveur. Le port 443 est le plus courant pour les services HTTPS, et le port 80 est le plus courant pour les services HTTP.
Authentification
For the OAuth Client Credential flow, Cloud Connector Host or On Prem Connector Host of version LTS13 or newer must be used.
- No Auth - Aucune authentification n'est nécessaire, ou l'authentification est contenue dans d'autres en-têtes de requête comme x-auth-token.
- Basic Auth - Authentification de base, qui met en œuvre le nom d'utilisateur et le mot de passe.
- OAuth 2.0 (Bearer to ken) - Les Bearer tokens sont le principal type de jeton d'accès utilisé. Il s'agit d'une chaîne de caractères opaque, qui n'est pas censée avoir une signification pour les clients qui l'utilisent.
- OAuth 2.0 (User Credentials) - Généralement utilisé pour les clients qui ont besoin d'accéder à un ensemble limité de ressources au nom d'un utilisateur, comme une application mobile qui a besoin d'accéder aux contacts ou aux événements du calendrier d'un utilisateur. L'utilisateur doit explicitement donner son autorisation.
- OAuth 2.0 (Client Credentials) - le client credentials est un type de permission utilisé par Tulip pour obtenir un jeton d'accès en s'authentifiant auprès du serveur d'autorisation à l'aide des informations d'identification du client (ID client et secret client), généralement pour accéder à des ressources en son nom propre plutôt qu'au nom d'un utilisateur.
- OAuth 2.0 (compte de service) - Utilisé pour les clients qui ont besoin d'accéder à un plus large éventail de ressources ou de fonctions administratives. Ce rôle accorde un accès étendu au compte et aux ressources de l'utilisateur, comme la gestion des paramètres du compte, la création ou la suppression de ressources, ou l'exécution de tâches administratives.
- OAuth 1.0 - Version antérieure d'OAuth qui gère principalement les flux de travail sur le web.
Pour en savoir plus sur OAuth , cliquez ici.
En-têtes (facultatif)
Les en-têtes assurent l'authentification de l'origine des données, l'intégrité des données et la protection contre la rediffusion. Ces en-têtes seront ajoutés à chaque fonction du connecteur.
Extension des autorités de certification
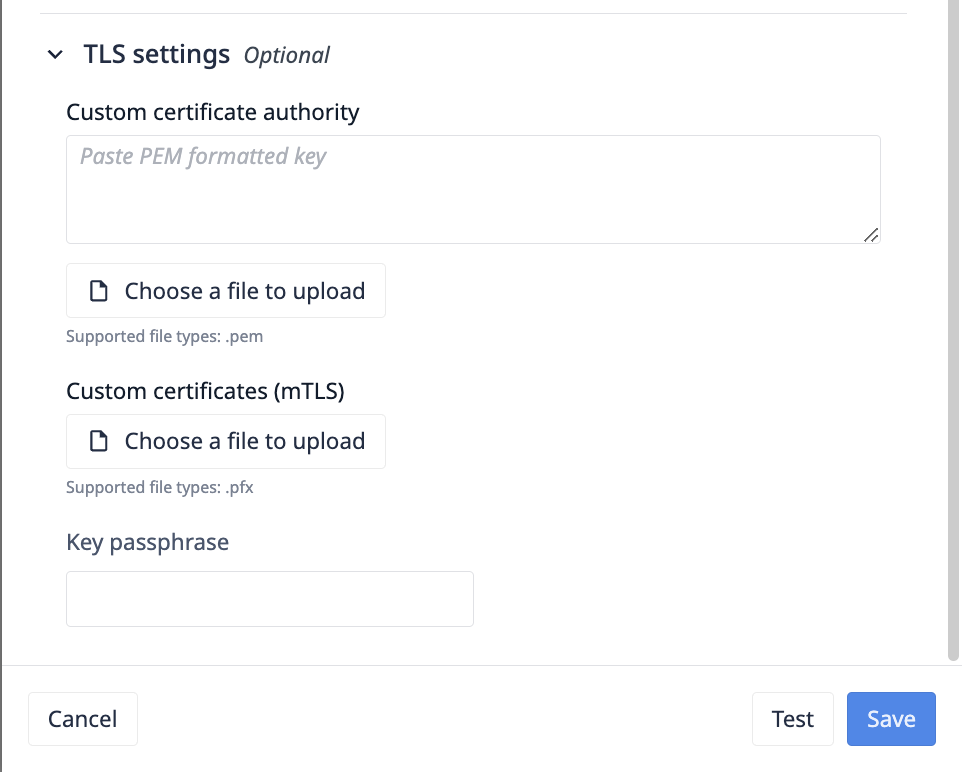
Des fichiers au format.pem peuvent être téléchargés pour étendre les autorités de certification TLS par défaut de Node.js. Ce champ met à jour le champ ca dans la bibliothèque TLS de Node.js.
"Il est possible de remplacer les certificats d'autorité de certification approuvés. La valeur par défaut est de faire confiance aux autorités de certification bien connues sélectionnées par Mozilla. Les autorités de certification de Mozilla sont complètement remplacées lorsque les autorités de certification sont explicitement spécifiées à l'aide de cette option. La valeur peut être une chaîne ou un tampon, ou un tableau de chaînes et/ou de tampons. Toute chaîne ou mémoire tampon peut contenir plusieurs AC PEM concaténées ensemble. Le certificat de l'homologue doit être chaînable à une autorité de certification approuvée par le serveur pour que la connexion soit authentifiée. Lors de l'utilisation de certificats qui ne sont pas chaînables à une autorité de certification bien connue, l'autorité de certification du certificat doit être explicitement spécifiée comme étant de confiance, faute de quoi la connexion ne sera pas authentifiée. Si l'homologue utilise un certificat qui ne correspond pas à l'une des autorités de certification par défaut ou qui ne peut être chaîné à l'une d'elles, utilisez l'option ca pour fournir un certificat d'autorité de certification auquel le certificat de l'homologue peut correspondre ou être chaîné. Pour les certificats auto-signés, le certificat est sa propre autorité de certification et doit être fourni. Pour les certificats encodés PEM, les types pris en charge sont "TRUSTED CERTIFICATE", "X509 CERTIFICATE" et "CERTIFICATE". Voir aussi tls.rootCertificates".
Un exemple d'autorité de certification valide devrait ressembler à ceci :
-----BEGIN CERTIFICATE-----MIIDXTCCAkWgAwIBAgIJALaEfh0WW6ZcMA0GCSqGSIb3DQEBCwUAMEUxCzAJBgNVBAYTAlVTMRYwFAYDVQQIDA1TYW4gRnJhbmNpc2NvMRIwEAYDVQQHDAlTYW4gSm9zZTEPMA0GA1UECgwGQ29tcGFueTAeFw0xNzA1MjUyMDE2NDRaFw0xNzA2MjQyMDE2NDRaMEUxCzAJBgNVBAYTAlVTMRYwFAYDVQQIDA1TYW4gRnJhbmNpc2NvMRIwEAYDVQQHDAlTYW4gSm9zZTEPMA0GA1UECgwGQ29tcGFueTCCASIwDQYJKoZIhvcNAQEBBQADggEPADCCAQoCggEBAK9b+GVsTsmP7z9T2sh79uI/57pI1DBYNyOlwC0lfn8SebVKRg0qAsaF3V4rQ/RPZFGkTb2G7IKnWQZ6VB8AFLF6A9xuGe7vSG9ZcJ1AKM2uOwYXzWQNWRFiW1XPOEIOXB+N7kMFTF6ZzE6RkV68hVqVn7Kx4s0RYAKM4ESJIMyF64IHo5Rf6k3UtrOzy6M3LXM3axgUPHkHZh6/Pi3hecaF7w0qDhlS8UJLA4Gn1I6nrFt1URVd7aSIEiOQhs7wAGDzCjNYMEQK9ih0GLd9ybCm0flYo5fJqfOhWiCFm2z3SuGH9MSnVdrzxY6x23J/gE3spPvBopF6bRjQl0qiw1ZAgMBAAGjUDBOMB0GA1UdDgQWBBRZtdl2jSWpITThx8JZL4Jx0zCBdTAfBgNVHSMEGDAWgBRZtdl2jSWpITThx8JZL4Jx0zCBdTAMBgNVHRMEBTADAQH/MA0GCSqGSIb3DQEBCwUAA4IBAQARzA8ydRMOfbU0QLOEp9V4B6nO8XBpe9uvtYwQjmb5ZX1bR2/P71bzeJwHK6v4RZl6V5fwGzFdsMFI8JAlLJChM1BpsU7a5R+U/X6XJpCzjErhZ68Z3G+TQ4Bk9LhRlQTH5ld9lR8aWpVPvPIqMtkJhbvWn9P4ysc8q3WYfILy9m9J8Hz3i3AaAEjS5WWm4BjKUMvOF
Configuration du connecteur SQL
| Champ | Description du champ |
|---|---|
| Adresse du serveur | L'adresse IP ou le nom d'hôte du serveur de base de données. C'est l'endroit où la base de données est hébergée et accessible. |
| Port | Le numéro de port sur lequel le serveur de base de données écoute. Les numéros de port les plus courants sont 3306 pour MySQL, 5432 pour PostgreSQL et 1433 pour SQL Server. |
| SSL | Indique si le protocole SSL (Secure Sockets Layer) est utilisé pour crypter la connexion au serveur de base de données. Il comprend généralement des paramètres pour le mode SSL et les certificats. |
| Base de données | Nom de la base de données spécifique du serveur à laquelle vous souhaitez vous connecter. C'est là que résident vos données. |
| Nom d'utilisateur | Le nom d'utilisateur requis pour s'authentifier et accéder à la base de données. Cet utilisateur doit disposer des autorisations nécessaires pour effectuer des opérations sur la base de données. |
| Mot de passe | Le mot de passe associé au nom d'utilisateur, utilisé pour authentifier l'utilisateur auprès de la base de données. Cela permet d'assurer un contrôle d'accès sécurisé. |
Configuration des connecteurs MQTT
Apprenez à créer des connecteurs MQTT ici.