库存应用程序套件可让您管理运营中的端到端库存流。通过管理库存流,您可以简化订购流程,优化物料流。
前提条件
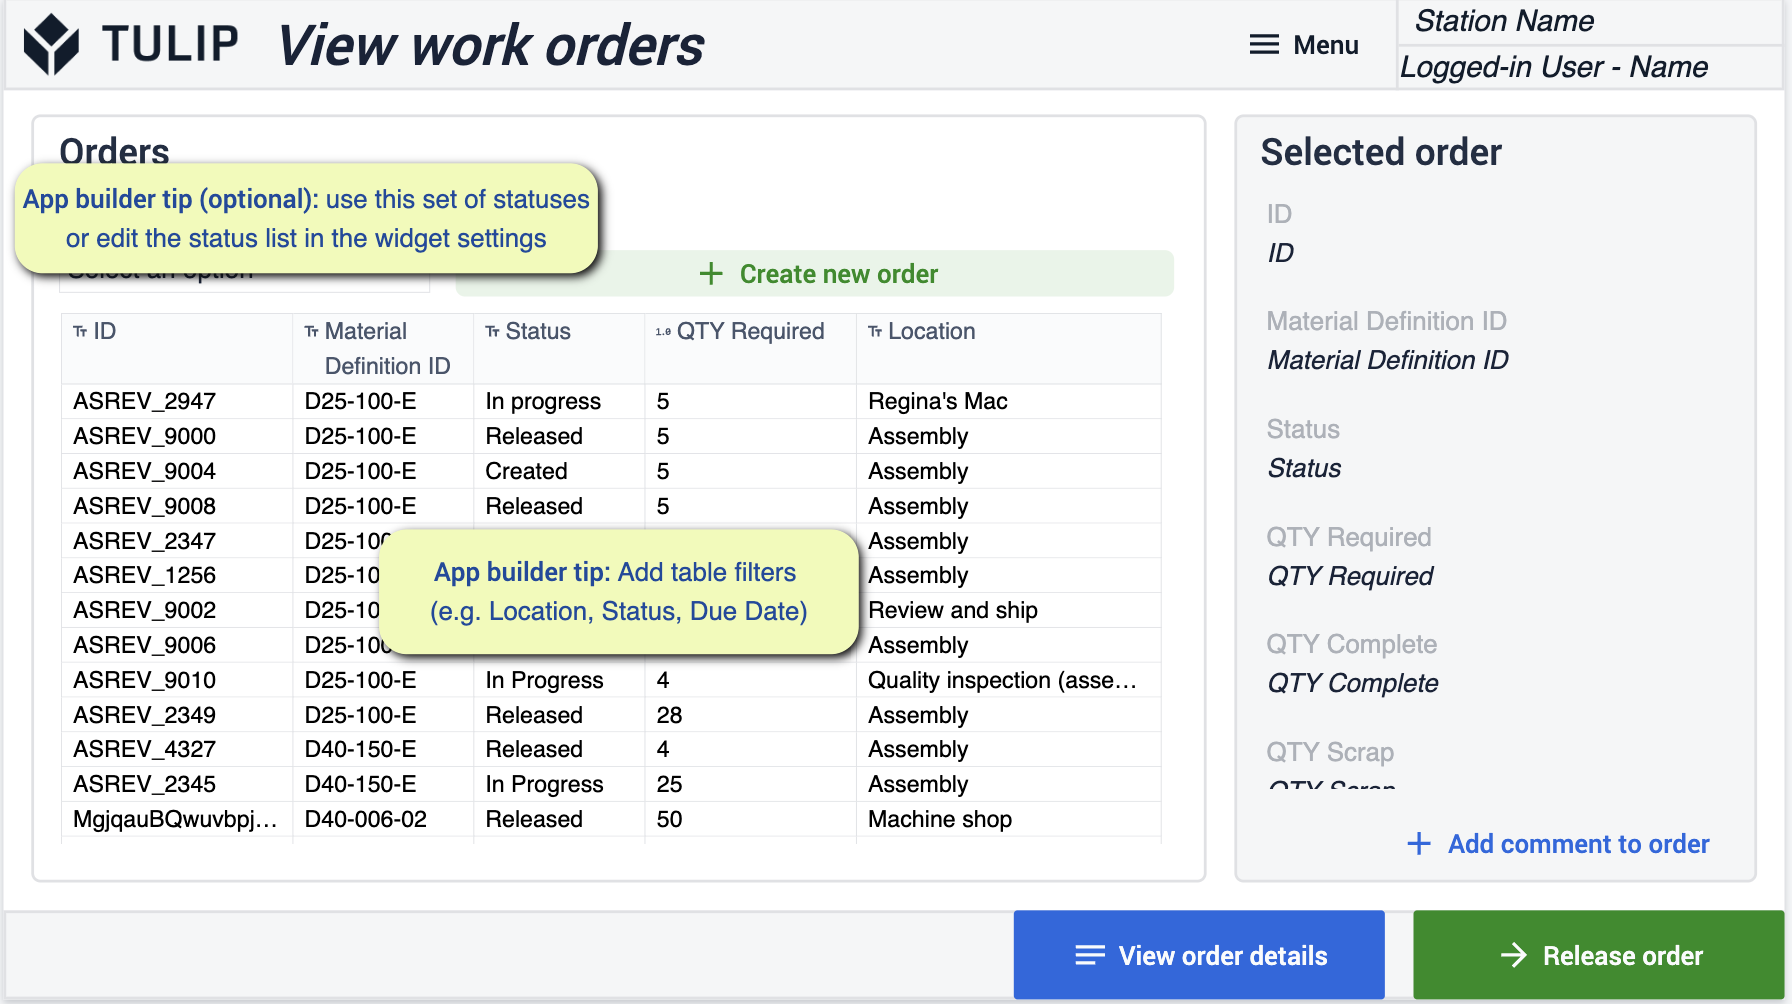
在此应用程序套件中,将有各种应用程序生成器提示供您参考。
在配置应用程序套件之前,请确保您熟悉以下技能:
部署
您需要确保正确理解如何将这些应用程序部署到所需的设备上,以及如何在站点上运行这些应用程序。了解业务流程非常重要。有了车间示意图,您就能更好地了解在整个过程中,您希望应用程序在哪里运行。
连接的表格
您在整个应用程序套件中使用的表格将在您的各种应用程序中使用和连接。这样,您就可以获得更轻松的用户体验,并建立一个可用于开发未来应用程序的表格网络。了解更多有关表格如何通过使用通用数据模型最大限度地减少冗余和提高兼容性的信息。
下载
单击库存应用程序套件链接。这将带您进入库页面,您可以在此将应用程序添加到您的实例中。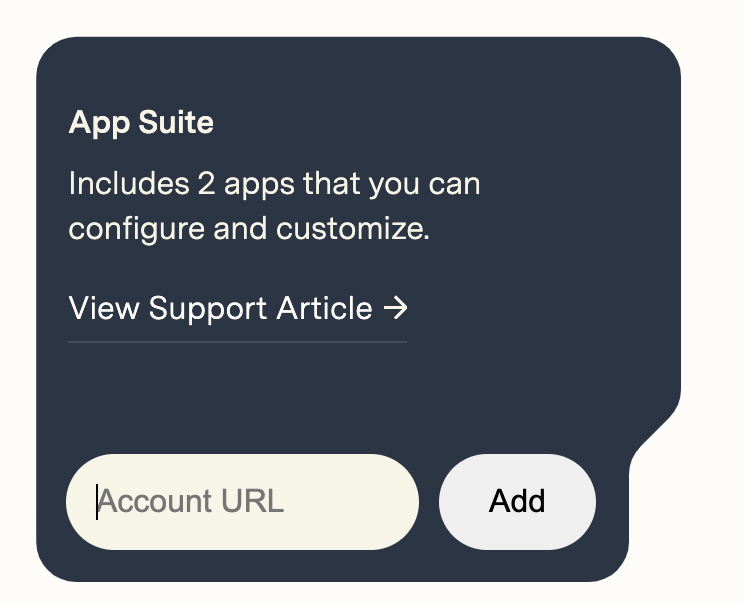
添加应用程序套件后,您会在实例中发现一个名为 "库存 "的文件夹。您可以在此查看套件中的所有应用程序。
库存材料系统
该应用程序套件的重点是在装配流程中改善物料流并最大限度地提高库存。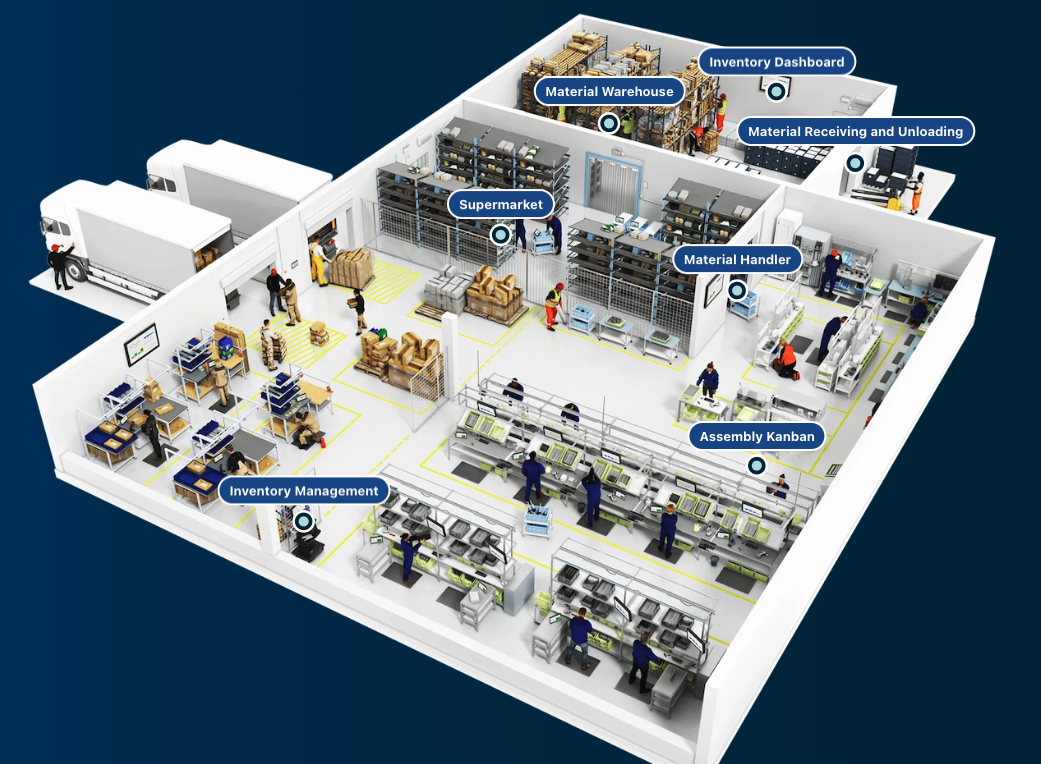 {height="" width=""} 让您更清楚地了解材料的去向,从而提高库存准确性。
配置应用程序
While configuring applications, any changes made to tables need to be made across all applications for connectivity.
材料申请
此应用程序可让您简化材料申请表的创建过程。
申请材料
在此步骤中,您可以通过选择材料来申请所需的材料。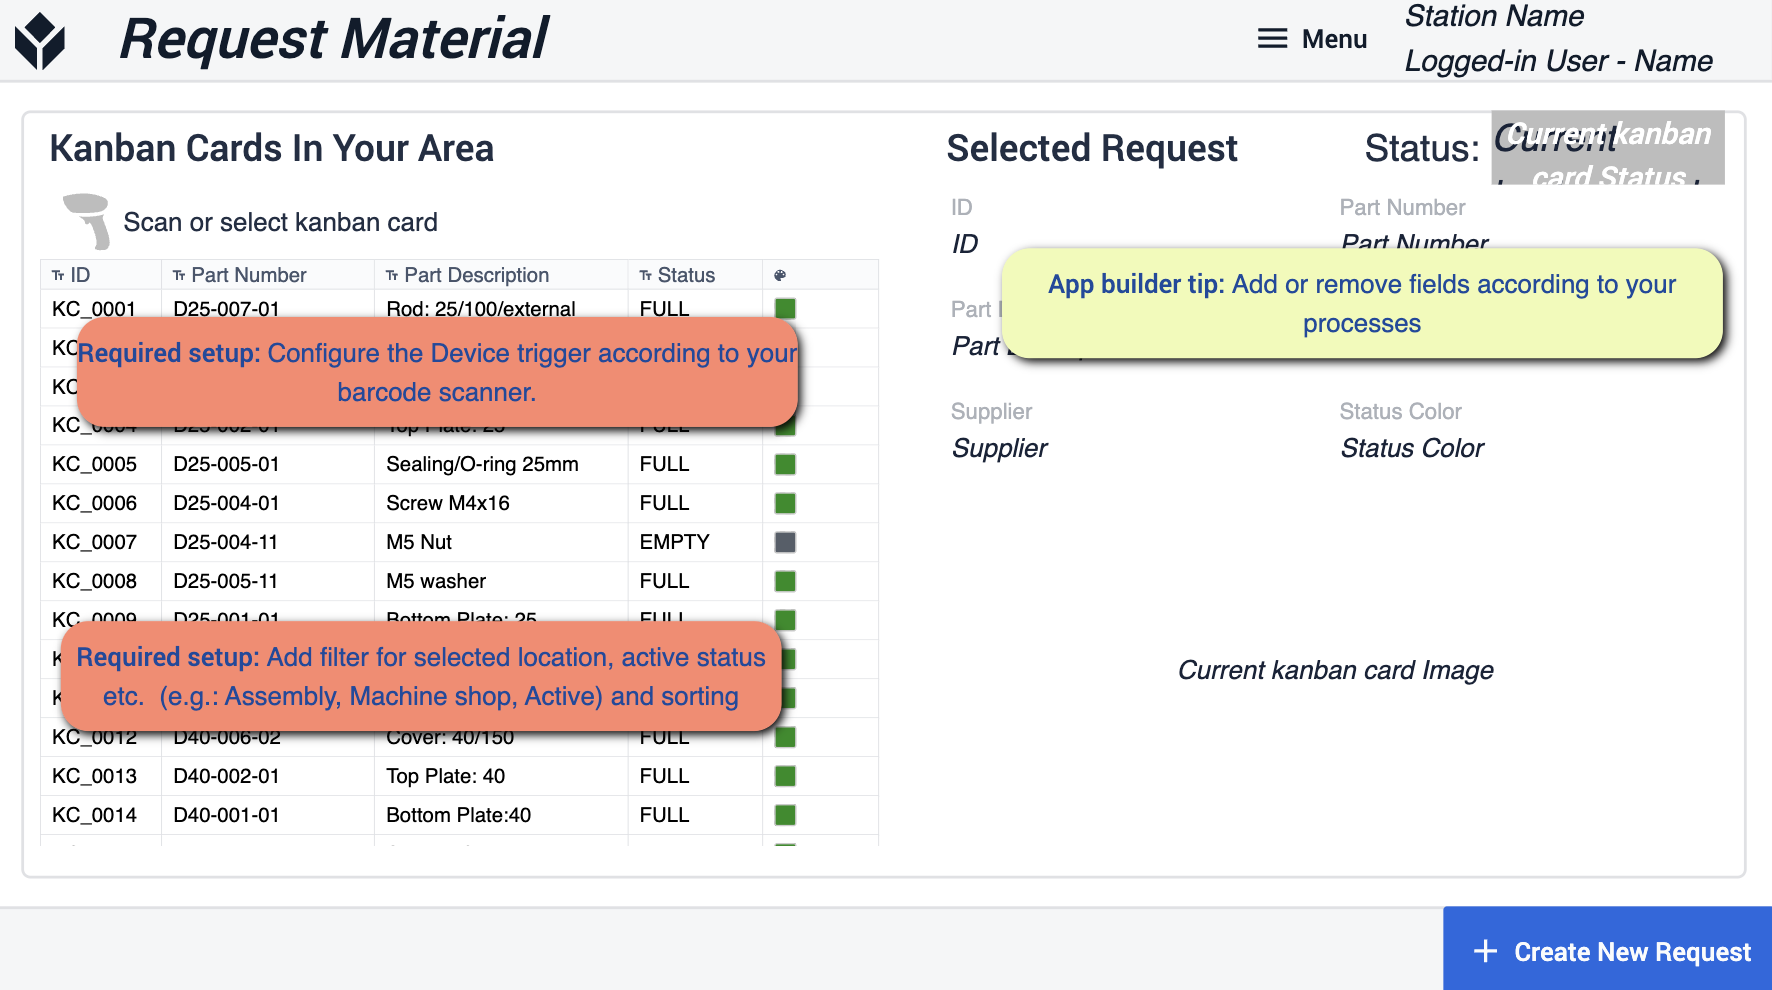 {height="300" width="""}* 应用程序生成器提示主要围绕为选定位置和活动状态添加过滤器。您需要将所使用的设备配置为条形码扫描仪。如有需要,您可以删除某些字段,以符合您的流程。
确认
在此步骤中,您将在创建请求之前看到请求的视图 {height="300" width="""}* 在此,您需要确保配置了材料请求状态和请求 ID。这将确保申请被转到实际需要的地方。
库存仪表盘
该仪表板旨在为您提供全面的运营信息。流程中每个位置发生的情况,以及物料在设施中的移动位置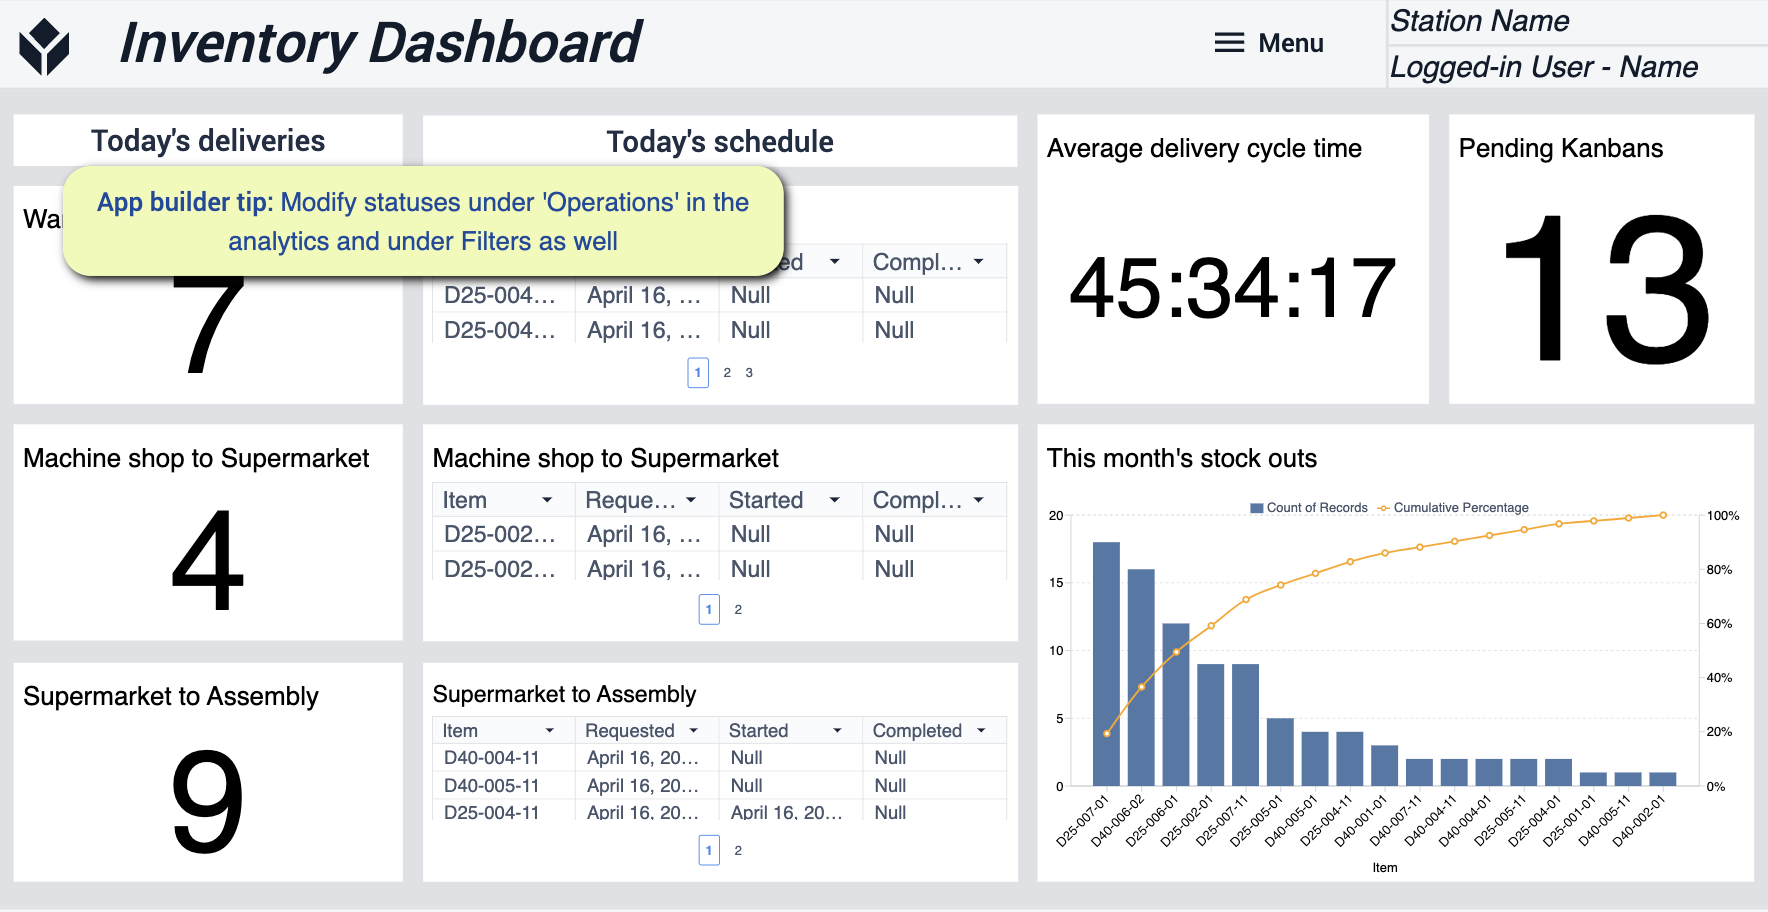 {height="300" width=""}* 对于此应用程序,您需要修改 "操作 "下的状态,以确保您的分析符合您的需求。
材料装载和接收
此应用程序的重点是帮助您跟踪和处理收到的新材料。
主页
该屏幕用于引导您使用应用程序的不同功能。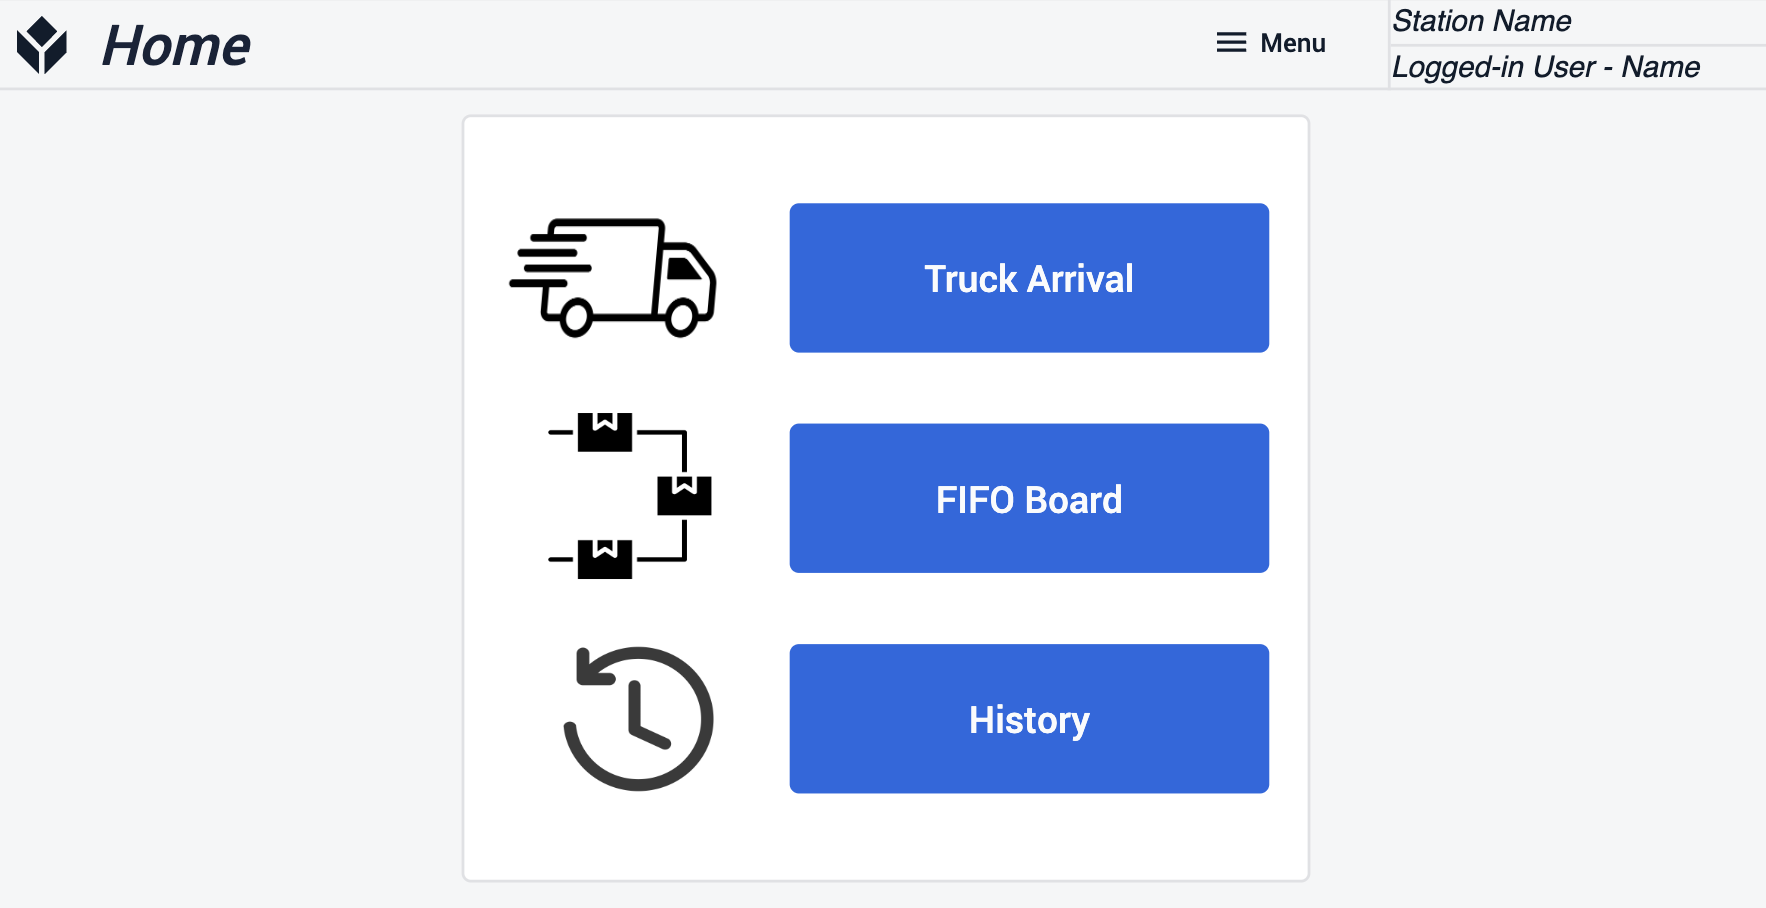
卡车到达
跟踪运送材料的卡车。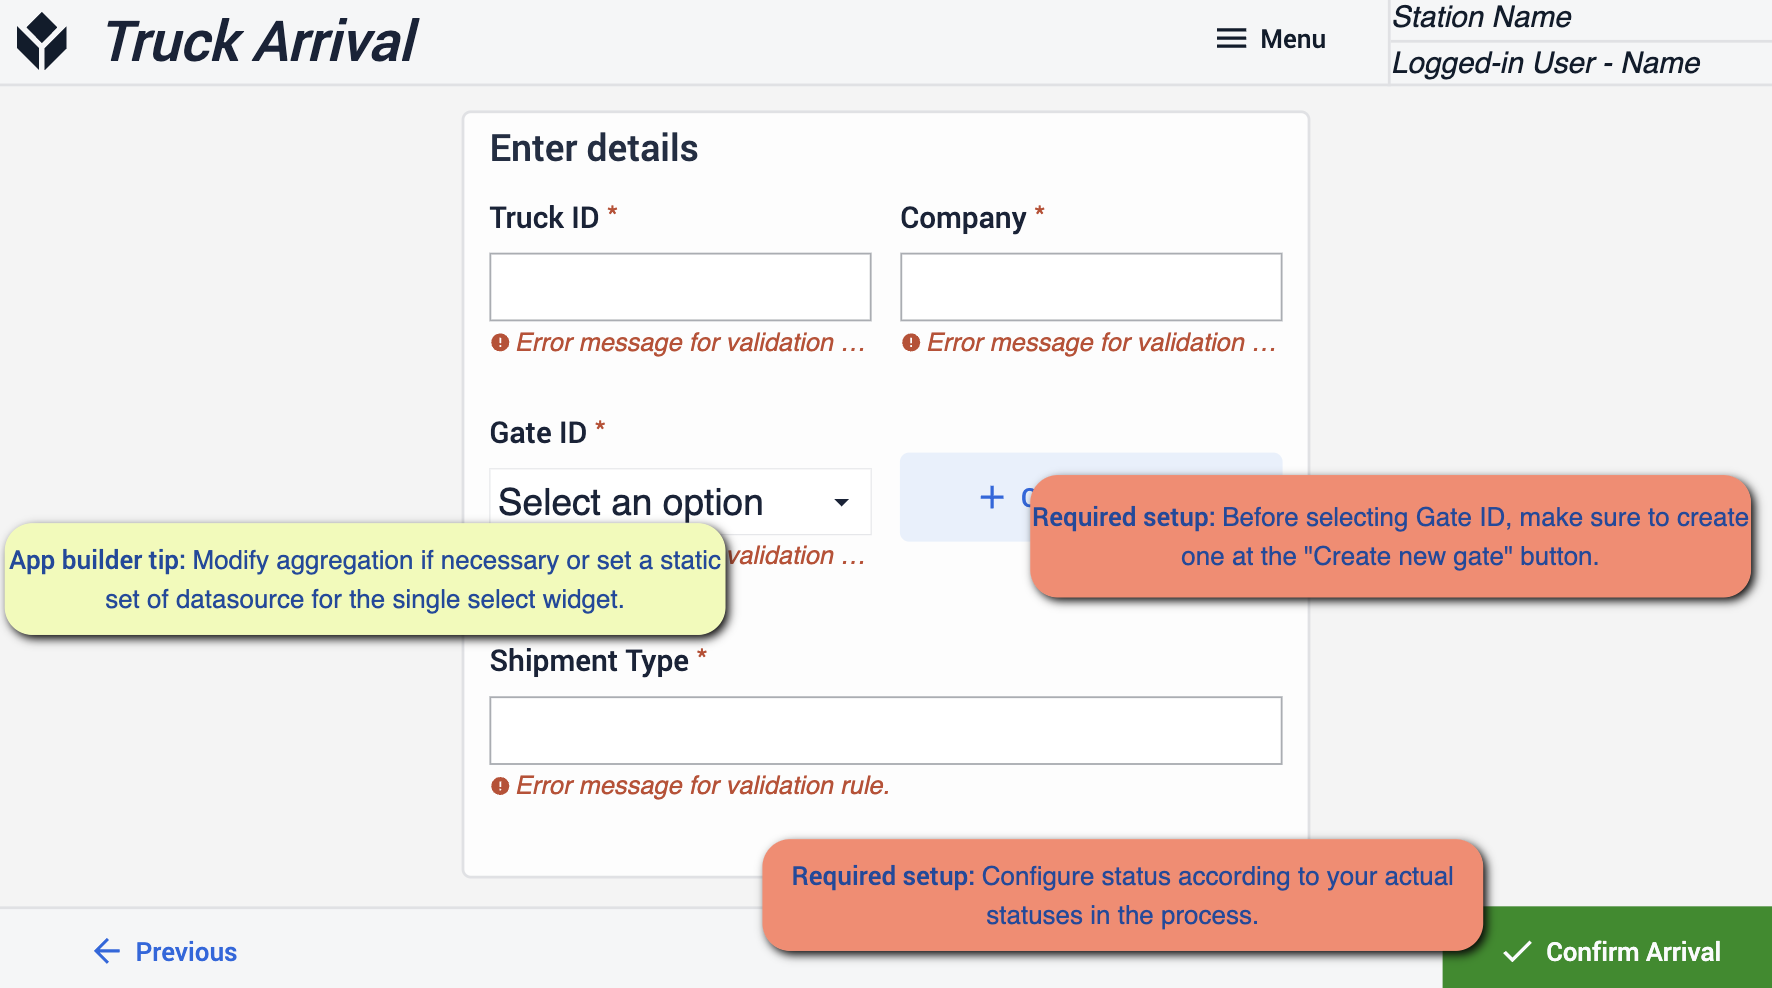 {height="300" width=""}*在进行这一步时,重要的是在选择大门之前使用 "创建新大门 "按钮,这样你就可以选择一个大门。确保您的状态与流程中涉及的状态相匹配。
上传图片
这一步是为了确保您捕捉到材料的到达。在货物到达时保留可视证据 {height="300" width=""}* 确保您的状态与流程相匹配
先进先出板
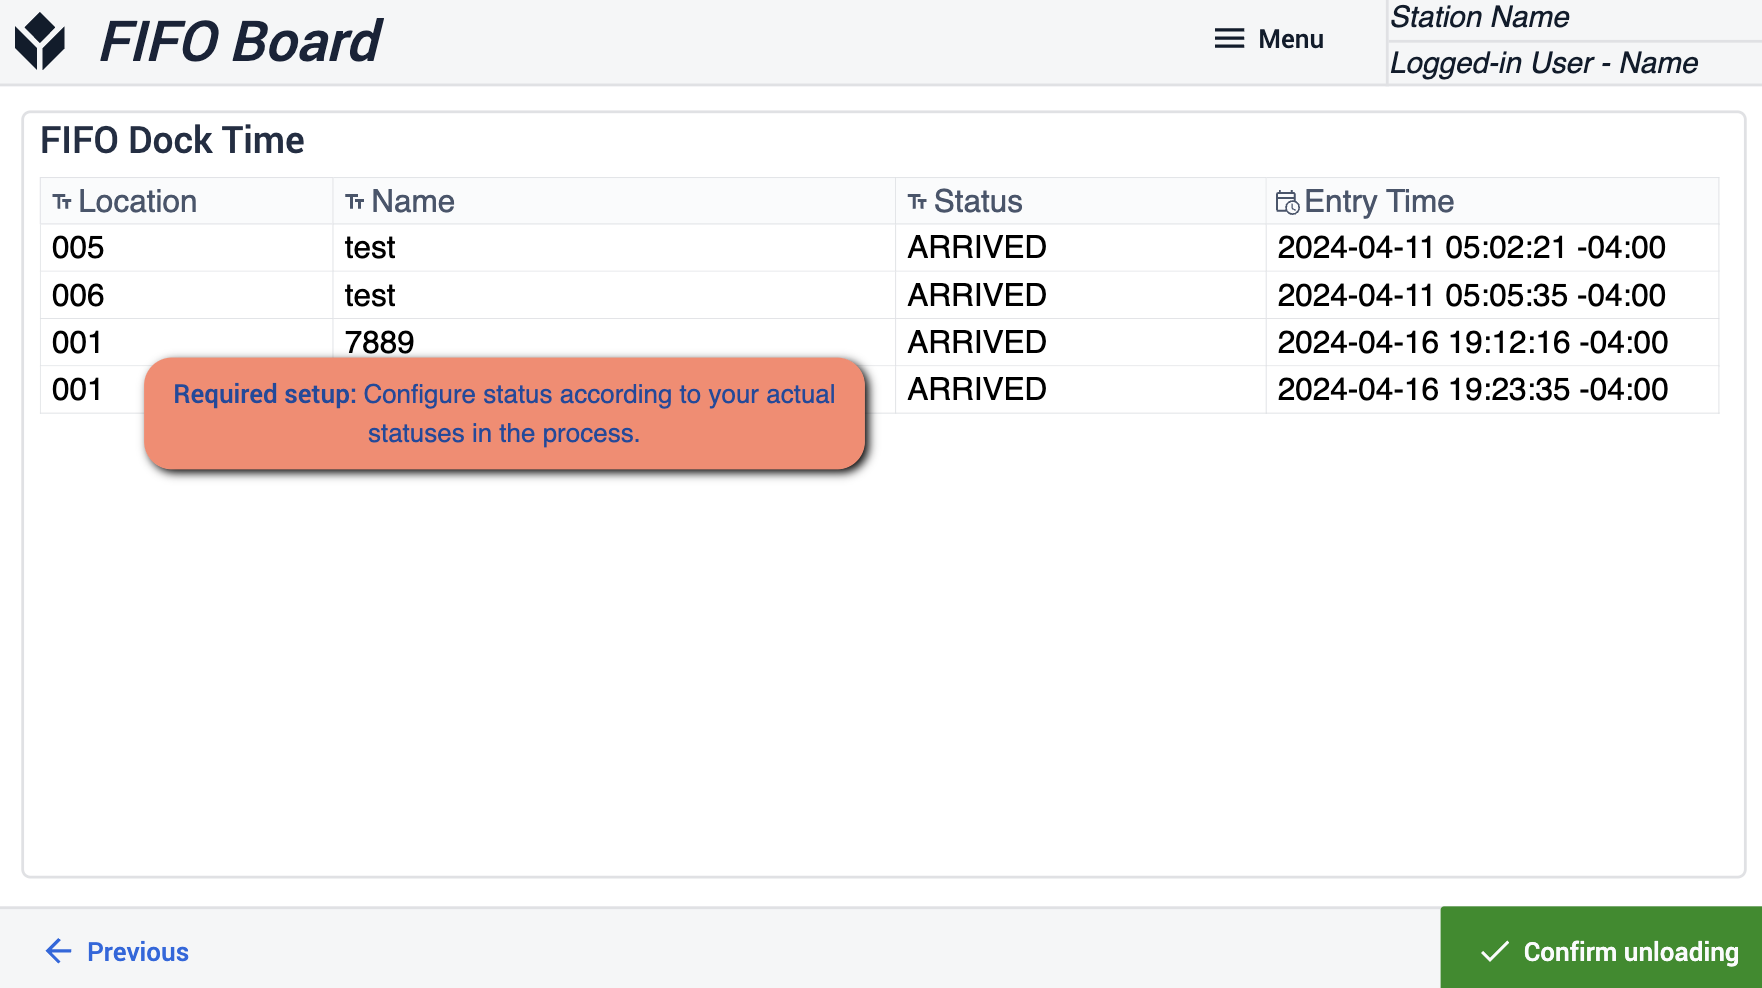 {height="300" width=""}*确保您的雕像与流程相匹配。
卸载确认
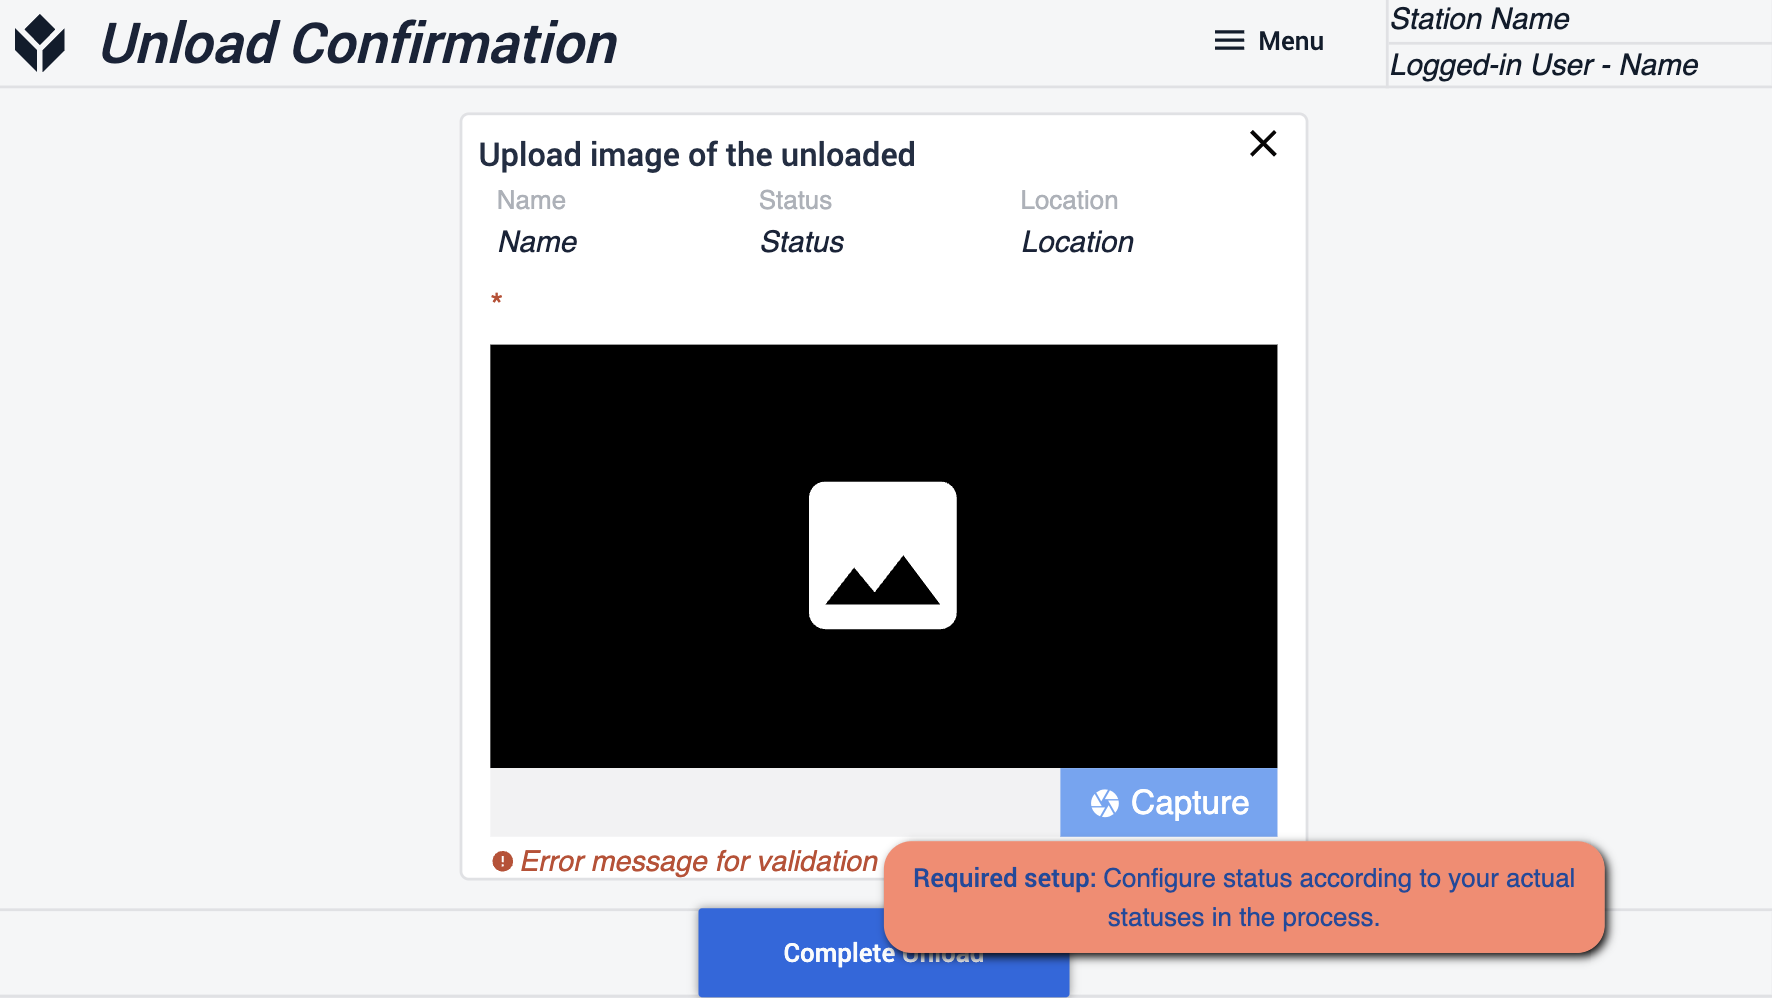 {height="300" width="""}* 确保您的雕像与您的流程相匹配。
添加新门
在此步骤中,您将可以为接收材料创建新门。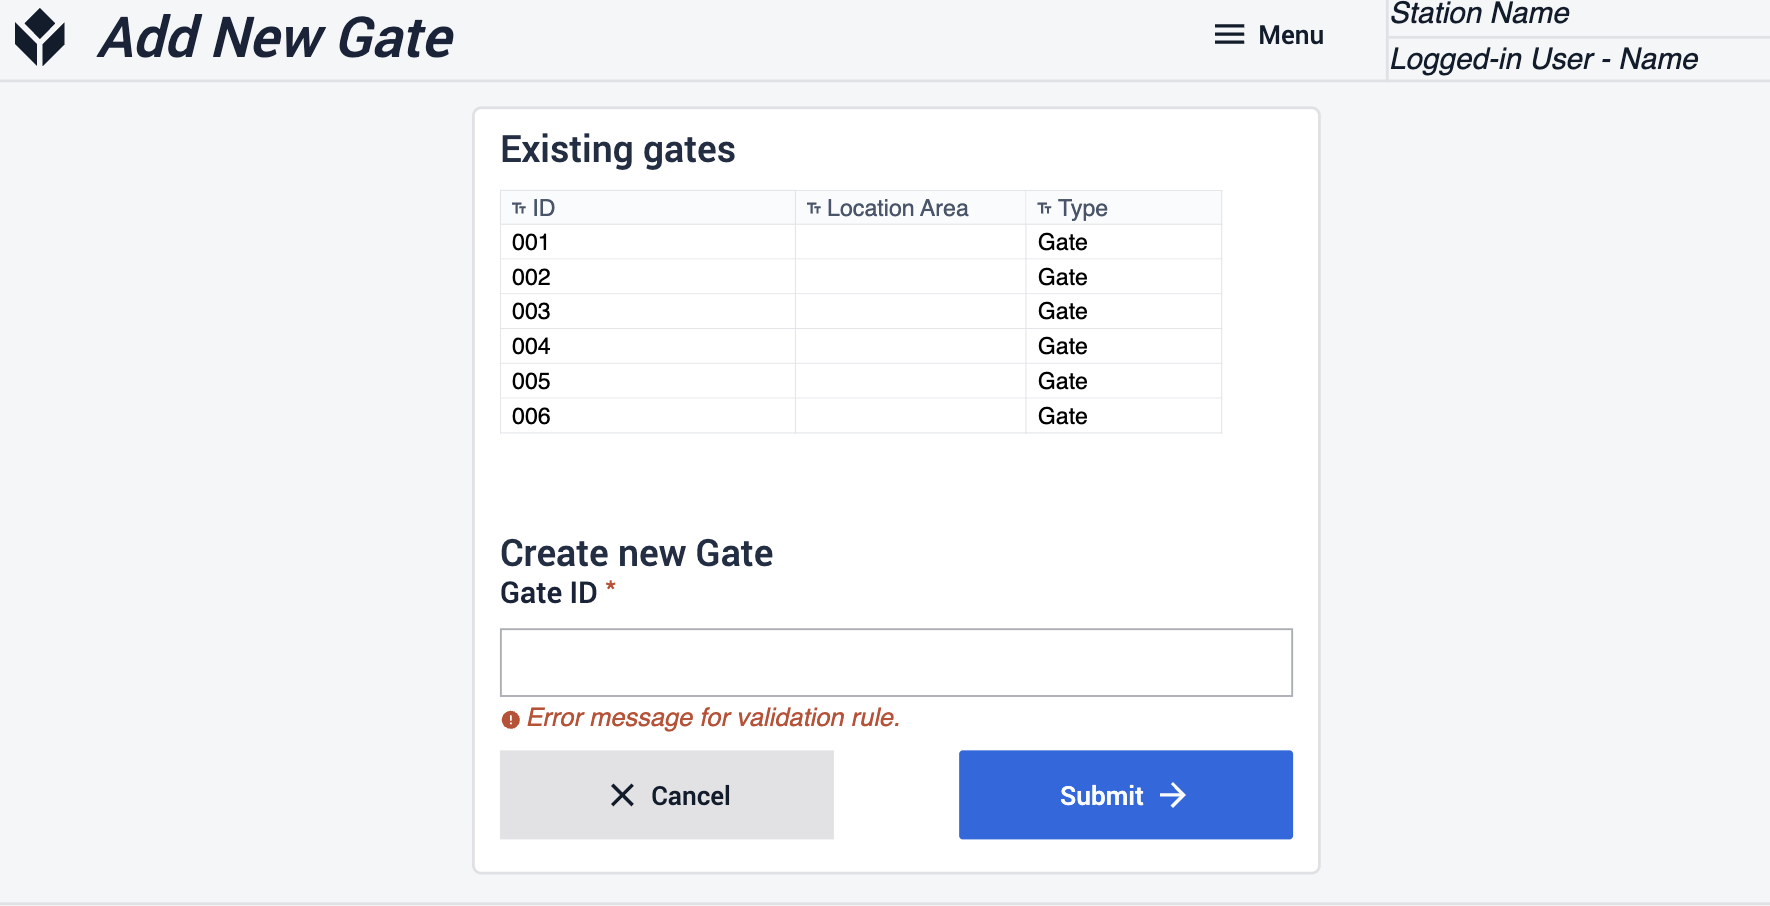
查看历史
通过此步骤,您可以访问有关过去到达的信息,还可以搜索已捕获的特定数据。
补货
此应用程序可通过减少手动数据输入和管理开销来简化物料补给和移动,使员工能够专注于更具附加值的任务。
查看未结物料申请
通过此步骤,您可以查看所有待处理的物料申请。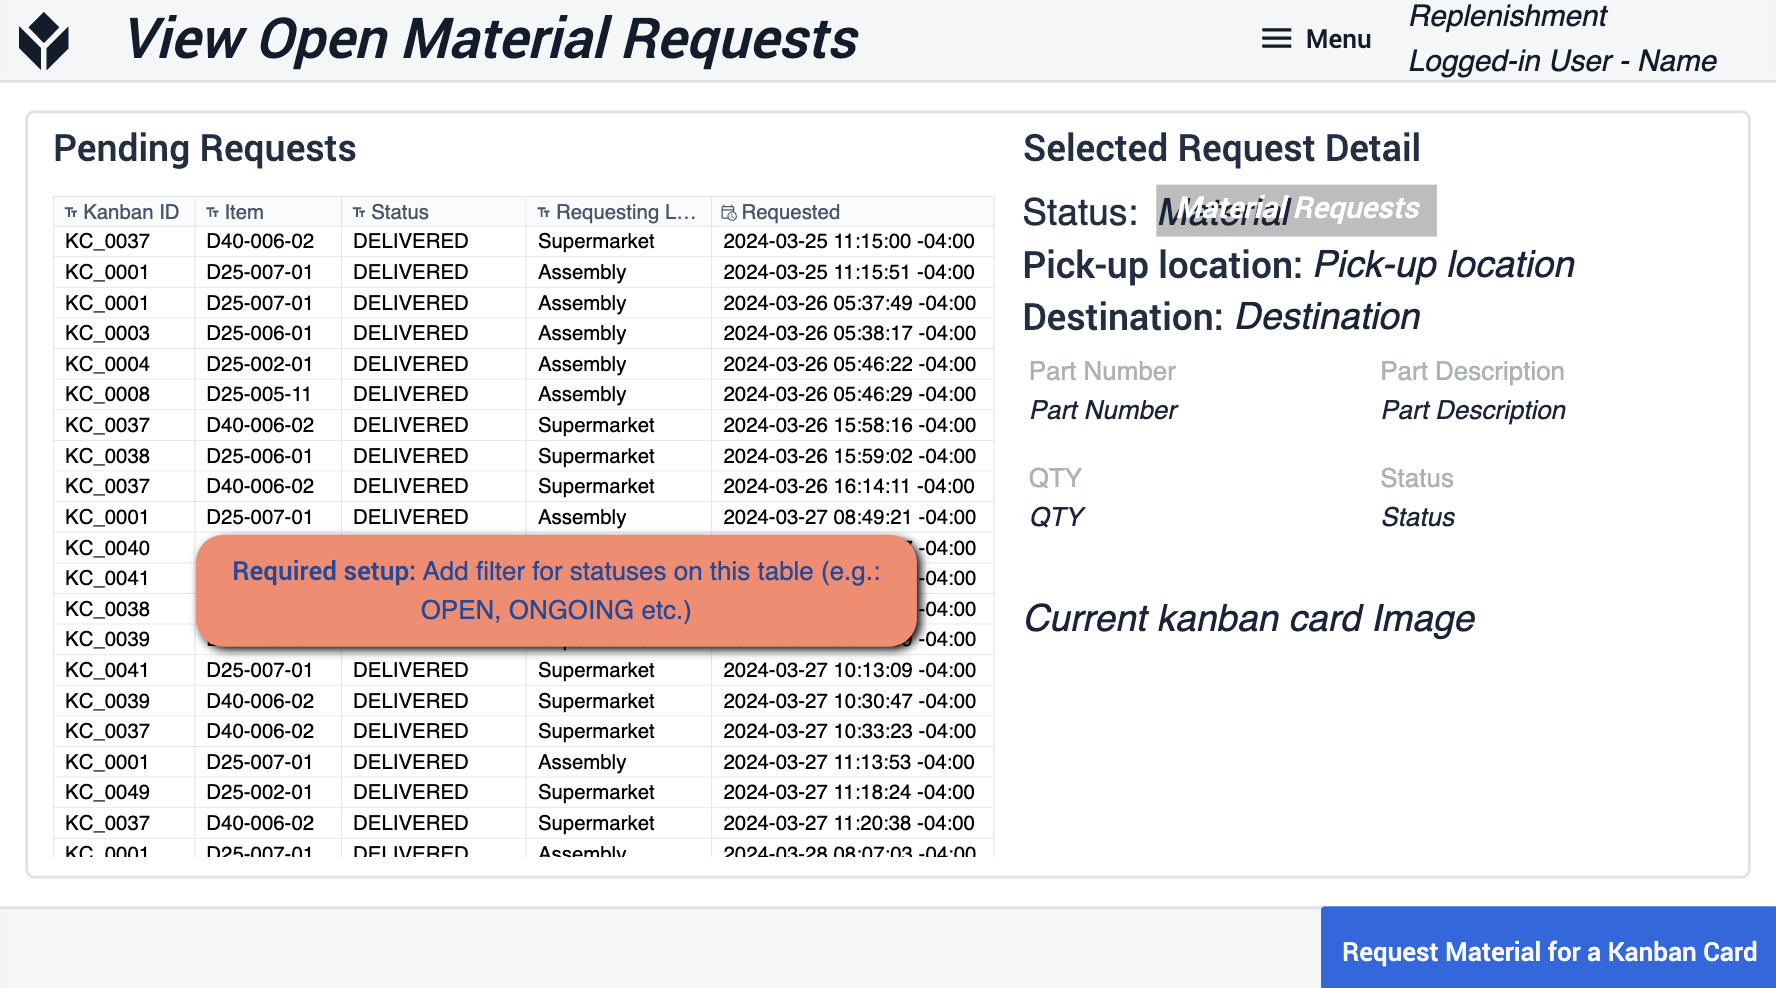 {height="300" width=""}*在表格中添加筛选器,以匹配您在操作中使用的状态
选择看板卡
在这里,您可以扫描指定区域内物料的看板卡。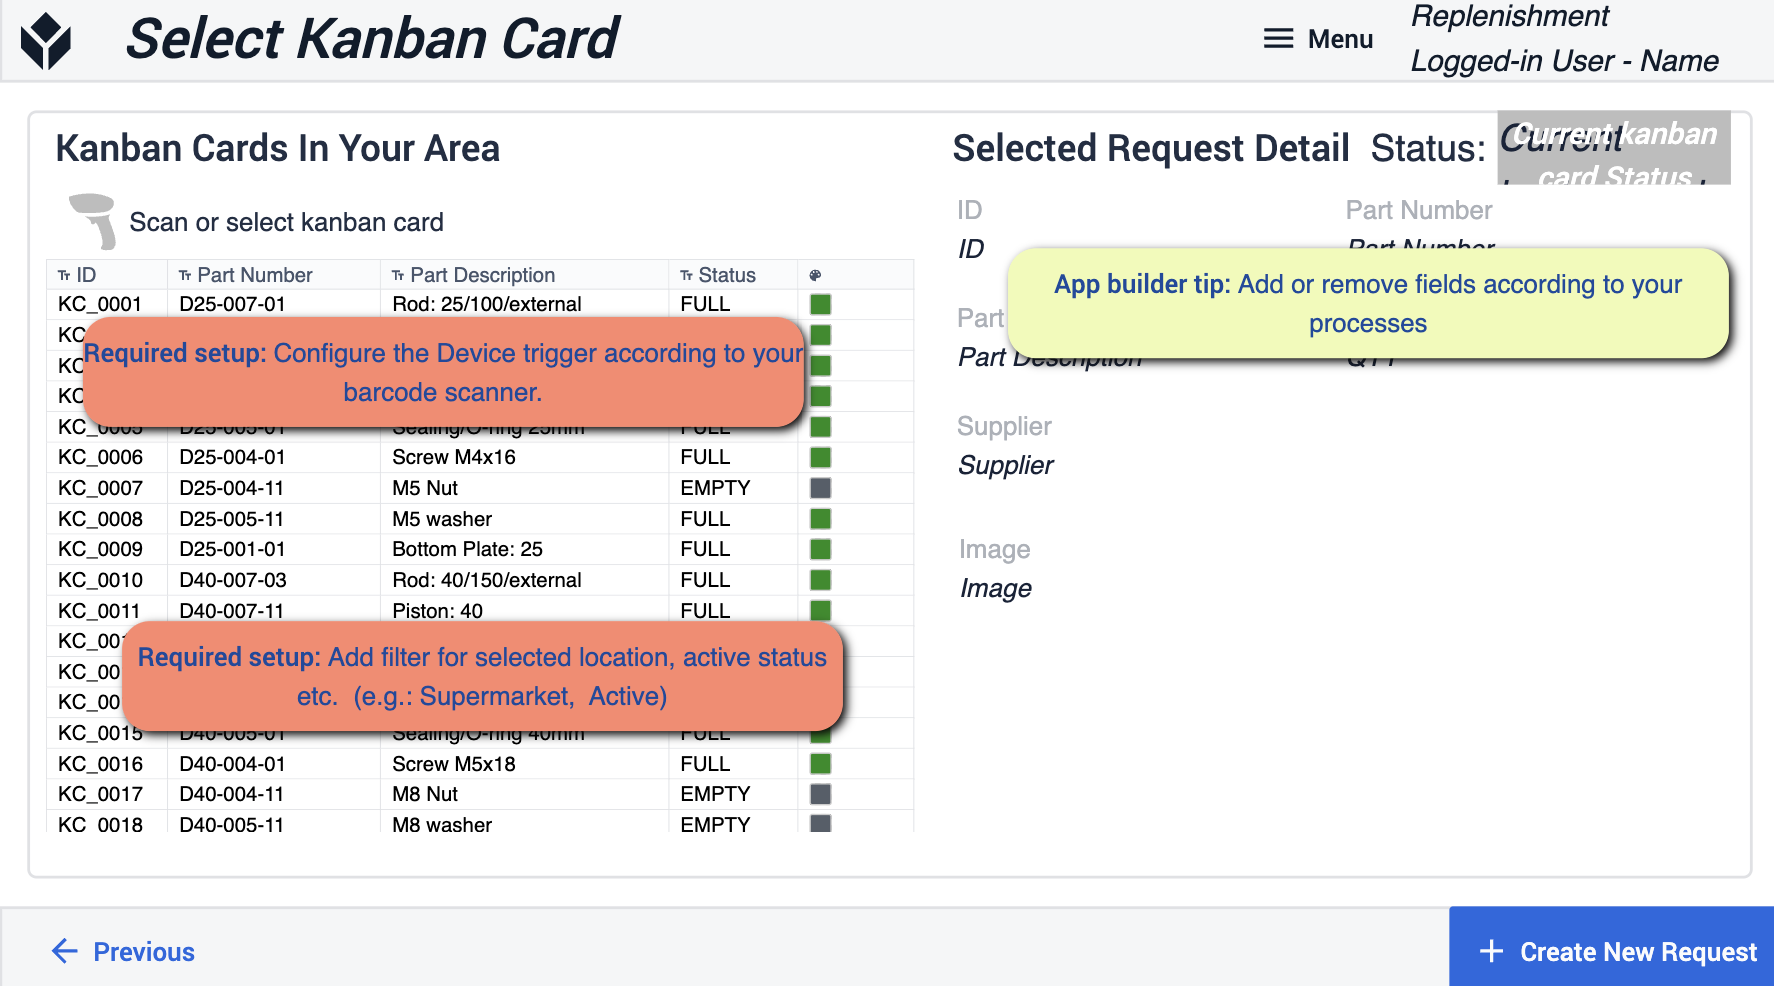 {height="300" width=""}*应用程序开发提示主要围绕为选定位置和活动状态添加筛选器。您需要将所使用的设备配置为条形码扫描仪。如有必要,您可以删除某些字段,以符合您的流程。
确认物料请求
选择材料请求后,这一步将用于确认实际请求本身。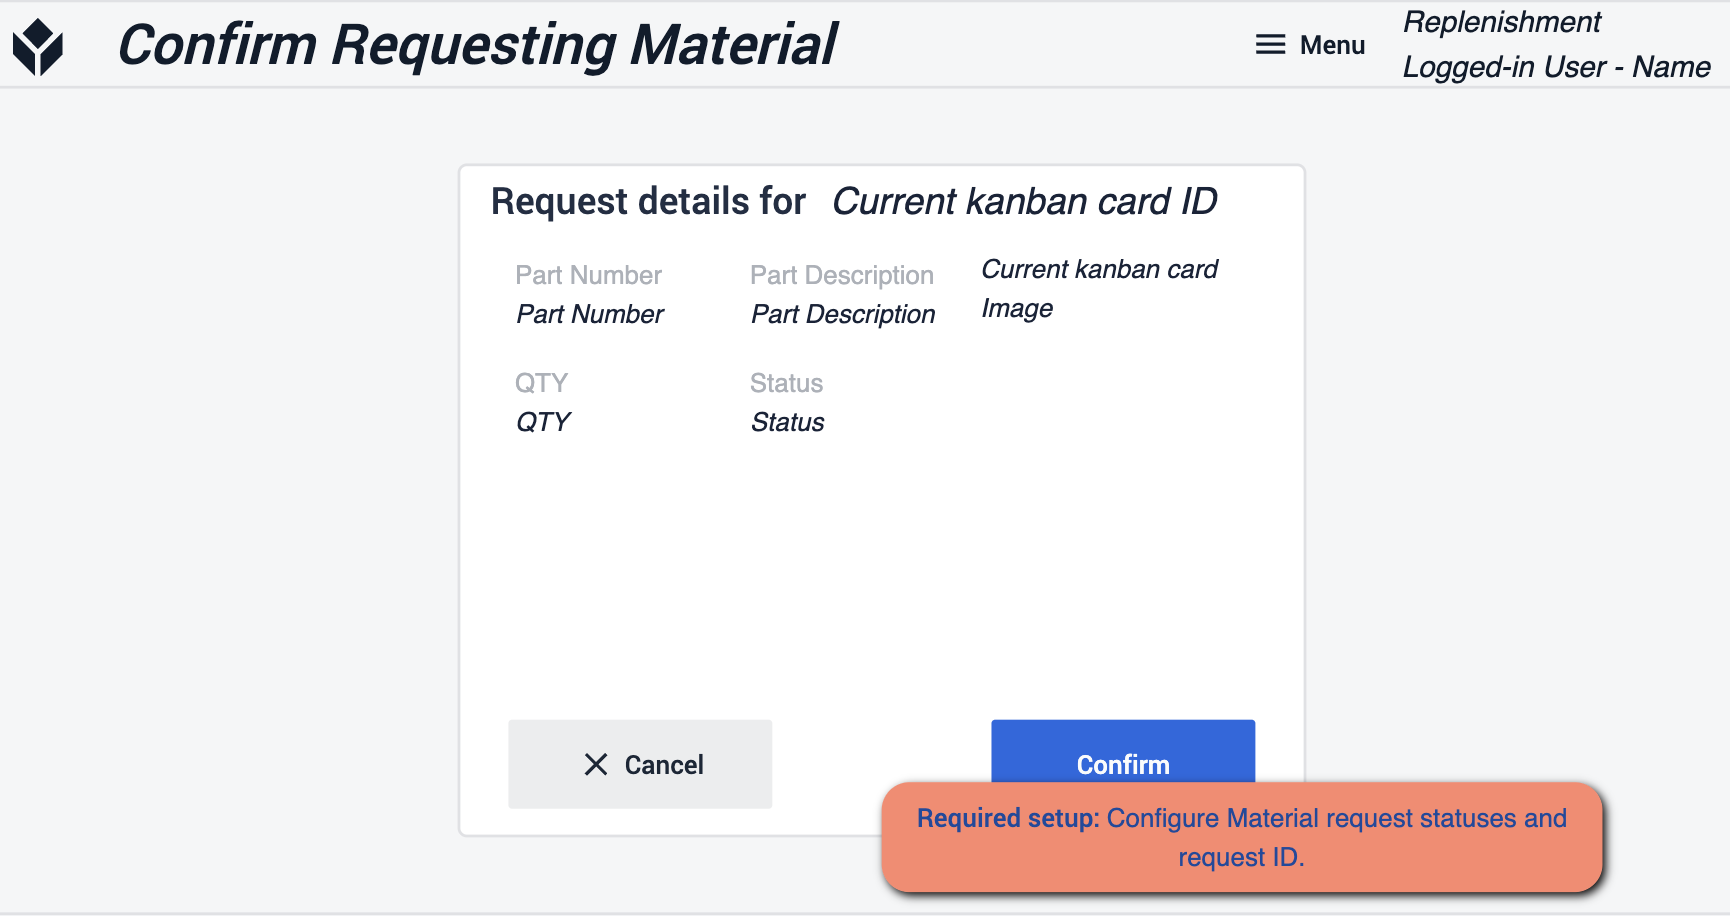 {height="300" width=""}* 在此,您需要确保配置了材料请求状态和请求 ID。这将确保申请被转到实际需要的地方。
库存管理
此应用程序将管理和查看您的库存物品。您的数据将通过表格存储和显示,这些表格也可以根据现场发生的变化进行更改。
主屏幕
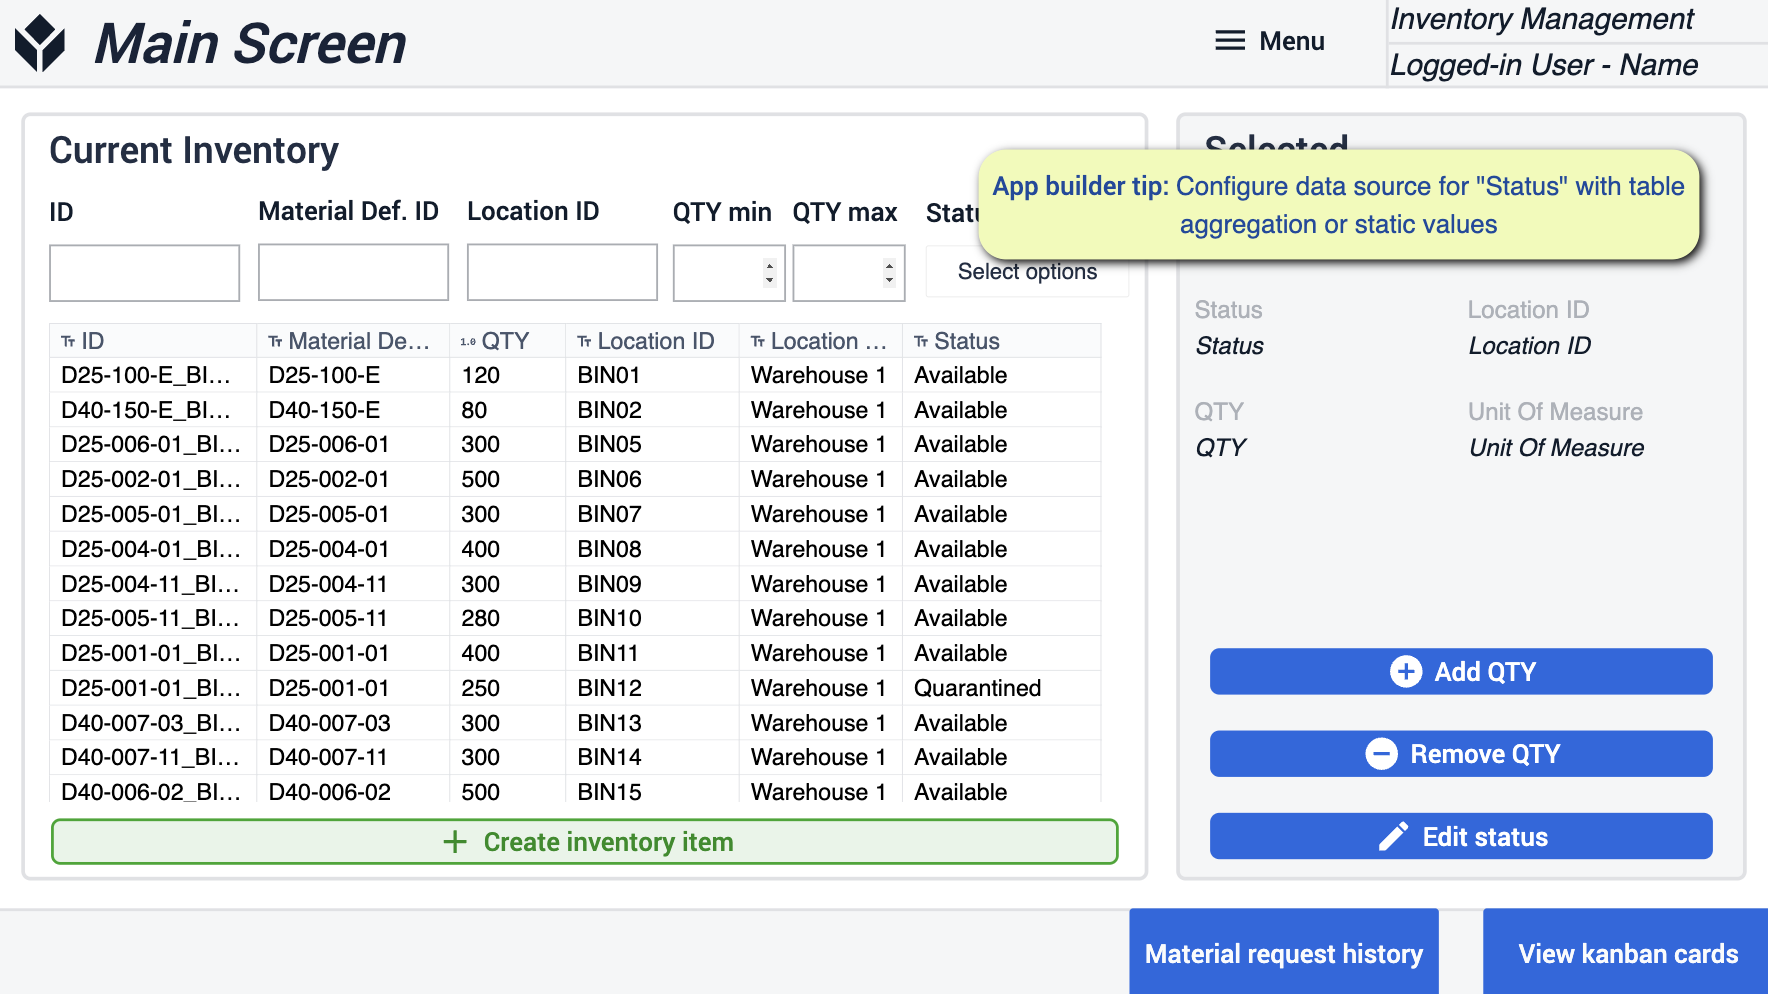 {height="300" width=""}*在这里,您需要为 "状态 "配置静态值或聚合的数据源。
删除数量/添加数量
在这些步骤中,您可以添加或删除所选库存物品的数量。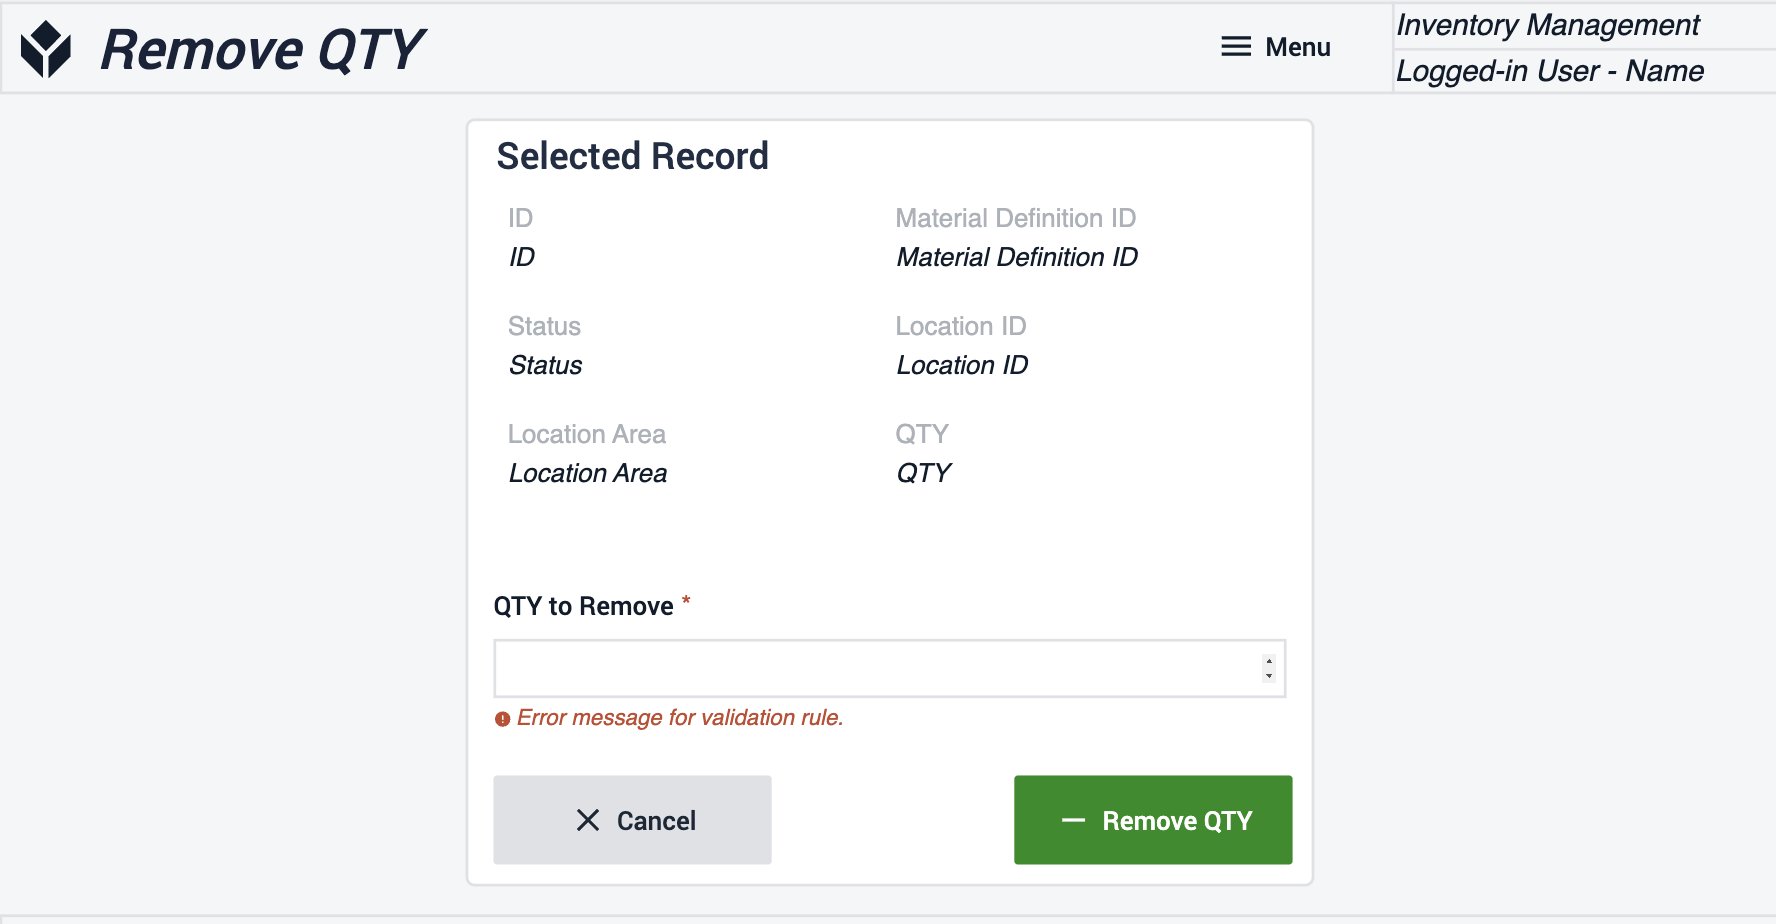
编辑状态
您可以在此编辑库存物品的状态。确定您要更改的物品数量。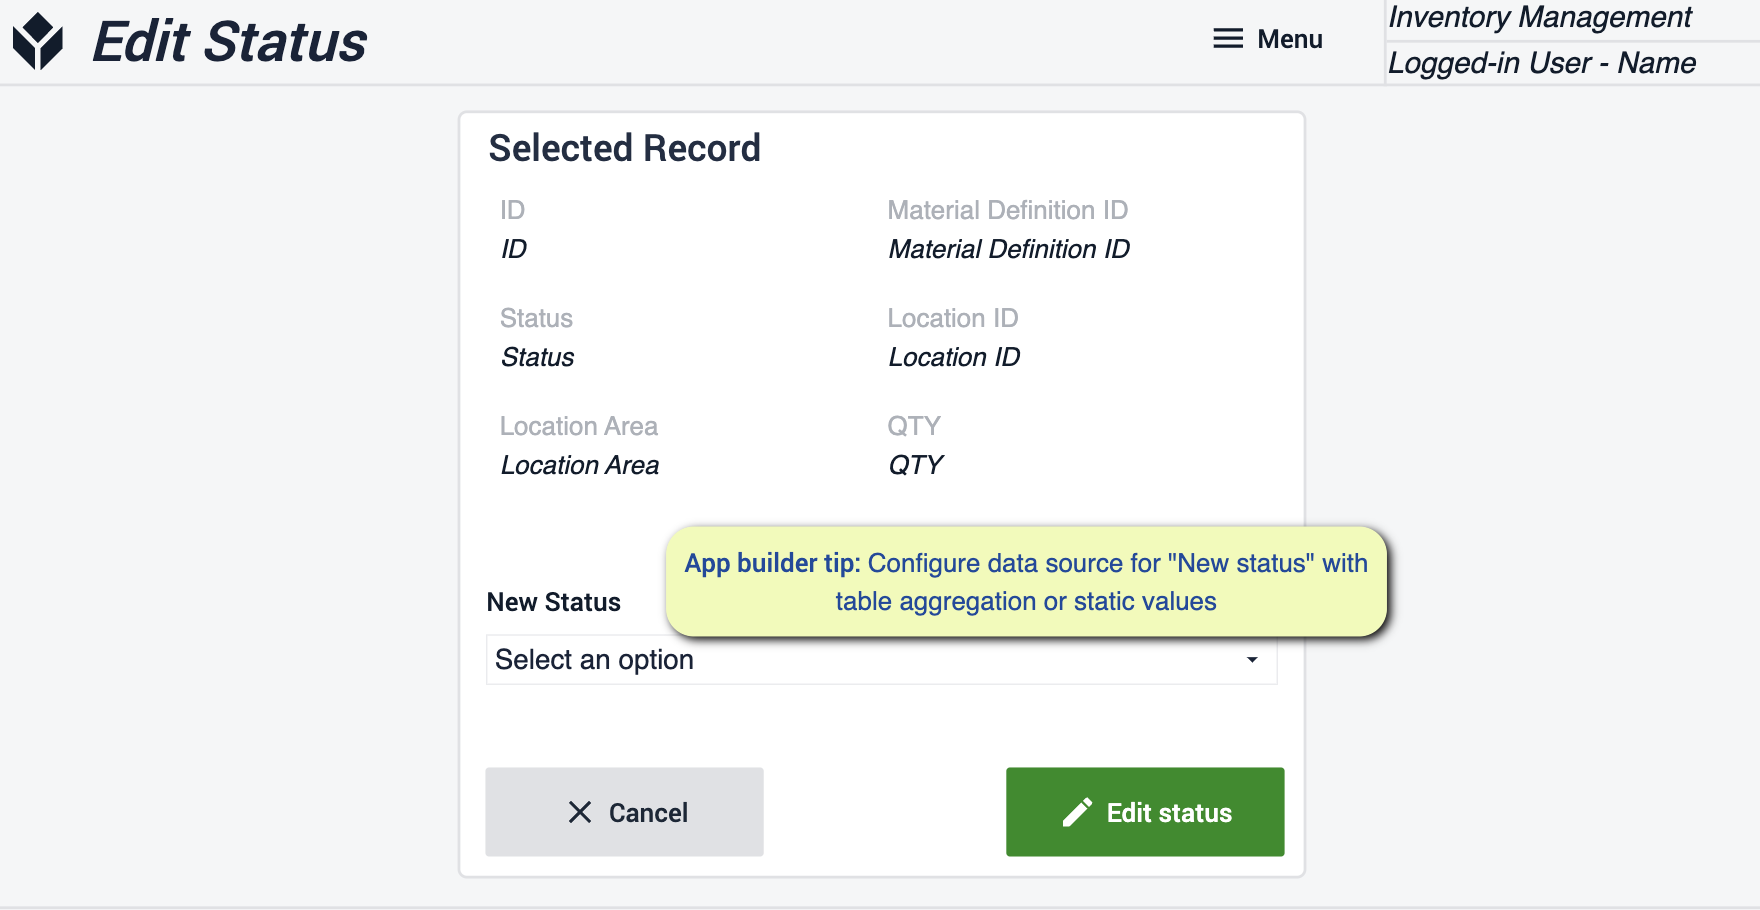 {height="300" width=""}* 在此,您需要为 "新状态 "配置静态值或聚合的数据源。
创建库存项目
通过填写必填字段创建新的库存项目,并将这些新项目保存到当前库存中。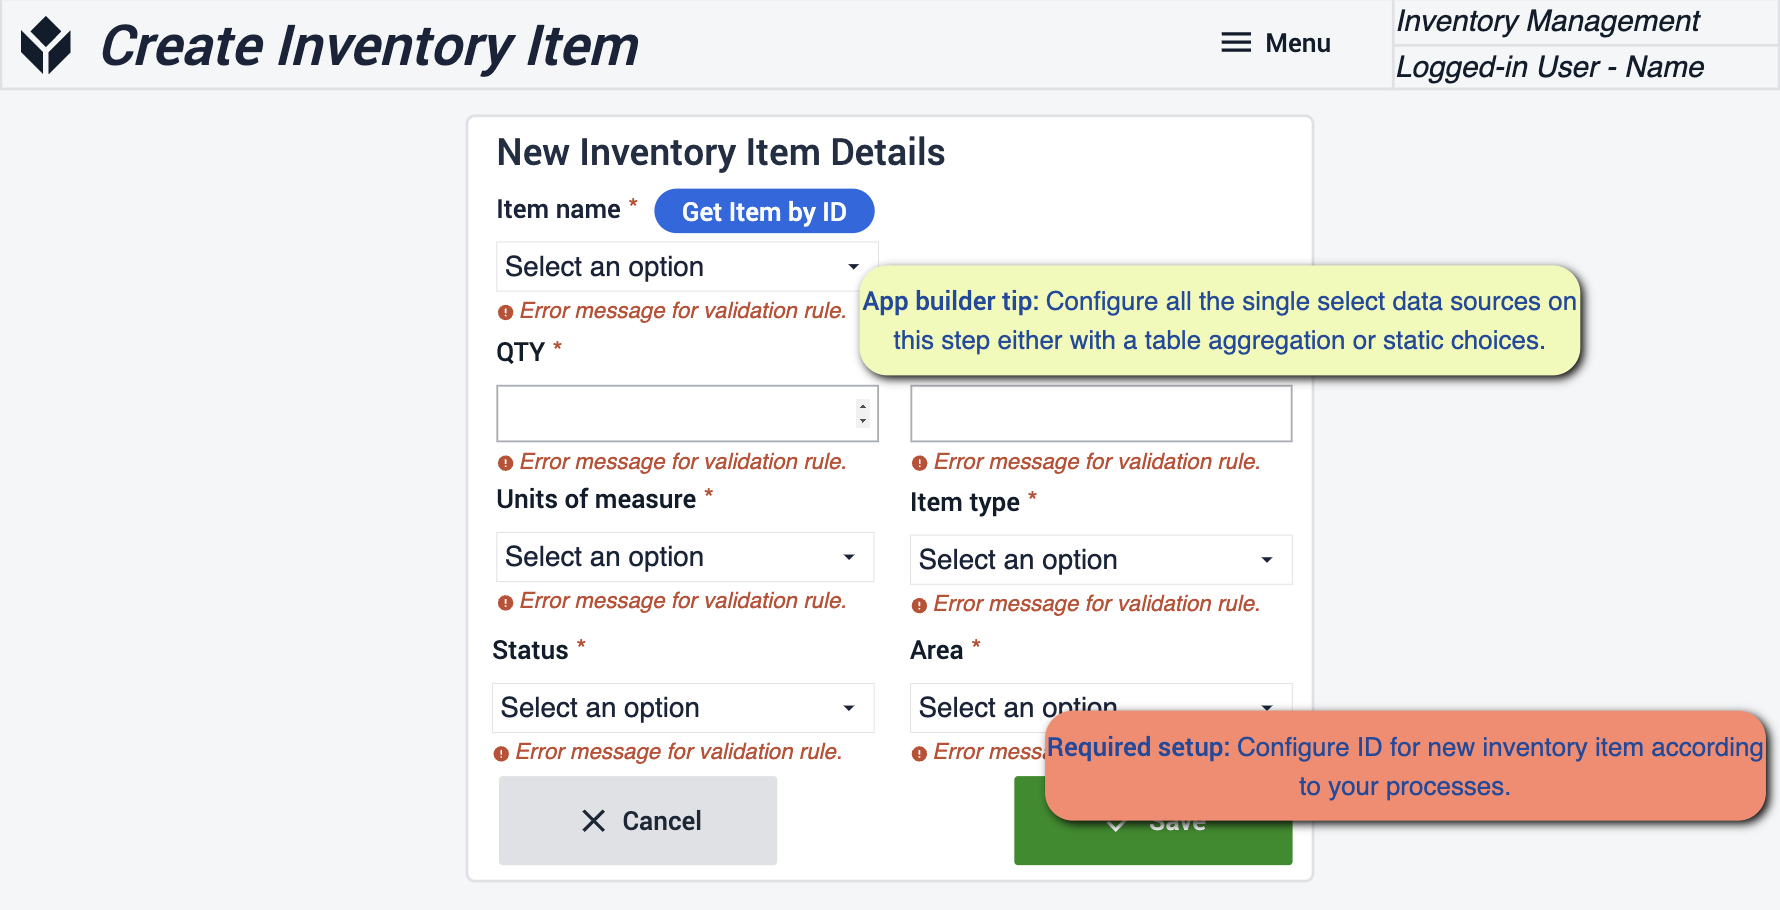 {height="300" width=""}* 在此步骤中,您需要使用表格聚合或静态值配置所有数据源。根据流程配置新项目的 ID 也很重要。
查看看板卡
在这里,您可以查看已制作的所有看板卡。您可以打印标签和创建新卡片。如果某些看板卡有匹配的属性,你可以在更改后创建该看板卡的副本。 {height="300" width=""}* 这里需要注意的是,要将数据源配置为带有静态值或表格聚合的单选部件。
编辑看板卡
在这里,您将对看板卡进行调整。在这一步中,您可以停用或激活看板卡。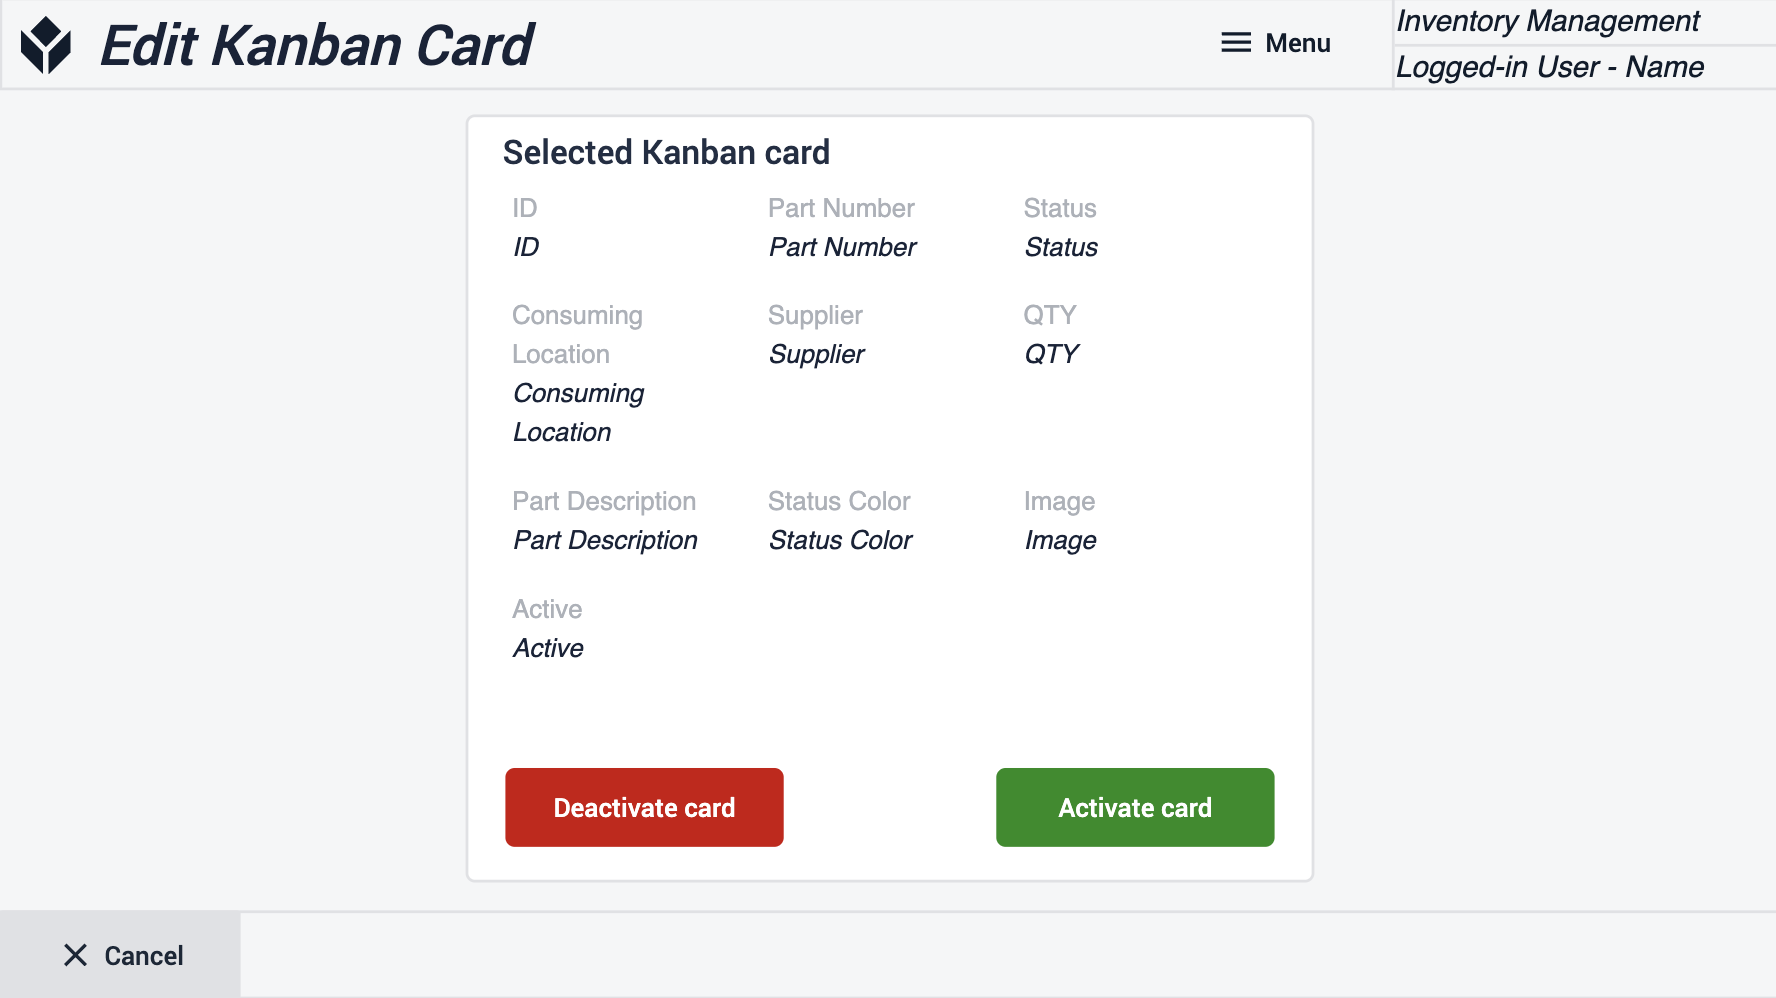
创建看板卡
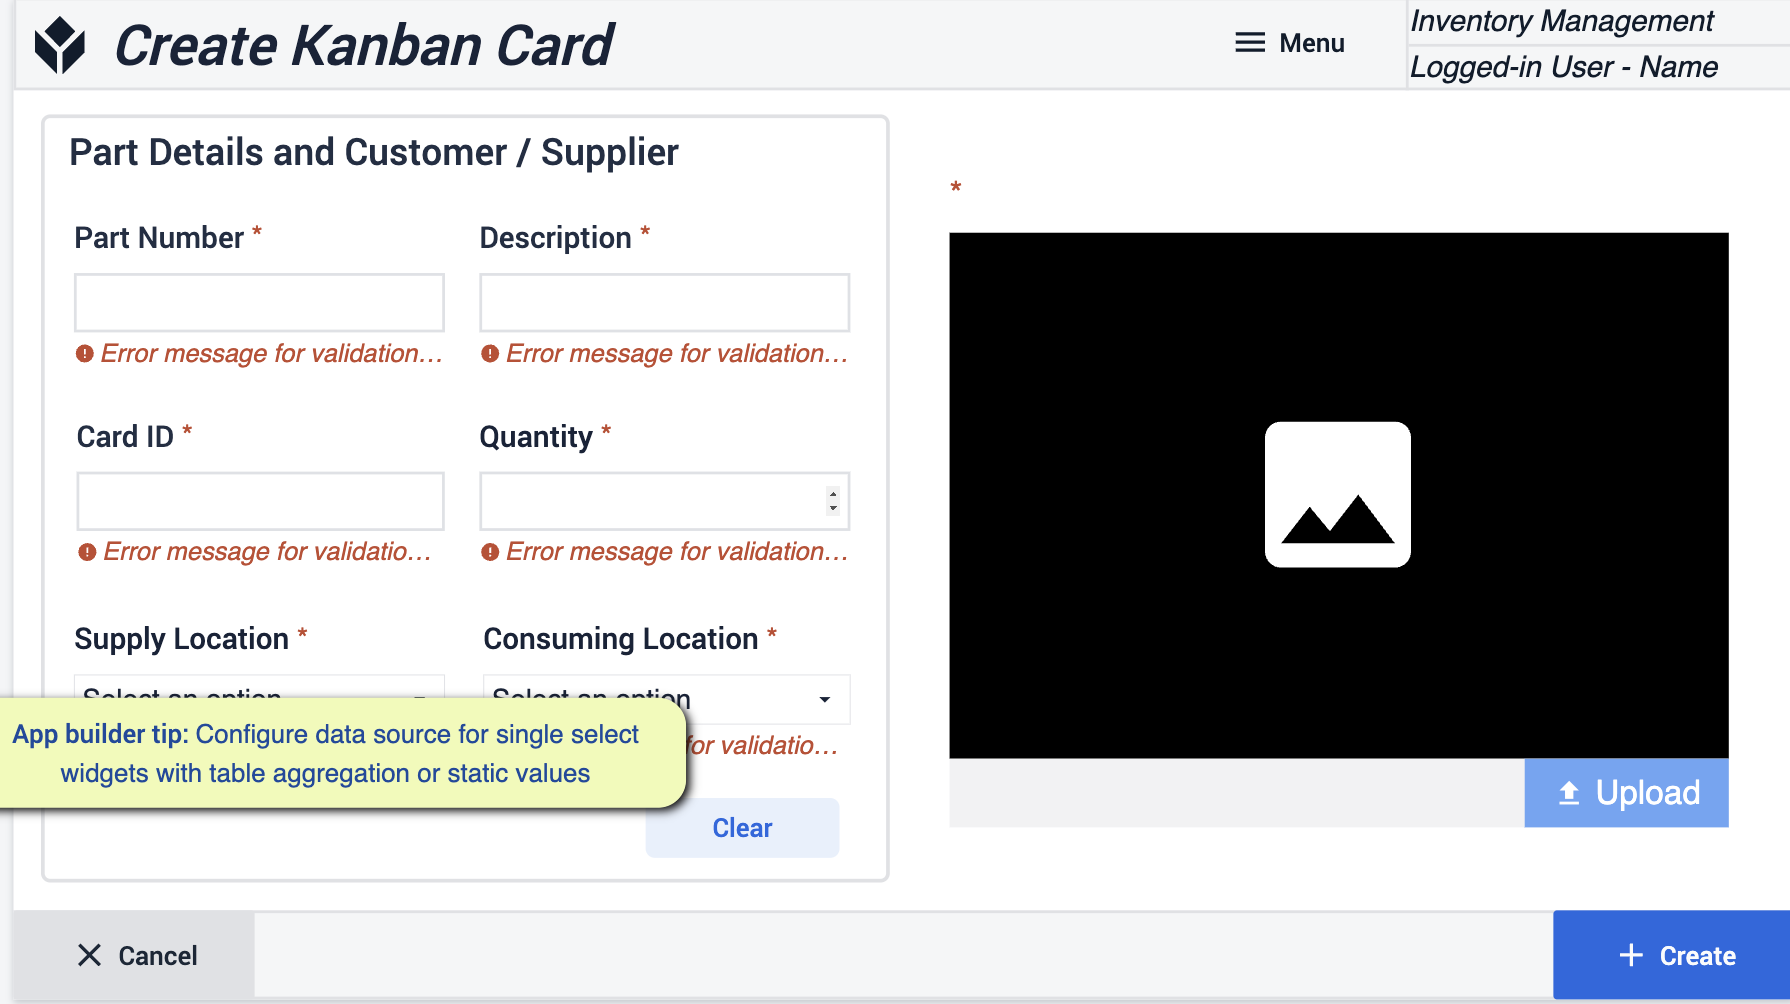 {height="300" width=""}*这里需要注意的提示是,将数据源配置为带有静态值或表格聚合的单选部件。
打印标签
创建卡片标签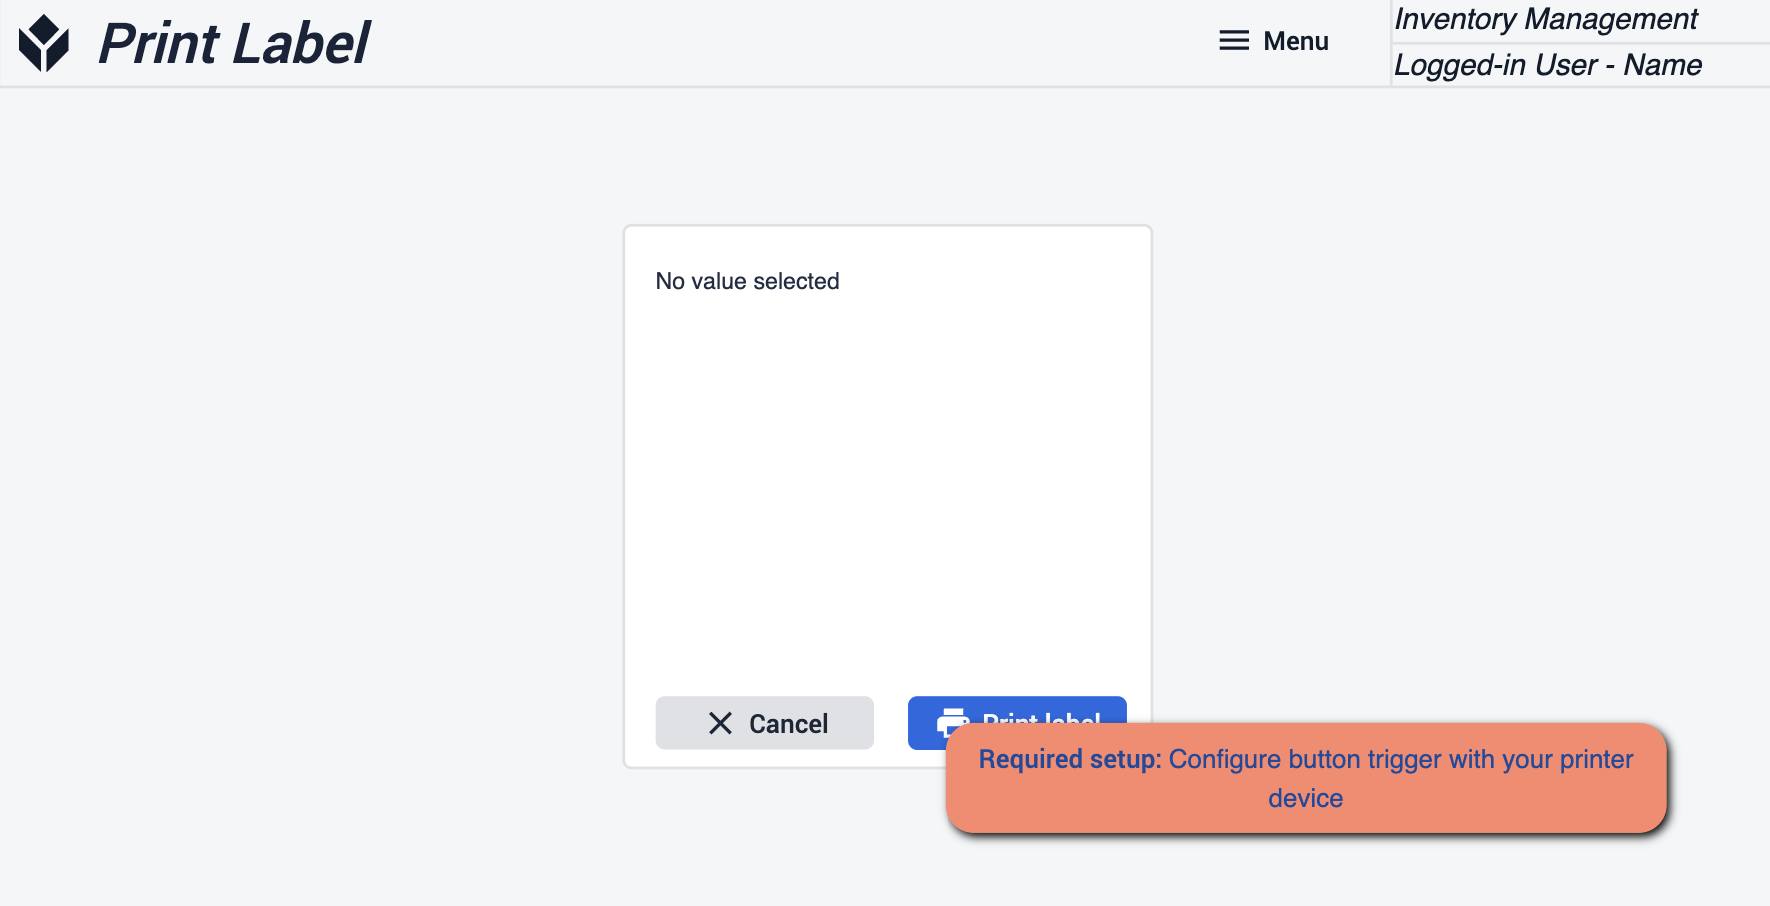 {height="300" width=""}* 确保 "打印标签 "按钮与设备配置一致,以便打印标签。
材料申请历史
查看所有材料申请的历史记录。选择订单可获得有关其历史的更多信息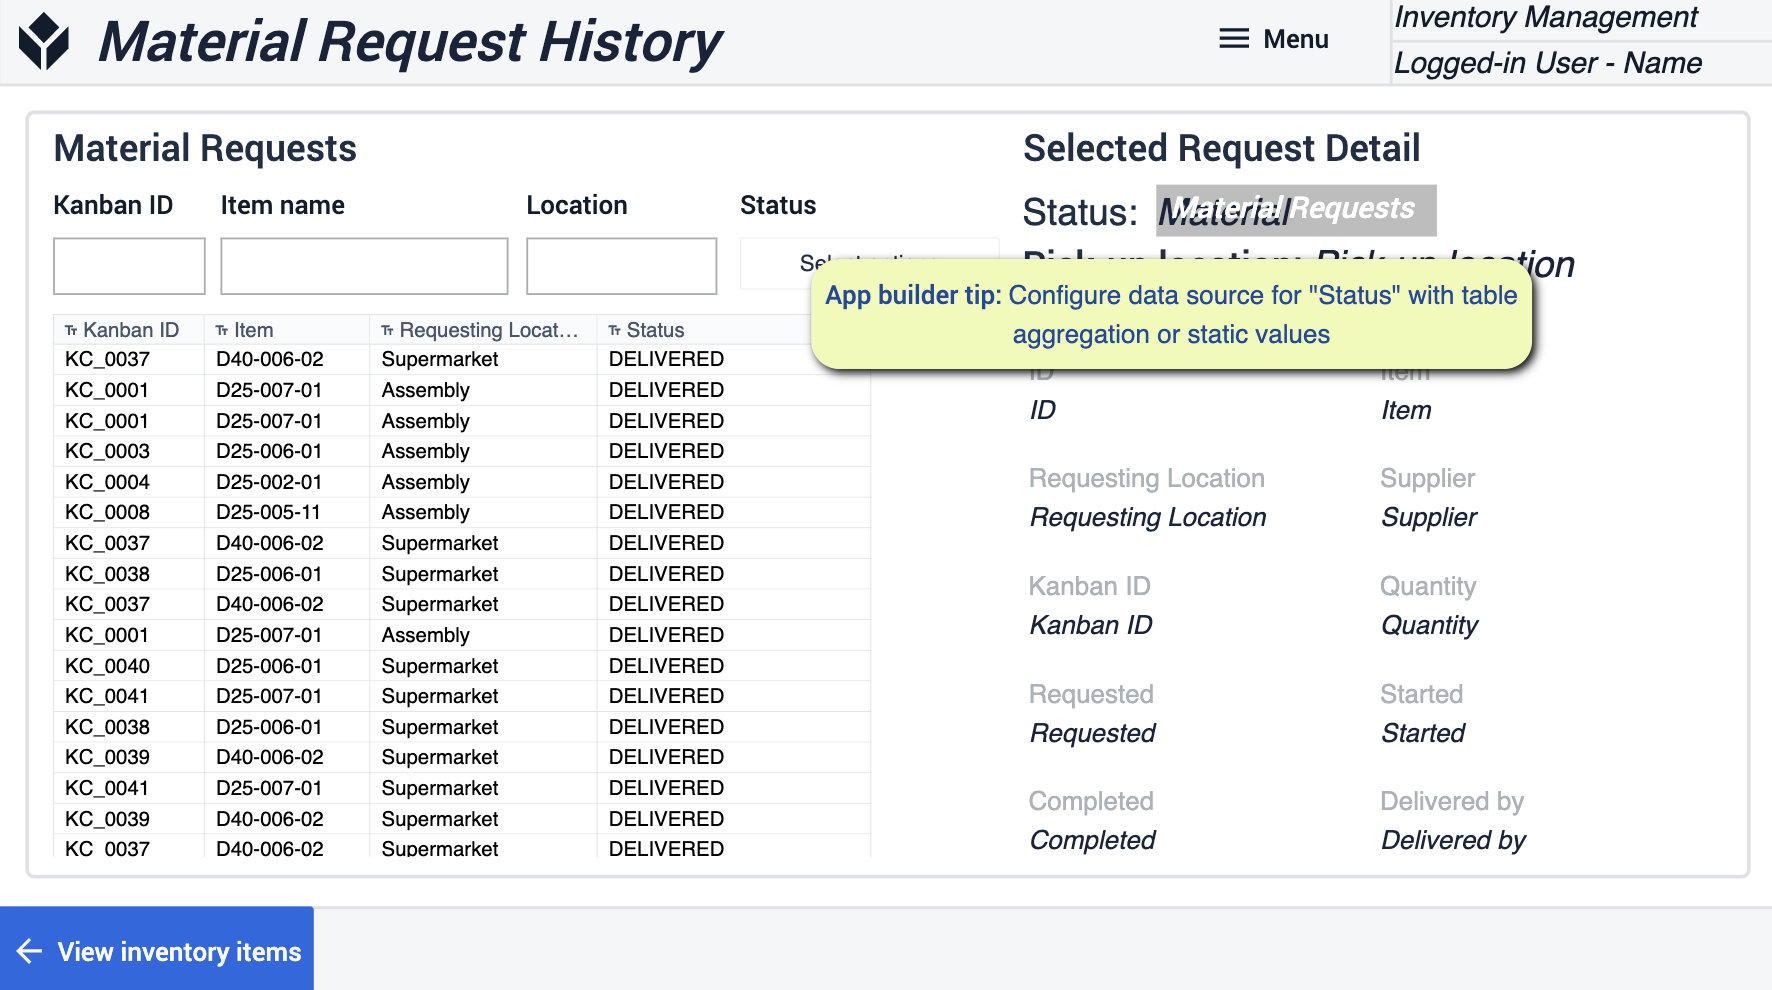 {height="300" width=""}* 确保使用表格聚合或静态值为 "状态 "配置数据源。
材料仓库
该移动应用程序允许用户向 Tulip 传输材料,大大提高了库存准确性。使用简单直接,有助于尽快将新到物料数字化。
主页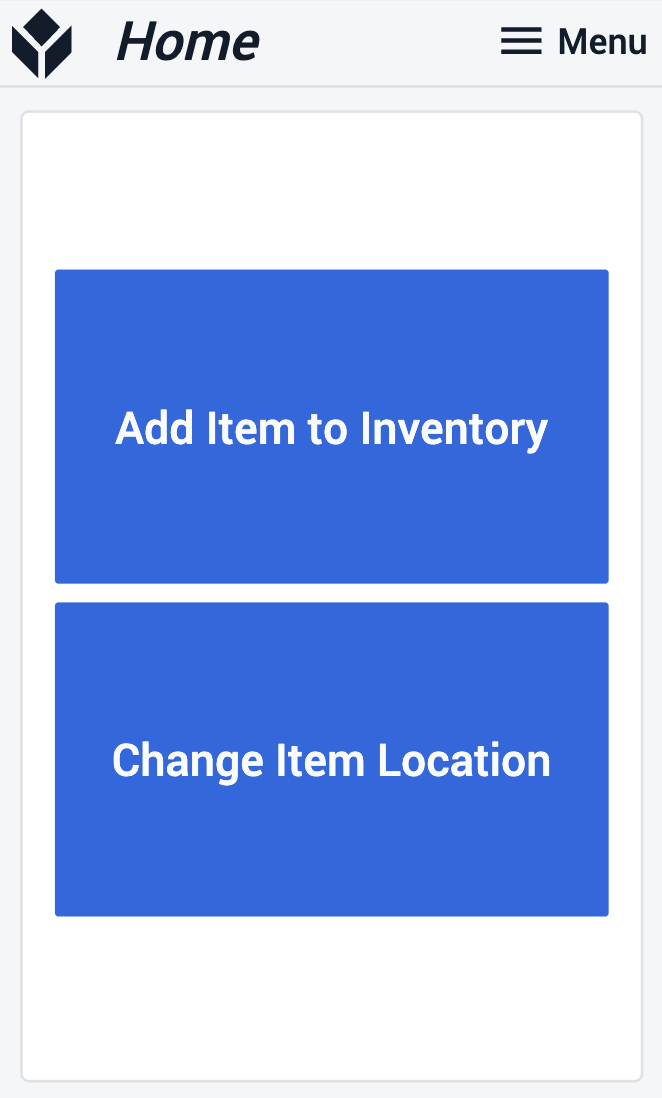
在 "主页 "步骤中,用户需要选择一个流程,具体取决于是要添加到库存中的全新物品,还是需要重新定位的现有物品。
扫描物品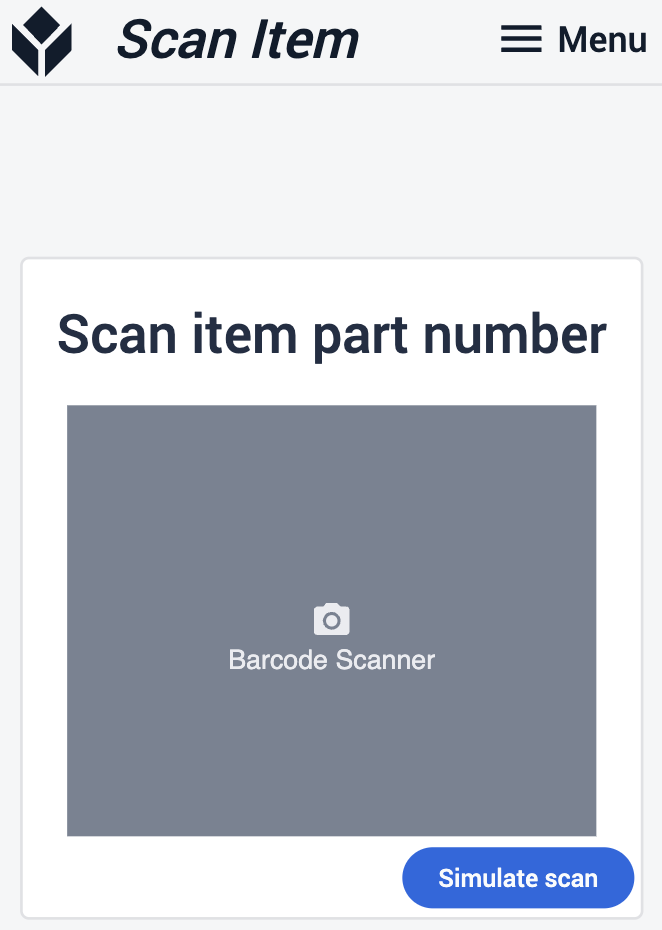
在扫描物品步骤中,您可以使用条形码或光学扫描仪扫描物品。
查看项目信息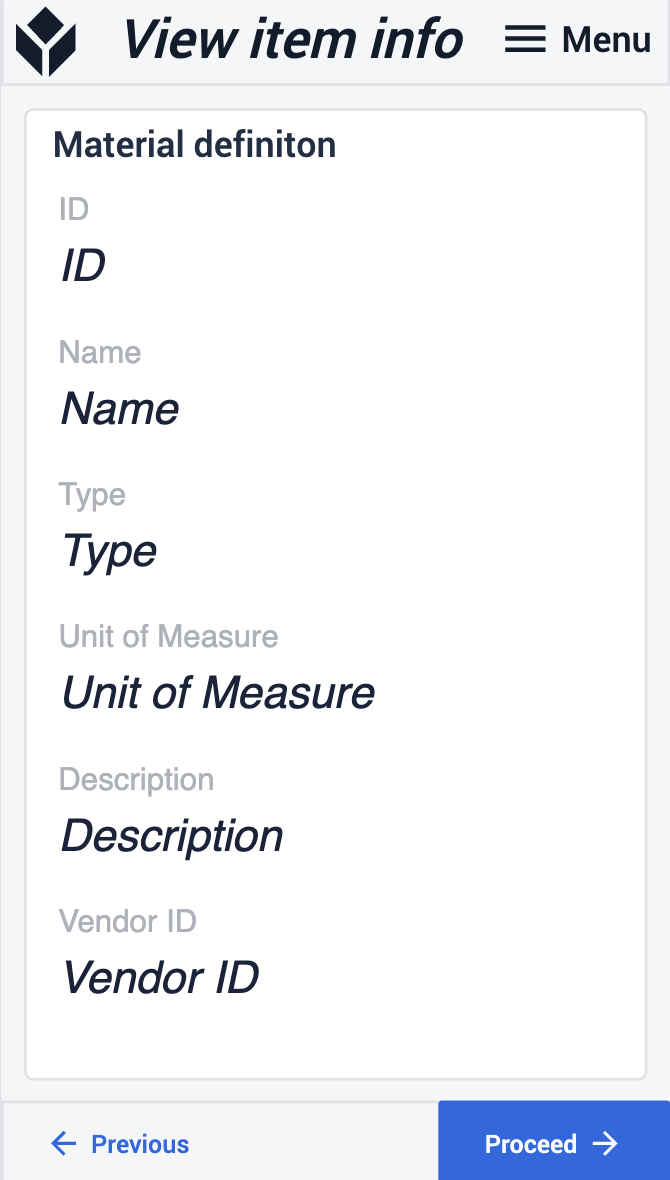
类型 项目 数量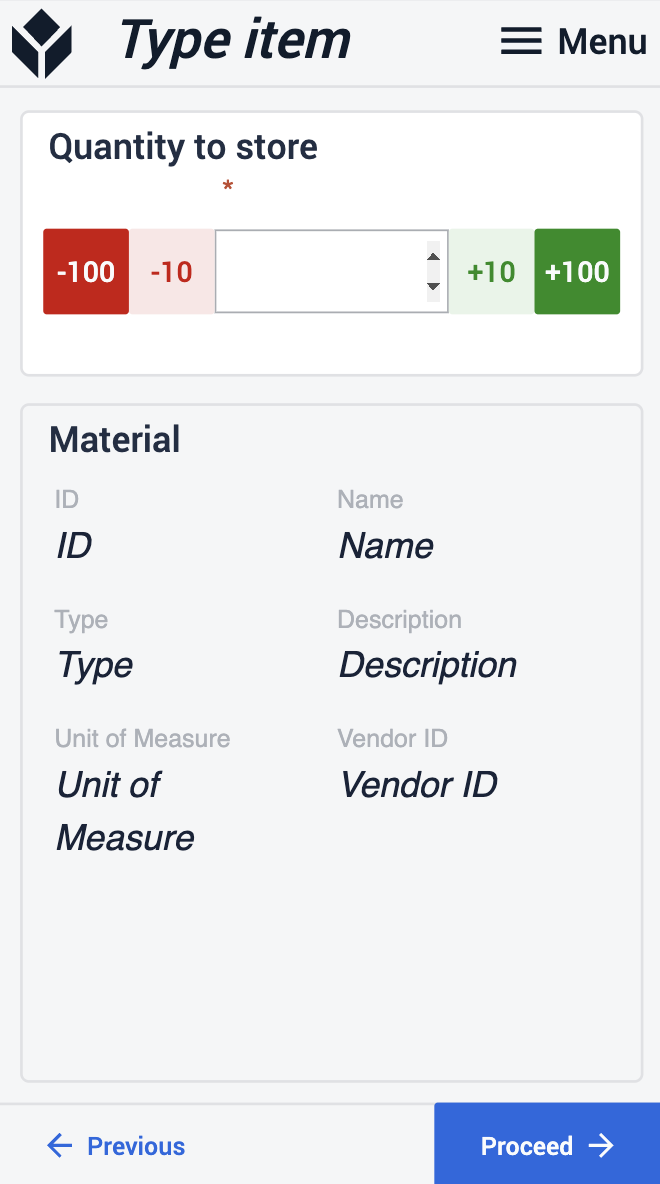
扫描物品并查看其所有详细信息后,键入要存储或在不同位置之间移动的数量。请注意,如果您选择移动物品,则输入的数量不能超过存储在原位置的数量。
扫描位置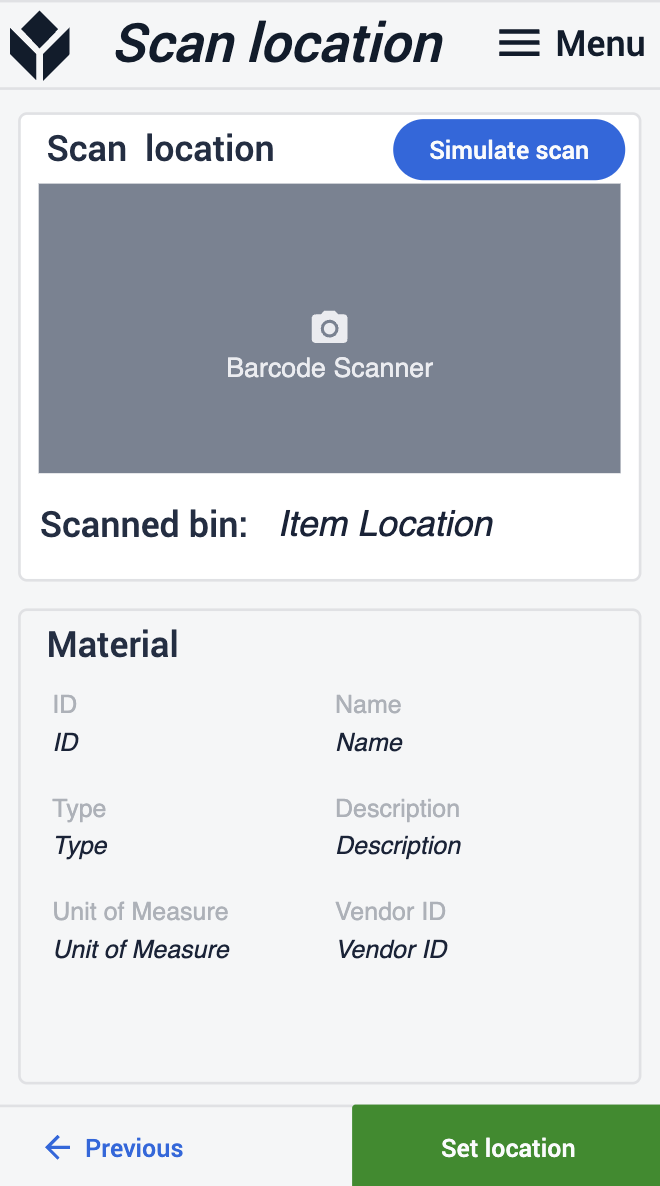
库存 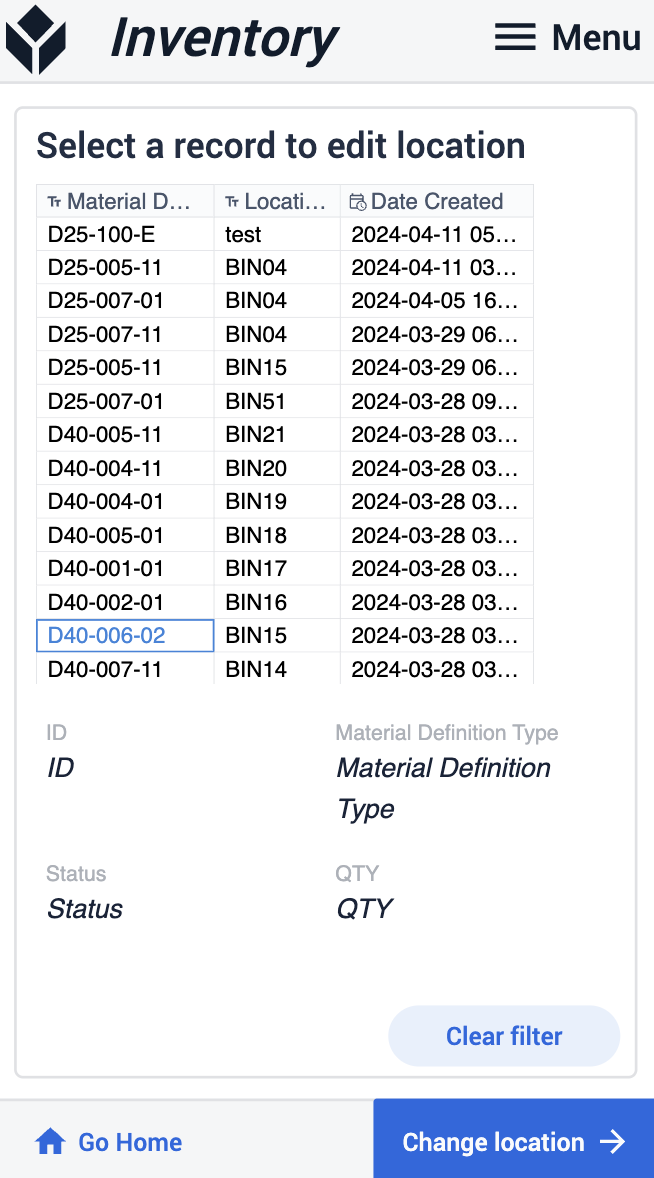
下一步是扫描要存储物品的新位置。完成后,您可以在 "库存 "步骤中查看存储或移动是否成功。
材料搬运器
此应用程序可让您控制整个工厂的物料移动。
看板申请
在这里,您可以看到已提出的所有看板申请。选择一个请求后,您就可以查看详细信息。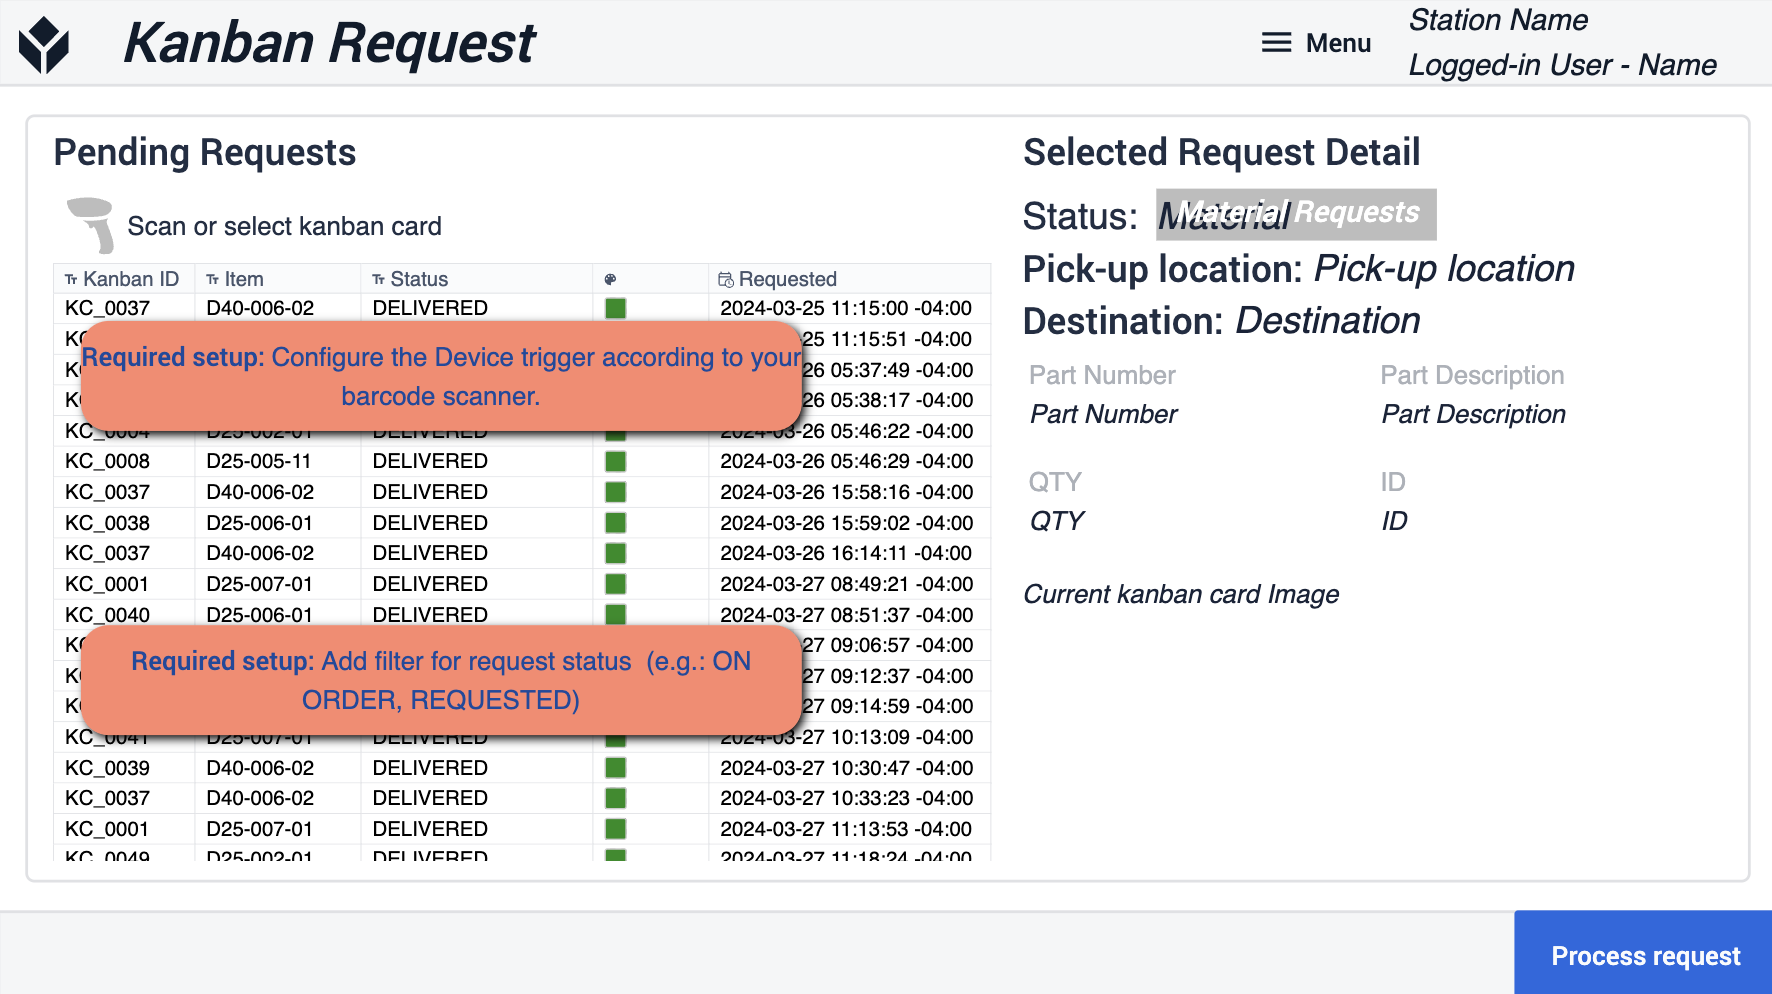 {height="300" width="""}* 在这一步,您需要确保根据条形码扫描仪配置设备触发器。同时为请求状态添加过滤器,以匹配您的操作。
确认
在此步骤中,您将确认实际请求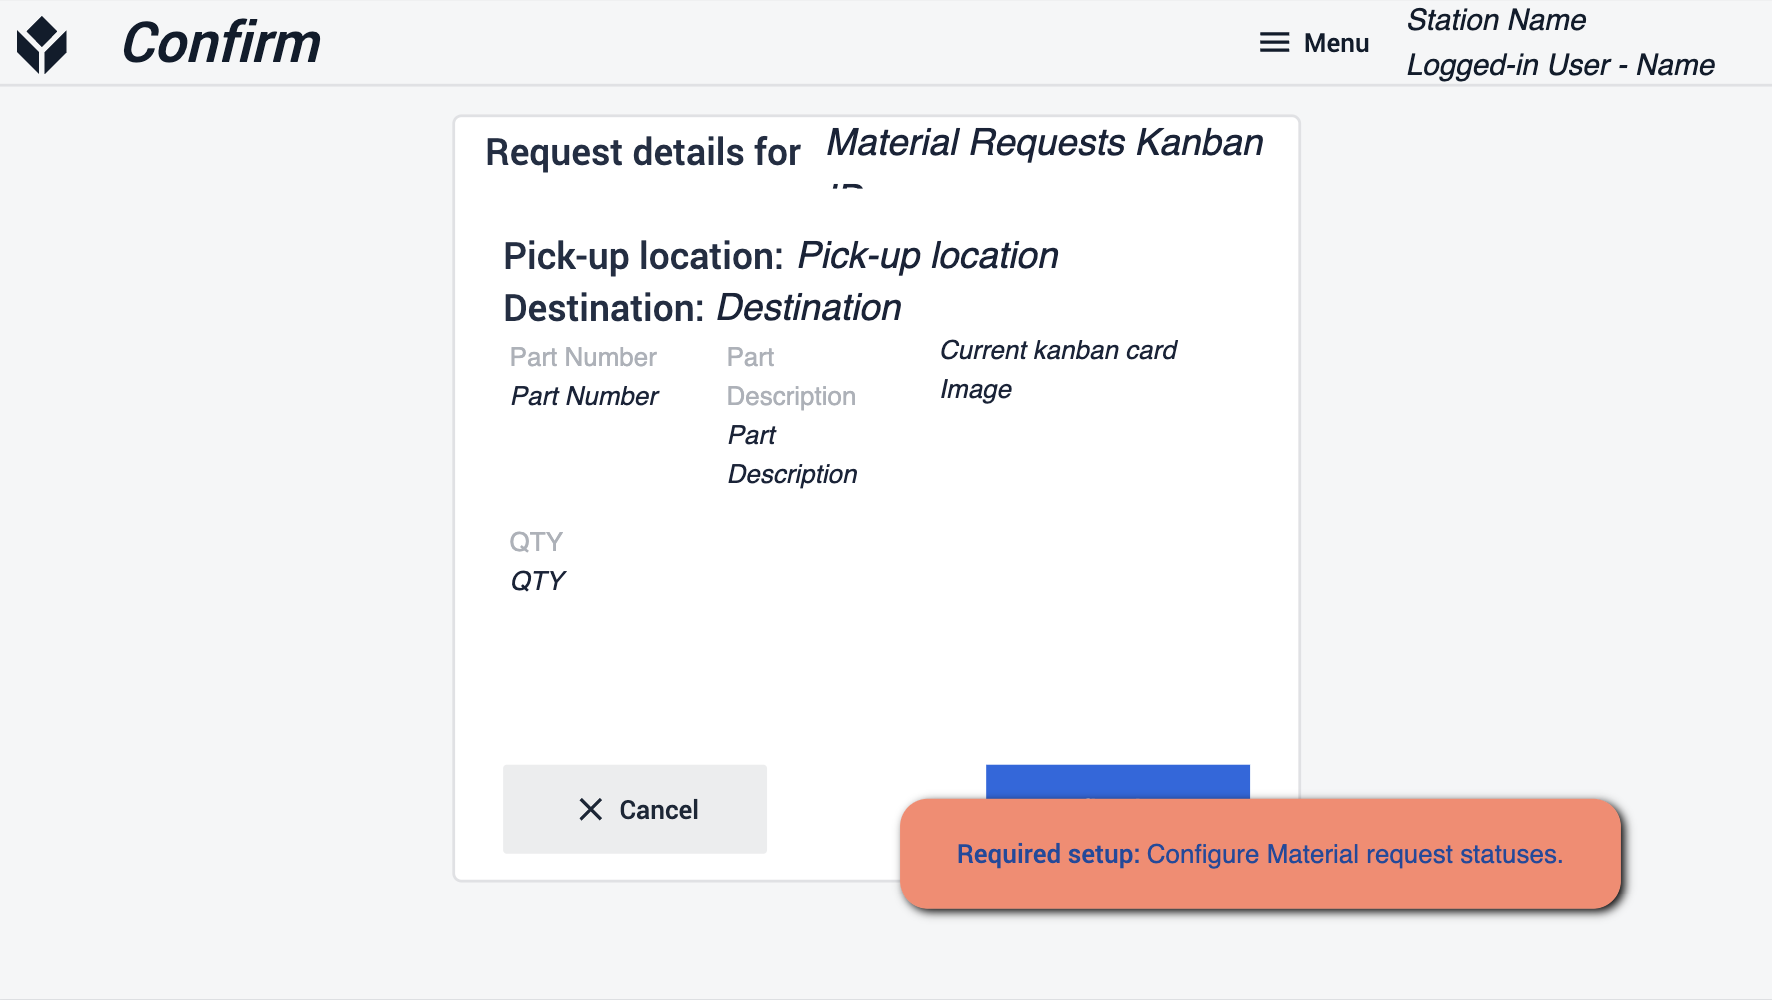 {height="300" width="""}* 确保配置物料请求状态,以便在完成时更新。
准备就绪
在使用应用程序套件时,请务必遵循 "应用程序生成器提示"。这些提示将指导您为部署应用程序做好准备。请务必参考先决条件,并确保在每个步骤中都遵循了 "必备步骤 "和 "应用程序生成器提示"。