{{片段.API 文档链接})
This article assumes previous experience with APIs.
请参阅 "表"、"操作符"和 "机器"文章,了解如何设置 API 密钥。
使用 Tulip 连接器测试 Tulip 的 API
阅读如何配置连接器,并使用配置的 API 密钥设置连接器(请参阅如何配置 API 的文章)。
设置好连接器后,点击创建功能。在本例中,我们将介绍如何从表中获取记录。
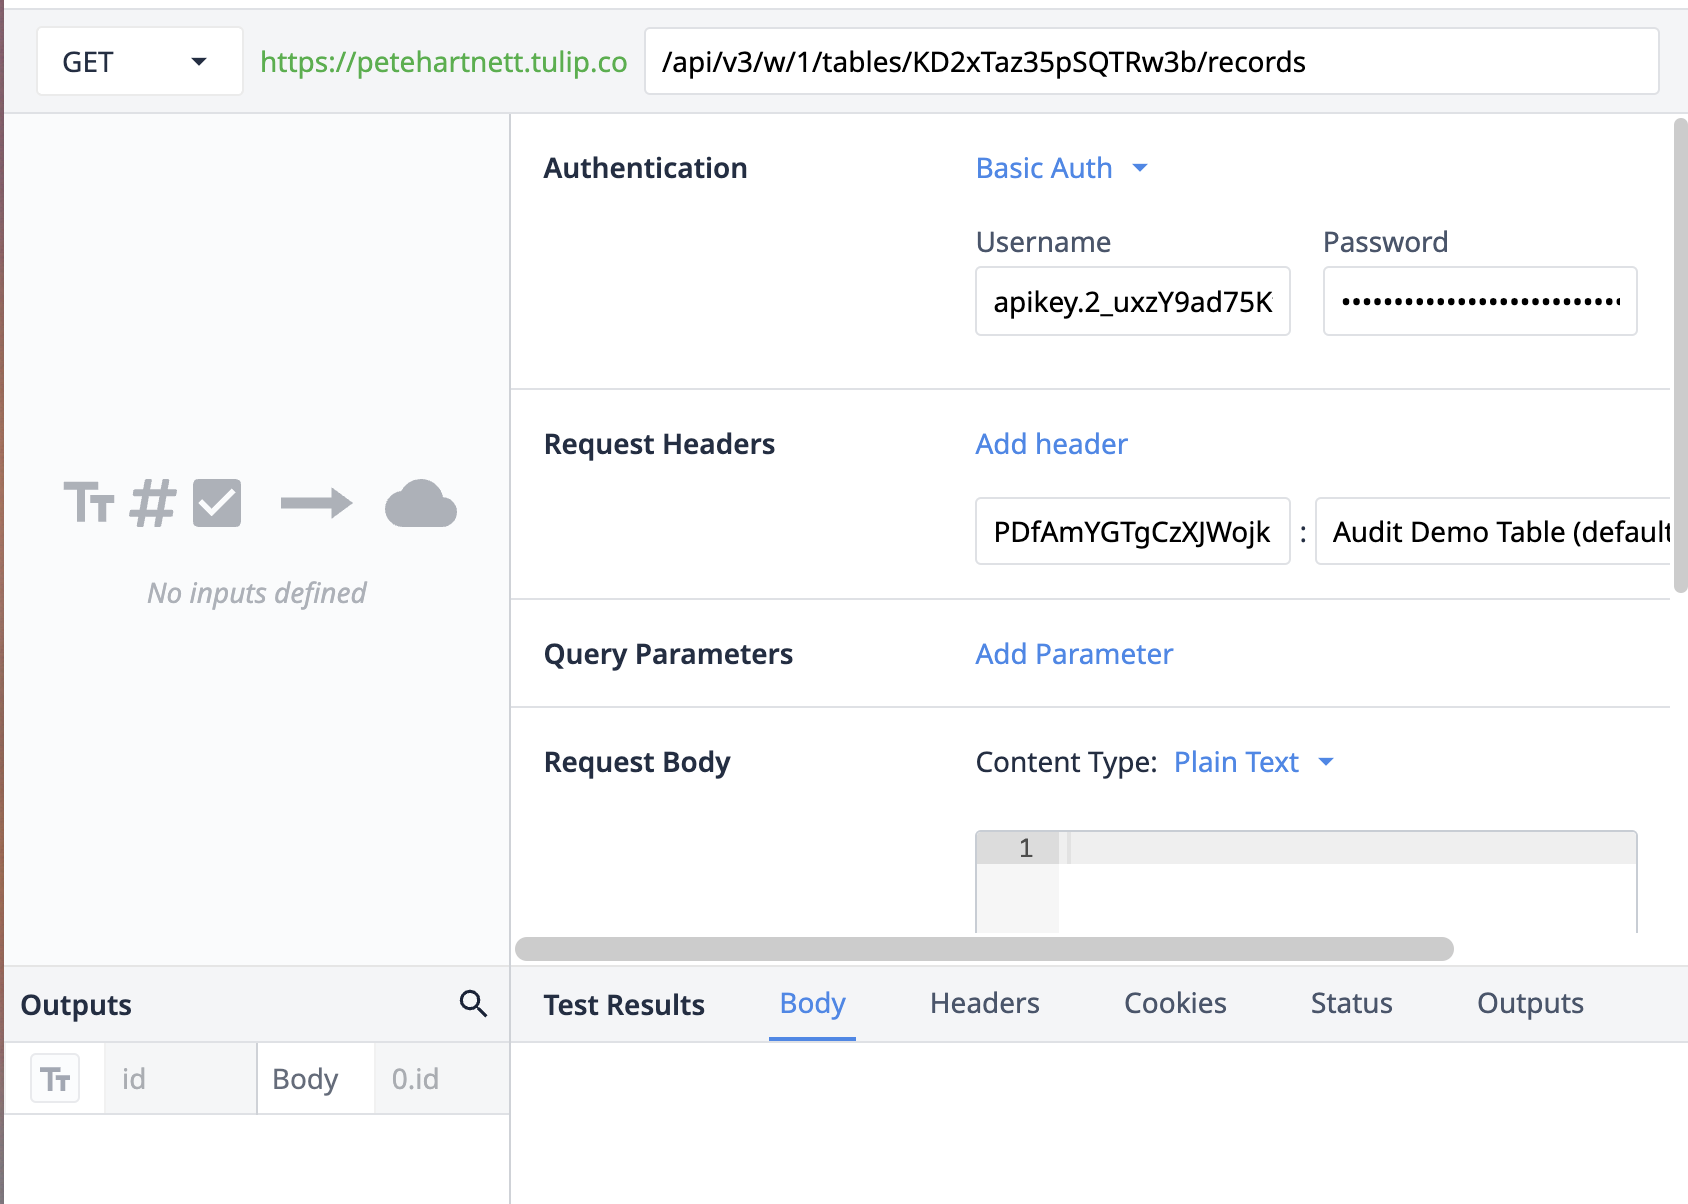
首先,您需要使用 GET、POST、PUT、HEAD、PATCH 或 DELETE 形成一个请求,然后指定您要形成请求的特定 url(请阅读此处,了解有关我们的 API 功能和 ).

If you are using a global API key, you need to specify the workspace. If your API key is workspaced scoped, it is optional.
https://(yourinstancenamehere).tulip.co/api/v3/w/(workspace)/tables/(TableID)/records
确保添加了身份验证(来自 API 密钥本身)、请求标头(如果需要)和查询参数(在 URL 本身或查询参数中--更多信息请阅读如何设置查询参数)。
此外,您还可以指定连接器函数可能需要反馈到应用程序或自动化中的任何输入或输出。
使用 Postman 测试 Tulip 的 API
下面将介绍如何创建操作符。在本示例中,将使用Postman进行创建。
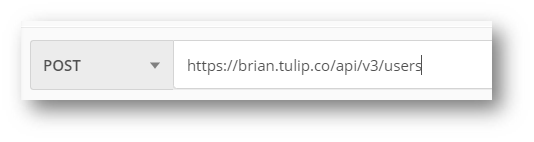
首先,在 Post 请求中添加 API 端点。
然后,在 "授权 "下选择 "基本 Auth",并输入 API Key 作为用户名,API Secret 作为密码。
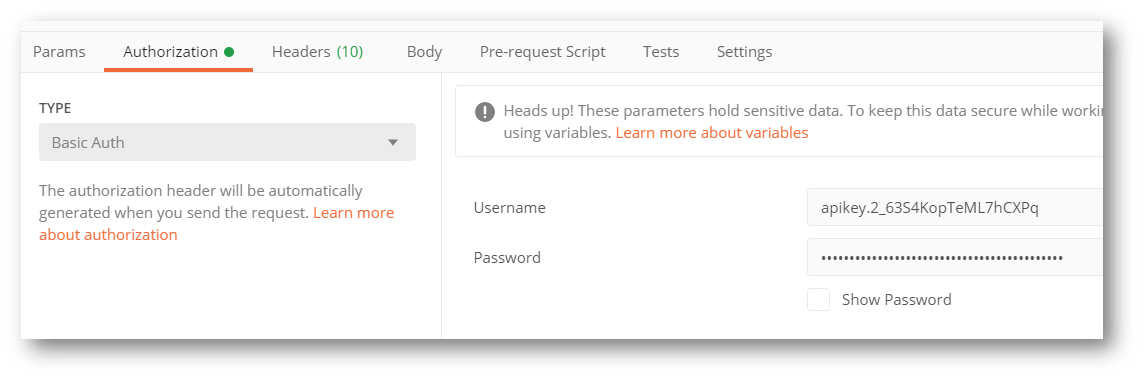
在 Headers 下,添加 Auth Header。

在 "正文"(Body)中,格式化请求以接收 JSON 对象。该请求的通用格式如下。
{"角色":"操作员", "name":"string"(字符串), "badge_id":"字符串"}。
这看起来像这样
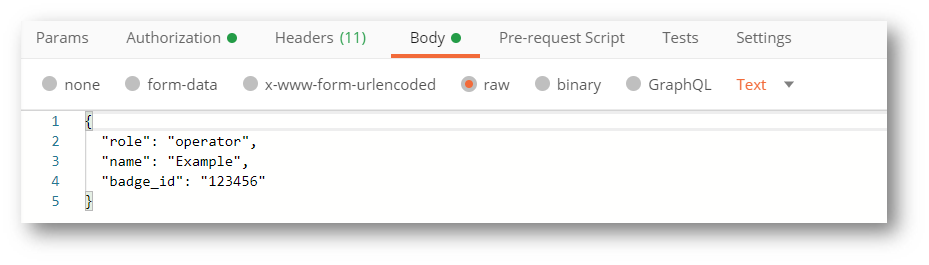
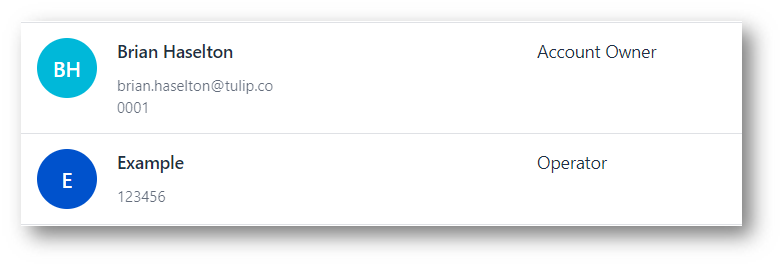
点击发送运行请求,您将收到一个 201 响应,表示请求成功。要进行验证,可以查看 "设置 "中的 "用户 "列表,确认用户已成功创建。
如果请求失败,请确保检查密钥和秘密是否正确。有关特定响应代码的更多信息,请查看 API 标记页面上的 API 文档部分。
使用 API 文档测试 Tulip 的 API
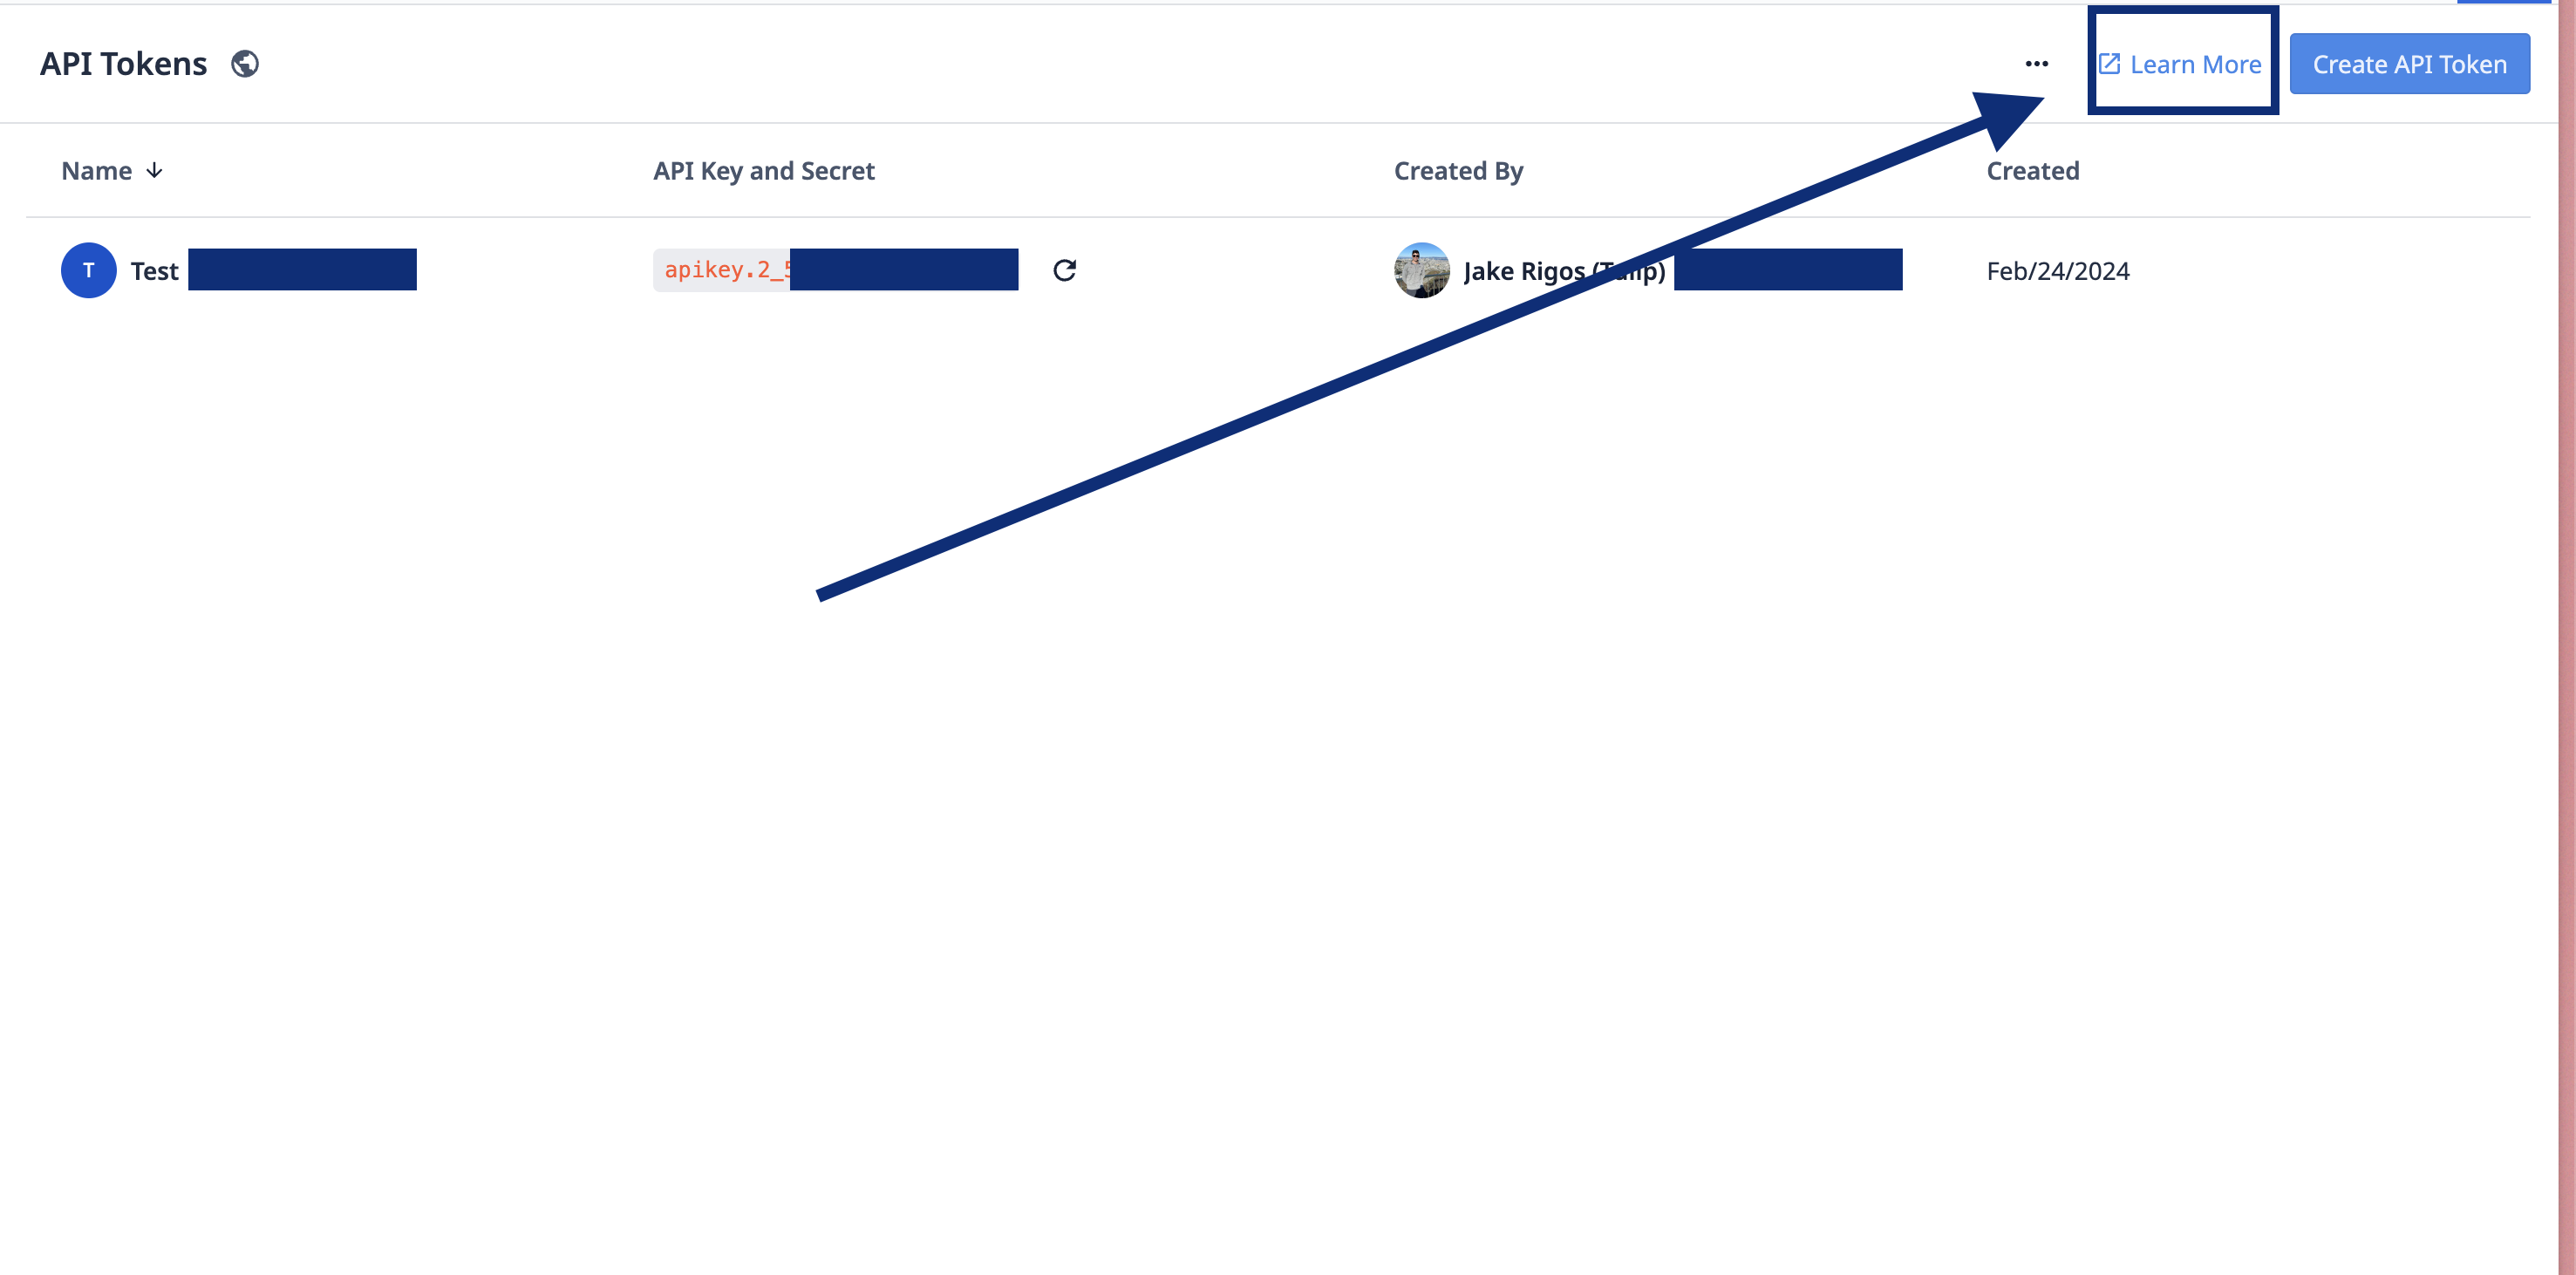
在工作区或账户设置中,导航到 API 标记。从那里,导航到创建 API 标记选项旁边的 "了解更多"。
 {height="" width="""}
这将带您进入一个页面,该页面允许使用创建的密钥测试 API。该页面还提供了文档,并举例说明了各种用途的请求体。
该页面还提供了从外部系统配置 API 请求所需的服务器 URL。要熟悉 API,请单击 "授权 "按钮。
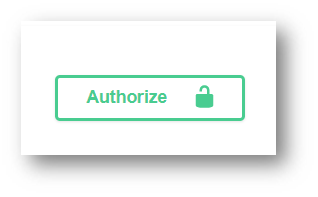
该按钮将提供有关 API 配置的更多信息,以便进行测试。在字段中输入以下内容:
- 用户名:API 密钥
- 密码:密文
单击 "授权",然后就可以开始测试表格的一些常见 HTTP 请求了。
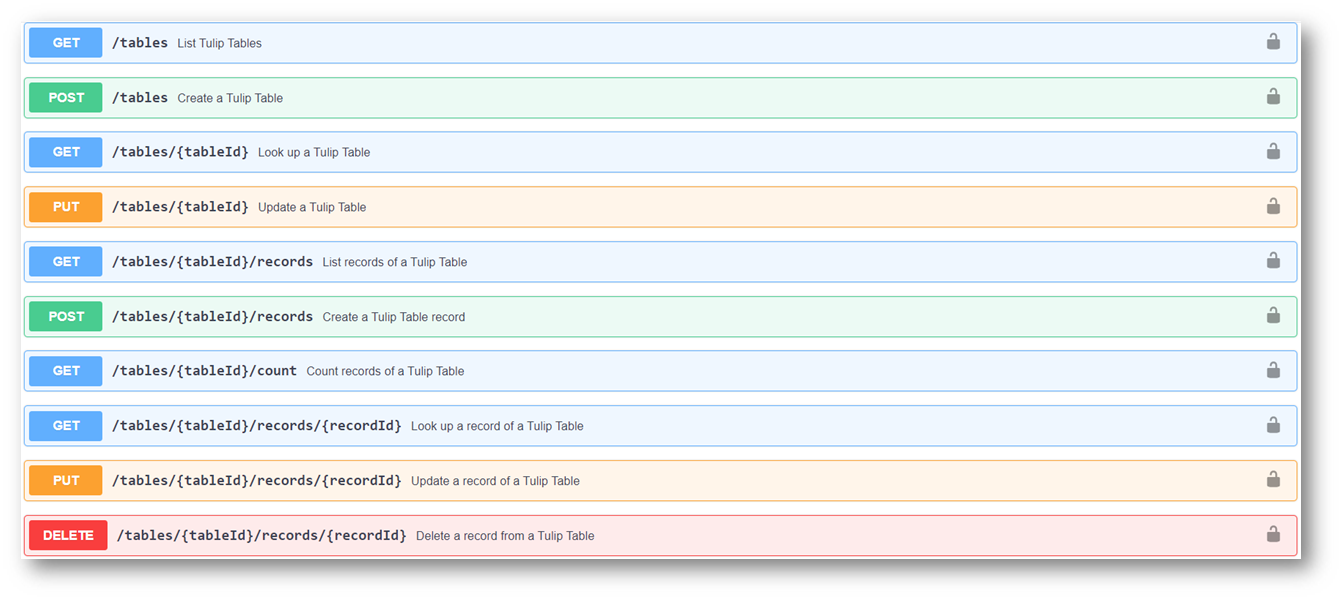
此页面中的每个选项都可以扩展和测试。每个请求都提供了相应响应的有用信息。
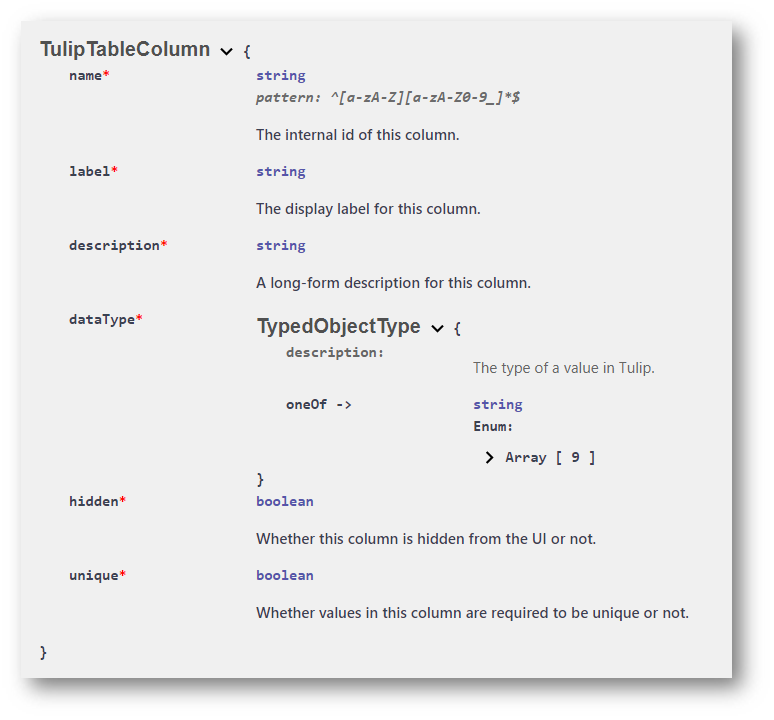
在该页面中,还有 Tulip 某些组件的模式信息。例如,要创建表格记录,了解每一列的适当 JSON 格式是很有用的。列模式示例如下所示: