인벤토리 앱 제품군을 사용하면 운영에서 엔드 투 엔드 재고 흐름을 관리할 수 있습니다. 재고 흐름을 관리할 수 있게 되면 주문 프로세스를 간소화하여 자재 흐름을 최적화할 수 있습니다.
전제 조건
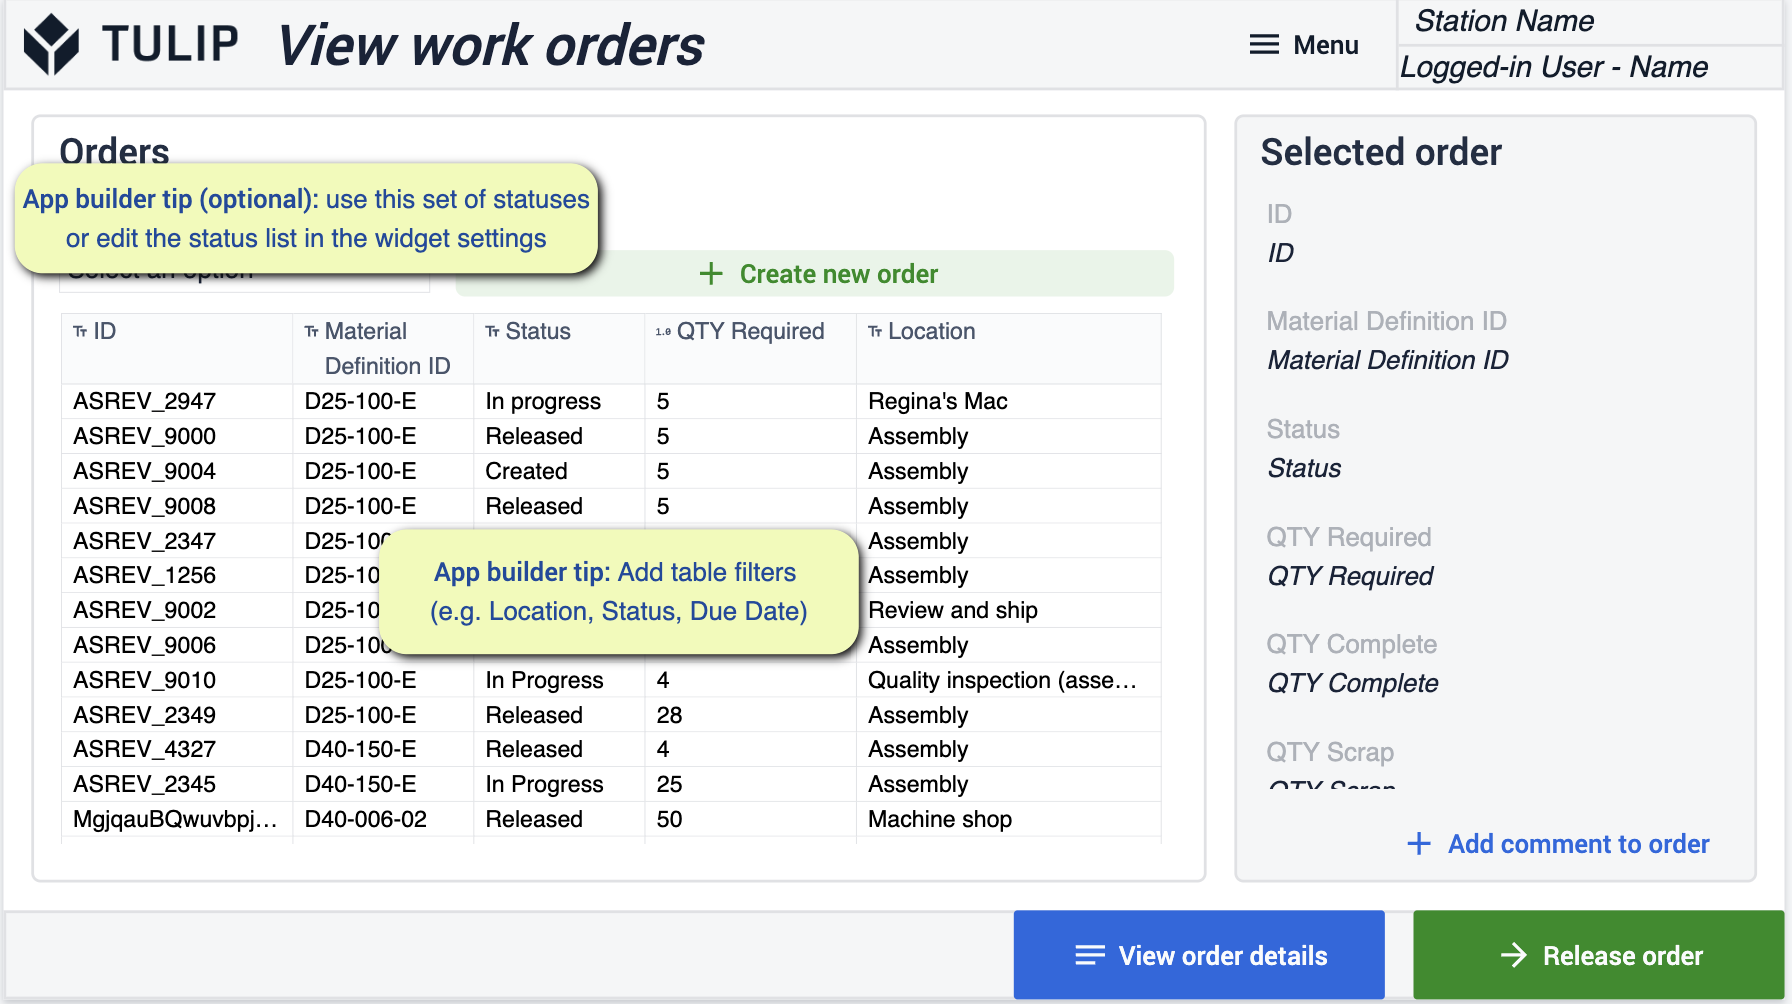
이 앱 모음에는 다양한 앱 빌더 팁이 있습니다. 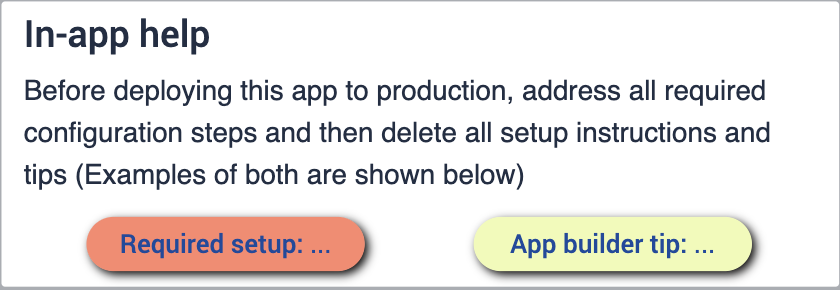
앱 스위트를 구성하기 전에 다음 기술을 숙지해야 합니다:
배포
이러한 애플리케이션을 원하는 디바이스에배포하는 방법과 스테이션에서 실행하는 방법에 대해 제대로 이해하고 있는지 확인해야 합니다. 비즈니스의 흐름을 이해하는 것이 중요합니다. 작업 현장의 다이어그램이 있으면 프로세스를 진행하면서 앱이 어디에 있어야 하는지 더 잘 이해할 수 있습니다.
연결된 테이블
이 앱 제품군 전체에서 사용할 테이블은 다양한 애플리케이션에서 사용되고 연결됩니다. 이를 통해 더 쉬운 사용자 경험을 제공할 뿐만 아니라 향후 애플리케이션 개발에 사용할 수 있는 테이블 네트워크를 구축할 수 있습니다. 공통 데이터 모델을 사용하여 테이블의 중복을 최소화하고 호환성을 극대화하는 방법에 대해 자세히 알아보세요.
cMES 전반에 걸쳐 사용되는 공통 튤립 테이블에 익숙해지세요.
다운로드
인벤토리 앱 제품군 링크를 클릭합니다. 그러면 인스턴스에 앱을 추가할 수 있는 라이브러리 페이지로 이동합니다. 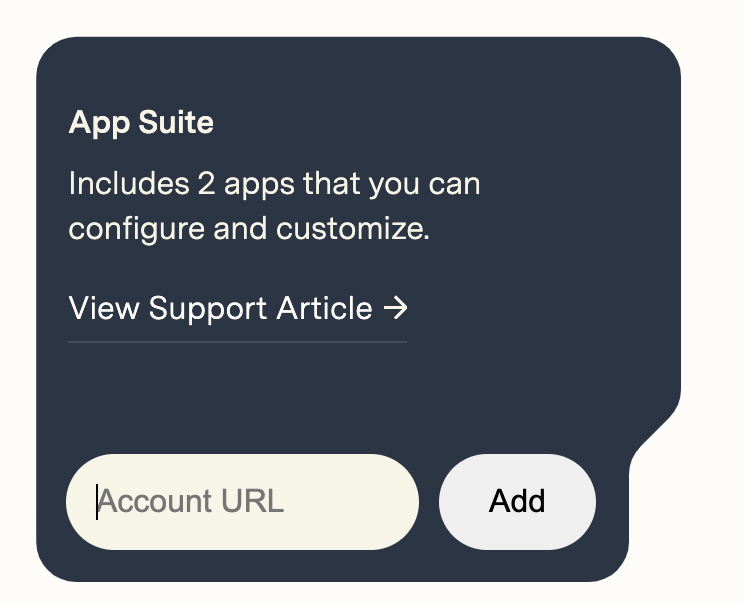
앱 스위트가 추가되면 인스턴스에서 인벤토리라는 제목의 폴더를 찾을 수 있습니다. 이 폴더에서 Suite에 있는 모든 앱을 볼 수 있습니다.
인벤토리 머티리얼 시스템
이 앱 스위트는 조립 프로세스 내에서 자재 흐름을 개선하고 재고를 극대화하는 데 중점을 두고 있습니다. 재고 정확도 향상을 위해 자재가 어디로 가는지 더 명확하게 파악할 수 있습니다.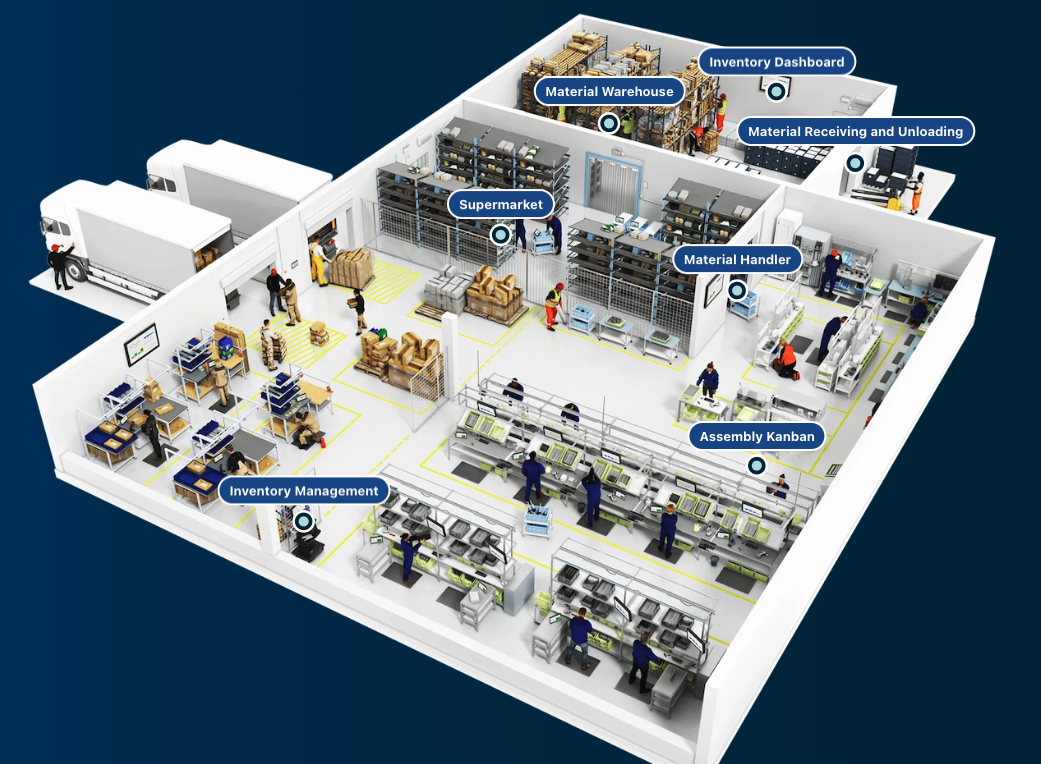
앱 구성
While configuring applications, any changes made to tables need to be made across all applications for connectivity.
자재 요청
이 앱을 사용하면 자재 요청 양식 작성을 간소화할 수 있습니다.
자료 요청
이 단계에서는 필요한 자료를 선택하여 요청할 수 있습니다.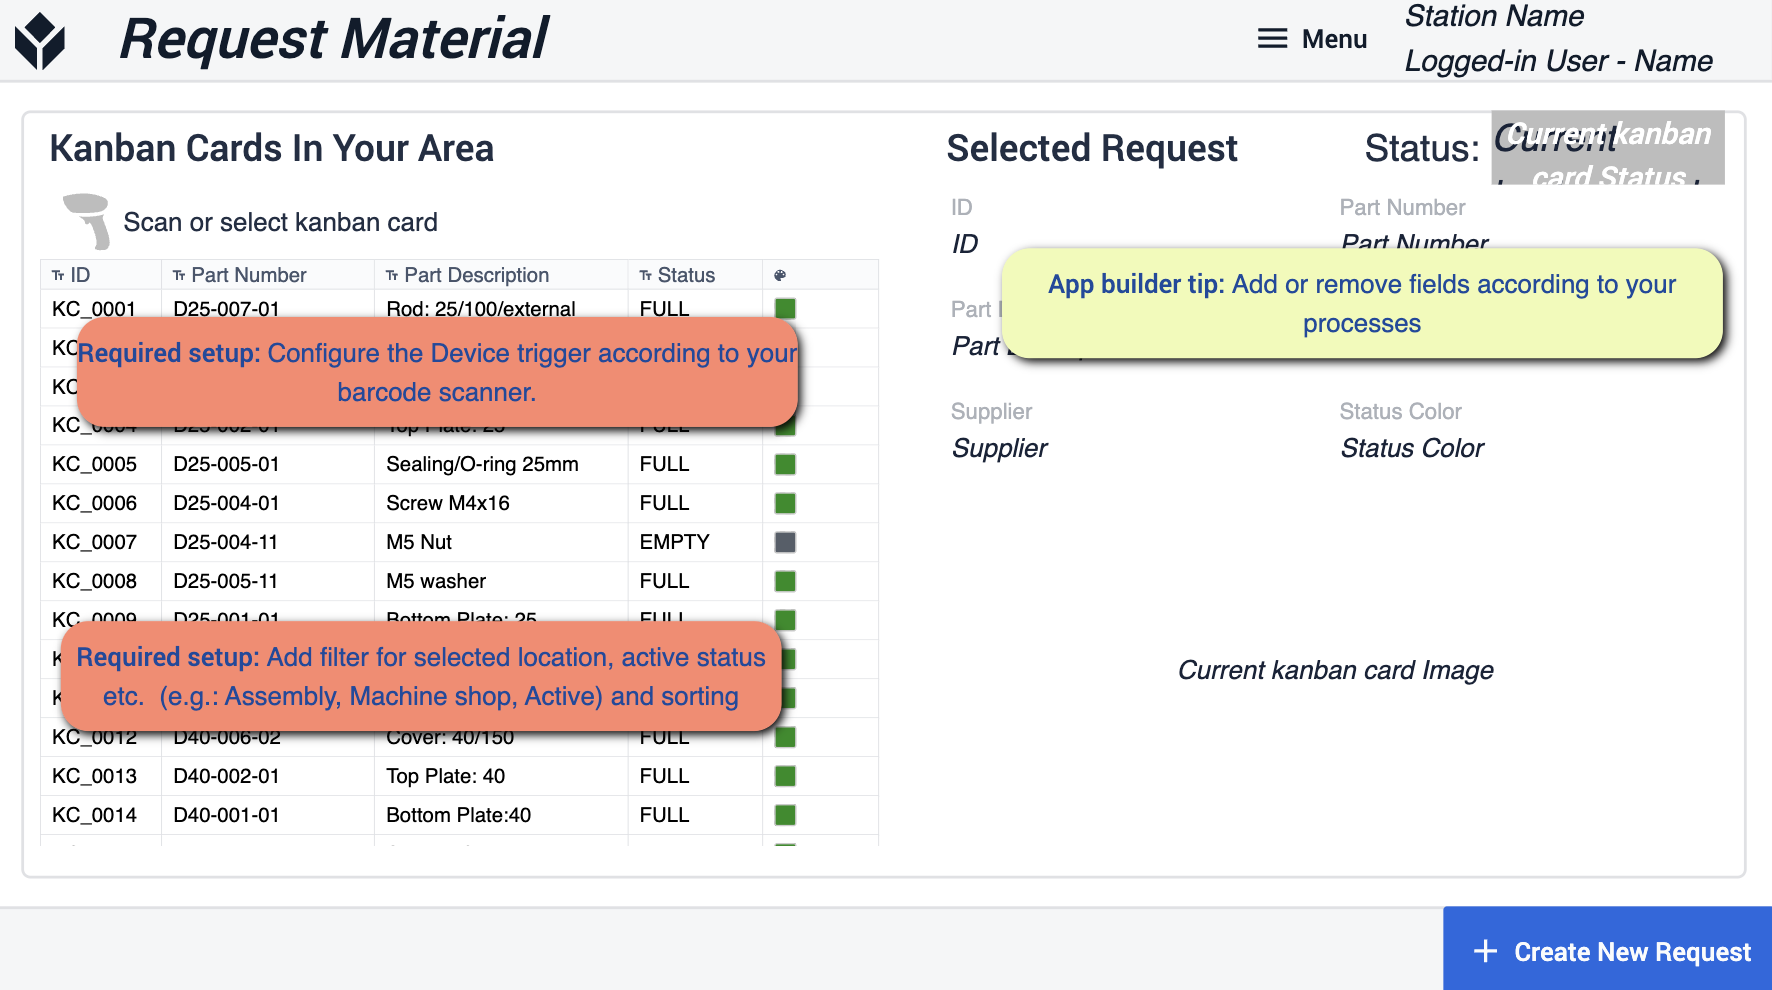 {height="300" width=""}* 앱 빌더 팁에서는 선택한 위치 및 활성 상태에 대한 필터 추가를 중심으로 따라야 할 팁을 제공합니다. 사용 중인 디바이스를 바코드 스캐너에 맞게 구성해야 합니다. 필요한 경우 프로세스에 맞게 특정 필드를 제거할 수 있습니다.
확인
이 단계에서는 요청을 생성하기 전에 {height="300" width=""}* 여기에서 자료 요청 상태와 요청 ID를 구성해야 합니다. 이렇게 하면 요청이 실제로 필요한 곳에 전달되도록 할 수 있습니다.
인벤토리 대시보드
이 대시보드는 운영의 전체 범위를 보여주기 위한 것입니다. 프로세스 내 각 위치에서 어떤 일이 일어나고 있는지, 자재가 시설을 어디로 이동하고 있는지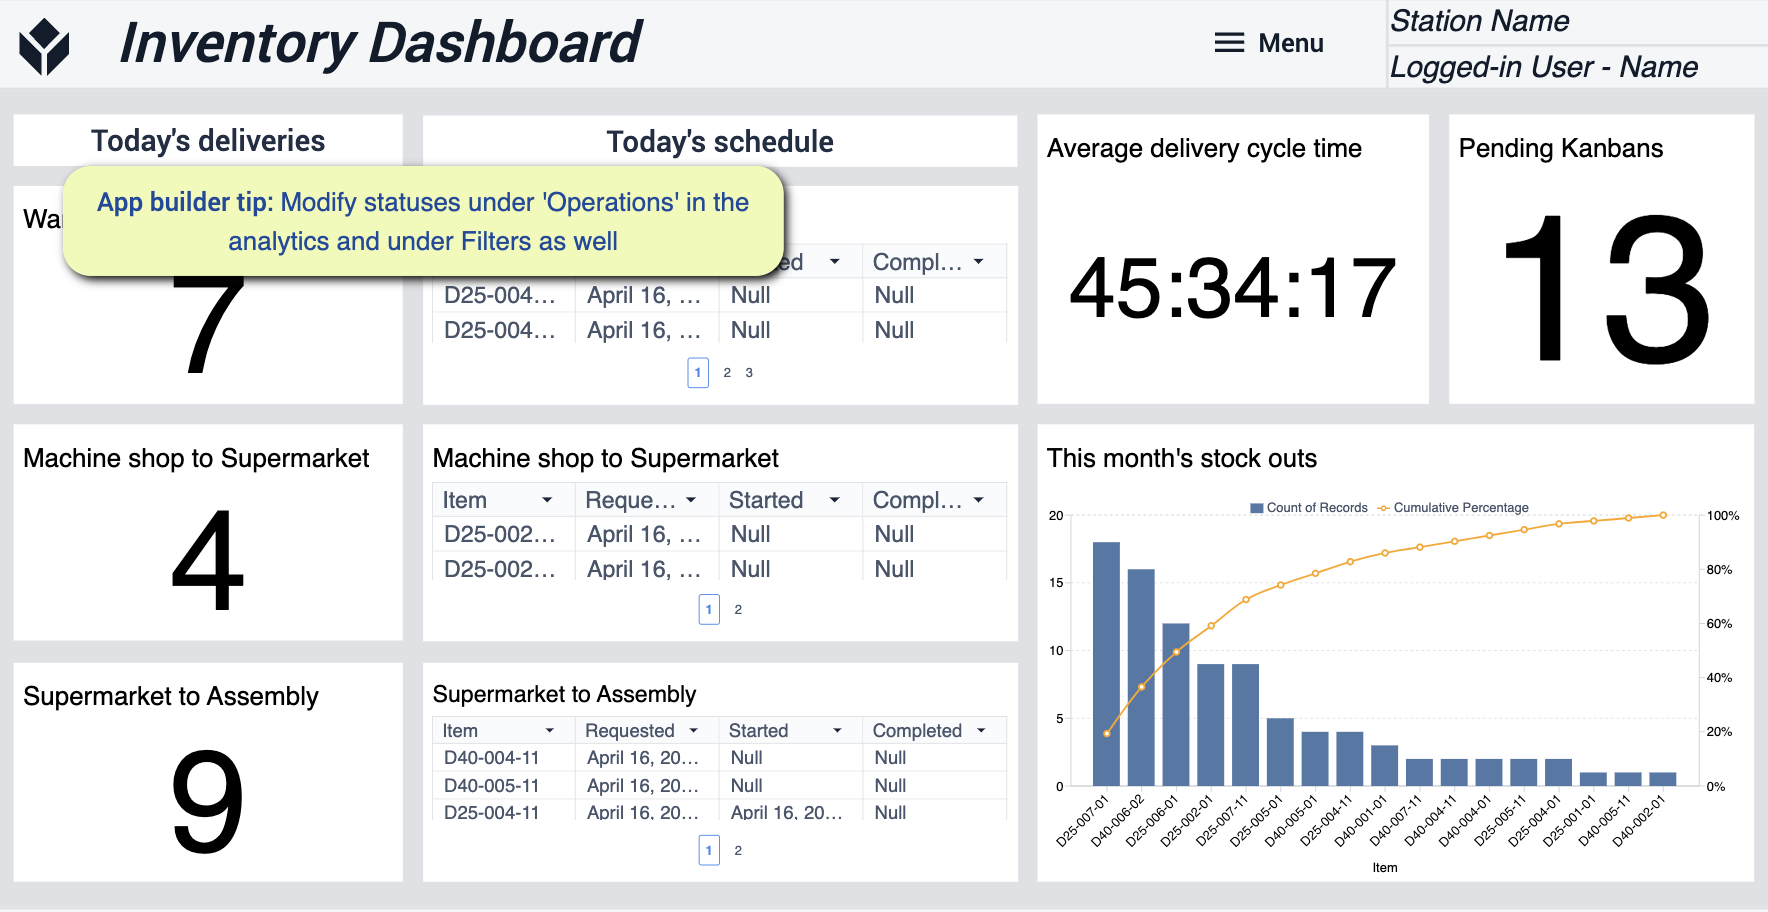 {height="300" width=""}* 이 앱의 경우 '운영' 아래의 상태를 수정하여 분석이 요구 사항과 일치하는지 확인할 수 있습니다.
자재 입고 및 수령
이 앱의 초점은 입고된 새 자재를 추적하고 처리하는 데 도움을 주는 것입니다.
홈
이 화면은 앱의 다양한 기능으로 안내하는 데 도움이 되는 화면입니다.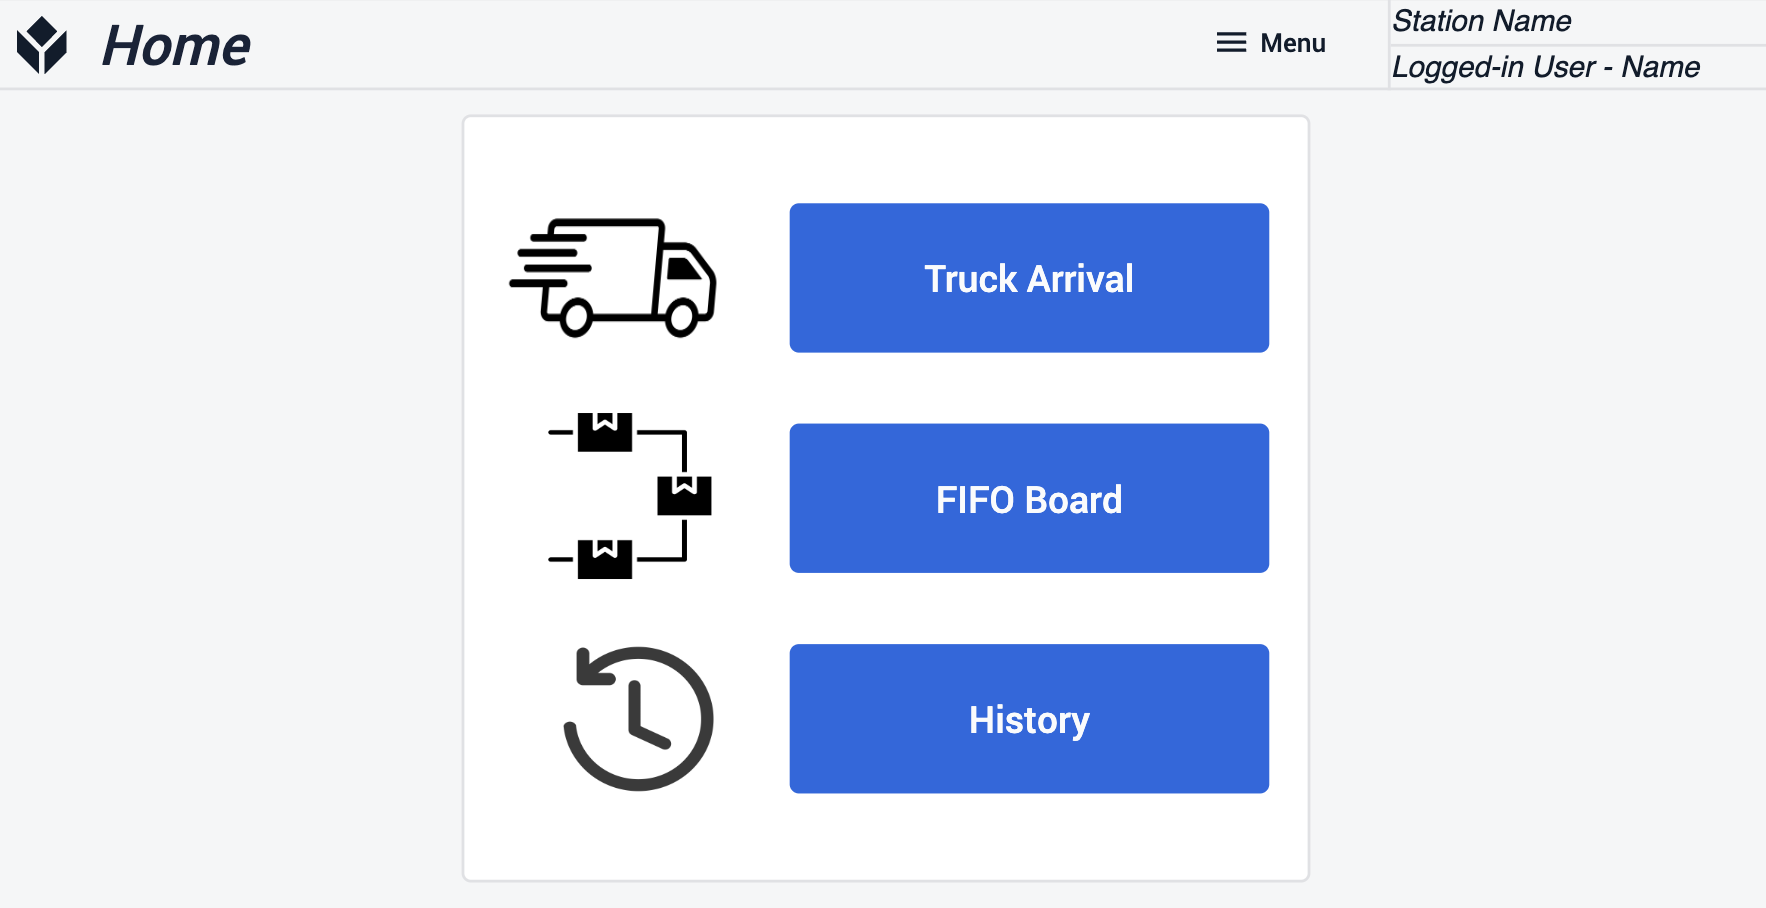
트럭 도착
자재를 배송하는 트럭을 추적하세요. 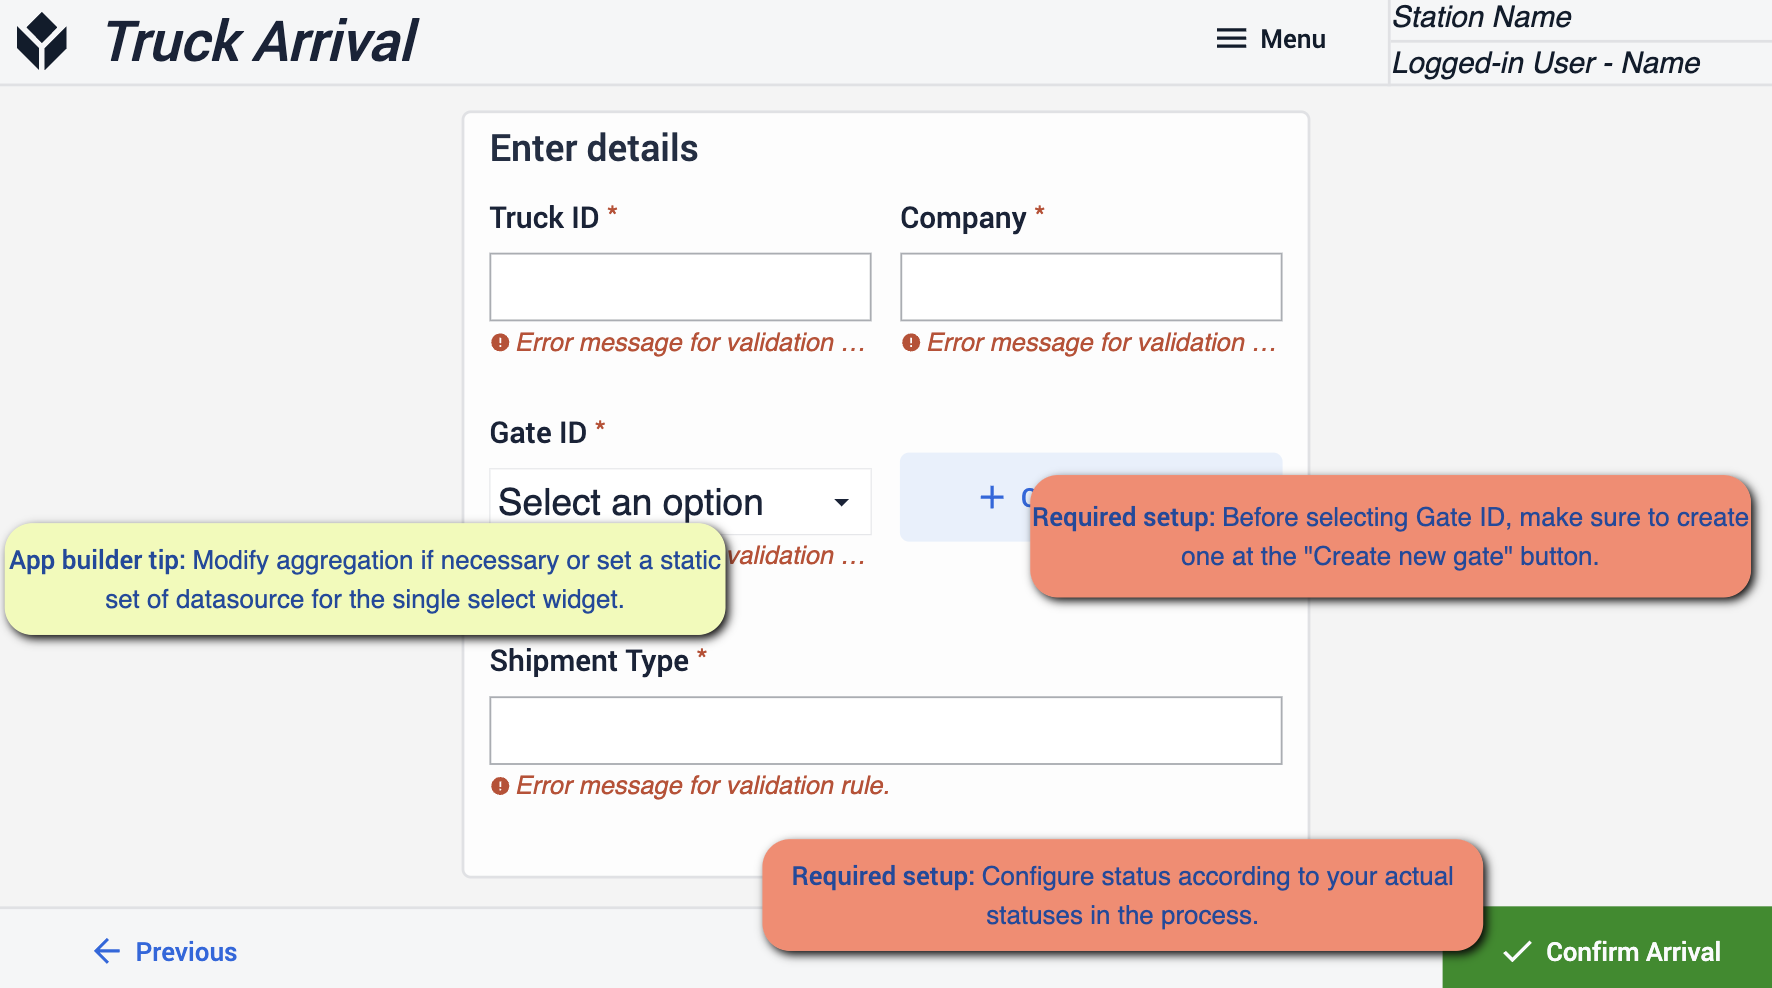 {height="300" width=""}* 이 단계에서는 게이트를 선택하기 전에 "새 게이트 만들기" 버튼을 사용하여 선택할 게이트를 만드는 것이 중요합니다. 상태가 프로세스에 관련된 상태와 일치하는지 확인하세요.
이미지 업로드
이 단계는 자료의 도착을 캡처하는 단계입니다.  {height="300" width=""}* 상태가 프로세스와 일치하는지 확인하세요.
FIFO 보드
이 단계에서는 도착한 모든 주문을 시각적으로 확인할 수 있습니다.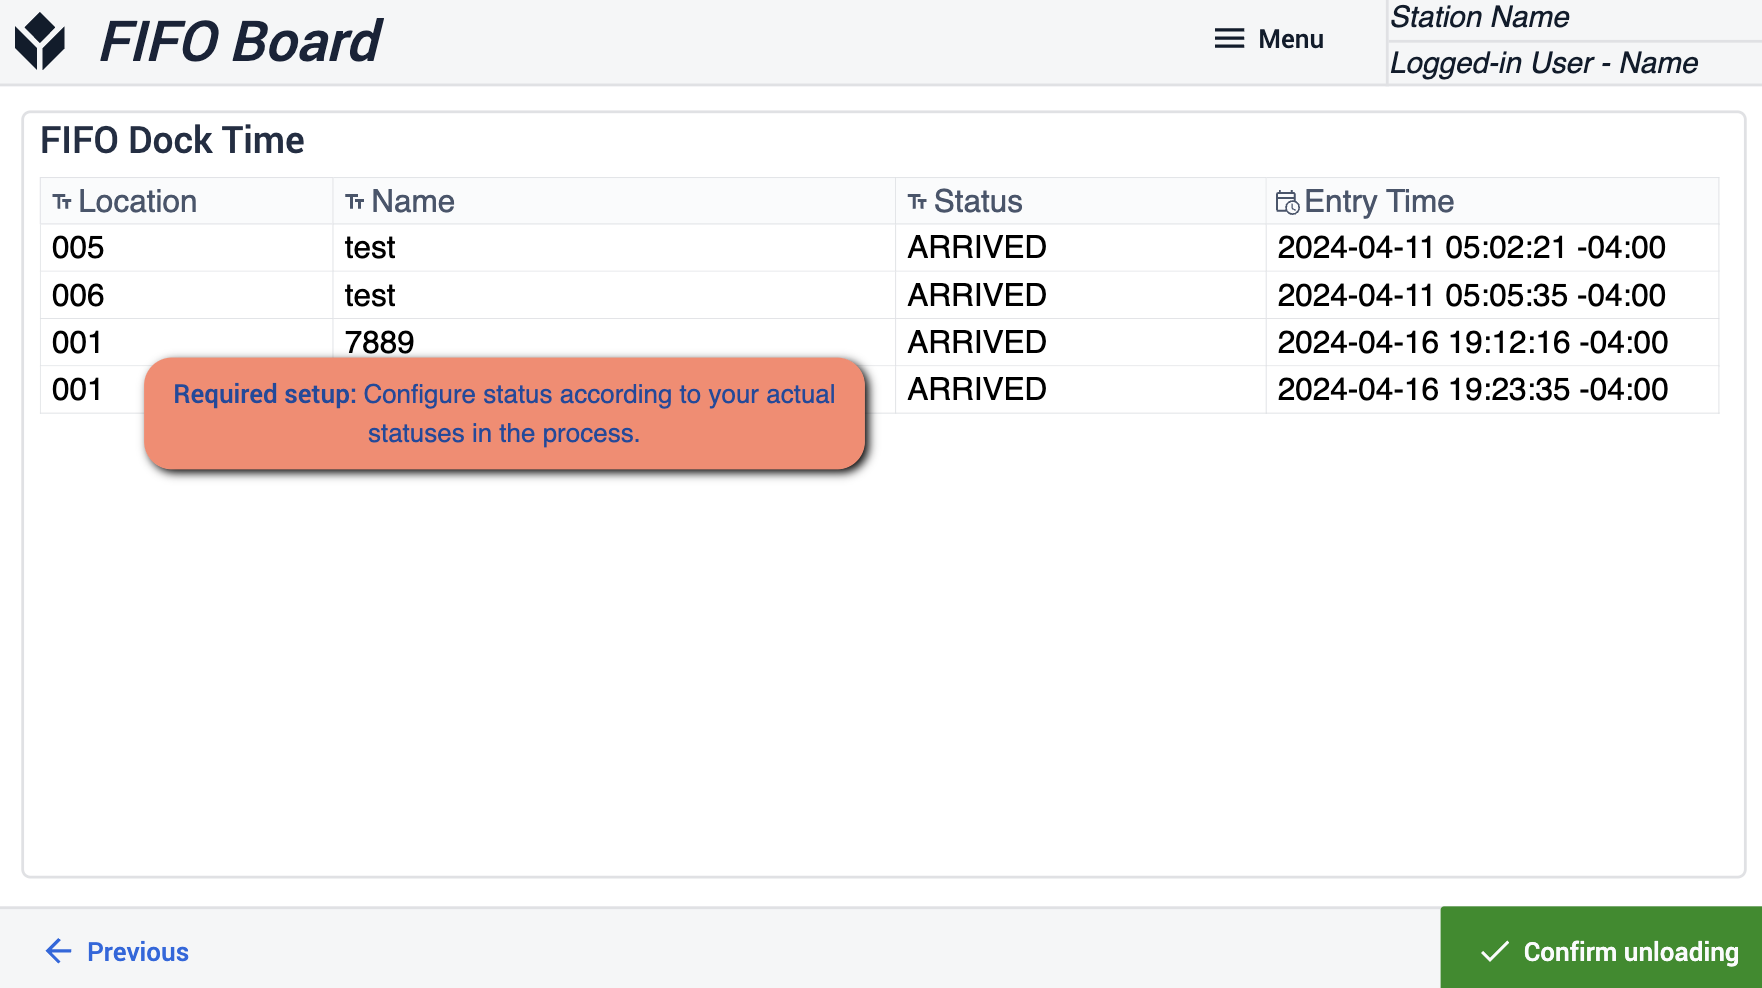 {height="300" width=""}* 스태츄가 프로세스와 일치하는지 확인합니다.
언로드 확인
여기에서 자재를 언로드했다는 사실을 캡처해야 합니다.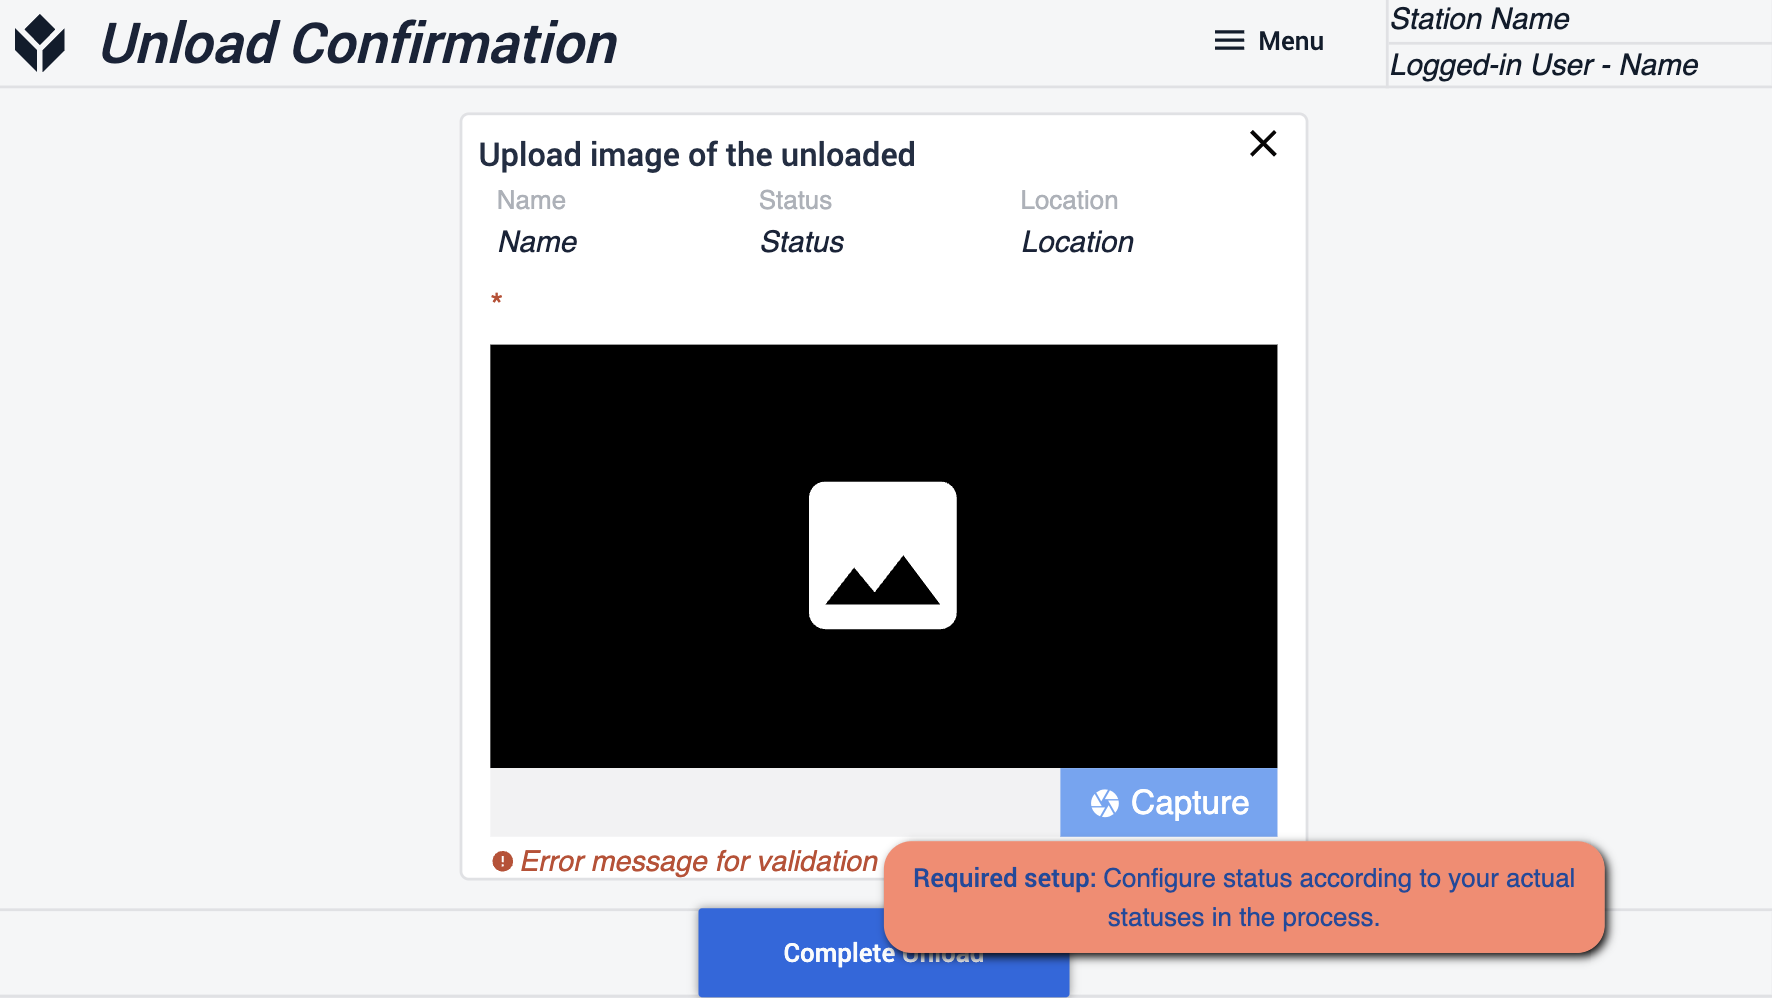 {height="300" width=""}* 조각상이 프로세스와 일치하는지 확인하세요.
새 게이트 추가
이 단계에서는 자재 수령을 위한 새 게이트를 만들 수 있습니다.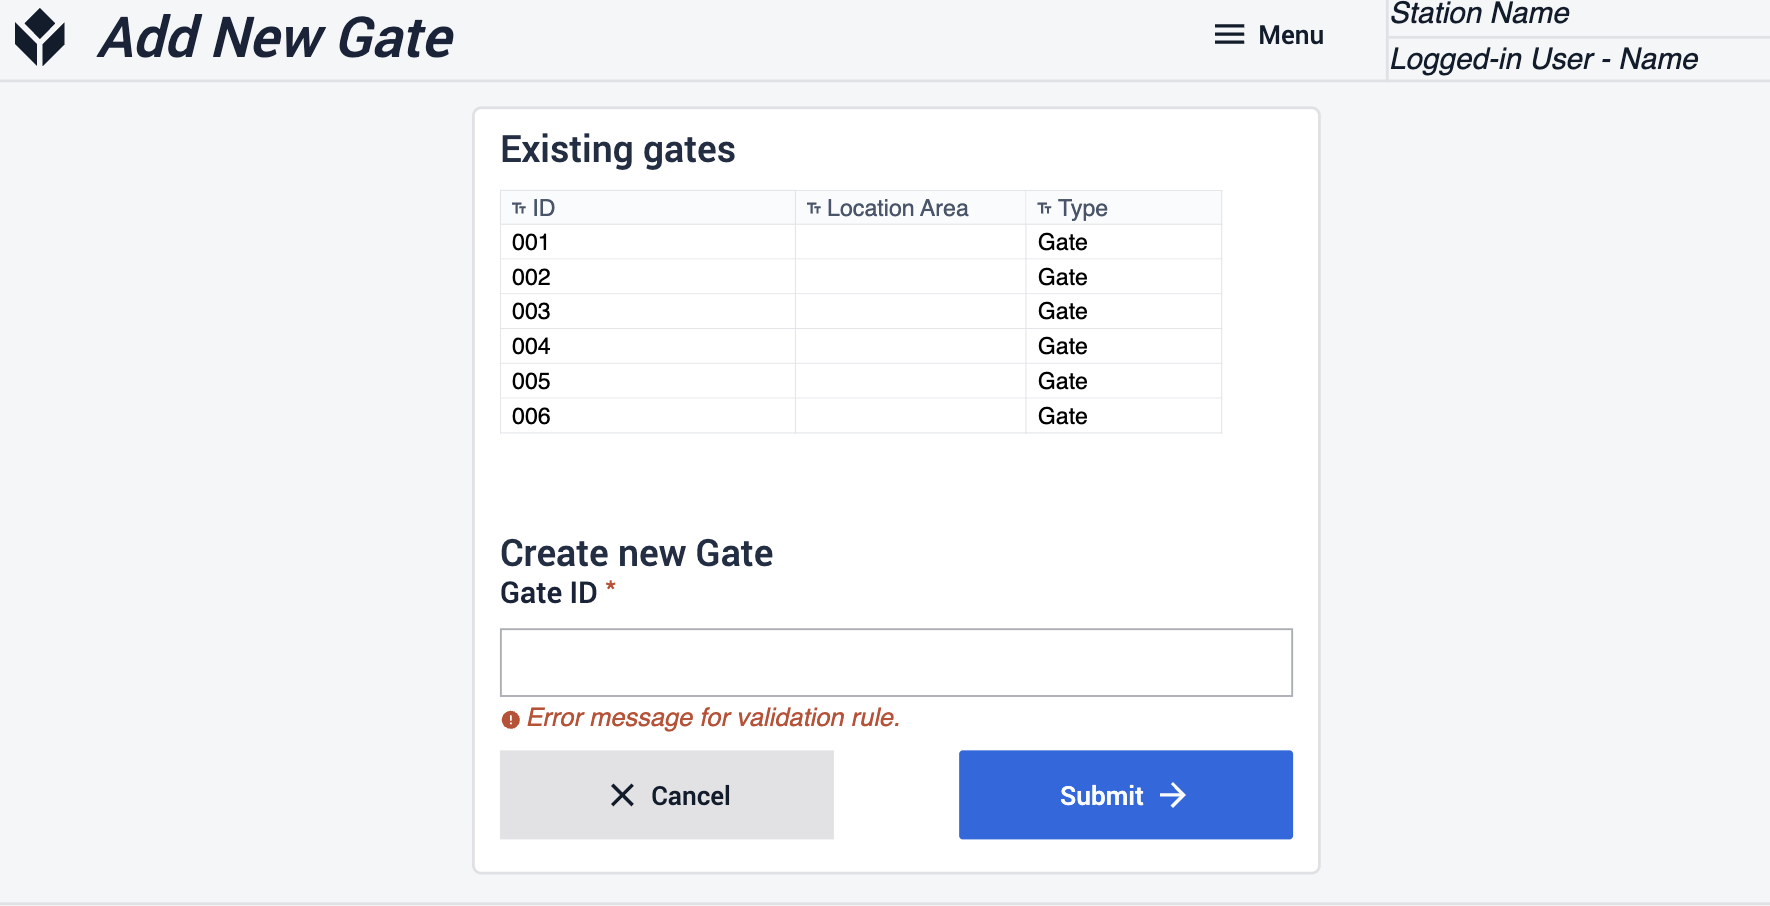
내역 보기
이 단계에서는 과거 도착에 대한 정보에 액세스하고 캡처한 특정 데이터를 검색할 수 있습니다.
보충
이 애플리케이션은 수동 데이터 입력과 관리 오버헤드를 줄여 자재 보충 및 이동을 간소화하여 직원들이 더 부가가치가 높은 업무에 집중할 수 있도록 합니다.
미결 자료 요청 보기
이 단계에서는 보류 중인 모든 자재 요청에 대한 가시성을 확보할 수 있습니다. 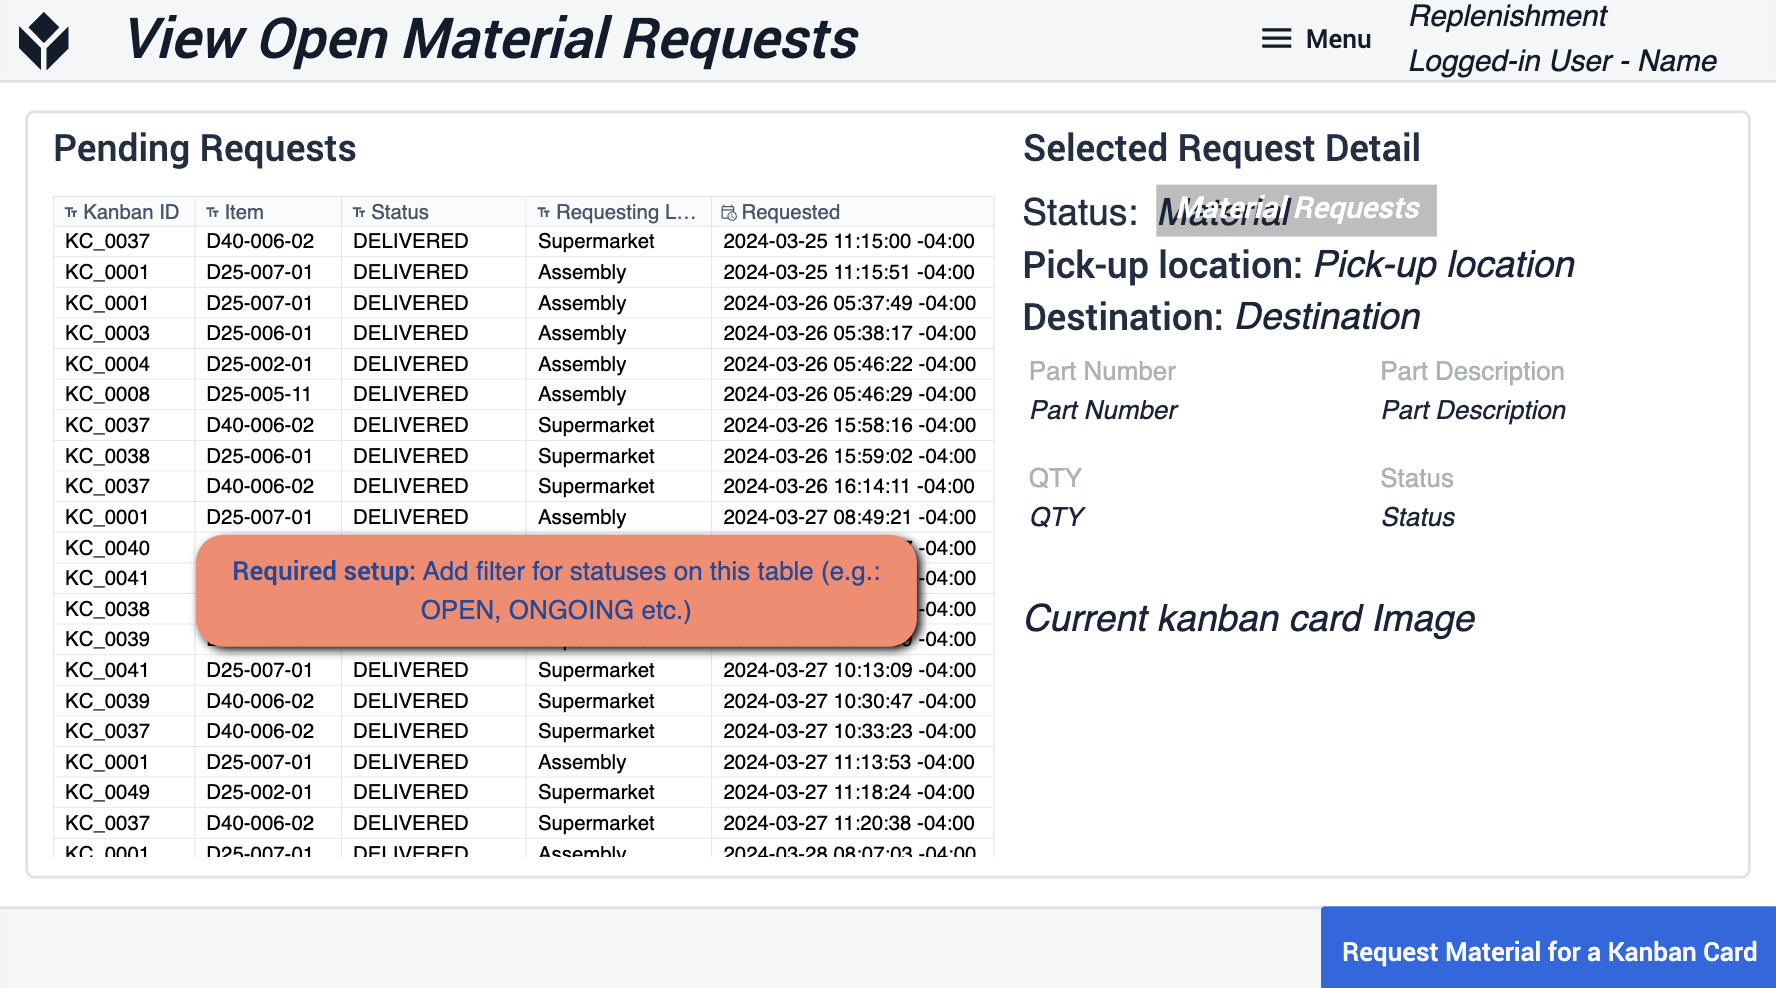 {height="300" width=""}* 테이블에 필터를 추가하여 작업에서 사용할 동상에 맞게 필터를 추가하세요.
칸반 카드 선택
여기에서 지정된 영역에 있는 자료의 칸반 카드를 스캔할 수 있습니다. 재료의 재고량을 파악할 수 있습니다.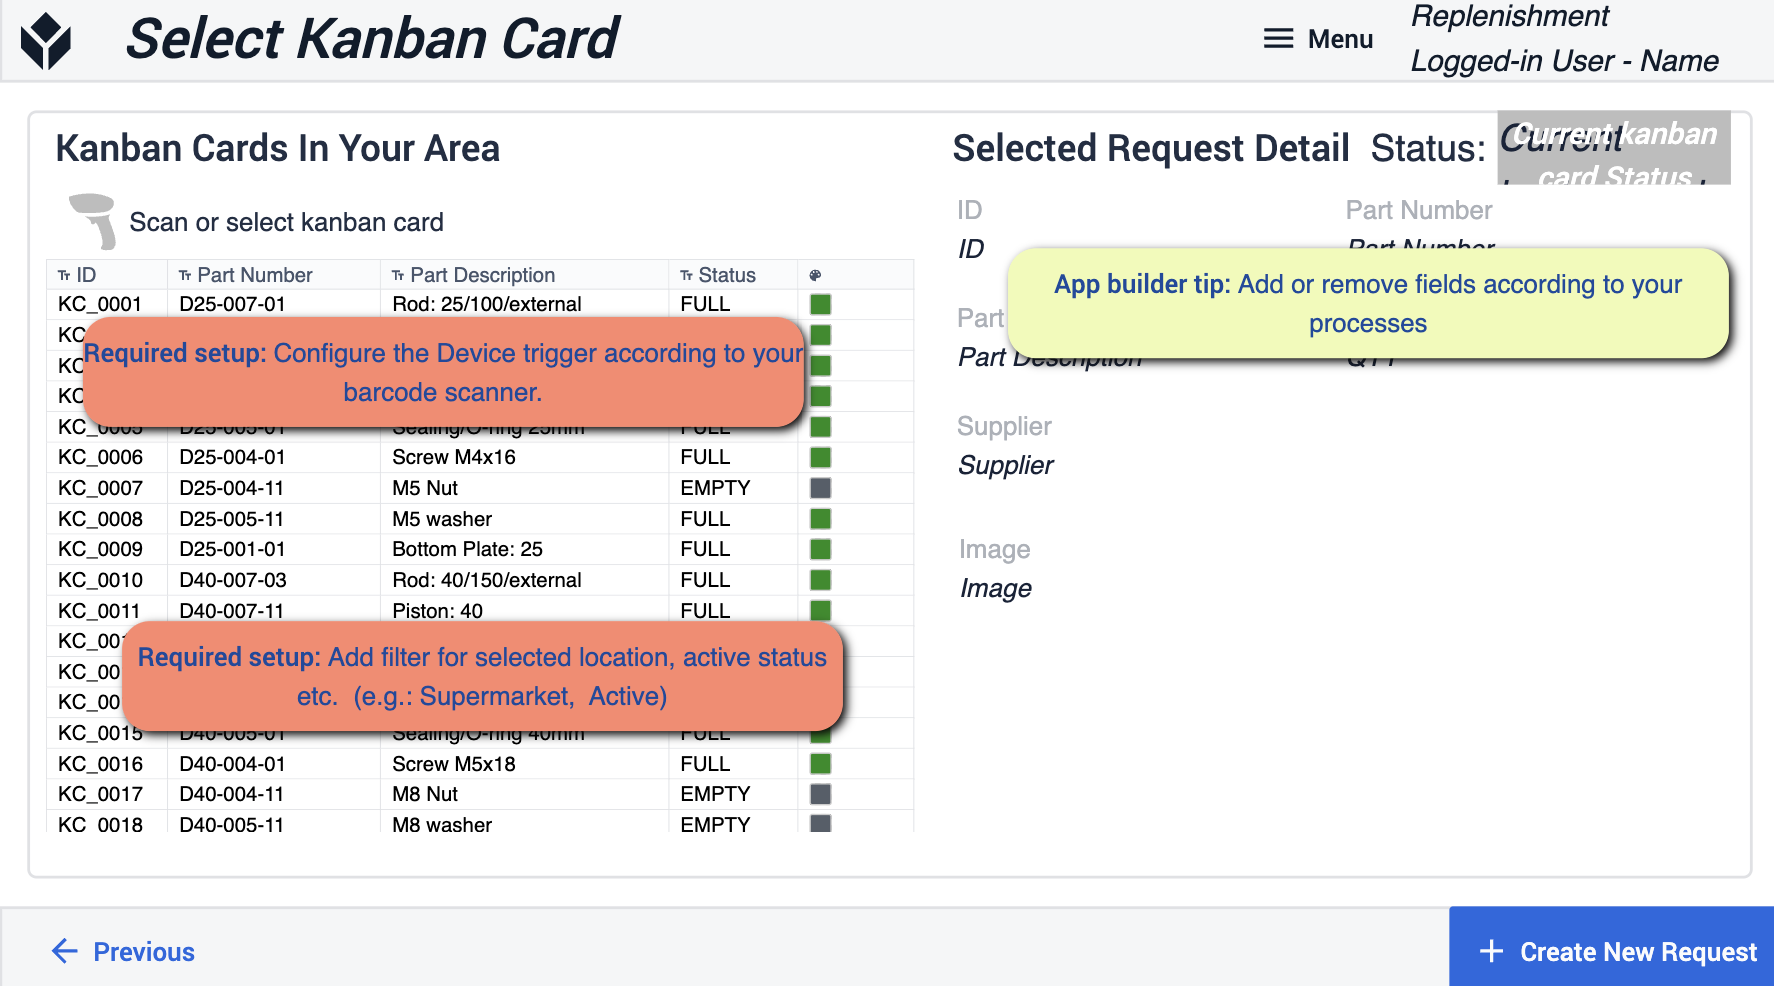 {height="300" width=""}* 앱 빌더 팁은 선택한 위치와 활성 상태에 대한 필터 추가에 중점을 두고 있습니다. 사용 중인 디바이스를 바코드 스캐너에 맞게 구성해야 합니다. 필요한 경우 프로세스에 맞게 특정 필드를 제거할 수 있습니다.
자료 요청 확인
자료 요청을 선택한 후 실제 요청 자체를 확인하는 단계입니다.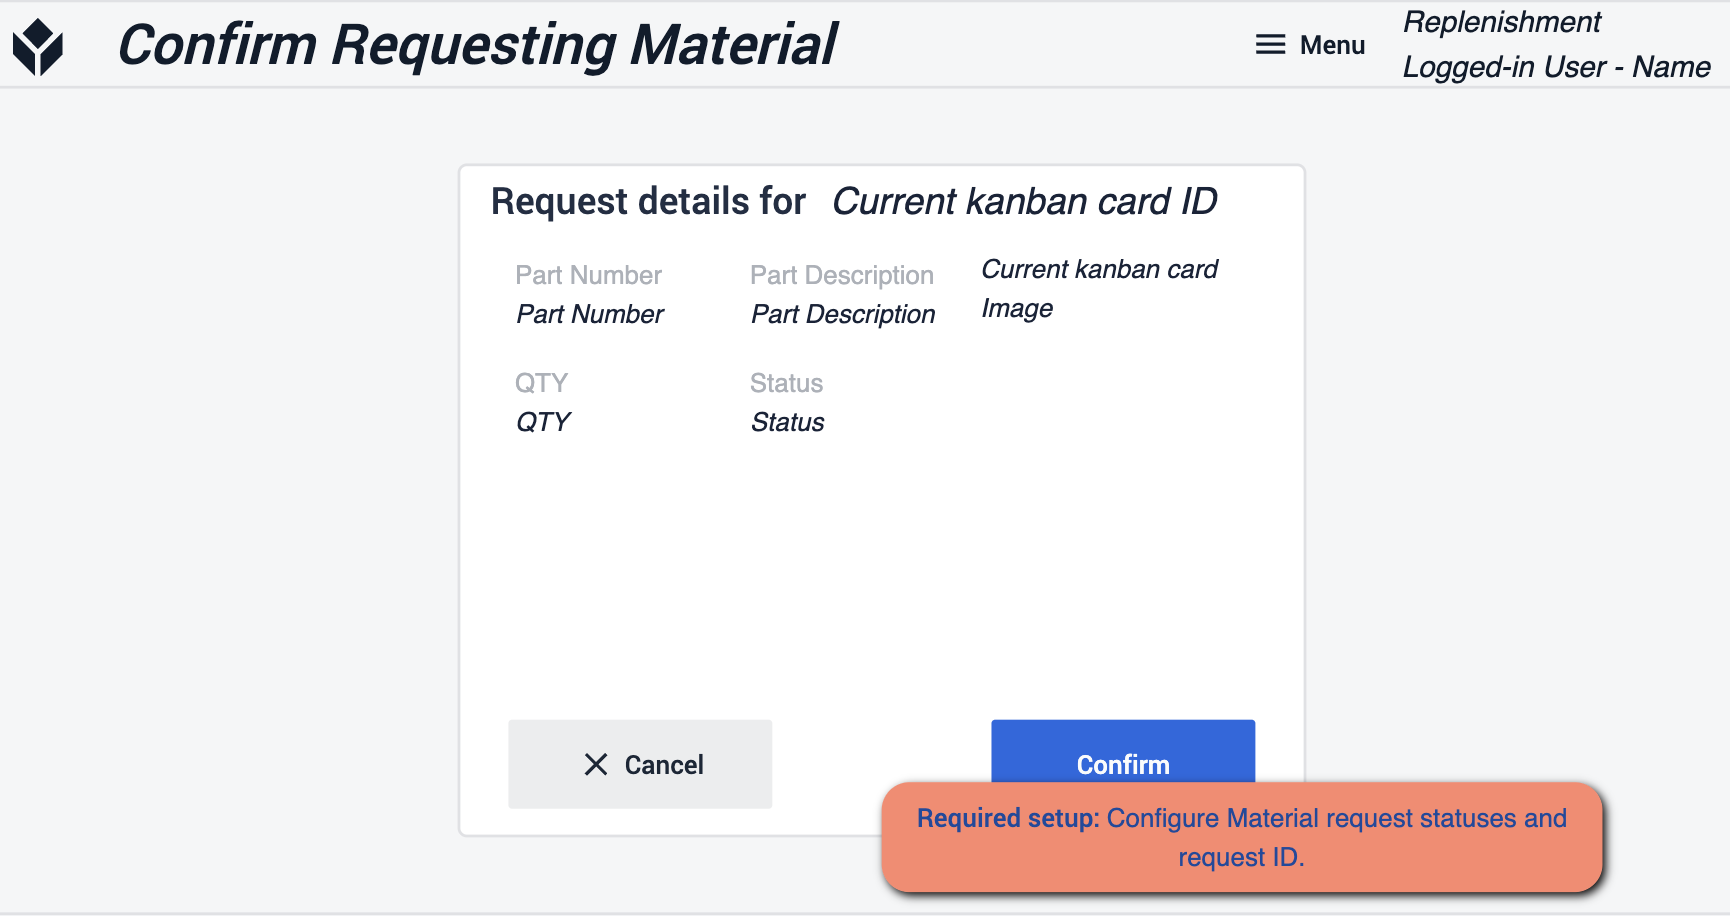 {height="300" width=""}* 여기서 자료 요청 상태와 요청 ID를 구성해야 합니다. 이렇게 하면 요청이 실제로 필요한 곳에 전달되는지 확인할 수 있습니다.
인벤토리 관리
이 앱은 인벤토리 항목을 관리하고 조회합니다. 데이터는 테이블을 통해 저장되고 표시되며, 현장에서 발생하는 변경 사항에 맞게 변경할 수도 있습니다.
메인 화면
메인 화면은 이 애플리케이션 내의 다양한 단계를 탐색하는 탐색 도구가 됩니다.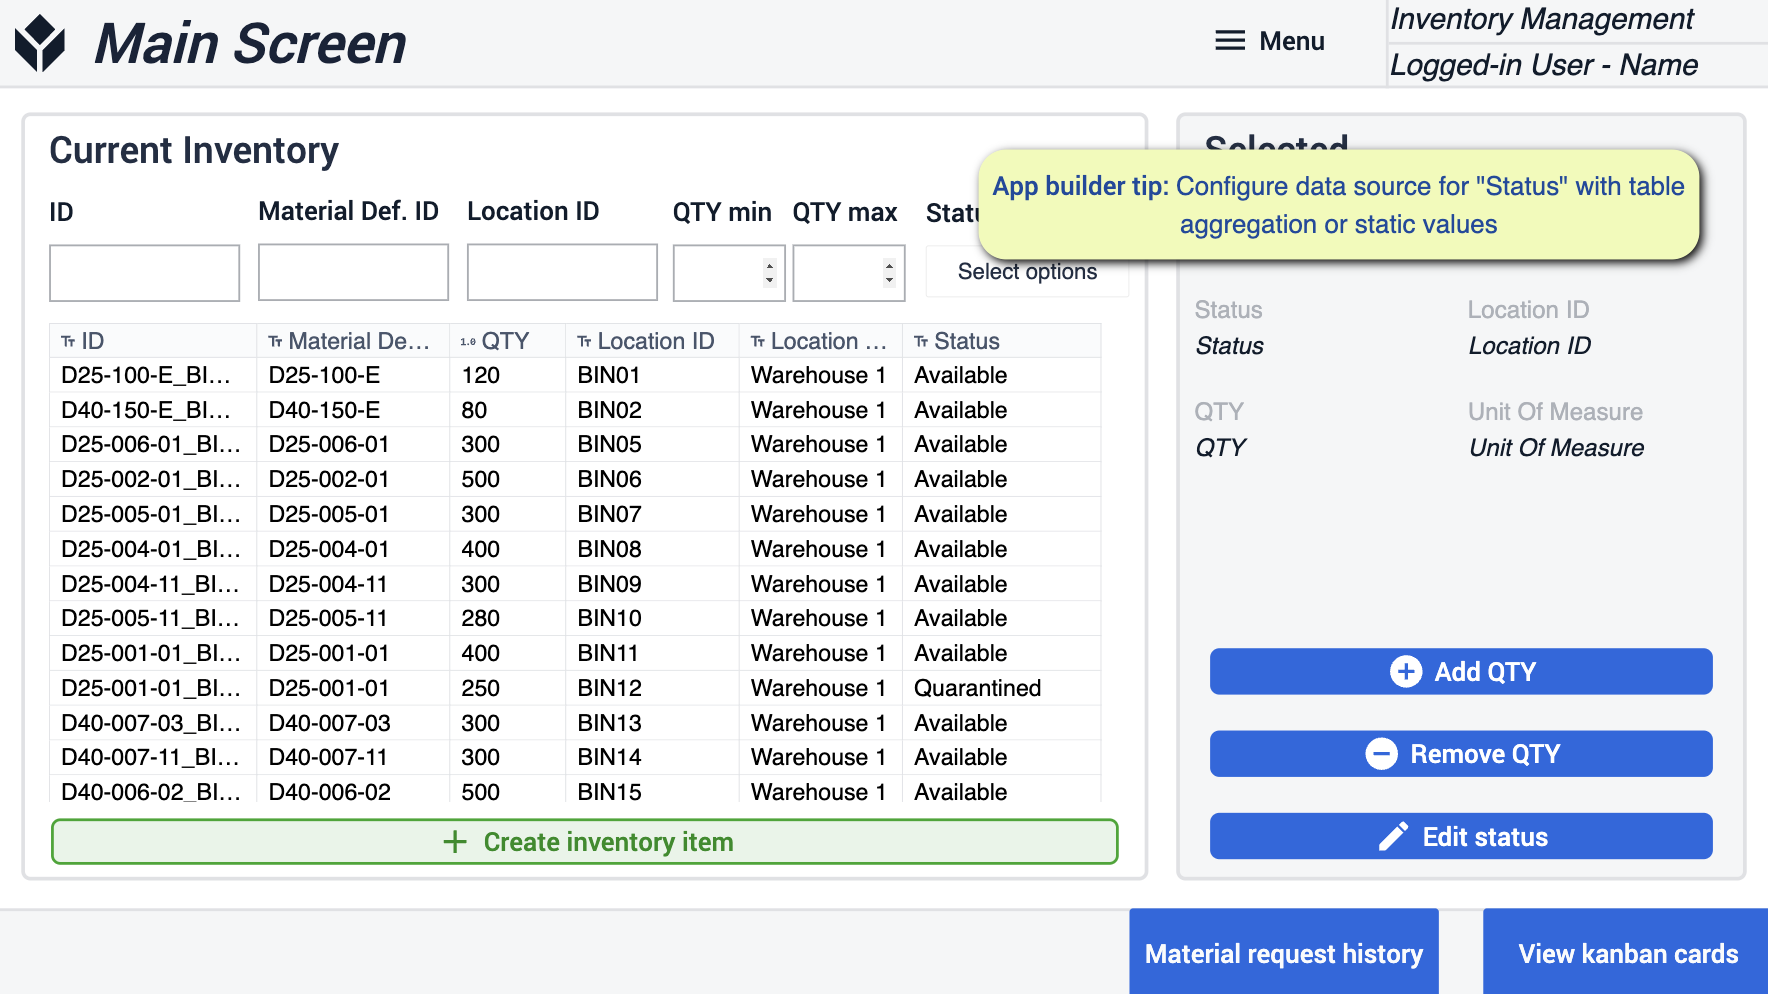 {height="300" width=""}* 여기에서 정적 값 또는 집계로 '상태'에 대한 데이터 소스를 구성할 수 있습니다.
수량 제거/수량 추가
이 단계에서는 선택한 인벤토리 품목에 원하는 수량을 추가하거나 제거할 수 있습니다.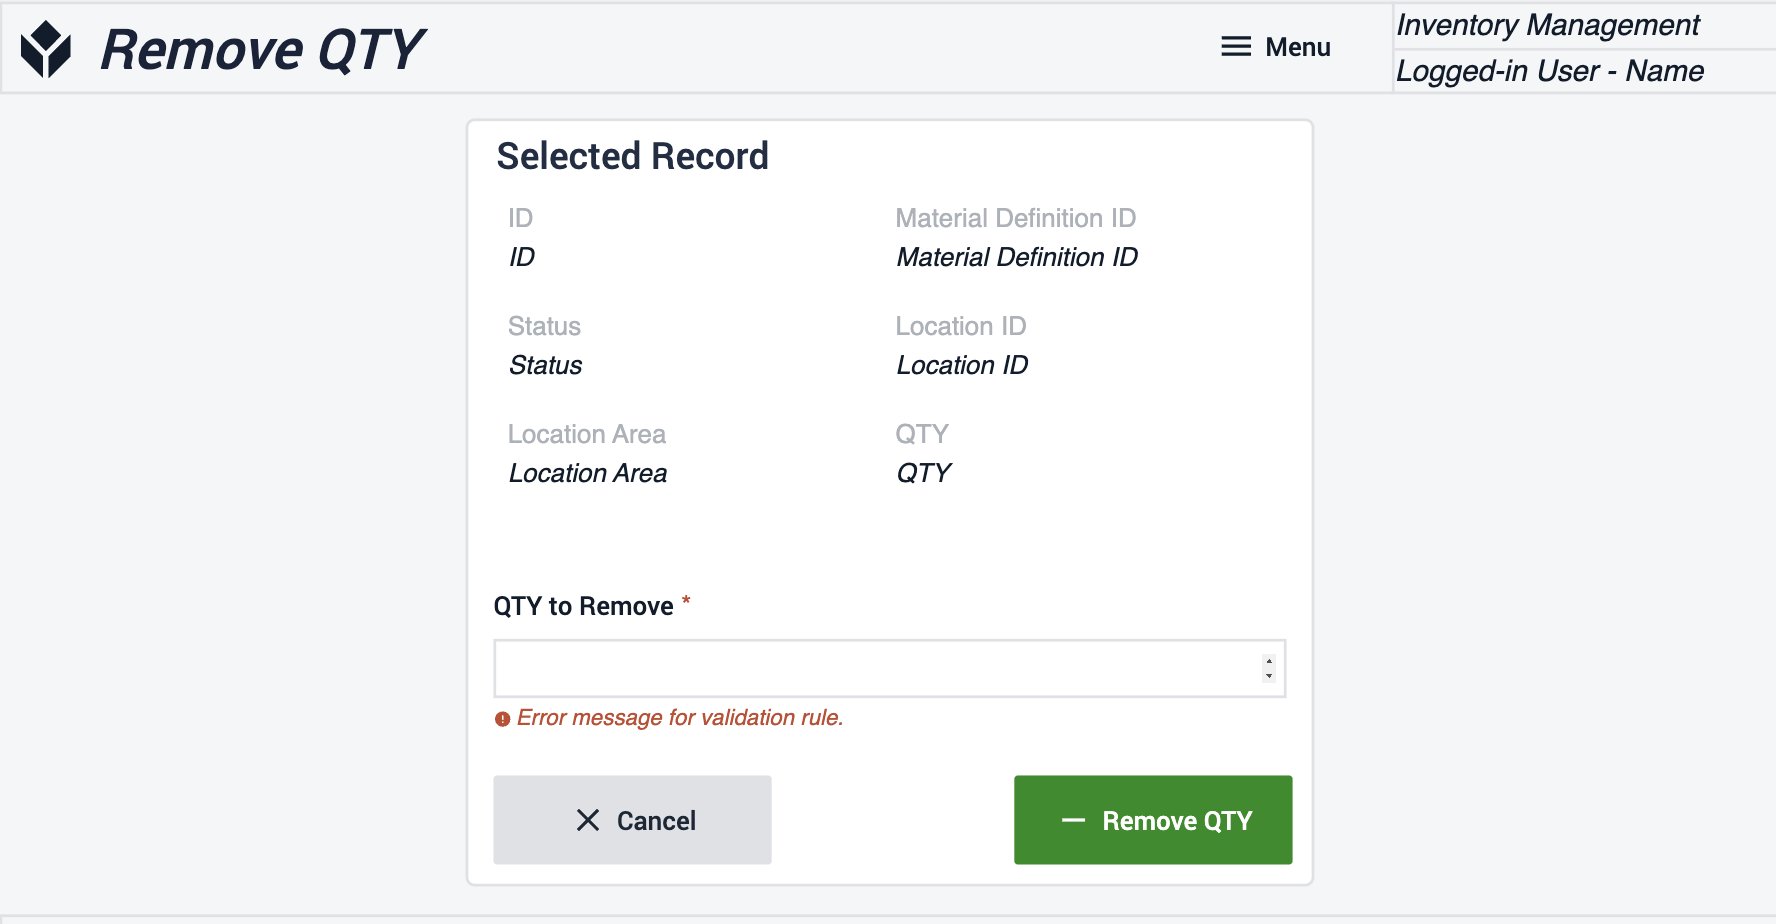
상태 편집
여기에서 인벤토리에 있는 품목의 상태를 편집할 수 있습니다. 변경하려는 품목의 수량을 확인합니다. 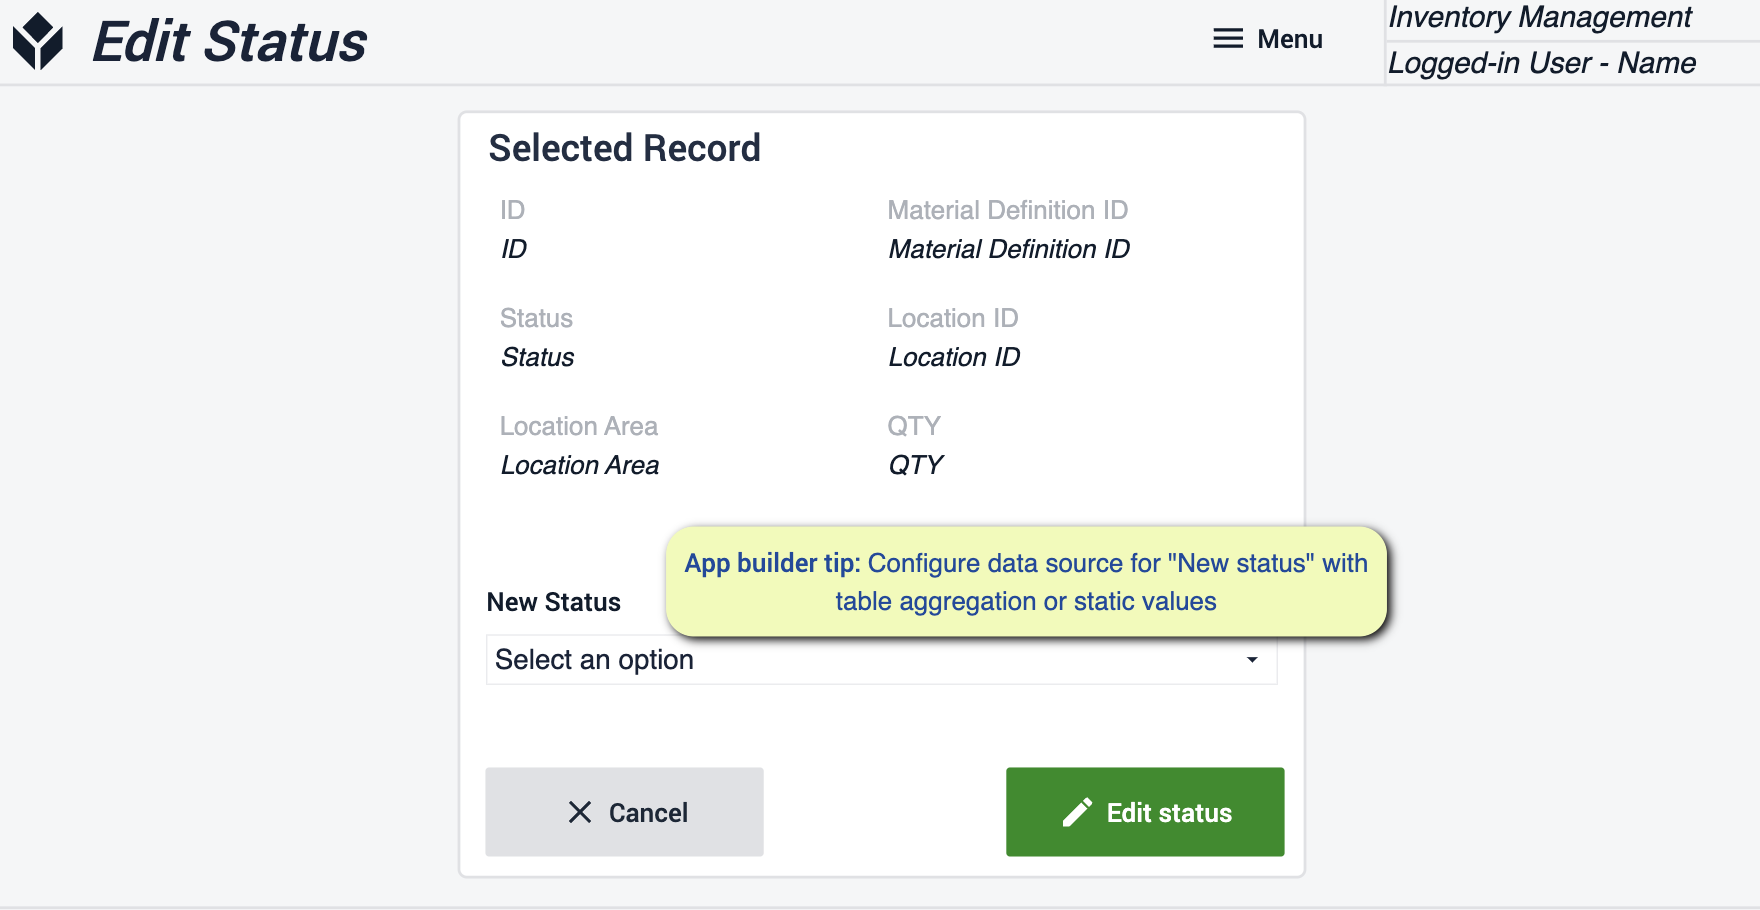 {height="300" width=""}* 여기에서 정적 값 또는 집계를 사용하여 '새 상태'에 대한 데이터 소스를 구성할 수 있습니다.
인벤토리 항목 생성
필수 필드를 작성하고 새 항목을 현재 인벤토리에 저장하여 새 인벤토리 항목을 만듭니다.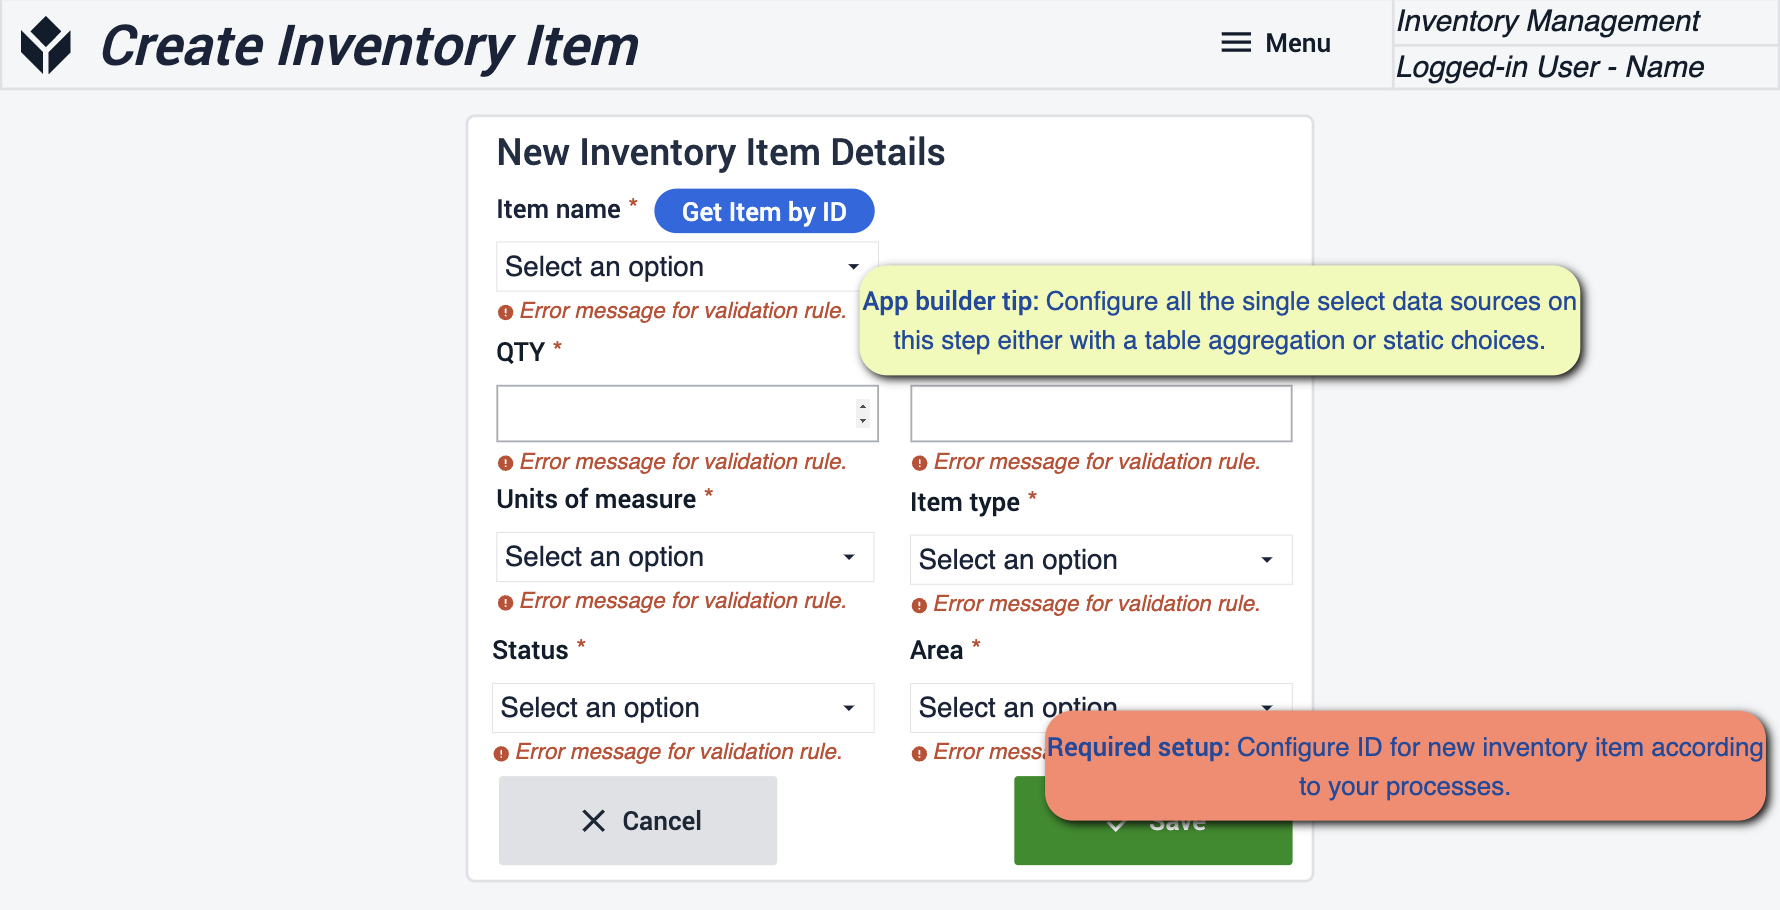 {height="300" width=""}* 이 단계에서는 모든 데이터 소스를 테이블 집계 또는 정적 값으로 구성해야 합니다. 또한 프로세스에 따라 새 항목의 ID를 구성하는 것도 중요합니다.
칸반 카드 보기
여기에서 생성된 모든 칸반 카드를 볼 수 있습니다. 라벨을 인쇄하고 새 카드를 만들 수 있습니다. 일부 카드에 일치하는 속성이 있는 경우 변경 사항을 적용하여 해당 카드의 복제본을 만들 수 있습니다. {height="300" width=""}* 여기서 따라야 할 팁은 정적 값 또는 테이블 집계를 사용하여 단일 선택 위젯에 대한 데이터 소스를 구성하는 것입니다.
칸반 카드 편집
여기서는 칸반 카드를 조정합니다. 이 단계에서는 카드를 비활성화하거나 활성화할 수 있습니다.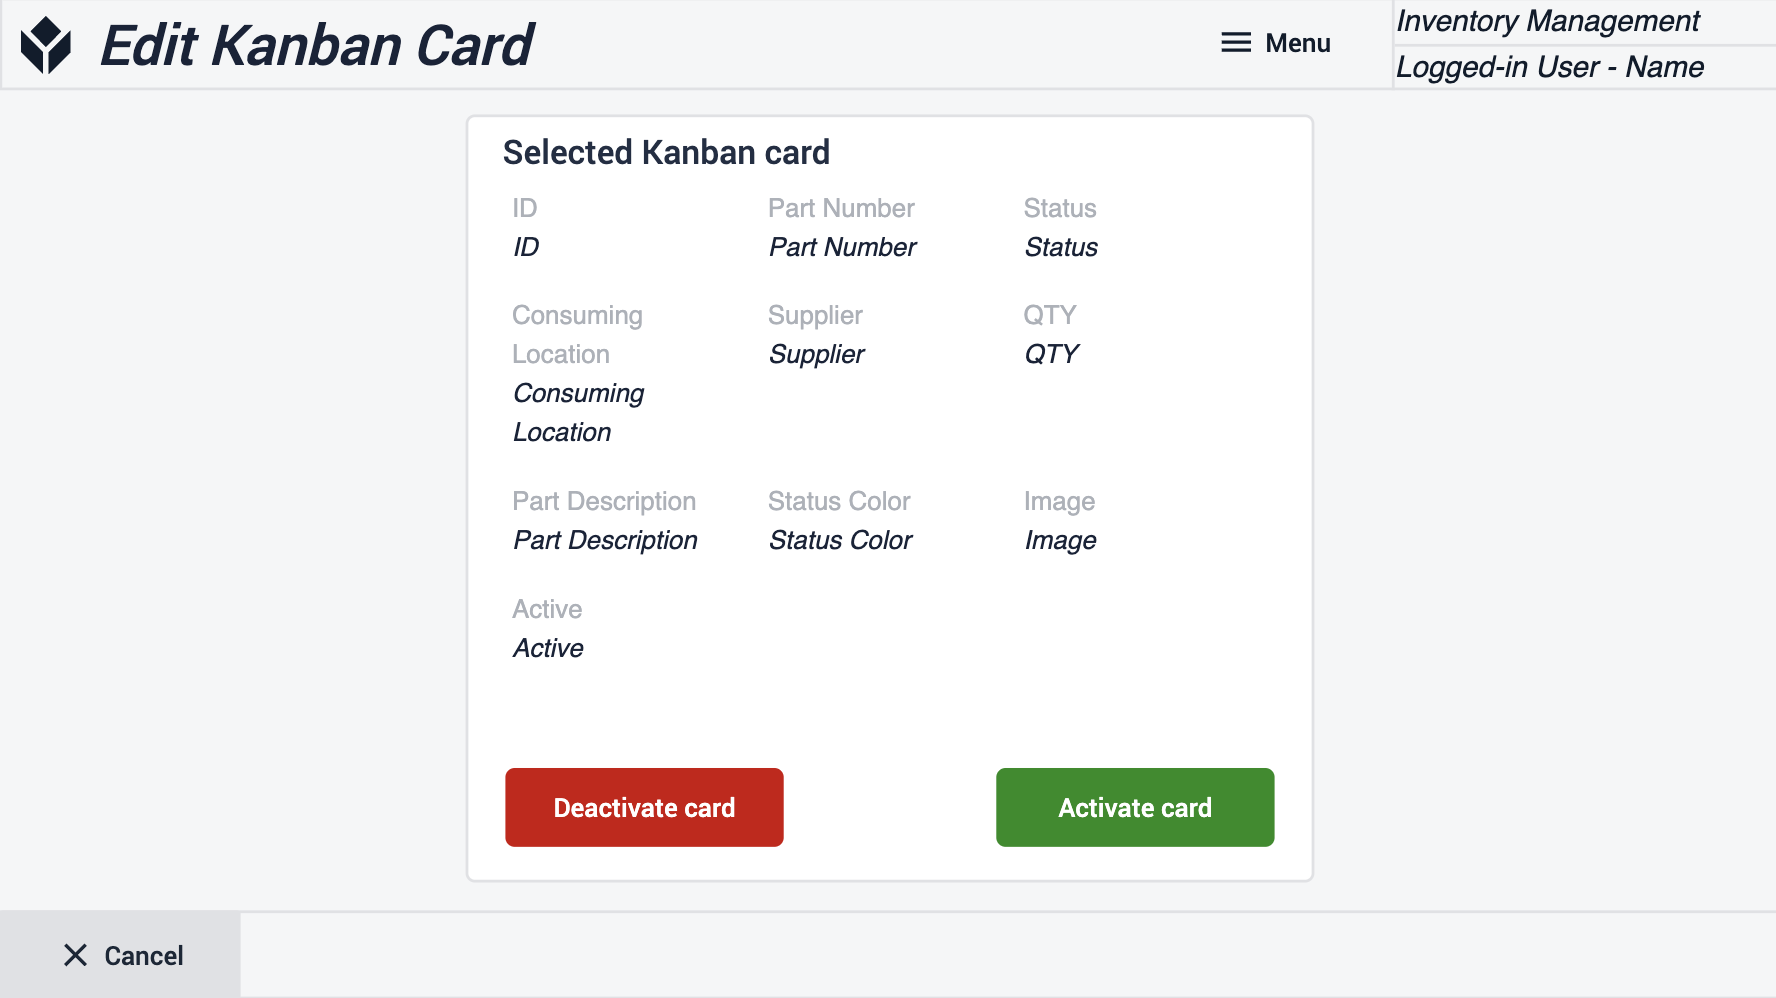
칸반 카드 만들기
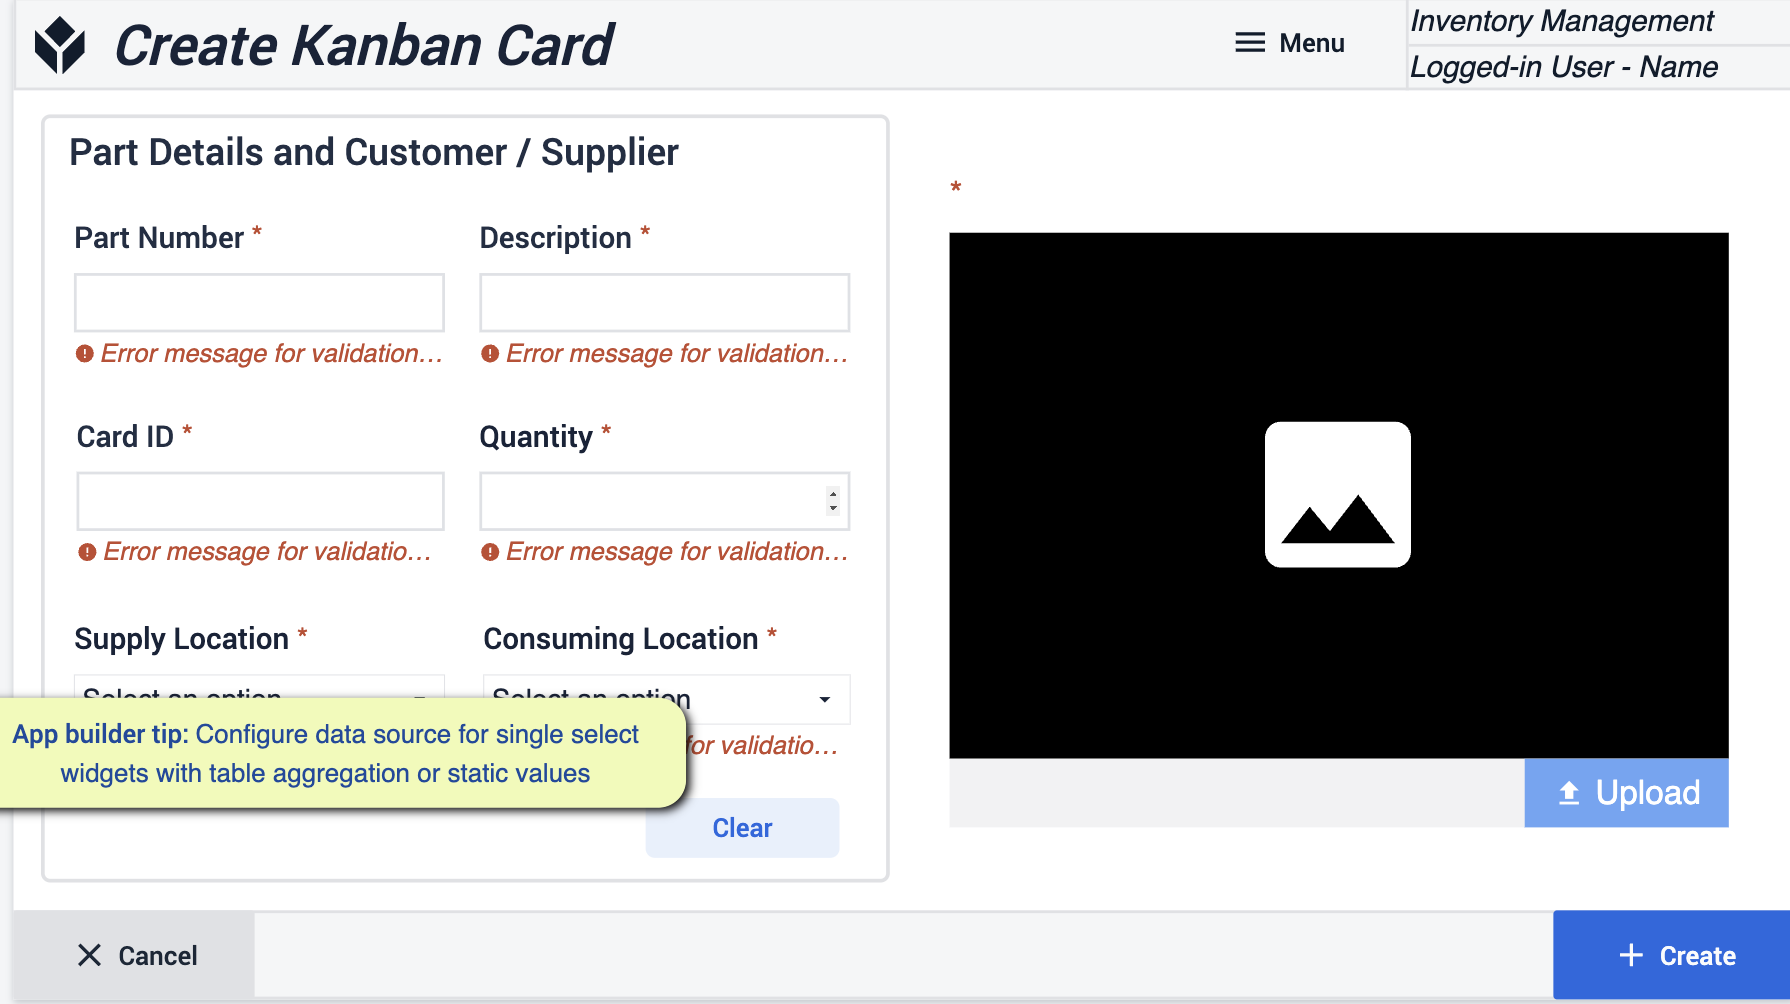 {height="300" width=""}* 여기서 따라야 할 팁은 정적 값 또는 테이블 집계를 사용하여 단일 선택 위젯에 대한 데이터 소스를 구성하는 것입니다.
라벨 인쇄
카드 라벨 만들기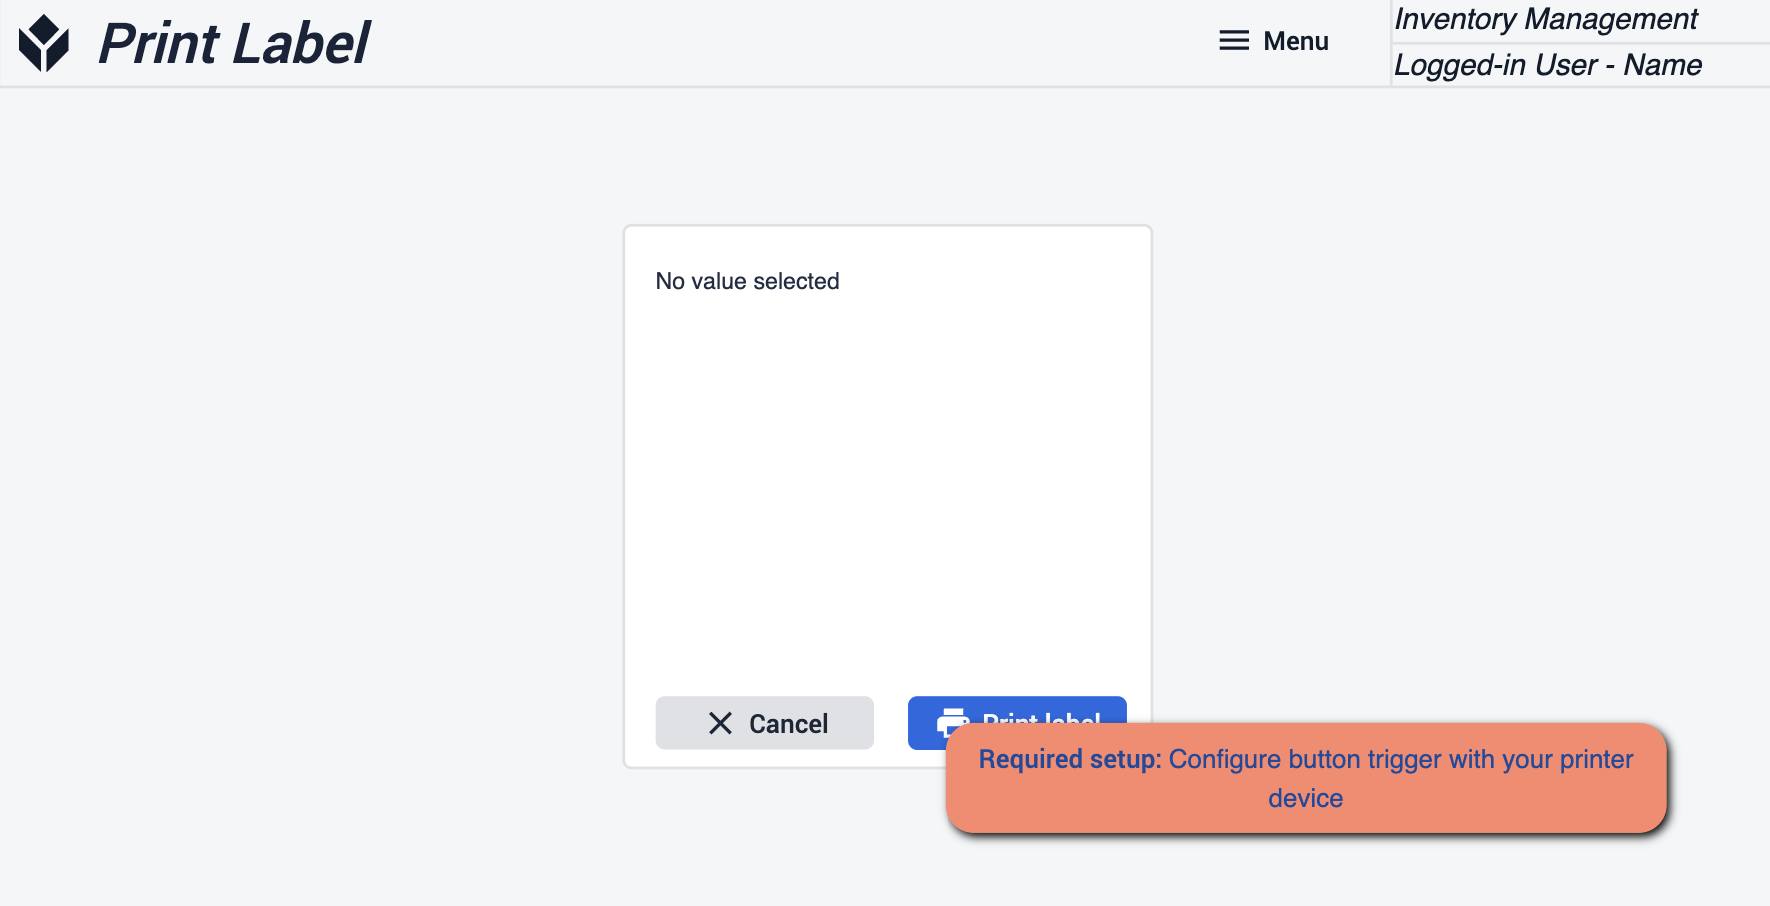 {height="300" width=""}* 라벨을 인쇄하려면 장치에 '라벨 인쇄' 버튼이 구성되어 있는지 확인하세요.
자료 요청 내역
모든 자료 요청 내역을 확인하세요. 주문을 선택하여 내역에 대한 자세한 정보를 확인하세요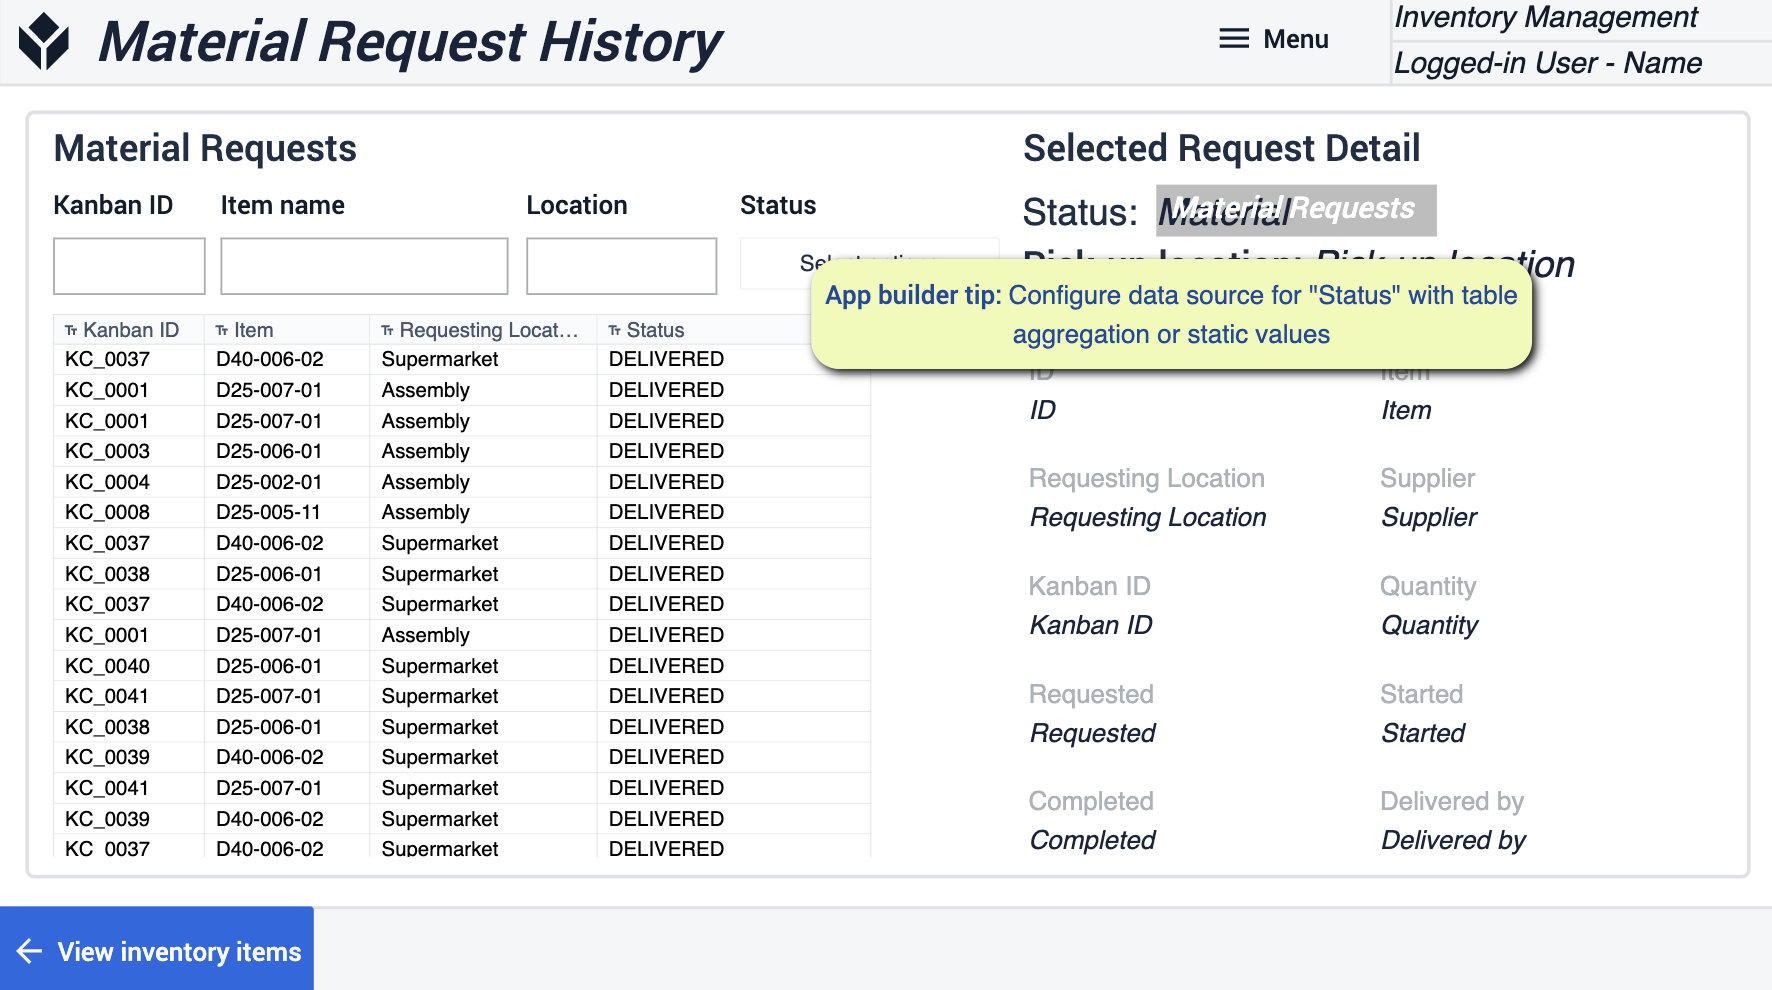 {height="300" width=""}* 테이블 집계 또는 정적 값으로 '상태'에 대한 데이터 소스를 구성해야 합니다.
자재 창고
이 모바일 앱을 통해 사용자는 자재를 Tulip으로 거래할 수 있어 재고 정확도를 크게 높일 수 있습니다. 사용이 쉽고 간단하며 새로 도착한 자재를 최대한 빨리 디지털화하는 데 도움이 됩니다.
홈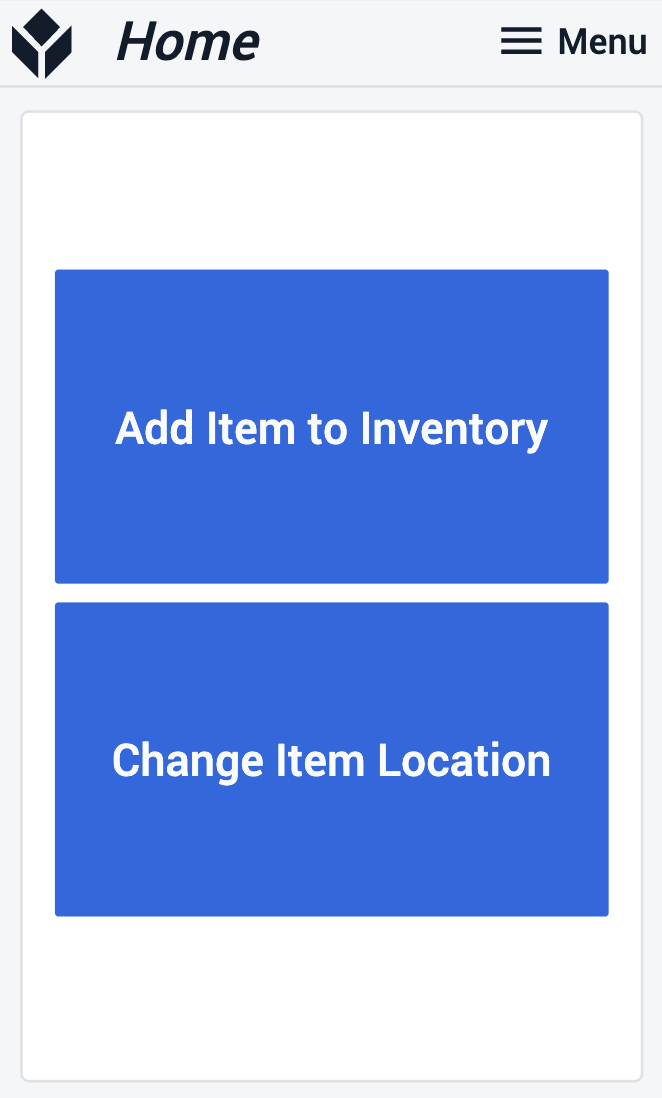
홈 단계에서 사용자는 인벤토리에 추가할 완전히 새로운 품목인지 아니면 재배치가 필요한 기존 품목인지에 따라 흐름을 선택해야 합니다.
품목 스캔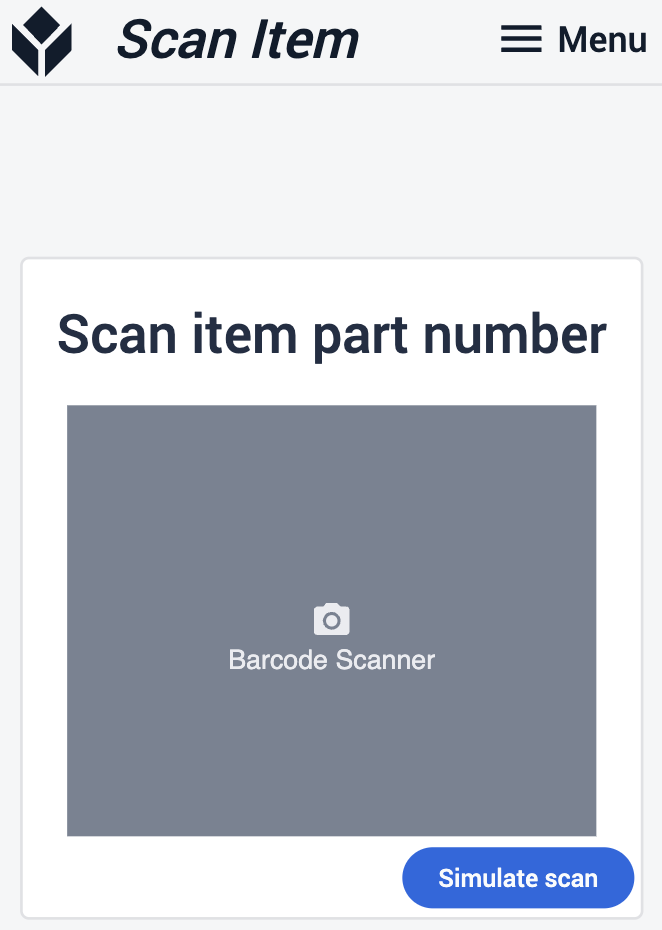
품목 스캔 단계에서는 바코드 또는 광학 스캐너로 품목을 스캔할 수 있습니다.
품목 정보 보기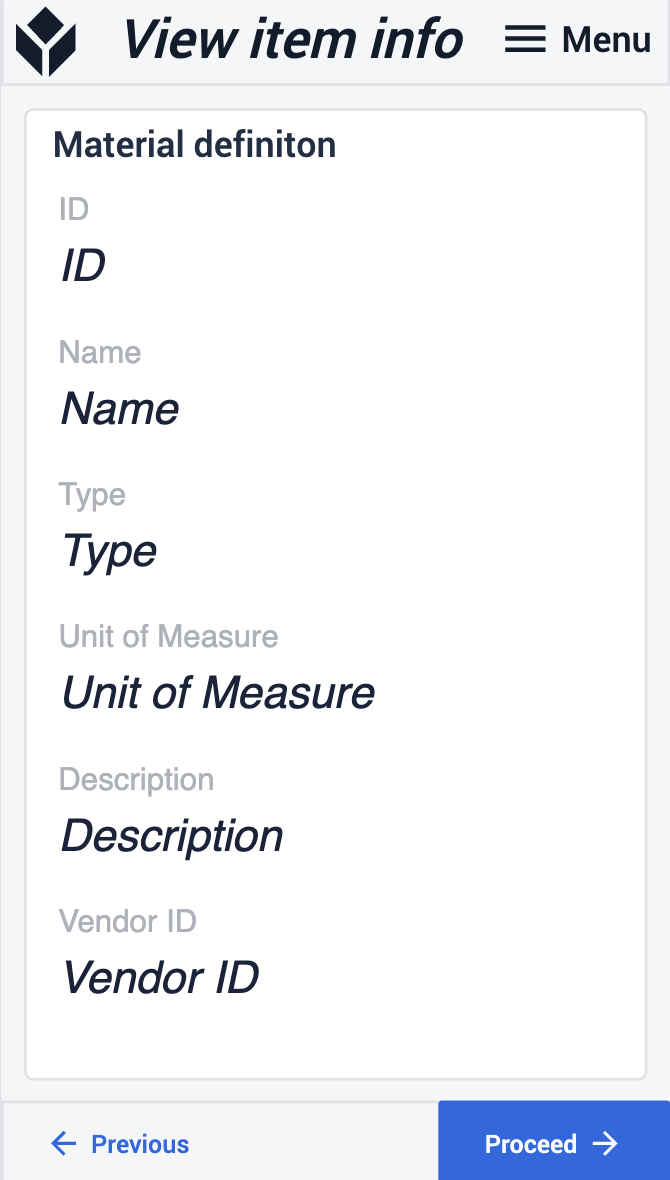
품목 수량 입력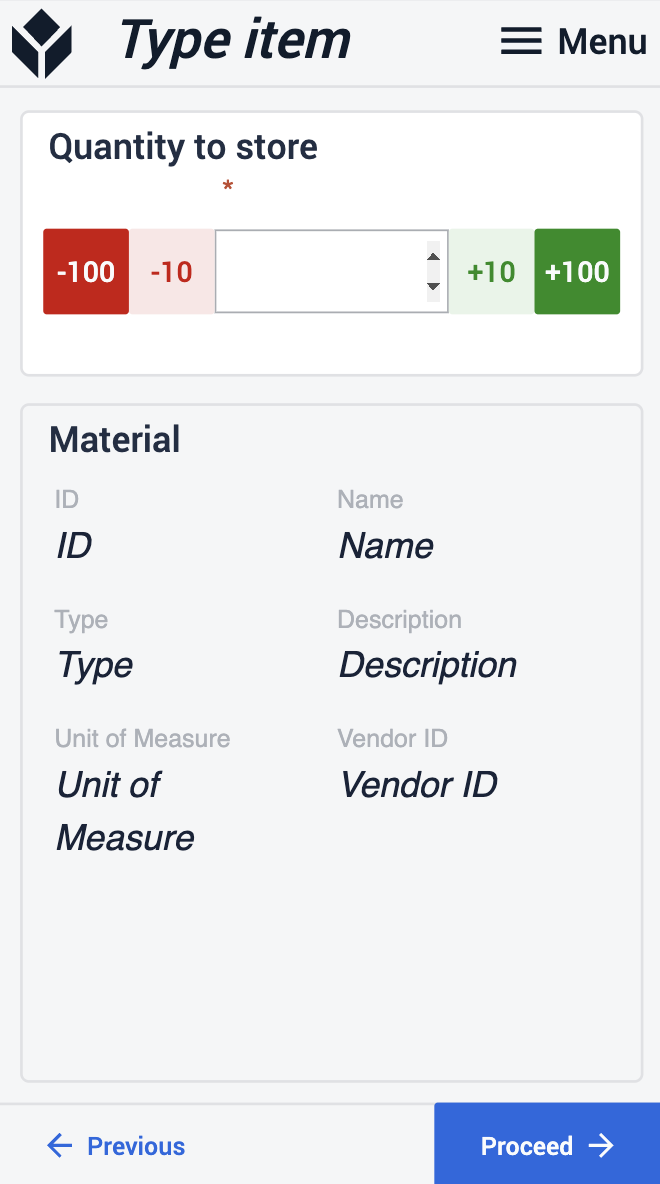
품목을 스캔하고 모든 세부 정보를 확인한 후 저장하거나 위치 간에 이동하려는 수량을 입력합니다. 품목 이동을 선택하는 경우 원래 위치에 저장된 수량보다 더 많은 수량을 입력할 수 없다는 점에 유의하세요.
스캔 위치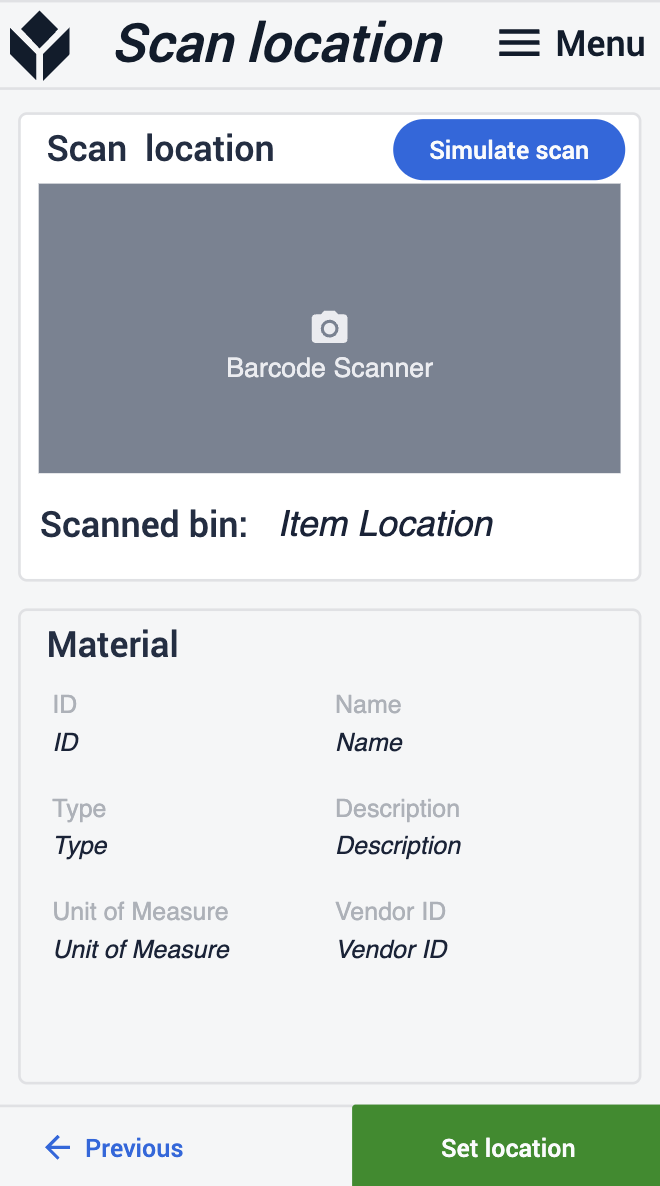
인벤토리 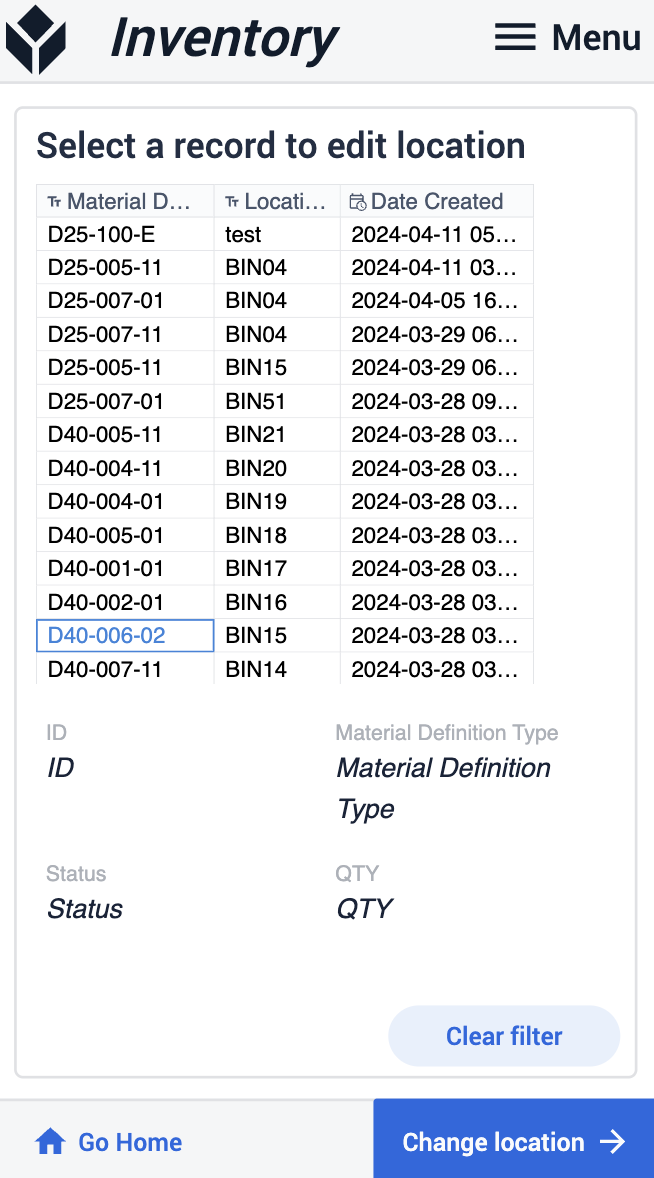
다음 단계에서는 품목을 저장할 새 위치를 스캔합니다. 스캔이 완료되면 인벤토리 단계에서 저장 또는 이동이 성공했는지 확인할 수 있습니다.
자료 이동
이 애플리케이션을 사용하면 공장 전체에서 자재의 이동을 제어할 수 있습니다.
칸반 요청
여기에서 모든 칸반 요청을 볼 수 있습니다. 요청을 선택하면 자세한 정보를 볼 수 있습니다.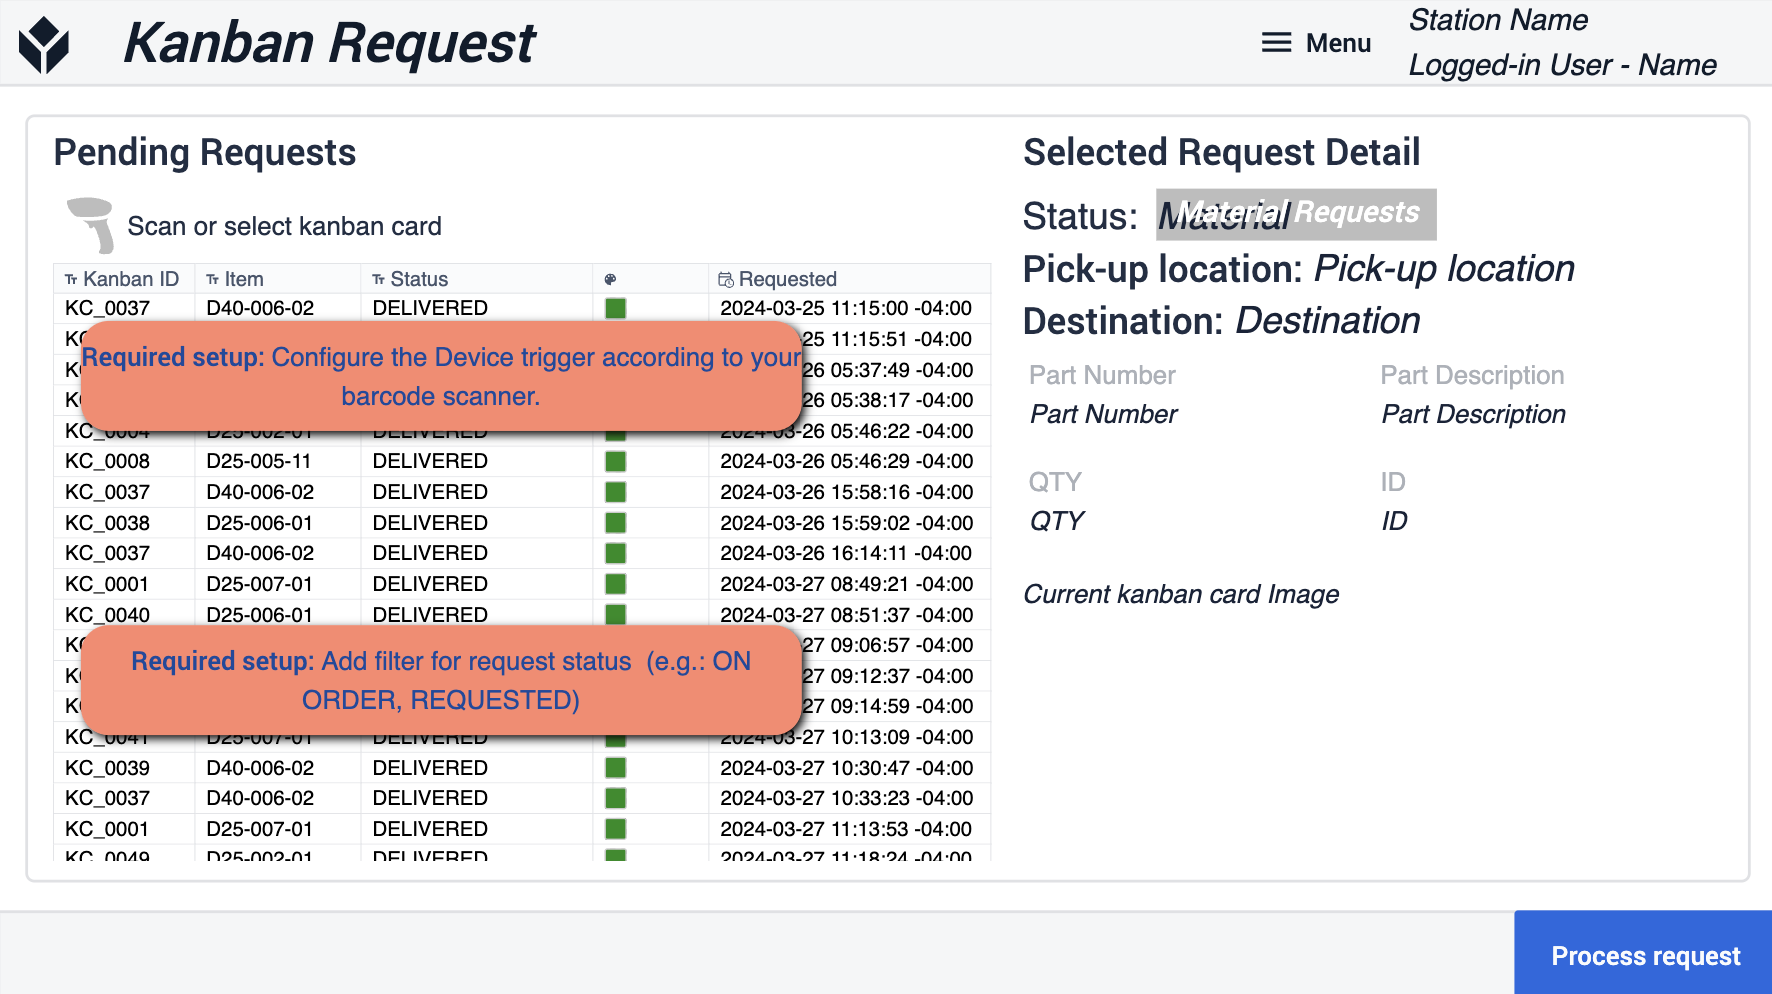 {height="300" width=""}* 이 단계에서는 바코드 스캐너에 따라 장치 트리거를 구성해야 합니다. 또한 요청 상태에 필터를 추가하여 작업과 일치하도록 합니다.
확인
이 단계에서는 실제 요청을 확인합니다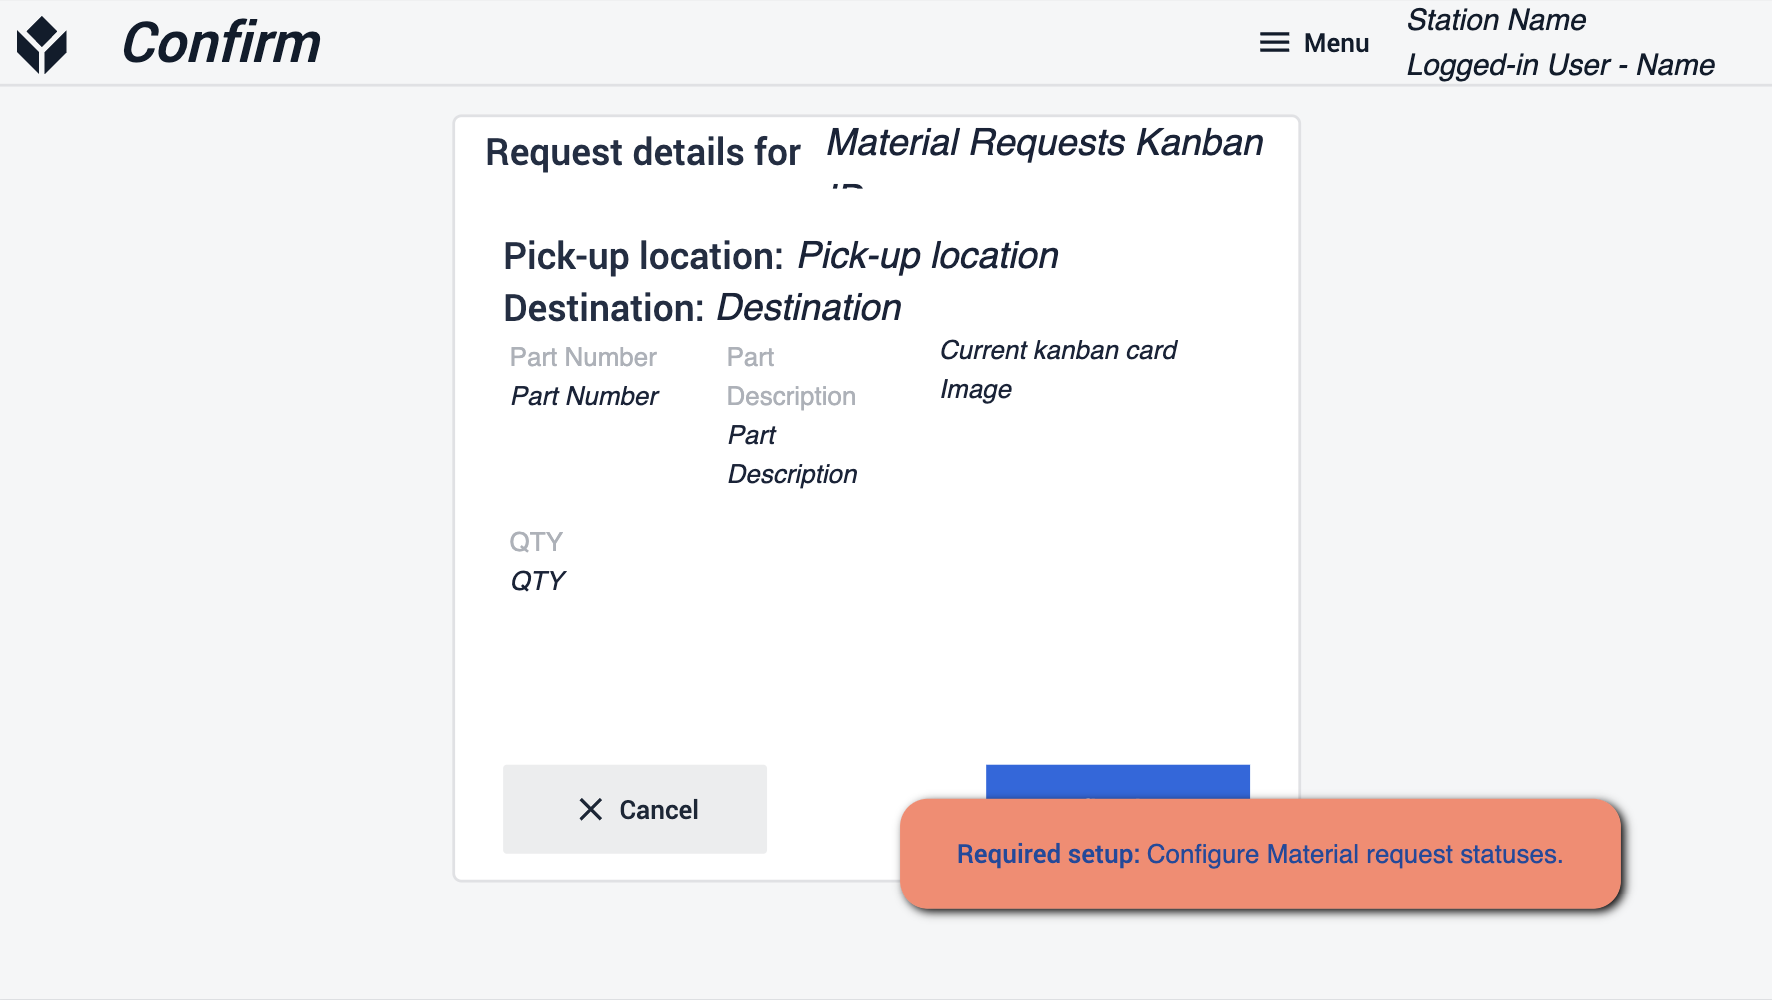 {height="300" width=""}* 완료 시 업데이트되도록 자료 요청 상태를 구성해야 합니다.
준비
앱 제품군을 살펴볼 때 앱 빌더 팁을 따르는 것이 중요합니다. 이 팁은 애플리케이션 배포 준비를 위한 가이드가 될 것입니다. 전제 조건을 참조하고 각 단계 내에서 필수 단계와 앱 빌더 팁을 모두 따랐는지 확인하는 것이 중요합니다.