- 16 Dec 2024
- 4 읽을 분
- 기여자
- 인쇄
Options for Sample Management
- 업데이트 날짜 16 Dec 2024
- 4 읽을 분
- 기여자
- 인쇄
Introducing the two options for managing samples in the Laboratory Management app group
Based on the product (e.g. large molecules, pharmaceuticals, blood), lab type (e.g. QC lab, R&D lab, biotech lab), and level of digitalization, different strategies might be suitable for sample receipt and management. In Tulip’s Laboratory Management app group, we provide two main options: one based on manual sample receipt and task assignment and one based on automated receipt and assignment based on sampling plans. This article aims to provide guidelines for choosing from the two strategies and then goes into detail about both of them.
Which option should I choose?
The main difference between the two strategies (‘Option A’ and ‘Option B’) is the use of a Sampling plan.
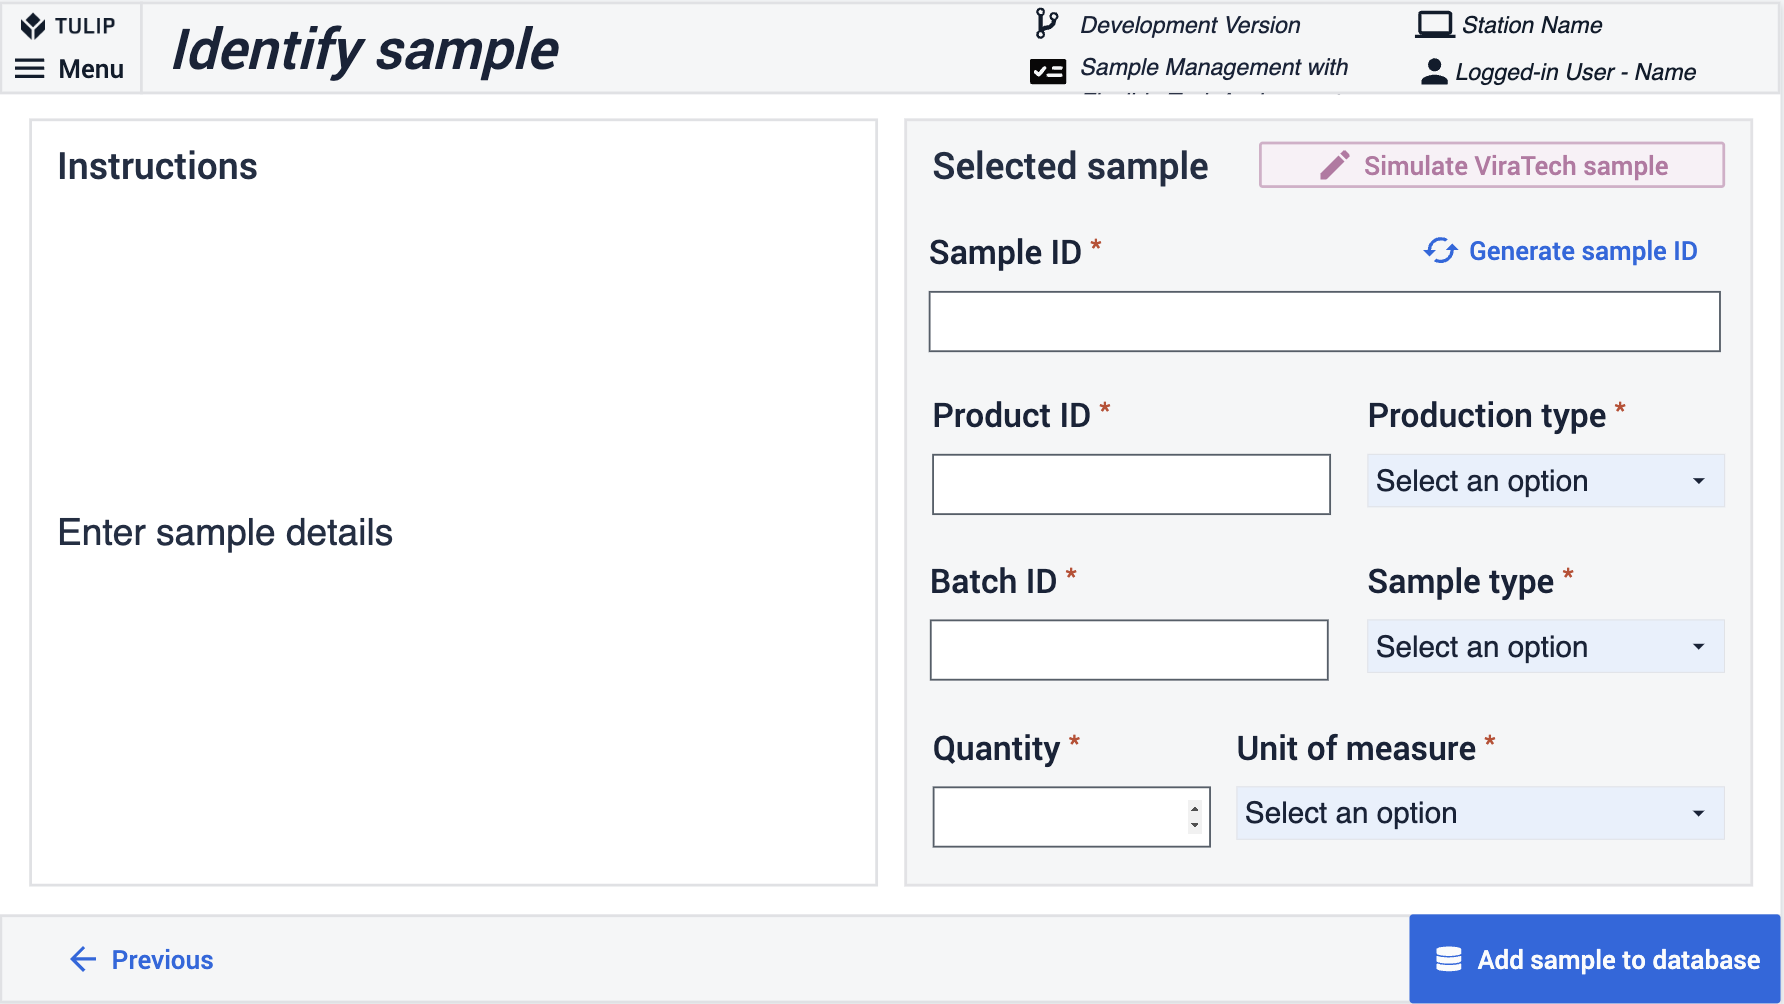
Option A, with flexible task assignment, does not use the Sampling Plan table. Upon receiving a sample, the app user manually enters the sample details, and the sample procedures are then selected from a list and assigned to the sample.
In contrast, Option B leverages the Sampling Plan table, Tulip API connectors, and Automation to streamline and standardize the sample management process. The list of samples to be taken from a production batch, along with the required sample procedures, is stored in the Sampling Plan table and automatically integrated into the laboratory operations system using Tulip Automation.
Option A: Not using a sampling plan
- Flexible task assignment: for any sample type, choose any combination of sample procedures and assign it to the sample
- Samples can be received with manual entry of sample details
- Compatible with Composable MES for Pharma (link)
- Gradual adoption: can be used without a sampling plan and later upgraded with it
Option B: Using a sampling plan
- Receive samples with only one click
- Manage sample plans and use them as reference data upon sample receipt
- Leverage automation to simplify user experience
- Use standard operation processes in your laboratory
Detailed explanation of Option A: Flexible task Assignment
Enter sample details: The user needs to enter sample details as a first step of the sample receipt. The details are transferred from the sample acceptance document and the sample is added to the Sample table upon navigation. This step can be skipped if the samples are taken in a Tulip-based system and therefore are already in the Sample table.
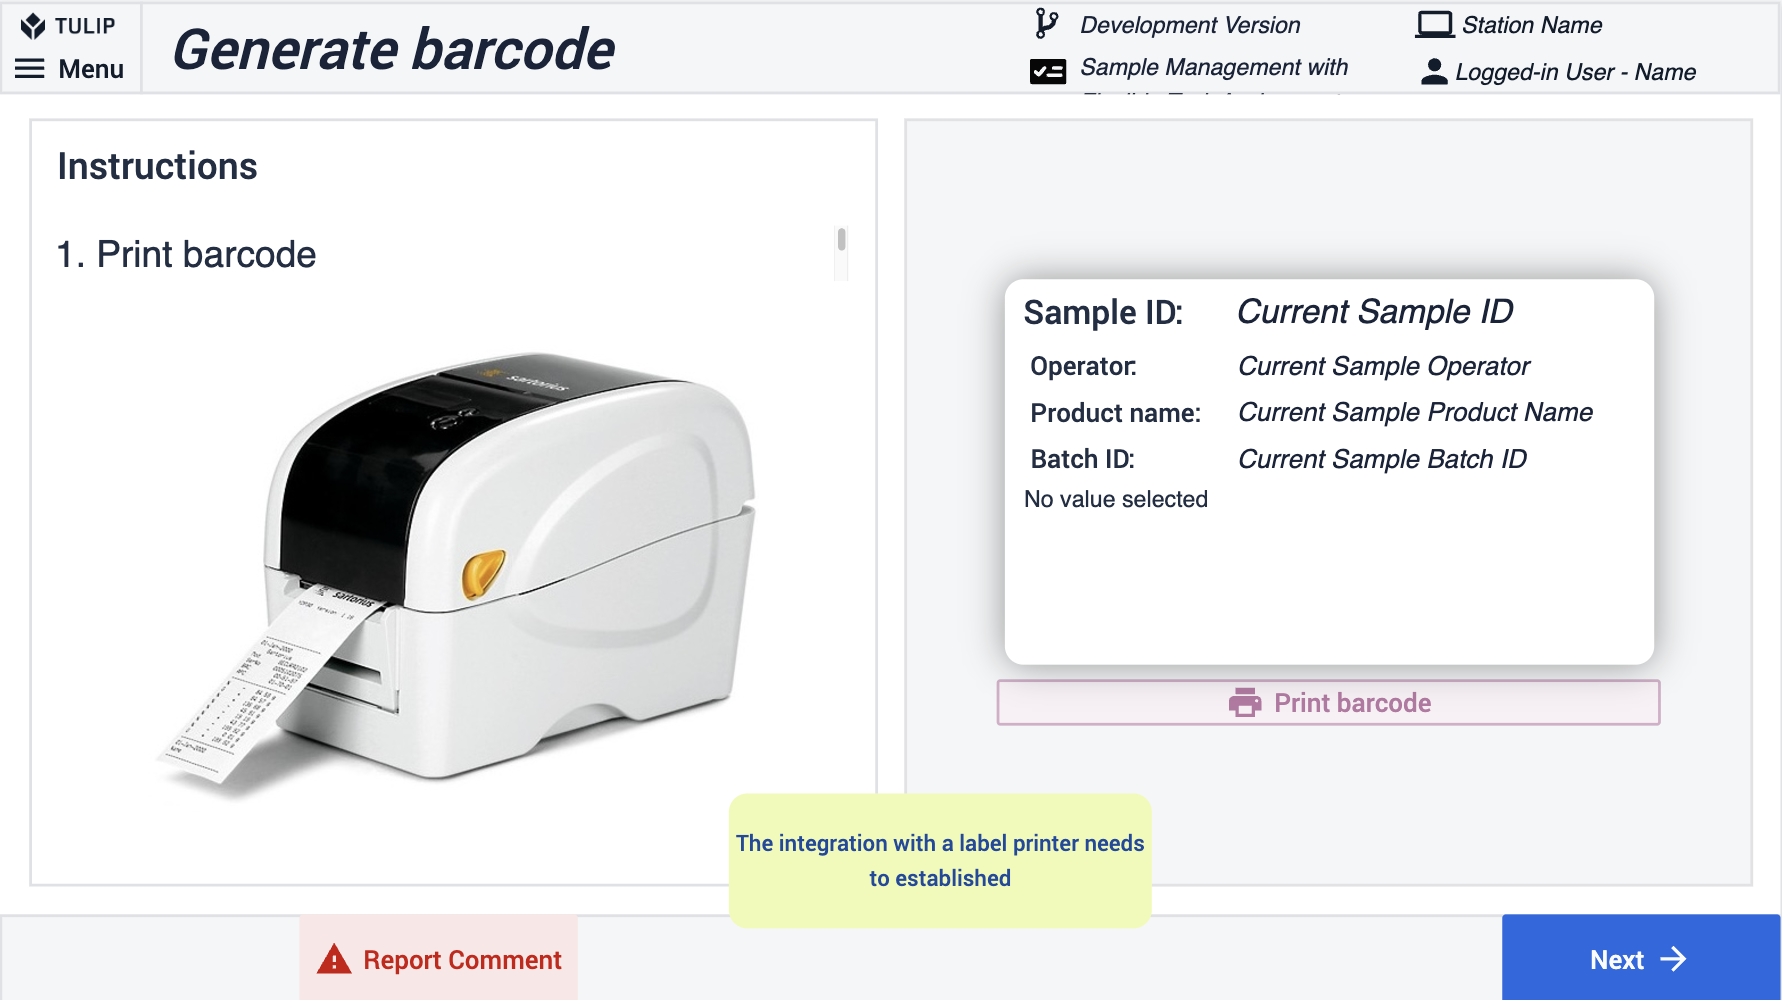
As the sample is added to the sample database, it also needs to be identified in the physical space. A barcode is printed for each sample to enable the identification of the sample with a barcode scanner at any time during the sample lifecycle (e.g. placing the sample in/out of storage, executing sample procedures). Integration to a barcode scanner needs to be added to this step when configuring it. This step can be skipped if the samples are taken in a Tulip-based system and therefore are already in the Sample table and the samples are labeled.
{height="" width=""}
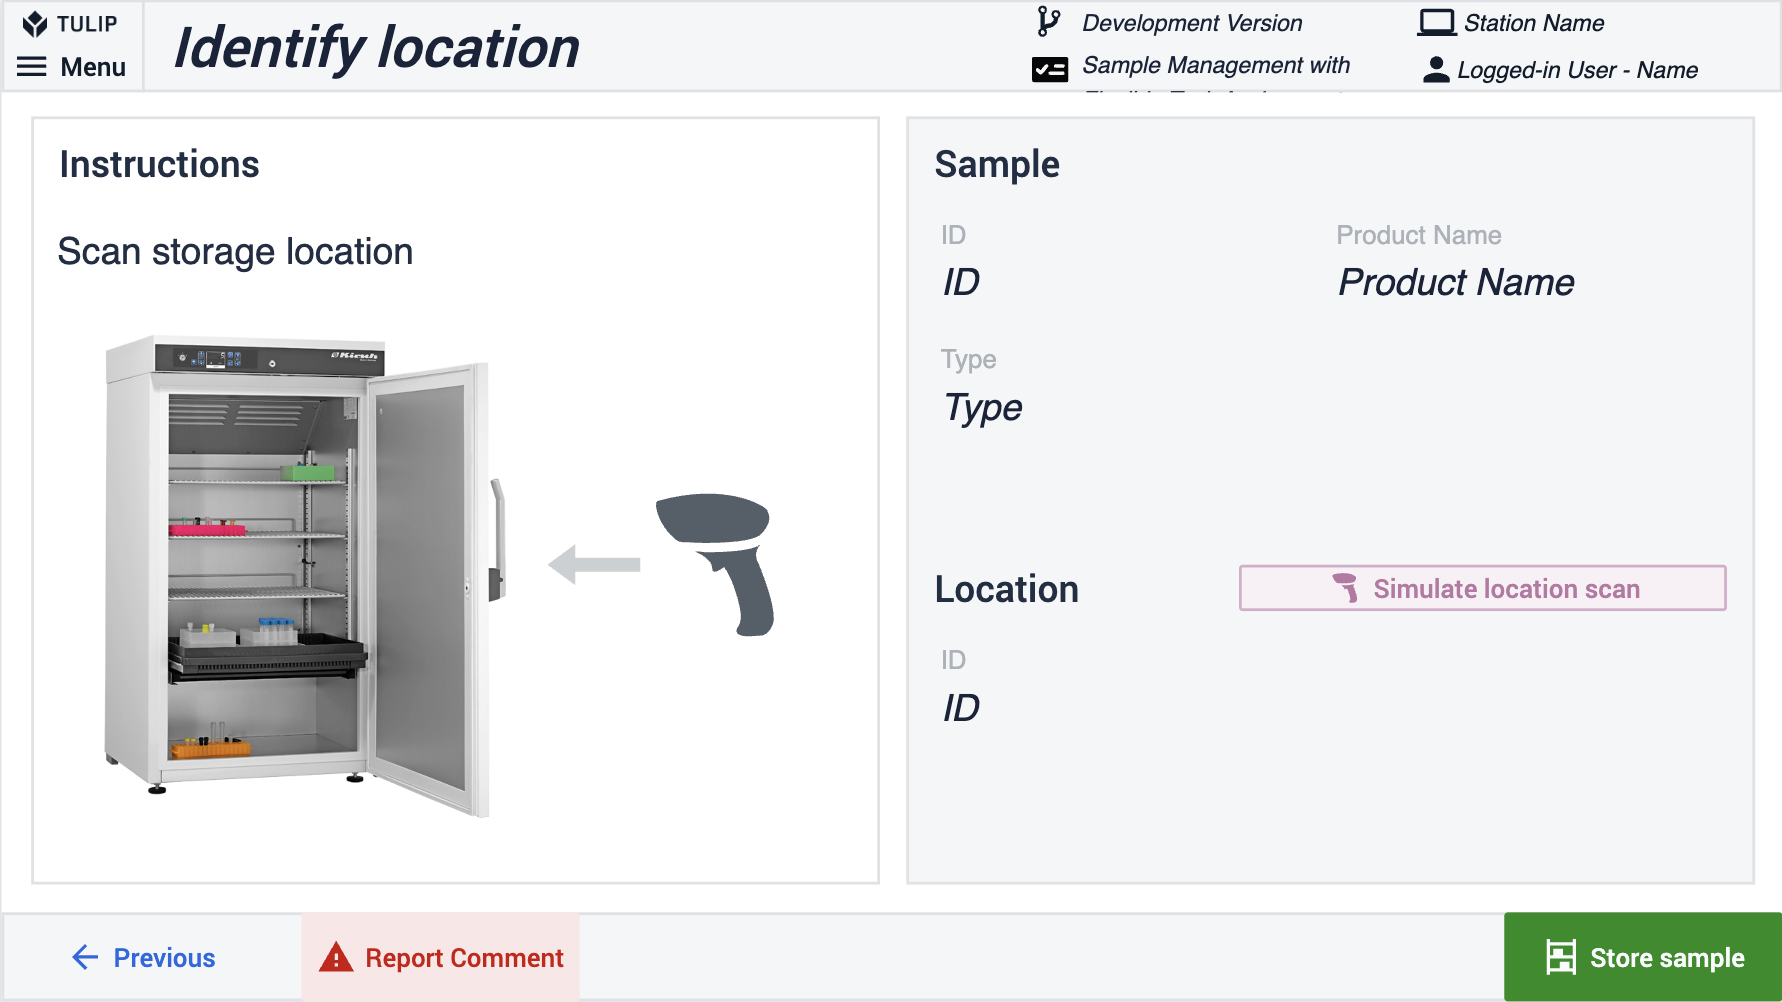
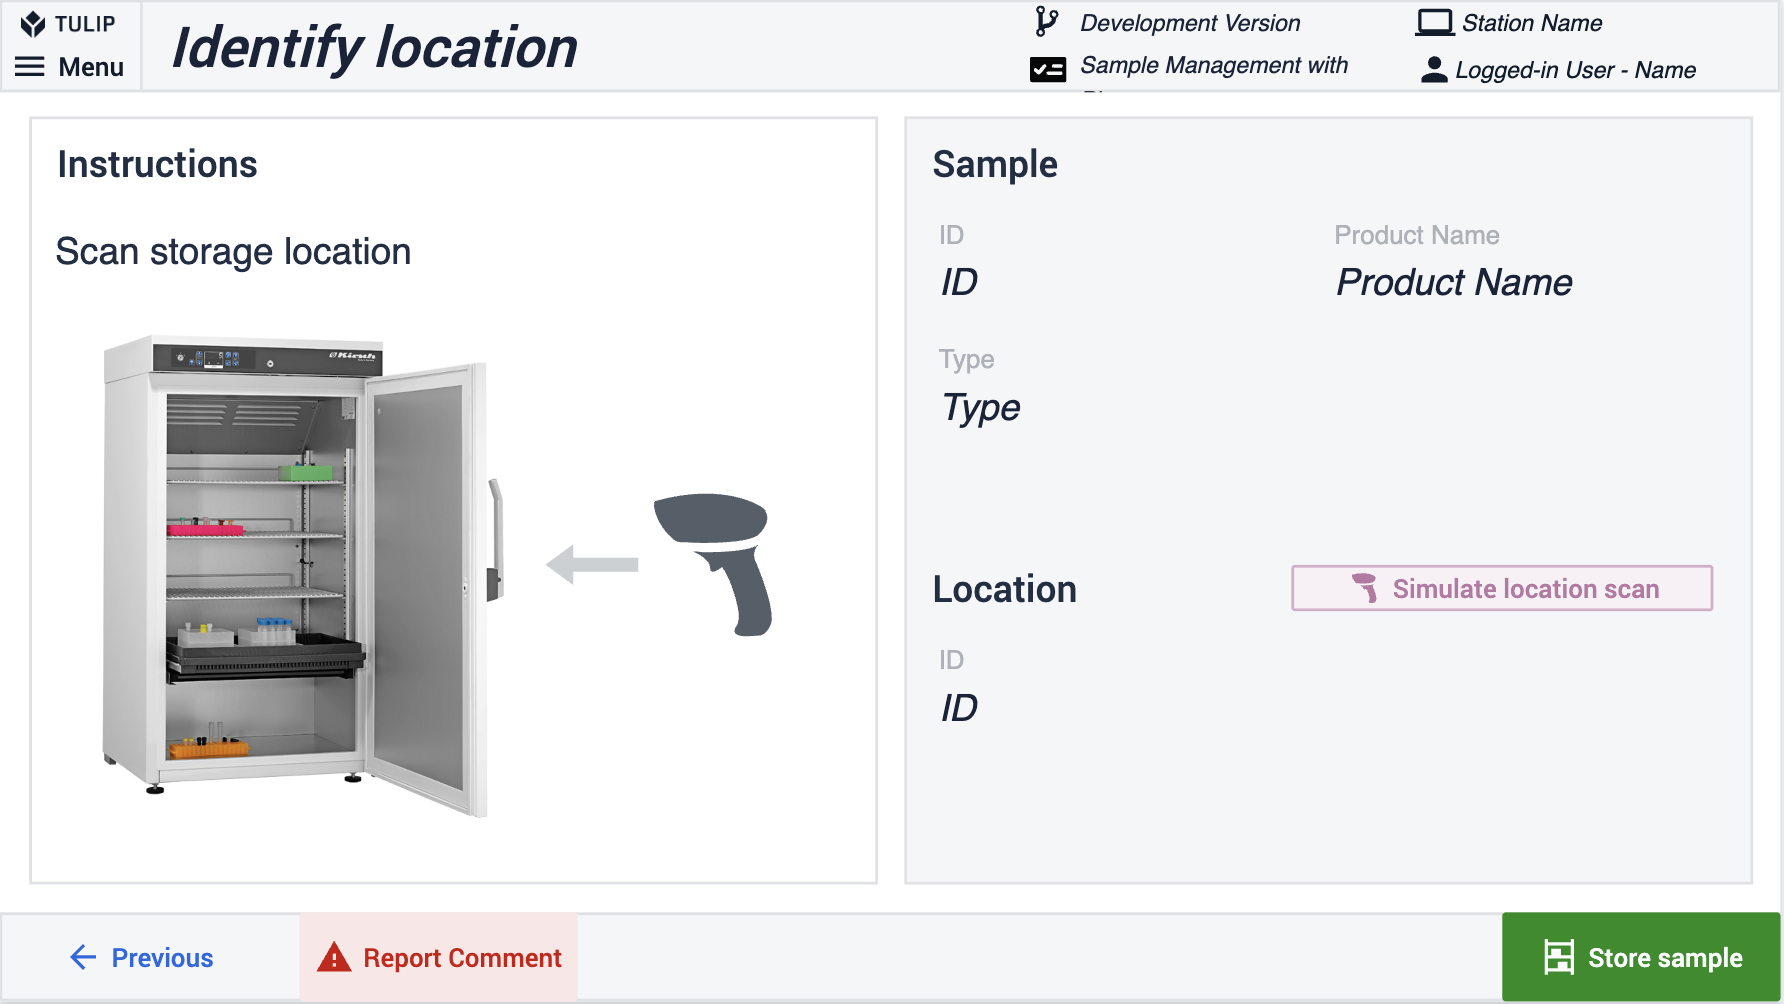
Scan the storage location of the newly received sample and store the Location ID in the Samples table
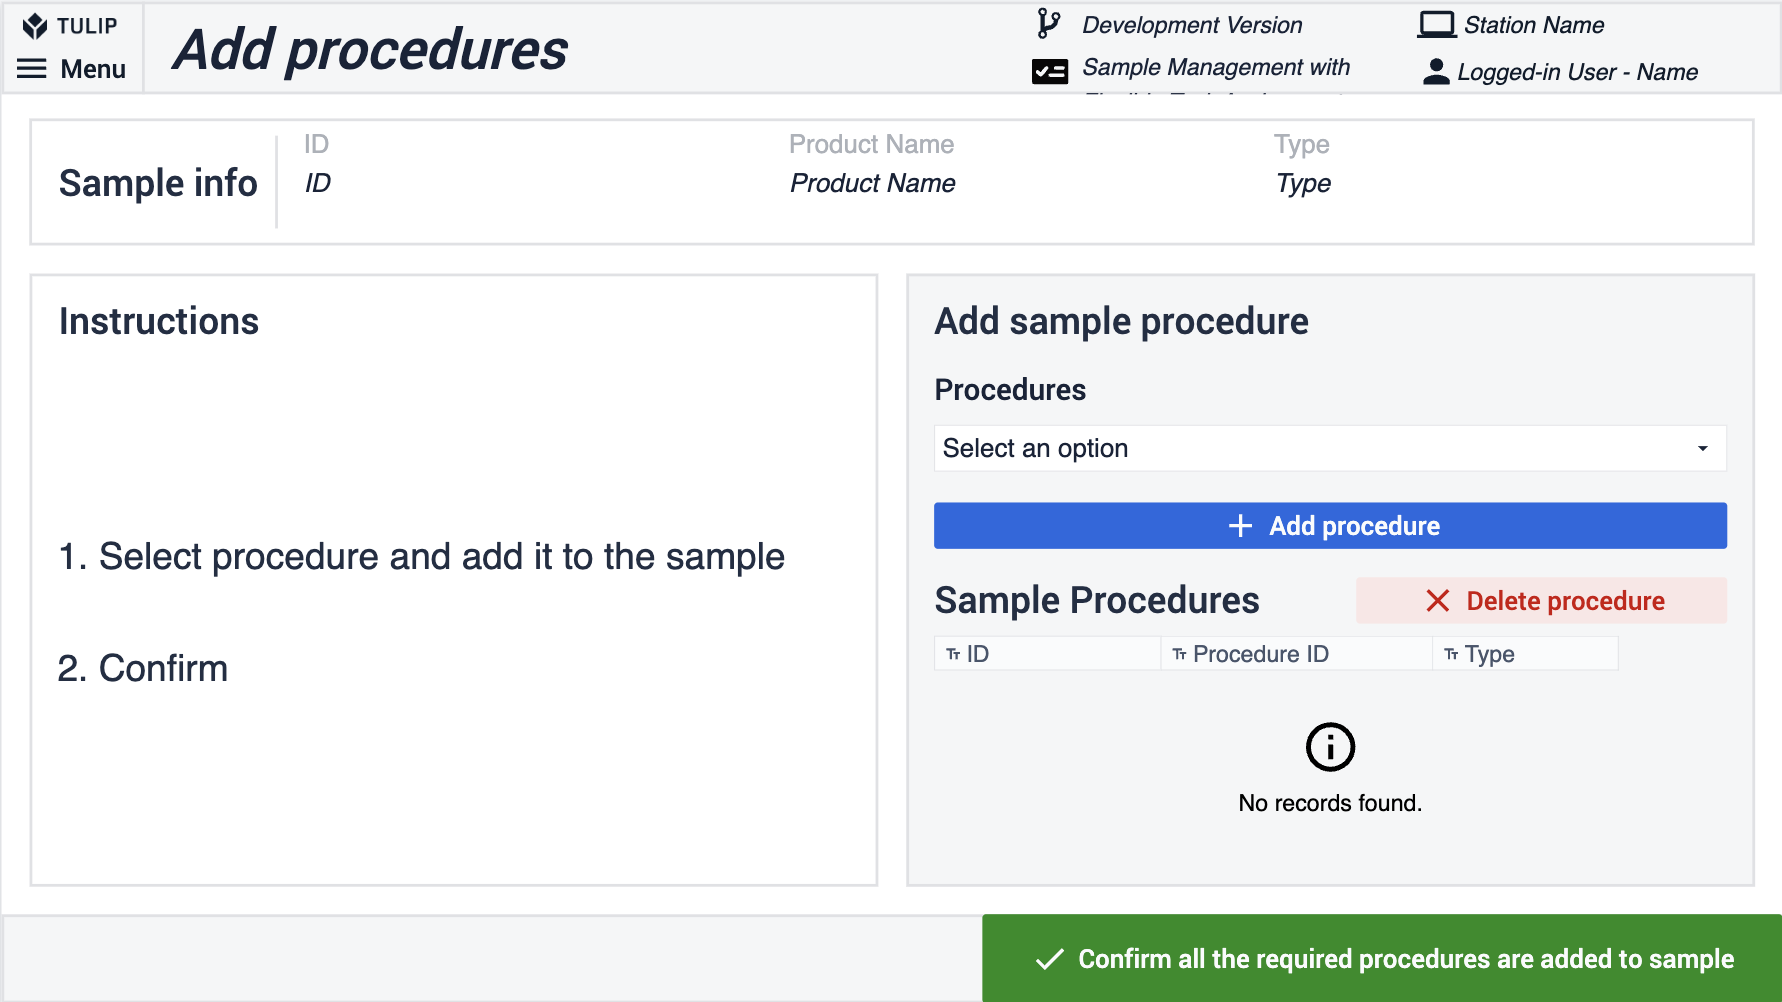
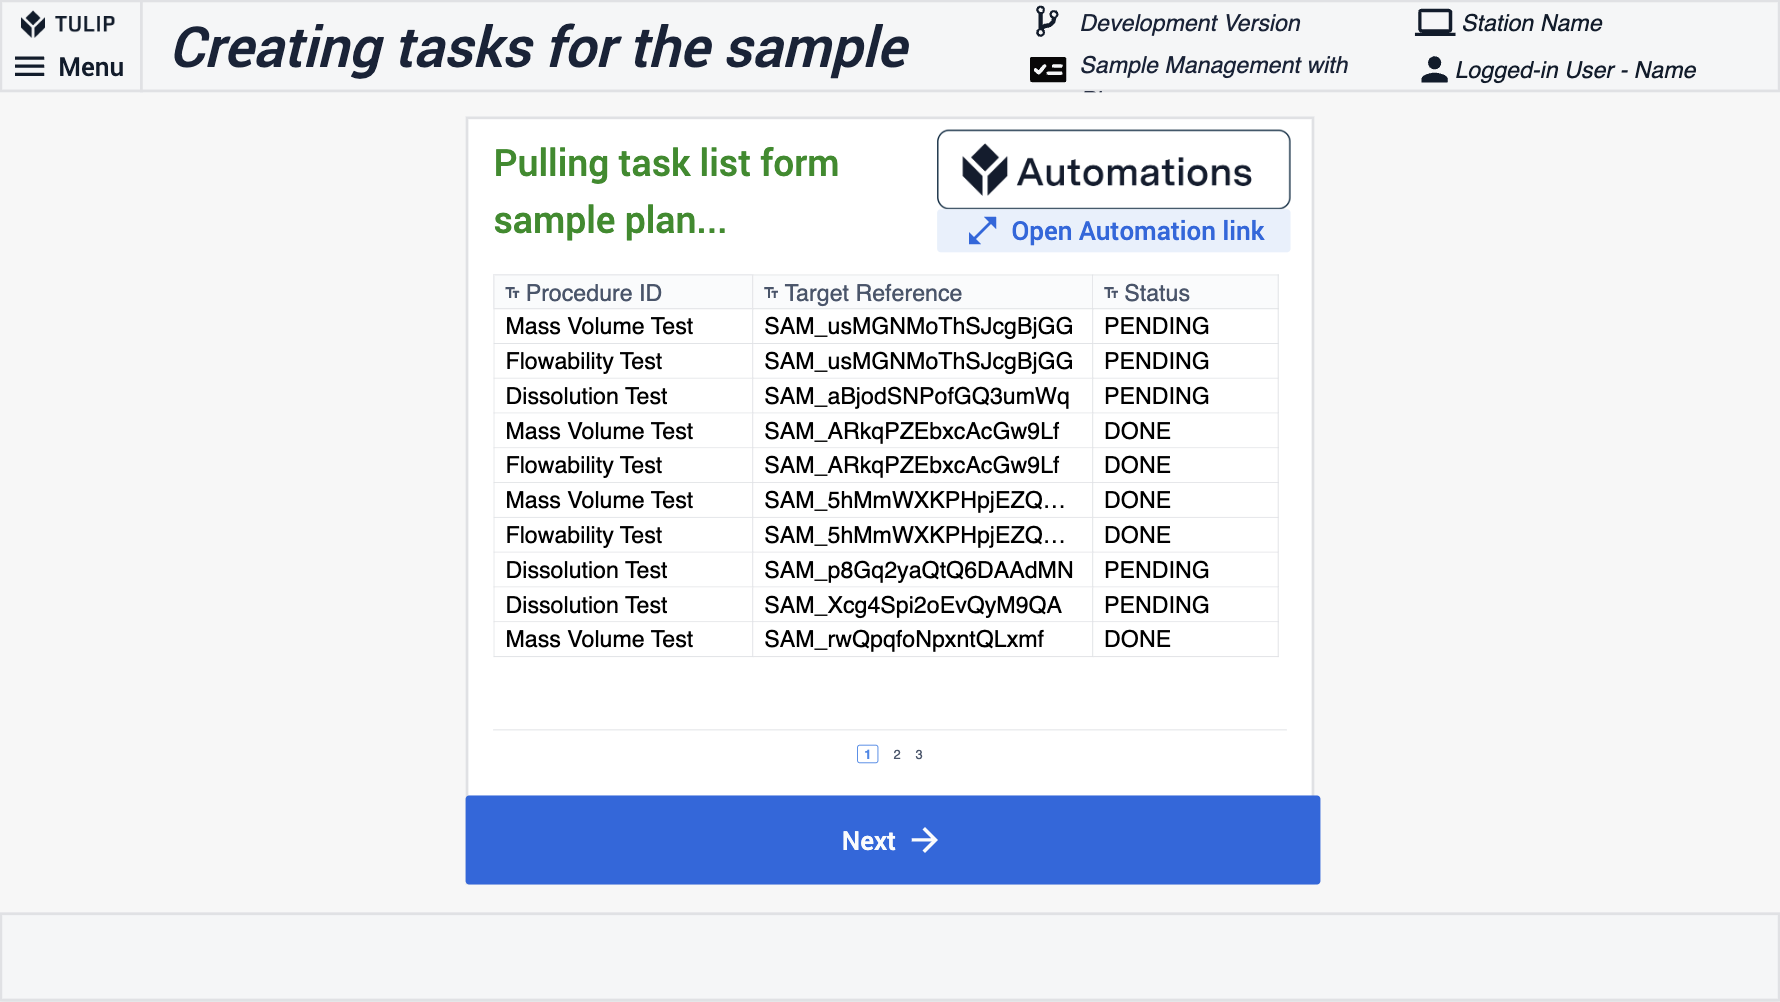
Select procedures from the single select widget one by one and add them to the sample. When adding a procedure, a record is created in the Tasks table with the name of the procedure and the sample ID stored as Target Reference. The added procedures can be viewed in the interactive table widget. When all the required procedures are added the sample receipt process can be finished and the user navigates back to the main screen.
Detailed explanation of Option B: Using a sampling plan
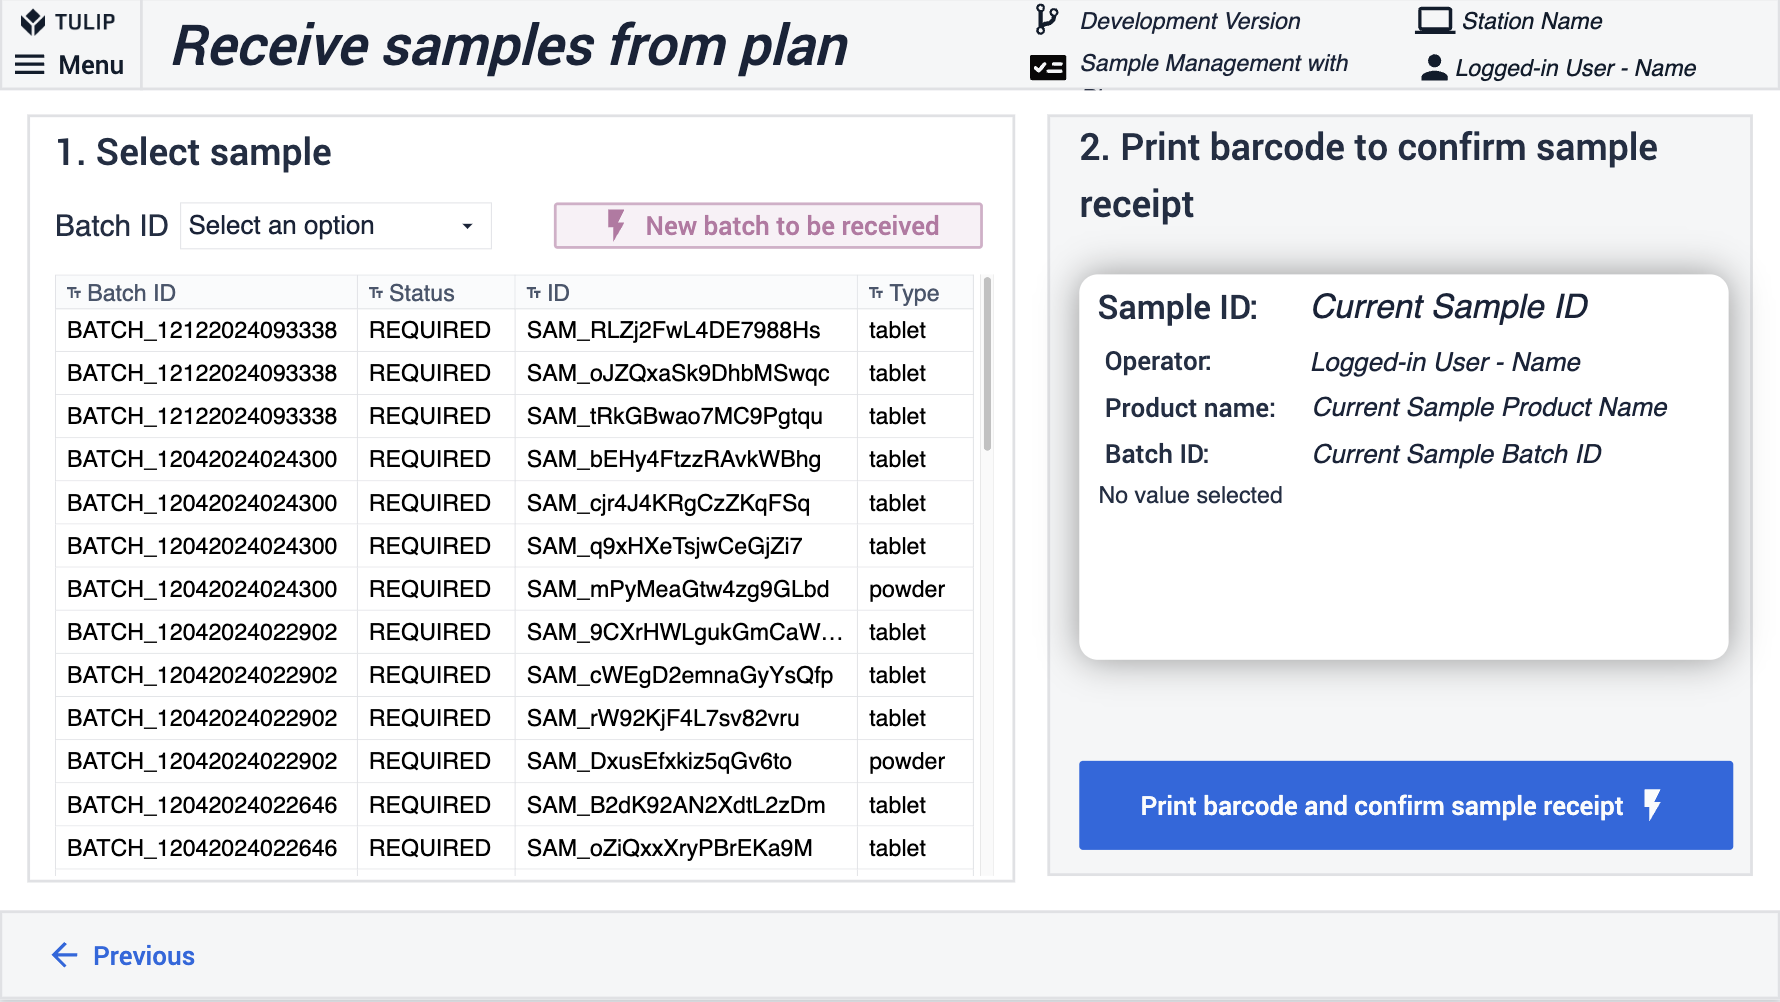
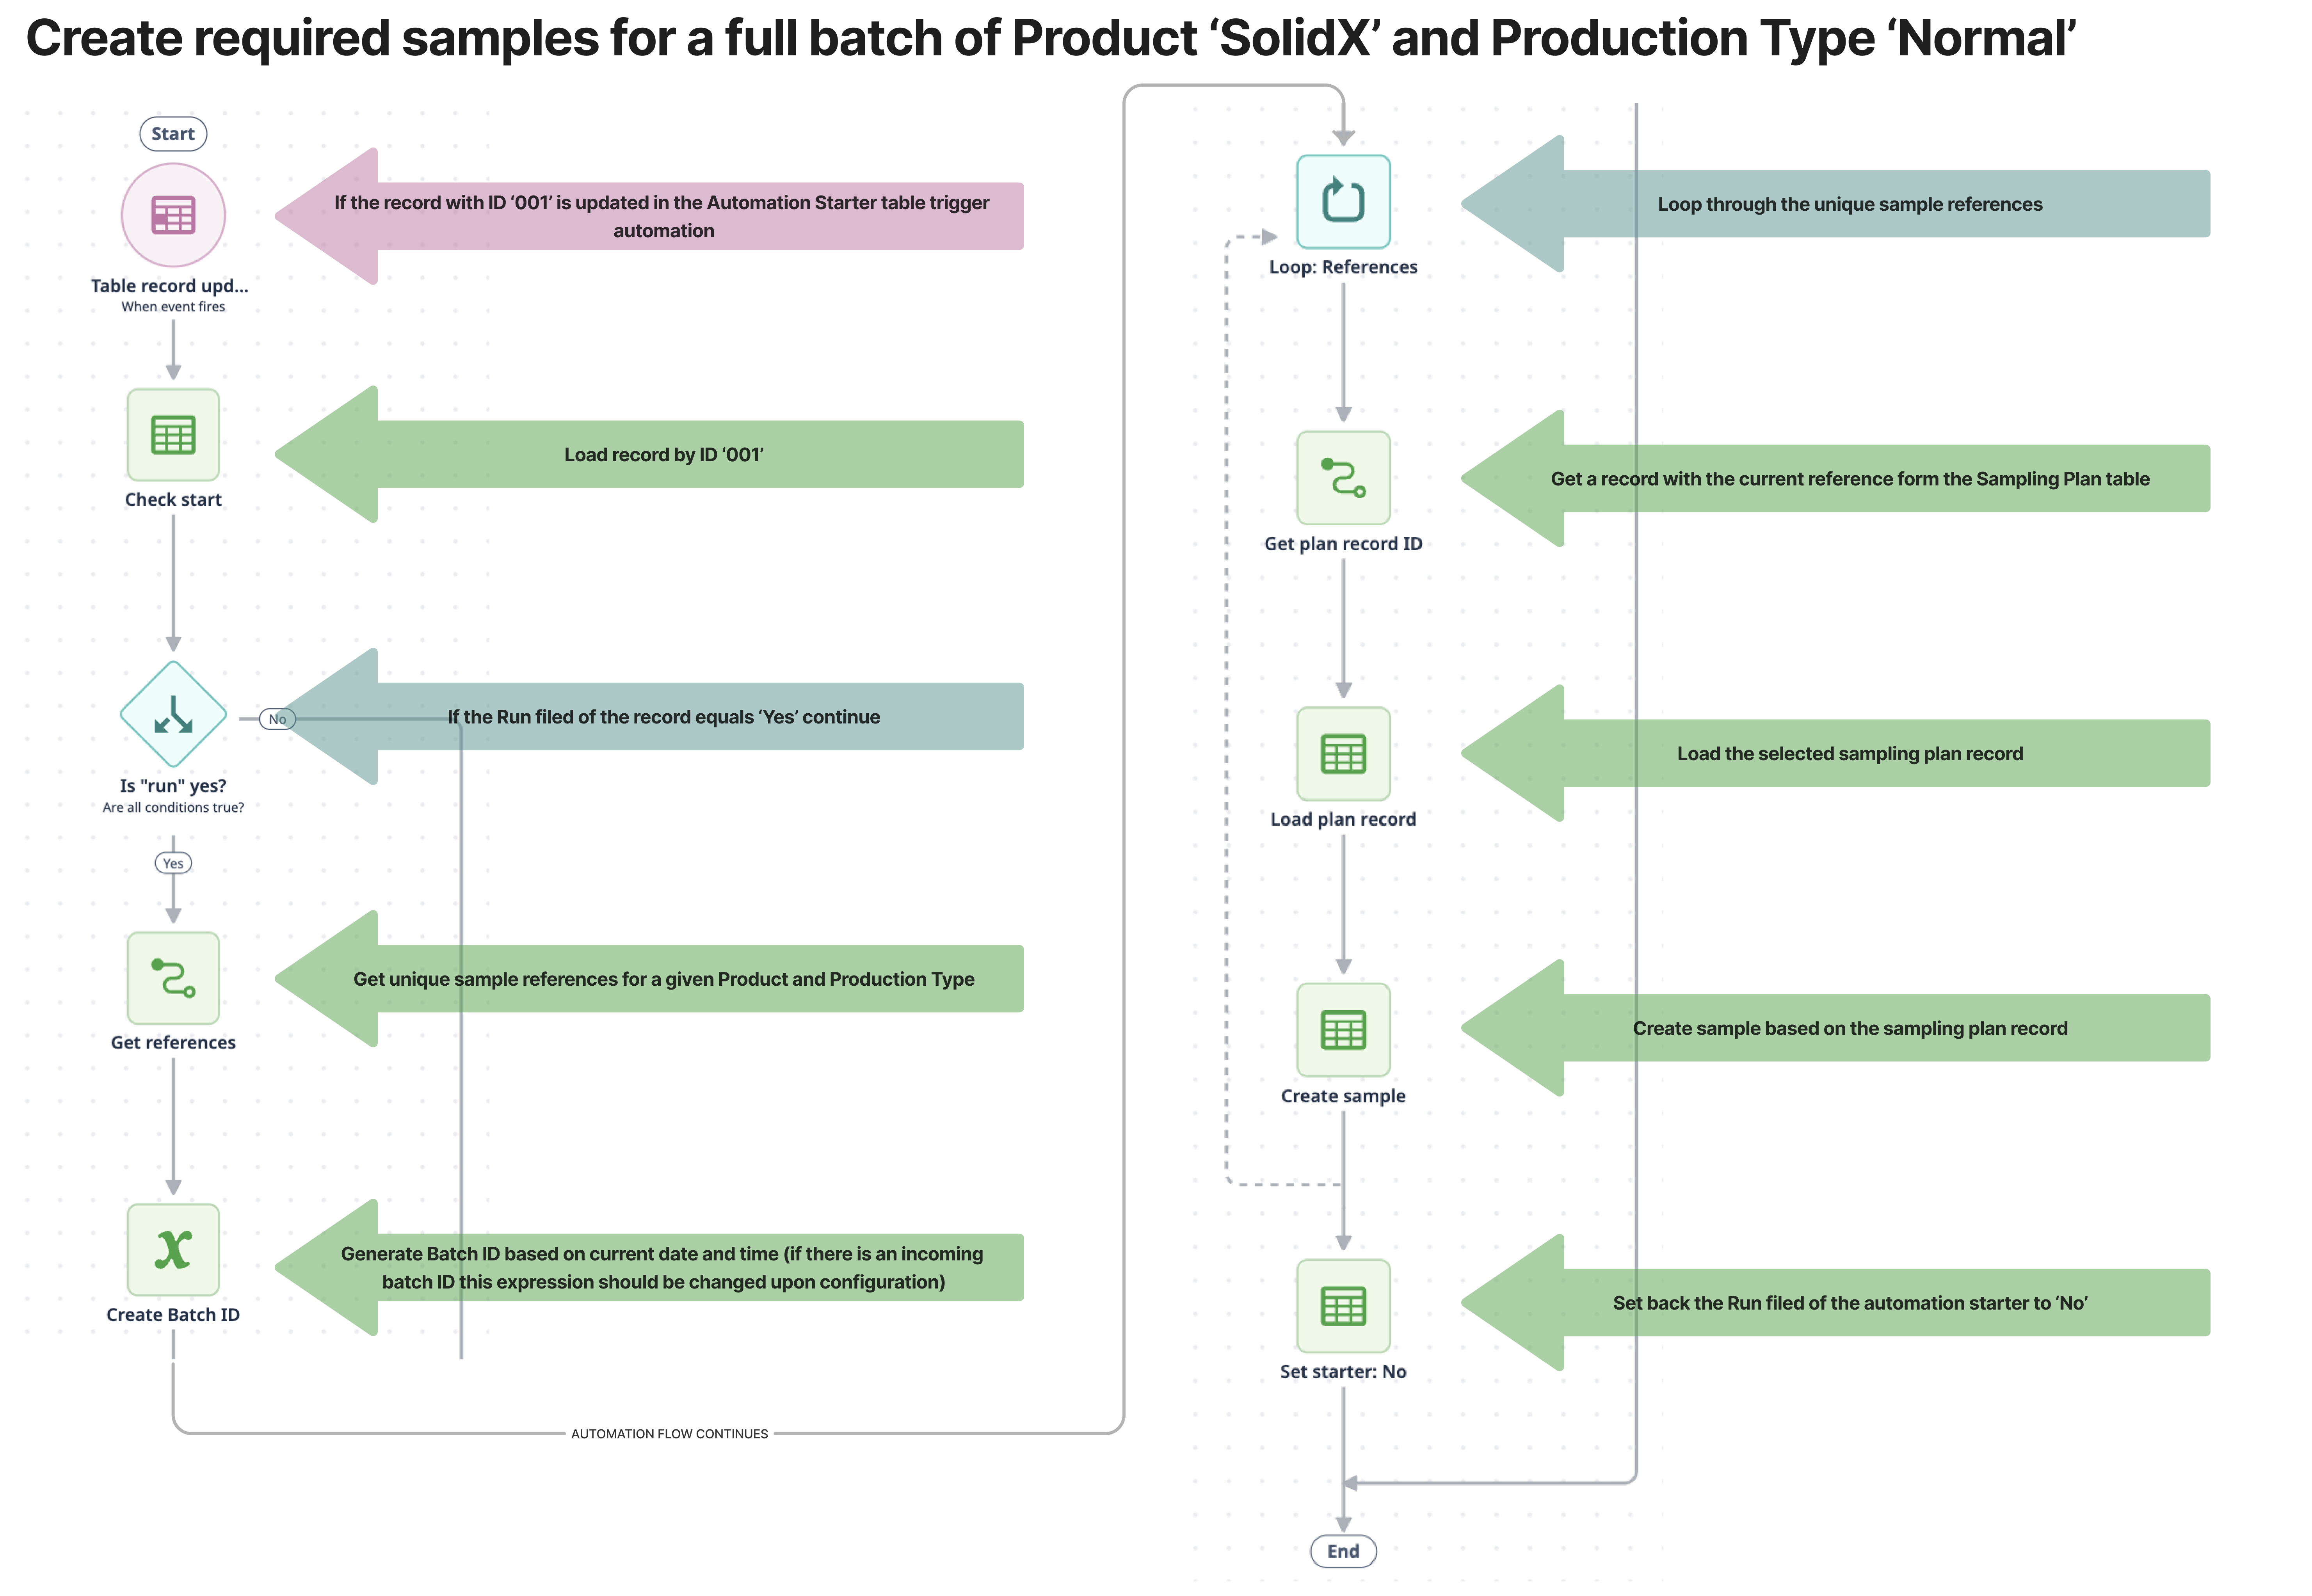
- The information that is a batch of a certain Product, Production Type, and Batch ID is being produced must trigger the first automation: ‘Create required samples for a full batch’. Suppose this application and the automation are downloaded from the Library. In that case, the pink simulation button will update the record in the Automations Starter table with the ID ‘001’, specifically setting the value of the Run field to ‘Yes’ and therefore triggering the automation. Subsequently, the automation will pull all the samples from the sampling plan of Product ‘SolidX’ and Production Type ‘Normal’ to the Samples table and give them a ‘REQUIRED’ status. For multiple plans, Duplicate the automation and change the parameters to your own Product name and Production type. For details on how the automation works, see the diagram ‘Create required samples for a full batch of Product ‘SolidX’ and Production Type ‘Normal’’ below.
Link to Automation
{height="" width="400"}
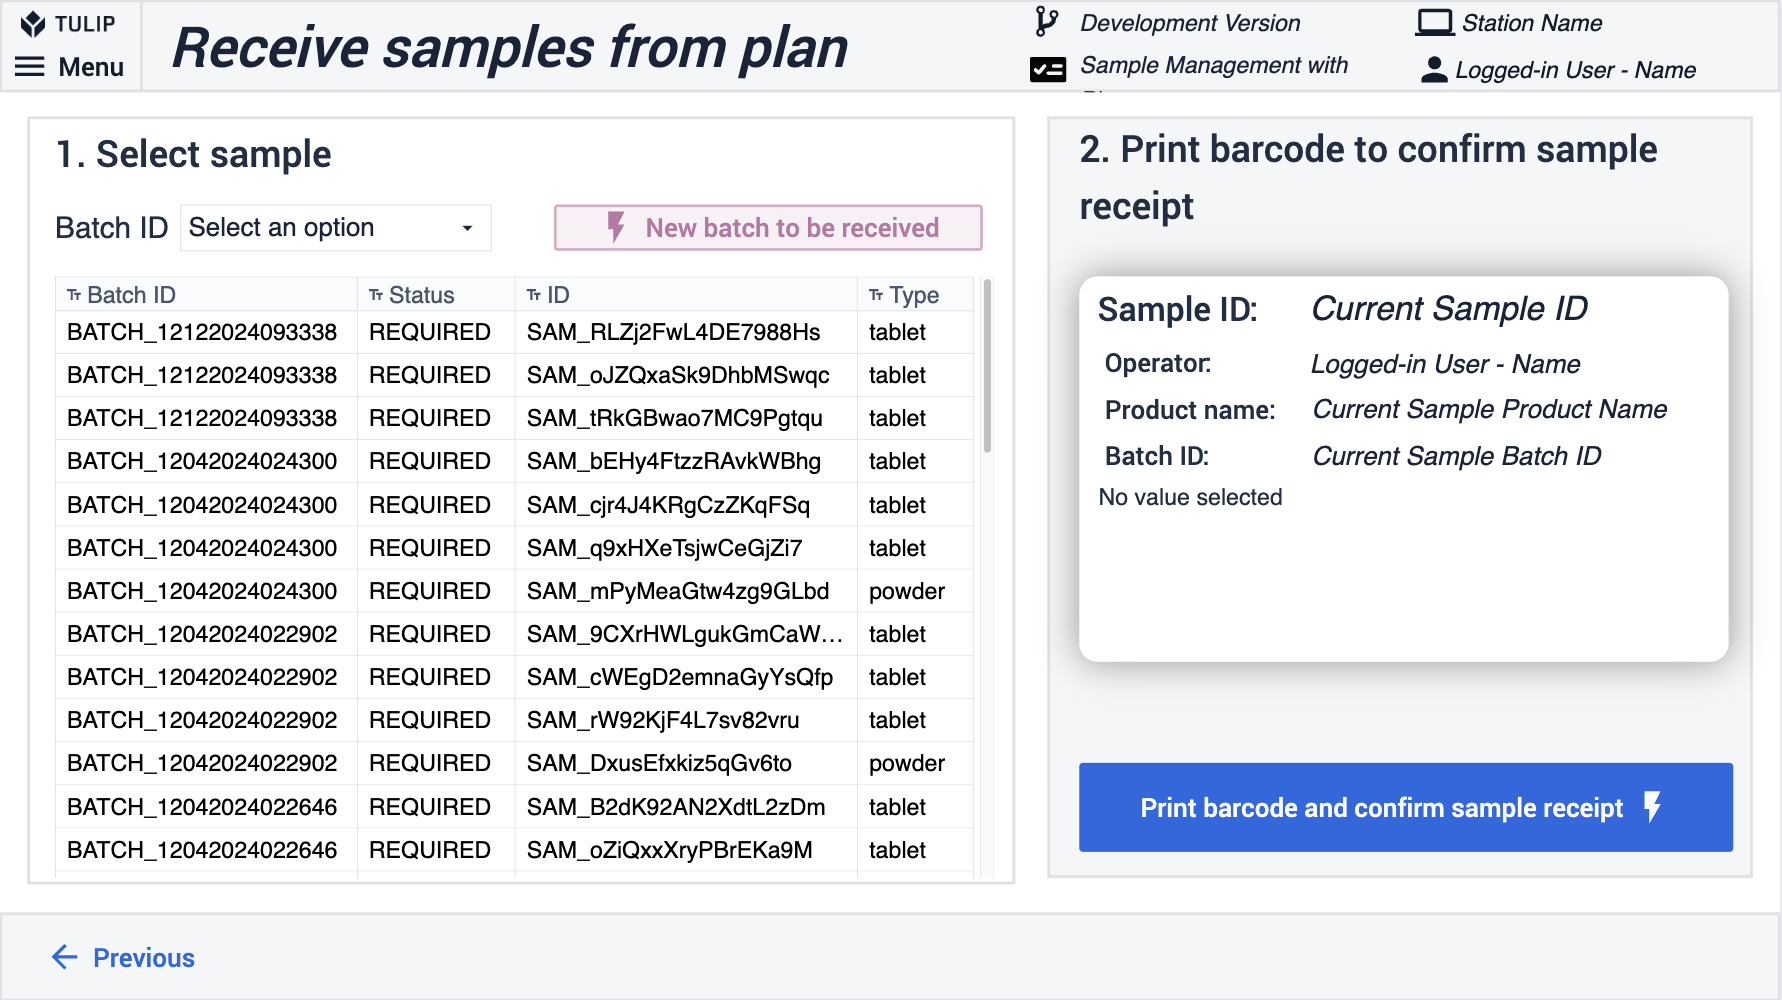
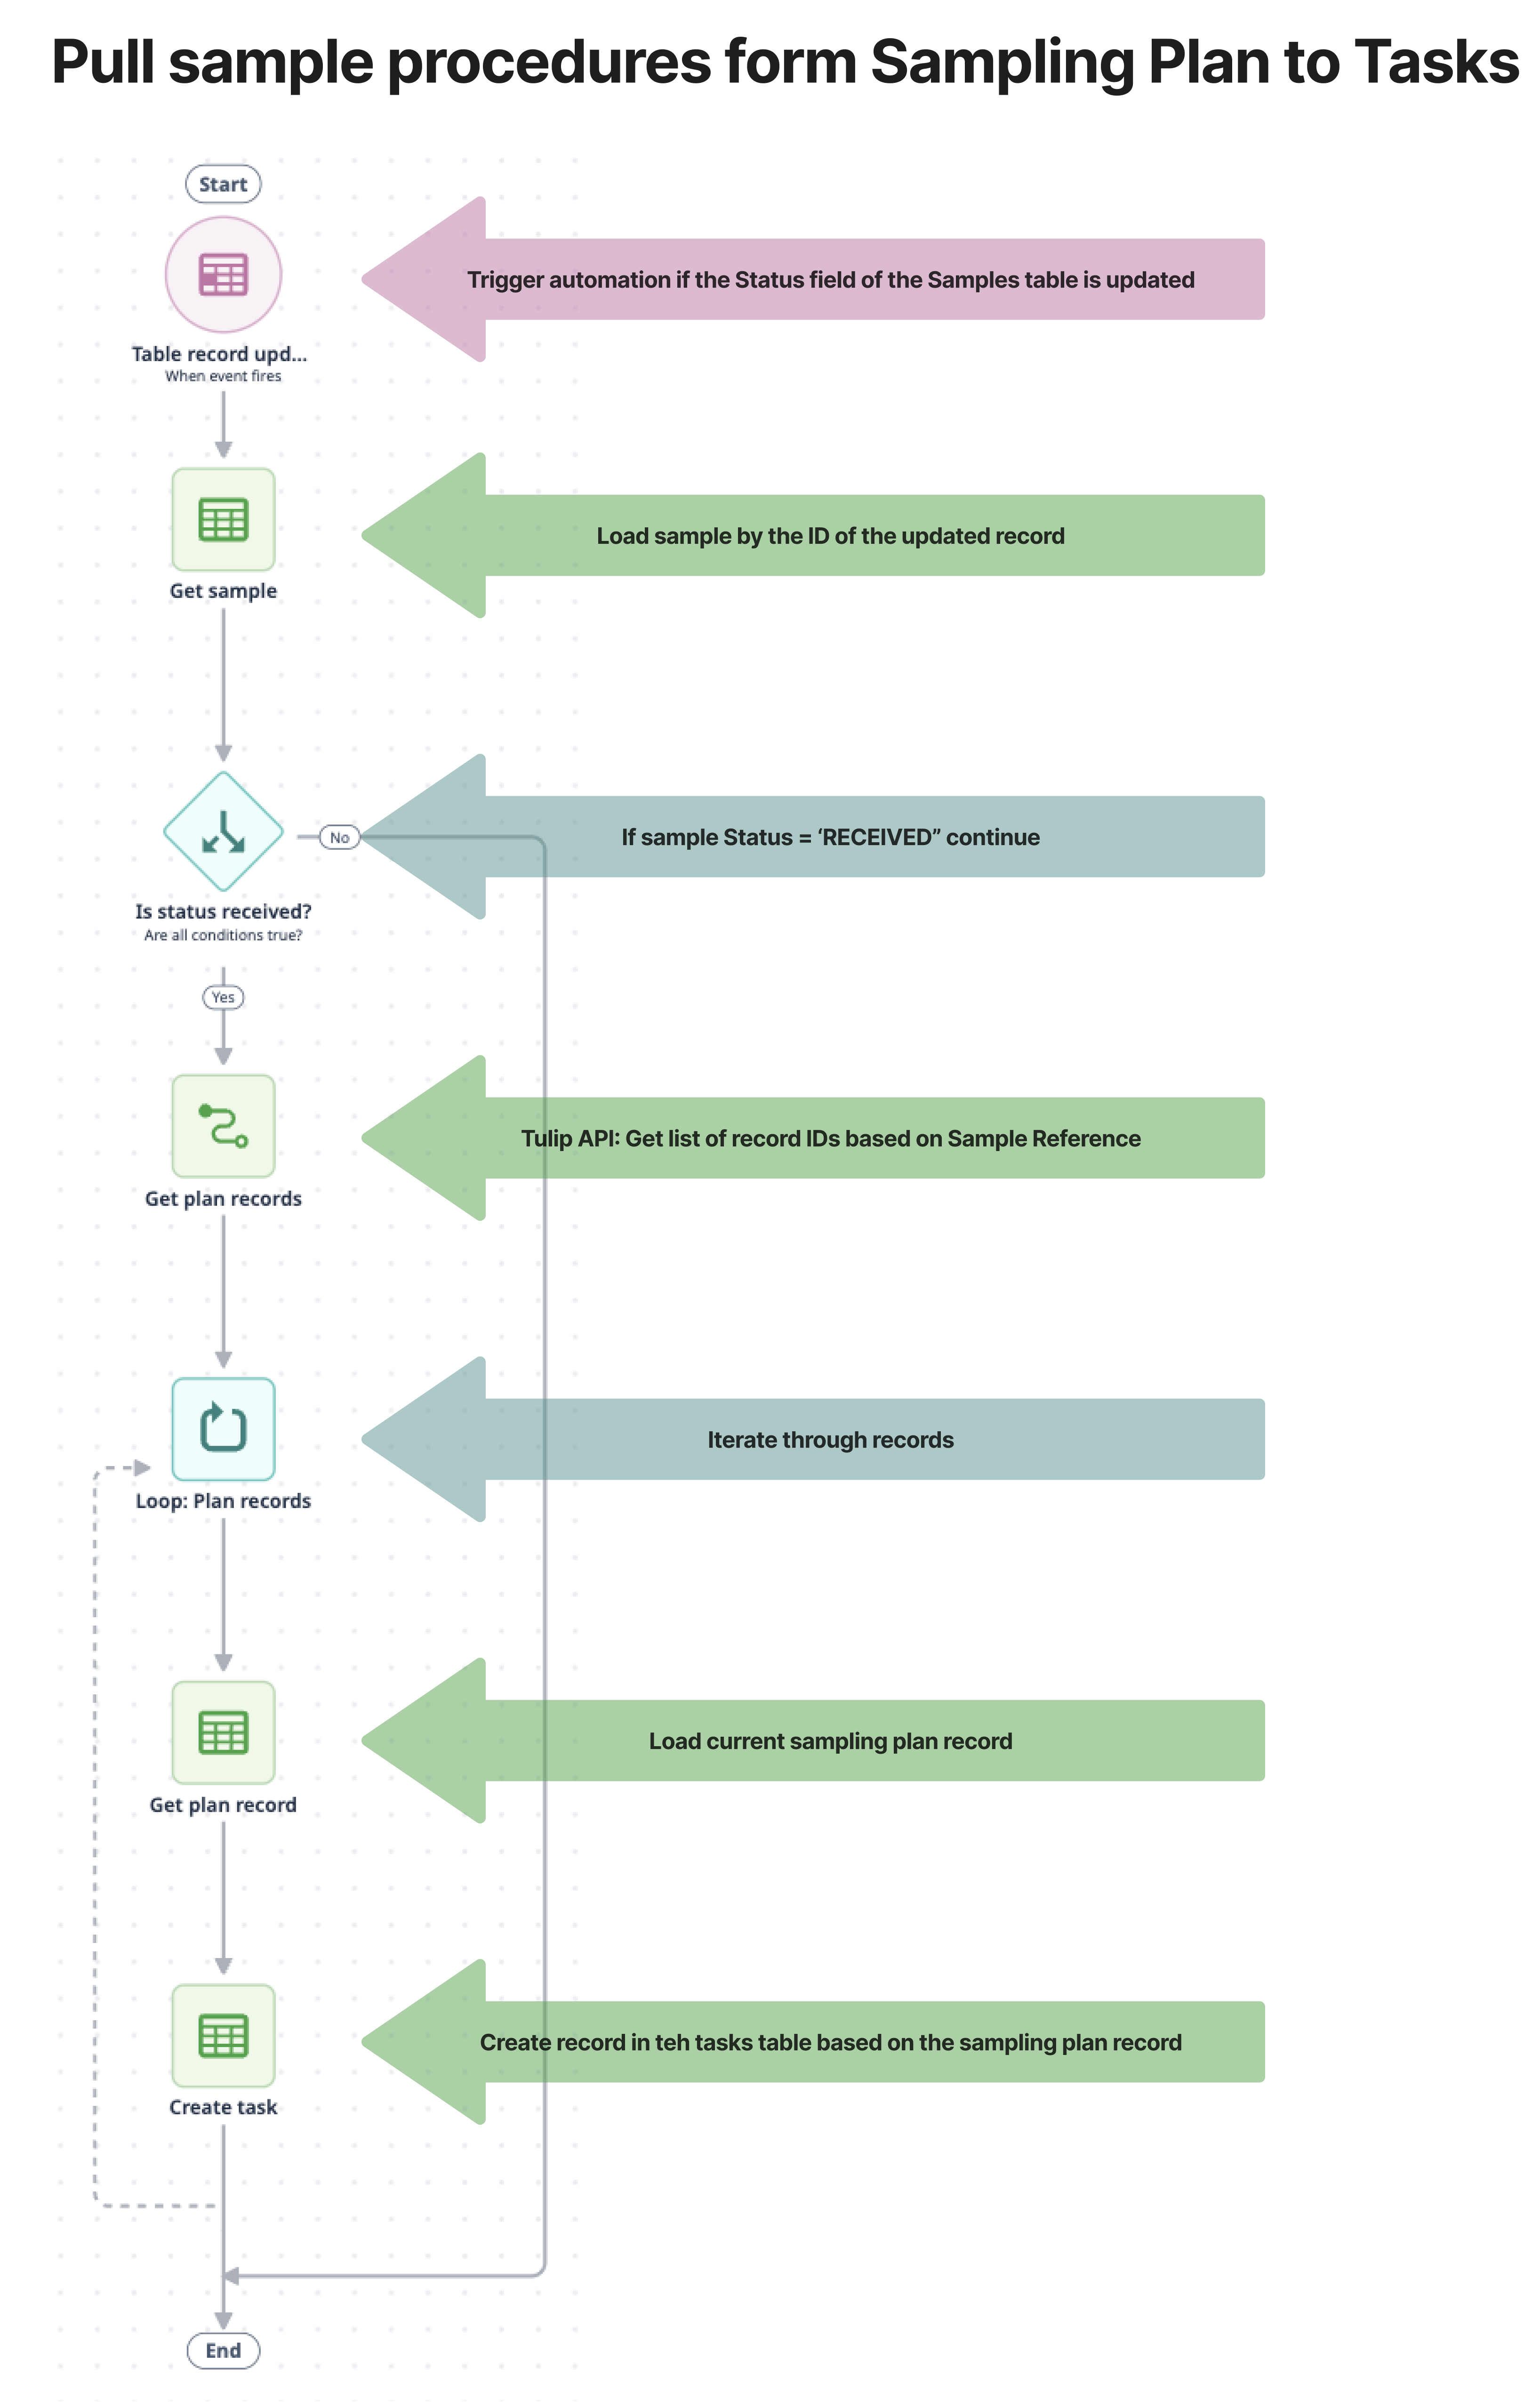
- As the second step of the sample receipt, the user needs to select a required sample and print a label for it for future identification. By printing the label, the status of the sample becomes ‘RECEIVED’ and this triggers the next automation: ‘Pull sample procedures from Sampling Plan to Tasks’. This automation takes the sampling plan as a reference, looks for the given sample type, and pulls all the required sample procedures from the sampling plan and pending sample procedures in the Tasks table. For details on how the automation works, see the diagram ‘Pull sample procedures from Sampling Plan to Tasks’ below.
Link to Automation
If you download the Sample Management with Plans app from the Library and the required automation: ‘Pull sample procedures form Sampling Plan to Tasks’ step shows how the Tasks table is populated. This step can be deleted if viewing the task list is not the concern of the app user.
As the last step of this sample receipt flow, scan the storage location of the newly received sample and store the Location ID in the Samples table