How to Print Steps from a Trigger
- 19 Nov 2024
- 7 Minutes to read
- Contributors


- Print
How to Print Steps from a Trigger
- Updated on 19 Nov 2024
- 7 Minutes to read
- Contributors
- Print
Article summary
Did you find this summary helpful?
Thank you for your feedback!
In this article, you will learn:
- How to print all your data when an app is completed
- How to design a step that is properly formatted for printing
As your company begins automating paper processes and digitizing forms on your Shop Floor, you still may need to print the results of different operations in order to share data properly.
How to Print App Steps
If you want to print data from a Tulip app in real-time (or save to a local PDF), there are four things that you need to do:
- Configure a Step (or multiple steps) to match the desired print size.
- Design a step that will look organized and understandable when it is printed.
- Add a button with a "Print" Trigger.
- Customize print settings so that the size of the step fills up as much of the page as possible.
With the "Print Steps" trigger Action, you can print either a single step or an entire Step Group at once. Each step will be printed on a separate page.
Configuring Step Resolution
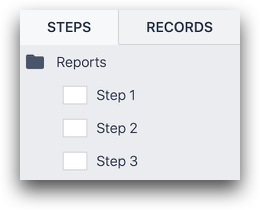
To start, many users prefer to create a step group called "Reports" and add all the steps that they would like to print at once to that step group.
It looks like this:
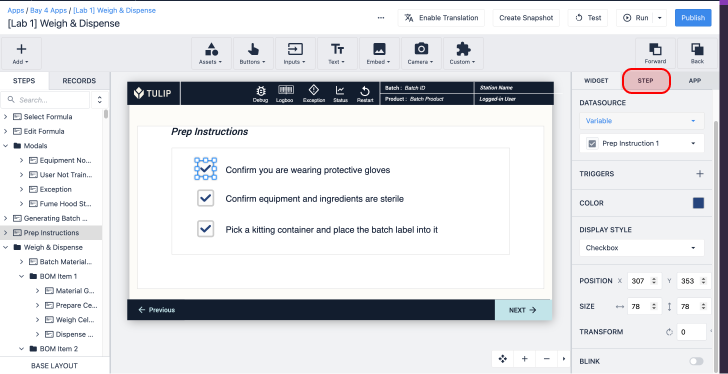
Then, it's important to appropriately configure the steps in this group to be printed in the desired resolution. In the app, navigate to the Step Tab in the Side Pane and choose Step Resolution.
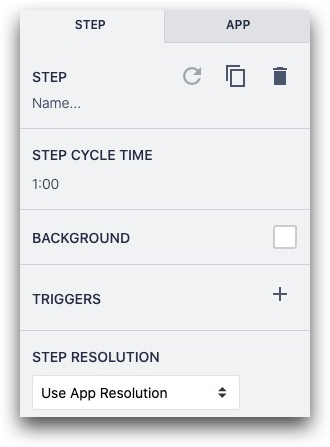
Within the side pane, select the desired resolution to match the paper size desired.
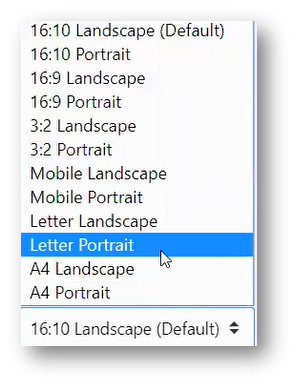
In PDF cases, letter portrait is often best to use. Matching the size of the paper will ensure the app view is printed out as a full page.
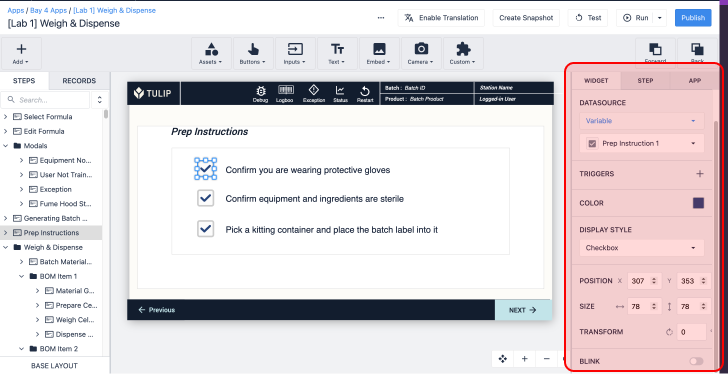
Designing a Step
You may be using a Base Layout in your app with many solid colors. Although this works well for communicating information to an operator, you likely don't want to waste printer ink on colorful Steps.
Instead, you will want to remove all Base Layout elements from the Report steps, and focus on text instead.
Here's an example of a step that is optimized for printing:
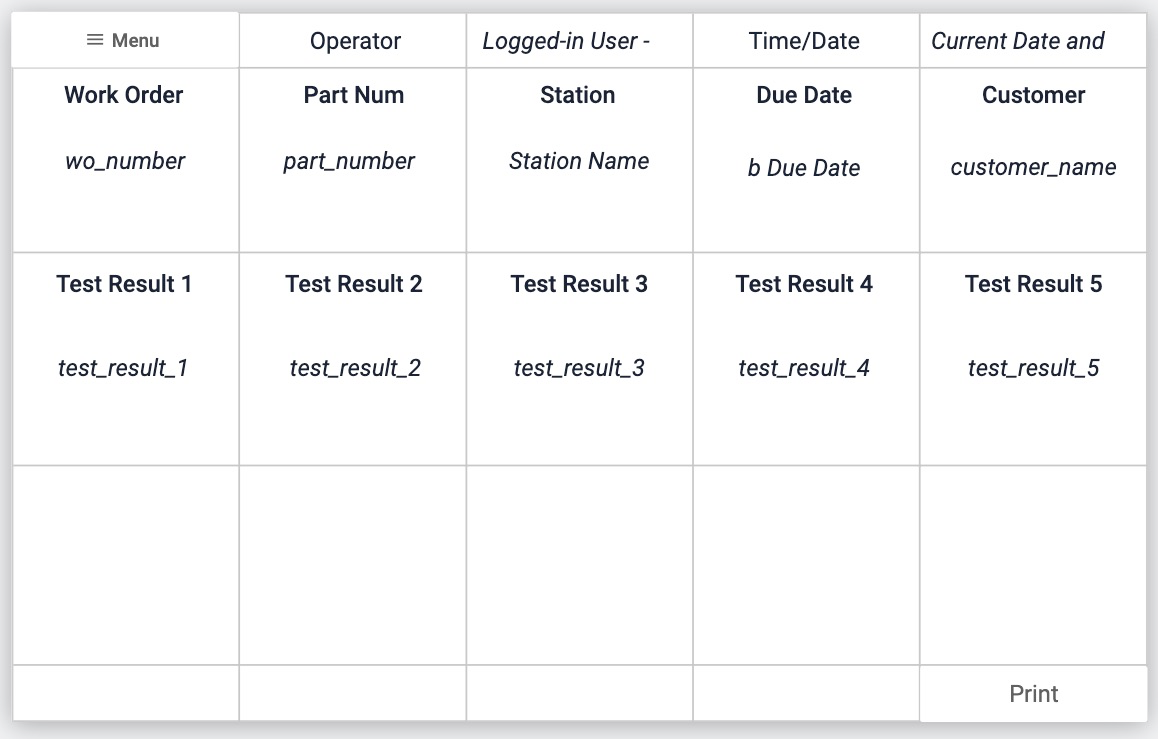
This step includes 7 pieces of data from the app, as well as 5 test results. The Print and Menu buttons in the top left and bottom right have a white background so that they do not require colored ink.
It utilizes the following features within Tulip:
- Grid widget to create a simple visual layout
- Variable text to embed the values of different variables on the step
- Button with custom coloring
Adding A Print Button
A print button requires one Trigger Action. It is often combined with an app Completion, but this cannot happen in the same Trigger. You must create a separate button to trigger the app completion.
So, here is an example of a trigger that allows an operator to print a step and go to the step after the "Reports" step group, where they can complete the app:
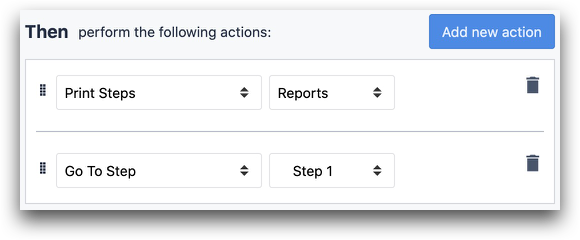
- "Print Steps" "Reports"
- "Go To Step" "Next"
You can also place the "Print" button on a normal Step, and use it to print an entire group of steps without even showing them to the operator.
This will open the computer's default print options.
Customizing Print Settings
Print Dialogue
Operators use the Tulip Player on screens of all sizes. So, you will need to do the following on each computer that is running the Tulip Player and requires a step to be printed or saved:
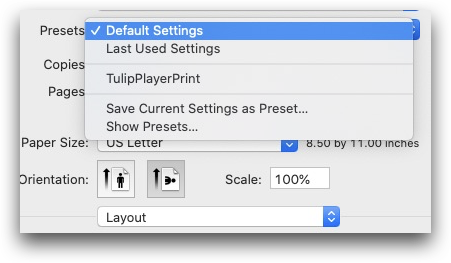
- Change the page layout to match the resolution of the Steps to be printed. Ex. Letter Portrait.
- Save these settings locally as a "preset" so that operators can easily select it in the future:
In order to check that the app will print correctly, you should use the Preview option in the print dialog to see what the app will look like before you print.
Filling In Fields On A PDF
You can also print out a "filled in" PDF by embedding the PDF on a Step, and then placing Variable text Widgets on top of the PDF in the appropriate places. The step will print as displayed in the Tulip Player.
Here's how to do that:
- Embed a PDF on a step that is sized to the appropriate resolution.
- Add Variable text widgets on top of the appropriate fields from the PDF. These will be dynamically filled in when the app is used in the Player.
- If the PDF has multiple pages, add a new step in Tulip for each page in the PDF and repeat the pattern above.
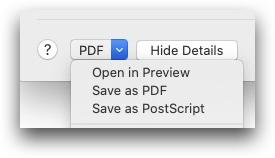
Saving the App Data Locally in A PDF
The print dialog is also the best way to save app data on a local computer in a PDF. Rather than pressing Print in the system dialog, select Save as PDF to save the step and live data in a local file.

Technical Notes
Here are some rules around which app content will not work well when printed.
- Any references to Current Step in a Variable text widget will only work on the step that is open when the Print button is pressed.
- On Step Enter triggers do not fire on any printed steps, so you should ensure that the correct data is already added before pressing Print.
- Machine Attribute Widget: These will rarely work properly. A better pattern for a report that wishes to capture the last known output is to have a trigger on machine output that stores the output into a local variable, which is then displayed via a custom widget.
- Videos: For Youtube videos, the banner image will not load.
Further Reading
Did you find what you were looking for?
You can also head to community.tulip.co to post your question or see if others have faced a similar question!
Was this article helpful?
