Learn how to add users to Tulip and about the available roles
To manage users you must be an Account Owner. To view users on your instance, click on your profile icon in the top right and select either Account Settings or Workspace Settings (depending on your plan).
Tulip Instances can have a maximum of 10,000 users.
If Tulip is integrated with your single sign on (SSO), new user accounts are not able to be created in Tulip and are instead created when logging in as a valid SSO user.
Add New Tulip Users
Only Account Owners, or users with custom user management permissions, can add new users. Select Users in your Settings page, and press the Add User button.
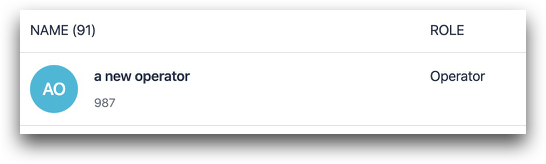
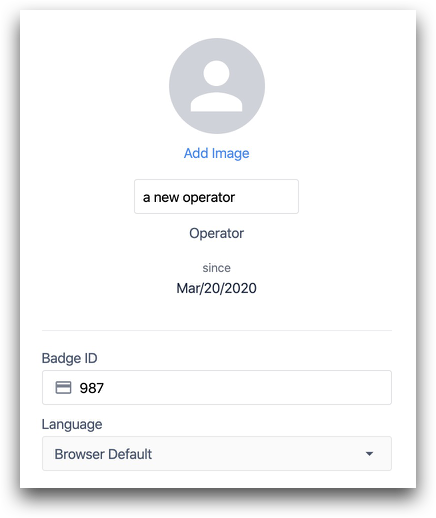
Add an Operator
- Fill in the Operator’s full name.
- Fill in the Badge ID number.
- Press Create User.
From release r235, users can add an optional email address to existing Operator roles.
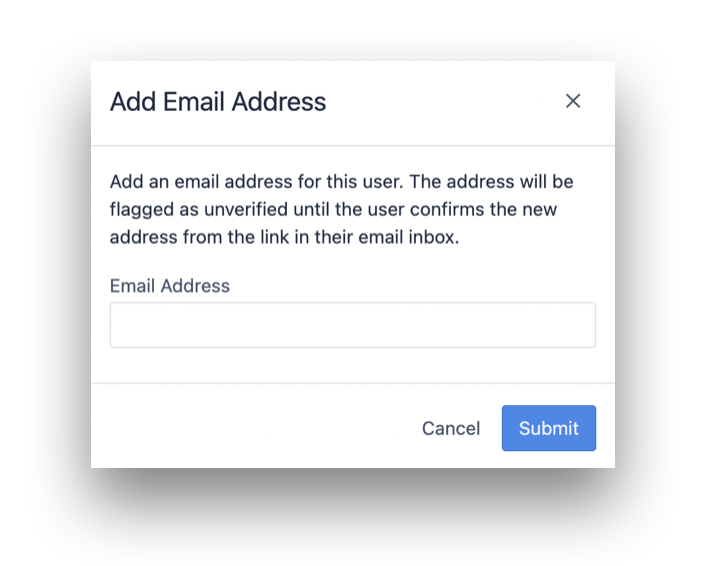
This will enable Operator roles to upgrade to higher roles as and when needed.
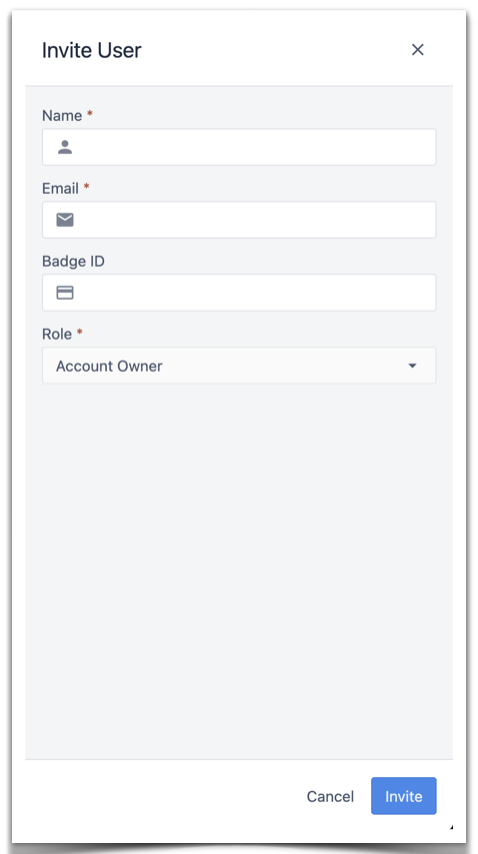
Add any other user role
- Fill in the user’s full name
- Fill in the user's email address
- Fill in the user’s Badge ID number
- Select the role for this new user
Once a new user is added to a Tulip account, an email will be automatically sent to the user prompting the individual to create a new profile. Operators will not receive an email, and can begin using the Tulip Player immediately.
Users with "System Administrator" Roles
Tulip employees may access your instance in a support capacity. These users will appear as users with the "System Administrator" role. They can be managed in the same way as any other user.
View Full Permissions of User Roles
Tulip uses the following terminology to describe roles:
-
Full Access - Able to create, view, edit and archive the listed asset
-
Limited Access - Able to use the asset in the specific ways determined by checked boxes in the UI
-
View Only - Only able to view the asset
-
Cannot View - Unable to view the asset
To view the permissions for each role, go to the Users page in Account Settings. Click the Roles tab.
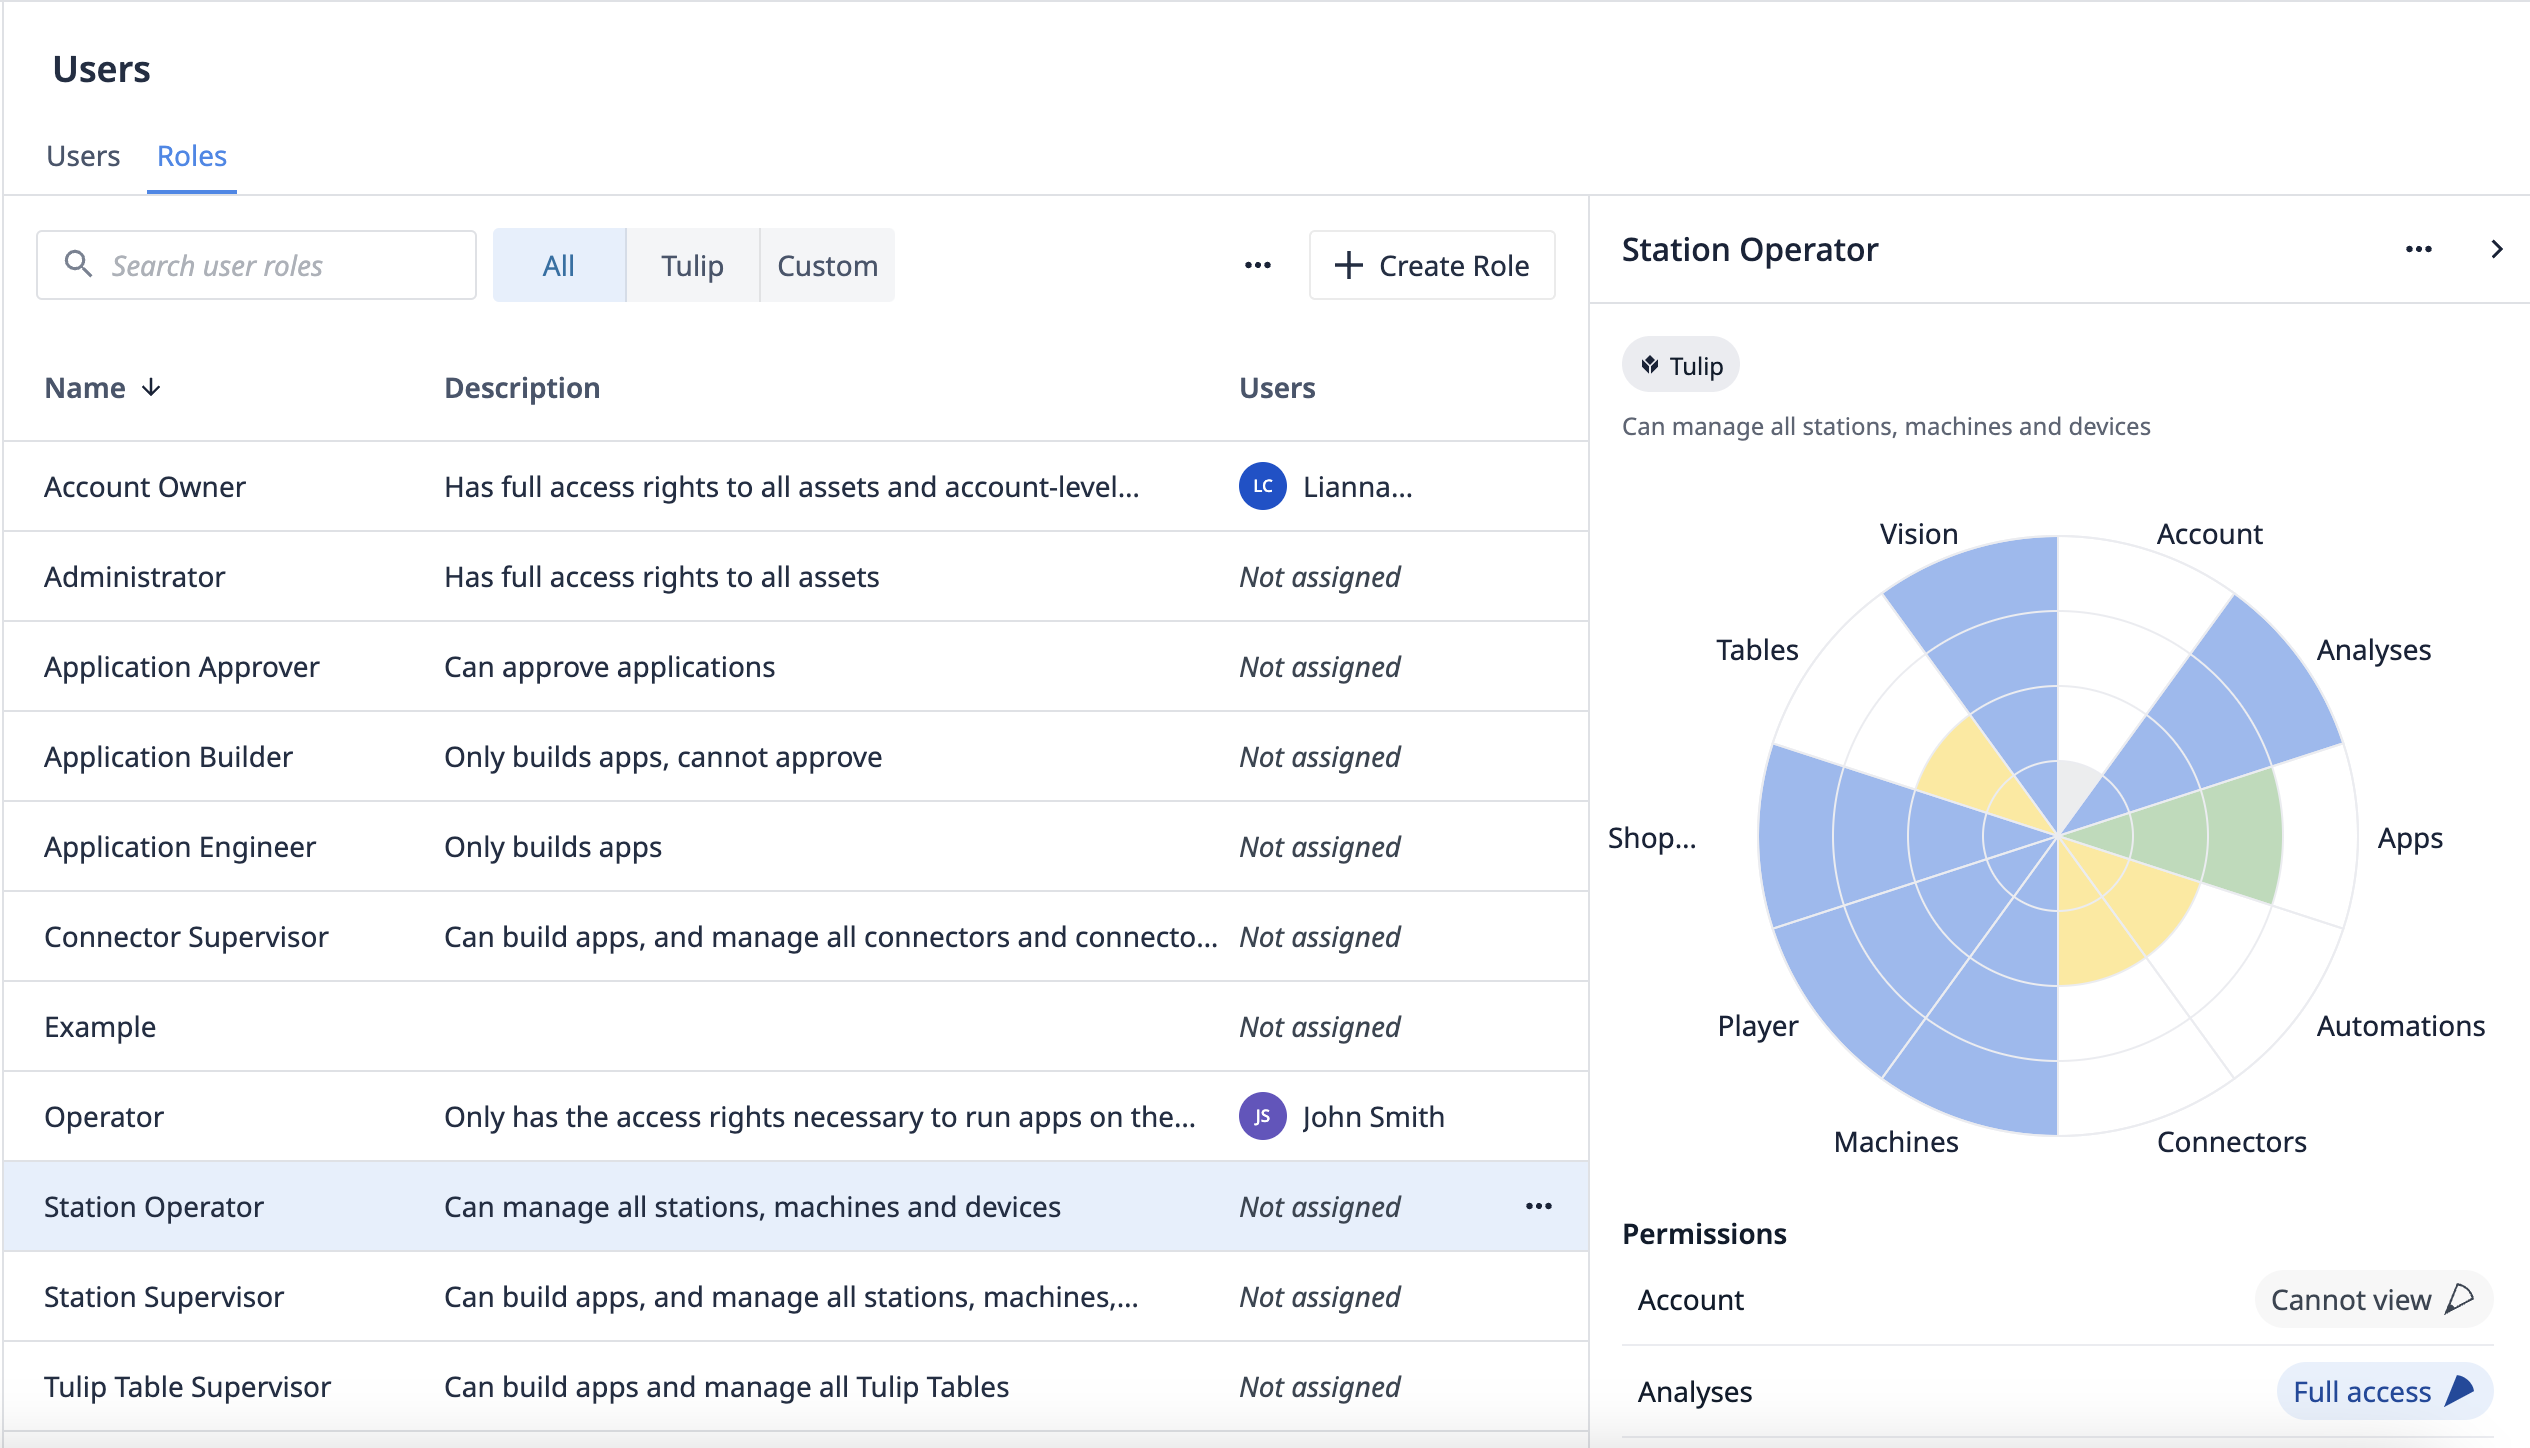
Select a role to view the full permission details
Edit User Details
Only Account Owners can edit user account details. To do this select the user you wish to modify.
On the user's detailed page, you can edit the following fields:
- Profile Picture
- Name
- Badge ID
- Language
- Role
- Workspace (if enabled)
Adding a Phone Number
A phone number can be added to a user account in Tulip but only by the user themselves.
- Click on profile icon in the top right corner
- Select My Profile.
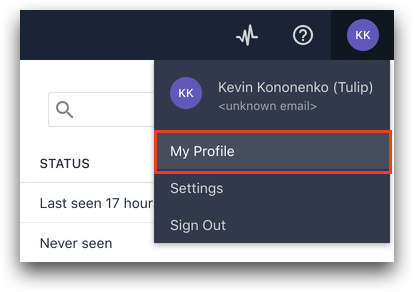
- Click on the Add phone number...
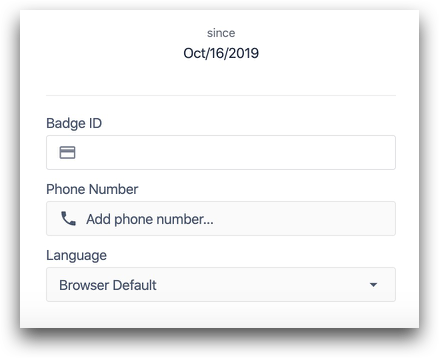
- A modal will pop up prompting for the phone number and once entered, click Send Verification Code. Enter the code received, click Verify and if successful, Done.
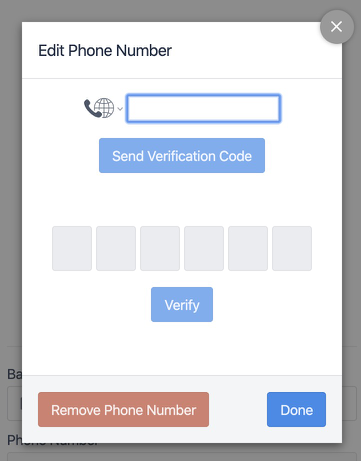
You can also remove a user's phone number from the same screen.
Resend User Invitations
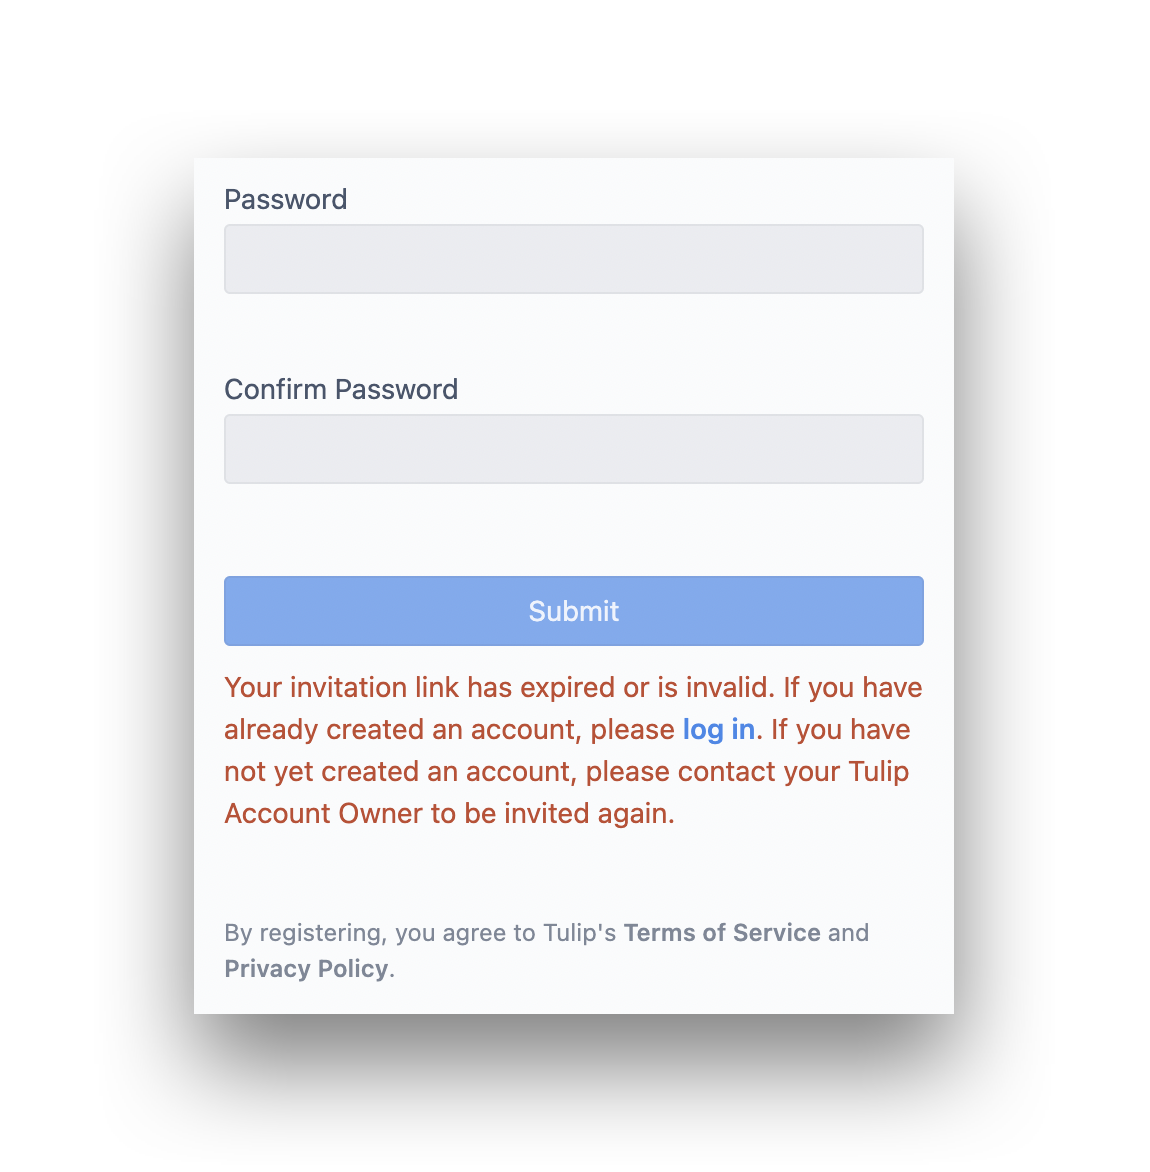
For security purposes, invitation links to Tulip expire after 24 hours. If an invited user does not accept the invite within that period, they will see a message like this when they try to log in:
To fix this problem, you need to resend their welcome link. In the Users page in Account Settings, find the user who requires a new invitation link. A message saying "Invite Expired" should be present with the option to "Resend". Hovering over the "Invite Expired" message will display the date and time of the previous invite.
Click Resend to send the user's welcome email again. If they still are unable to log in, please contact support@tulip.co for more help.
Deactivate a User
The only users who can deactivate users are Account Owners or users with custom roles that grant user management permissions.
You can choose to deactivate users to preserve the history of an individual user’s actions within Tulip. The user account can always be reactivated later.
You can deactivate a user in the following steps:
- Click on your user icon in the top right of navigation bar and click Settings
- Select Users from the panel on the left side.
- Select the User you wish to deactivate, then, click the three-dot-menu button.
The following modal will appear:
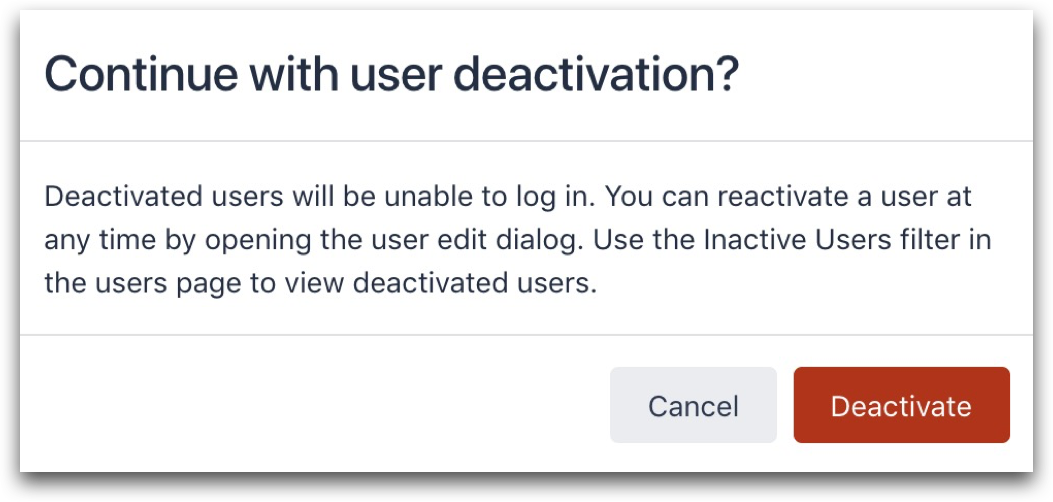
- Click Deactivate to confirm.
A deactivated user cannot log in. Deactivated users will not appear on any lists of users within the Tulip App Editor. When a user is deactivated, they lose all permissions.
View Deactivated Users
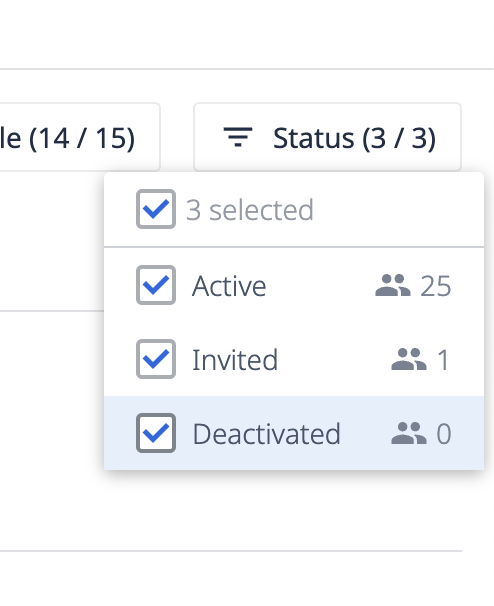
You can see all deactivated users in the Users list, using the Status filter to view Deactivated users. By default, you will not see deactivated users in the Users list.
Reactivate a User
An Account Owner, or user with custom user management permissions, can also reactivate a user. To reactivate a user, use the following steps:
-
View deactivated users by clicking the Status filter and selecting Deactivated.
-
Select the deactivated user’s name. Click the three-dot-menu in the top right corner and click Reactivate User.
When the user was originally deactivated, their badge ID became available. If the deactivated user’s badge ID was “1234”, another user can start using that badge ID before the deactivated user is reactivated.
If this is the case and you want to reactivate the original user that claimed “1234”, you can do one of the following:
- Change the active user of “1234” to a different badge ID. Then, you can reactivate the original holder of “1234”.
- Give the reactivated user a new badge ID in the "Username" field.
Further Reading
Did you find what you were looking for?
You can also head to community.tulip.co to post your question or see if others have faced a similar question!