An overview of the Approvals feature and how to use it in highly-regulated industries.
Users on Enterprise plans.
In this article, you will learn:
- The details of the Approvals feature
- Who needs to be included in Tulip Account to enable approvals
- Combining approvals with LDAP and SAML authentication
If your company operates in a regulated industry (like pharmaceuticals or medical devices), you may need a way to ensure the approval of new apps by multiple parties before they can be deployed on a production floor.
The approvals feature creates rules for individual apps.
Users can add Approvers from multiple departments to individual apps in order to make sure that they comply with company requirements.
A user can do this if they meet the following criteria:
- They have a user role that gives them permission to add approvers to an app
- They have Owner permissions on the specific app that needs review
Once approvers are added to an app, they must approve every new version of the app before it can be deployed to the shop floor.
Here’s how you can configure approvals and manage the publishing process in your Instance.
Add Approval Types
Before adding approvers, you must specify the Approval Types you would like to create. Common examples include Compliance, Production, and Operational Quality.
To create an approval type, click on your user profile icon and then select Settings. Note: if you have Workspaces enabled, select Workspace Settings.
Select Approval Types from the side menu.
By default, three approval types are available:
- Compliance
- Quality Assurance
- Manufacturing Best Practices

Click Create Approval Type and fill out the information in the pop-up modal. Once complete, click Create.
Assign a User Group to an Approval Type
- Navigate to the Approval types page in your Workspace Settings.
- Click the More options menu button to edit the approval type.
- Select the user group you want to assign in the Default approvers field.
- Click Save.
You can also see which users have approver permissions when you click the carrot icon to the left of the user group name.
Add Approvers to Your App
Once you add an approver for an approval type in an app, the type will be automatically “enabled”.
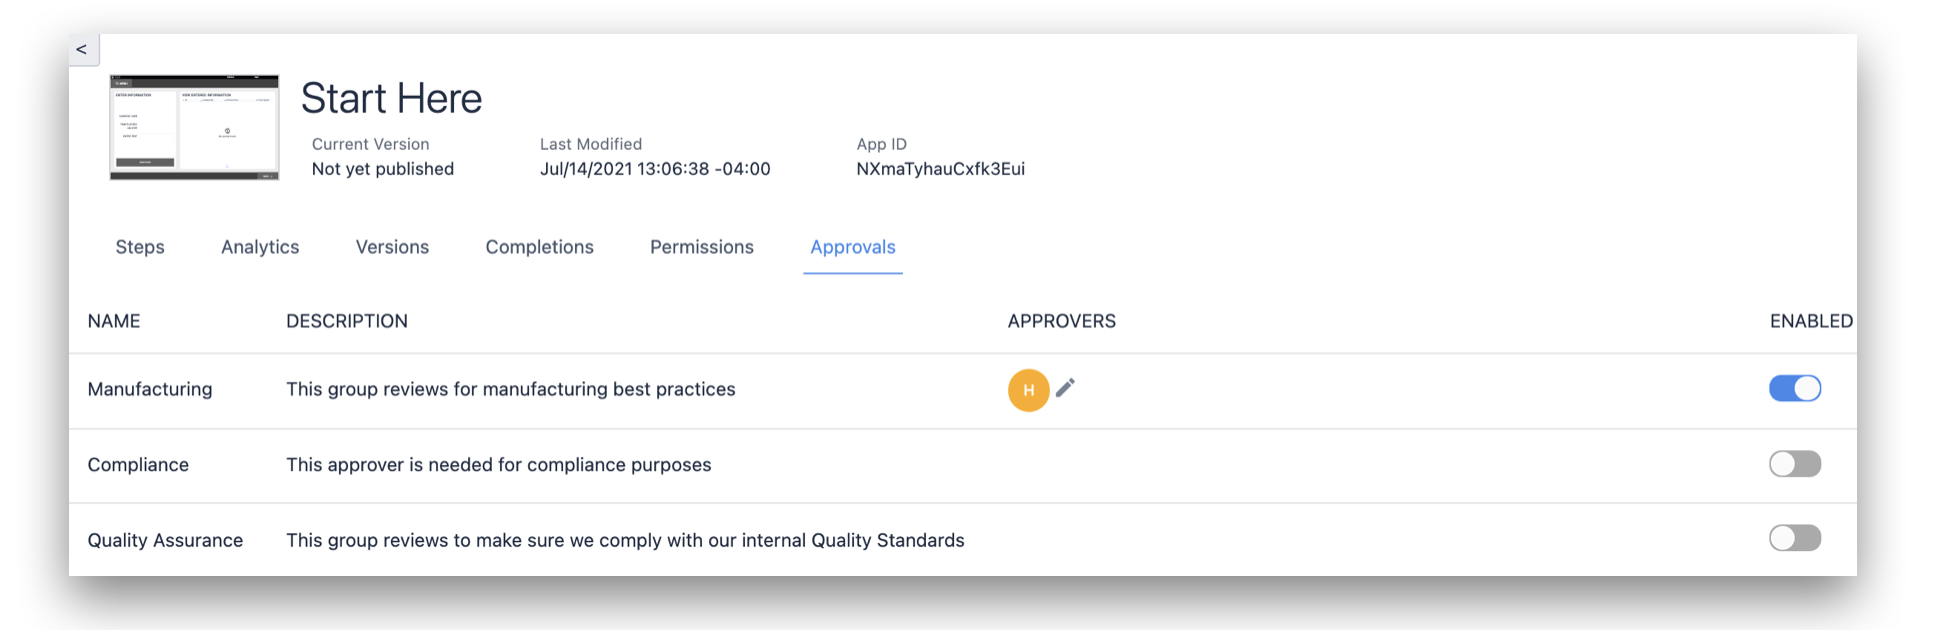
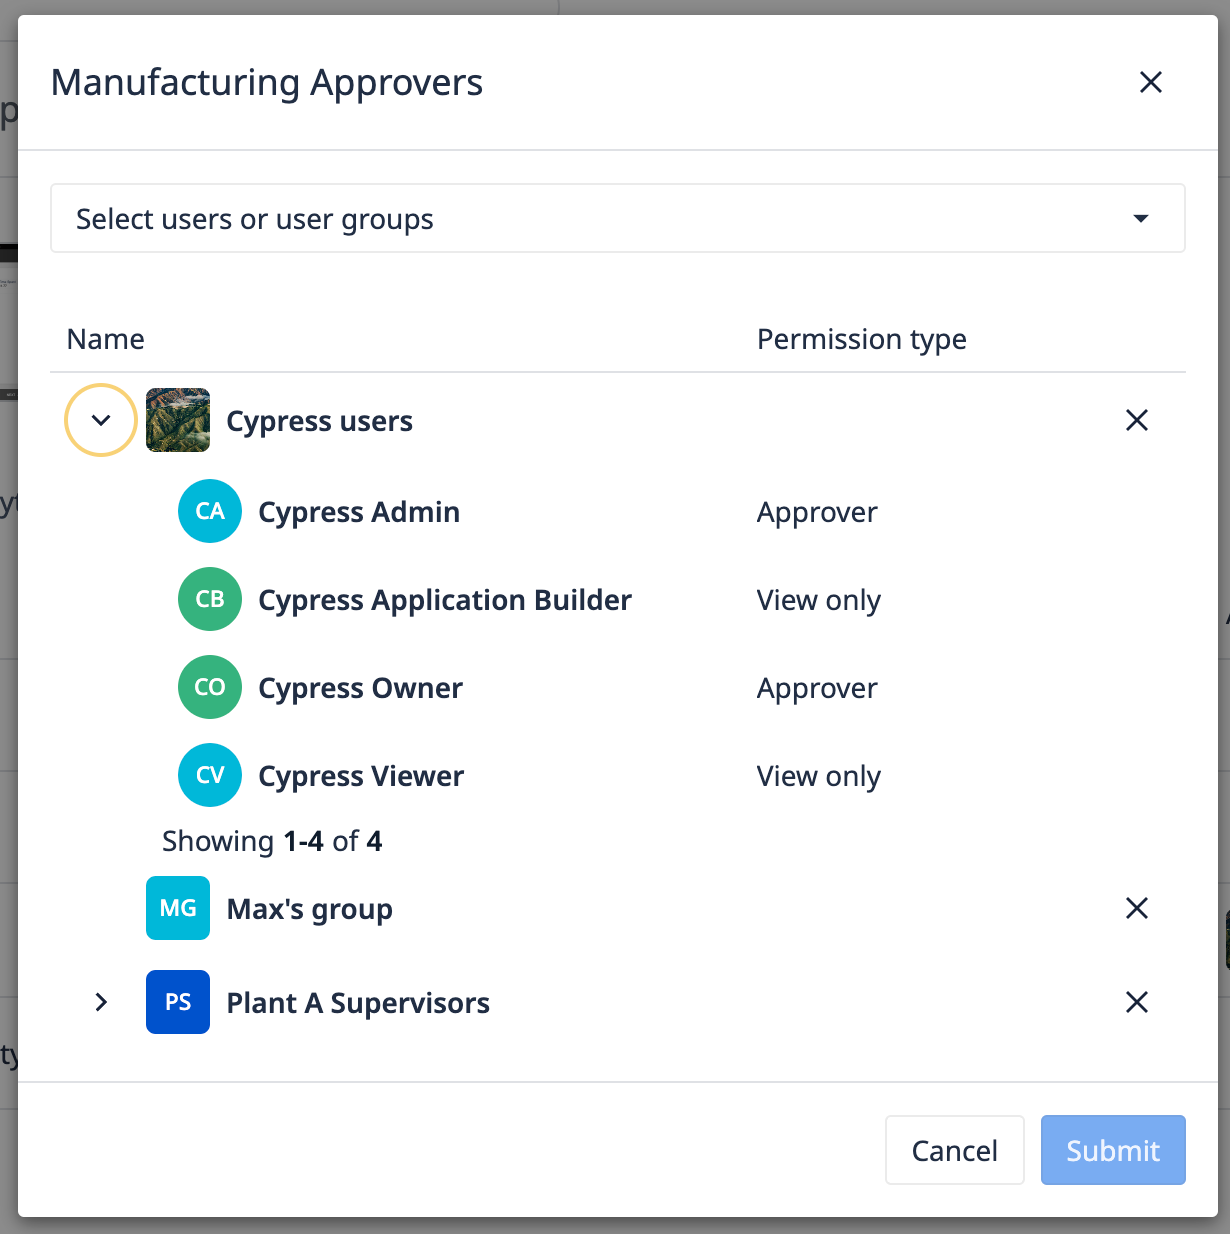
In order to choose approvers, click the Edit symbol in the Approvers column.
Use the search bar to search and select a Tulip user or user group.
Default Approvals
Default approvers are automatically added as app approvers in the following scenarios:
- When apps are created using New app option in the create app modal
- Using a library template
- Duplicating an existing app
- Importing an app.
Add users as default approvers in the Approval Types settings page.
Users without the ability to edit app approvals will see a read-only version of the page when opened.
Different Versions of An App
Your app has three types of versions that can exist concurrently in the Versions tab:
- A Development Version, which Tulip users can edit if they have editing permissions for the given app
- A Published Version, which can be deployed to the shop floor
- A version with pending Approvals, which cannot be edited until it is approved or rejected
Once you successfully publish an app, the published version will be permanently available. Every time you publish the app, a new published version is created. There is only one development version of an app.
Since apps require approval, users cannot edit the version with pending approvals while waiting for approvers to approve or reject the new proposed version. If you want to make changes to a version with pending approvals, you must cancel the proposal, and then re-publish an updated development version.
An app version can have five states:
- Development
- Published pending approval
- Published
- Rejected
- Approval request cancelled
The operator’s experience will not change until a new version is approved and the app transitions from Published pending approval to Published.
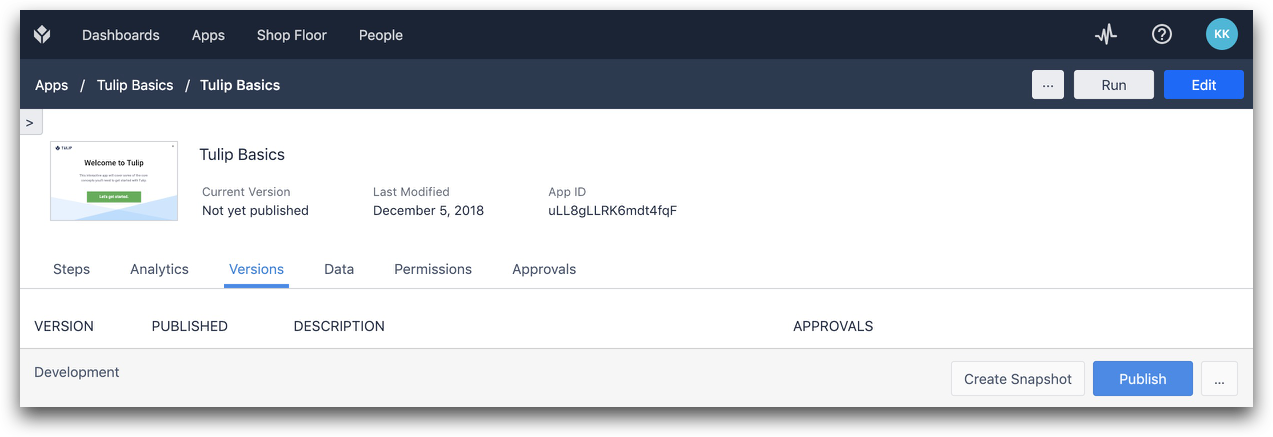
When you are ready to publish a new version of your app, go to the Versions tab within the App Editor. Then click Publish next to the Development Version.
Add notes so the approvers know what changed in the app.
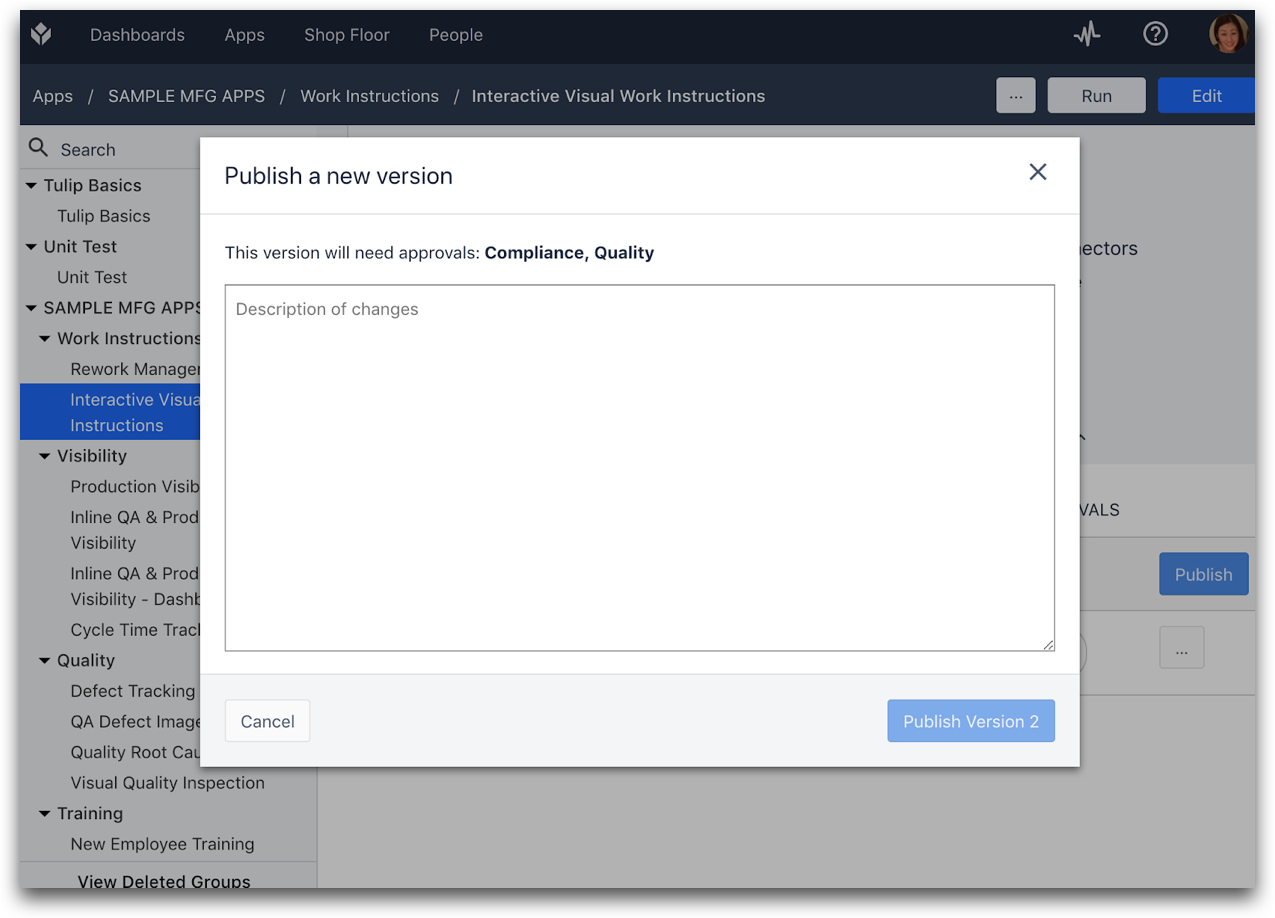
The app will now be in the Published pending approval state, and all approvers will receive an email with instructions to review the newest version.
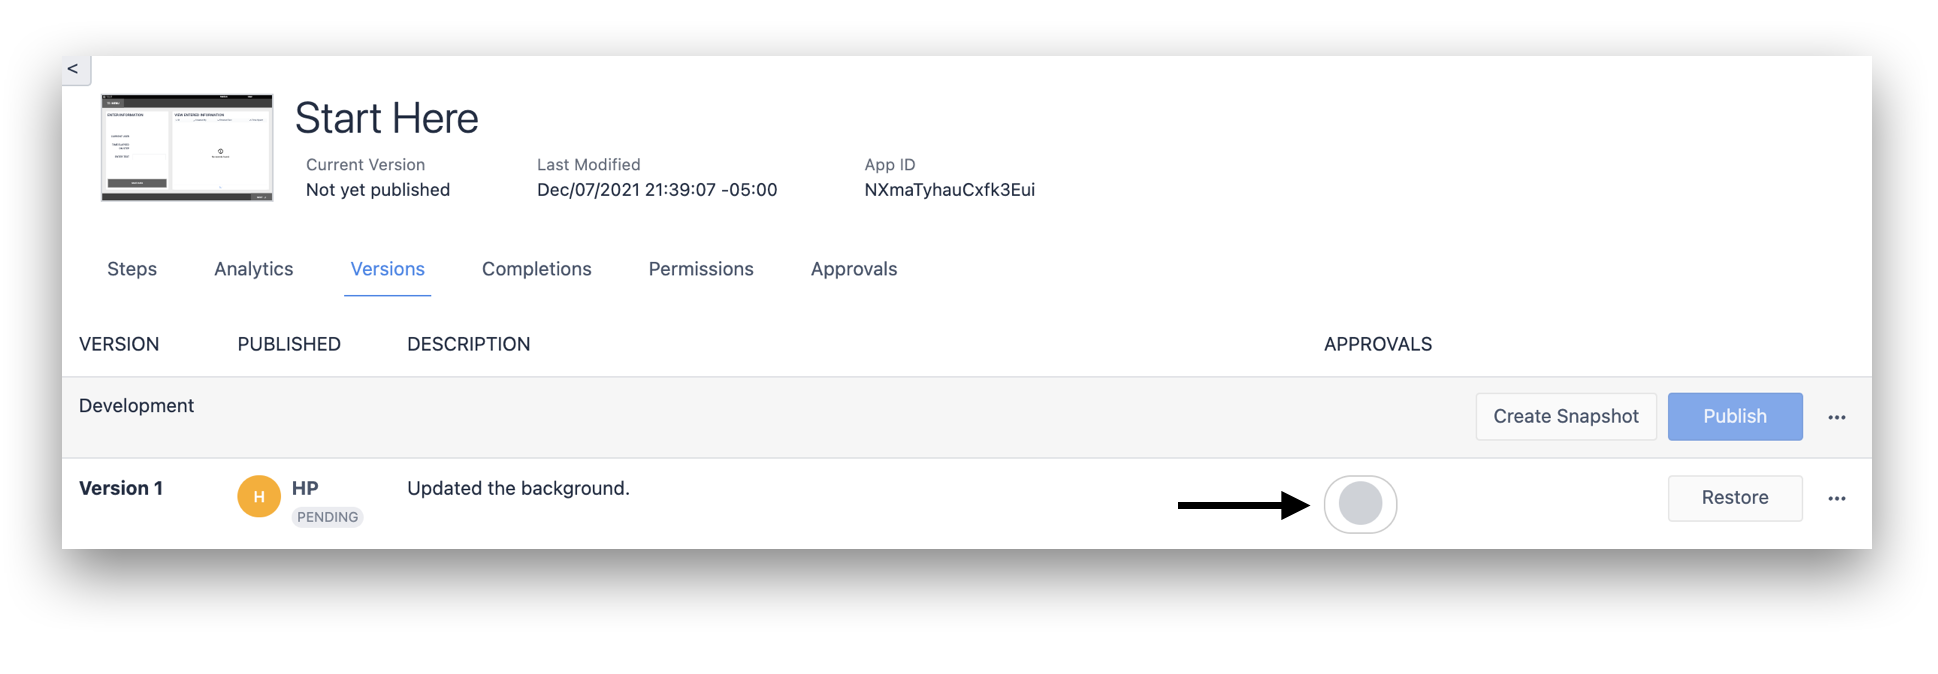
How To Approve An App
If you are an approver, navigate to the app that you need to review and then select the Versions tab. Then, click the pill icon in the Versions column to either accept or reject the new version.
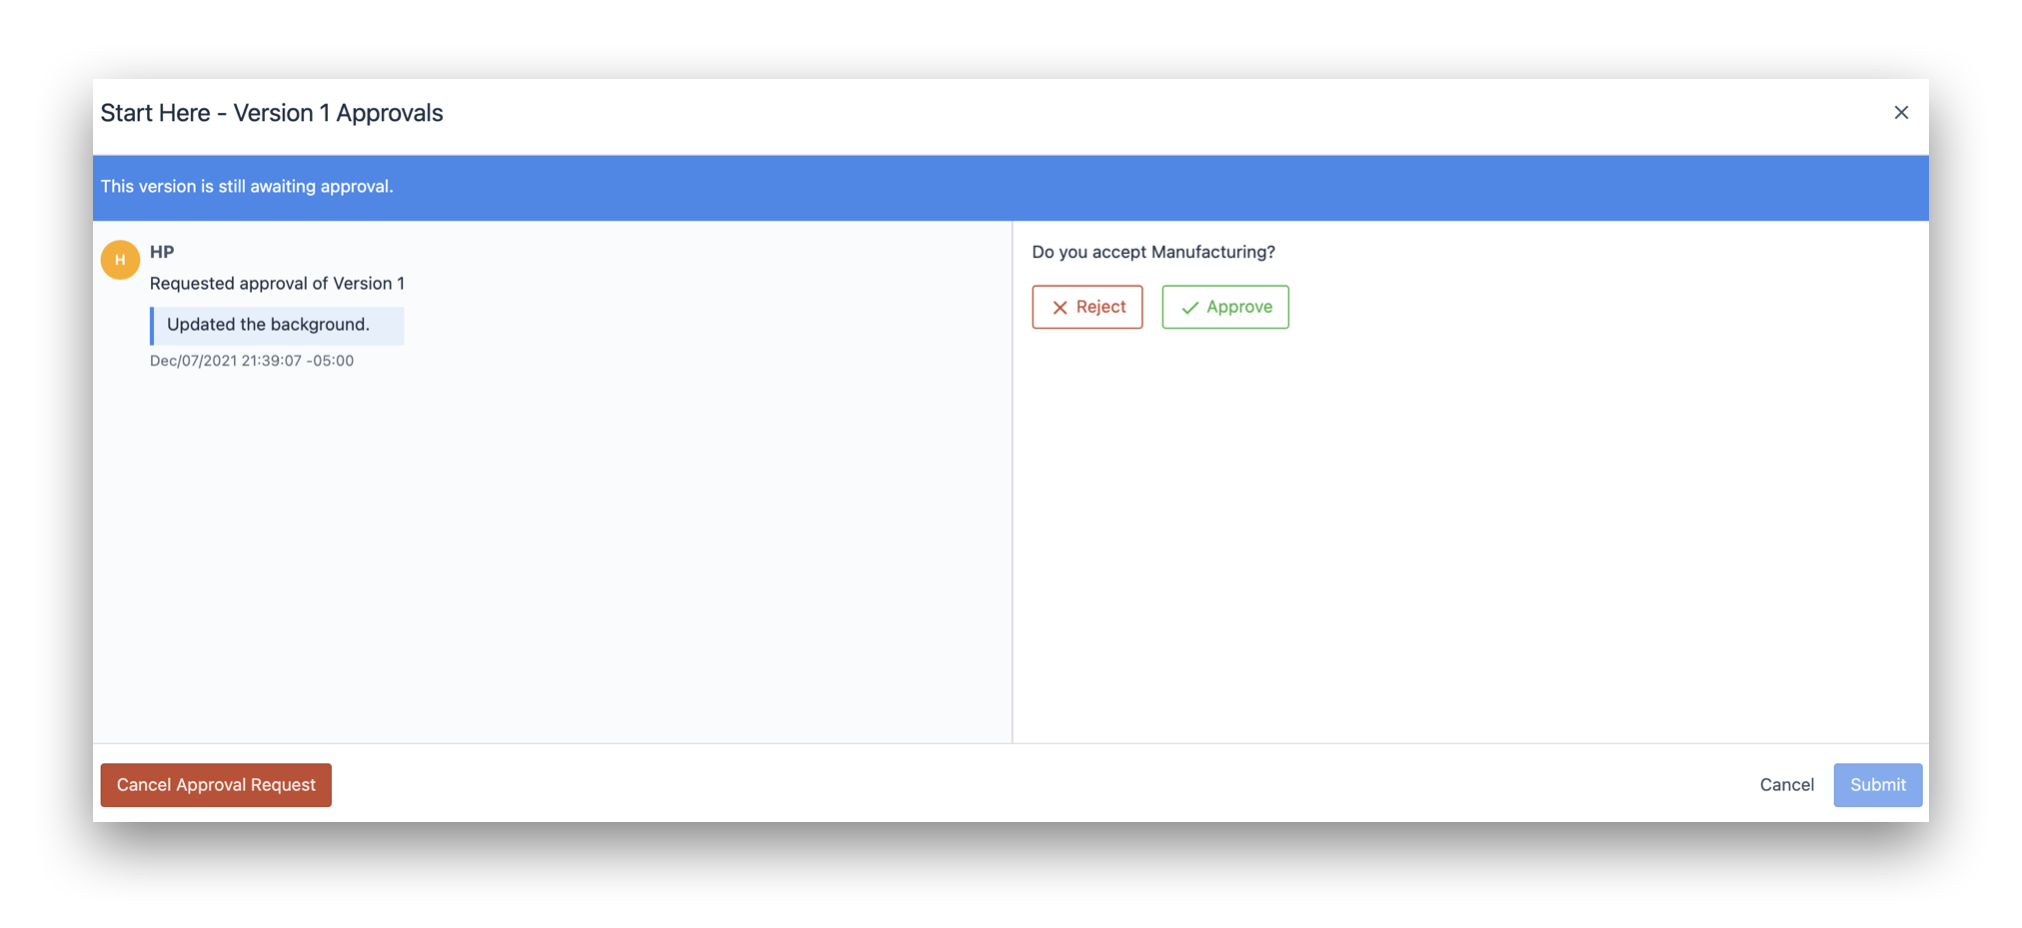
Then, you will be able to see the description of the new version and any history of approvals. Select Accept or Reject after you have reviewed the version.
A comment/feedback must be provided in order to reject an app approval.
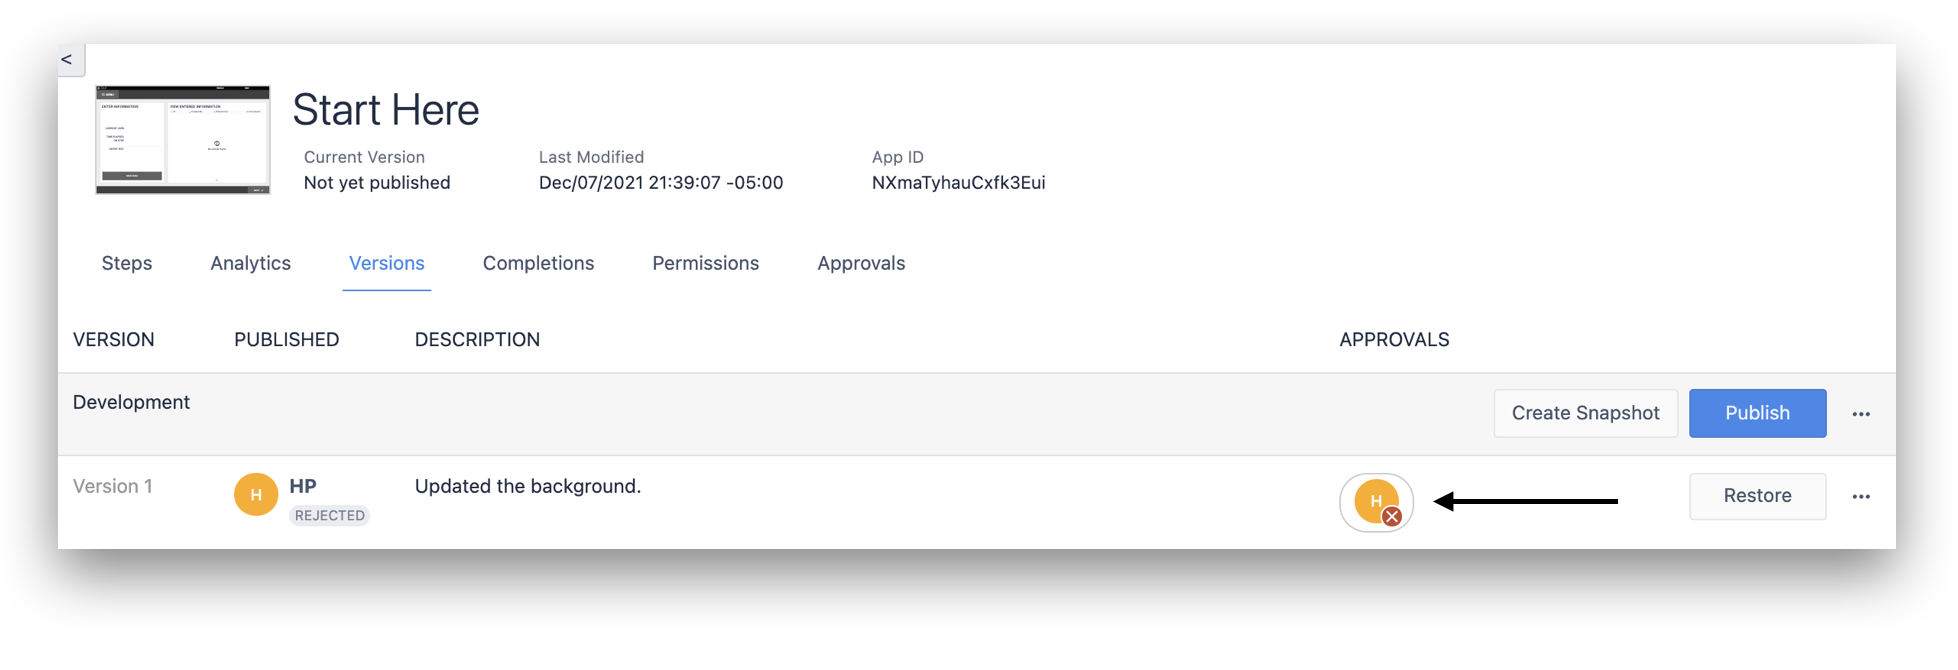
To view the feedback provided if an app is rejected, navigate to the Versions tab and click on the pill icon as show below:
In order to review the app, an approver should run it using Tulip Player to inspect the app from the perspective of an operator.
In order to successfully accept the app, you must re-authenticate with your credentials to prove your identity.
Once all approvers have approved a specific version, it will become the “Last published version”. By default, all stations are set to run the most recent published version of an app. The next time that an operator runs the app in the Tulip Player, they will see the updated version.
Further Reading
- How to restore a "Development Version" of an App from a "Published Version.
- Managing Multiple App Versions
- Using LDAP With Tulip
- Using SAML with Tulip