How To Add a Grid Widget to A Step
- 19 Nov 2024
- 1 Minute to read
- Contributors


- Print
How To Add a Grid Widget to A Step
- Updated on 19 Nov 2024
- 1 Minute to read
- Contributors
- Print
Article summary
Did you find this summary helpful?
Thank you for your feedback
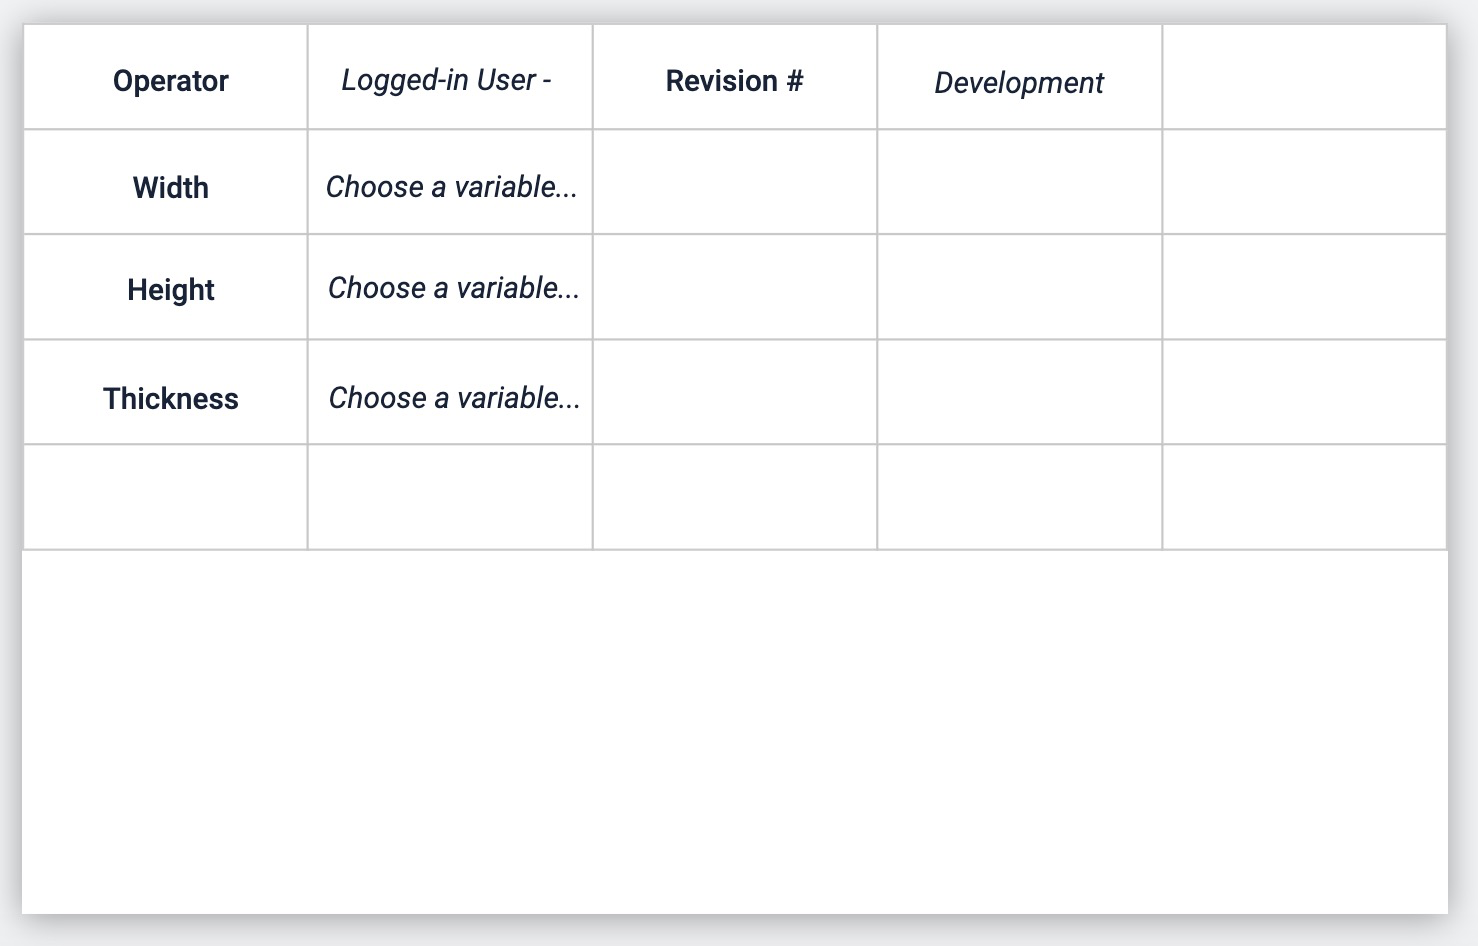
The Grid Widget allows you to design steps with clear labels and data values.
When you are a designing a step in an app, you may want to use a visual grid to structure your data and include clear labels with data points.
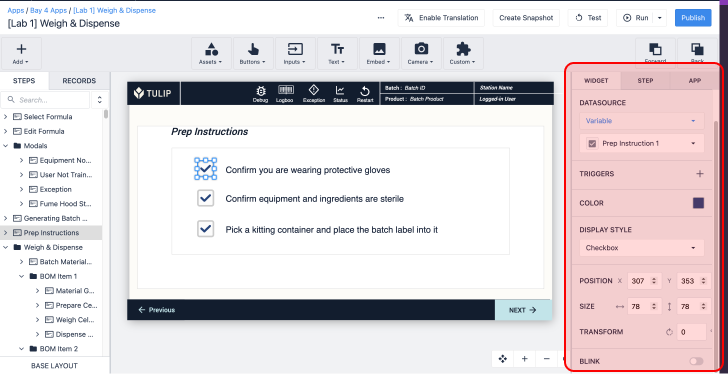
Here's an example of a grid on a step:
This short guide will show you how to add a grid Widget to any step.
Adding and Editing a Grid Widget
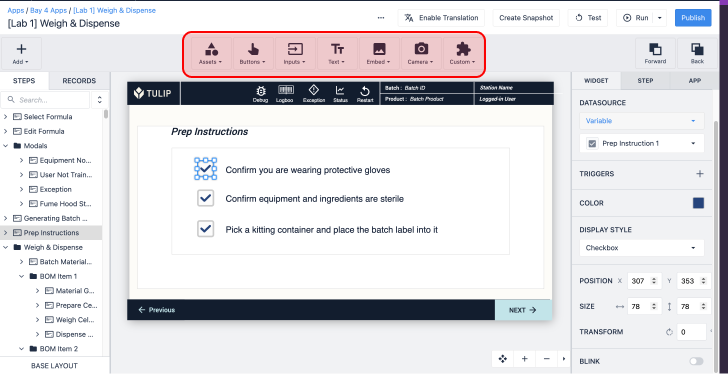
From the Toolbar, choose the "Embed" option and then "Grid"

You will then see a series of options in the Side Pane after selecting the grid:
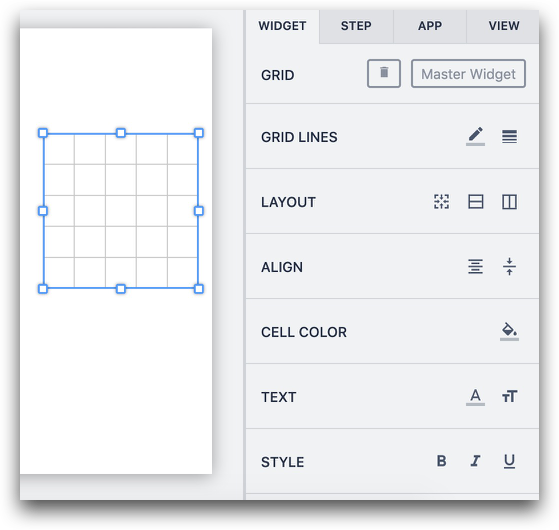
Grid Lines: Choose the color and thickness of grid lines
Layout: Add a row, column, or merge and unmerge cells after selecting multiple
Align: Align text that is typed into an individual cell
Cell Color: add a background color to an individual cell
Text: Change the format of text in selected cells
Style: Change text style in selected cells
You can also right click an individual cell and edit the row:
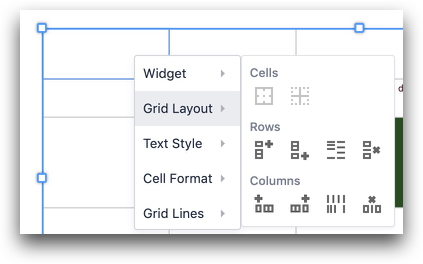
The options are...
- Add a row below
- Add a row above
- Evenly space rows
- Delete row
When you add new rows and columns, all other cells will shrink to accomodate the new row or column. You must expand the entire Grid widget if you would like to add space for a new row or column.
Did you find what you were looking for?
You can also head to community.tulip.co to post your question or see if others have faced a similar question!
Was this article helpful?
