Set up and use the Tulip API to interact with Tulip from other systems.
This article assumes previous experience with APIs.
Tulip interacts with many other system's APIs via Connectors. Using connectors, a Tulip app can initiate an HTTP or SQL query.
In other cases, you may want to allow an external system to query data that only exists within Tulip. It is possible to communicate with Tulip from external systems using the Tulip API. This article will walk through Tulip API set up and testing.
The Tulip API is useful for integrating these external systems with Tulip, through Tulip Tables. This includes updating a table record with new information, creating a table, or getting the count of records in a table.
Examples
The following examples walk through the process to make requests to the Tulip API. These examples use Postman to make the requests from Tulip.
Get Table Names and Information
This GET request allows the external system to retrieve the IDs and column information of all the tables within the Tulip Instance. This may be useful as a method to find a Table of interest in order to set up a POST request.
In Postman, set the Authorization to Basic Auth, and enter the API Key and Secret.

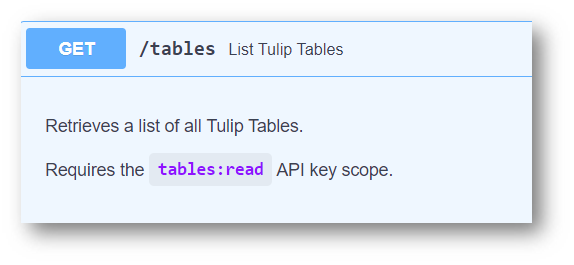
Now, the request needs to go to the right place. In Tulip, find the request you'd like to make from the API documentation. In this case, the request is to get all Table info.

In order to get the Request URL, run the Execute button, and check for the Request Information.

This Request URL can then be used as the Server URL to process the GET request from Postman.

Click Send, and the request will return all of the information from the tables.

Create a Table Record
Using a POST, and the Table ID found above, a Table Record can be created from the external system. The Authorization and Header will remain the same, but the Request URL will be a bit different.
First, determine the Table you'd like to create a record in. The request URL will always adhere to the following structure:
If you are using a global API key, you need to specify the workspace. If your API key is workspaced scoped, it is optional.
https://(yourinstancenamehere).tulip.co/api/v3/w/(workspace)/tables/(TableID)/records

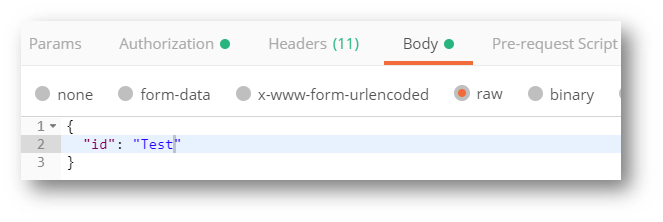
Once input, the request will also need a body to process the POST properly. The columns Schema is given above in the Testing section, and can be found in the API documentation. The only column that is fully necessary for this to succeed is the ID column. For any other columns that are not added, they will be stored as null in the table record upon creation. Add this content as a Body for the request.

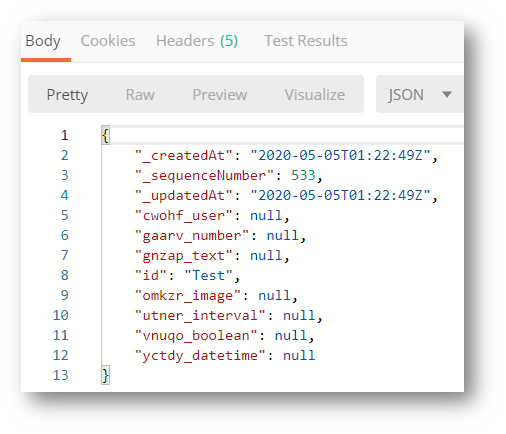
On submission, Postman verifies that the record has been created.

Did you find what you were looking for?
You can also head to community.tulip.co to post your question or see if others have faced a similar question!


