This is a full reference of all menus and possible interactions in the Tulip Player.
From r283 onwards, display devices are renamed interfaces.
There are two different ways Tulip apps can be run:
- Developer Mode - Developer mode is for testing your application. Data won't write to your Tulip tables so that any production data isn't impacted by testing.
- Tulip Player - The Tulip Player is a program to run your apps in production. You can download the Tulip Player as an application on a device or run the Player in a web browser.

Tulip Player vs Tulip Web Player
There are two ways to run the player:
- Tulip Player app (available on Windows, macOS, or Android)
- Tulip Web Player (in Chrome, or in Safari on iOS open in a web browser
We recommended using the Tulip Player application if possible. The app offers an extended set of features compared to the Tulip Web Player.
Tulip Player for Windows
The Tulip Player windows application, offers an extended set of features:
A more immersive user experience:
- The Tulip Player Windows App will persist its window size, position, and full screen state across restarts. This can be helpful if you always want your Tulip Player to appear in the same position, or to always be maximized.
- The Tulip Player Windows App is a dedicated user experience. It can only be used to access Tulip Apps - not Facebook.
Better hardware access:
- The Tulip Player Windows App supports Tulip Vision
- It can open files from the local computer within your Tulip App.
- In some situations, hardware barcode scanners will work better.
- It supports a wide range of hardware devices which can be found here
Better authentication experience:
- Administrators only have to authenticate the Tulip Player Windows App once per physical computer. In contrast, the Tulip Web Player has to be authenticated separately for each operator. In some situations, shareable station links can be used to work around this limitation.
- For the the Tulip Player Windows App, credentials are securely persisted to the file system. This makes it harder for an operator to accidentally de-register their station, which would require an administrator to re-register them.
- The Tulip Player Windows App can be registered with multiple Tulip instances, making it easier to switch between a staging and production instance, for example.
- The Tulip Player Windows App and the Tulip App Editor can be used simultaneously. You must sign out of the App Editor in order to access the Tulip Web Player.
Diagnostics:
- The Tulip Player Windows App makes logs easier to access.
- The Tulip Player Windows App can collect more detailed information about the computer it’s running on.
Download the Player
Download the player within your Tulip Instance.
- Open the Help Menu (question mark in the Menu Bar) and select Download Player.

- Select the appropriate download based on your operating system (Mac or Windows). The download should begin automatically.
Alternatively, you can visit download.tulip.co.
If you have an Android, you can download the app from the Google Play Store.
- When the download is finished, if the Player does not start automatically, navigate to your download directory and run the ‘Tulip Player' file.
The Player is installed to C:\Users<username>\AppData\Local\tulip-player-desktop
In addition, Player uses C:\ProgramData\tulip folder to store global configuration. All users on the PC using Tulip must have Read, Write and Modify permissions on that folder and all files within that folder
- After a loading screen, you will see a prompt to register the Tulip Player.
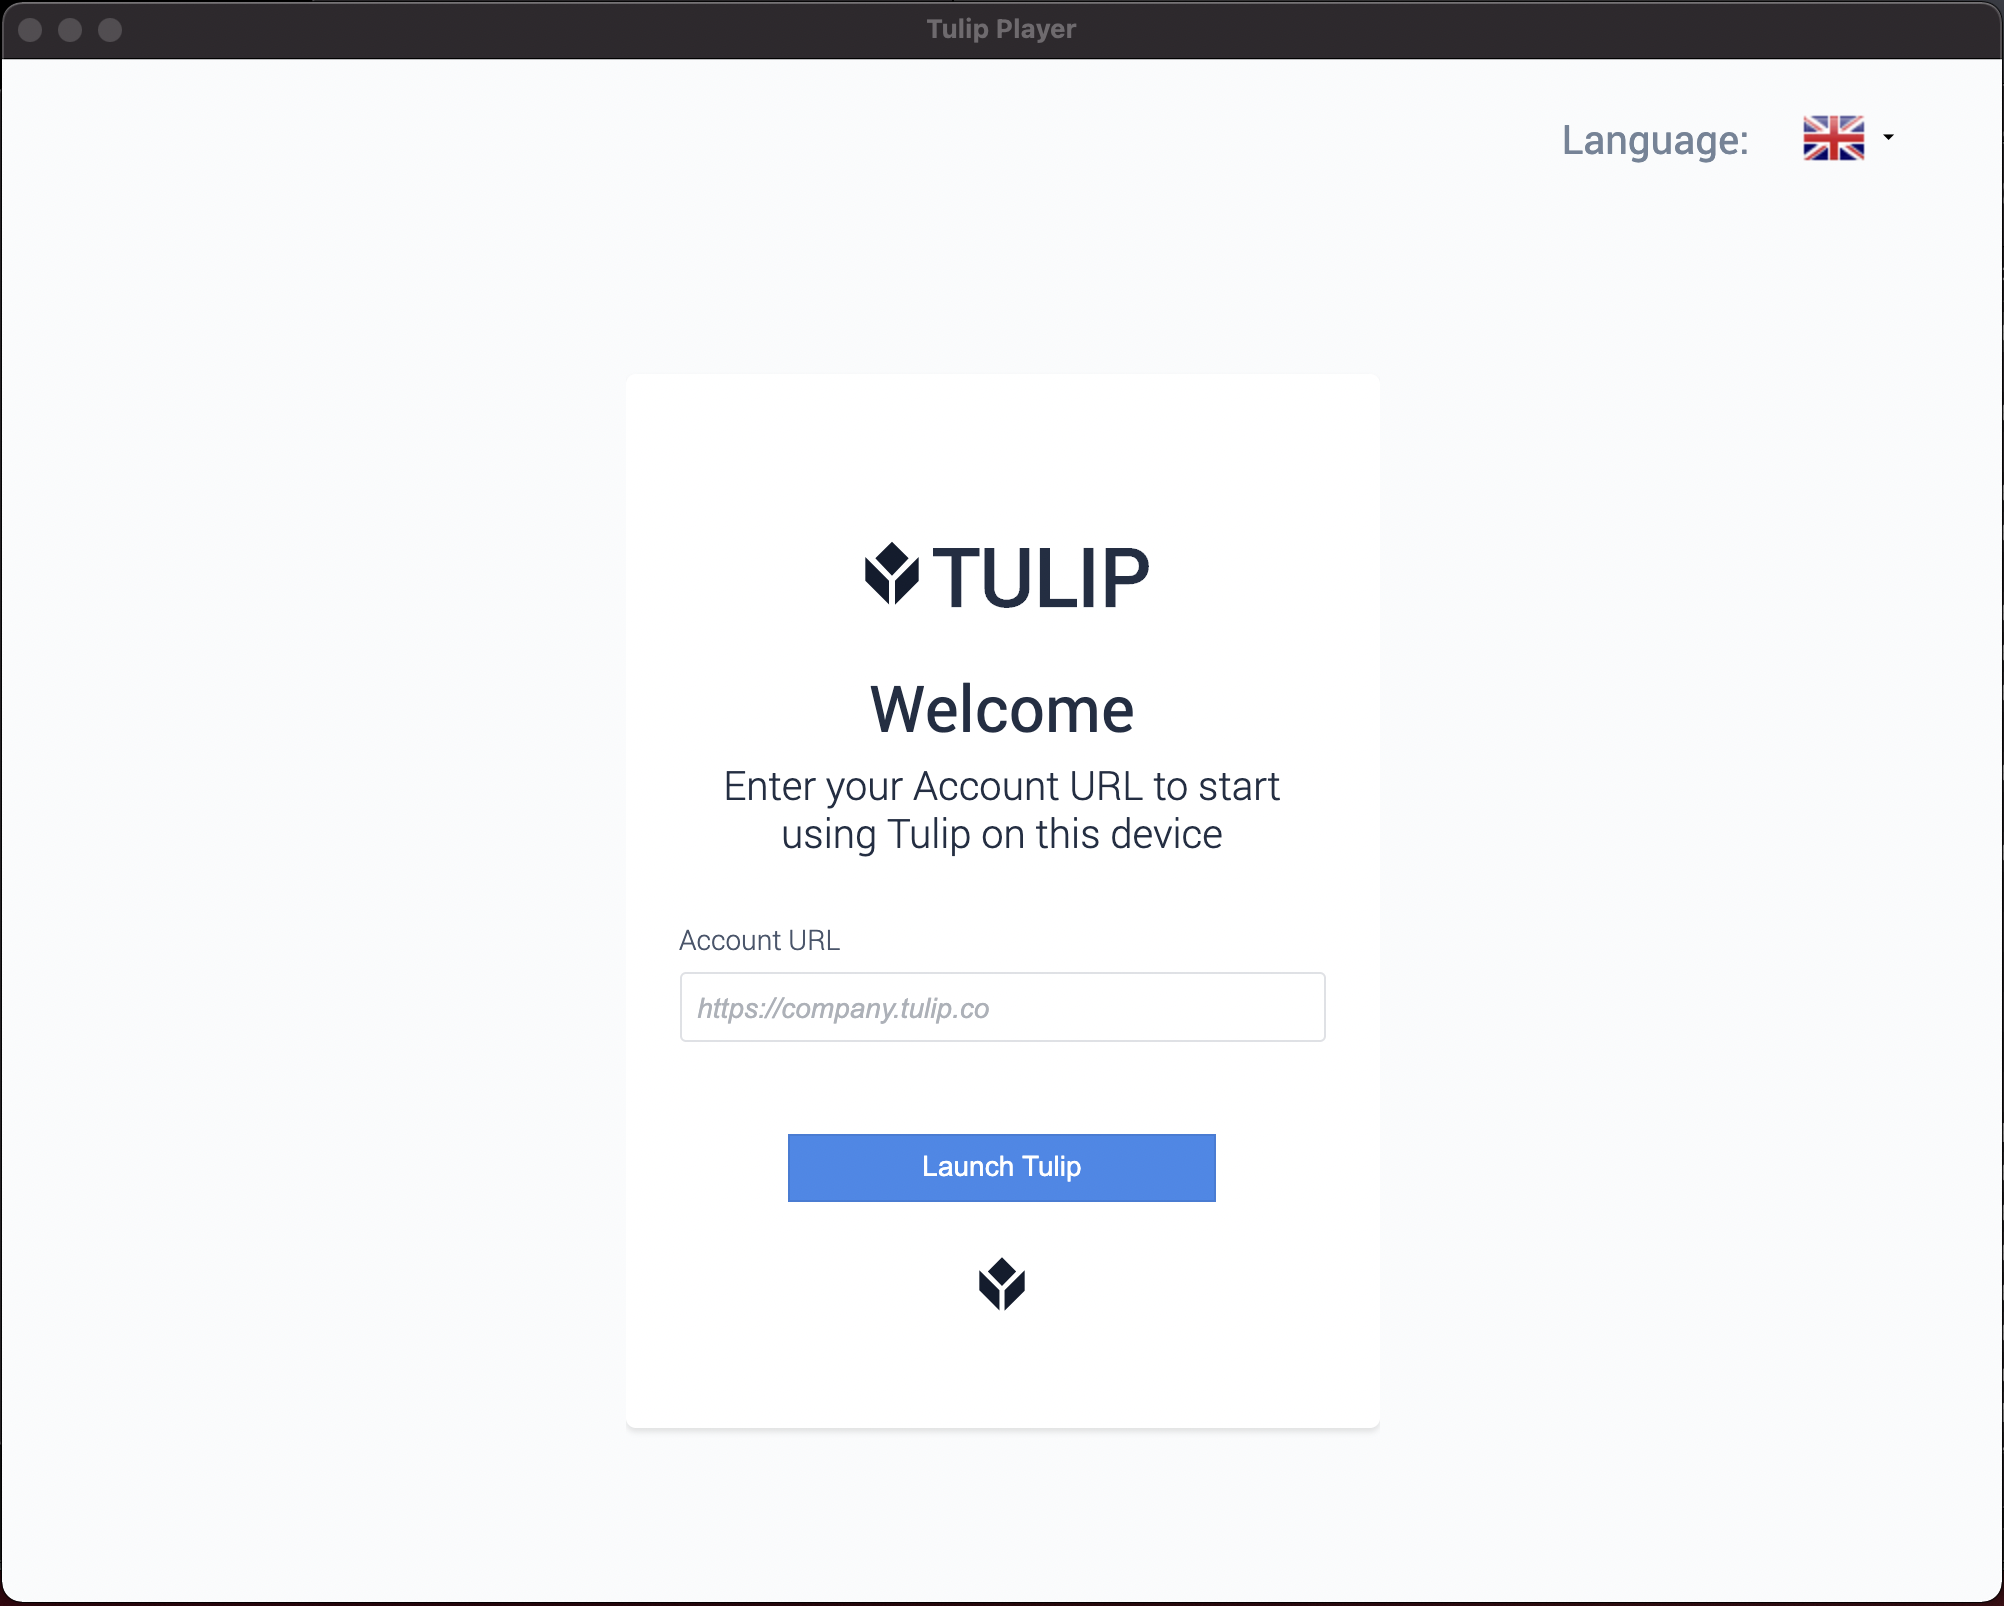
Register the Tulip Player
Now that you’ve opened the Tulip Player, it must be registered to your Tulip instance.
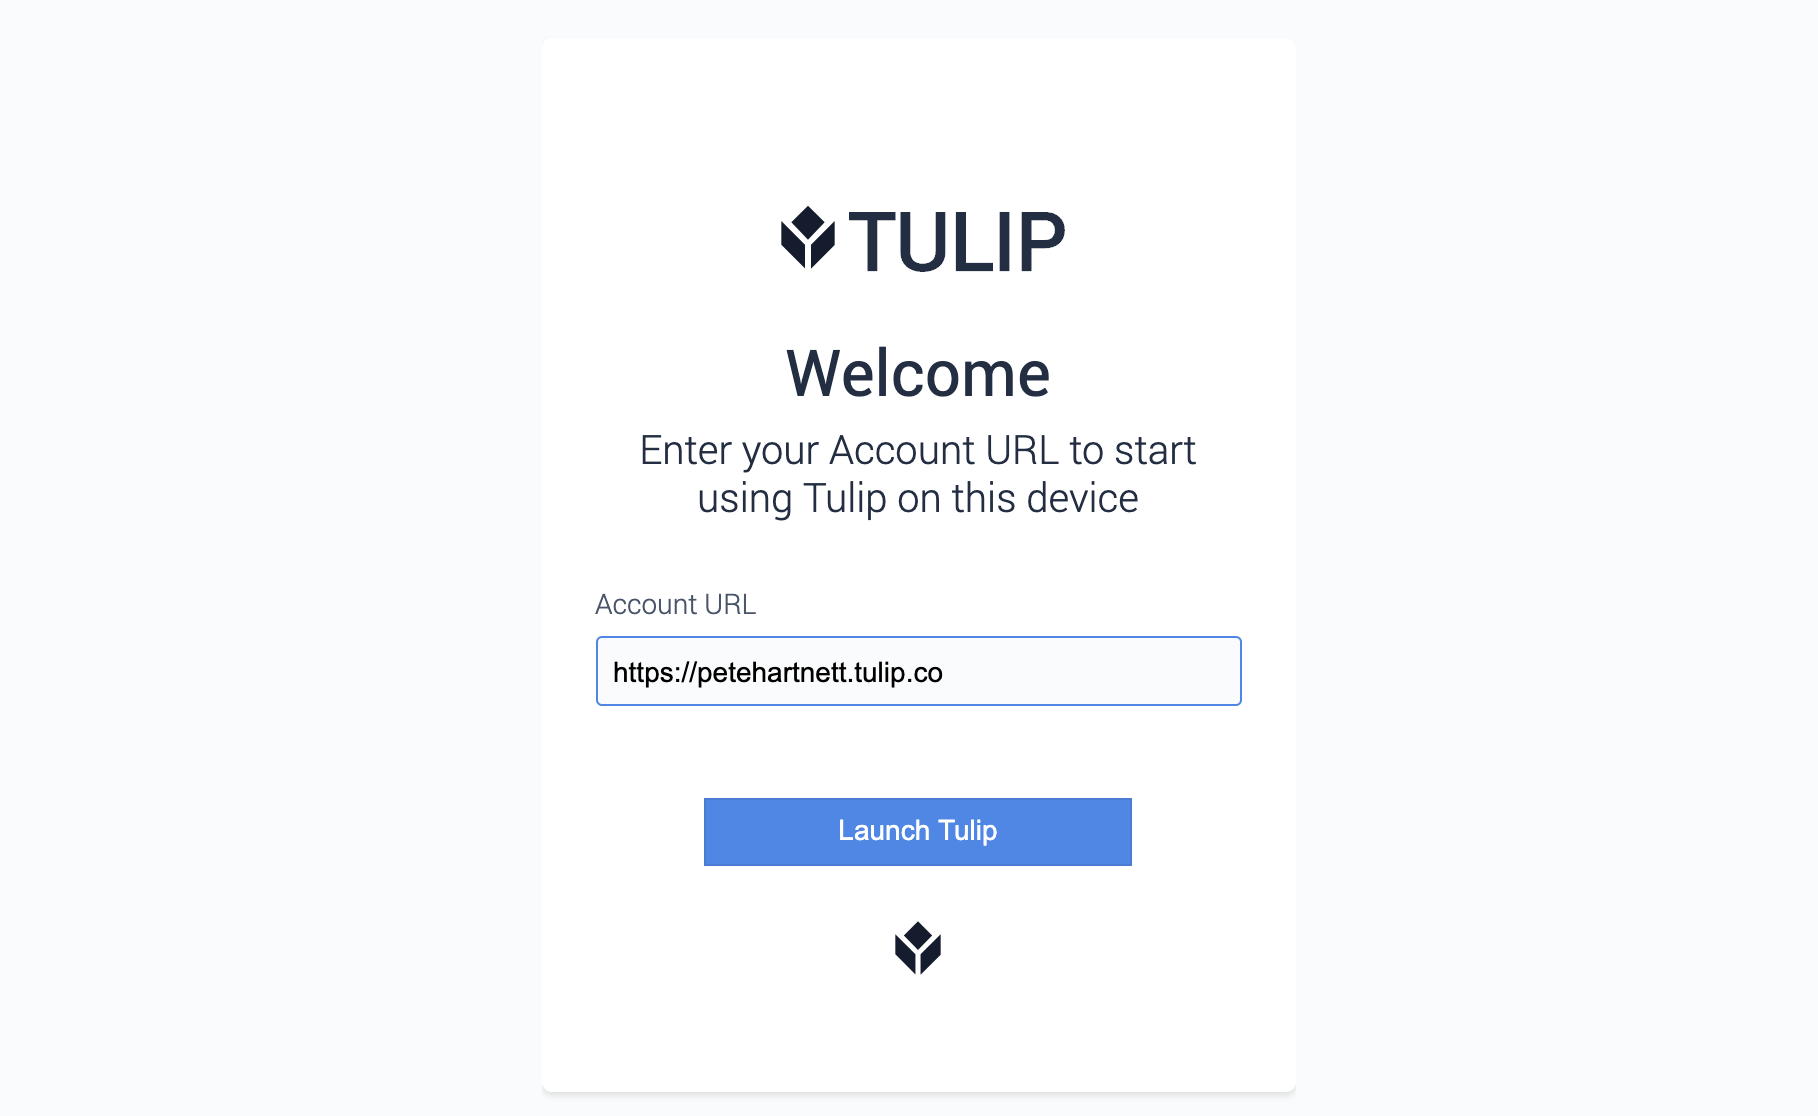
- On the Device Registration screen, enter the name of your Tulip instance in the Instance URL field. The name of your instance is part of the URL that precedes ".tulip.co" in your address bar when you navigate to Tulip in your browser.
For example, the name of the Tulip instance below is petehartnett.tulip.co.
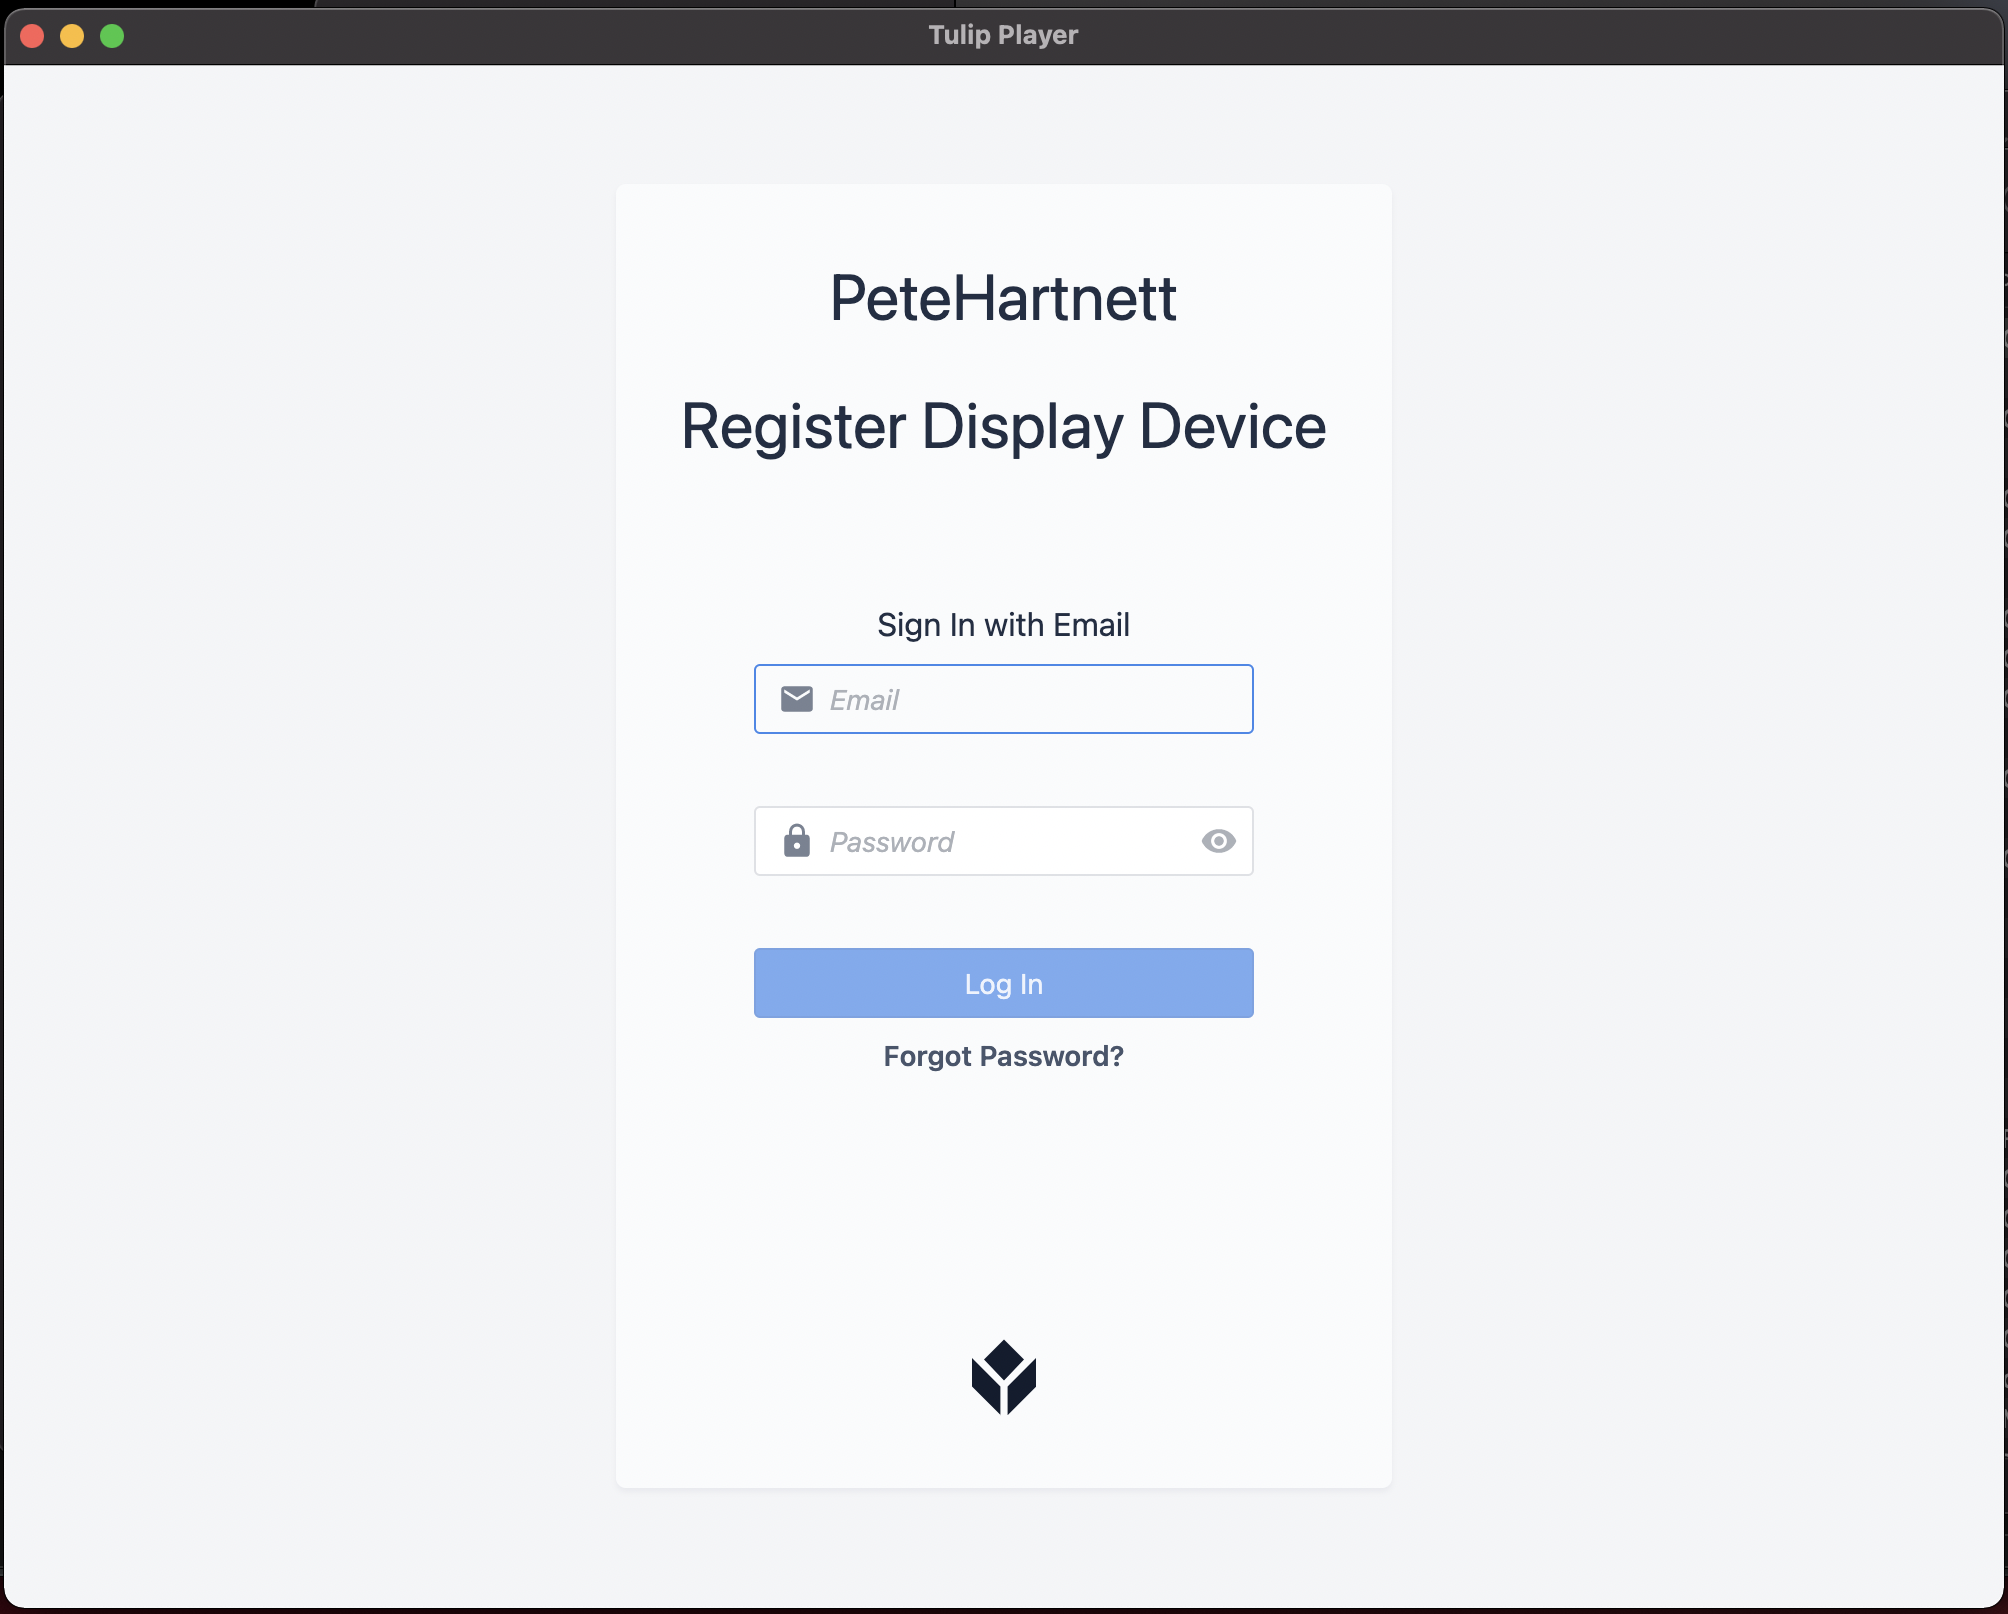
- Click Launch, then login using your Tulip username and password. (This was created when you first logged into Tulip.)
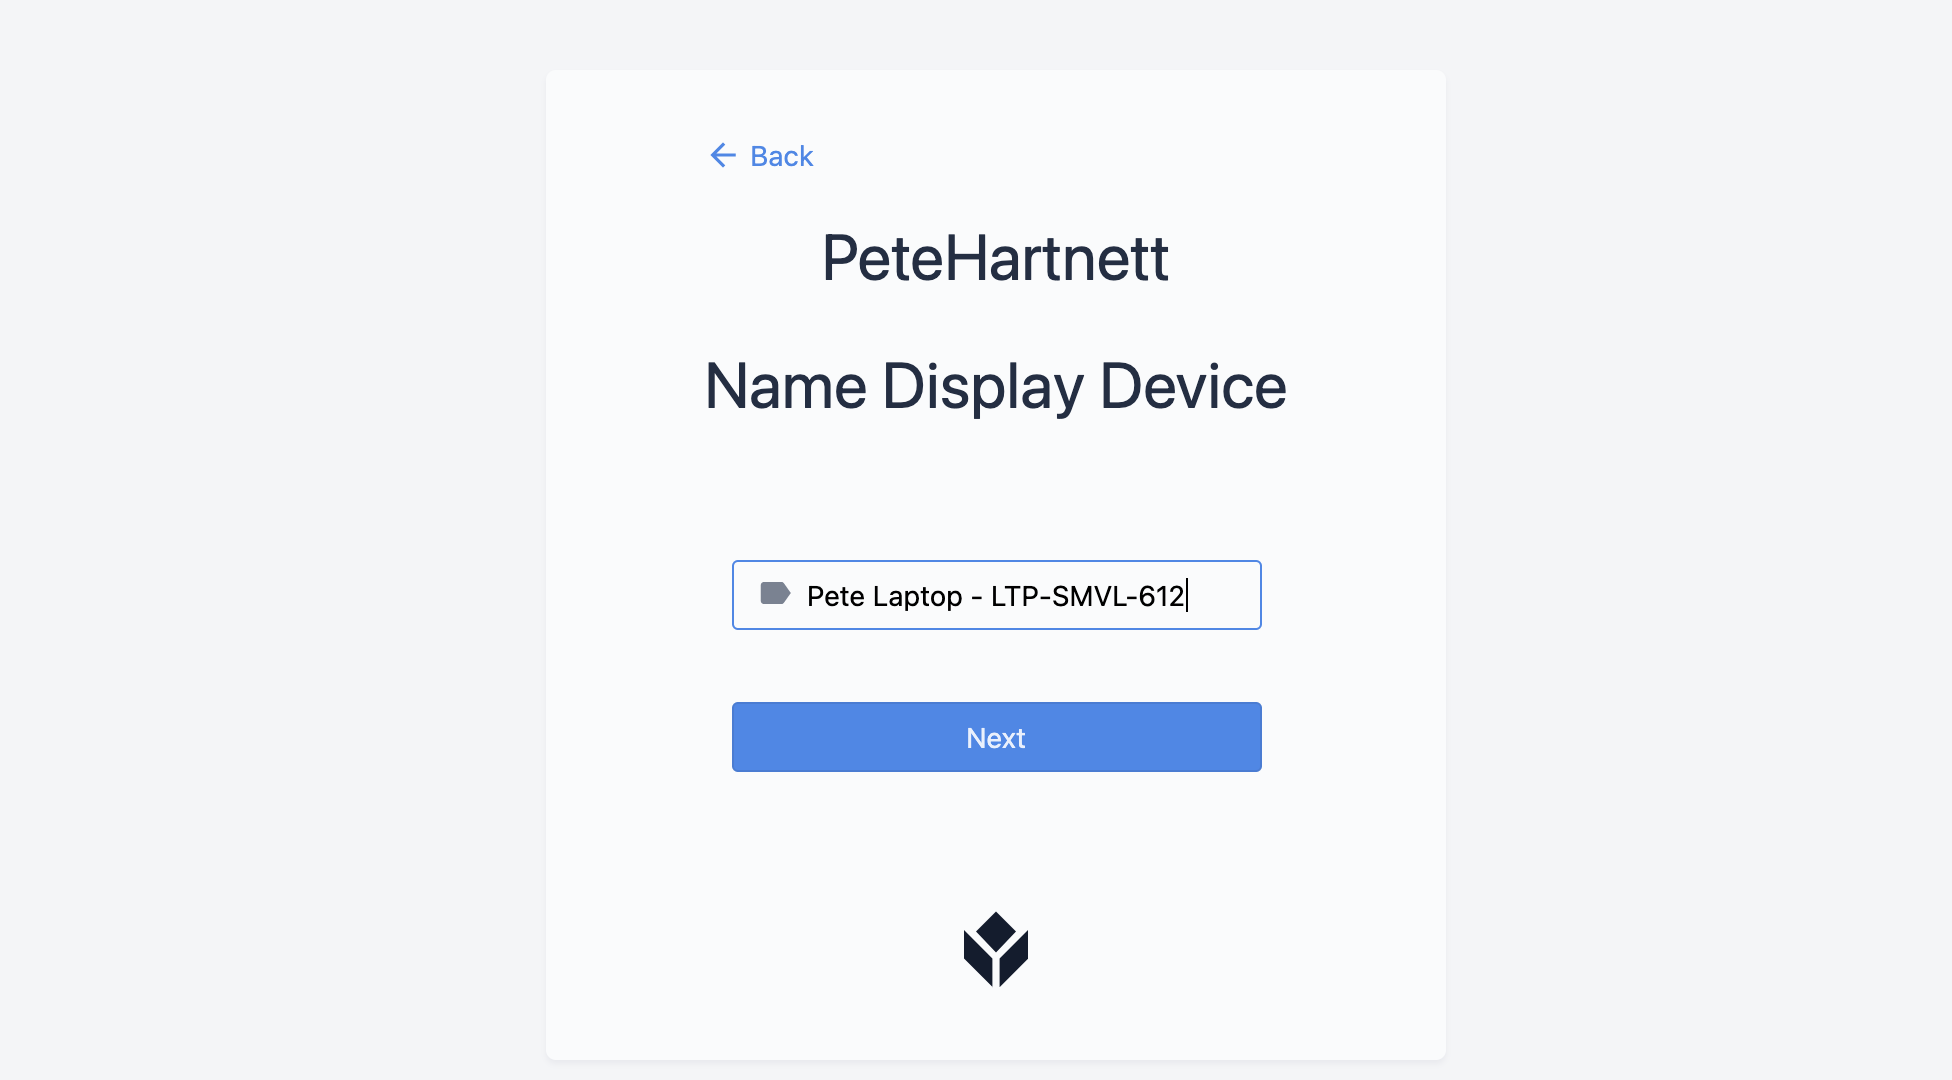
- Register the Interface where you are running the Tulip Player.
Most customers use the IT department issued name for the computer as the device's name. We recommend you establish a standard naming convention for all of the devices running Tulip in your operation. It will make it easy to see which devices correspond to the physical shop floor. This will simplify things later on when you’re managing many devices across your instance.
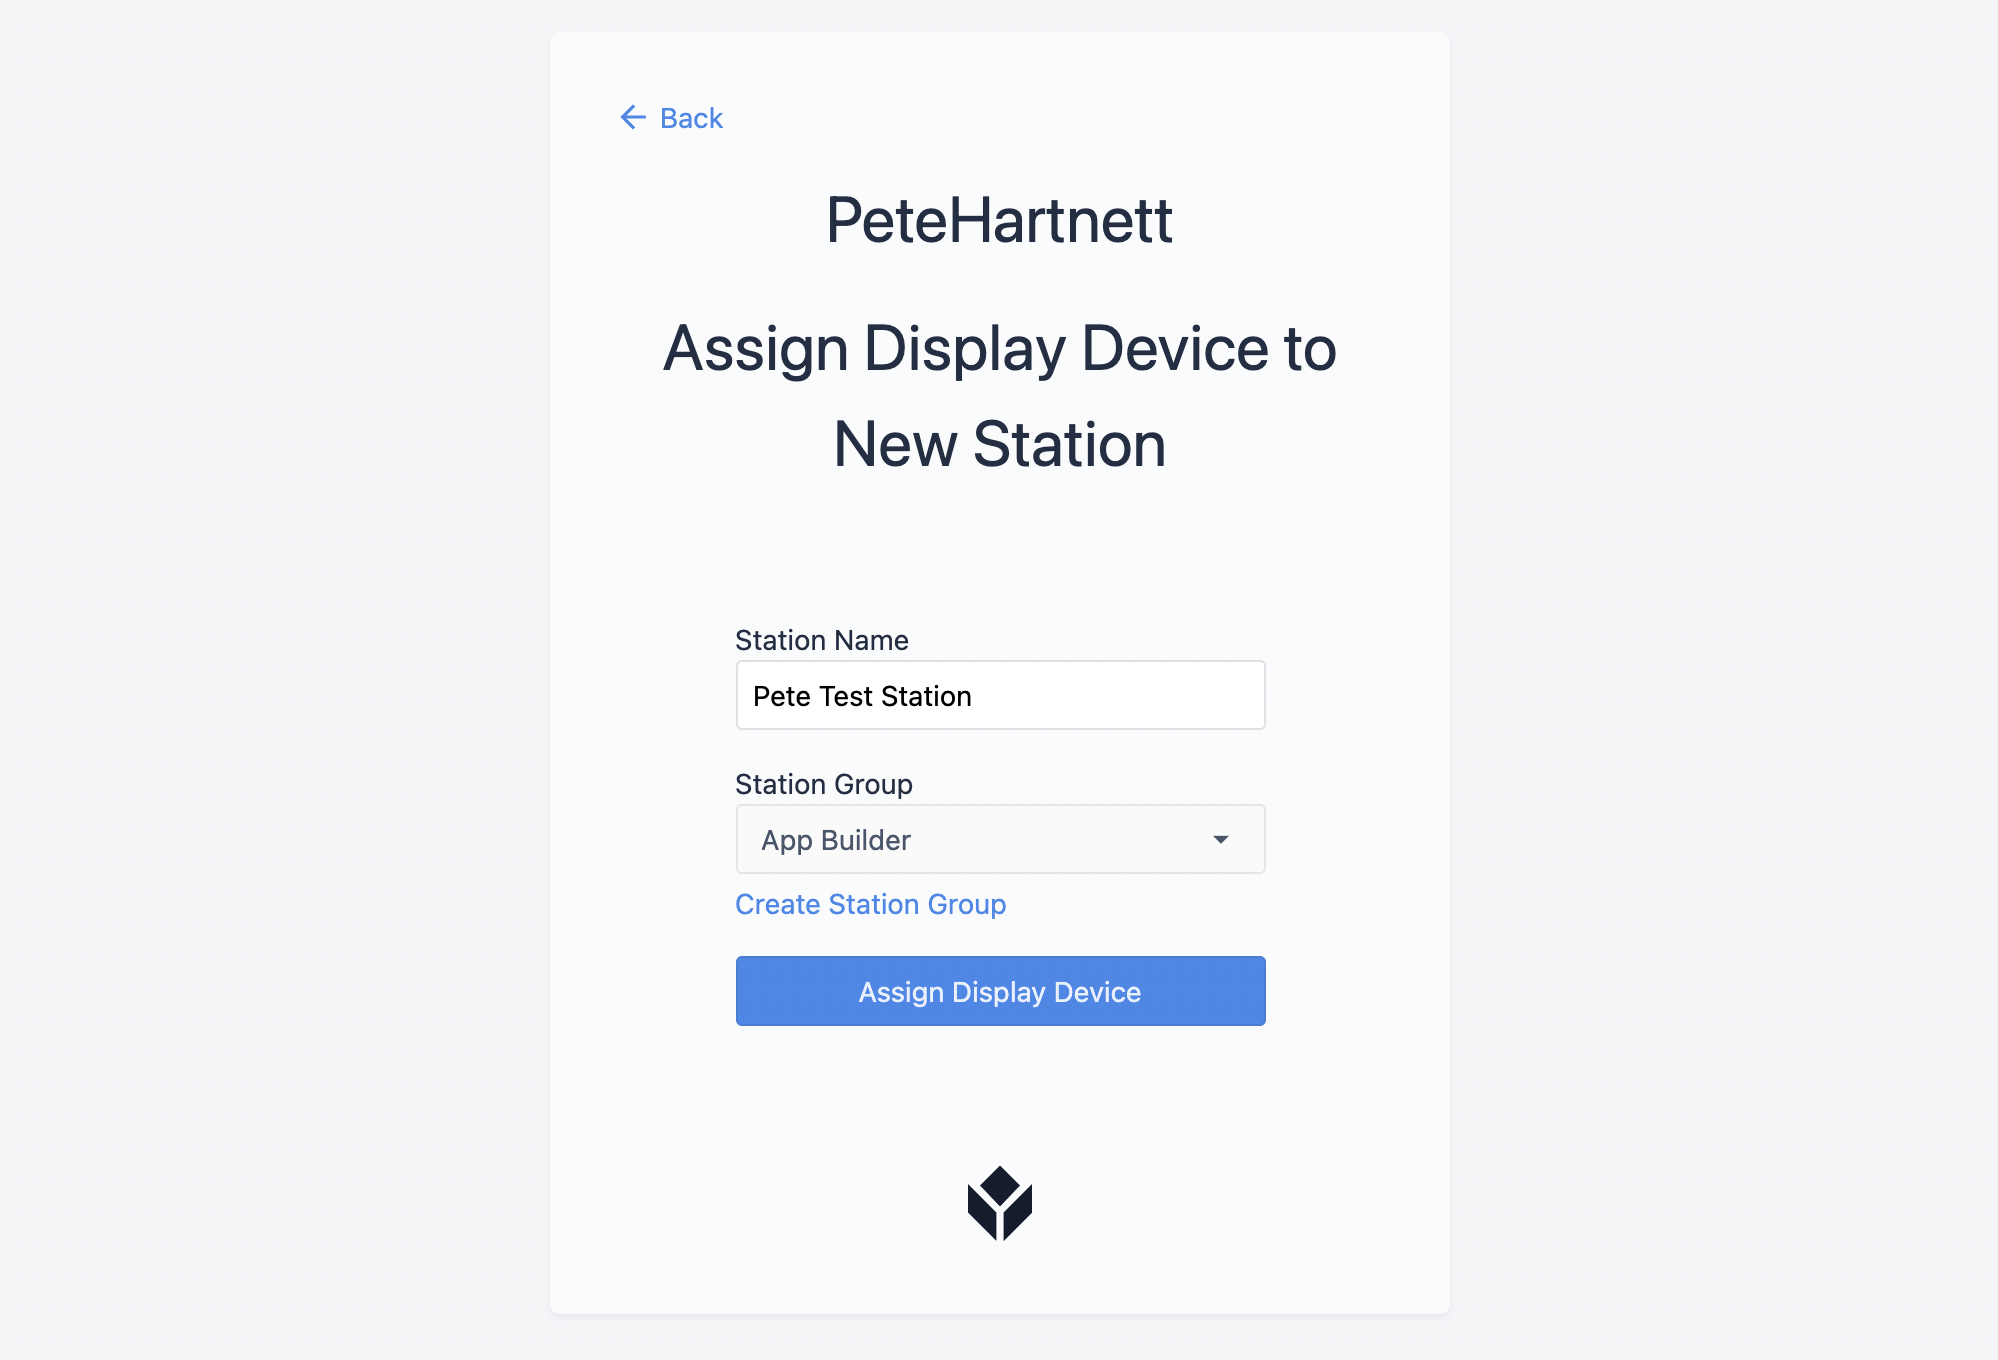
- Assign the interface to a Station.
If you're running an app for the first time, you probably don't have any stations set up.

Click New Station, enter the new station name (i.e. "My Name Test" if you are testing apps) and assign your station to the App Builders station group, to have access to all apps in development.
Learn more about setting up stations here.
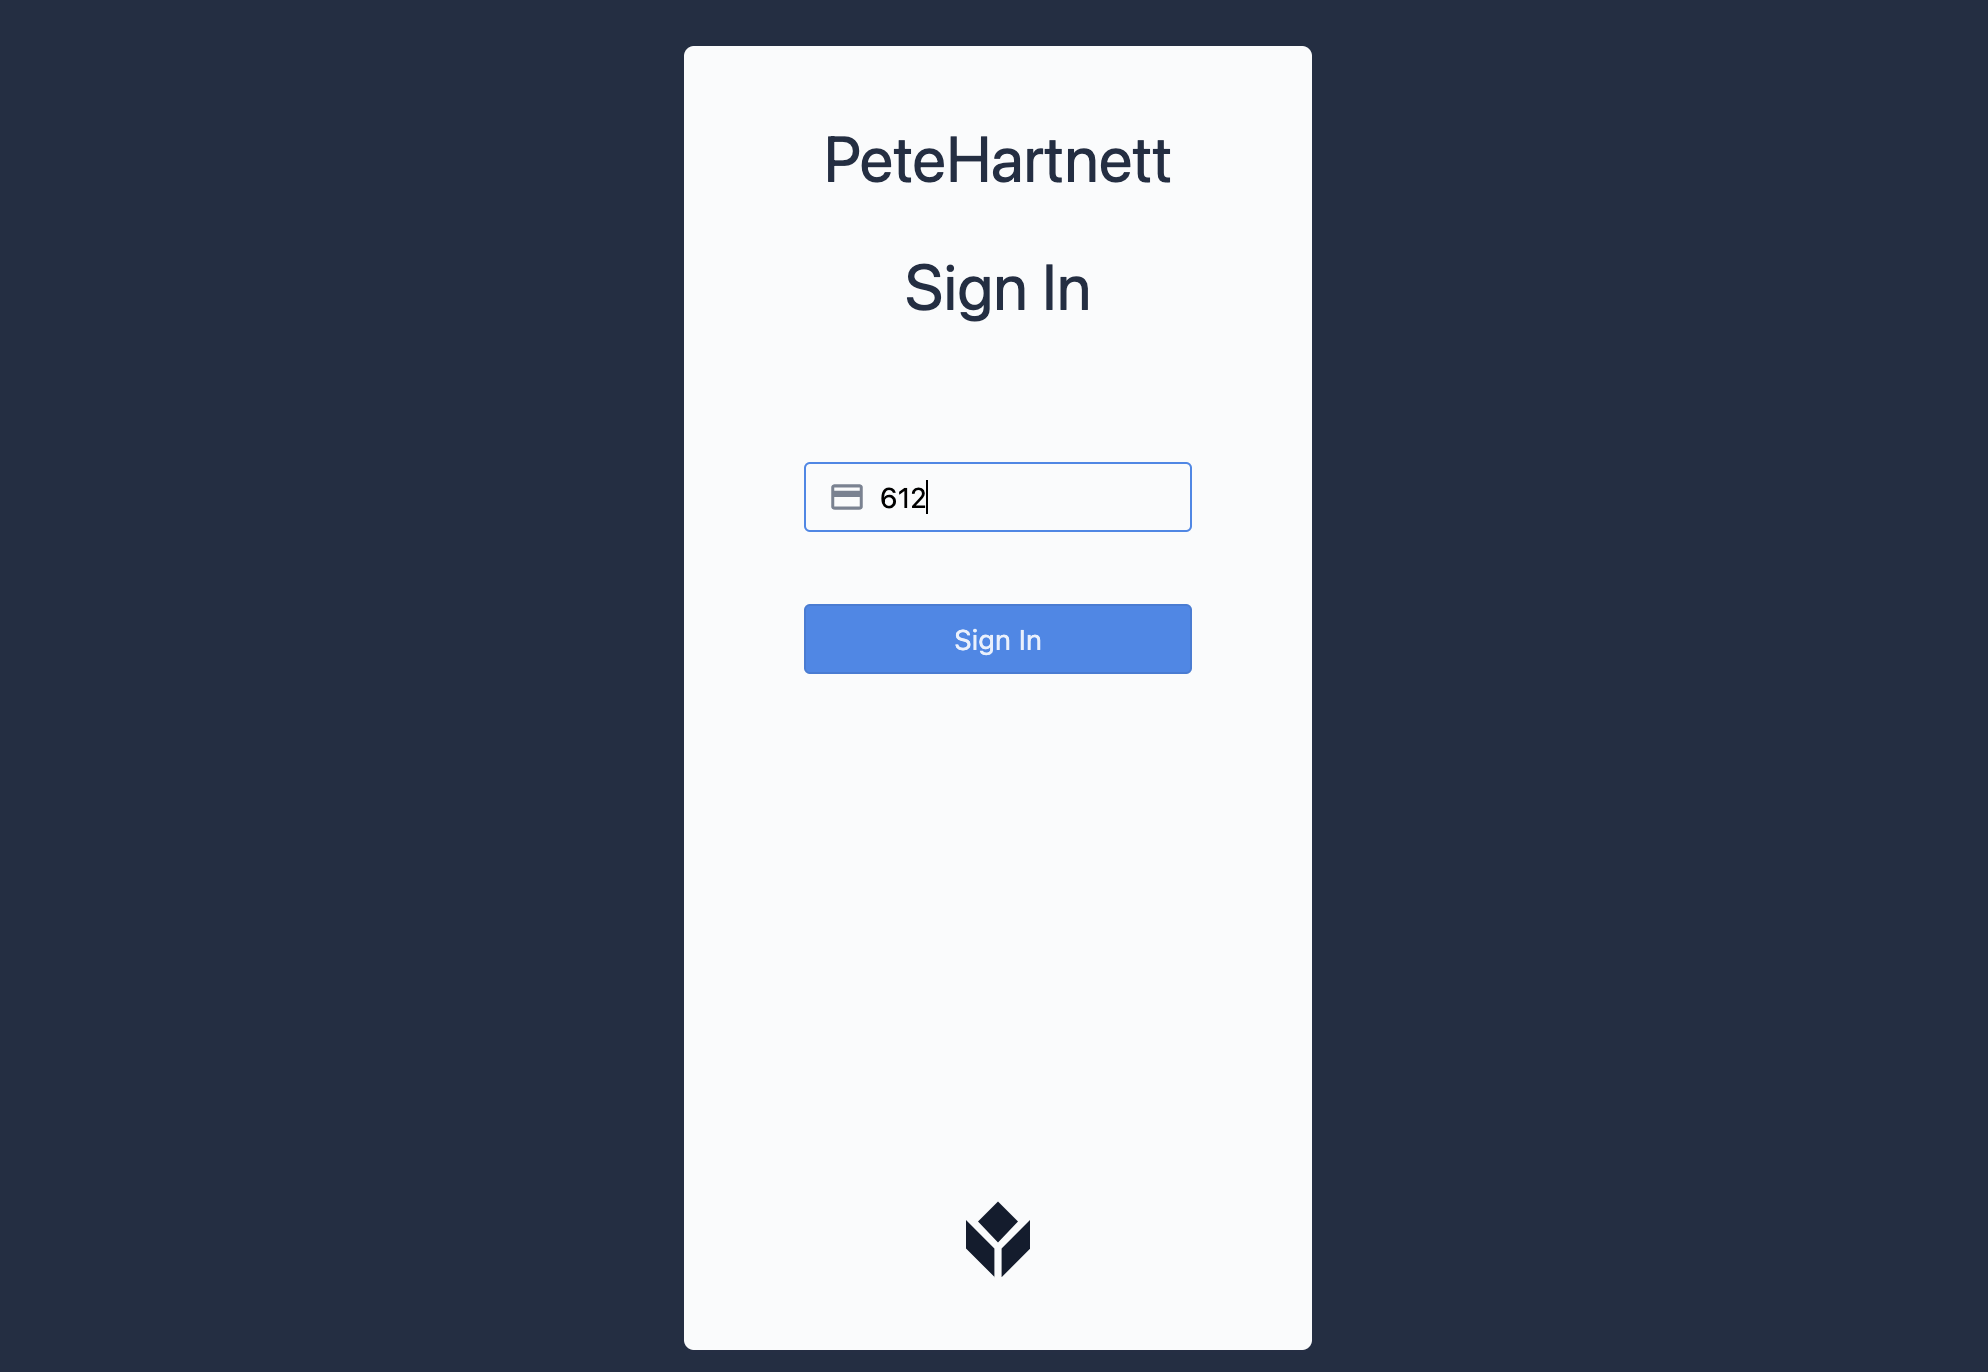
- Enter a Badge ID to log into this device. Badge IDs are managed in User Settings in your Tulip instance.
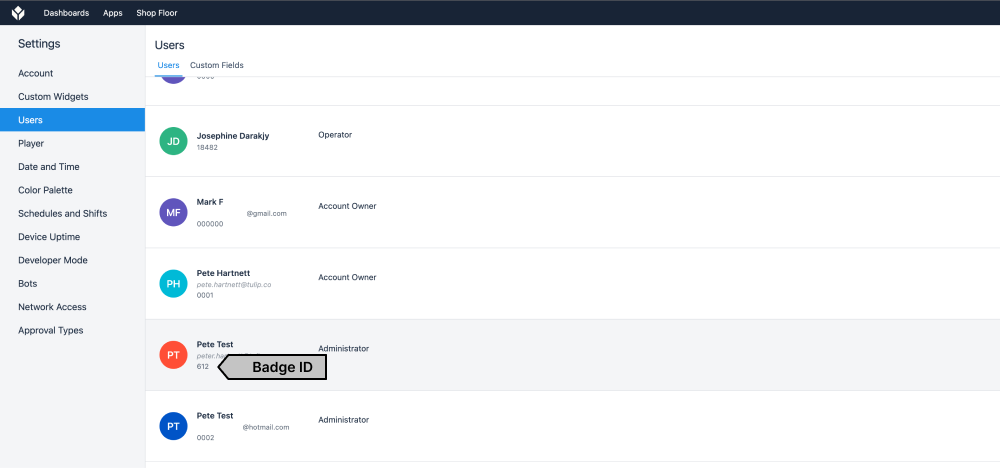
Every Tulip instance has a generic user with the badge ID "0000". Use this badge ID for testing if you don't have access to the account settings.
Automatic station and device creation
Please speak to your Tulip representative to enable this feature.
Users must have an email and password in order to set up the Tulip Player. Your instance must also use SAML for authentication.
Use the Auto-provision feature to automatically set up interfaces and stations upon successful login of a user to the Tulip Player for the first time.
To turn on this feature, navigate to Stations and Interfaces in either Account Settings or Workspace Settings.
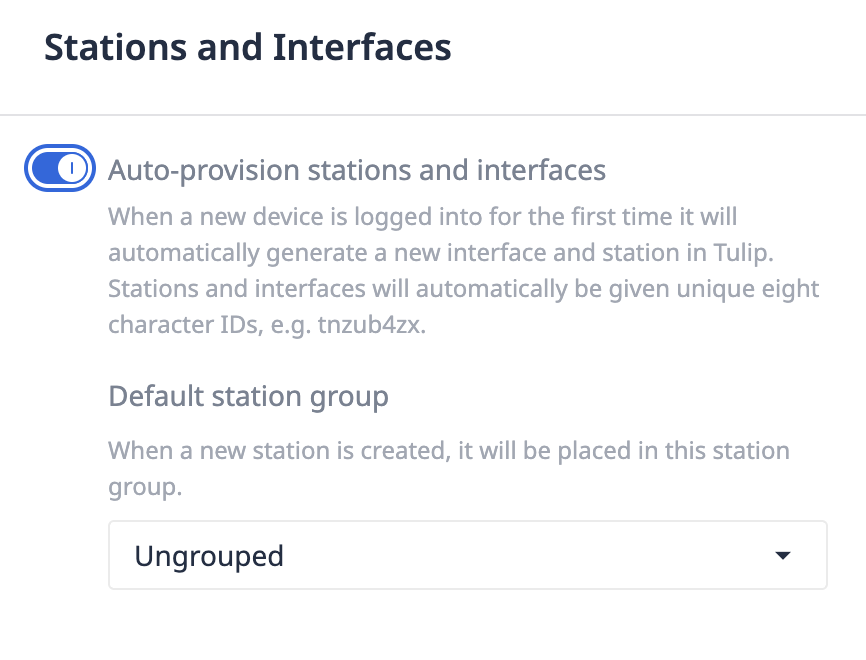
Select a default station group where all new stations will automatically be assigned. This will determine which apps are available when the user logs in for the first time.
This will mean that all stations and devices in this workspace will be set up automatically upon first login to the Player. The user will no longer be able to choose:
- Station Name
- Interface Name
- Station Group
The experience would go as such:
- A Tulip administrator gives one link to all employees that want to register a Player- customer.tulip.co for example.
- When an employee wants to set up their Player, they download the Player and enter that URL.
- They log in for the first time.
- They are admitted to Tulip with app assignments based on the default station group.
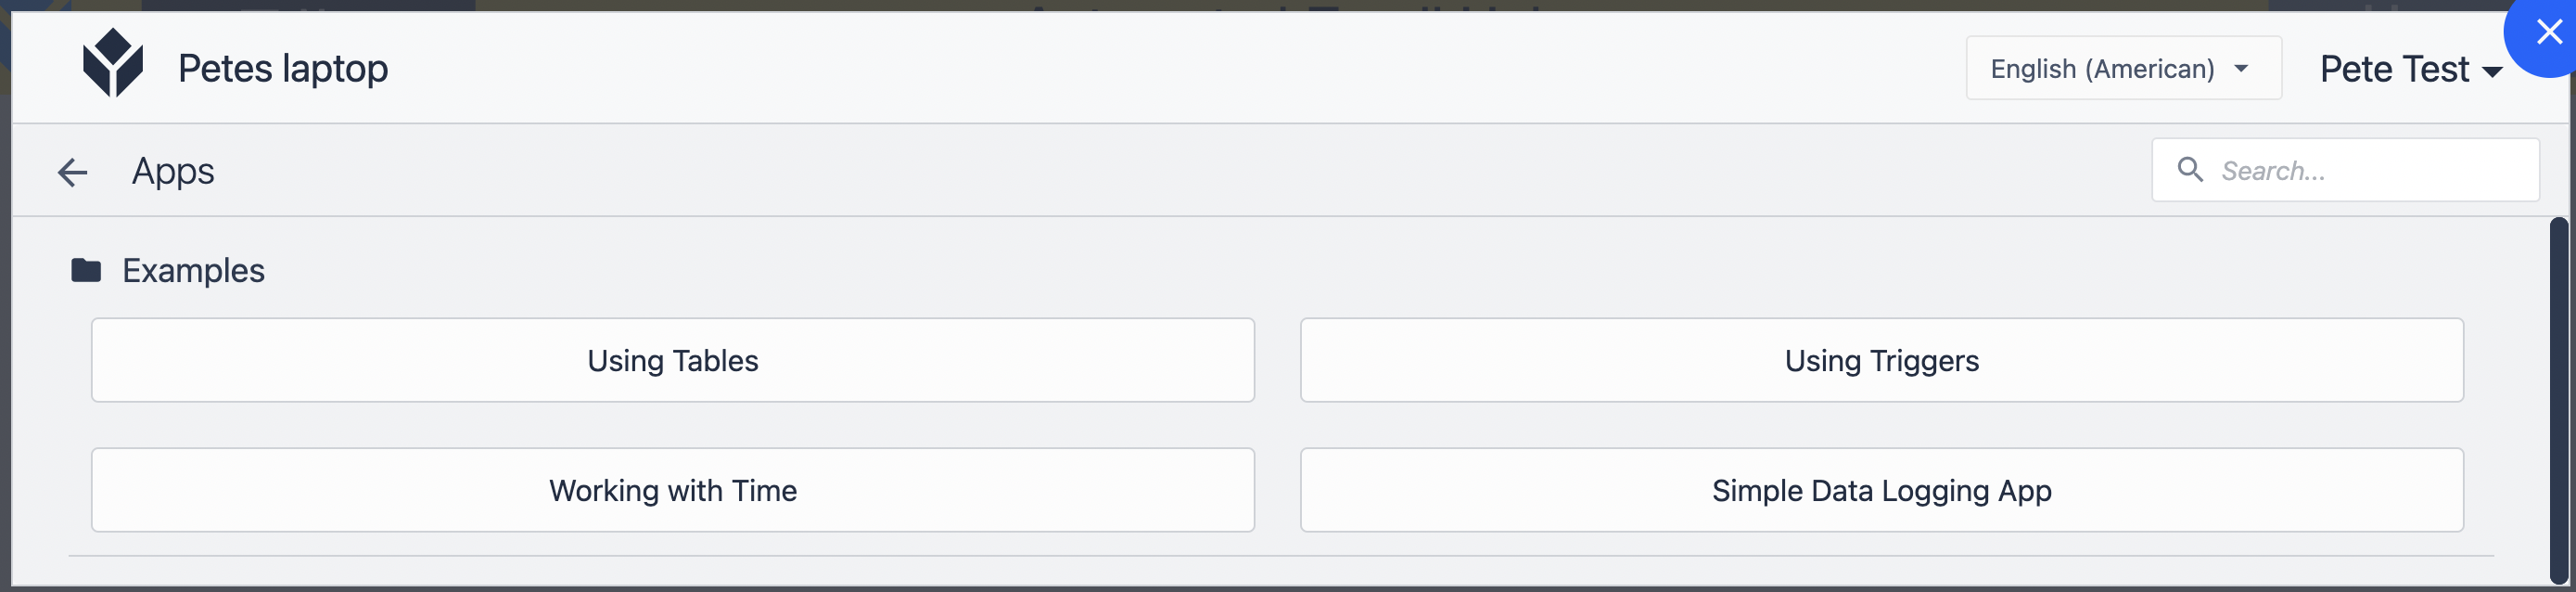
Run an app
- Select the app you would like to test. As you build more apps in your instance, any station in the App Viewers station group will be able to test them.
- Click Begin to start your app.
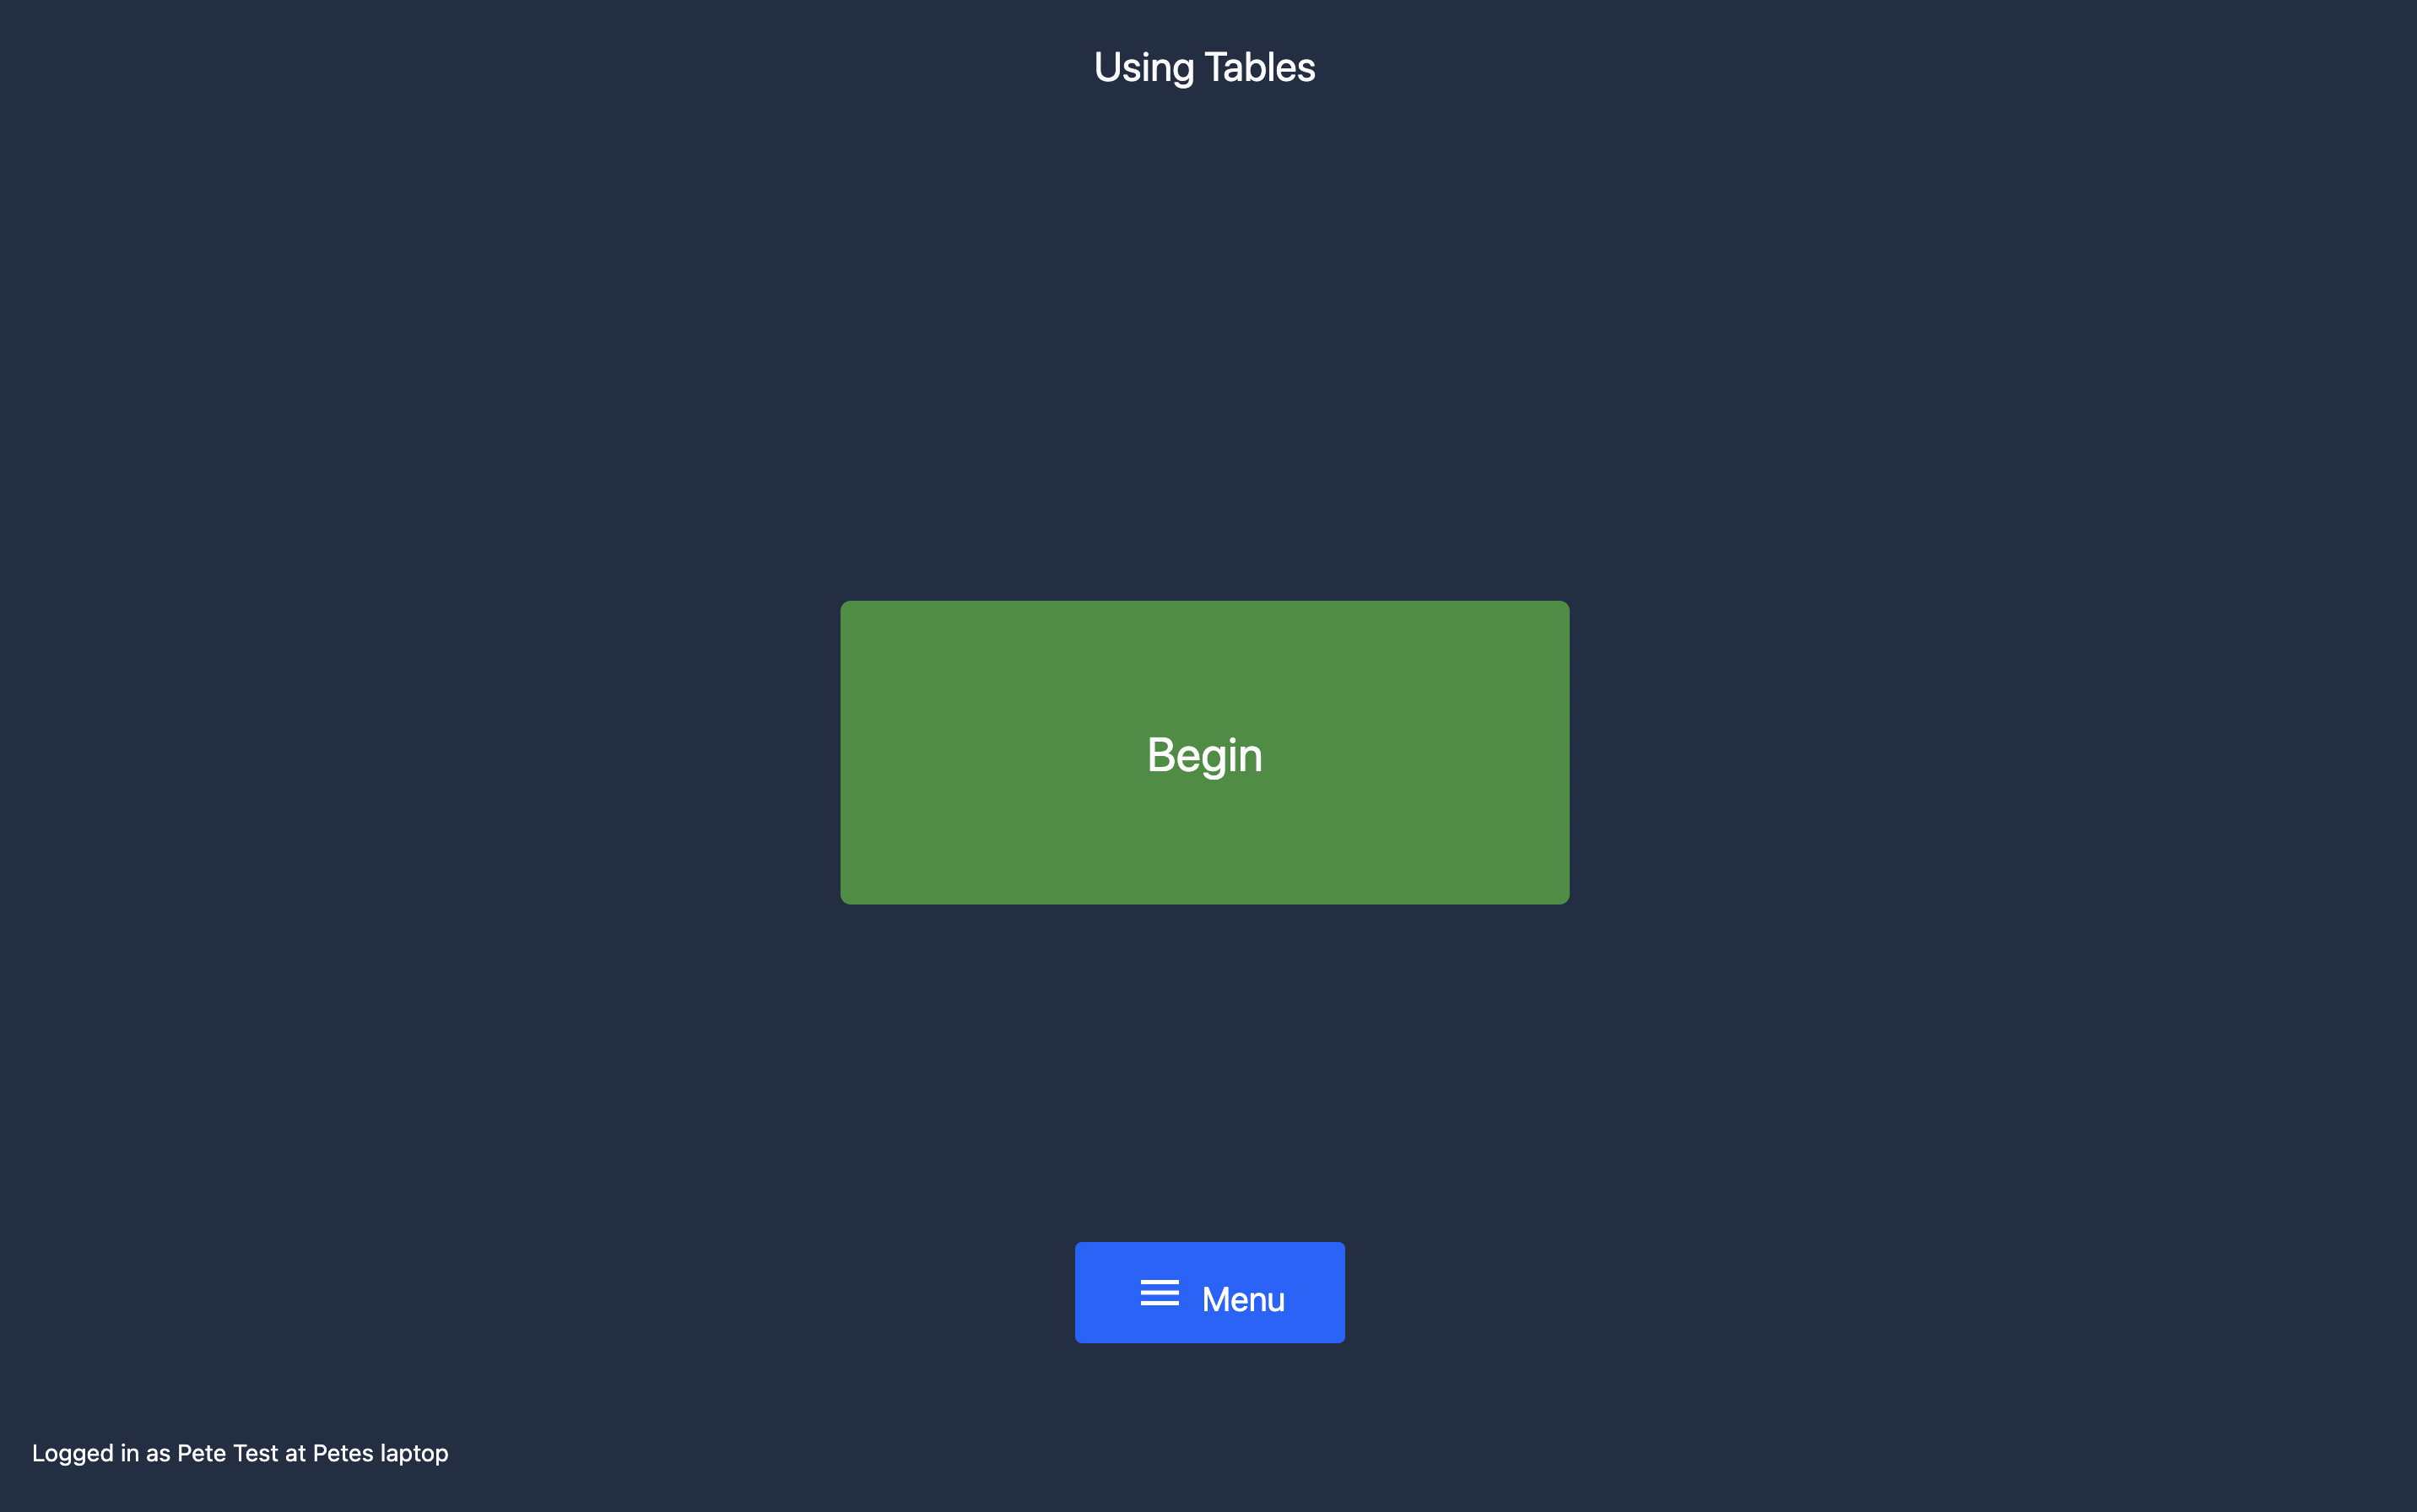
Your station is set to play the Development Version of your applications, so any changes you make it the Tulip App editor will automatically change the app you are running in the player.
Tulip Player menus
Data settings
Use the Developer menu to clear local data from the player.
The Clear All Data option will result in the player needing to be re-registered to be used again
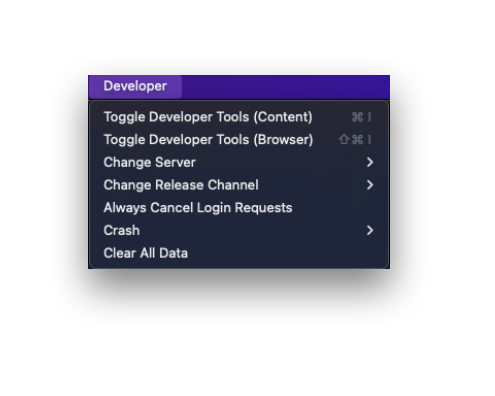
Users should only use the Production release channel. Other release channels may be used with direction from Tulip Support.
General info
If the time on the interface running Tulip significantly mismatches the actual time, there may be issues running apps.
Click the arrow next to your name in the top right of the Tulip Player menu to access general settings about your Tulip user profile and technical details of the Tulip Player software on your computer.
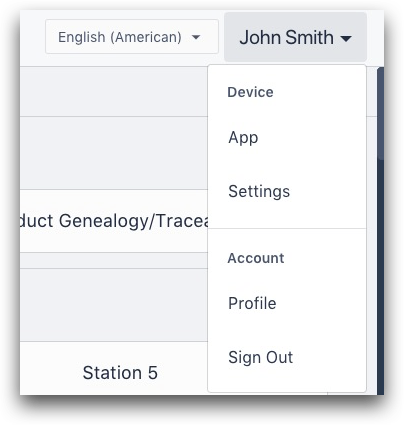
Settings: See info like serial number, the version of your Player and the device name.
Profile: See more detail about your Tulip user.
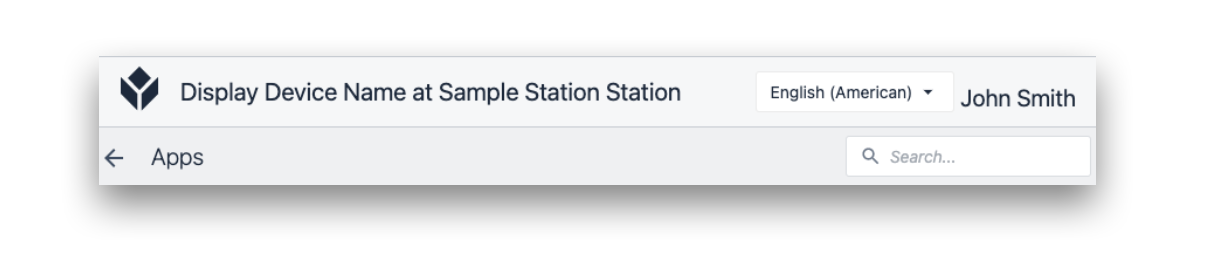
Search Bar
Search for a specific app in the top right of the Tulip Player menu.
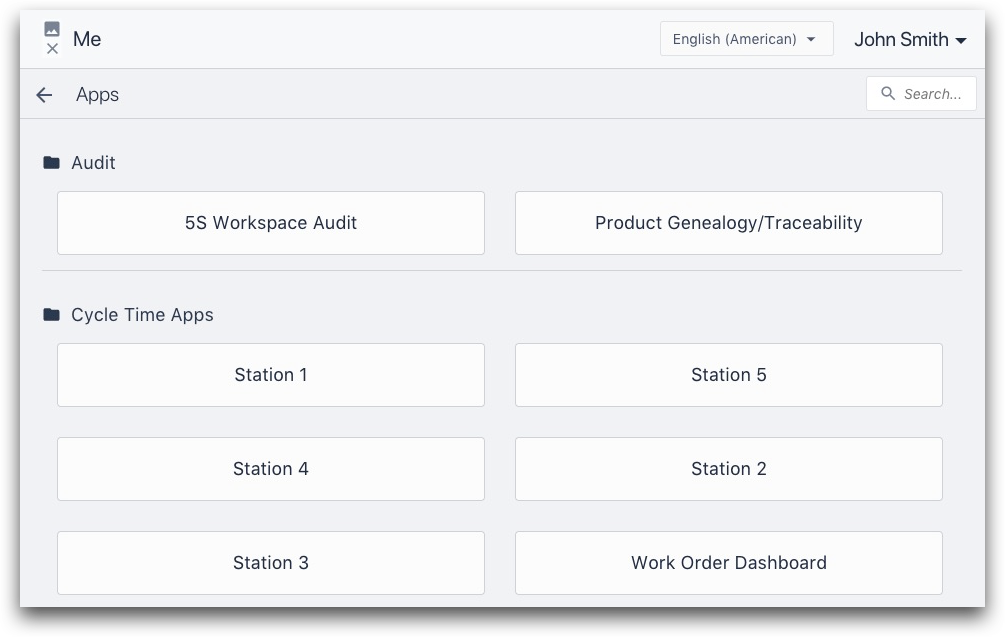
Use Apps
Select an app from the list (or use the search bar). This will bring you to the Splash Screen of the app. Once you click Begin, the Player will begin tracking time spent in that app.
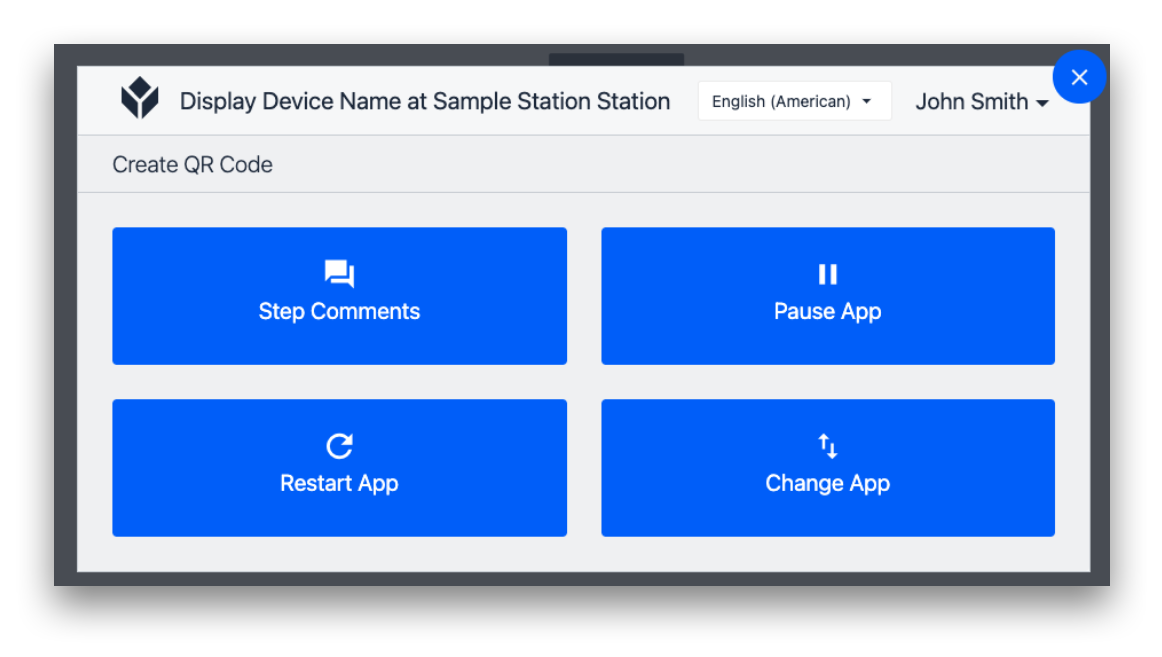
Menu Button
The Menu button within an app has 4 options:
-
Step Comments: Allow an operator to add comments, like suggestions or roadblocks they are facing. This will be tied to the individual step where they press the Menu button. (Note: The comments will be accessible in the App Editor under the Step's Step Tab)
-
Pause App: Pause the timer that begins automatically when the app is opened. Used for bathroom breaks and other breaks in the production process.
-
Restart App: Restart the timer of the app and return to the Splash Screen. This is commonly used in development when you want to see changes that you are testing in the App Editor.
-
Change App: Go back to the menu screen of the Tulip Player to choose a new app.
On the top-left, the Interface (display device) name and the Station that the device is assigned to are shown.
Mobile App Menu
To access the settings menu in the mobile app, swipe left from the right side of the screen.
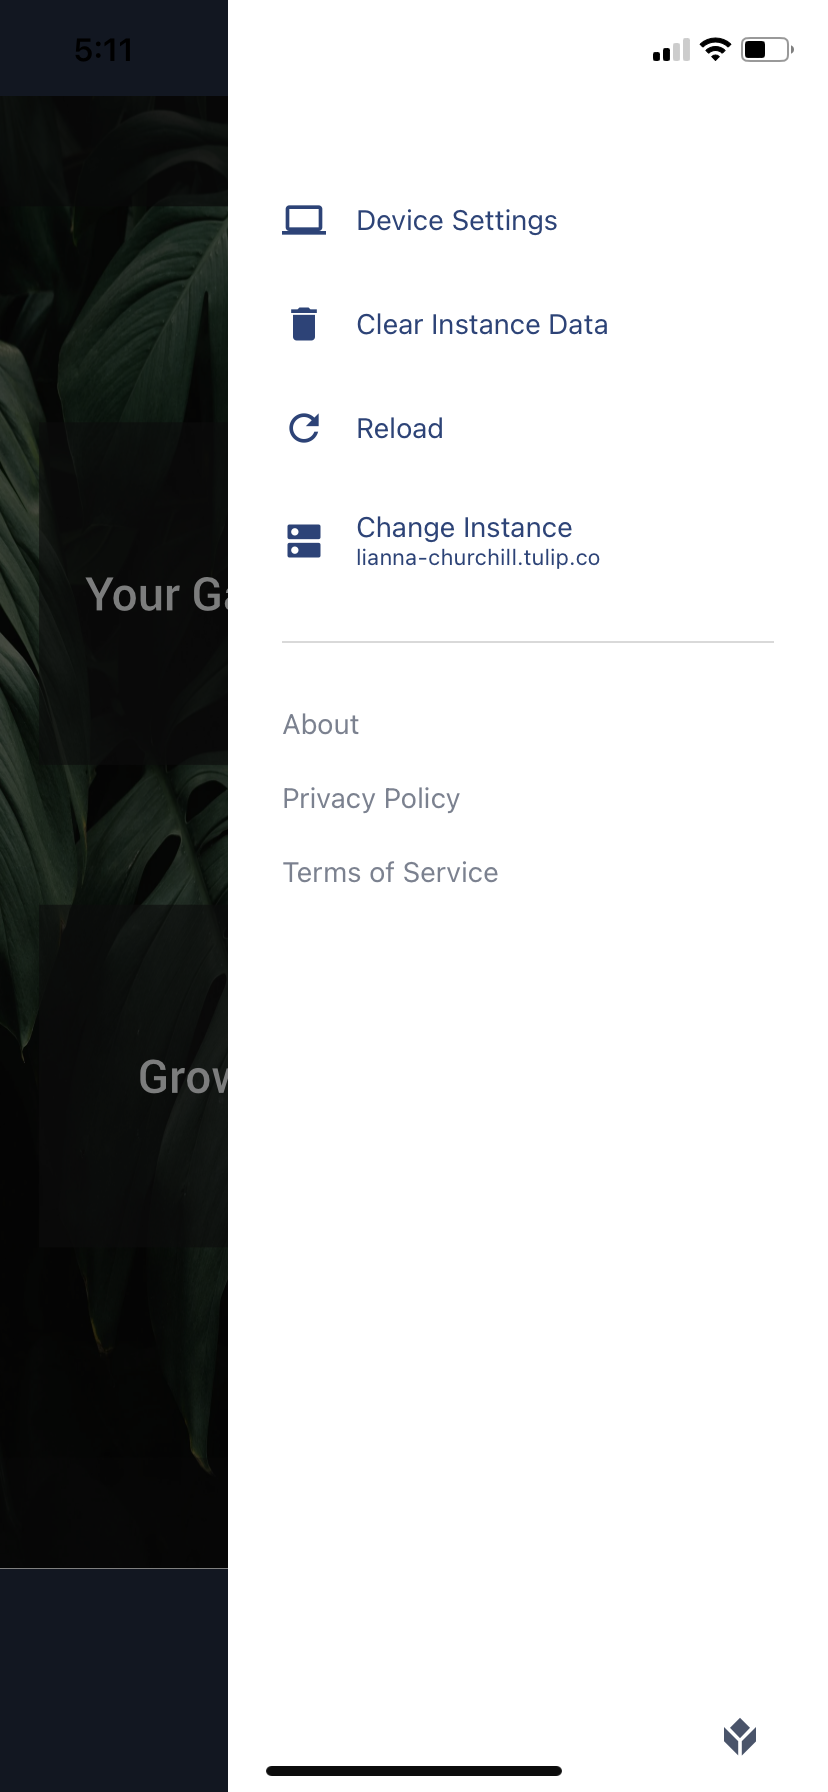
Here, you can see your device settings, clear data related to your Instance, reload the app, and change the instance you're signed into.
Did you find what you were looking for?
You can also head to community.tulip.co to post your question or see if others have faced a similar question!