Learn how to create a new work order record in Tulip. This guide covers adding text inputs, configuring buttons, and setting up actions to save data.
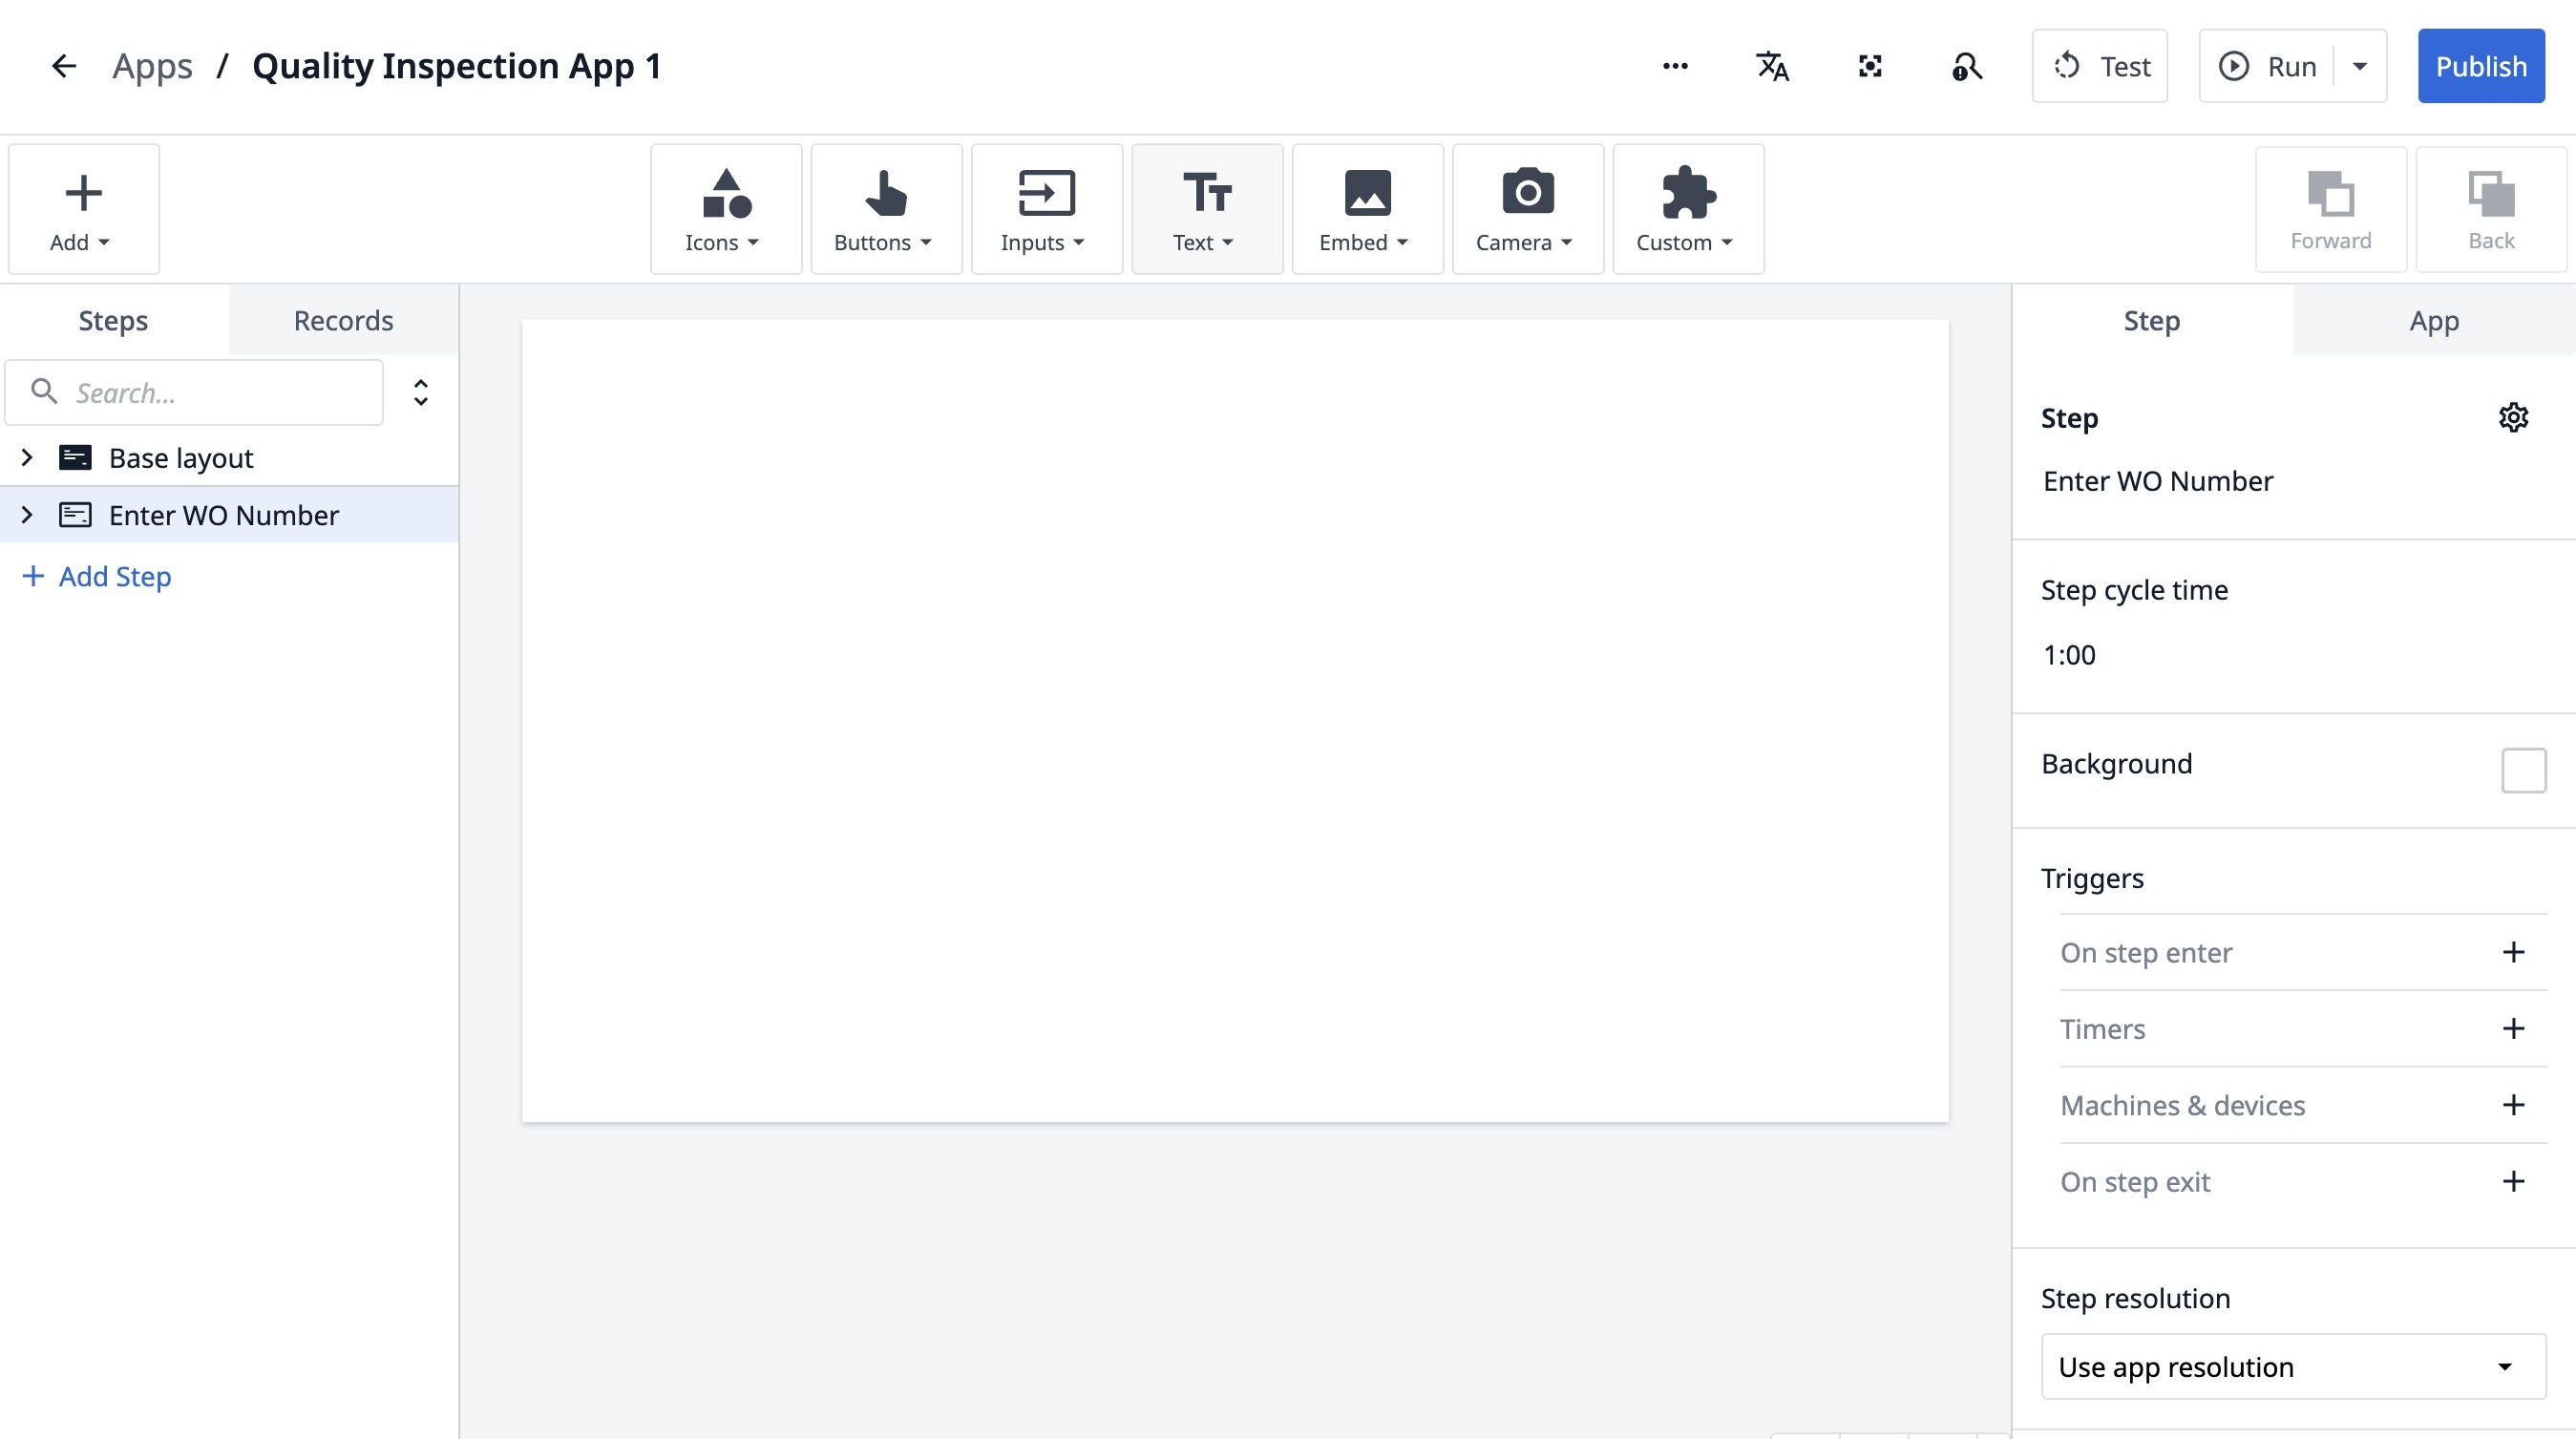
1. Navigate to the app builder.
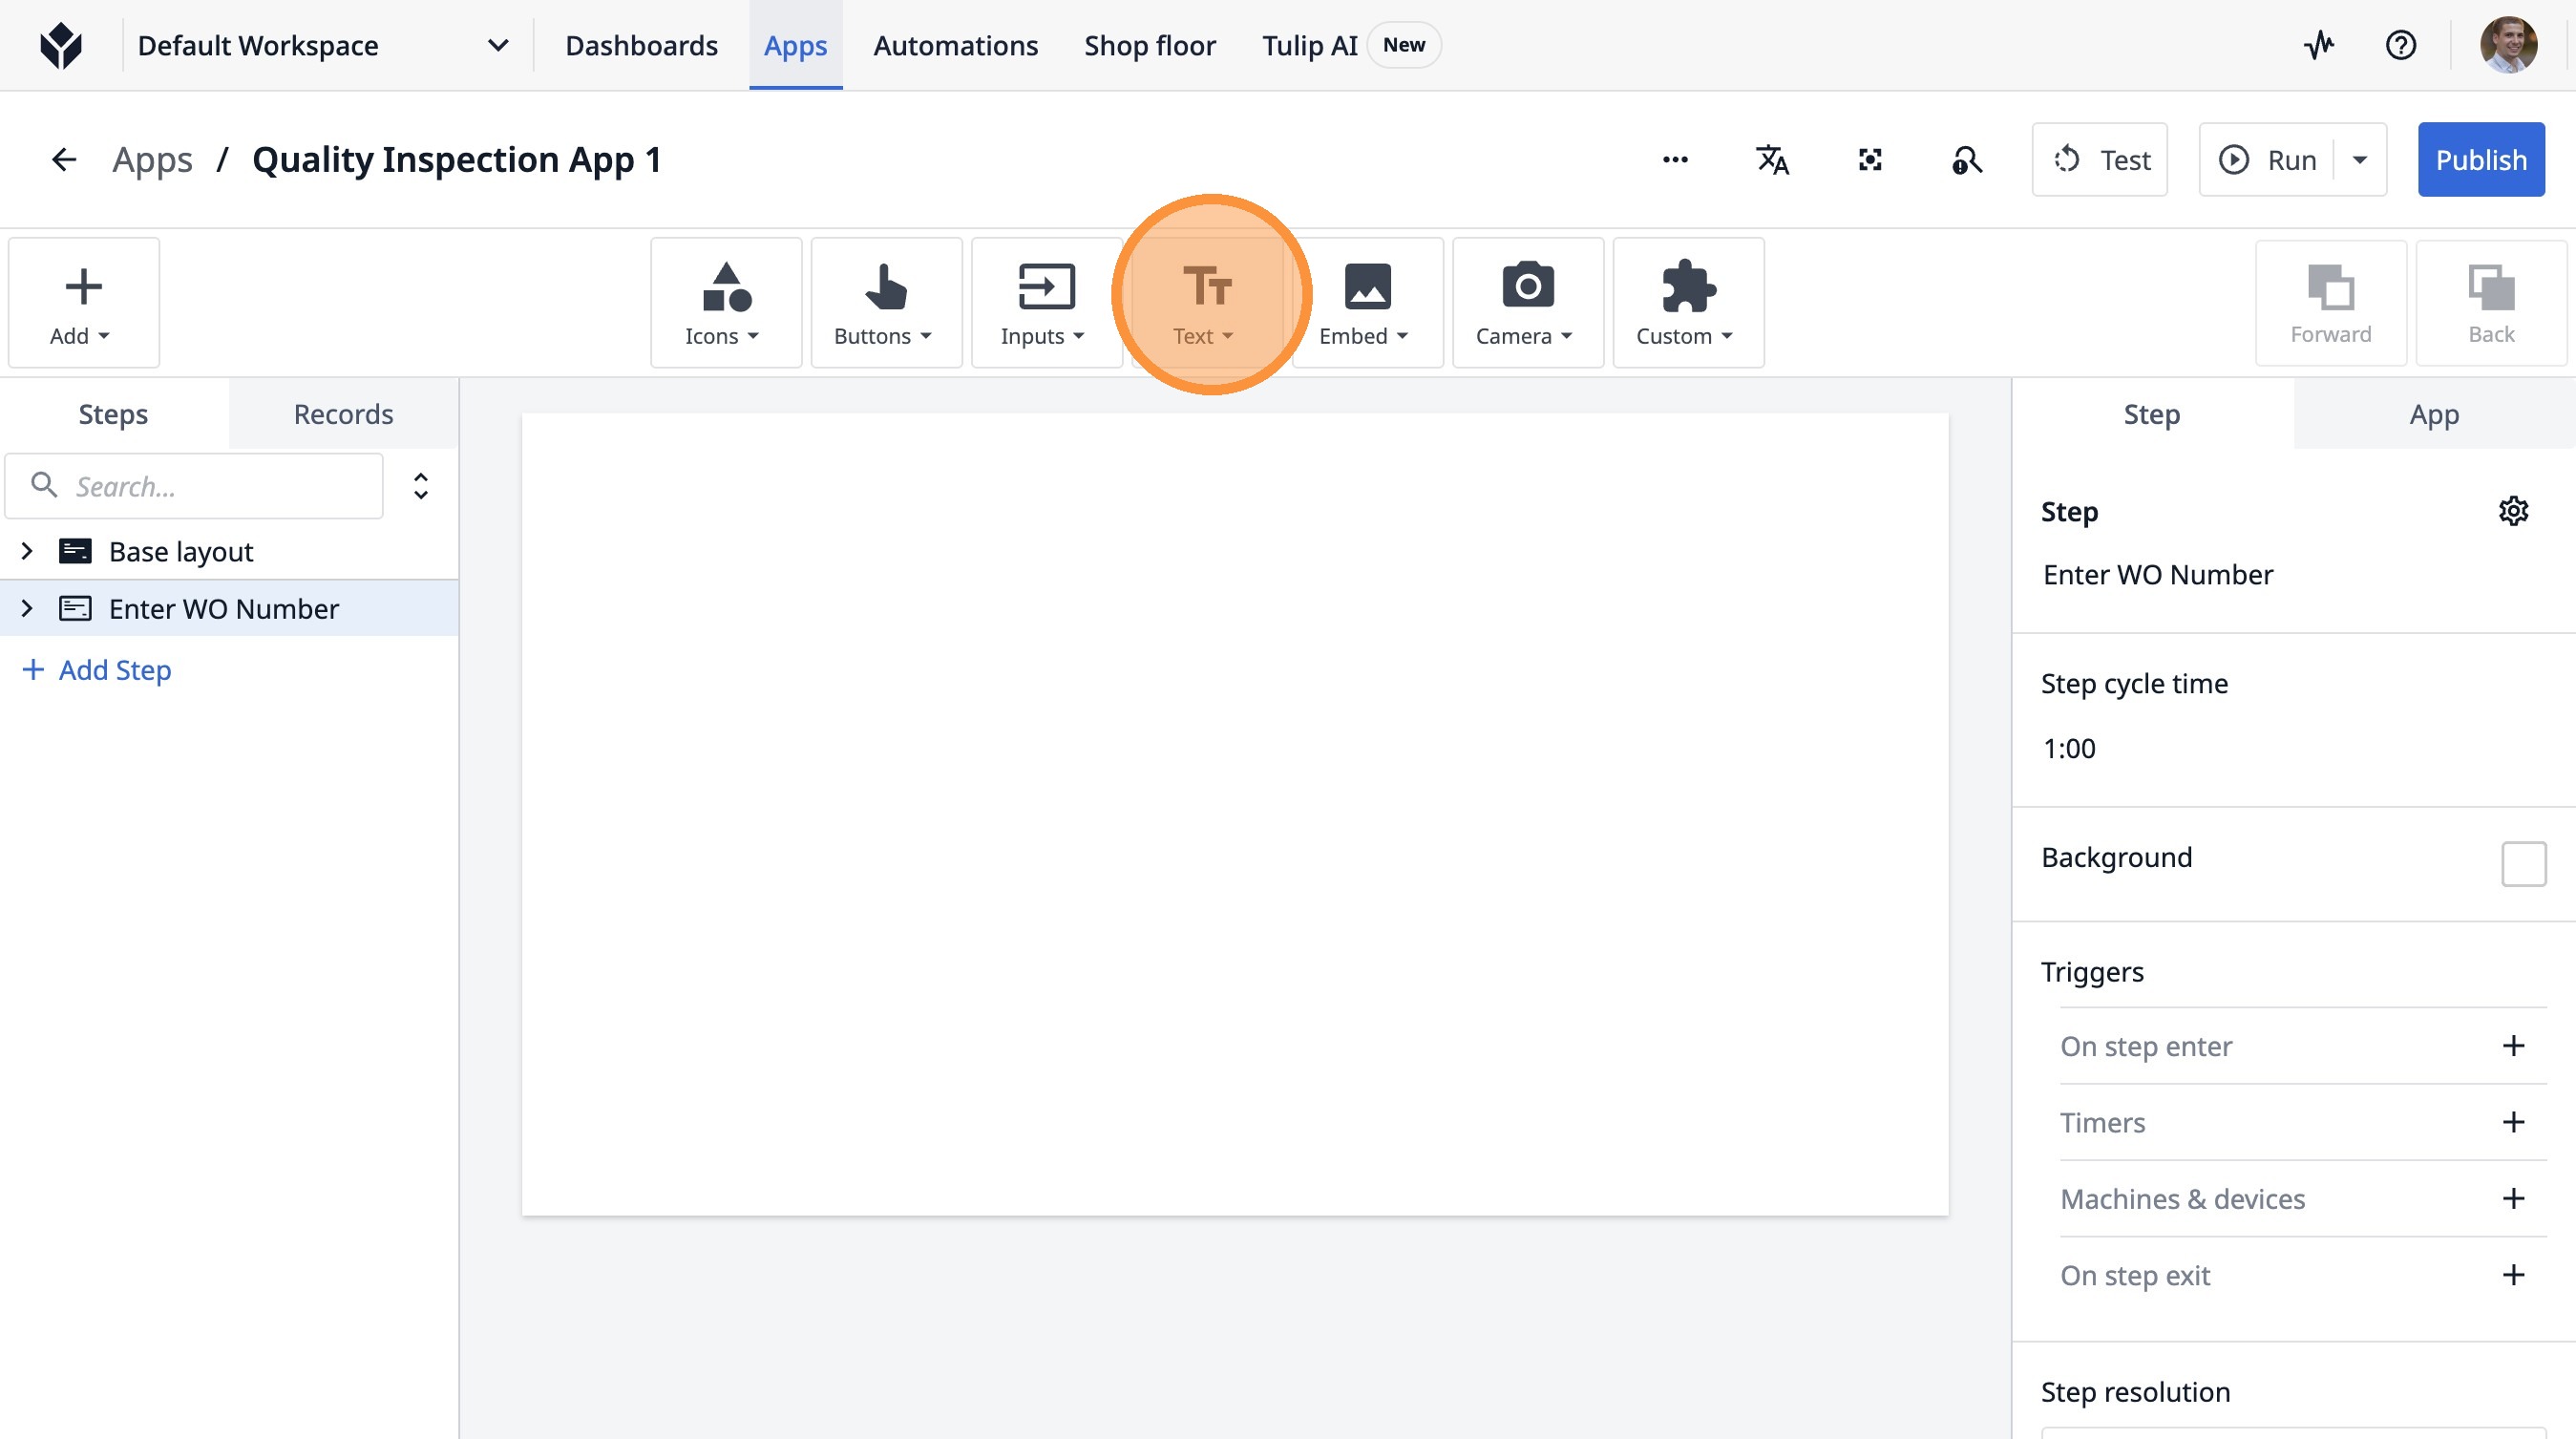
2. Click this icon.
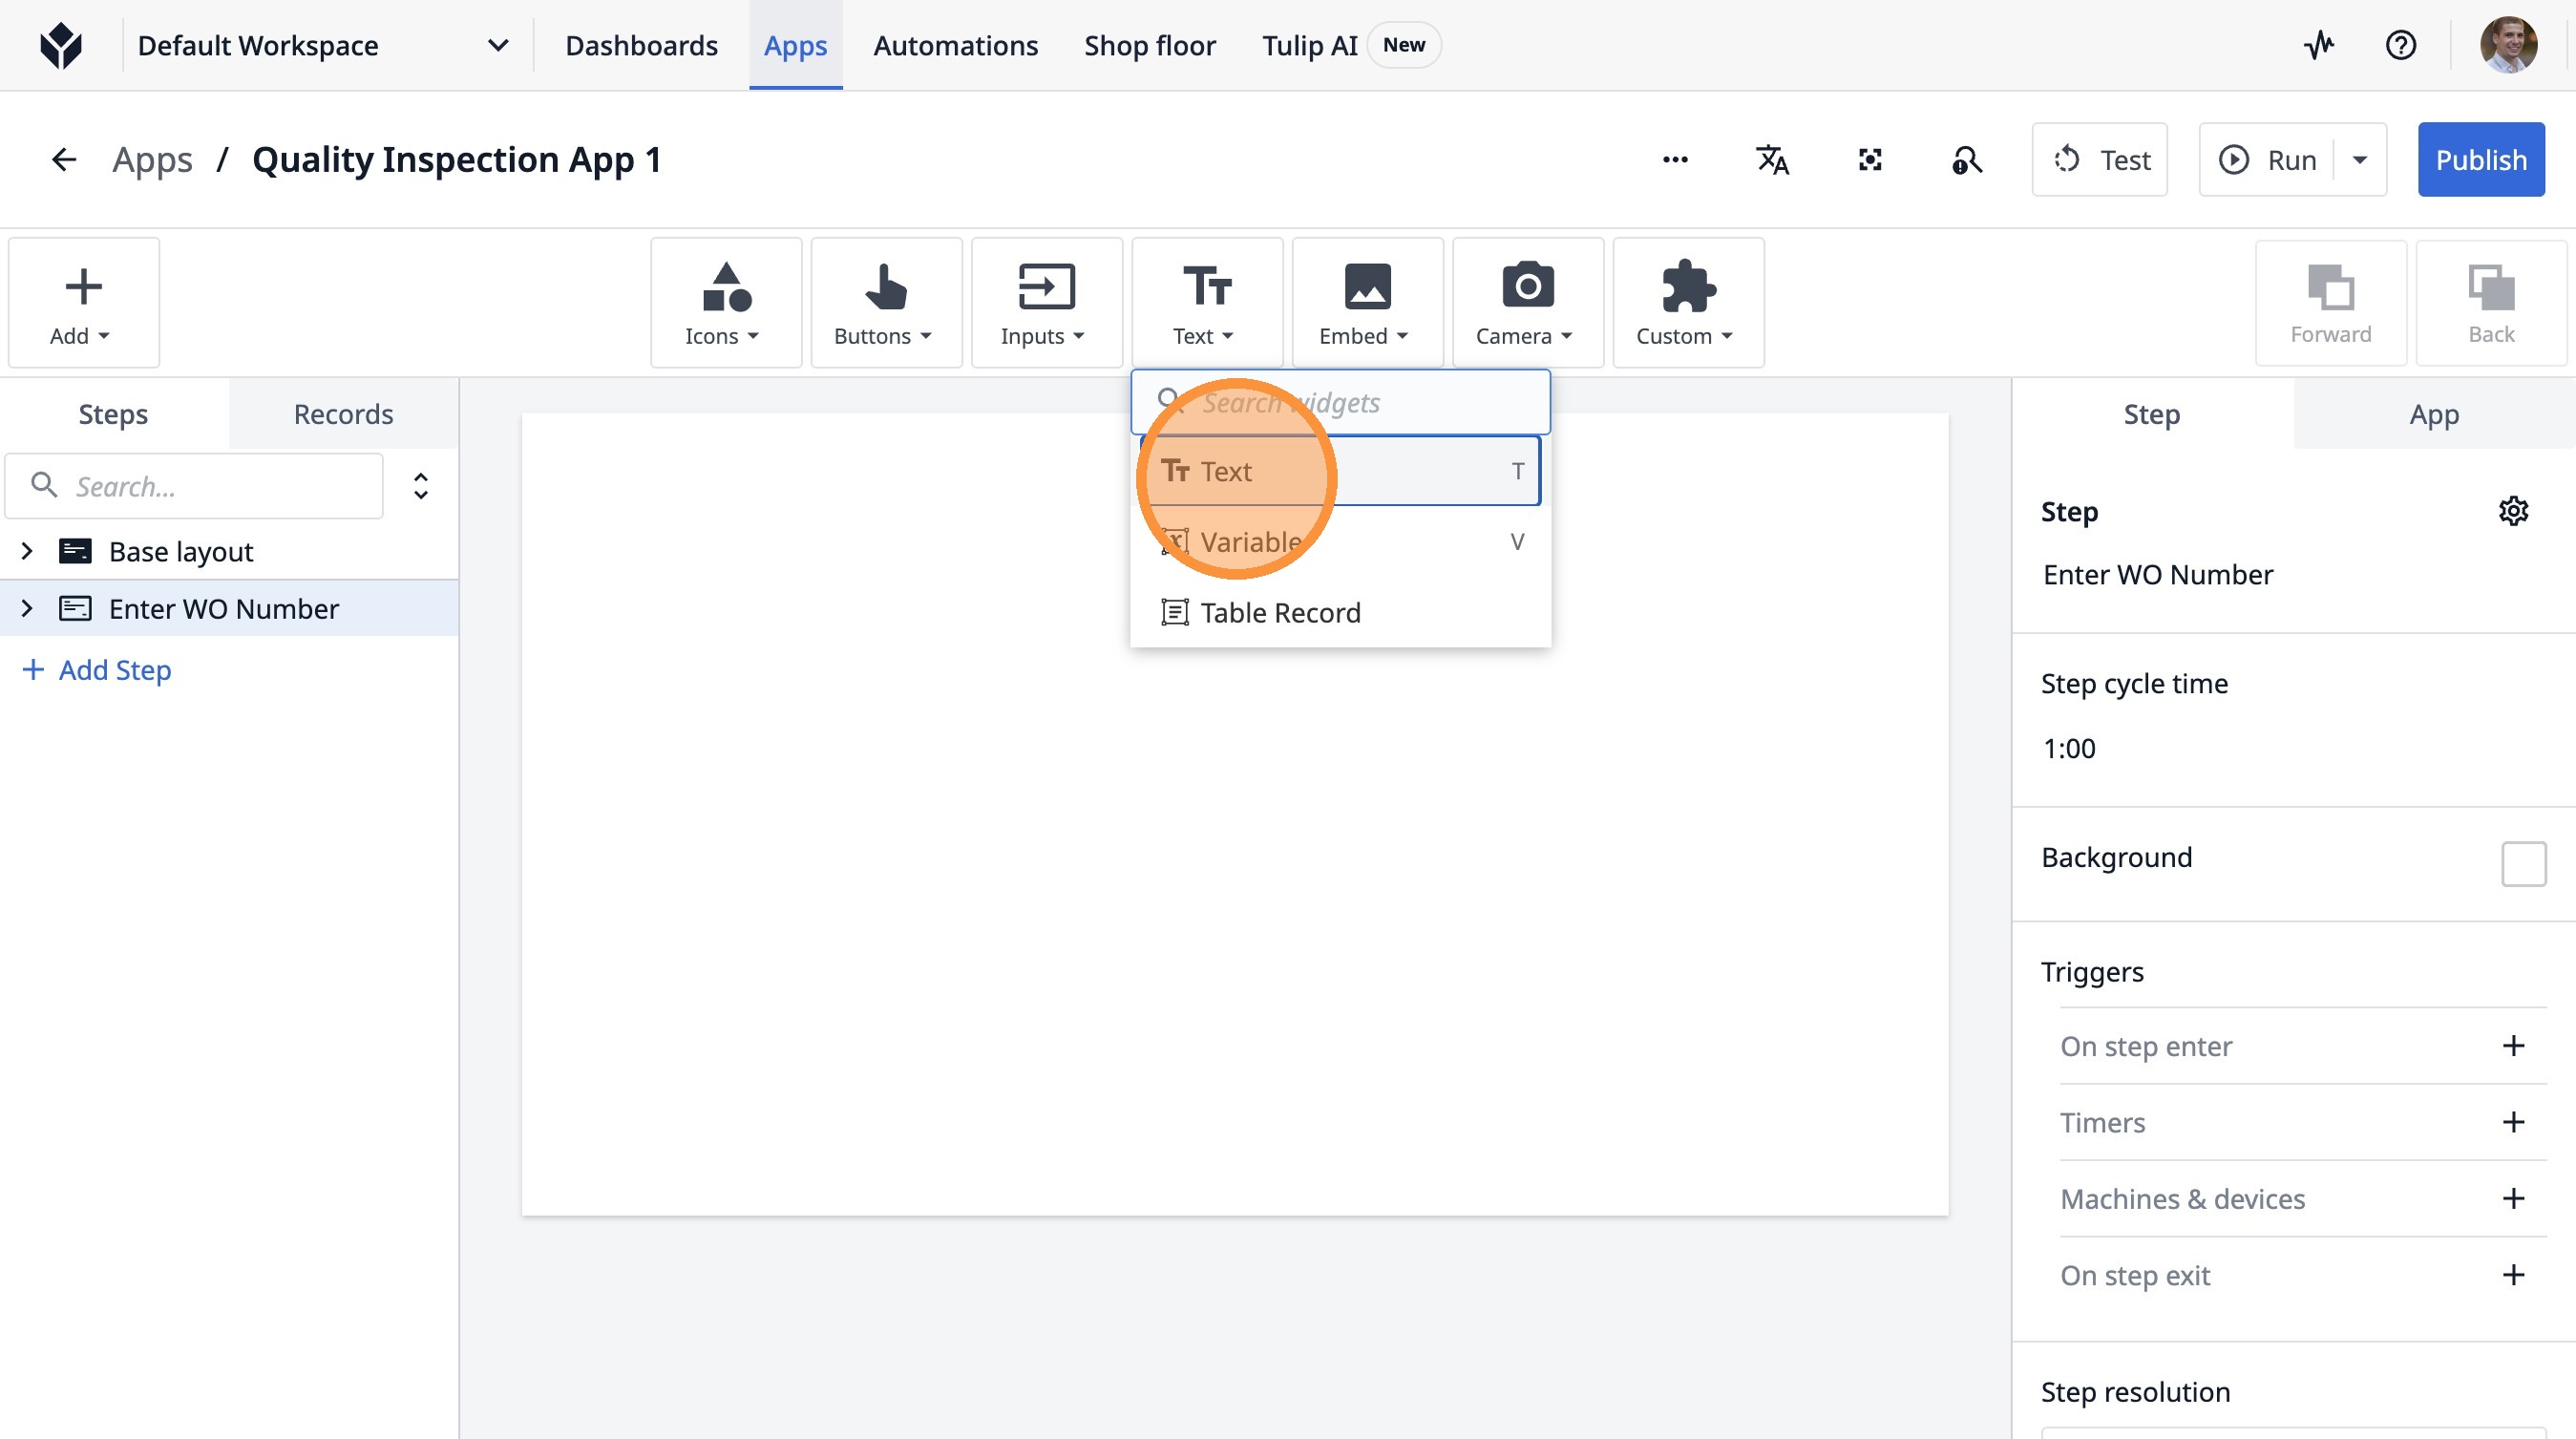
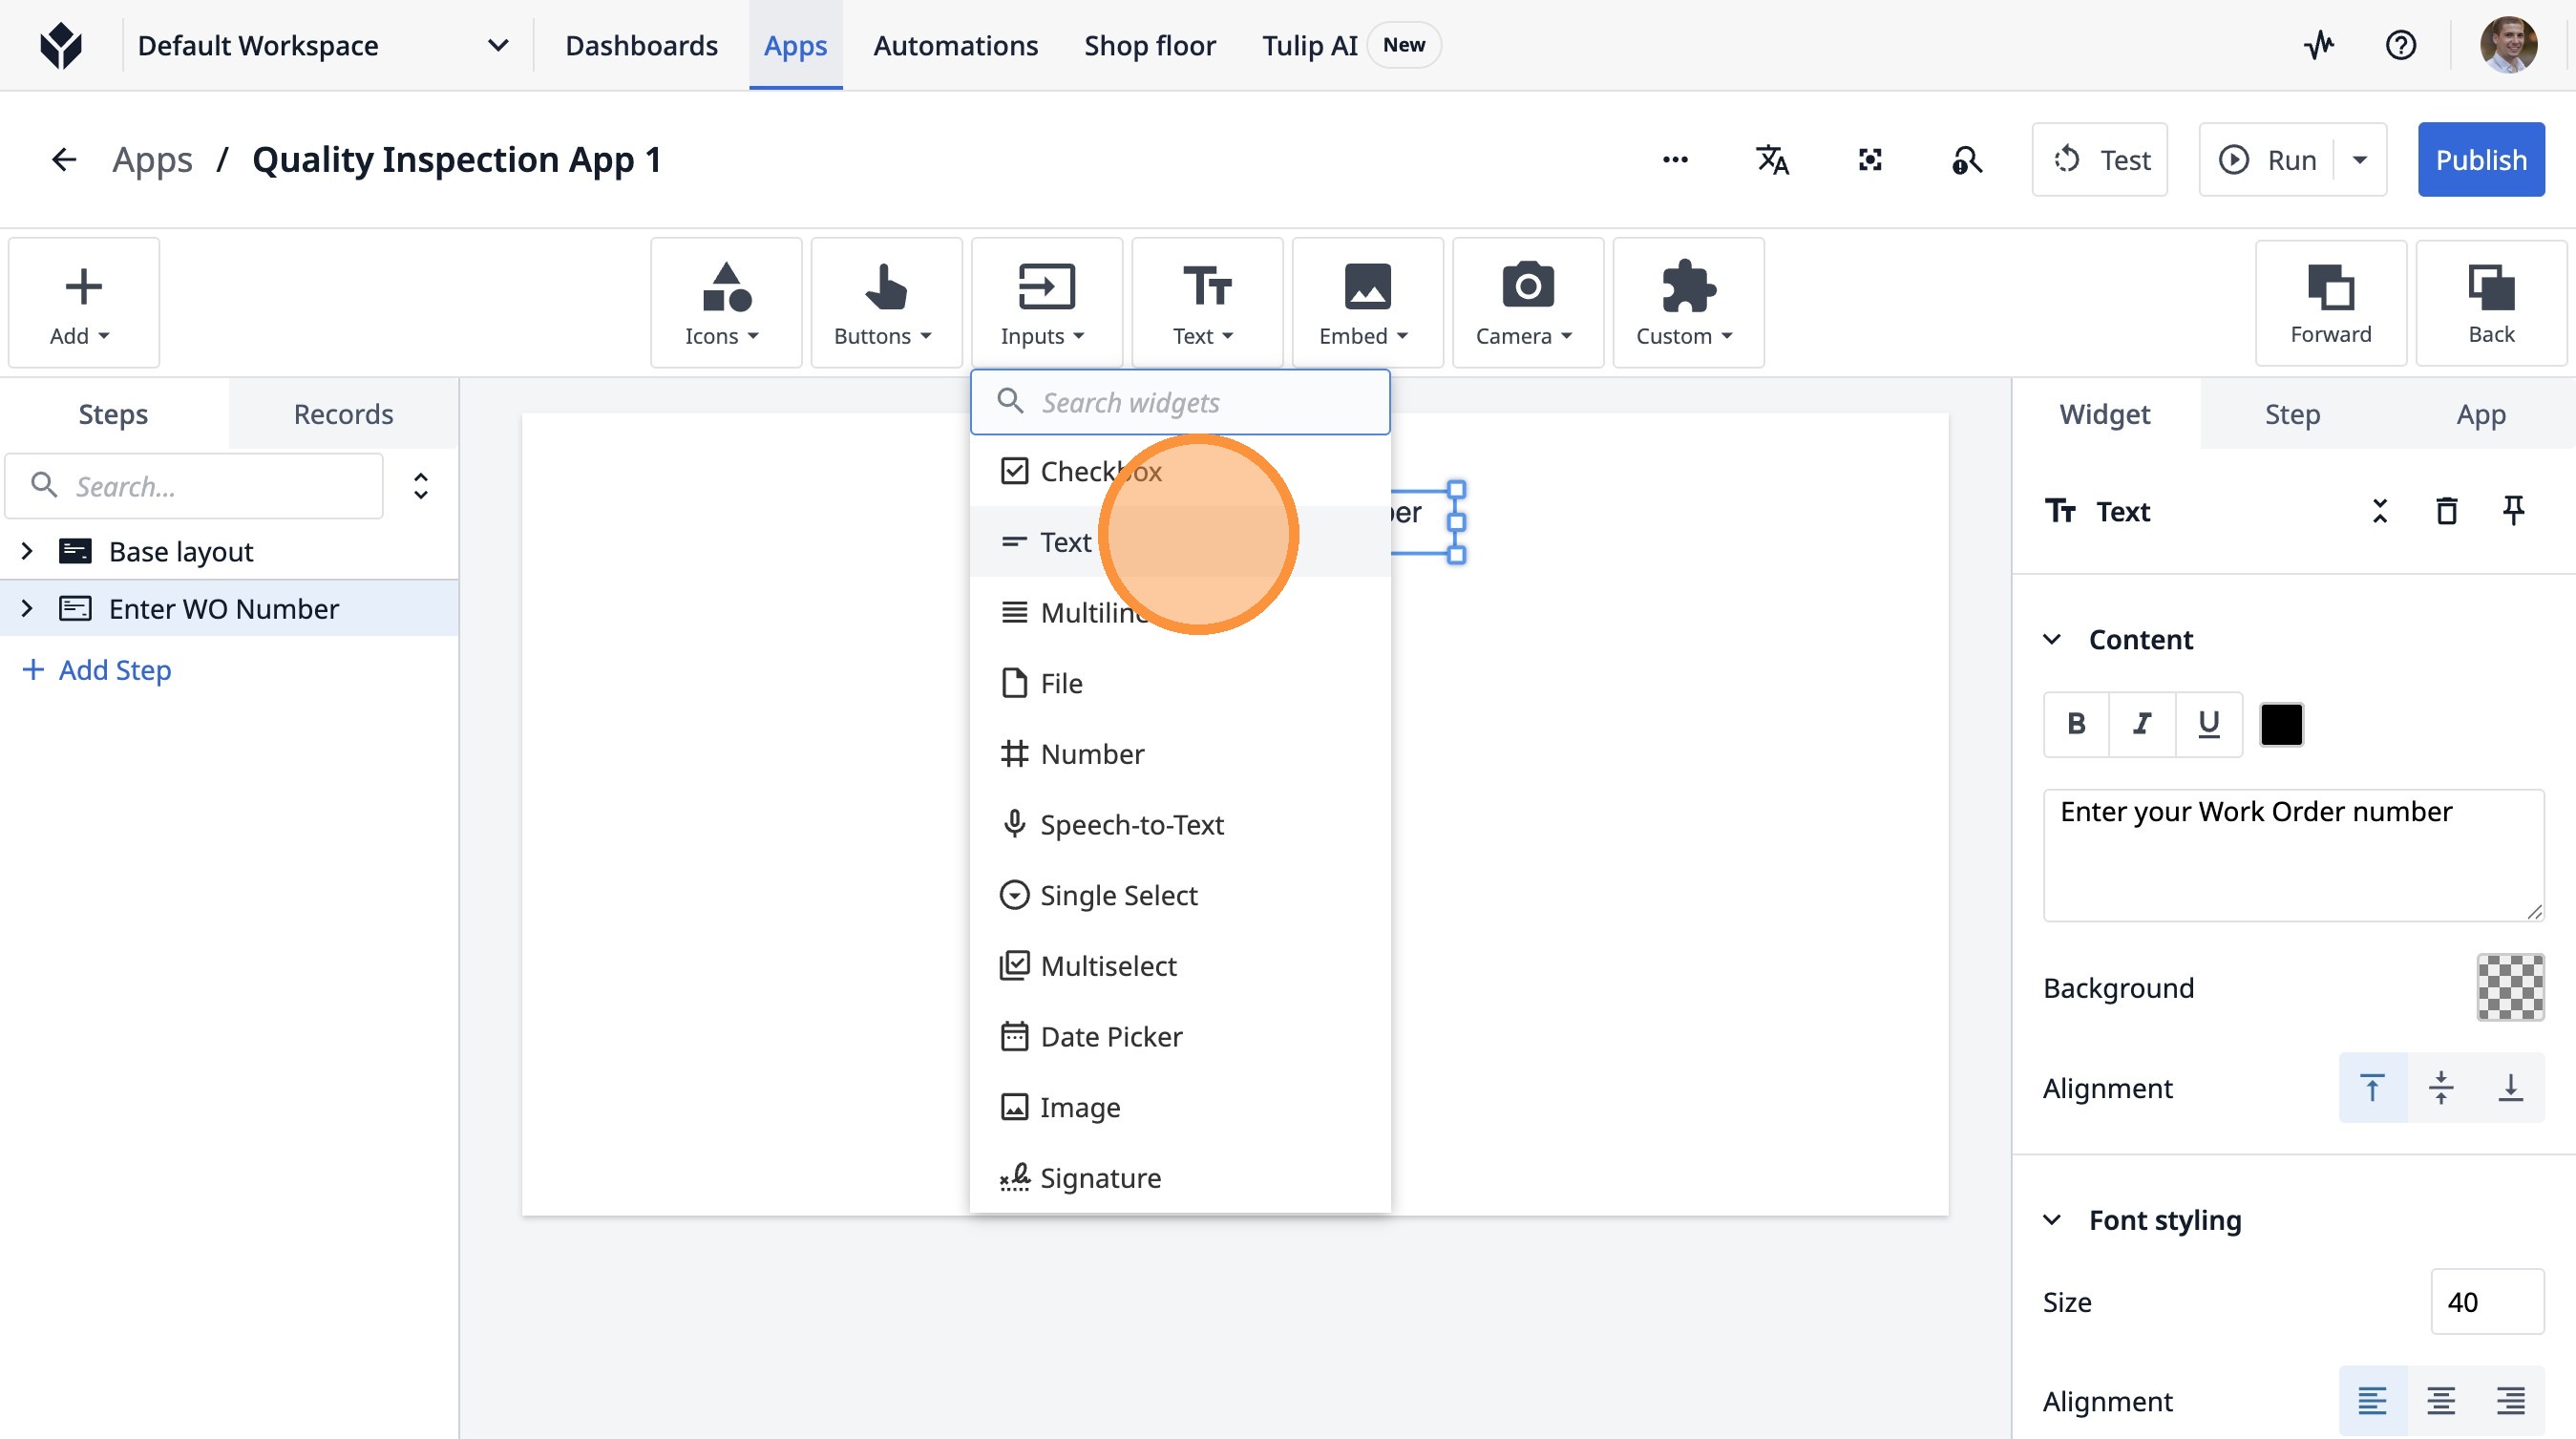
3. Click "Text"
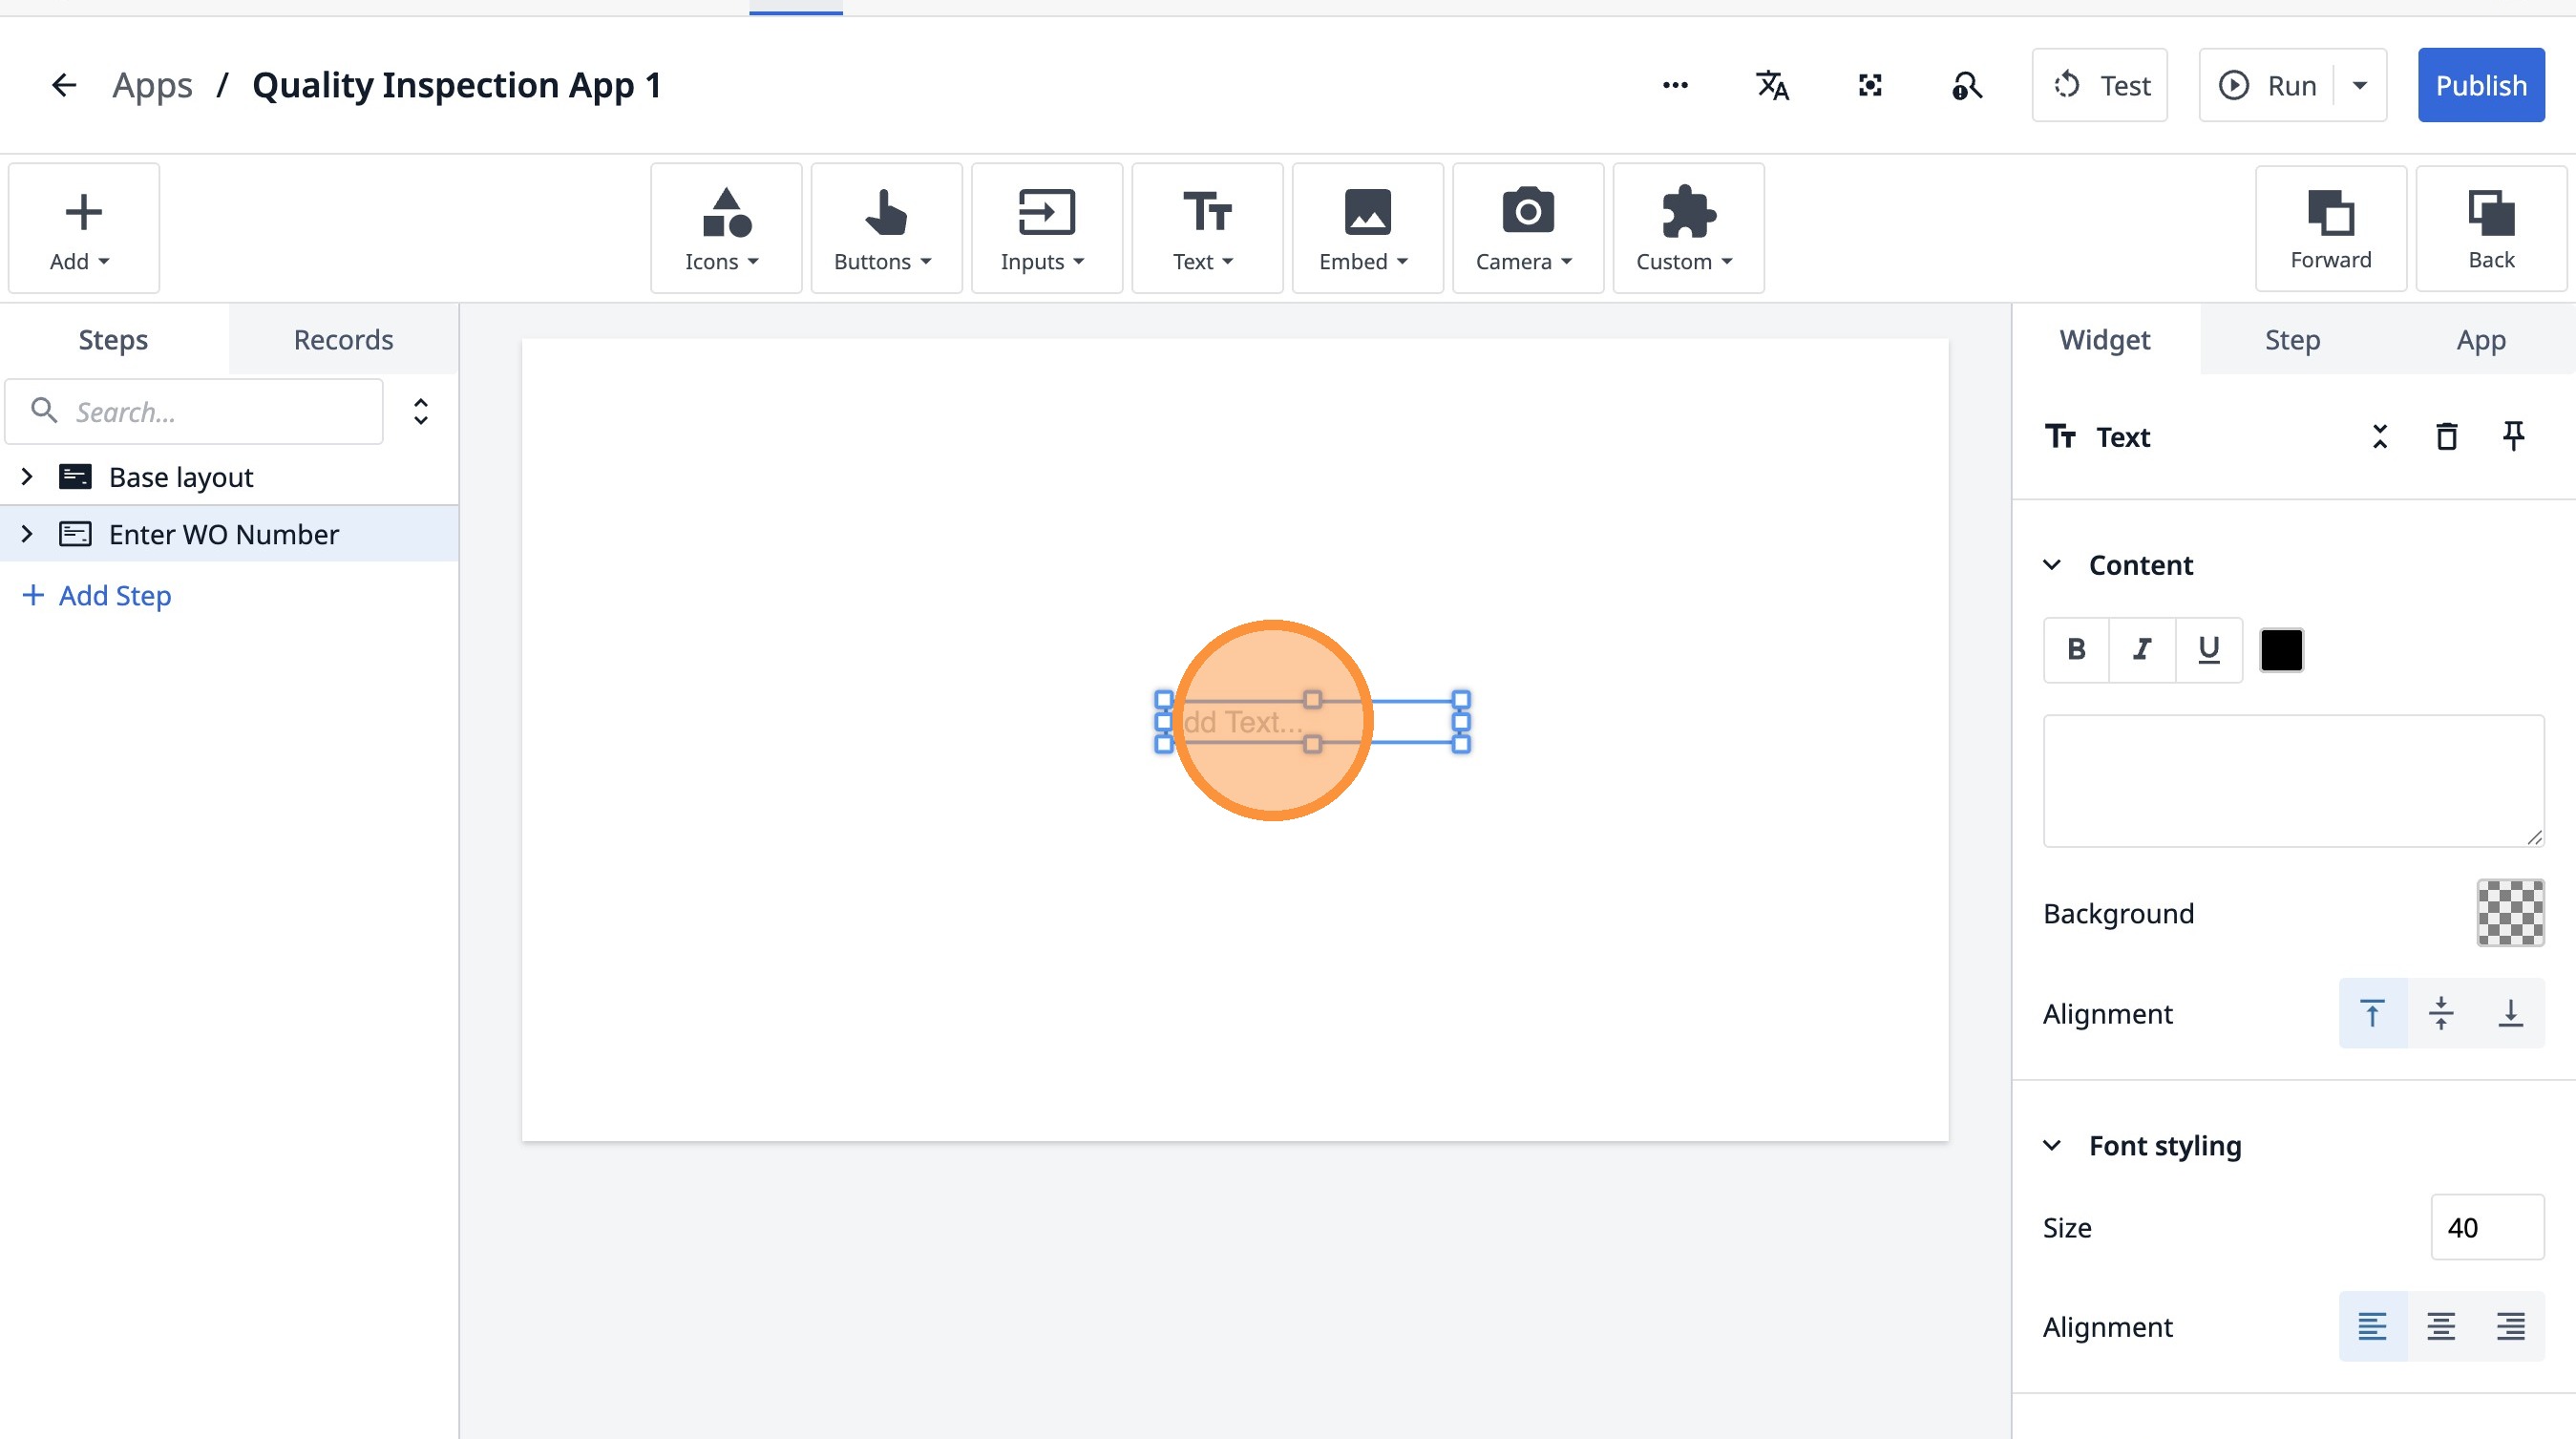
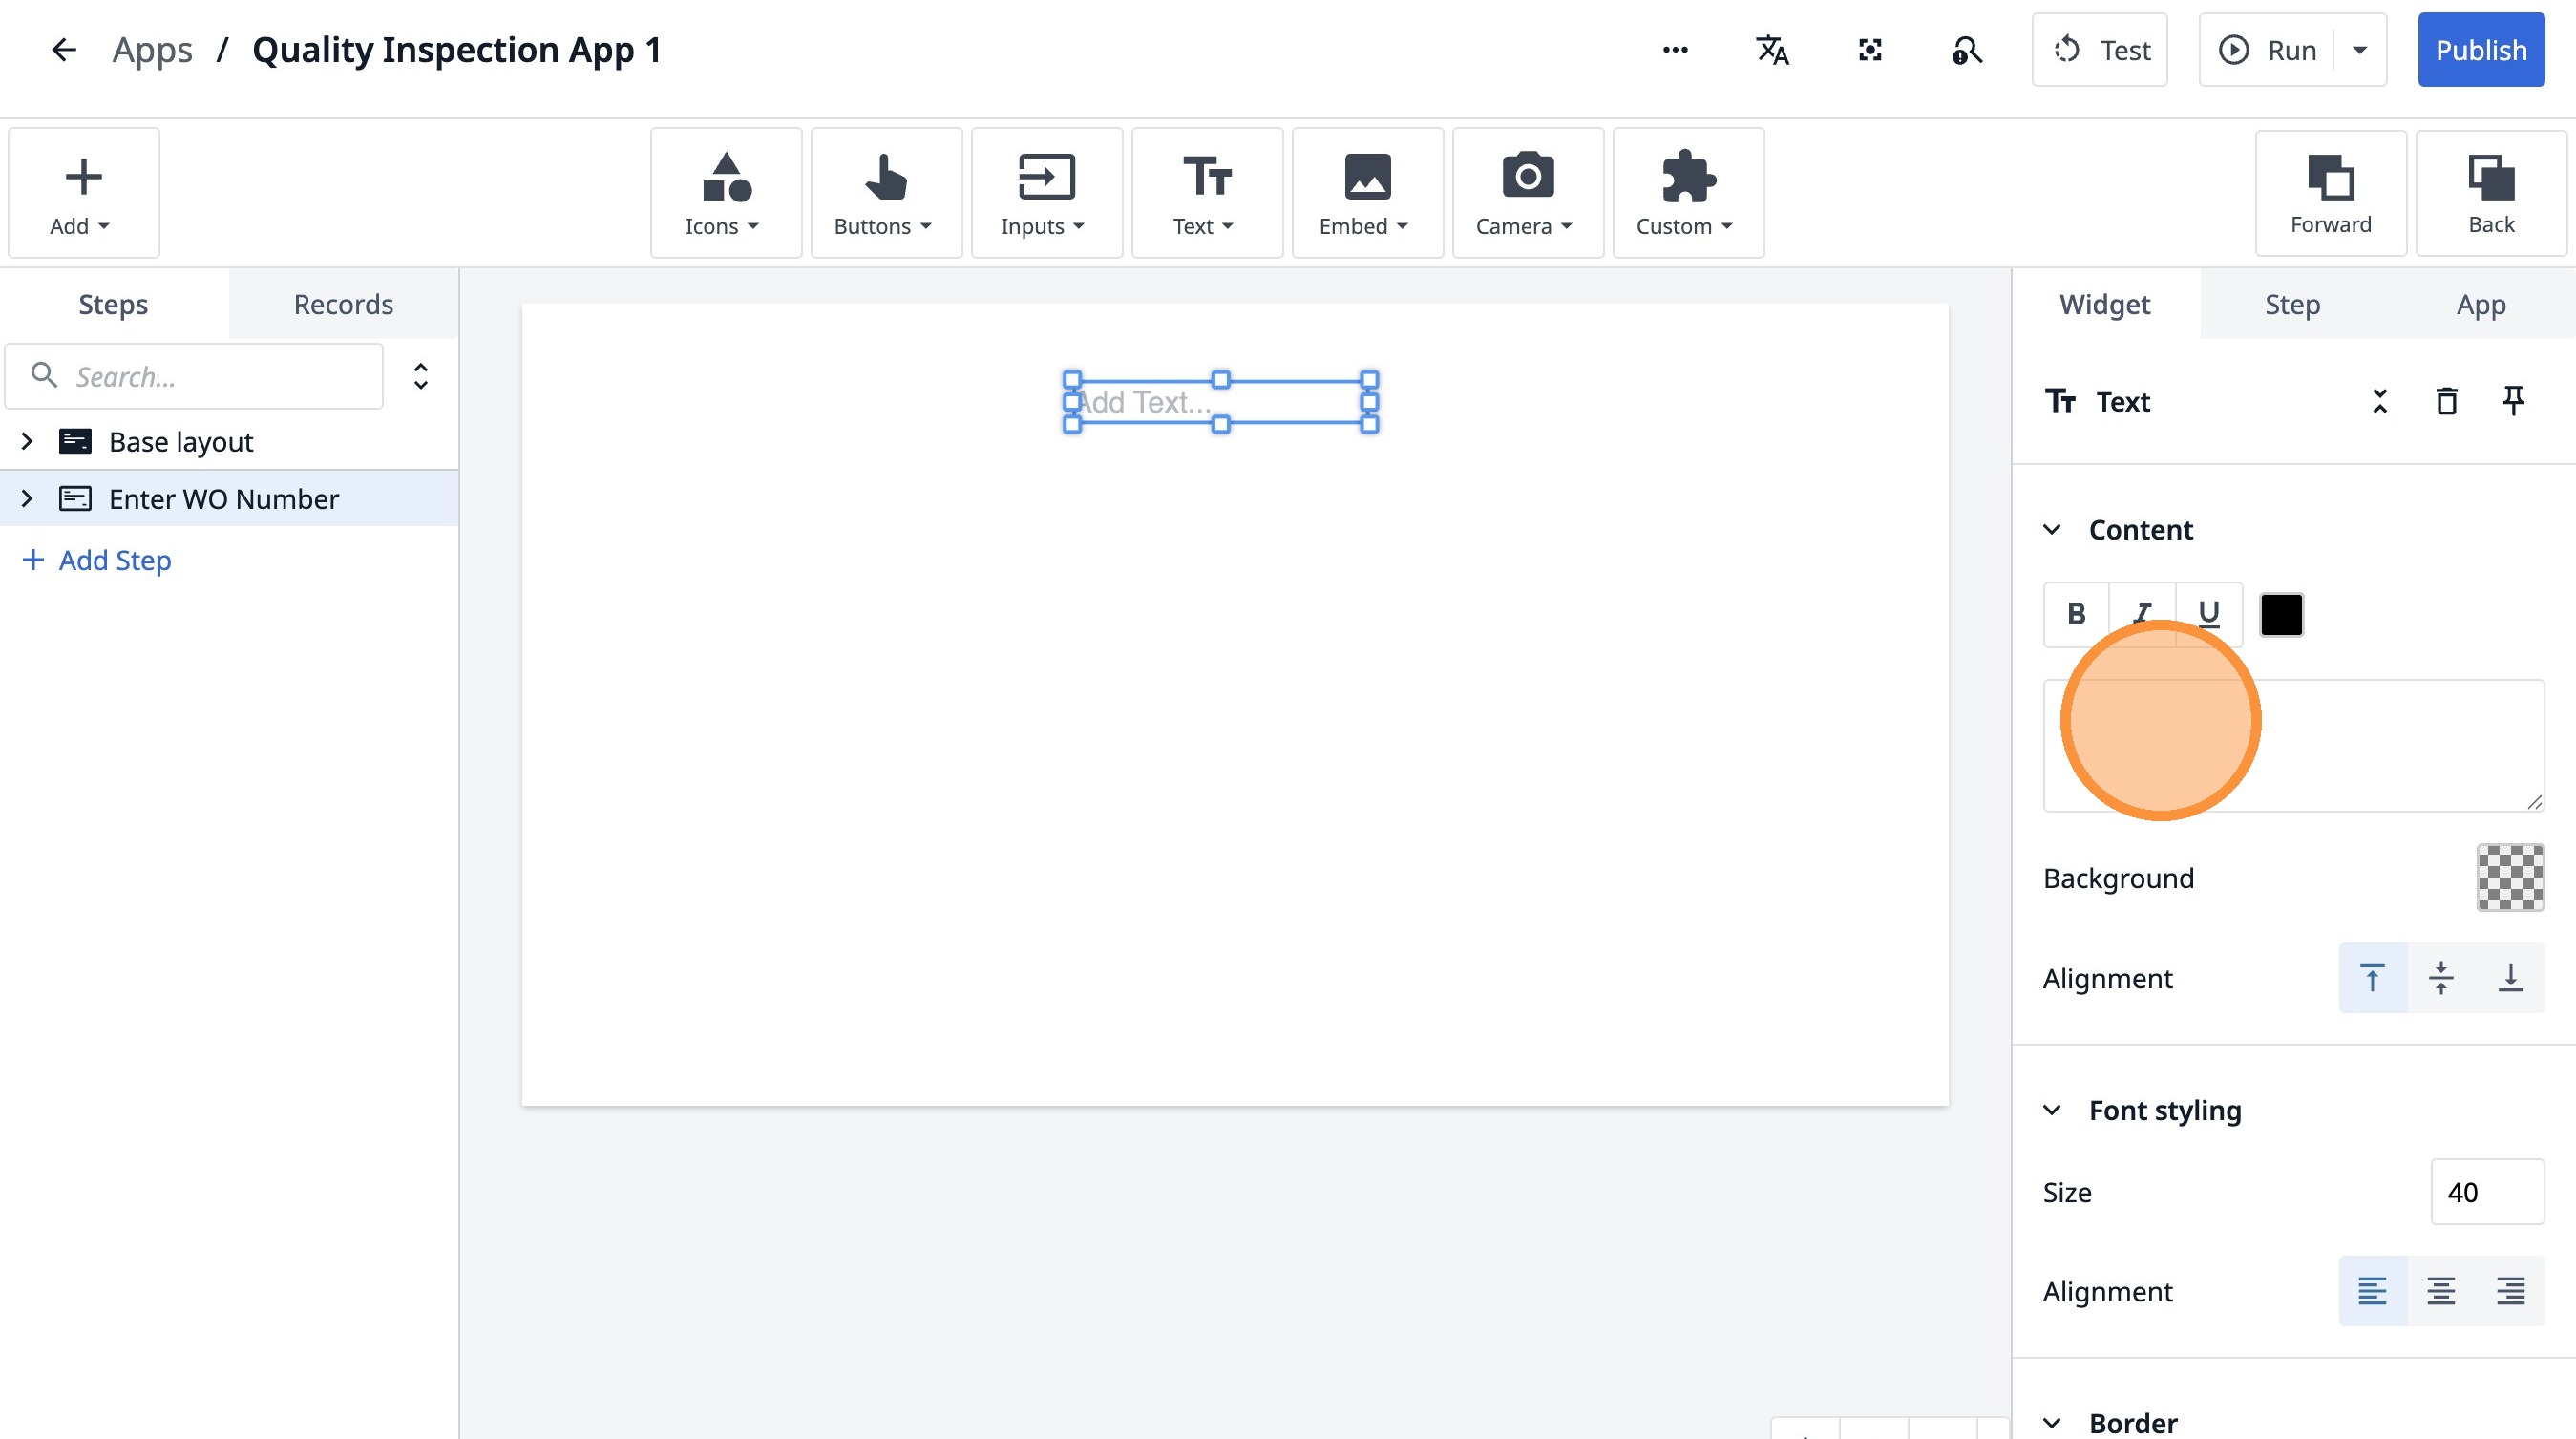
4. Click "Add Text..."
5. Click here.
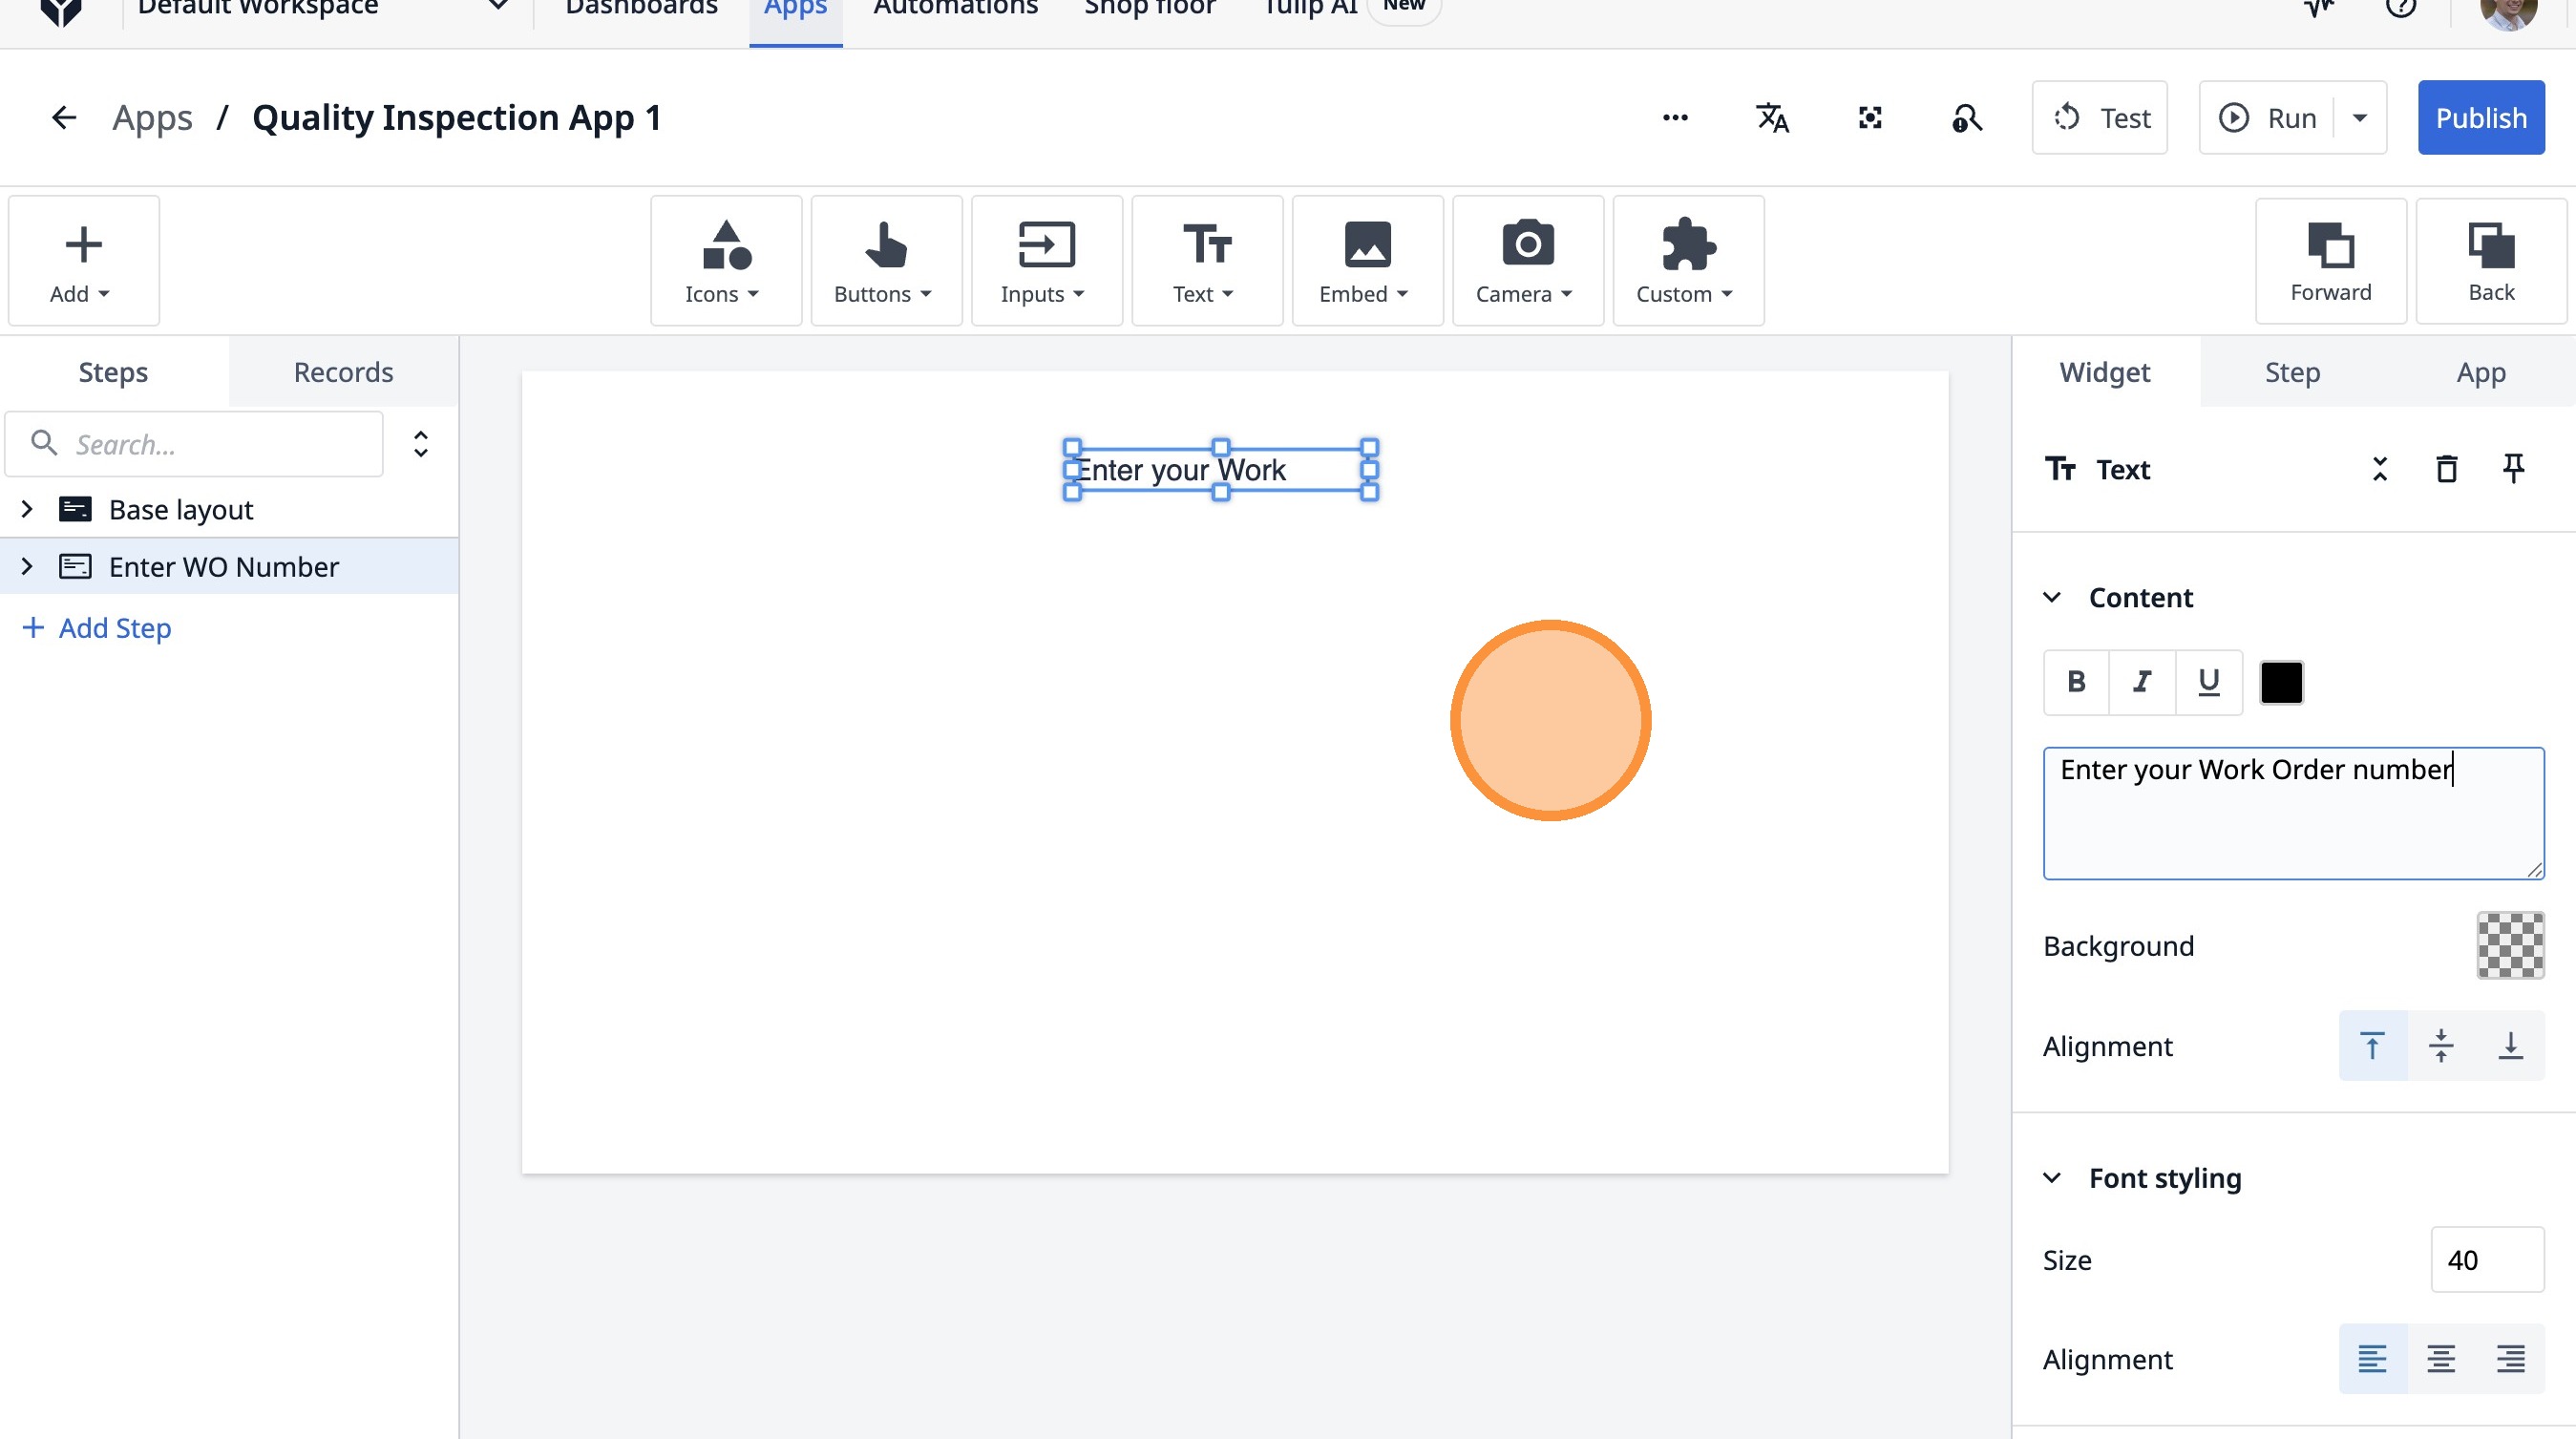
6. Type "Enter your Work Order number"
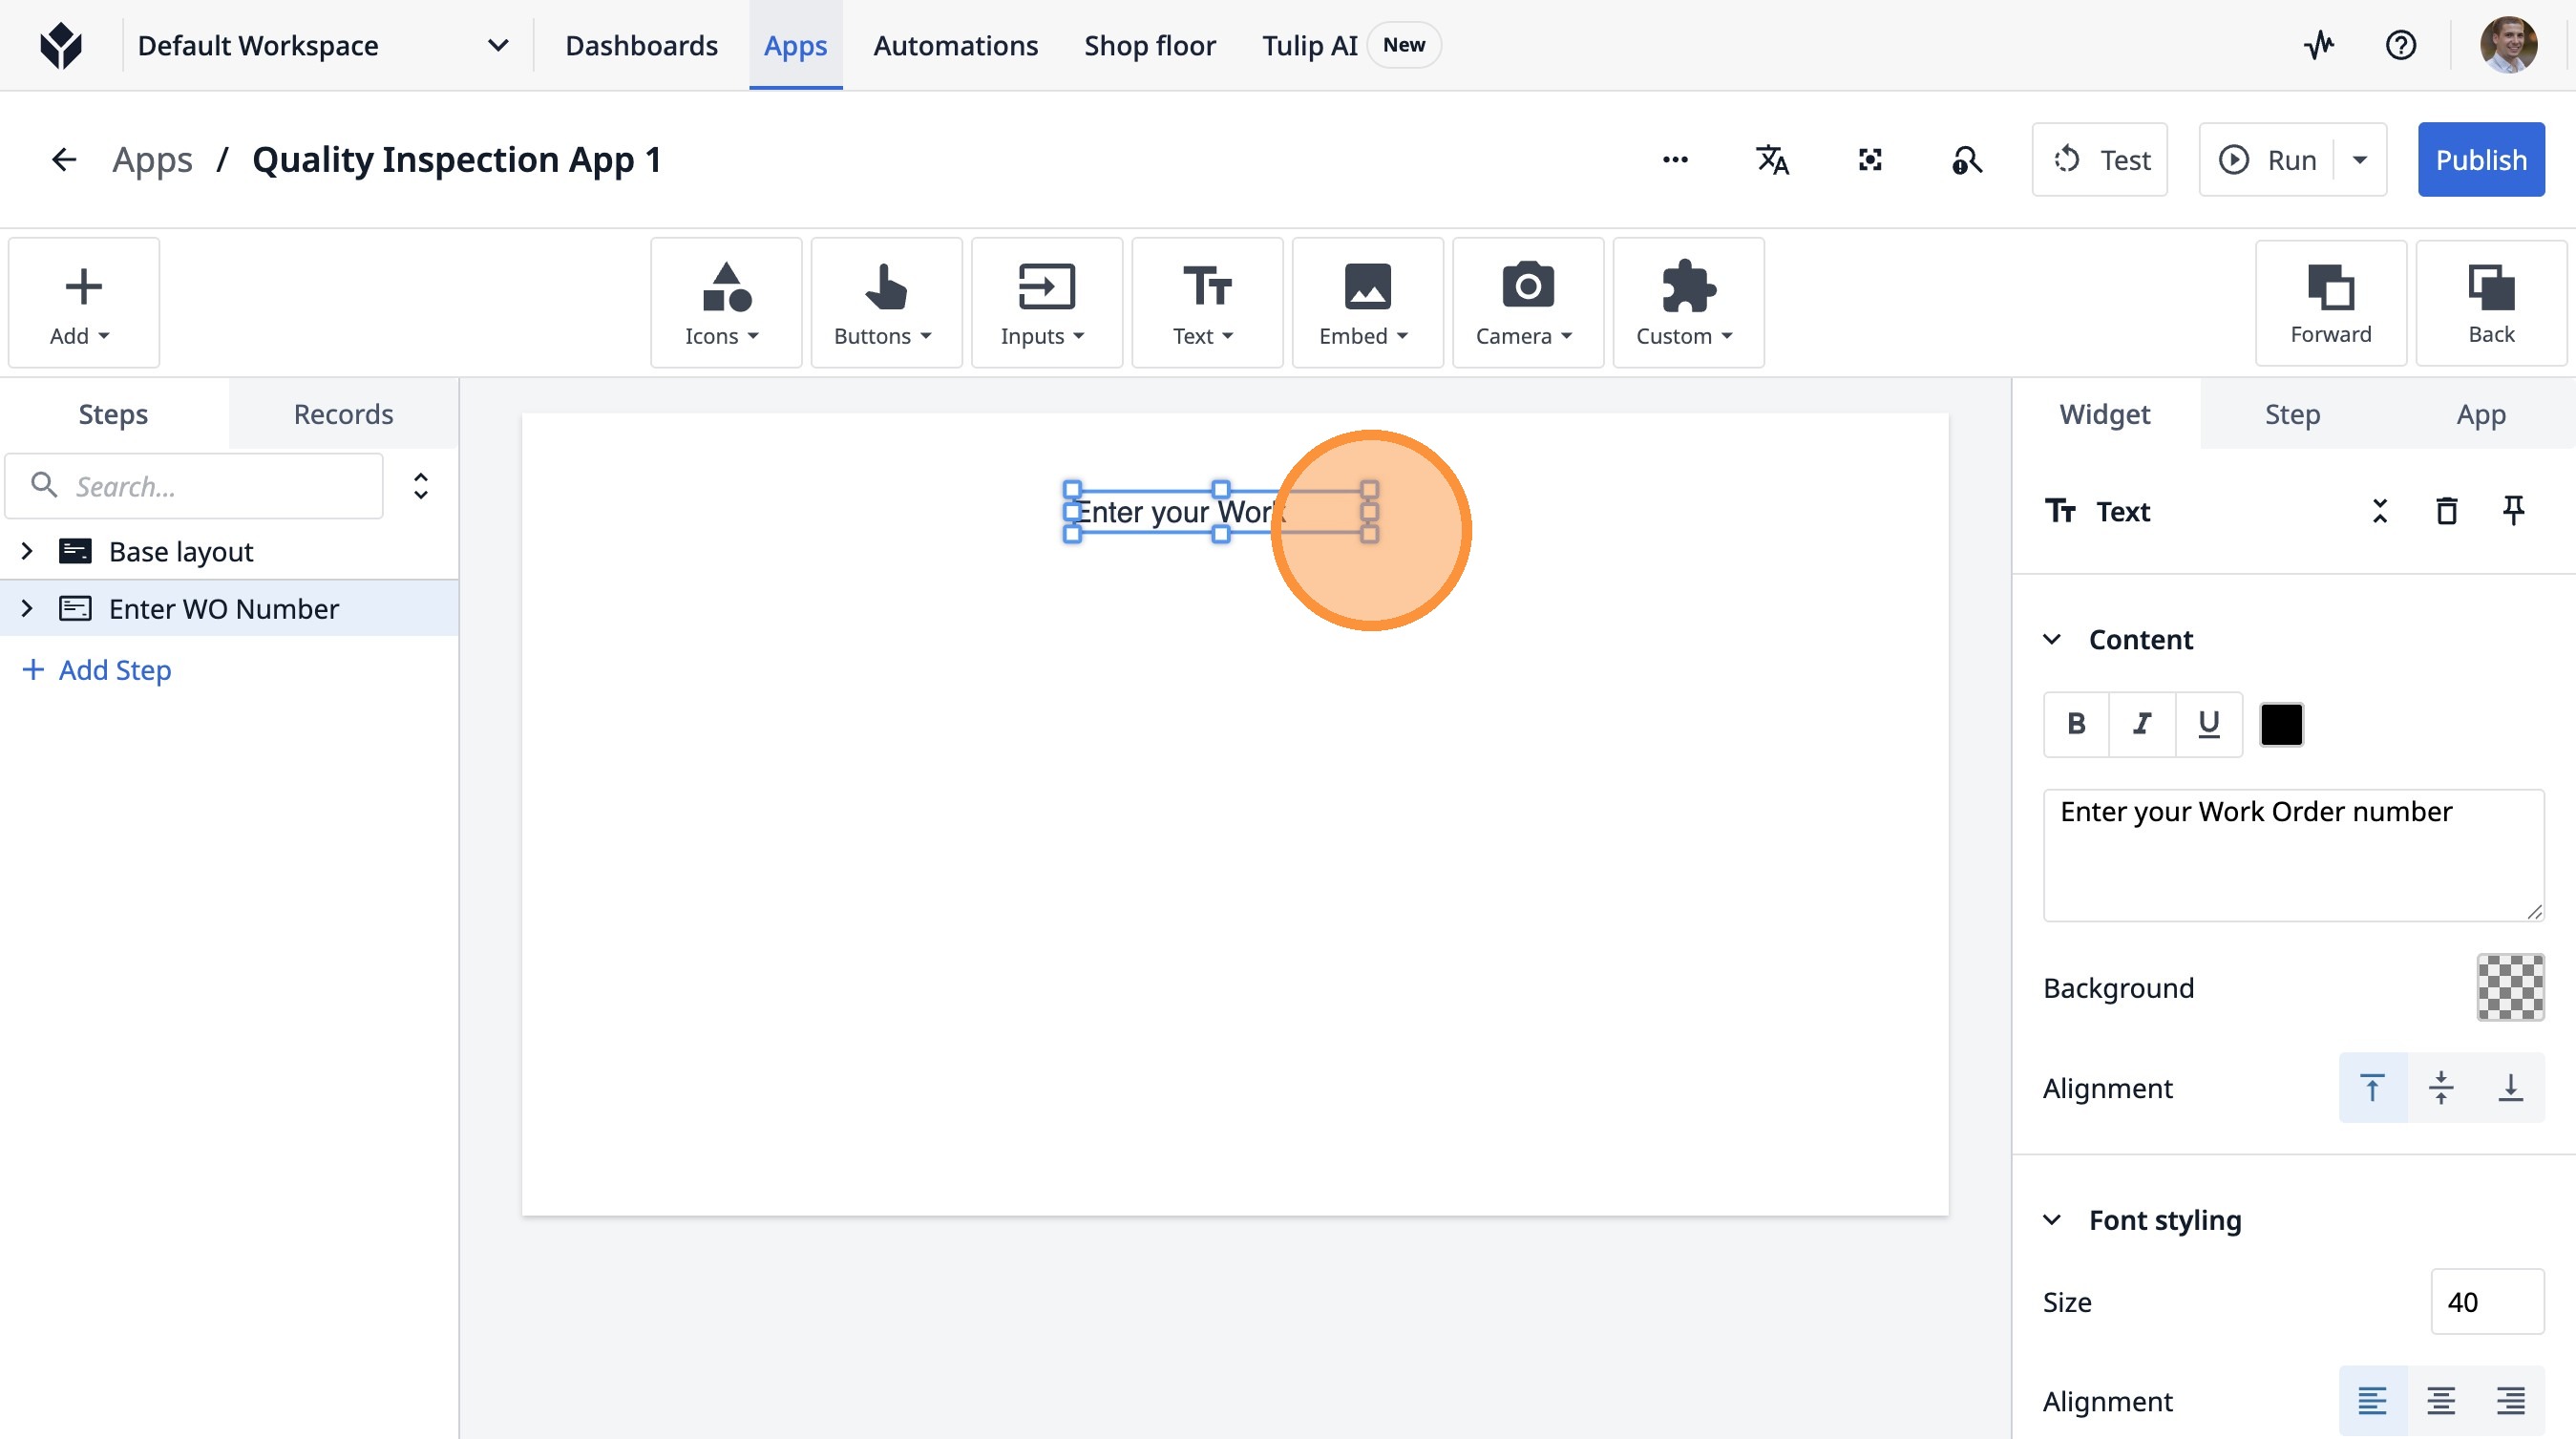
7. Click here.
8. Click here.
9. Click this icon.
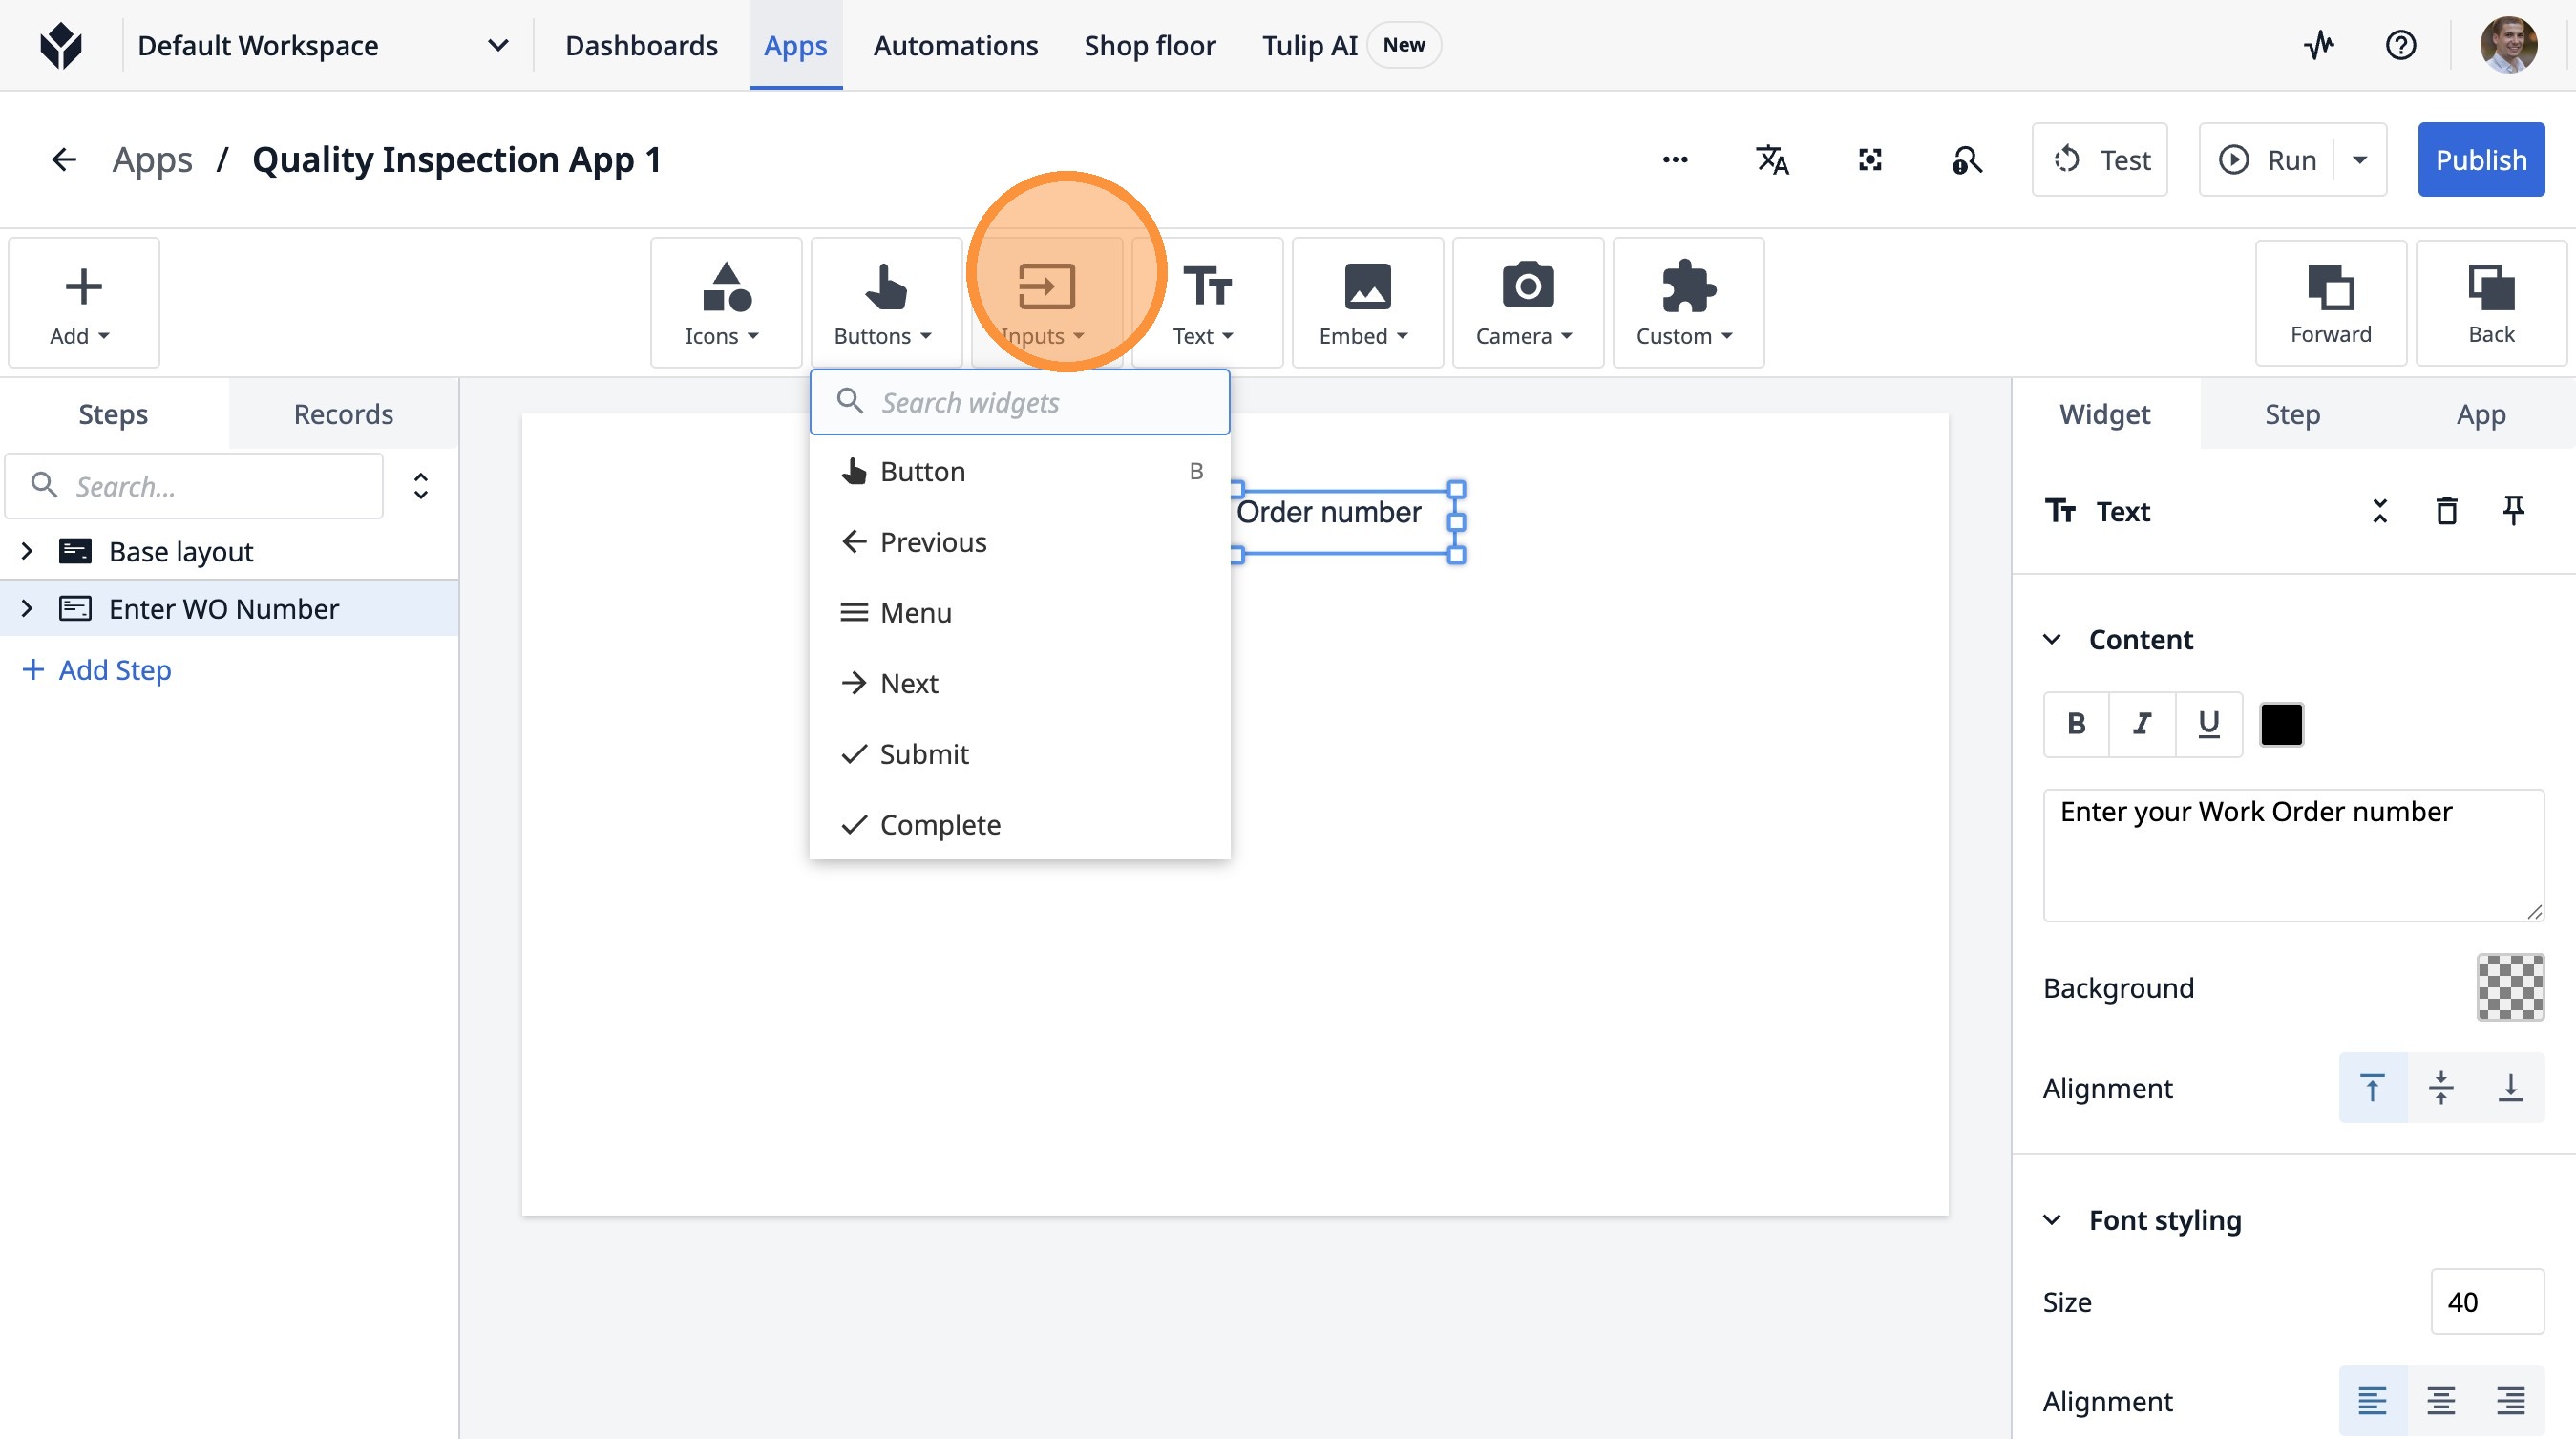
10. Click "Text"
11. Click here.
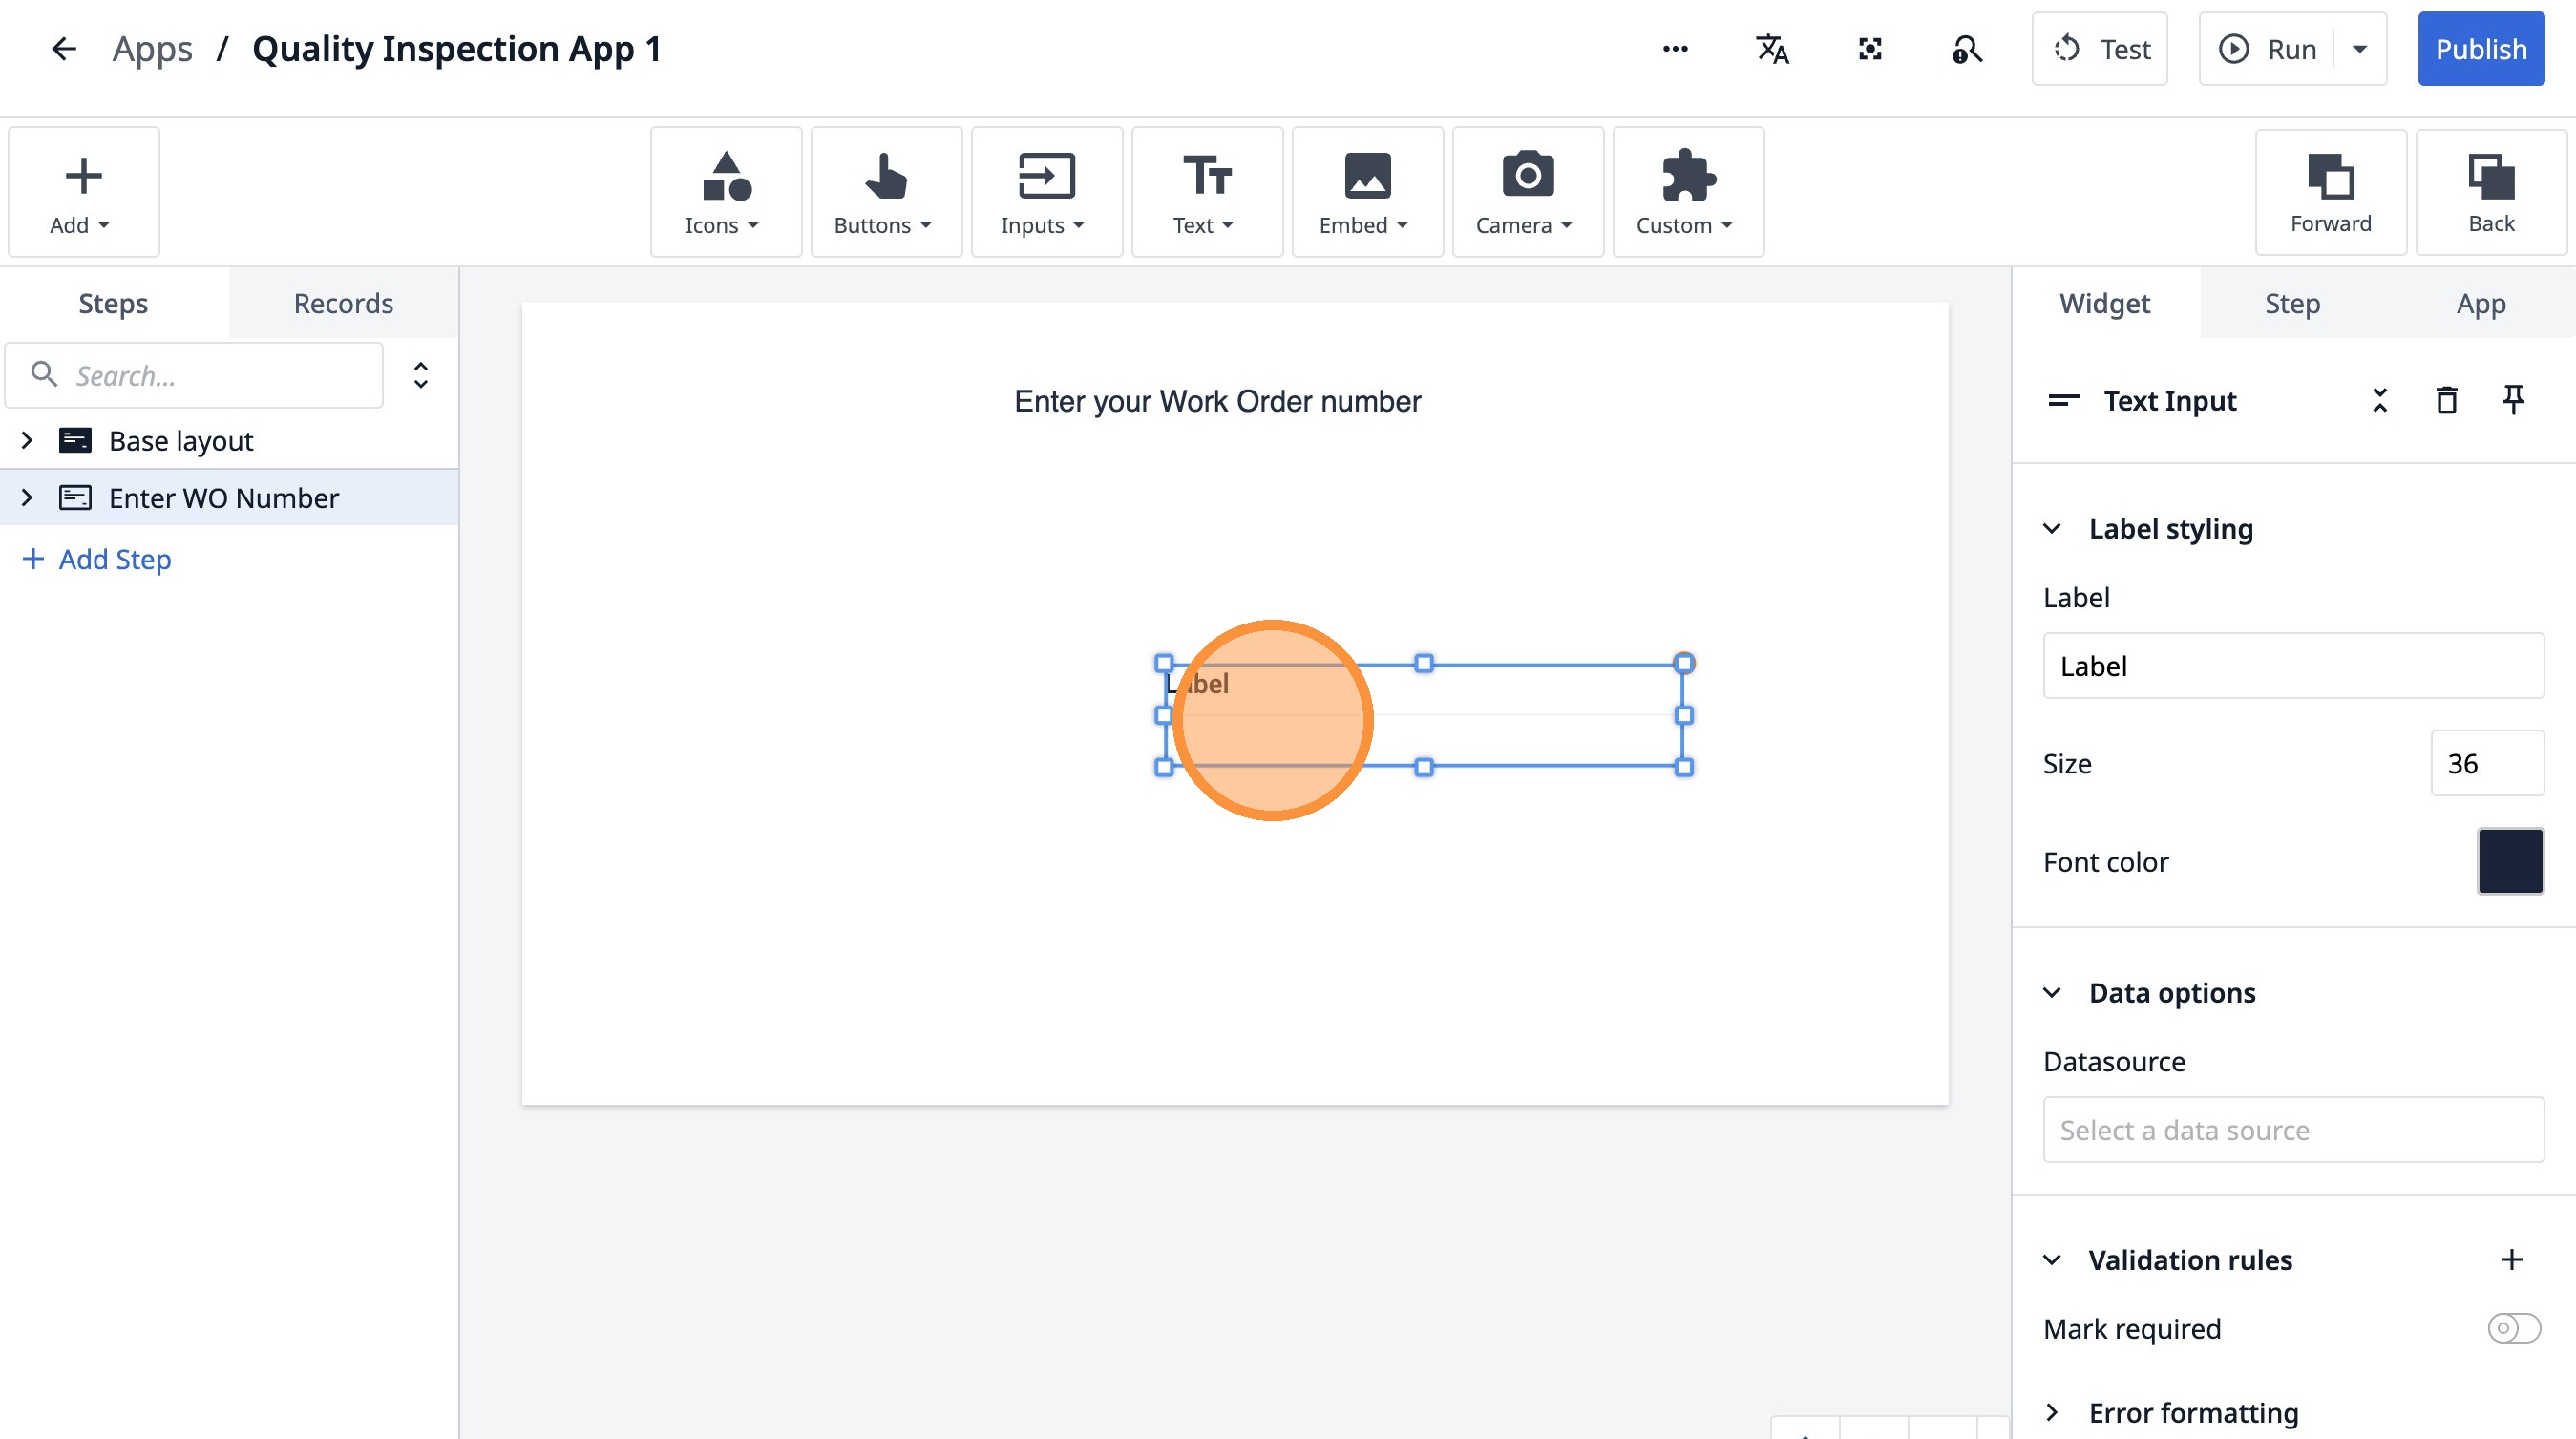
12. Double-click the "Label" field.
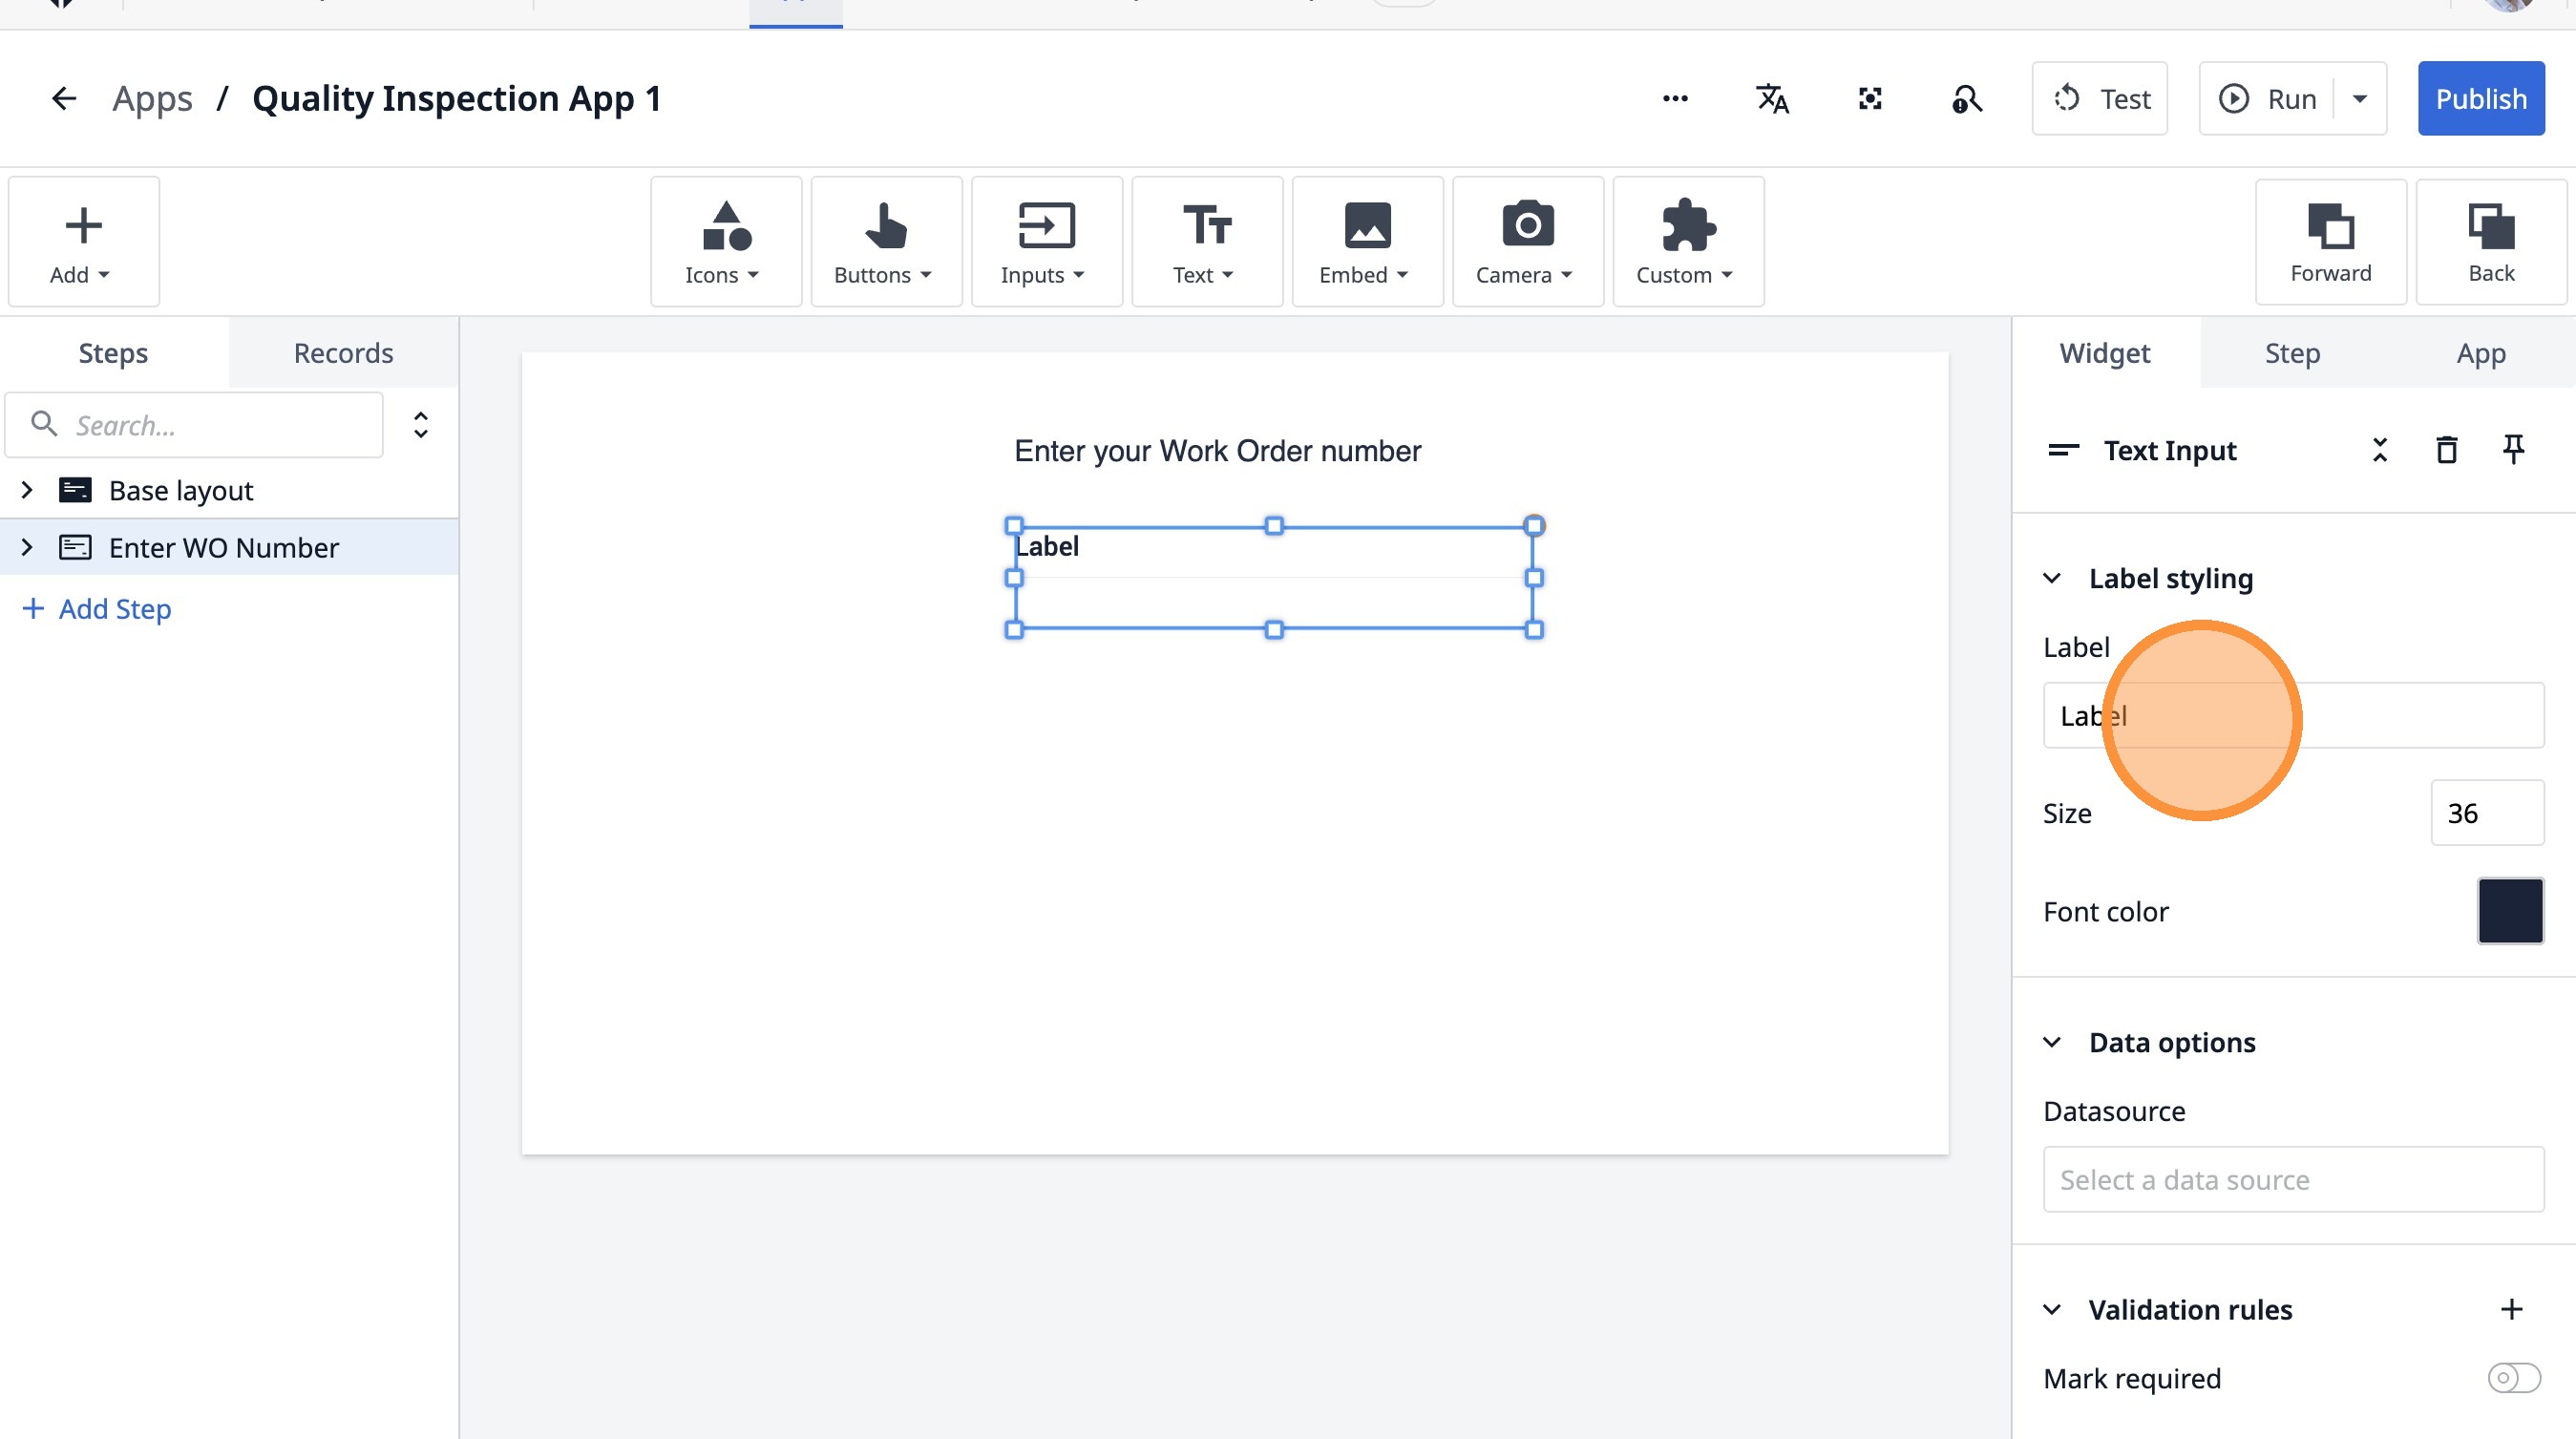
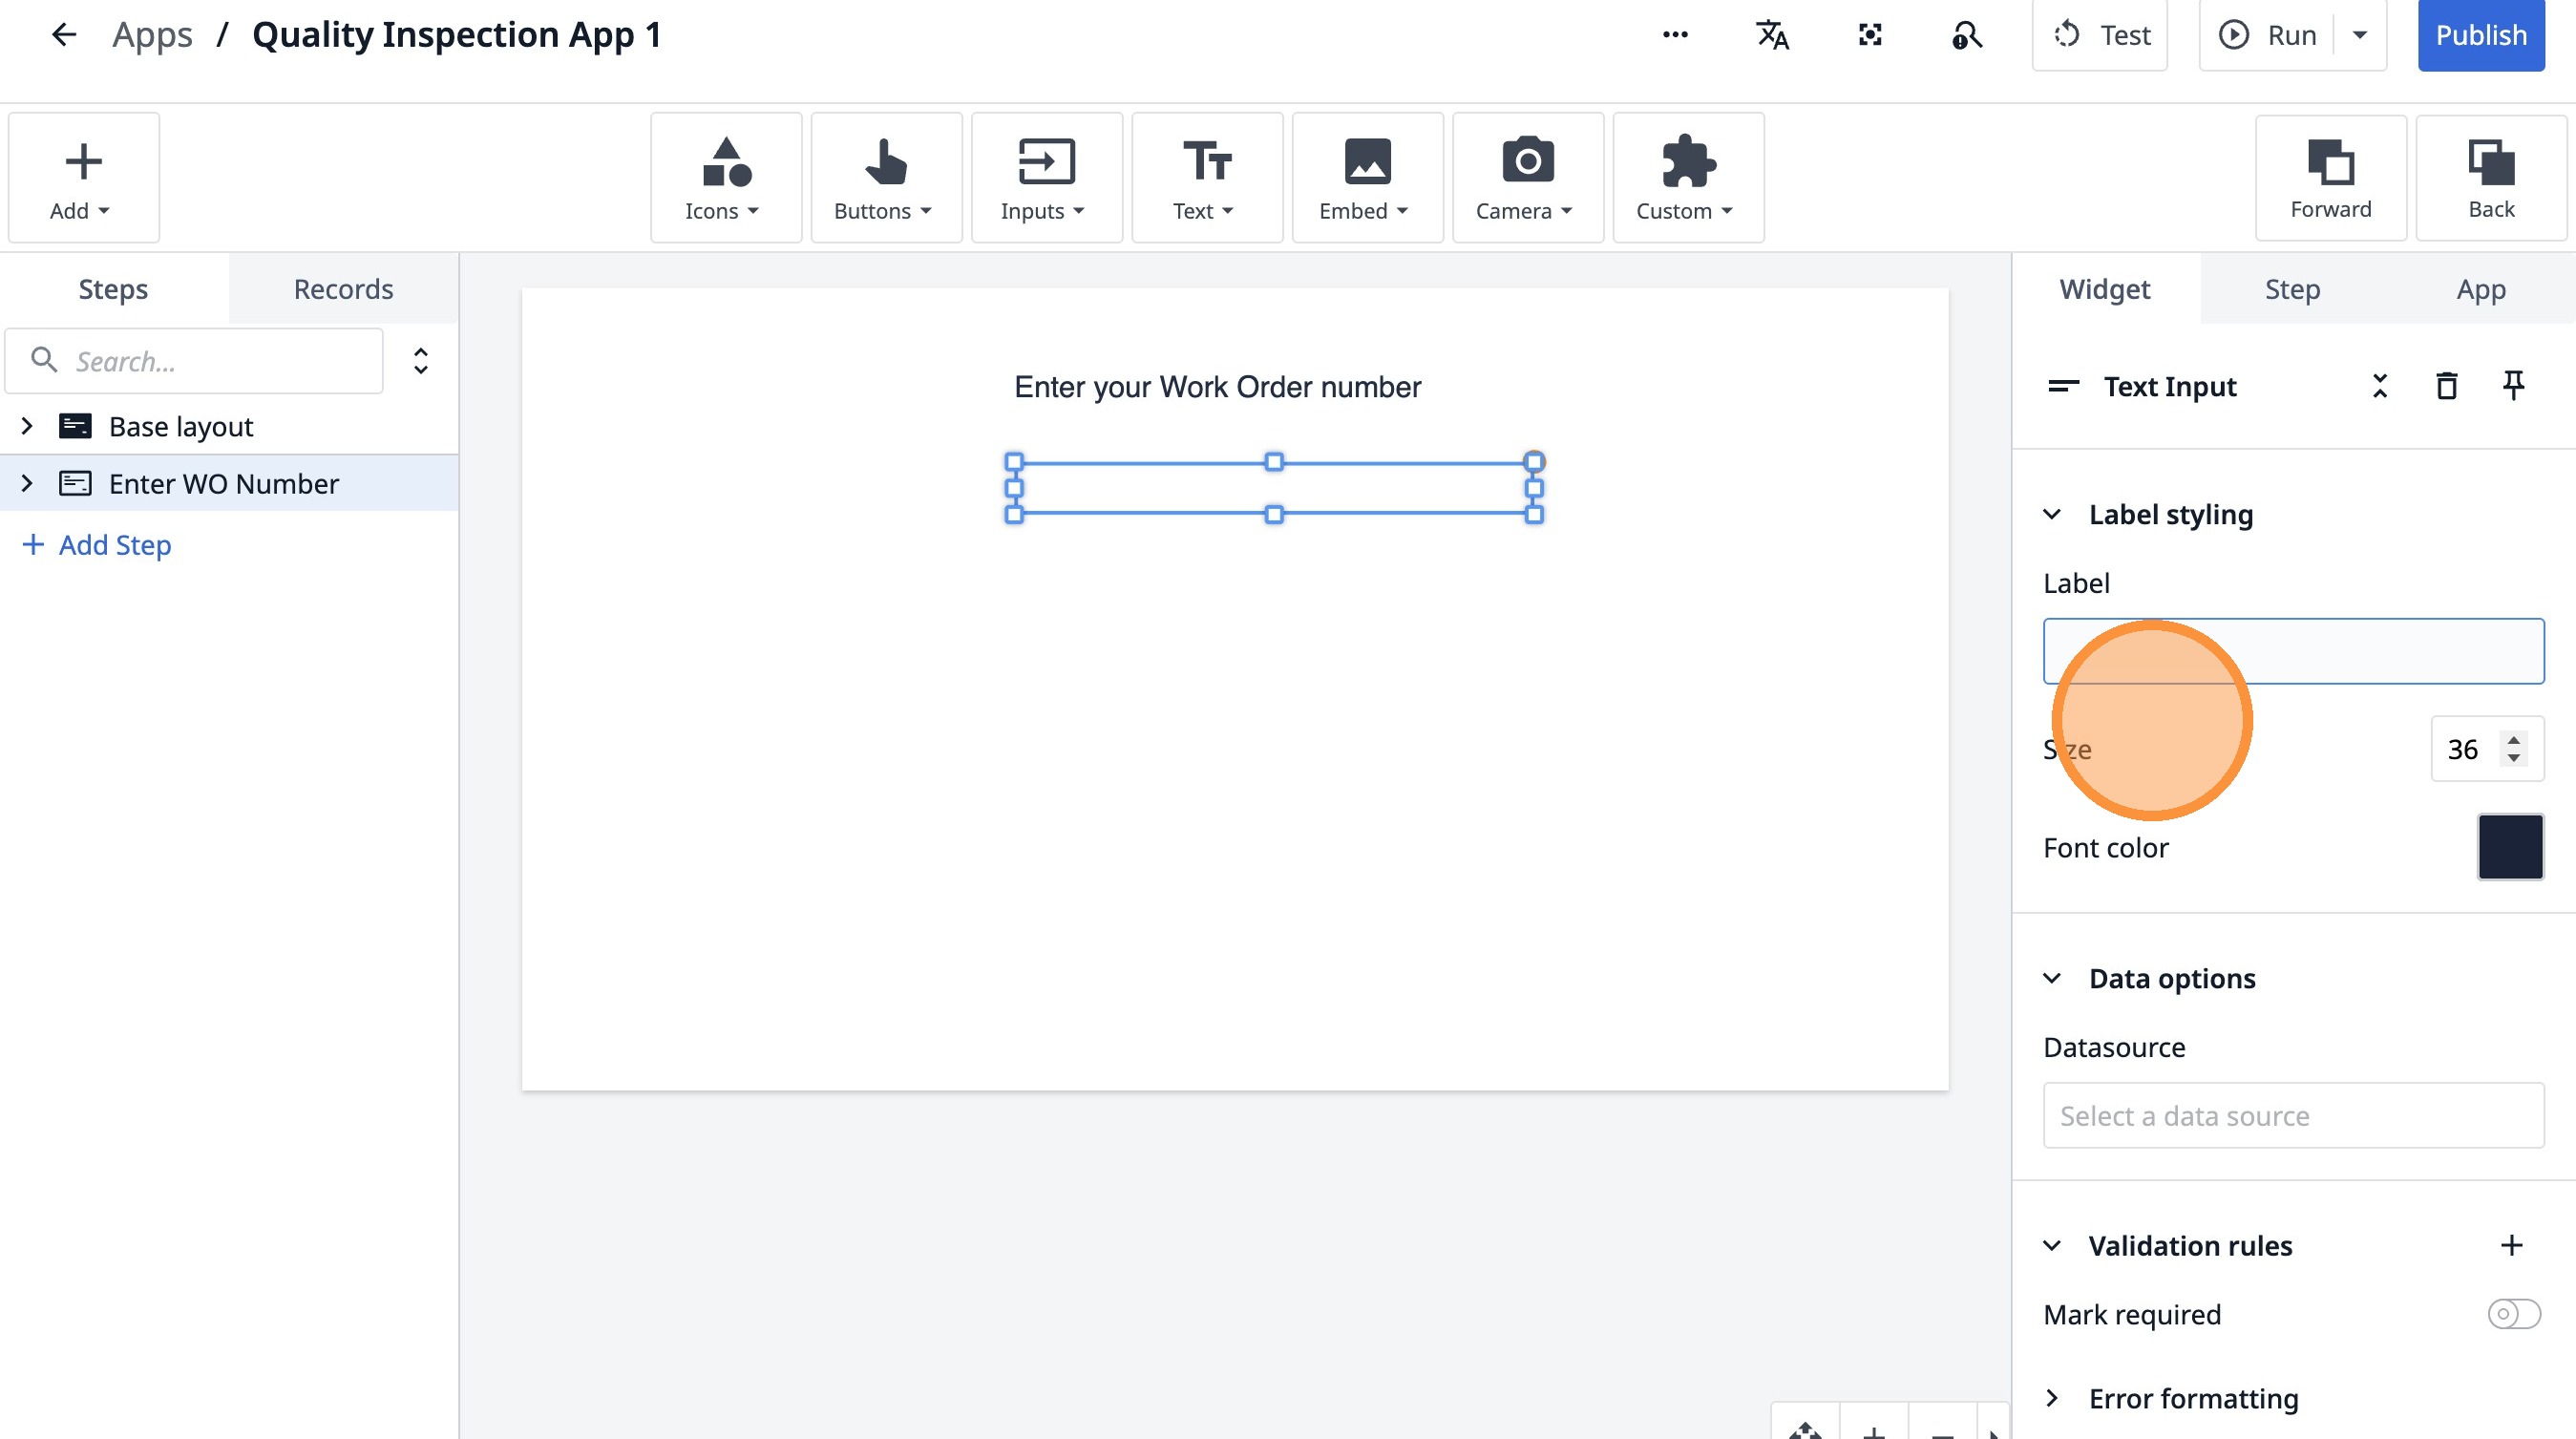
13. Type " [[Backspace]]"
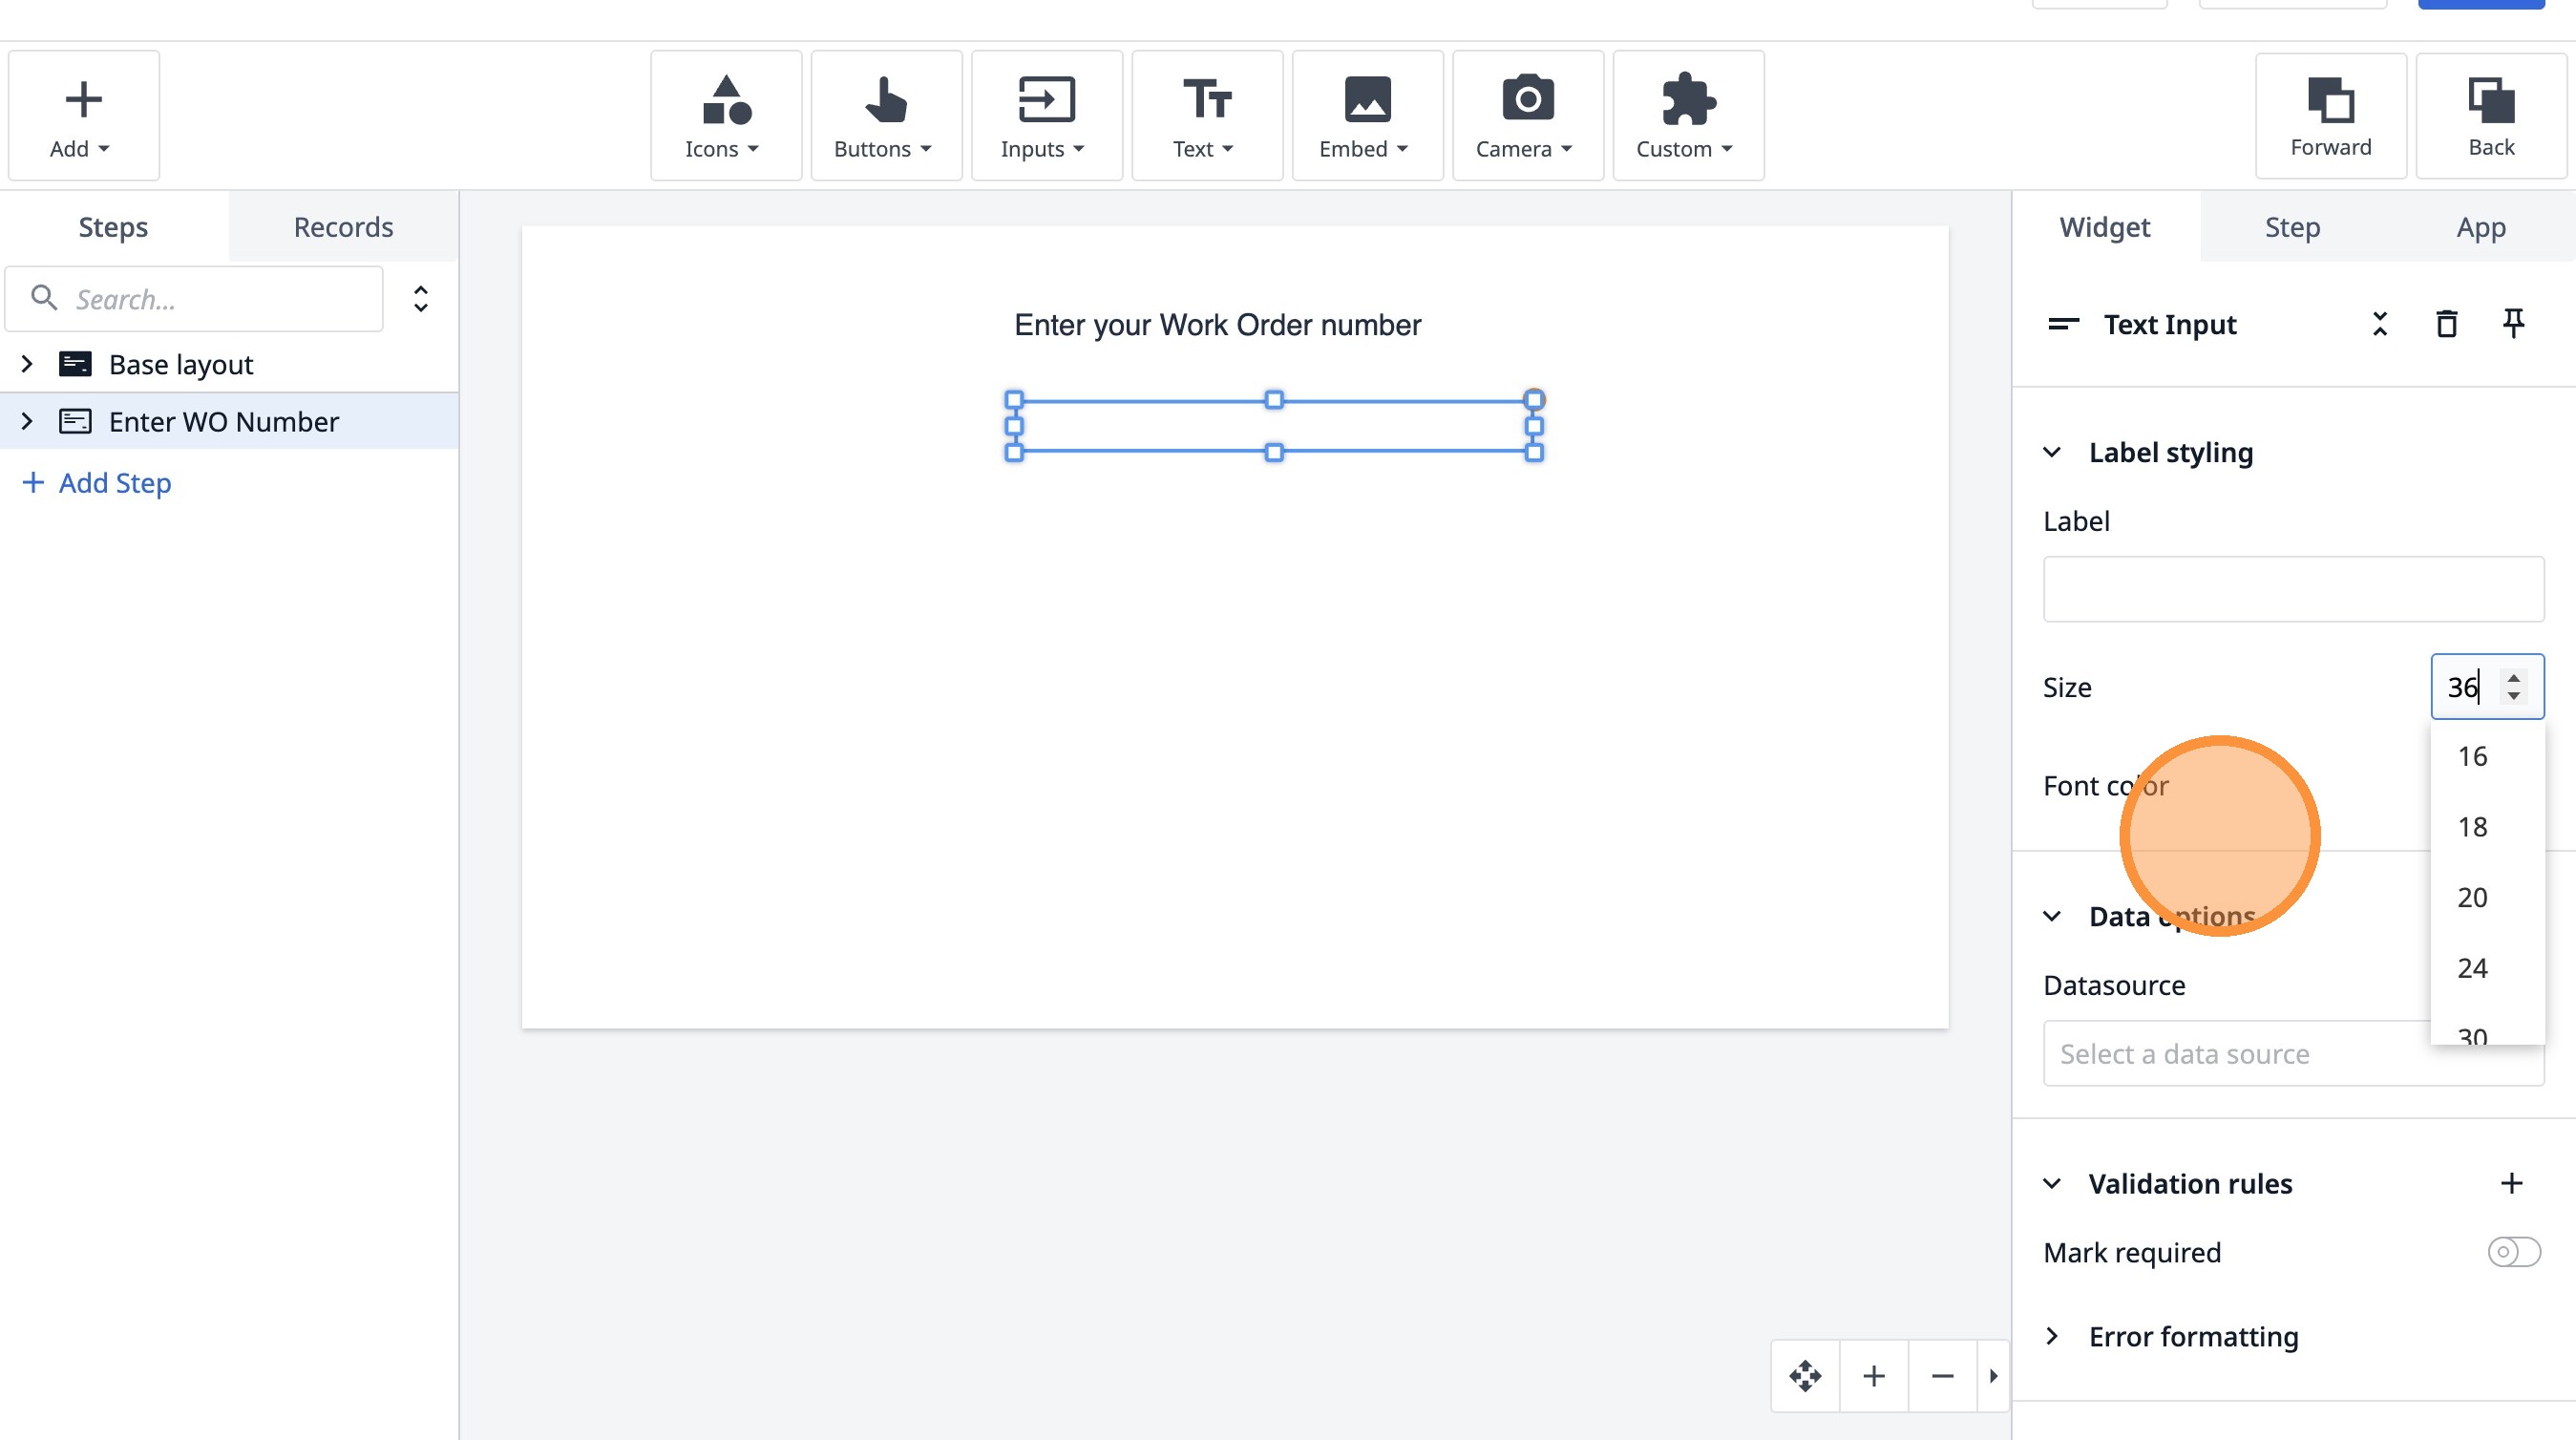
14. Click "Size"
15. Click "Size"
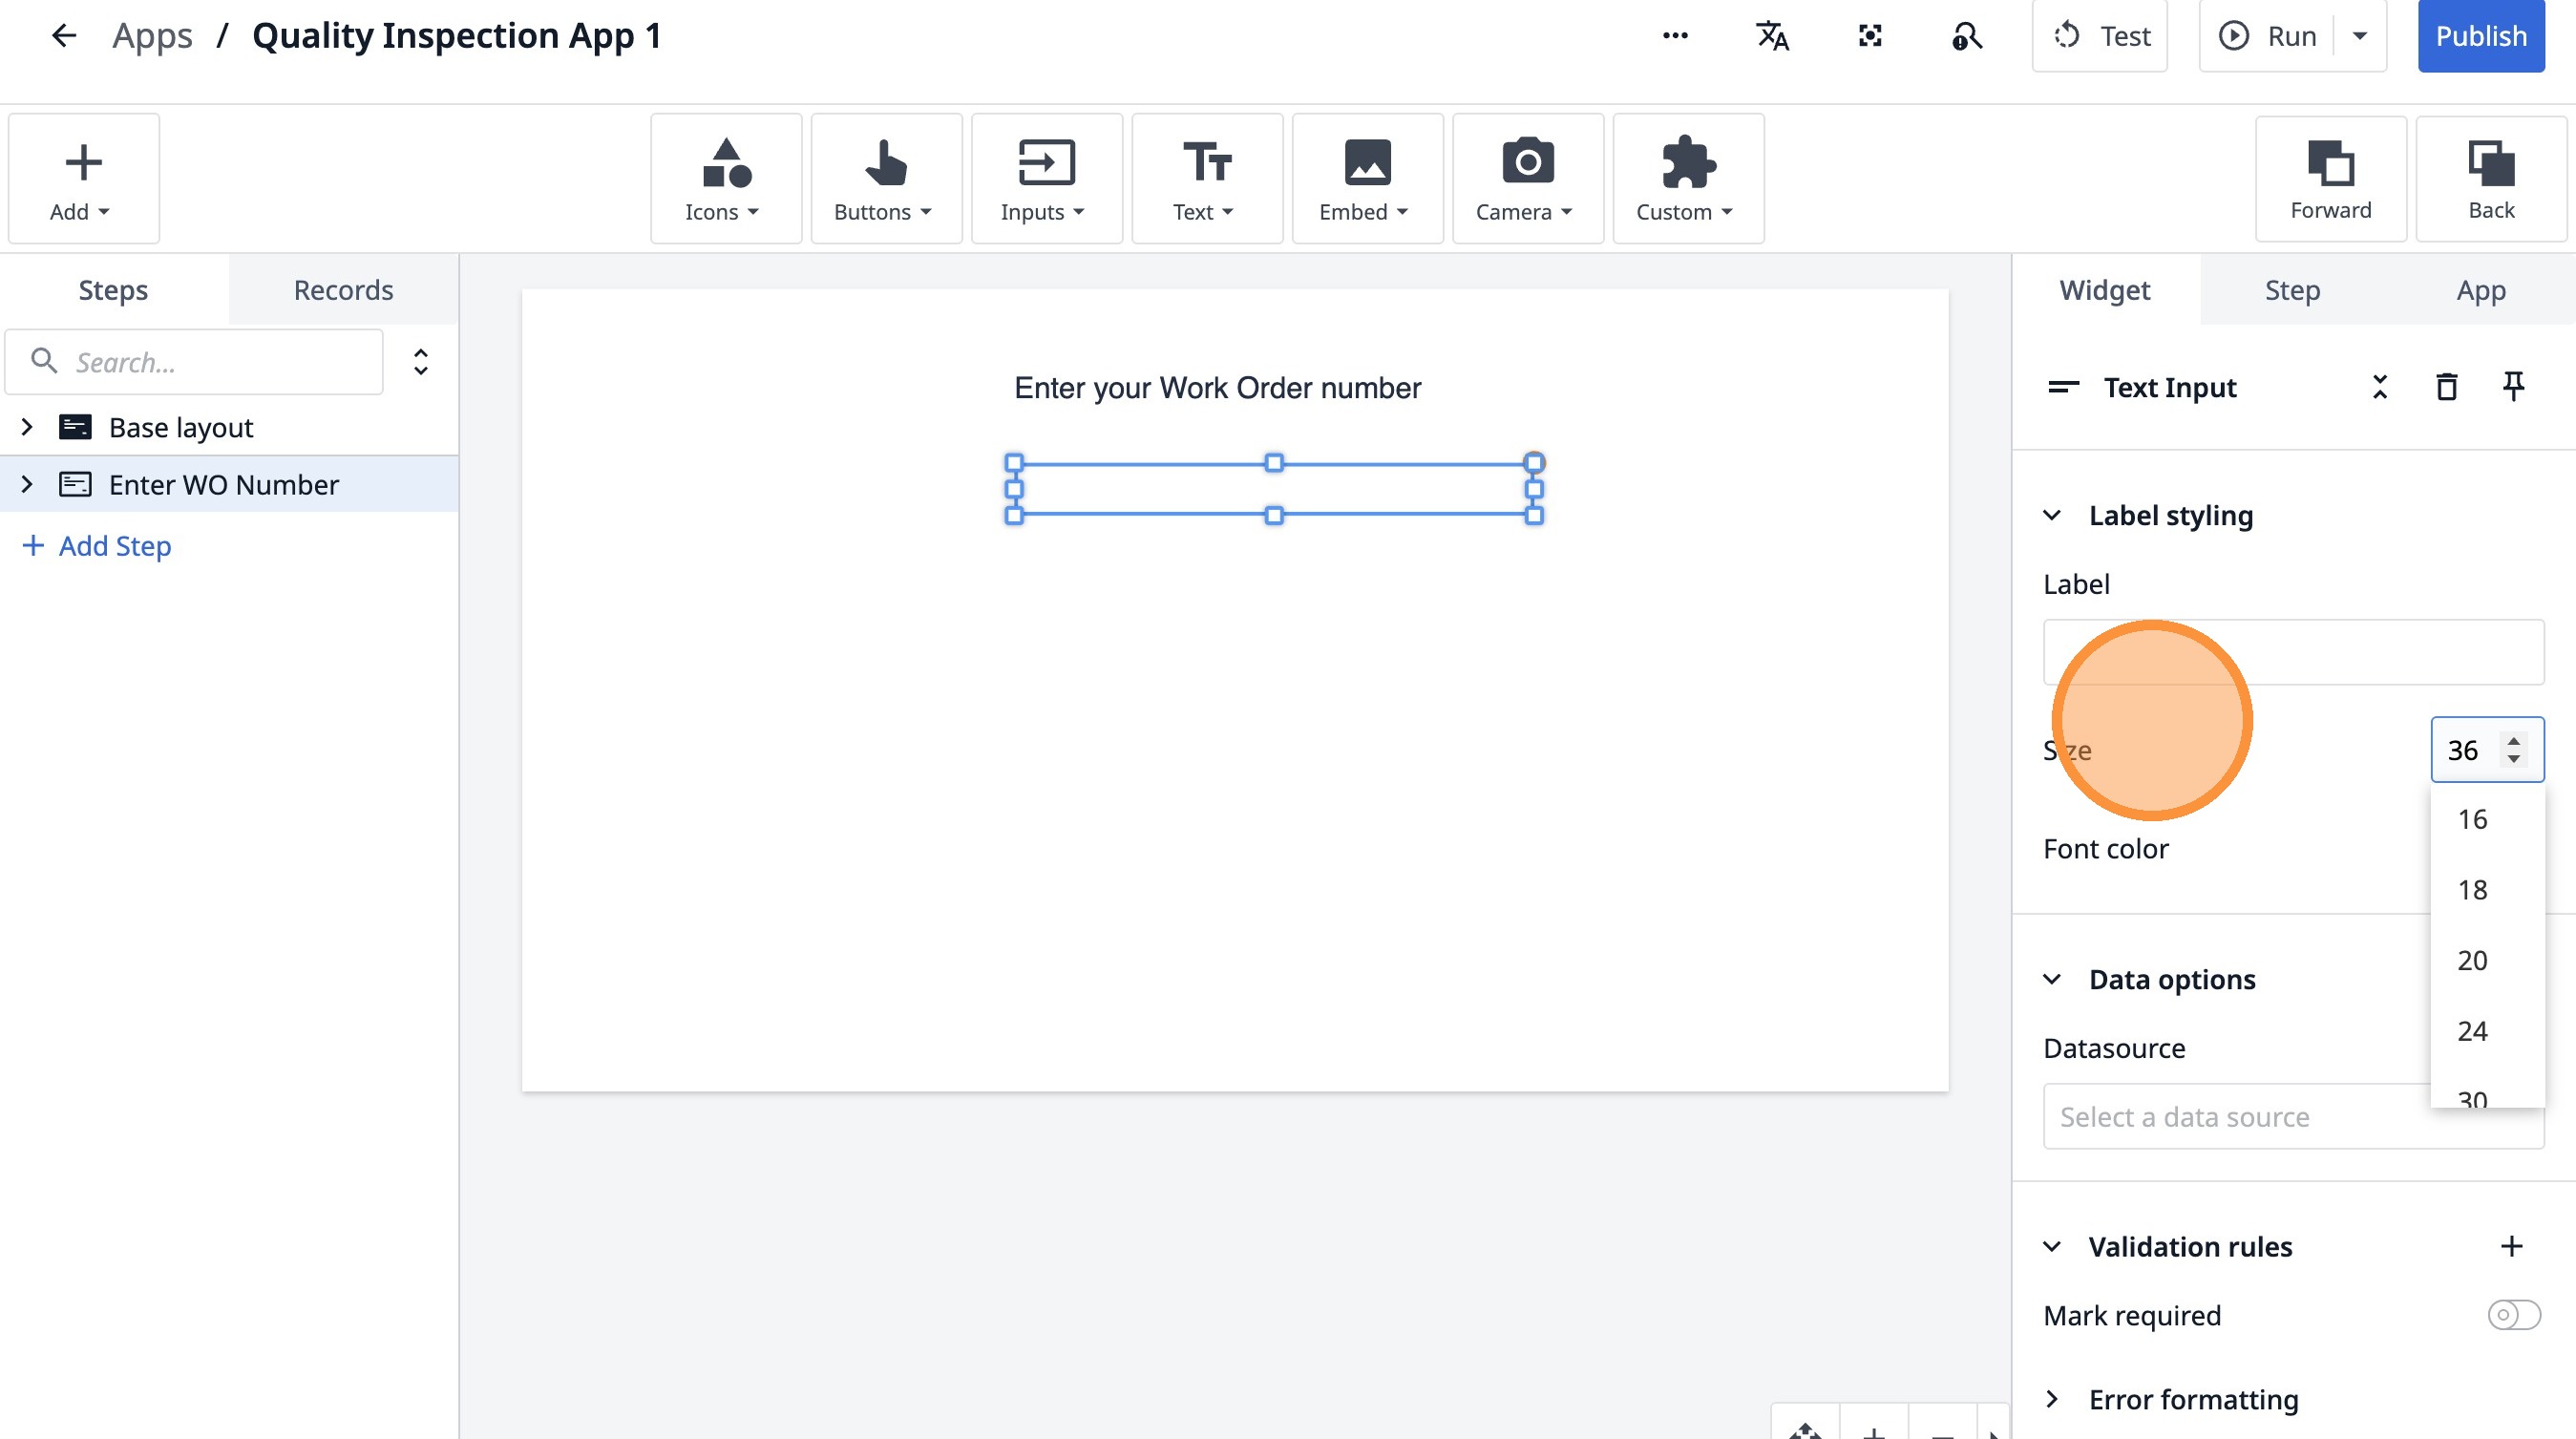
16. Click "Label stylingLabelSizeFont color"
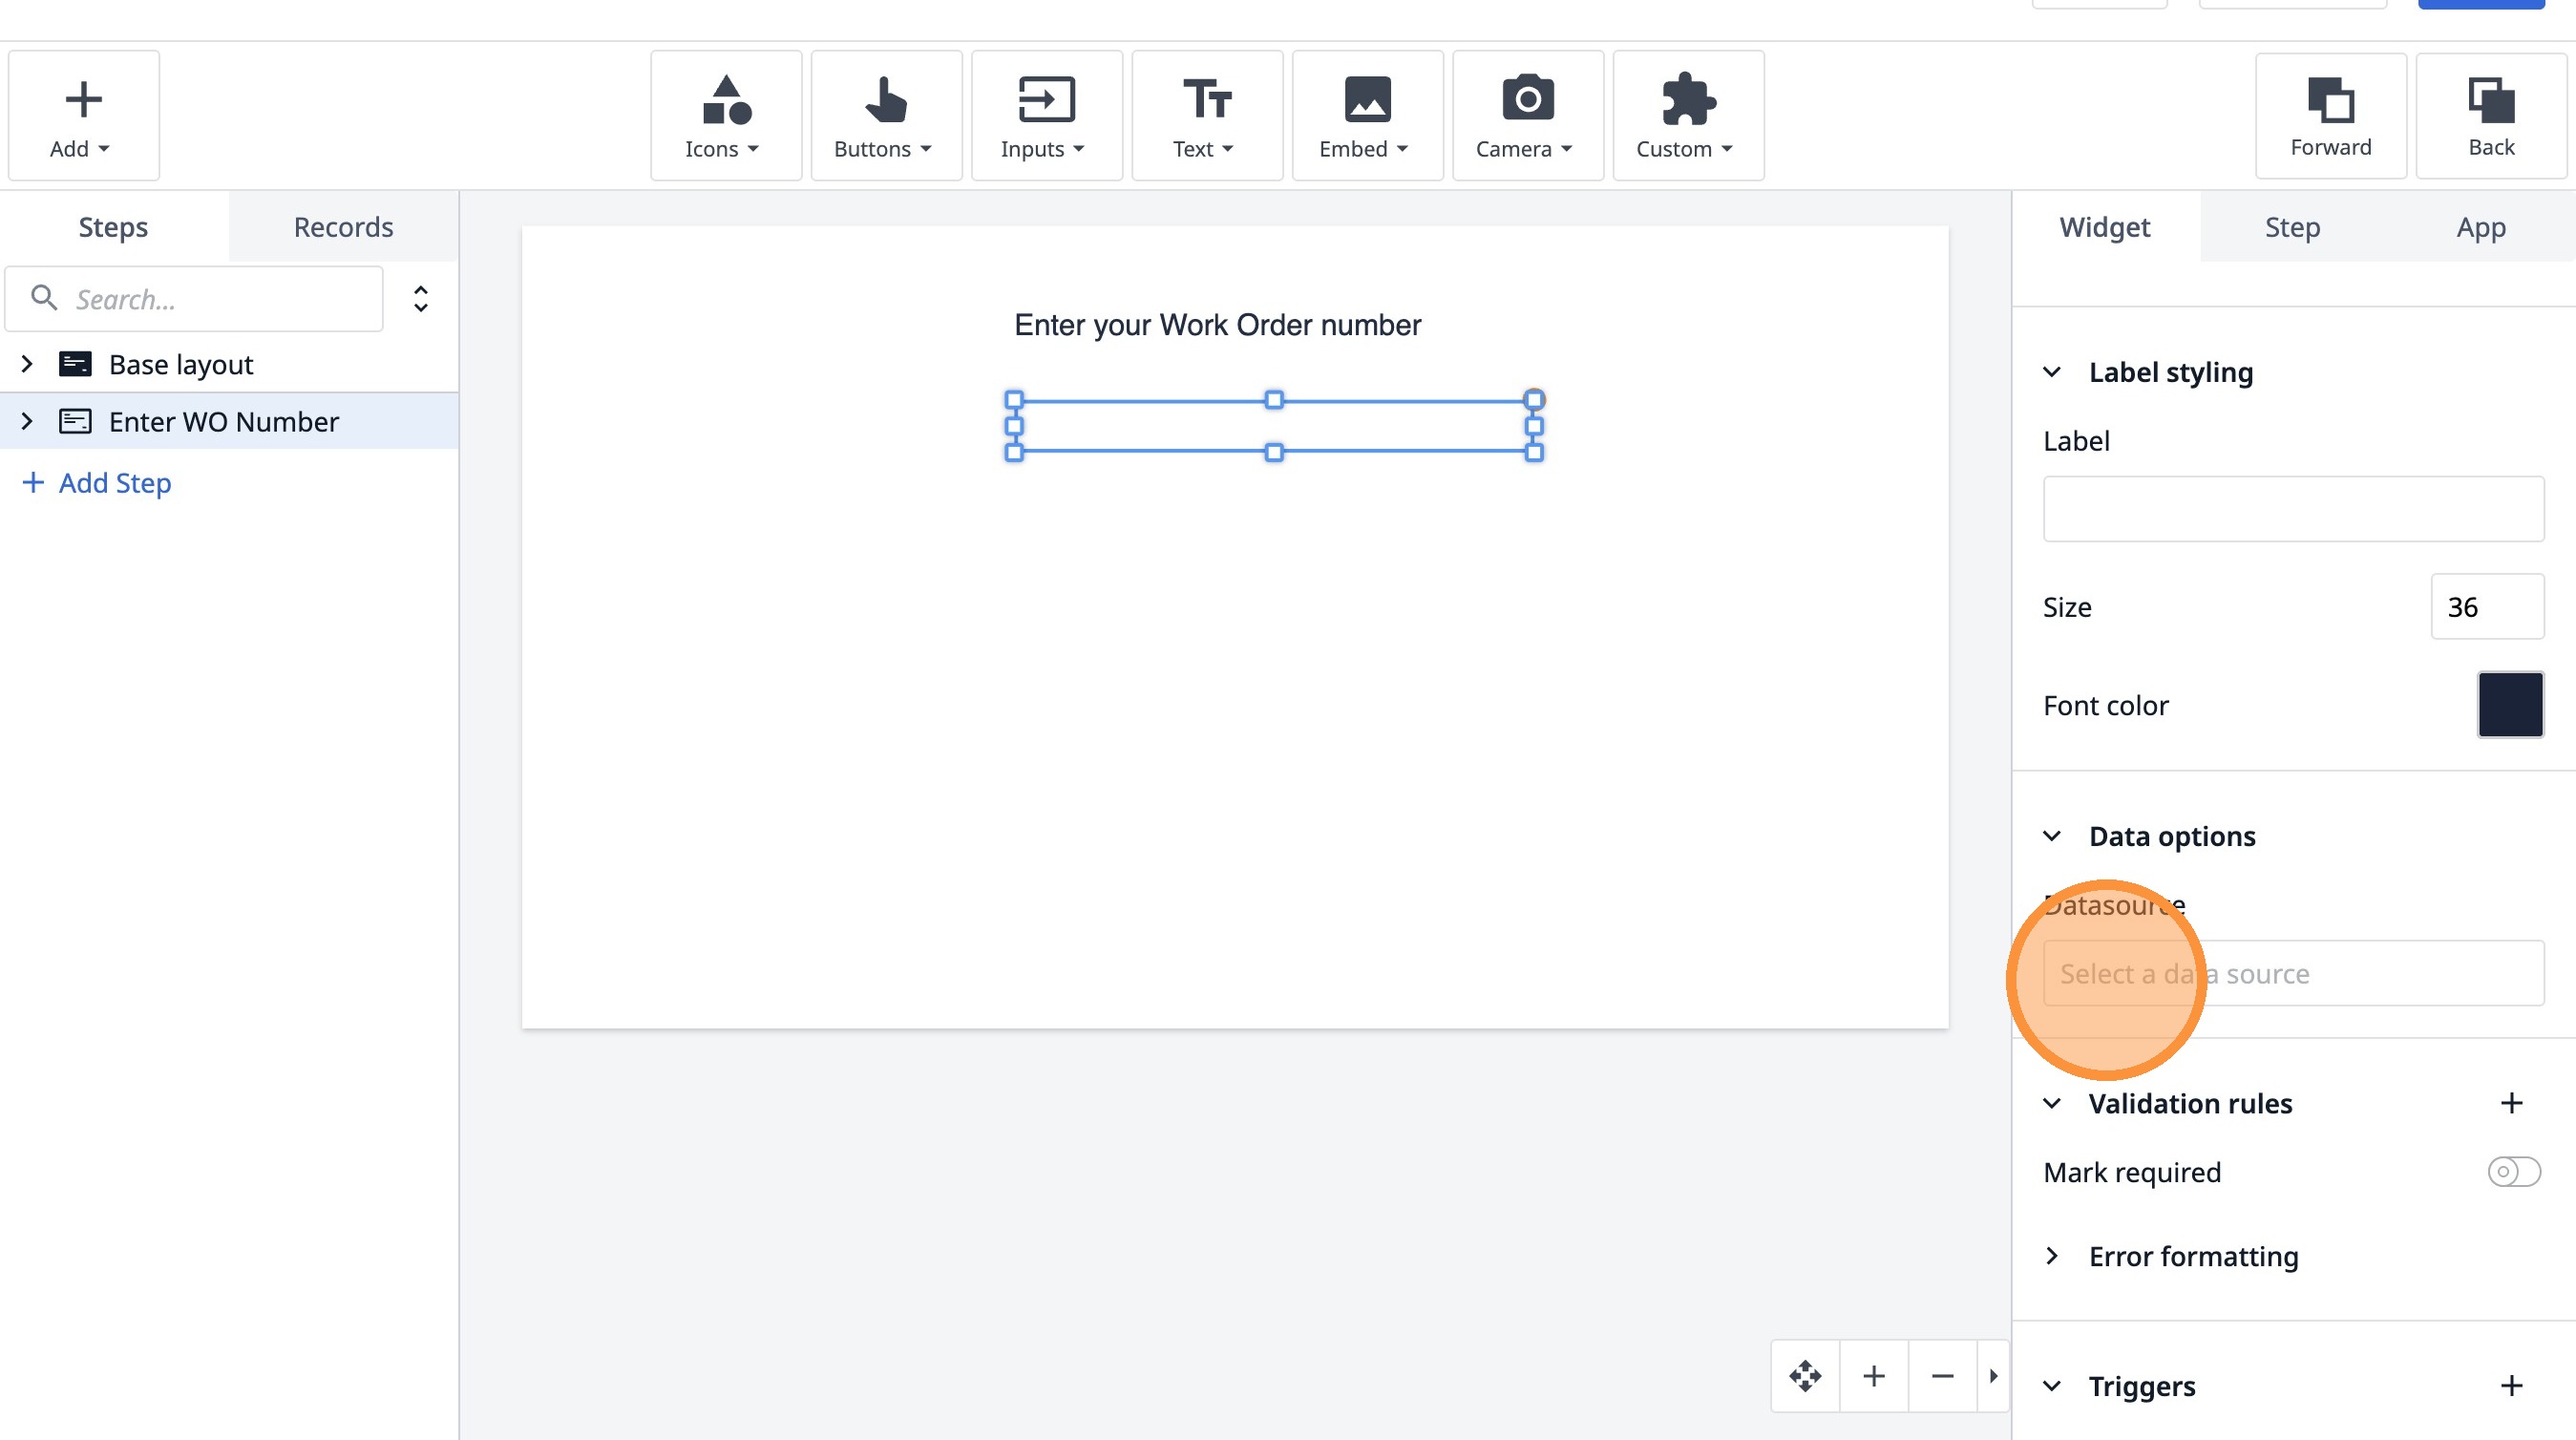
17. Click "Select a data source"
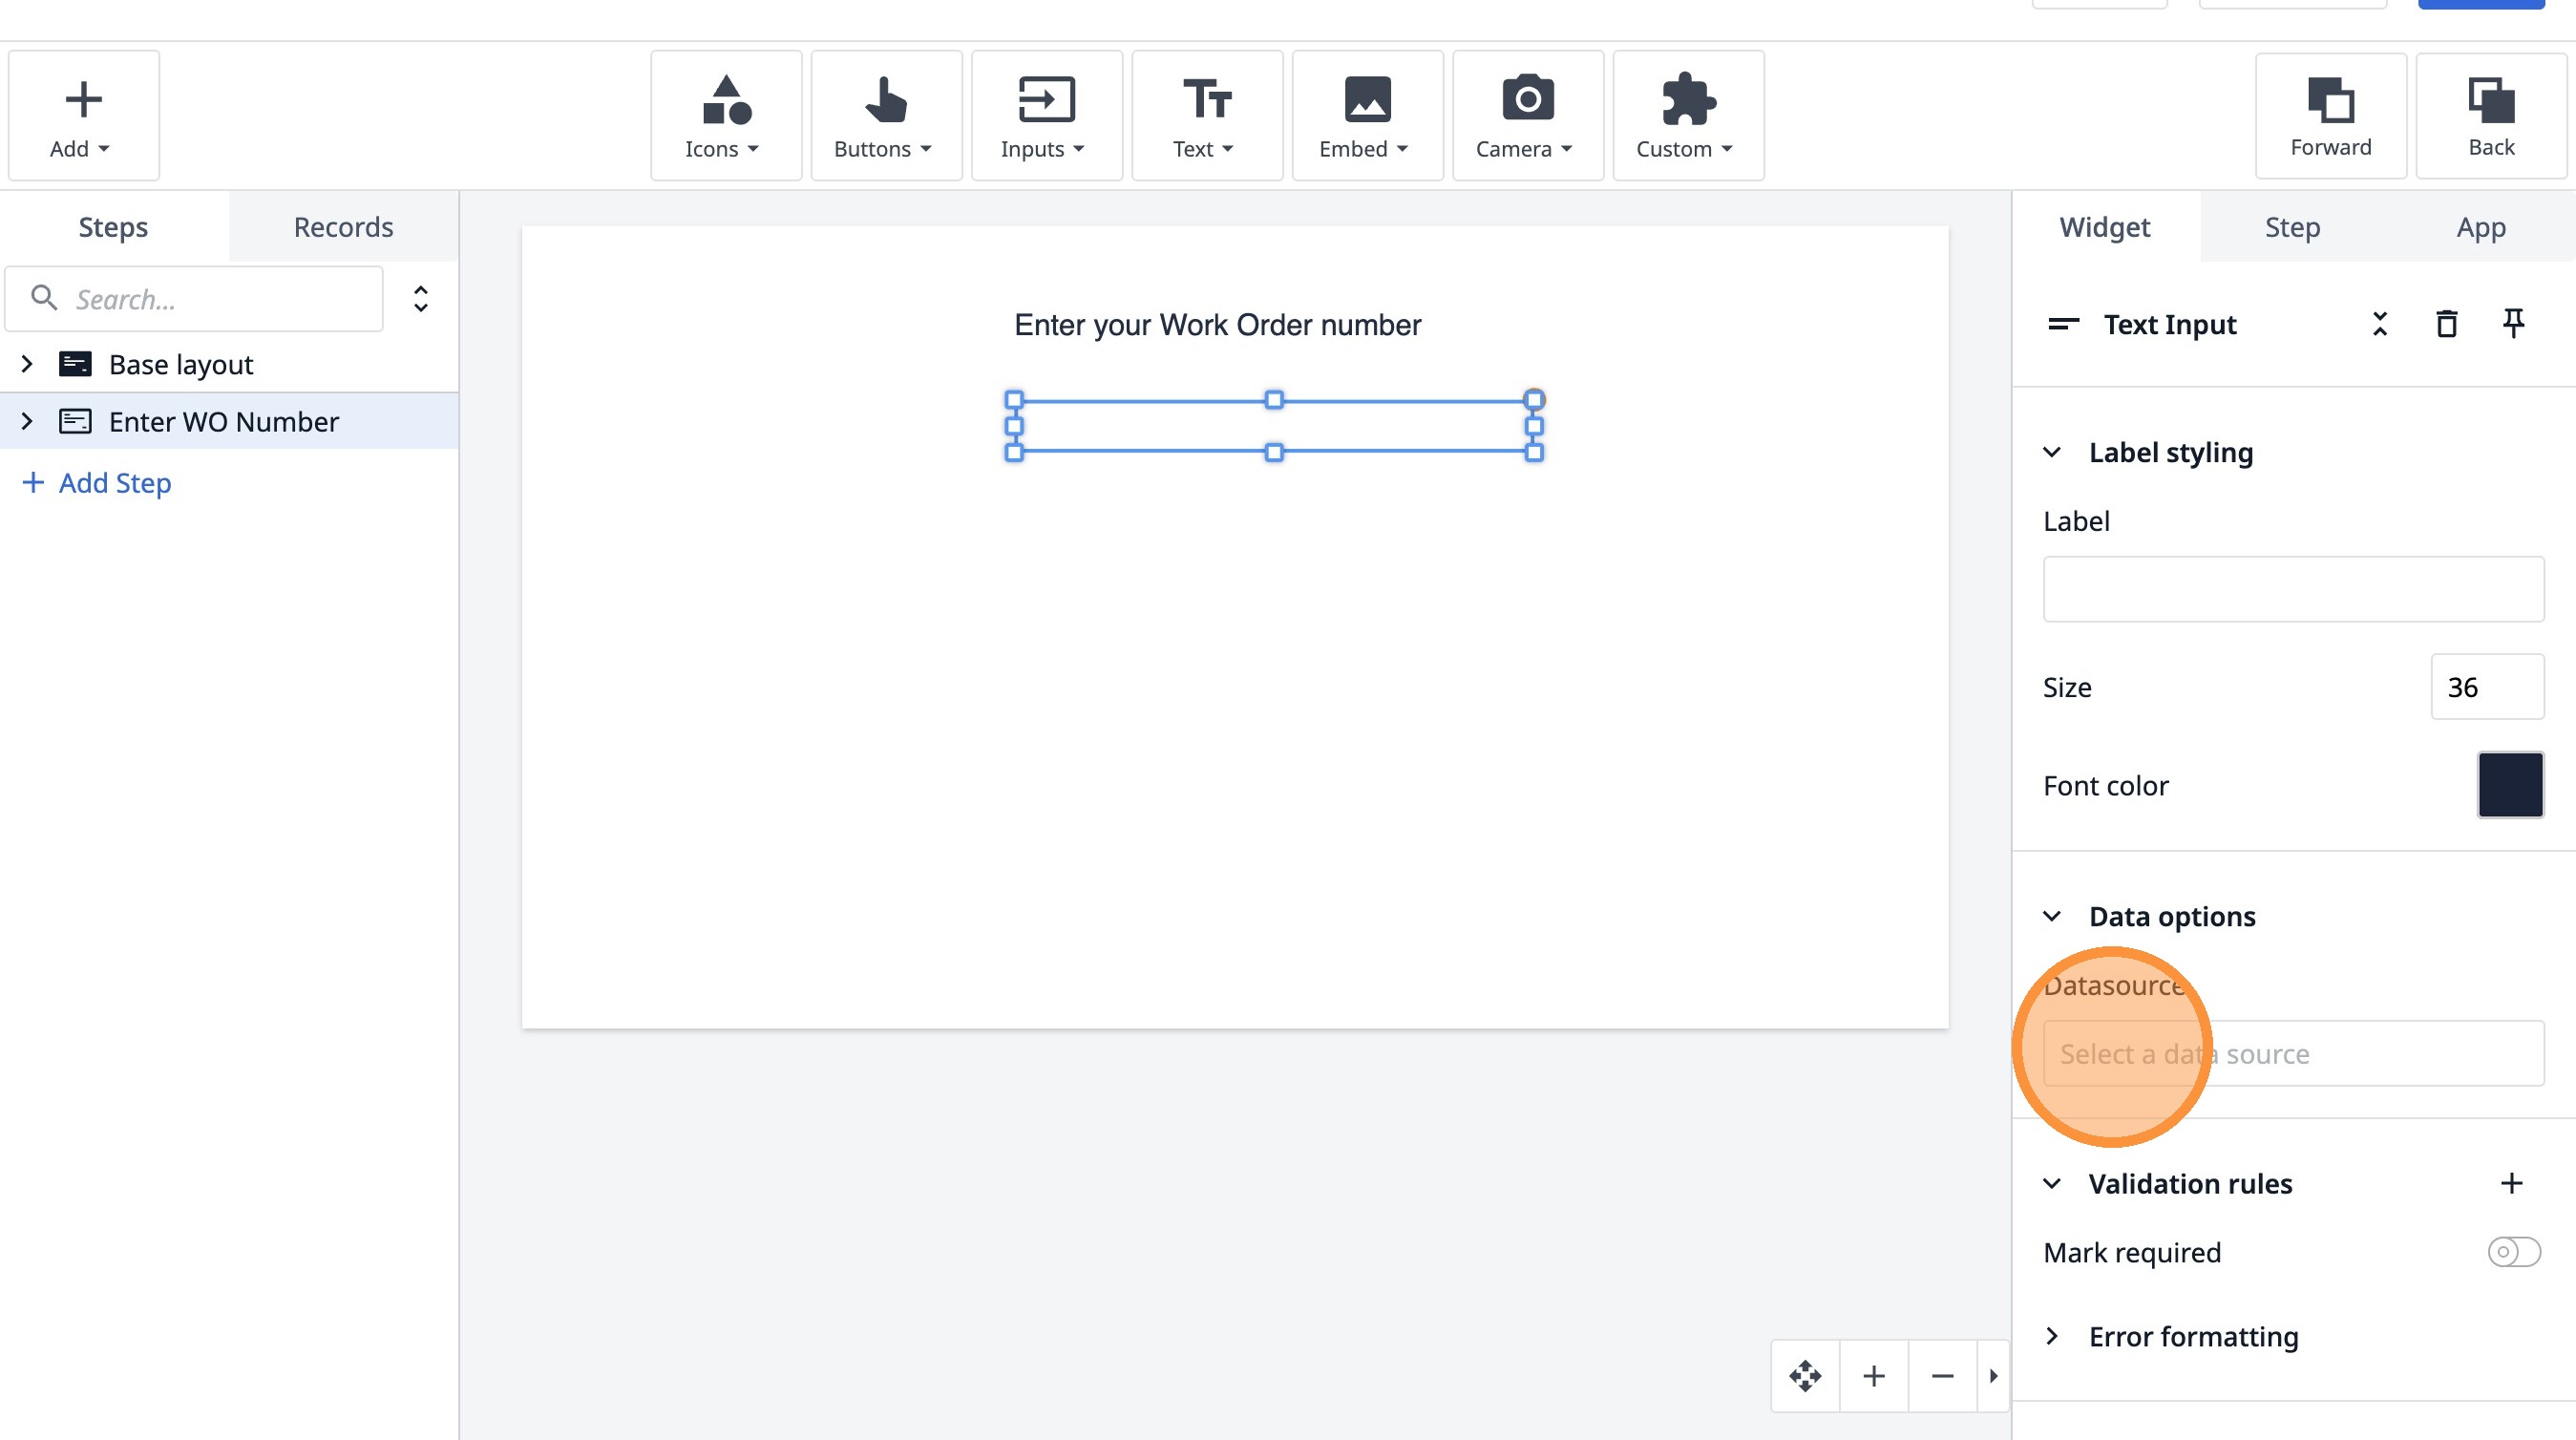
18. Click "Validation rulesMark requiredError formatting"
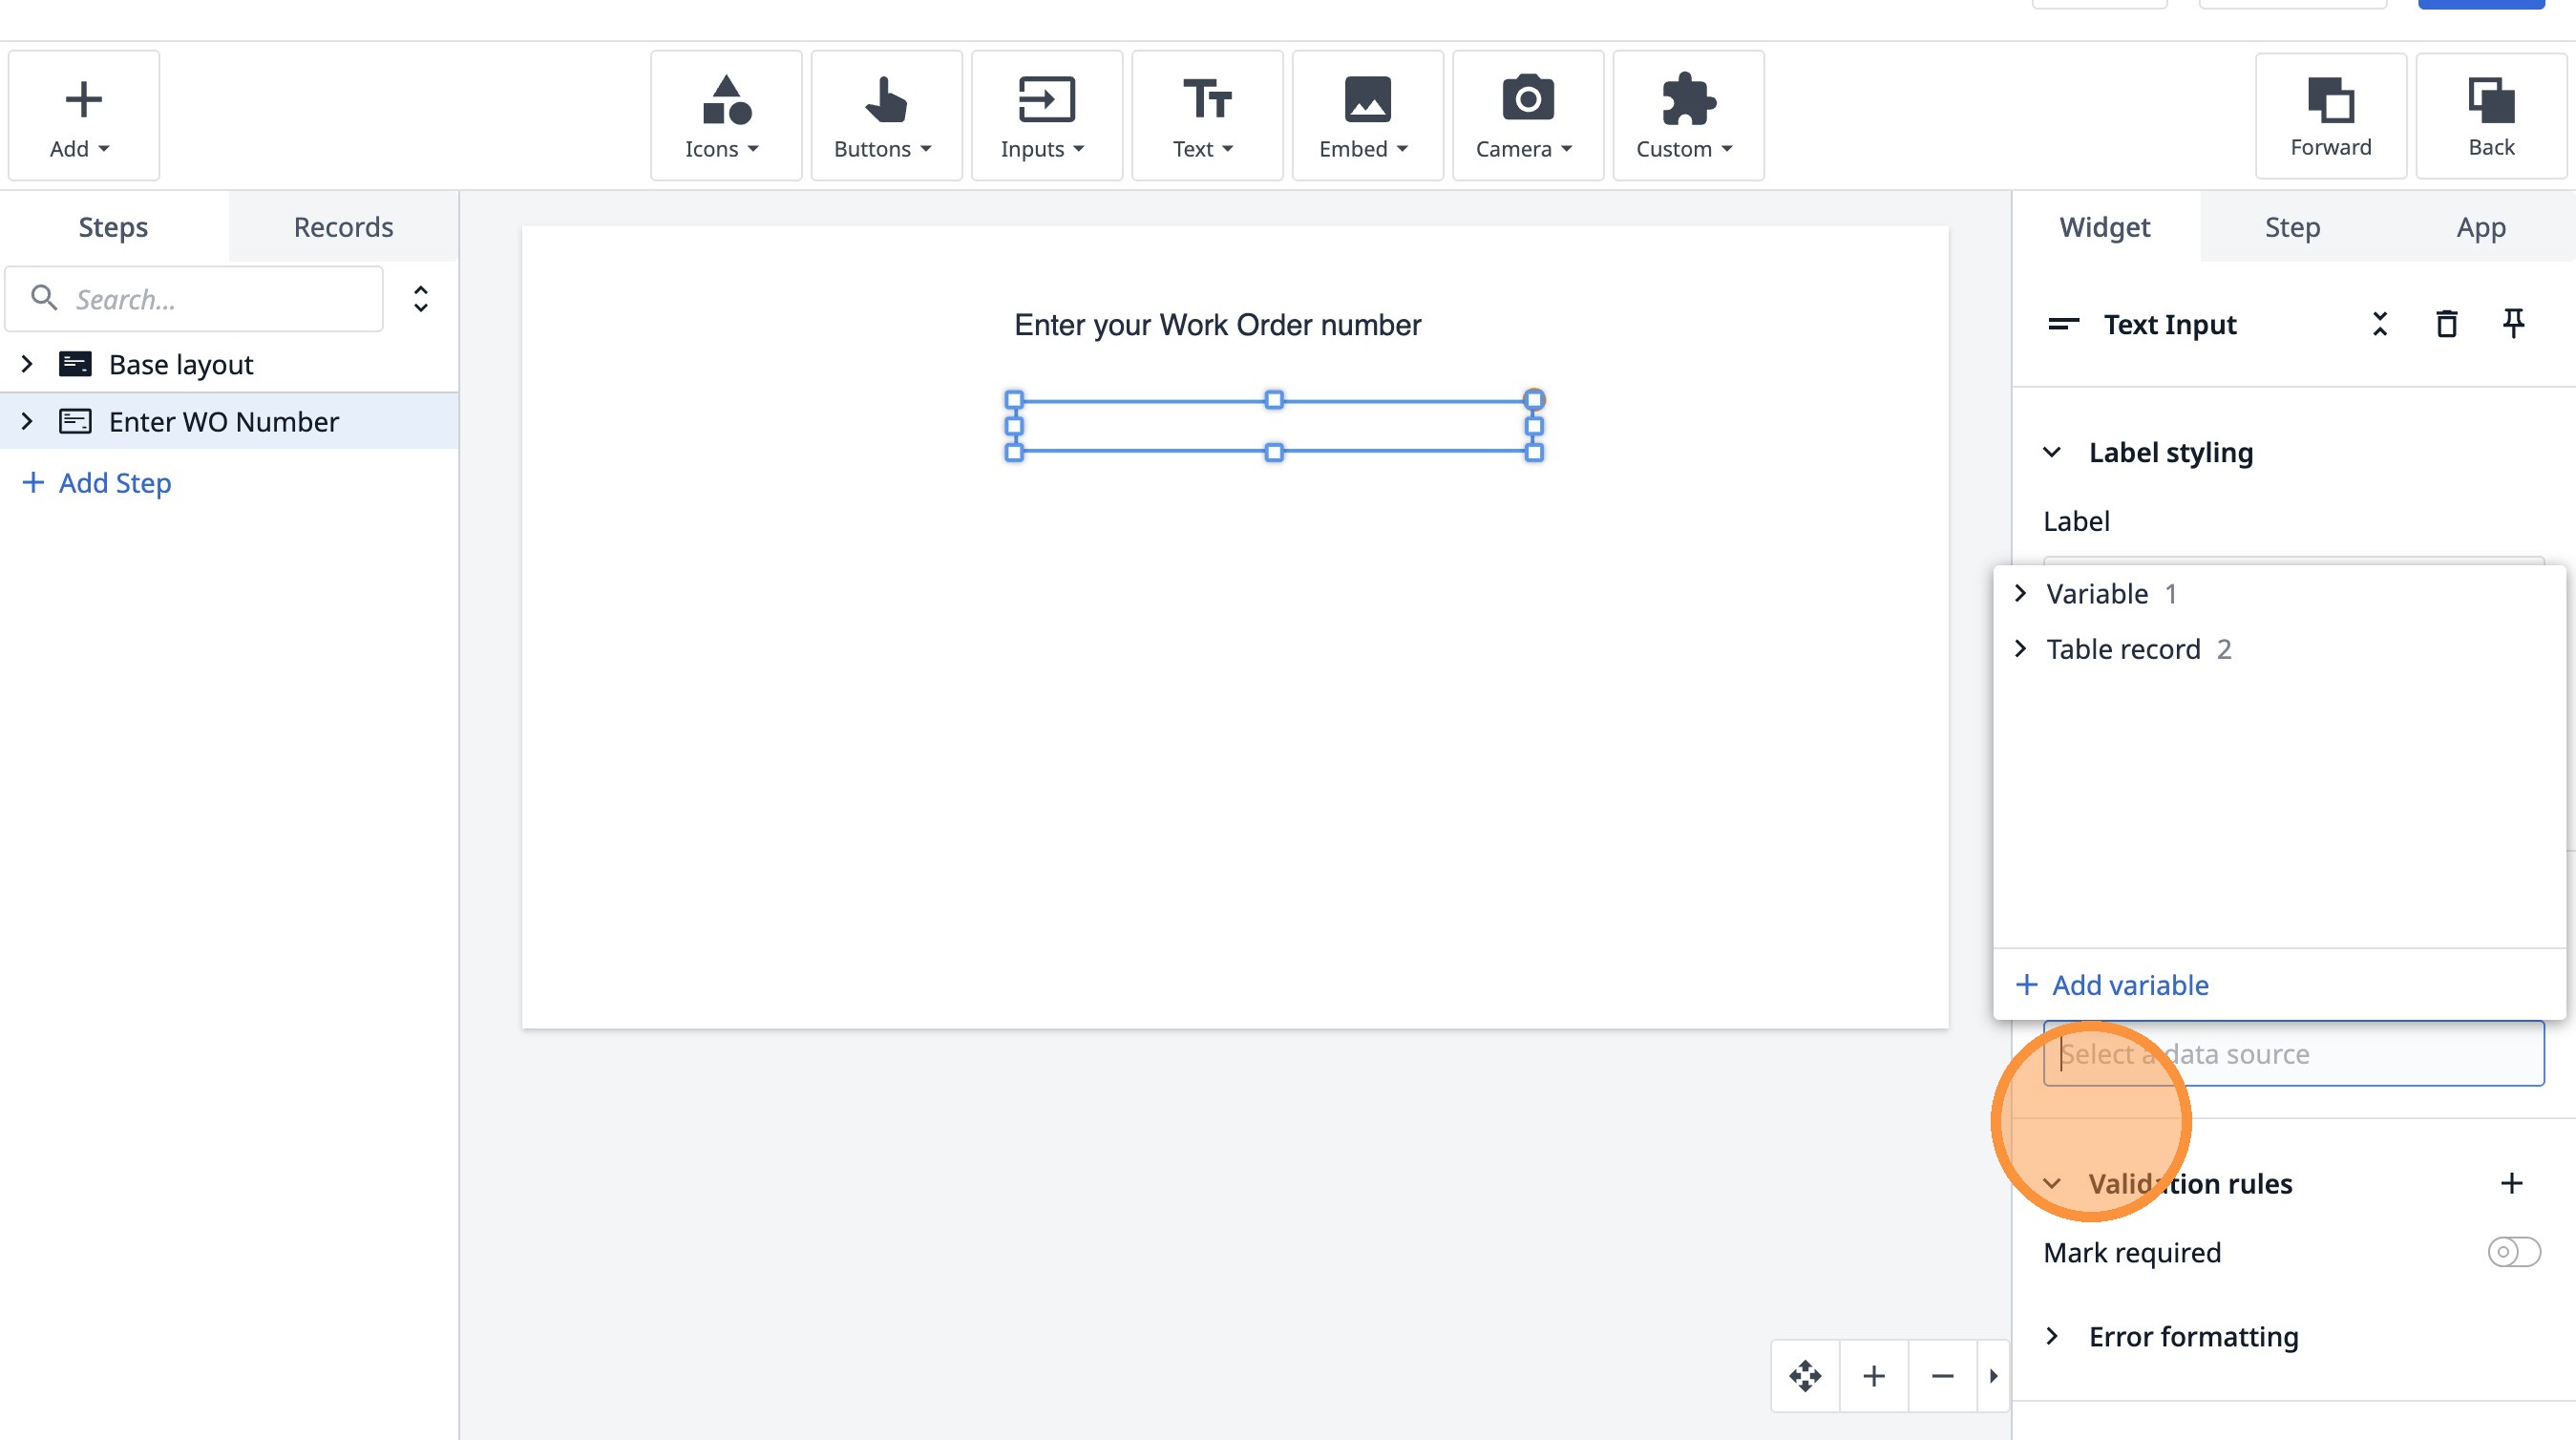
19. Click "Select a data source"
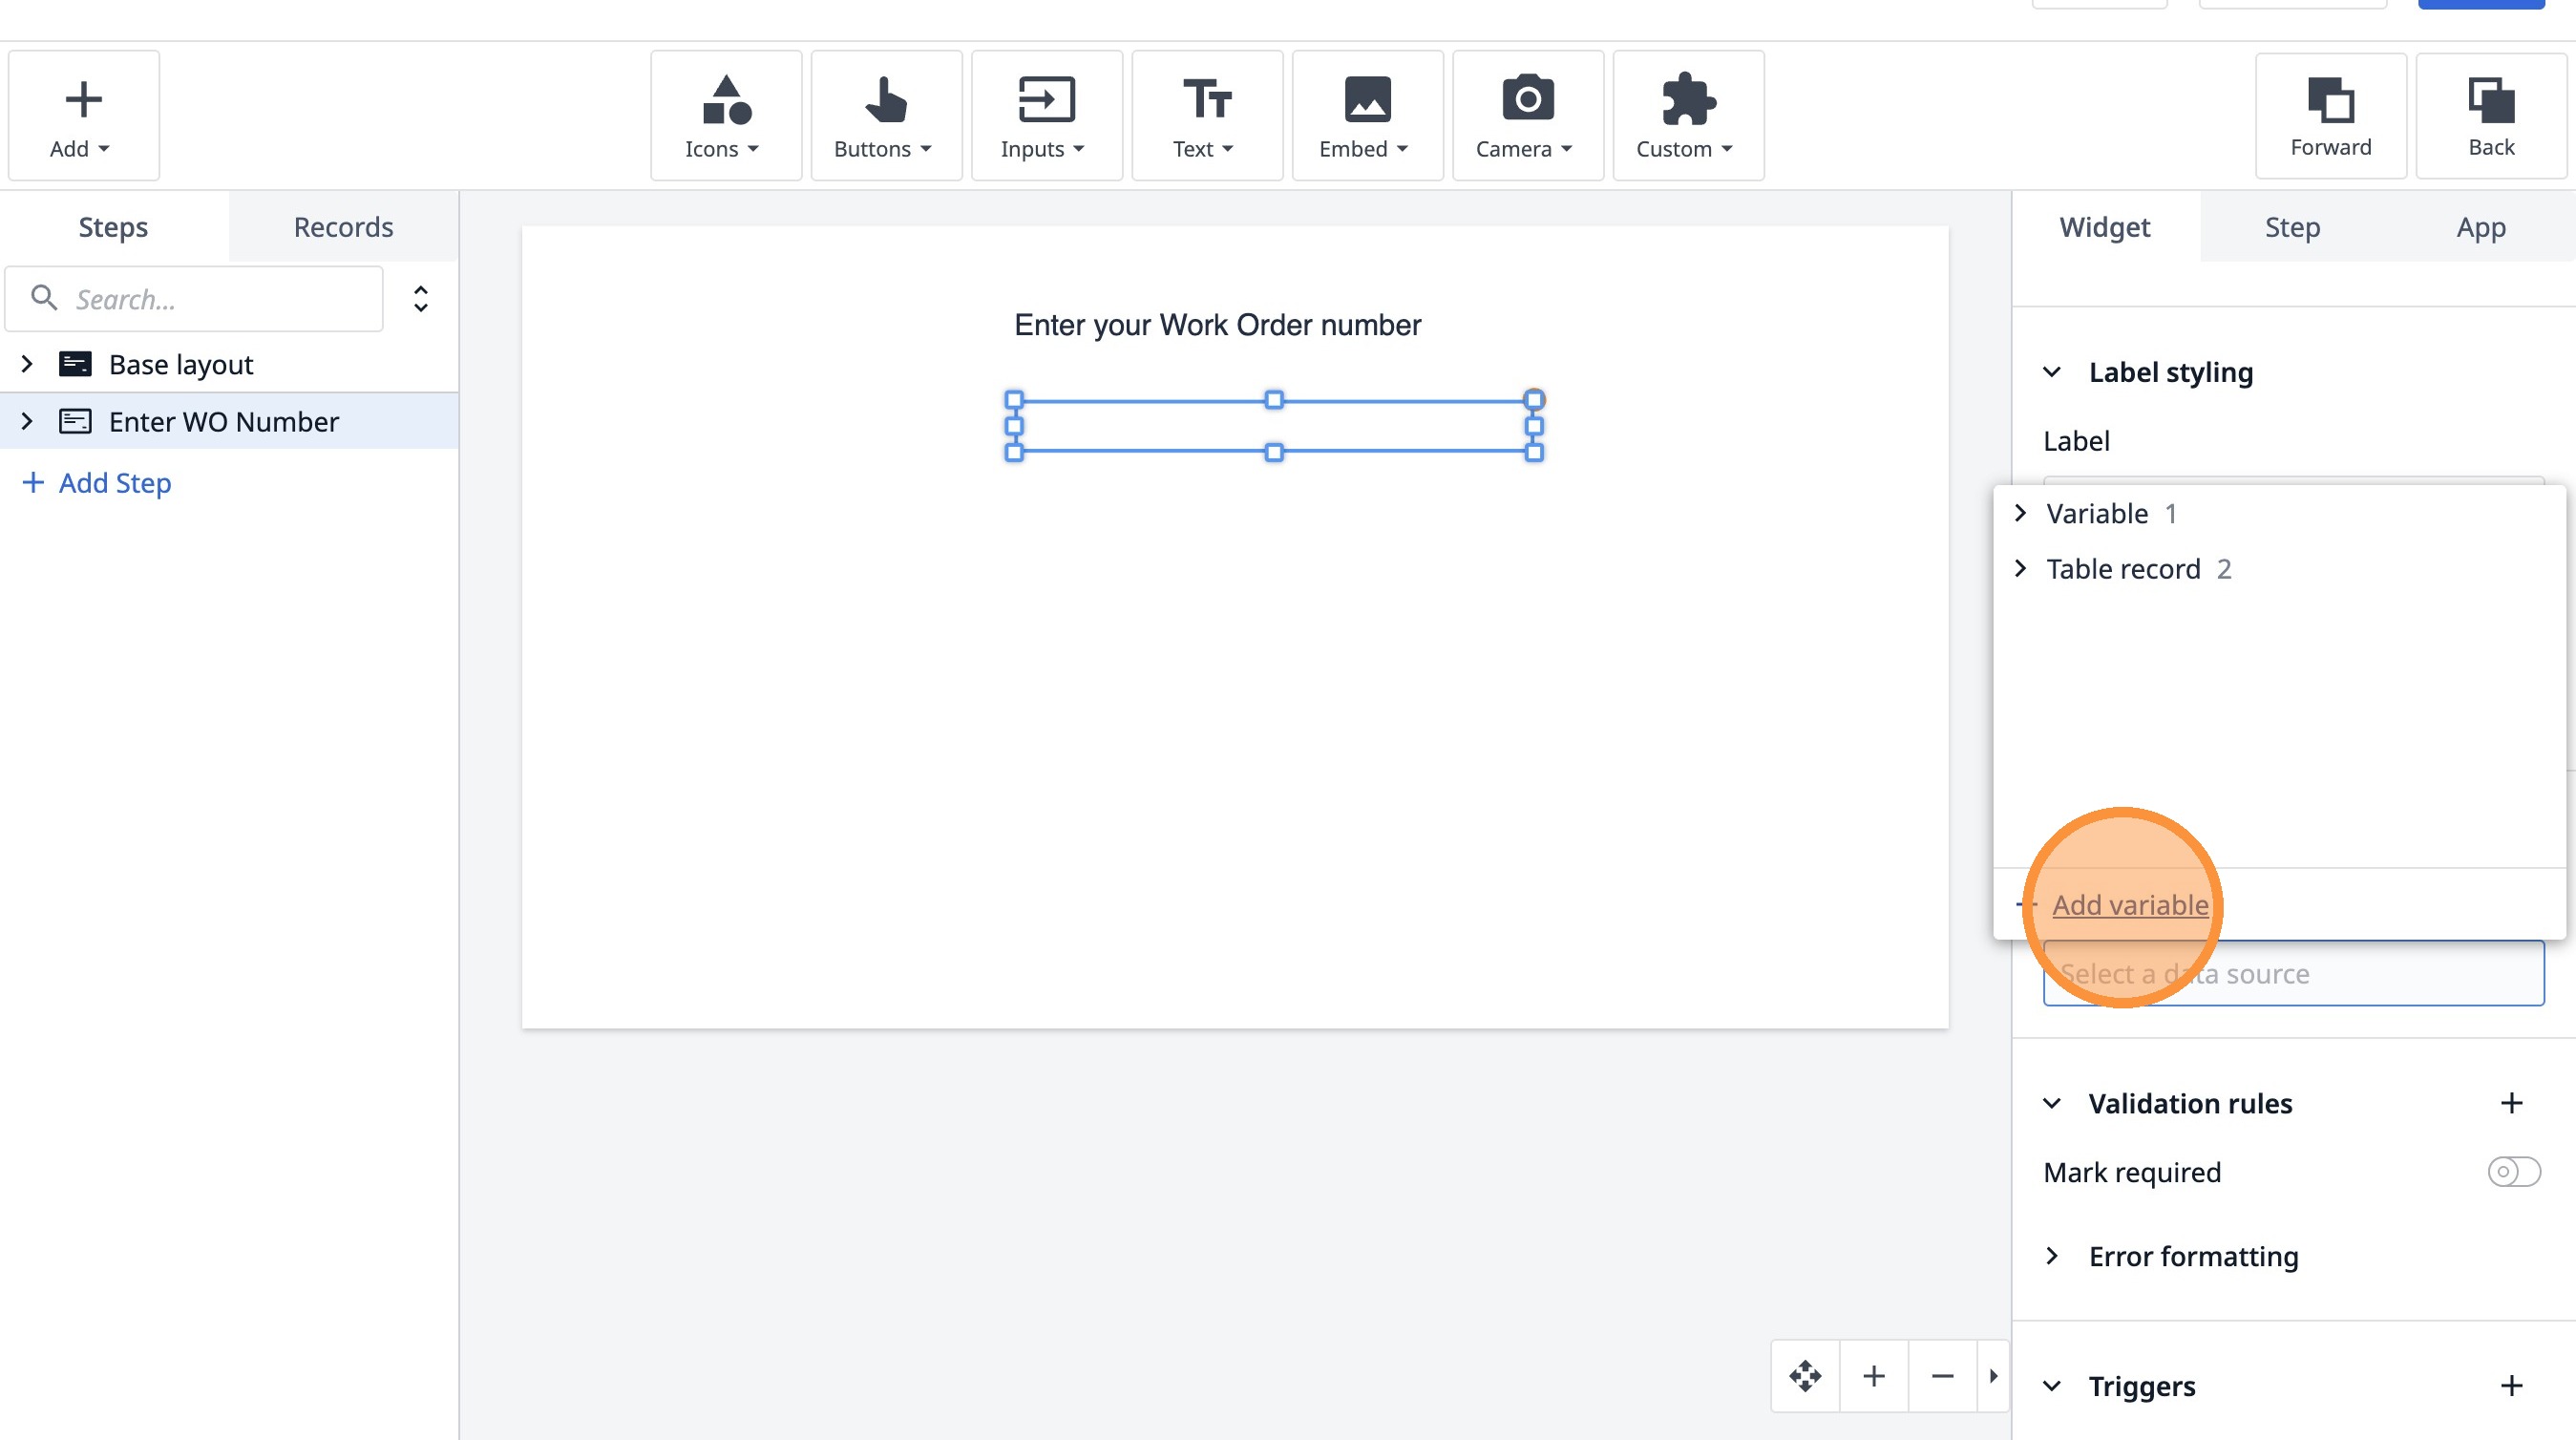
20. Click "Add variable"
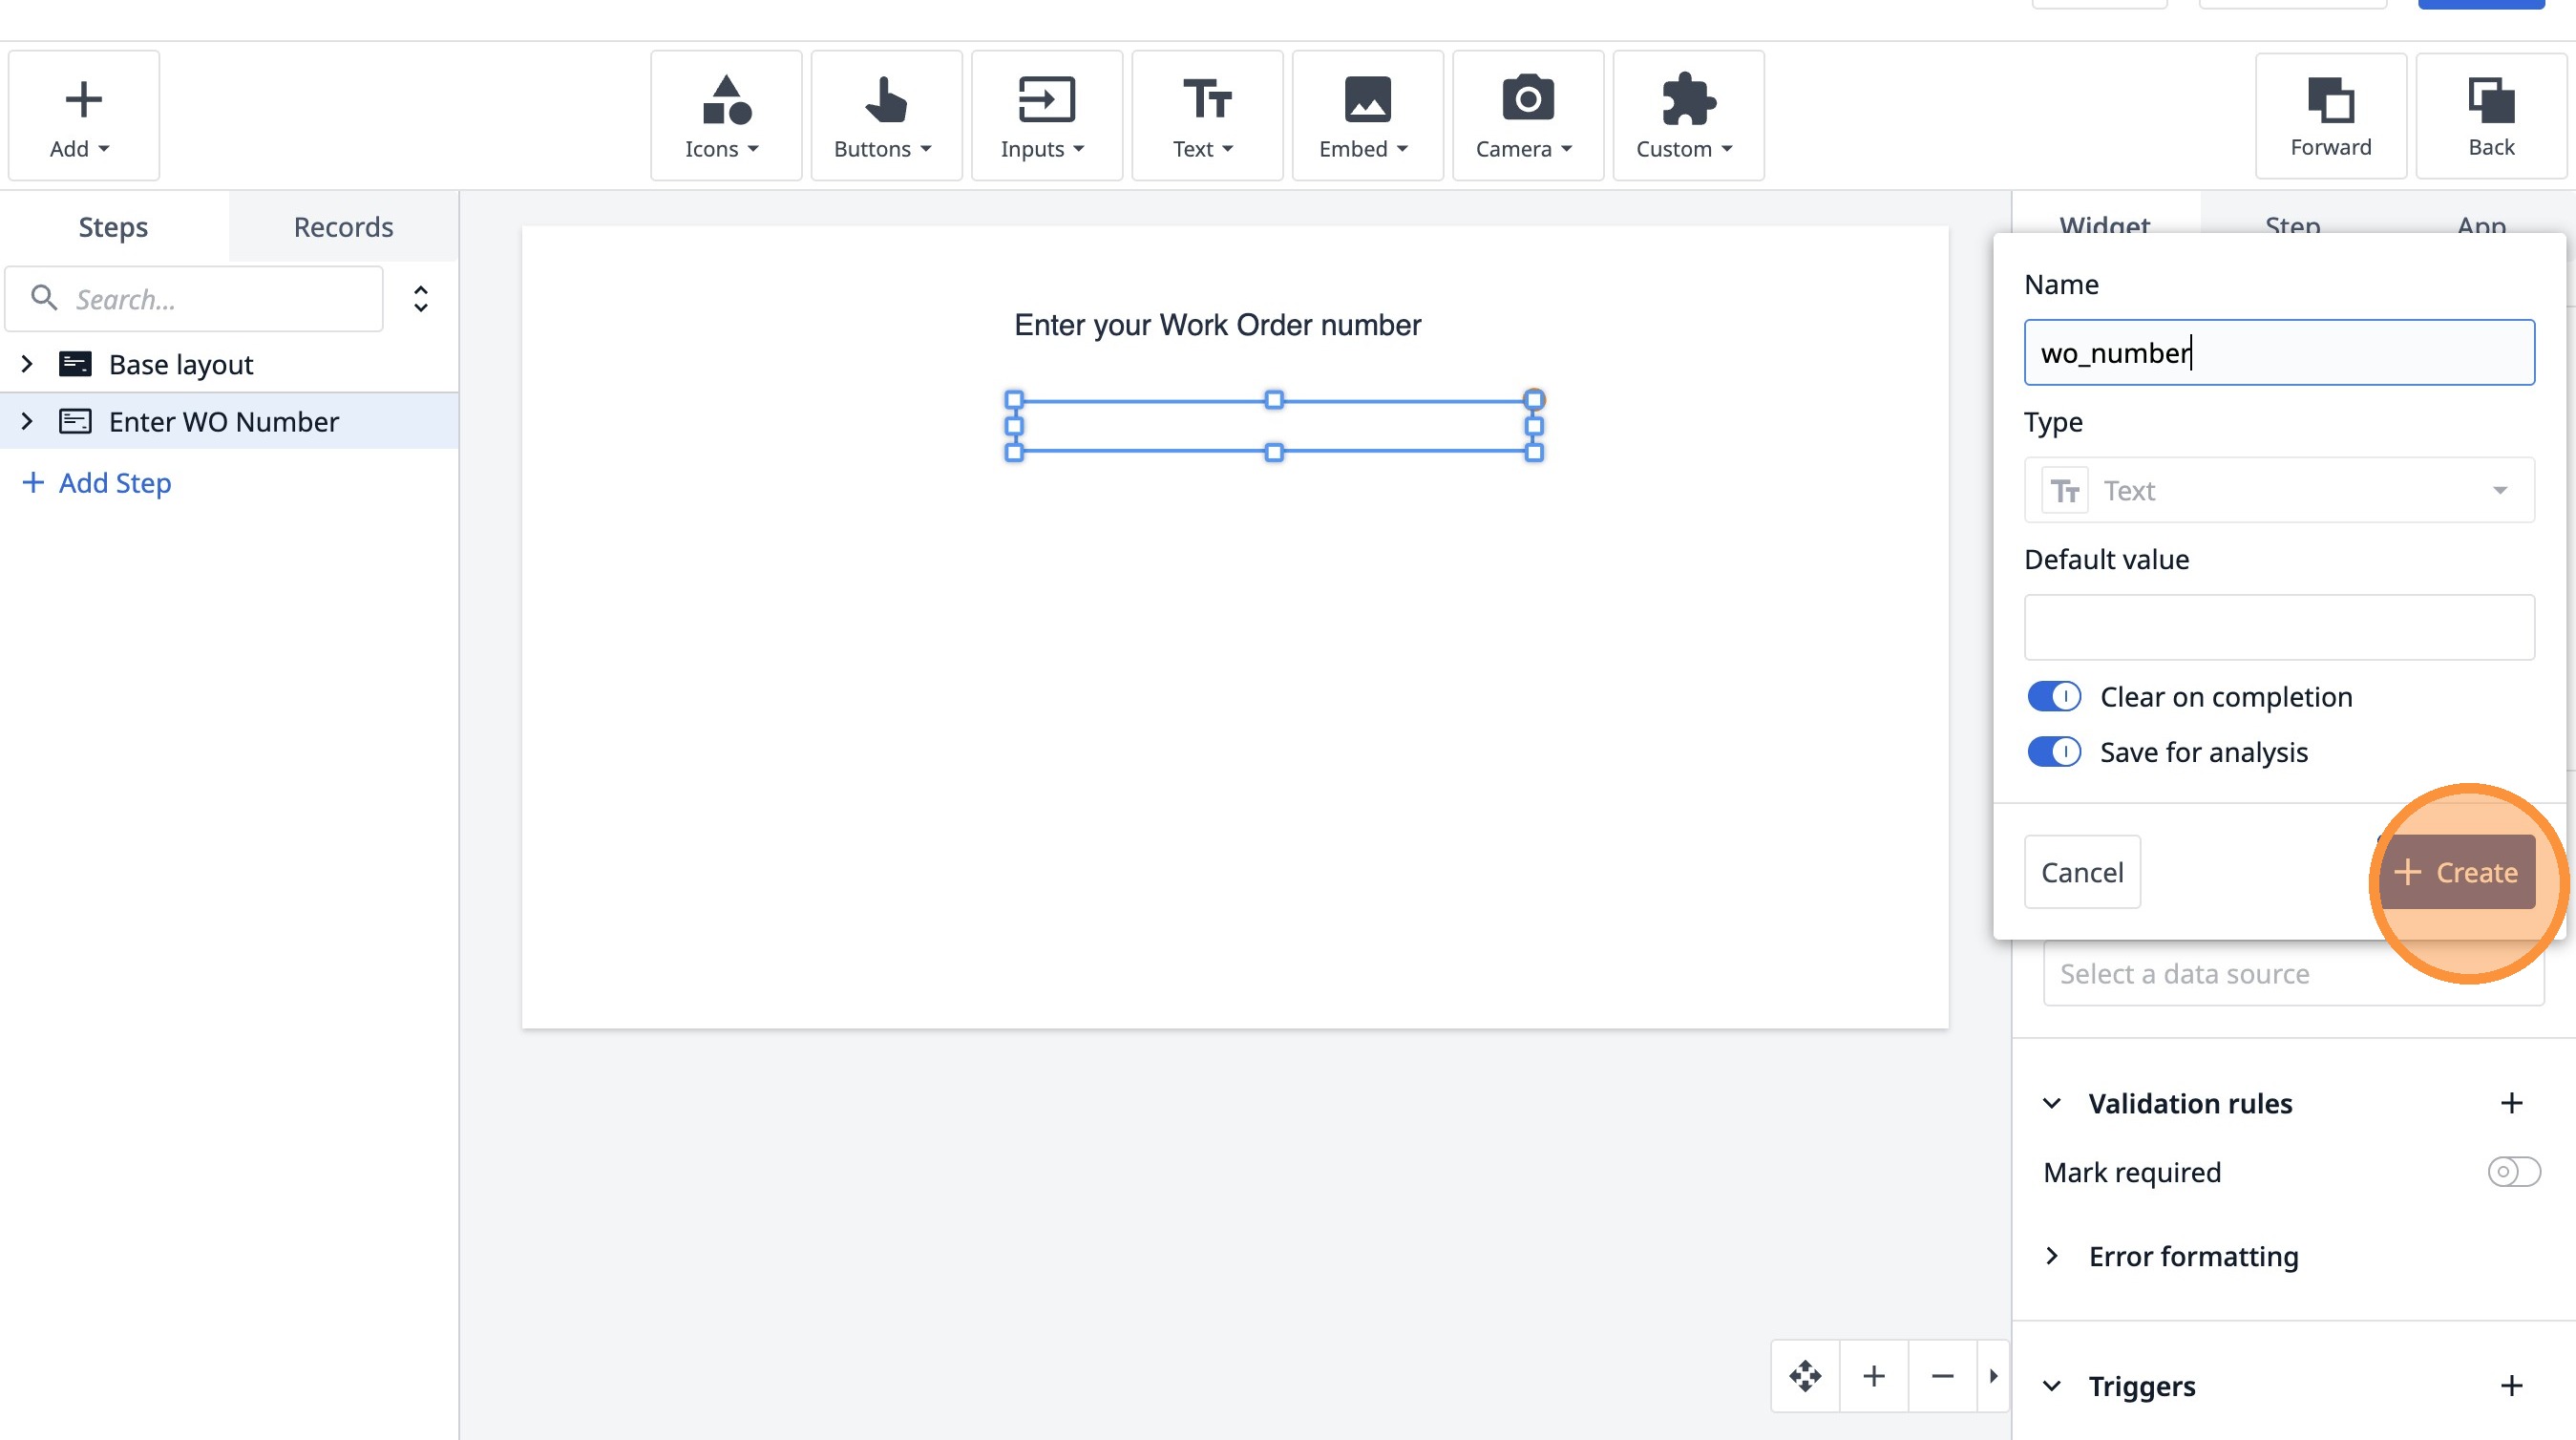
21. Type "wo_number"
22. Click "Create"
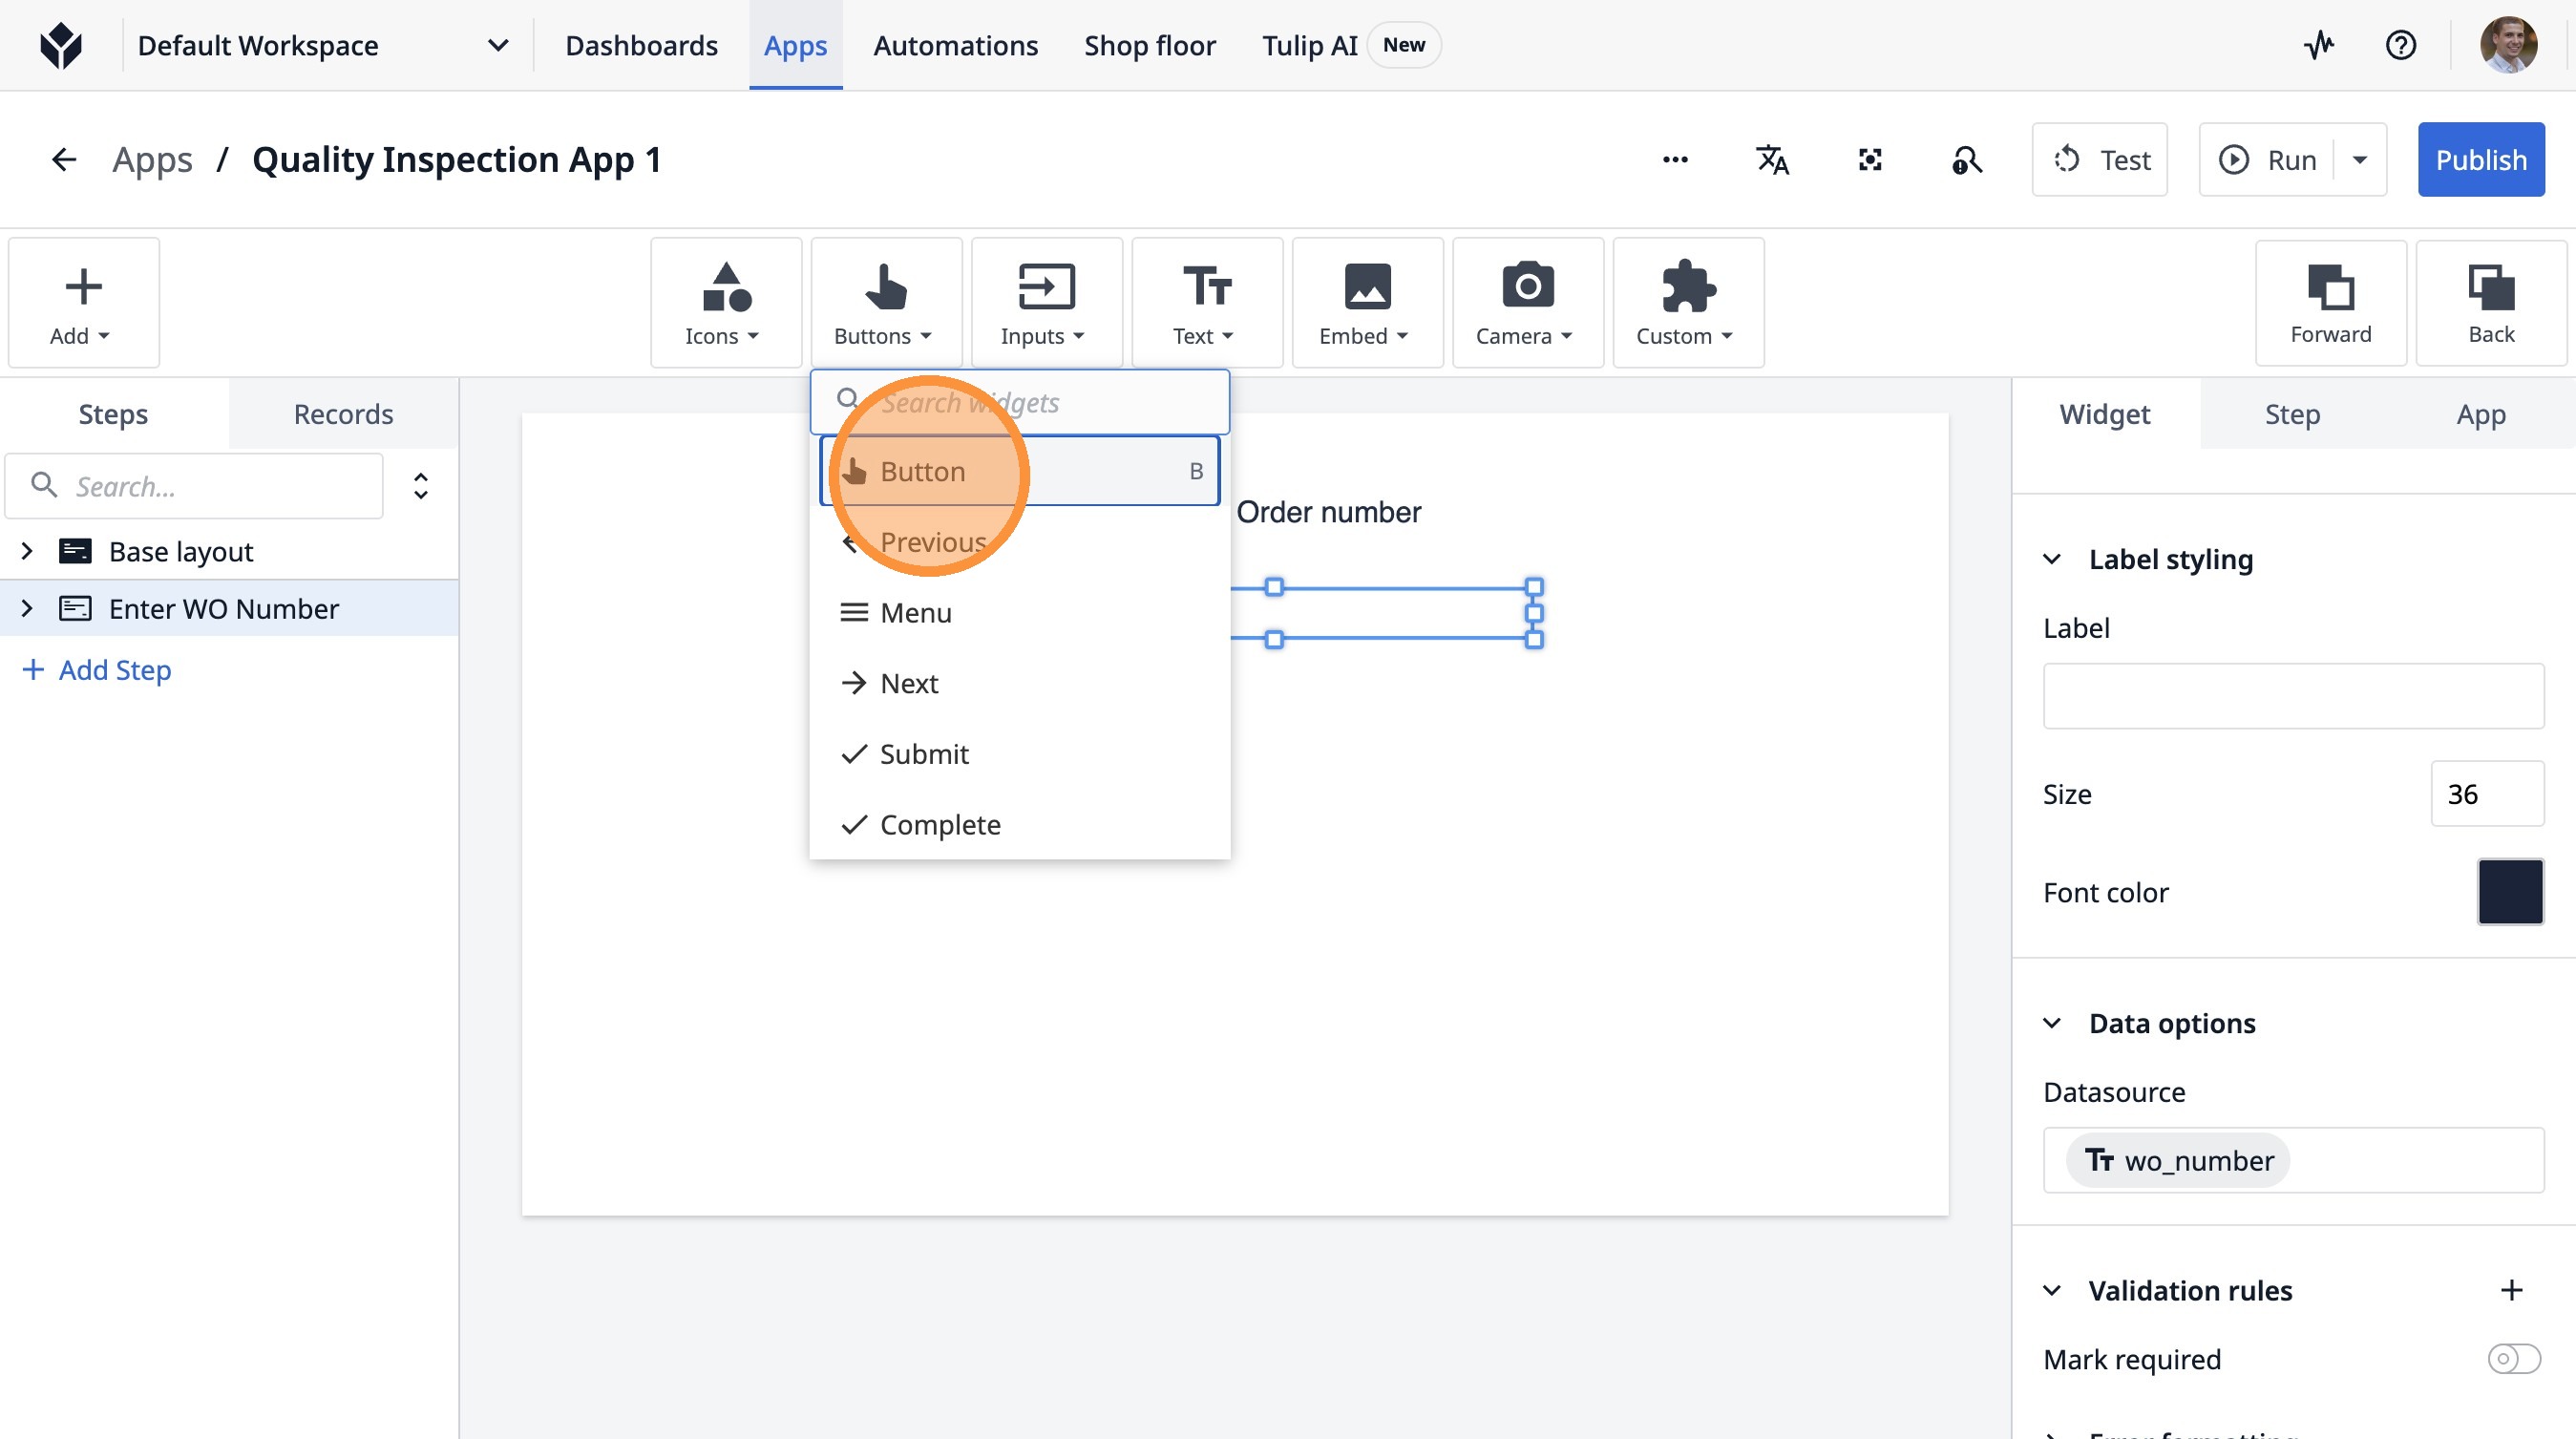
23. Click here.
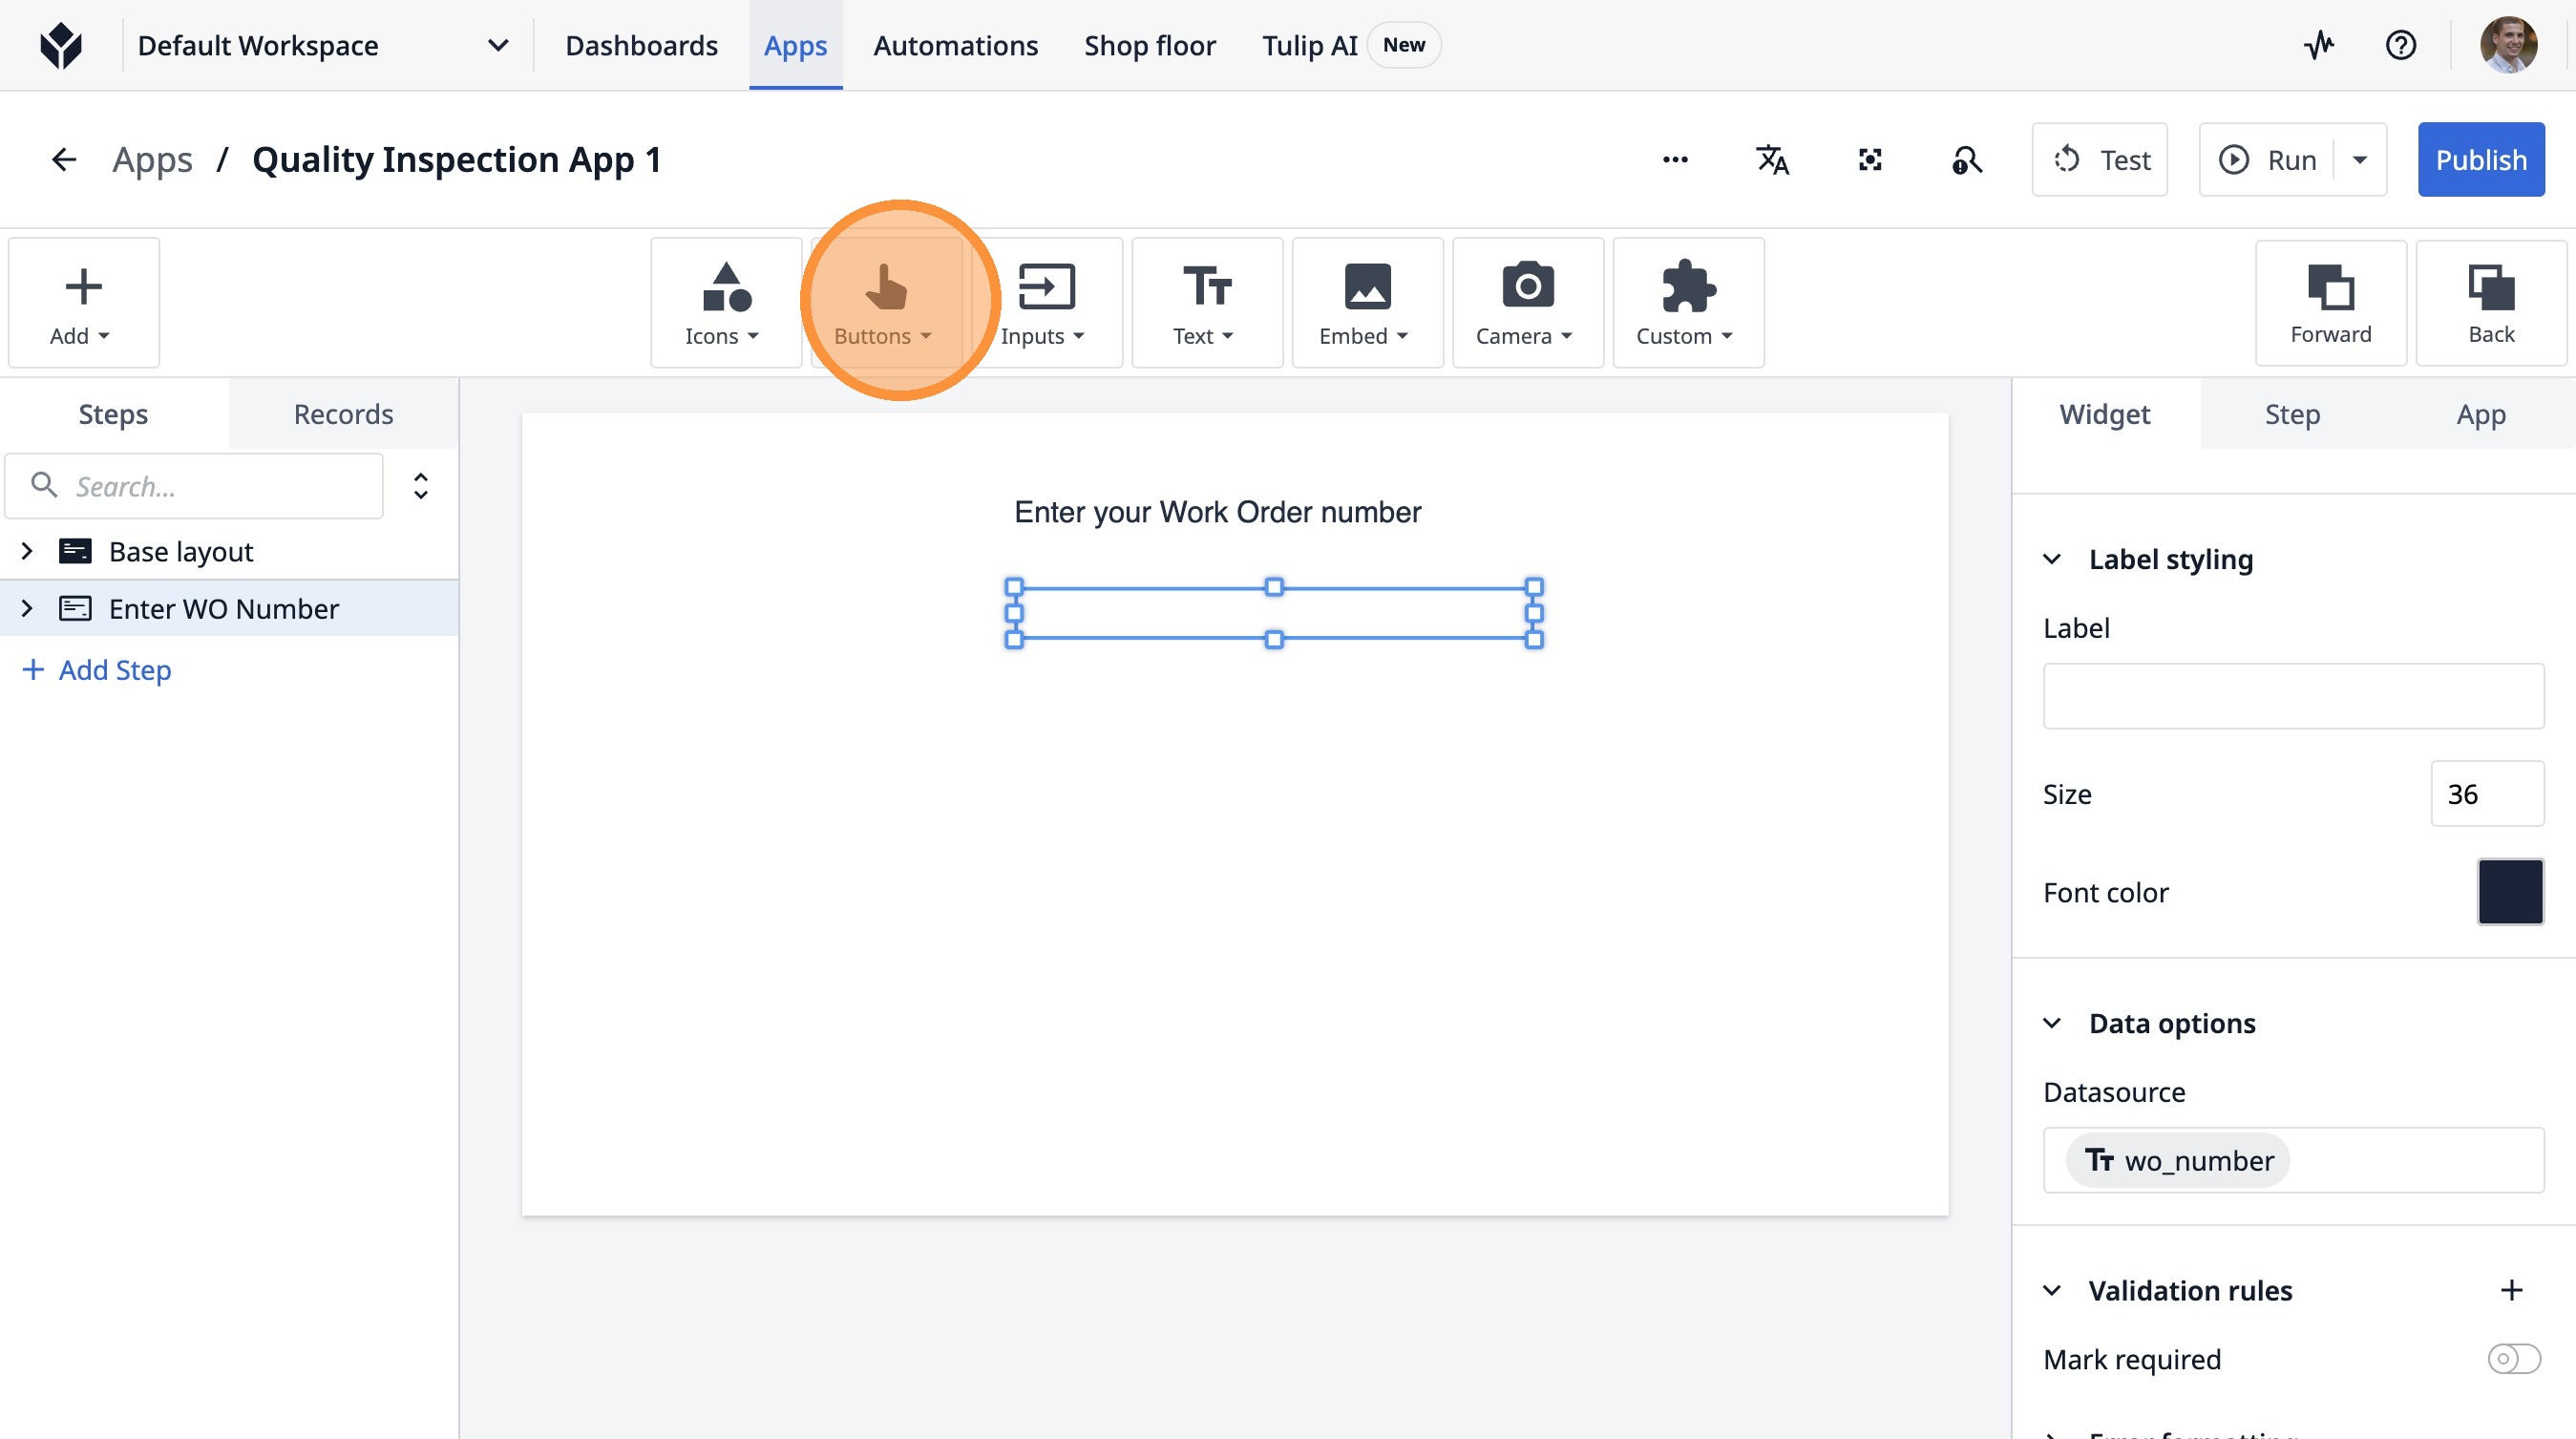
24. Click "Button"
25. Click here.
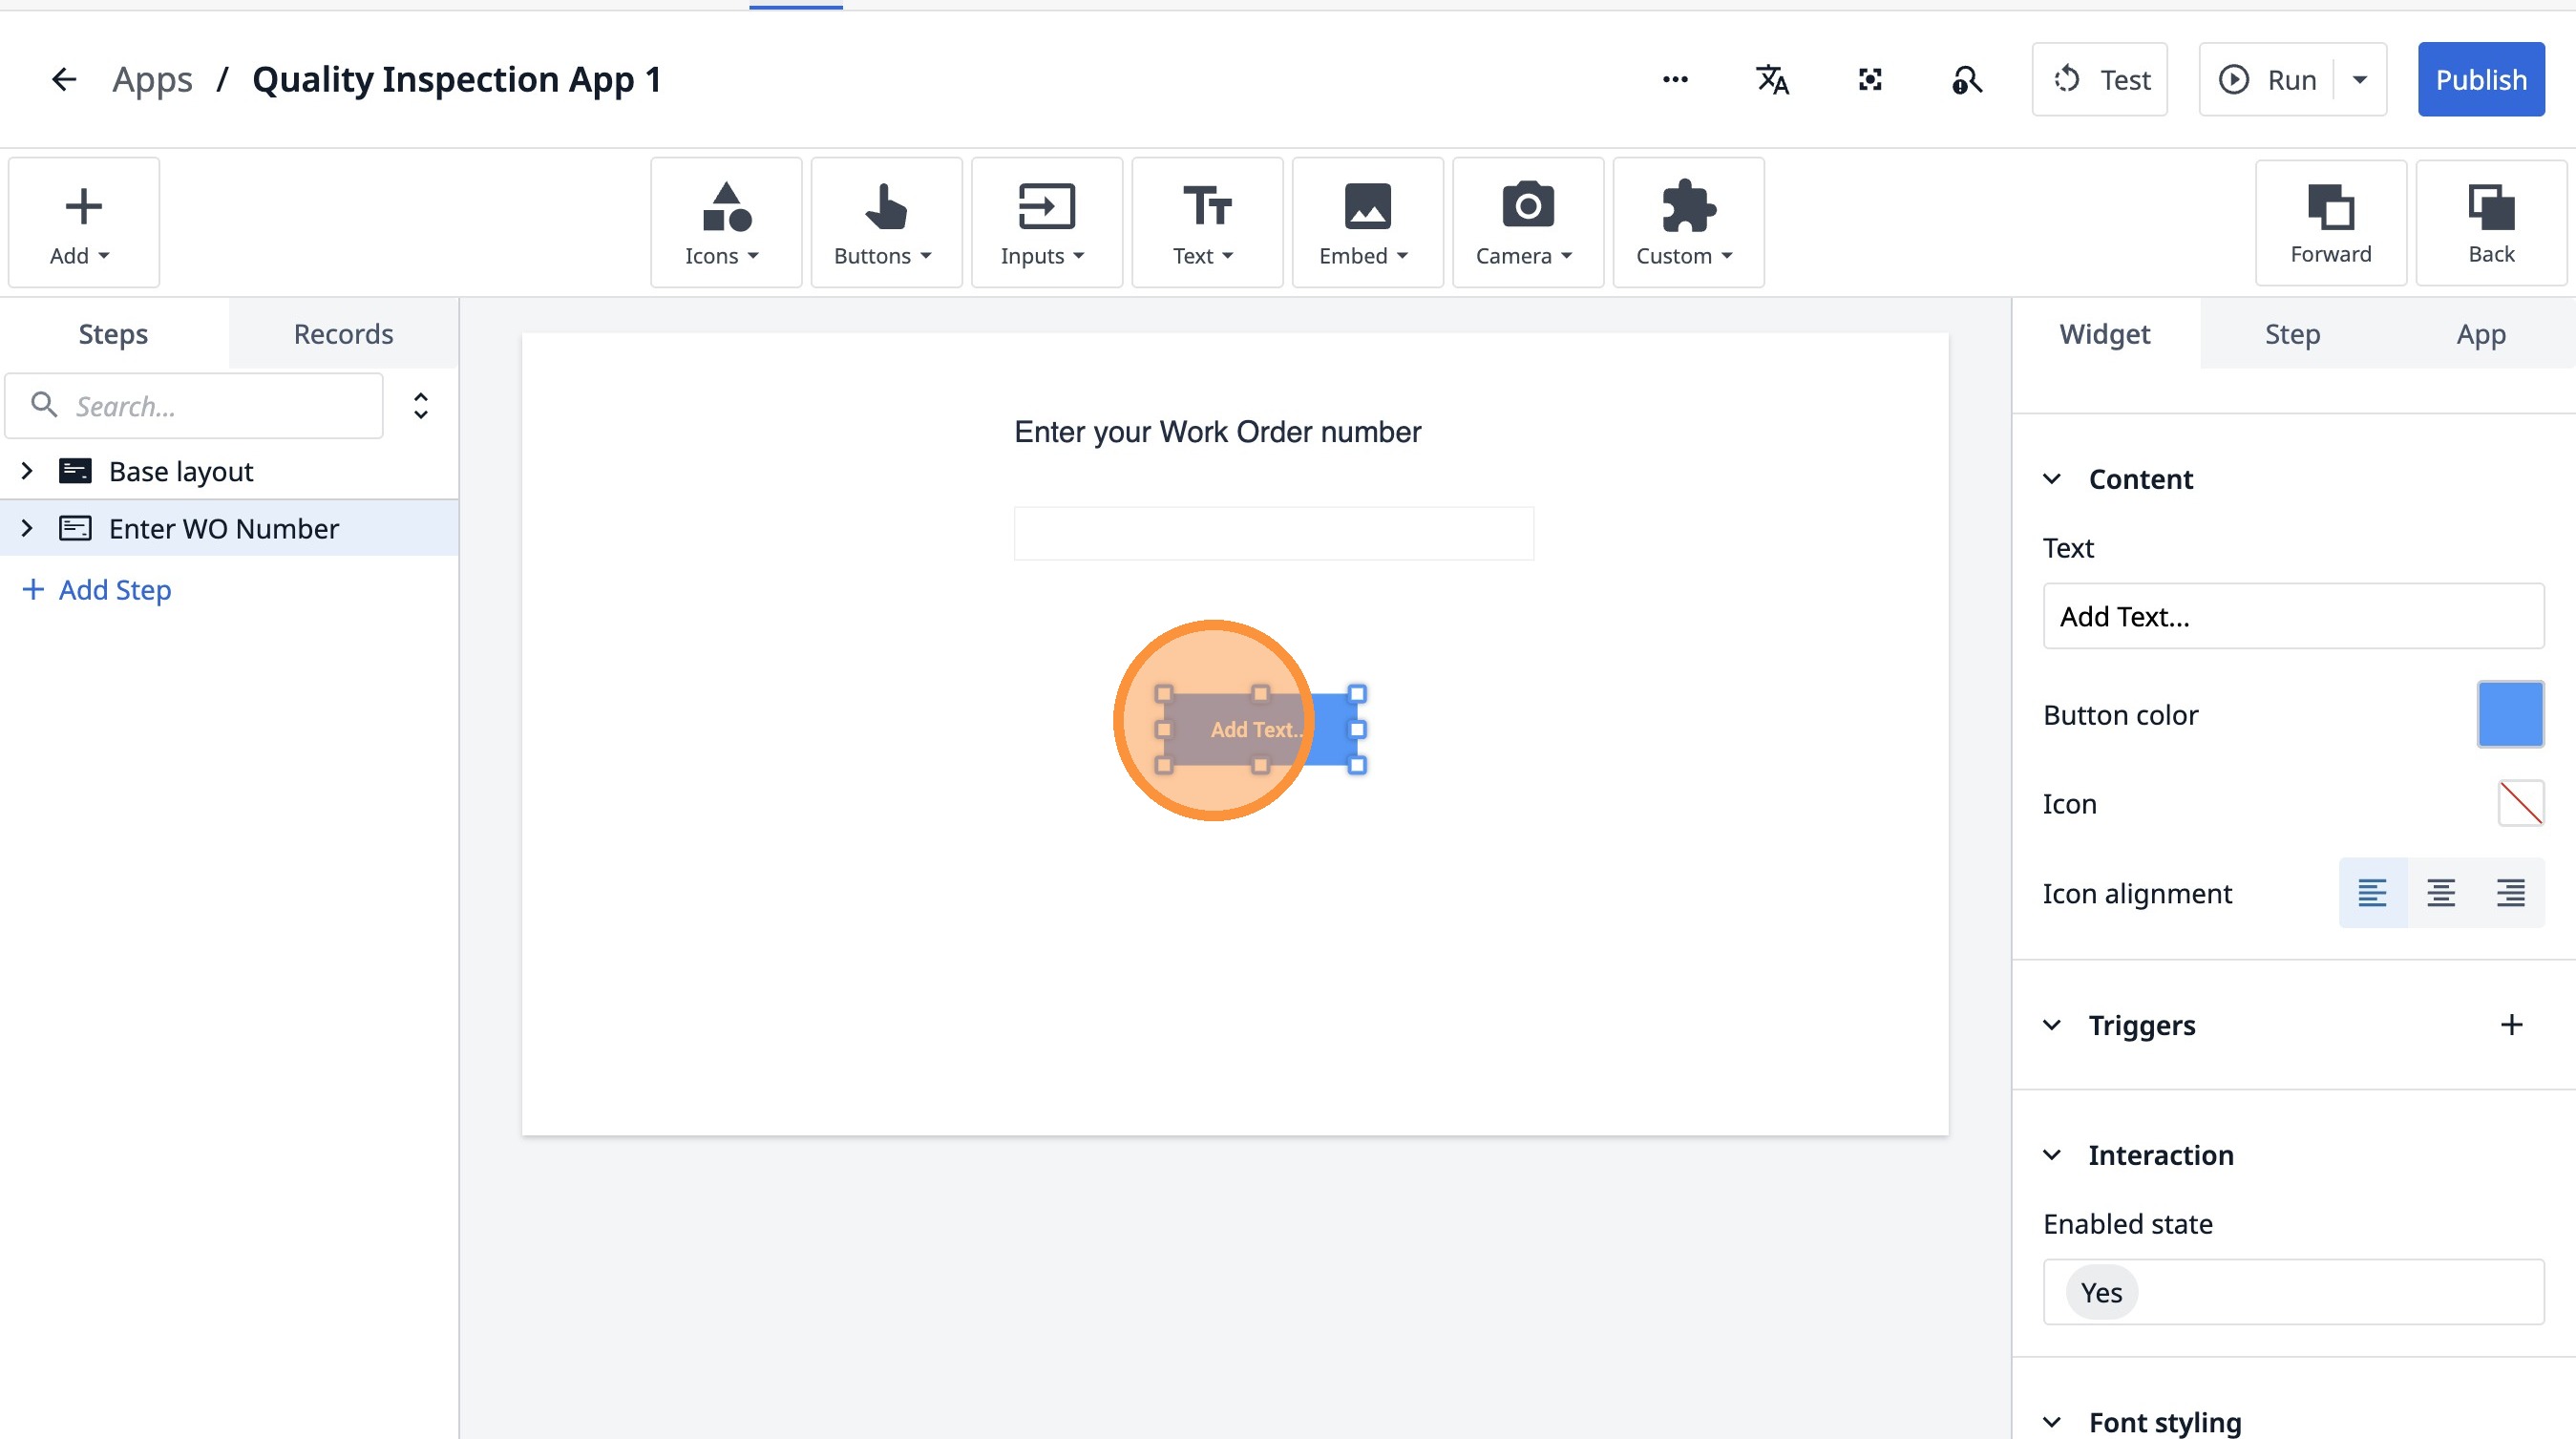
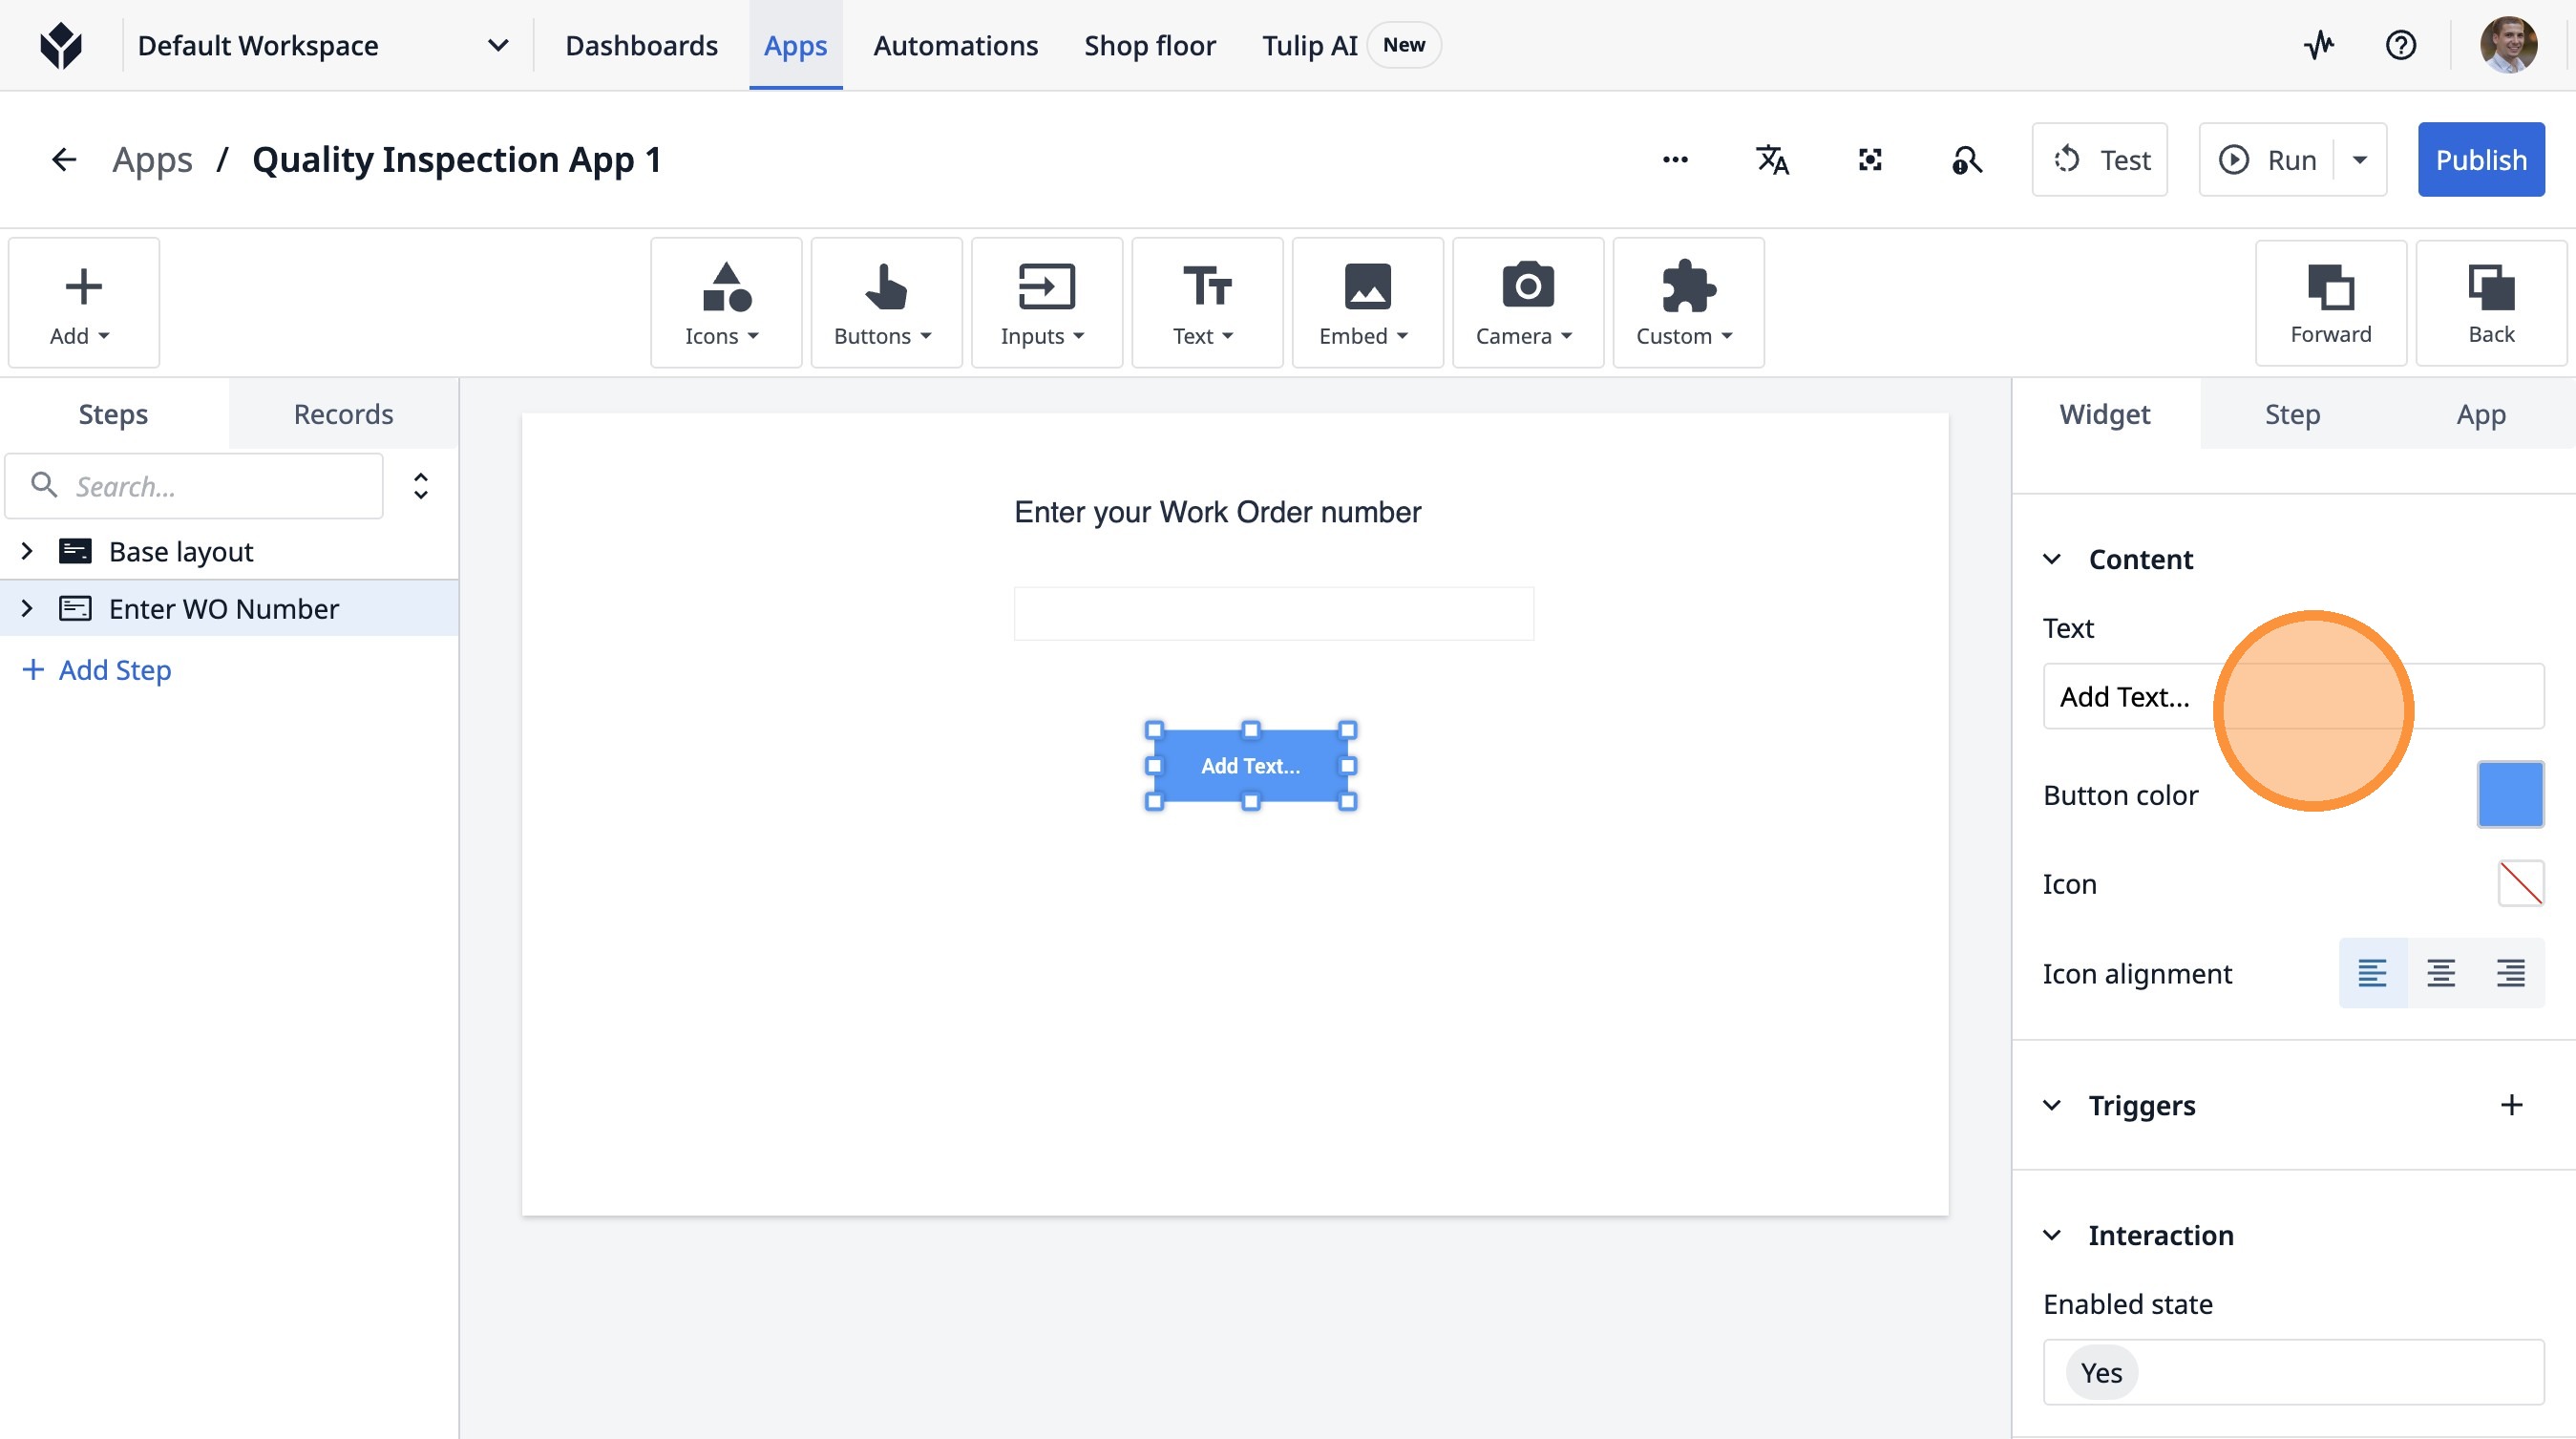
26. Double-click the "Text" field.
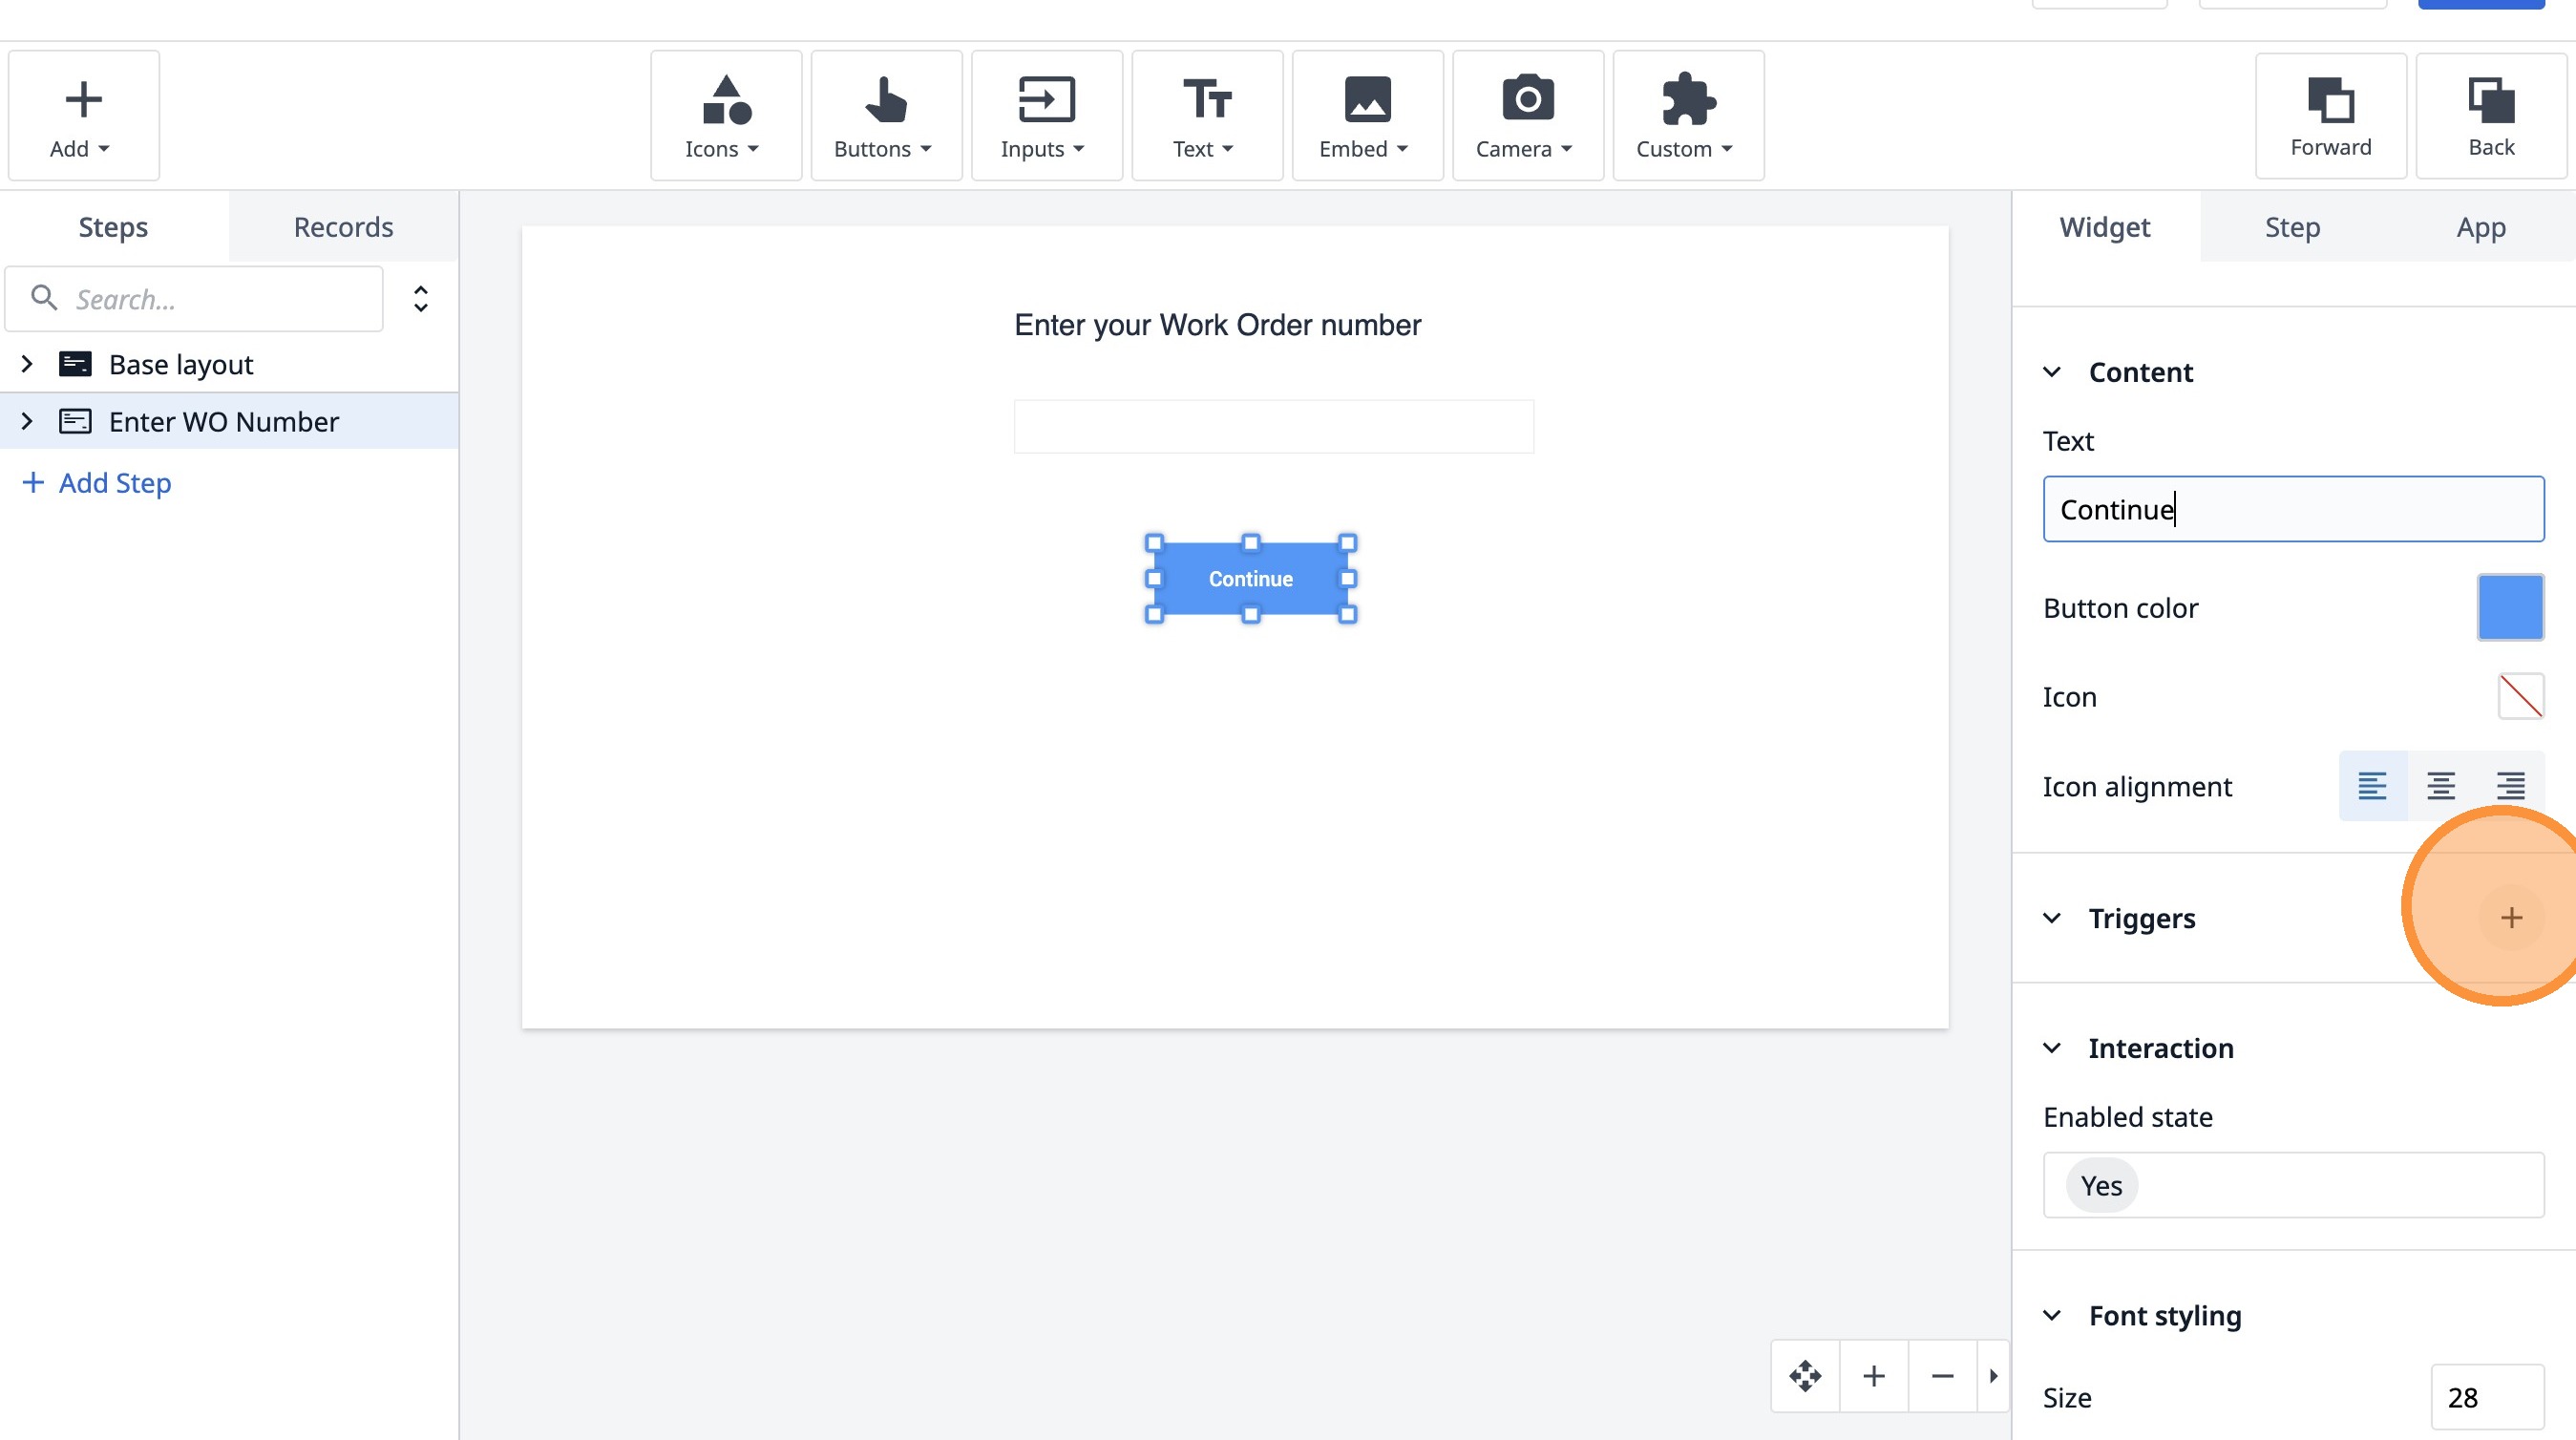
27. Type "Continue"
28. Click this icon.
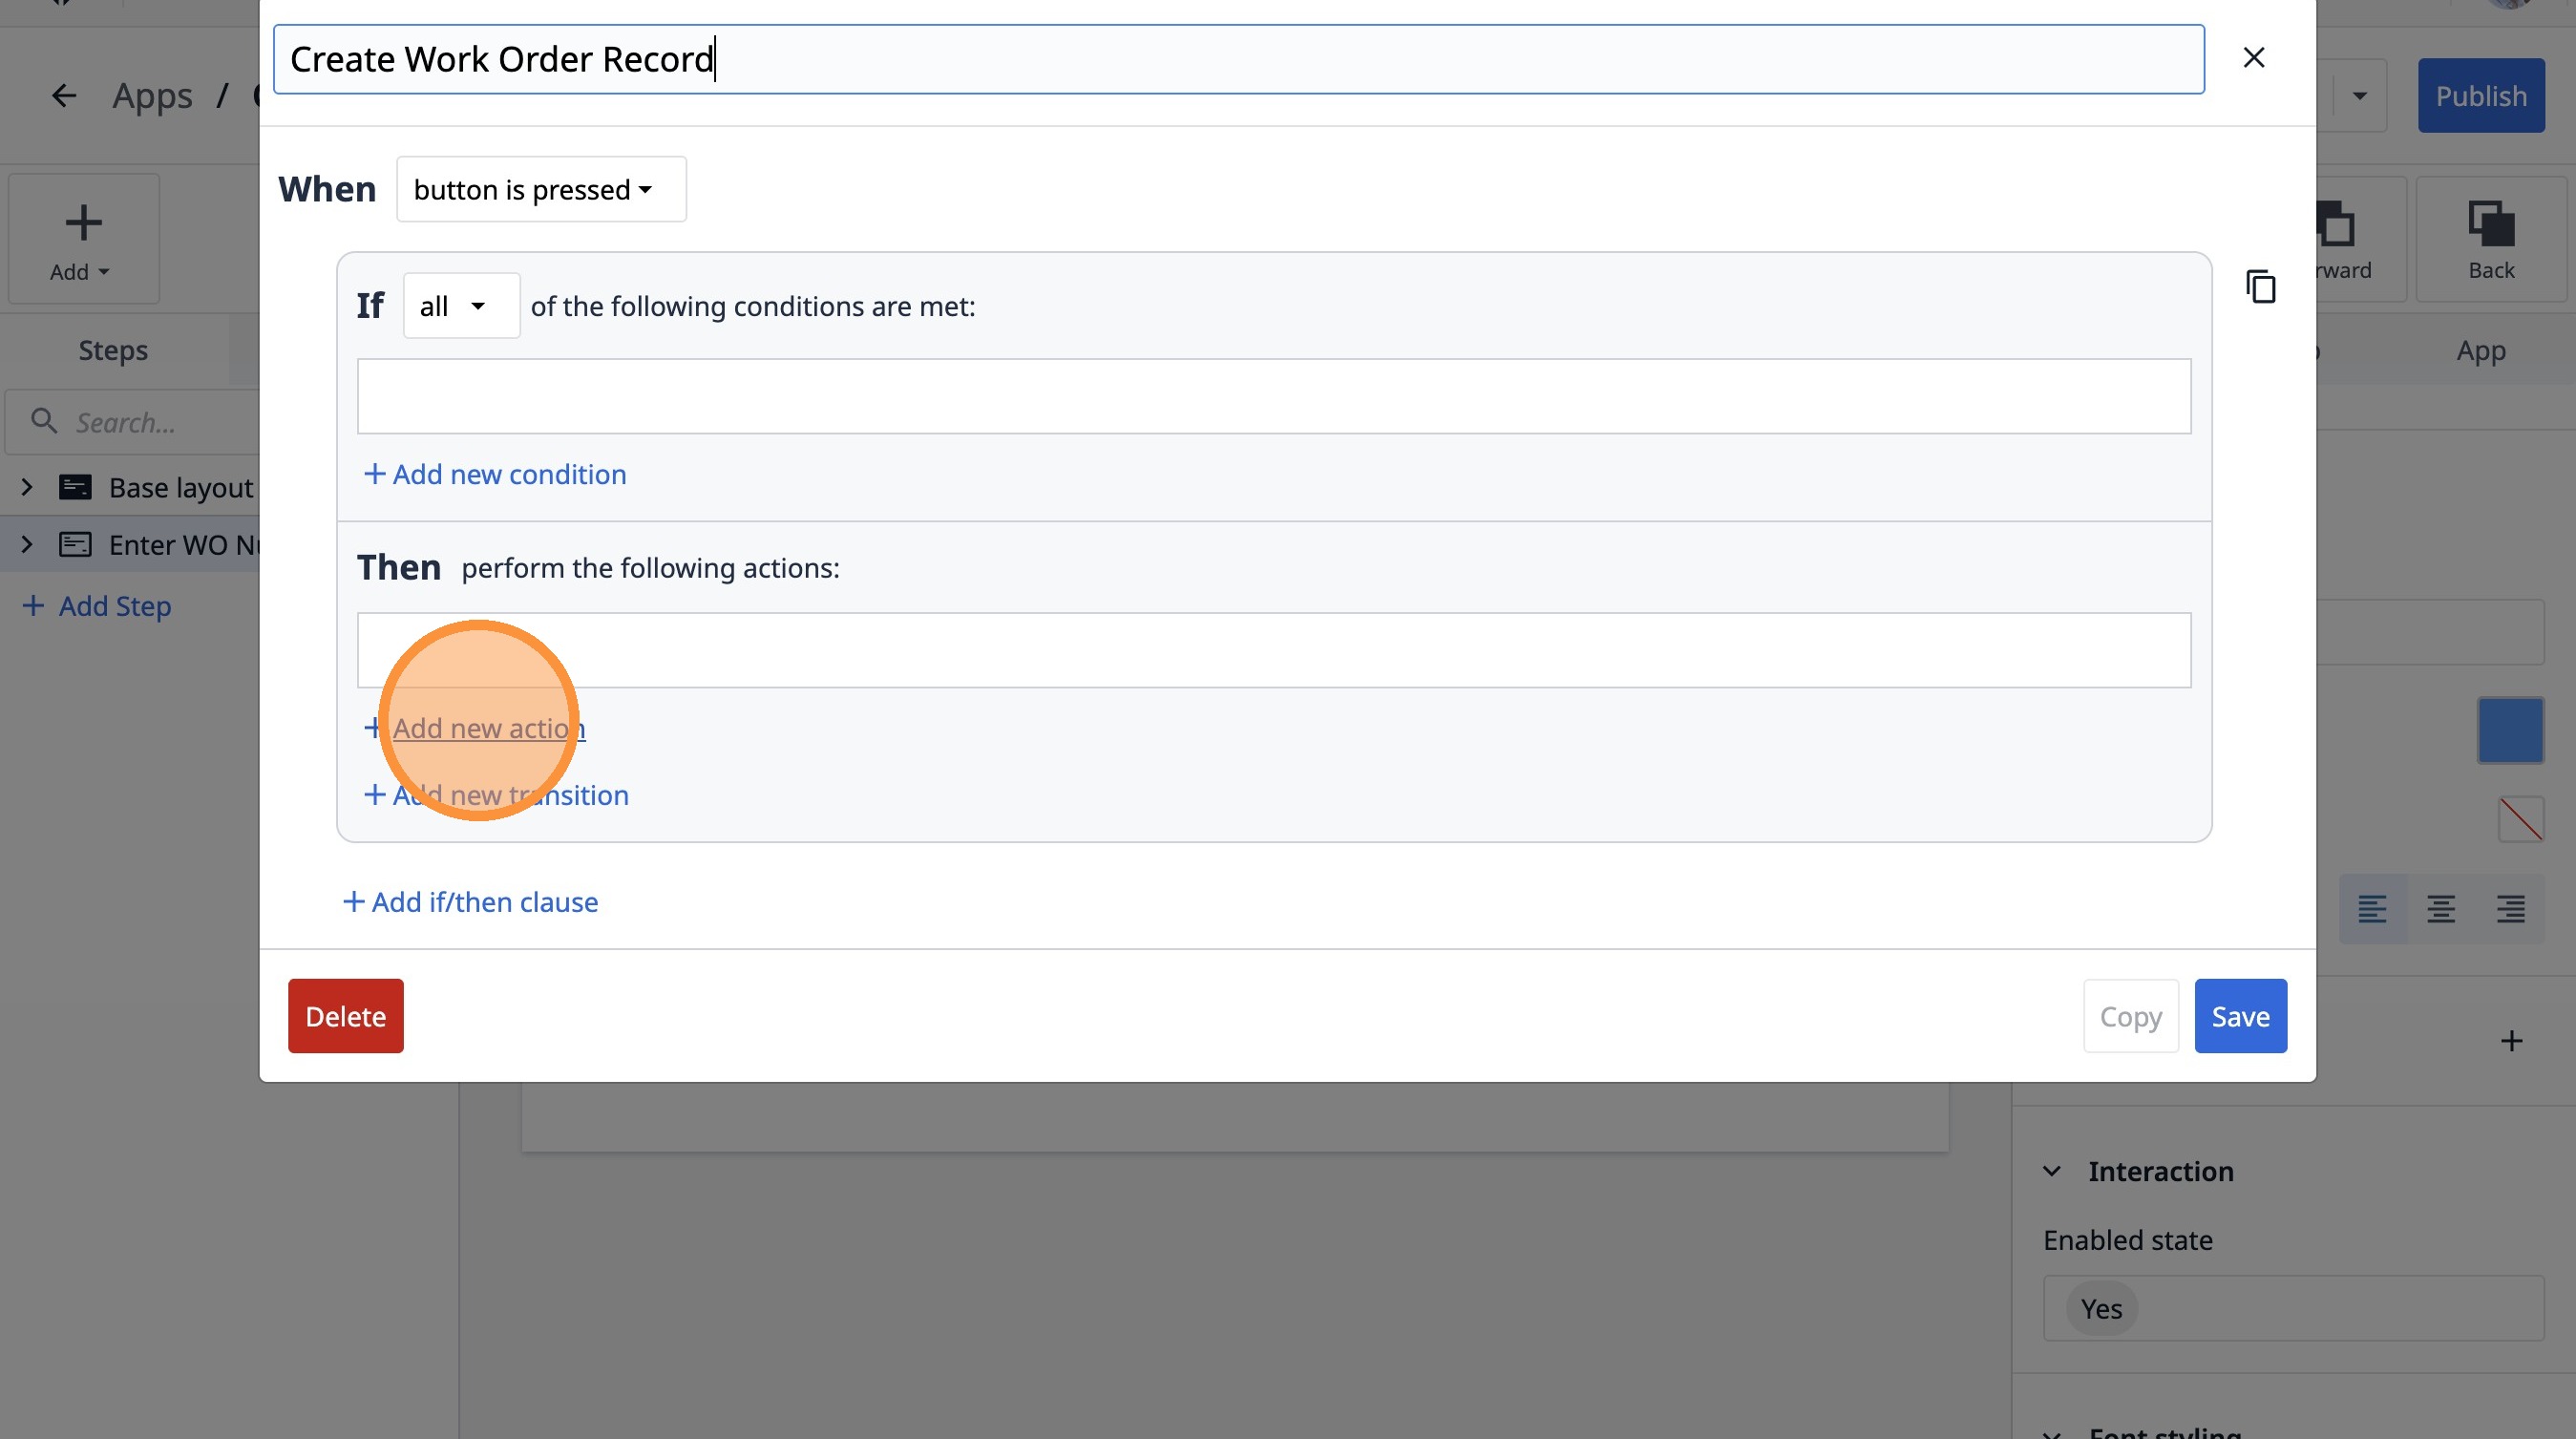
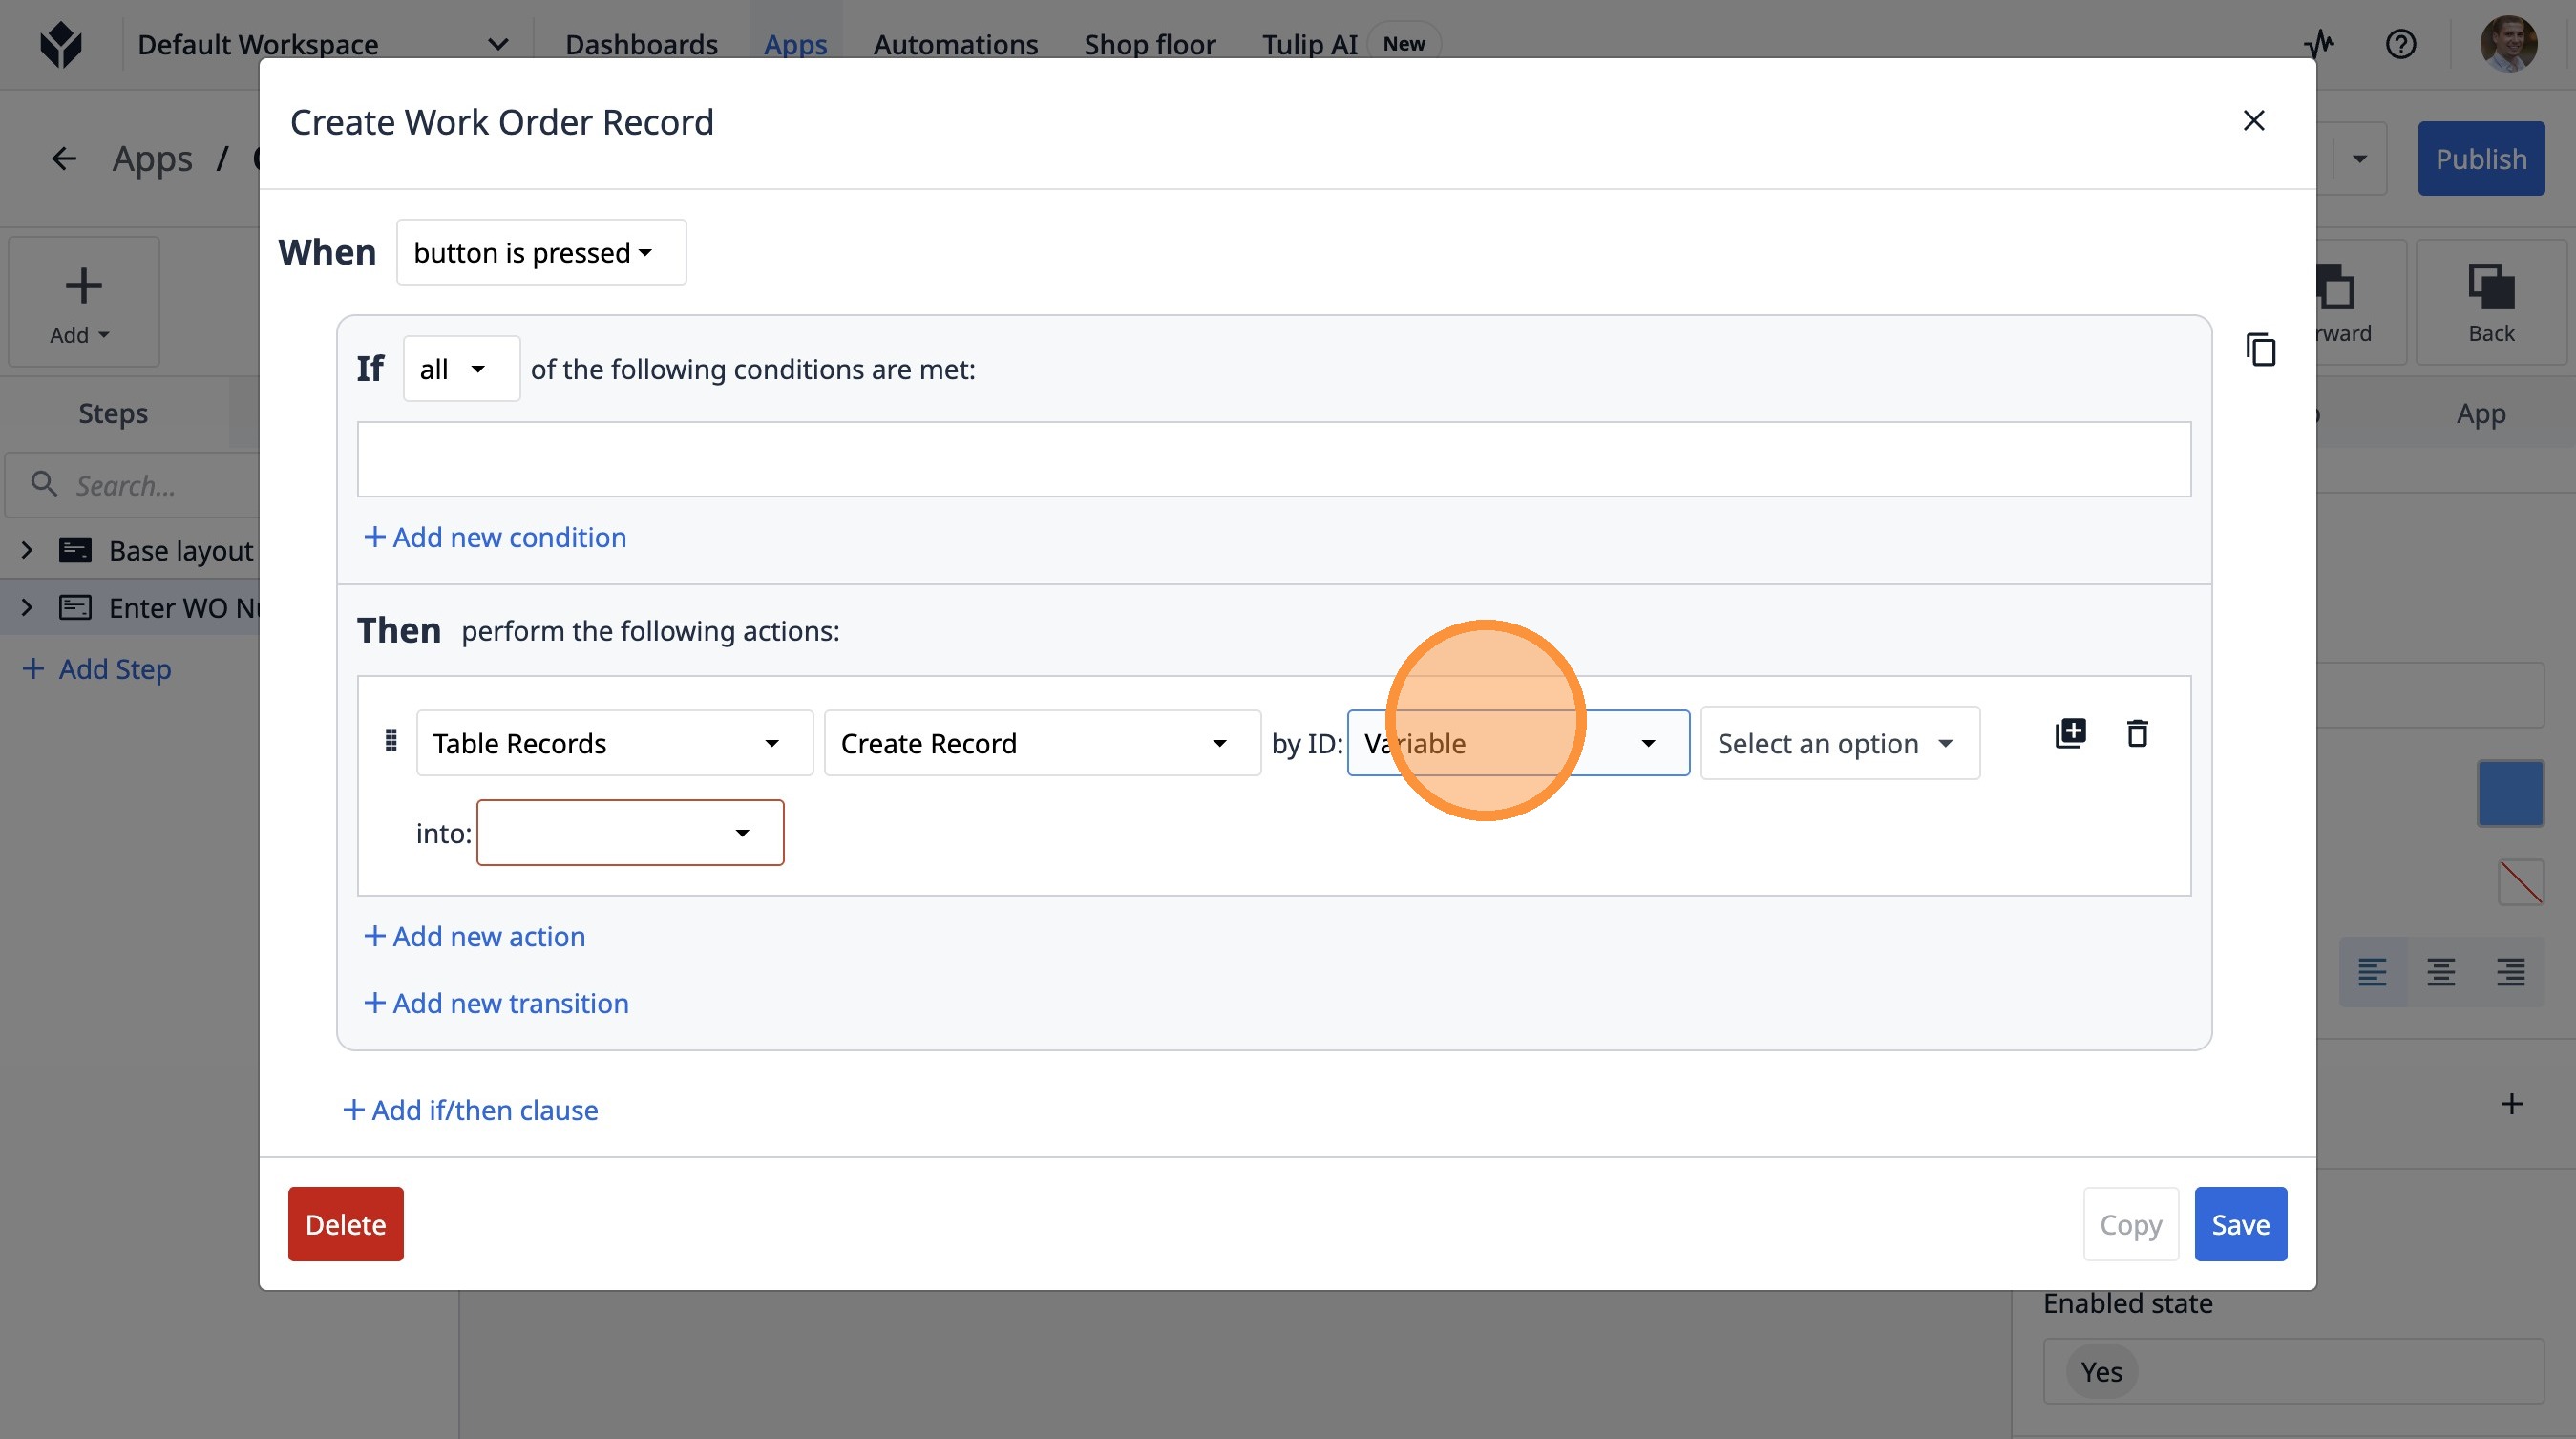
29. Type "Create Work Order Record"
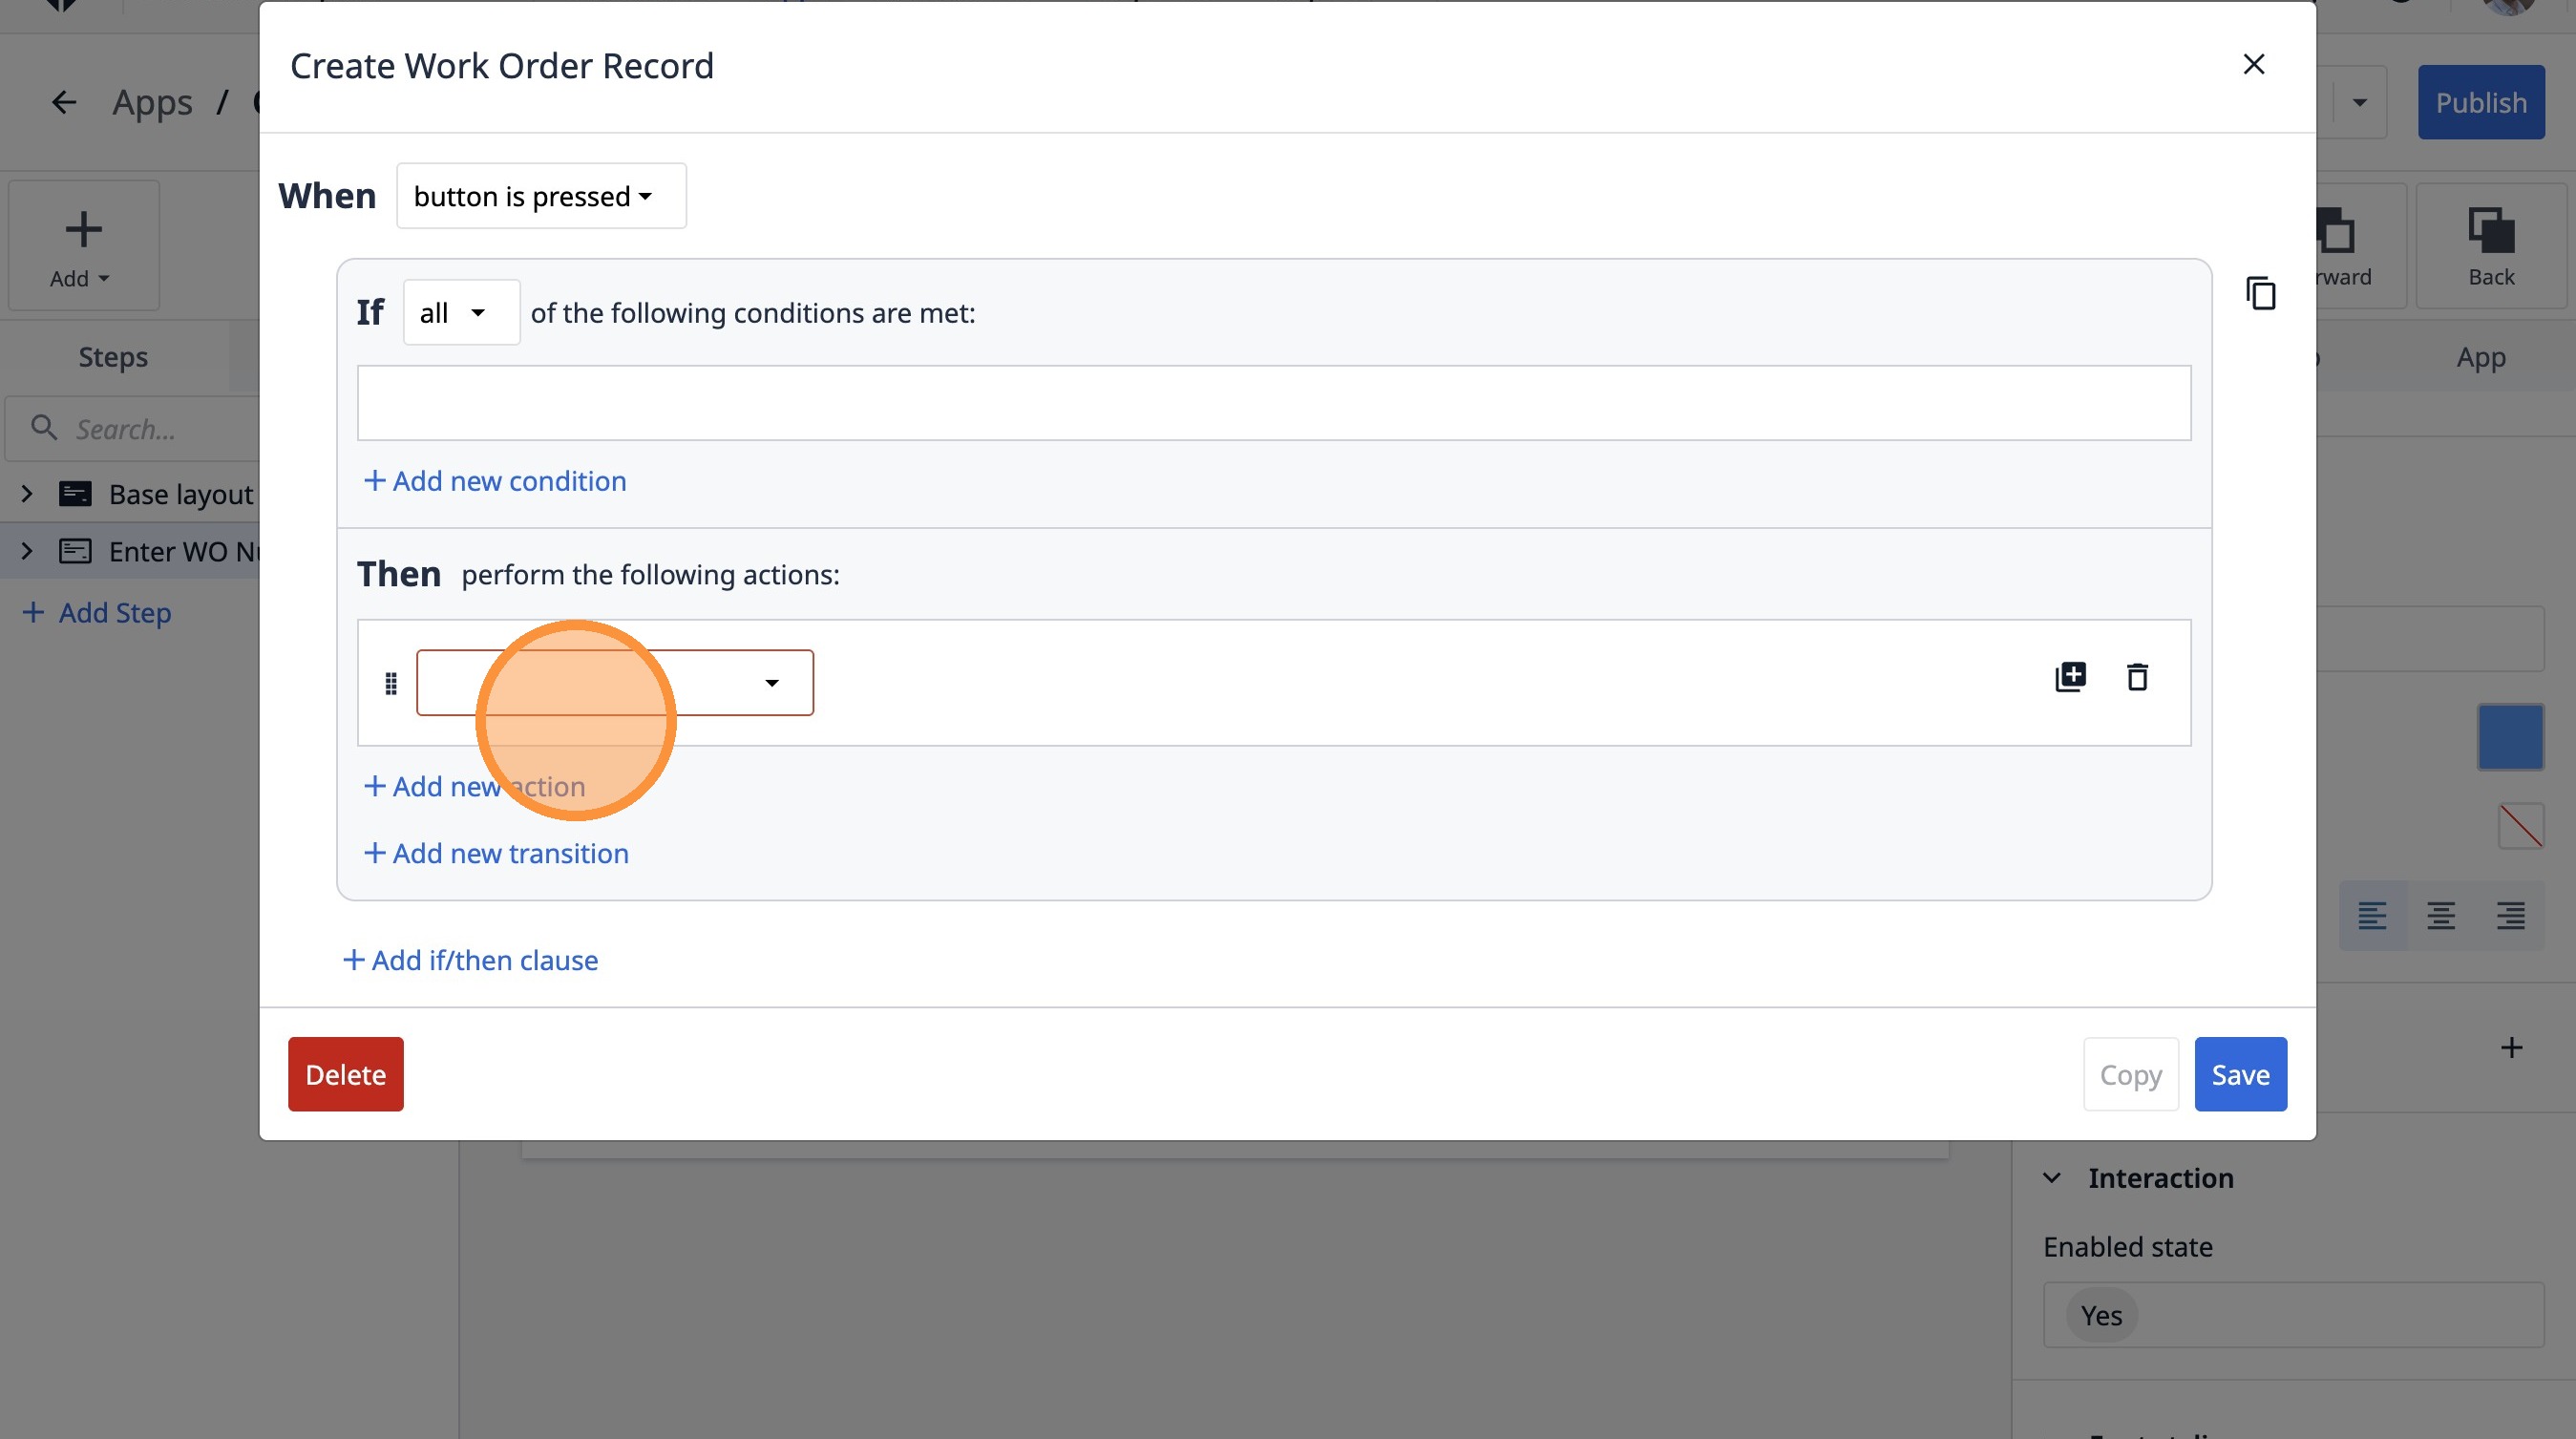
30. Click "Add new action"
31. Click "AIAppArraysCapture App ScreenshotCopy to ClipboardData ManipulationLogout Current UserOpen File or FolderOpen LinkPlay SoundPlayer MenuPrint Ste..."
32. Select the "Table Records" option.
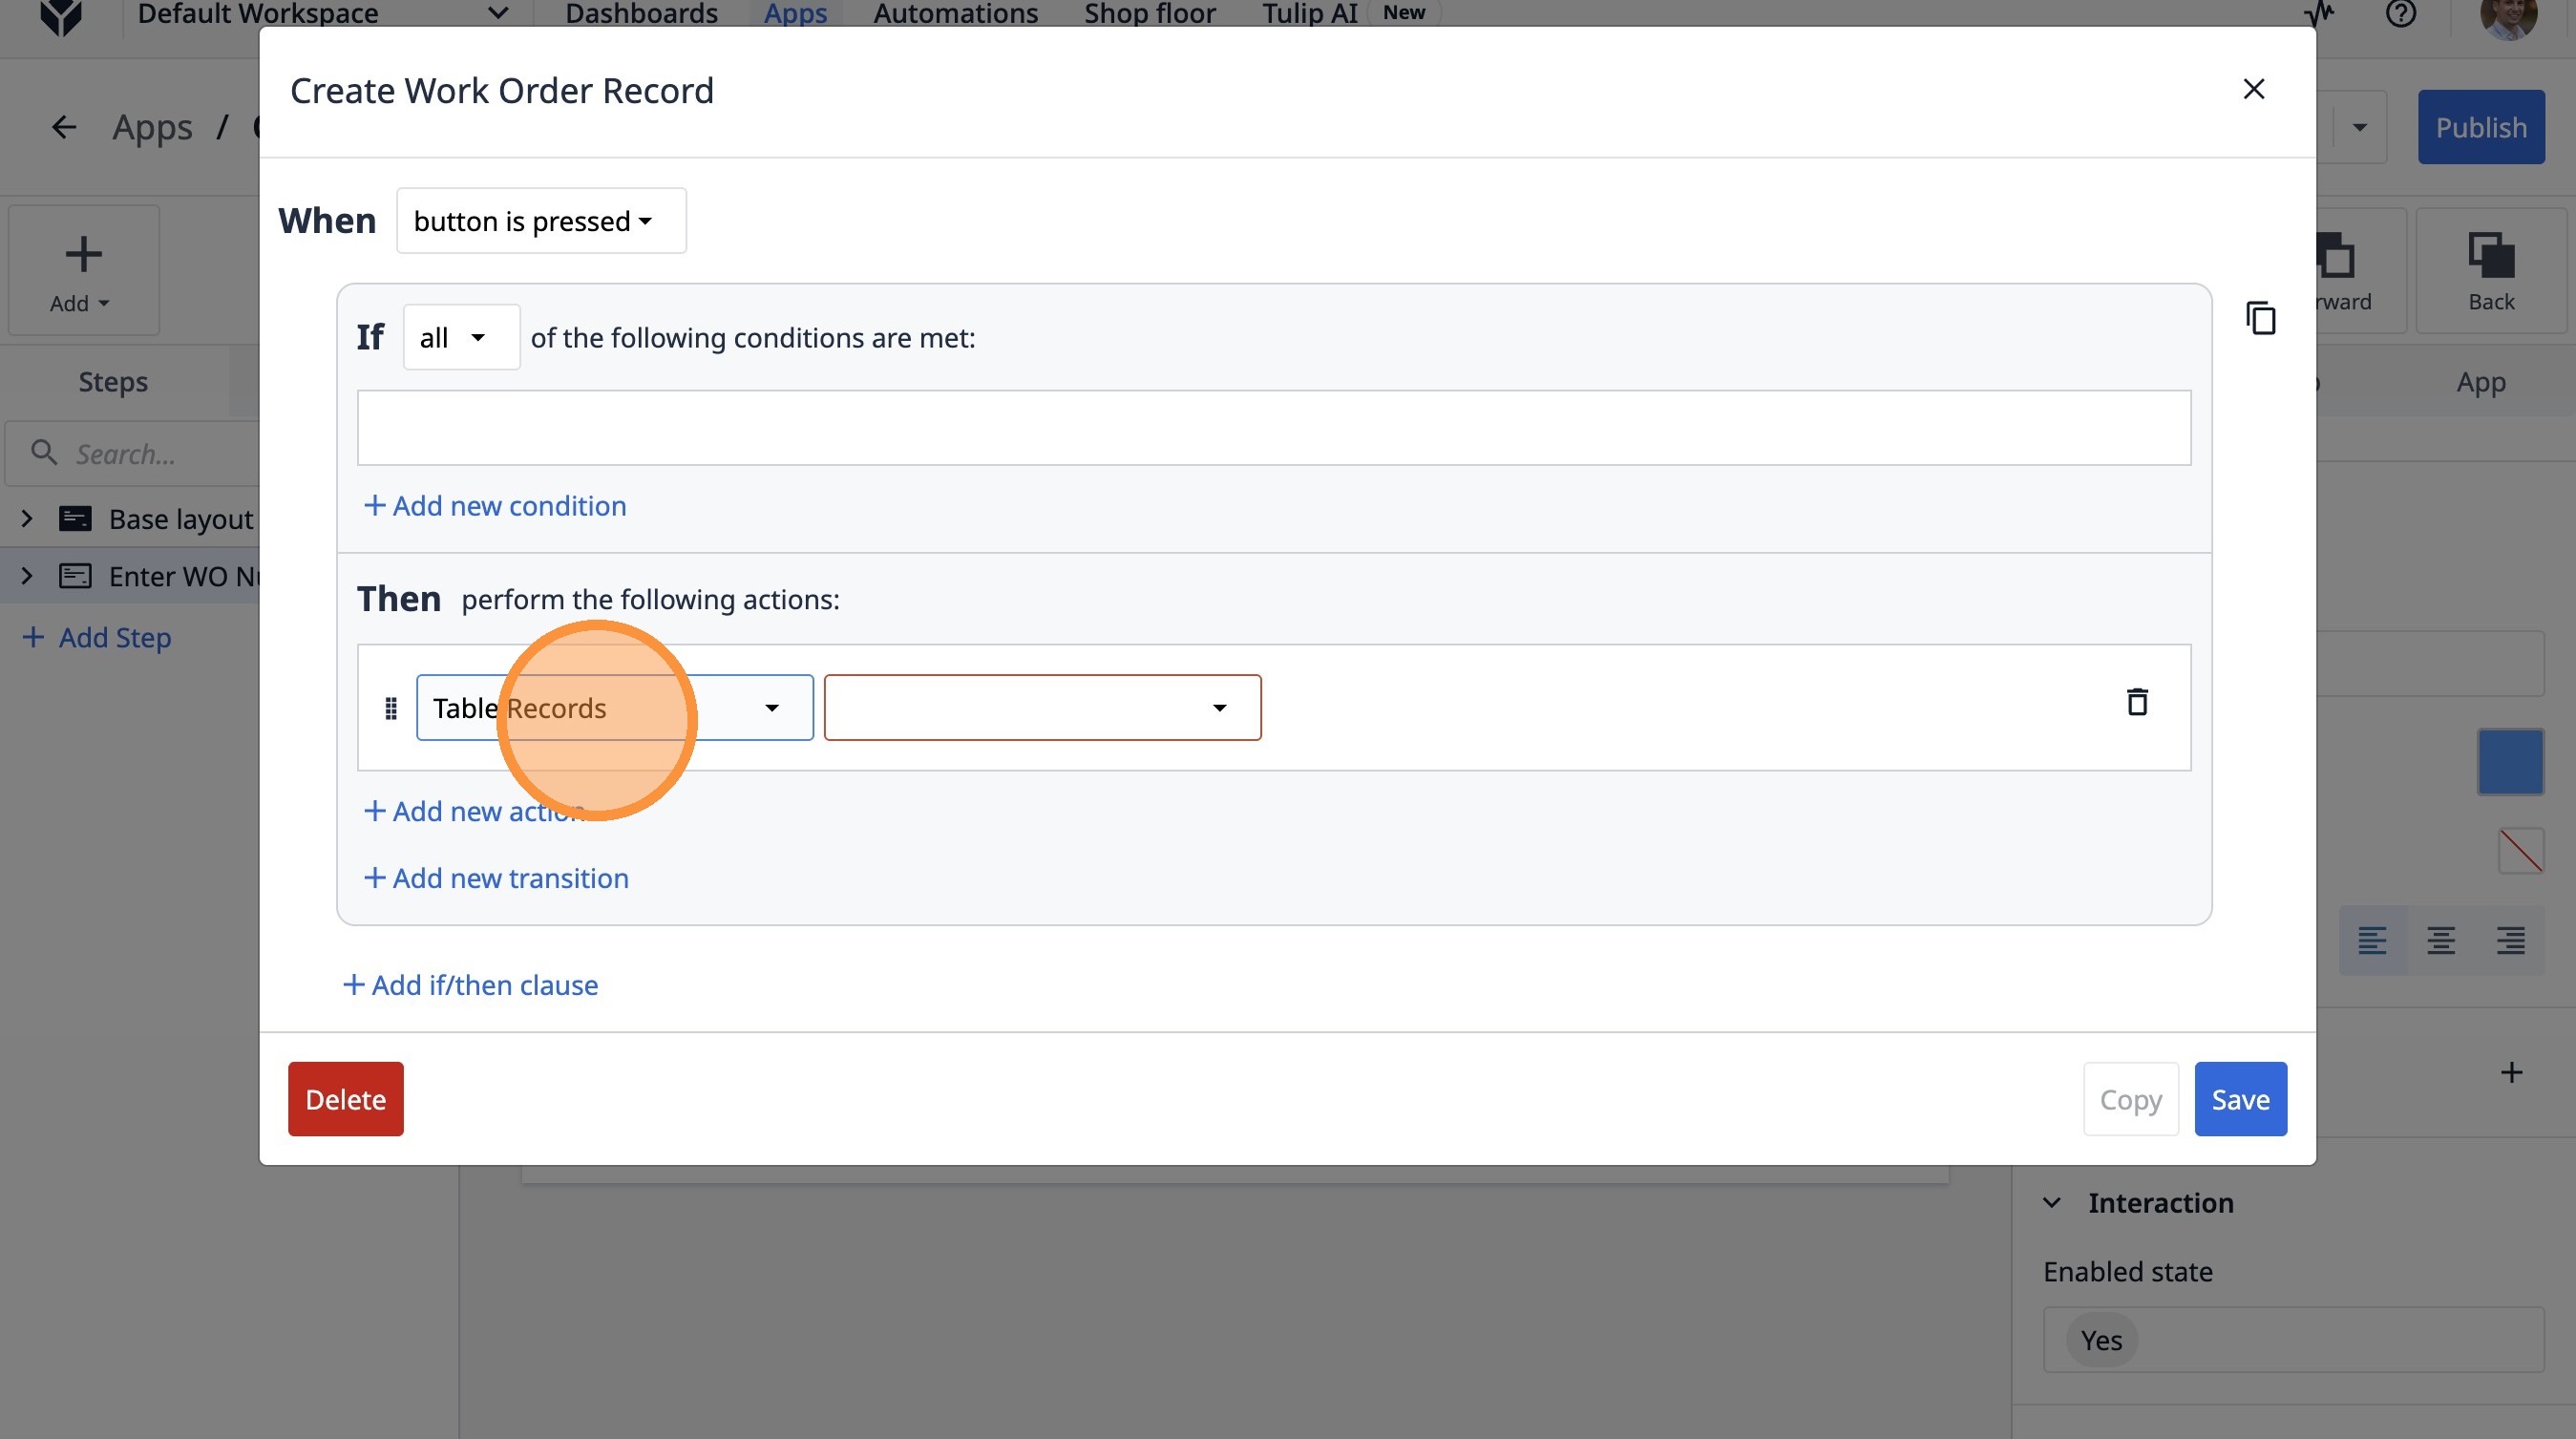
33. Select the "Create Record" option.
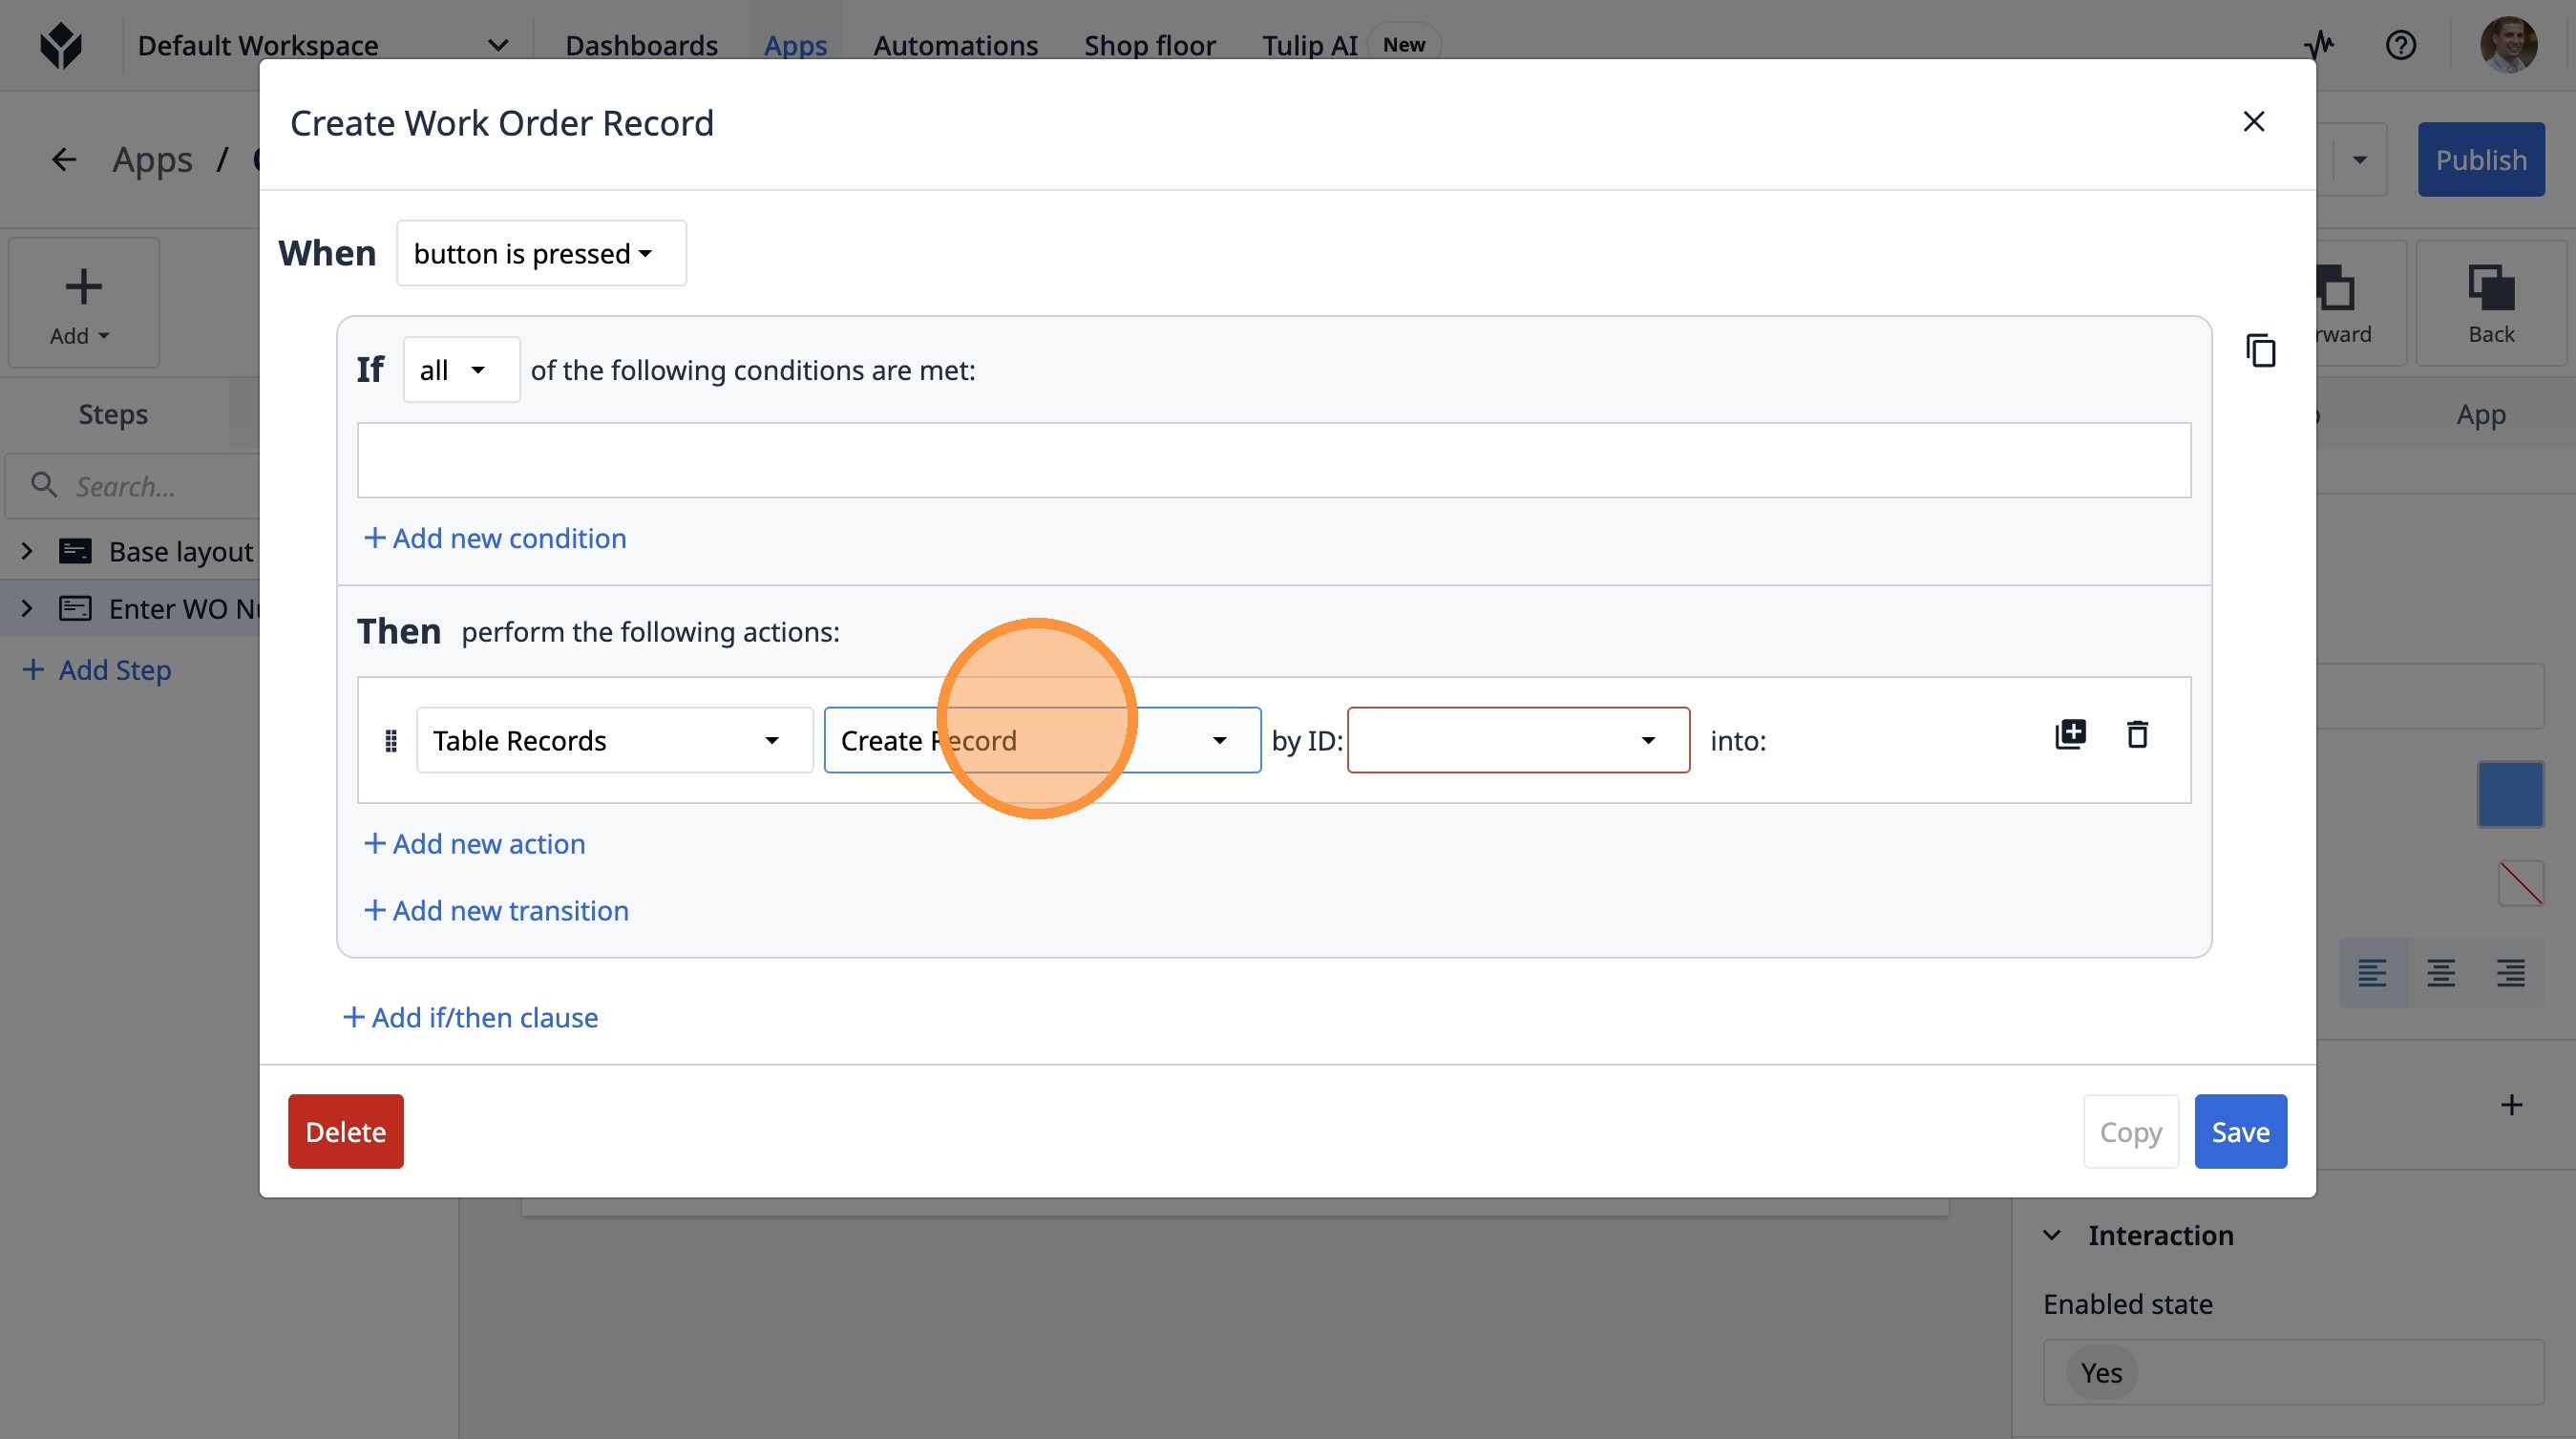
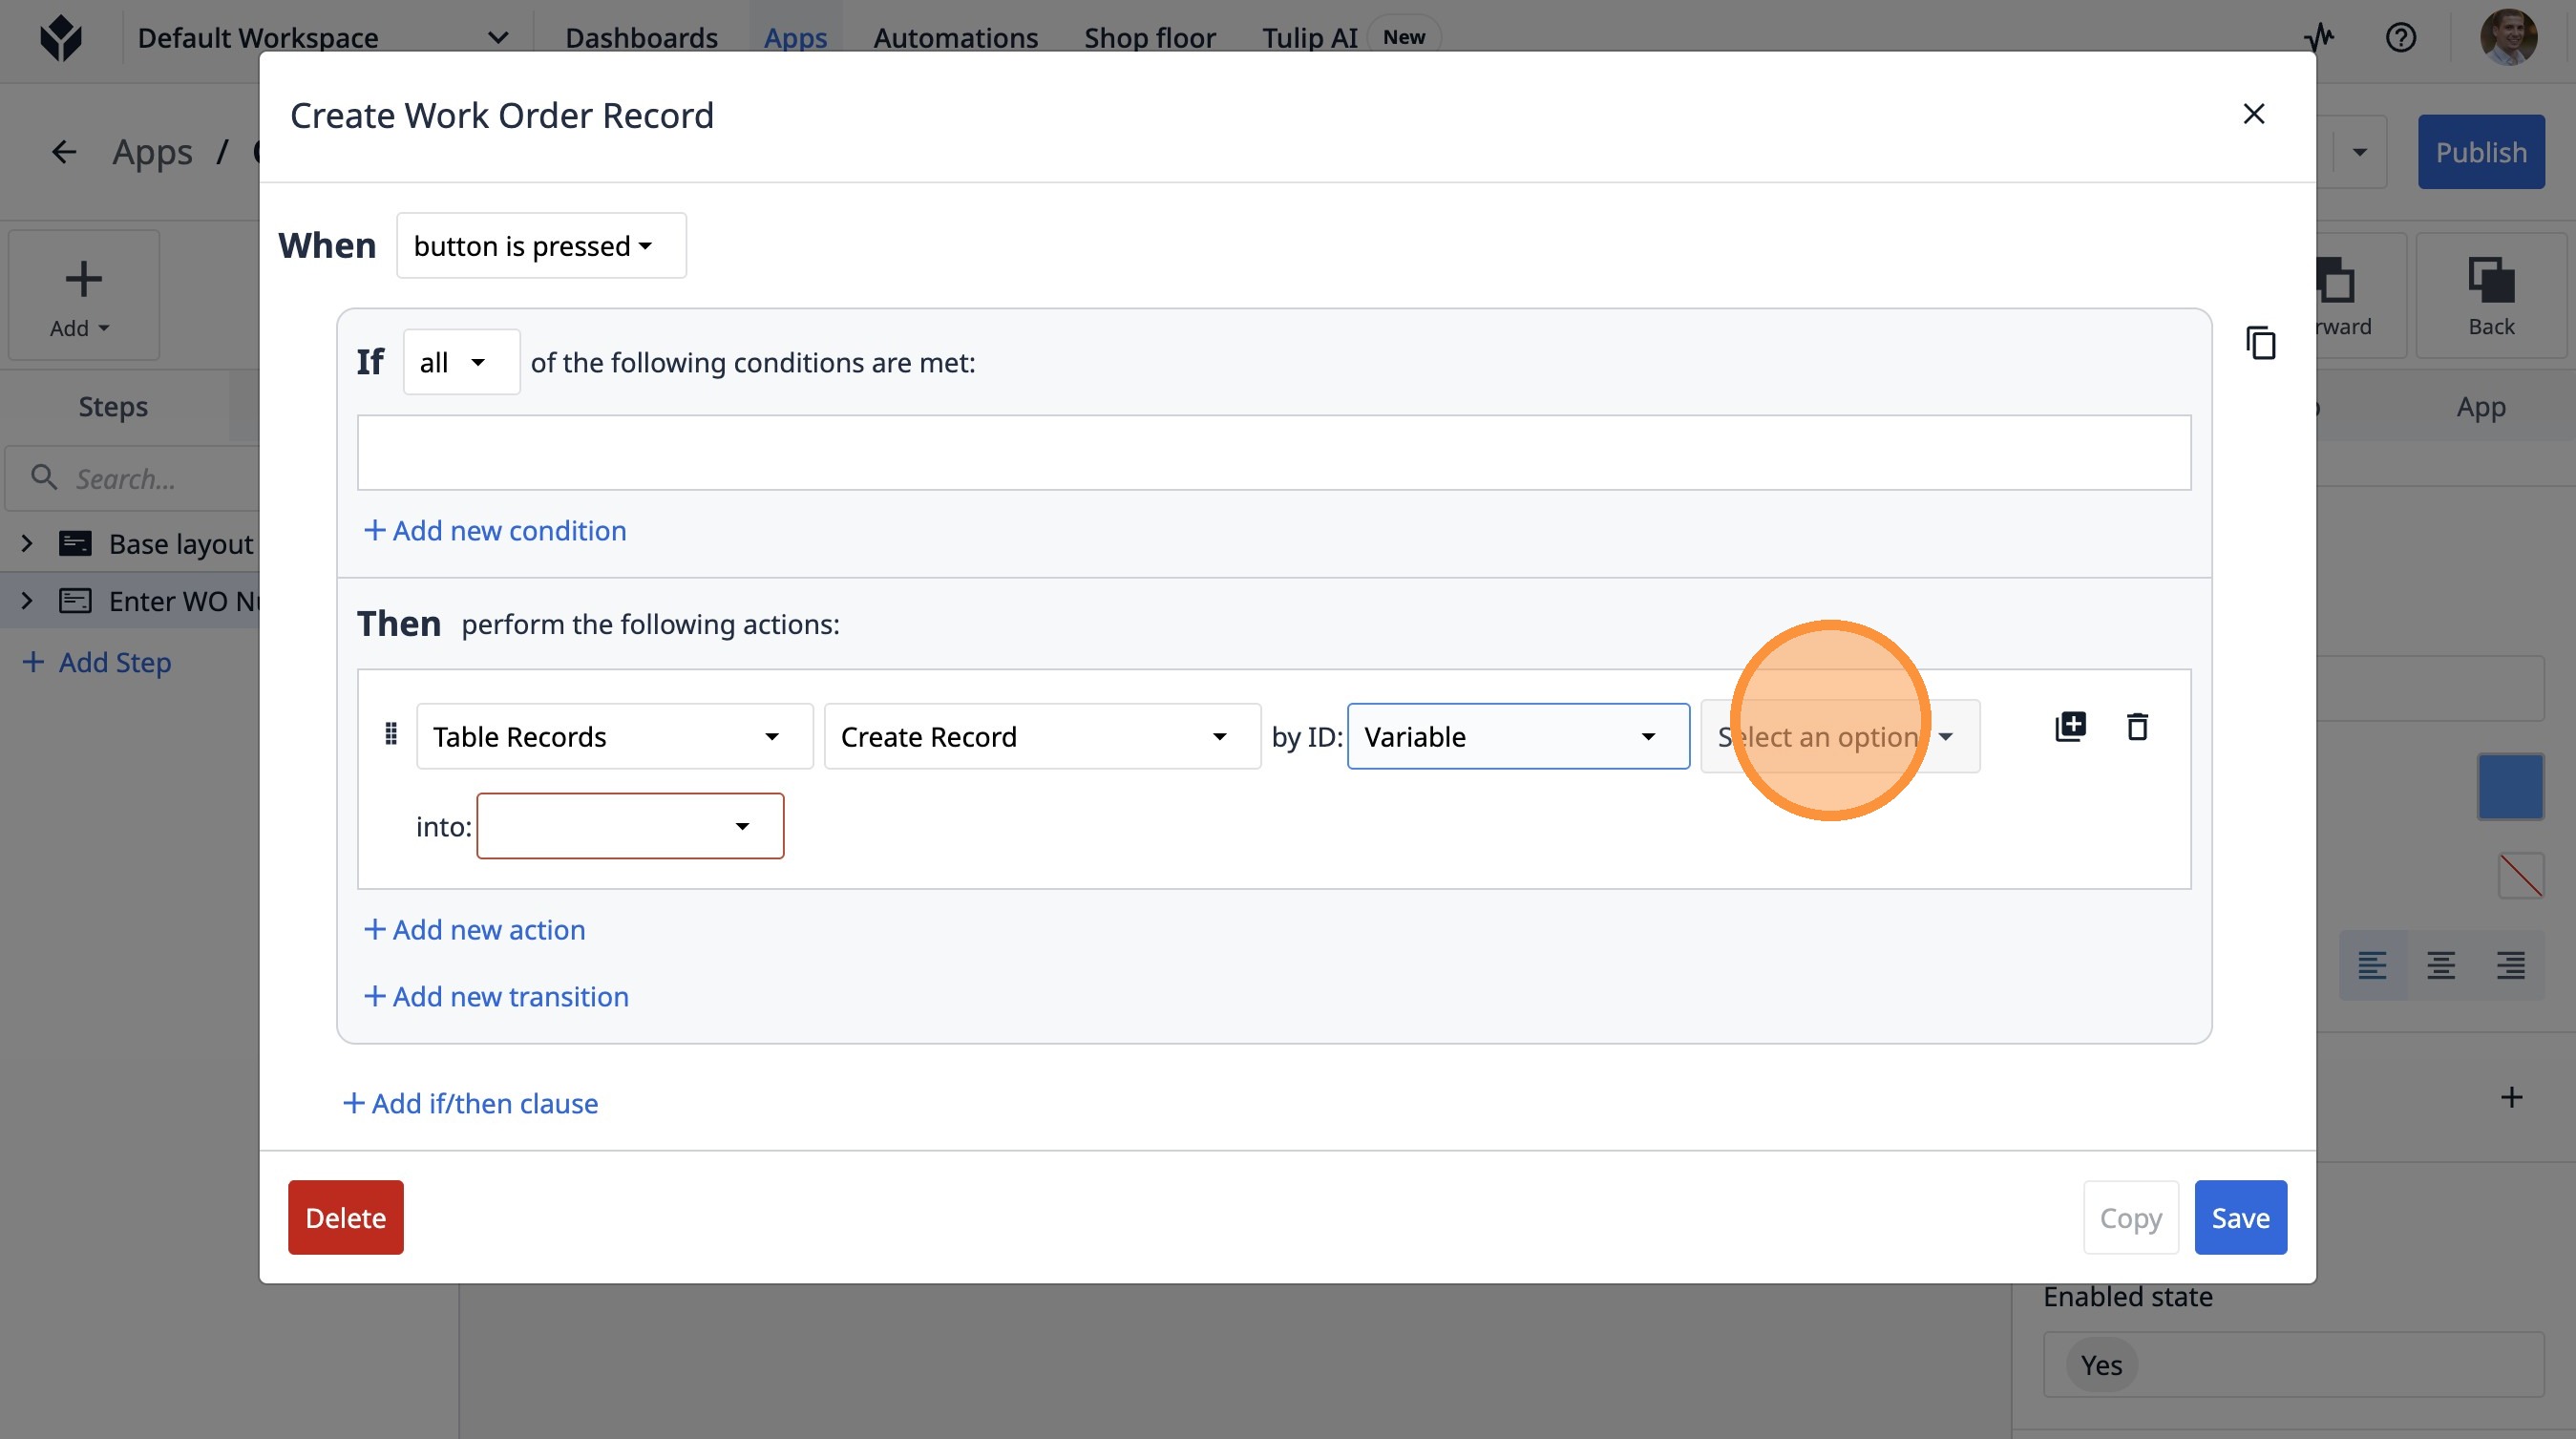
34. Select the "Variable" option.
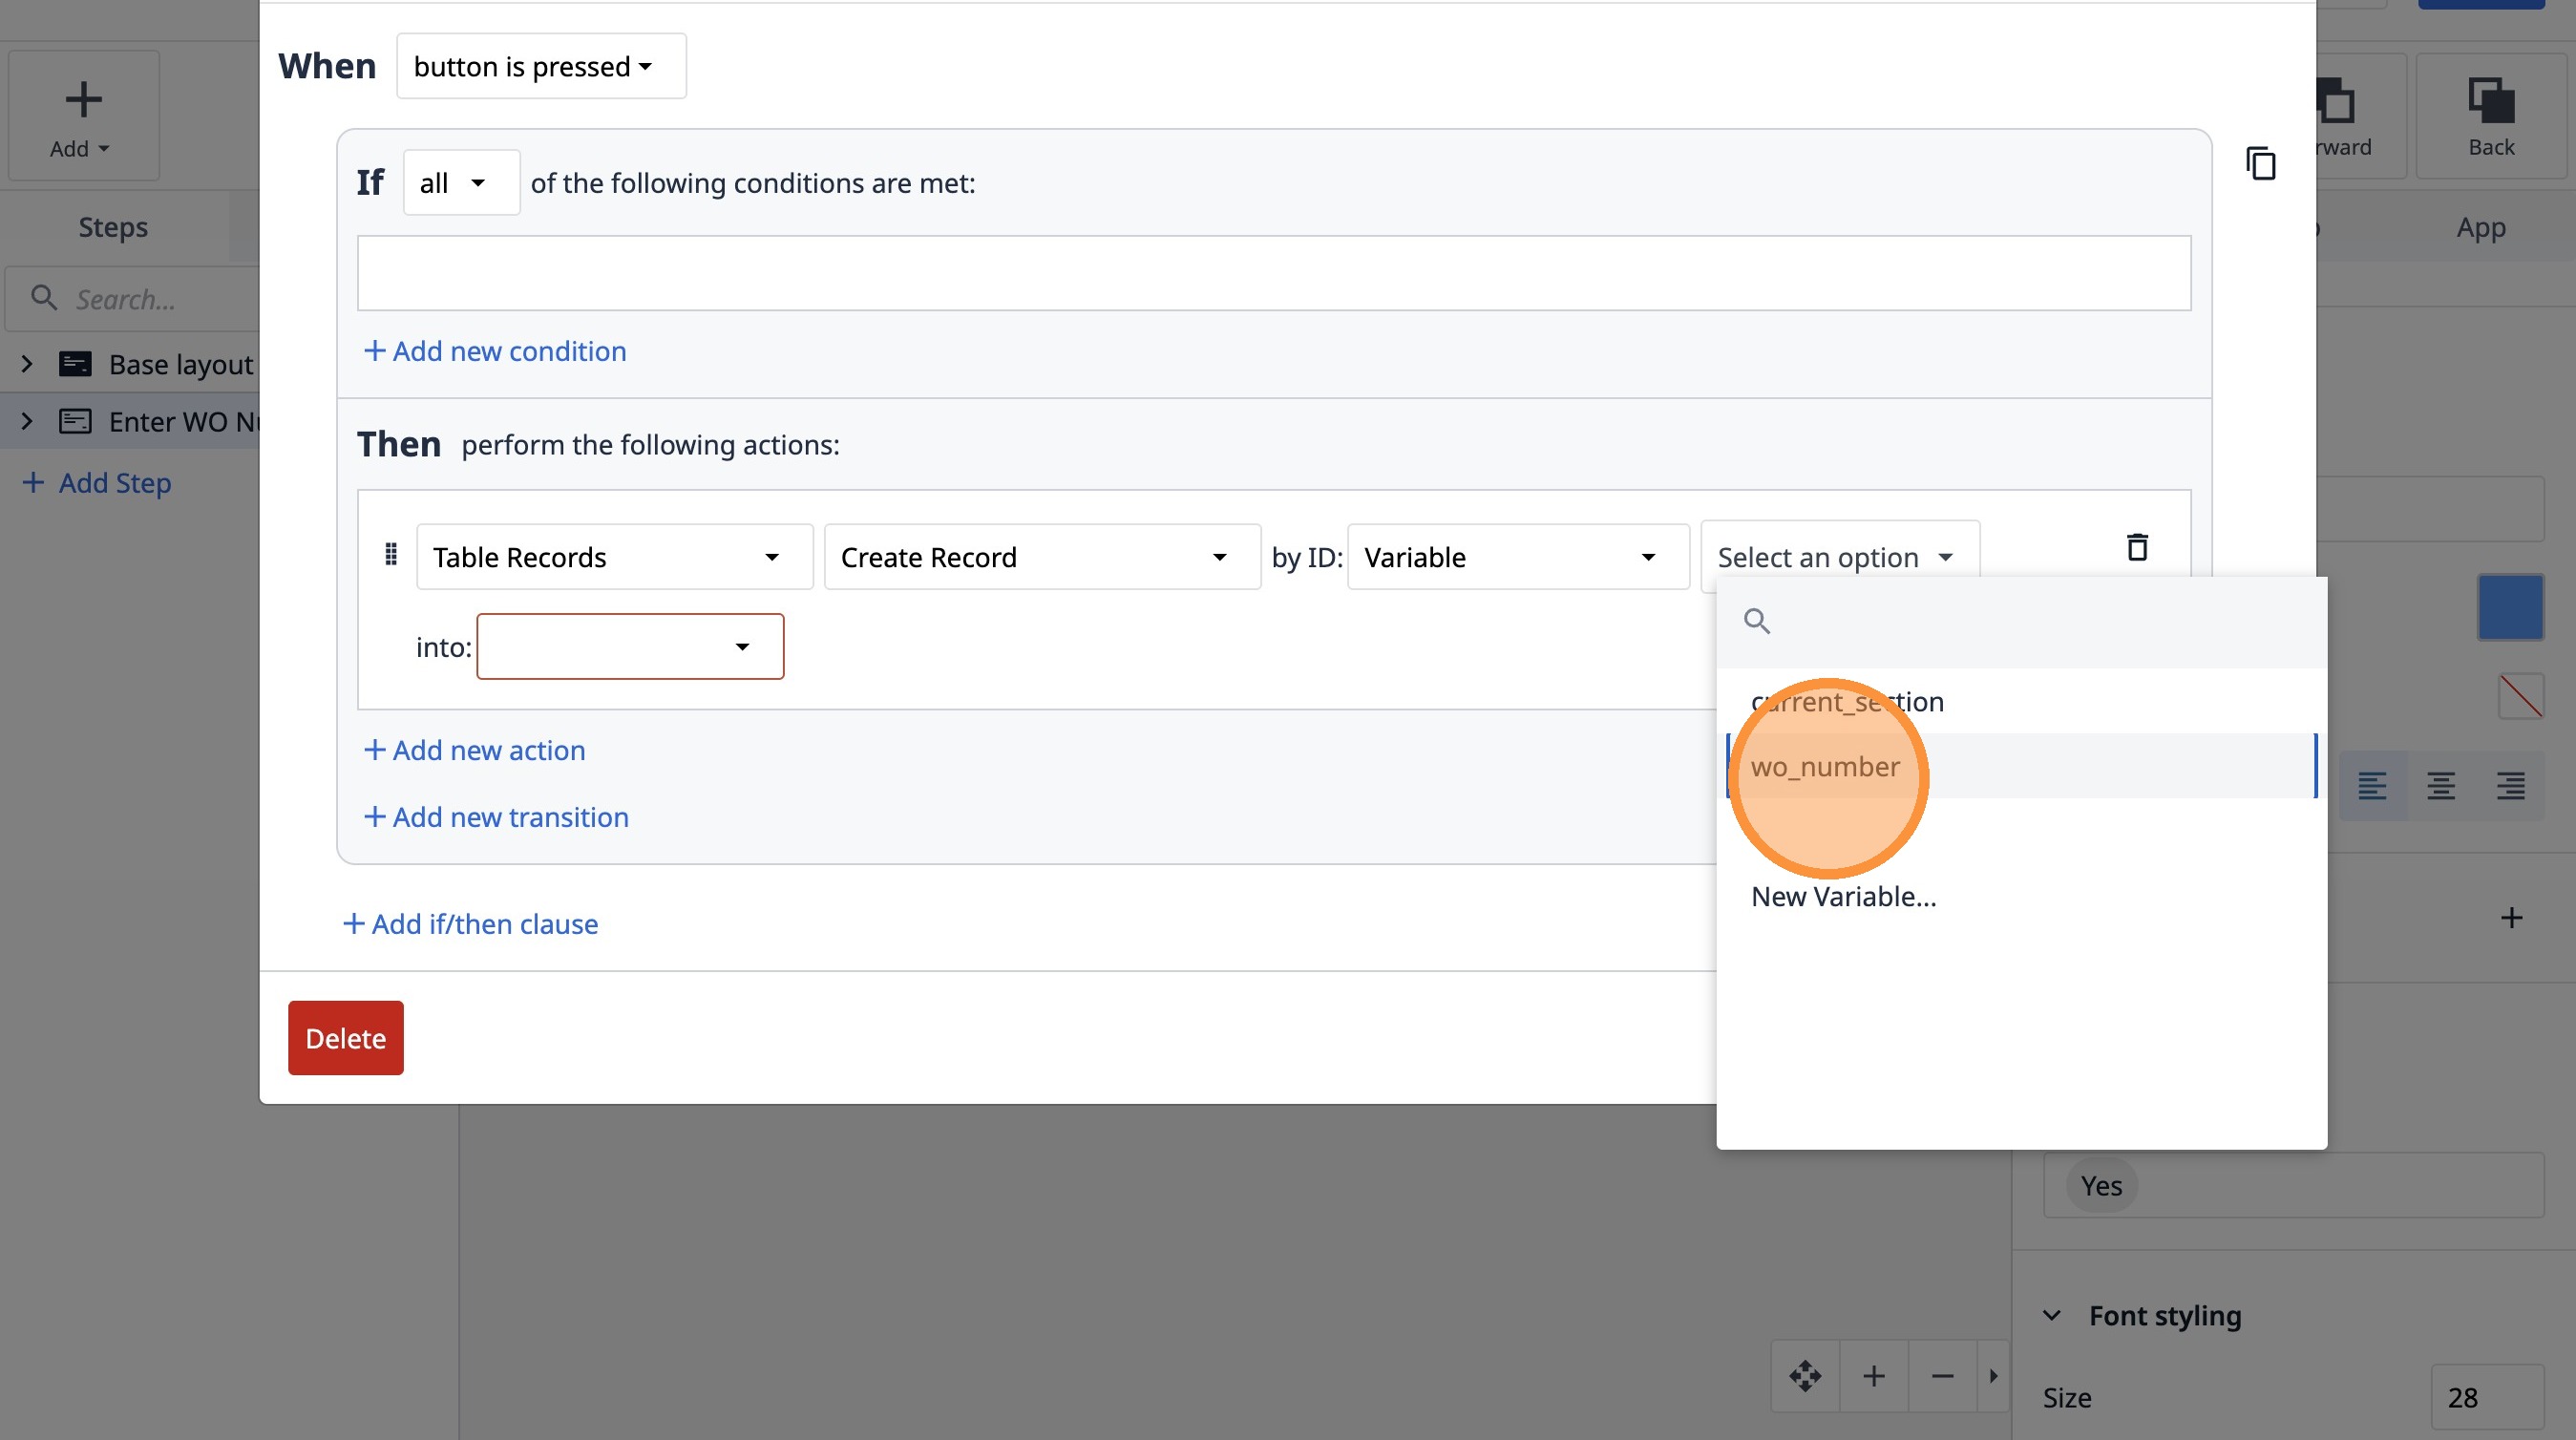
35. Click "Select an option"
36. Click "wo_number"
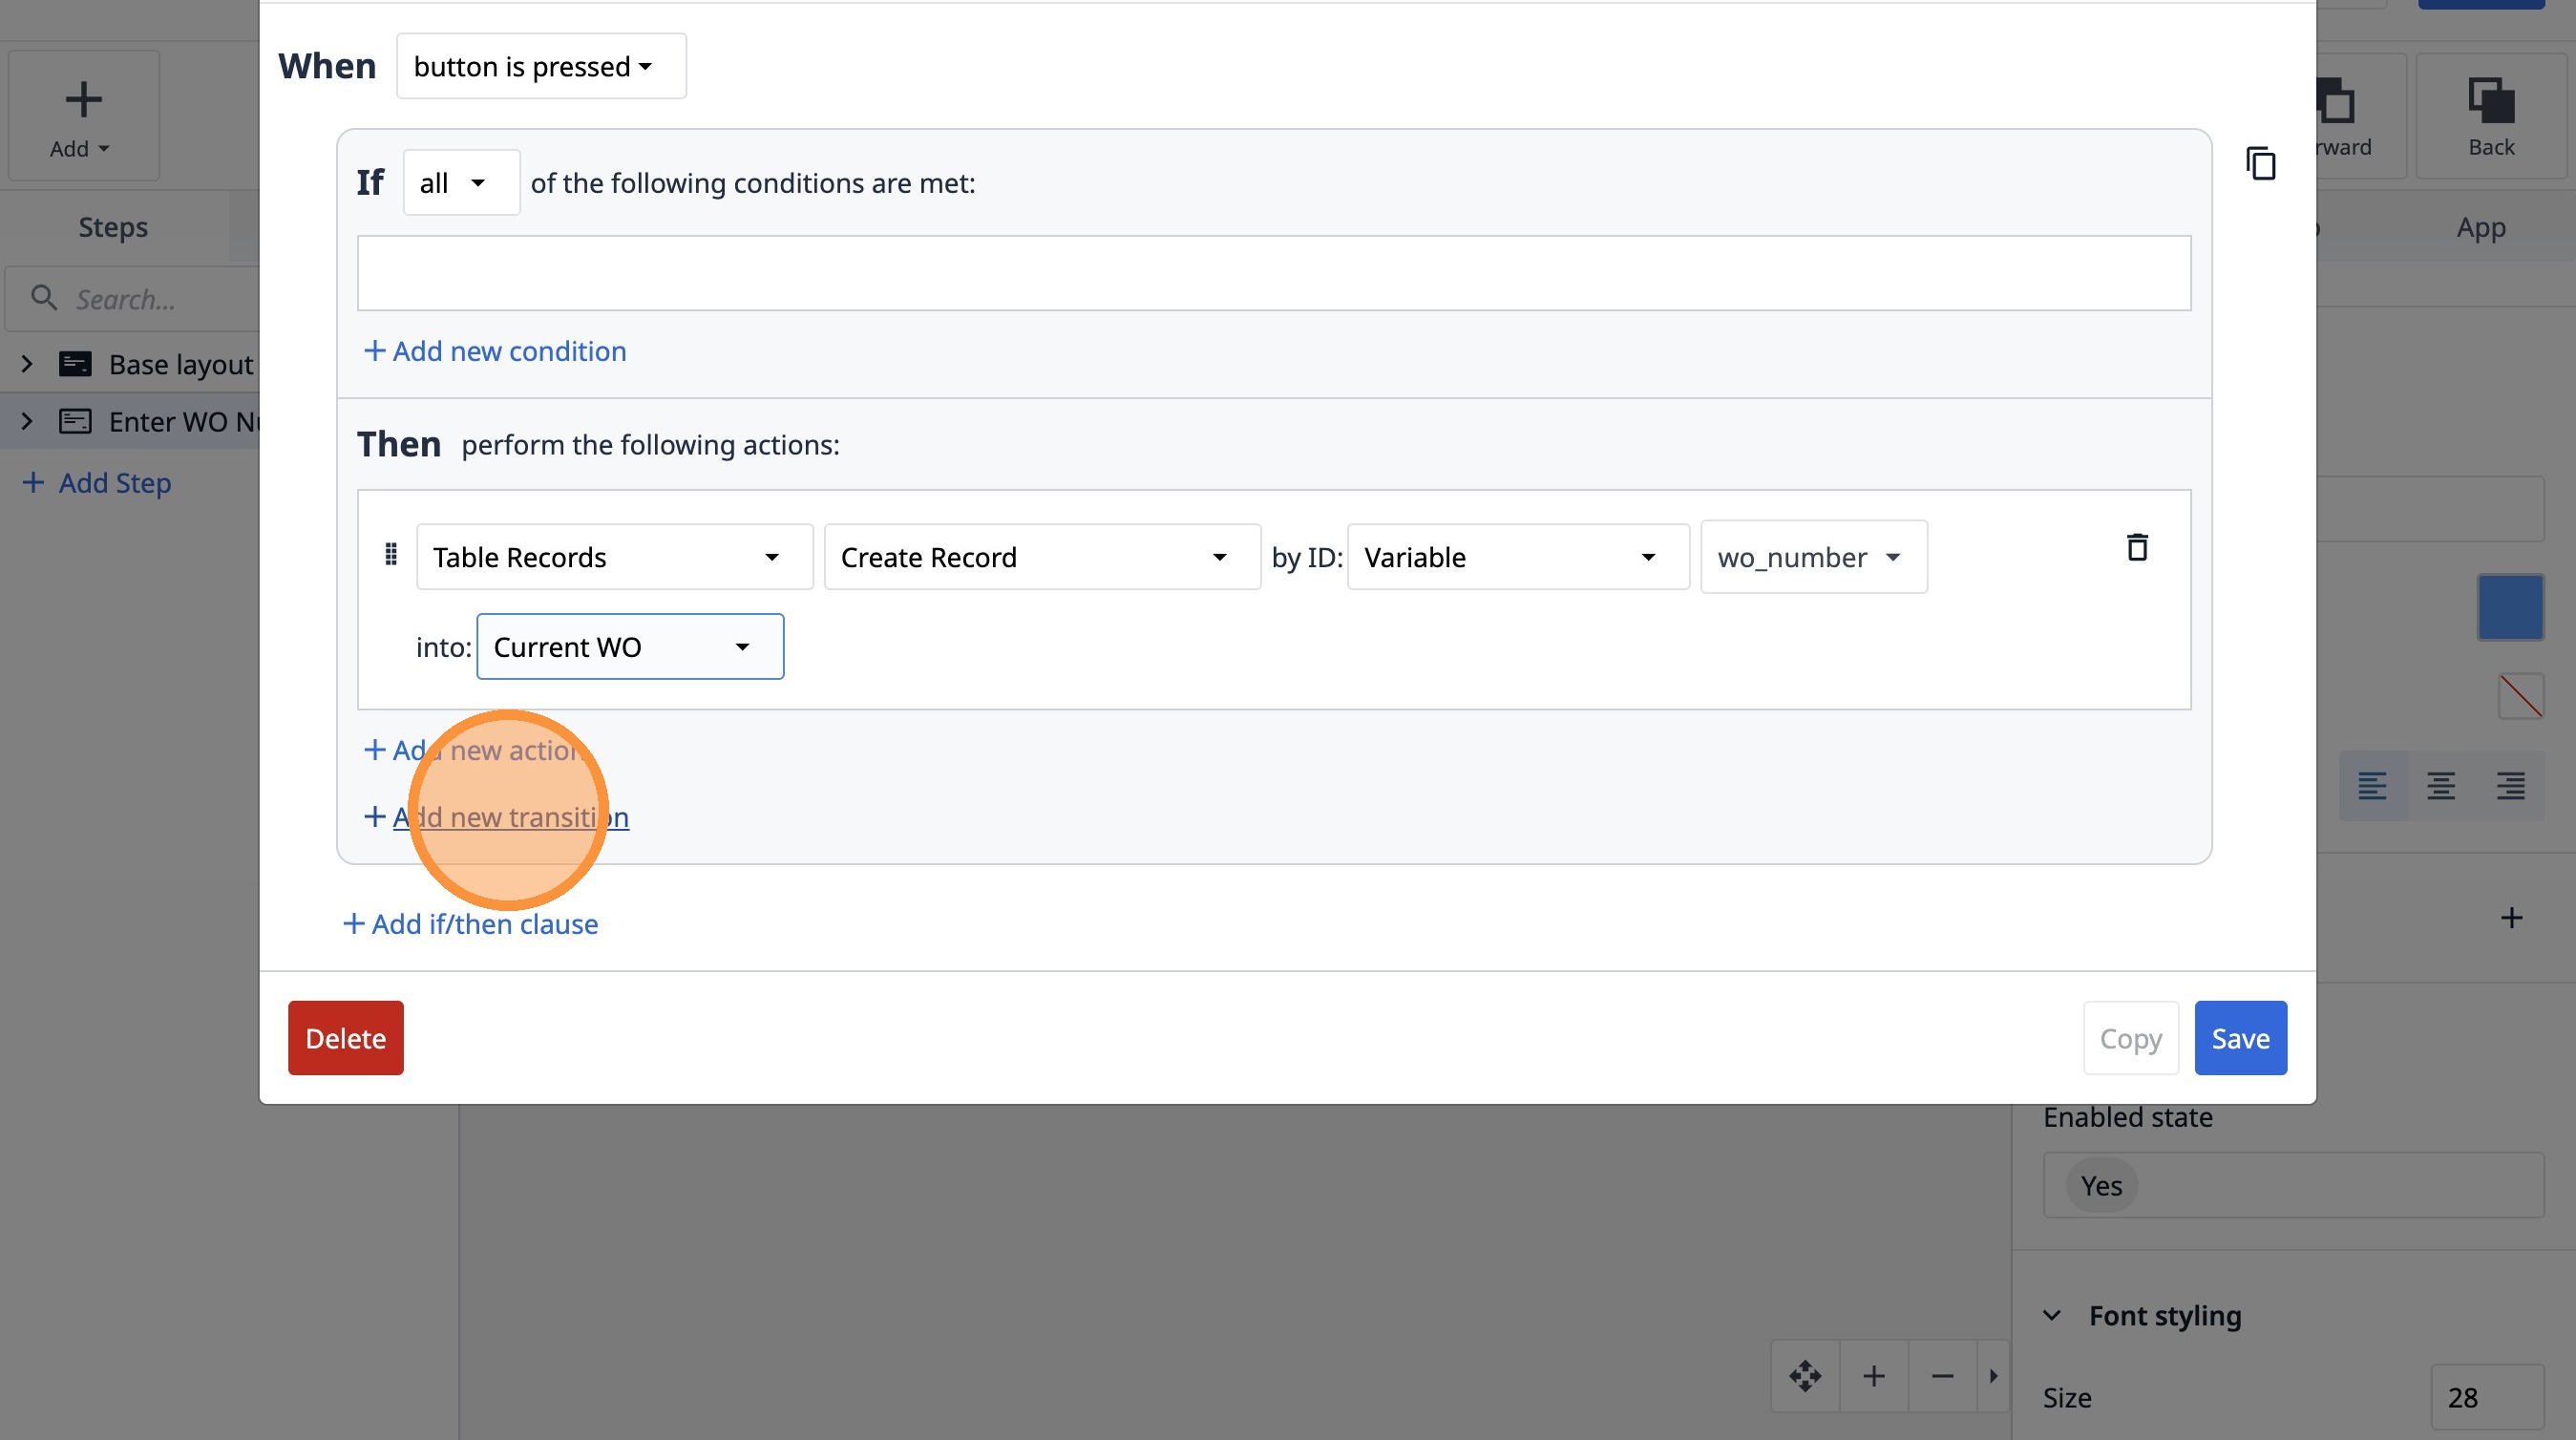
37. Select the "Current WO" option.

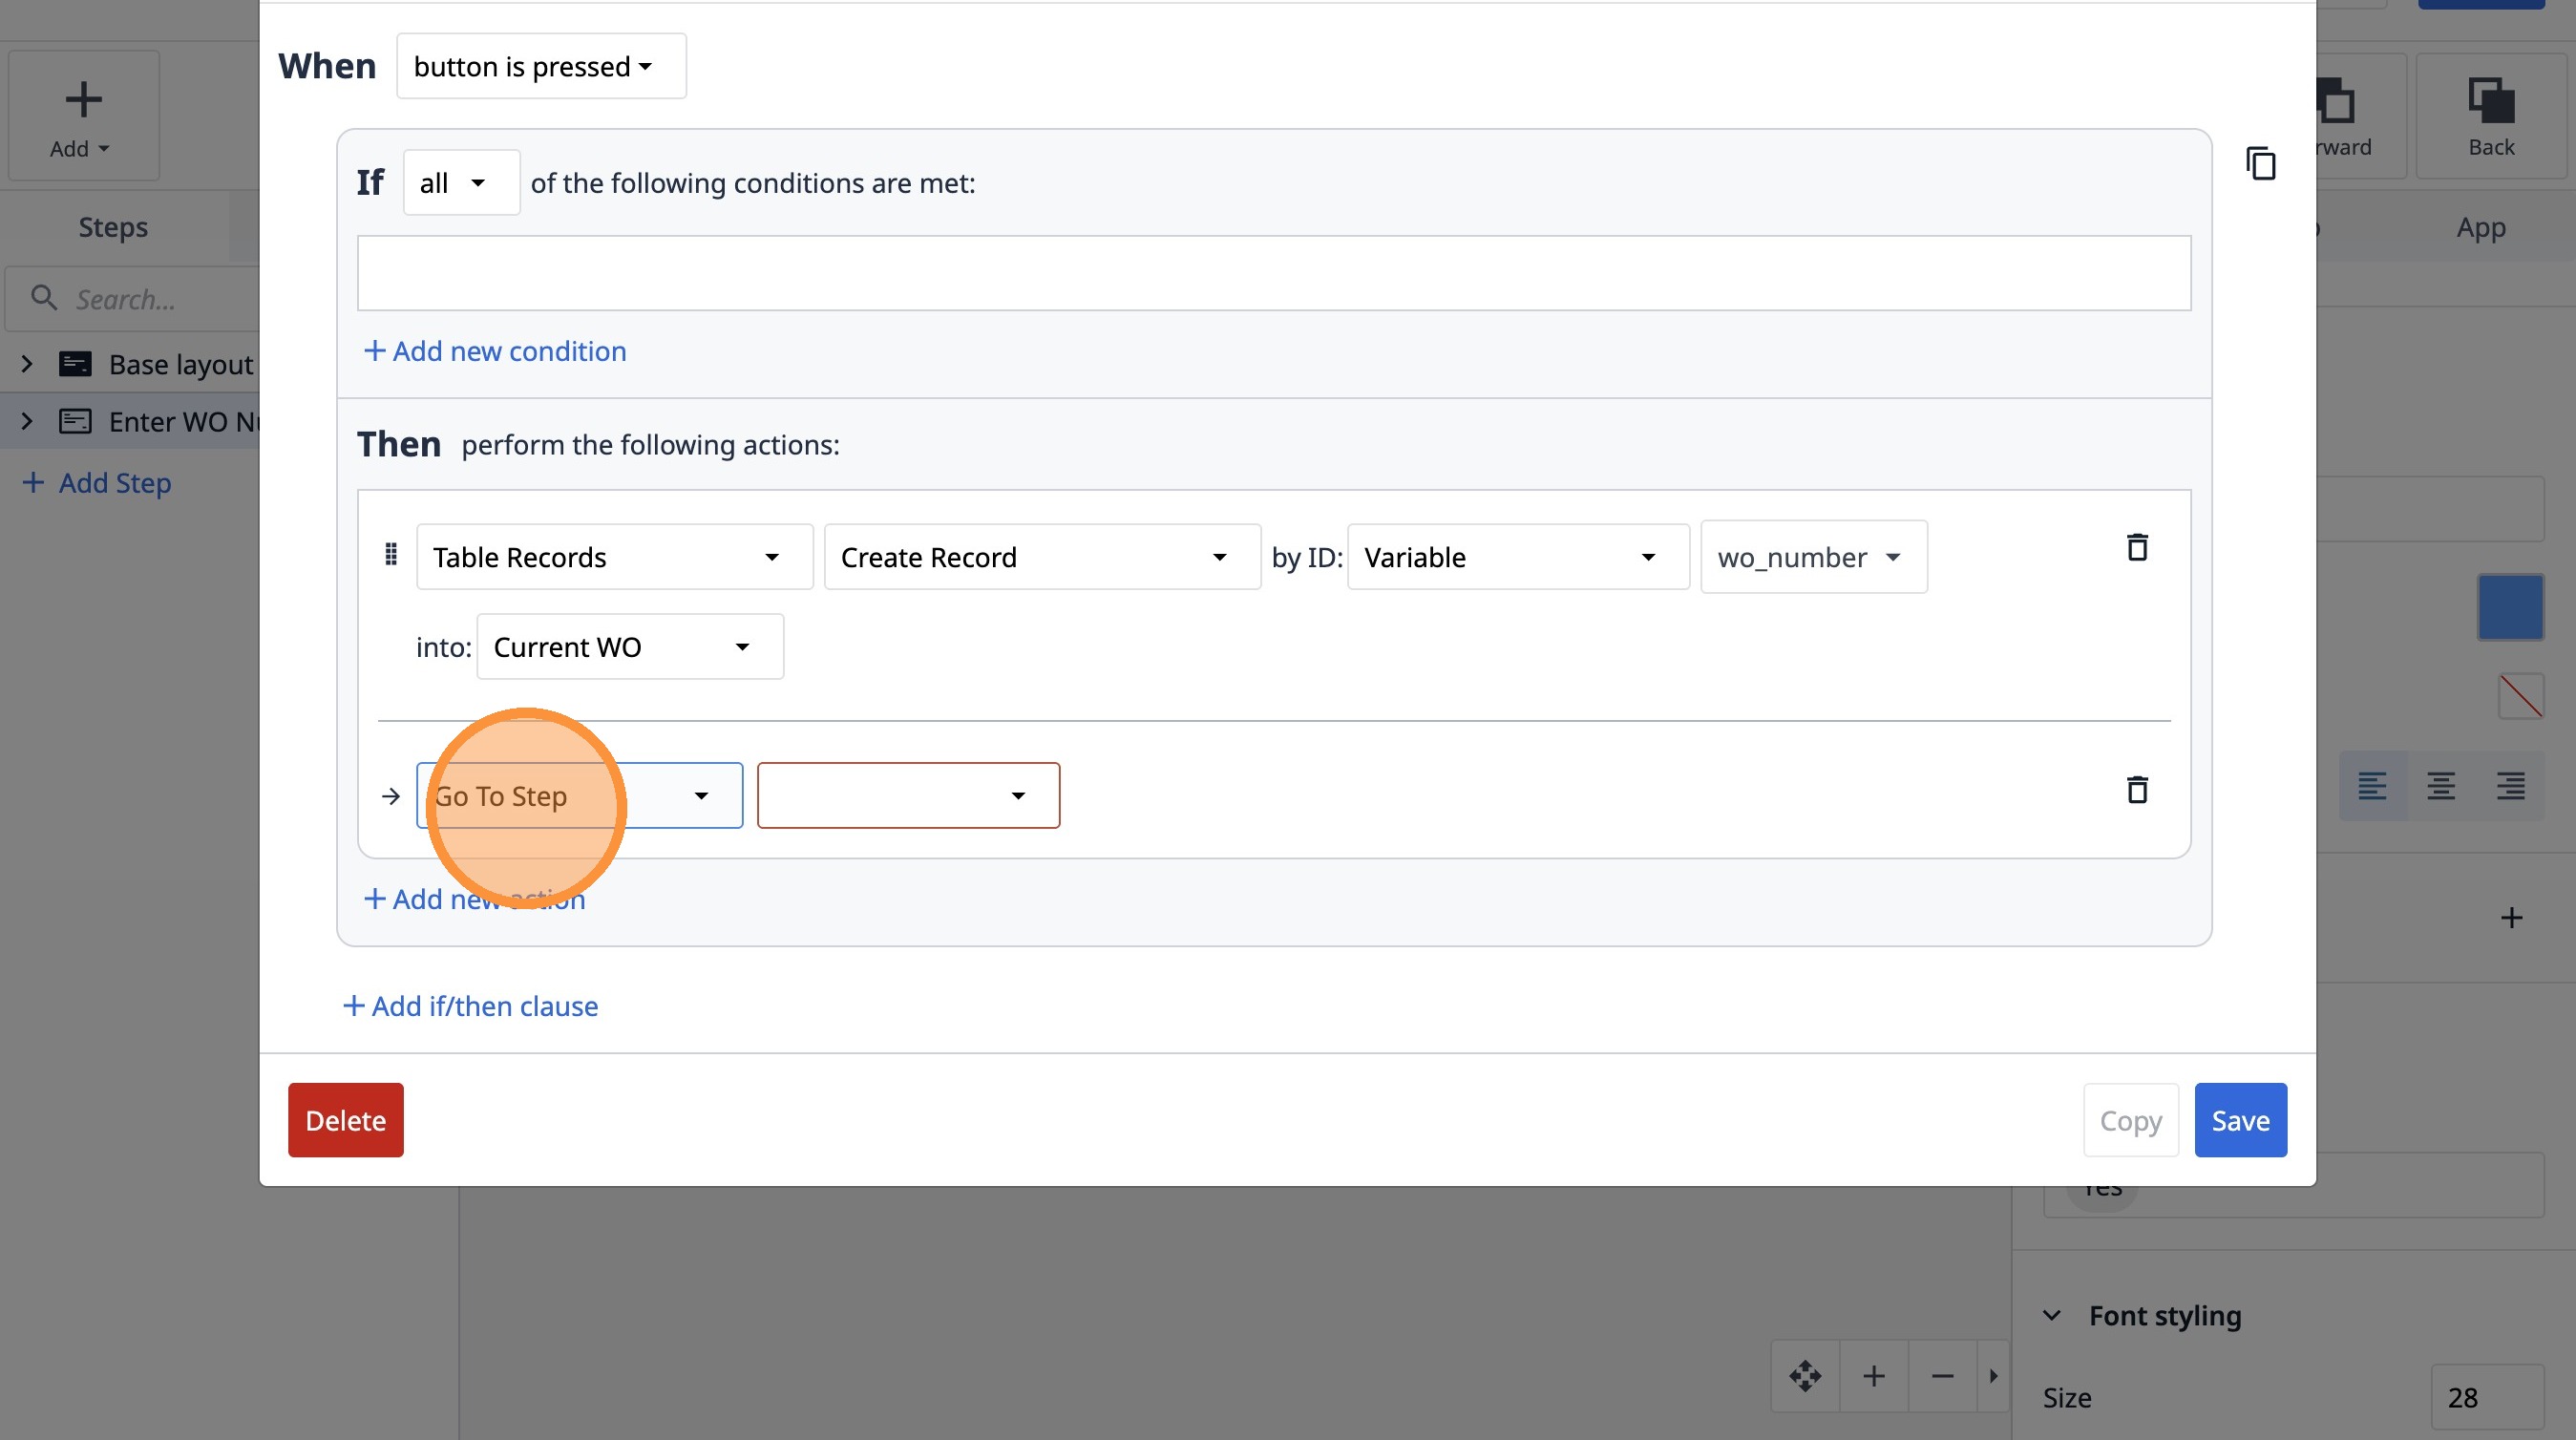
38. Click "Add new transition"
39. Select the "Go To Step" option.
40. Select the "Next" option.
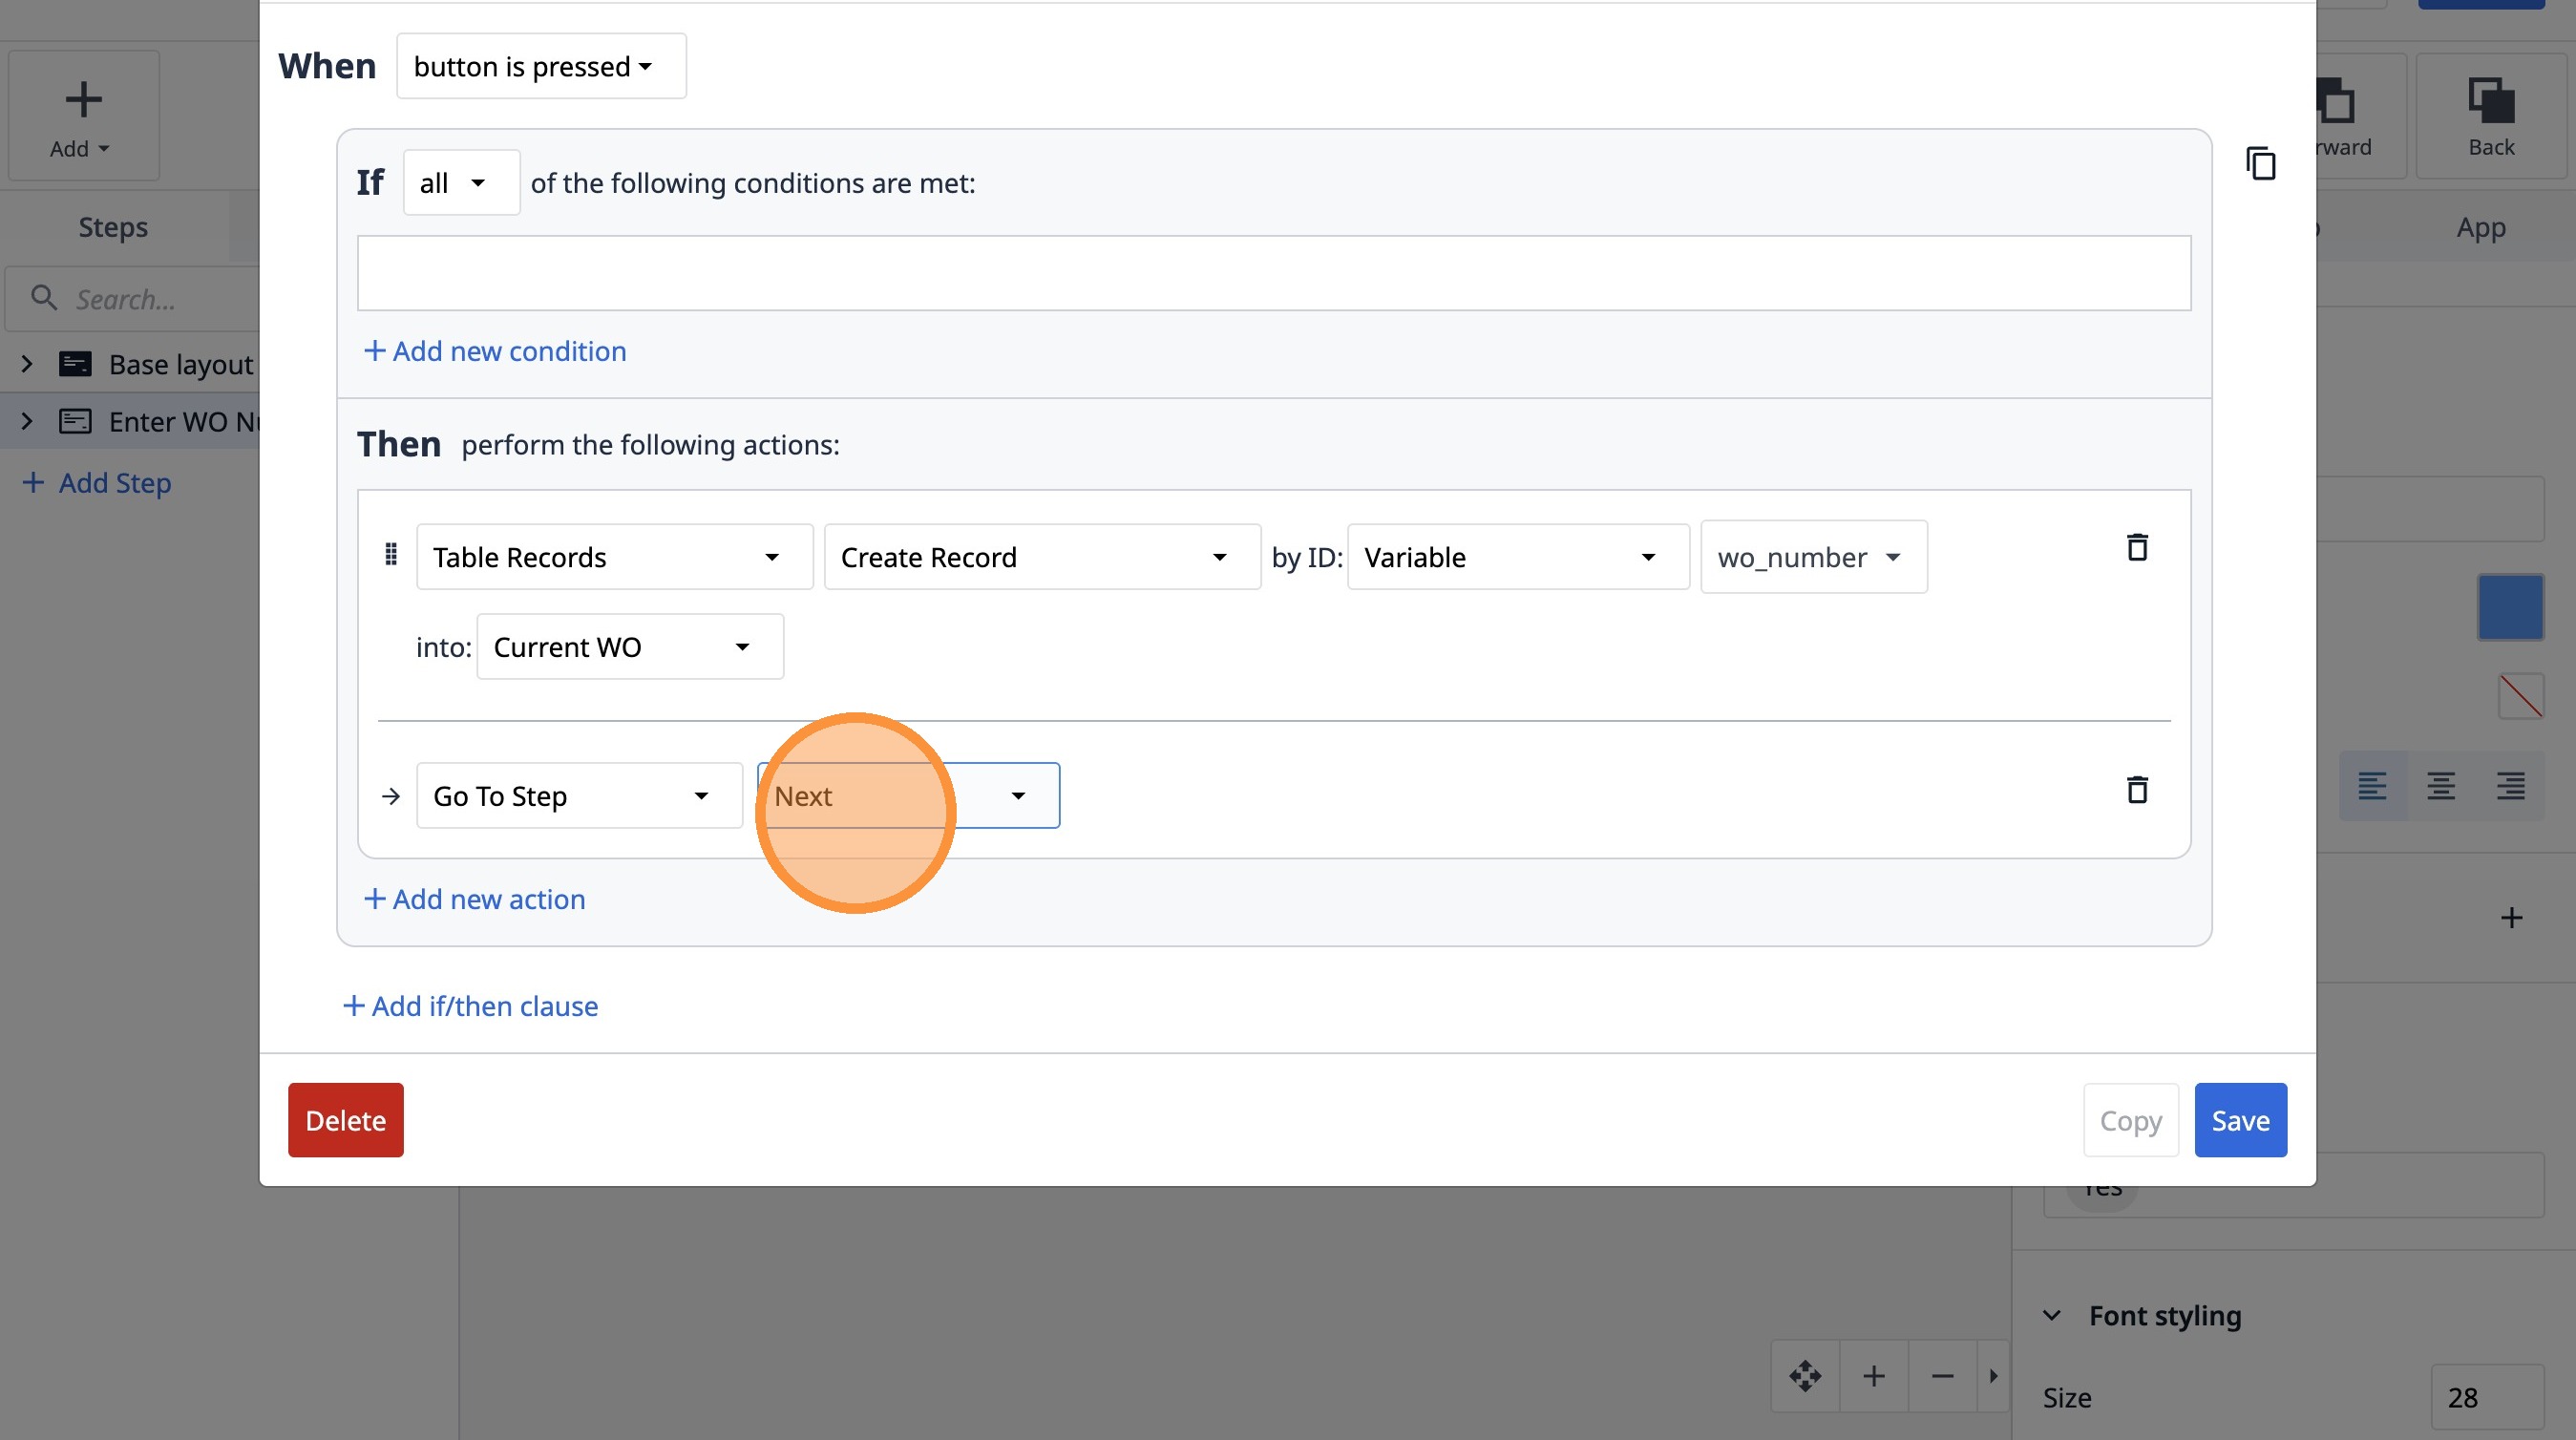
41. Click "Save"
