Learn how to create a custom quality inspection application using Tulip. This guide walks you through setting up app structure, adding data tables for work orders and inspections, and configuring variables for a seamless user experience.
1. Navigate to the list of apps in your instance.
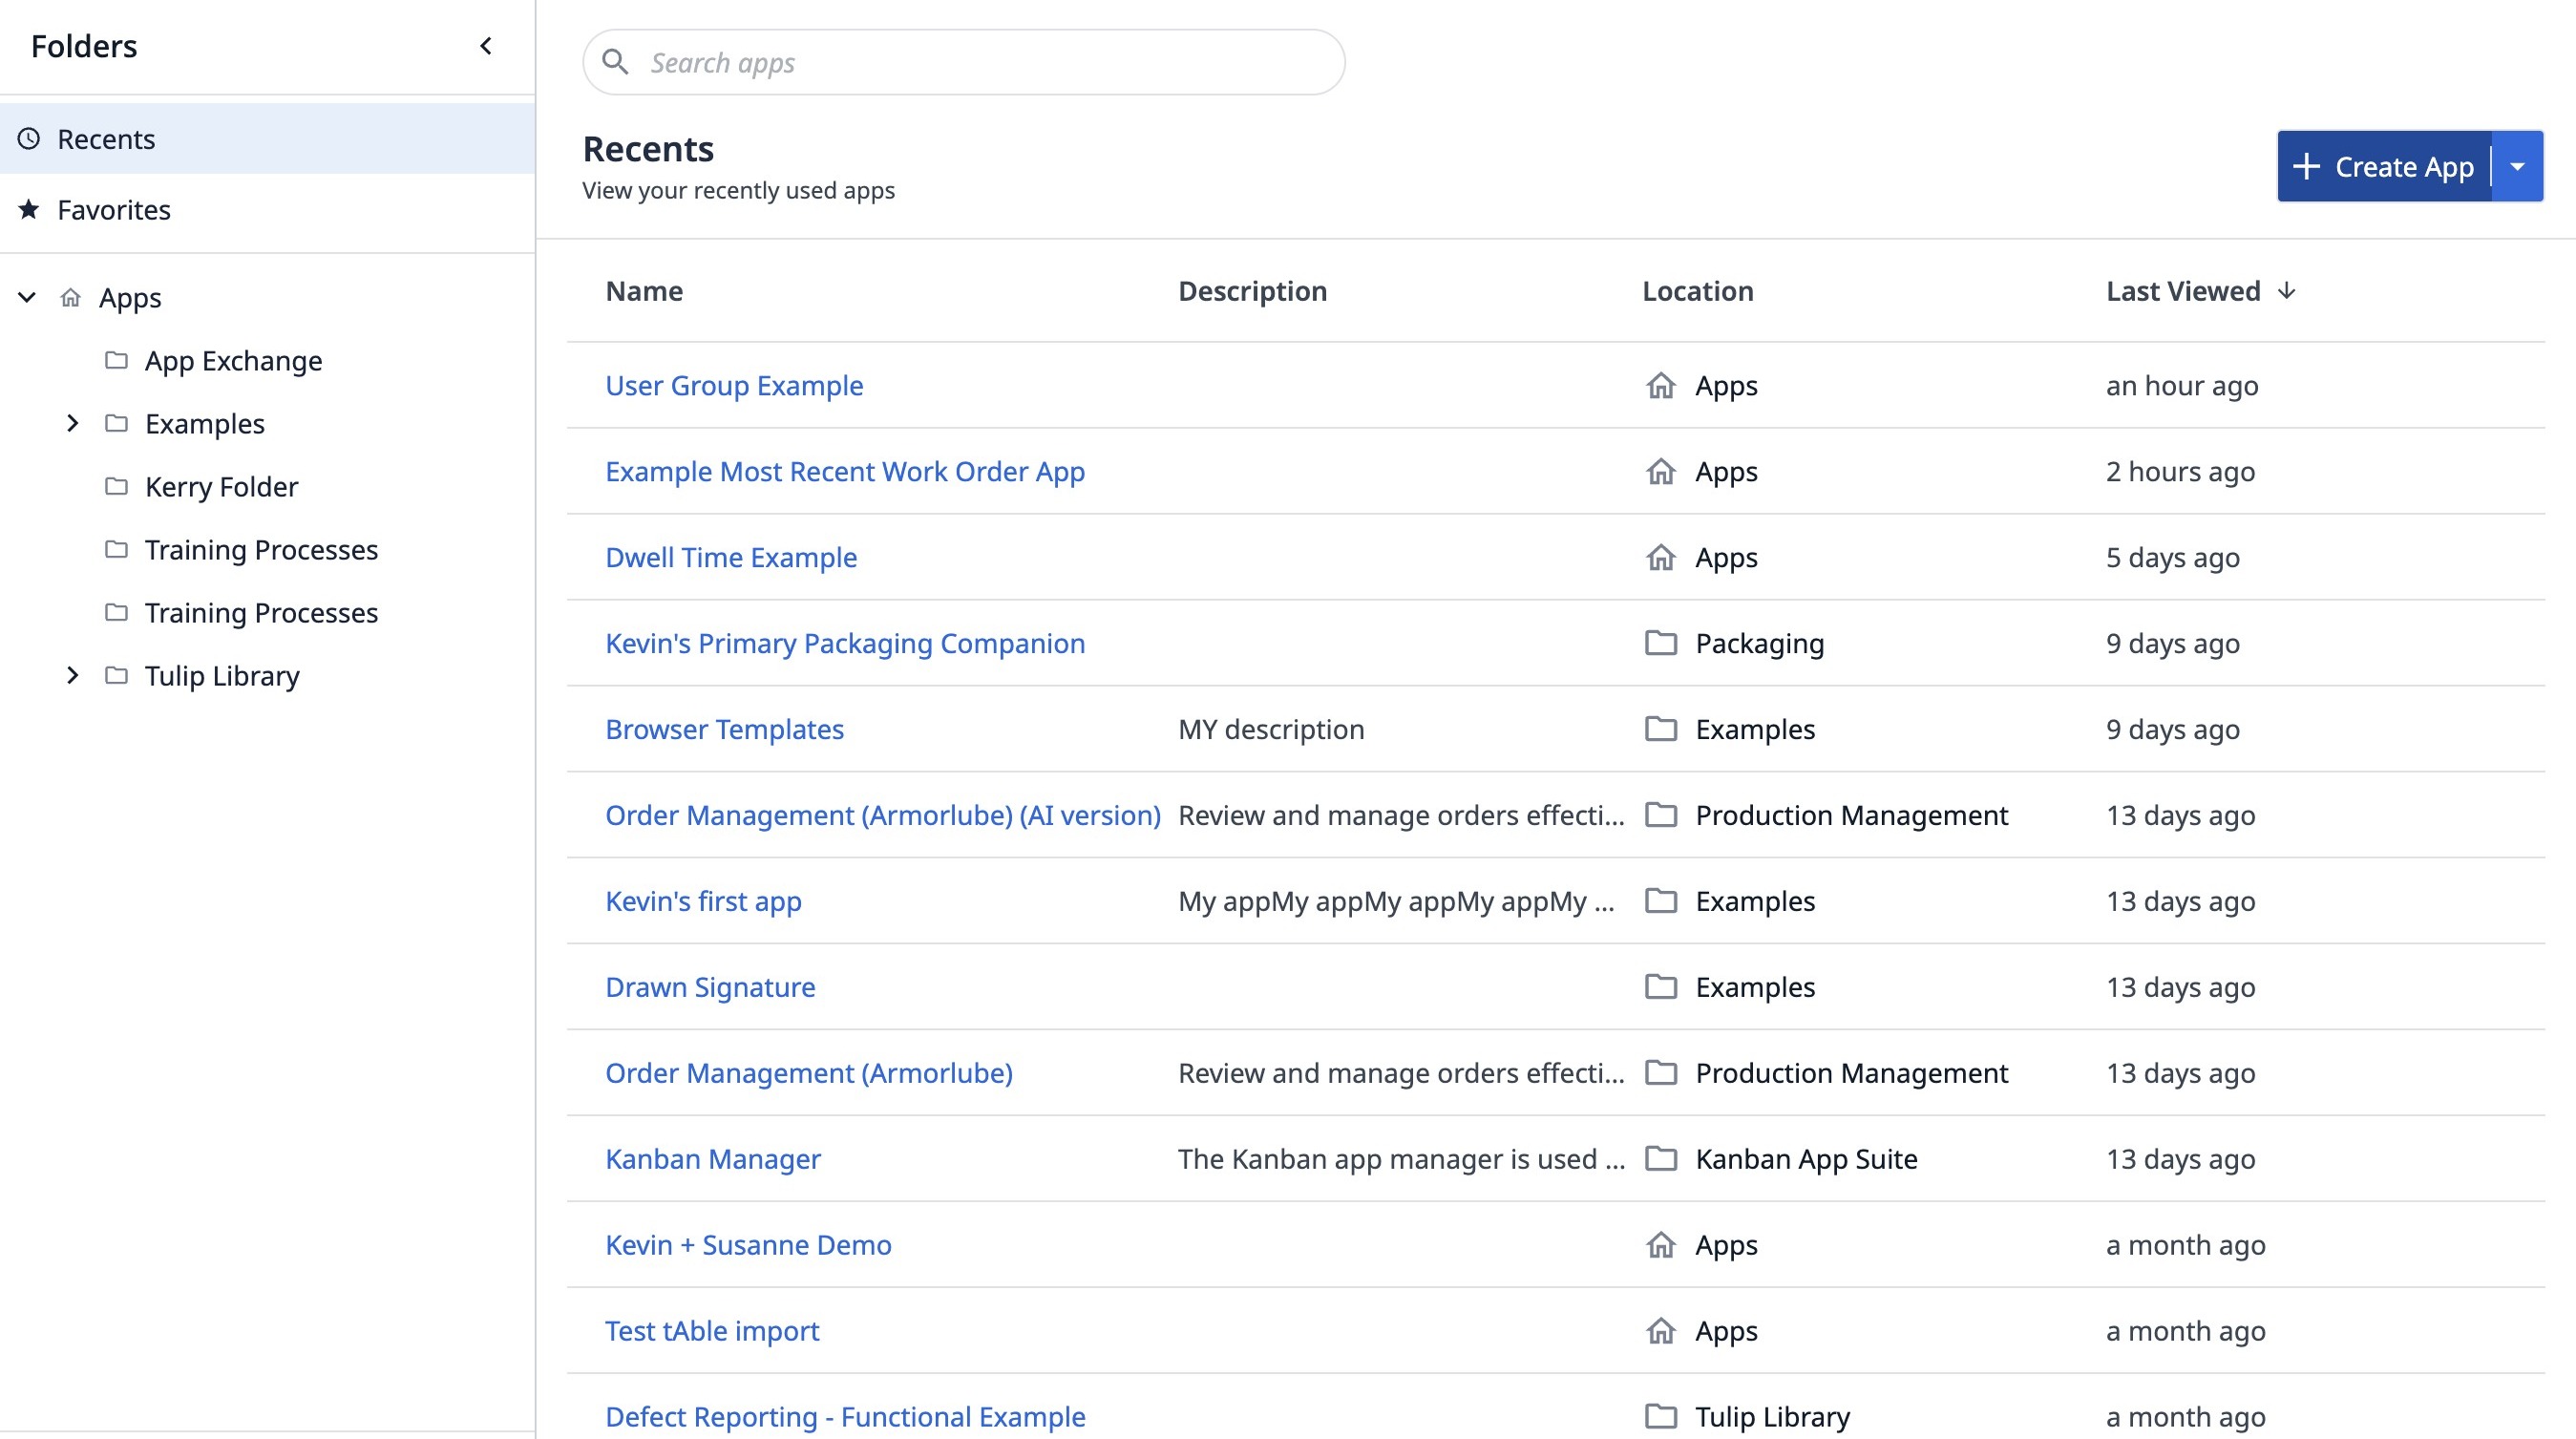
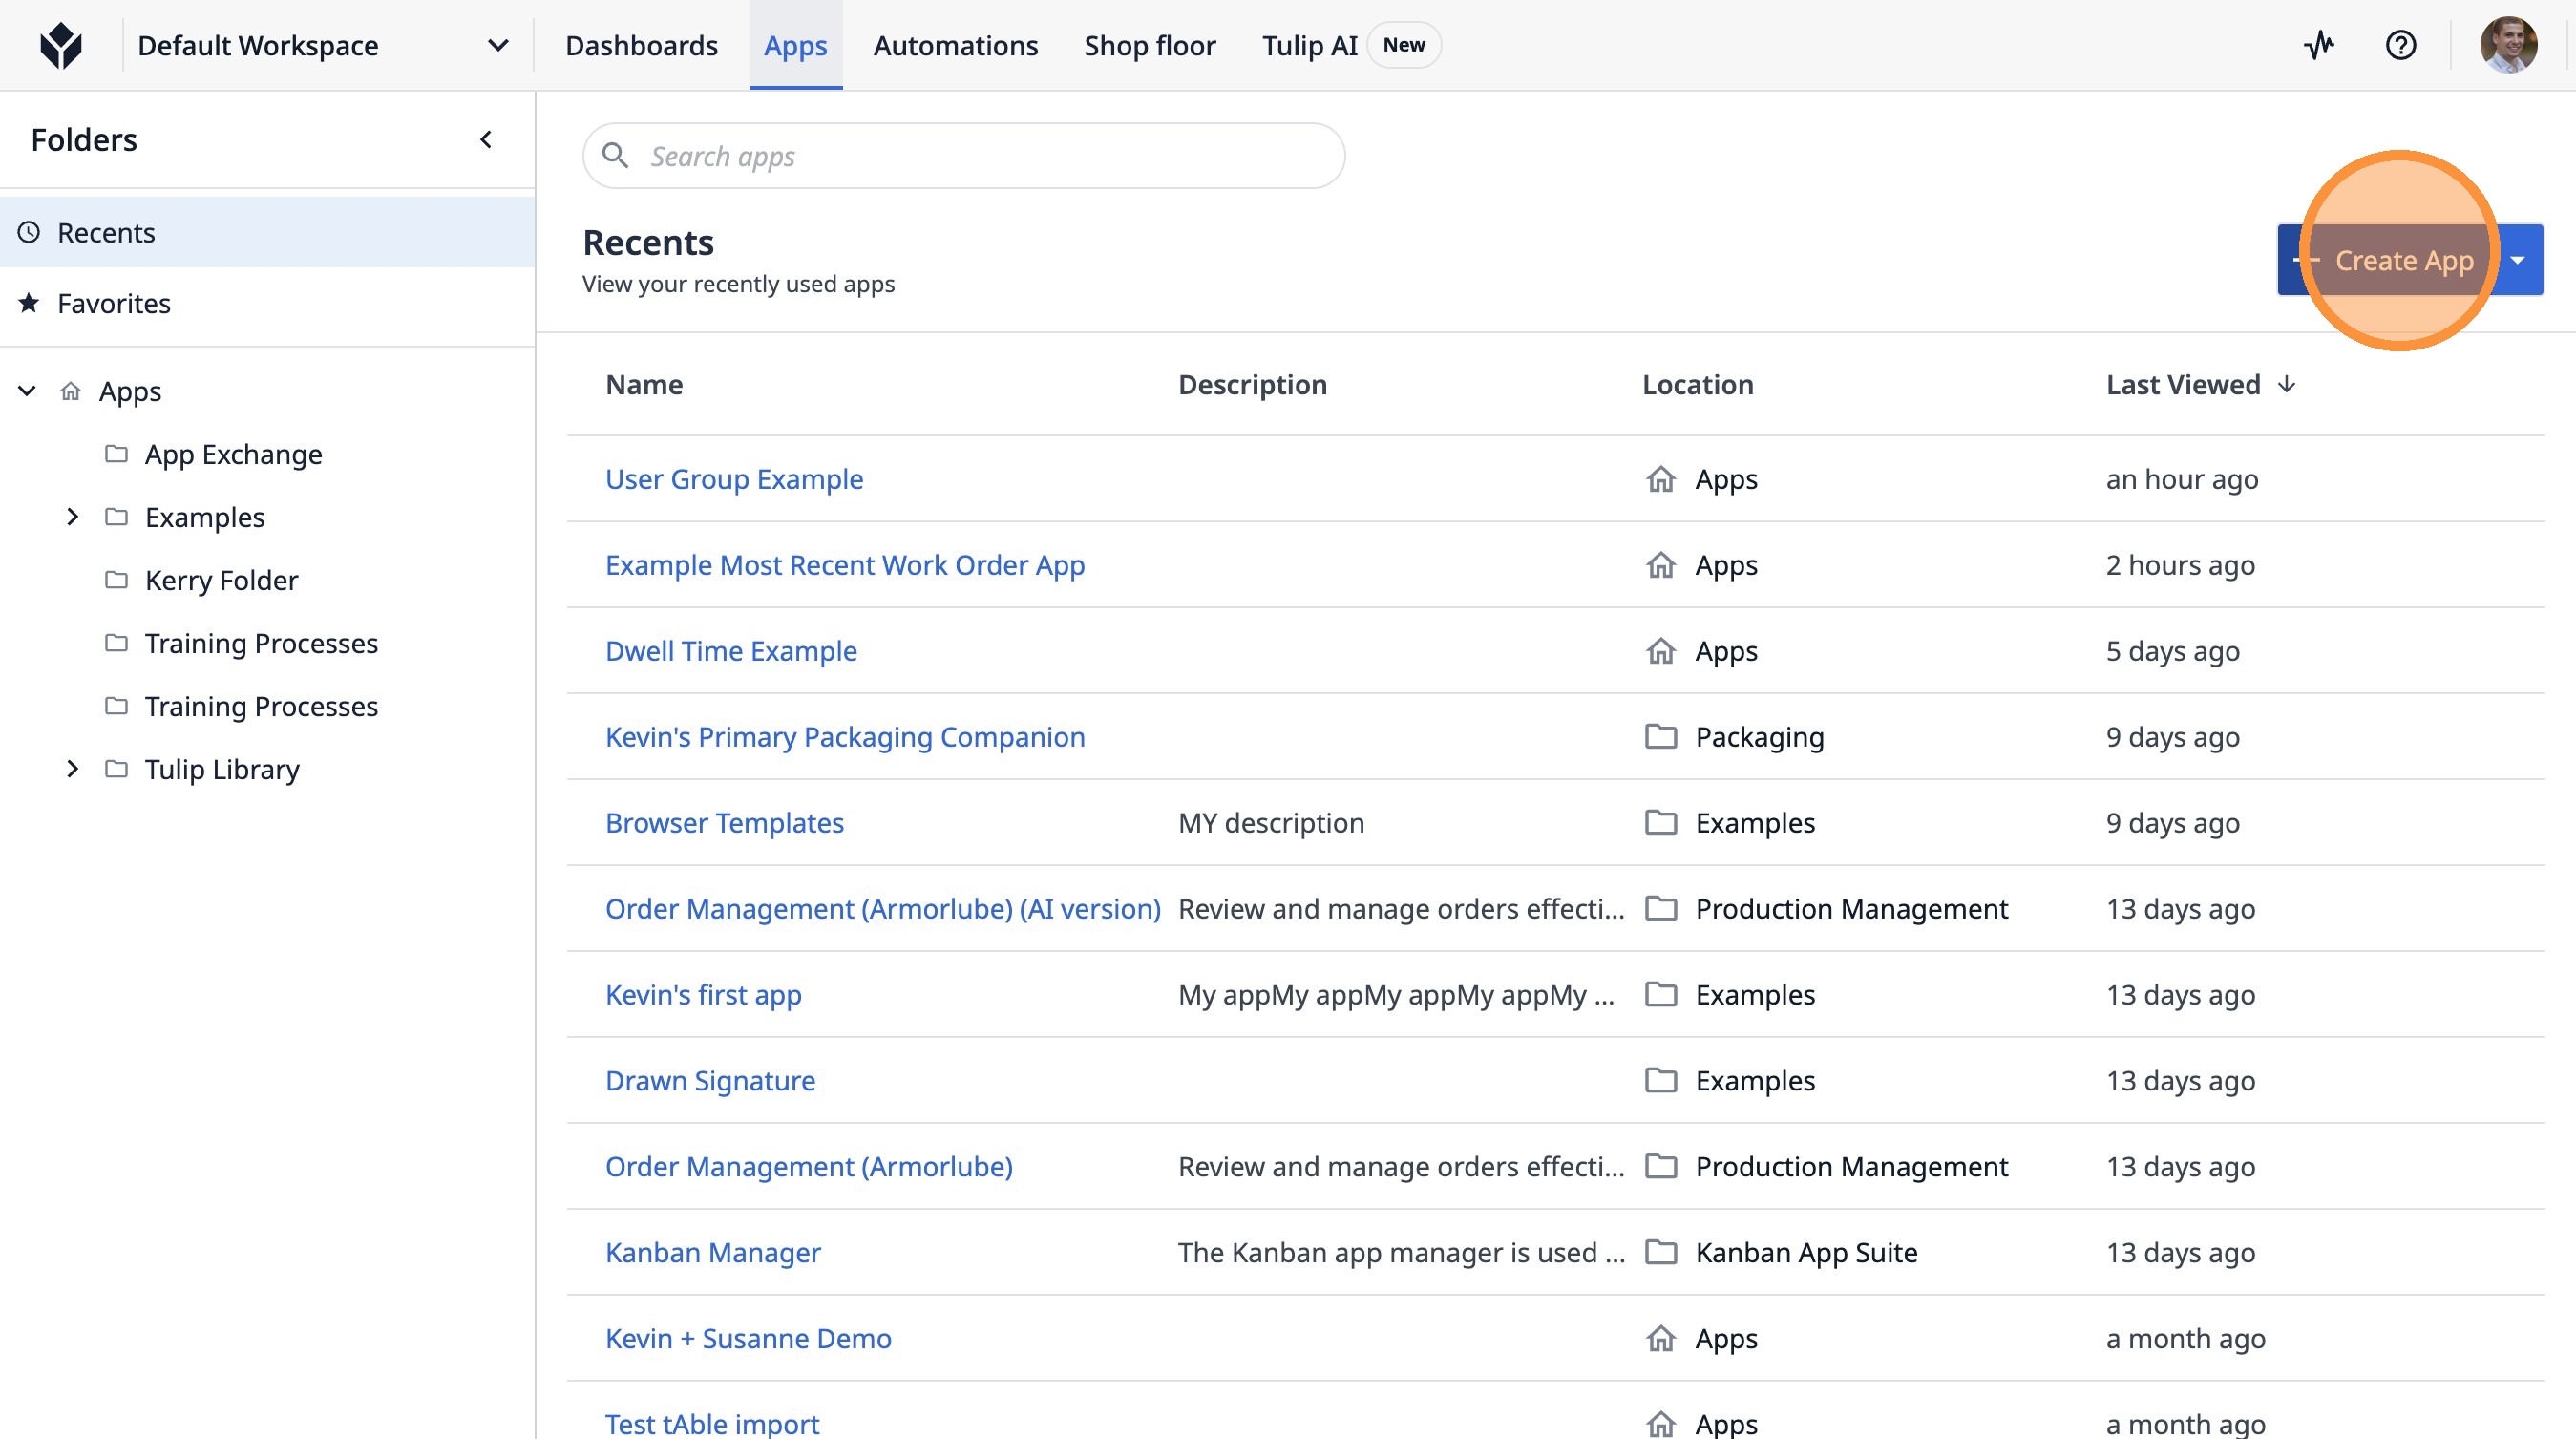
2. Click "Create App"
3. Click the "App Name" field.

4. Type "Quality Inspection App 1"
5. Click "Create"

6. Click "Create"

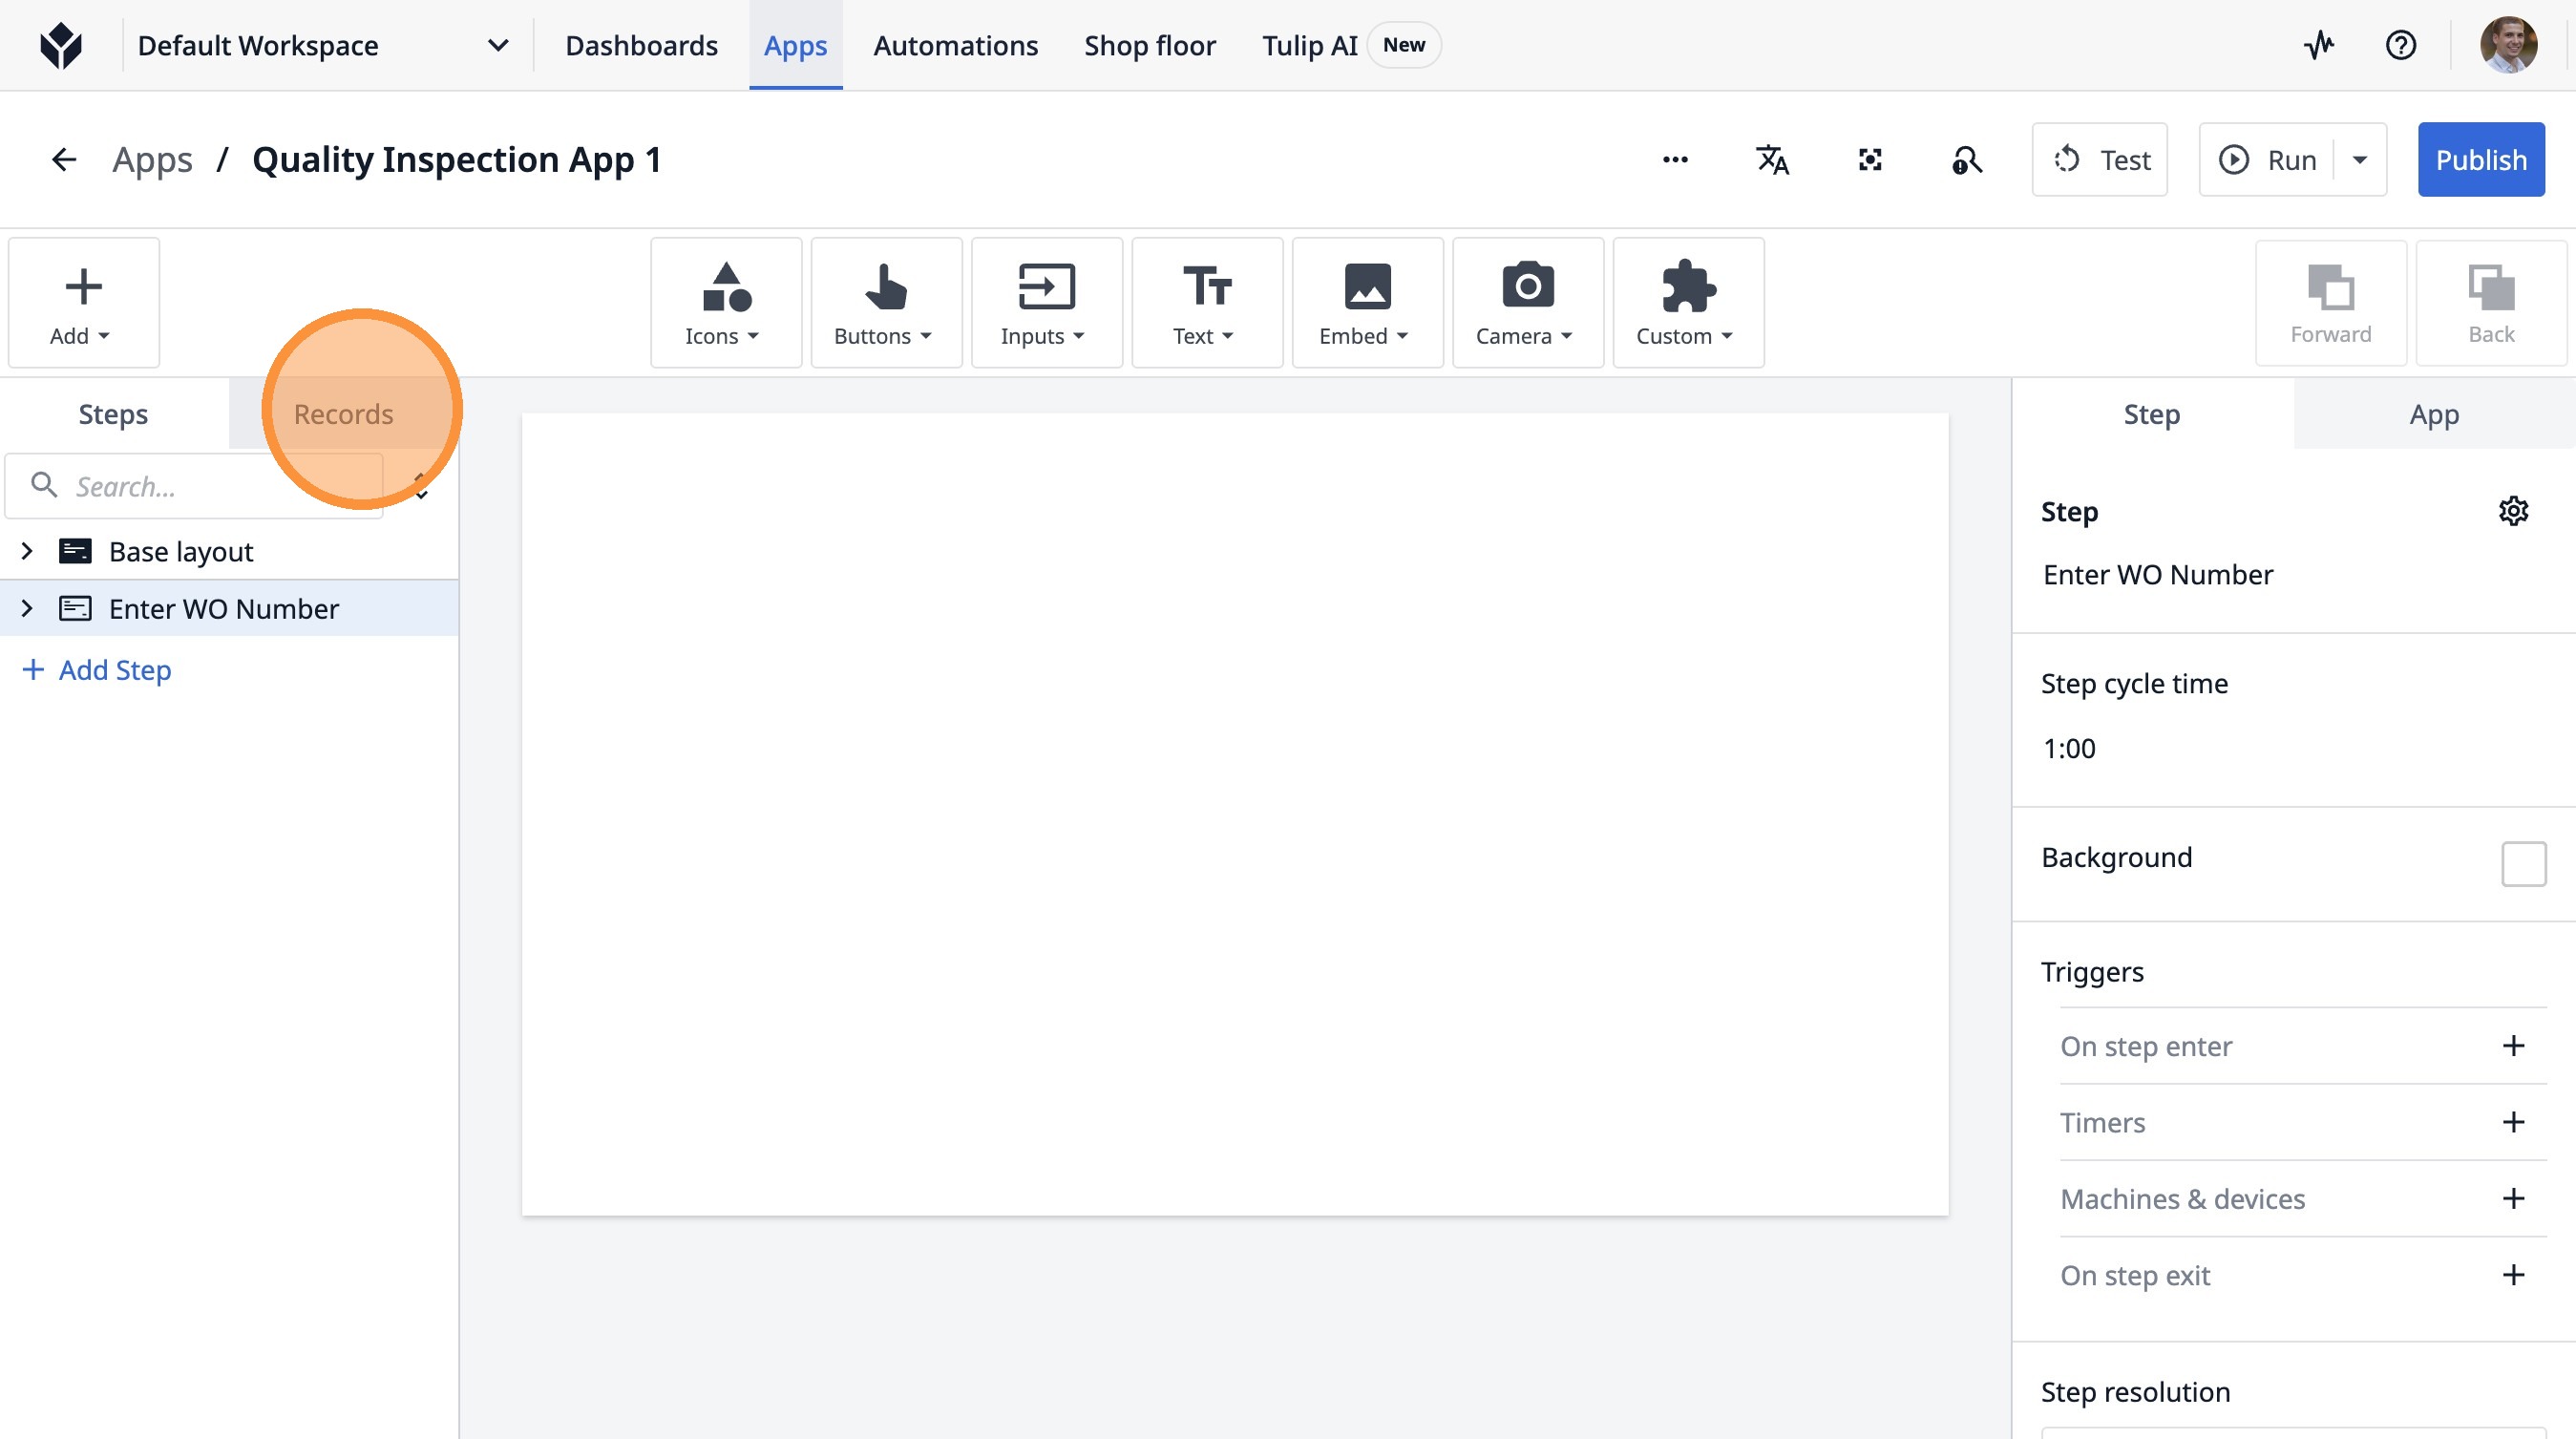
7. Click "Untitled Step"
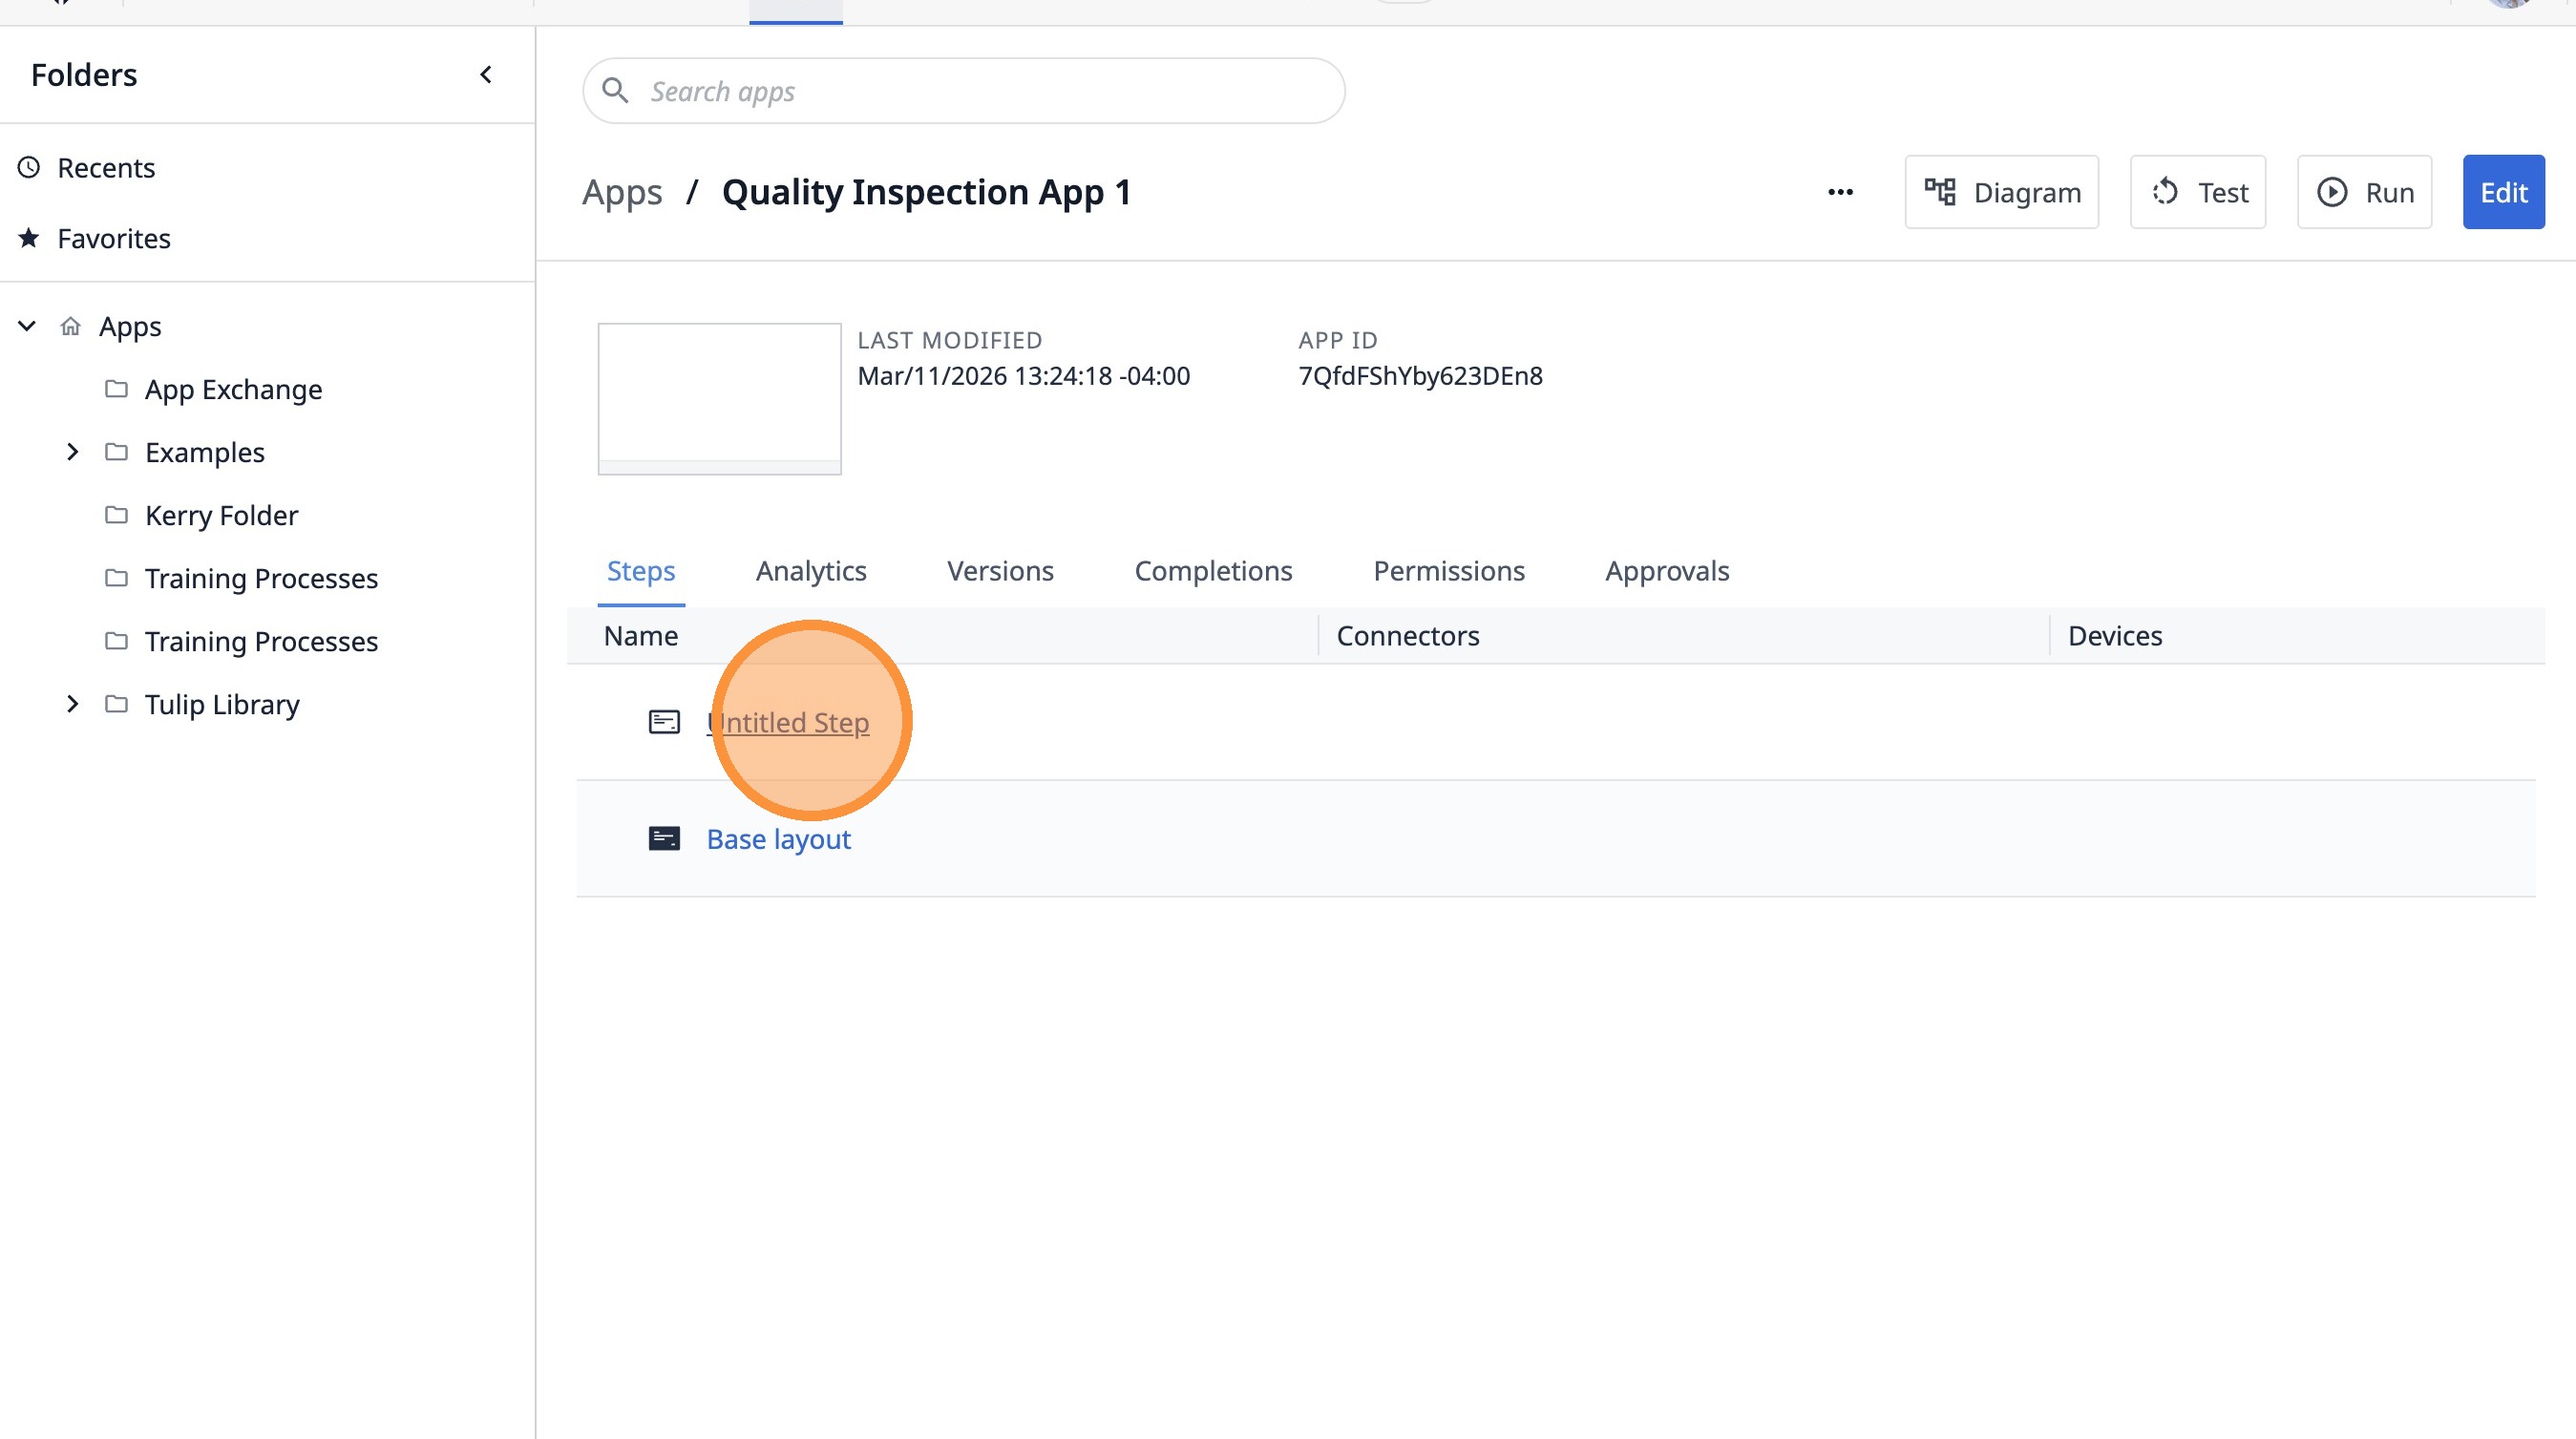
8. Double-click "Untitled Step"

9. Type "Enter WO Number"
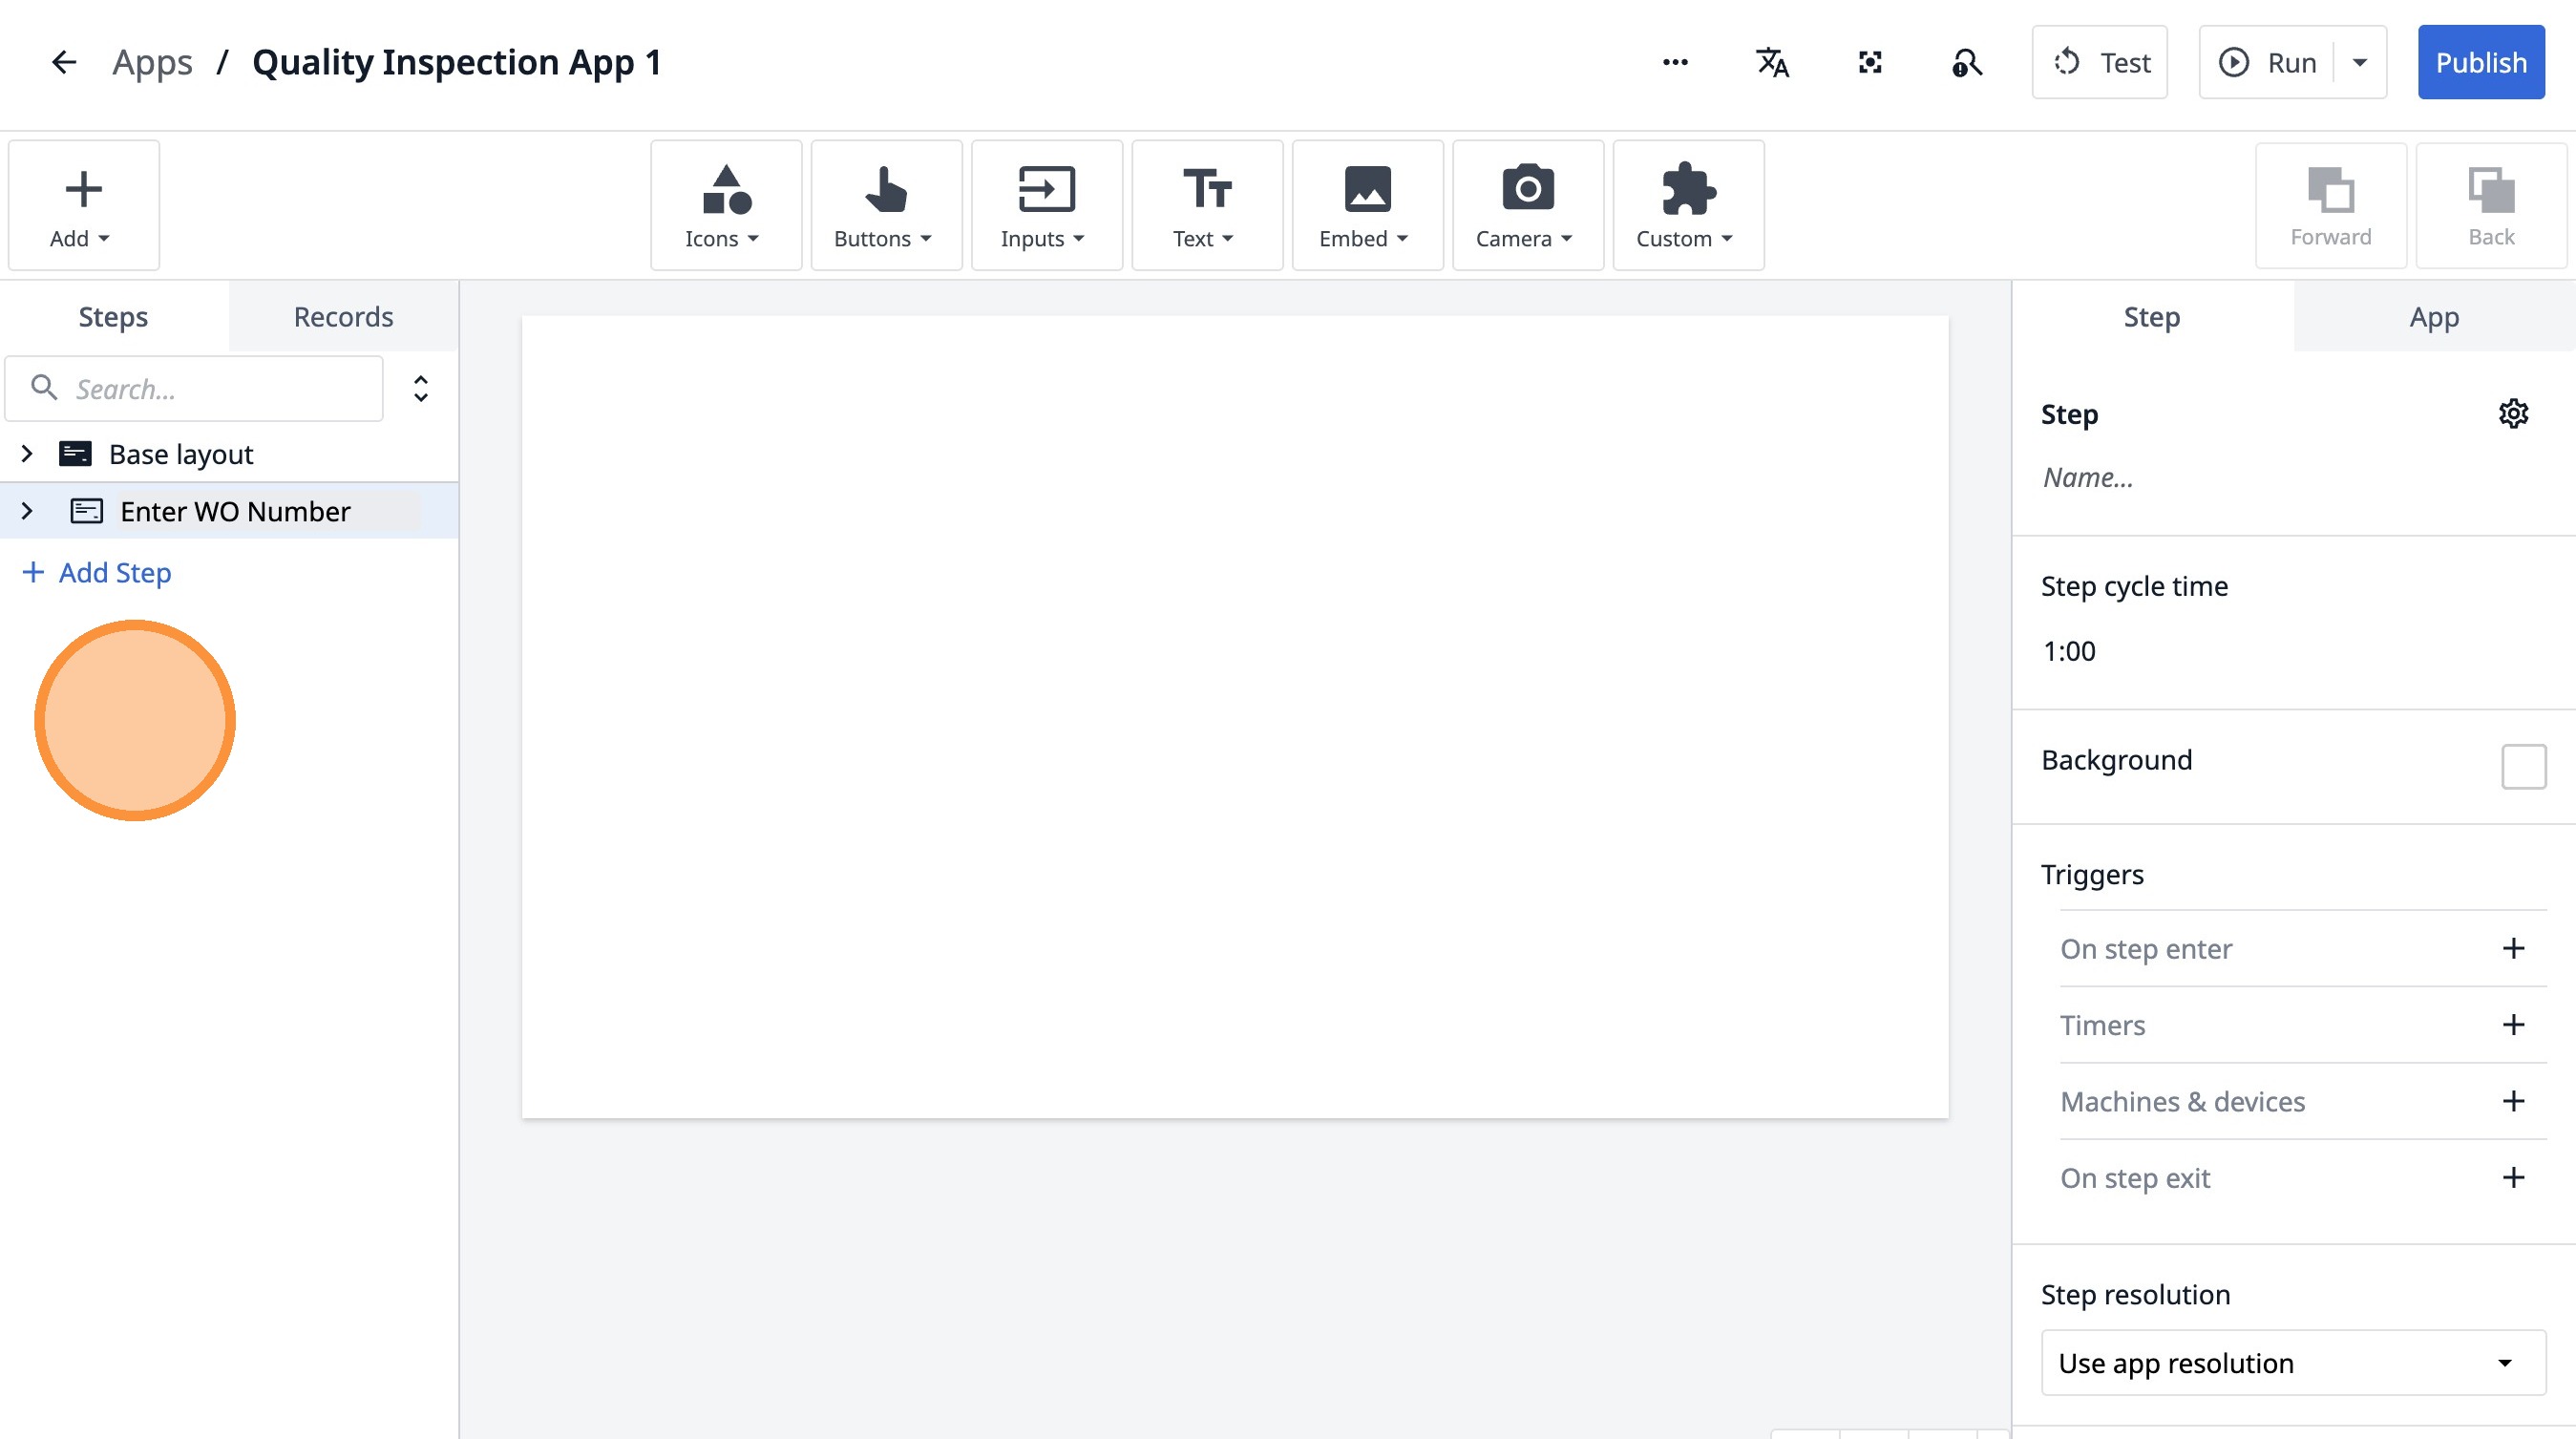
10. Click "Base layoutAdd Step"
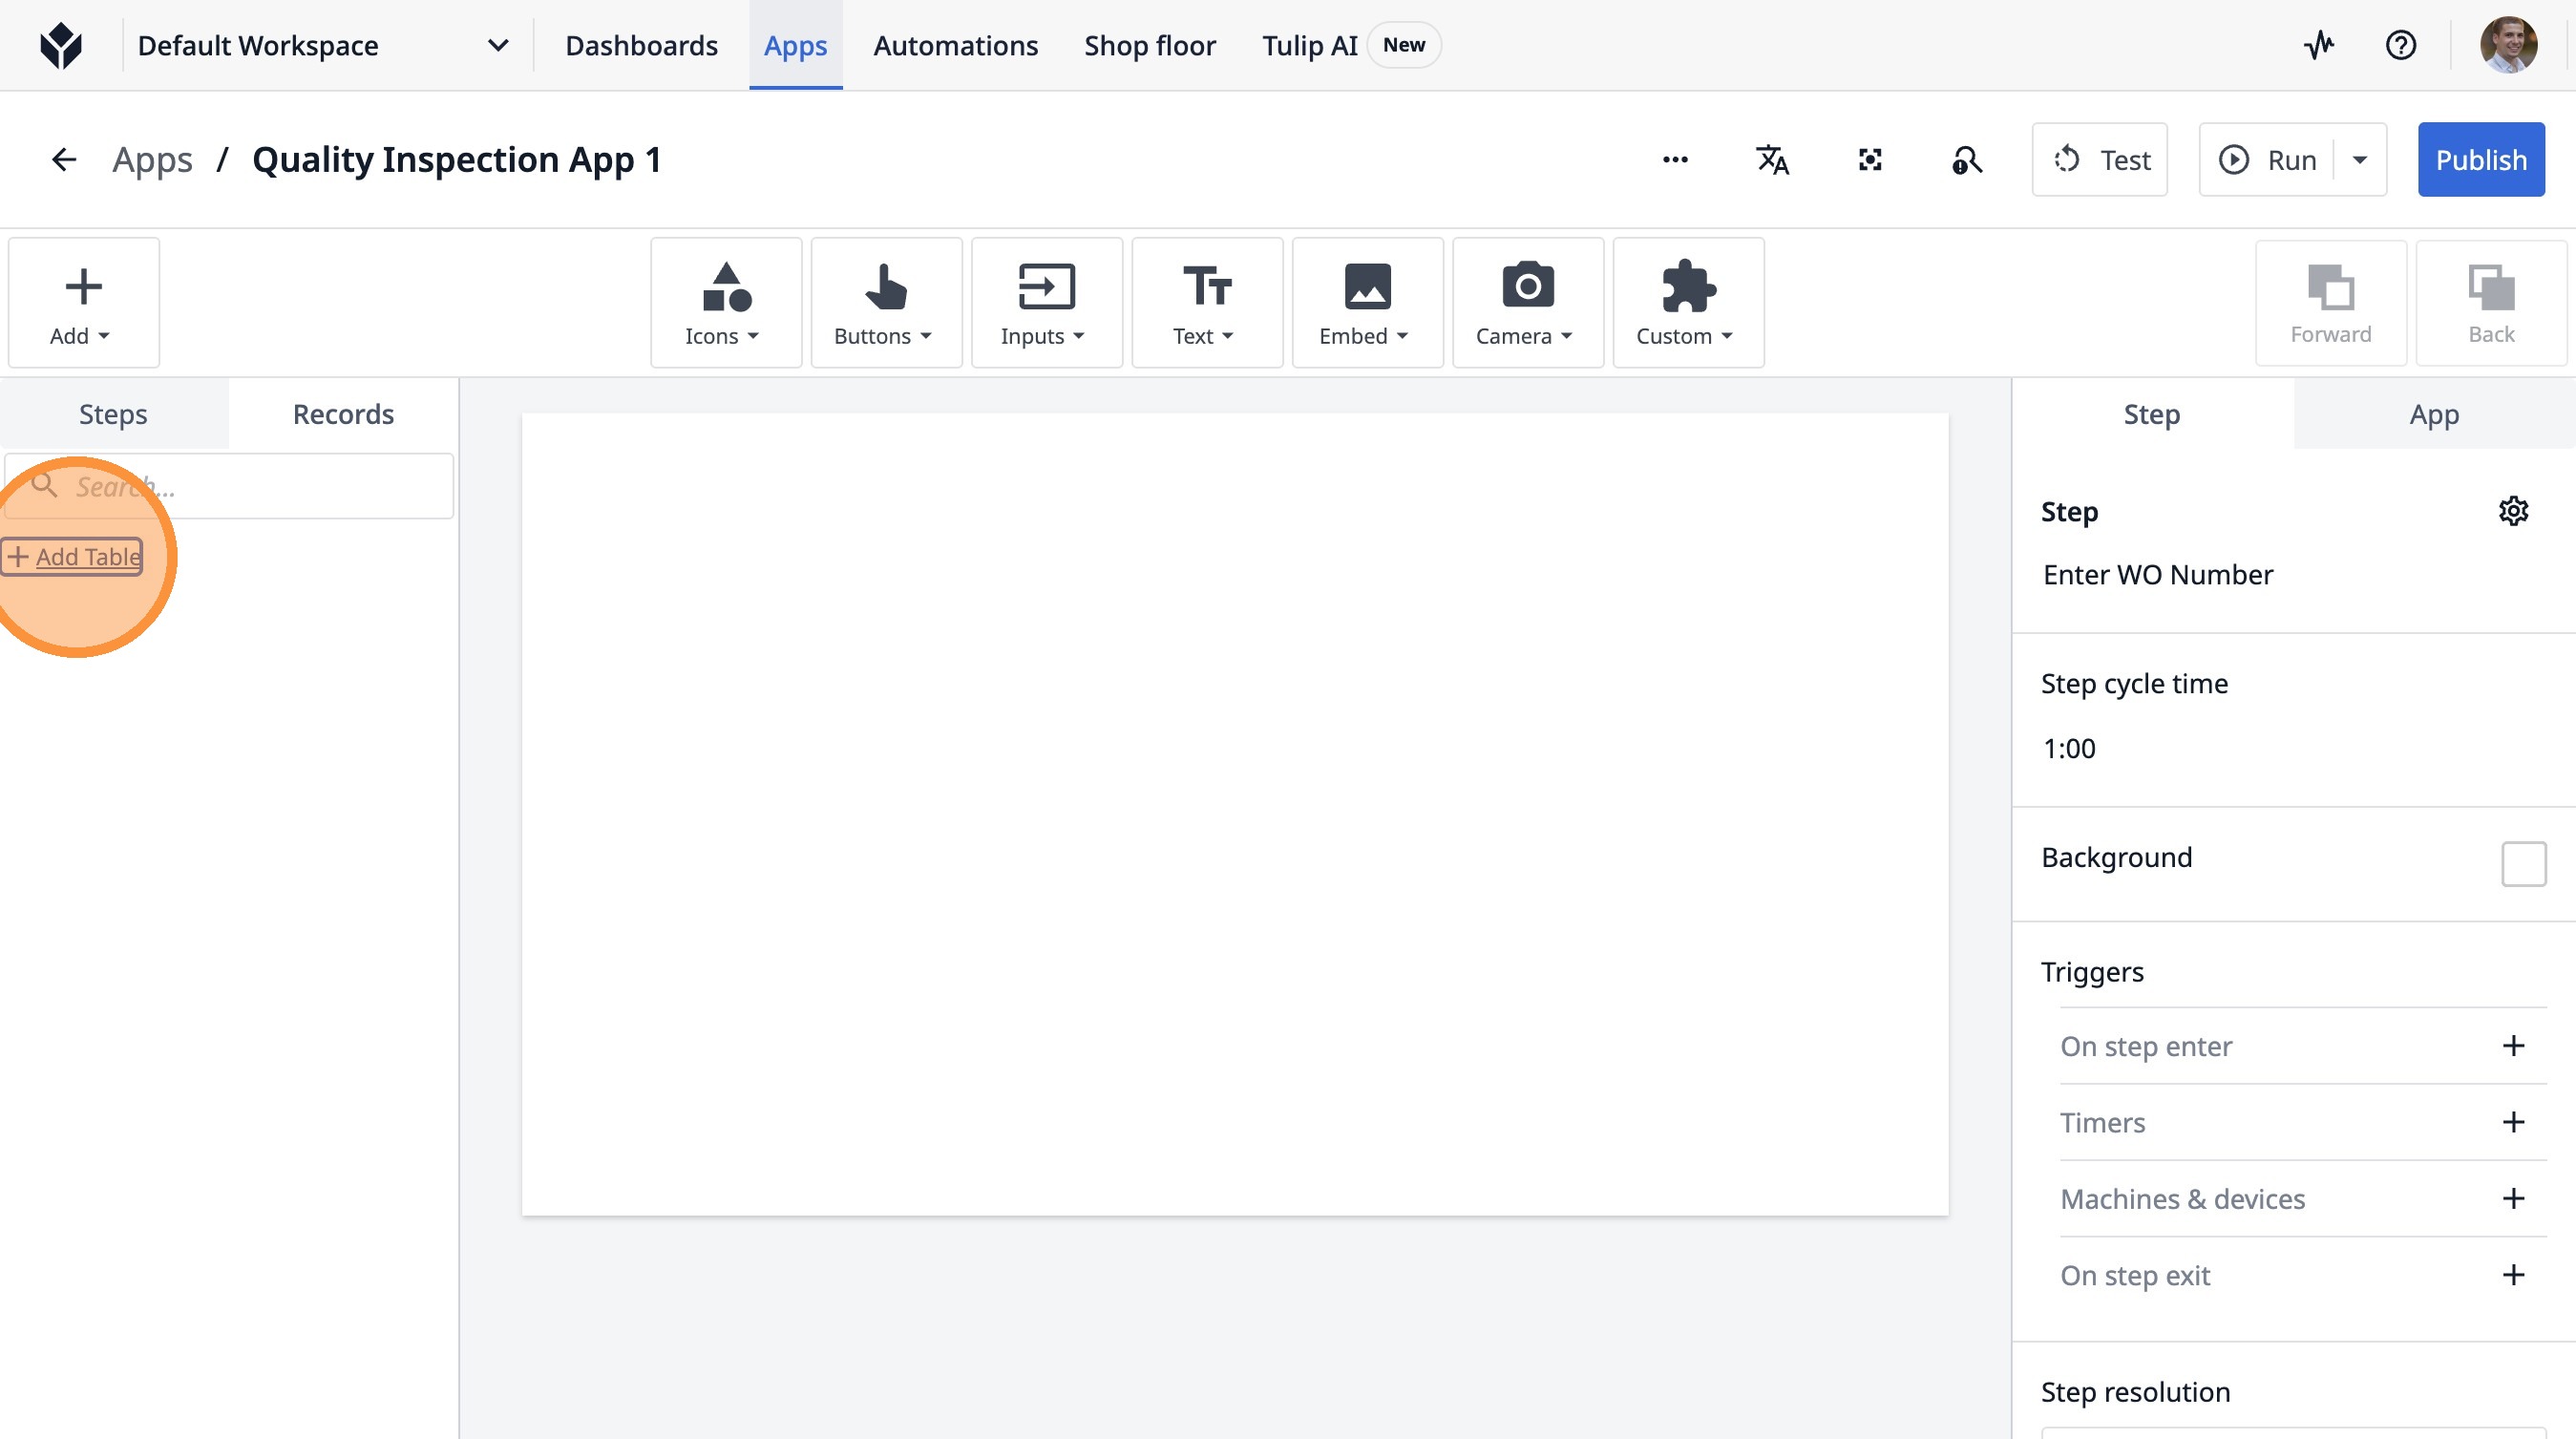
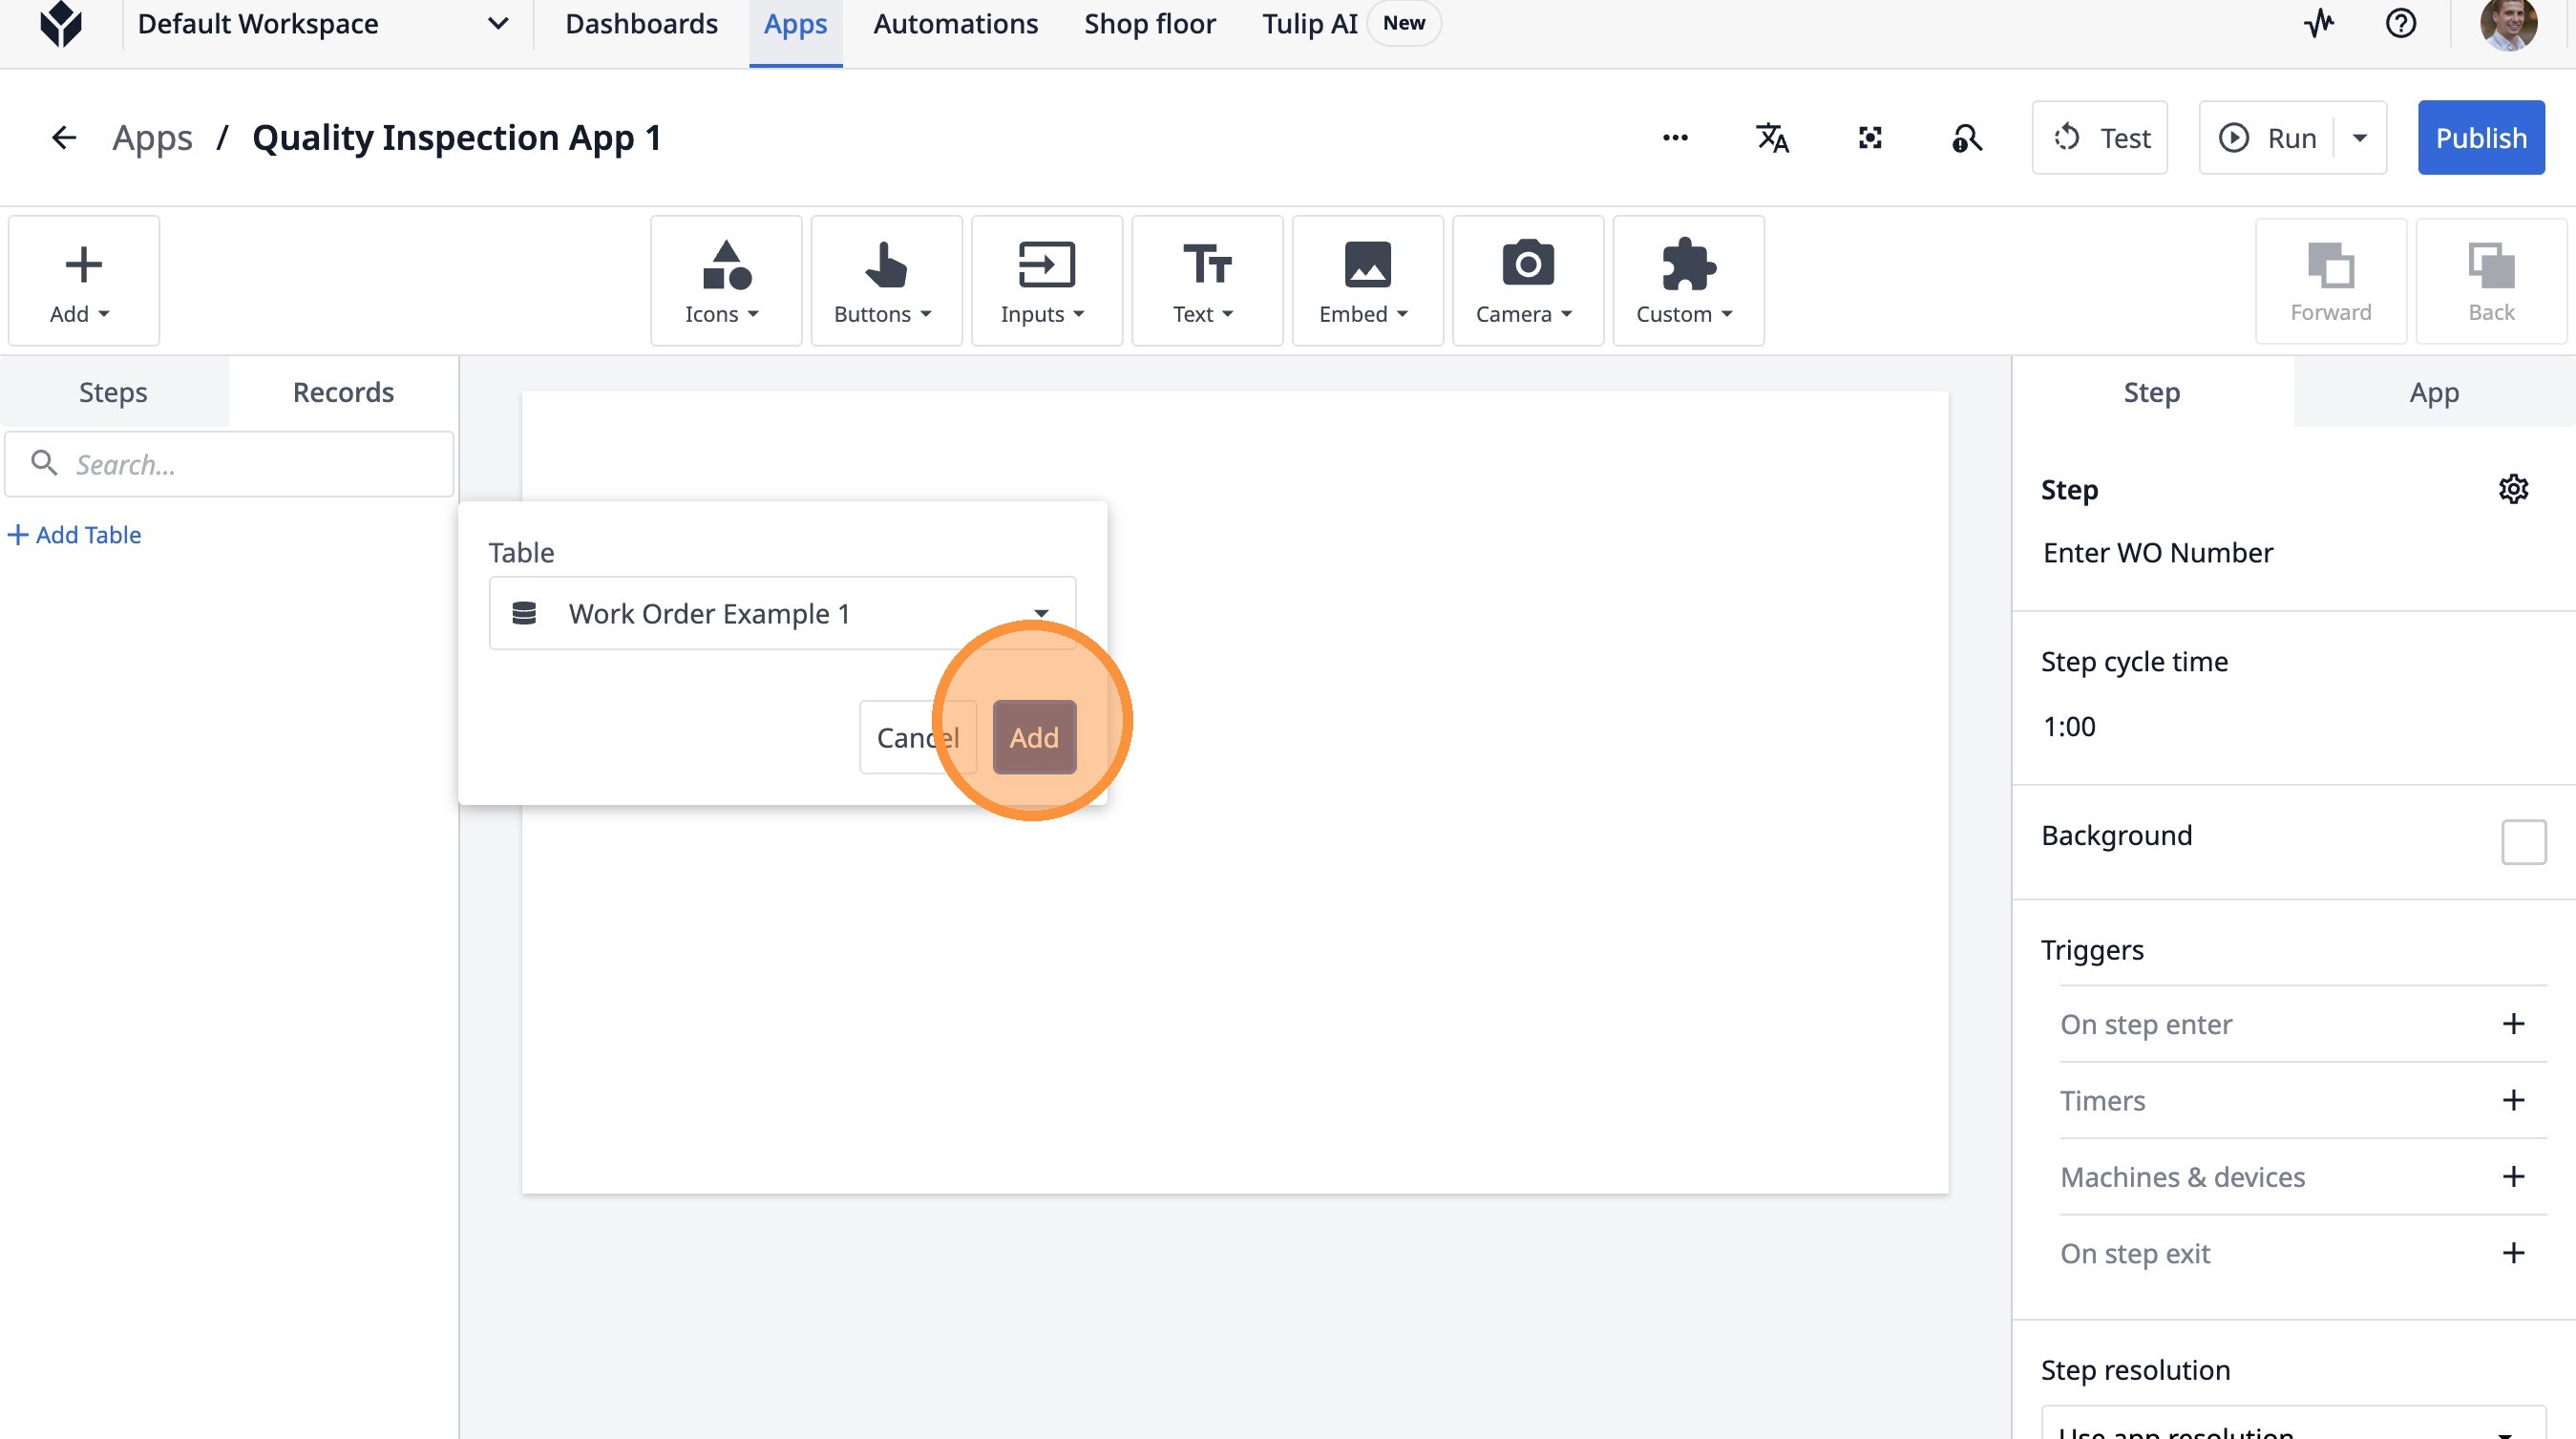
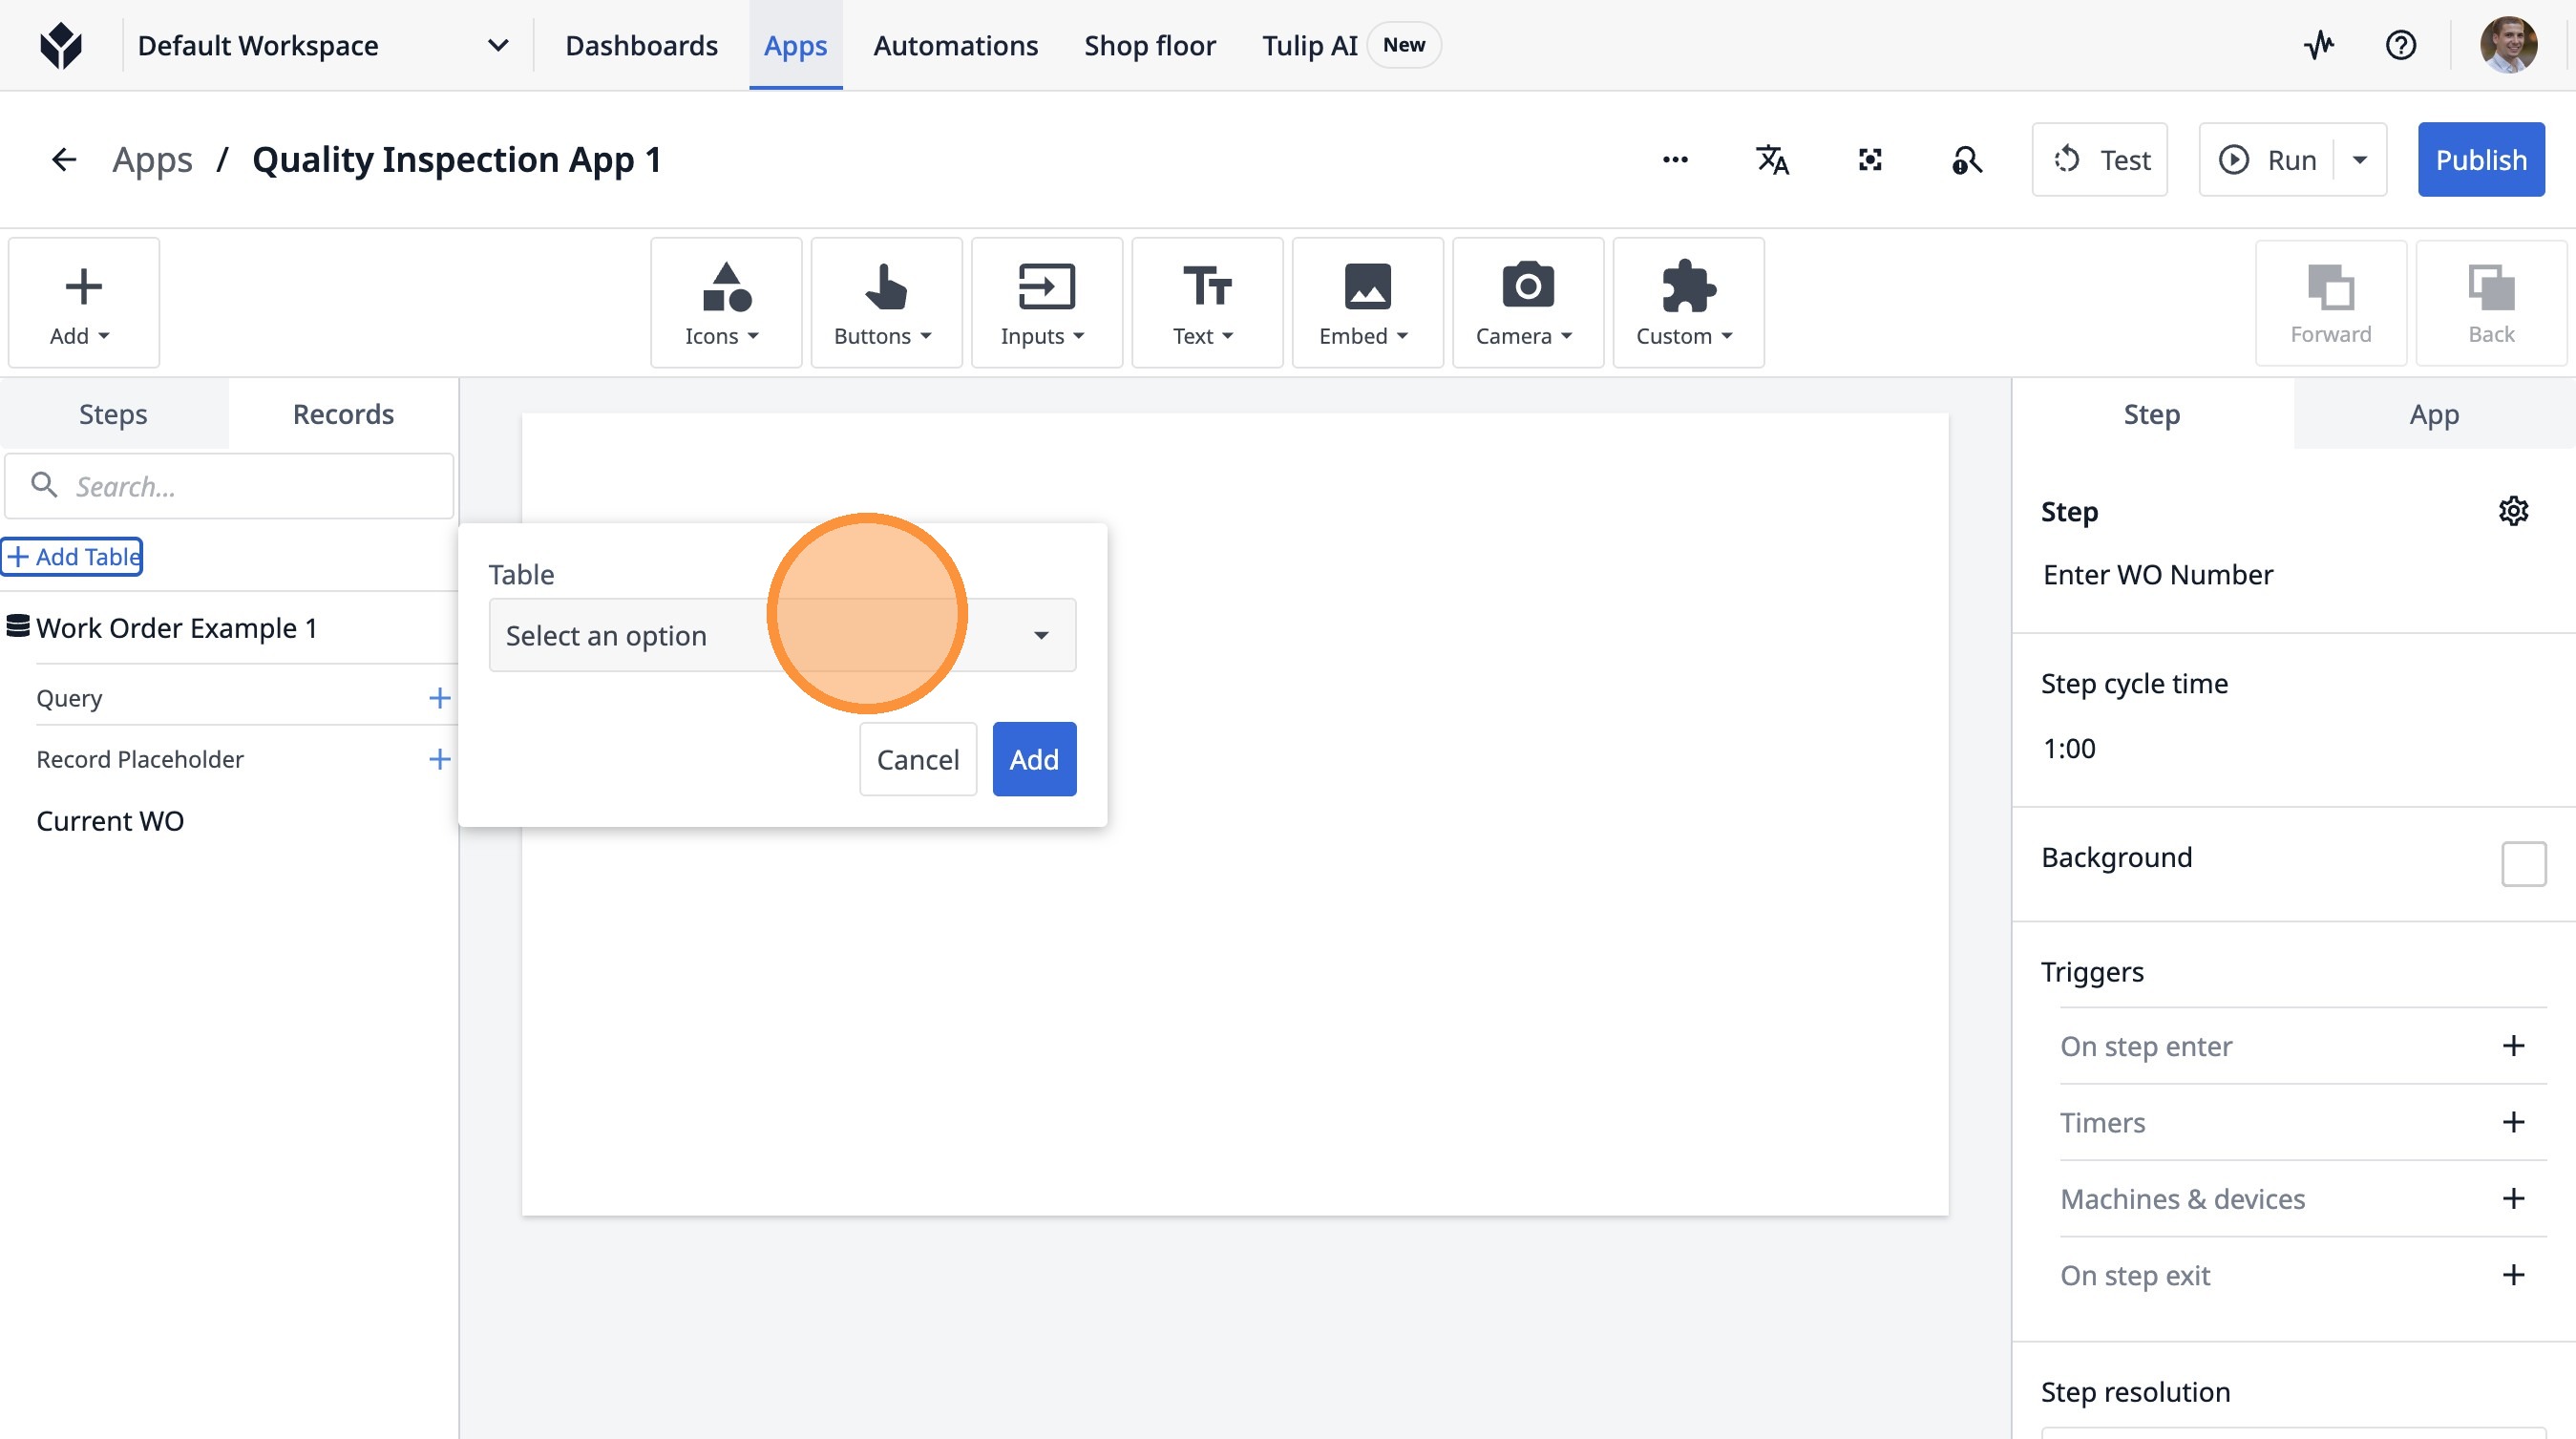
11. Click "Records"
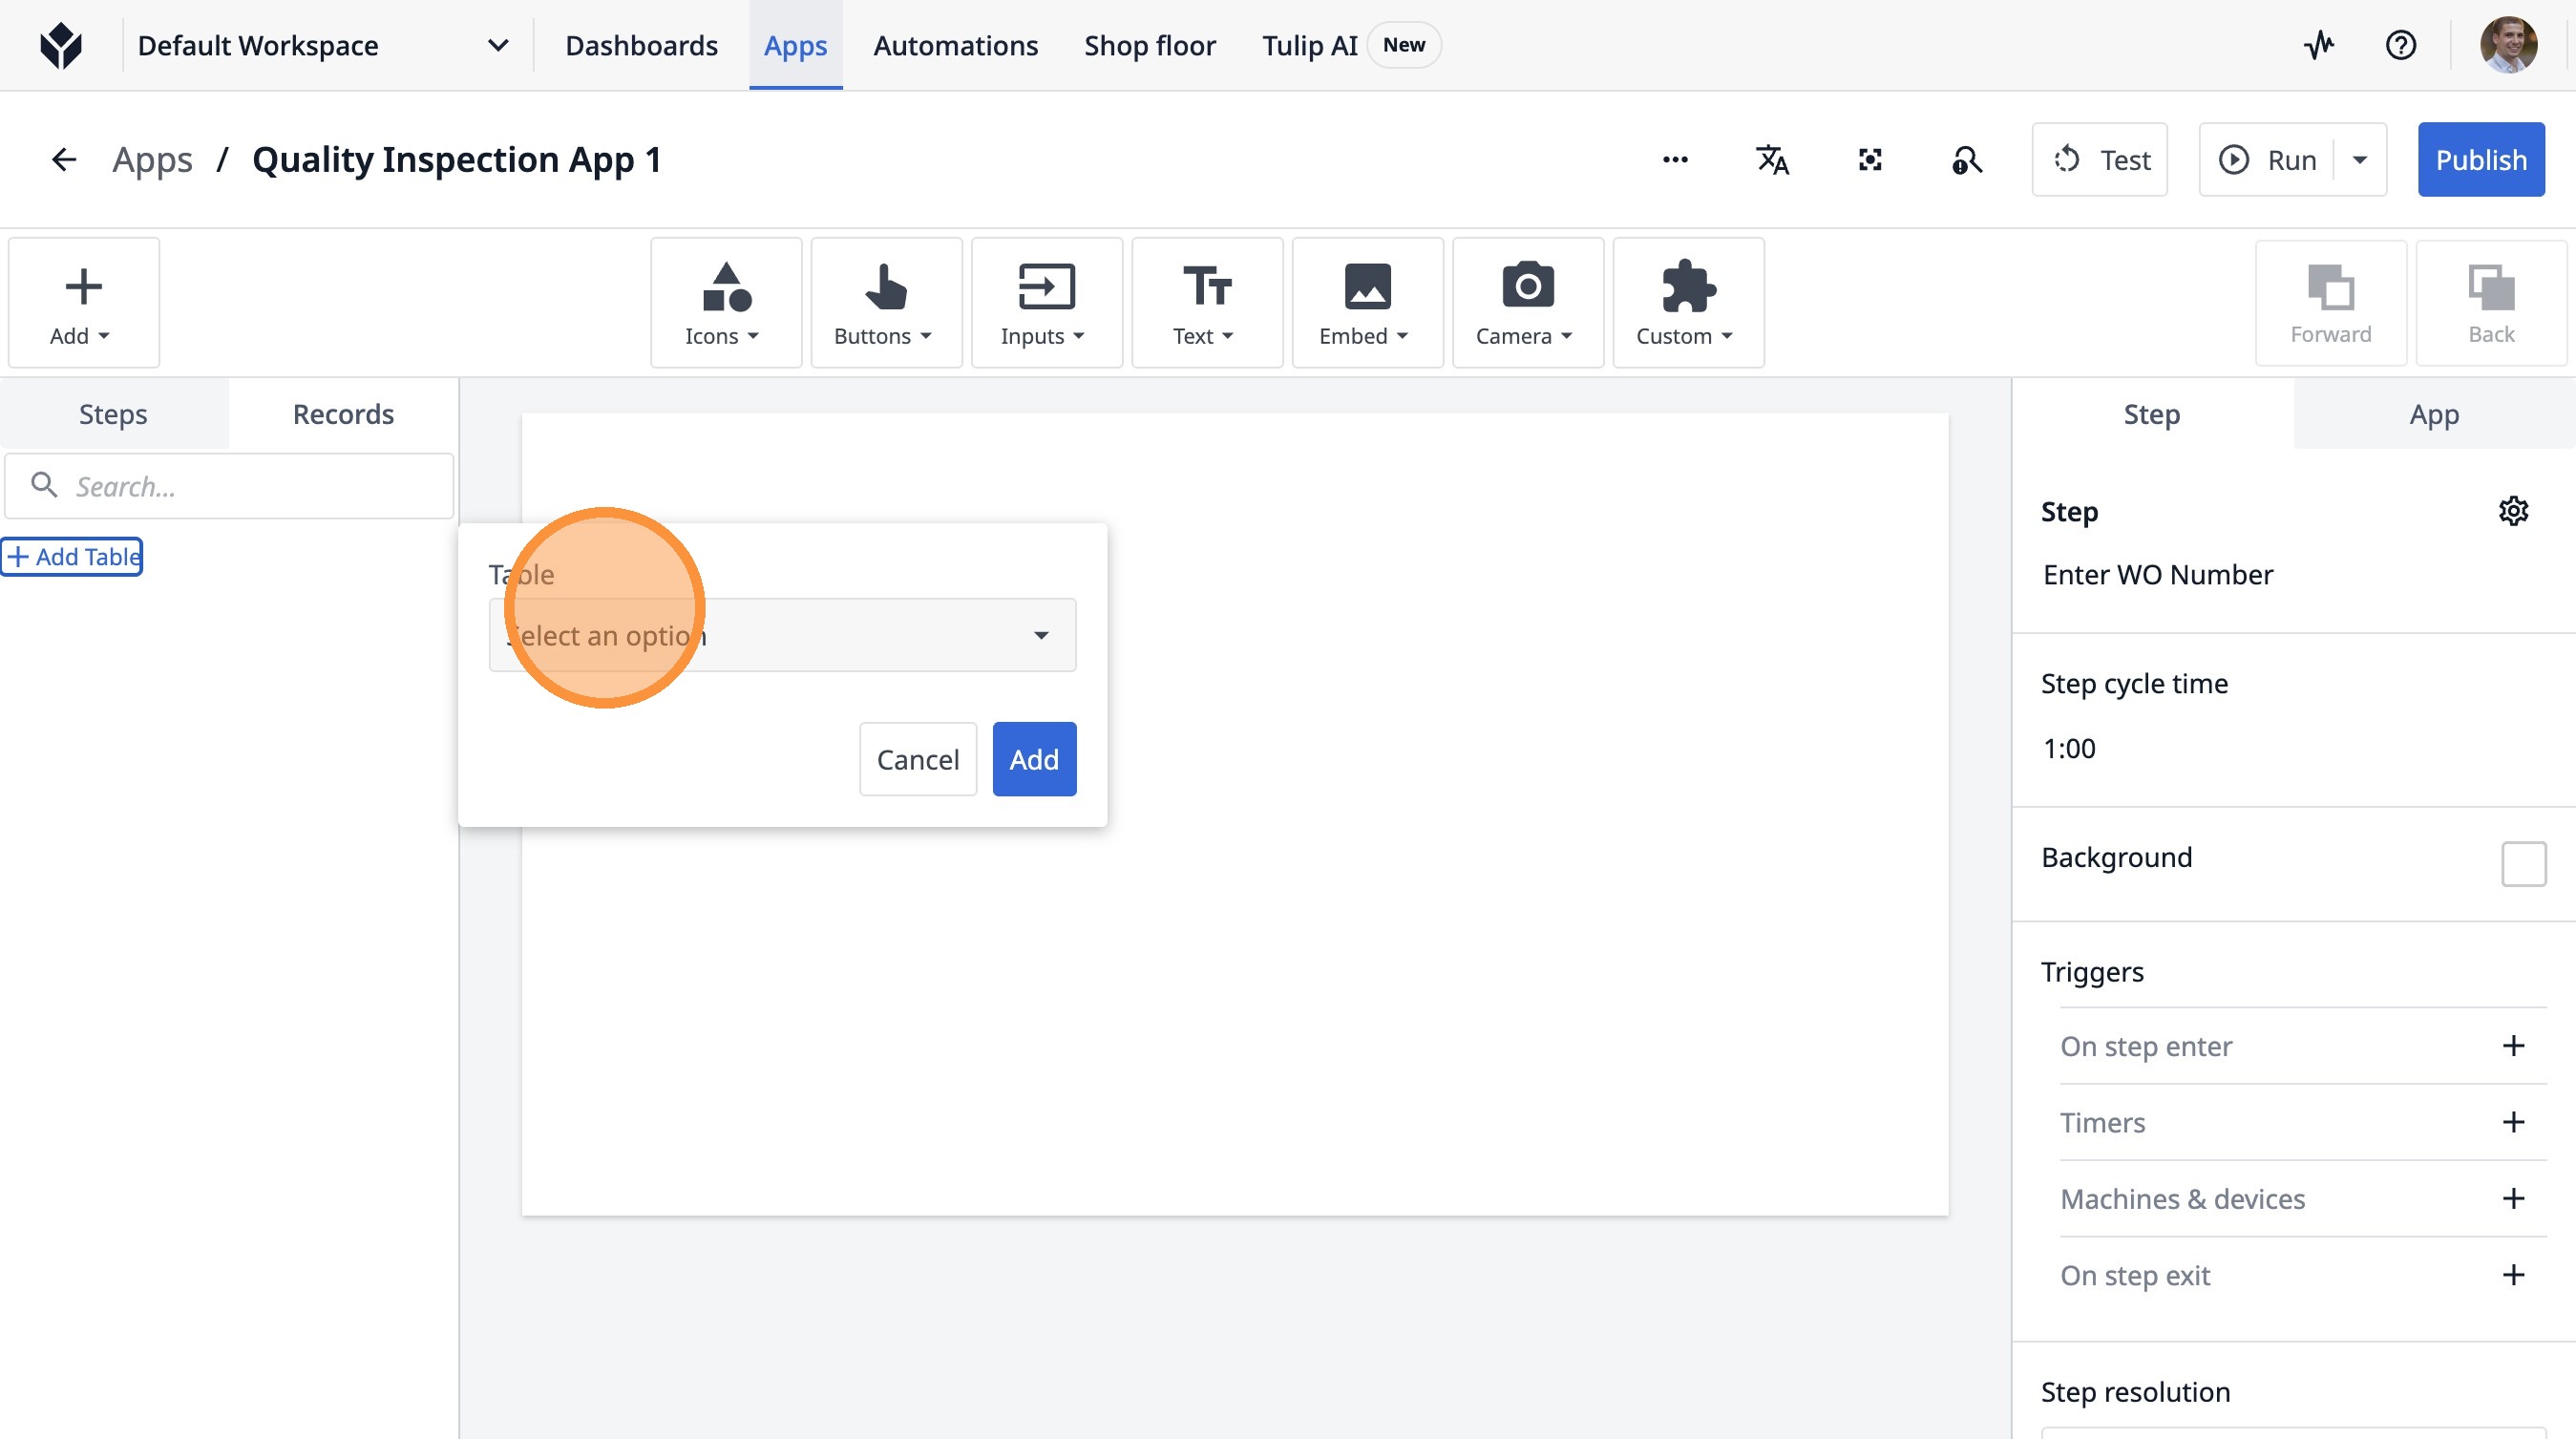
12. Click "Add Table"
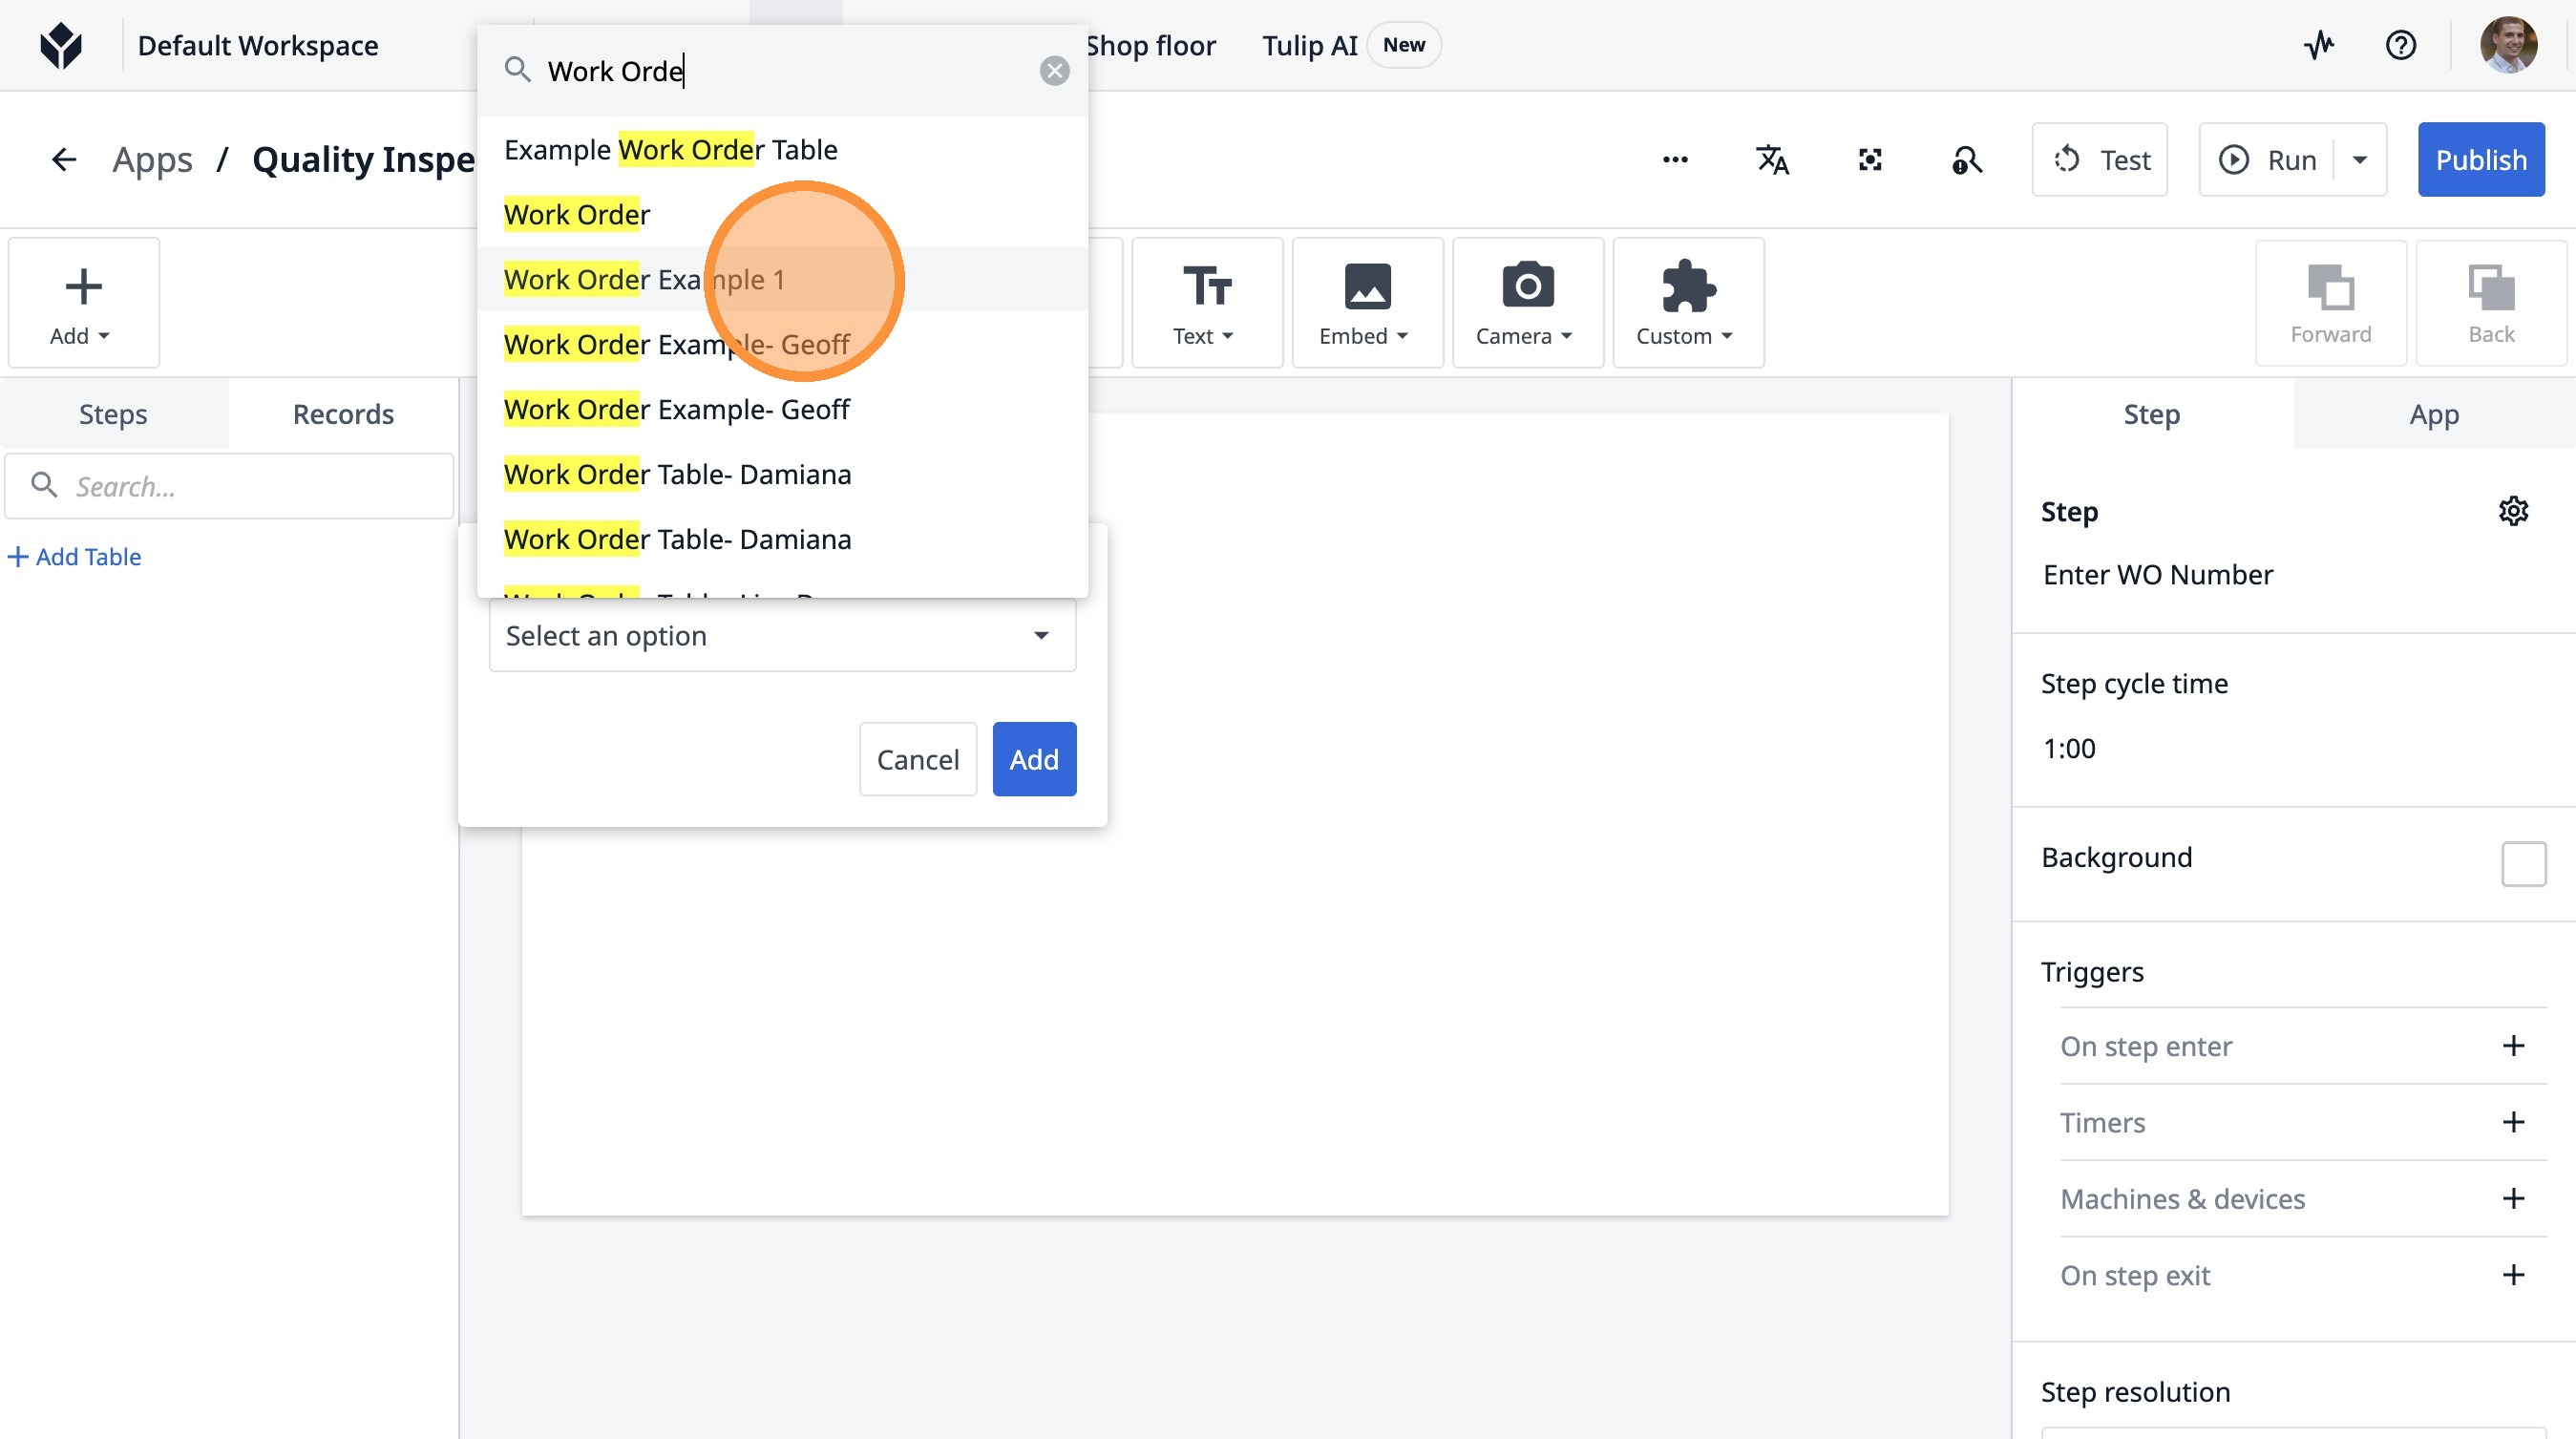
13. Click "Select an option"
14. Type "Work Orde"
15. Click "Work Order Example 1"
16. Click "Add"
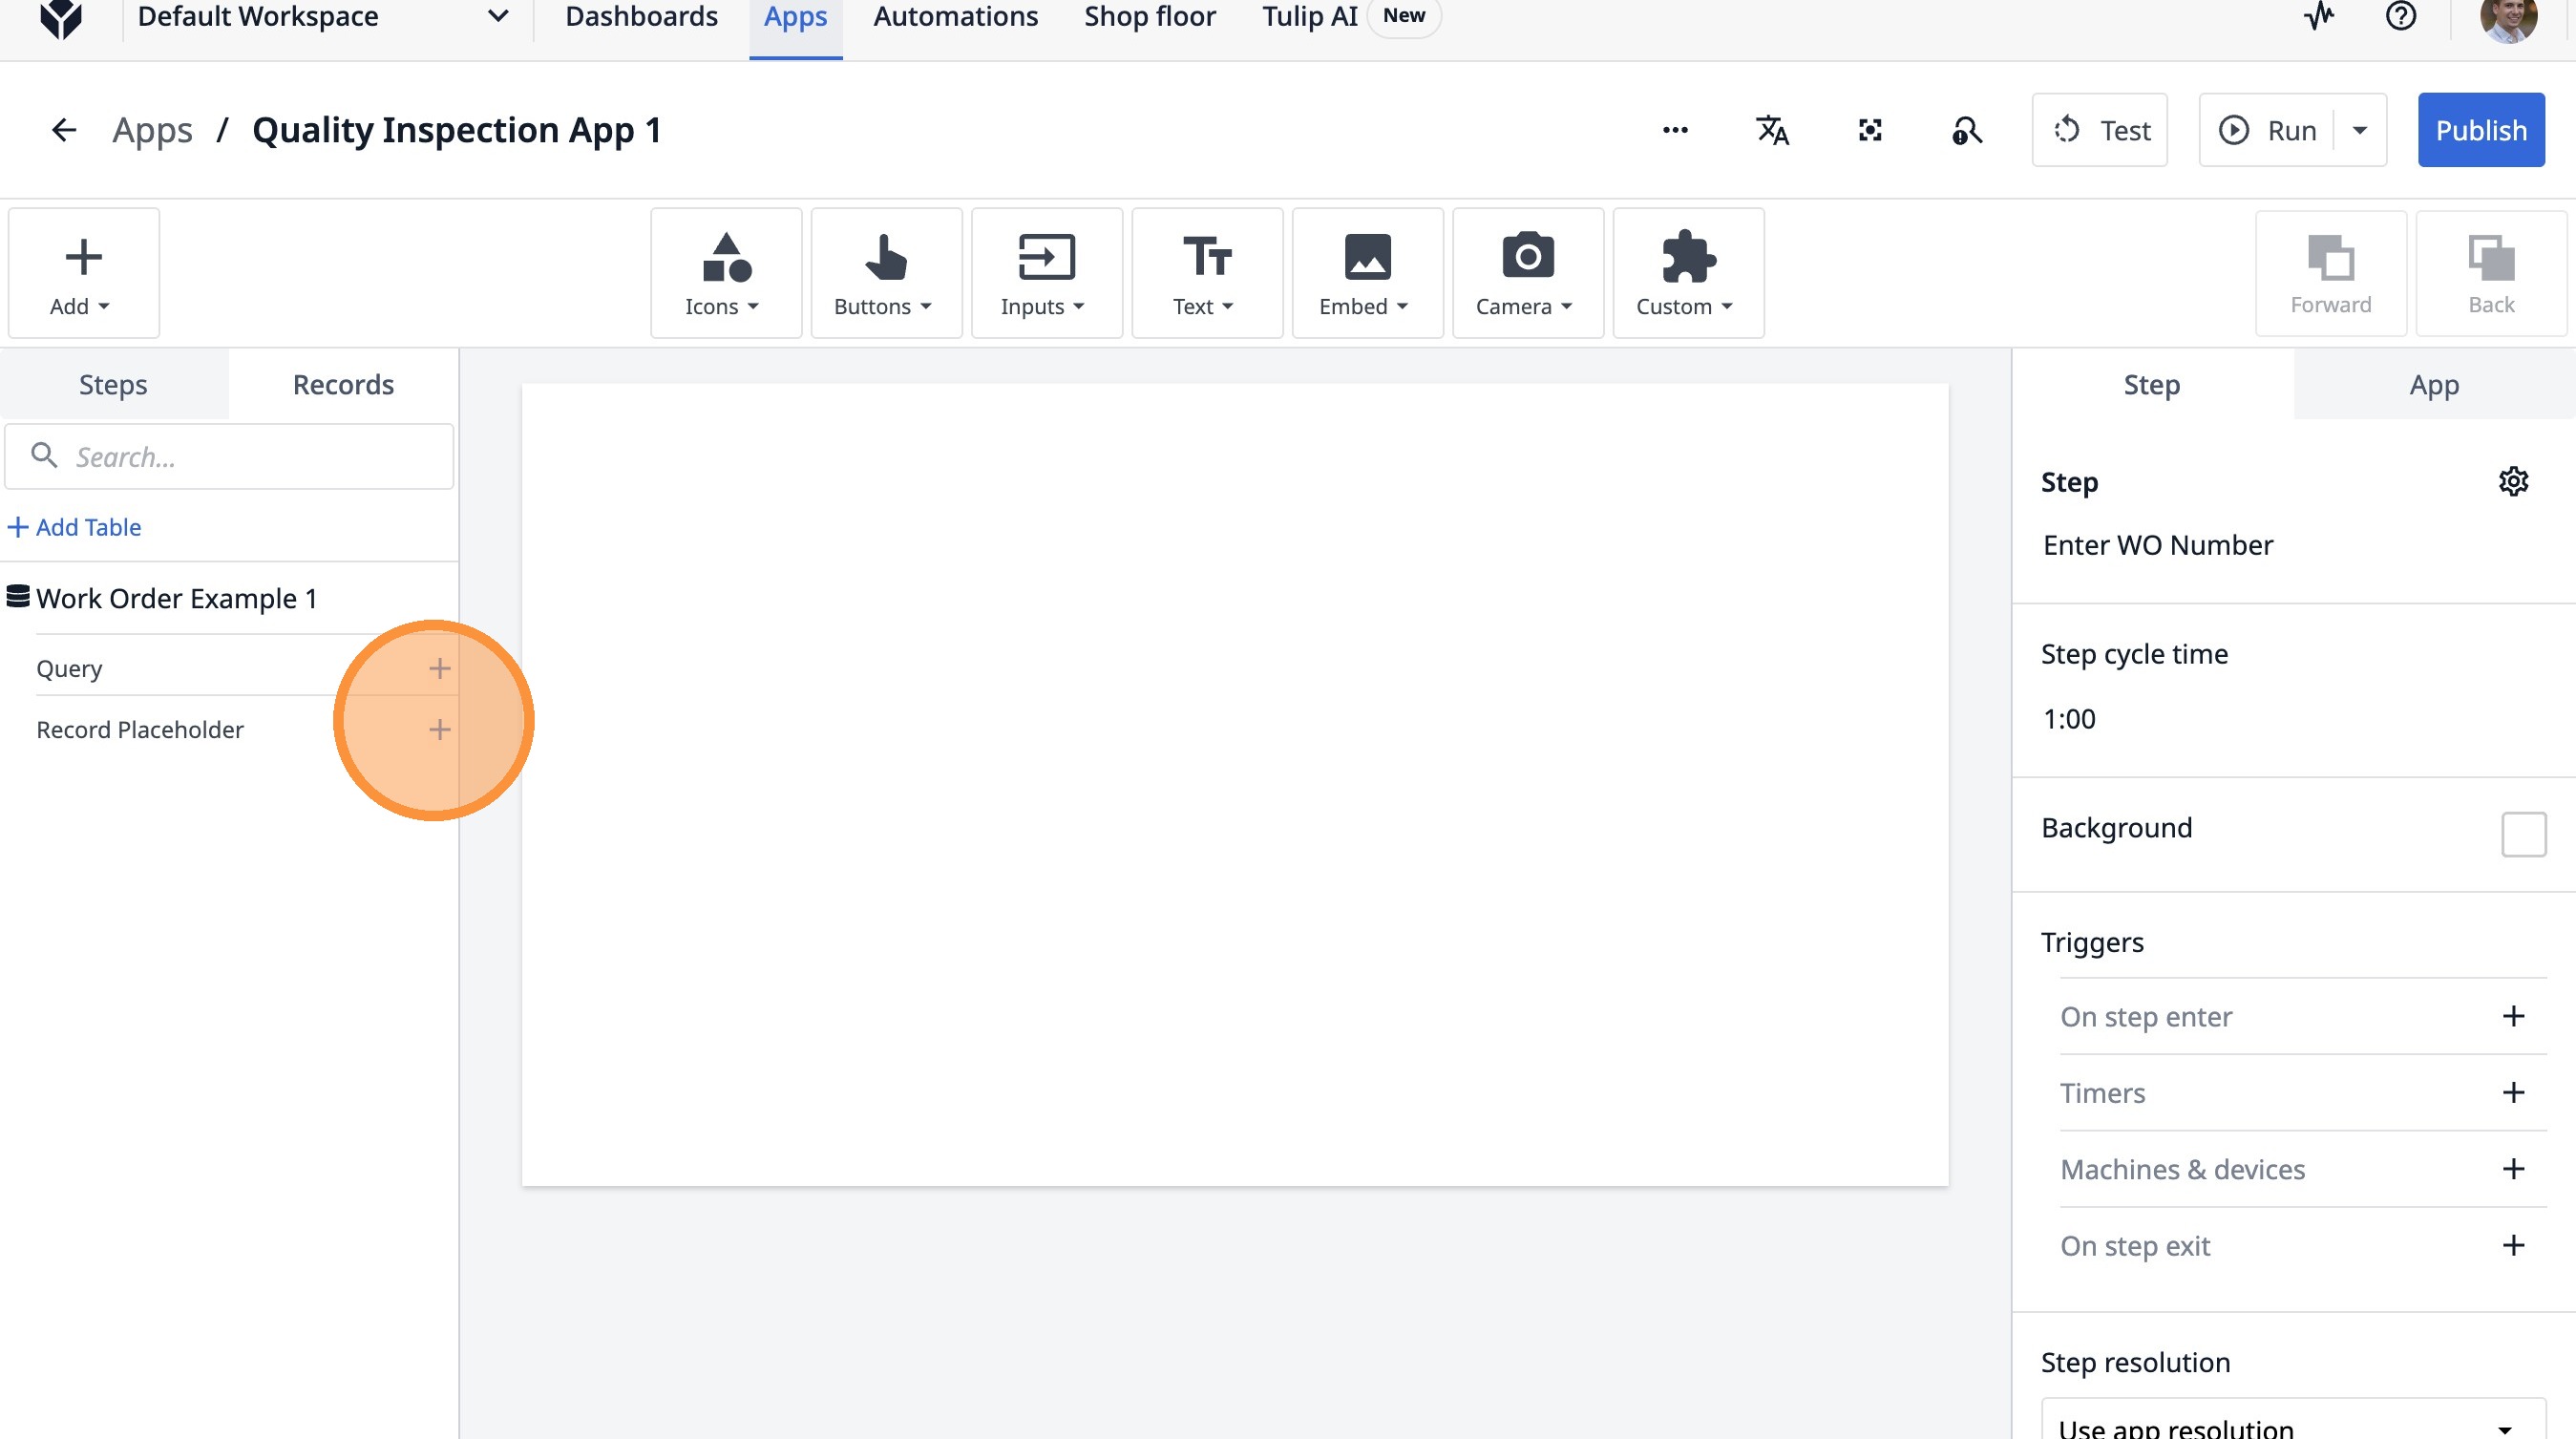
17. Click this icon.
18. Click the "Current Work Order Example 1" field.
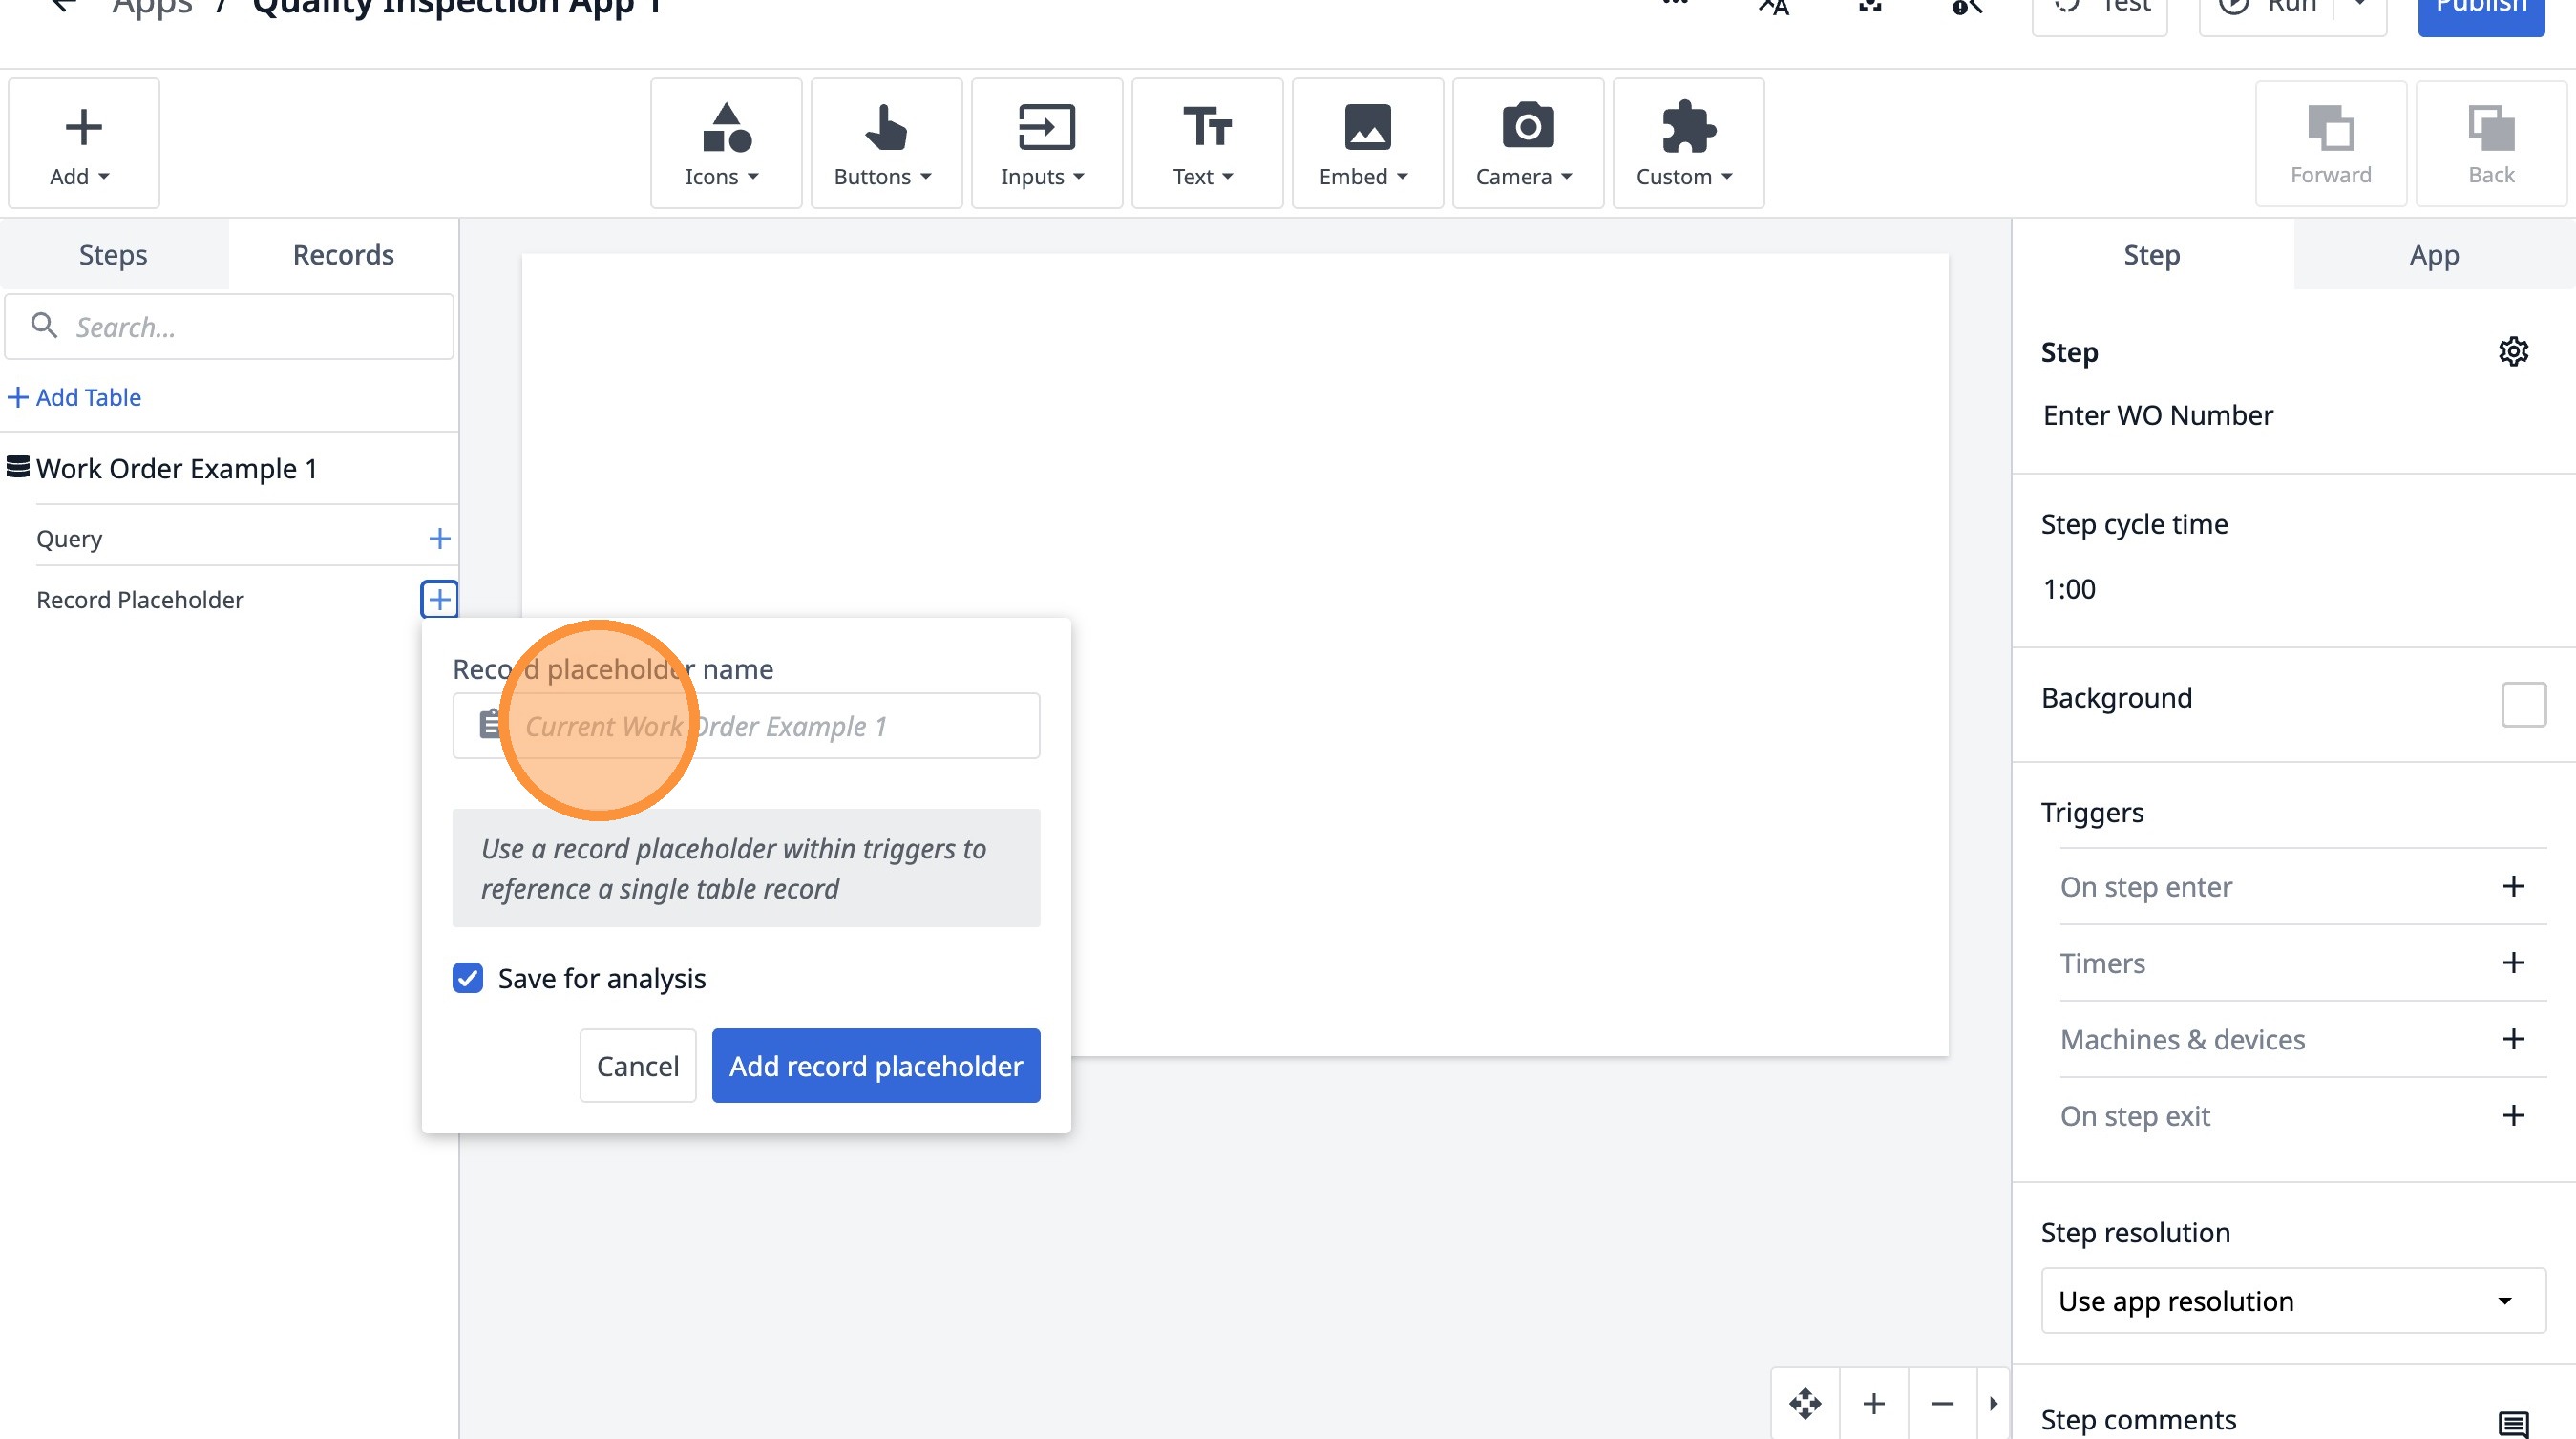
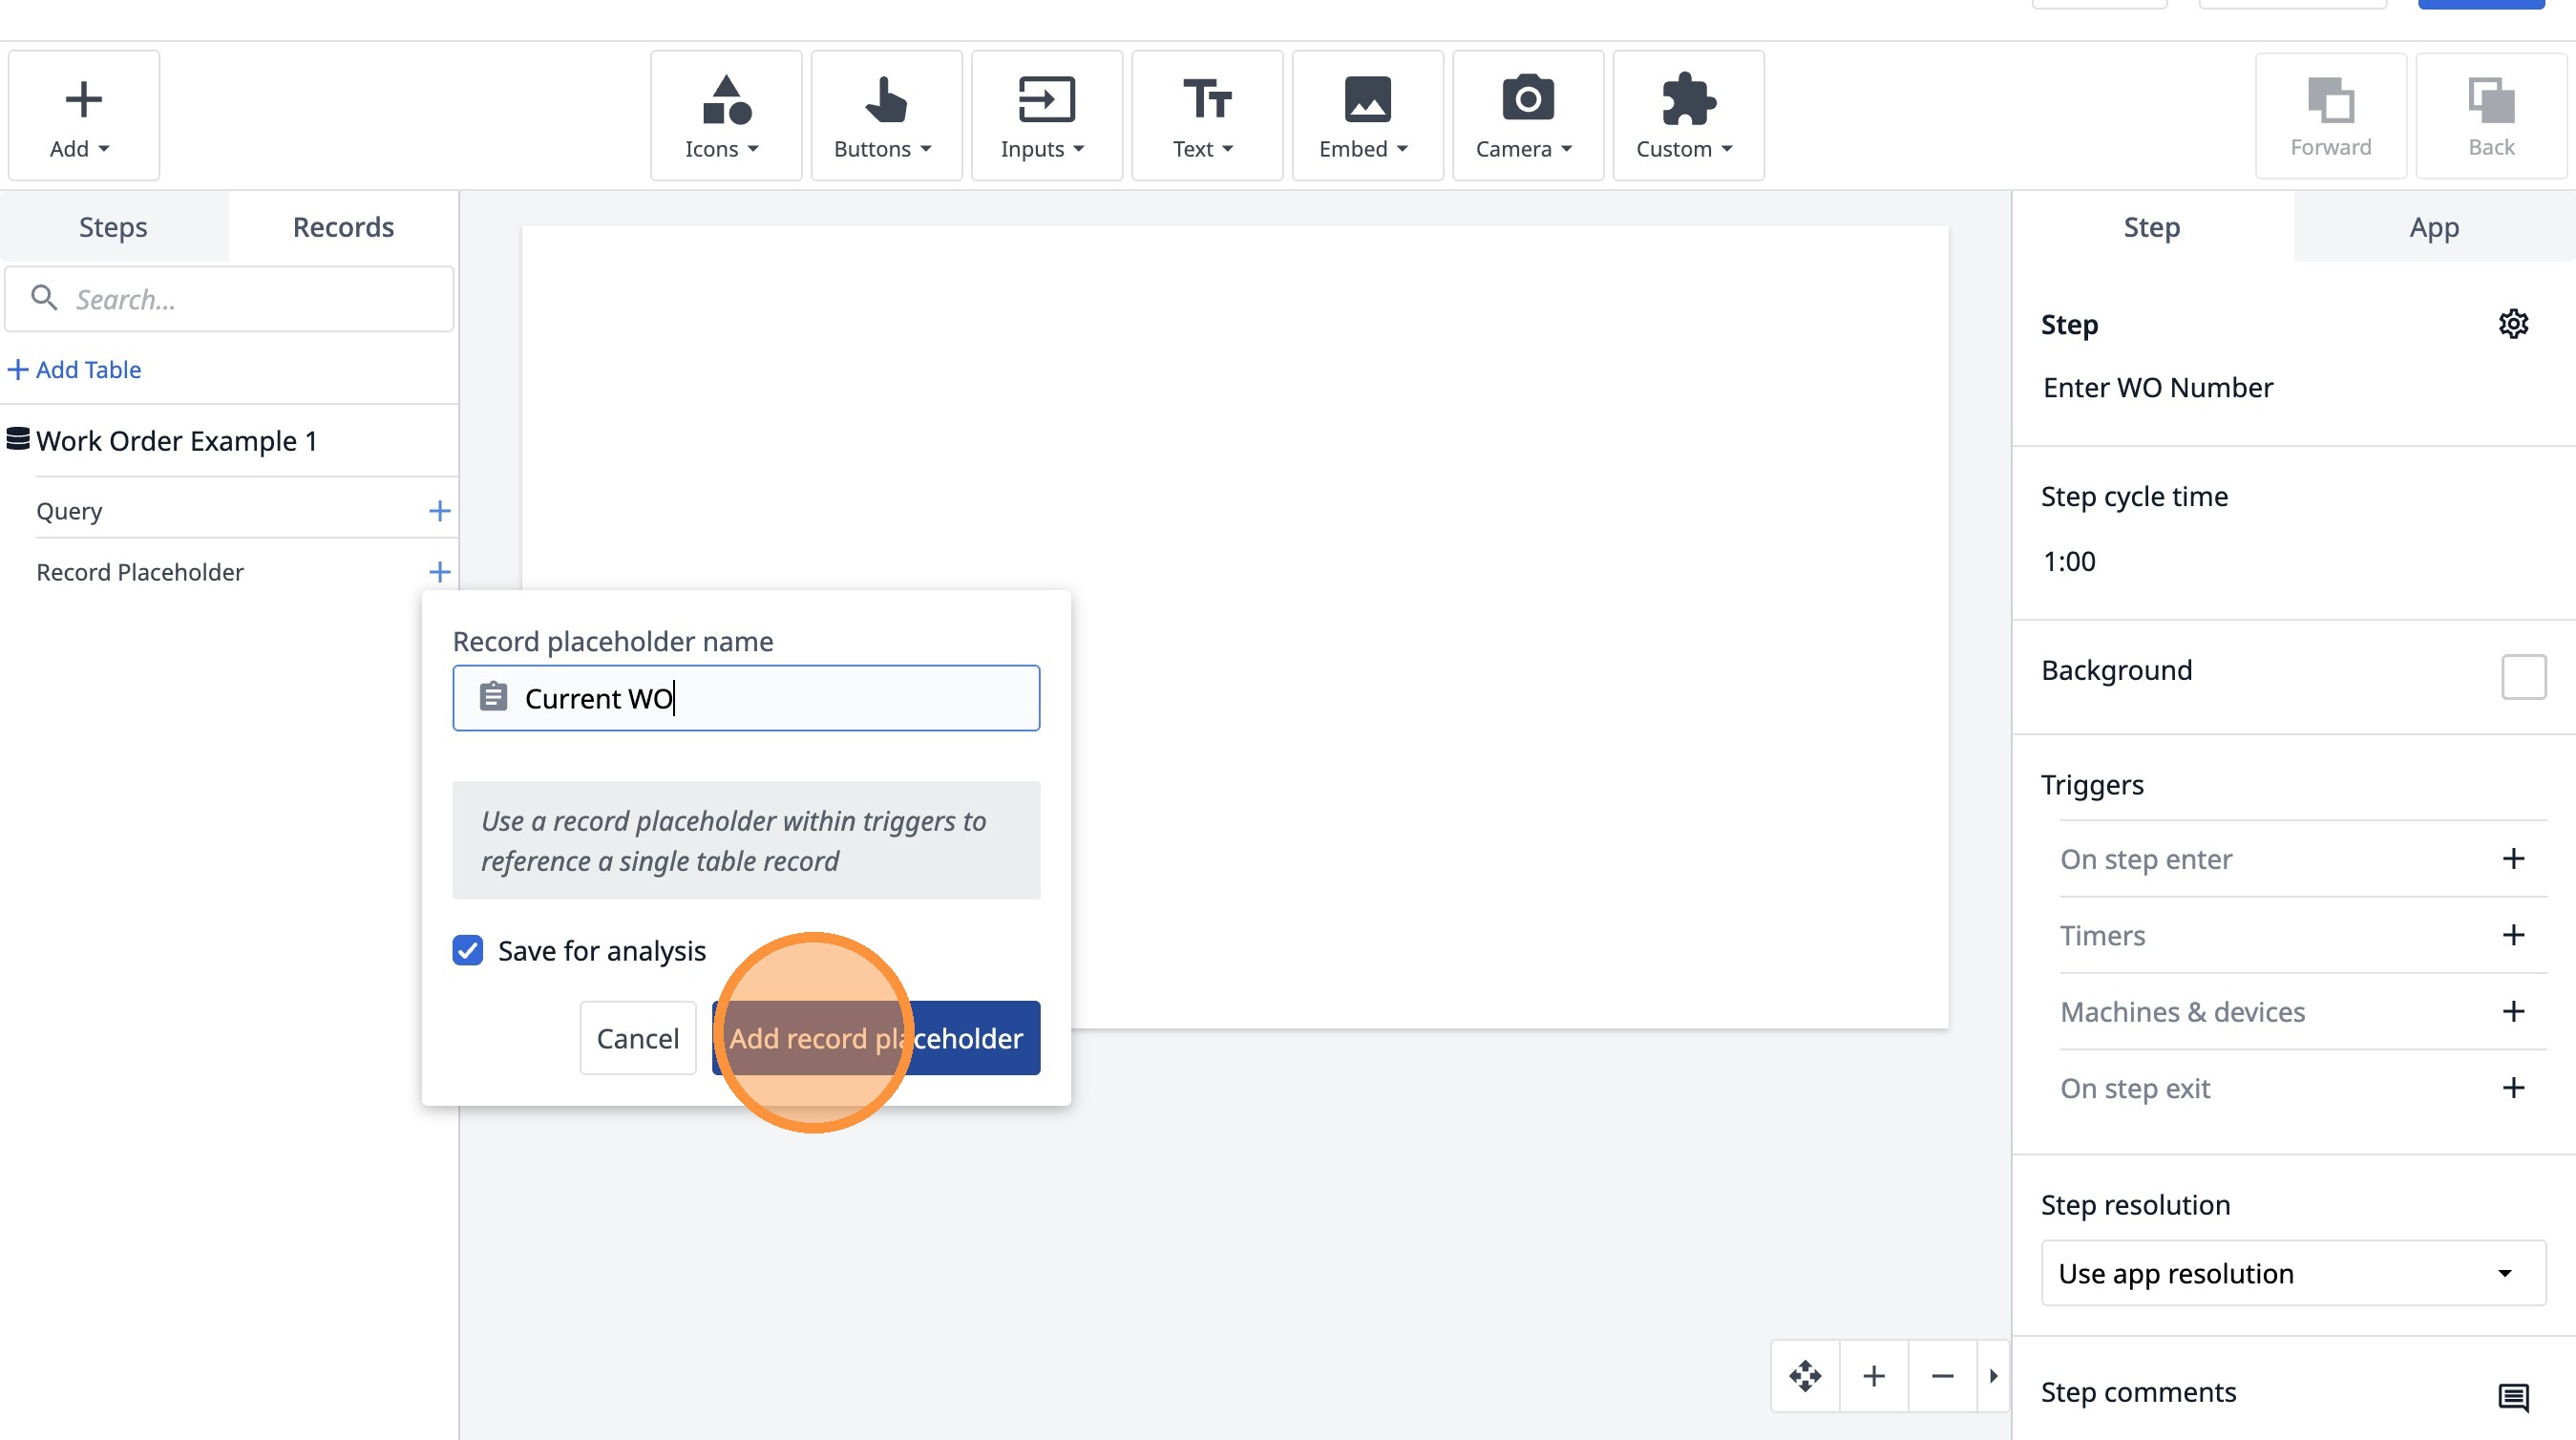
19. Type "Current WO"
20. Click "Add record placeholder"
21. Click "Add Table"

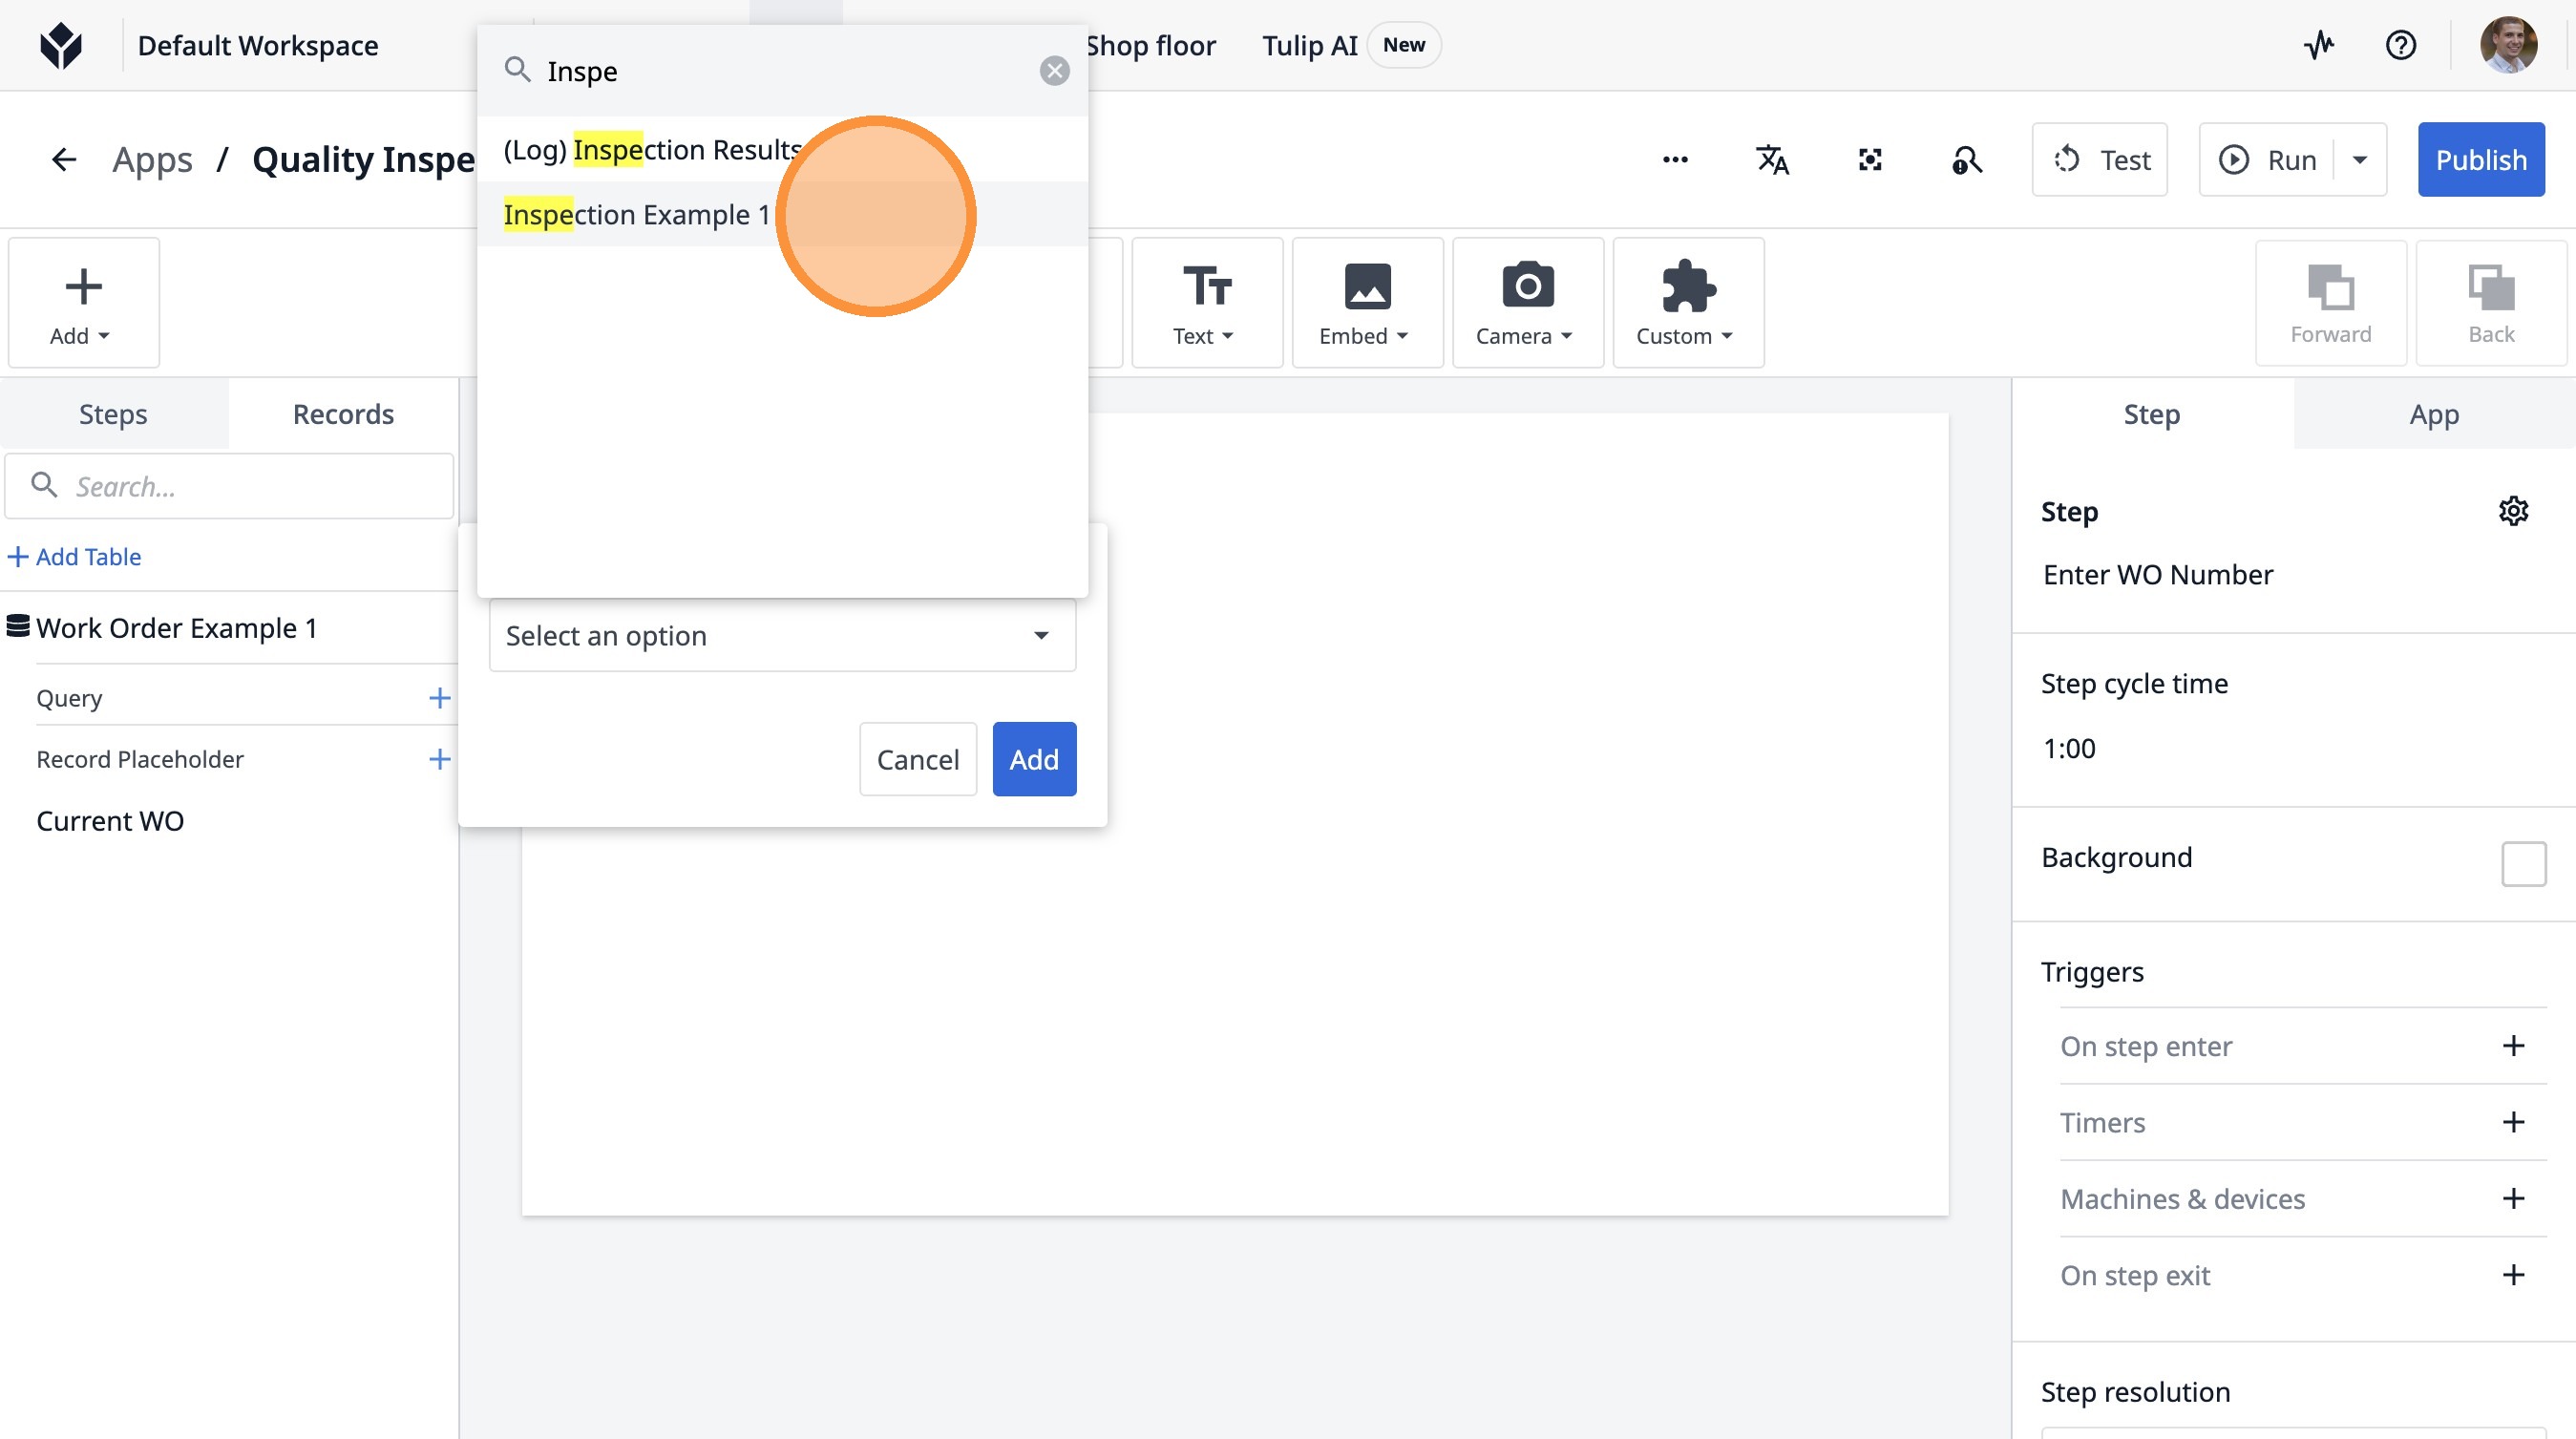
22. Click "Select an option"
23. Type "Inspe"
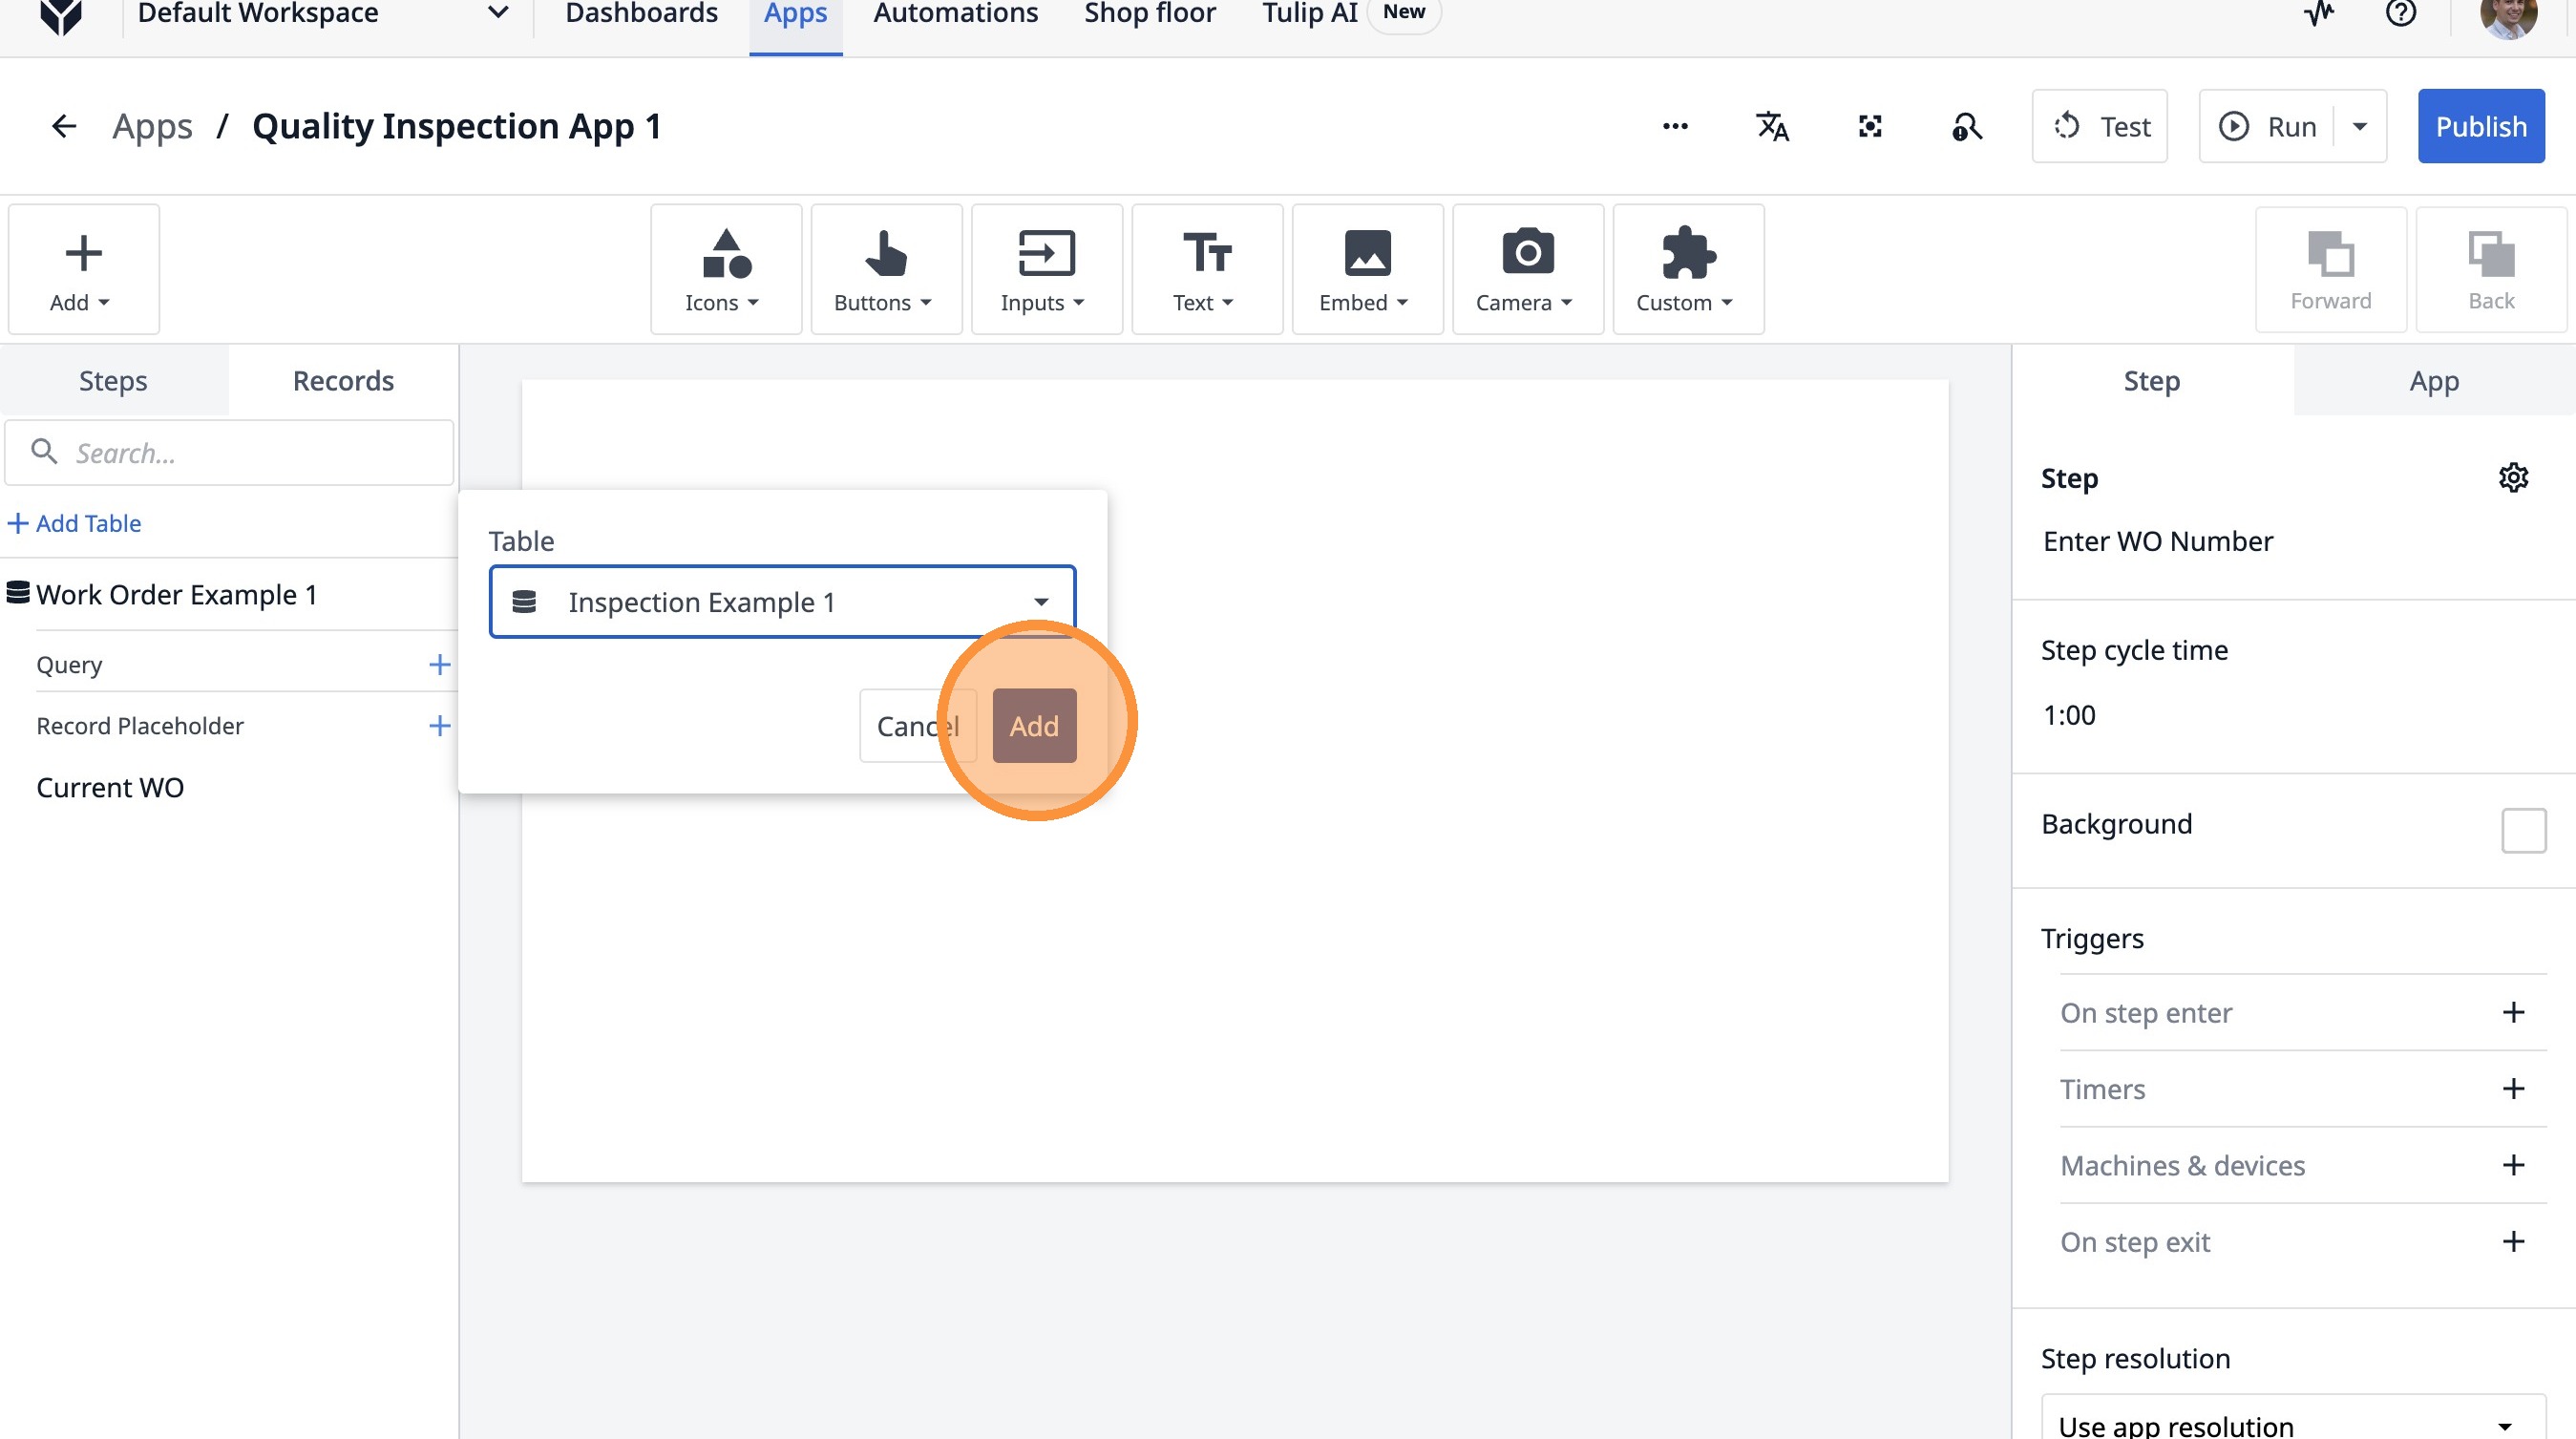
24. Click "Inspection Example 1"
25. Click "Add"
26. Click here.
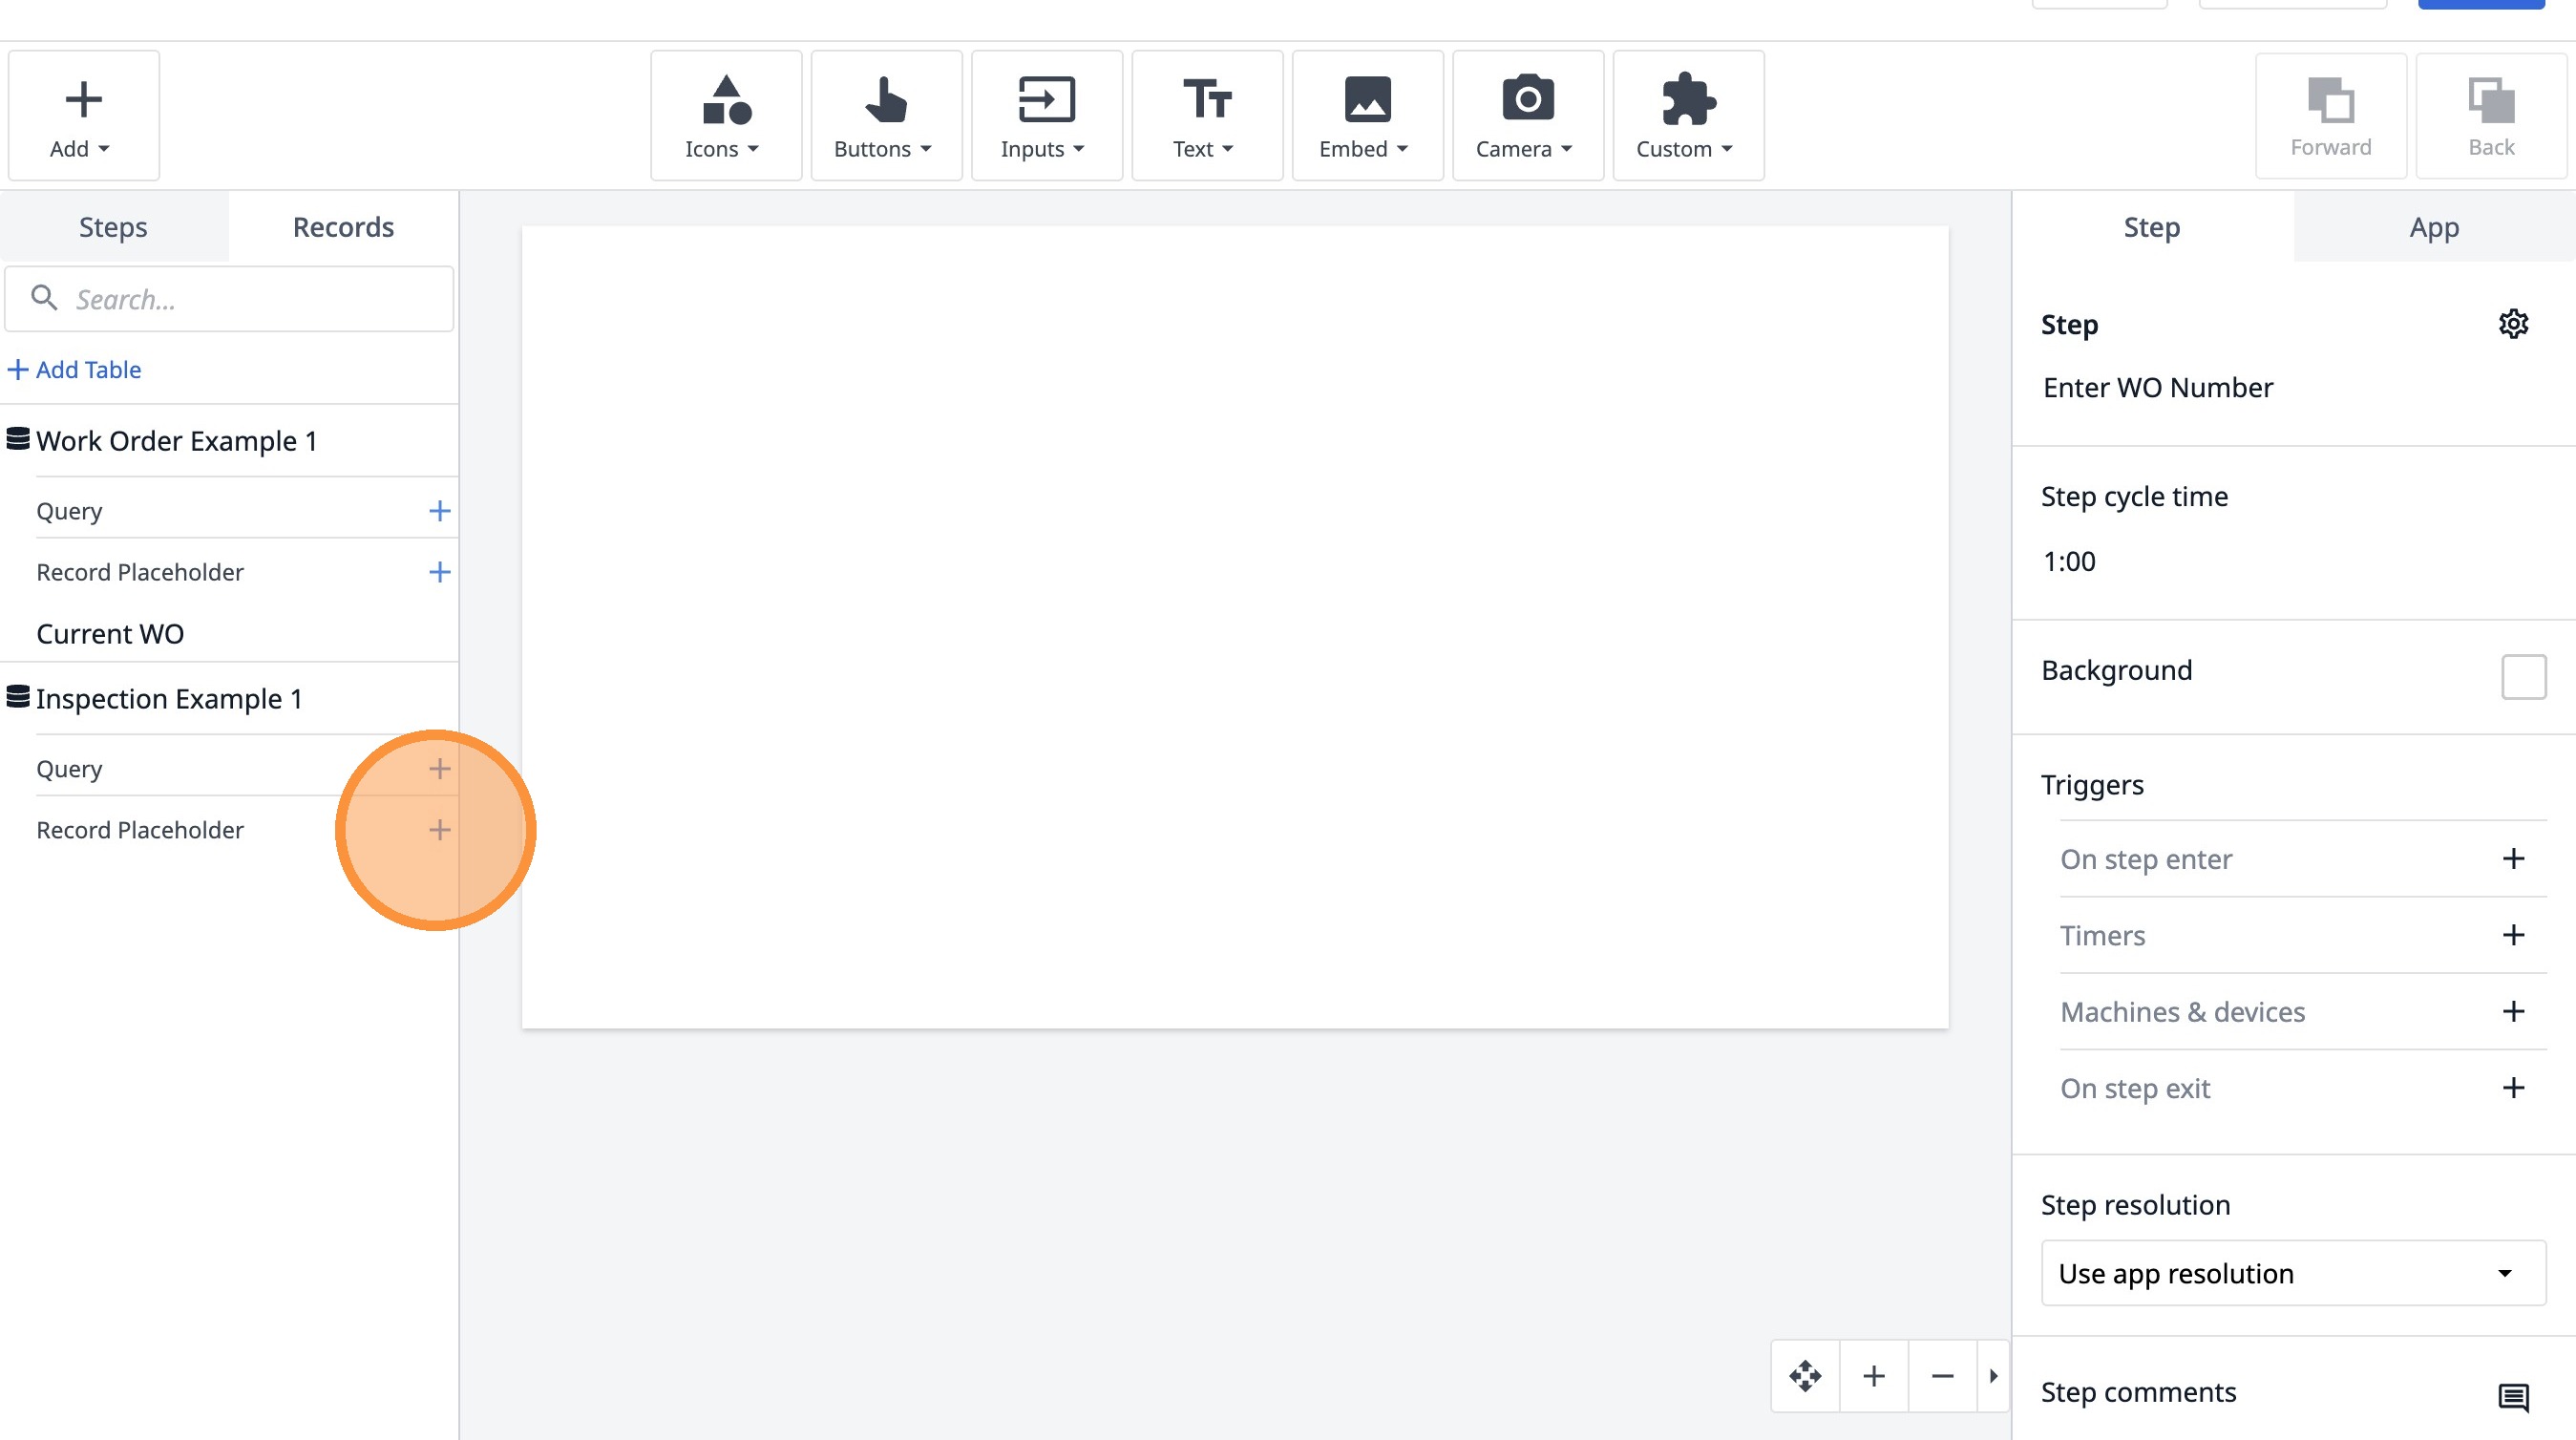
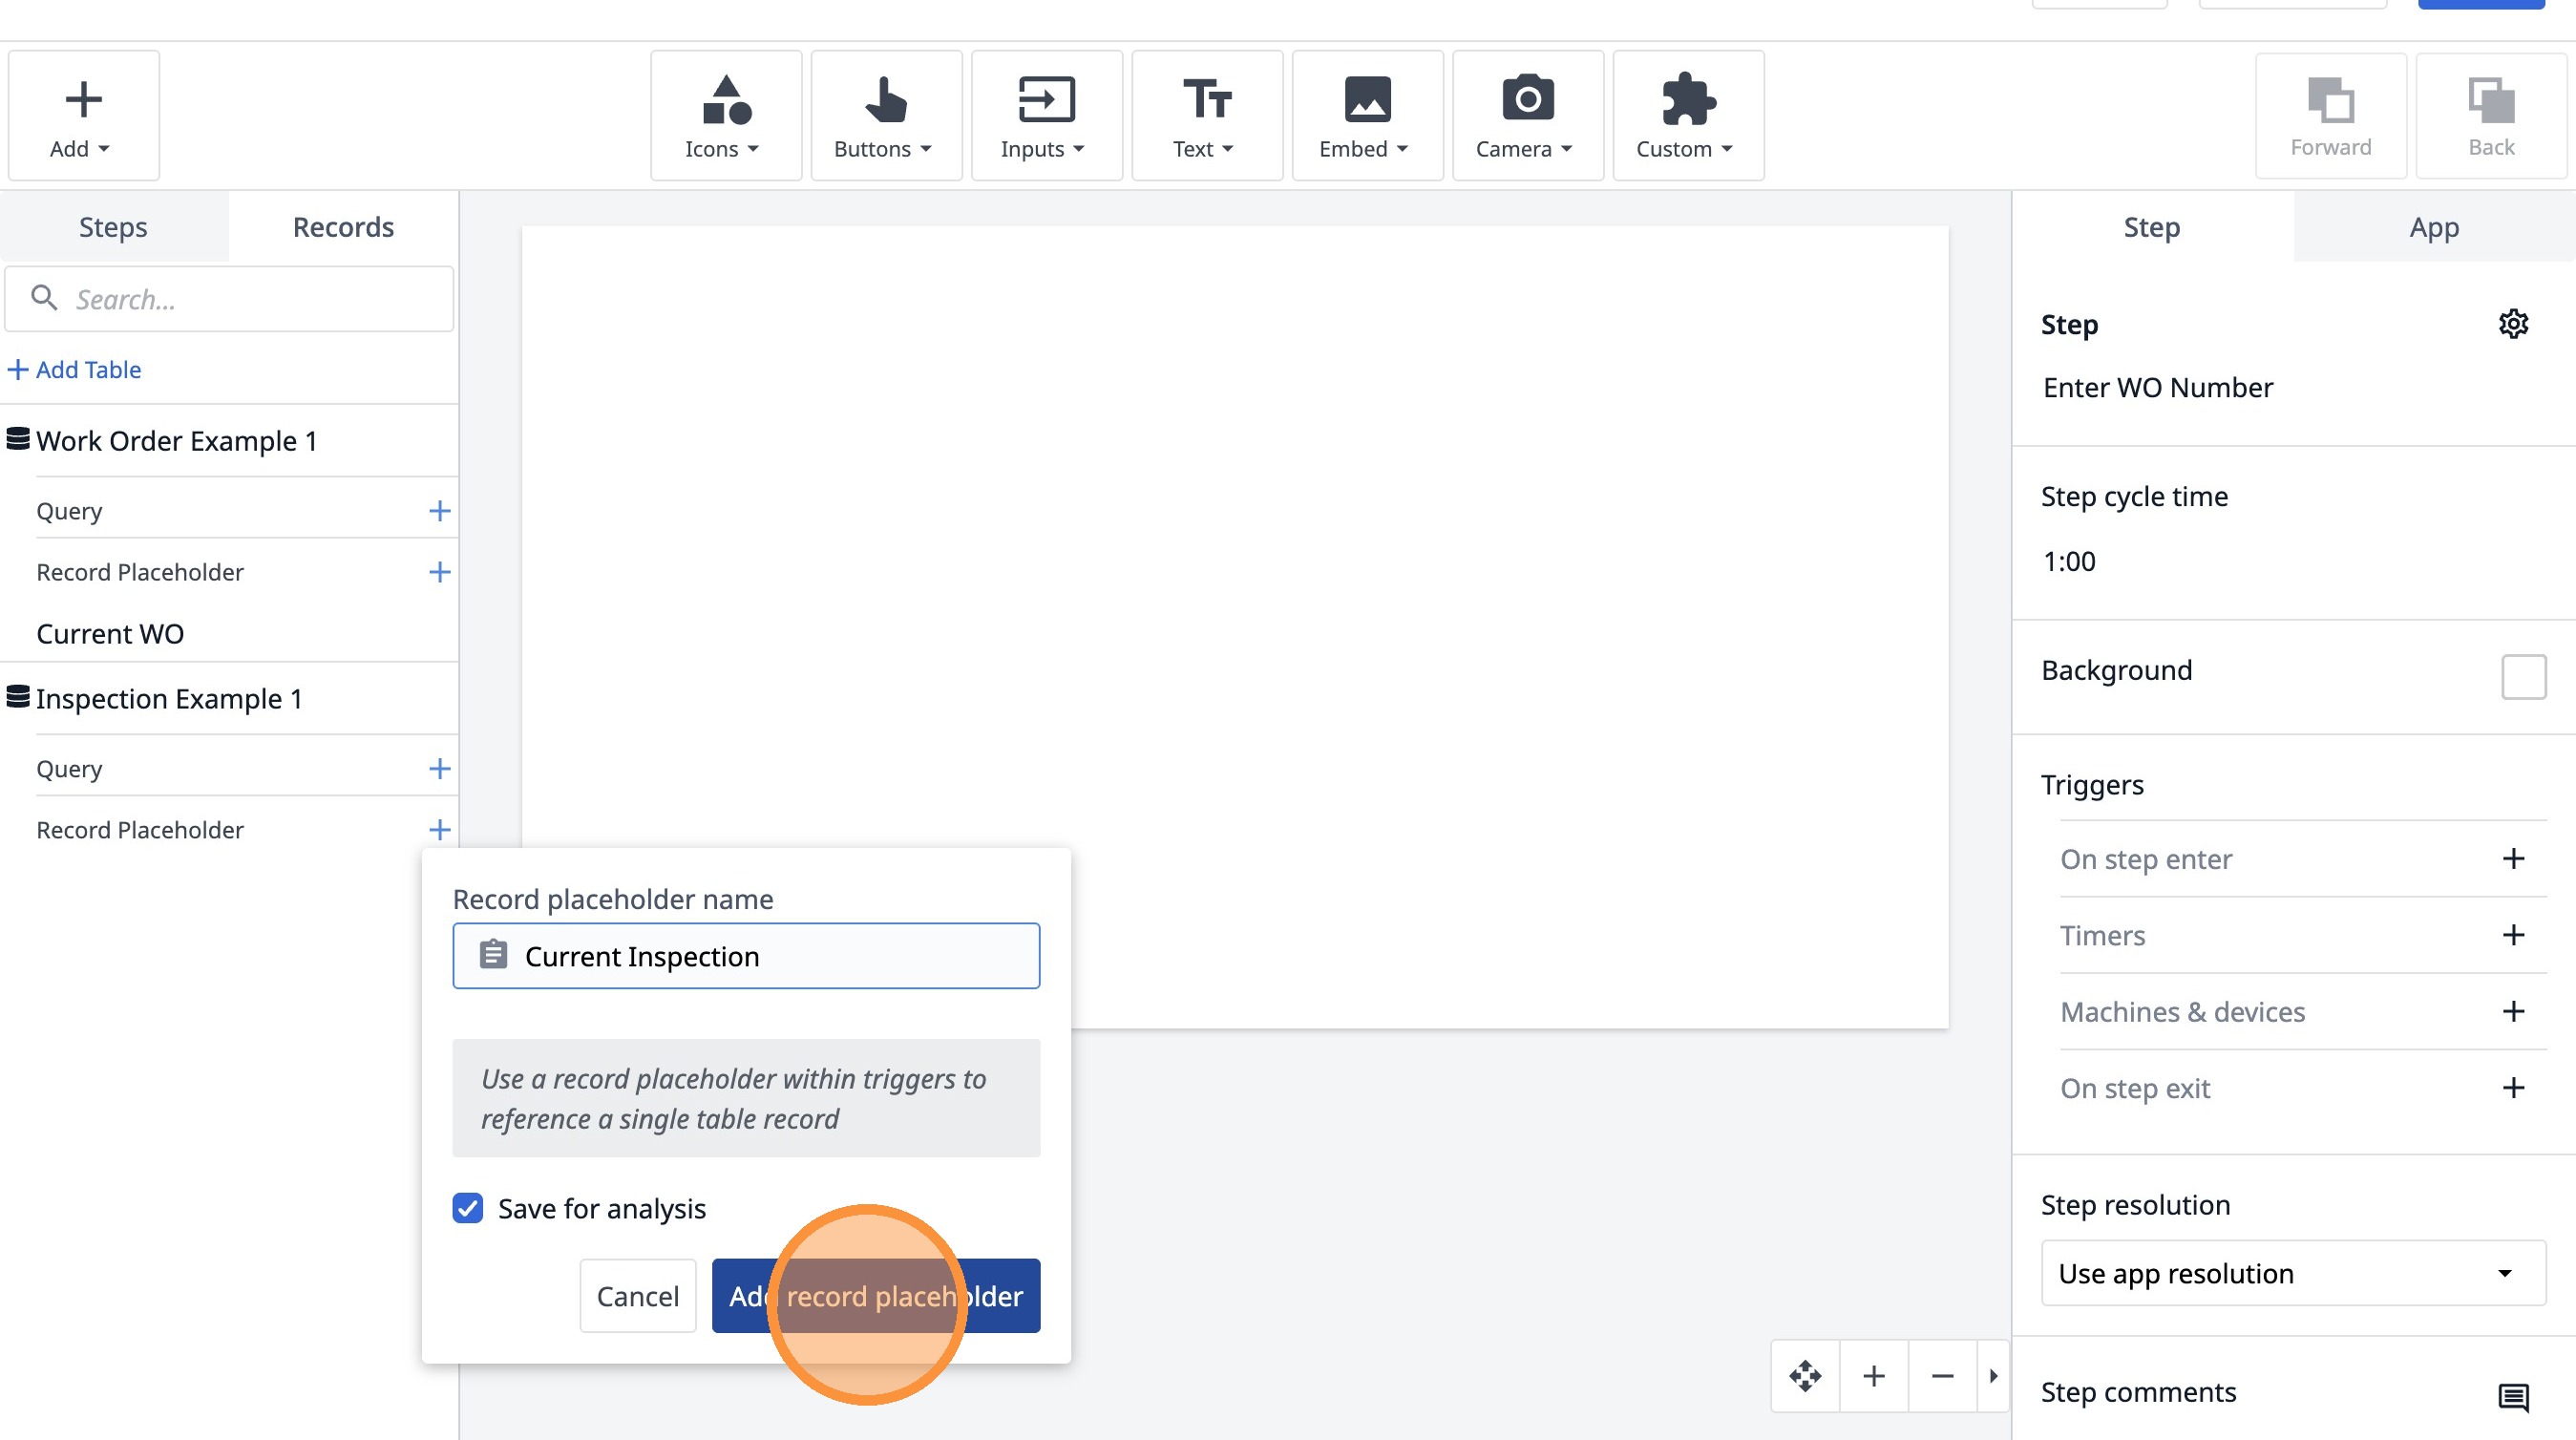
27. Click the "Current Inspection Example 1" field.
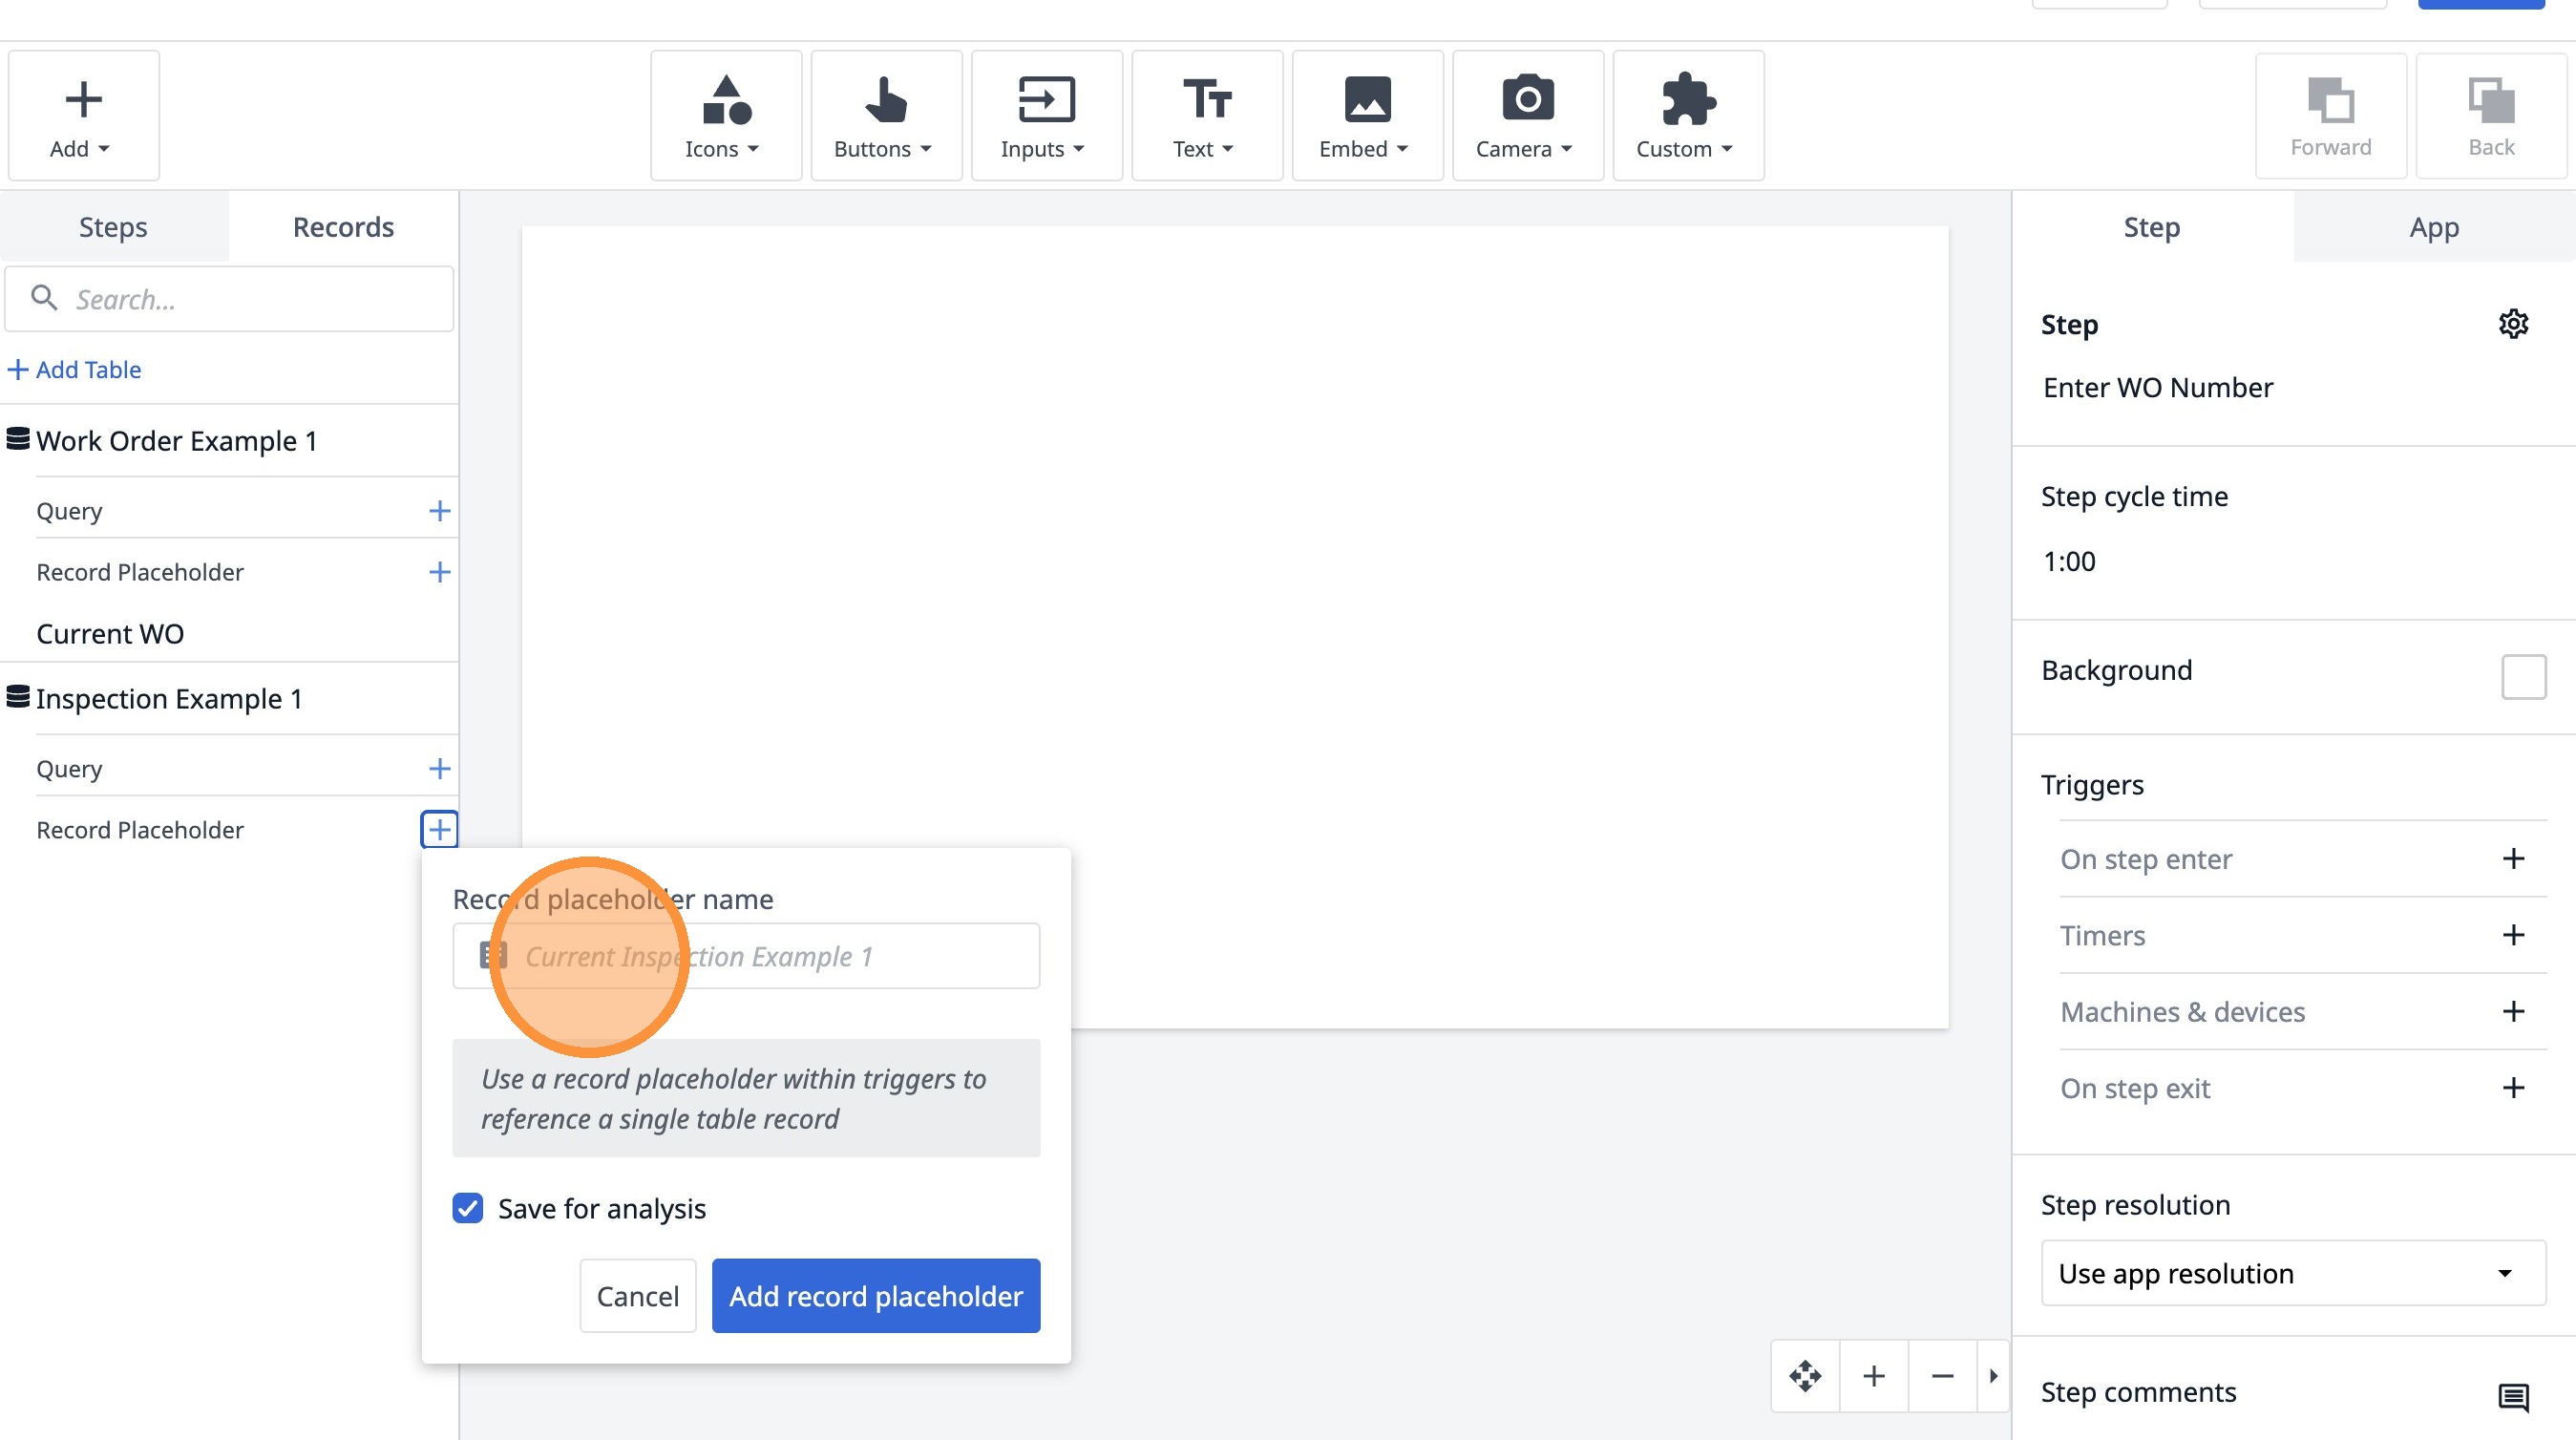
28. Type "Current Inspection"
29. Click "Add record placeholder"
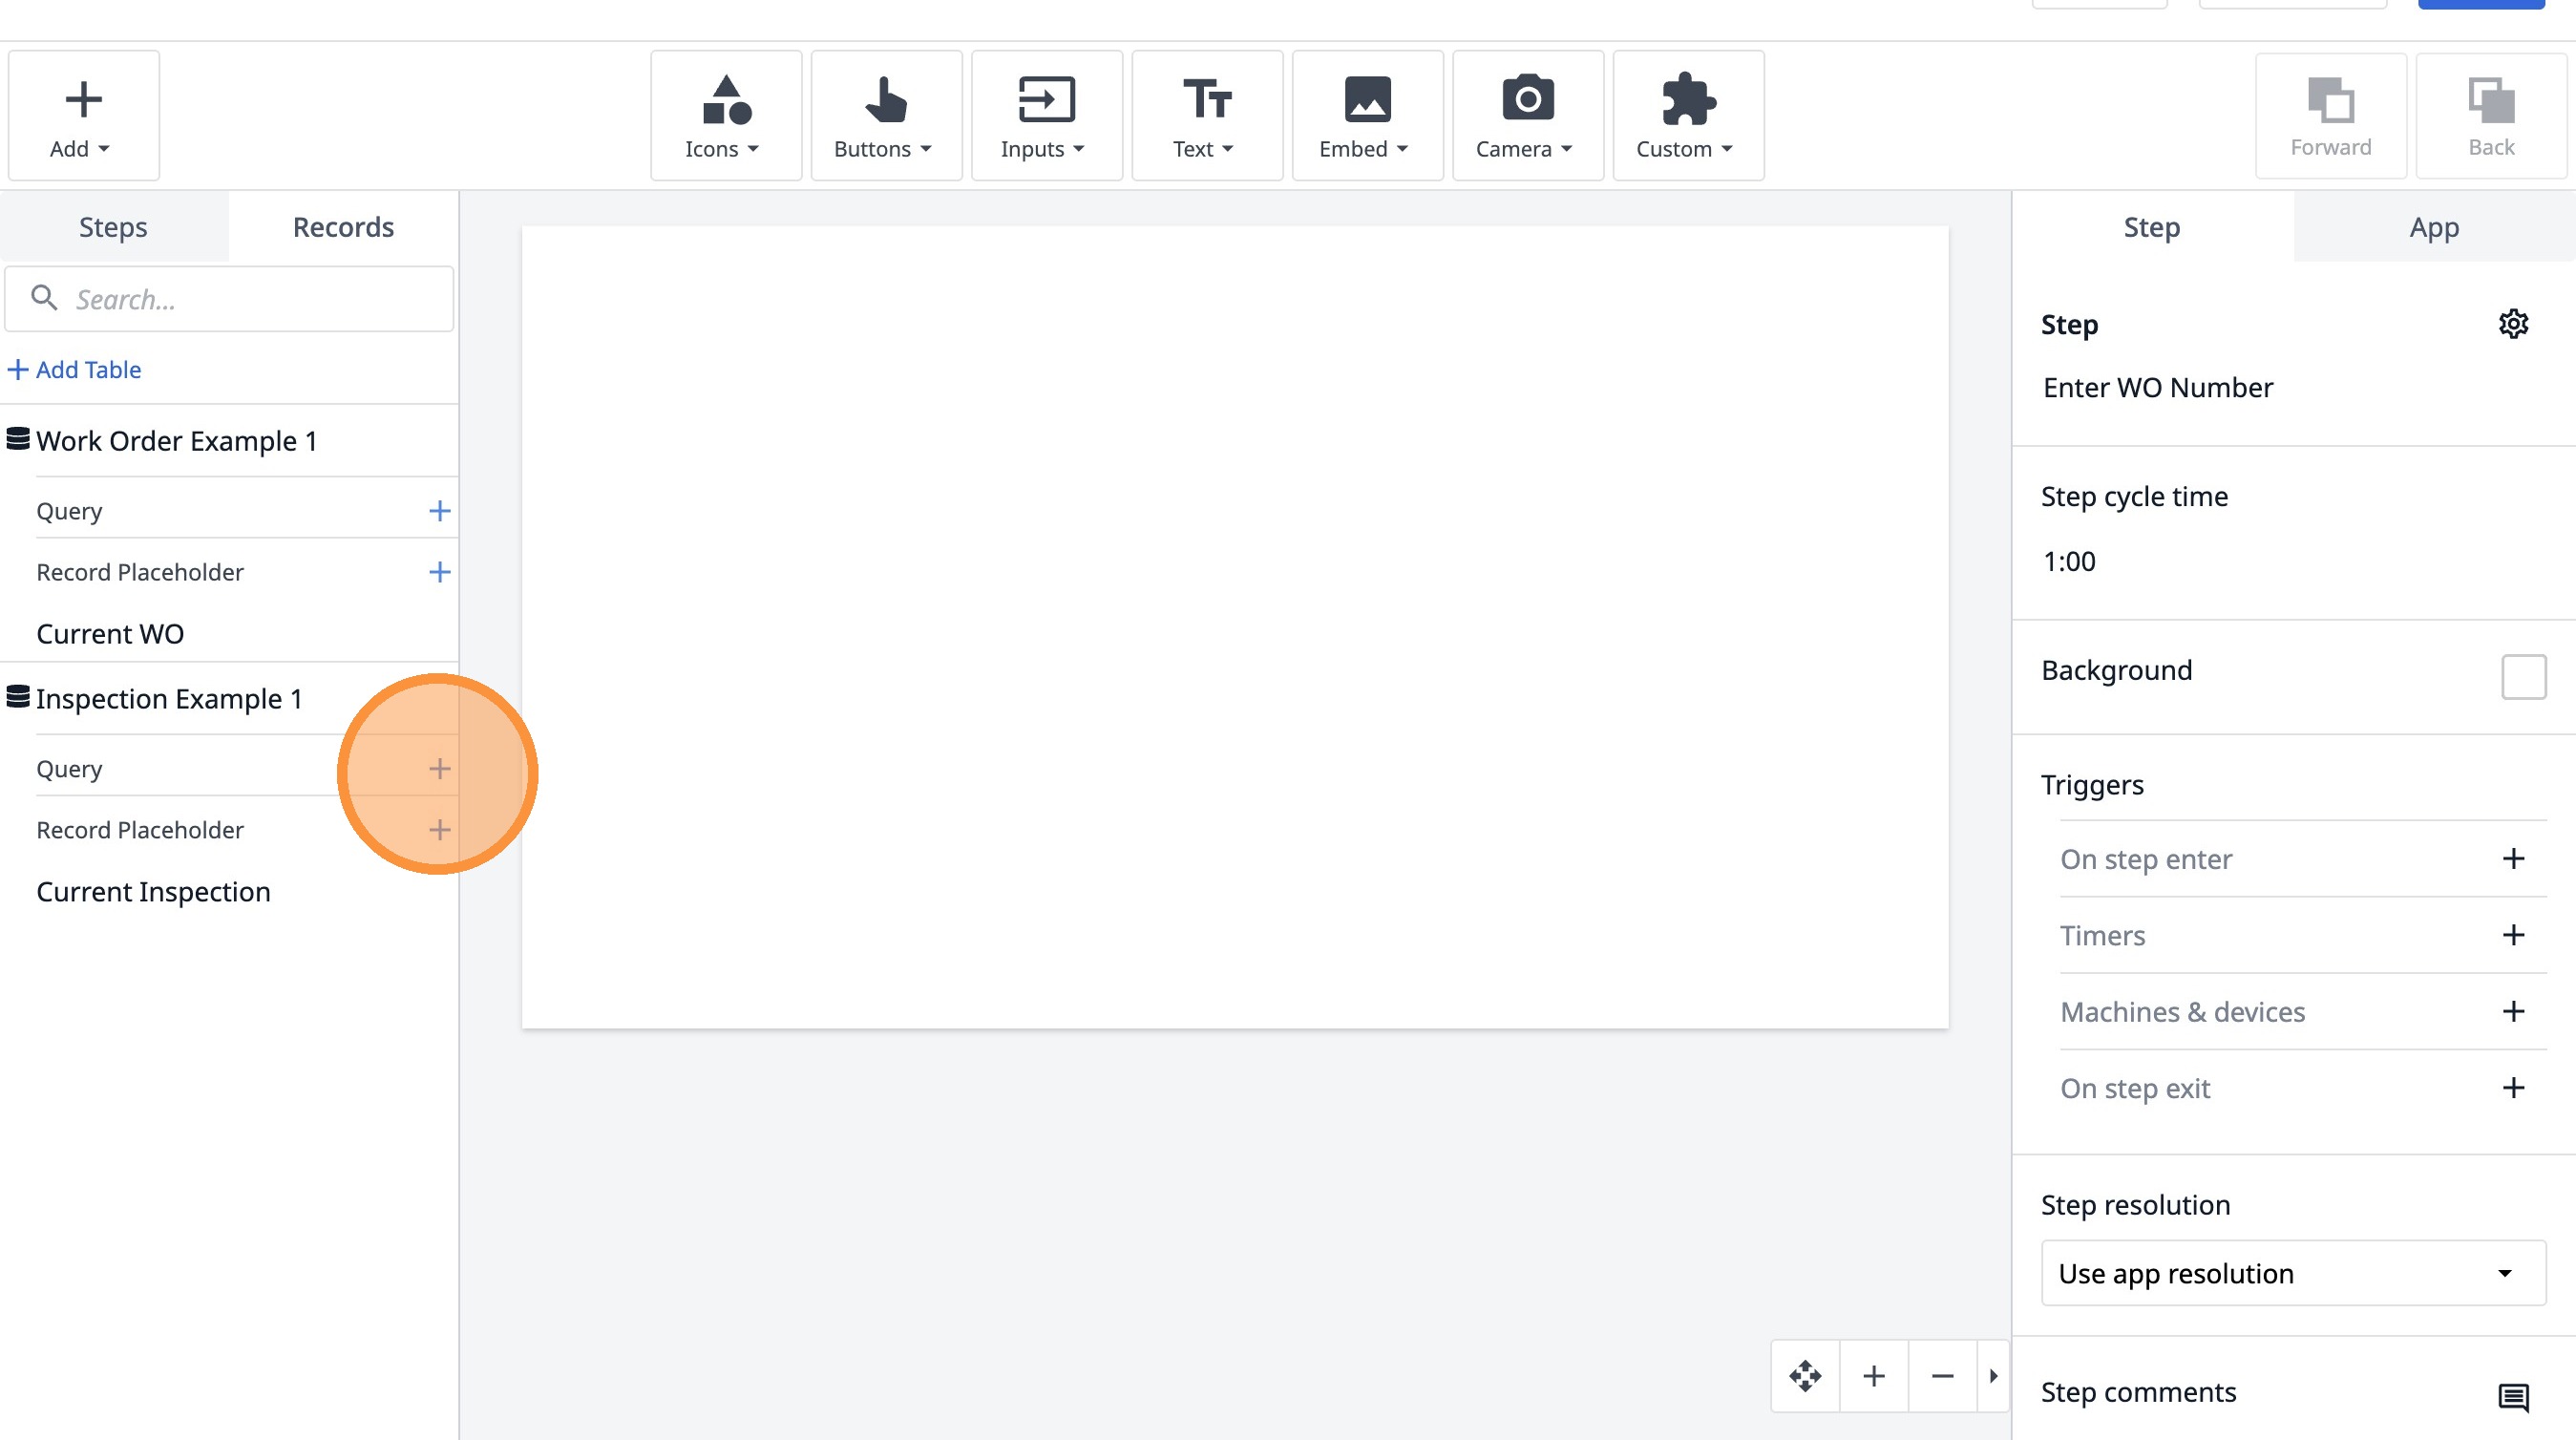
30. Click this icon.
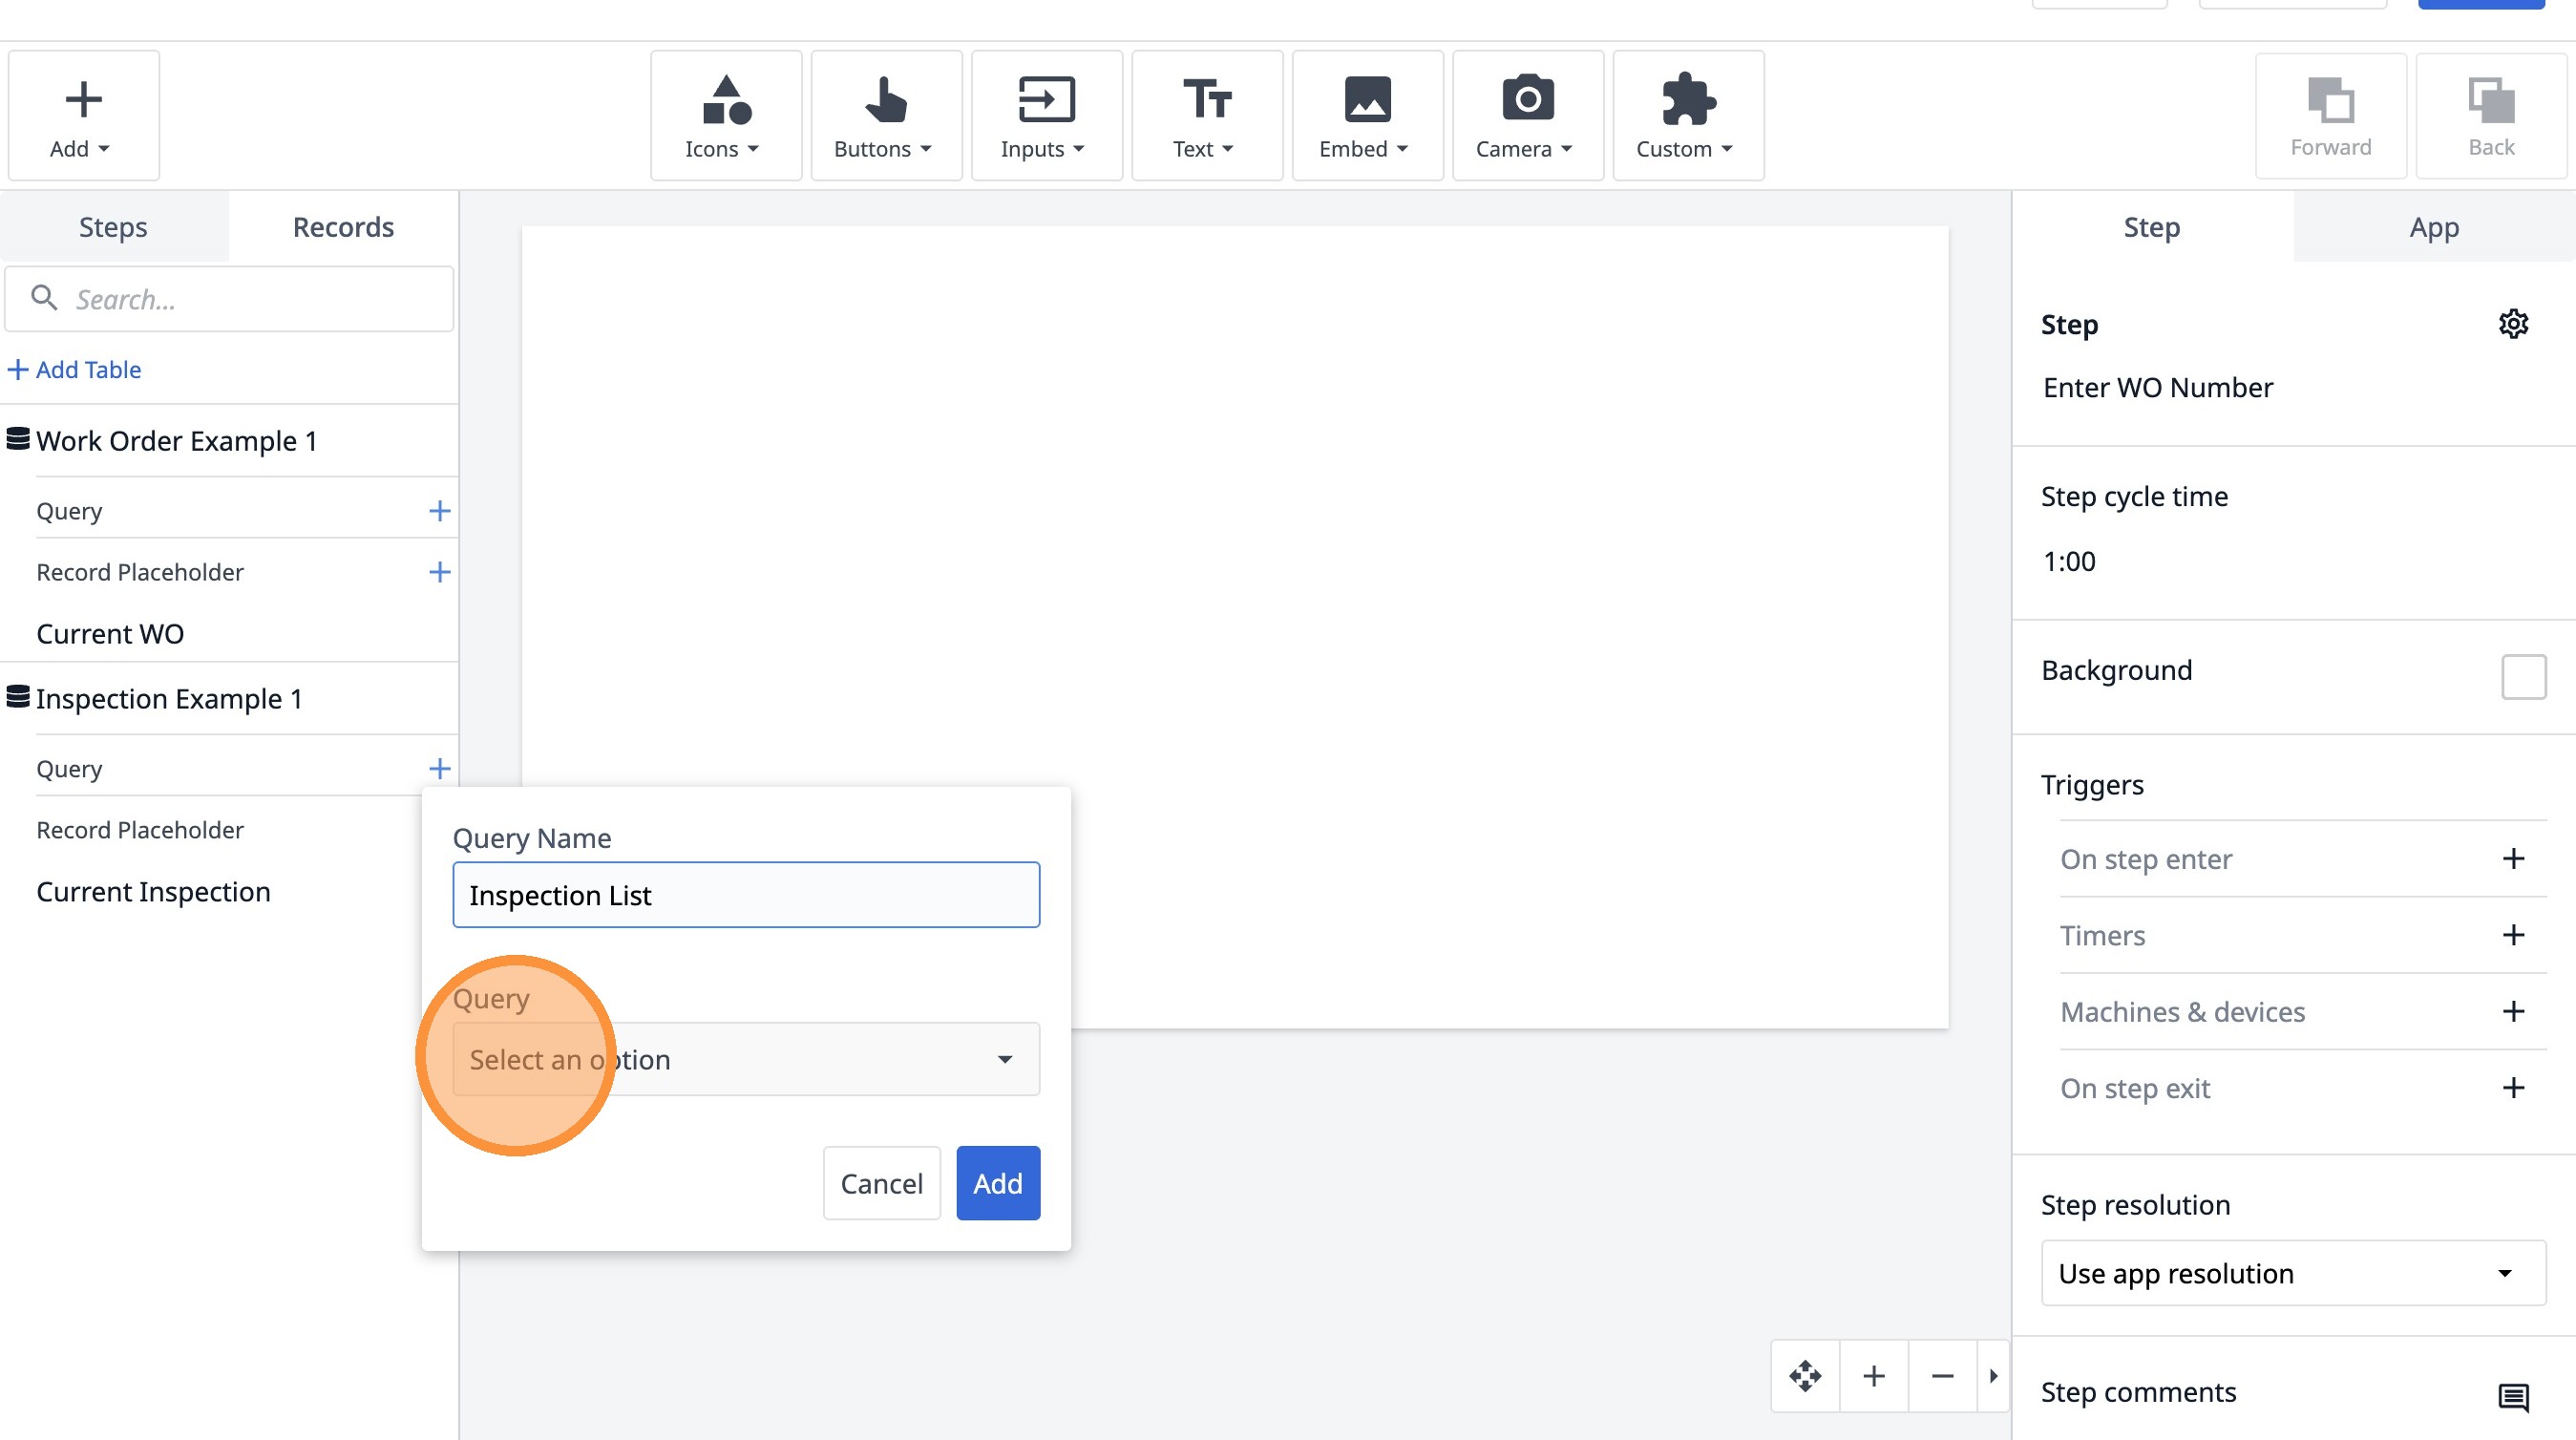
31. Click this text field.
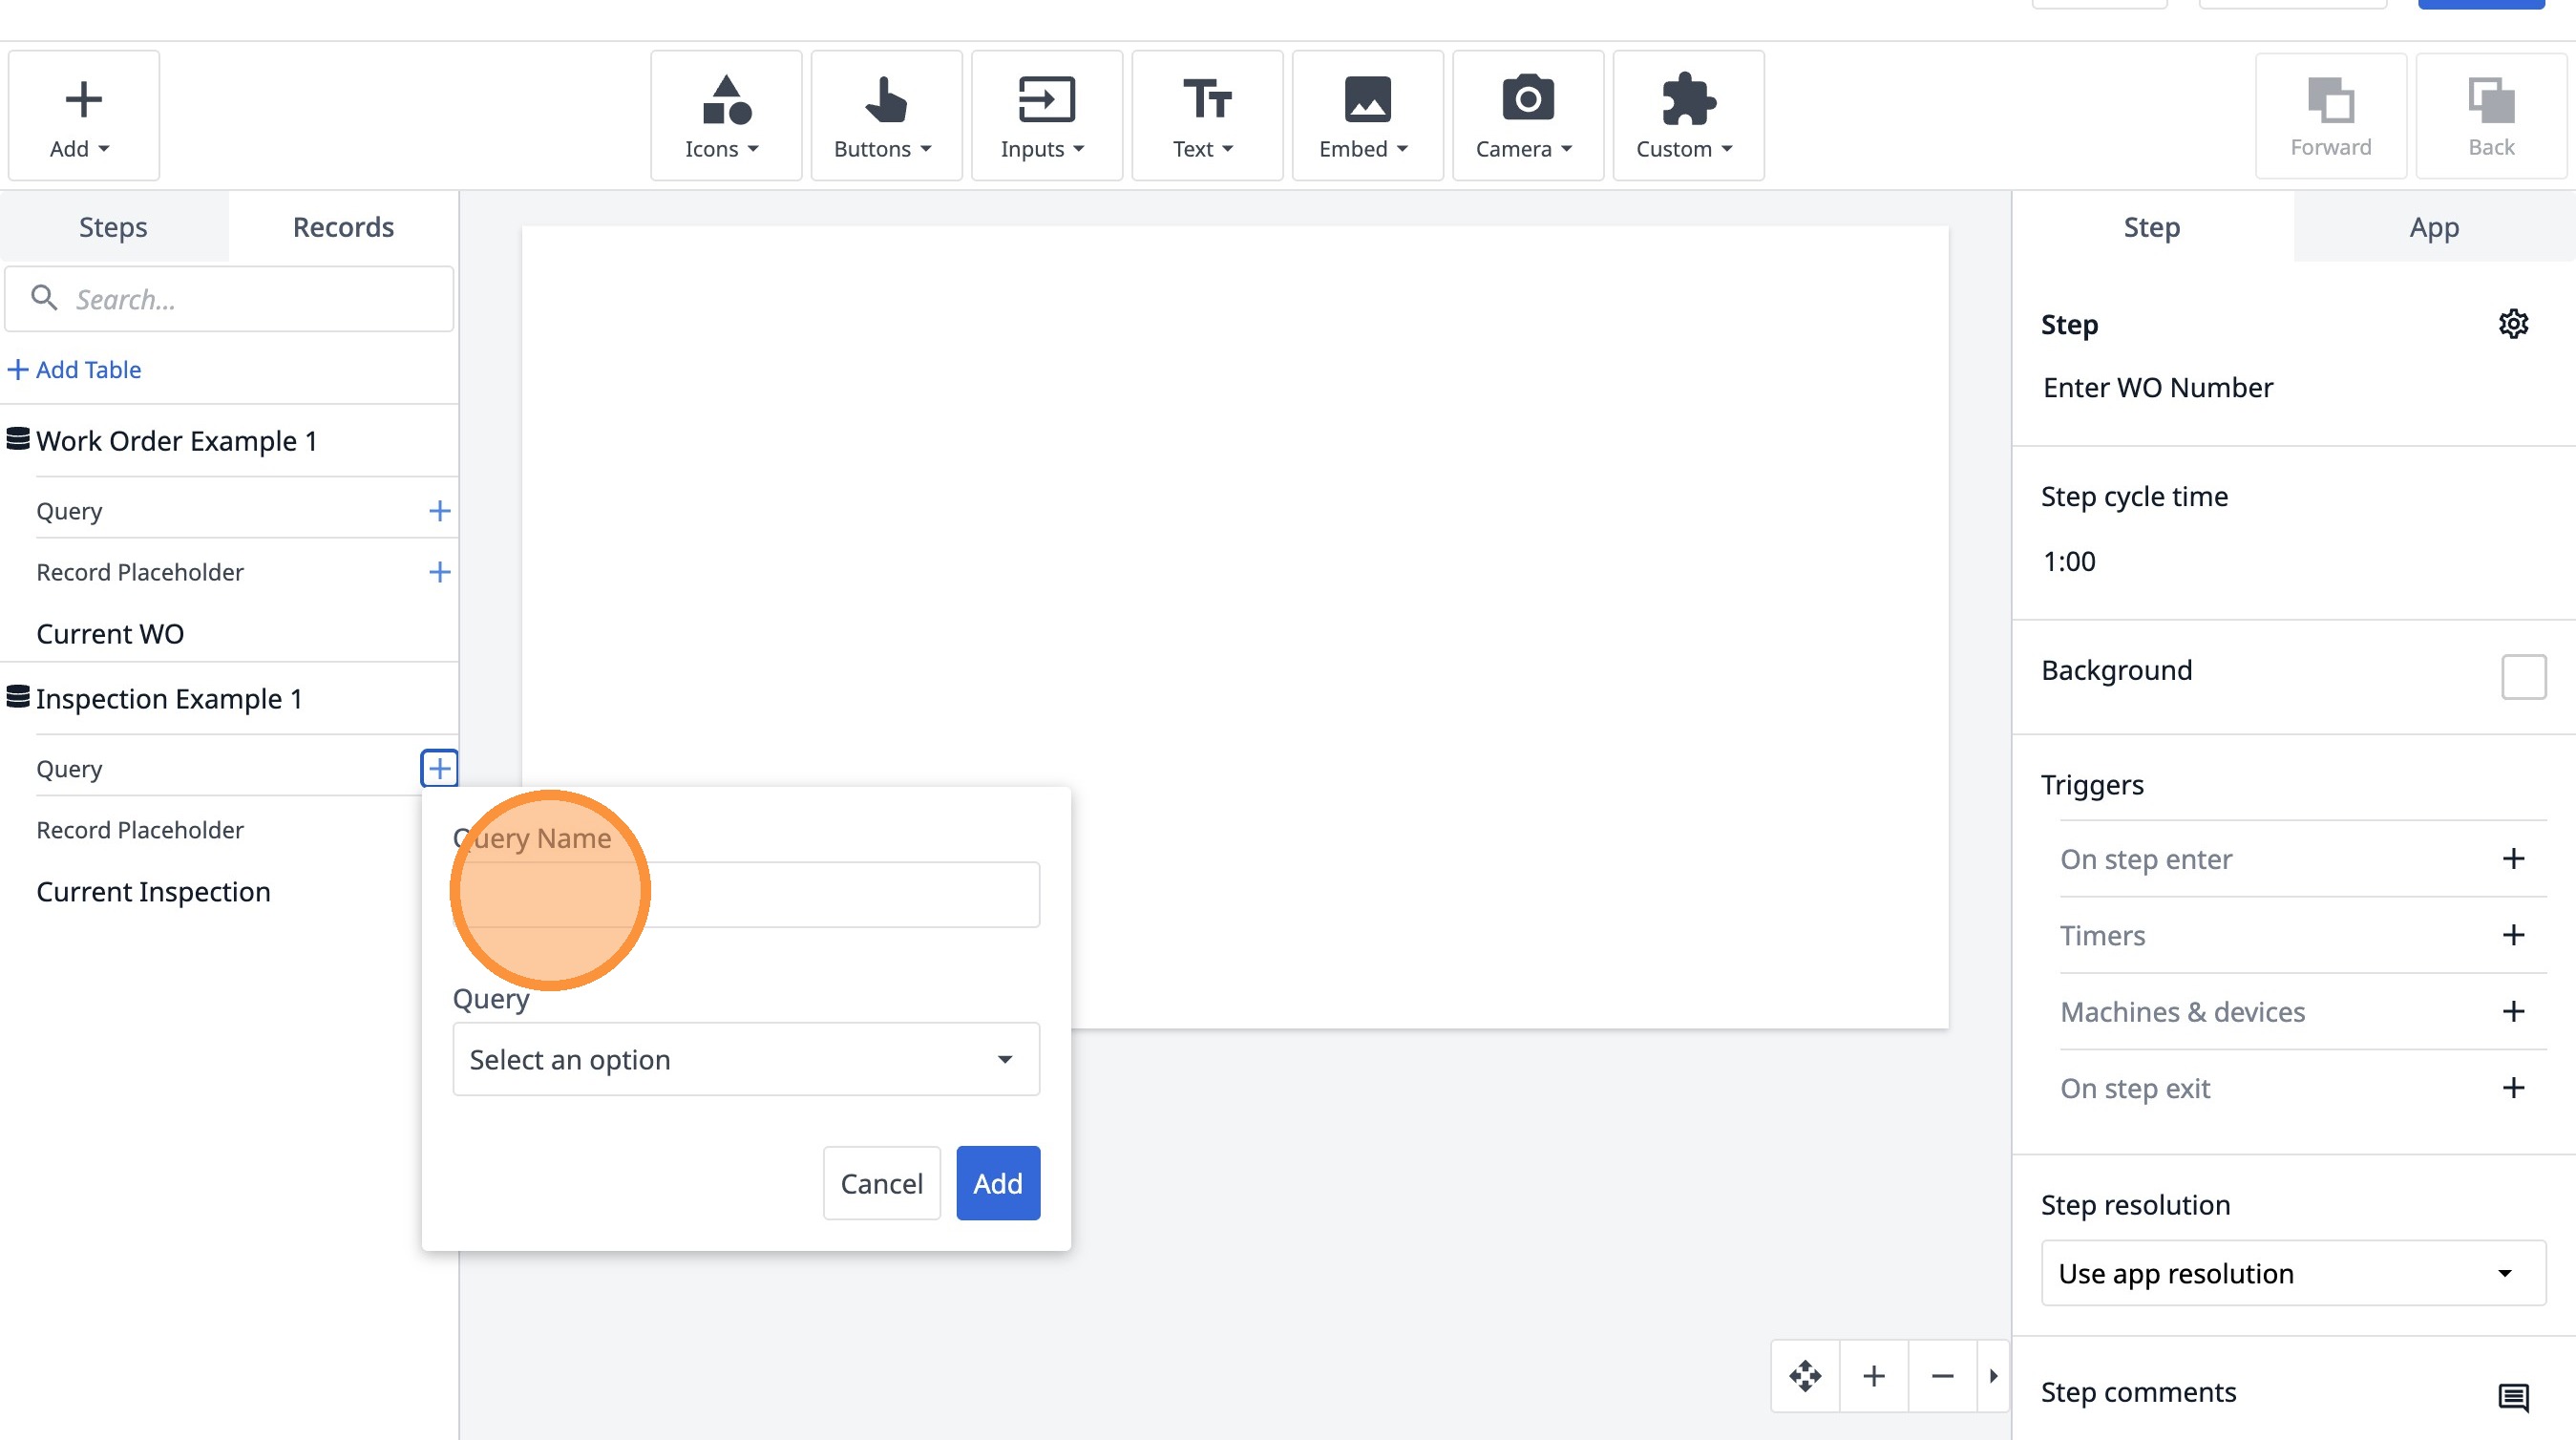
32. Type "Inspection List"
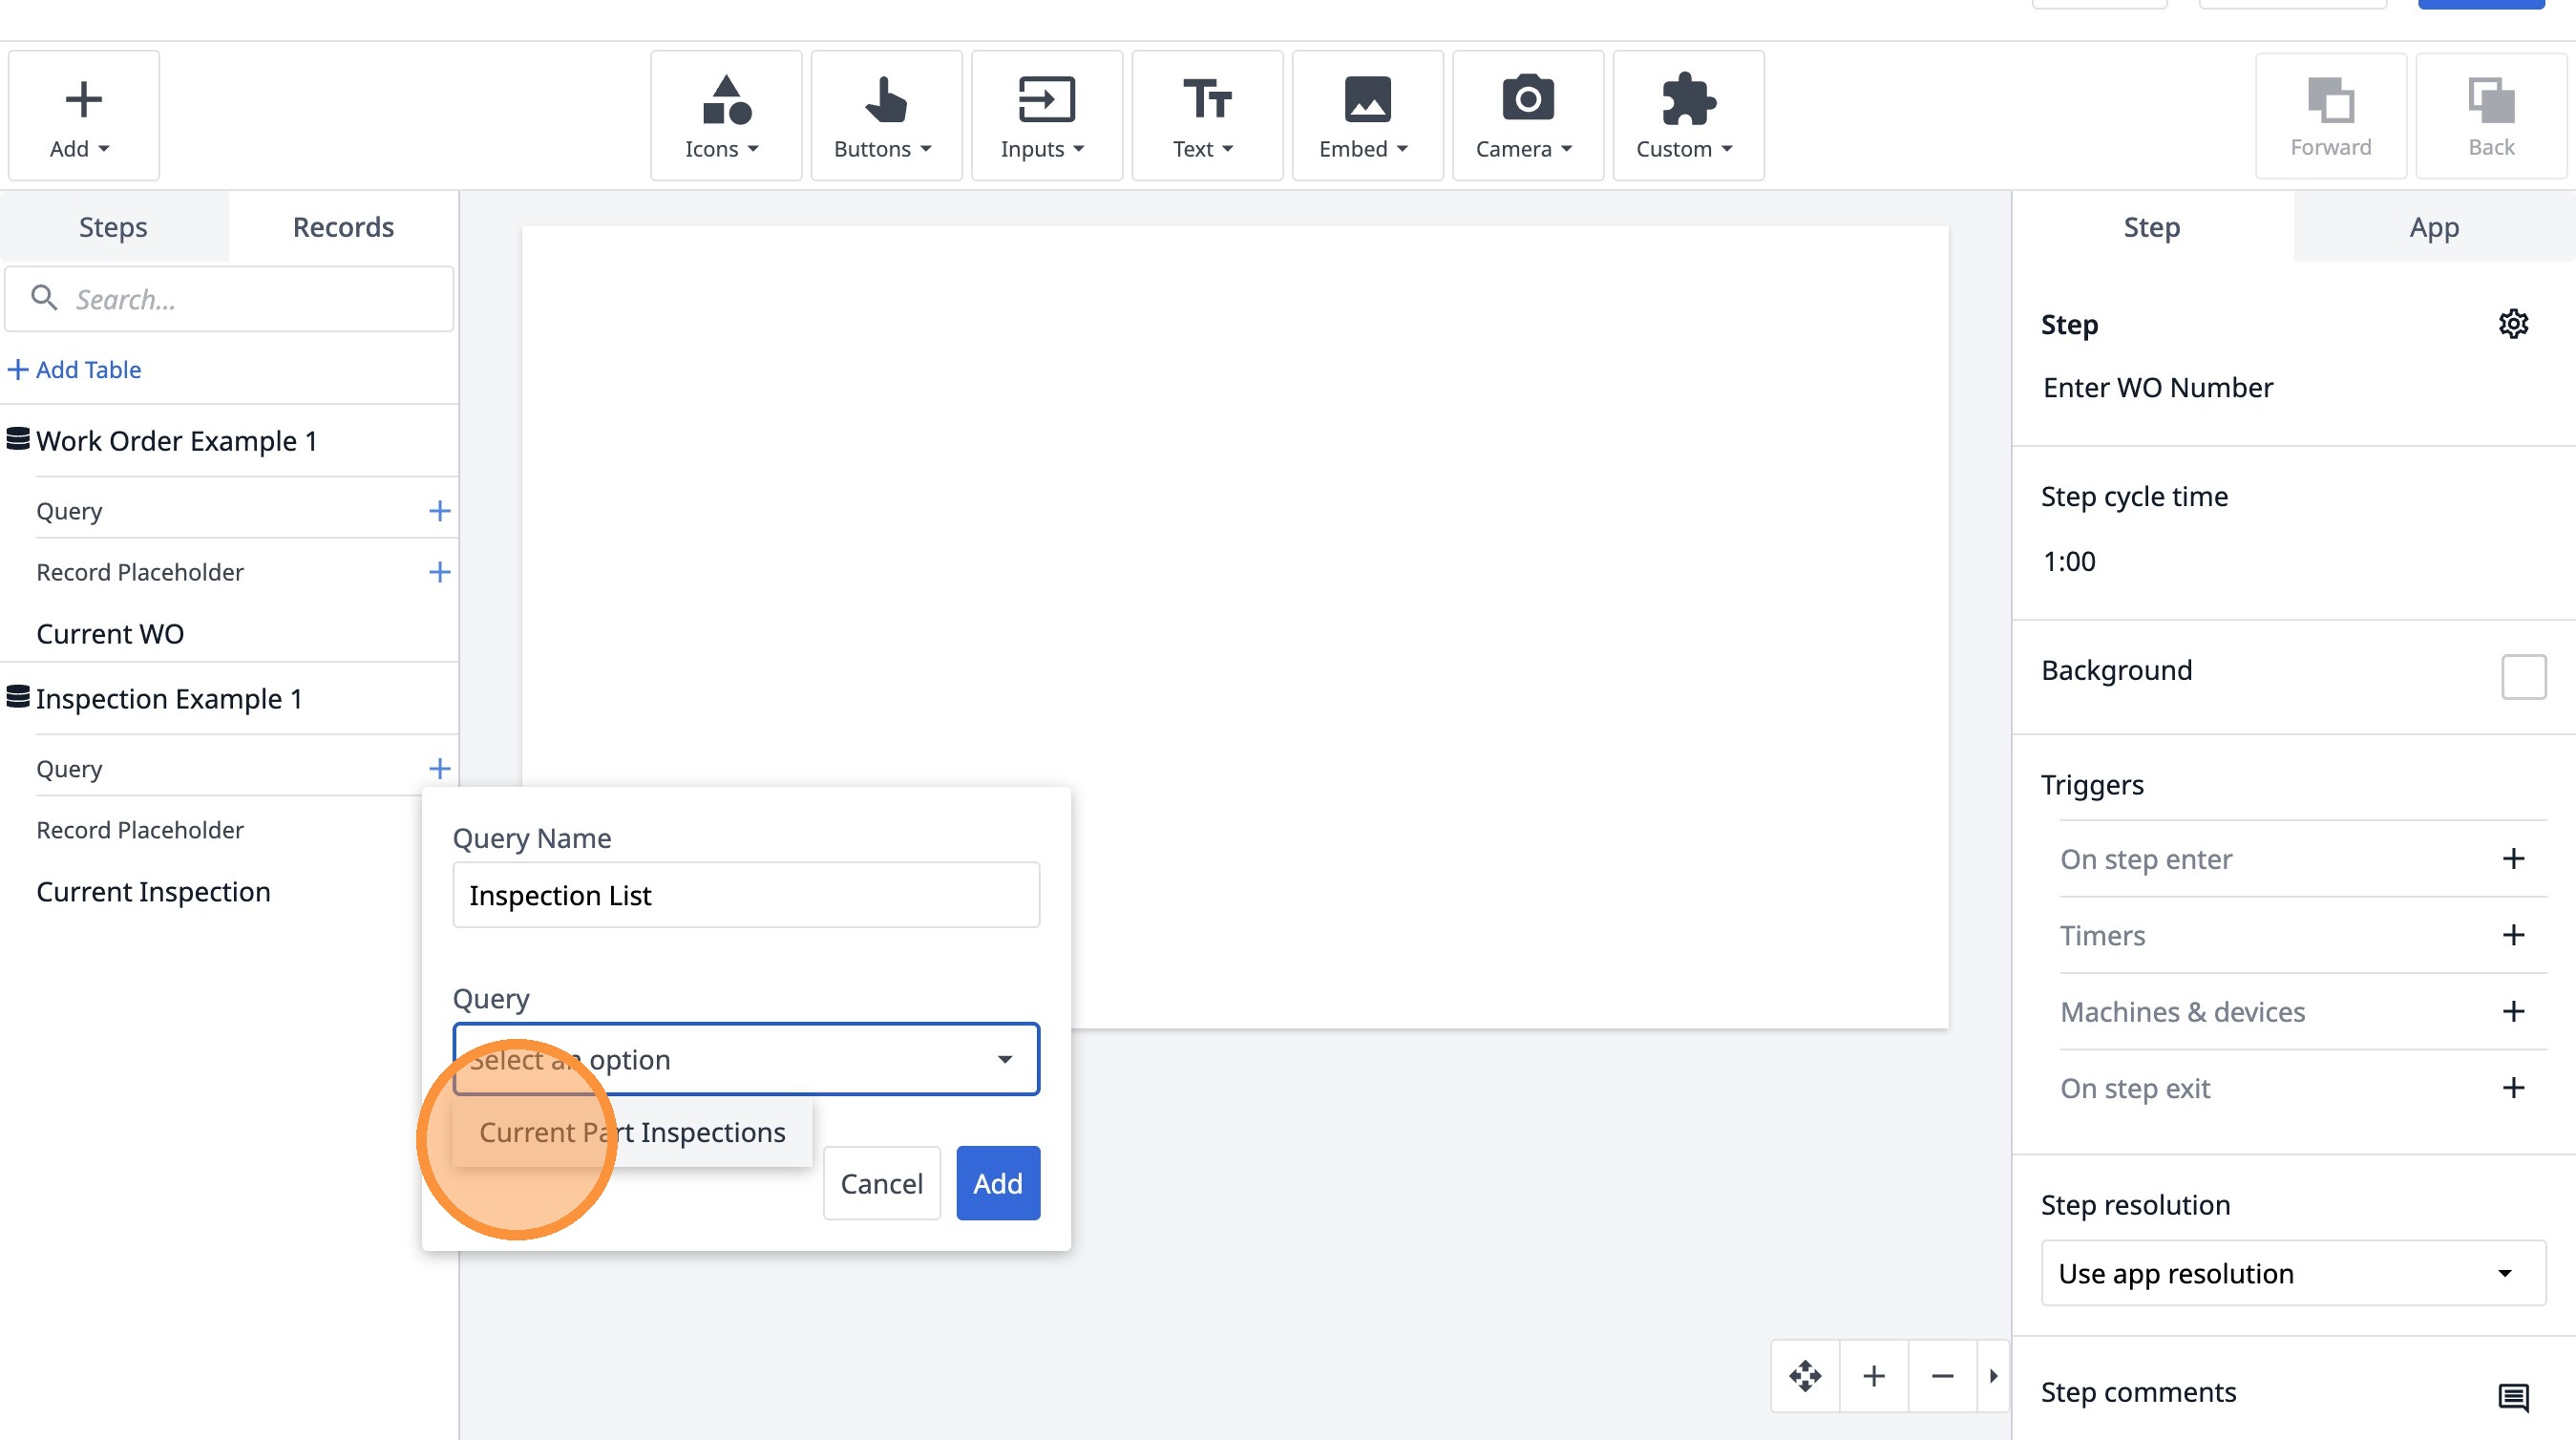
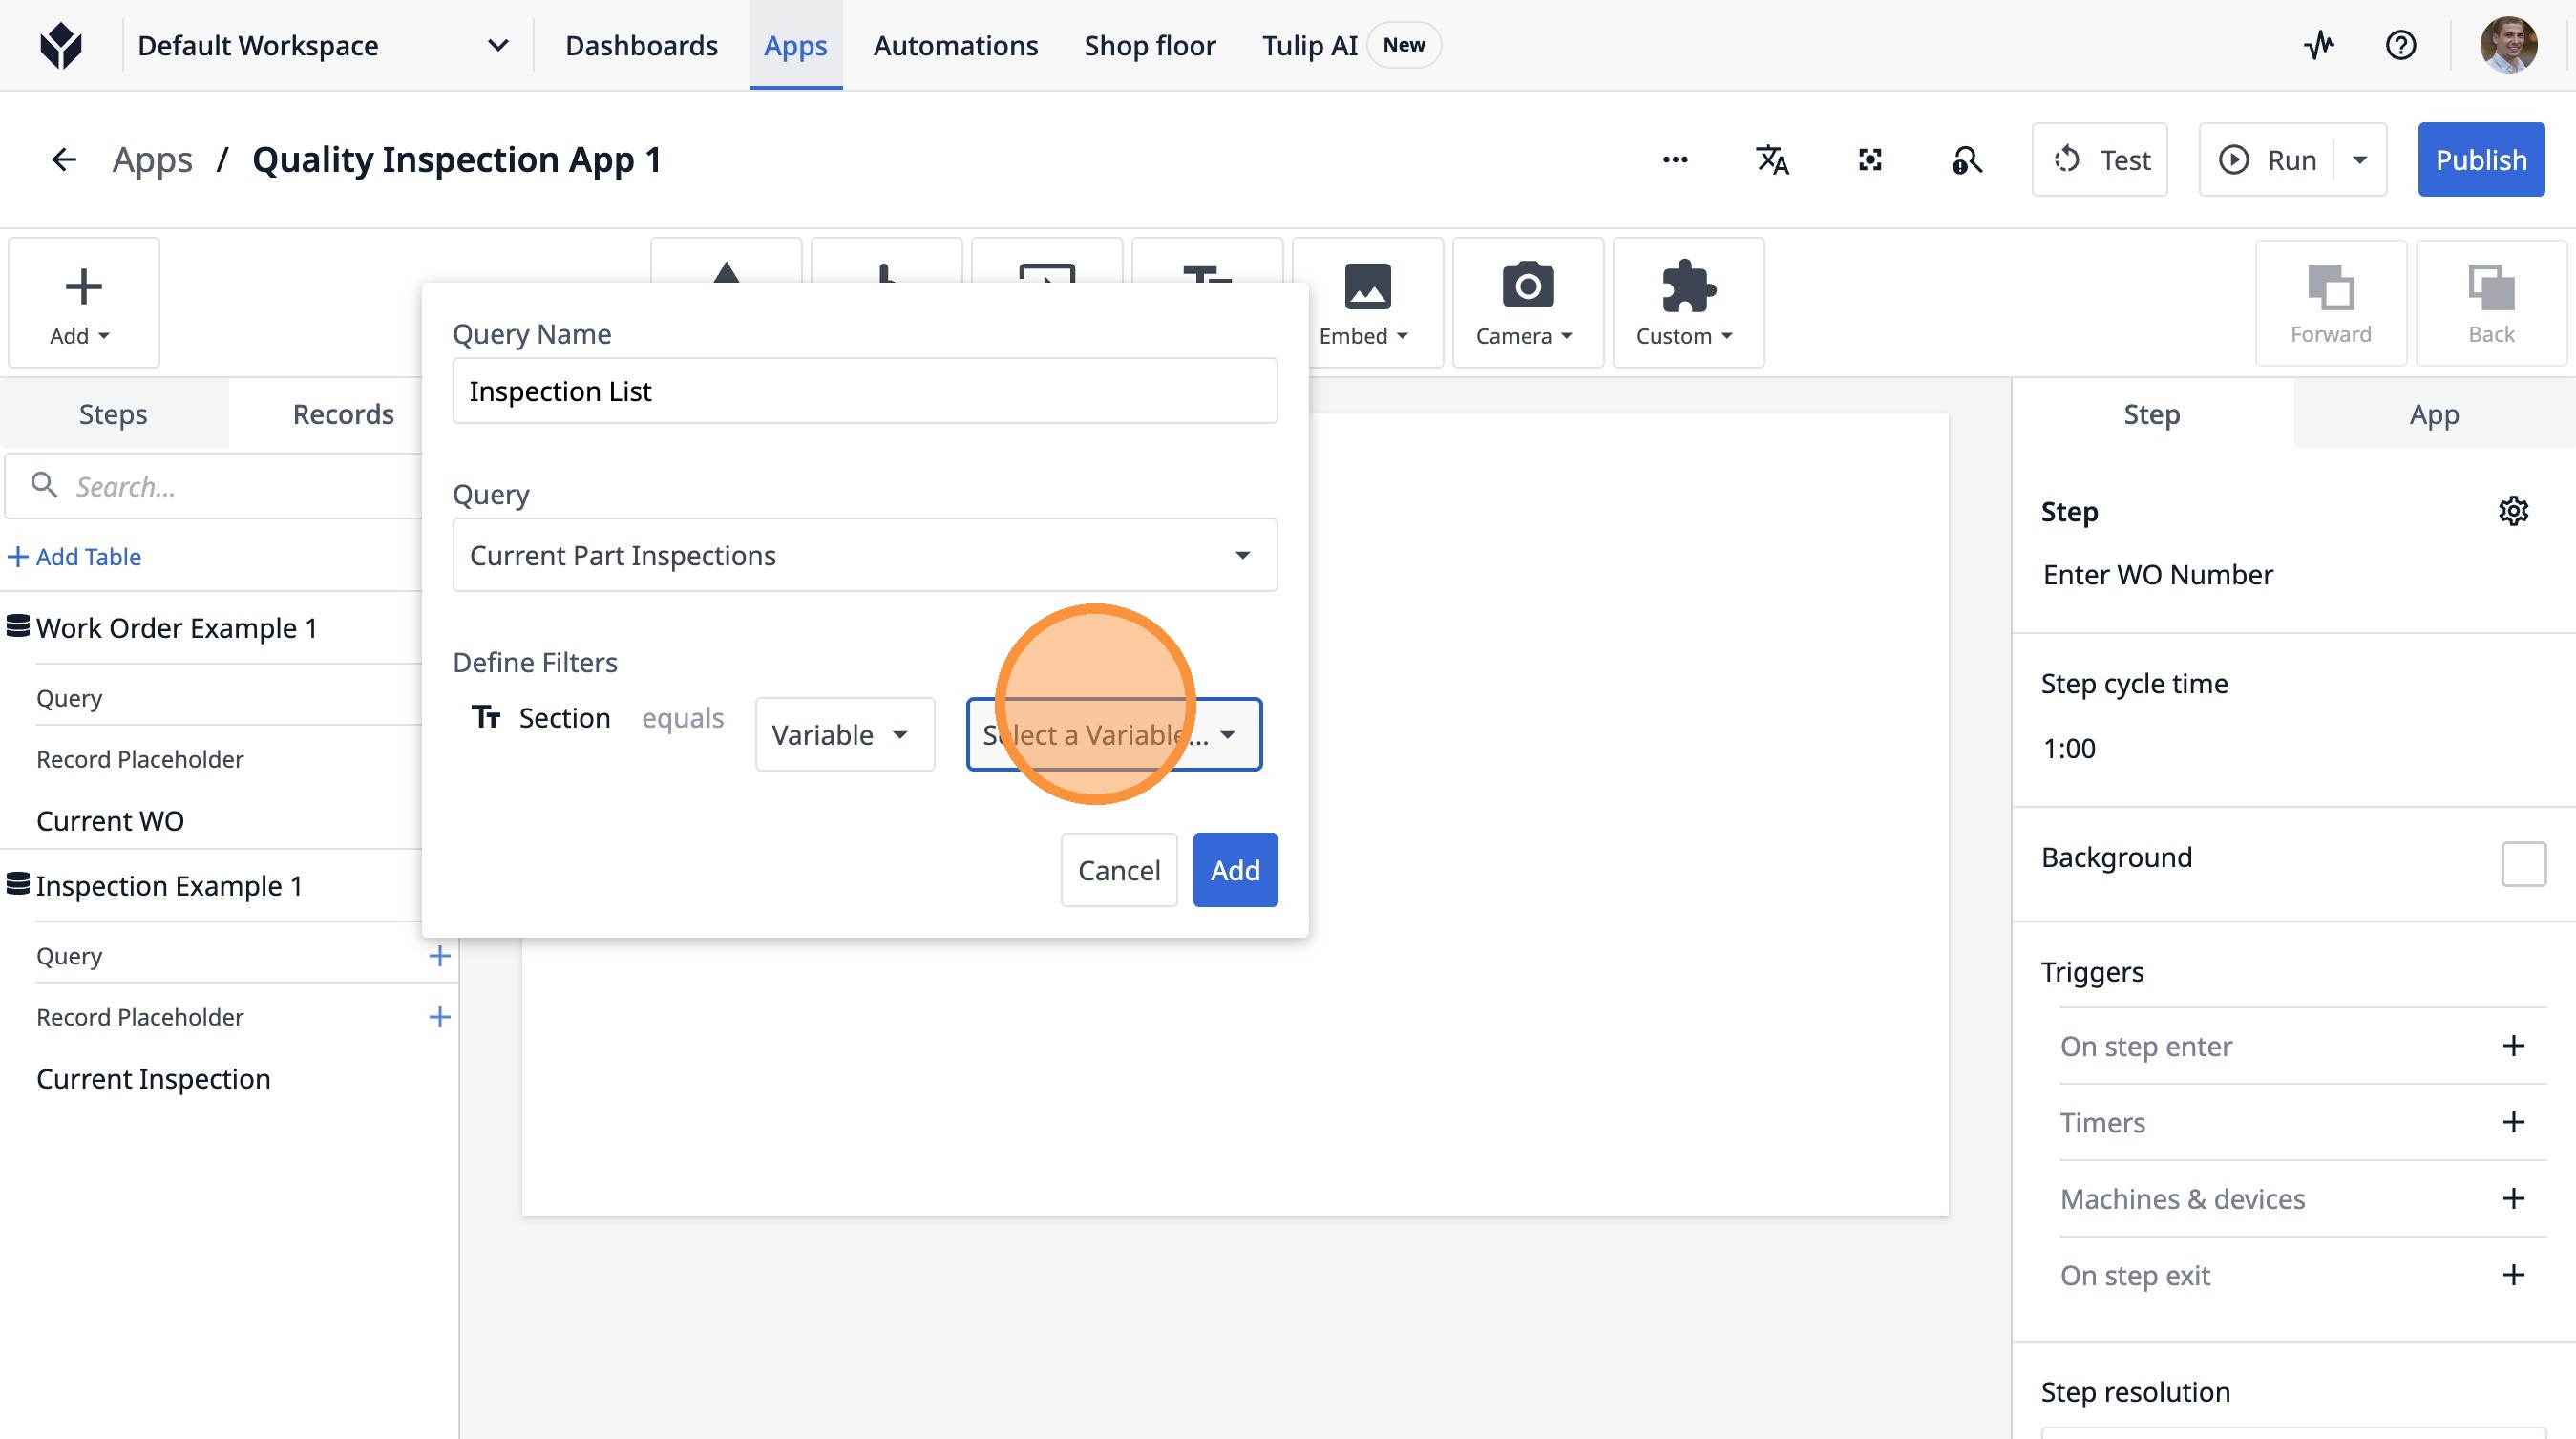
33. Click "Select an option"
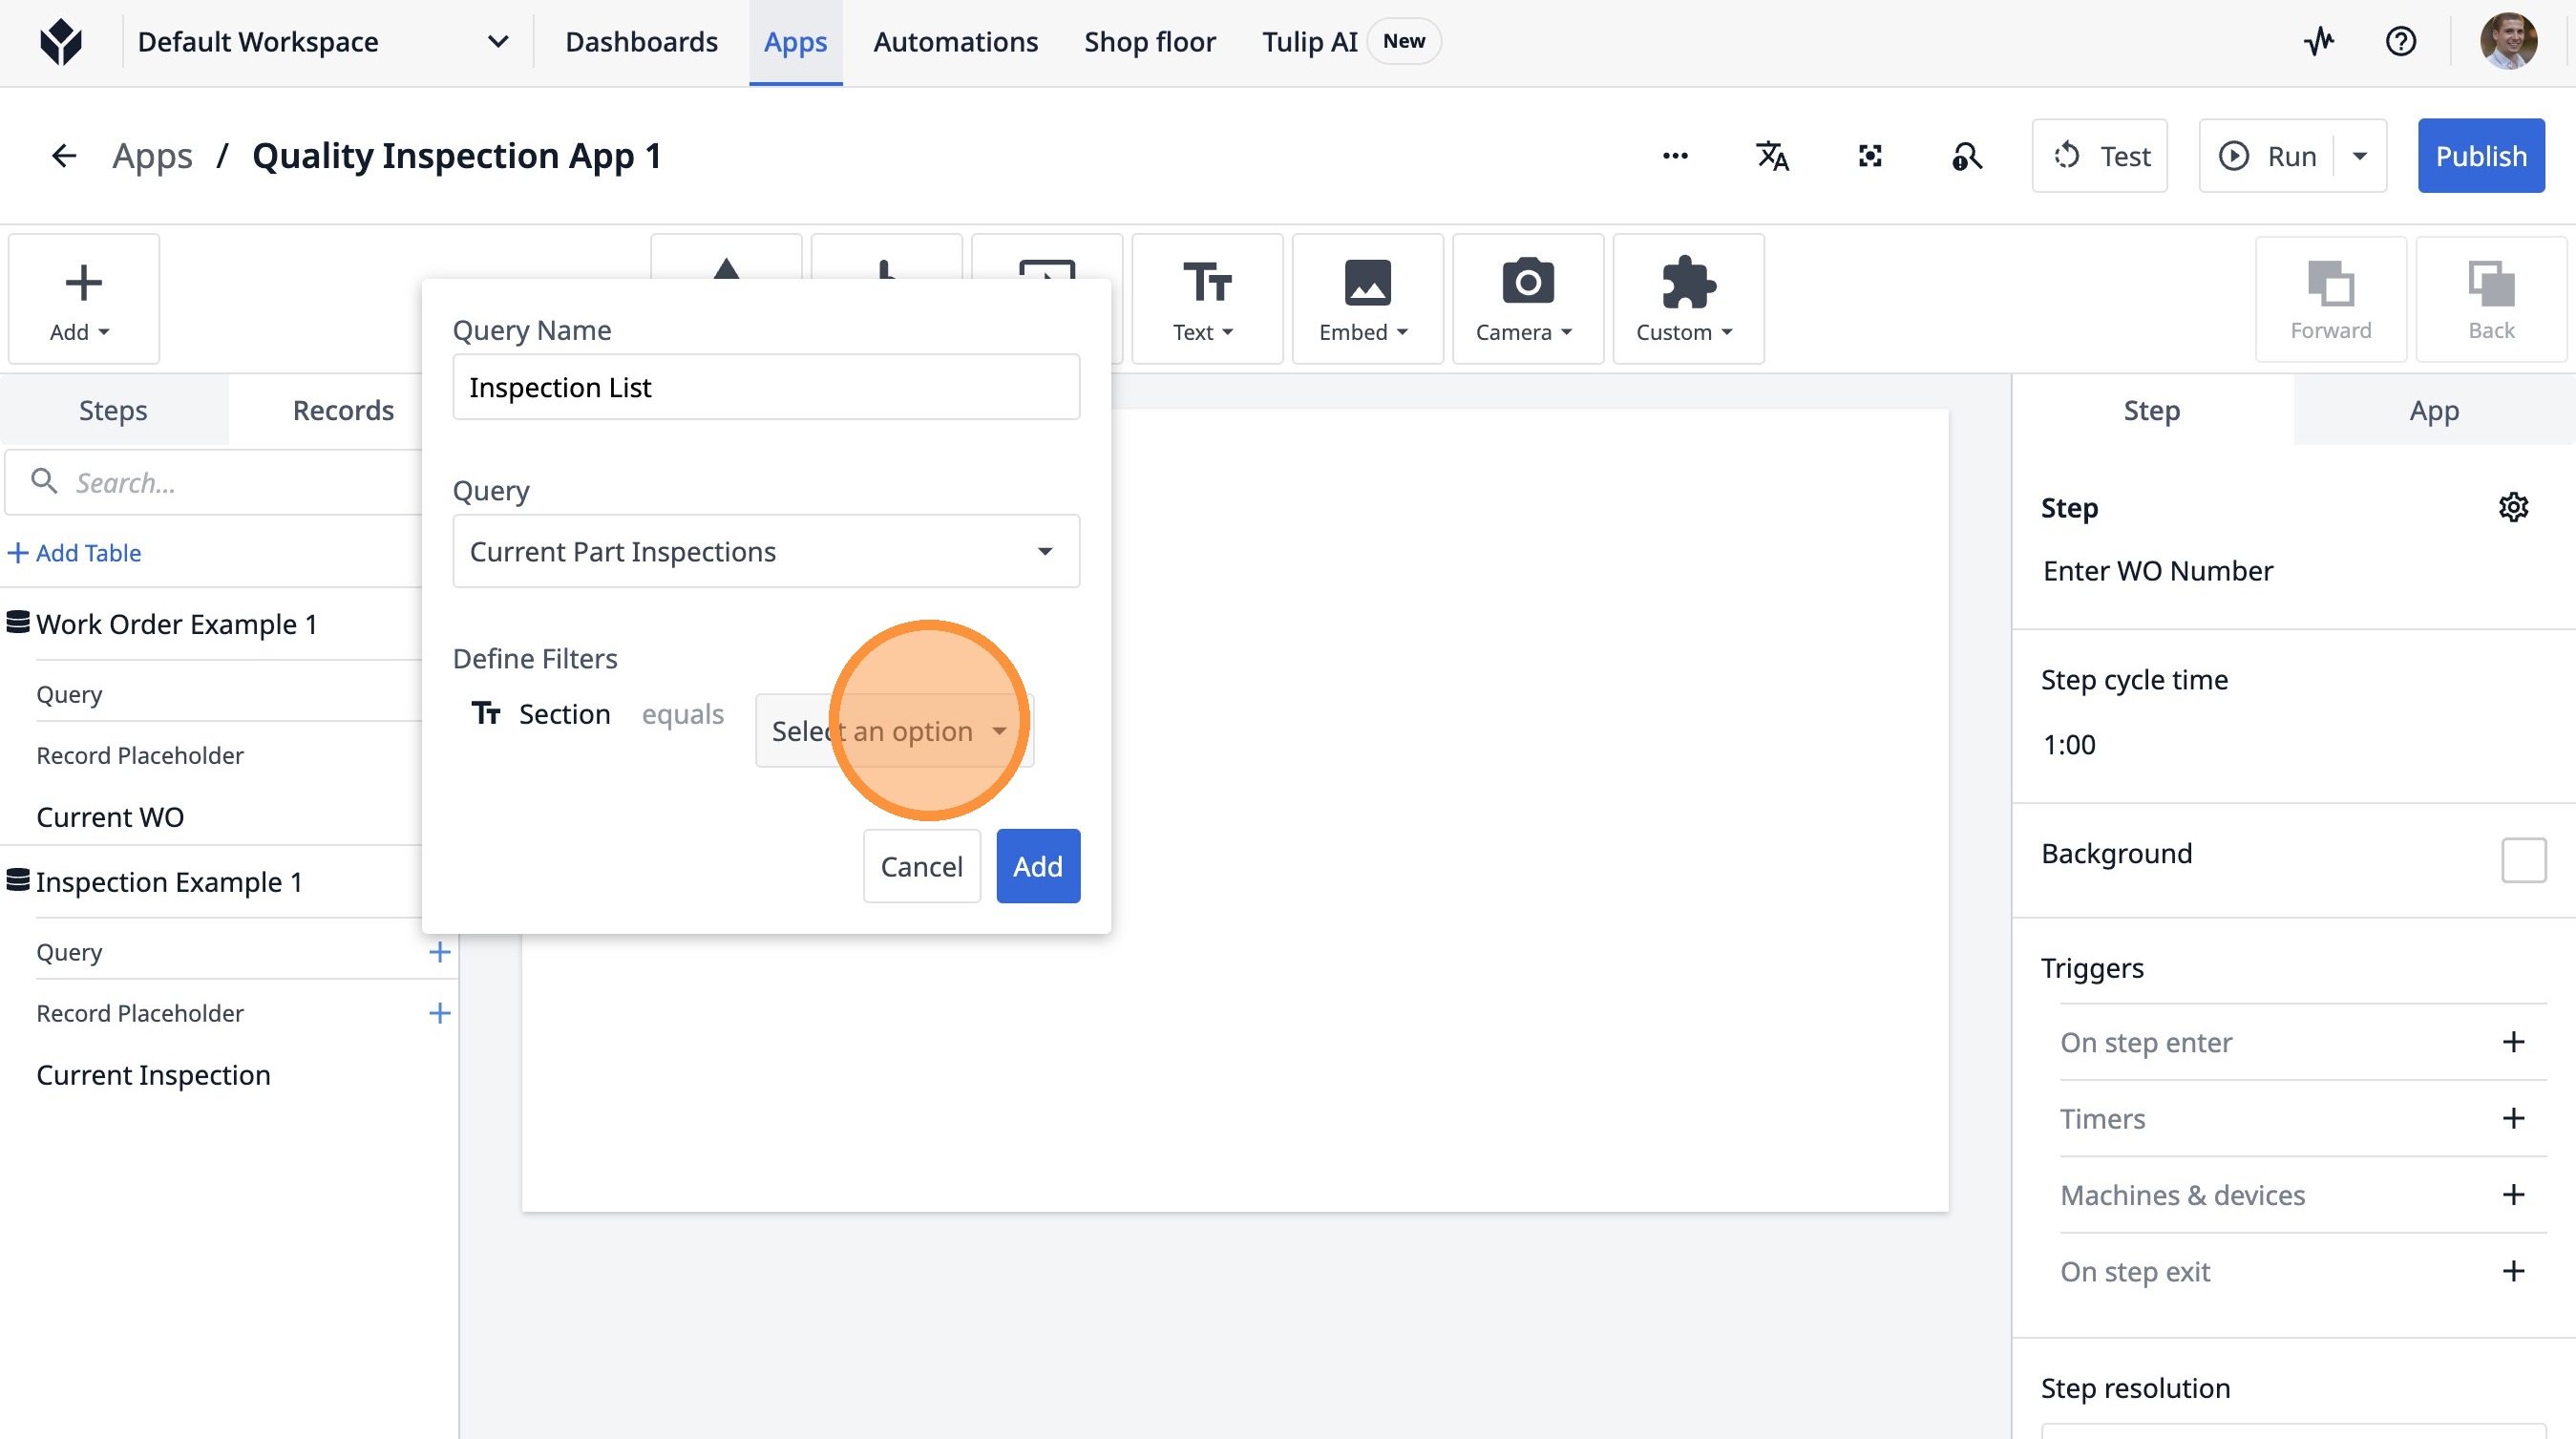
34. Click "Current Part Inspections"
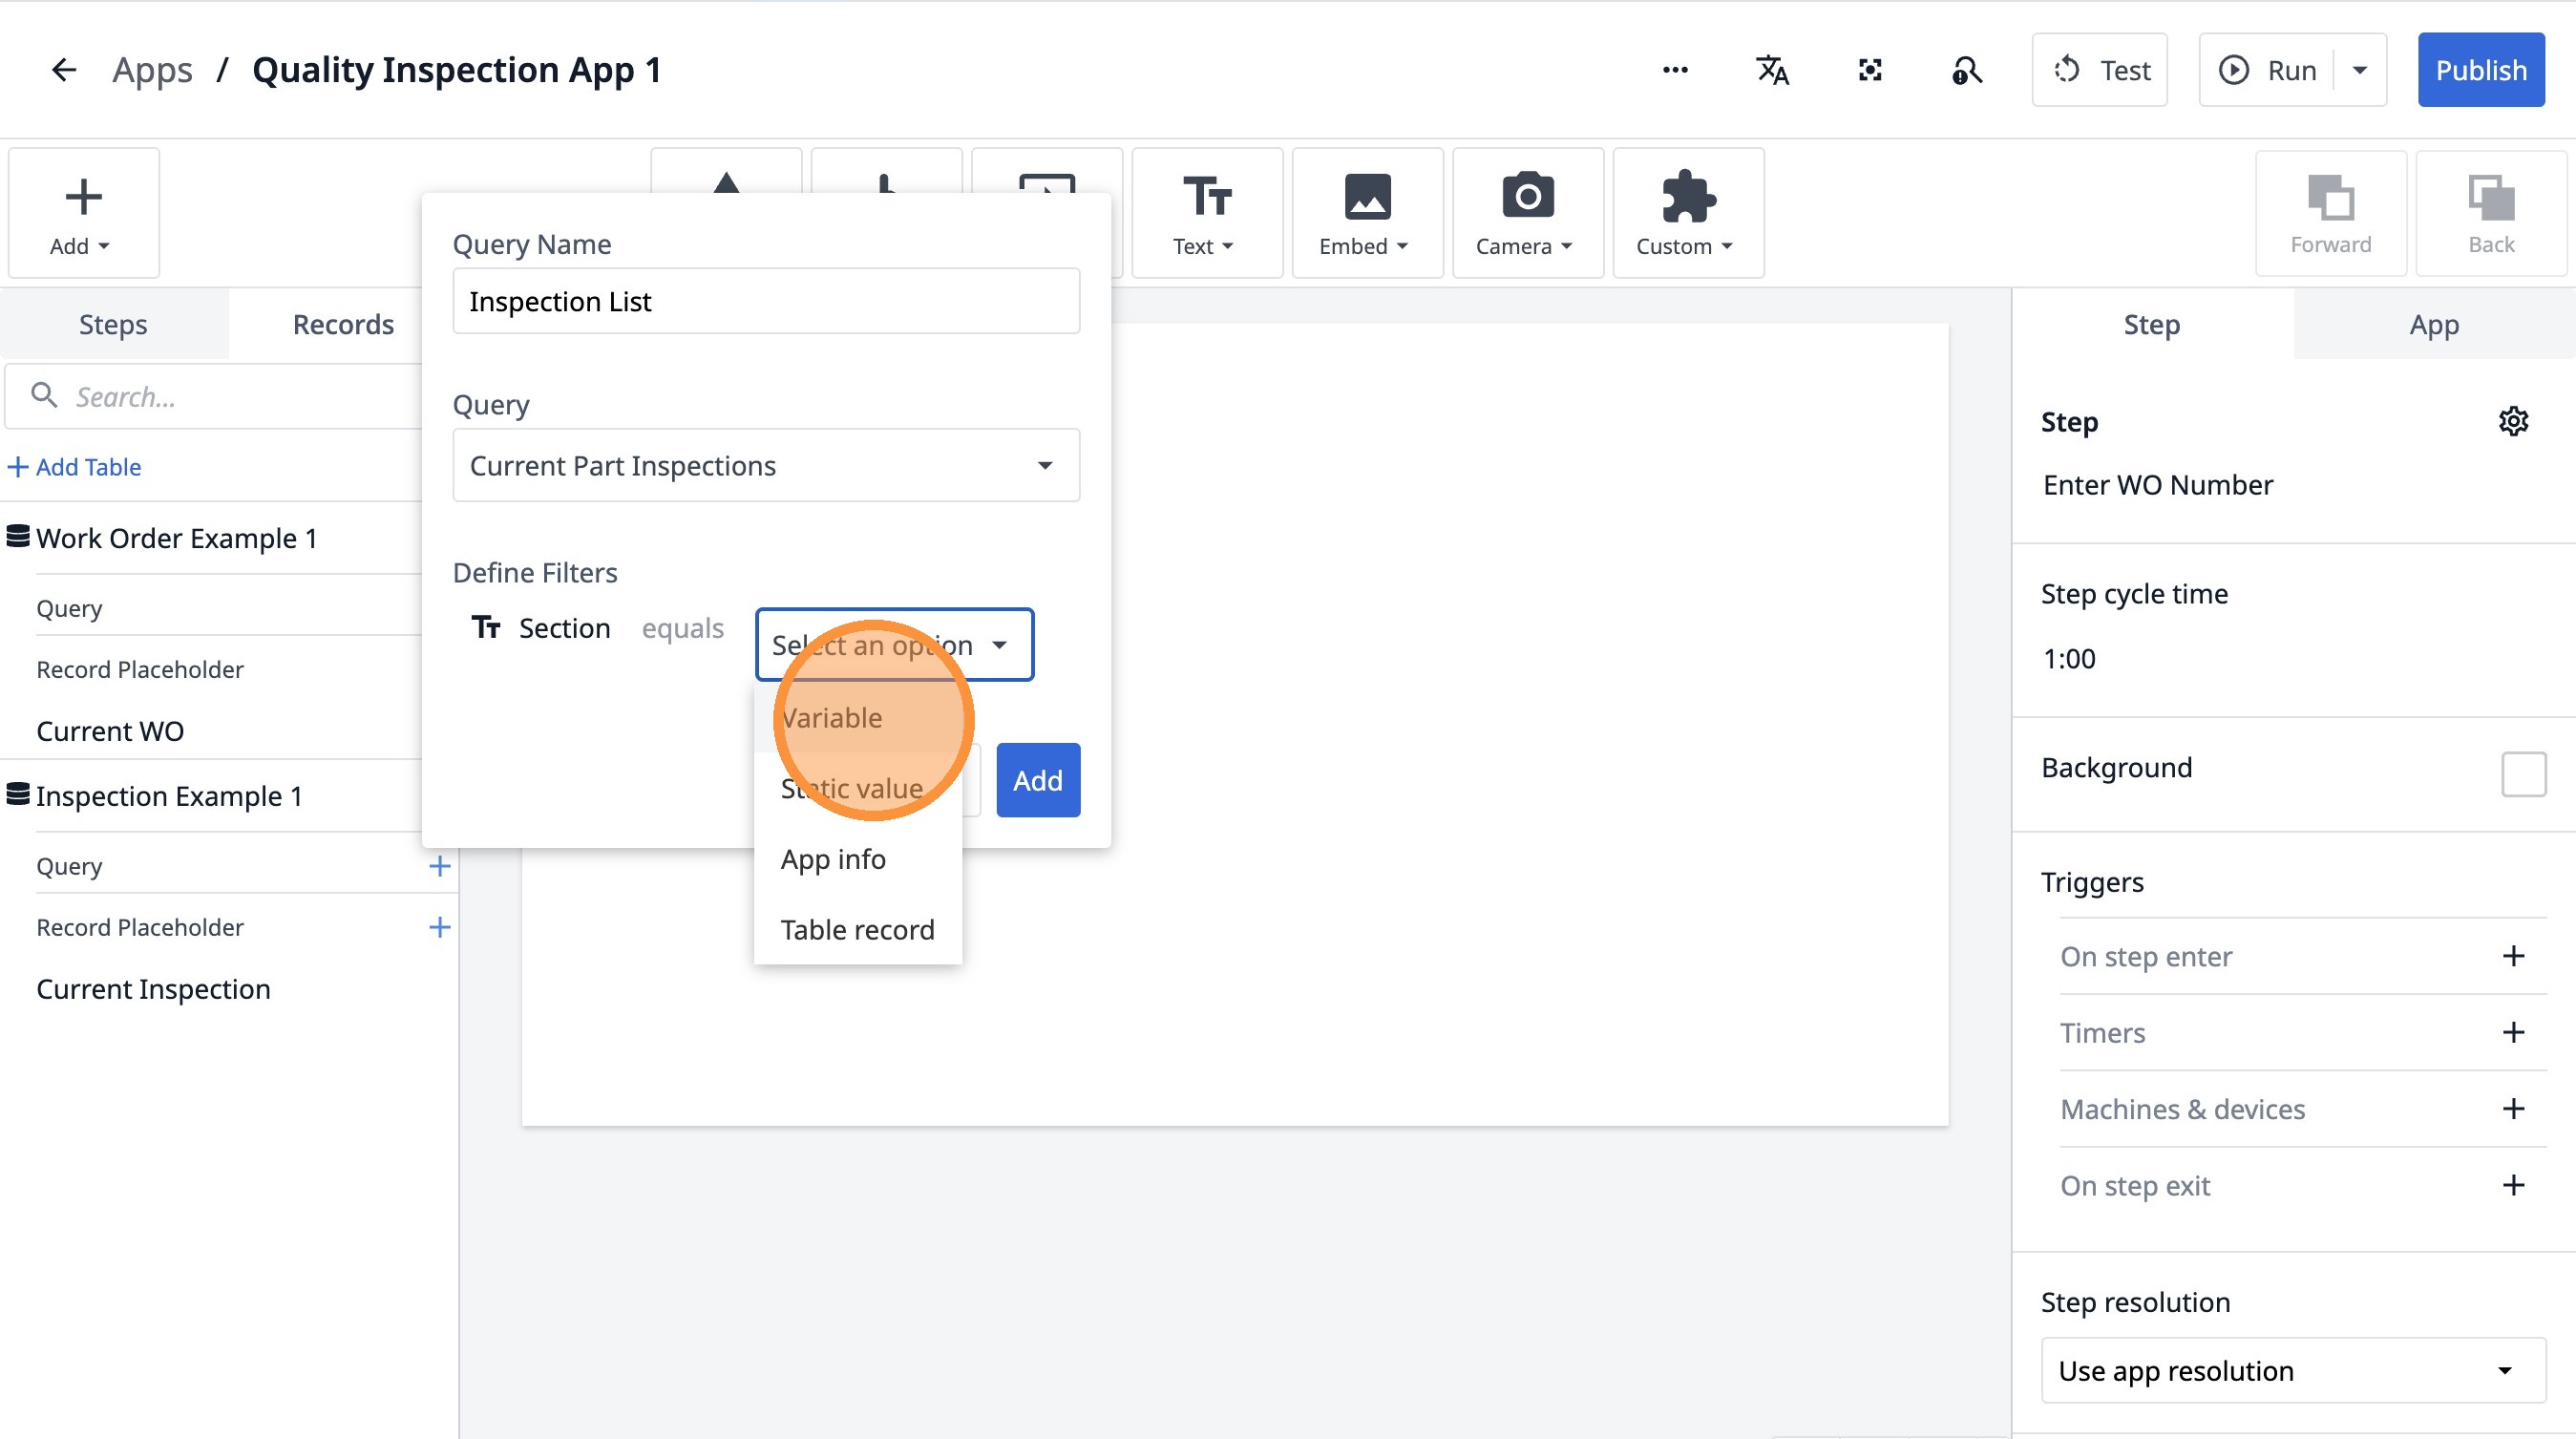
35. Click "Select an option"
36. Click "Variable"
37. Click "Select a Variable..."
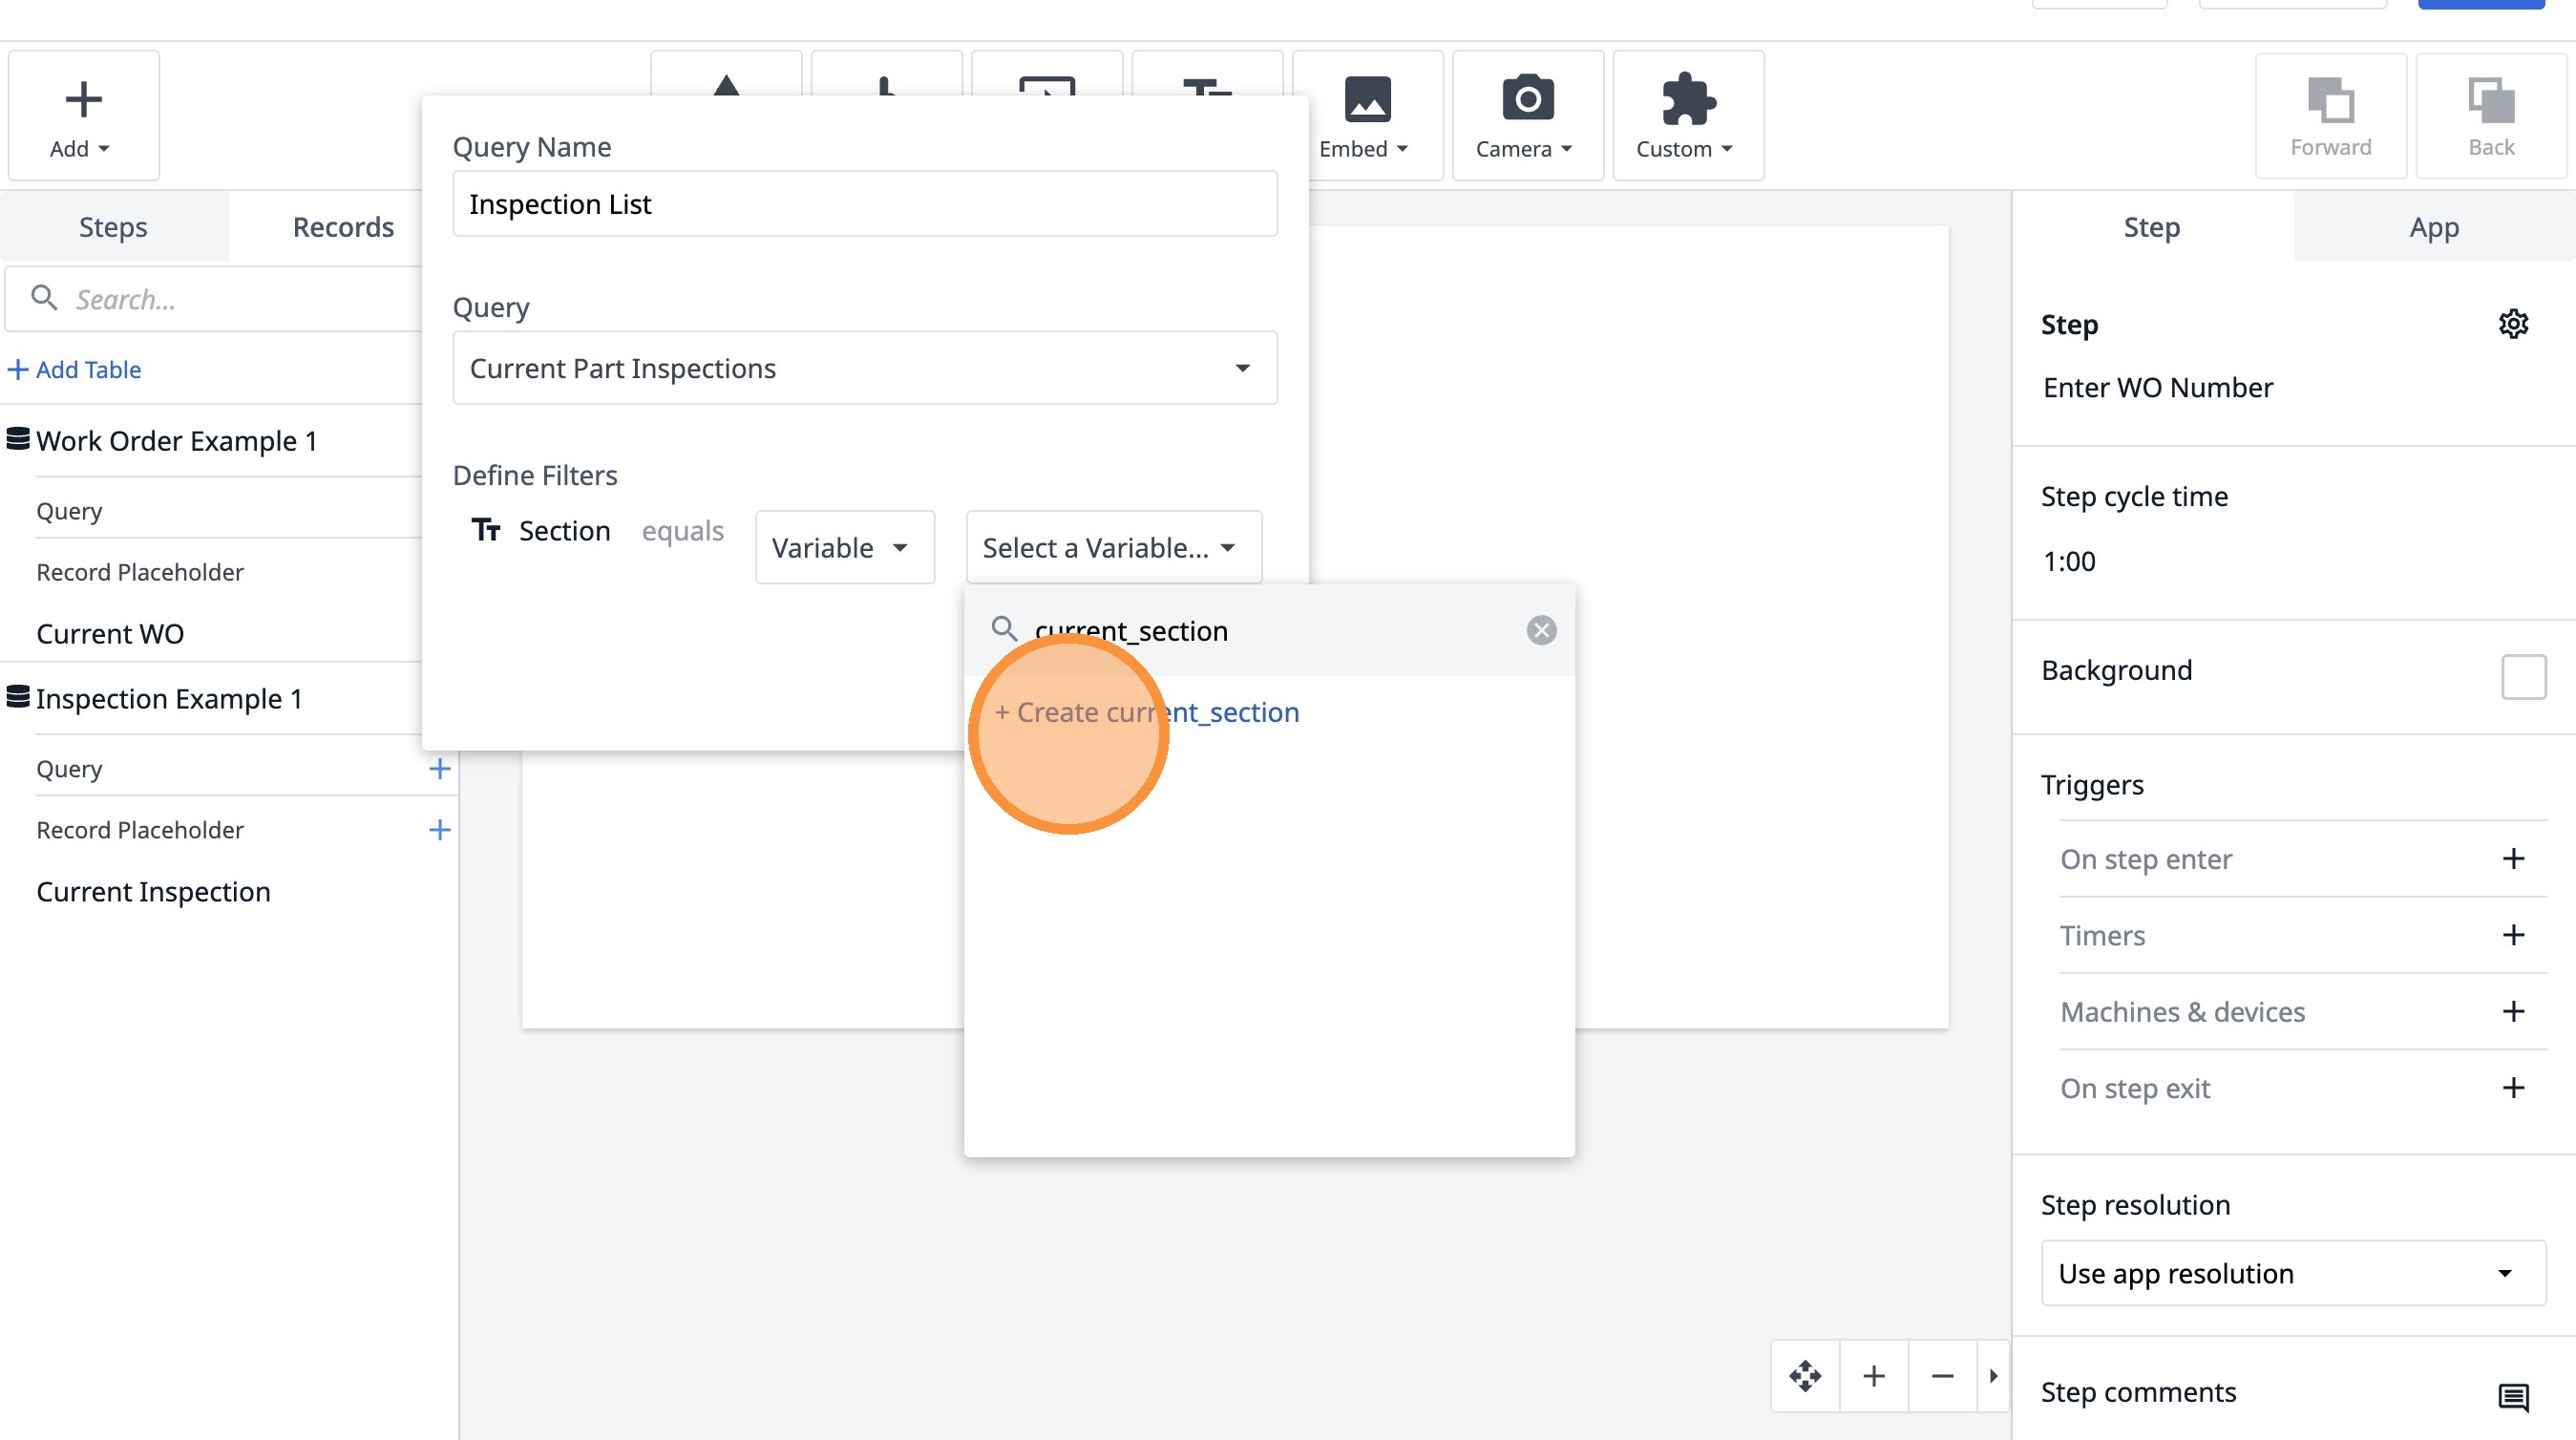
38. Type "current_section"
39. Click "+ Create current_section"
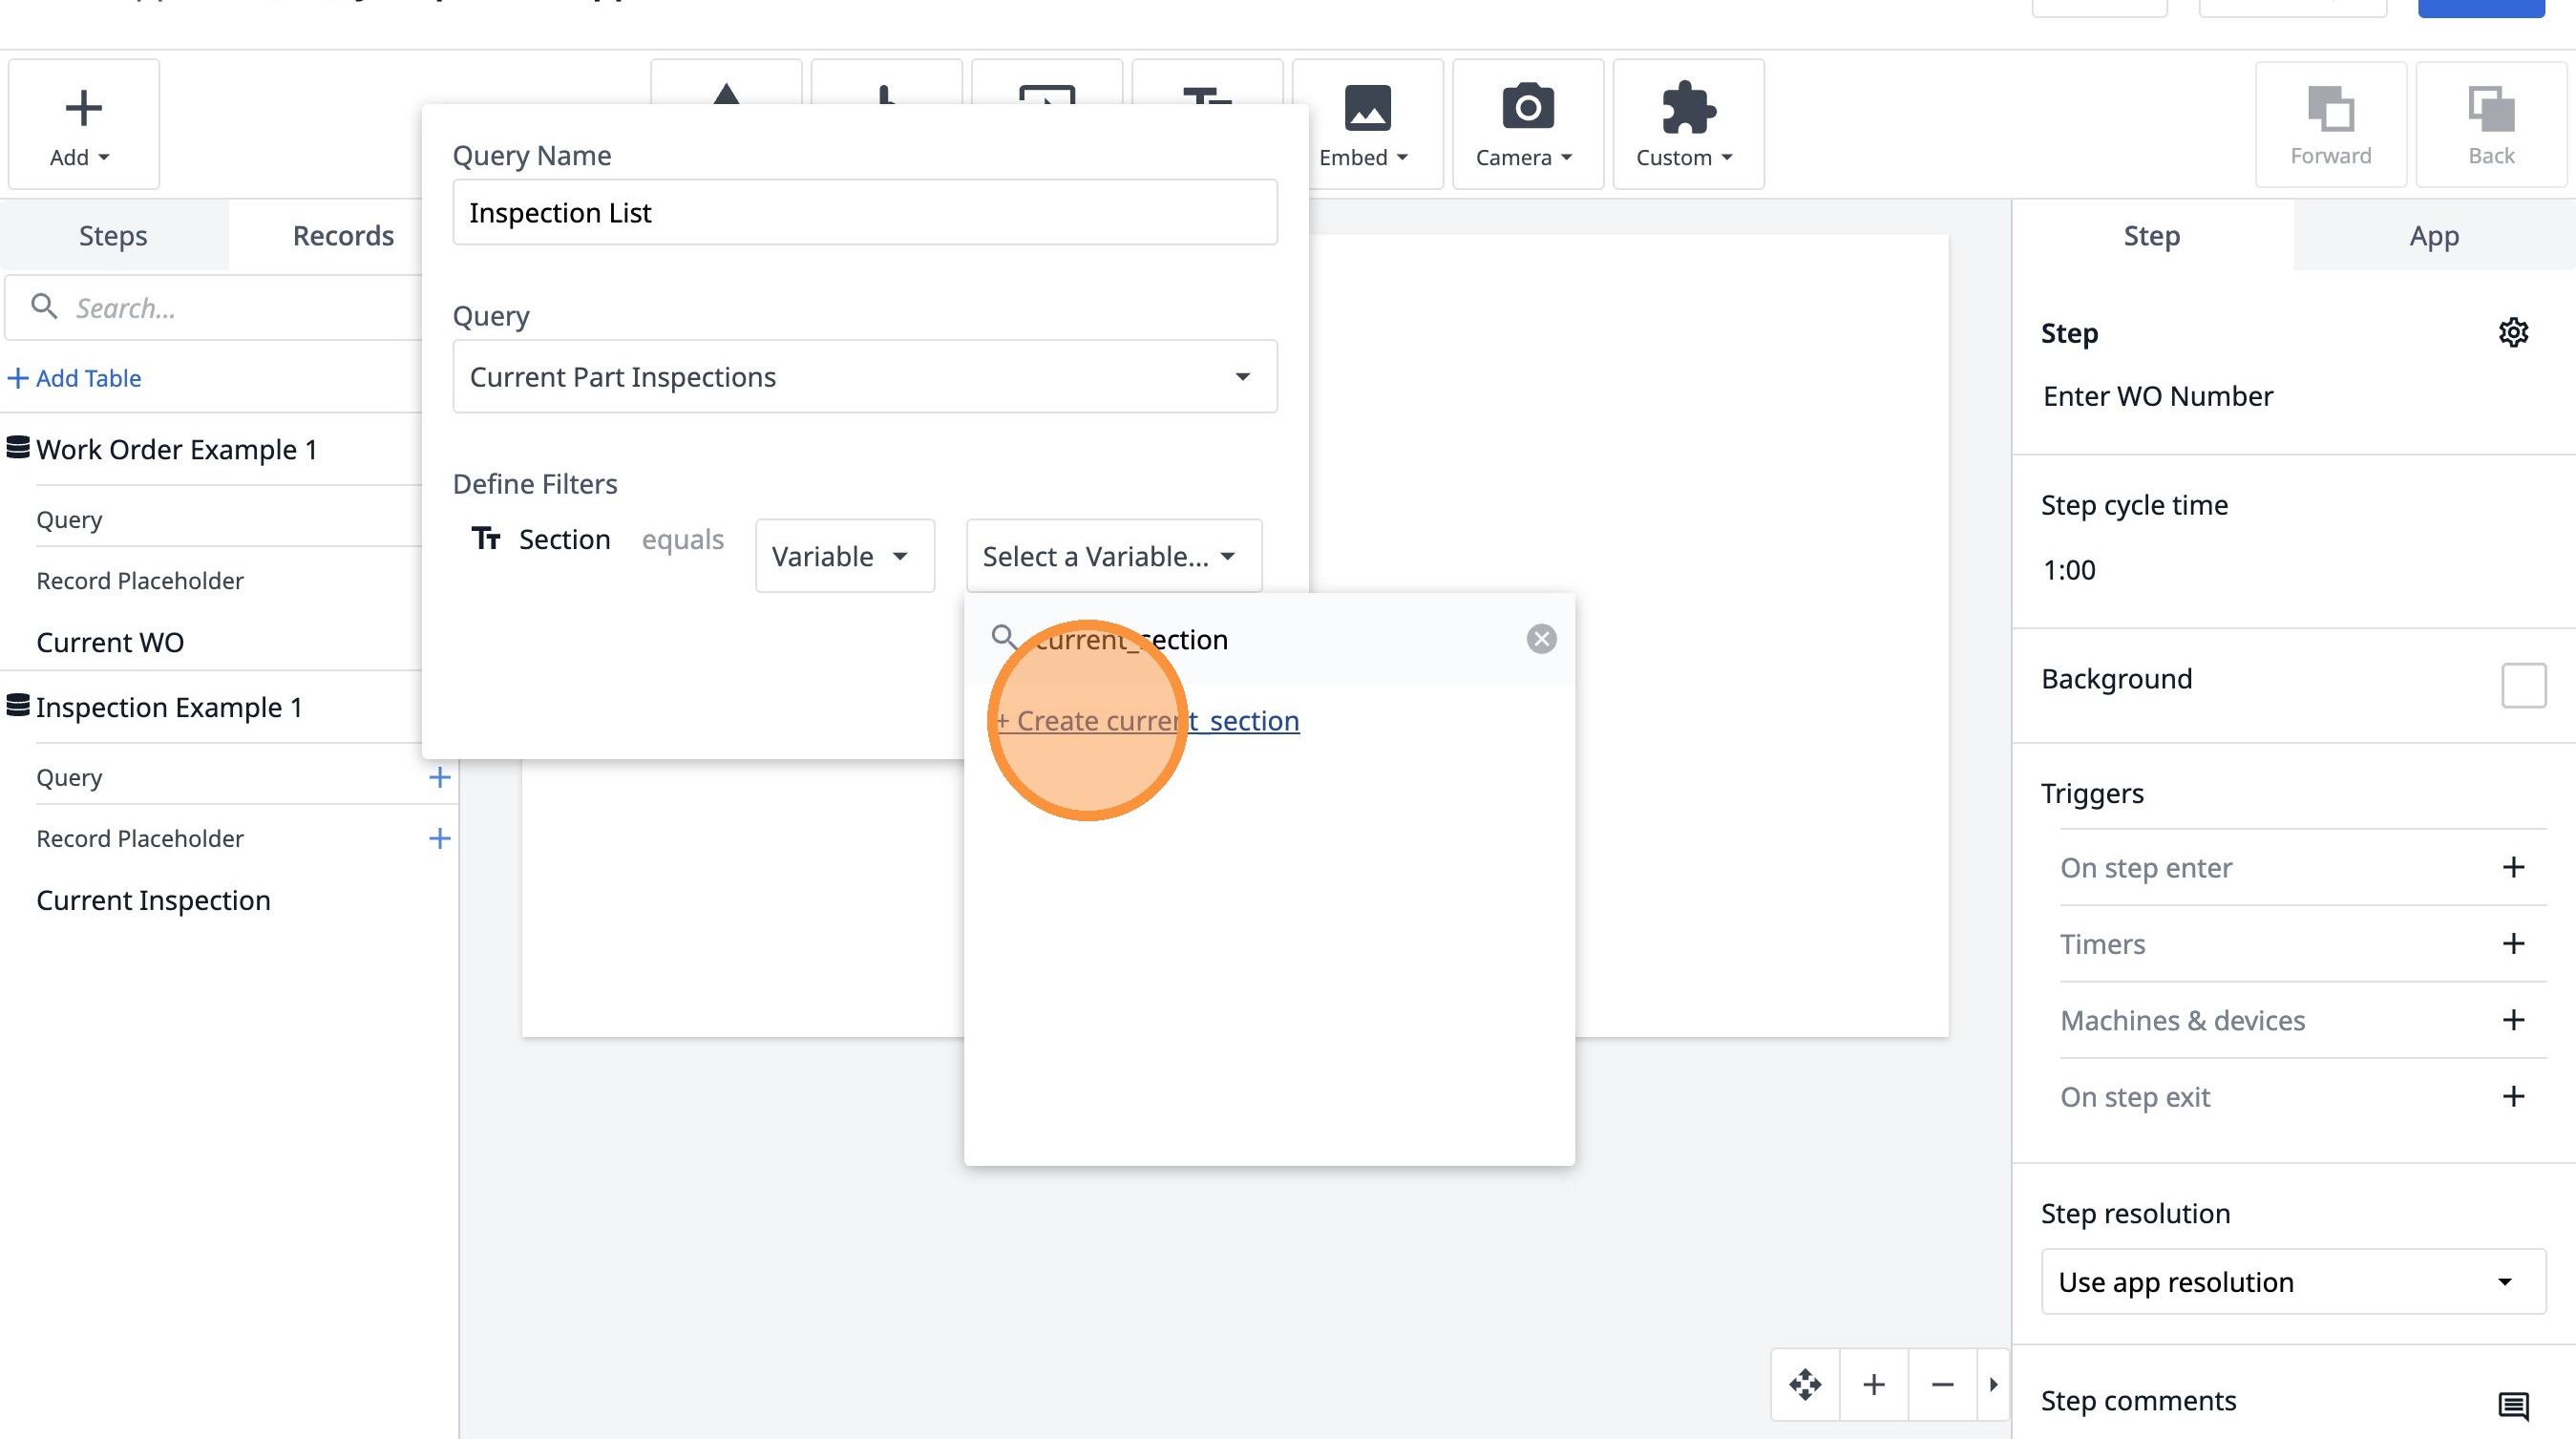
40. Click "+ Create current_section"
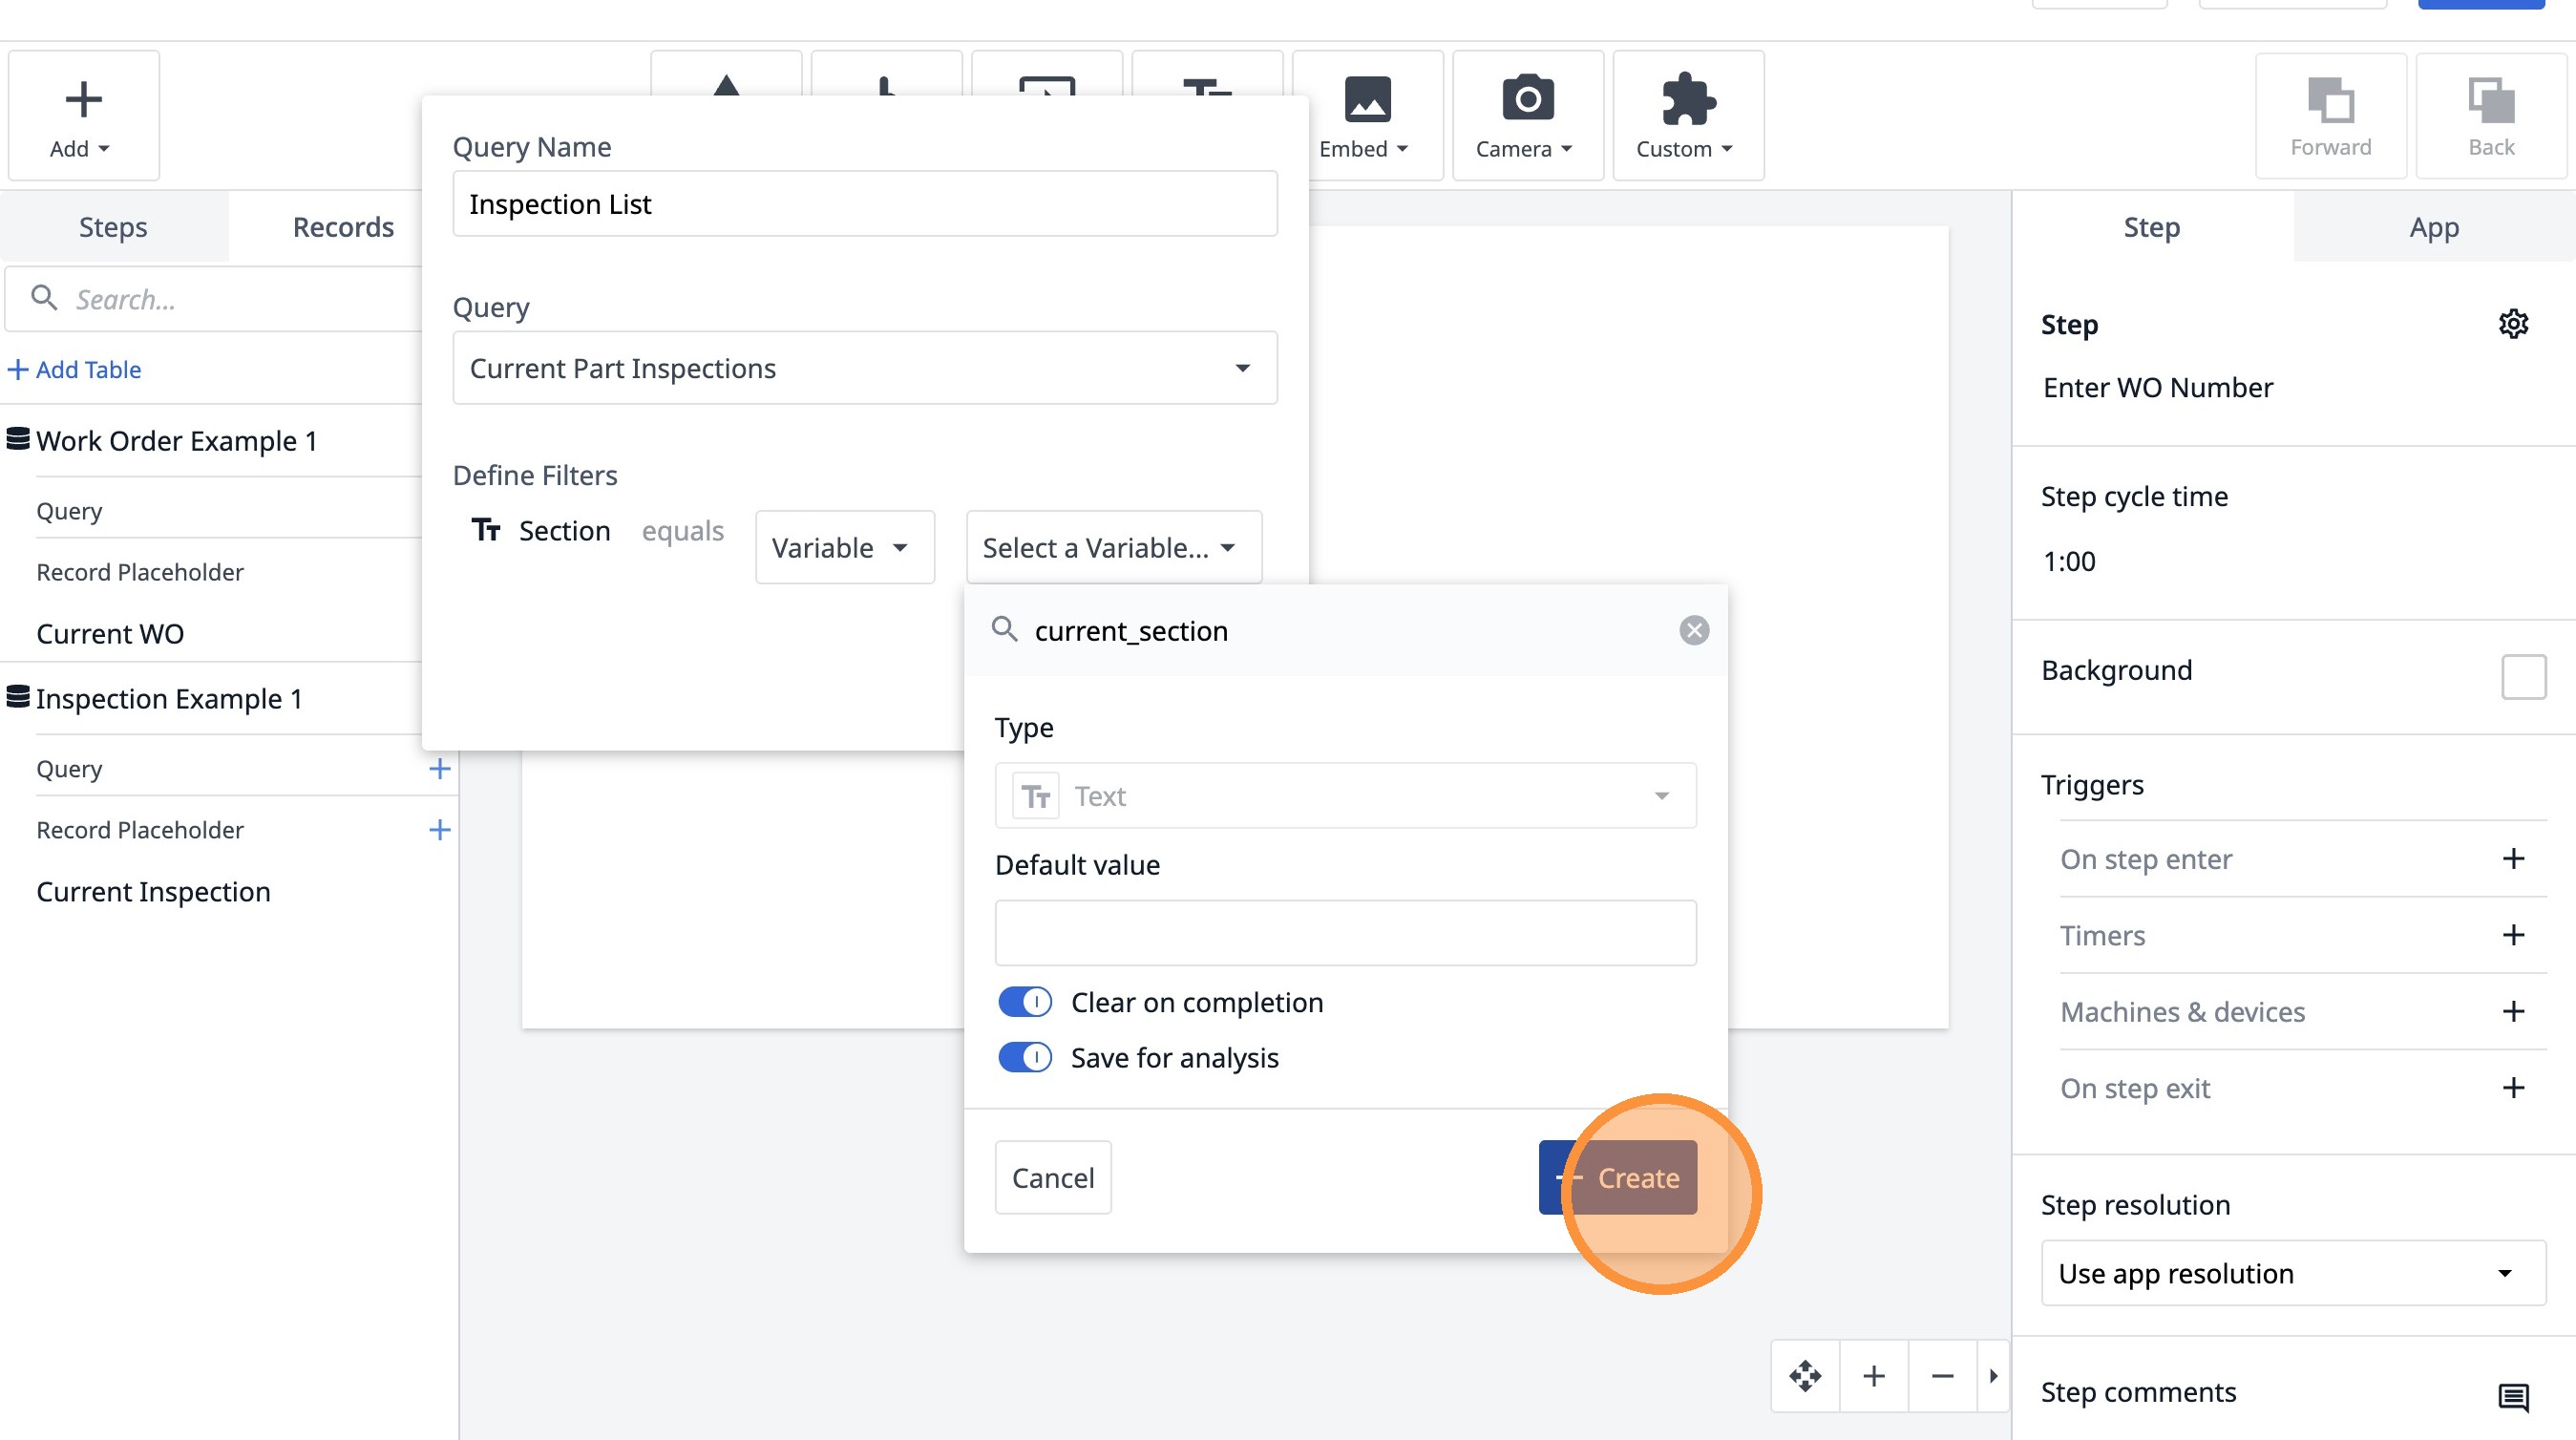
41. Click "Create"
42. Click "Add"
