Learn how to build a Tulip application that allows users to send messages between stations. This guide covers setting up the app, configuring message records, and implementing the send functionality.
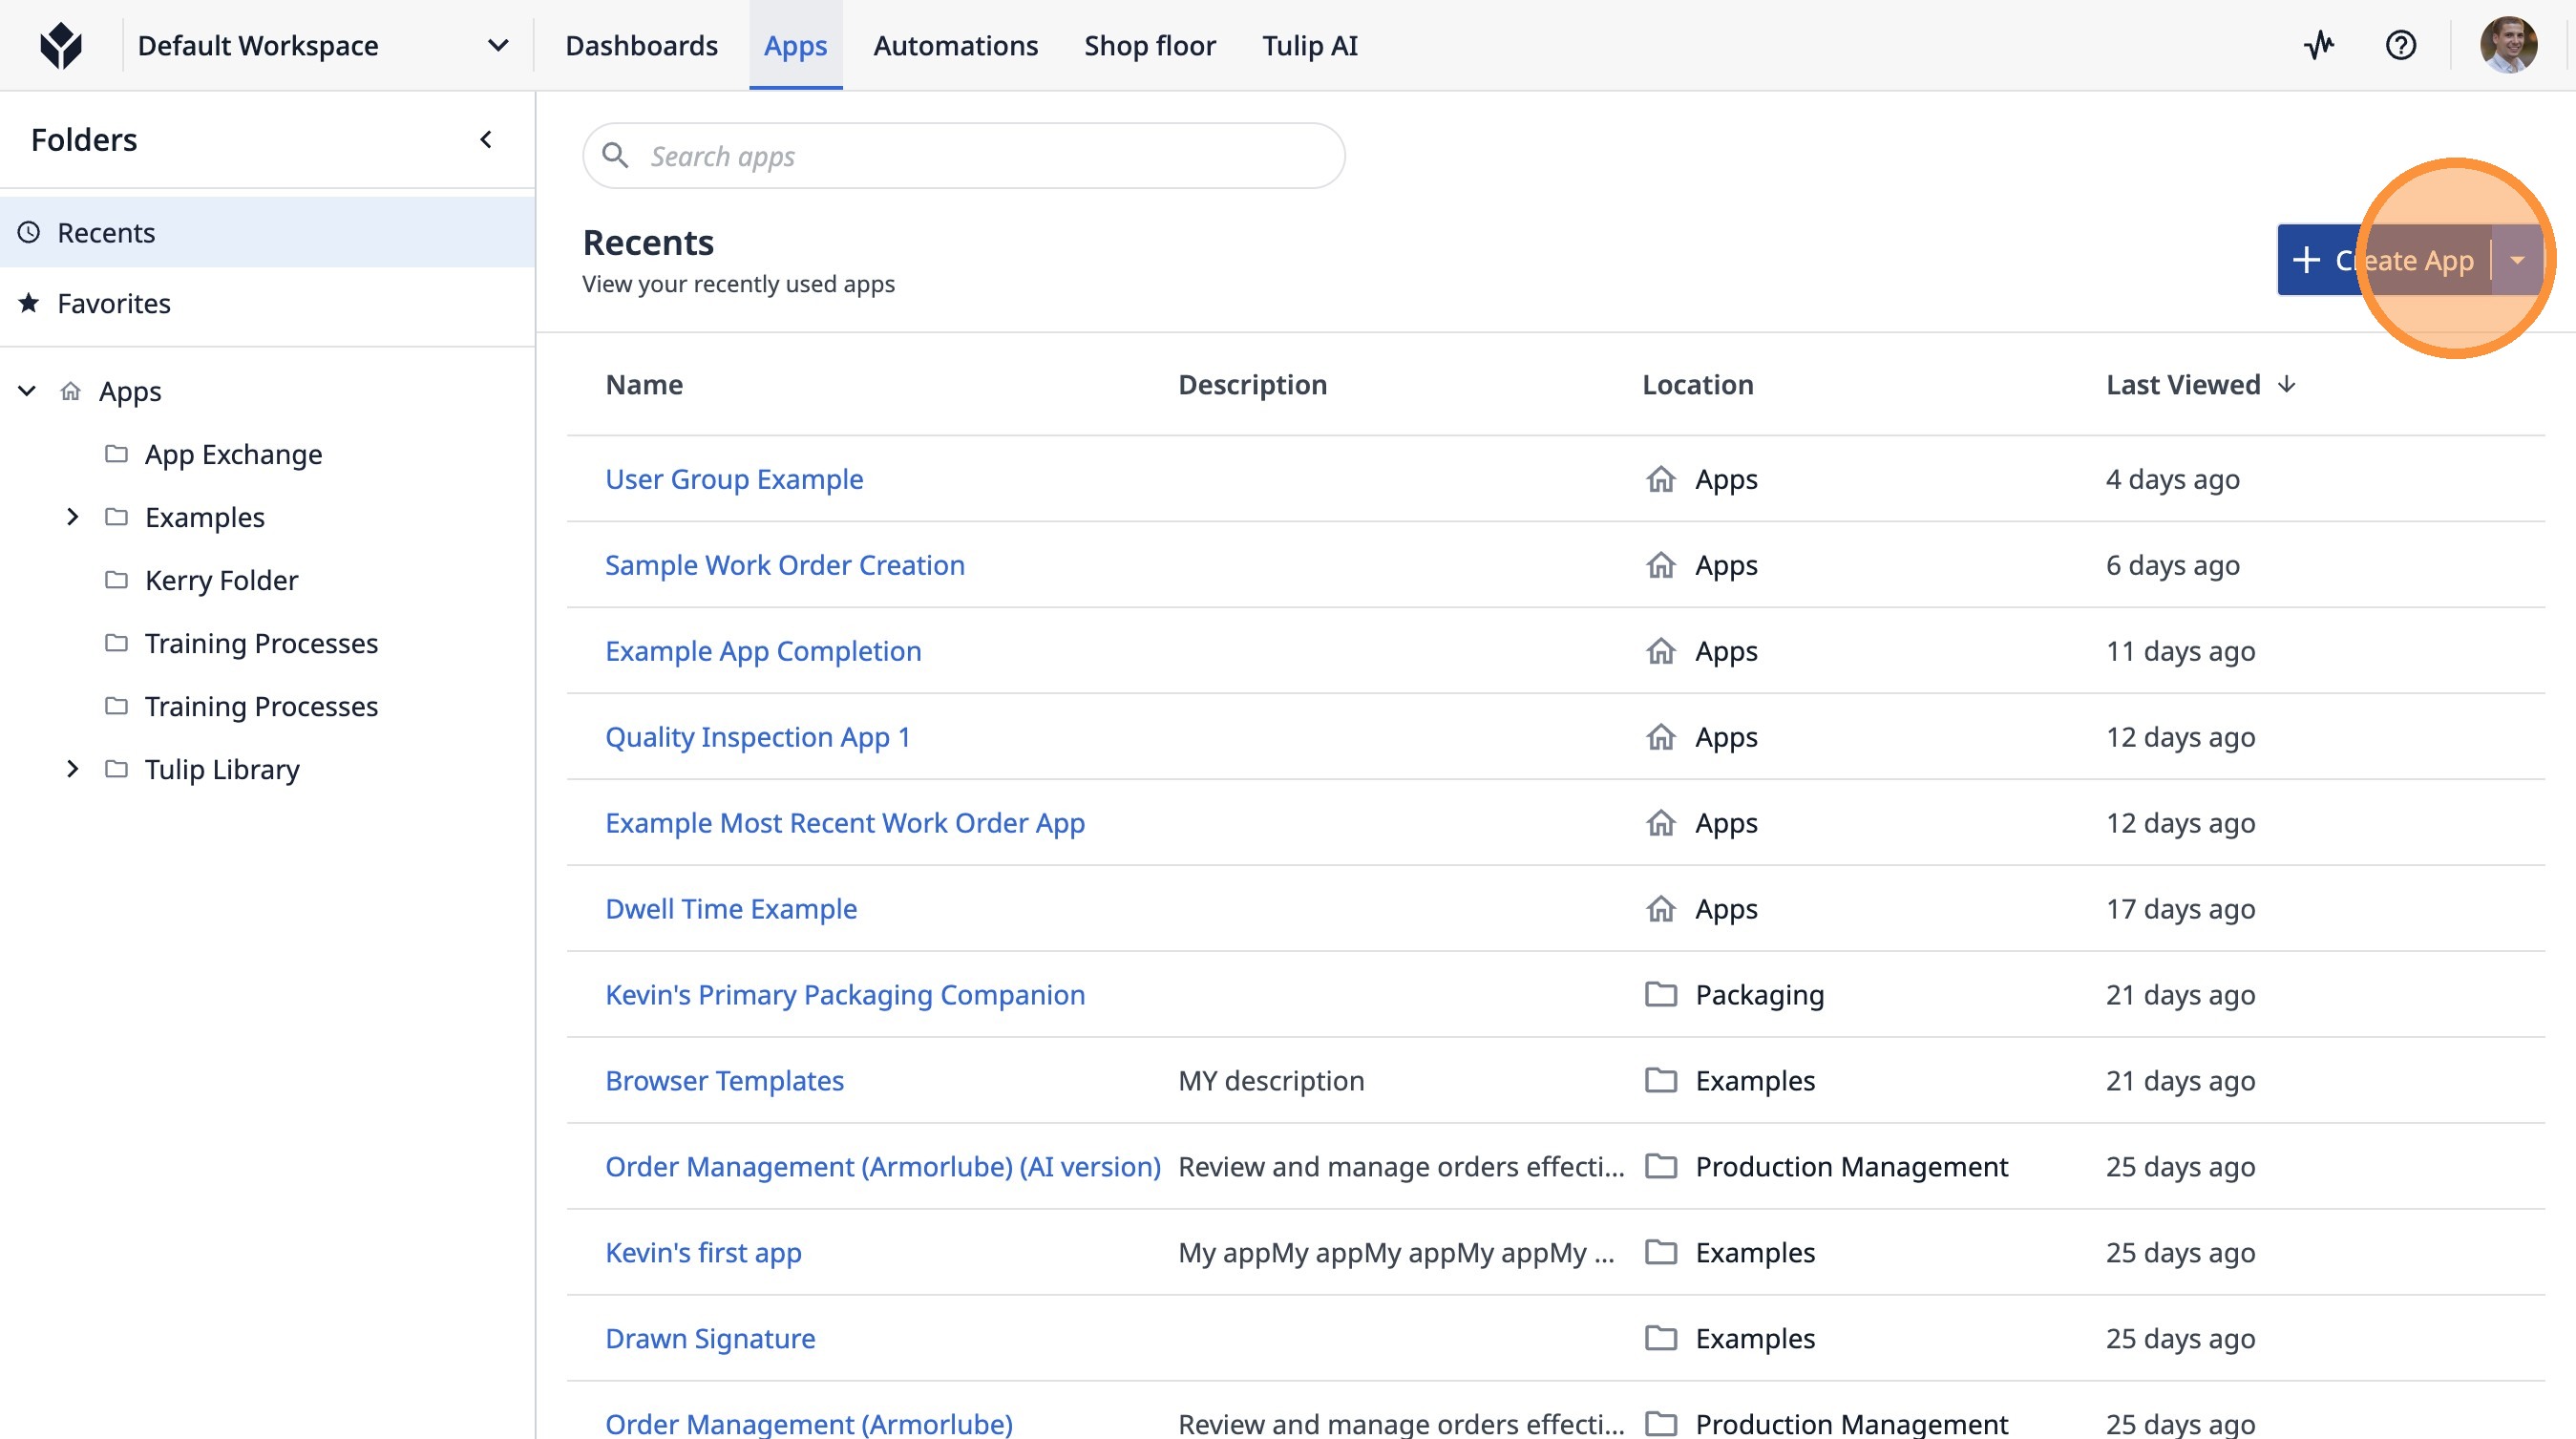
1. Click "Create App"
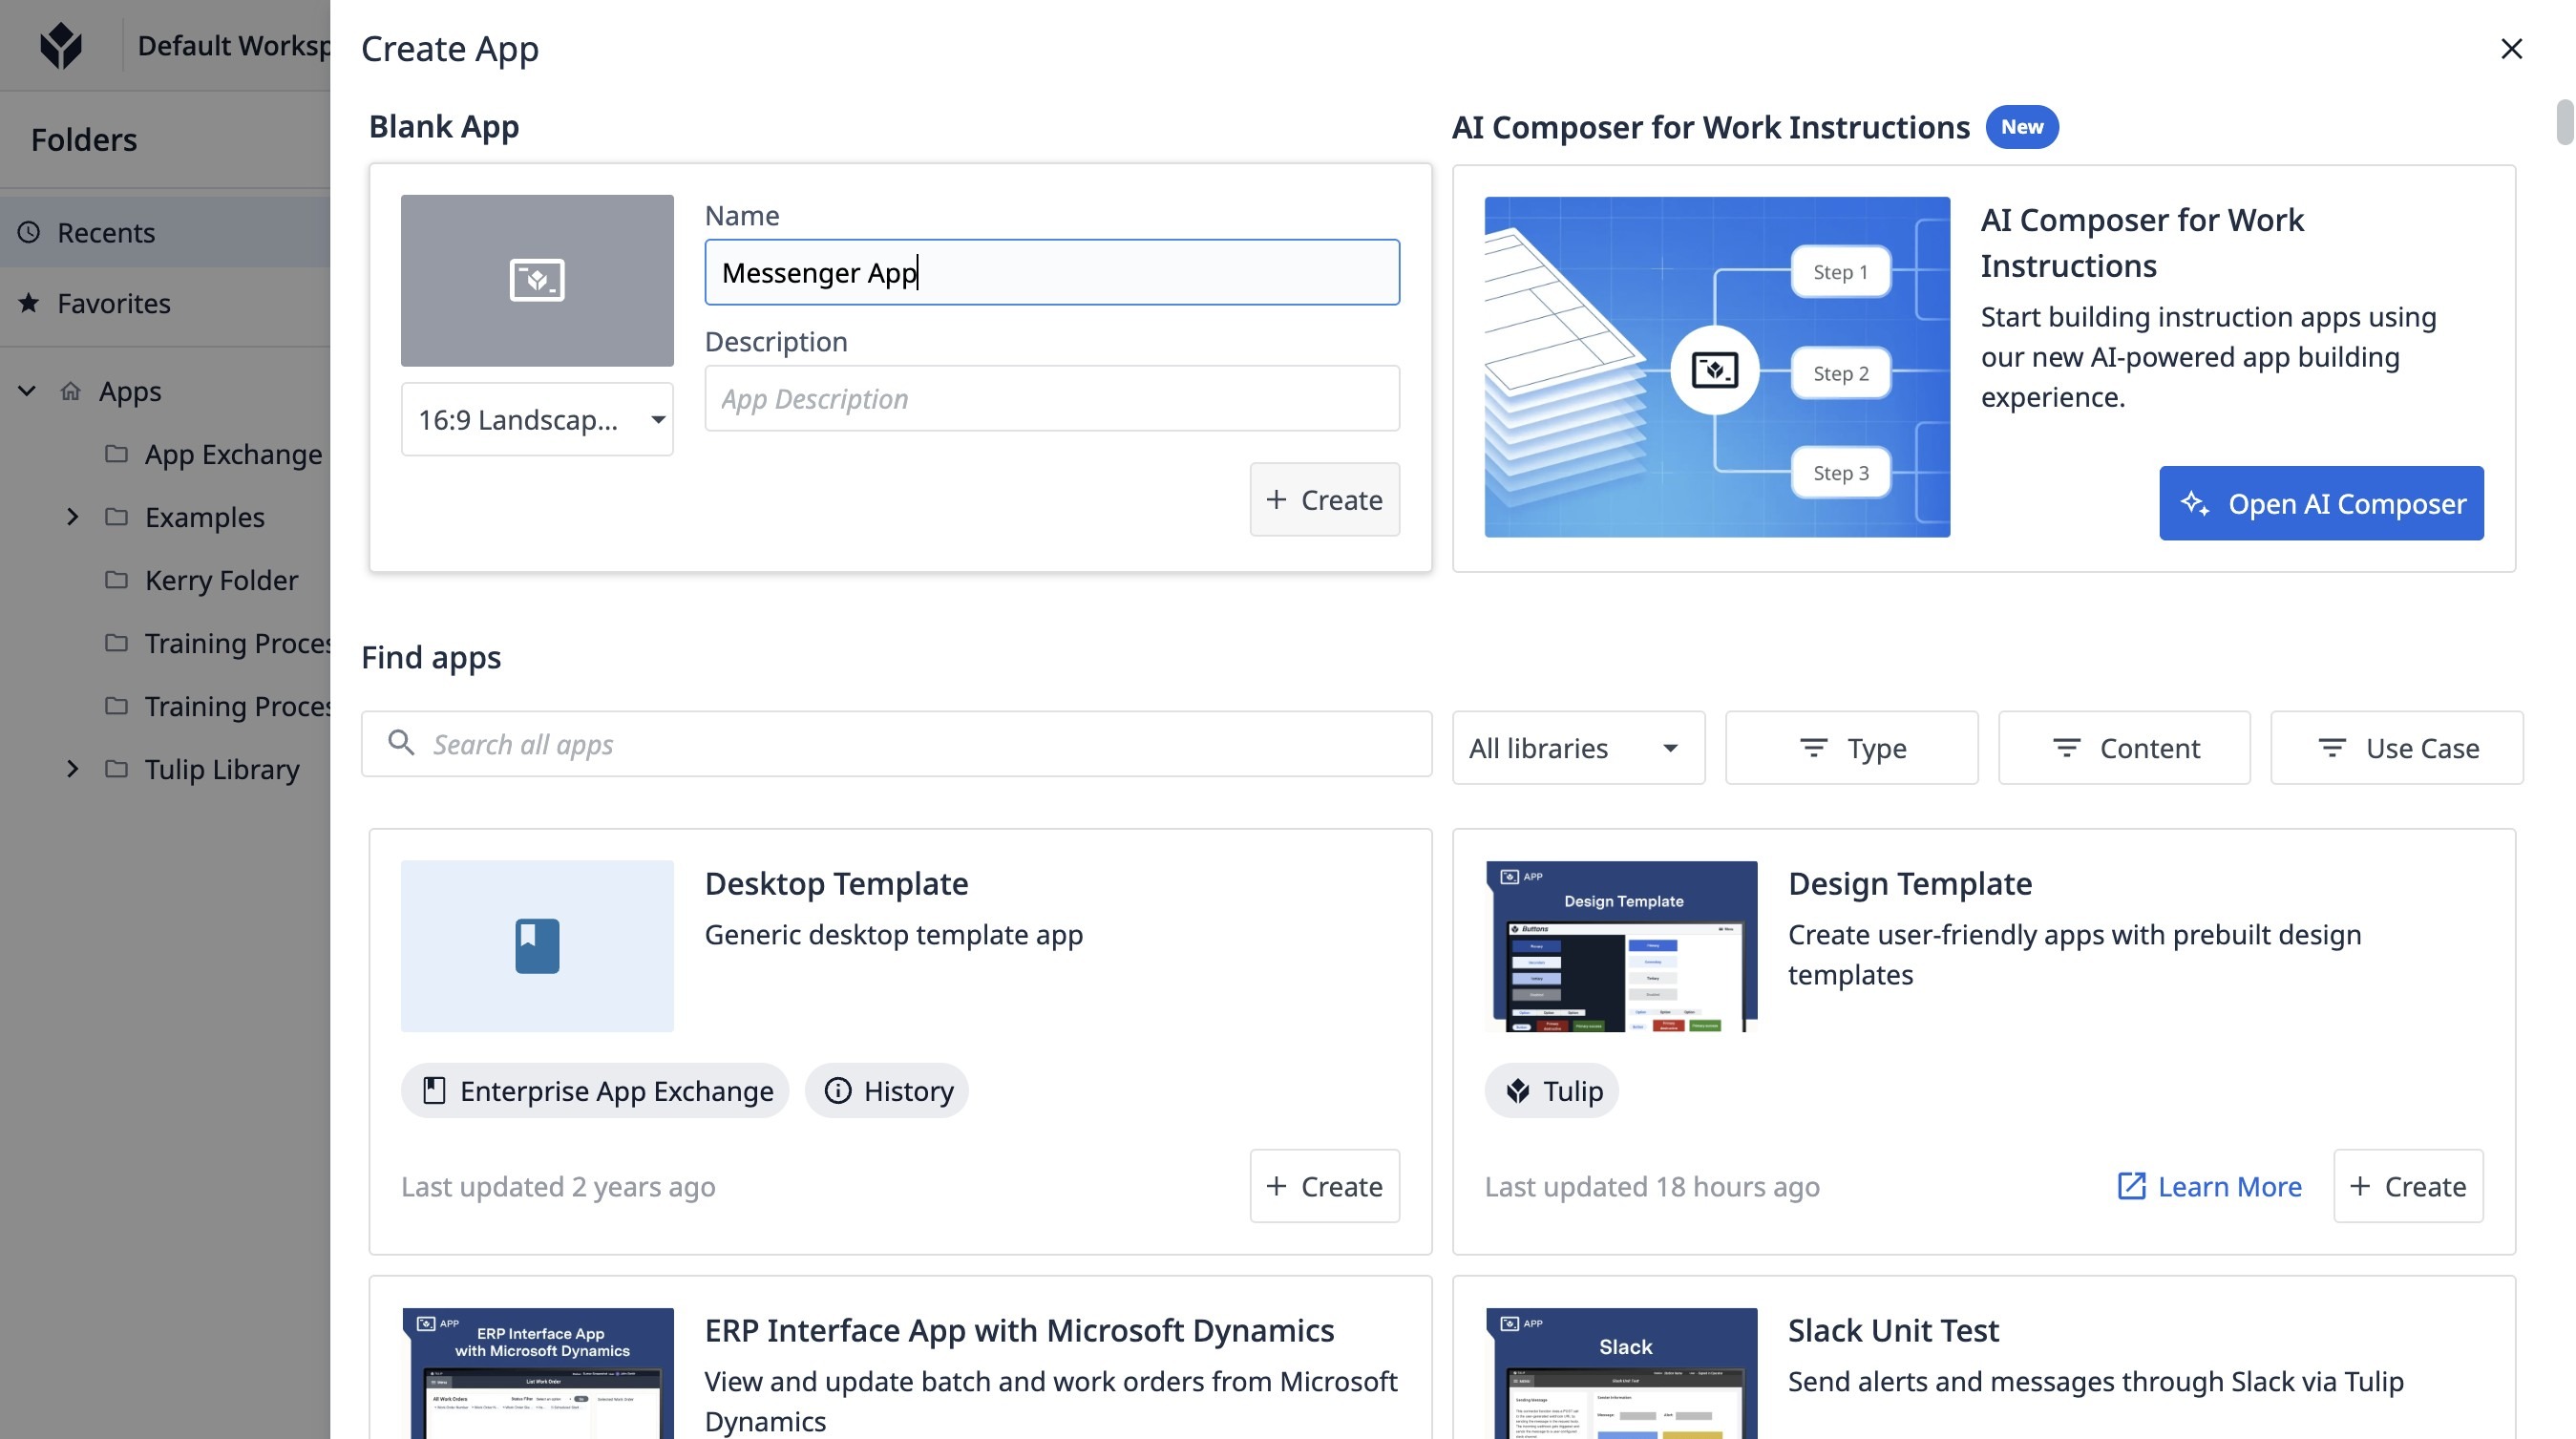
2. Type "Messenger App"
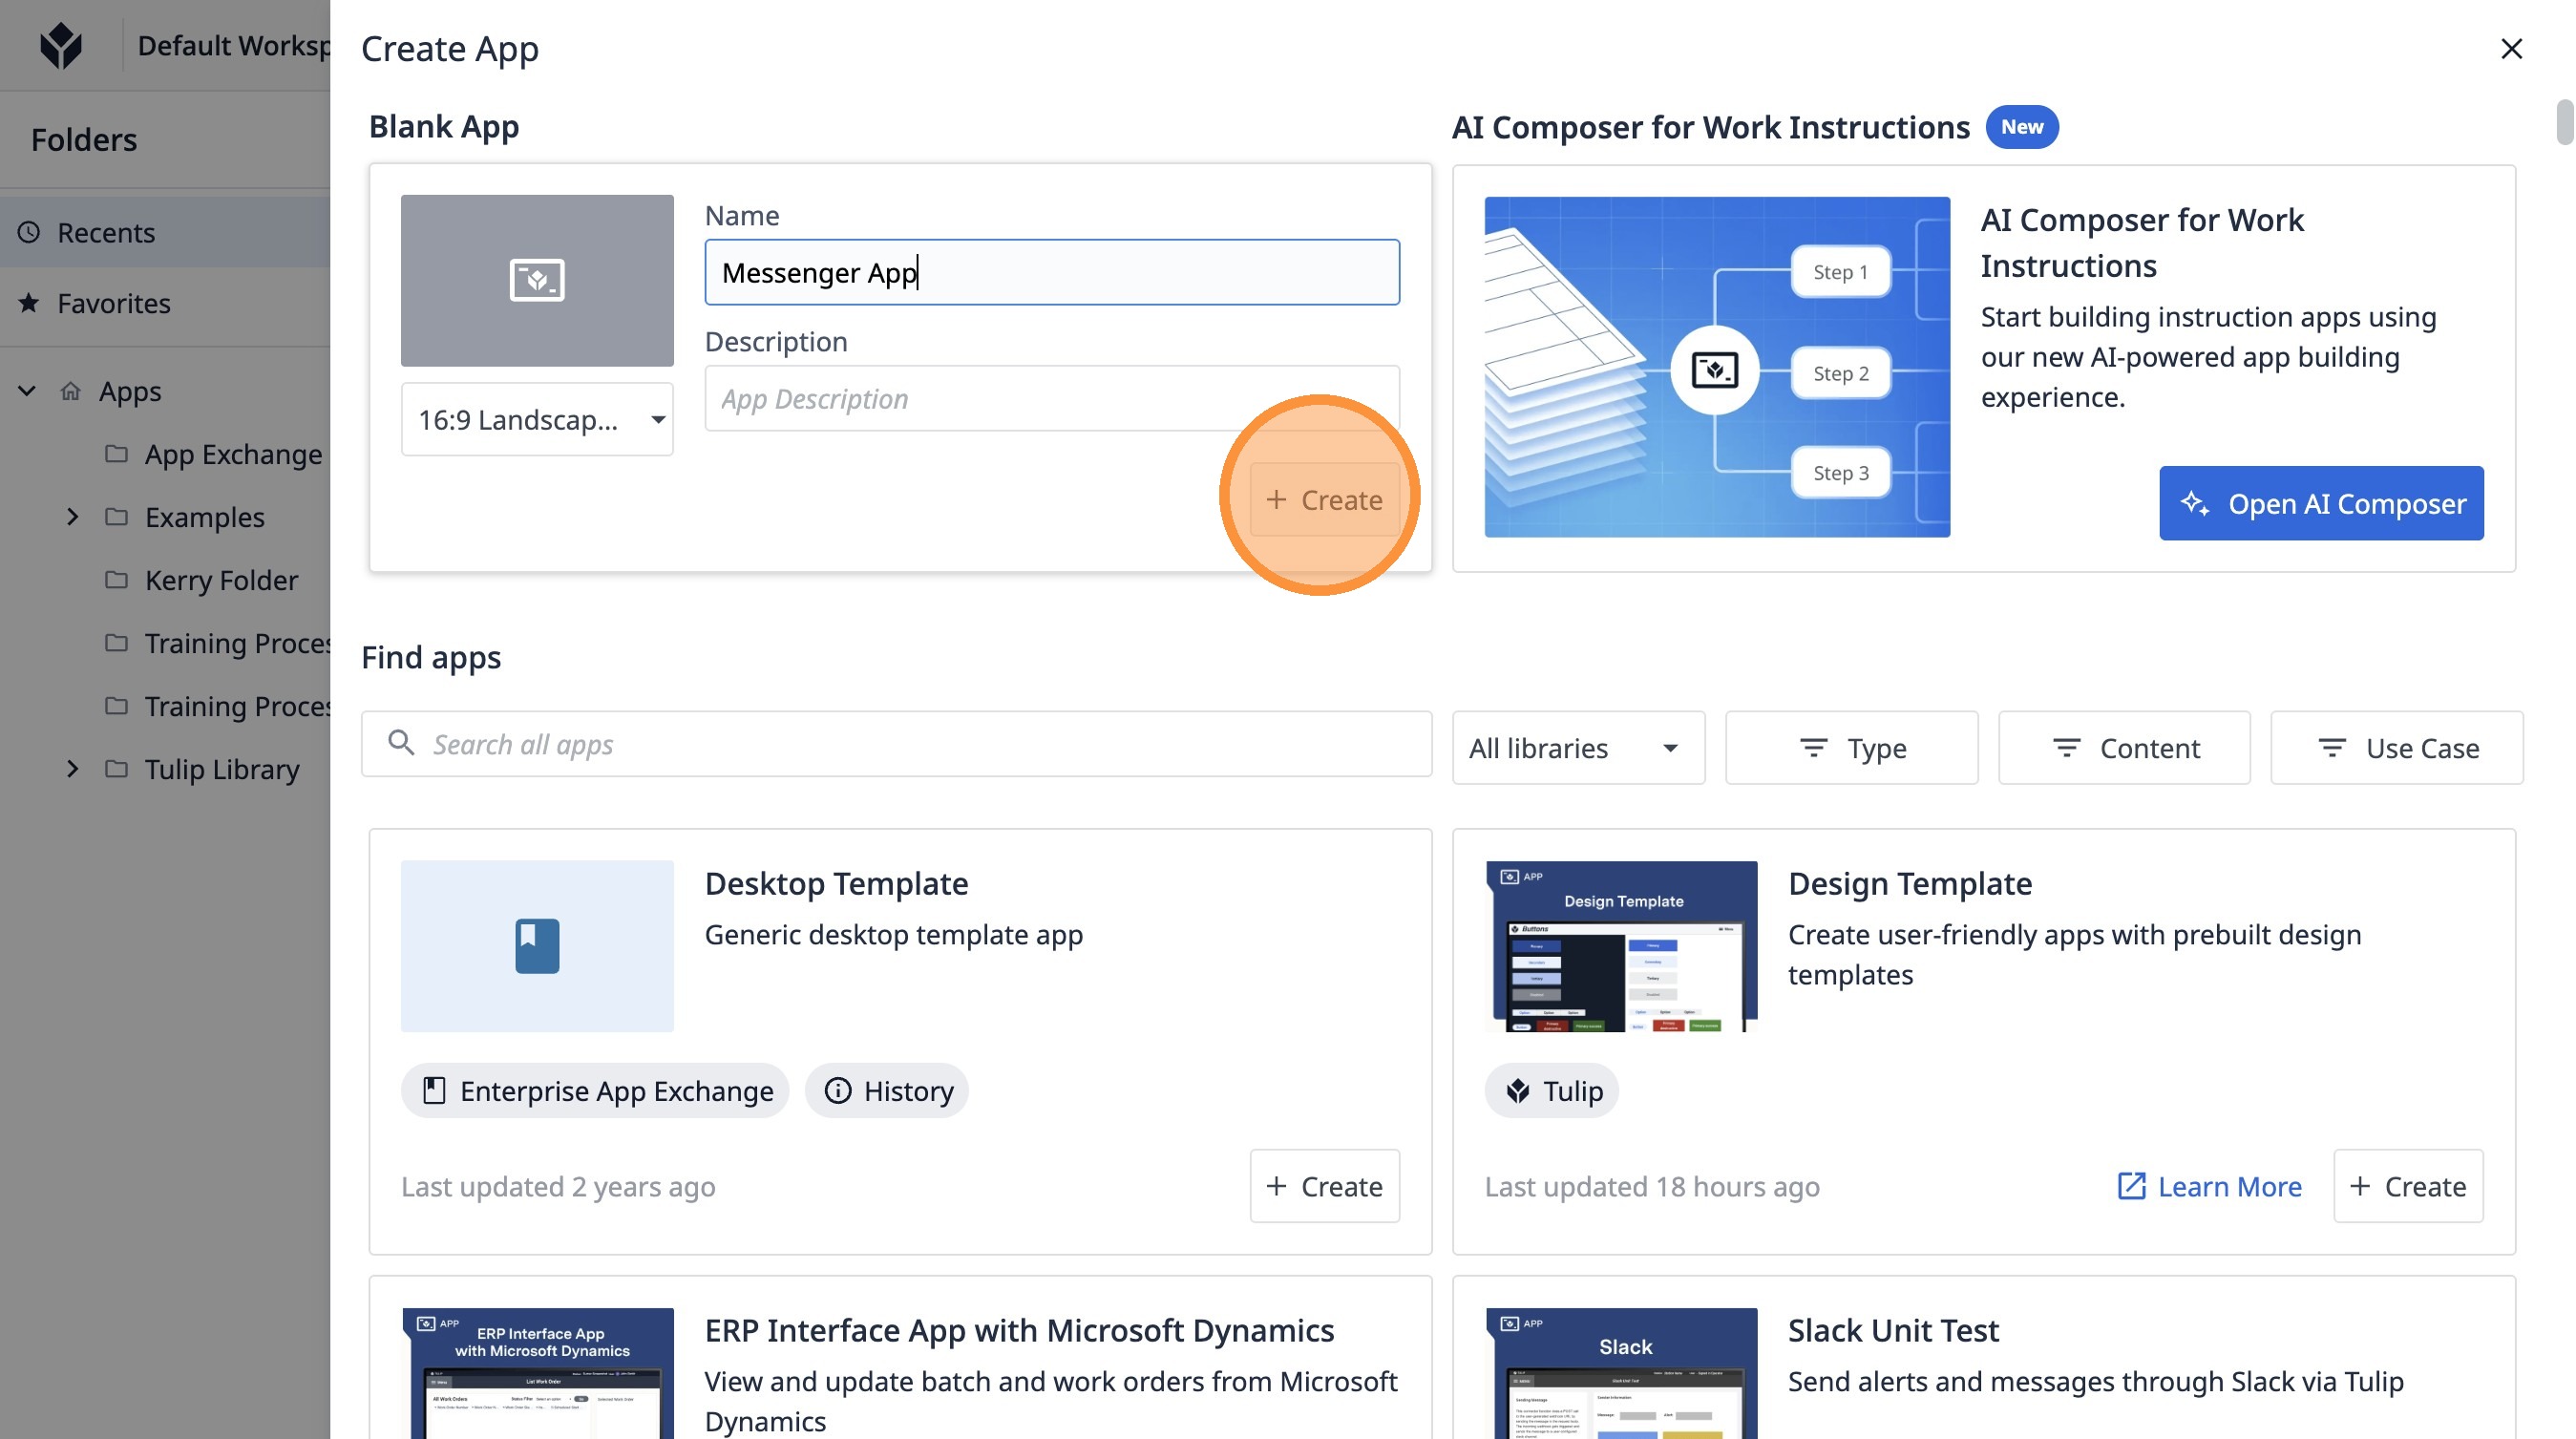
3. Click "Create"
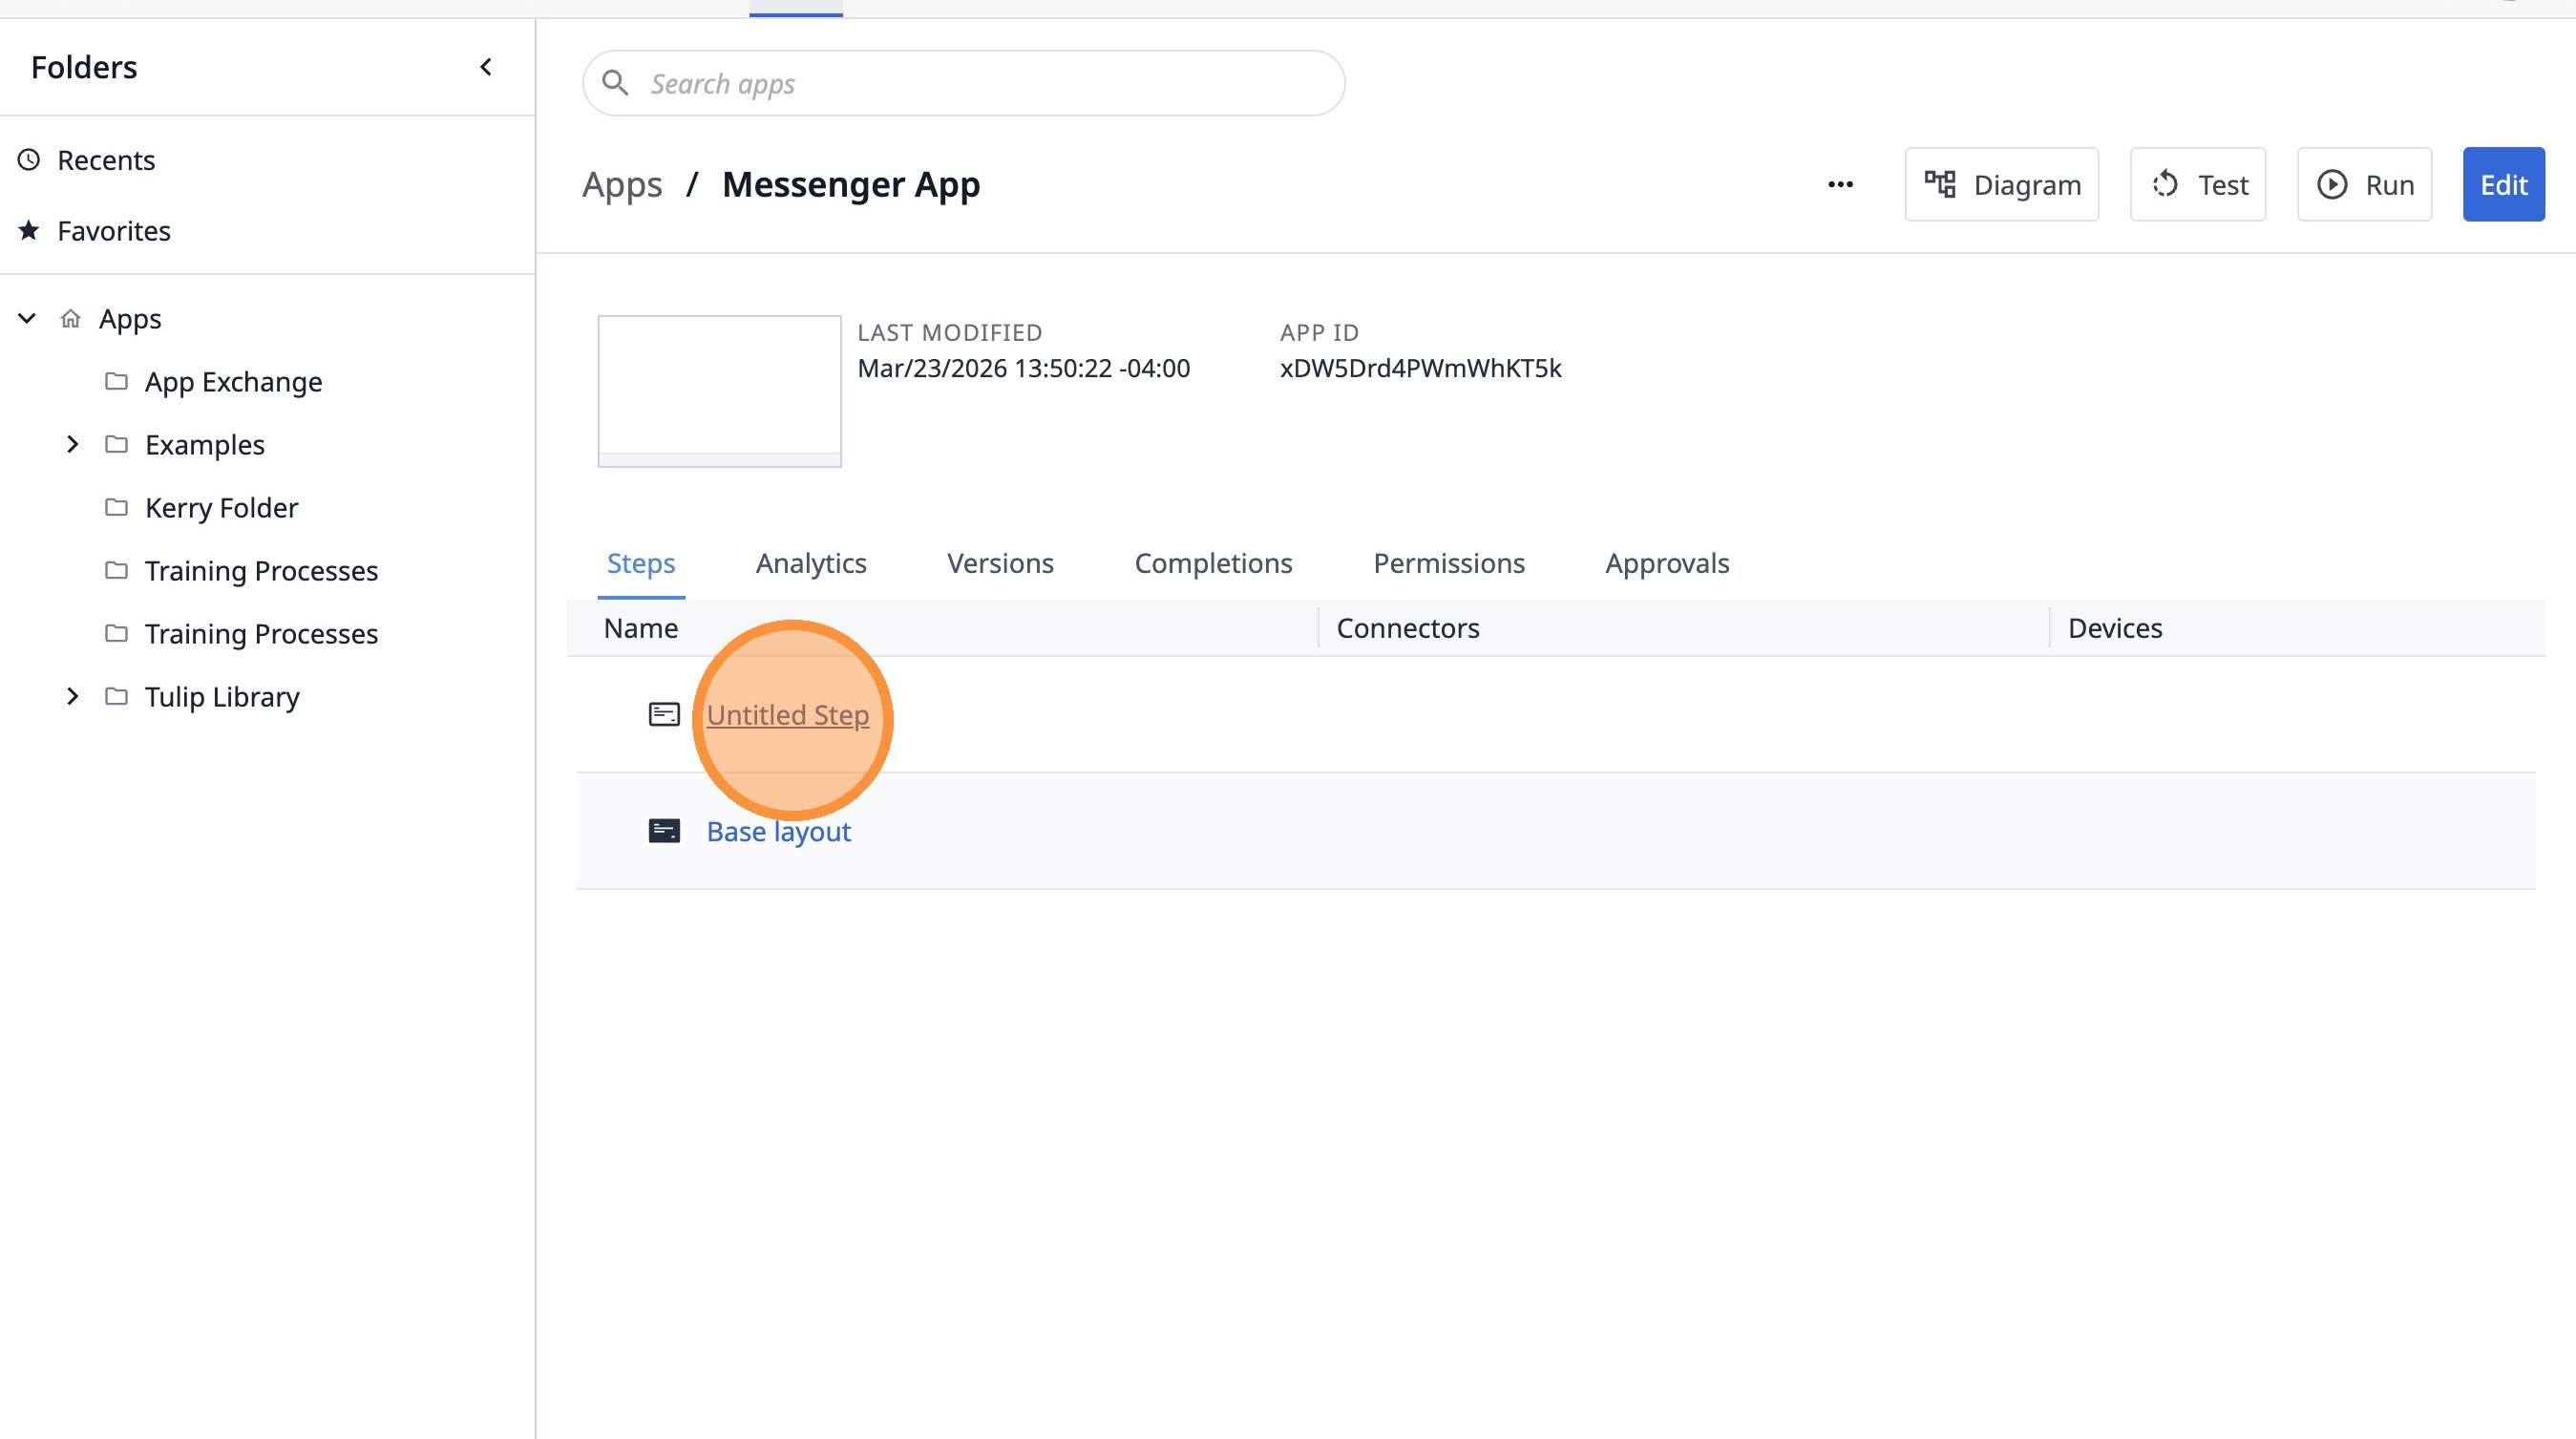
4. Click "Untitled Step"
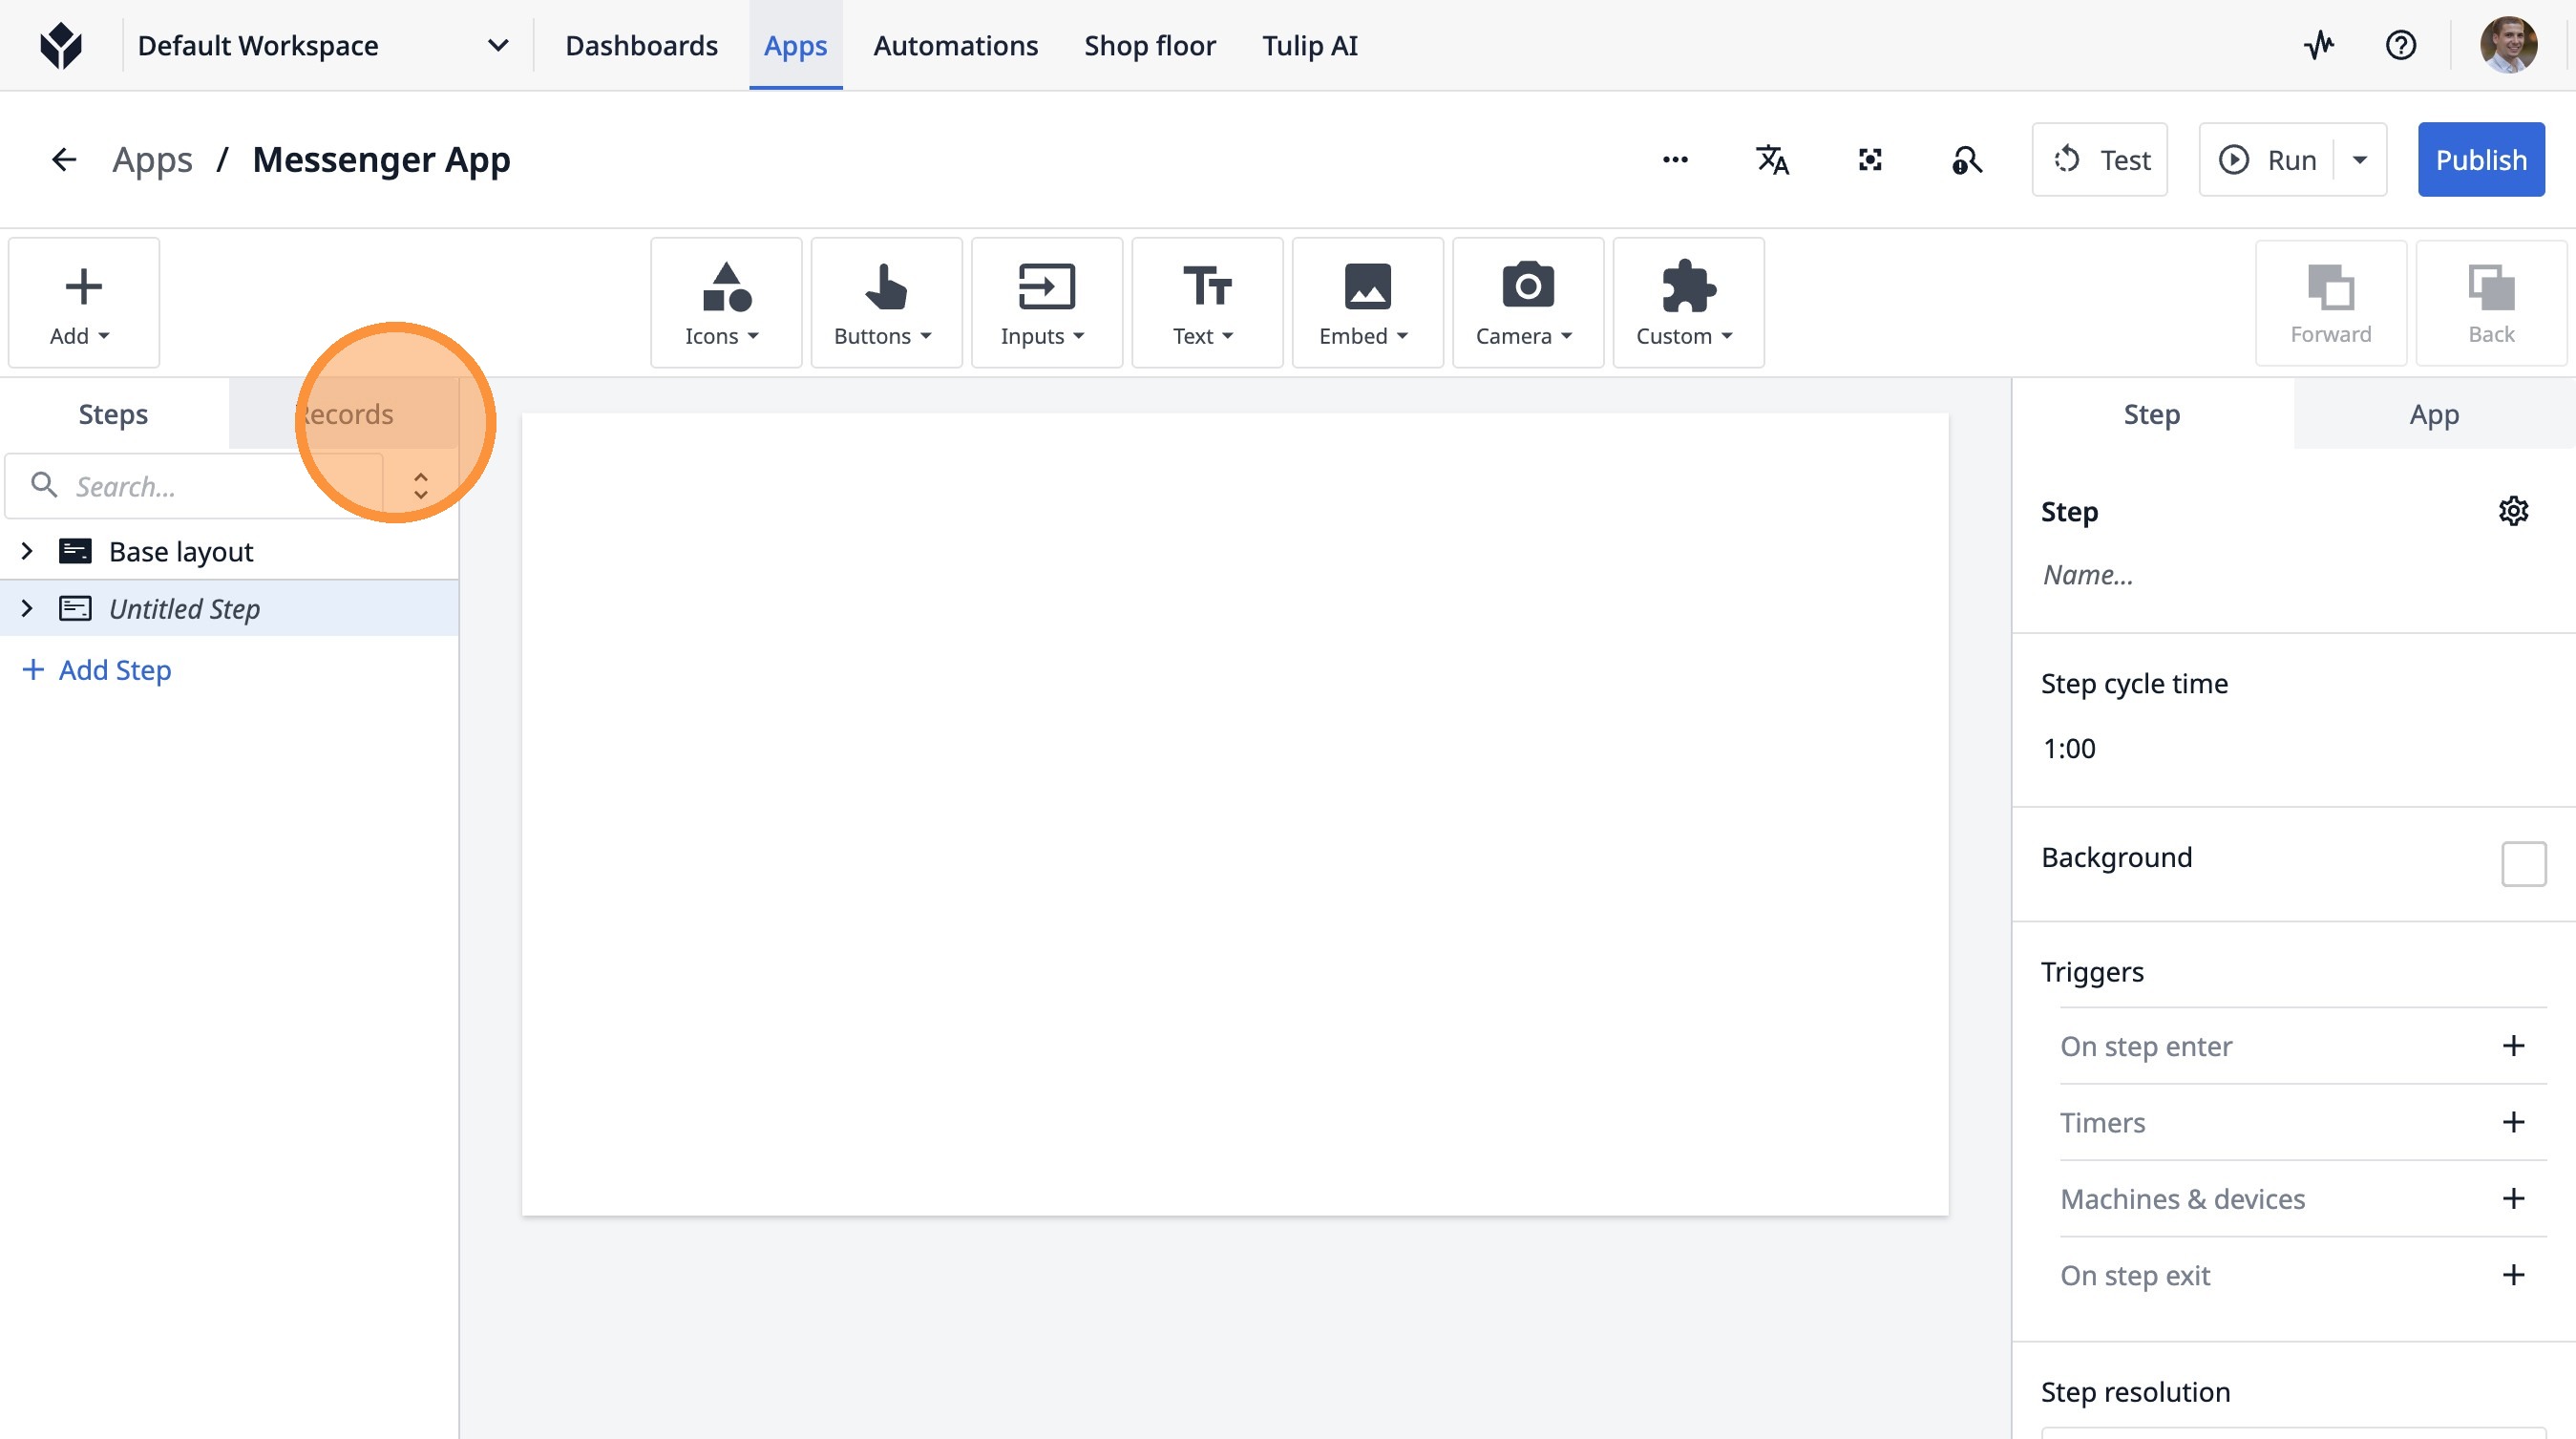
5. Click "Records"
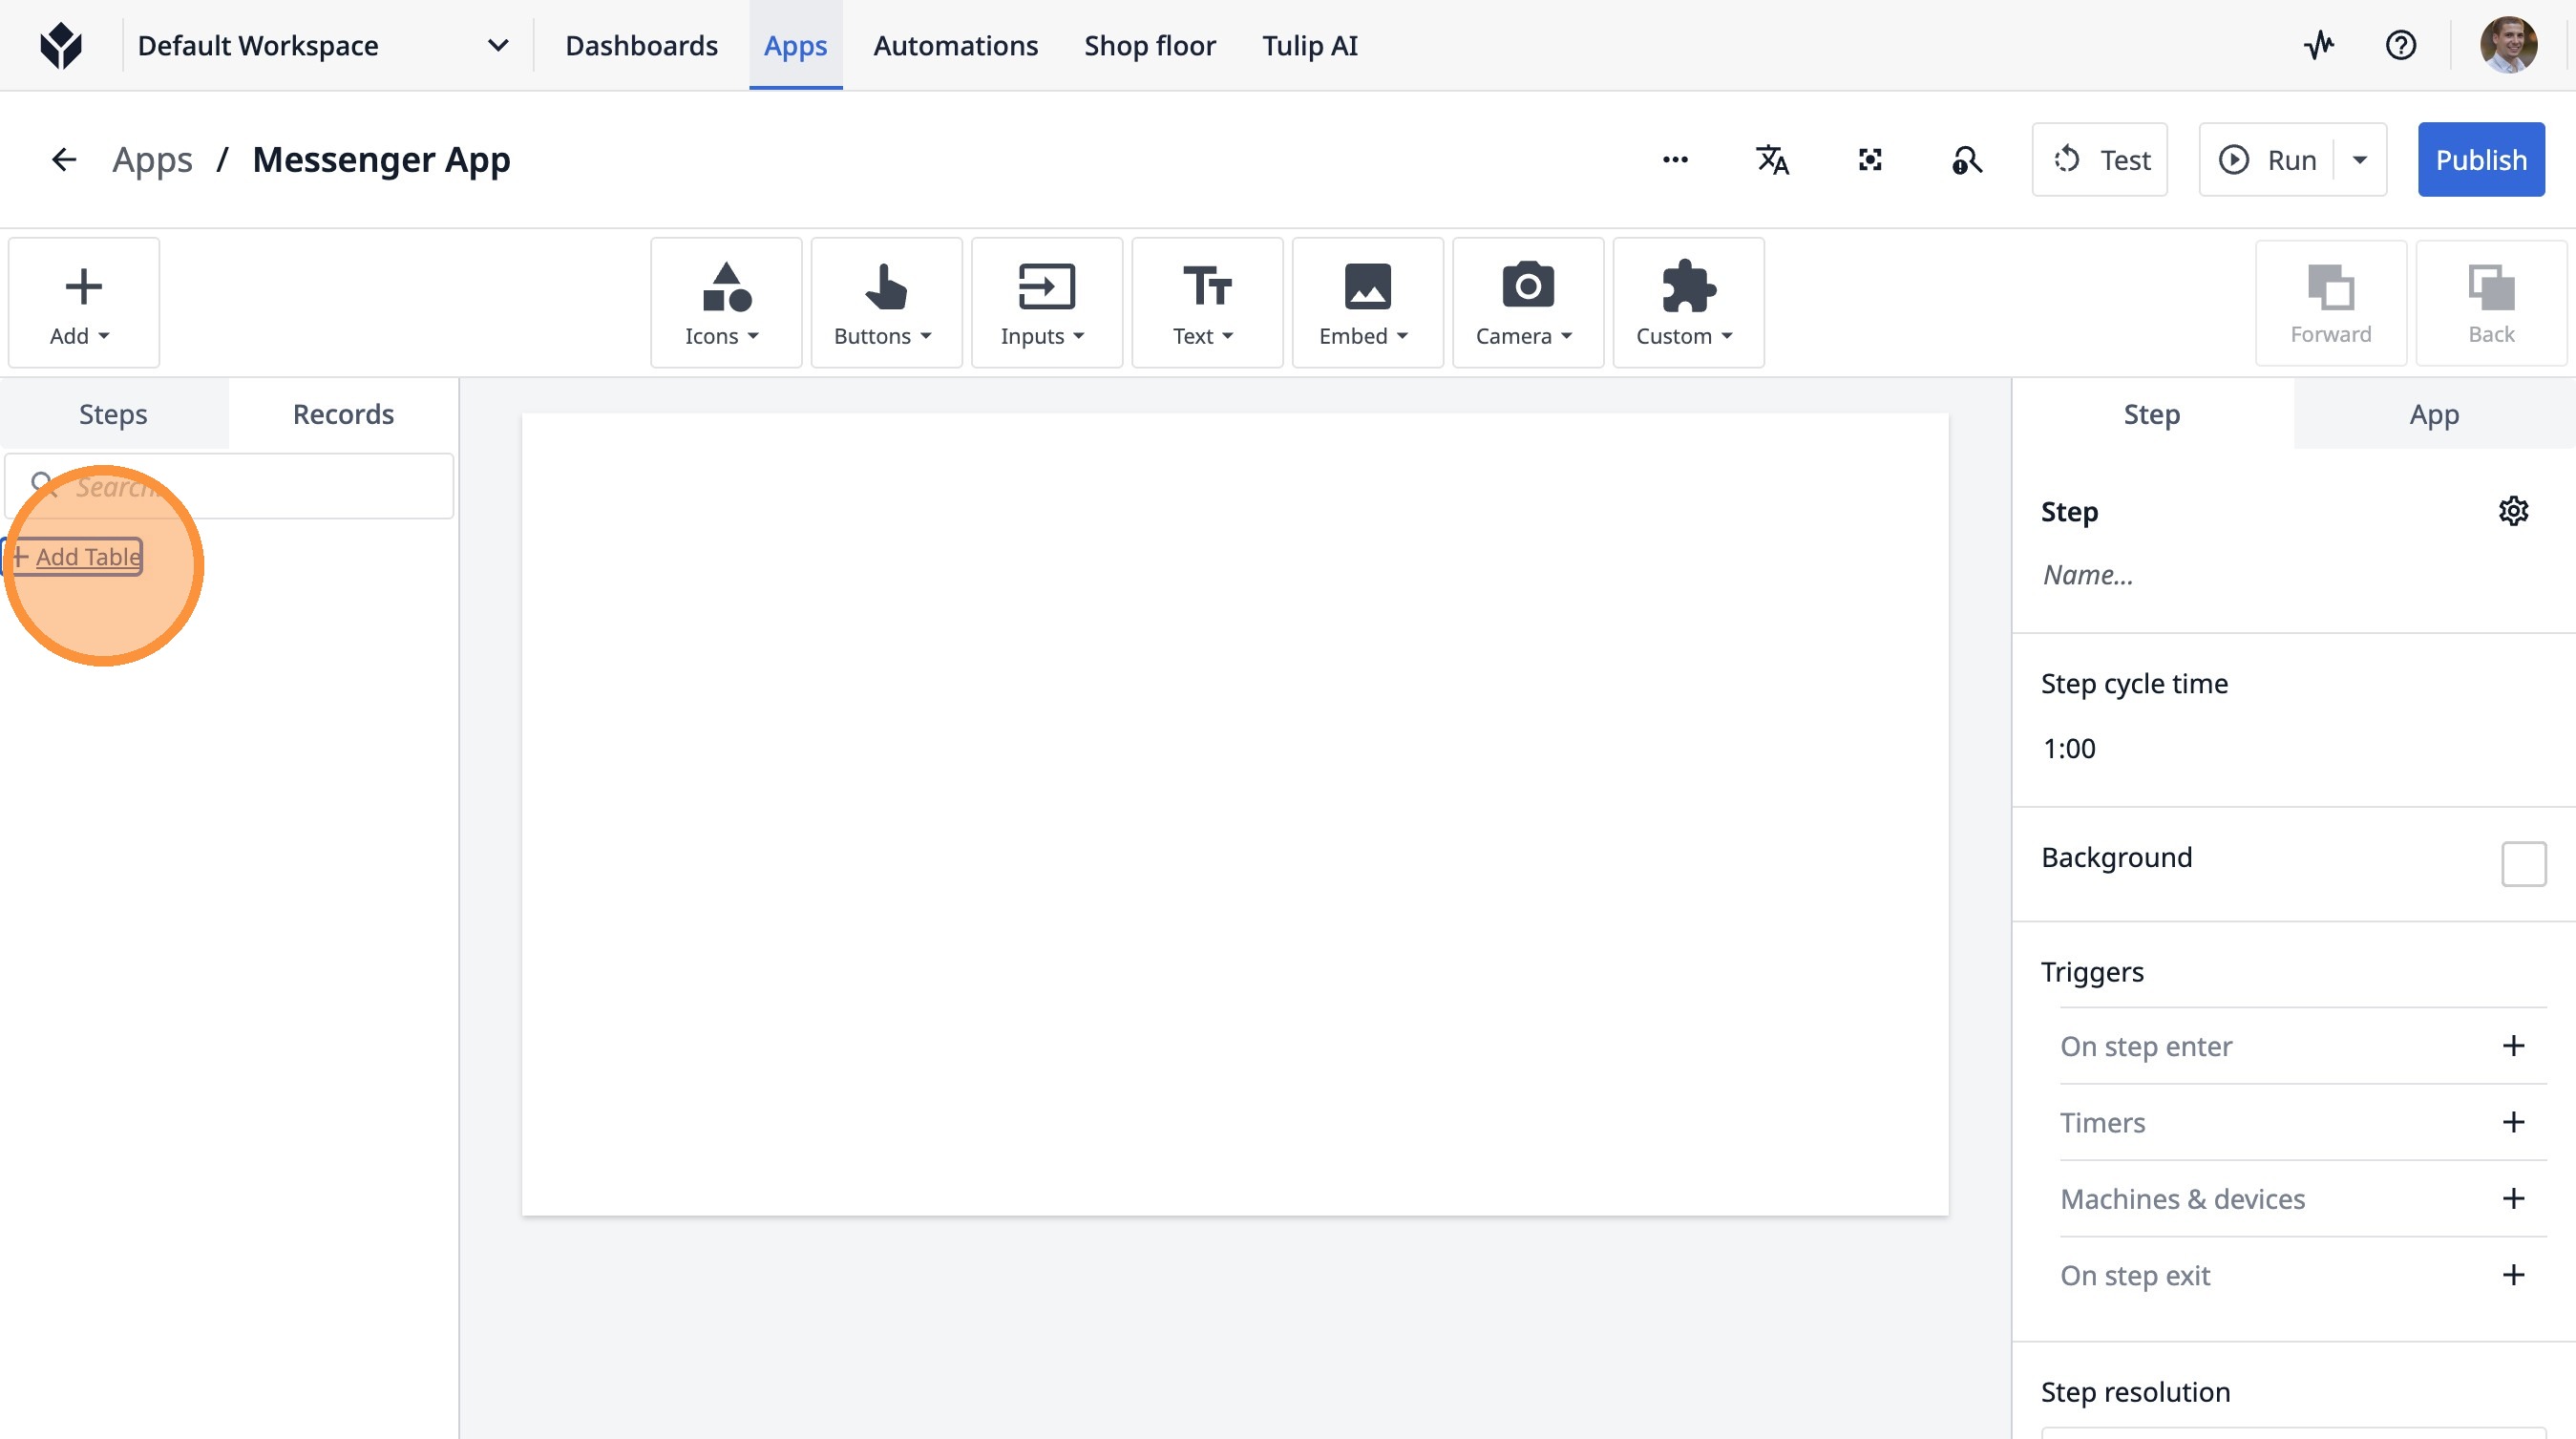
6. Click "Add Table"
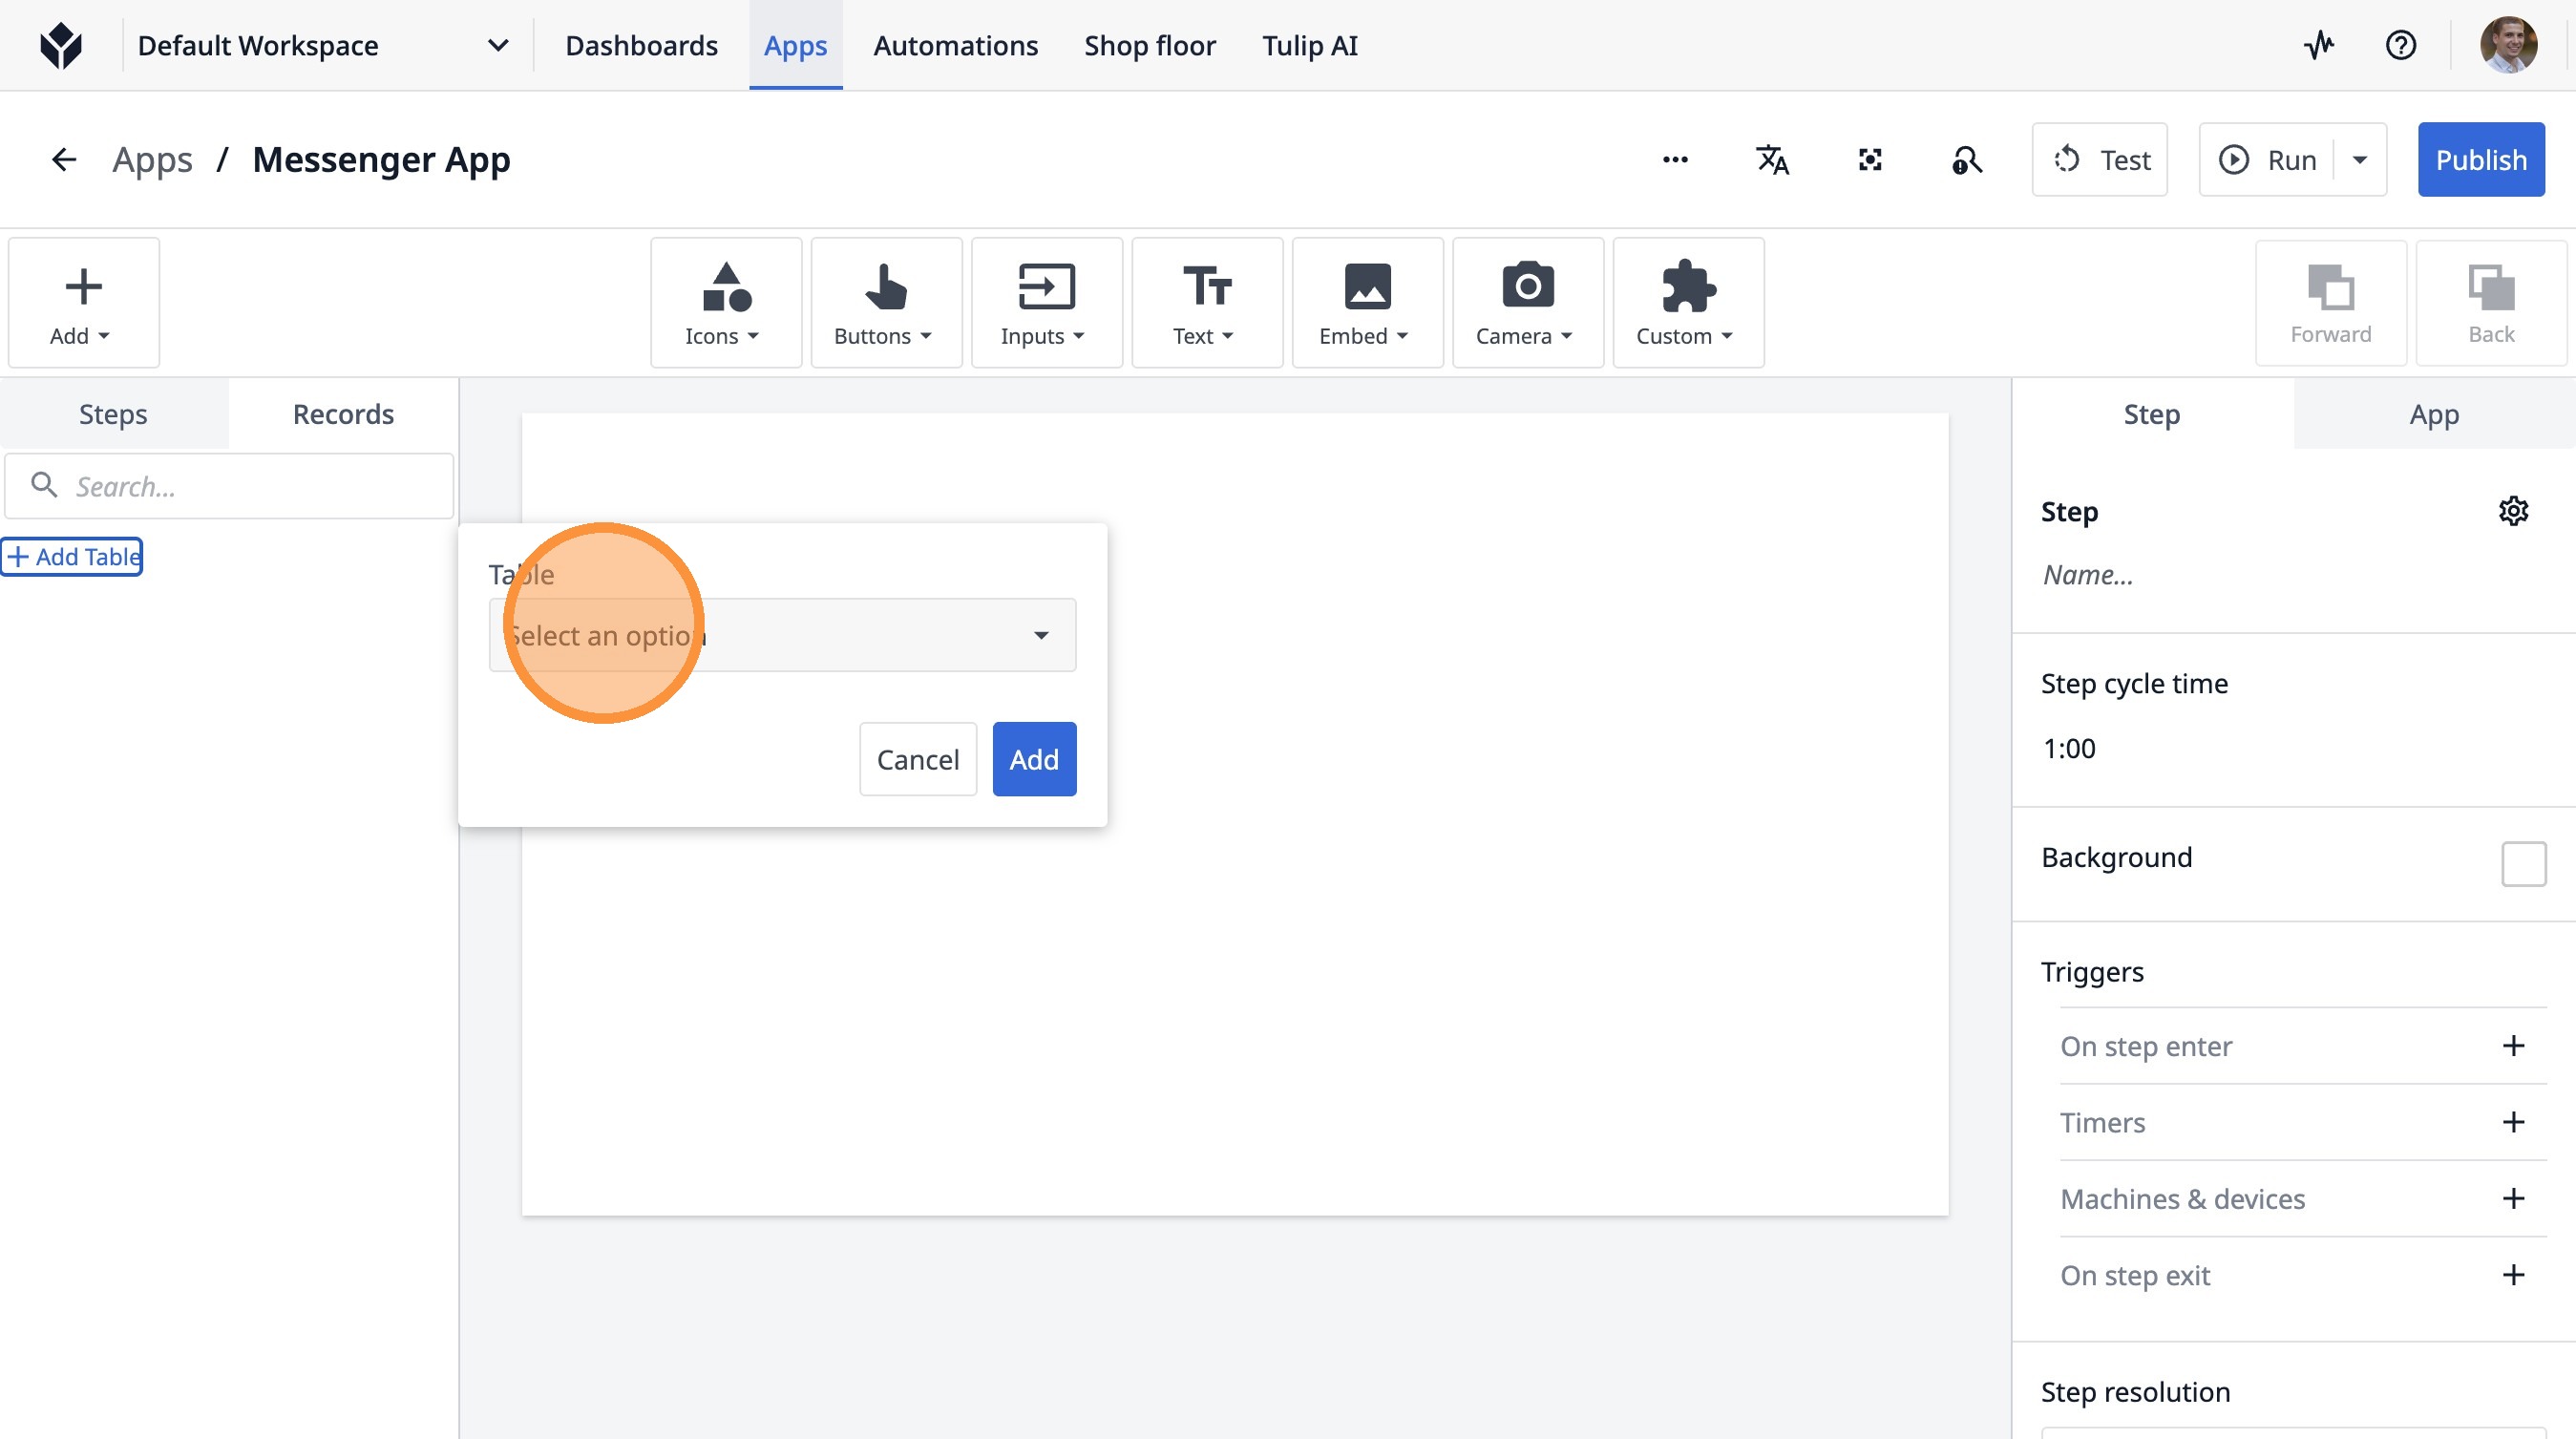
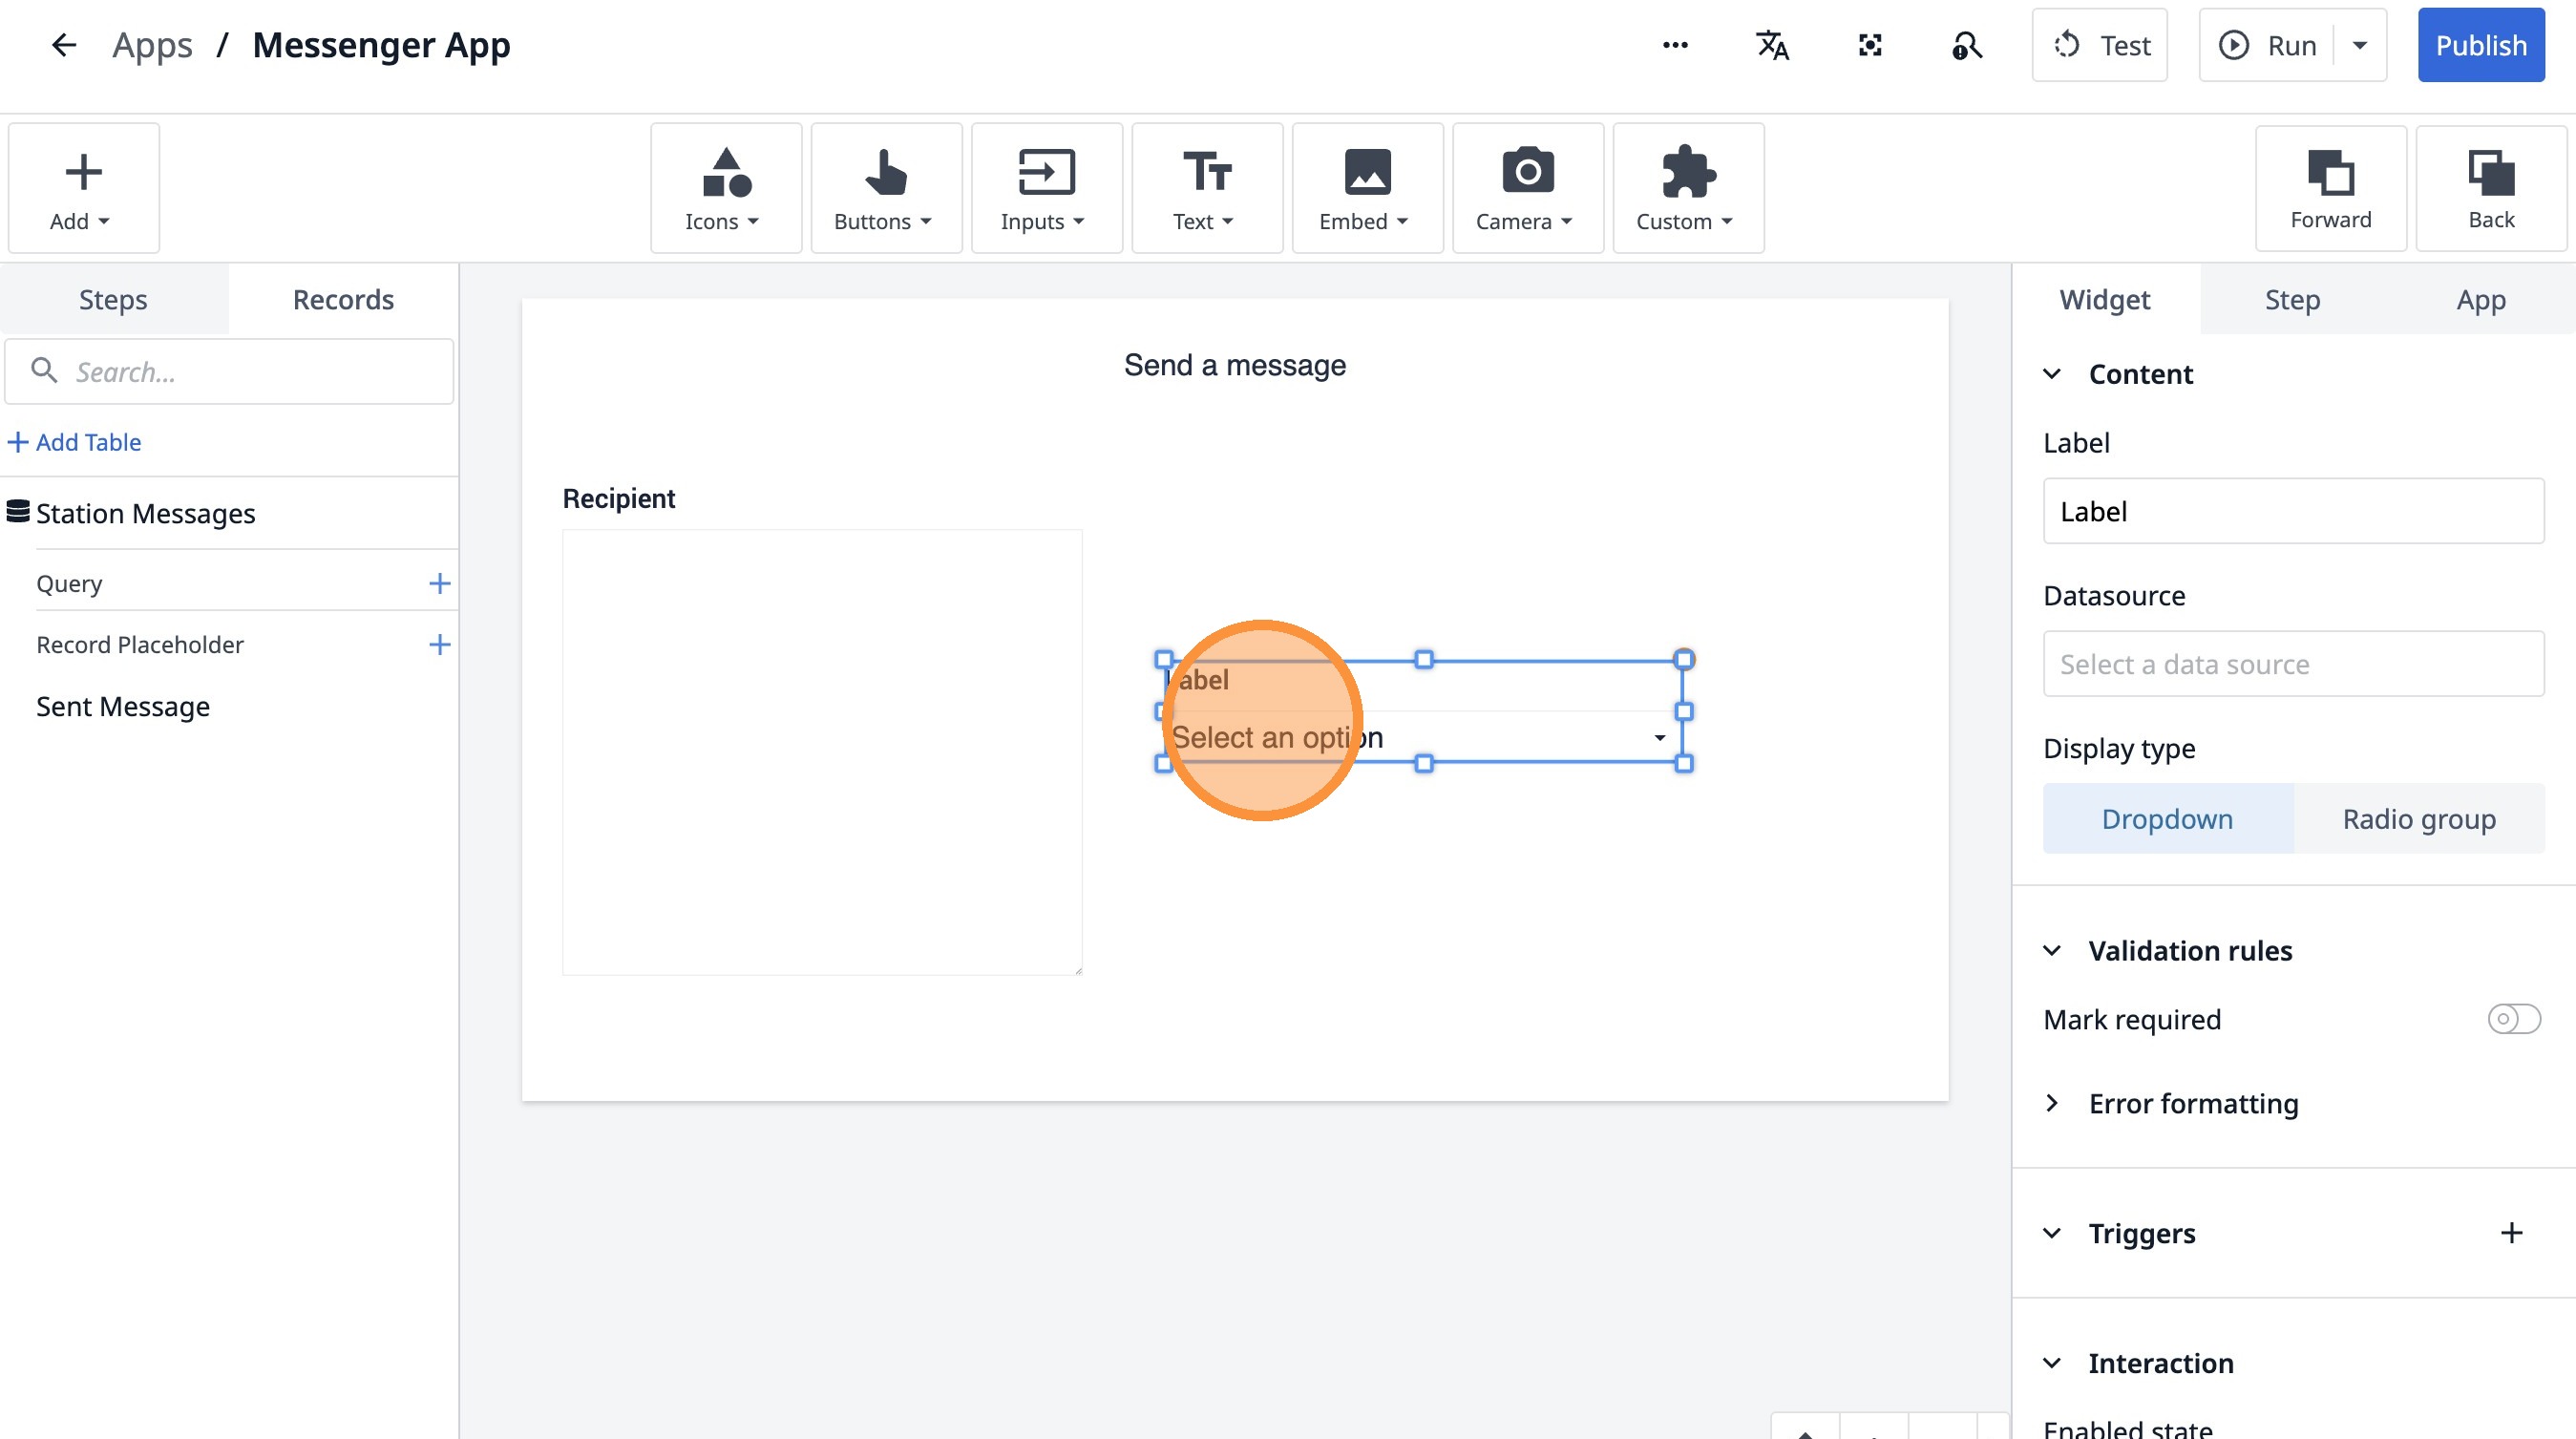
7. Click "Select an option"
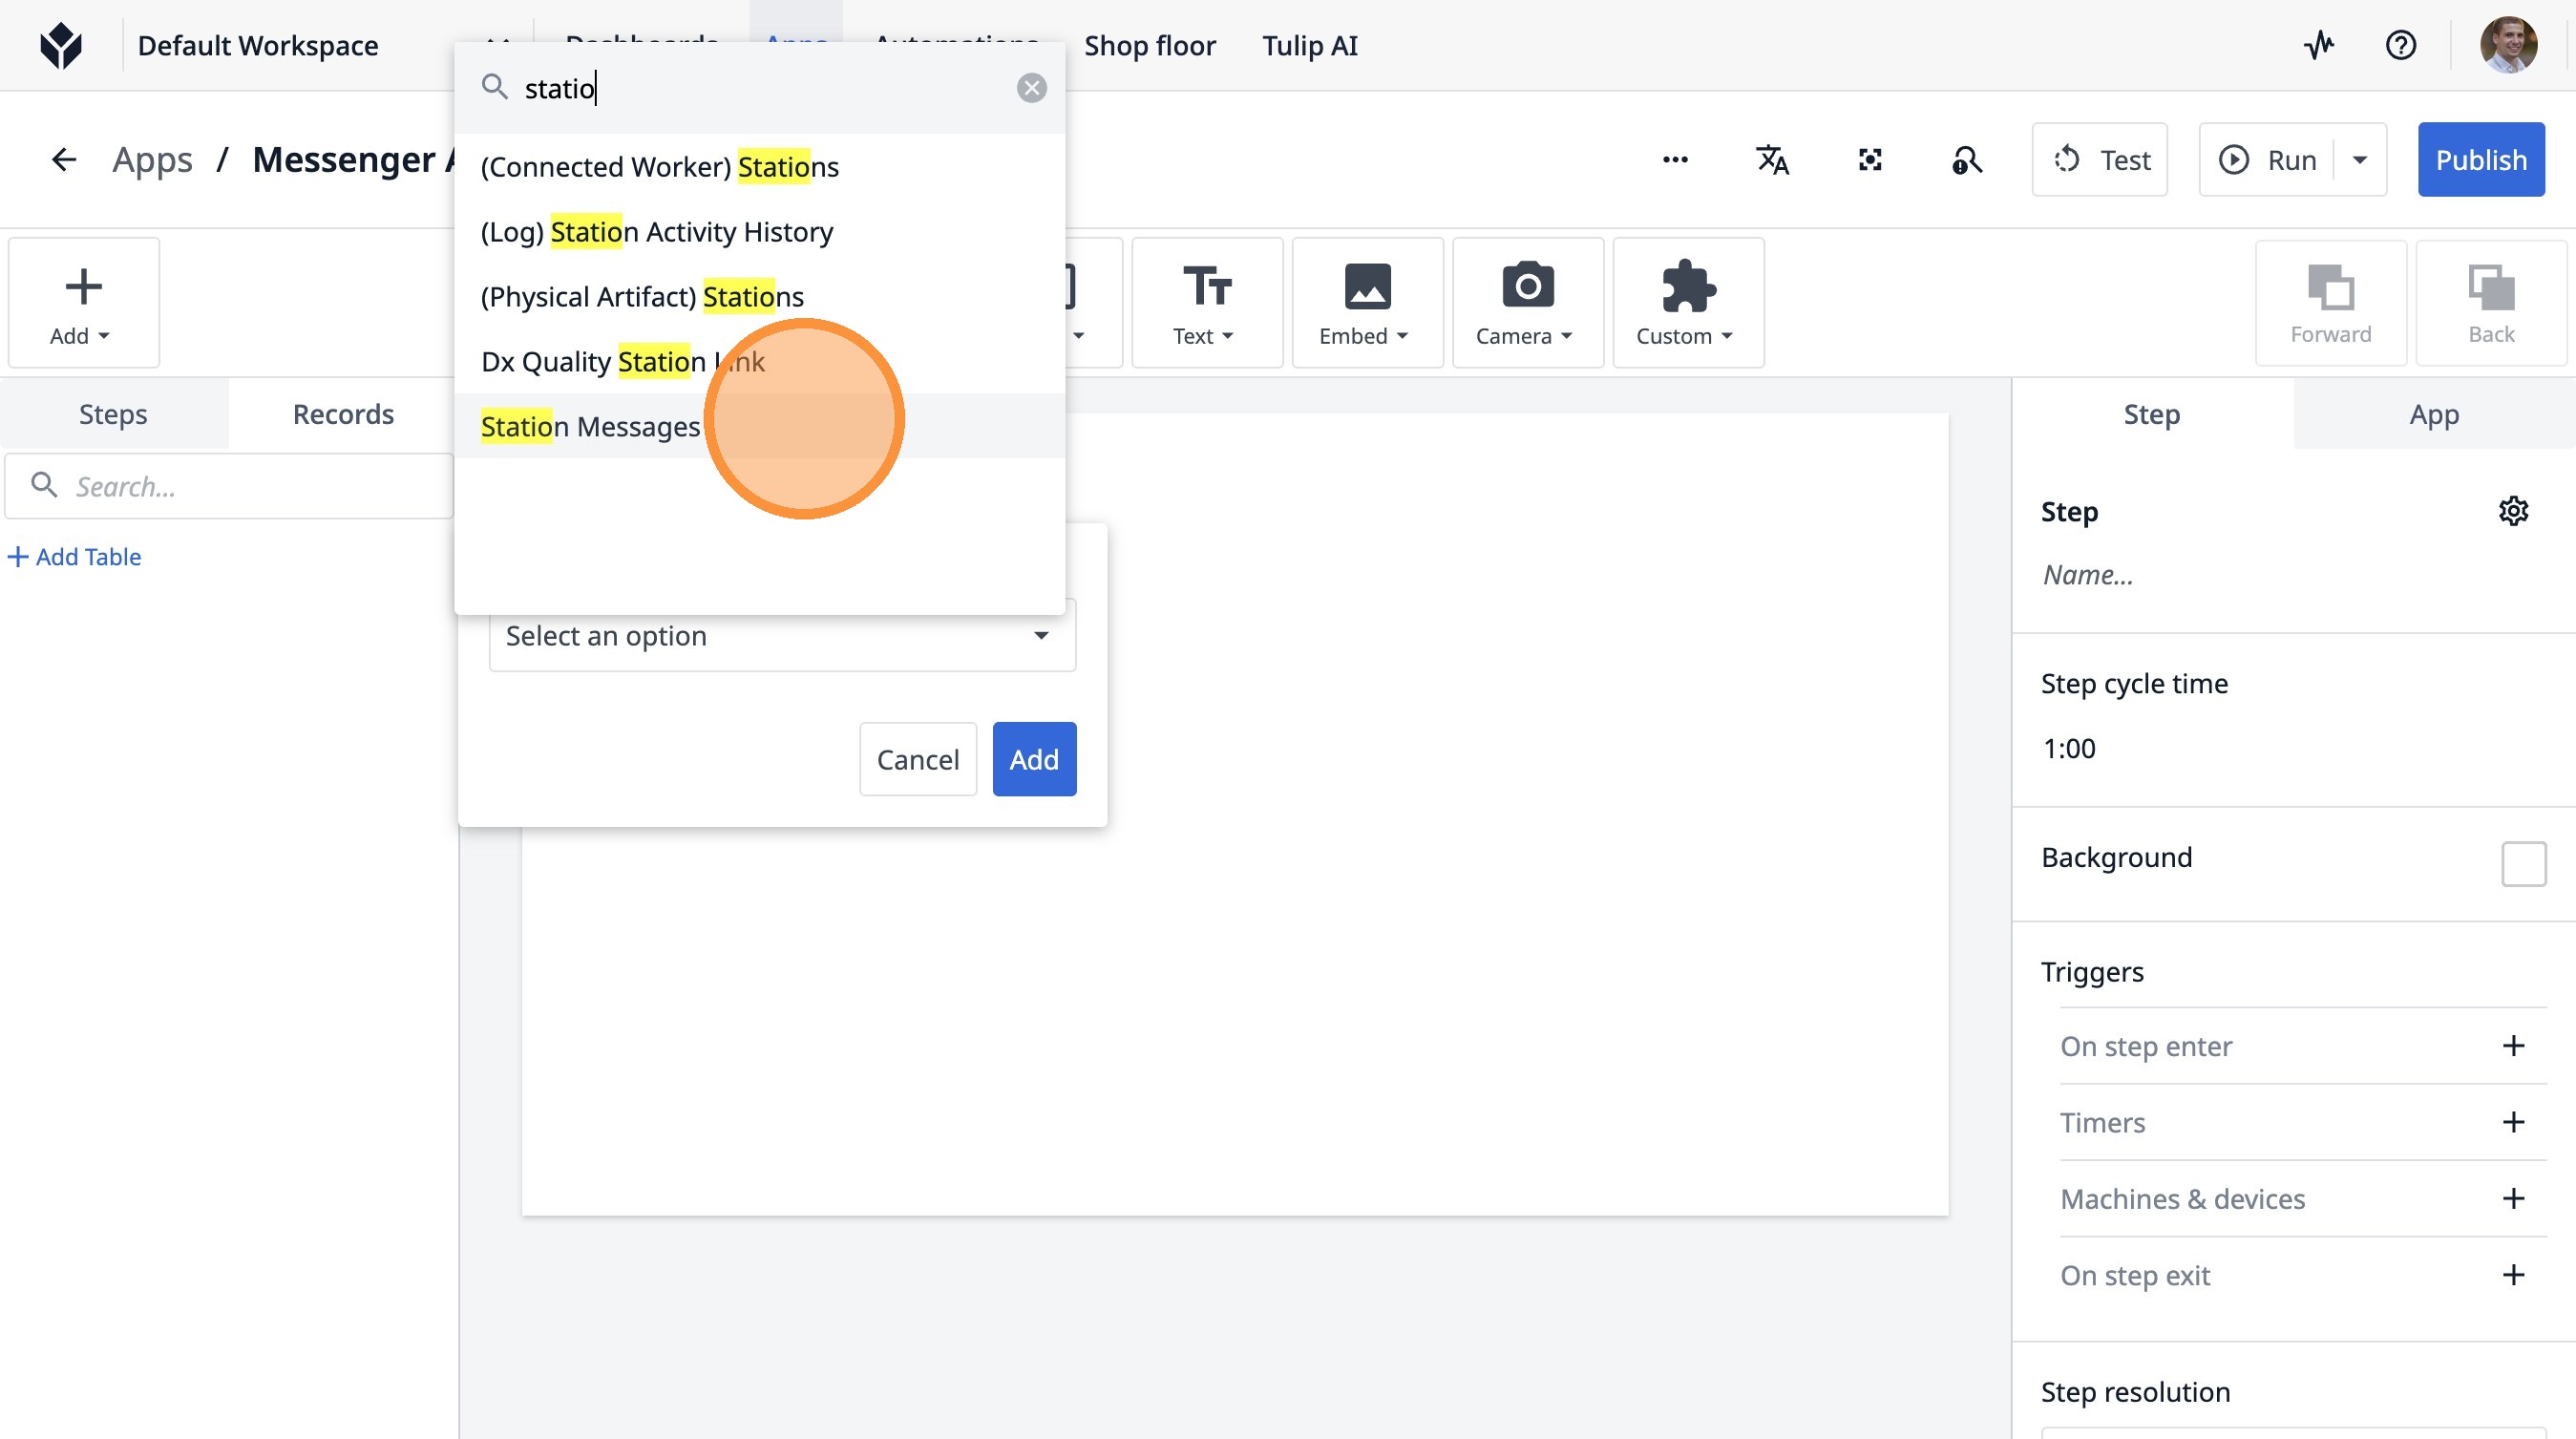
8. Type "statio"
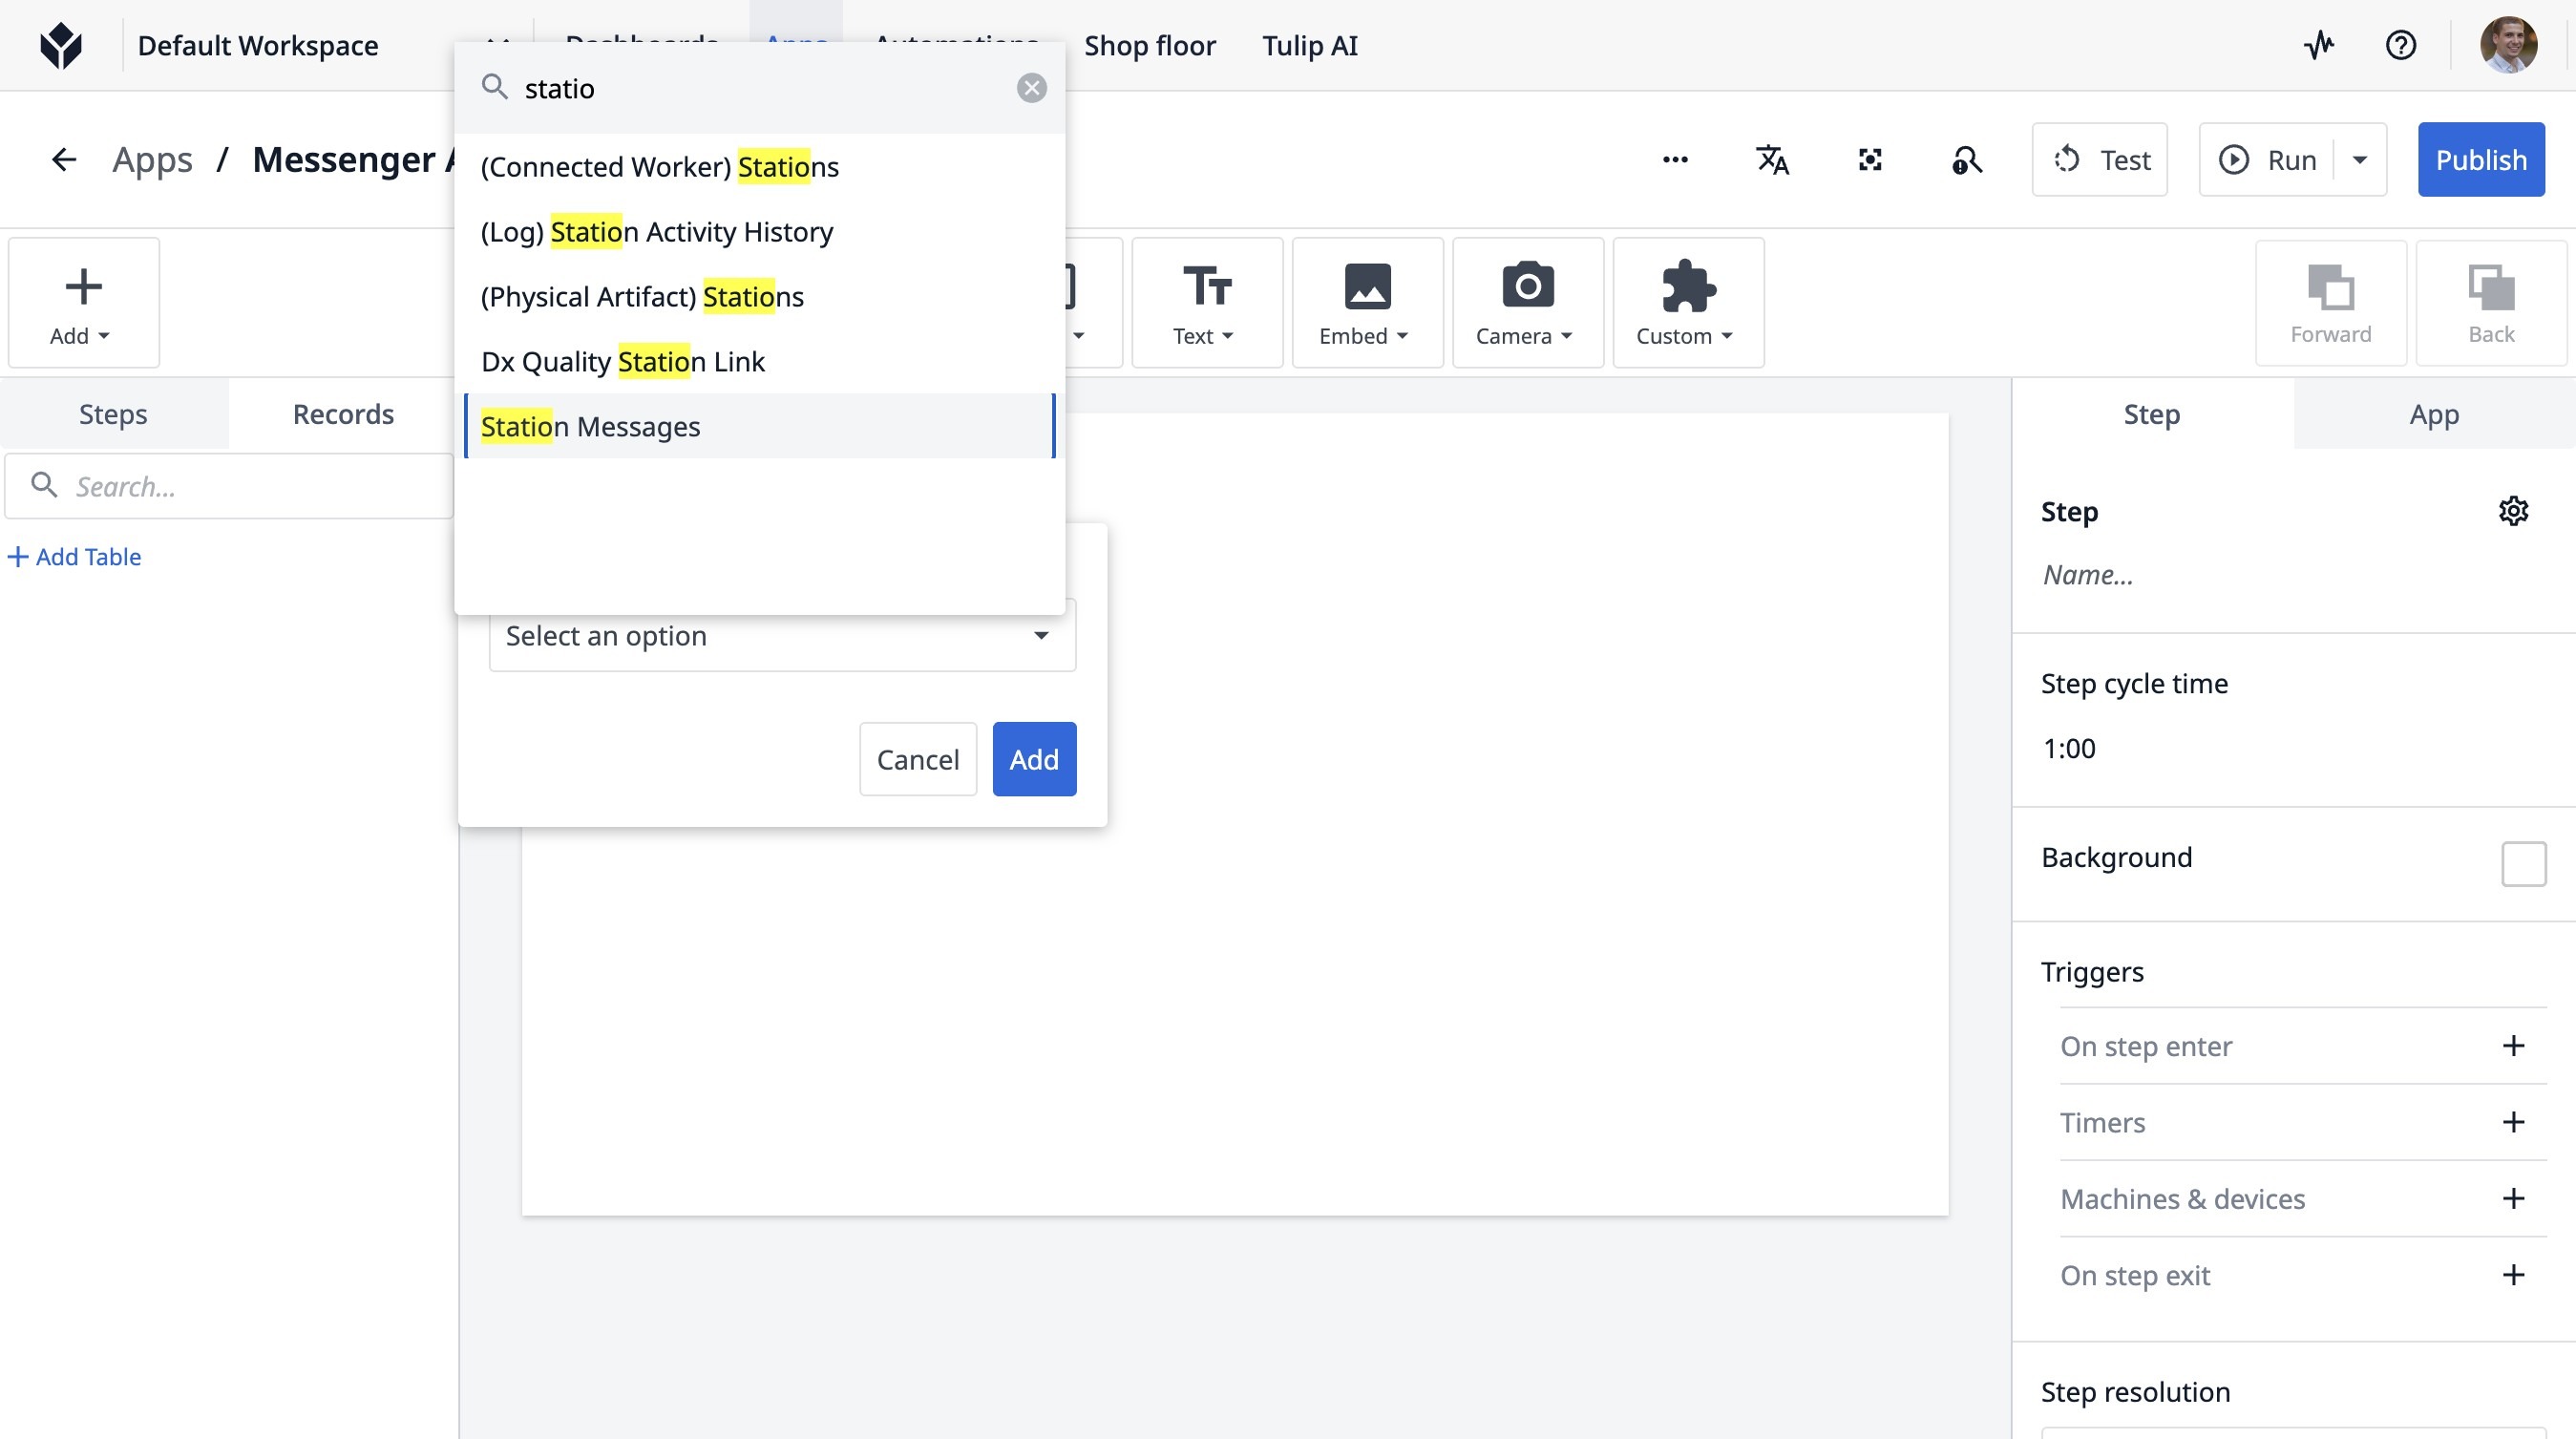
9. Click "Station Messages"
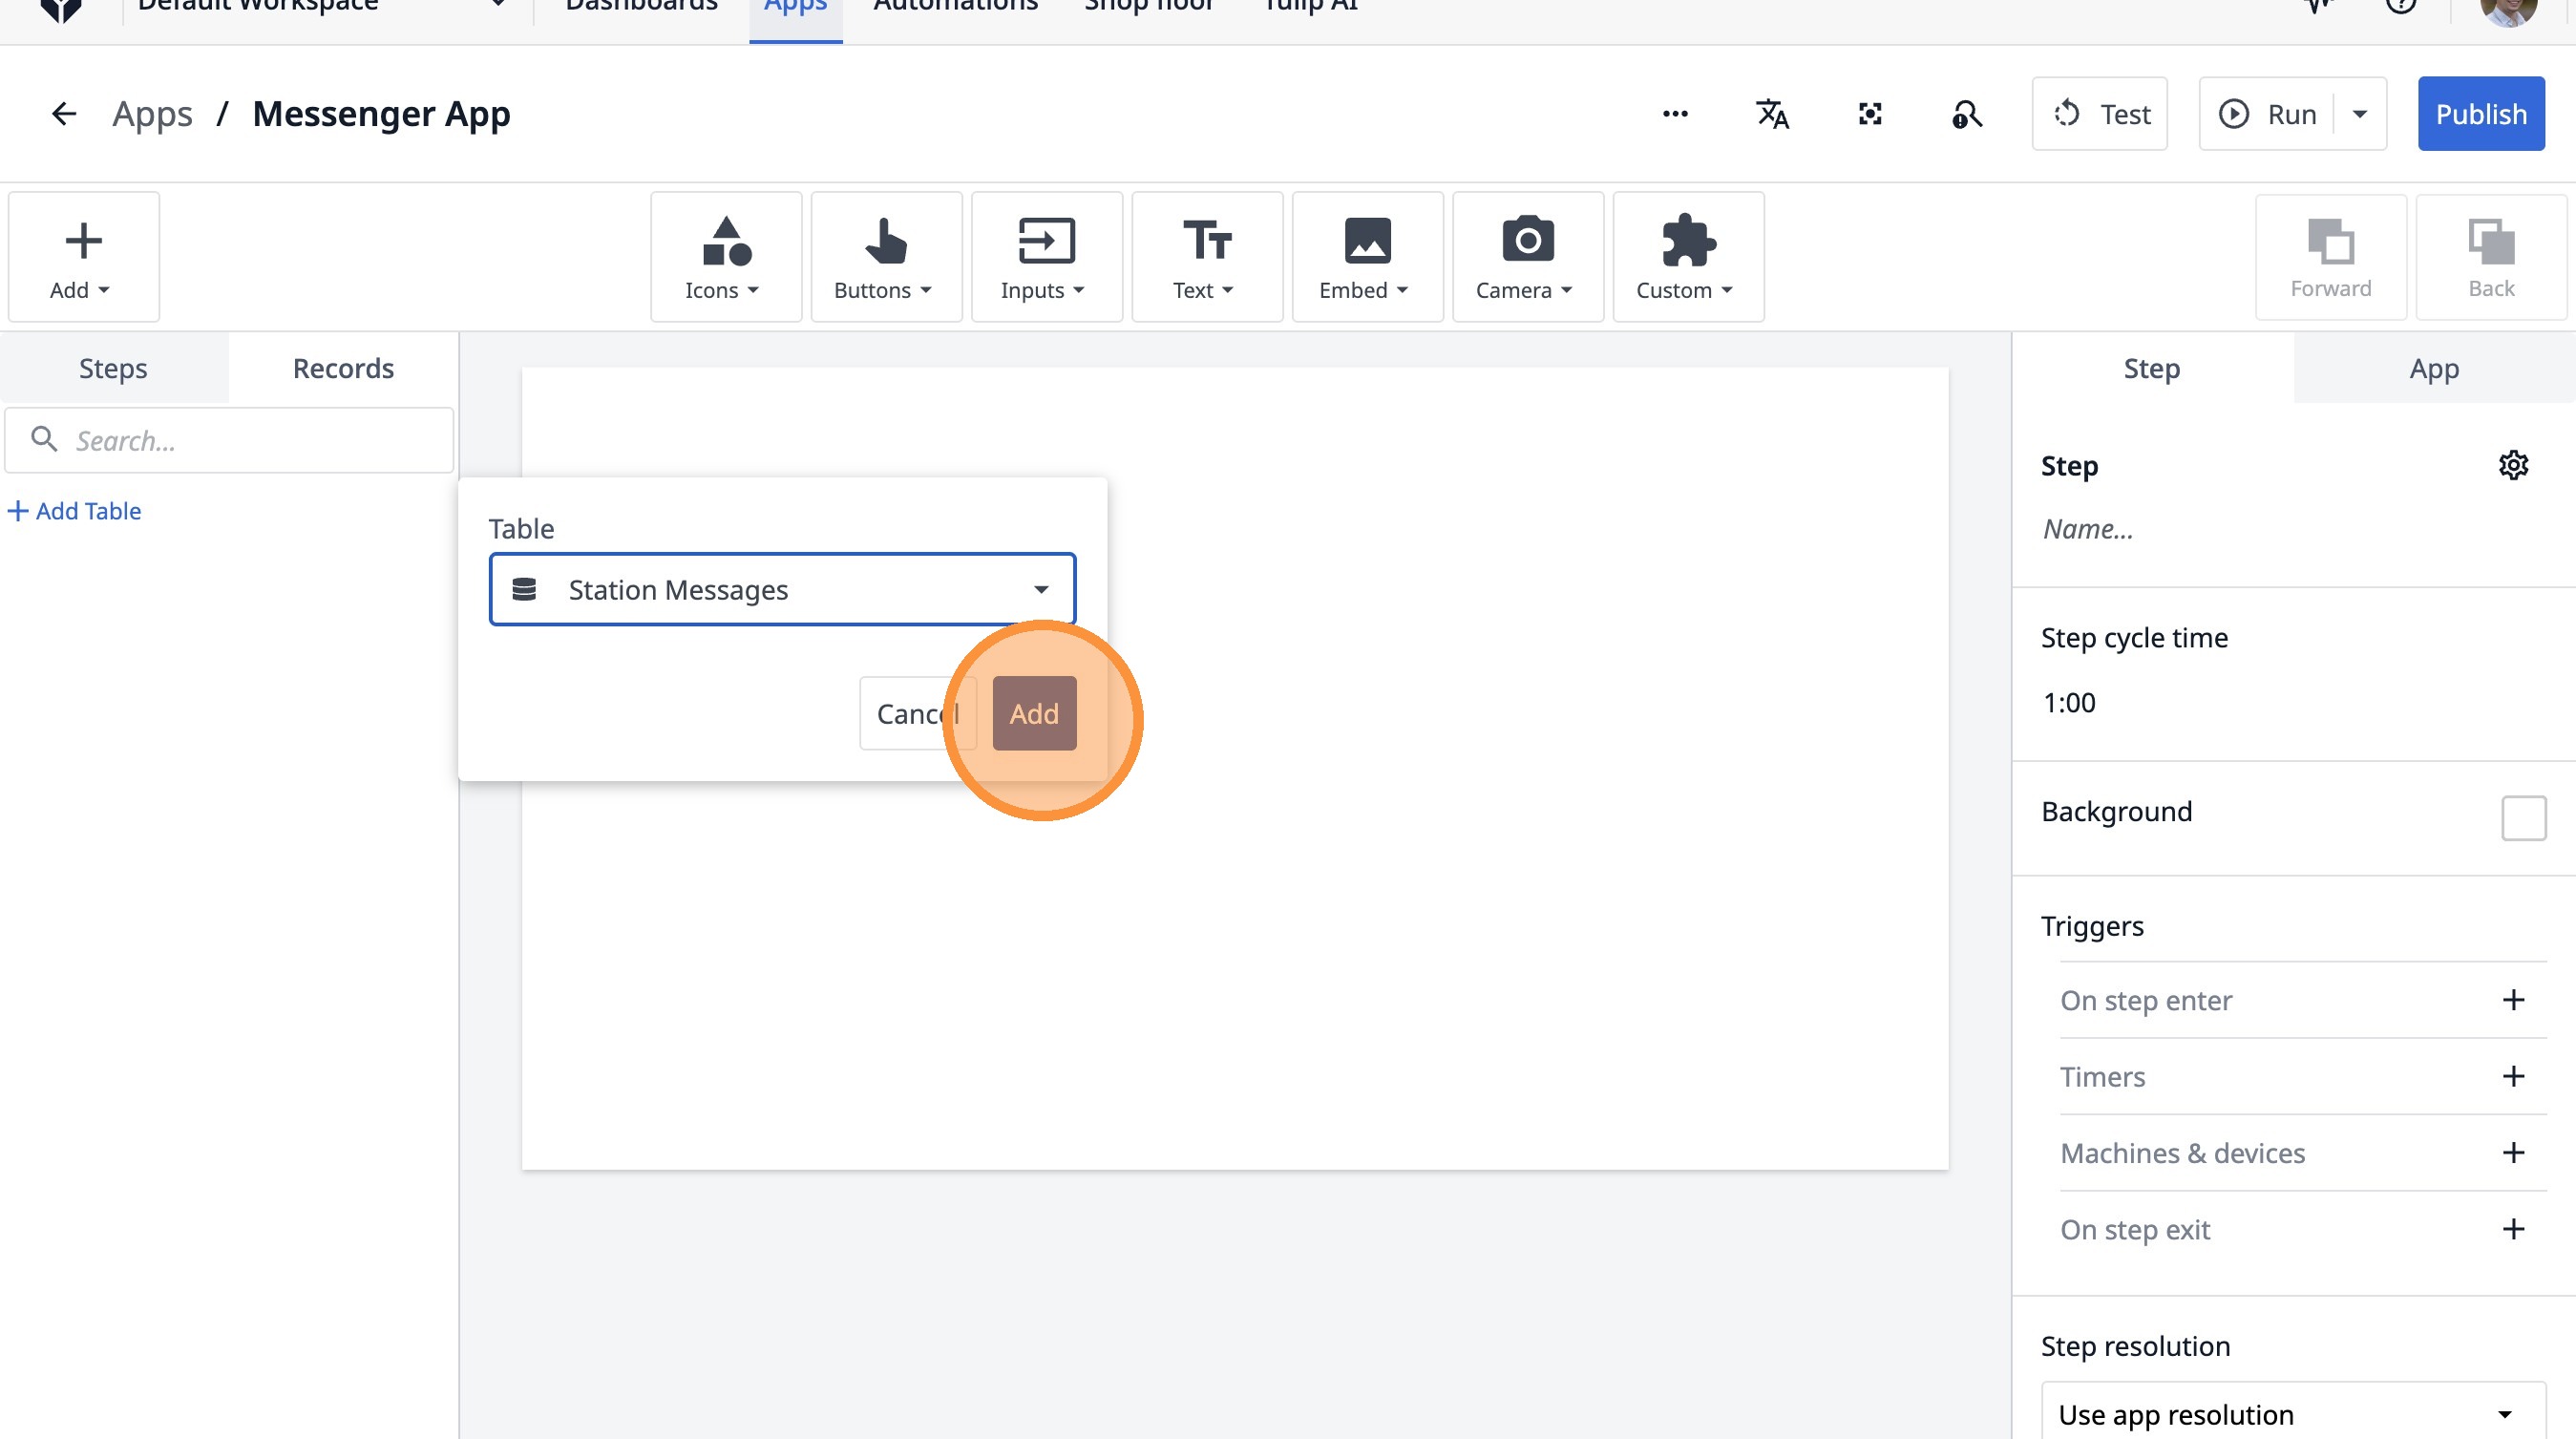
10. Click "Add"
11. Click this icon.
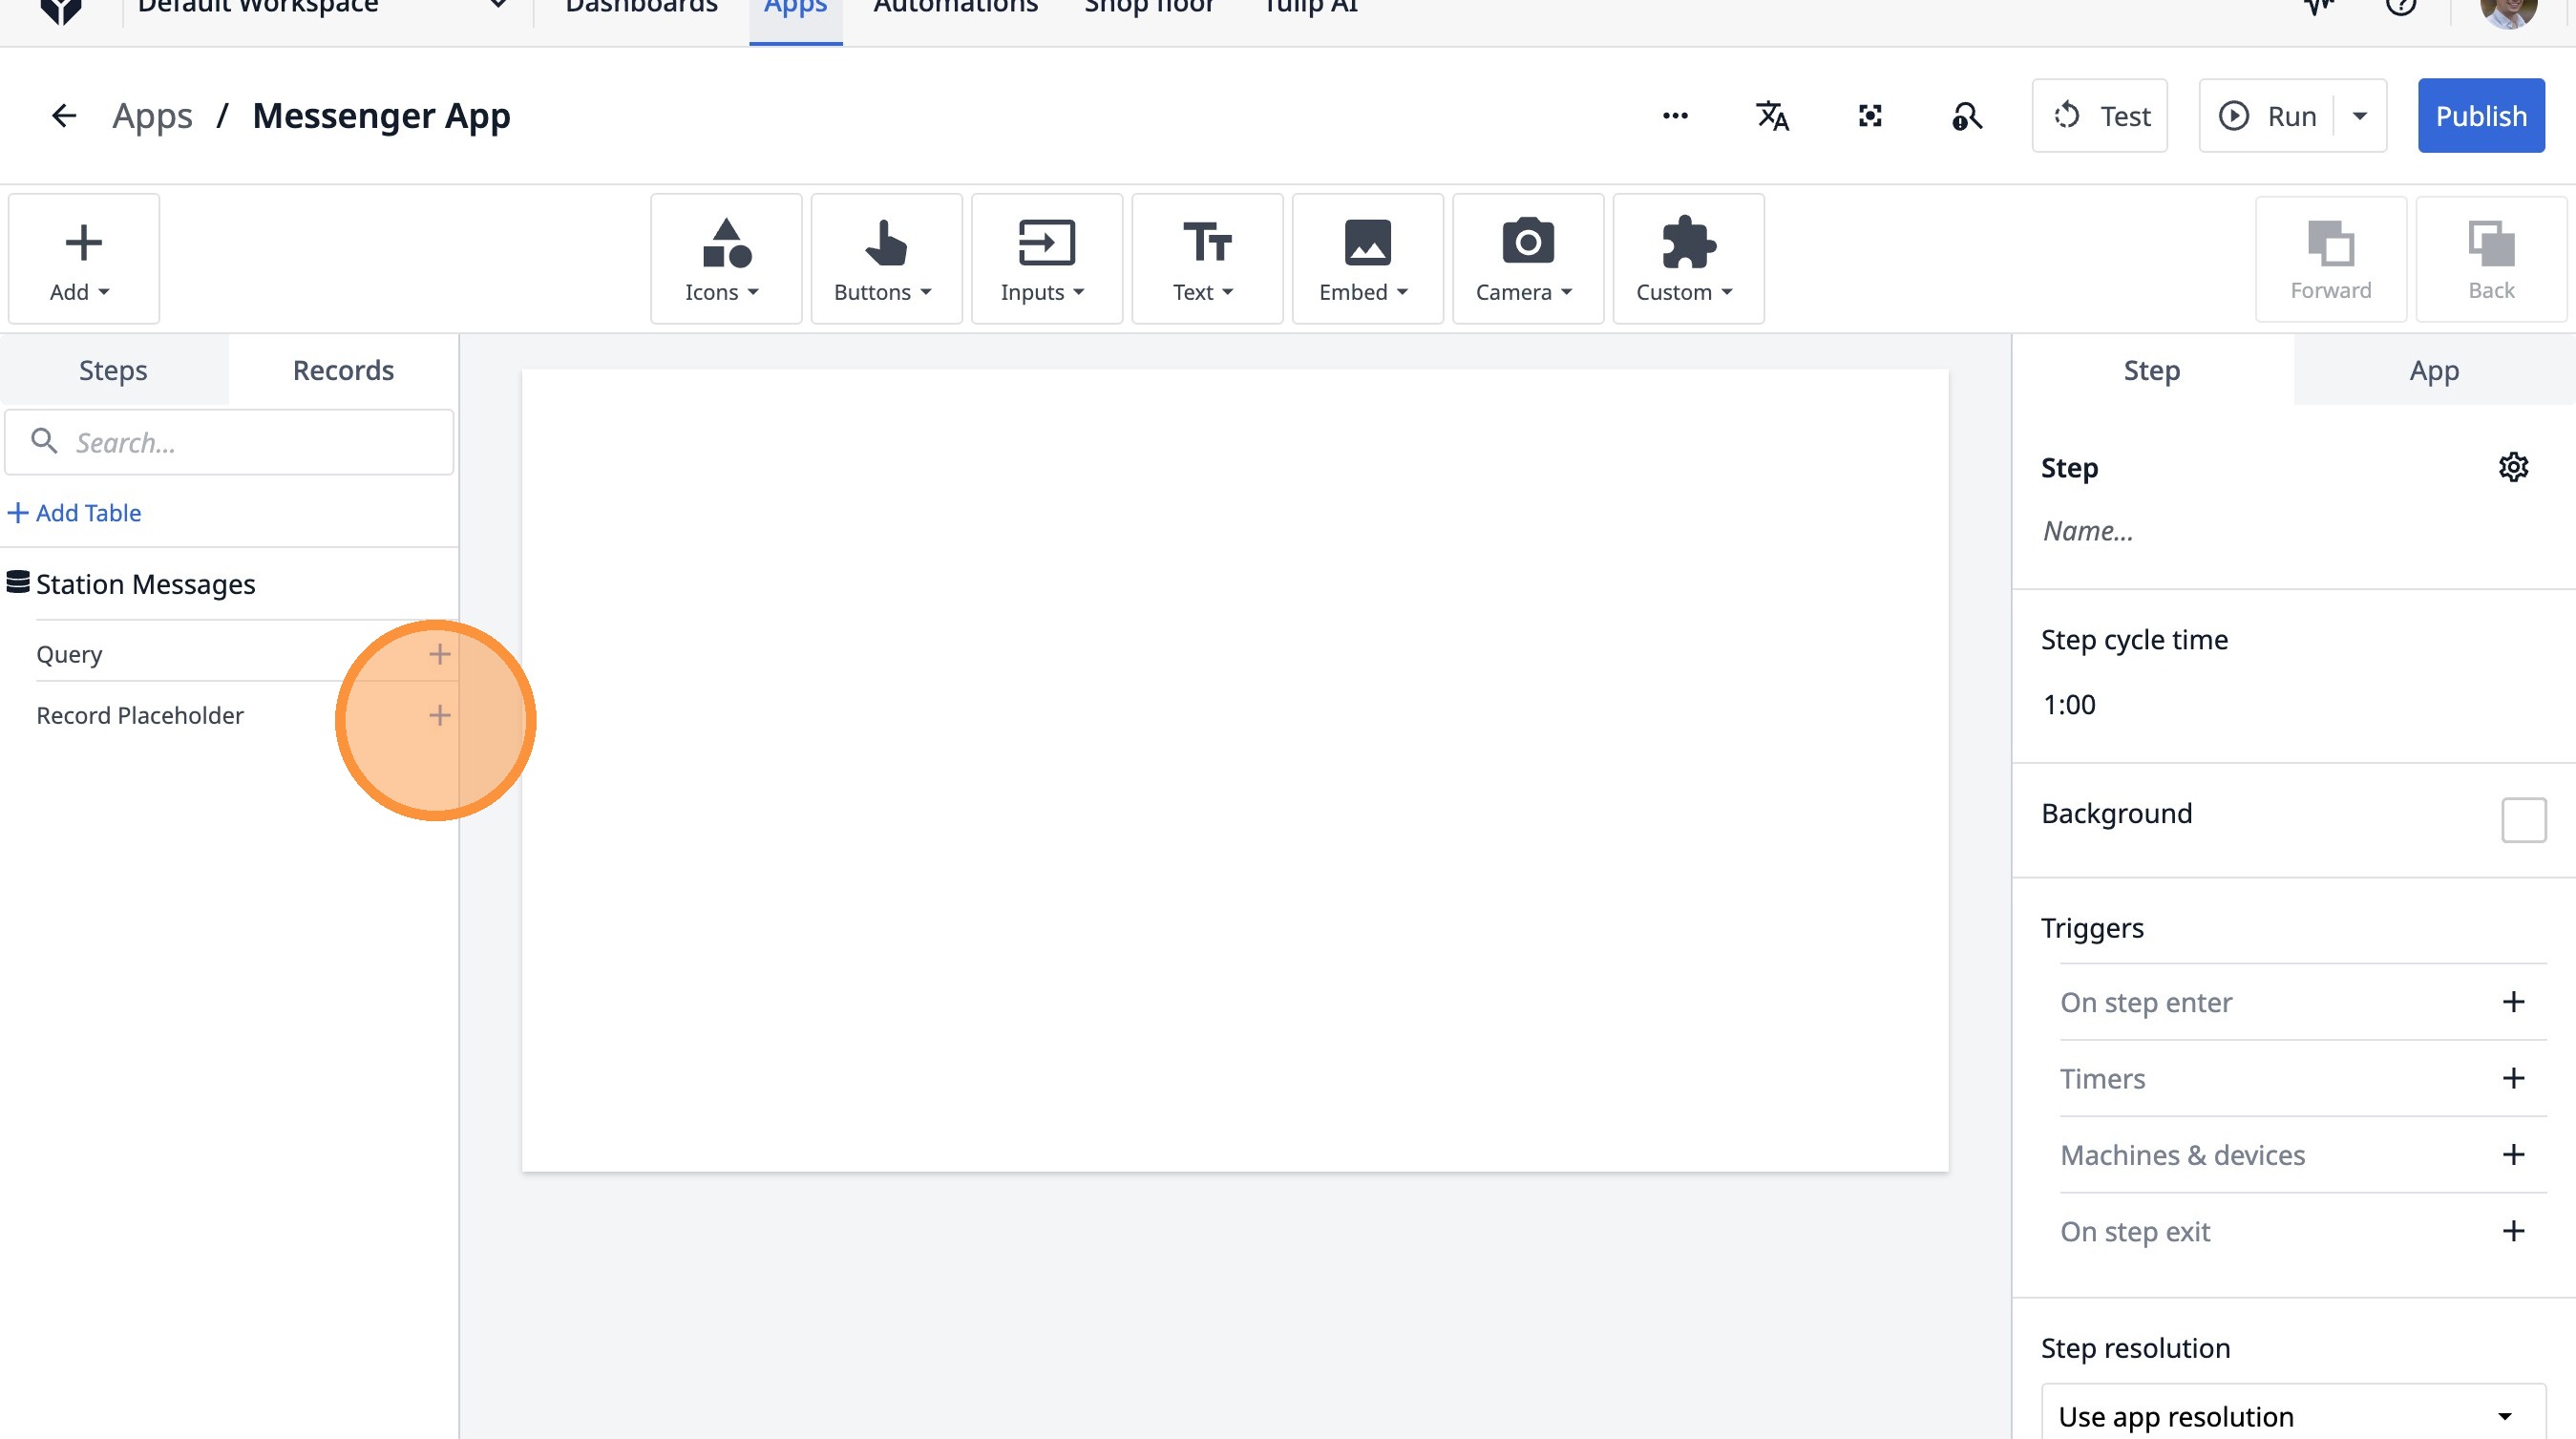
12. Click the "Current Station Messages" field.
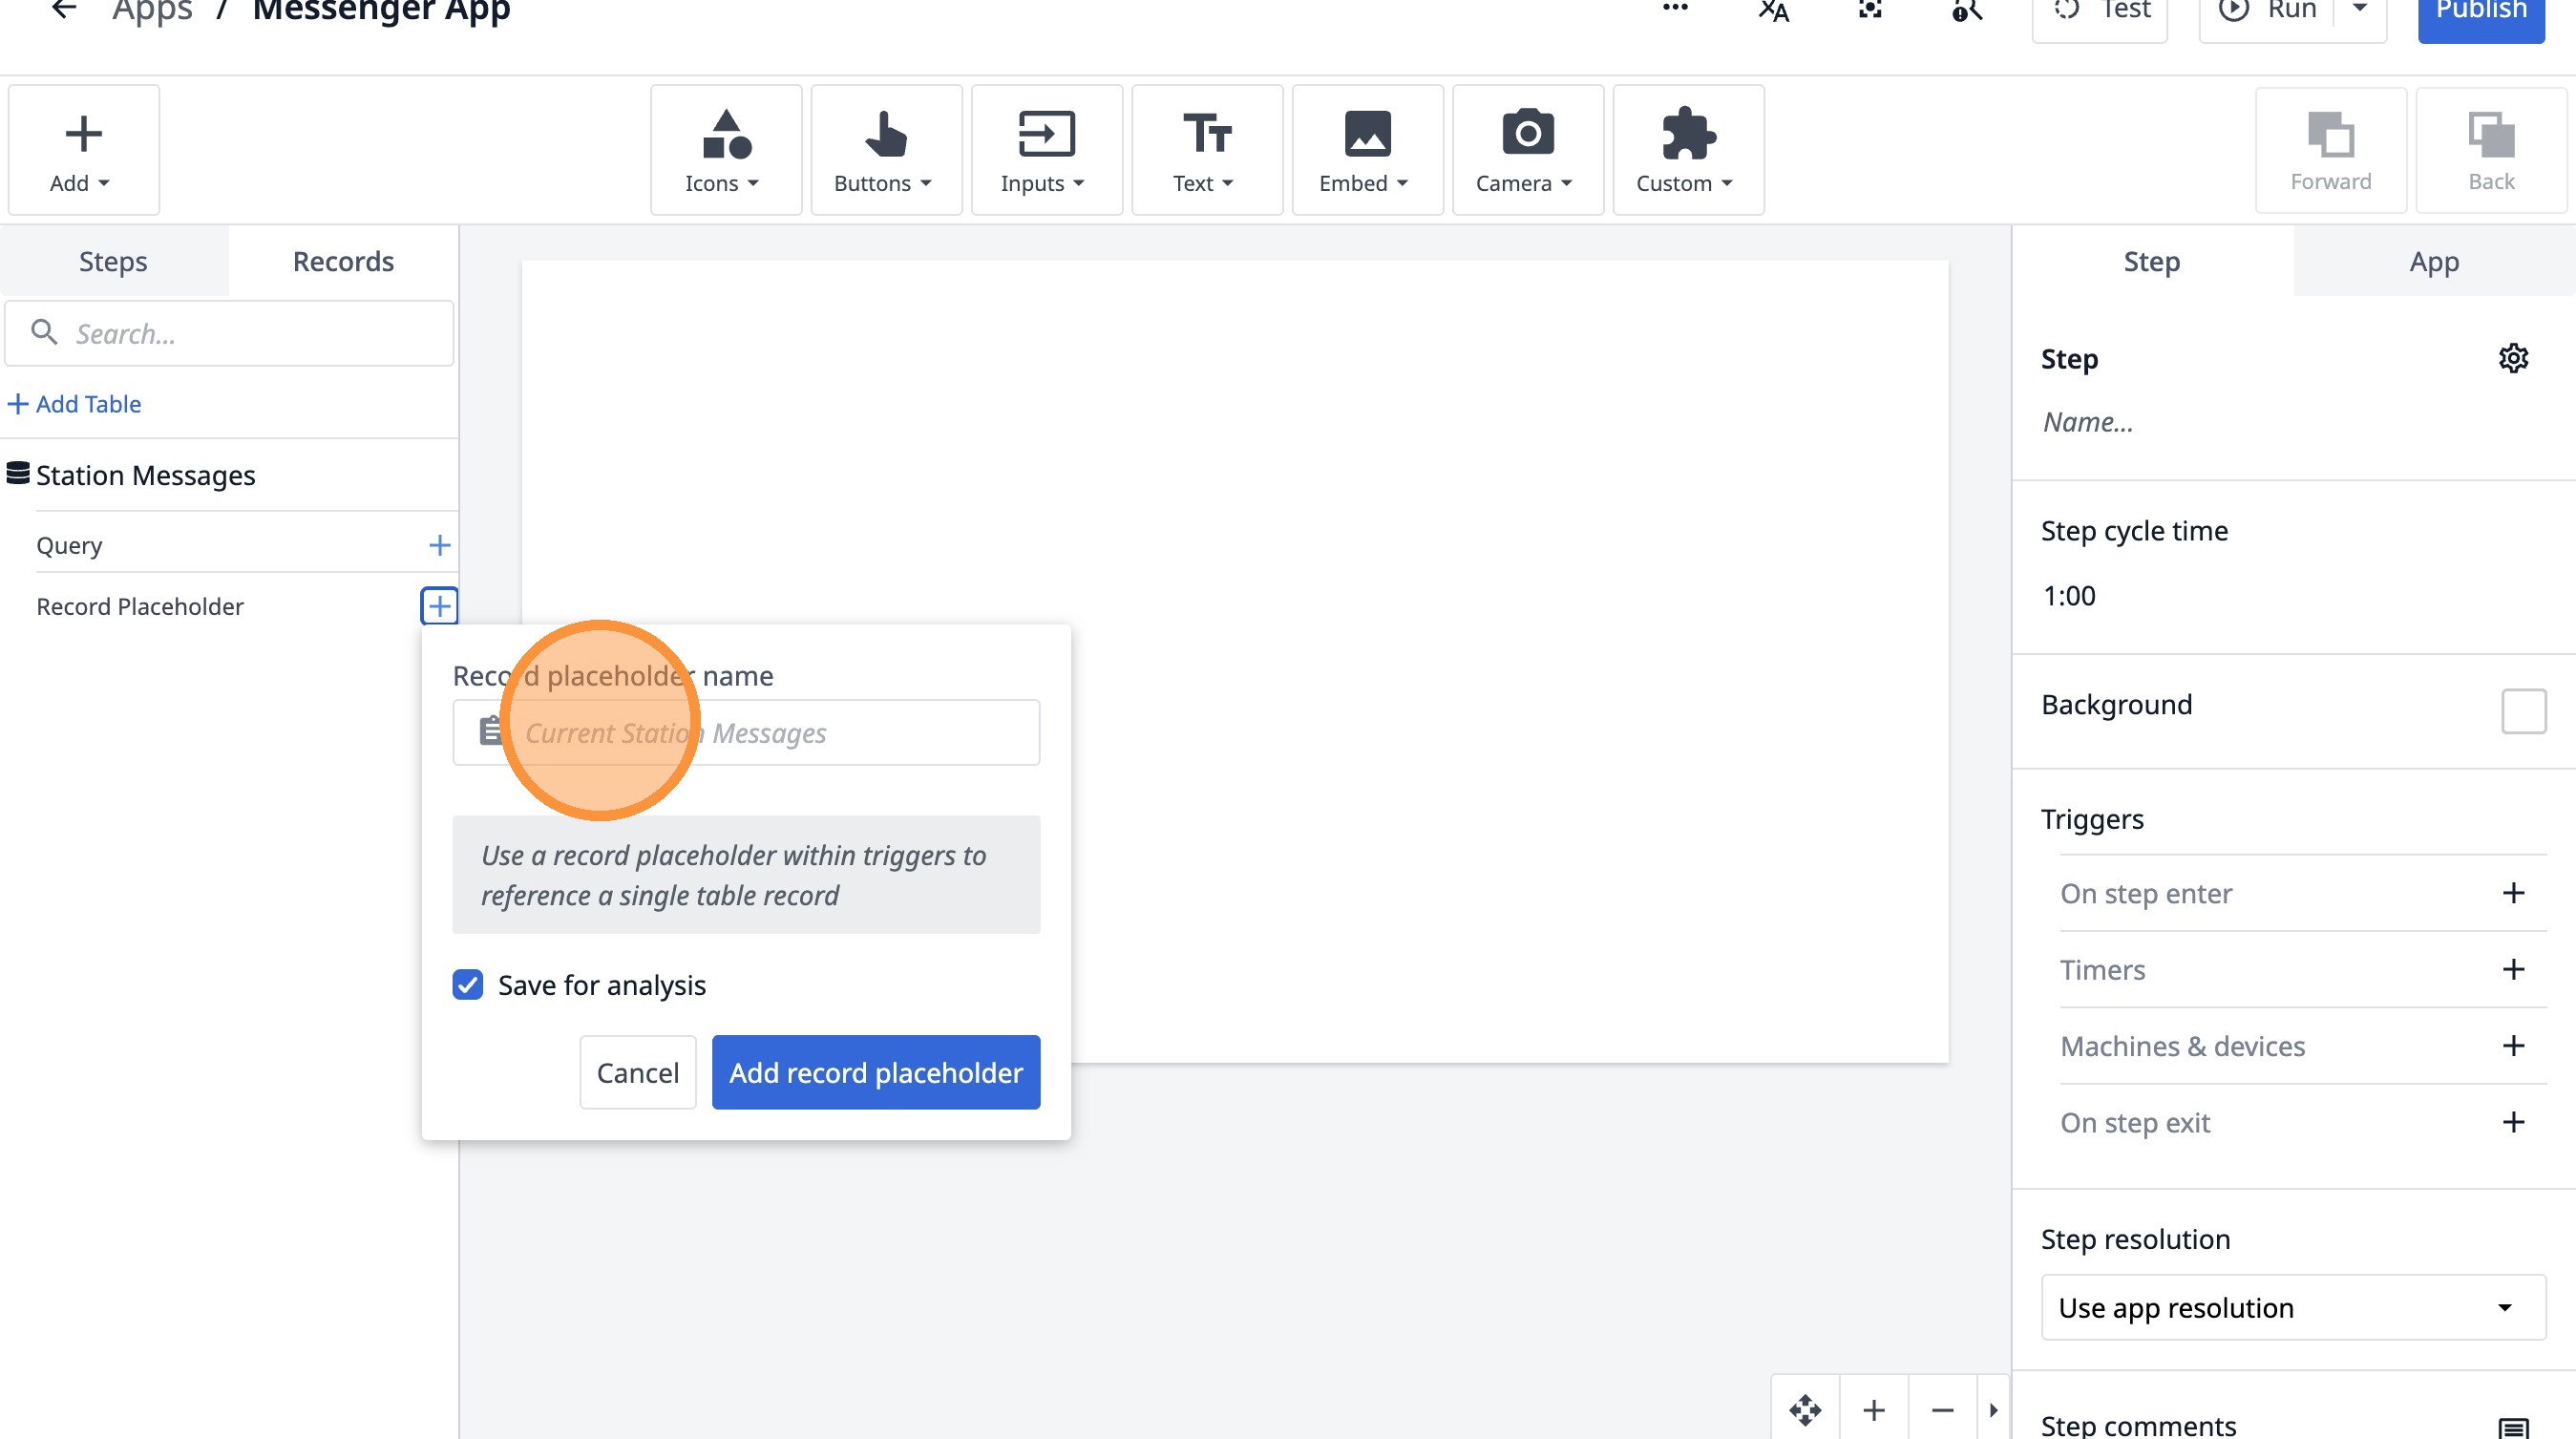
13. Type "Sent Message"
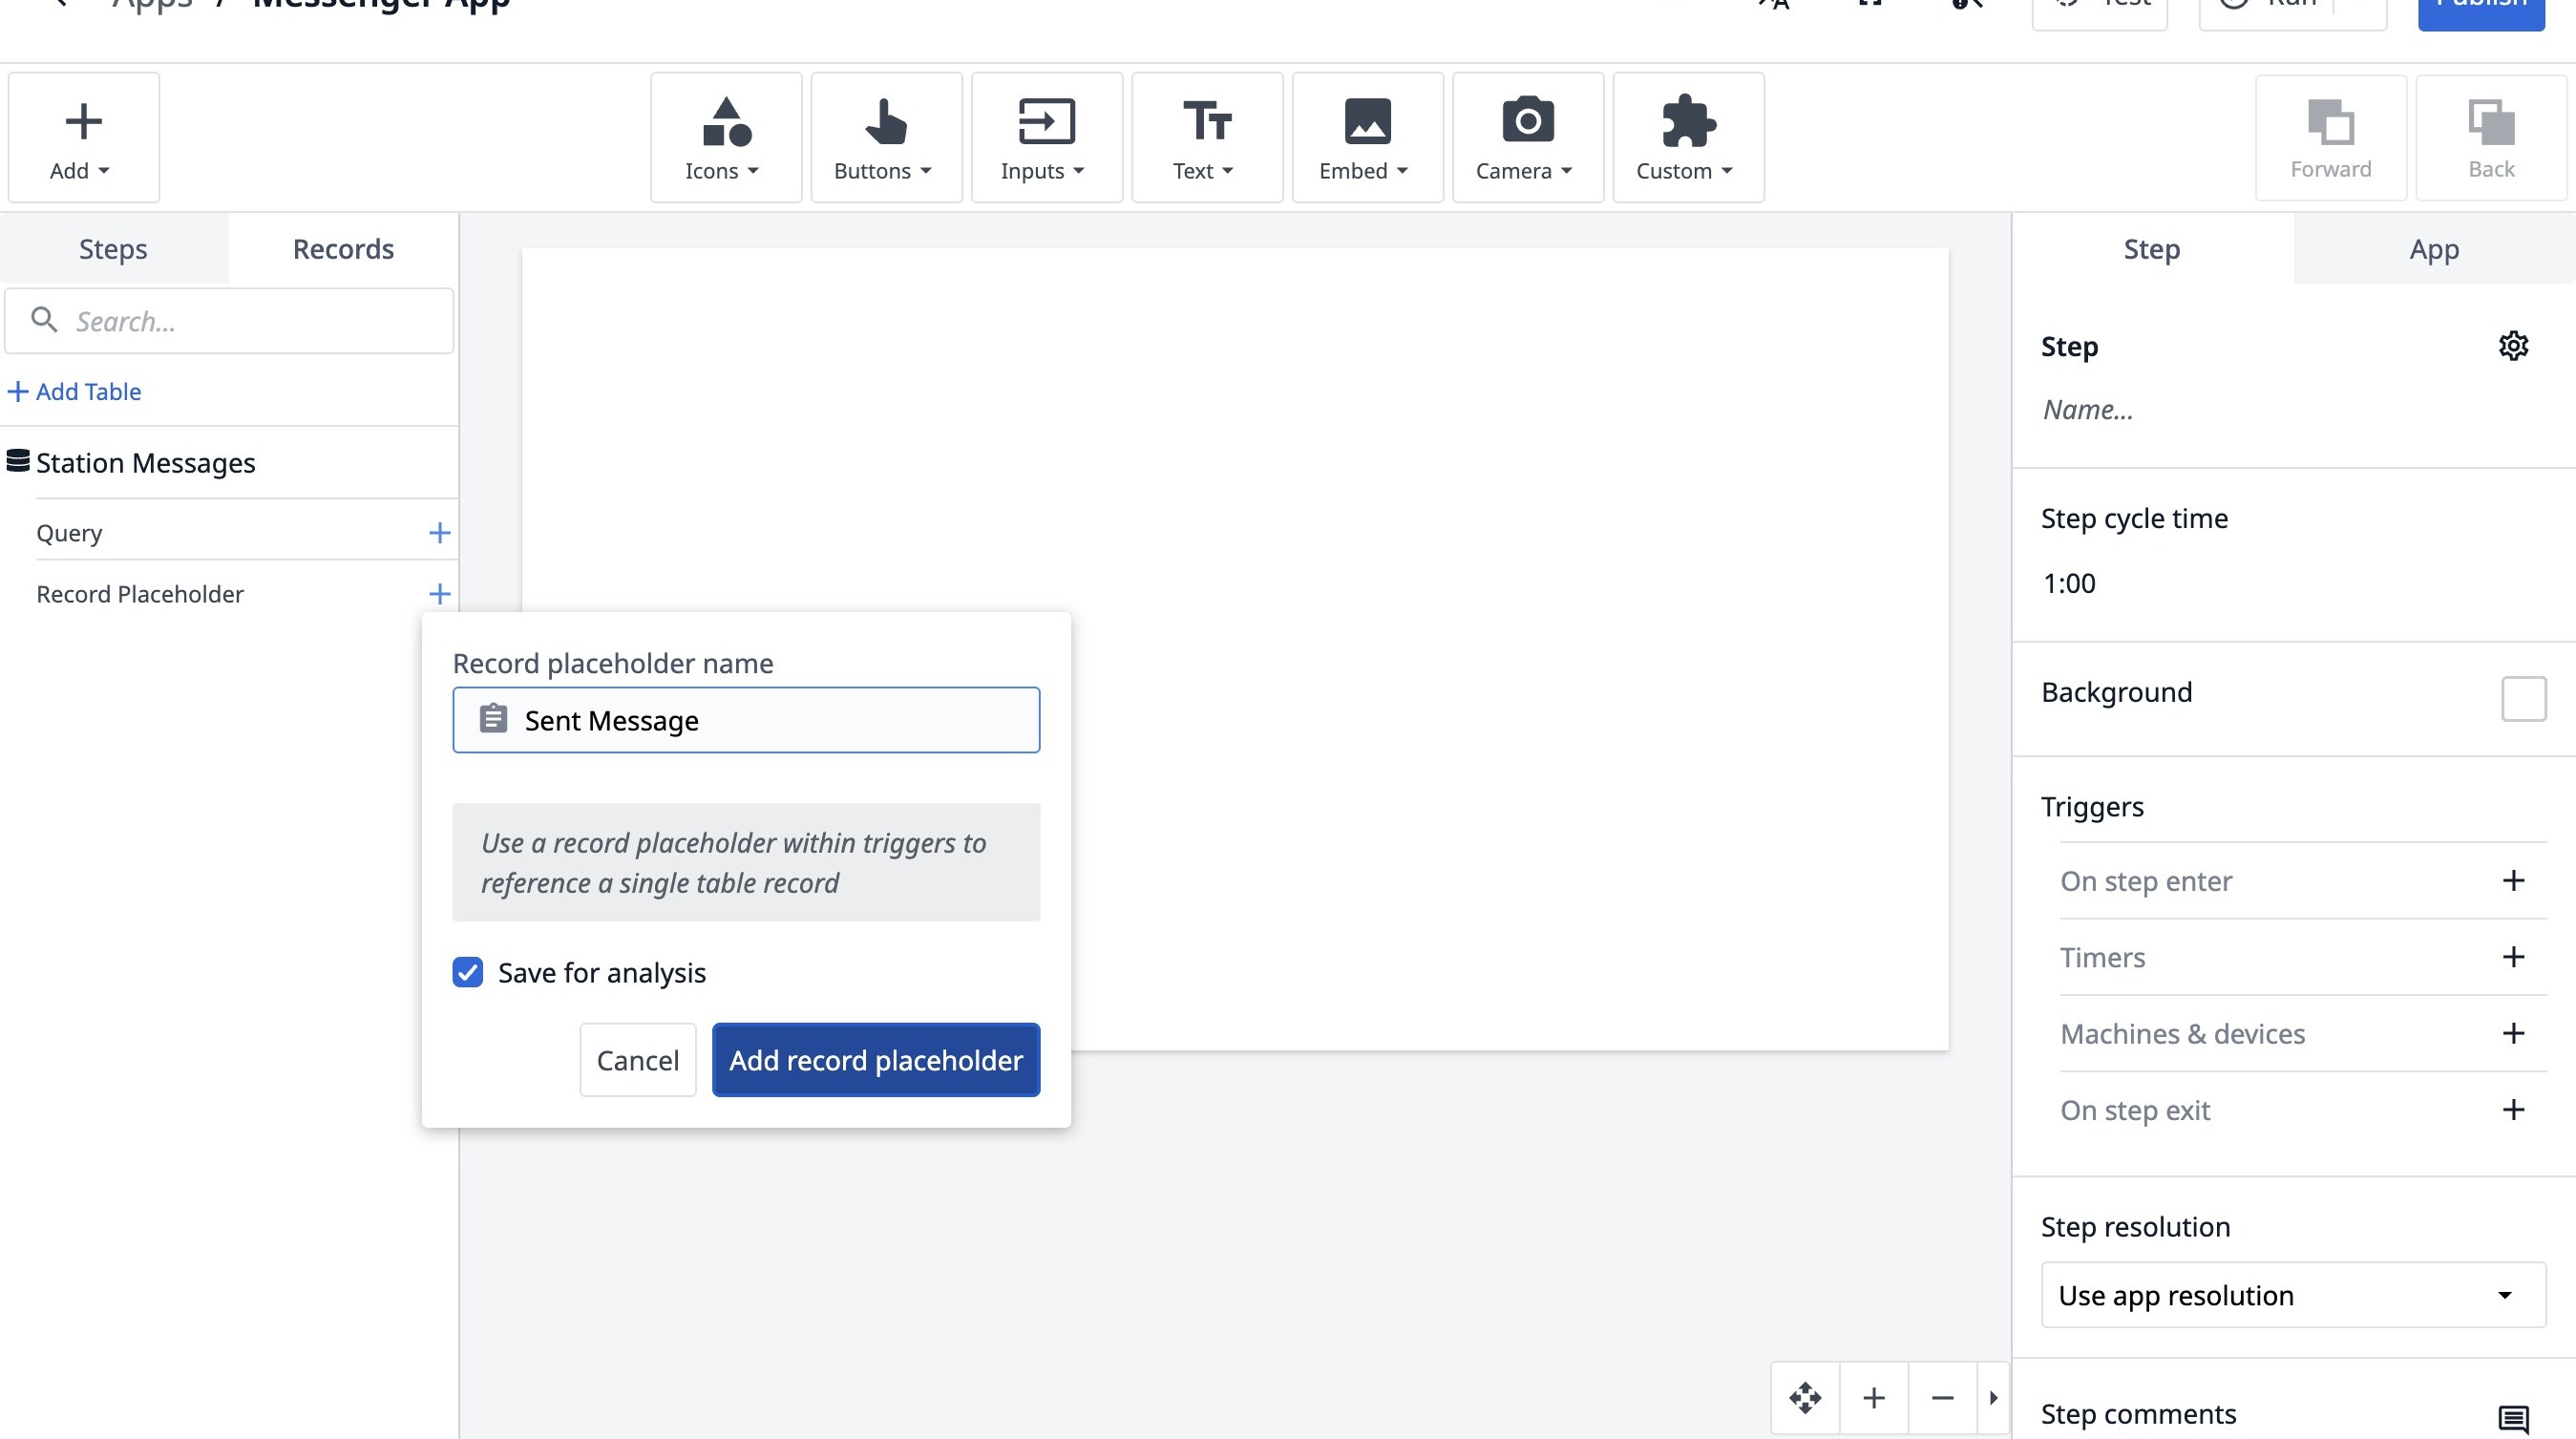
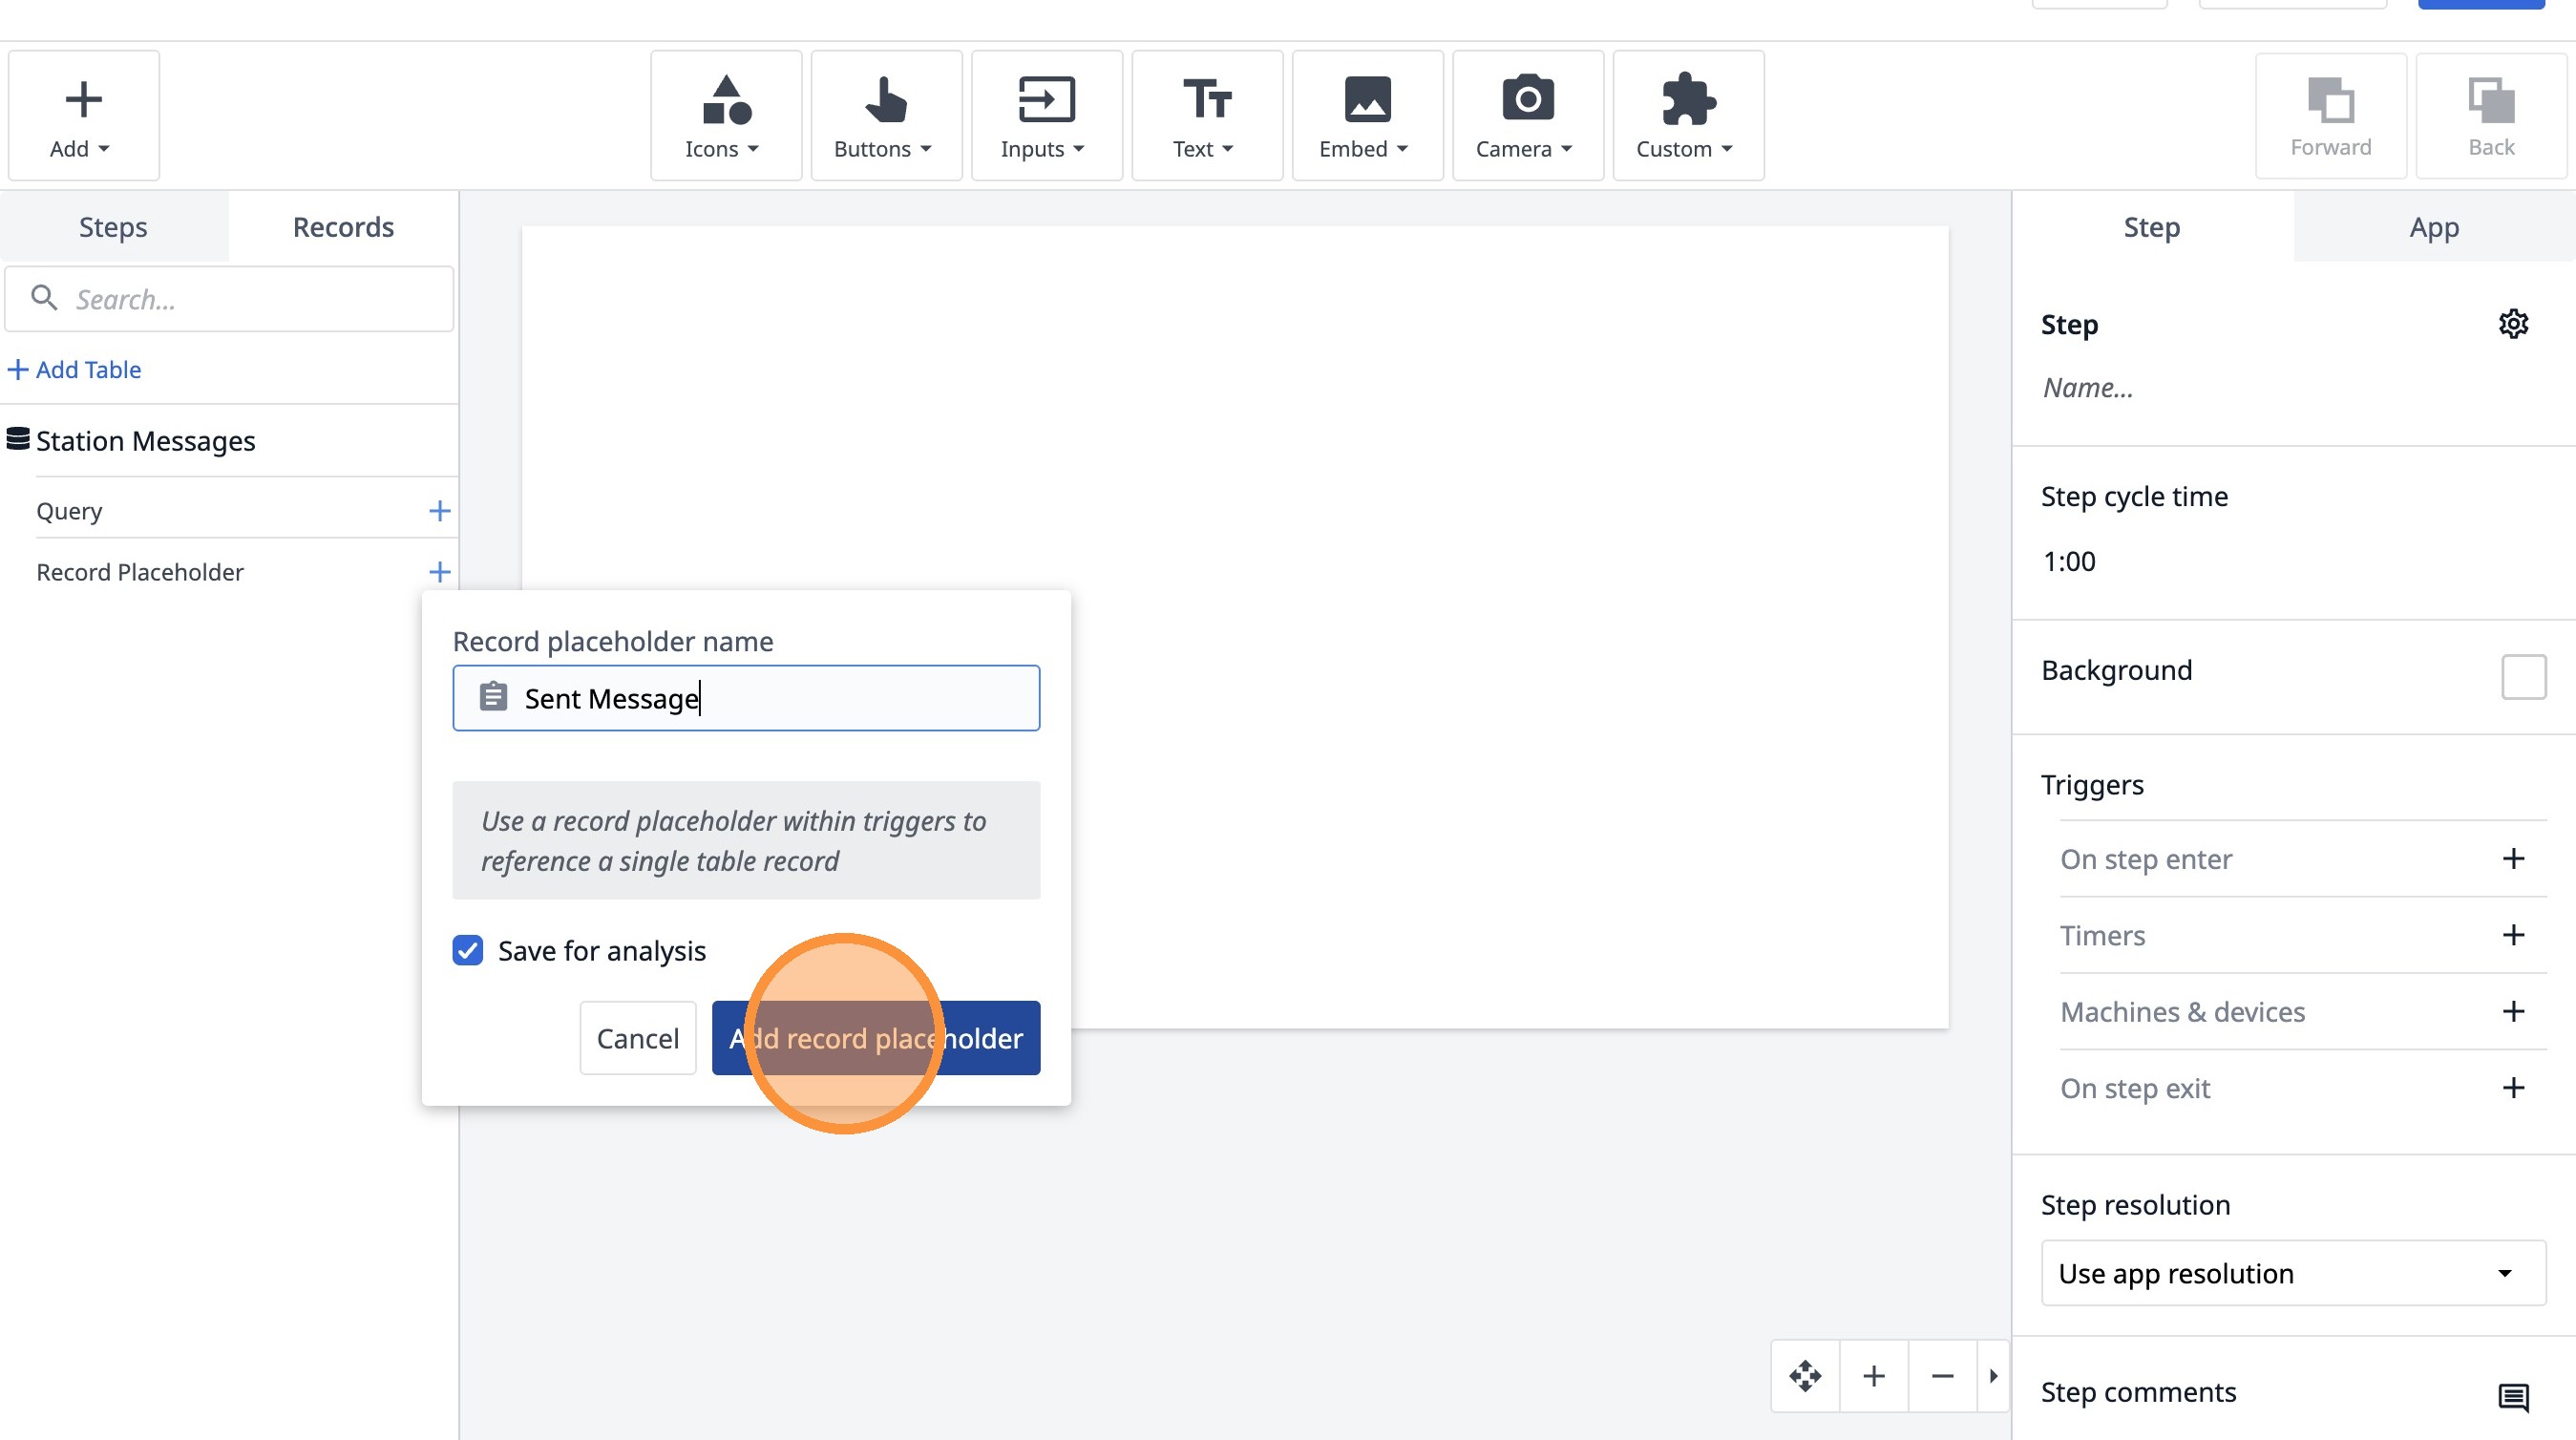
14. Click "Add record placeholder"
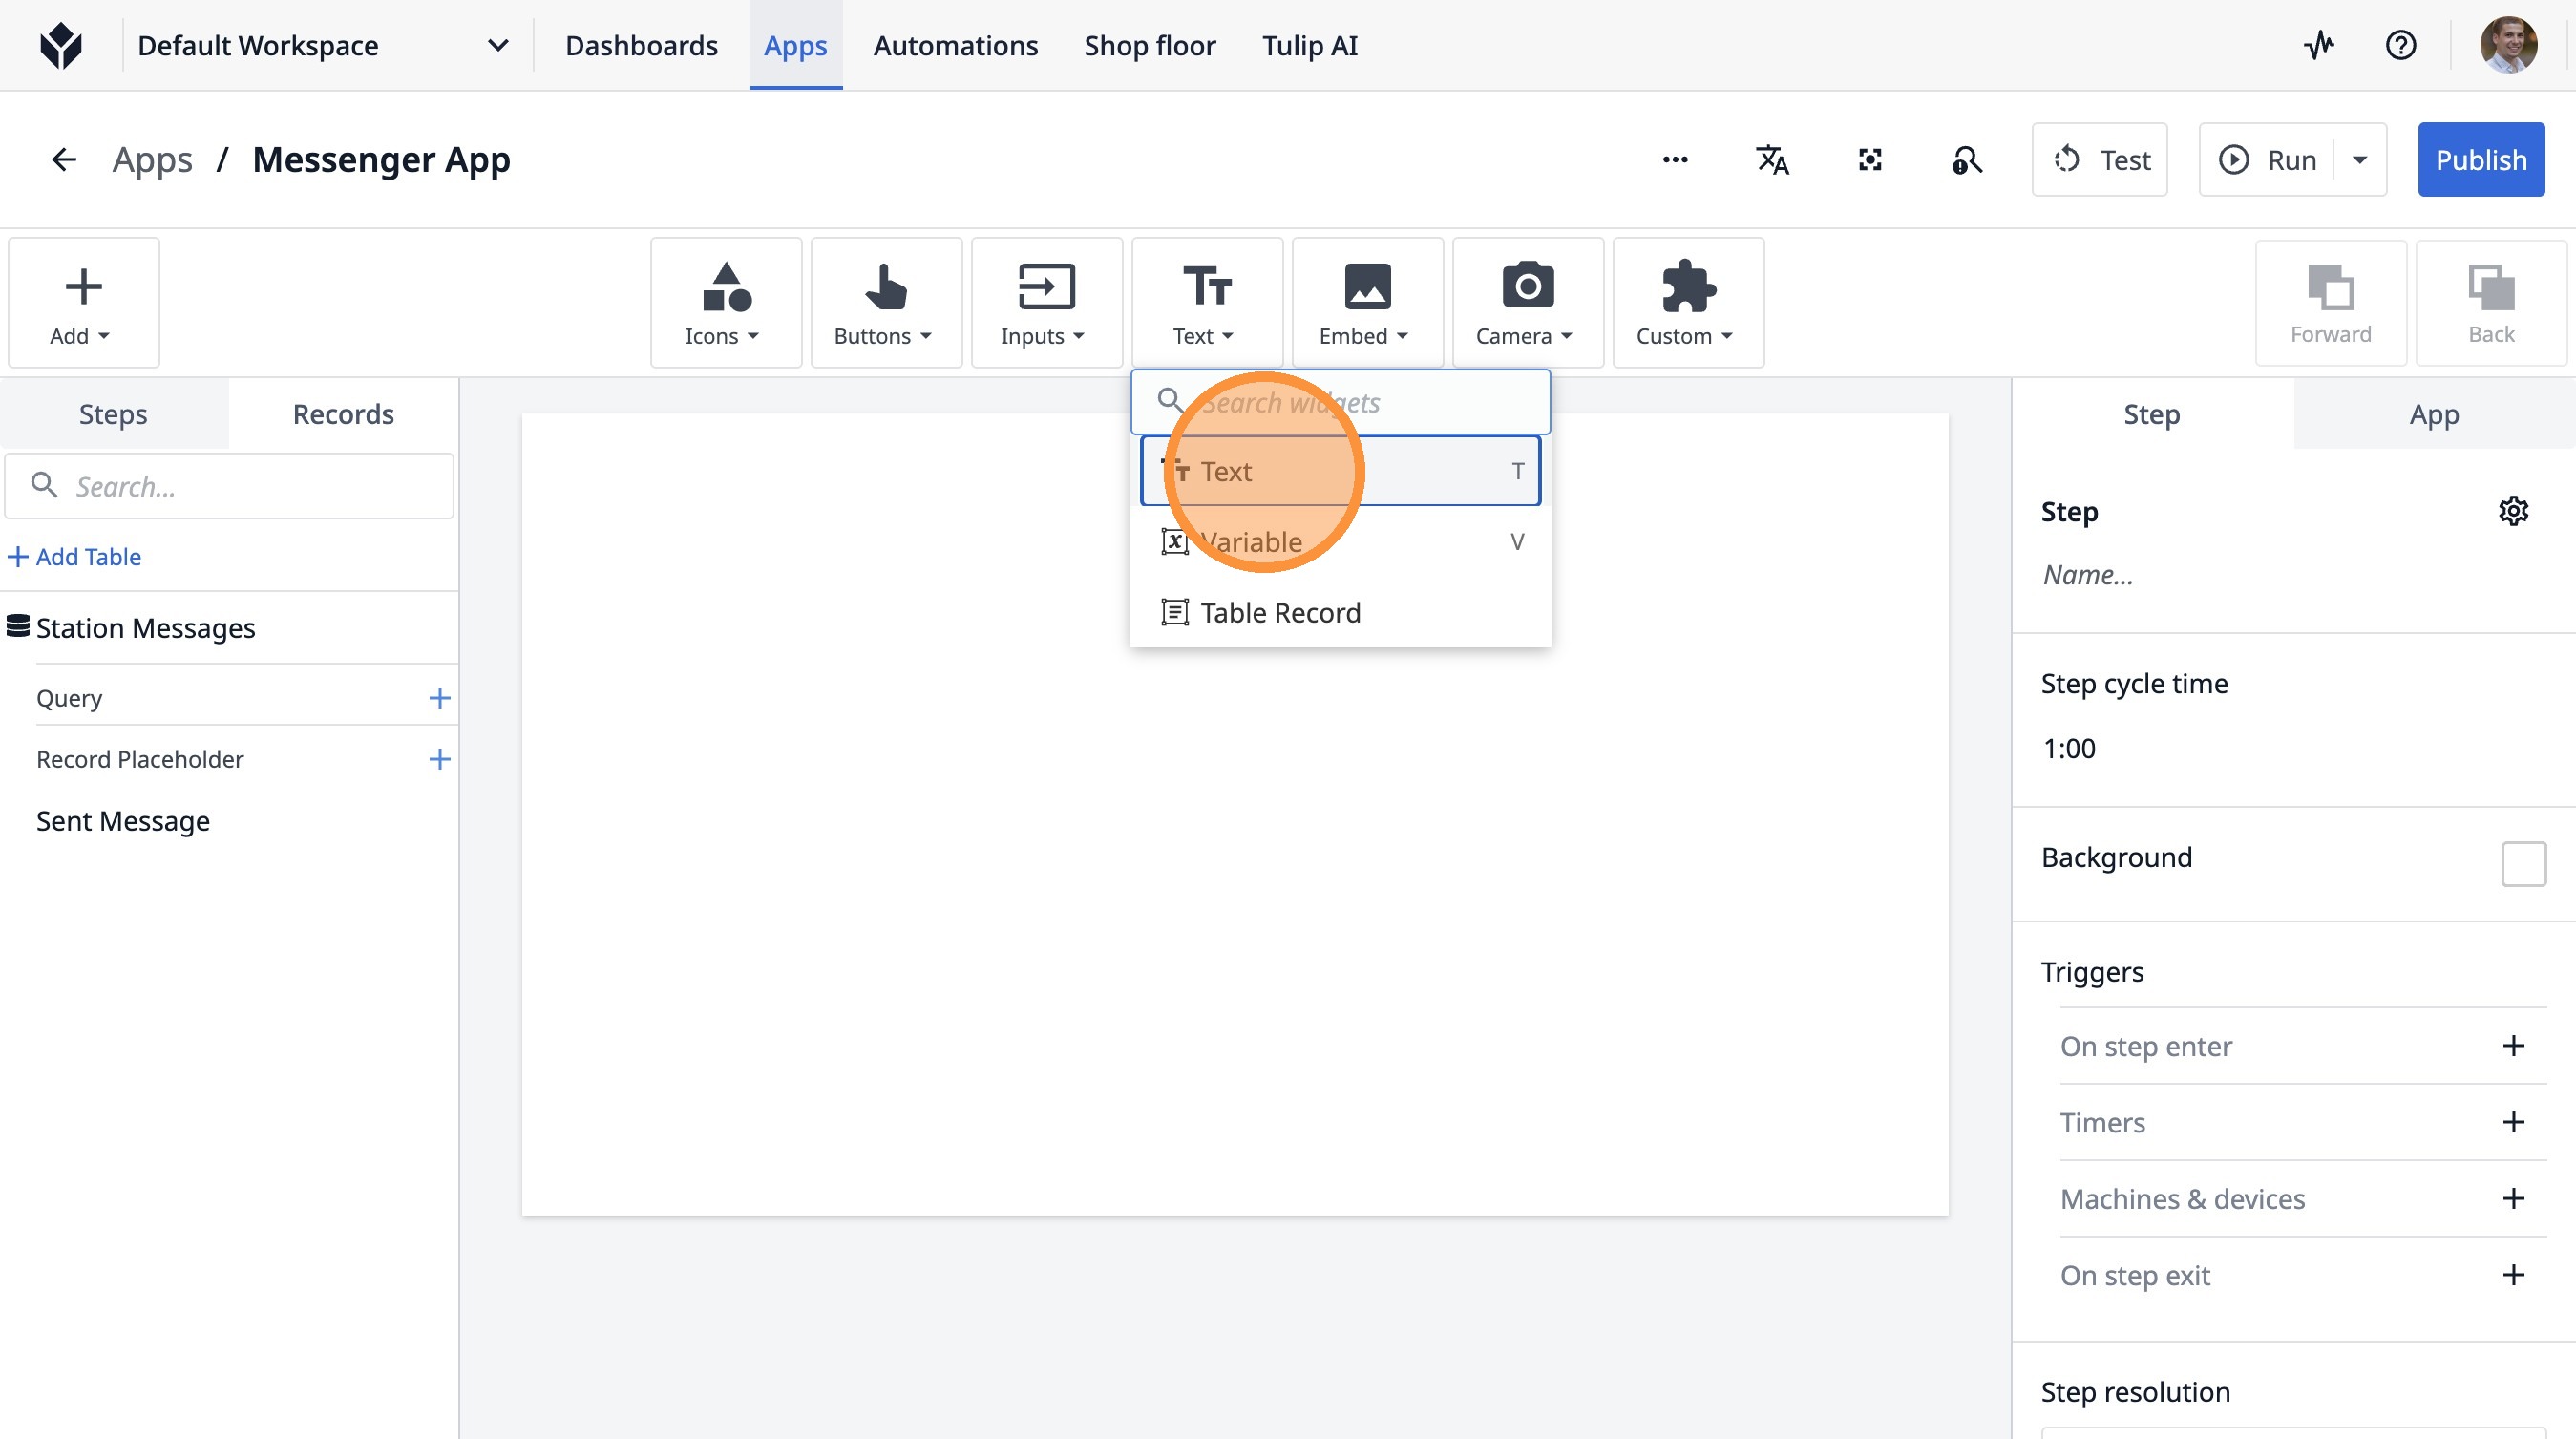
15. Click this icon.
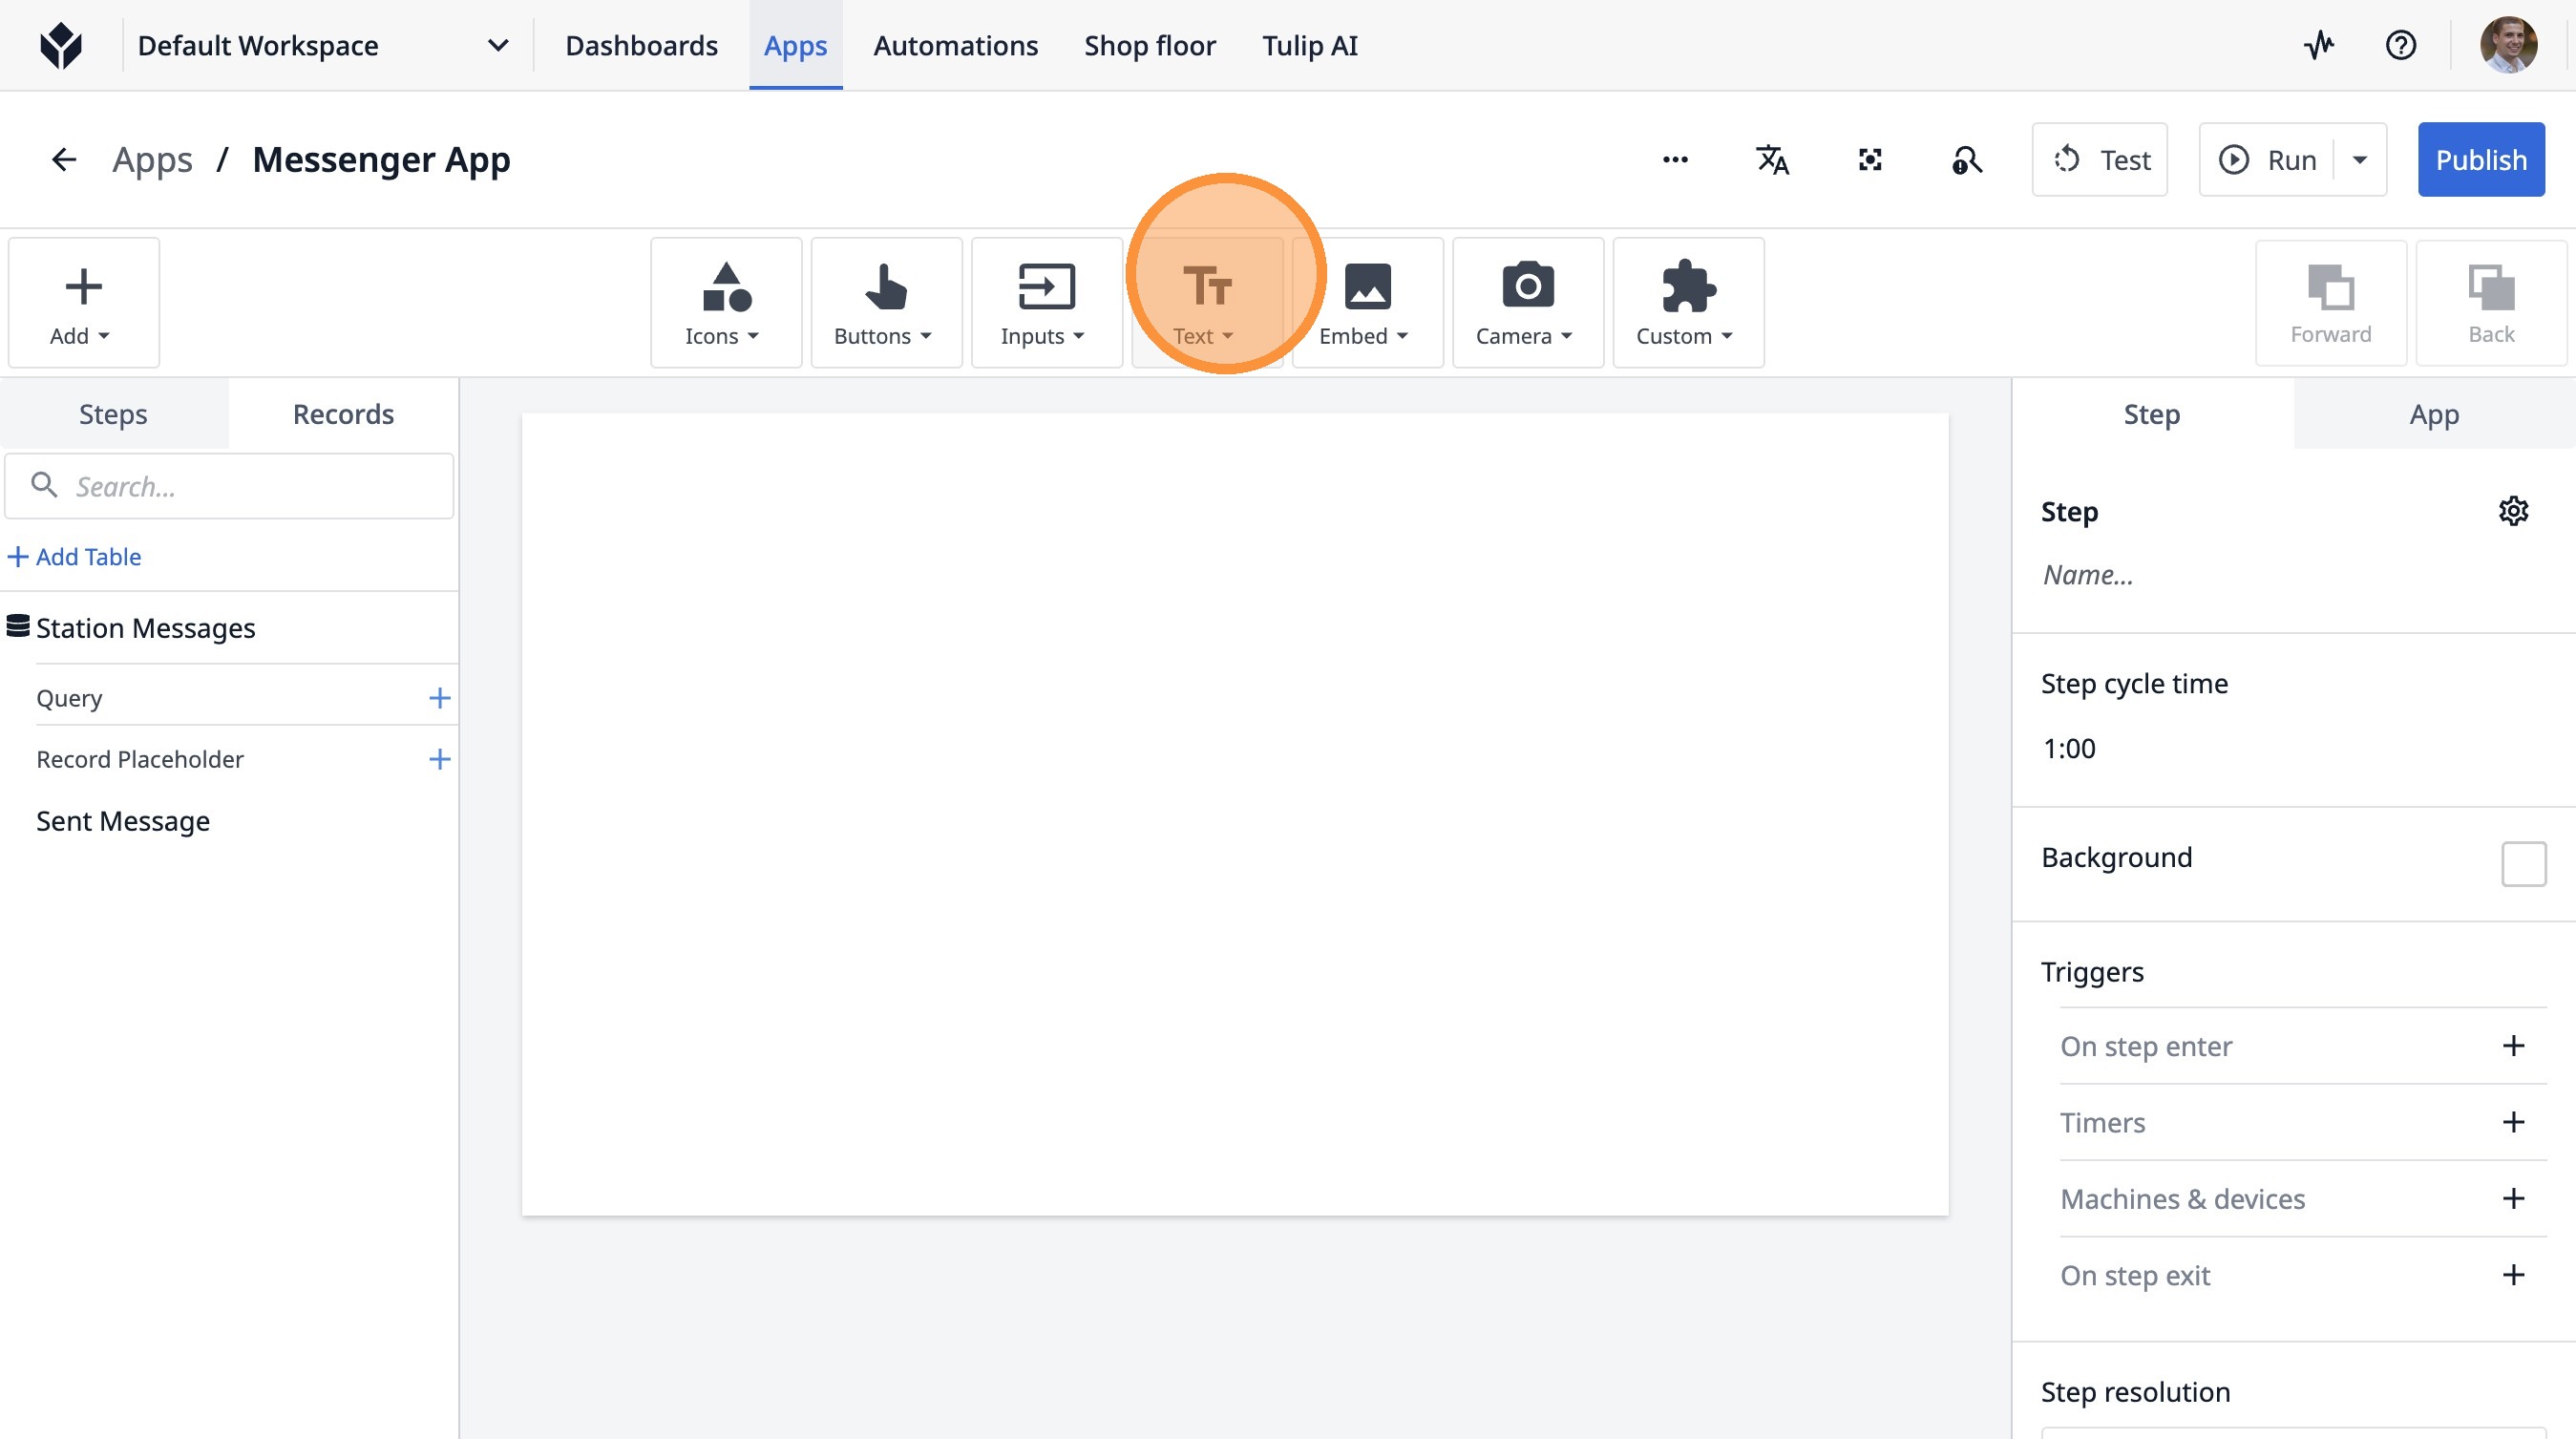
16. Click "TextT"
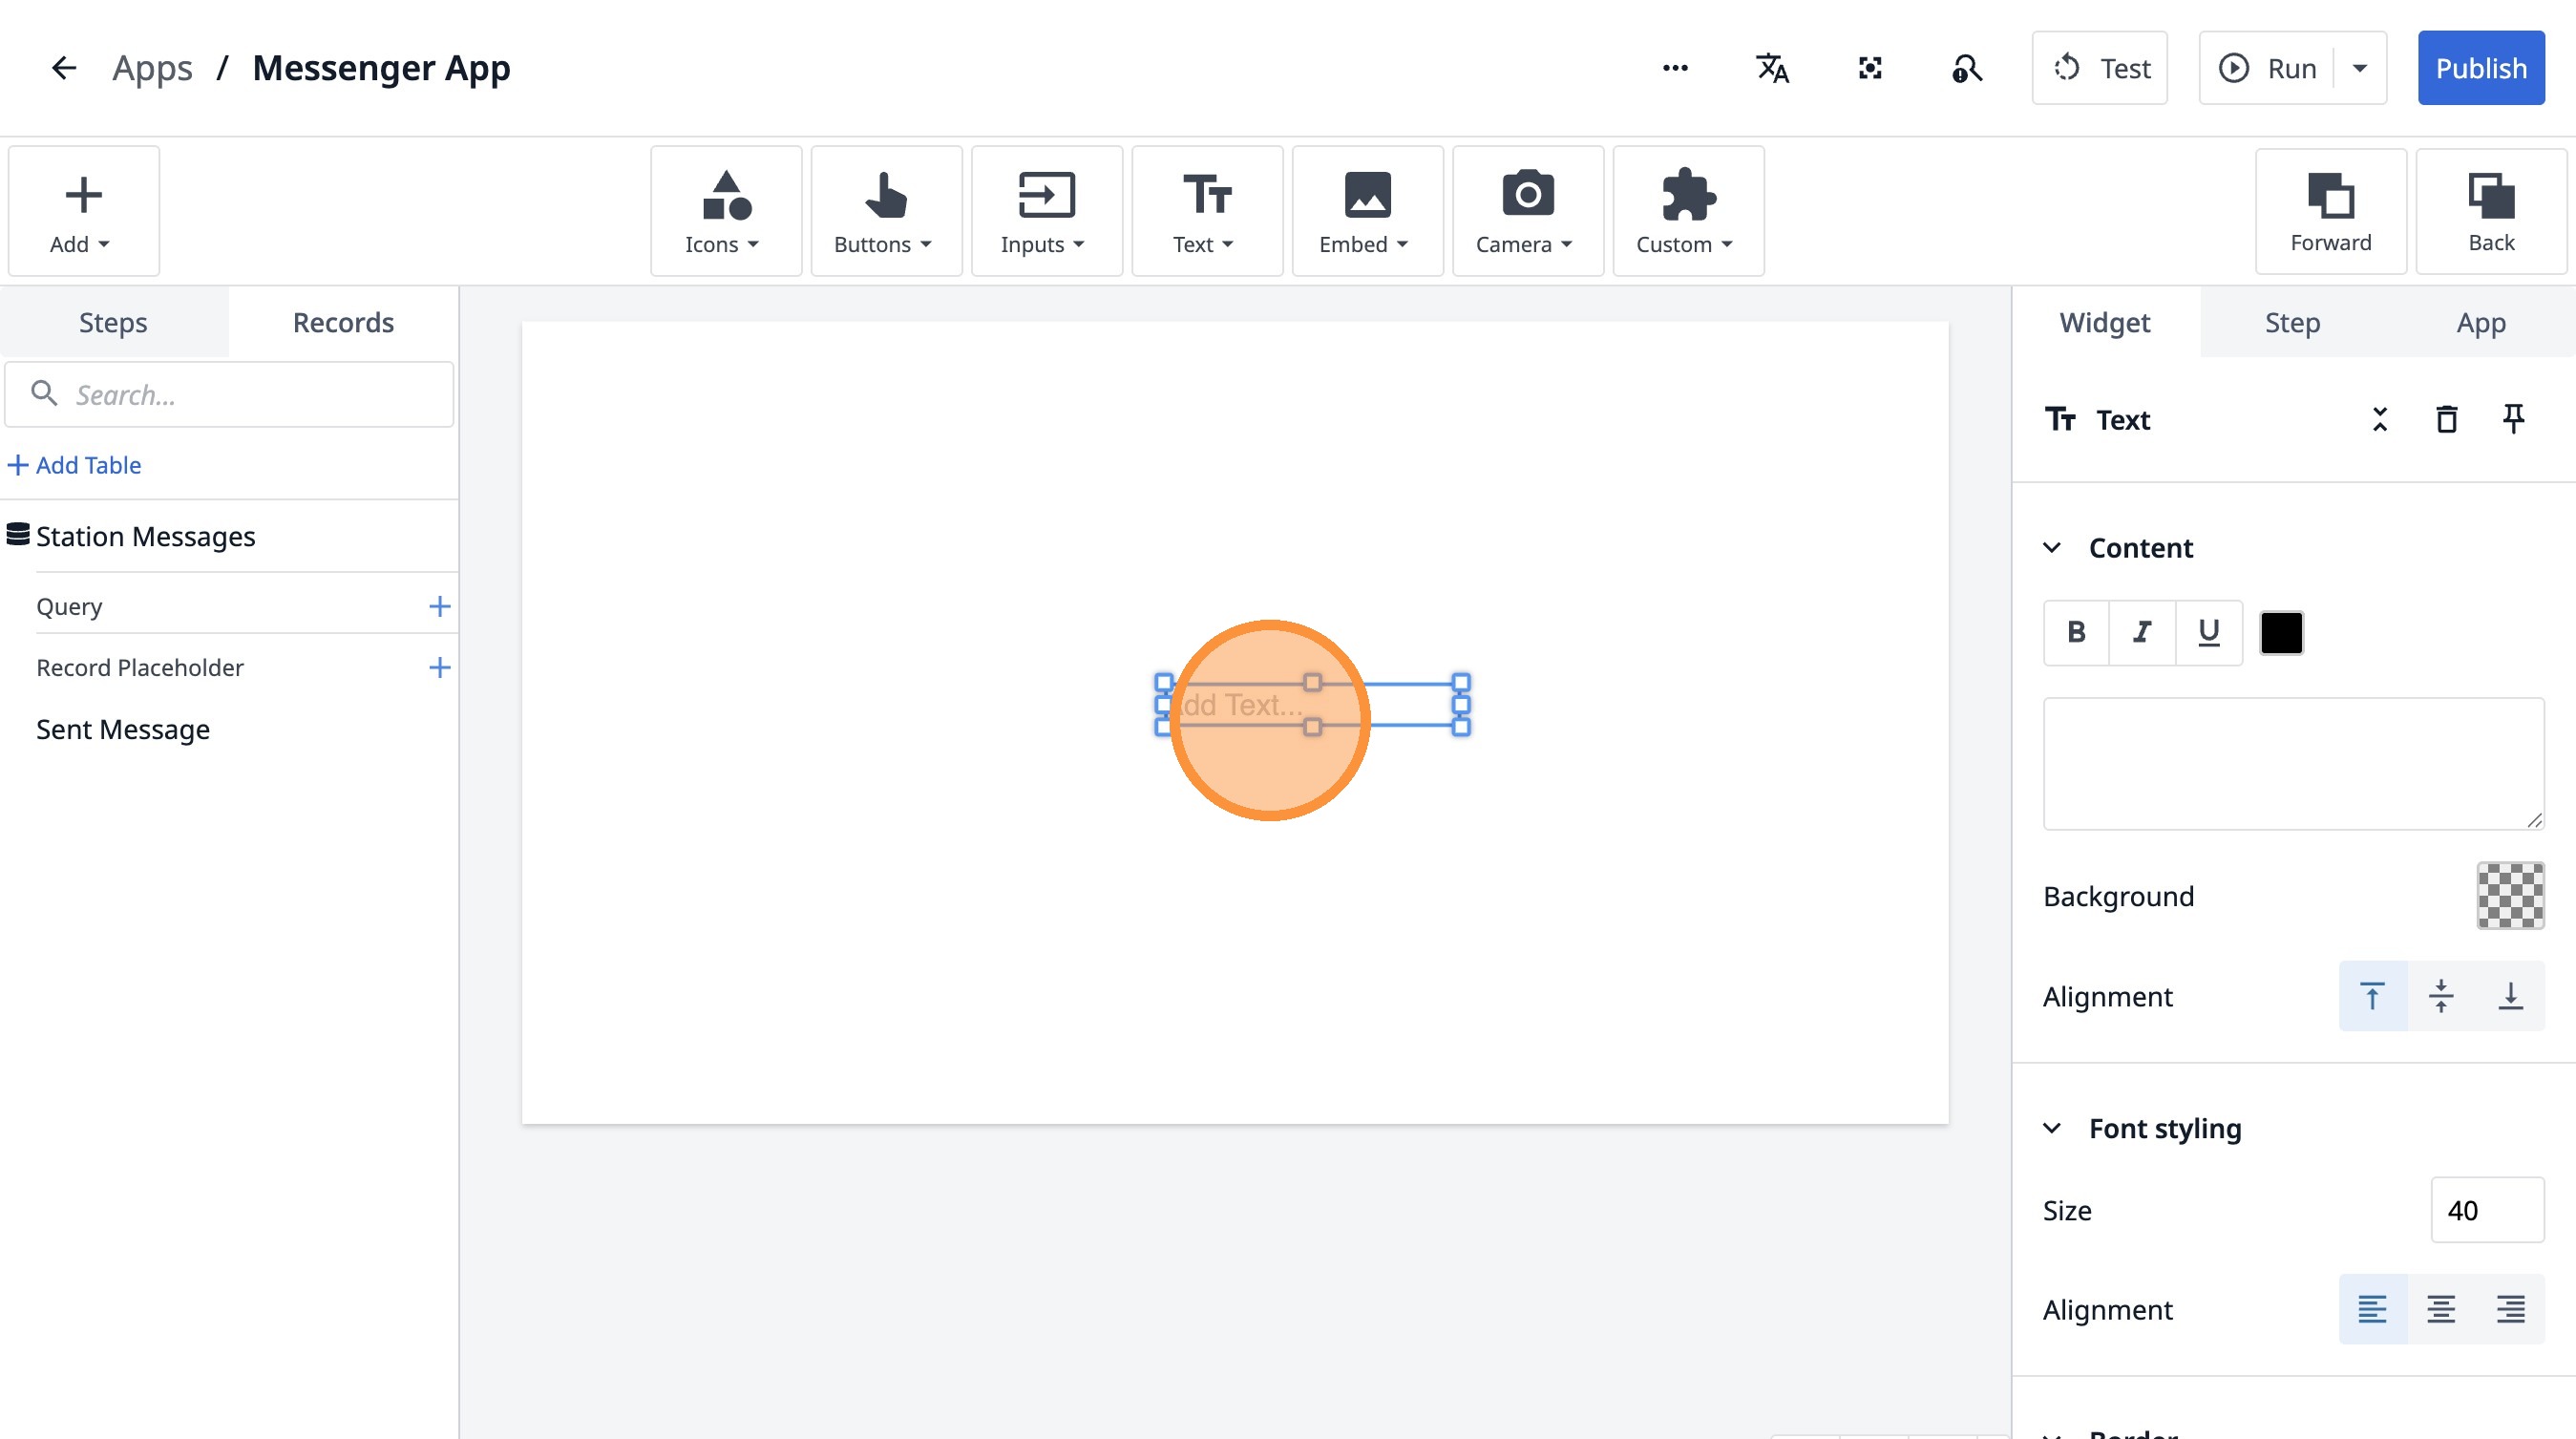
17. Click "Add Text..."
18. Click here.

19. Type "Send a message"
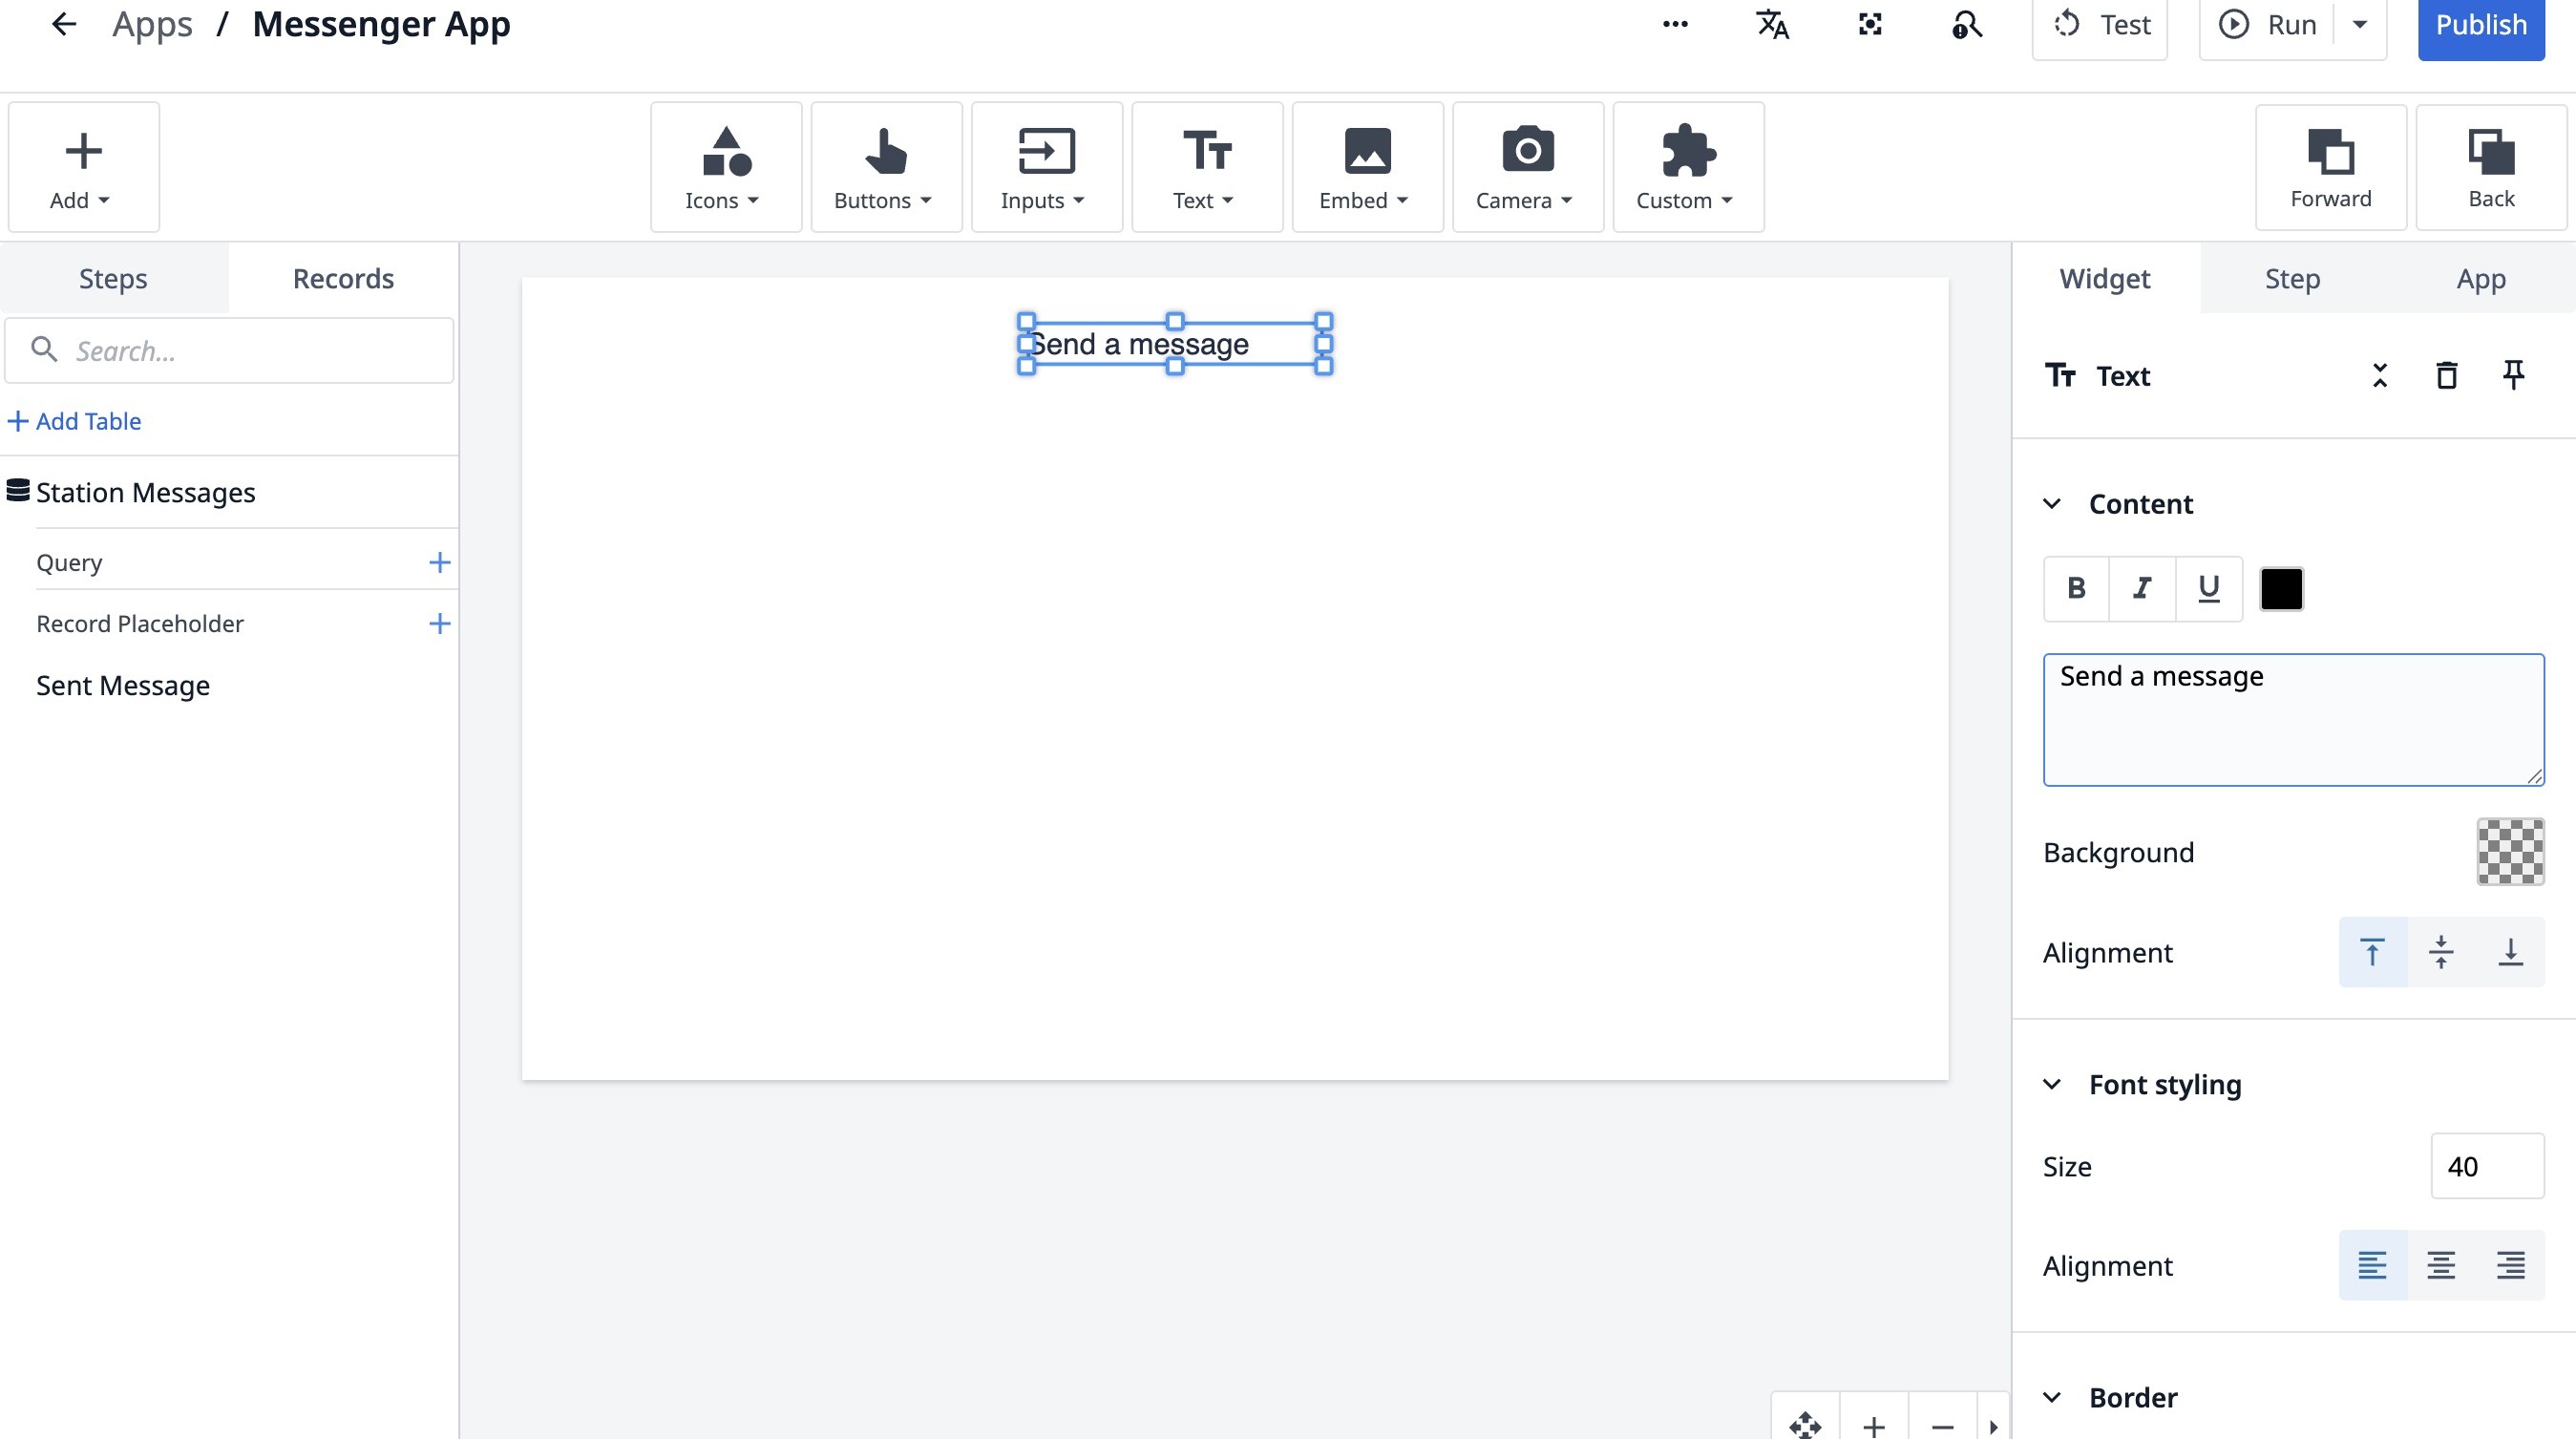
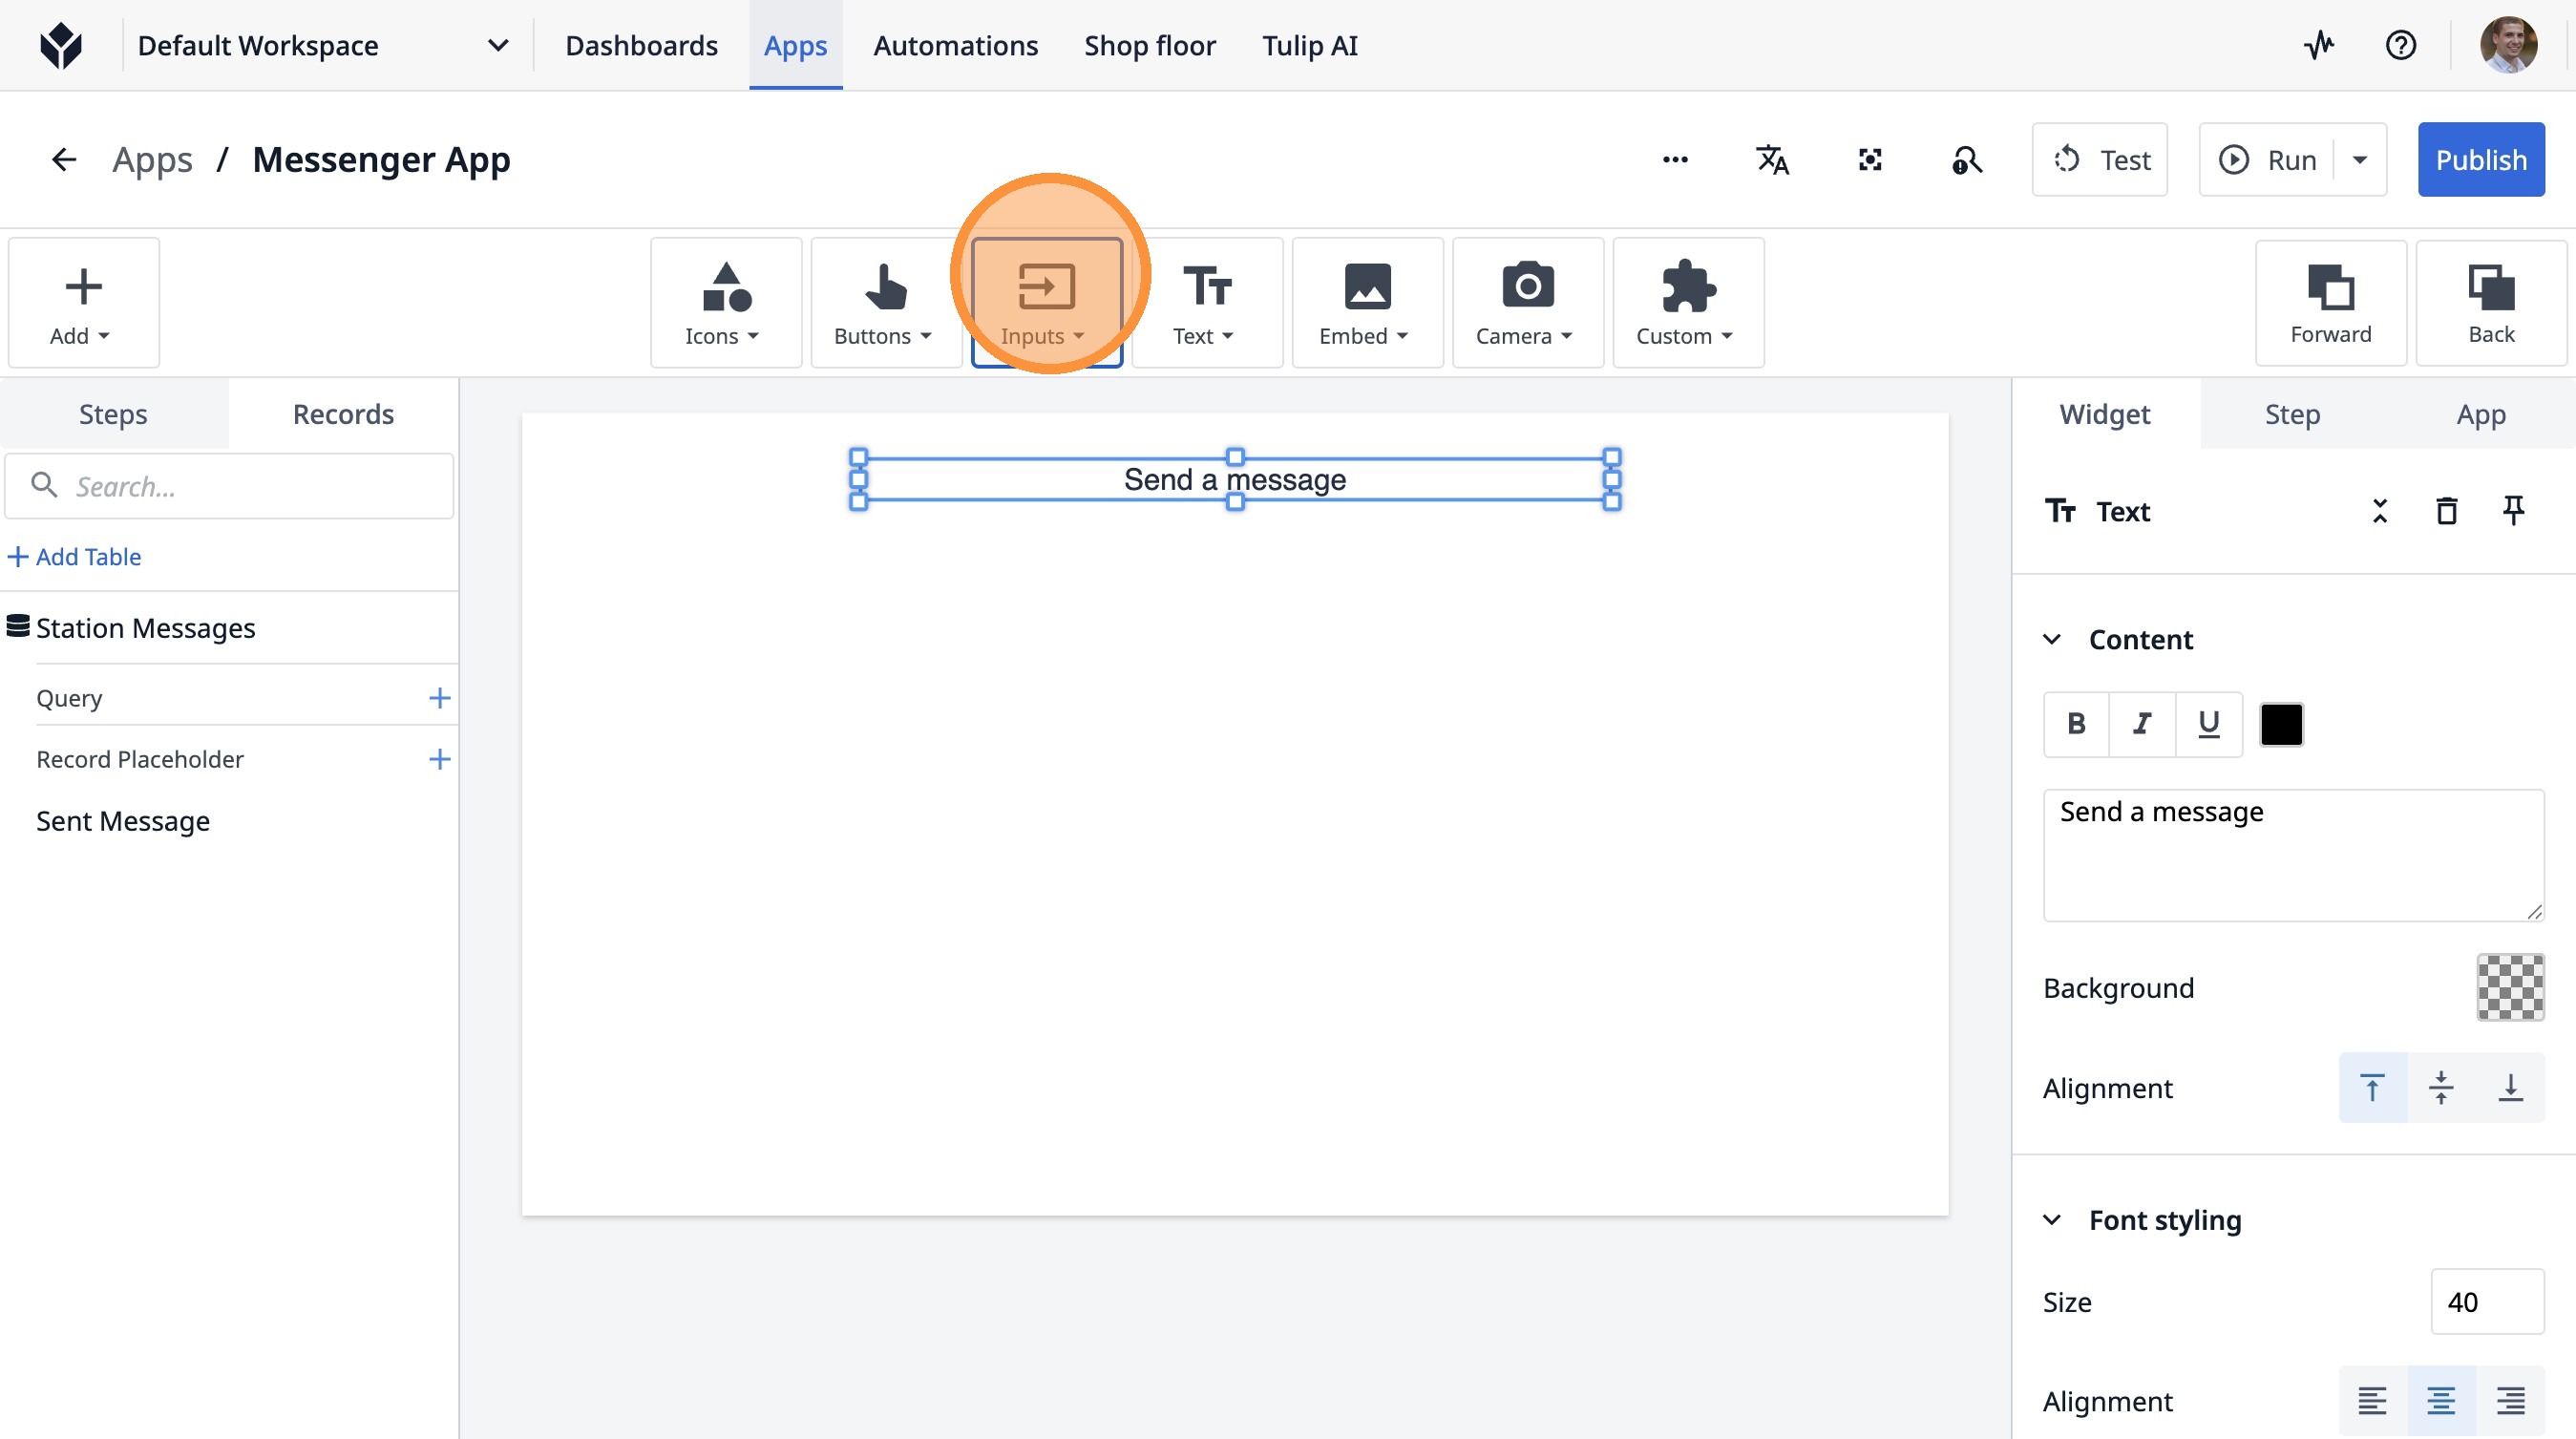
20. Click "Send a message"
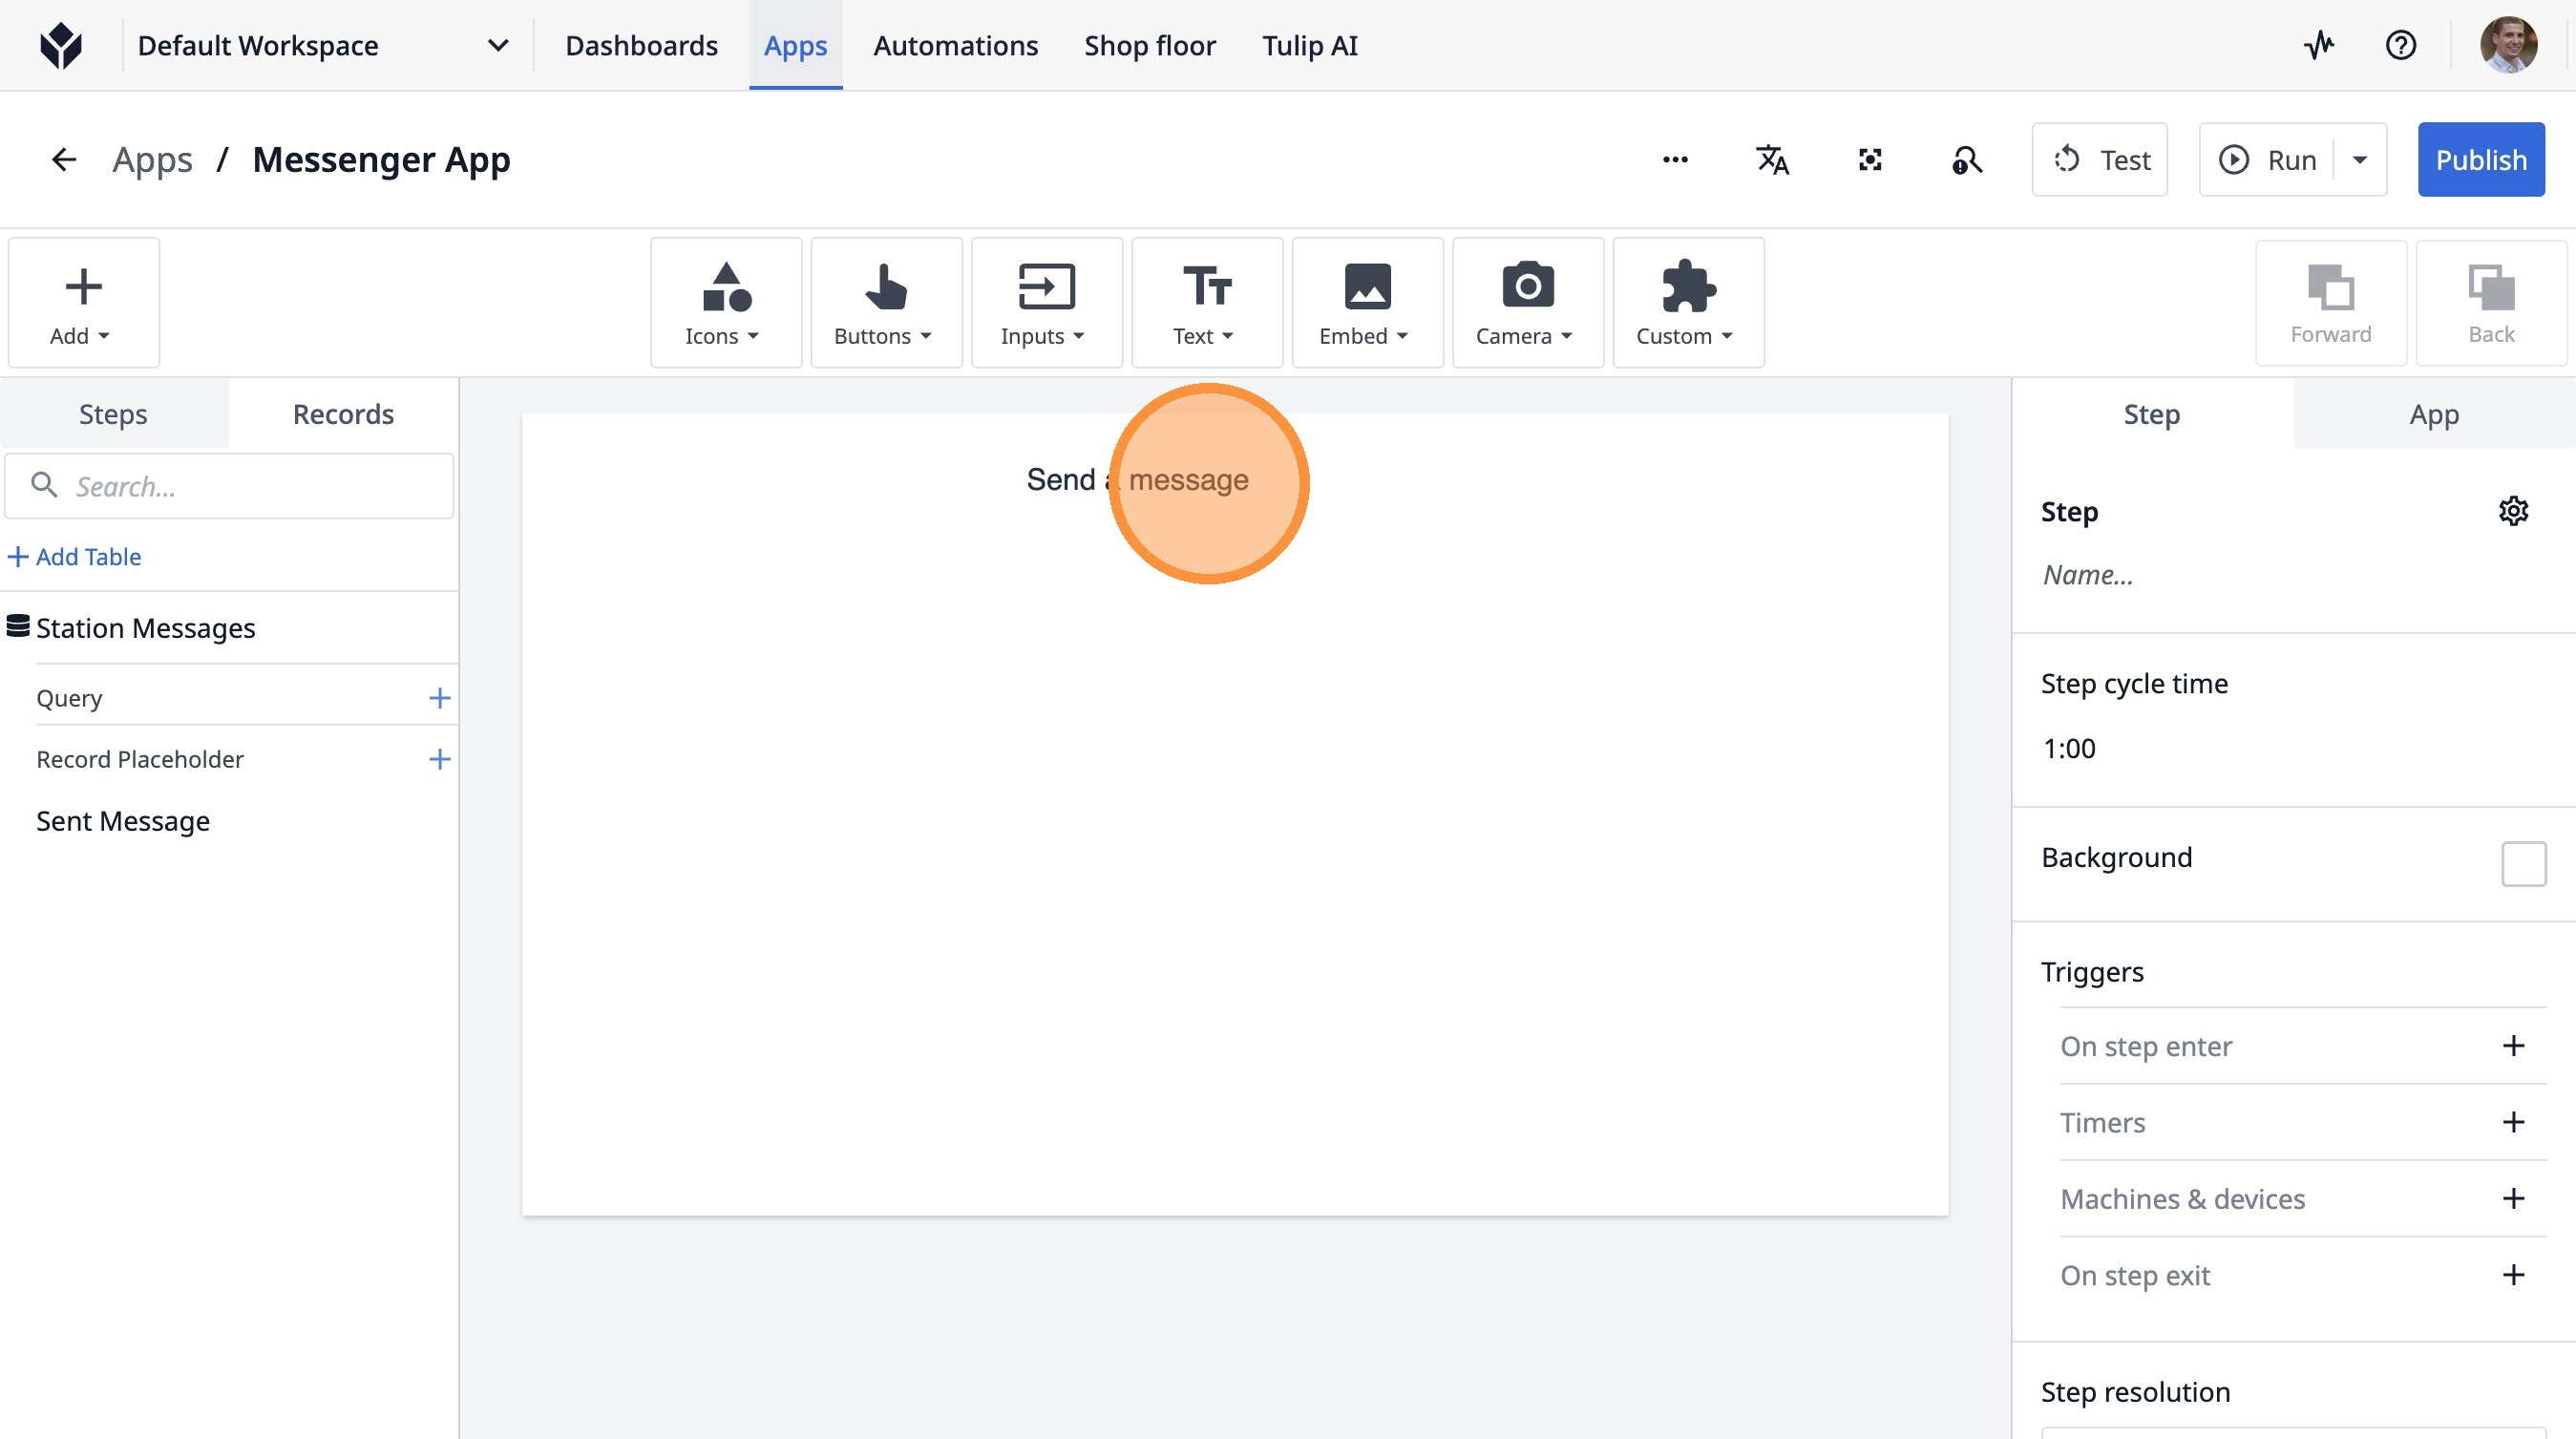
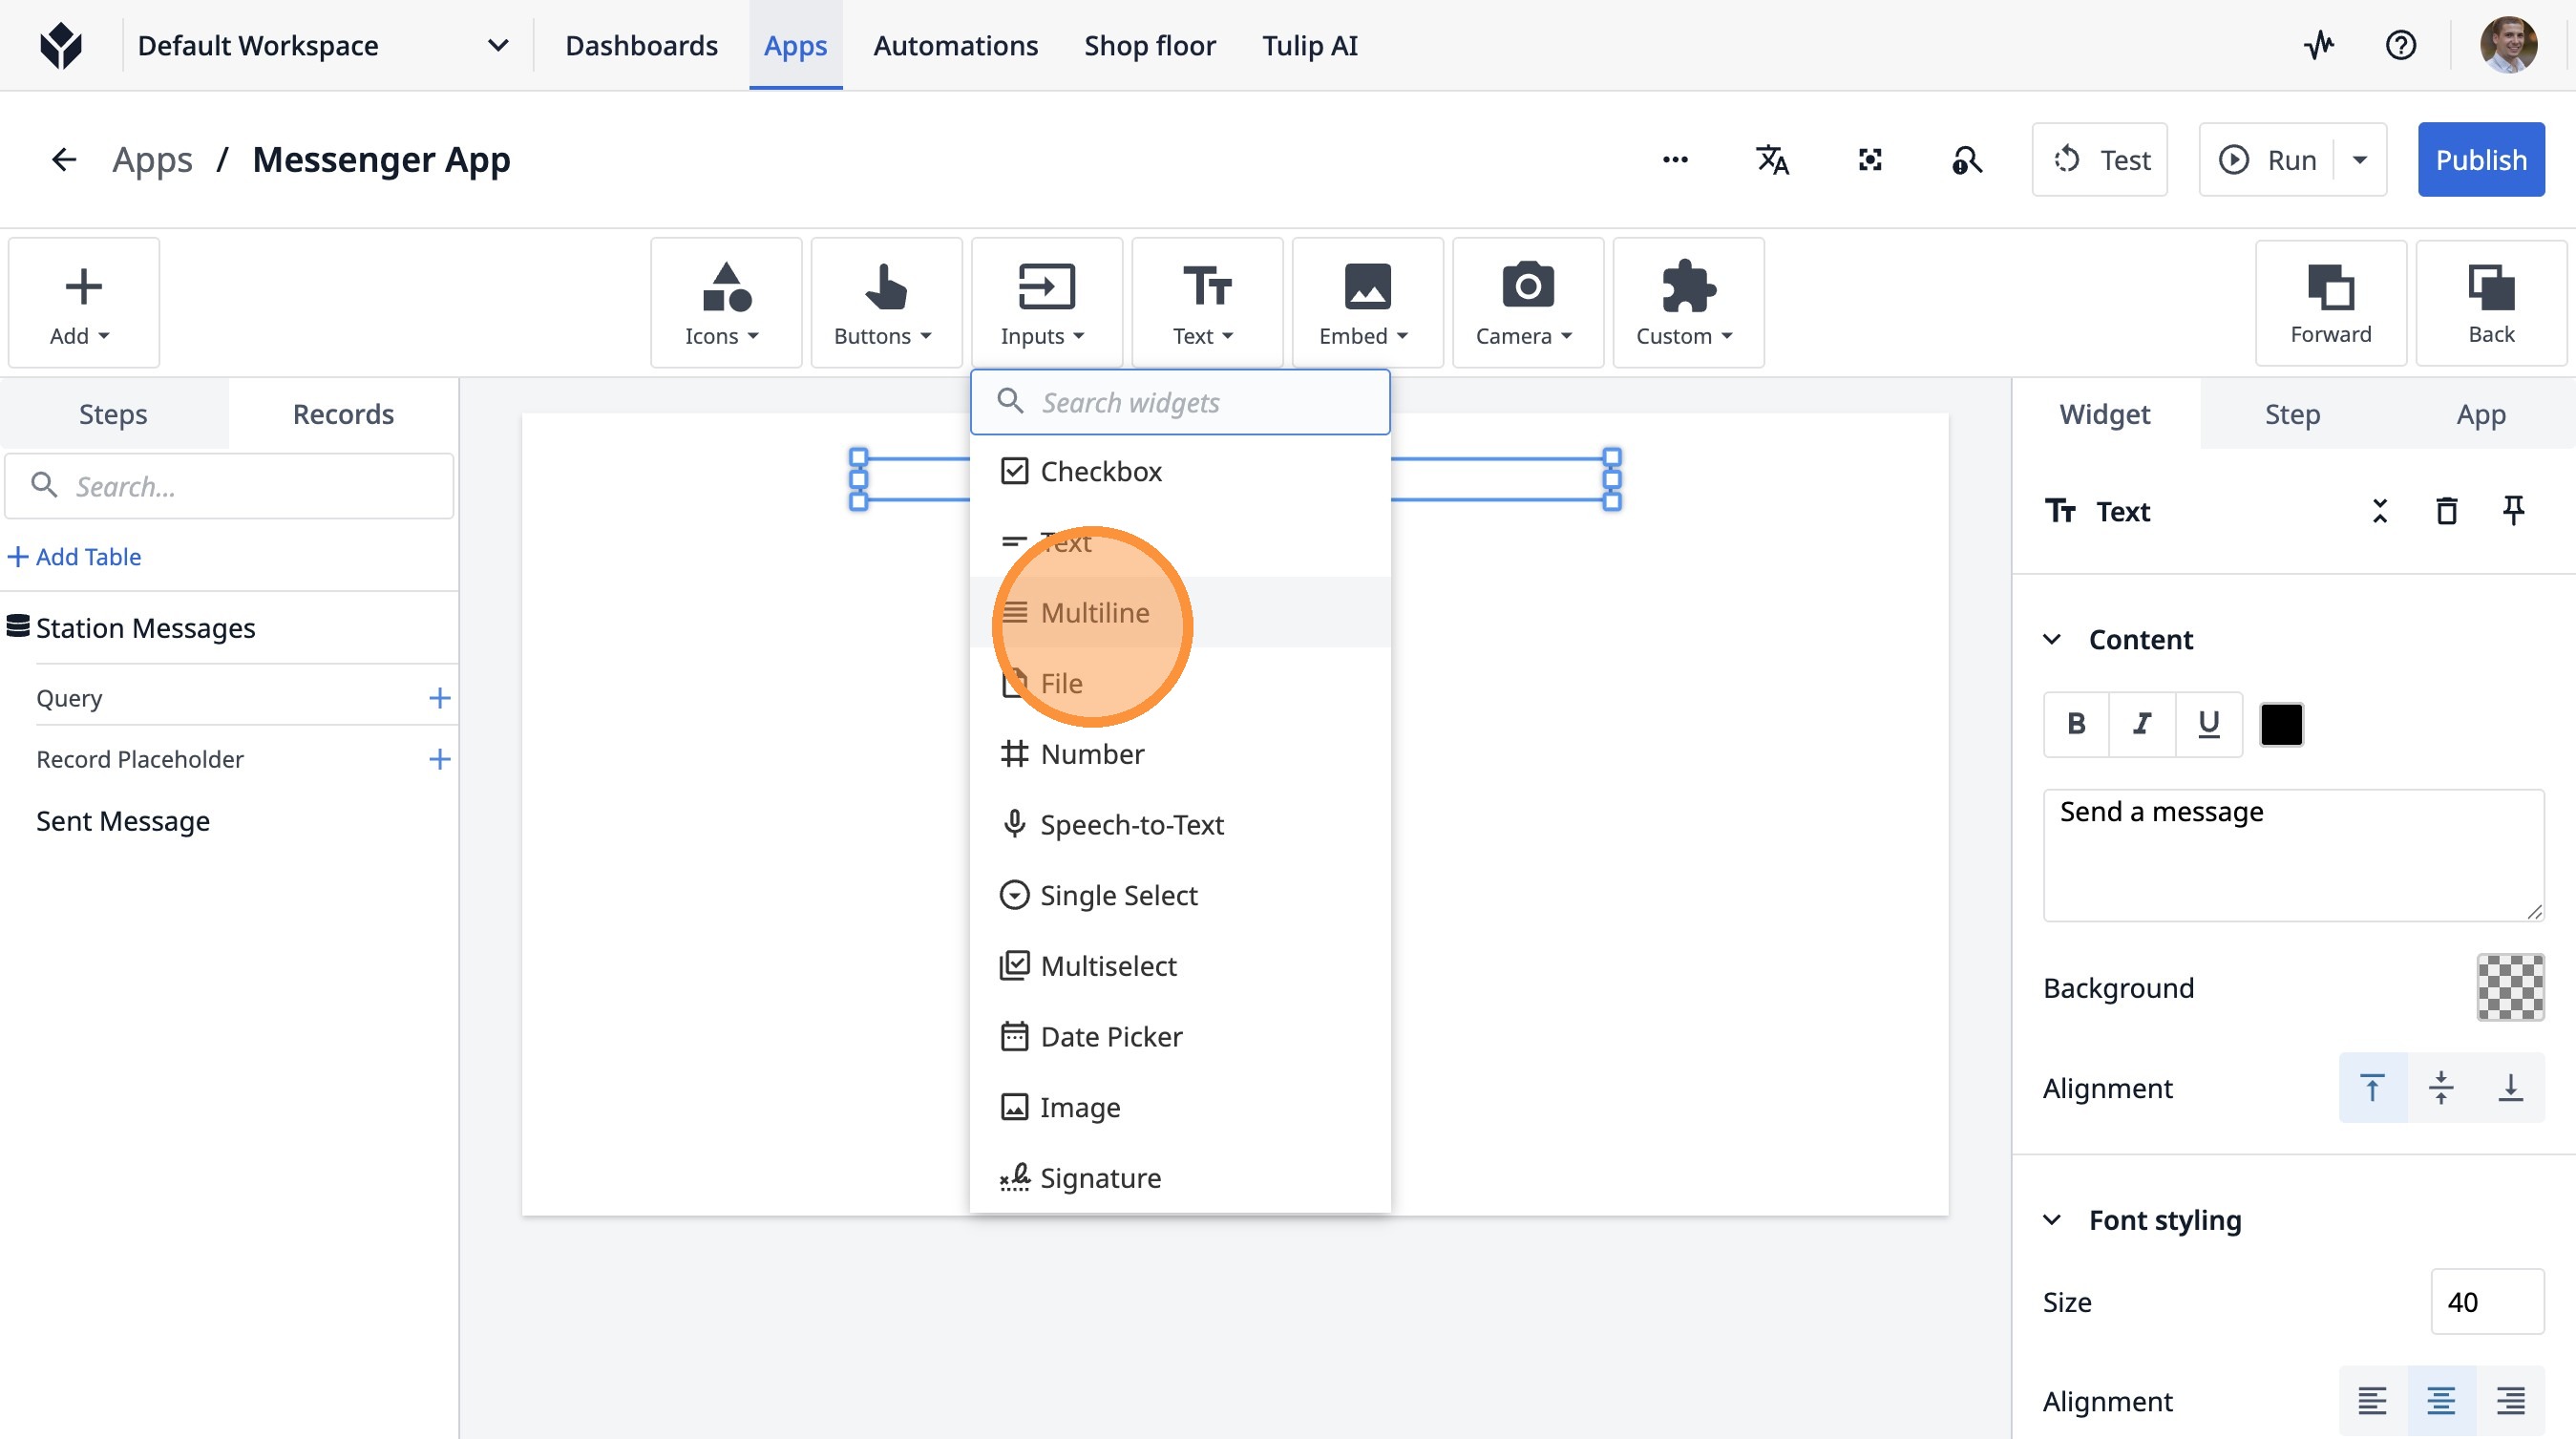
21. Click this icon.
22. Click "Multiline"
23. Click here.
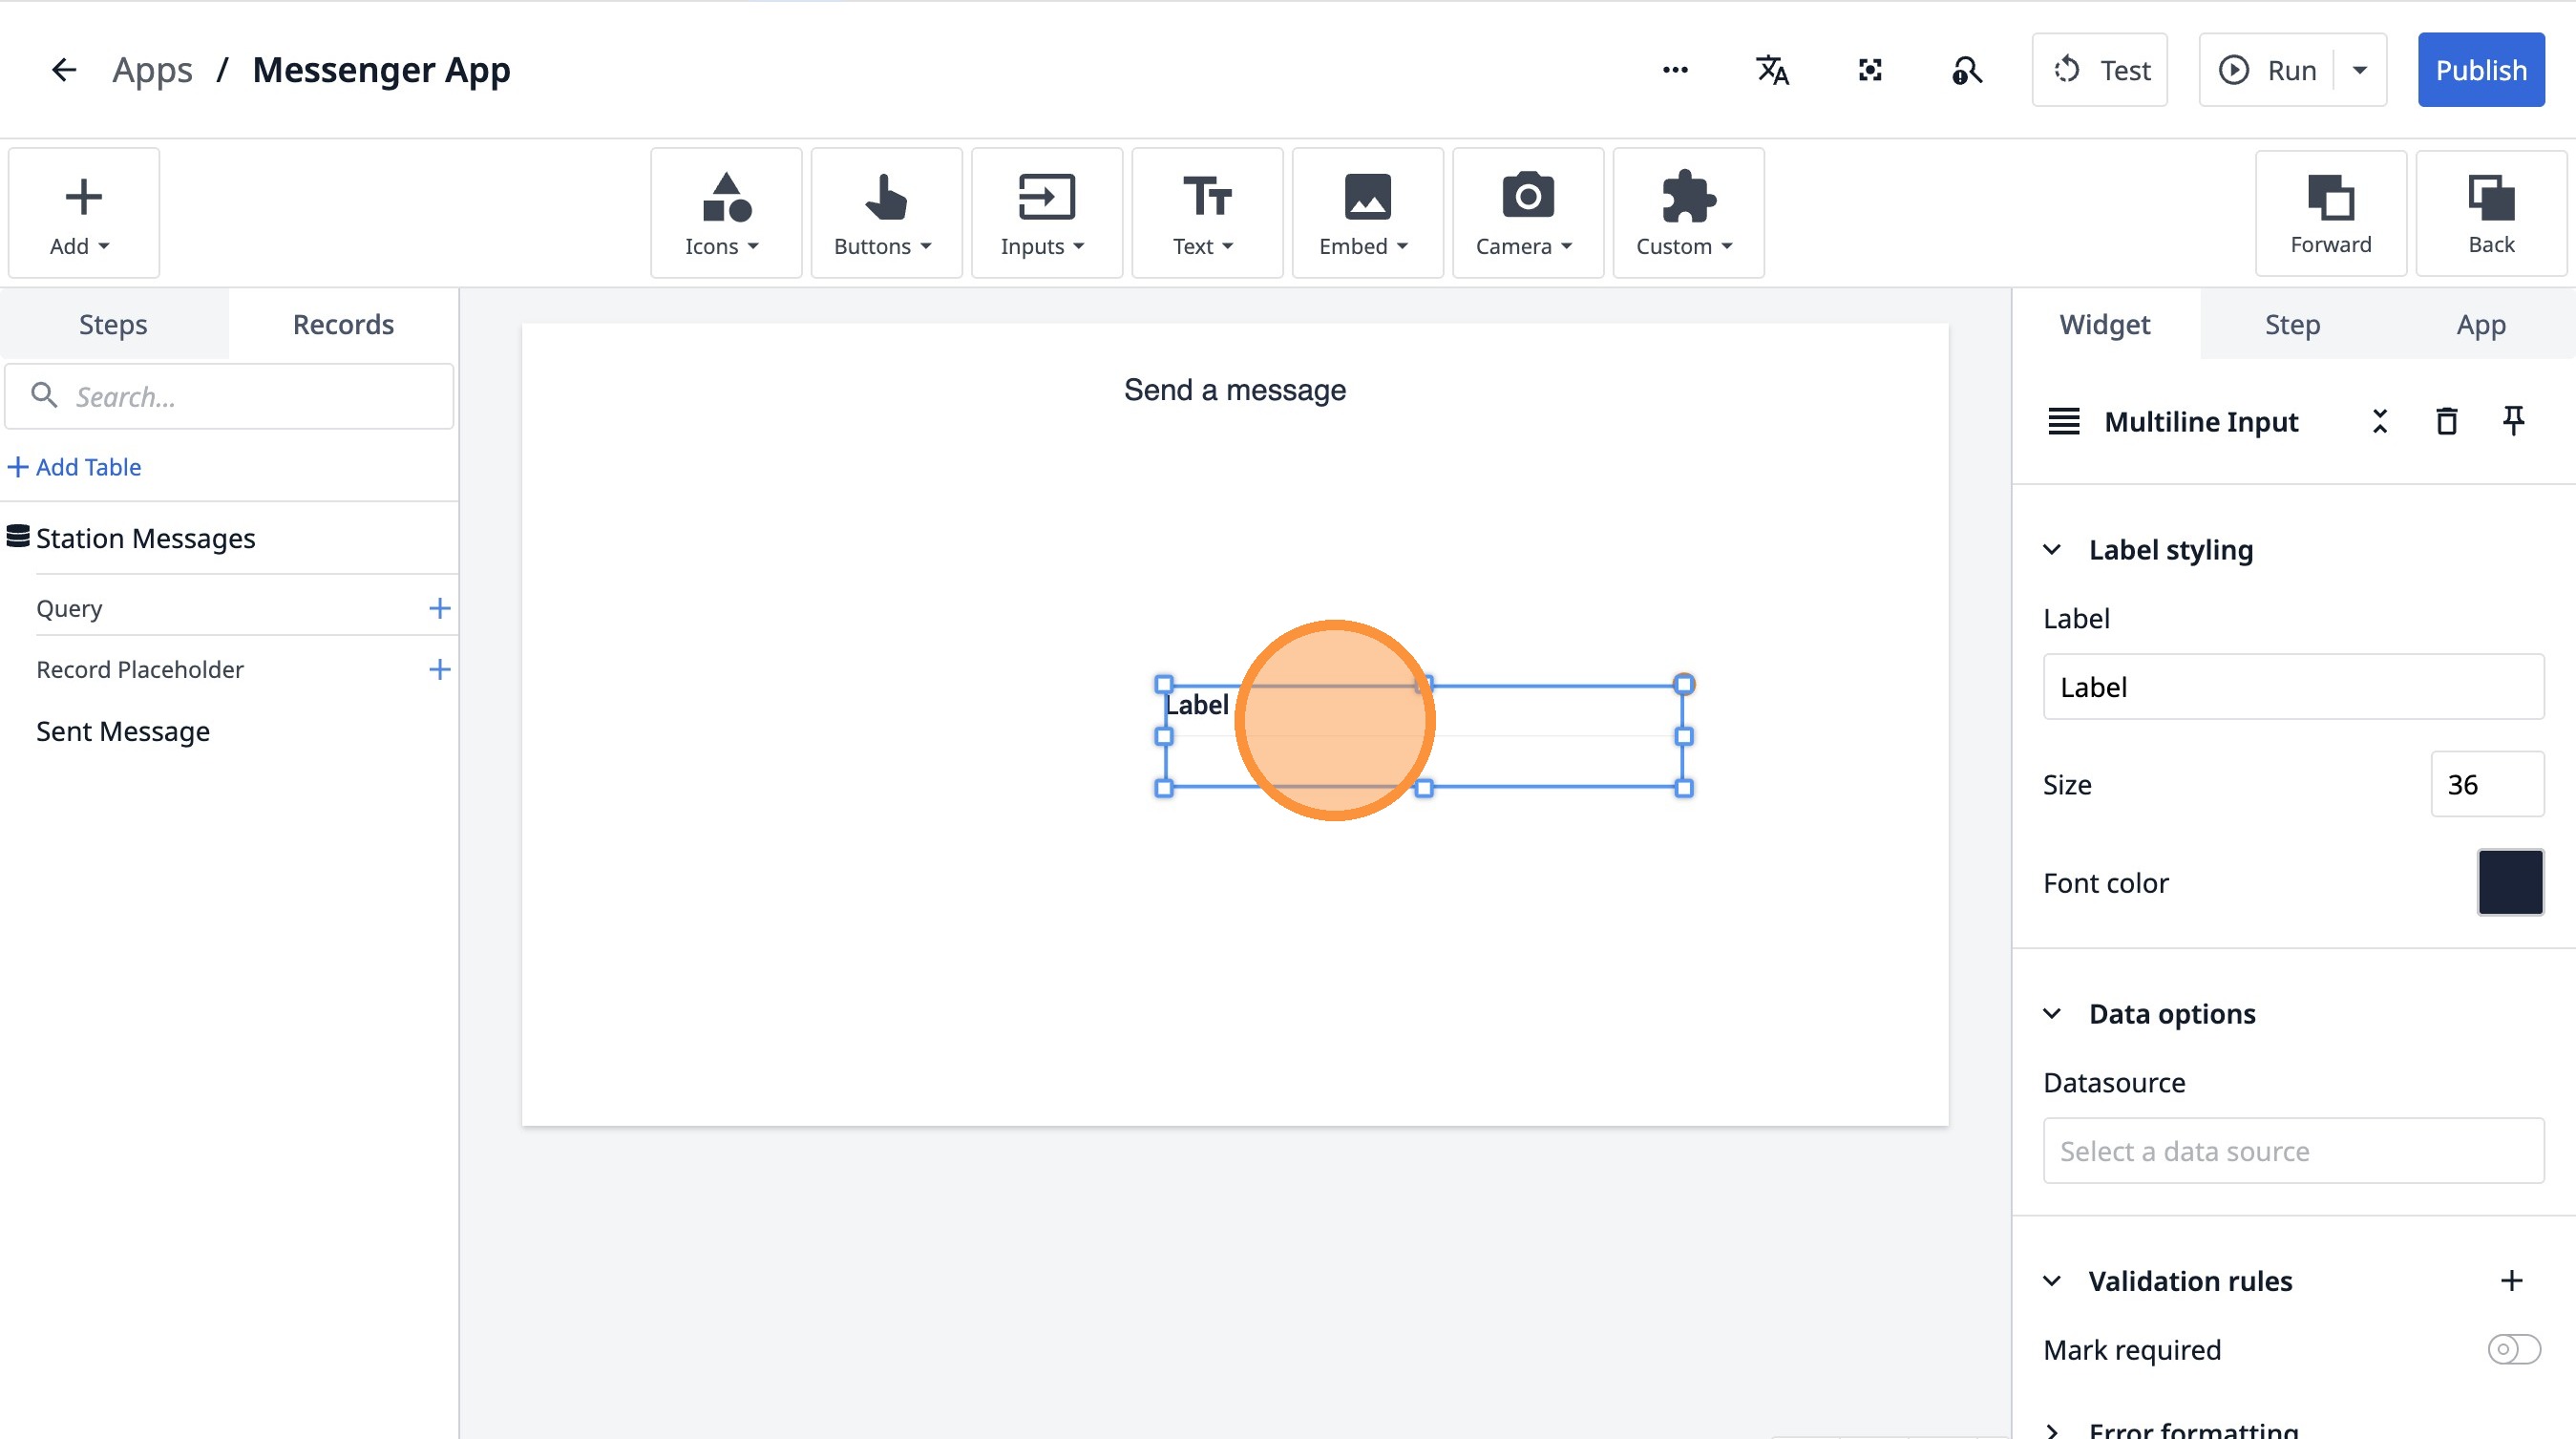
24. Double-click the "Label" field.
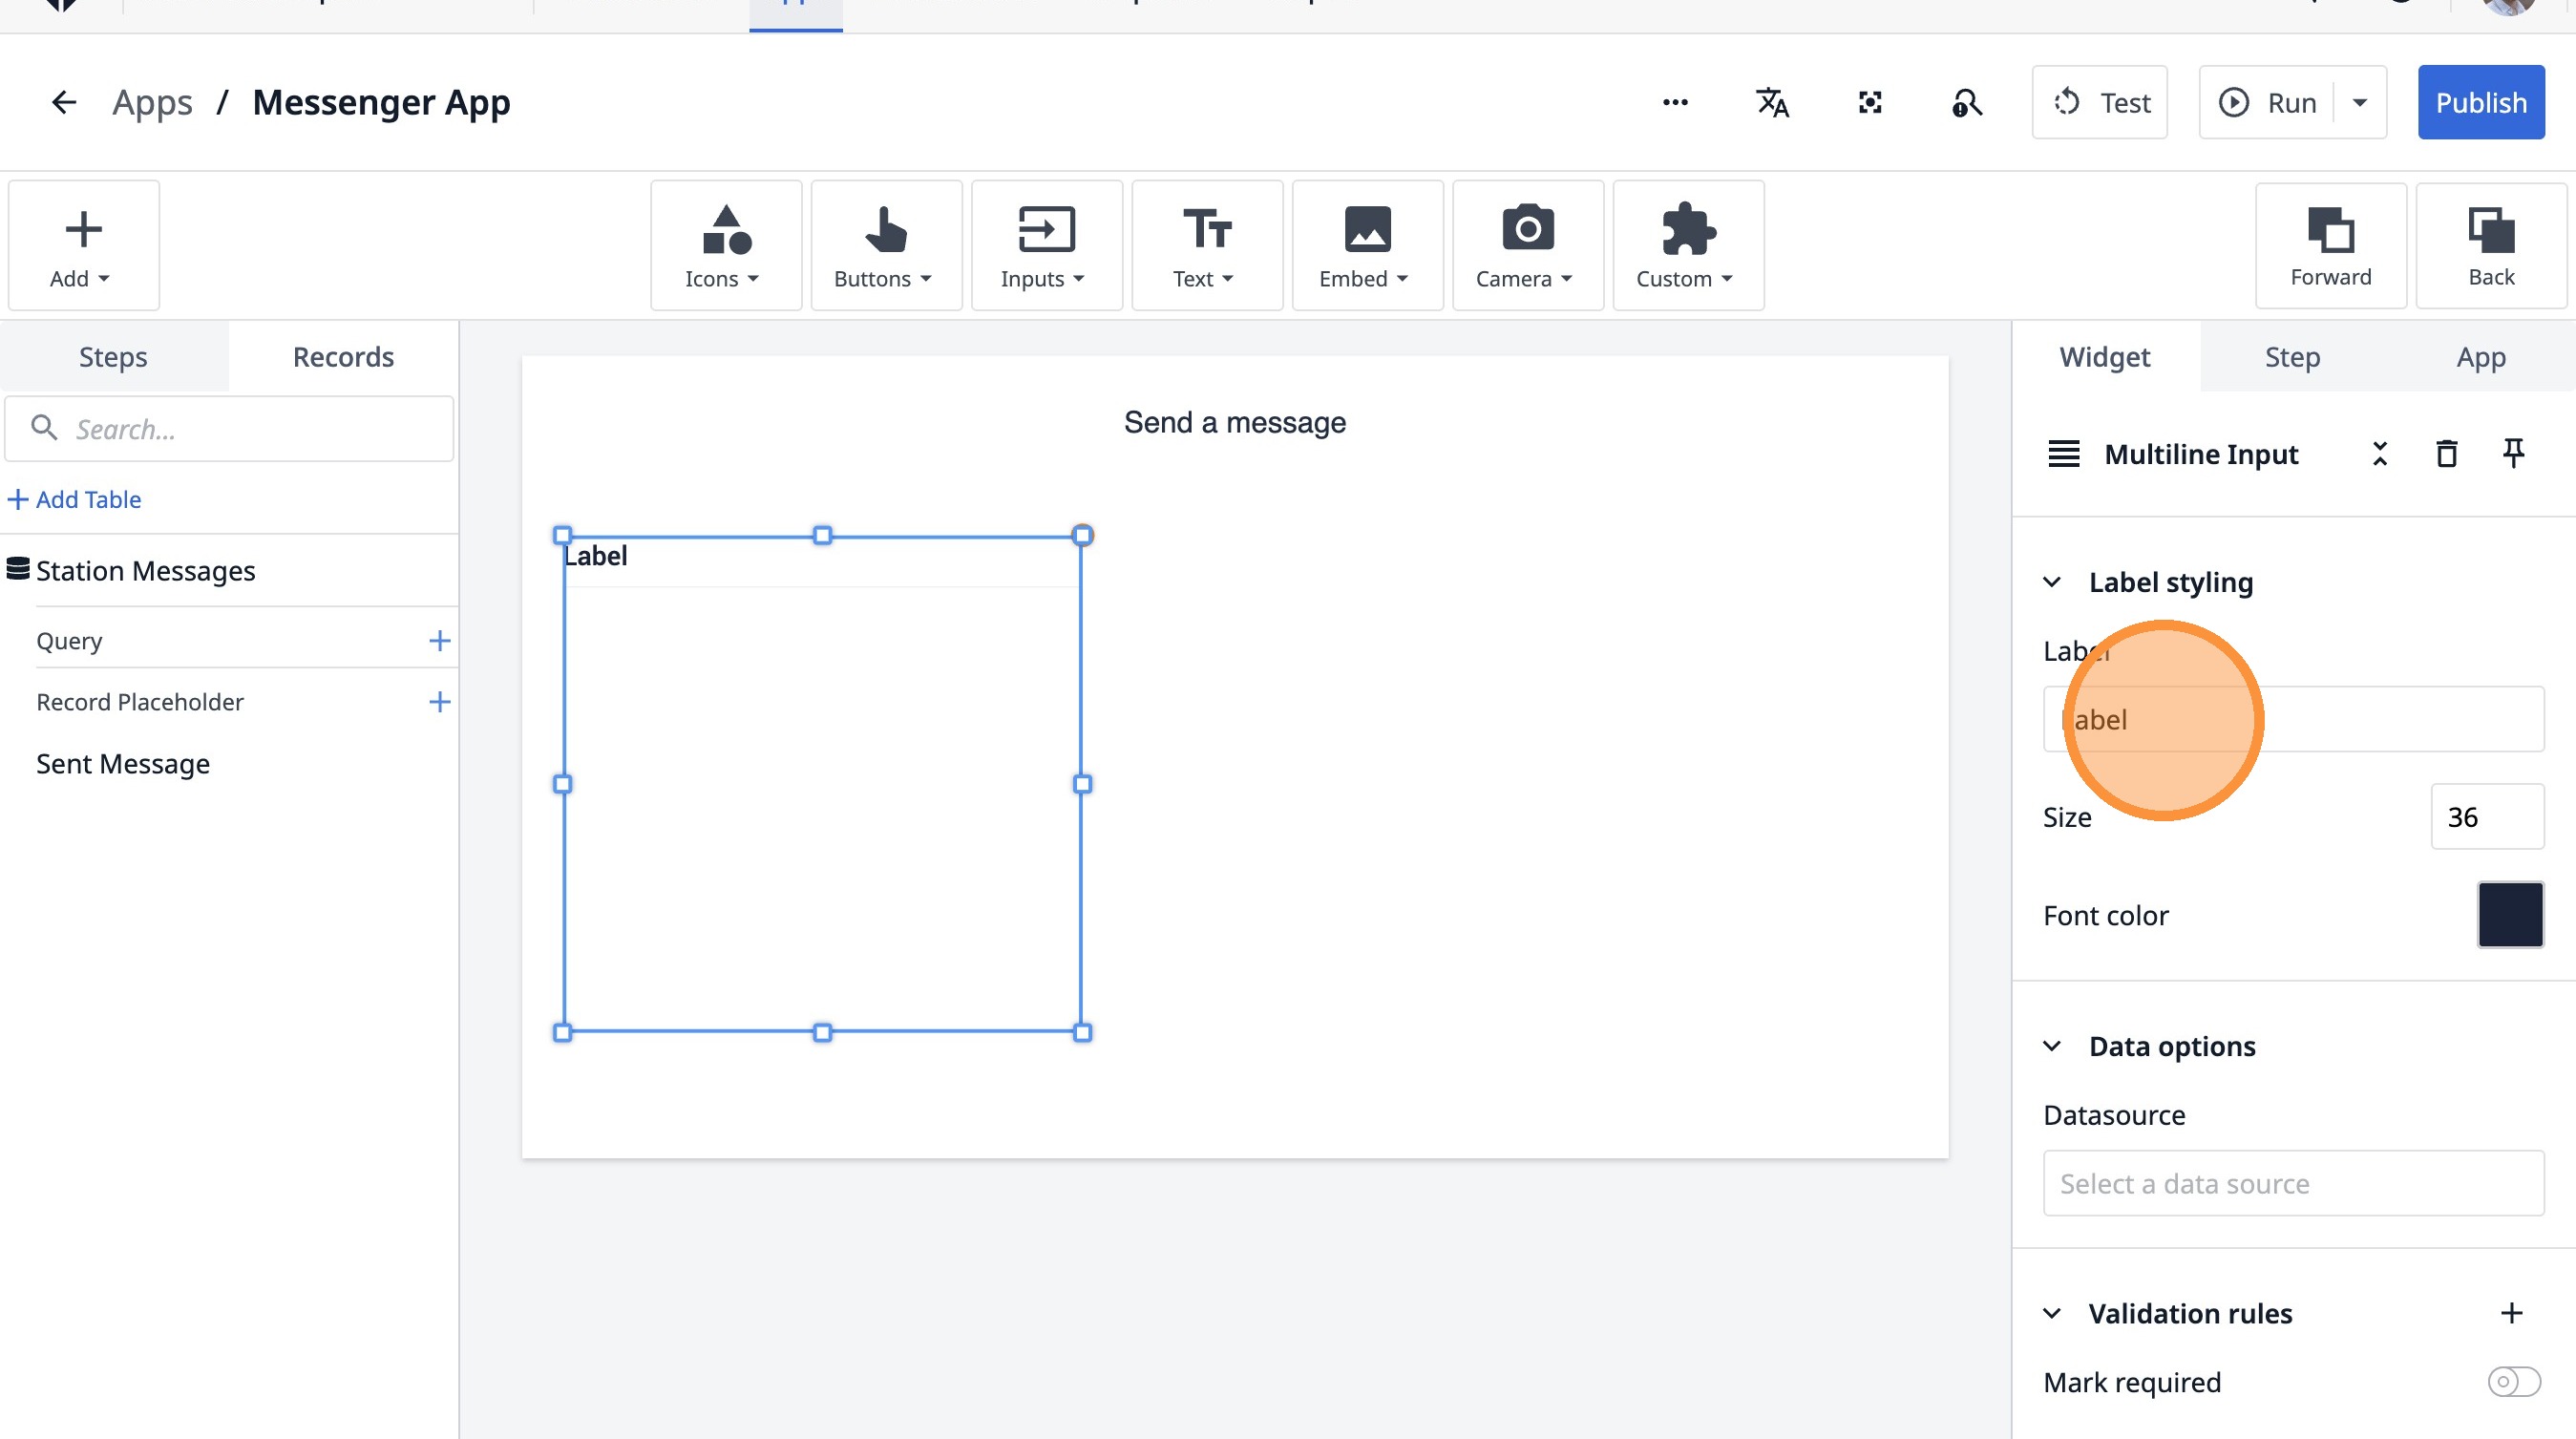
25. Type "Recipient"
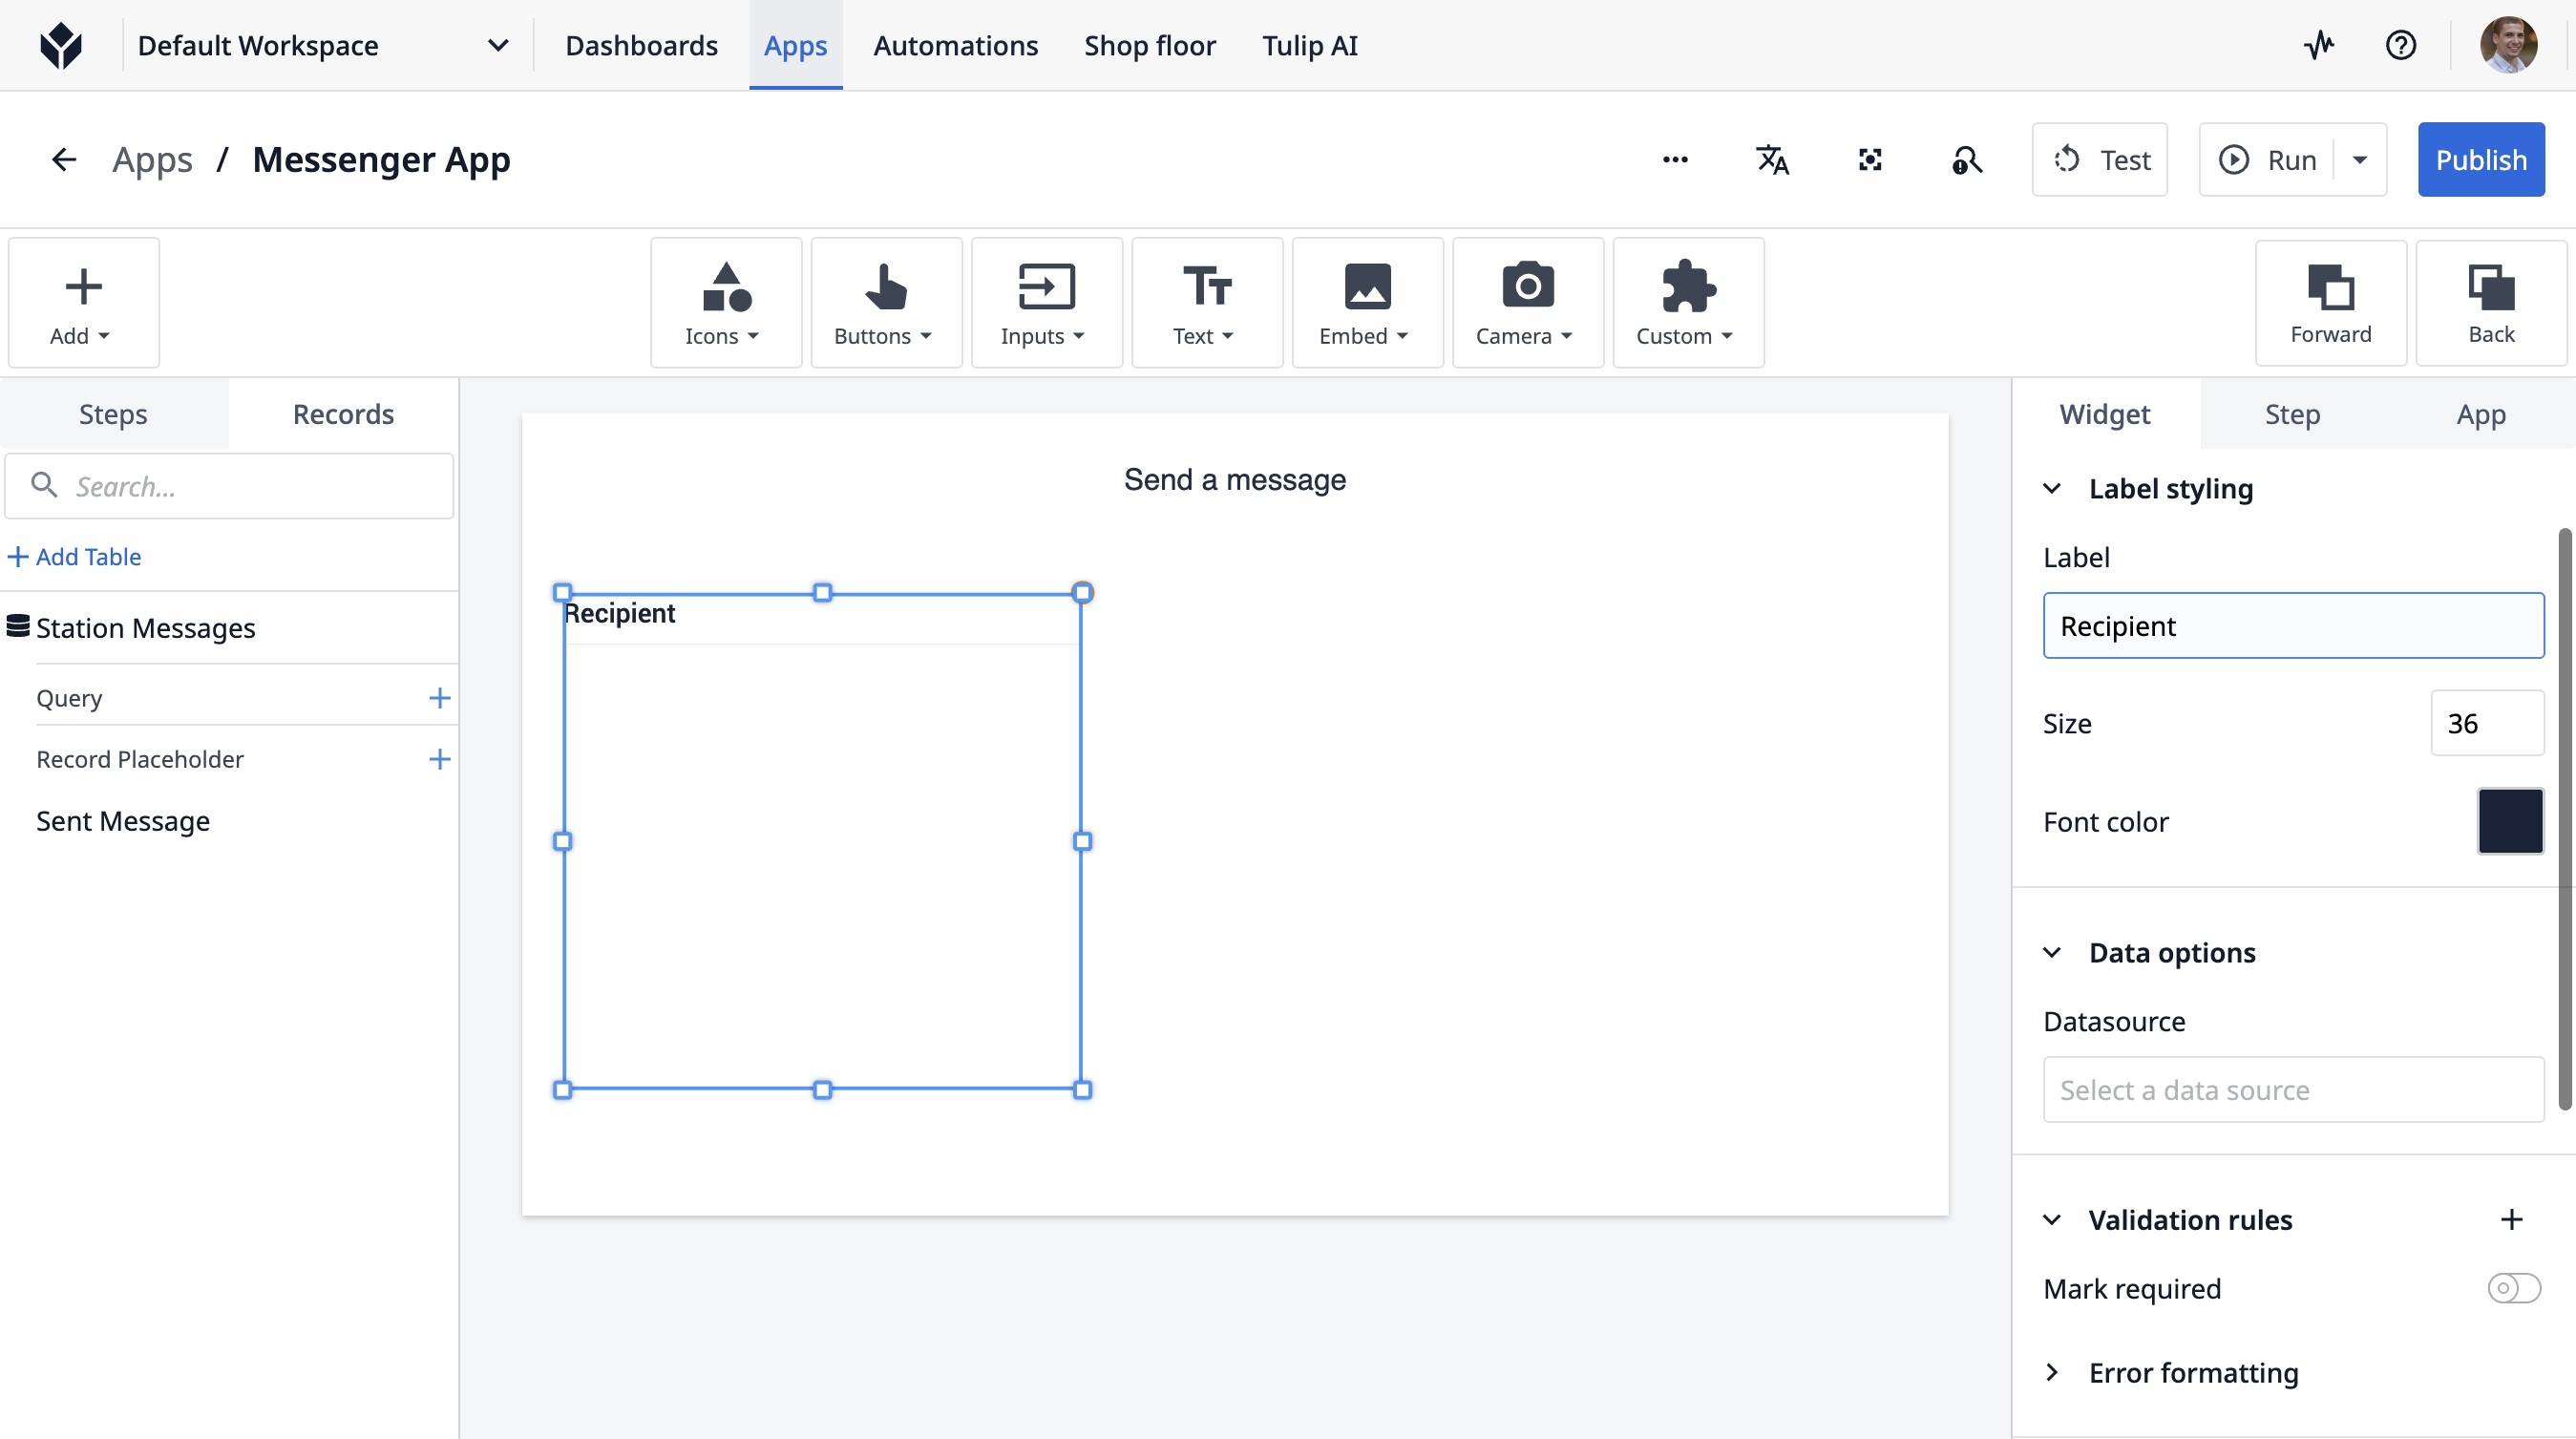
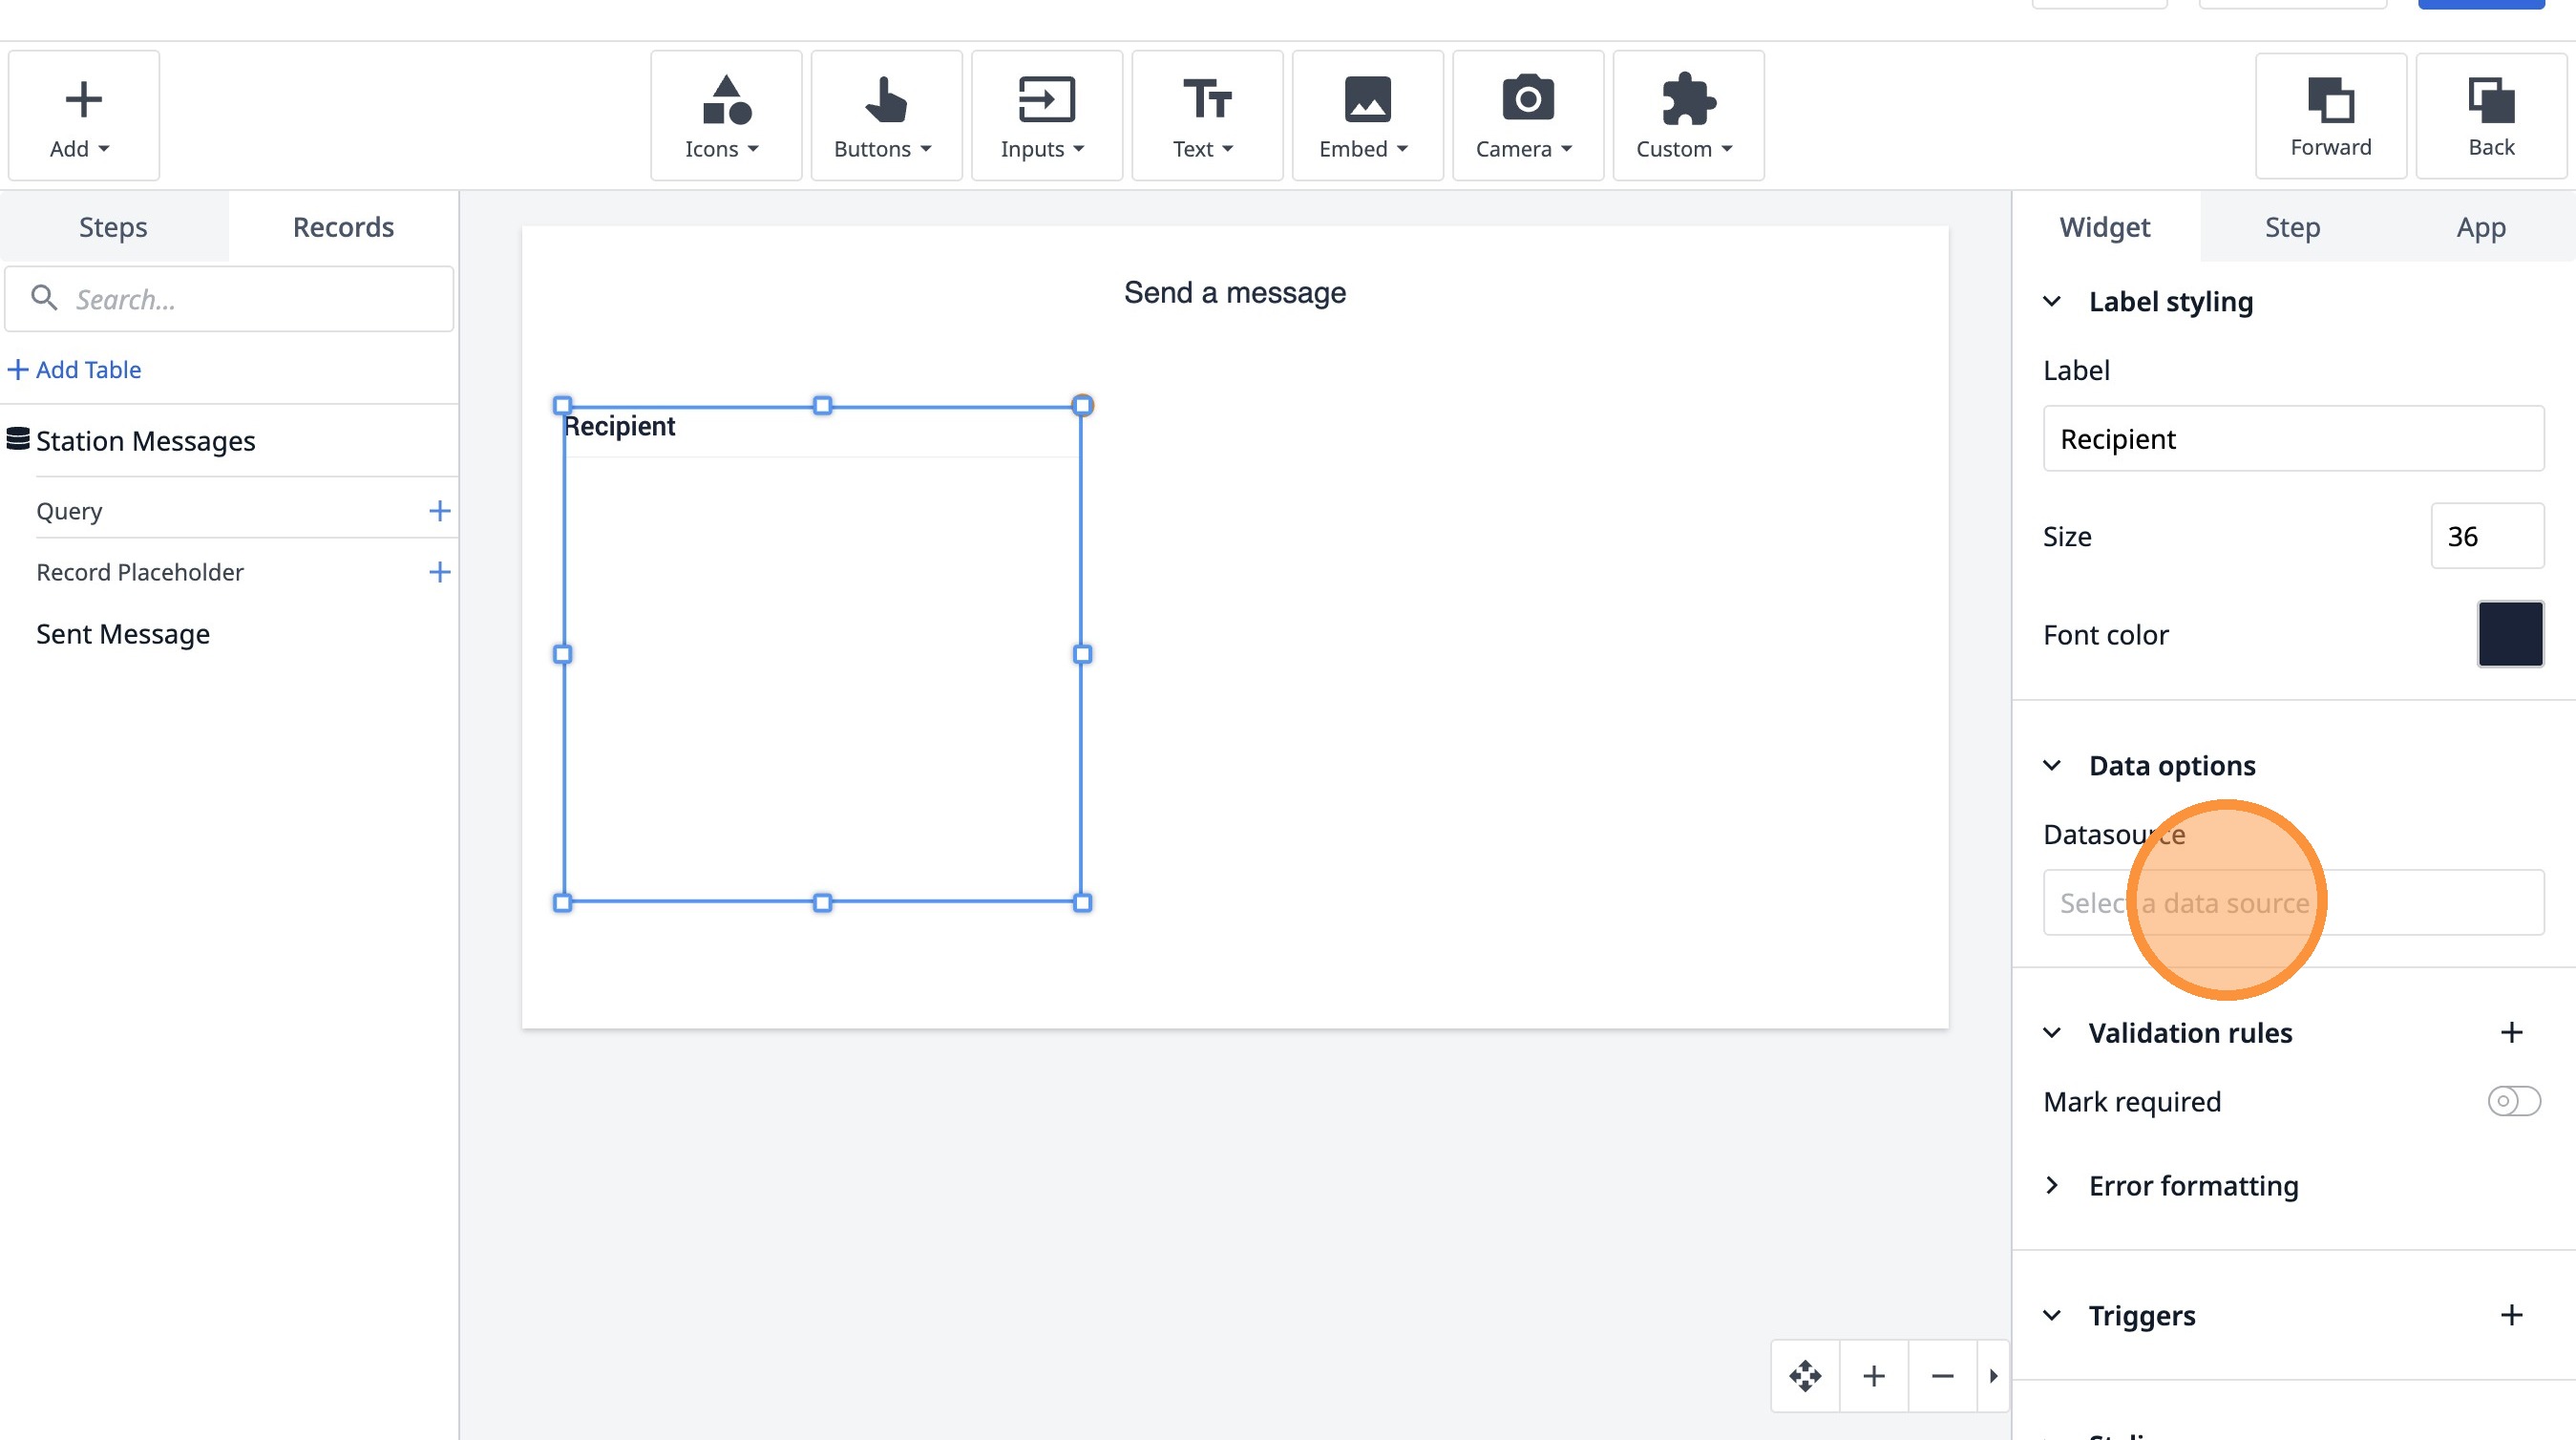
26. Click "Select a data source"
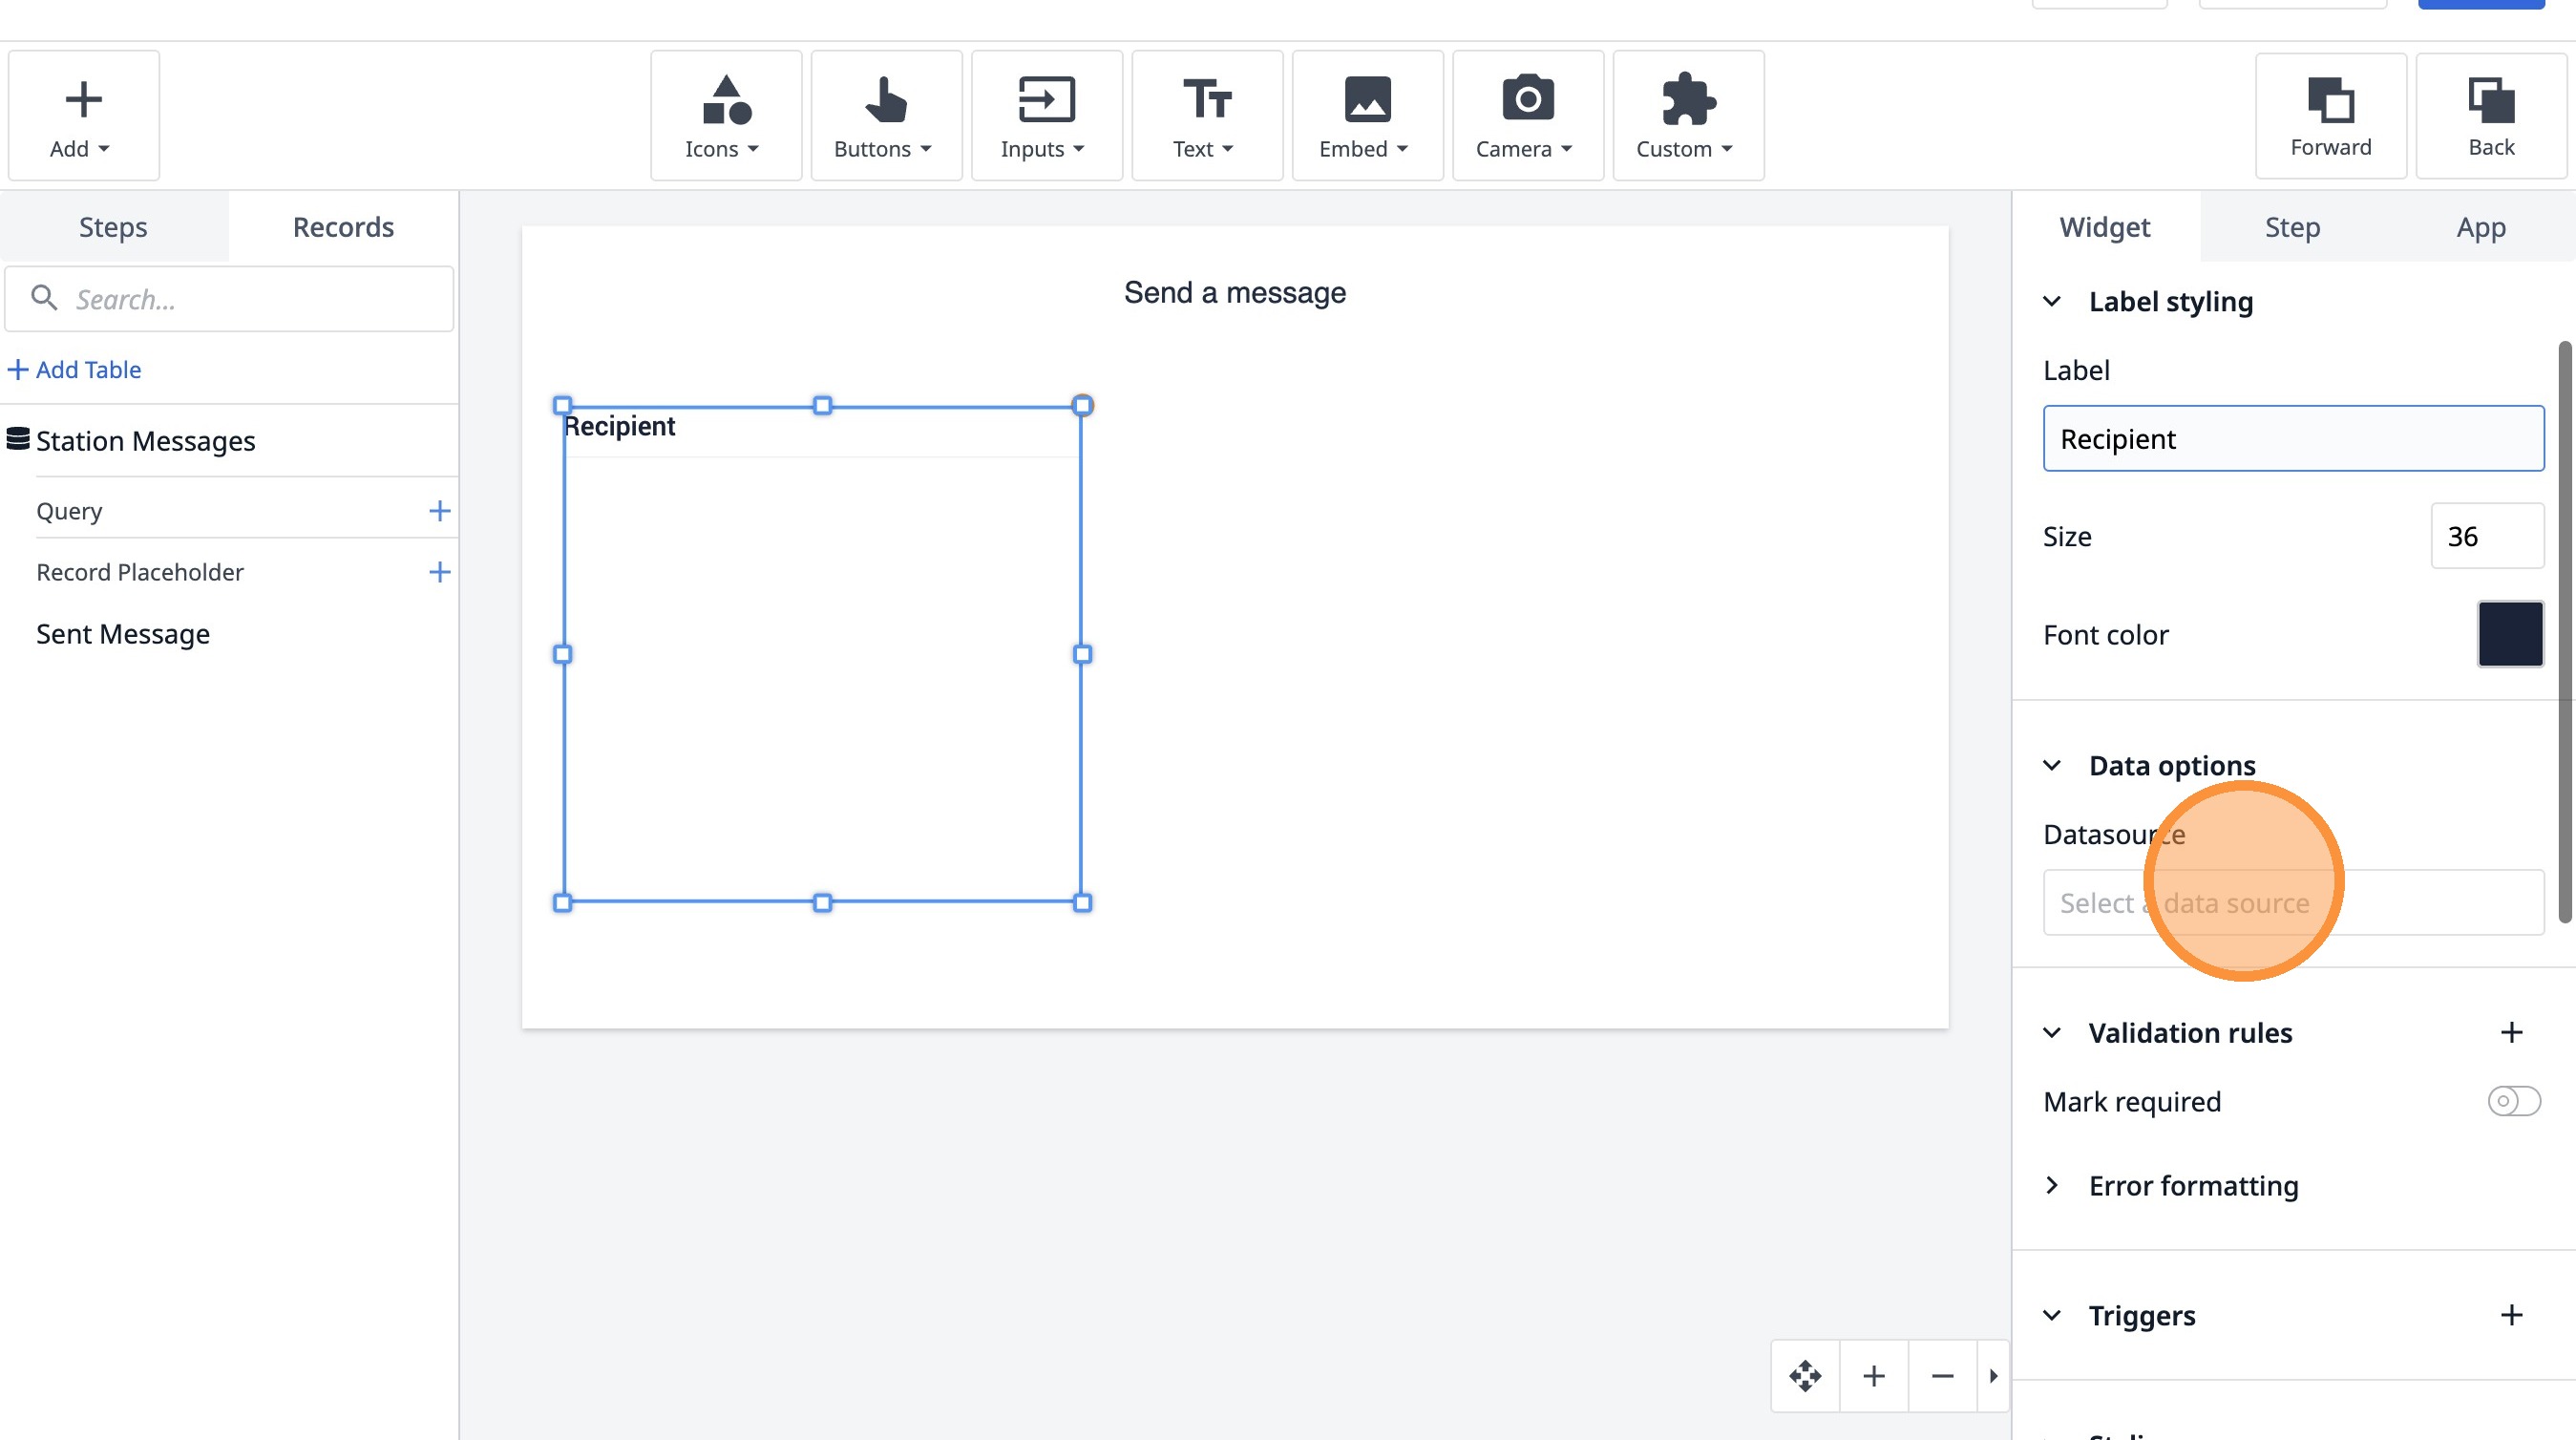
27. Click "Select a data source"
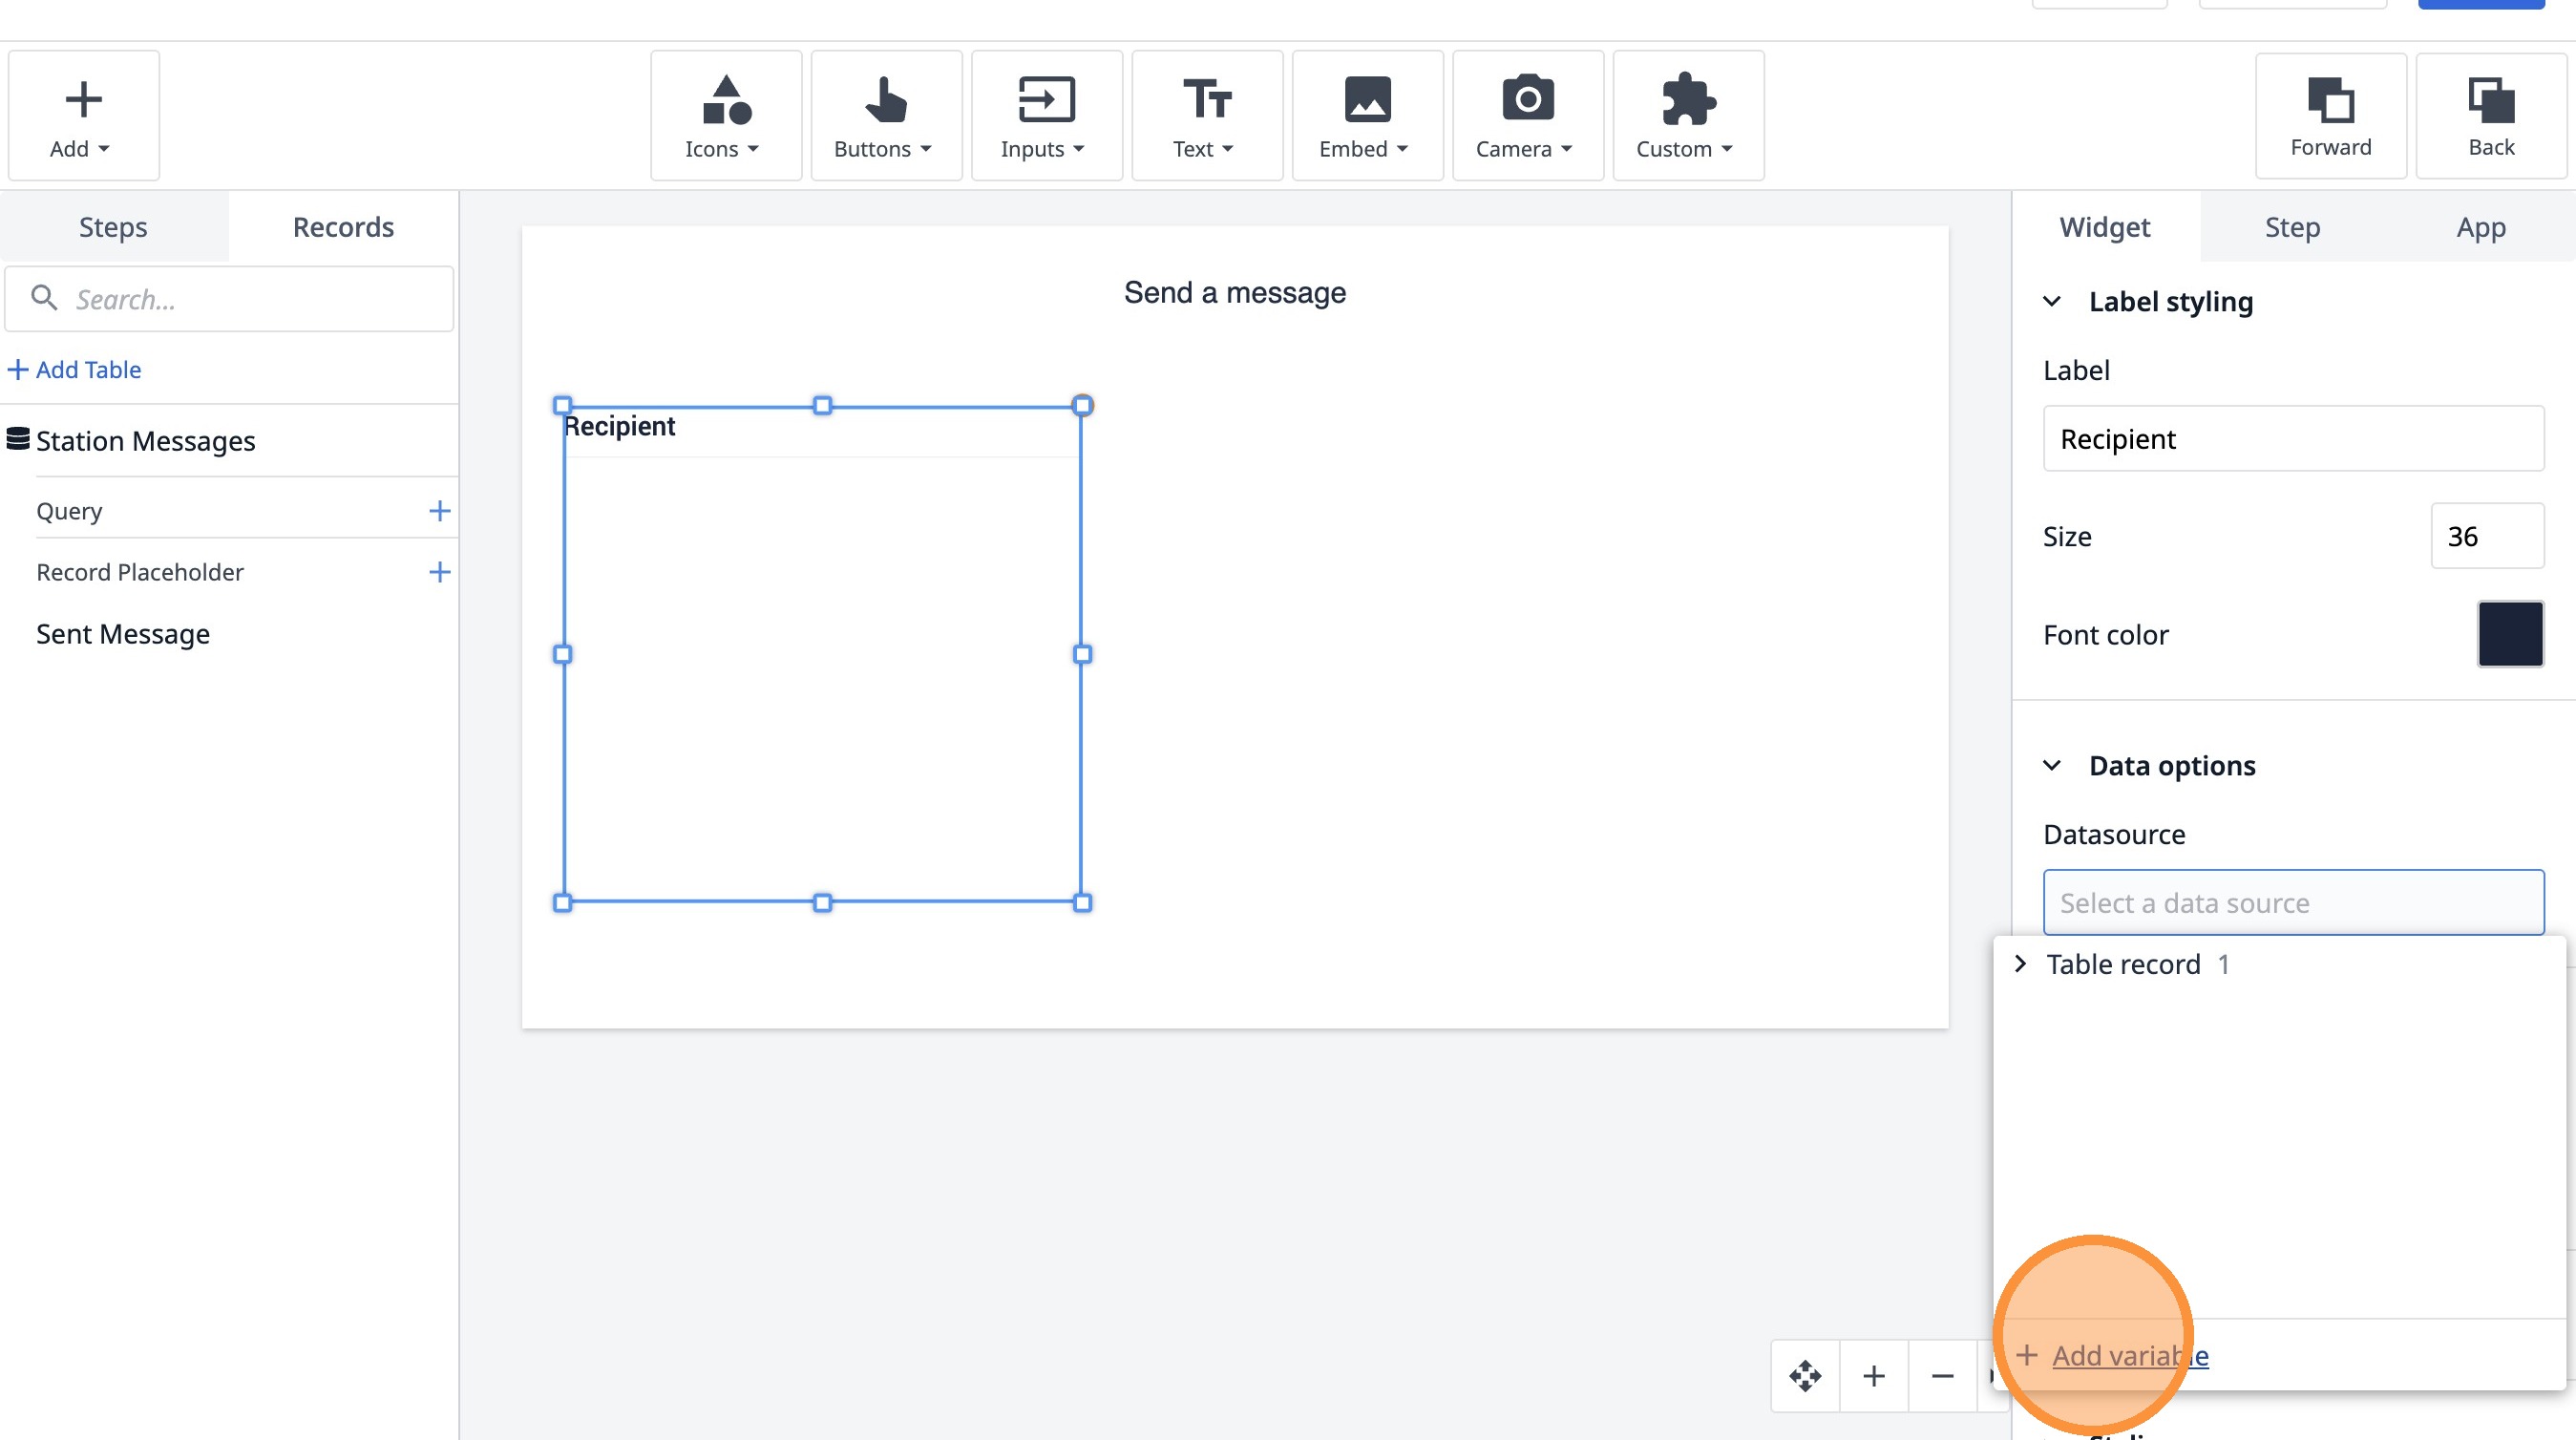
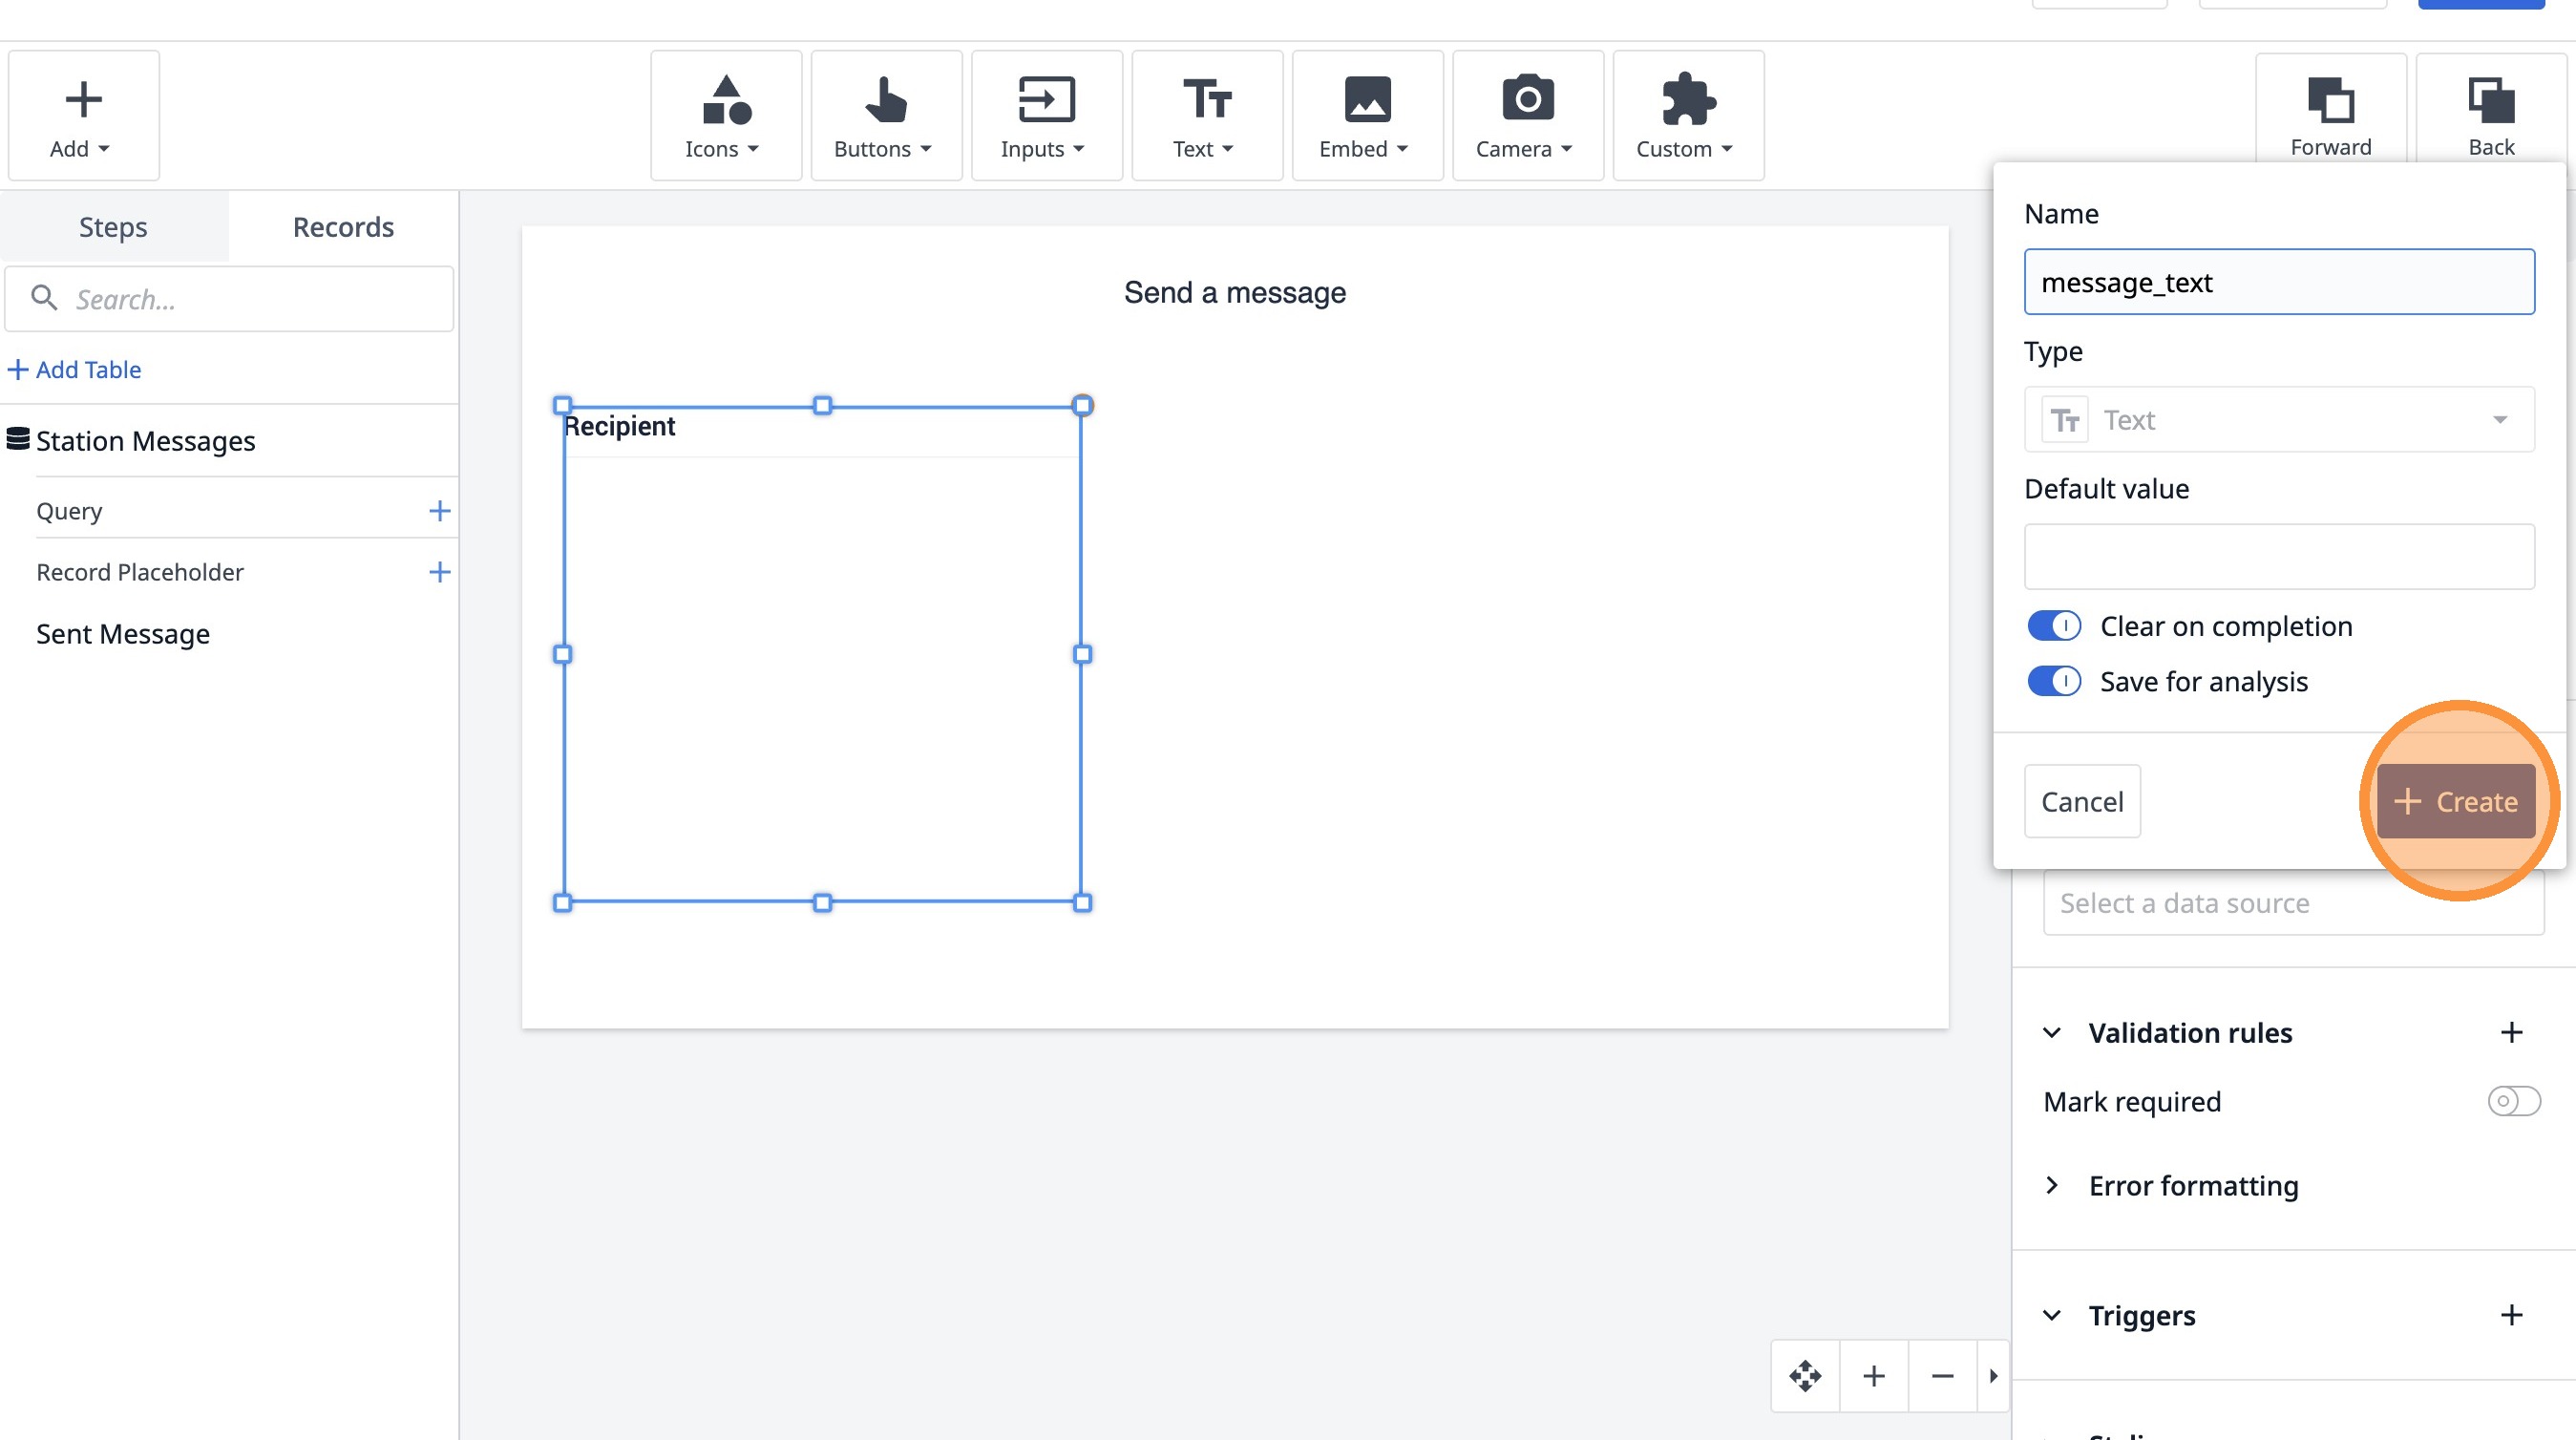
28. Click "Add variable"
29. Type "message_text"
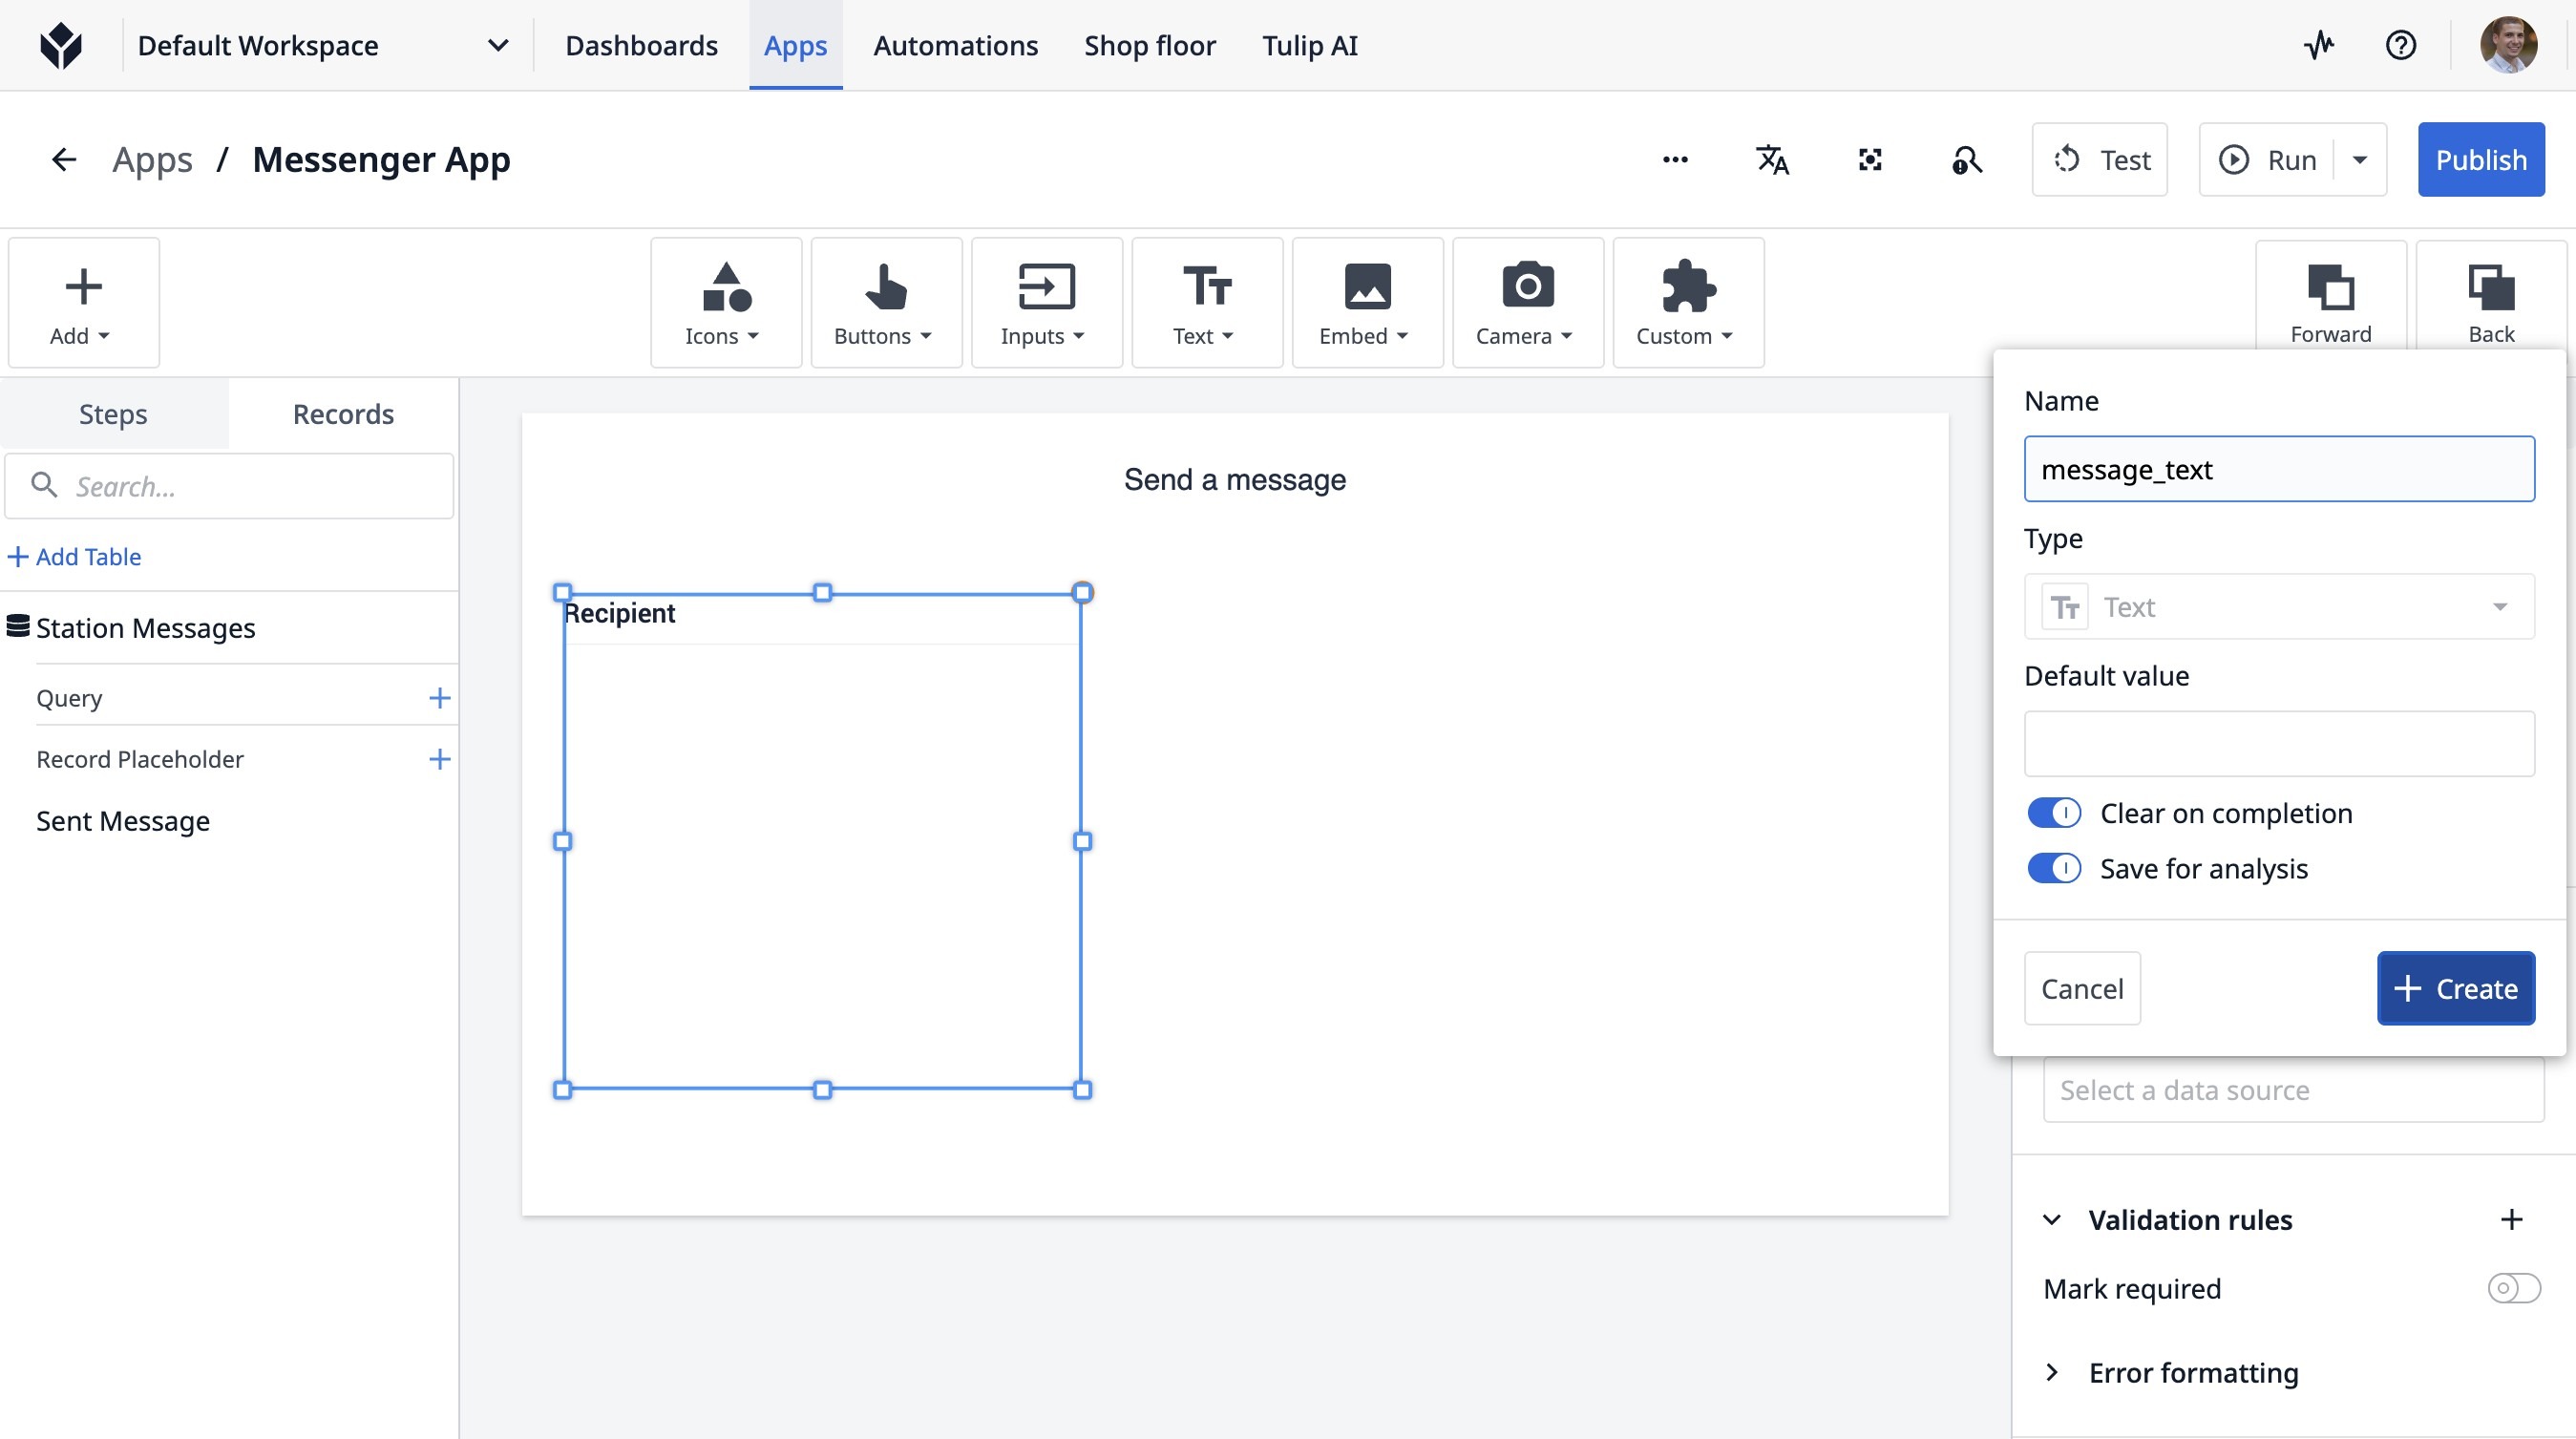
30. Click "Create"
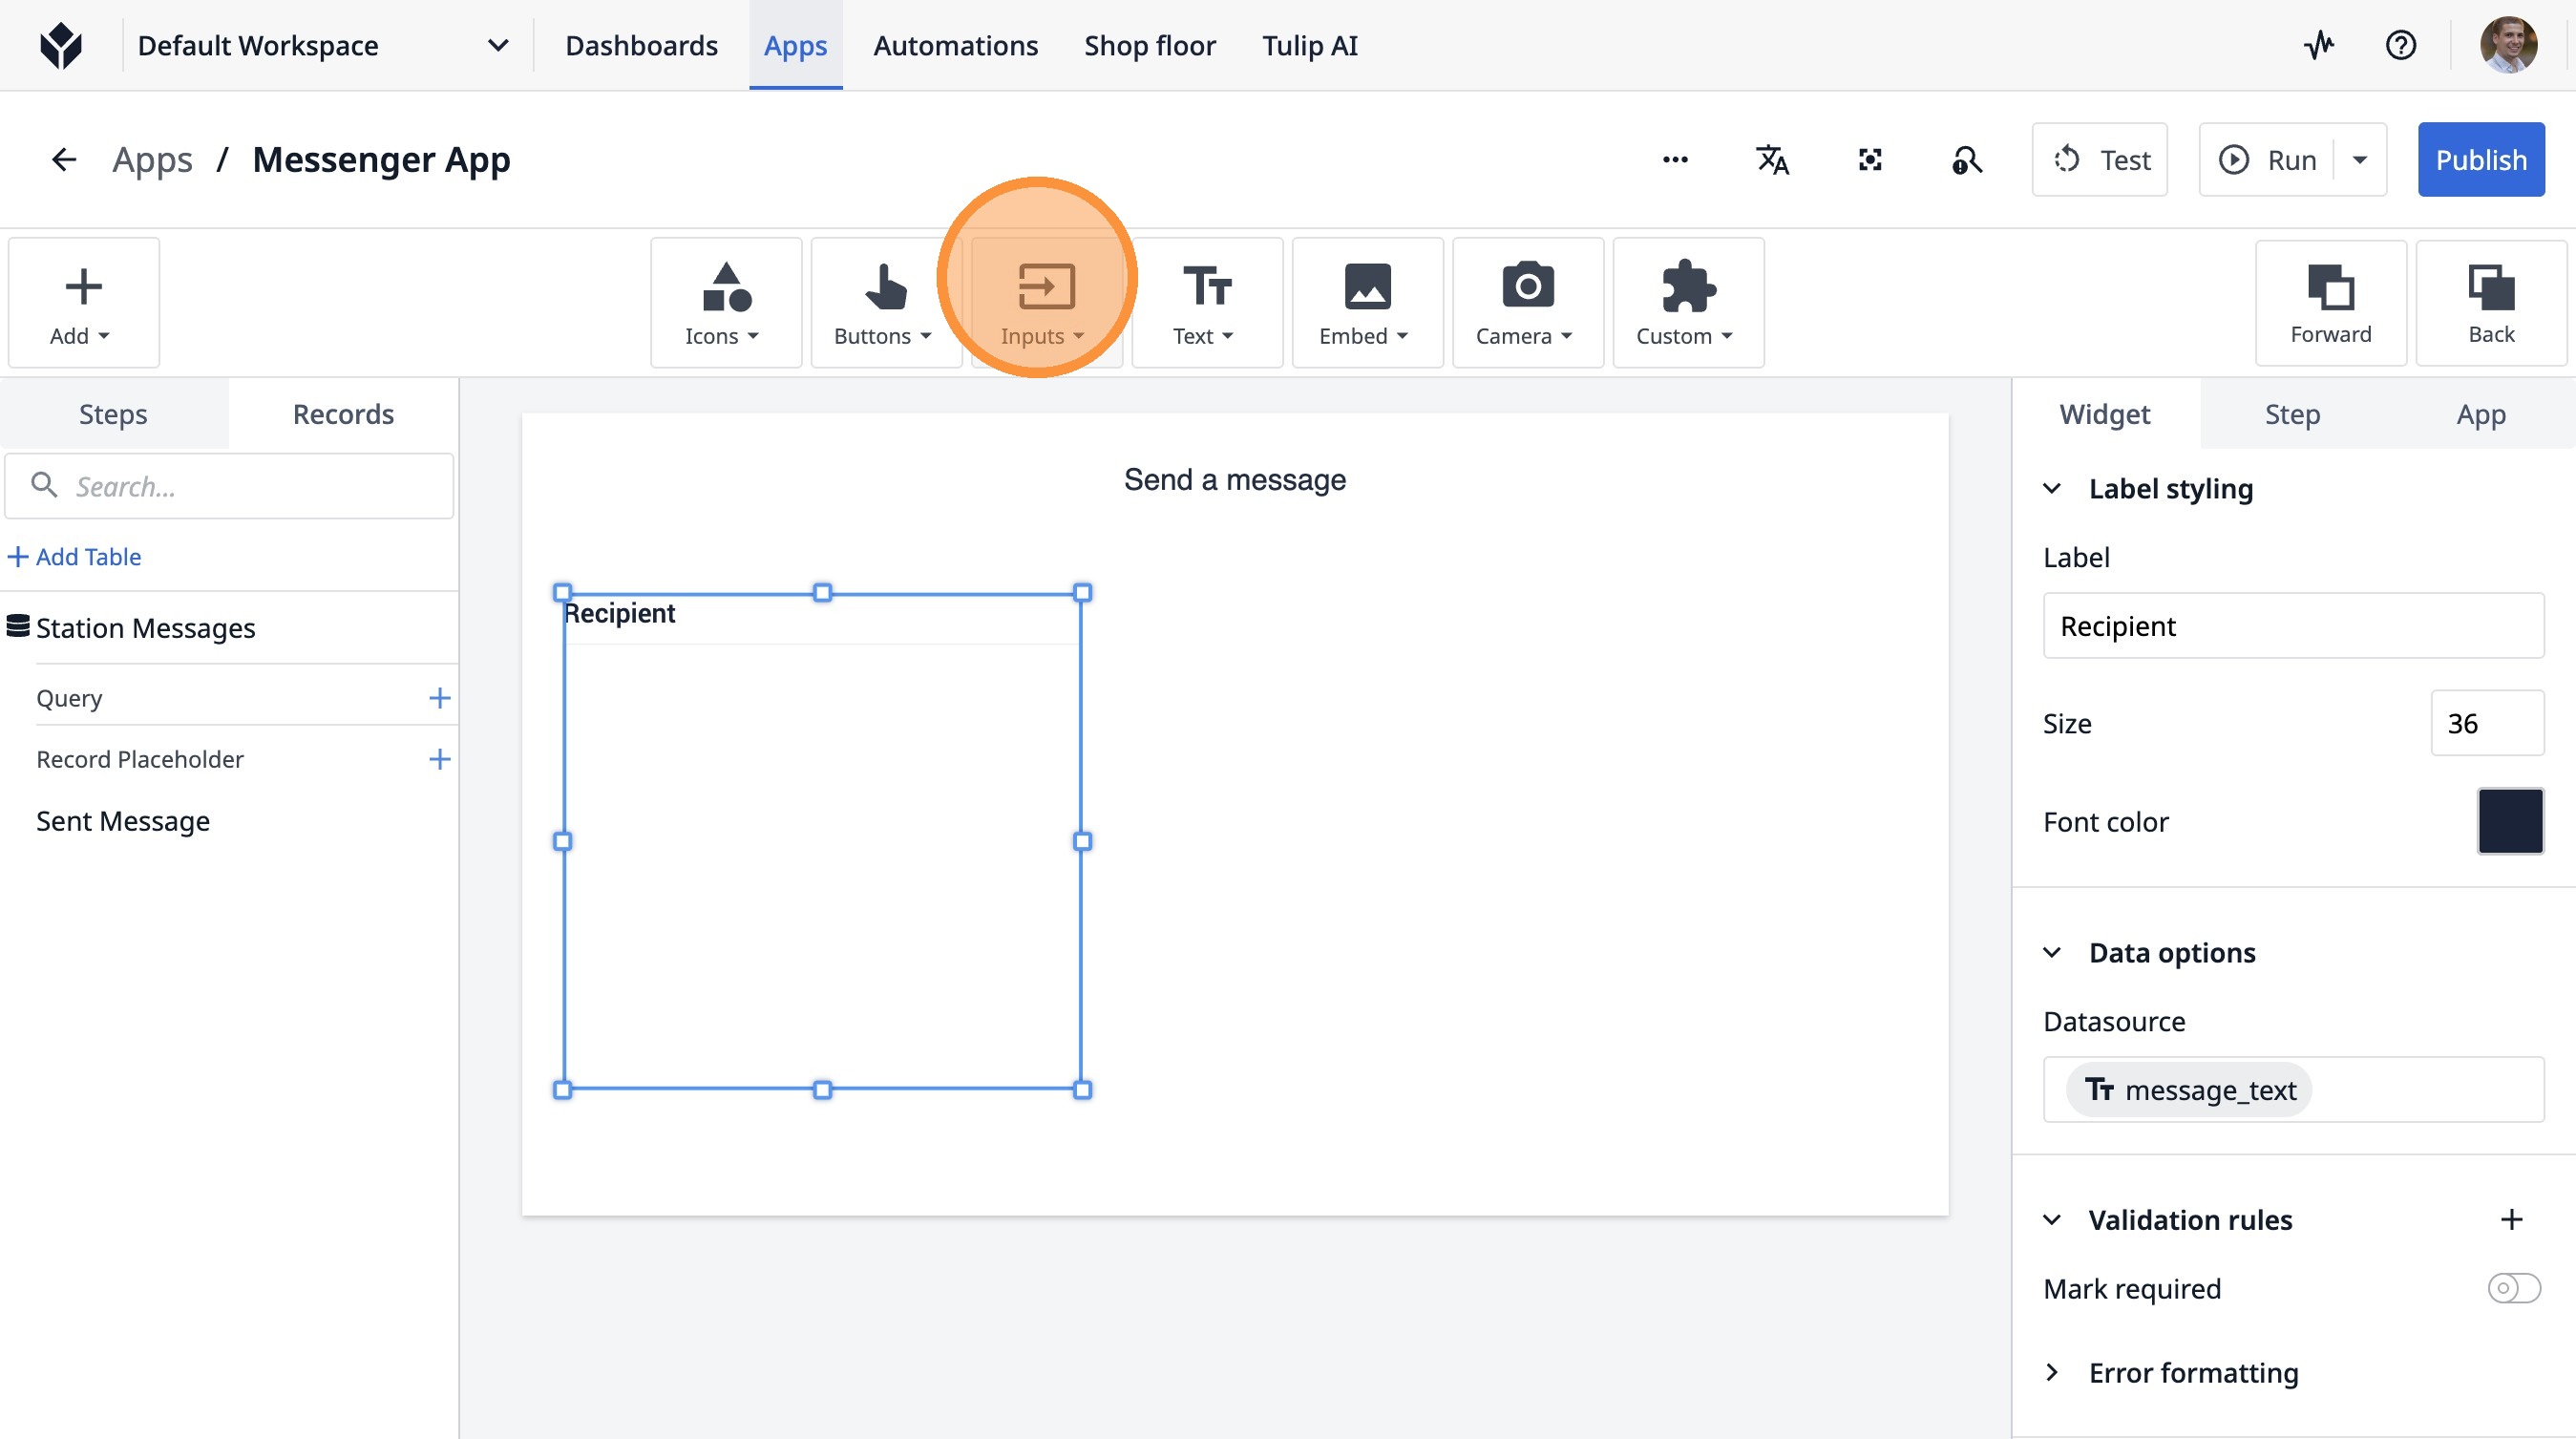
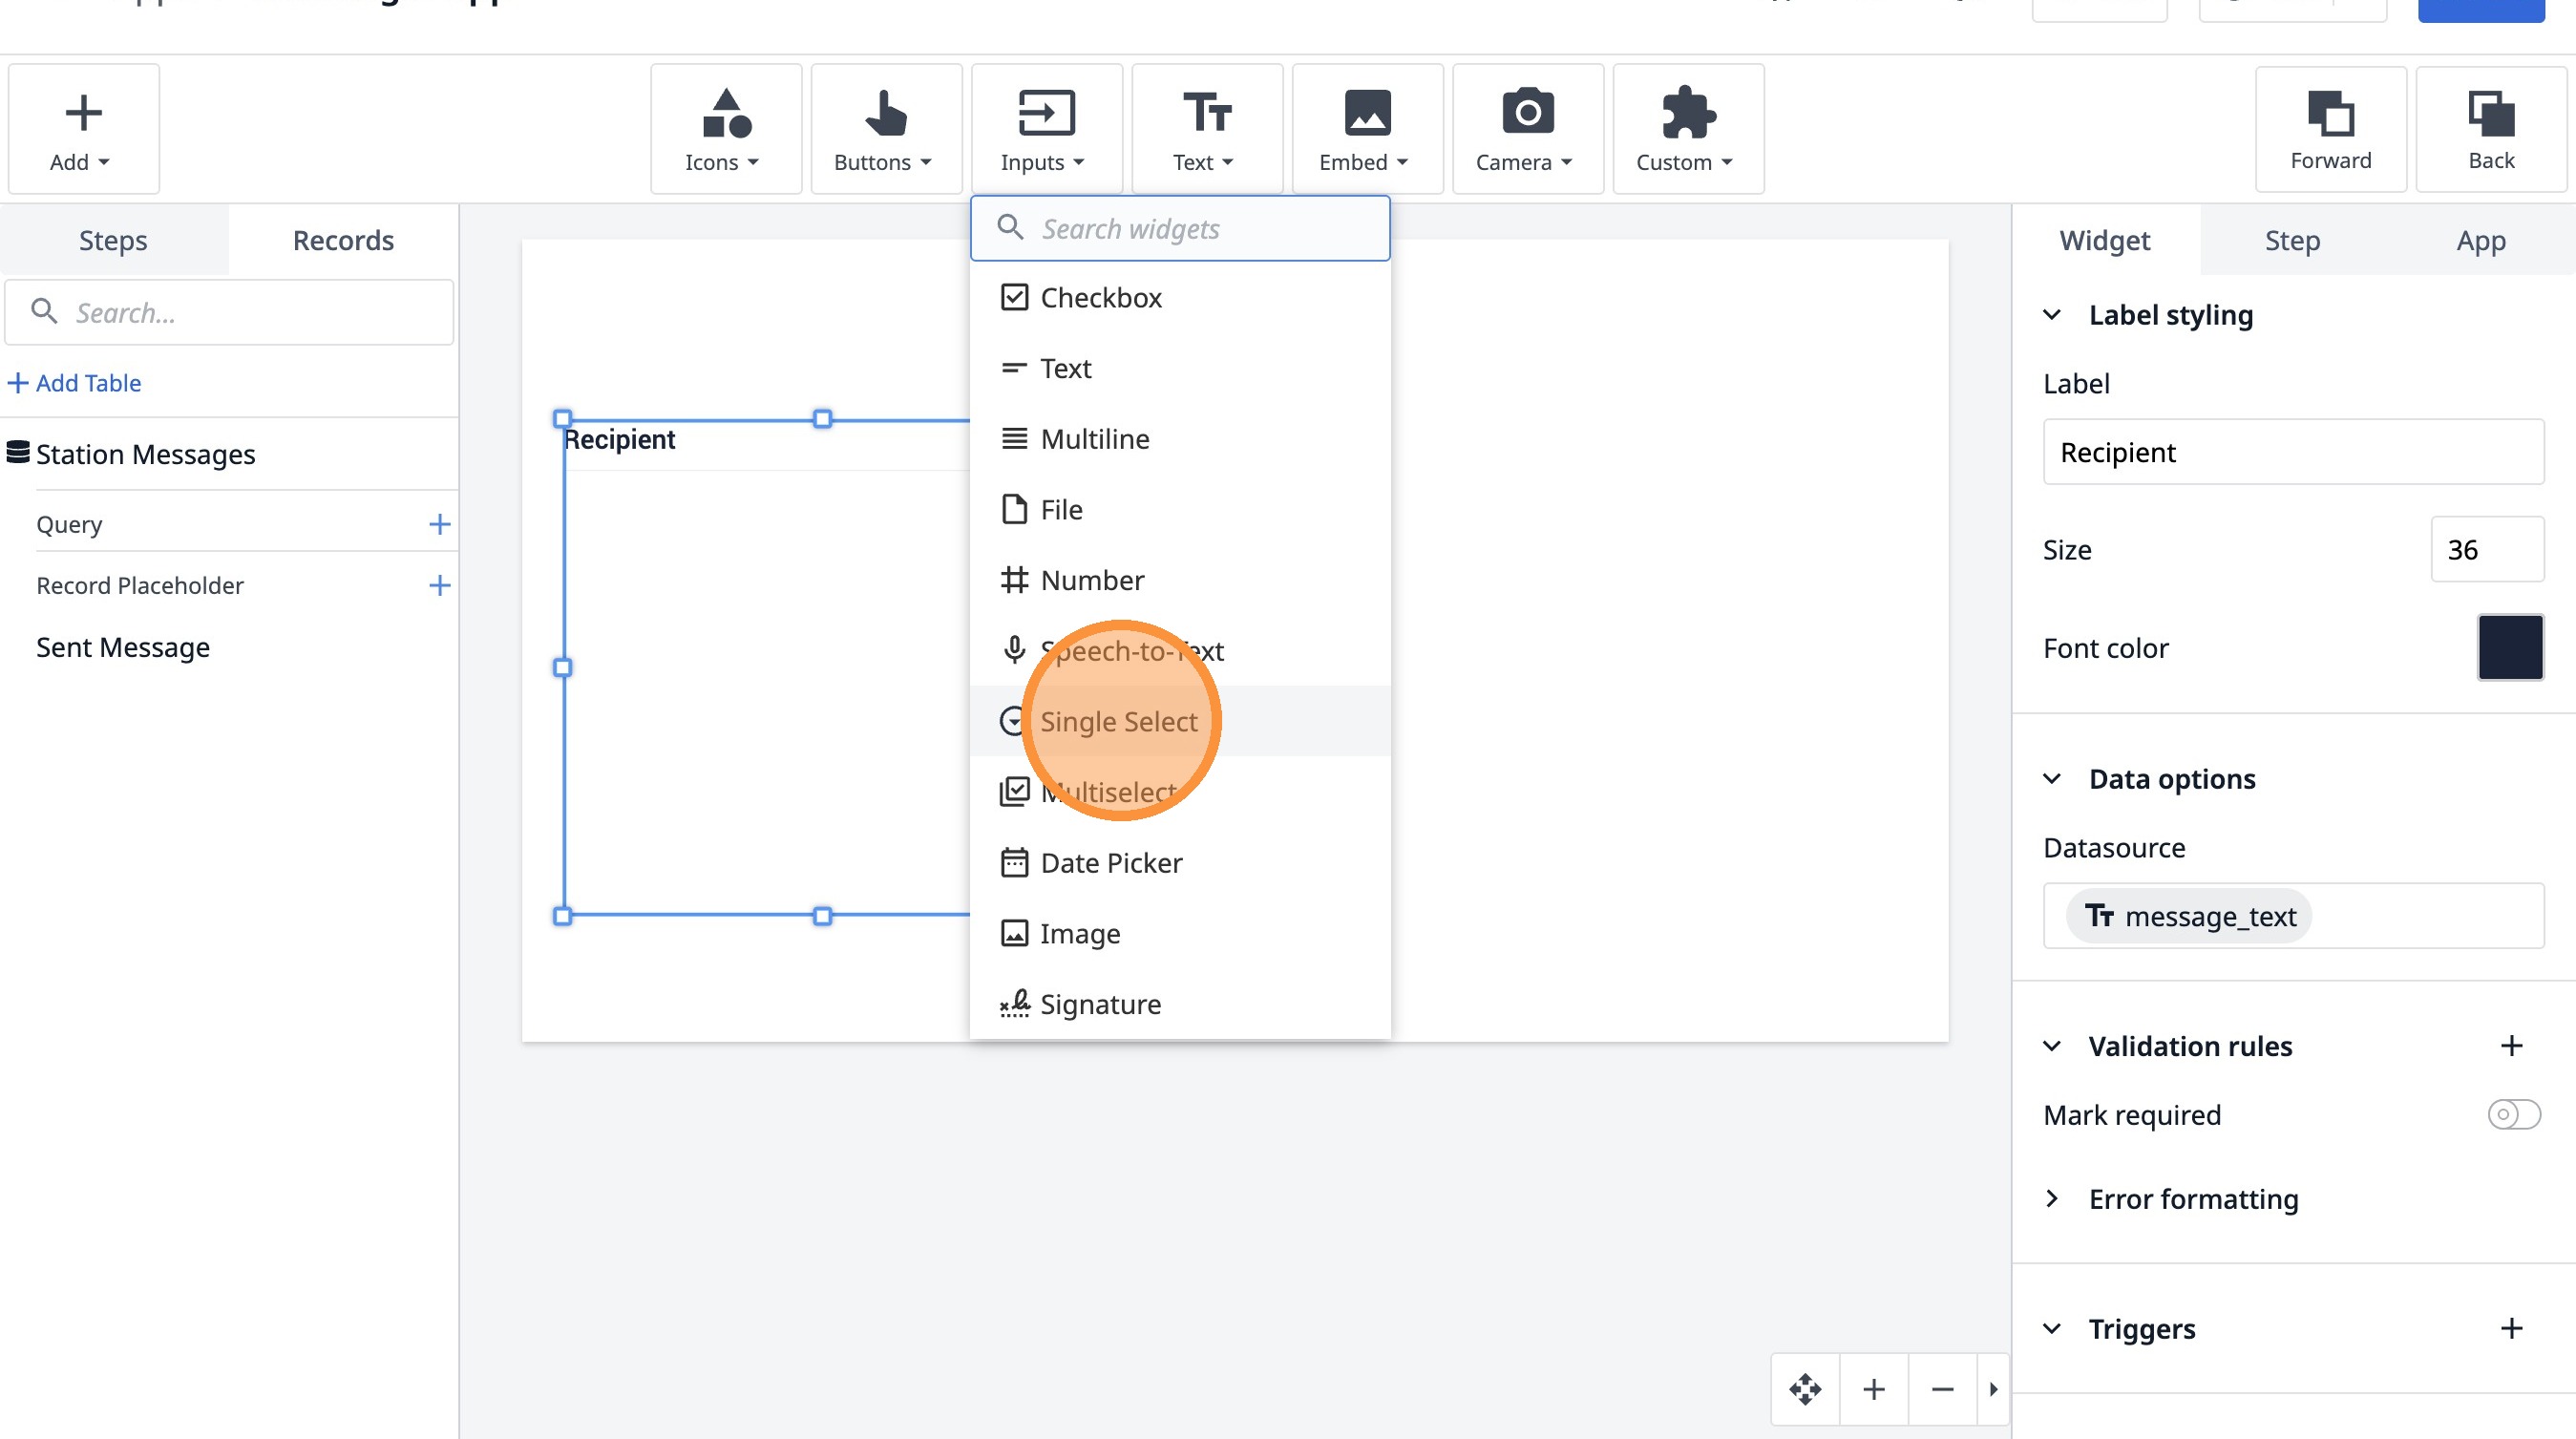
31. Click this icon.
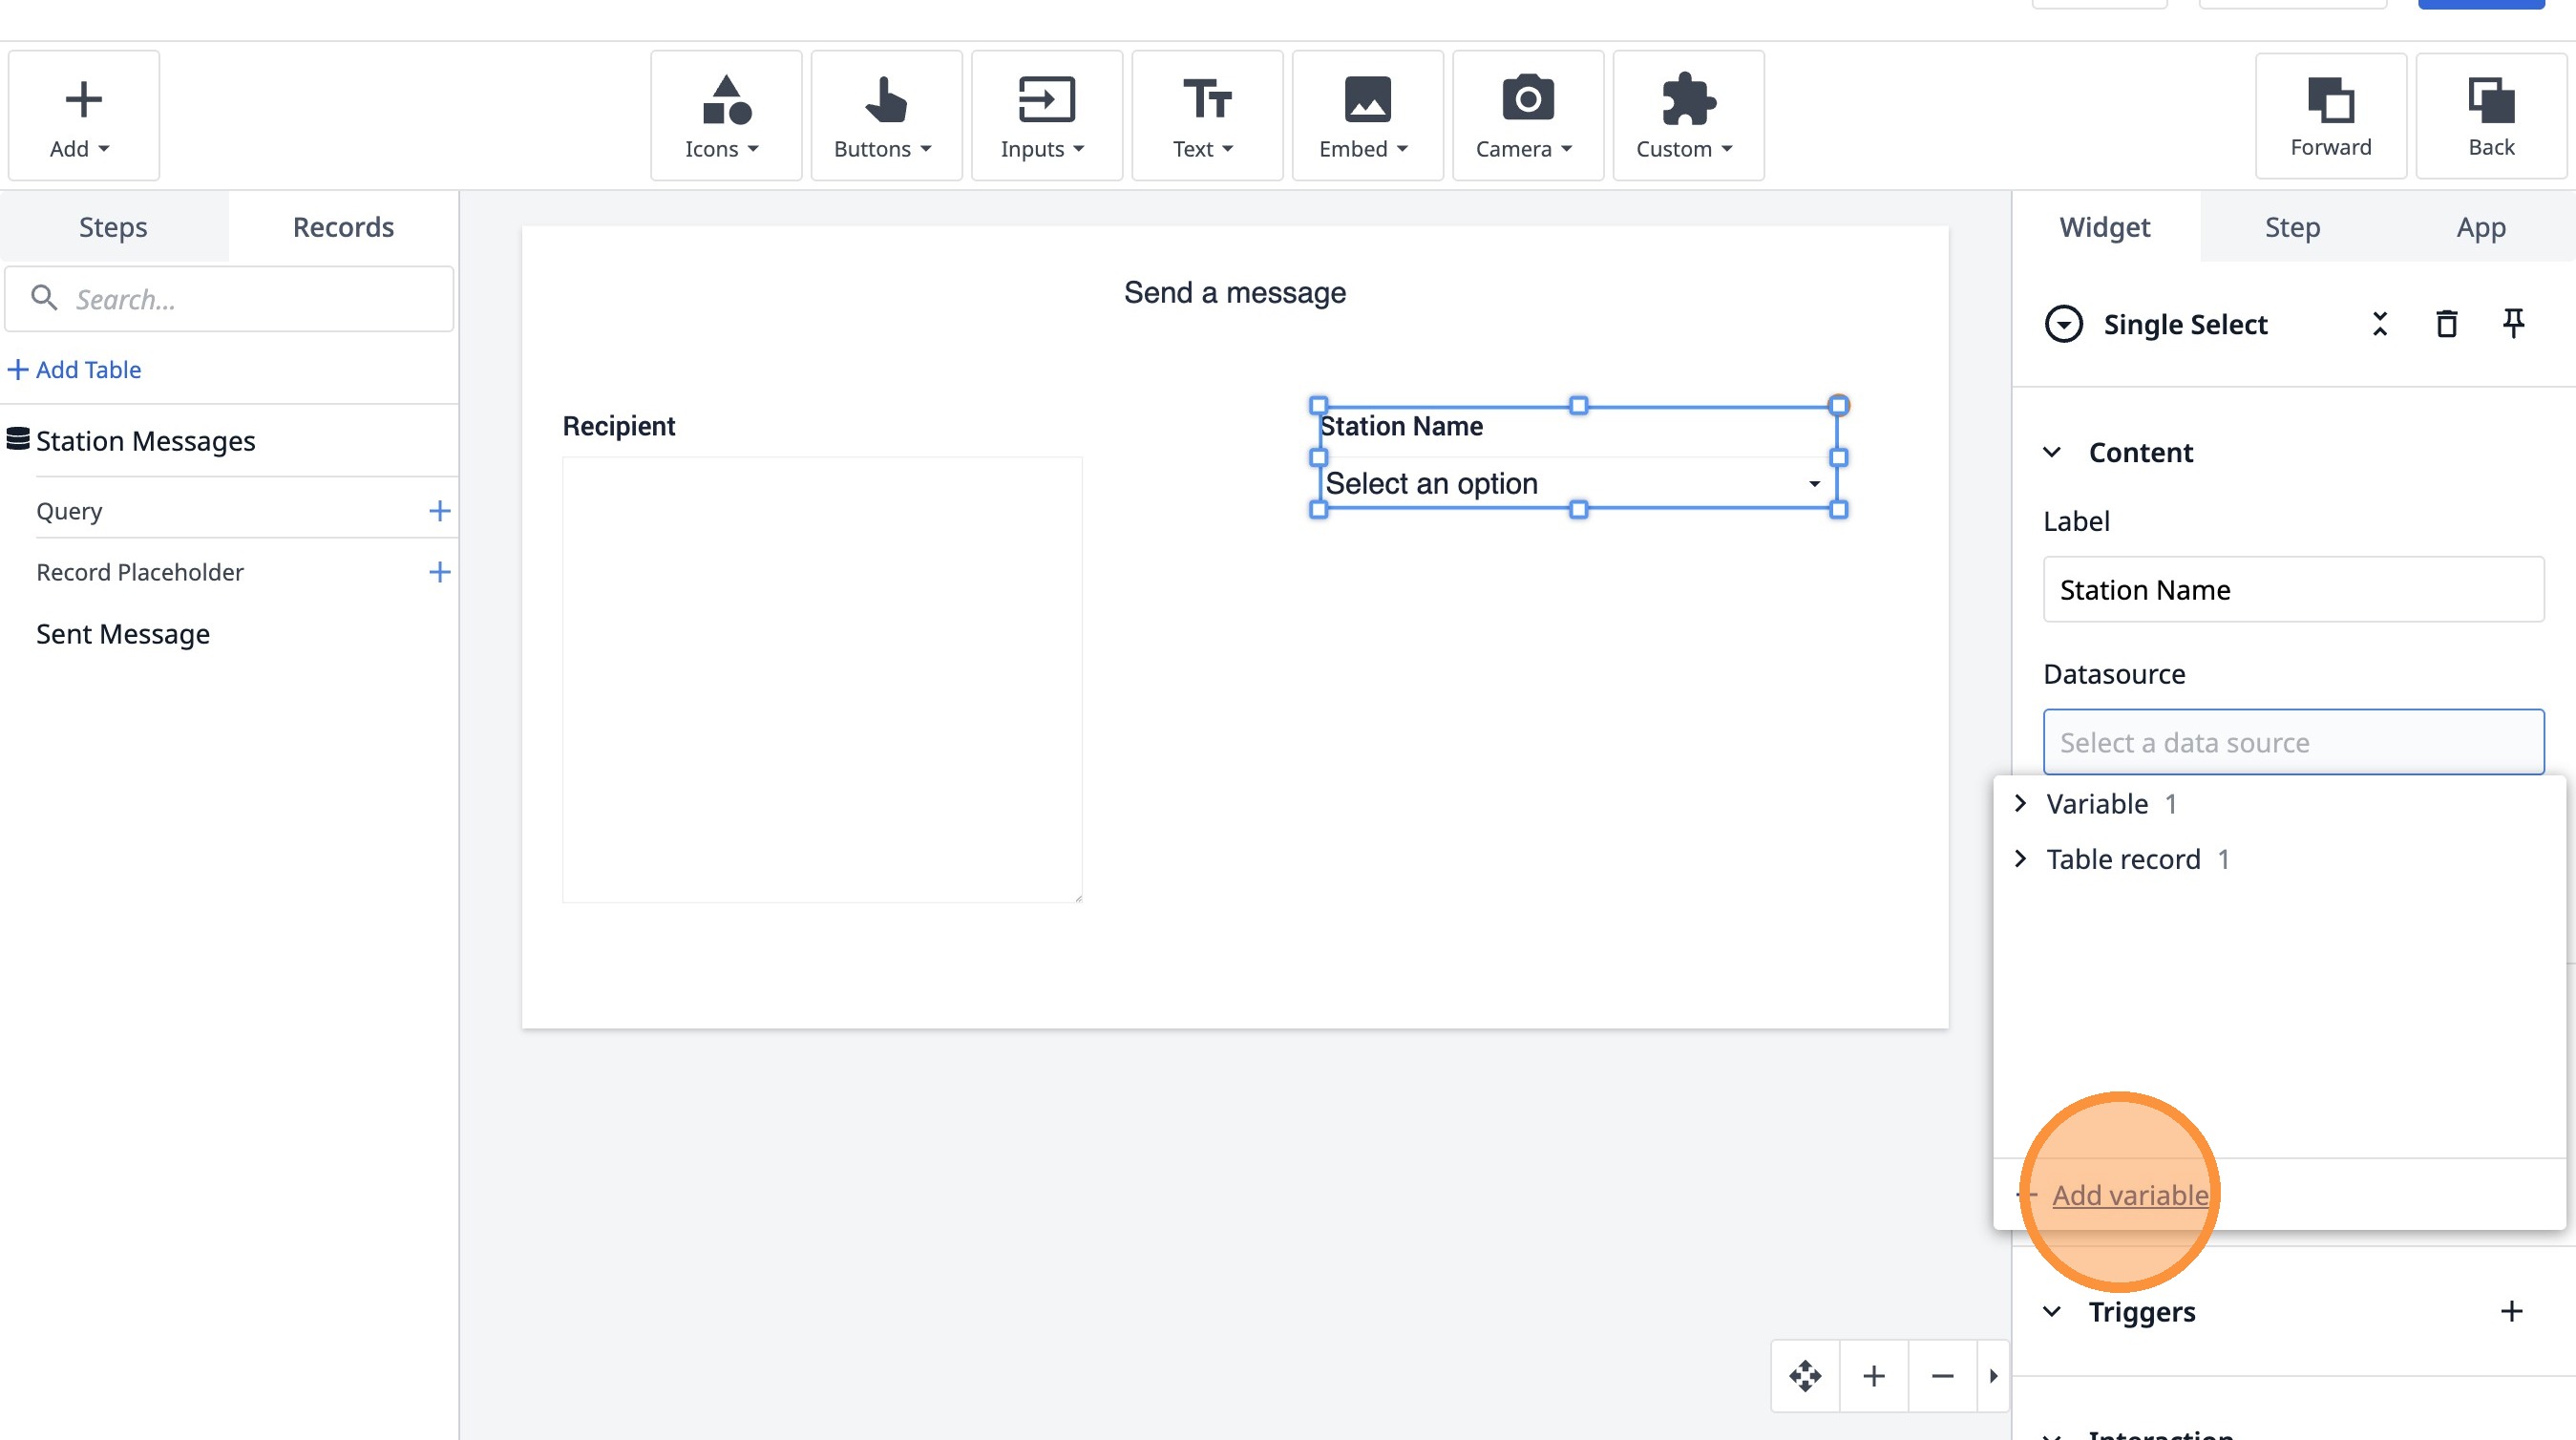
32. Click "Single Select"
33. Click here.
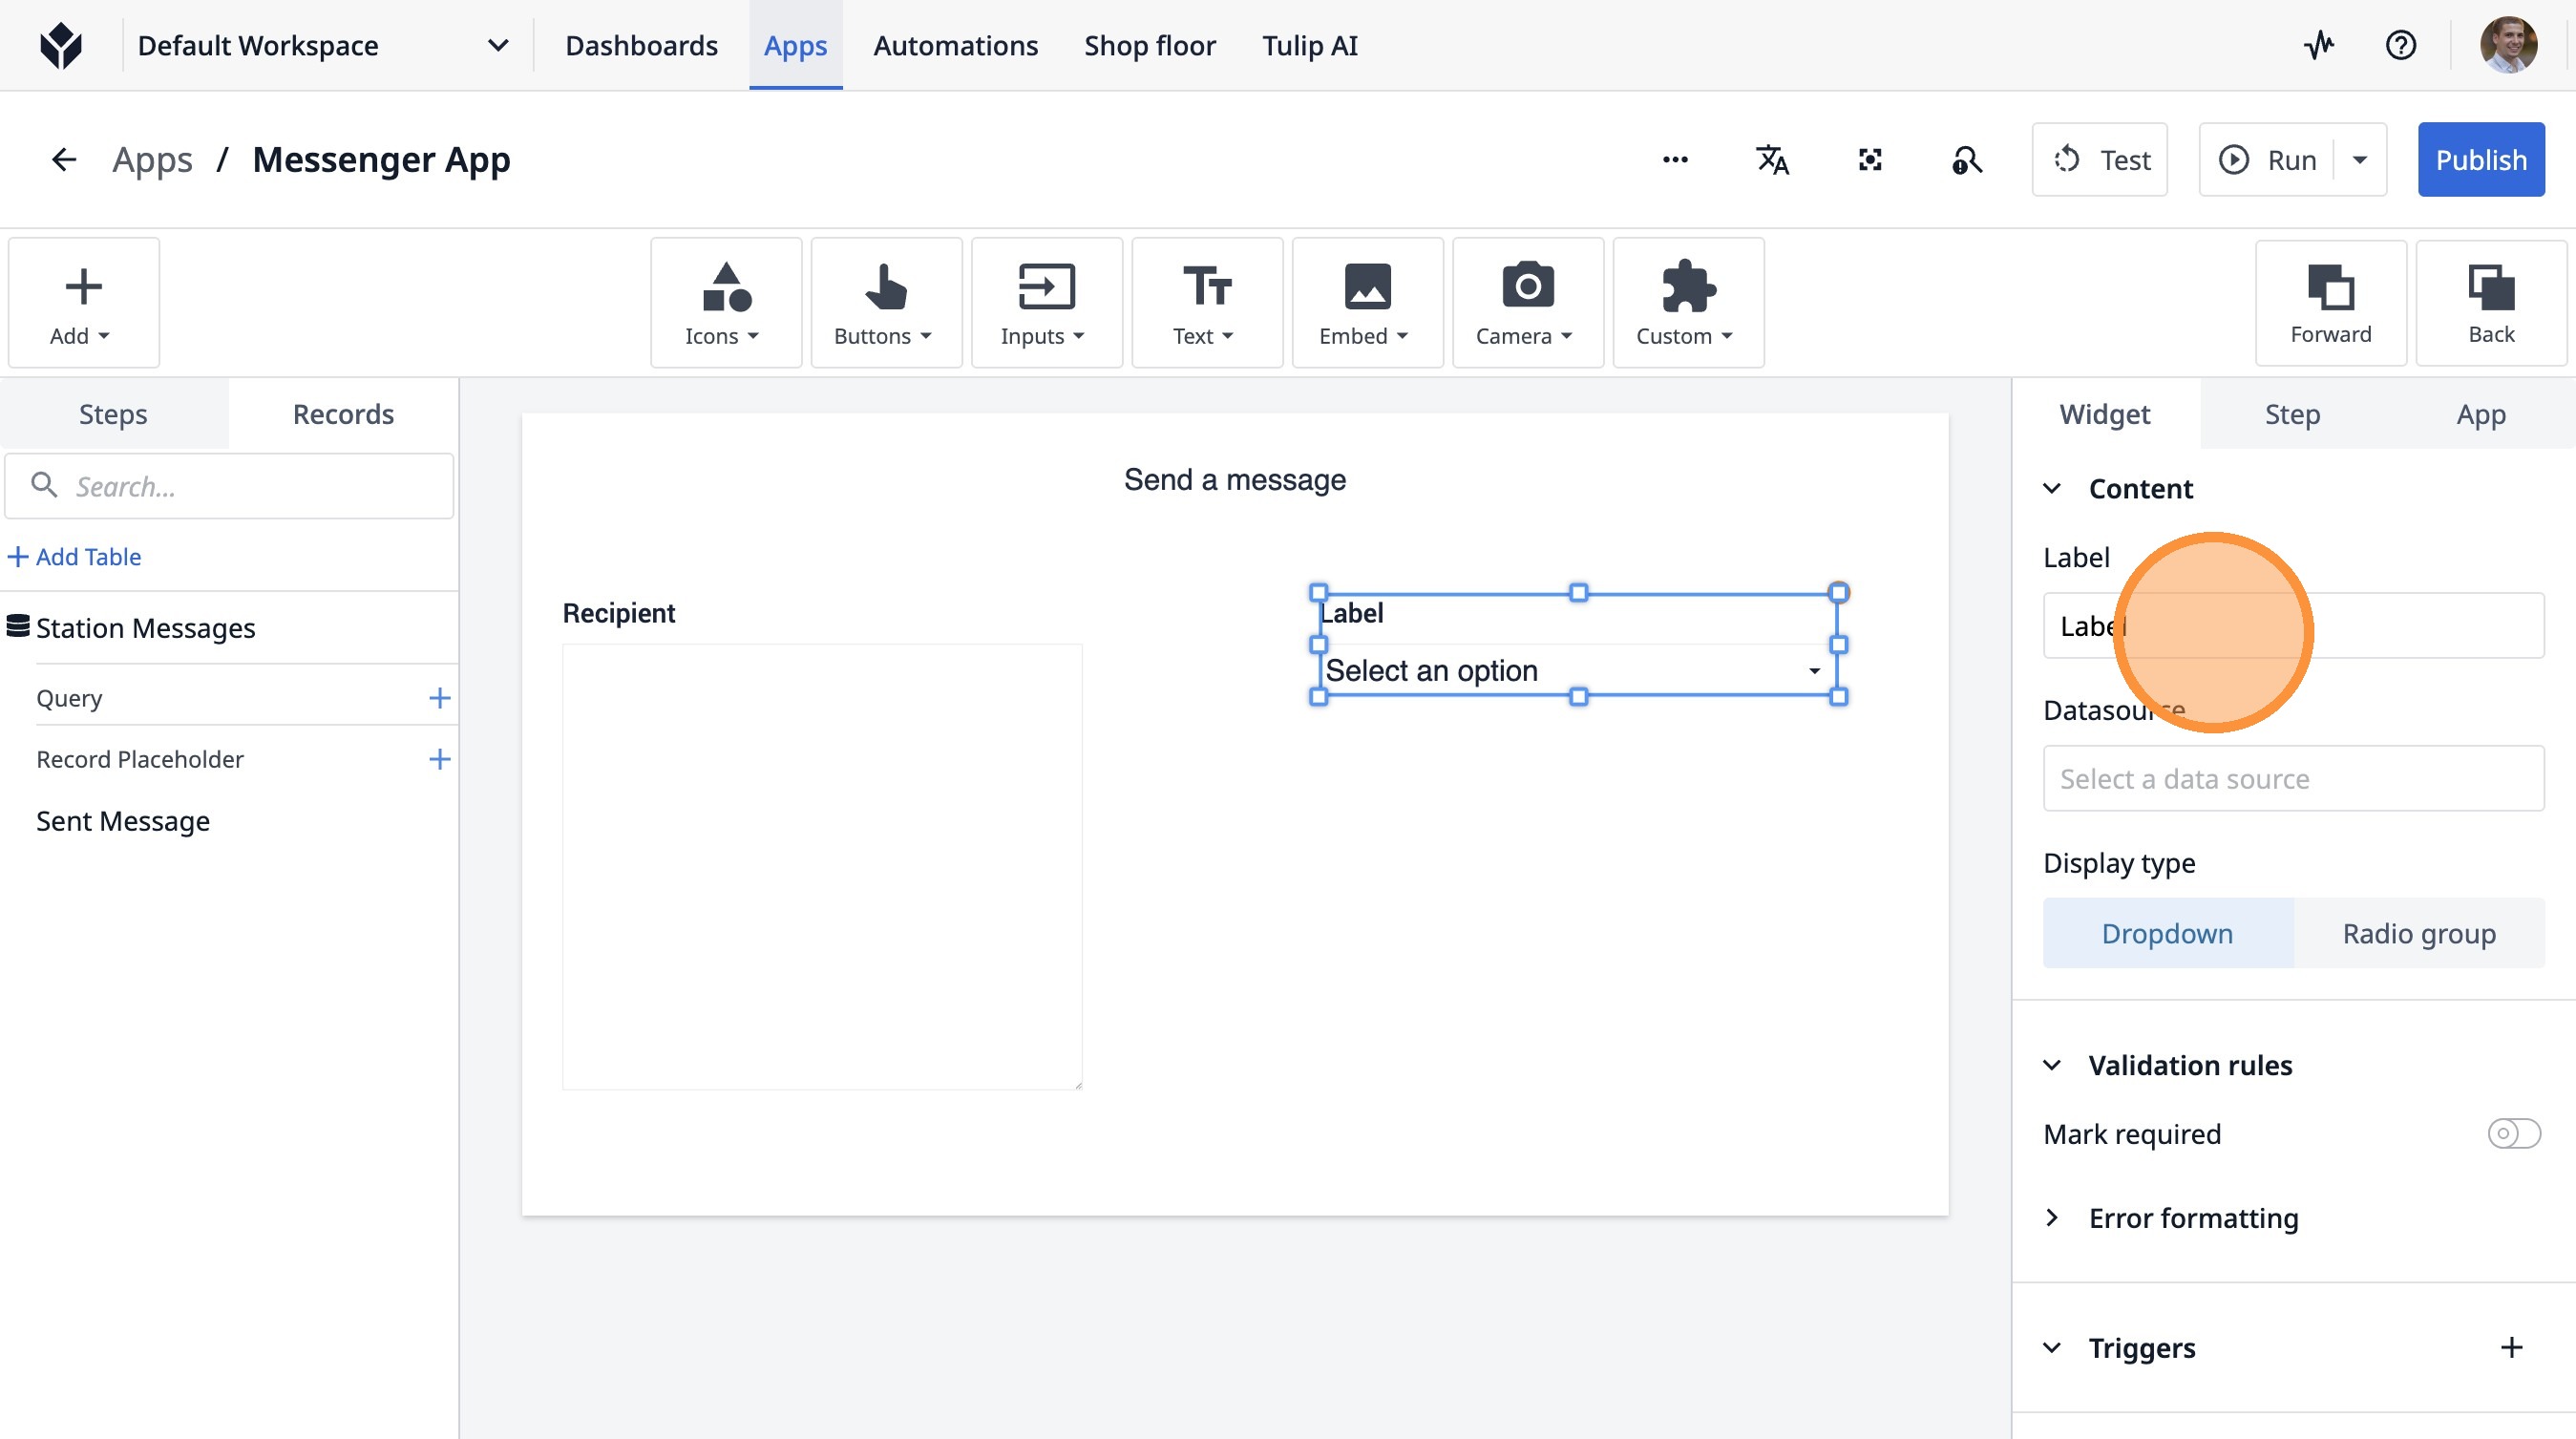
34. Double-click the "Label" field.
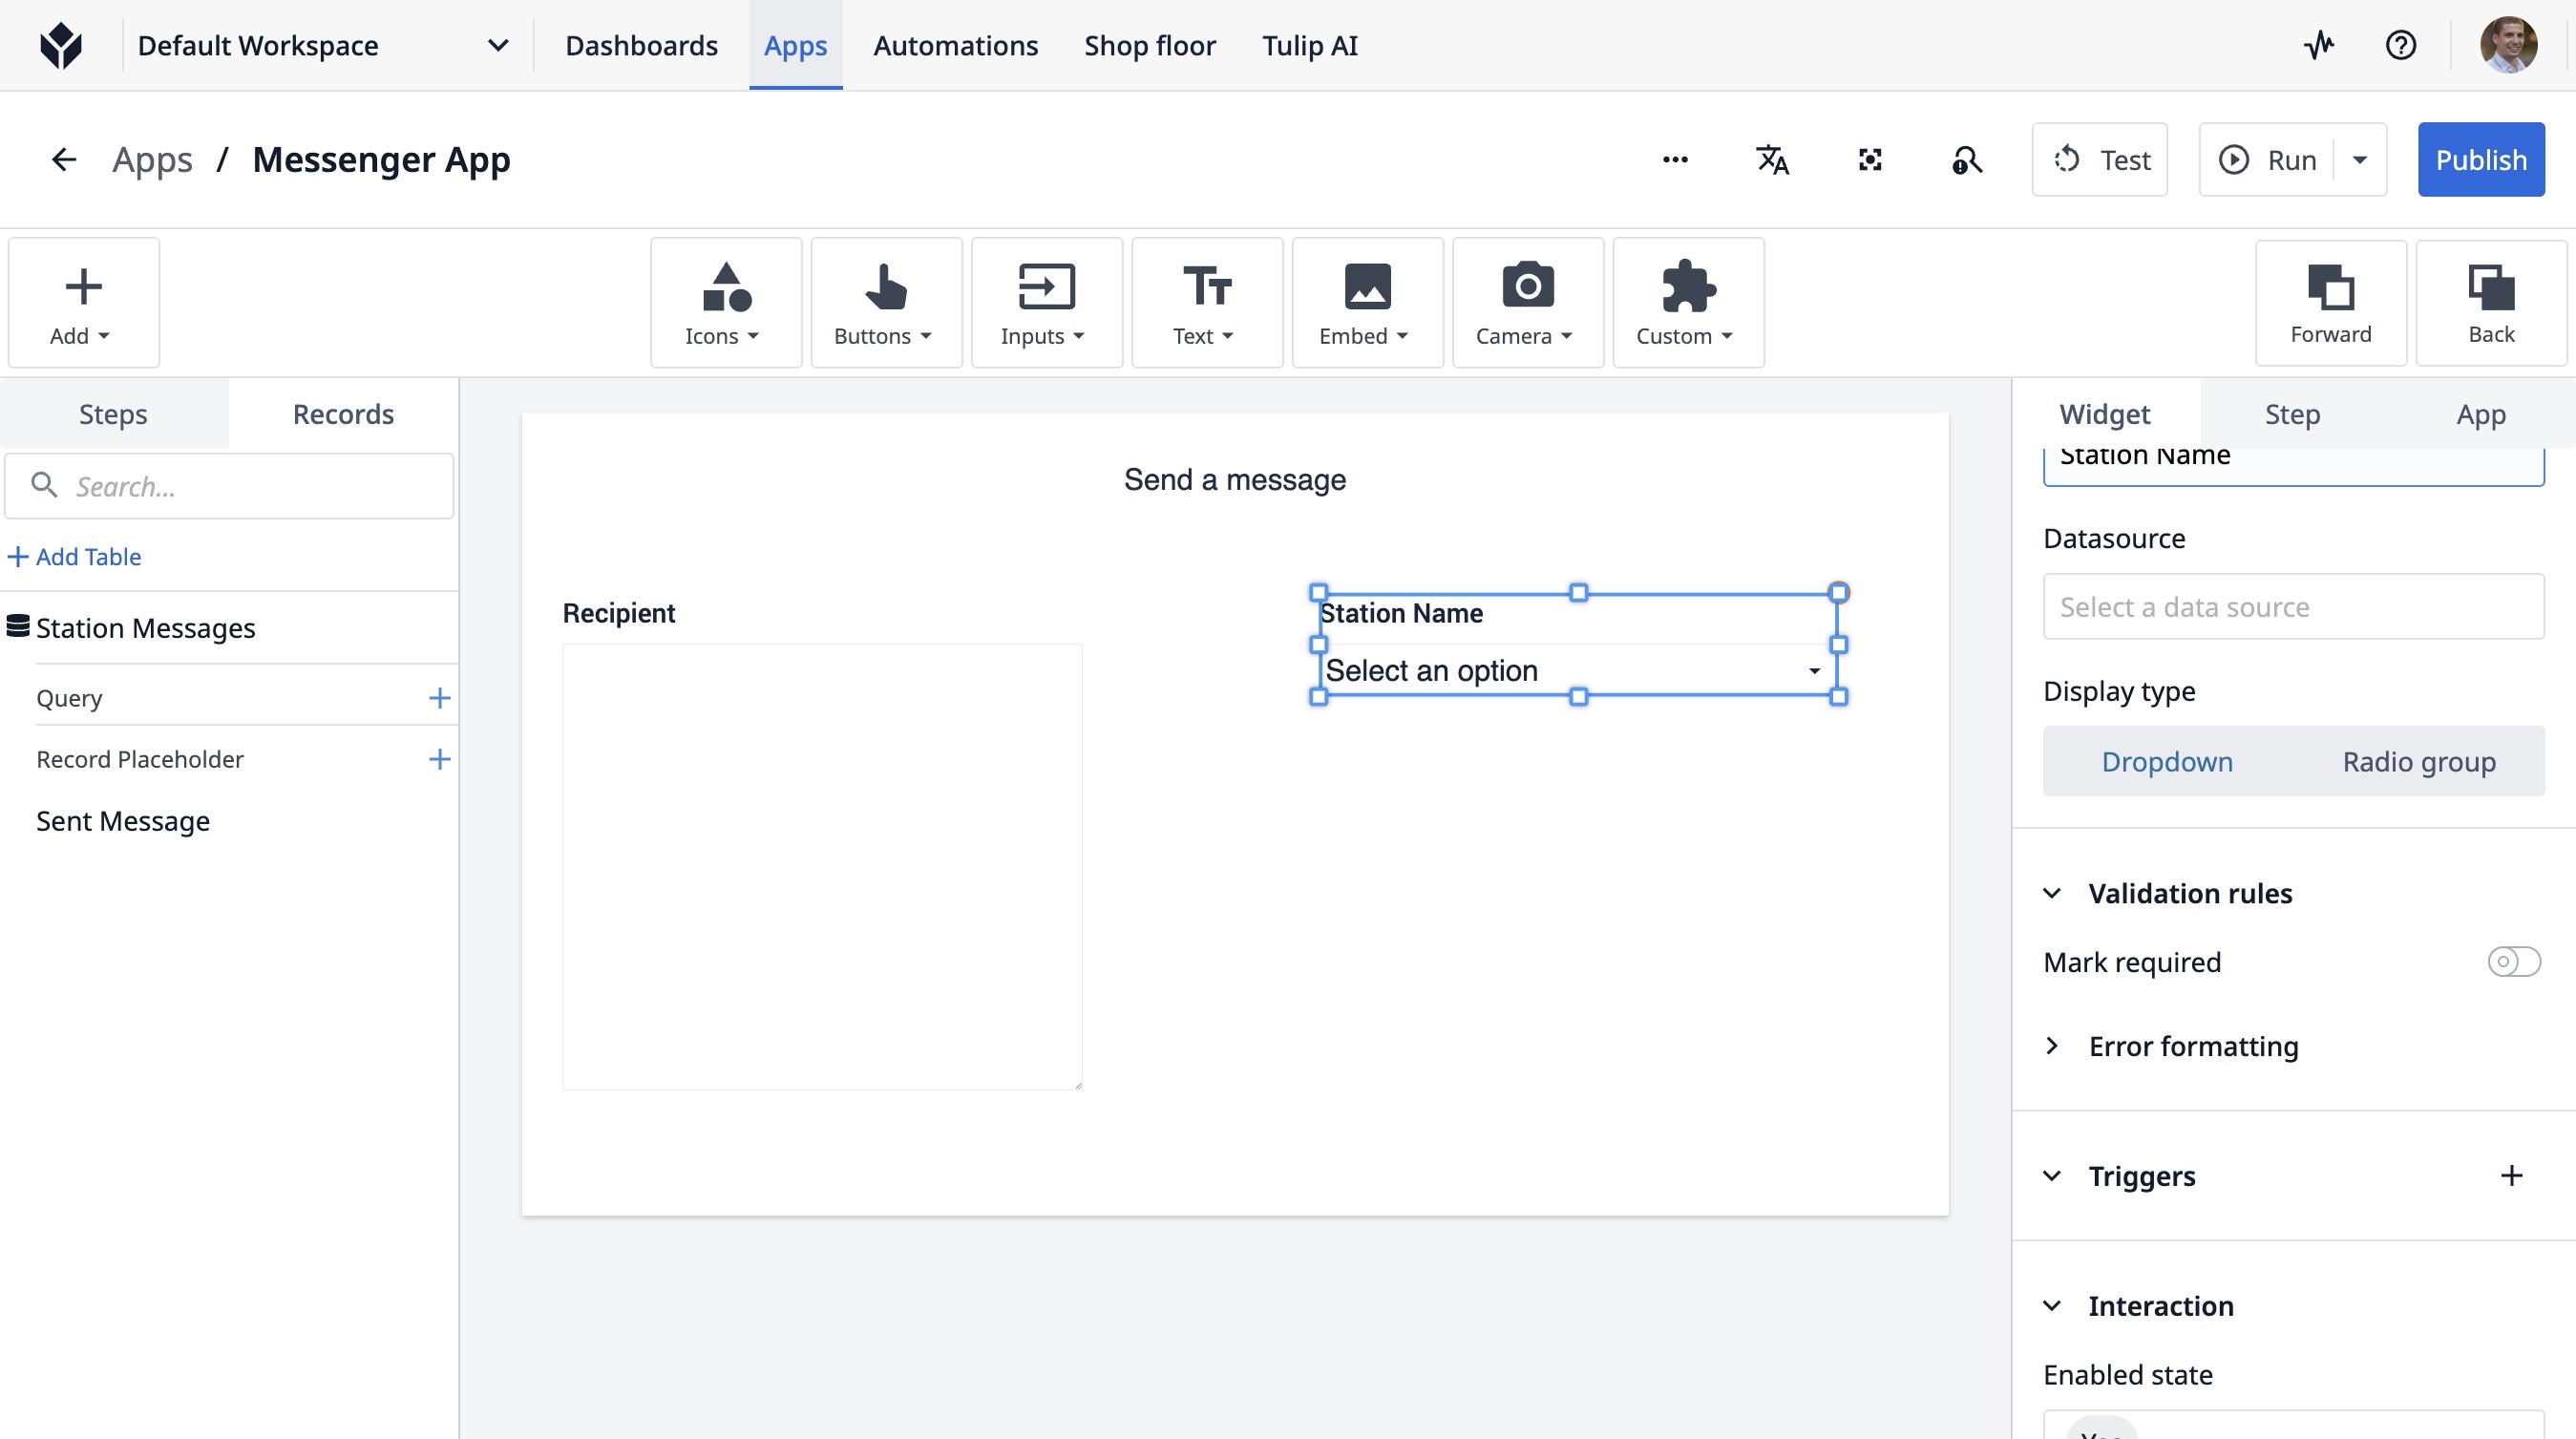
35. Type "Station Name"
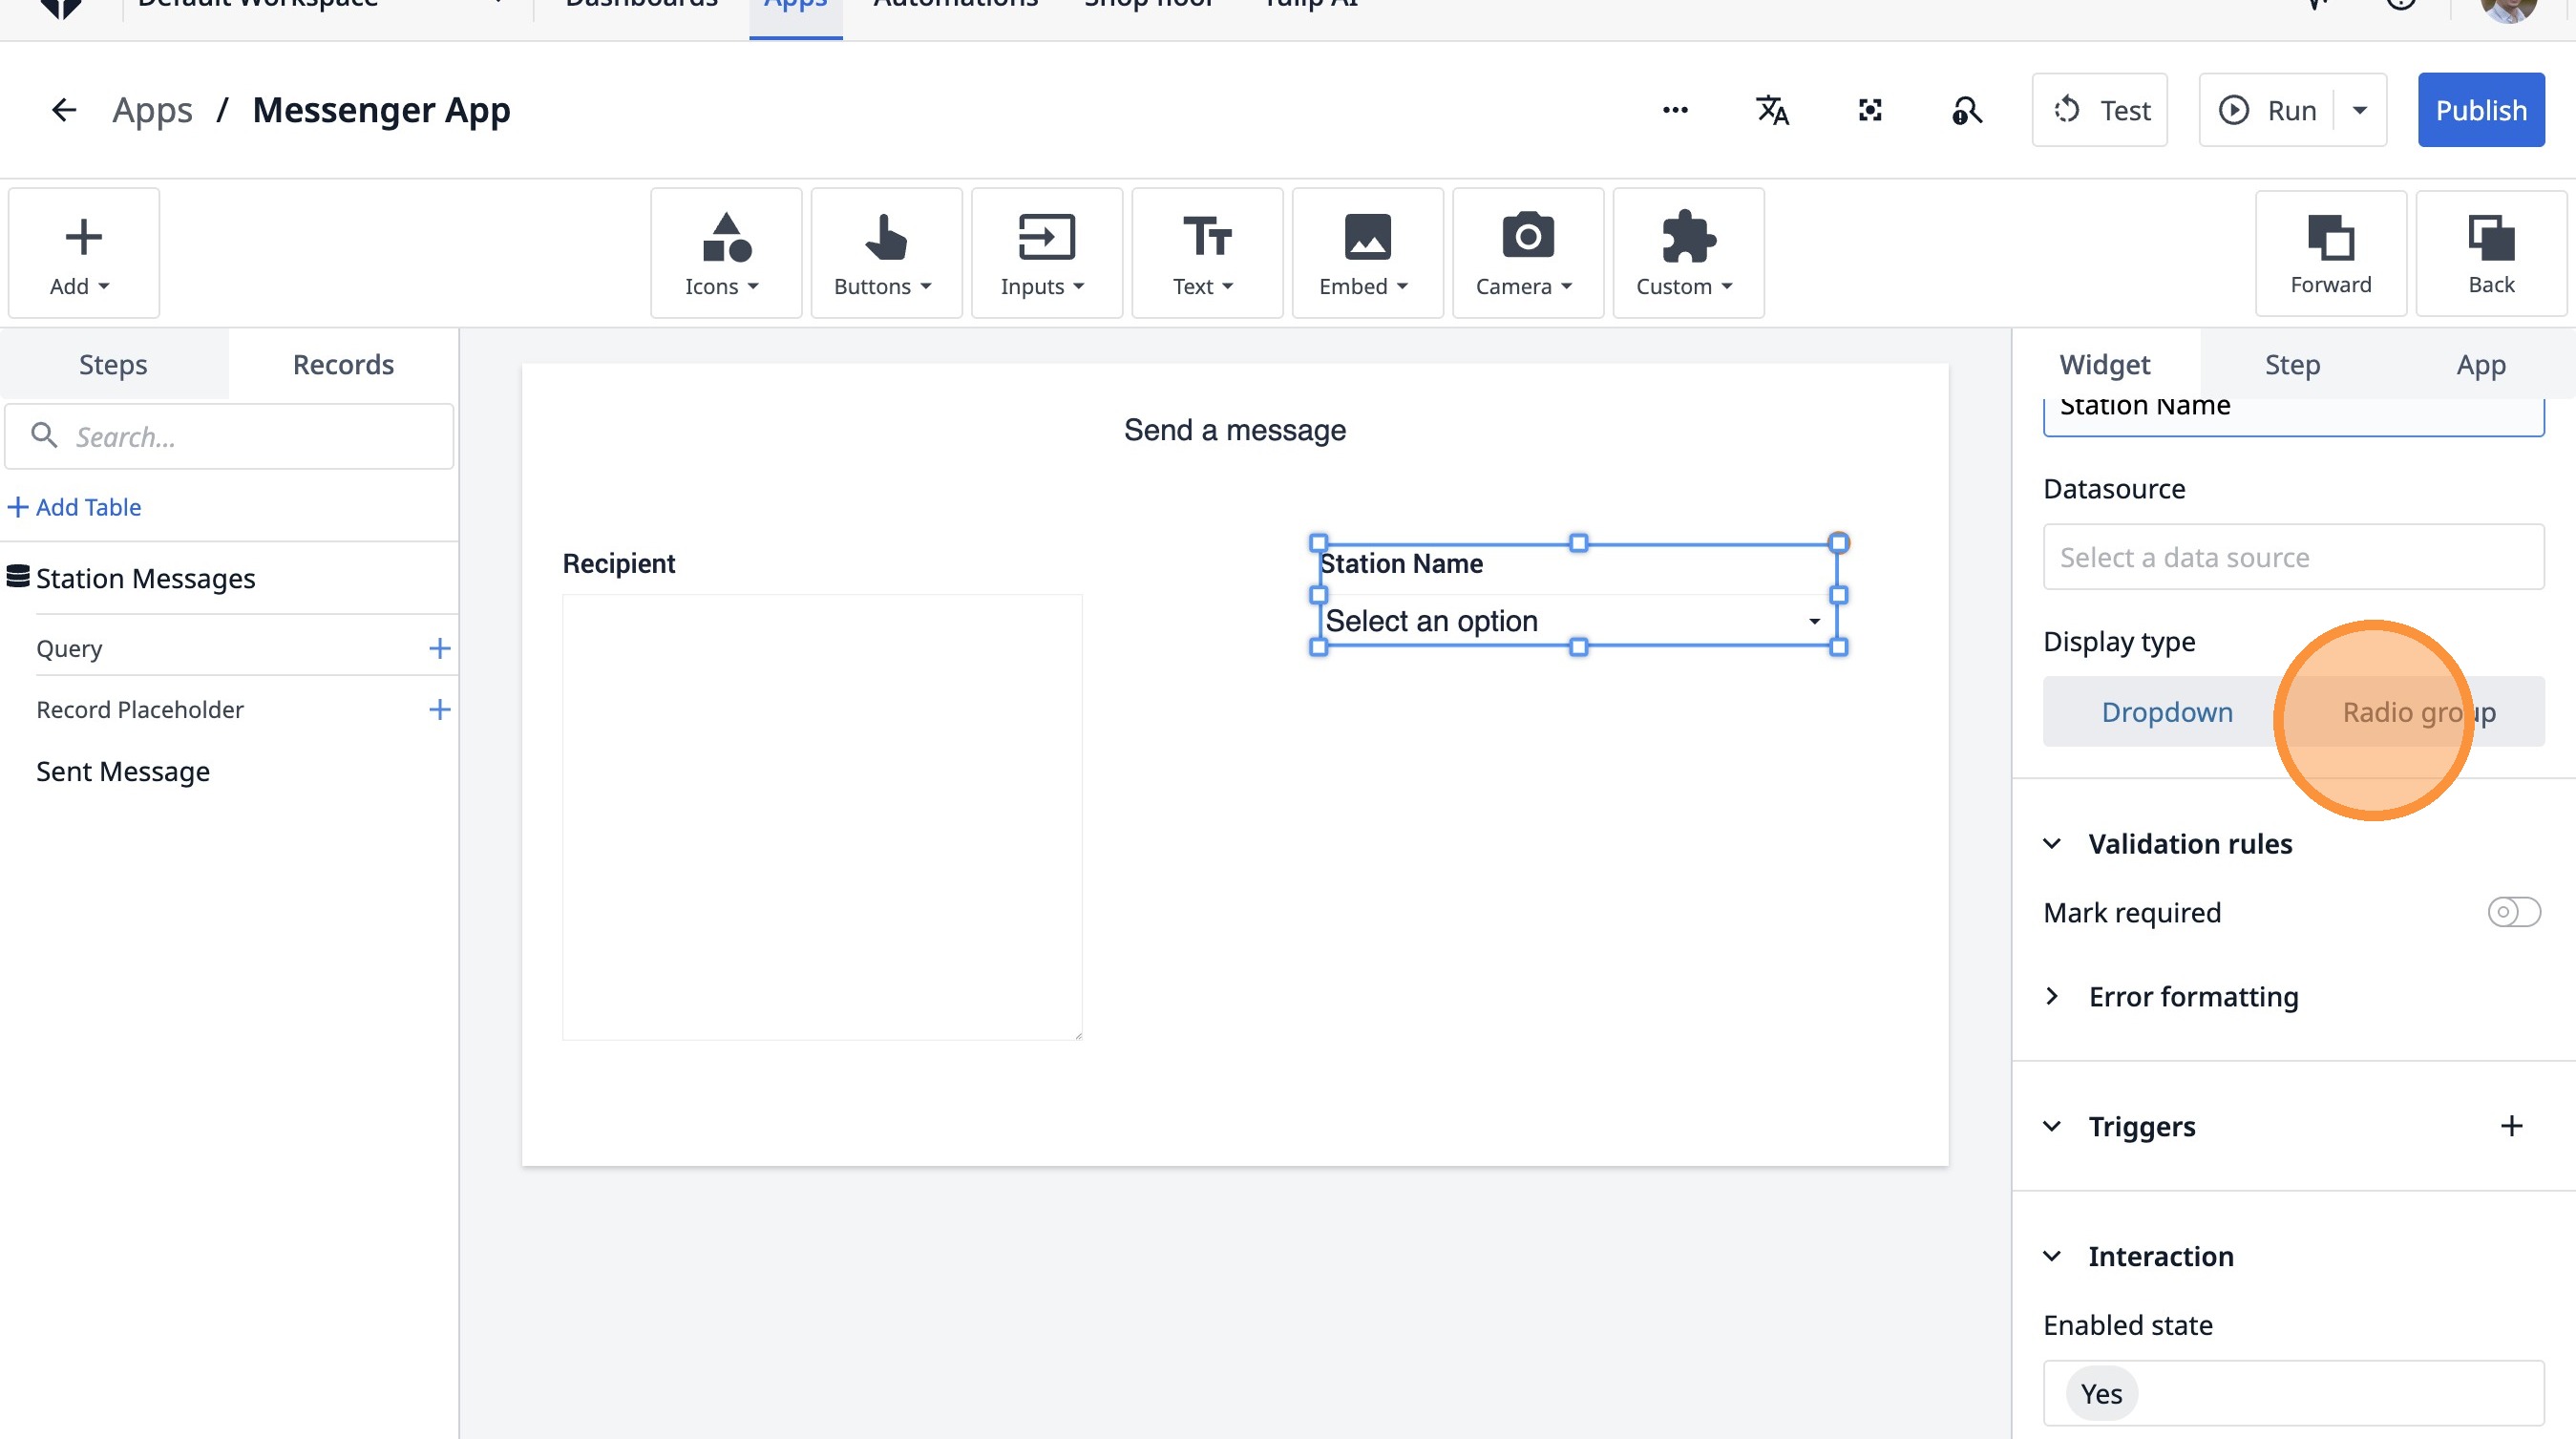
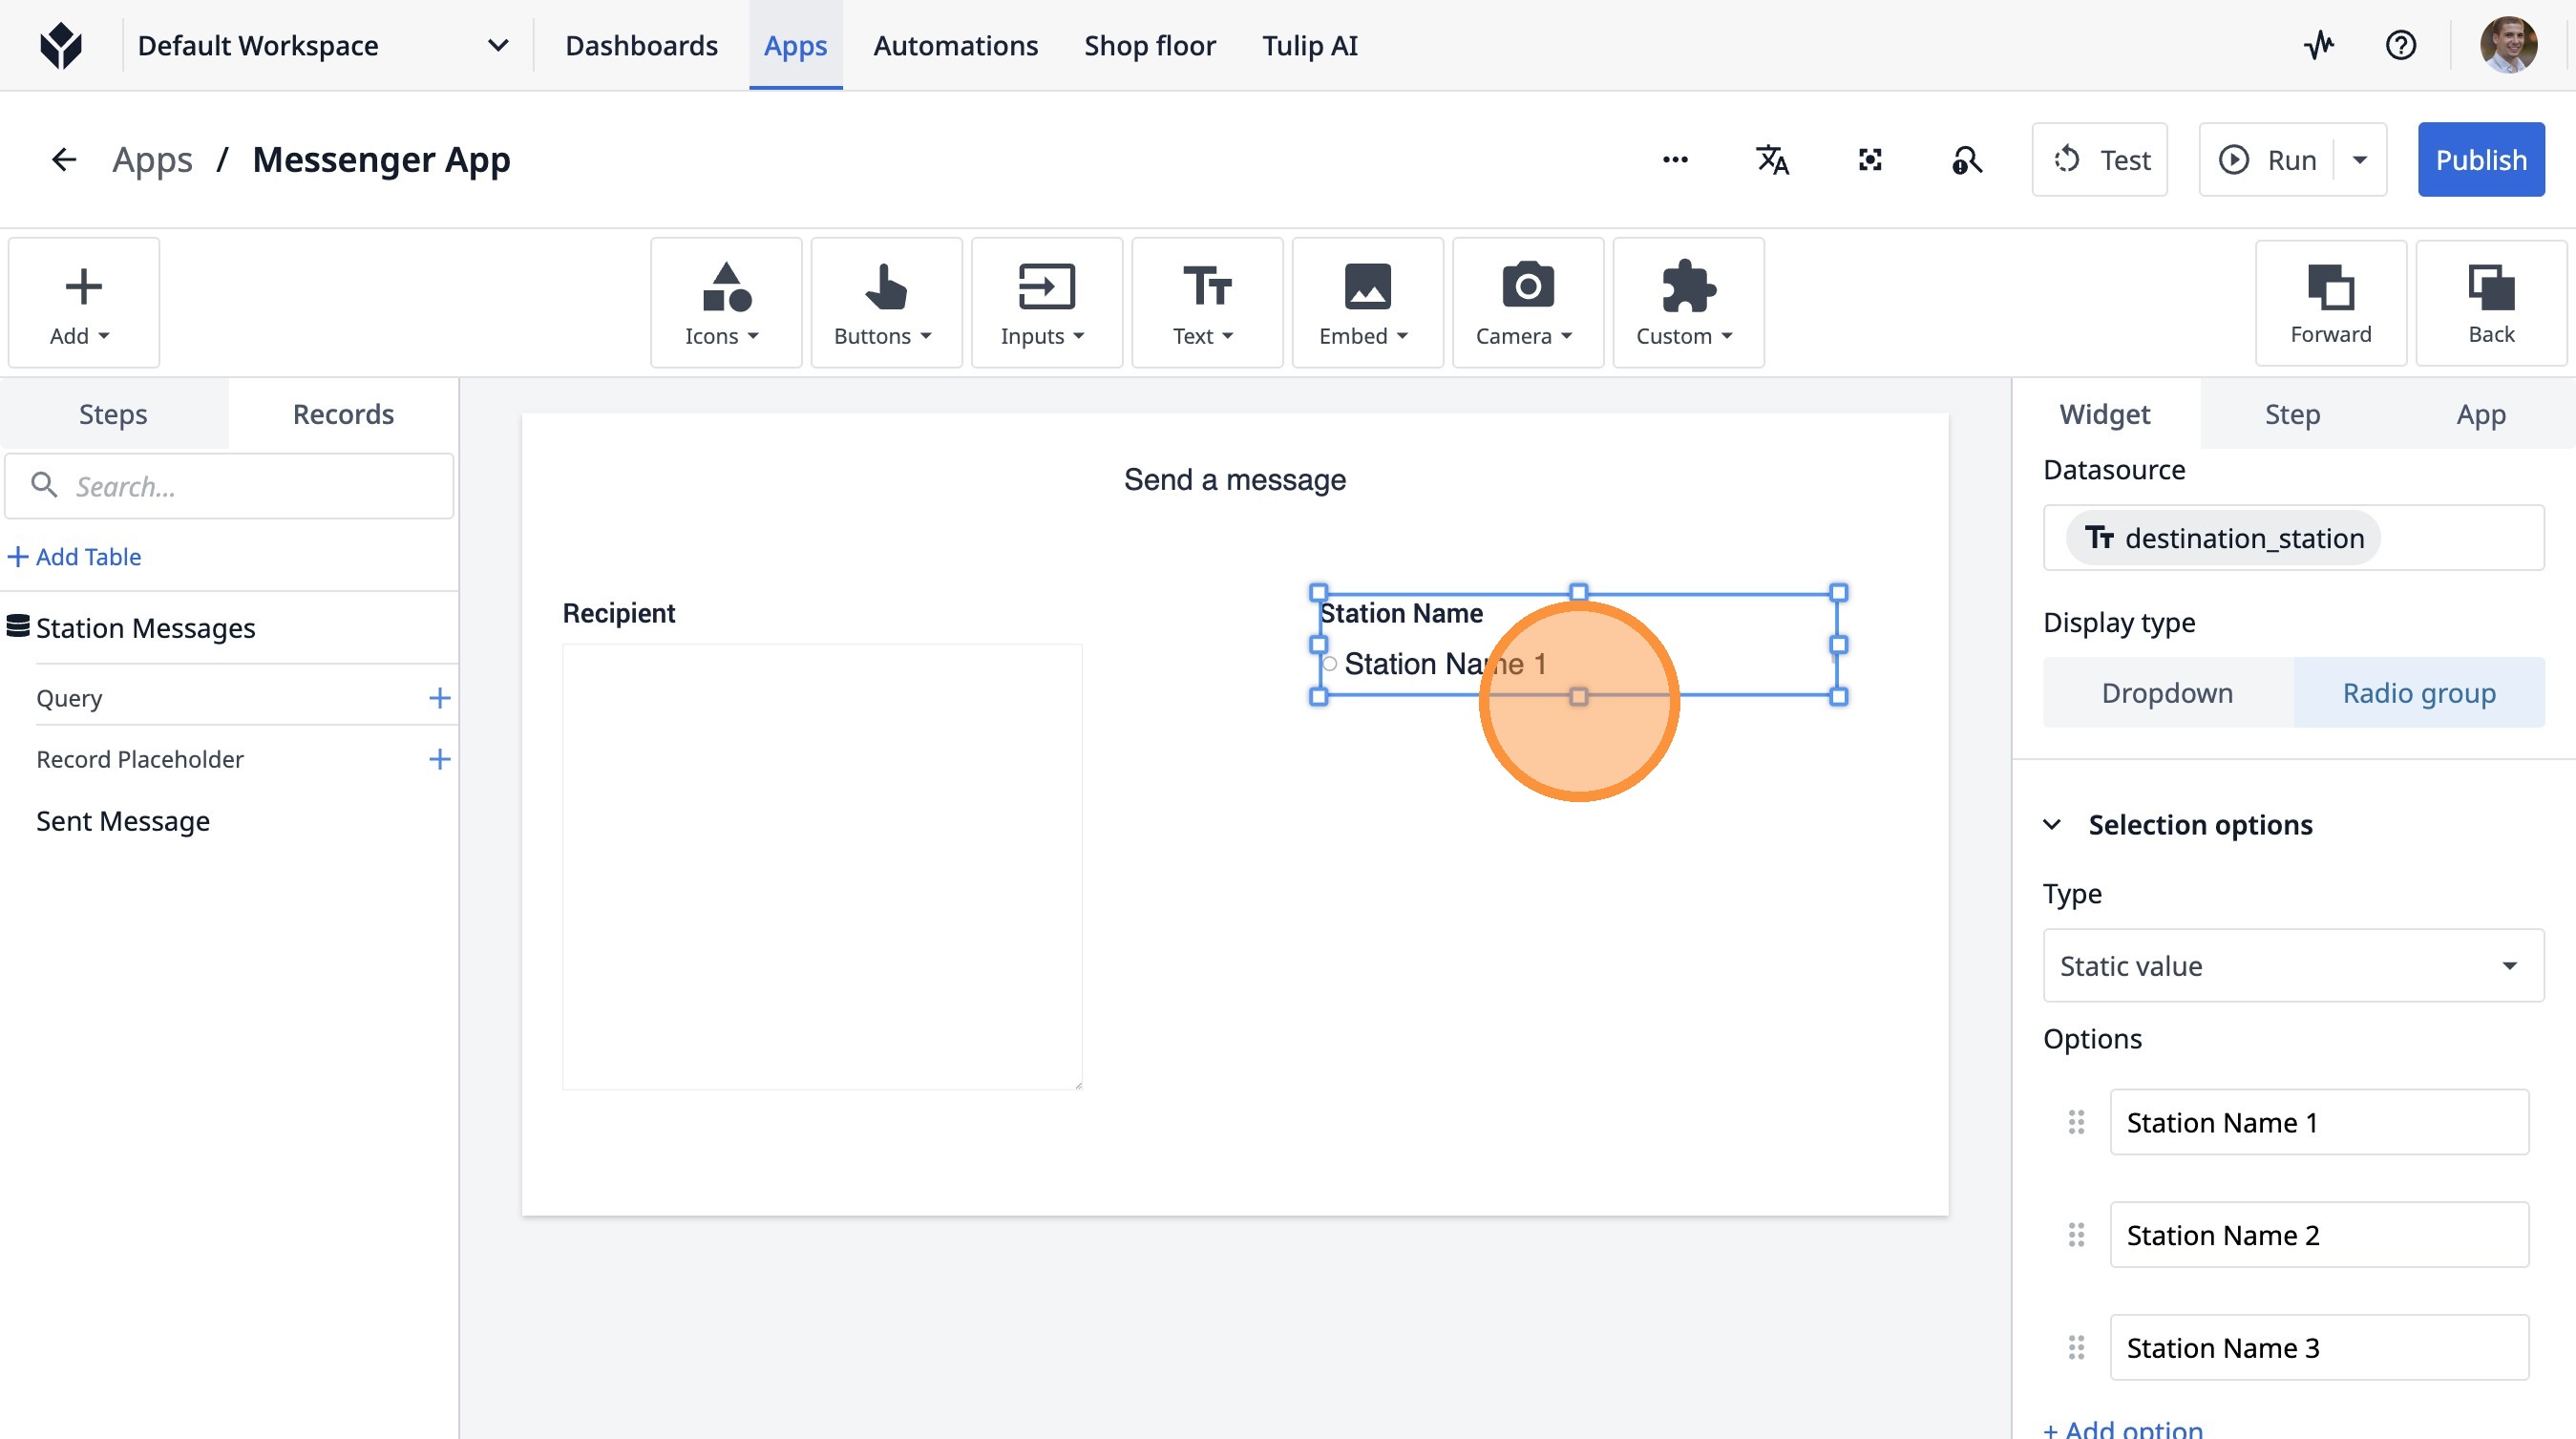
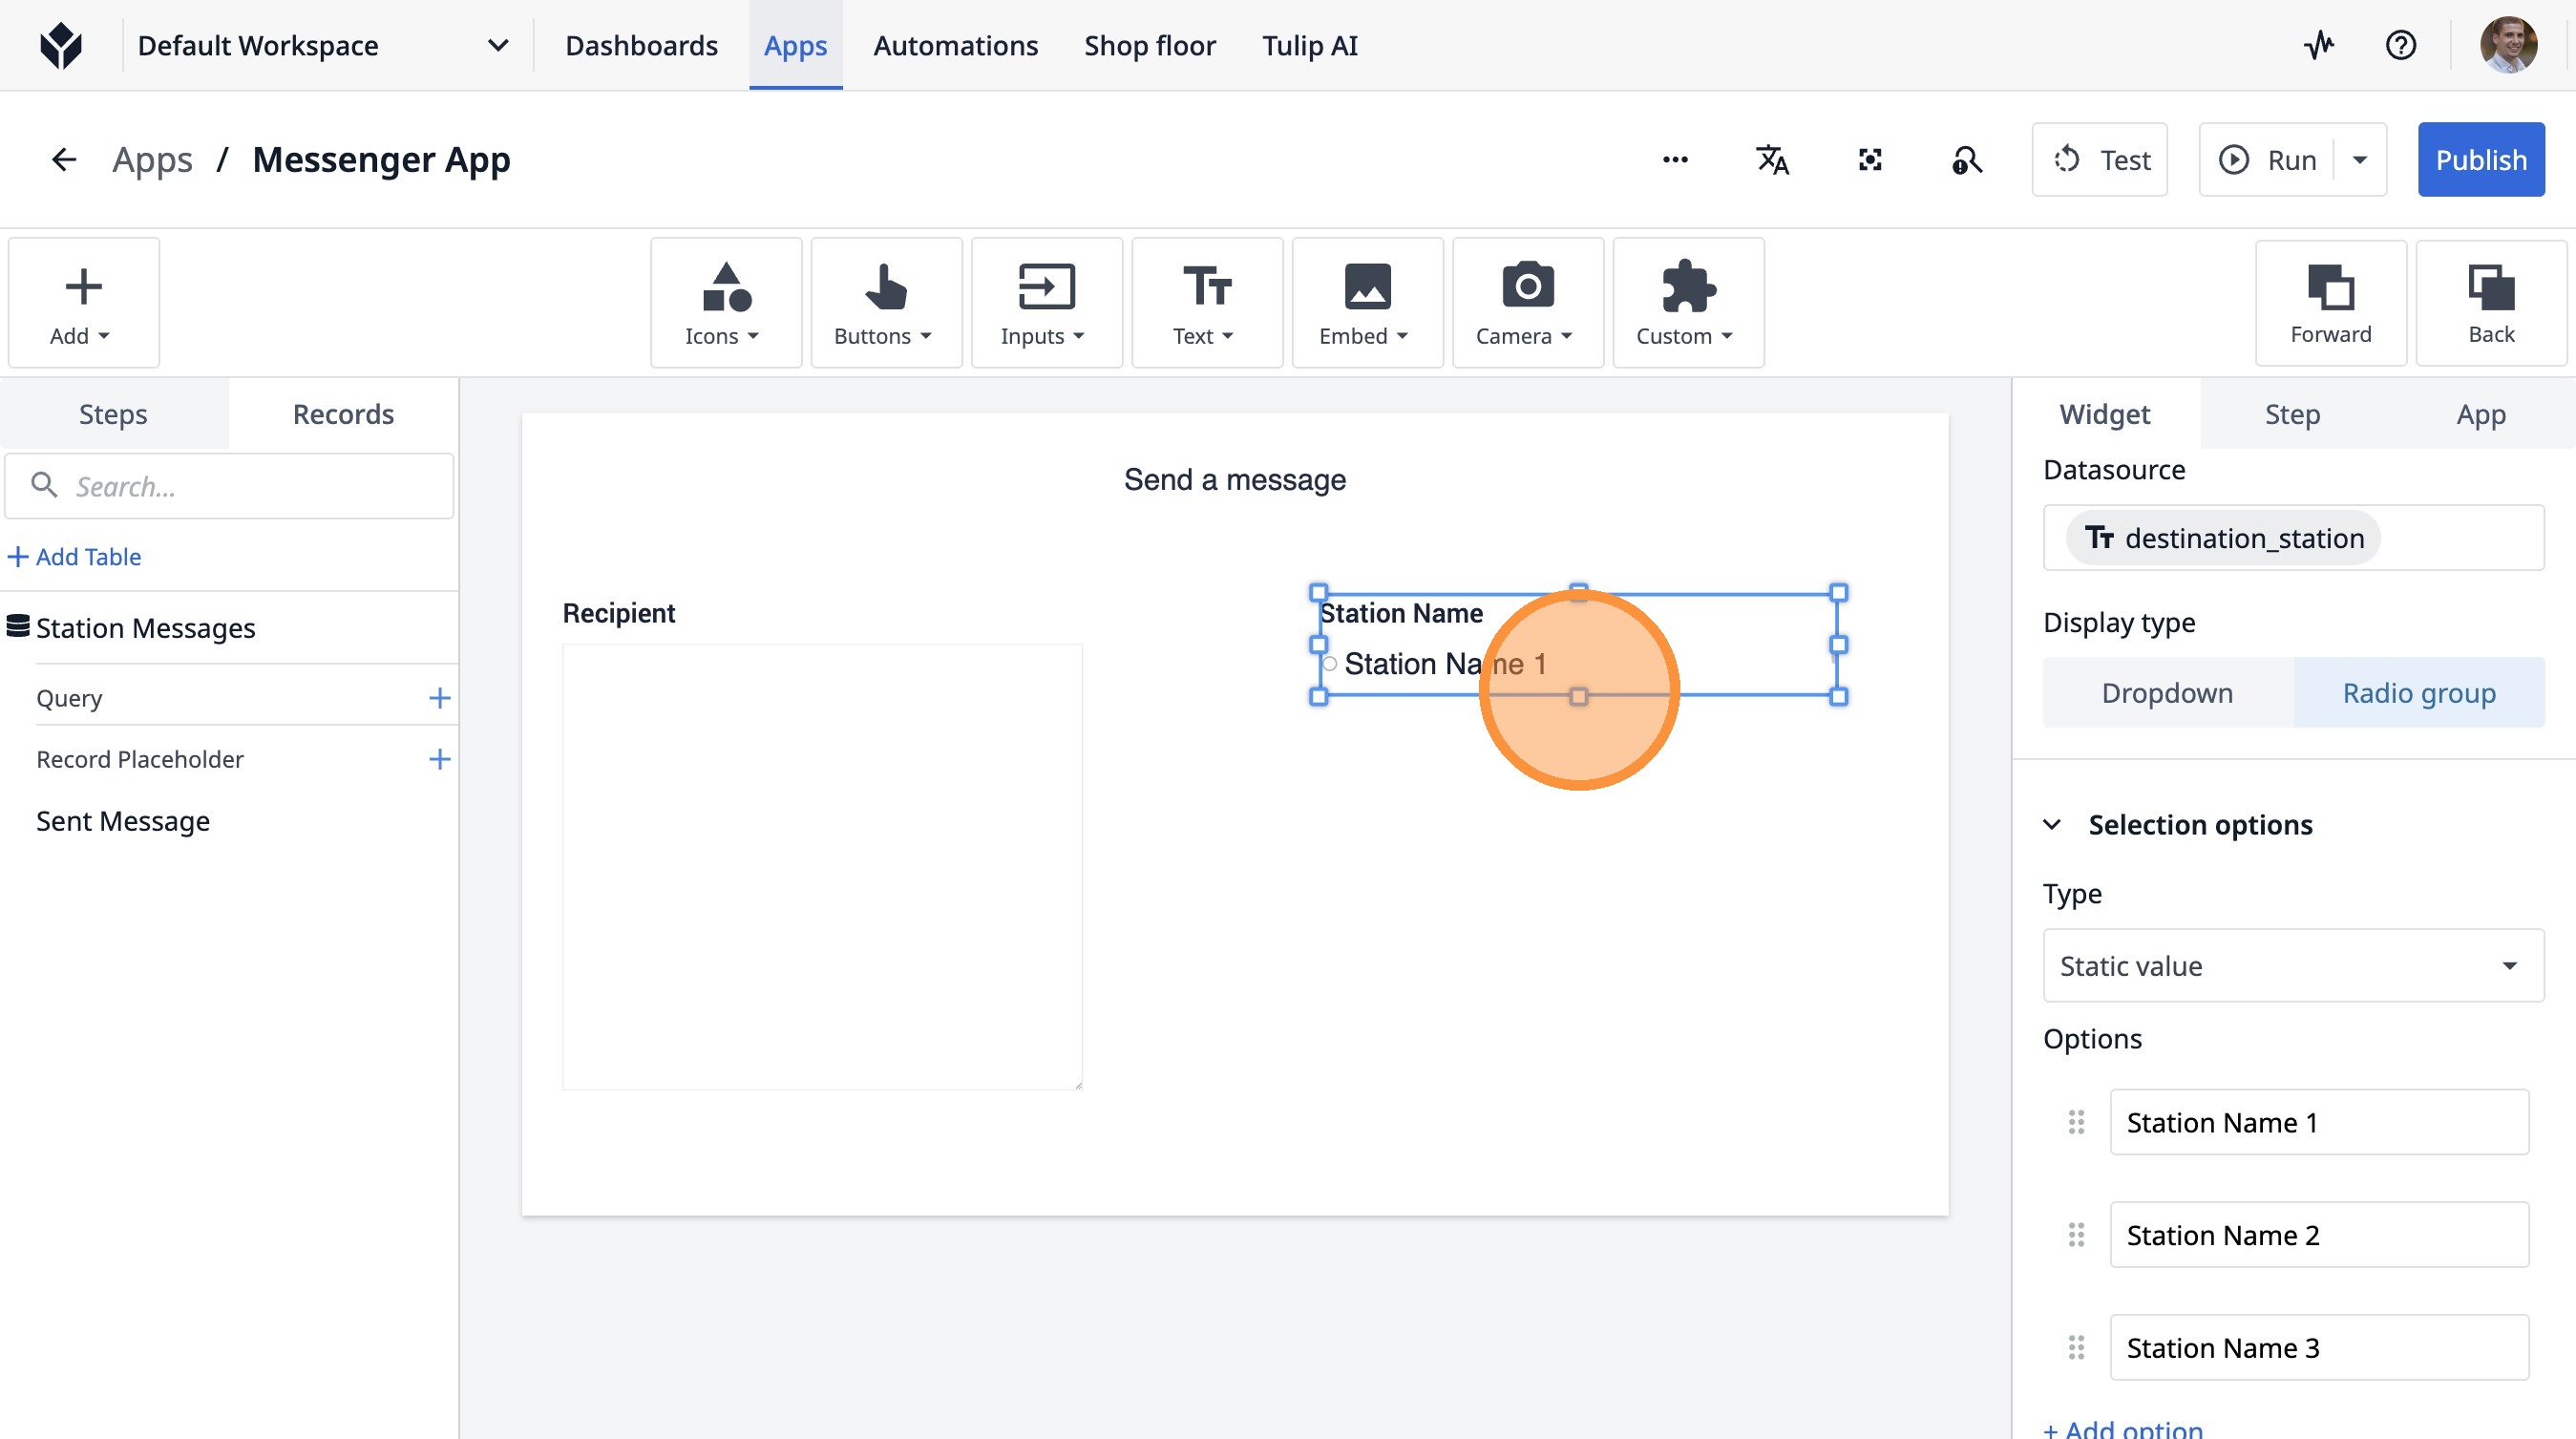
36. Click "Radio group"
37. Click "Select a data source"

38. Click "Select a data source"

39. Click "Add variable"
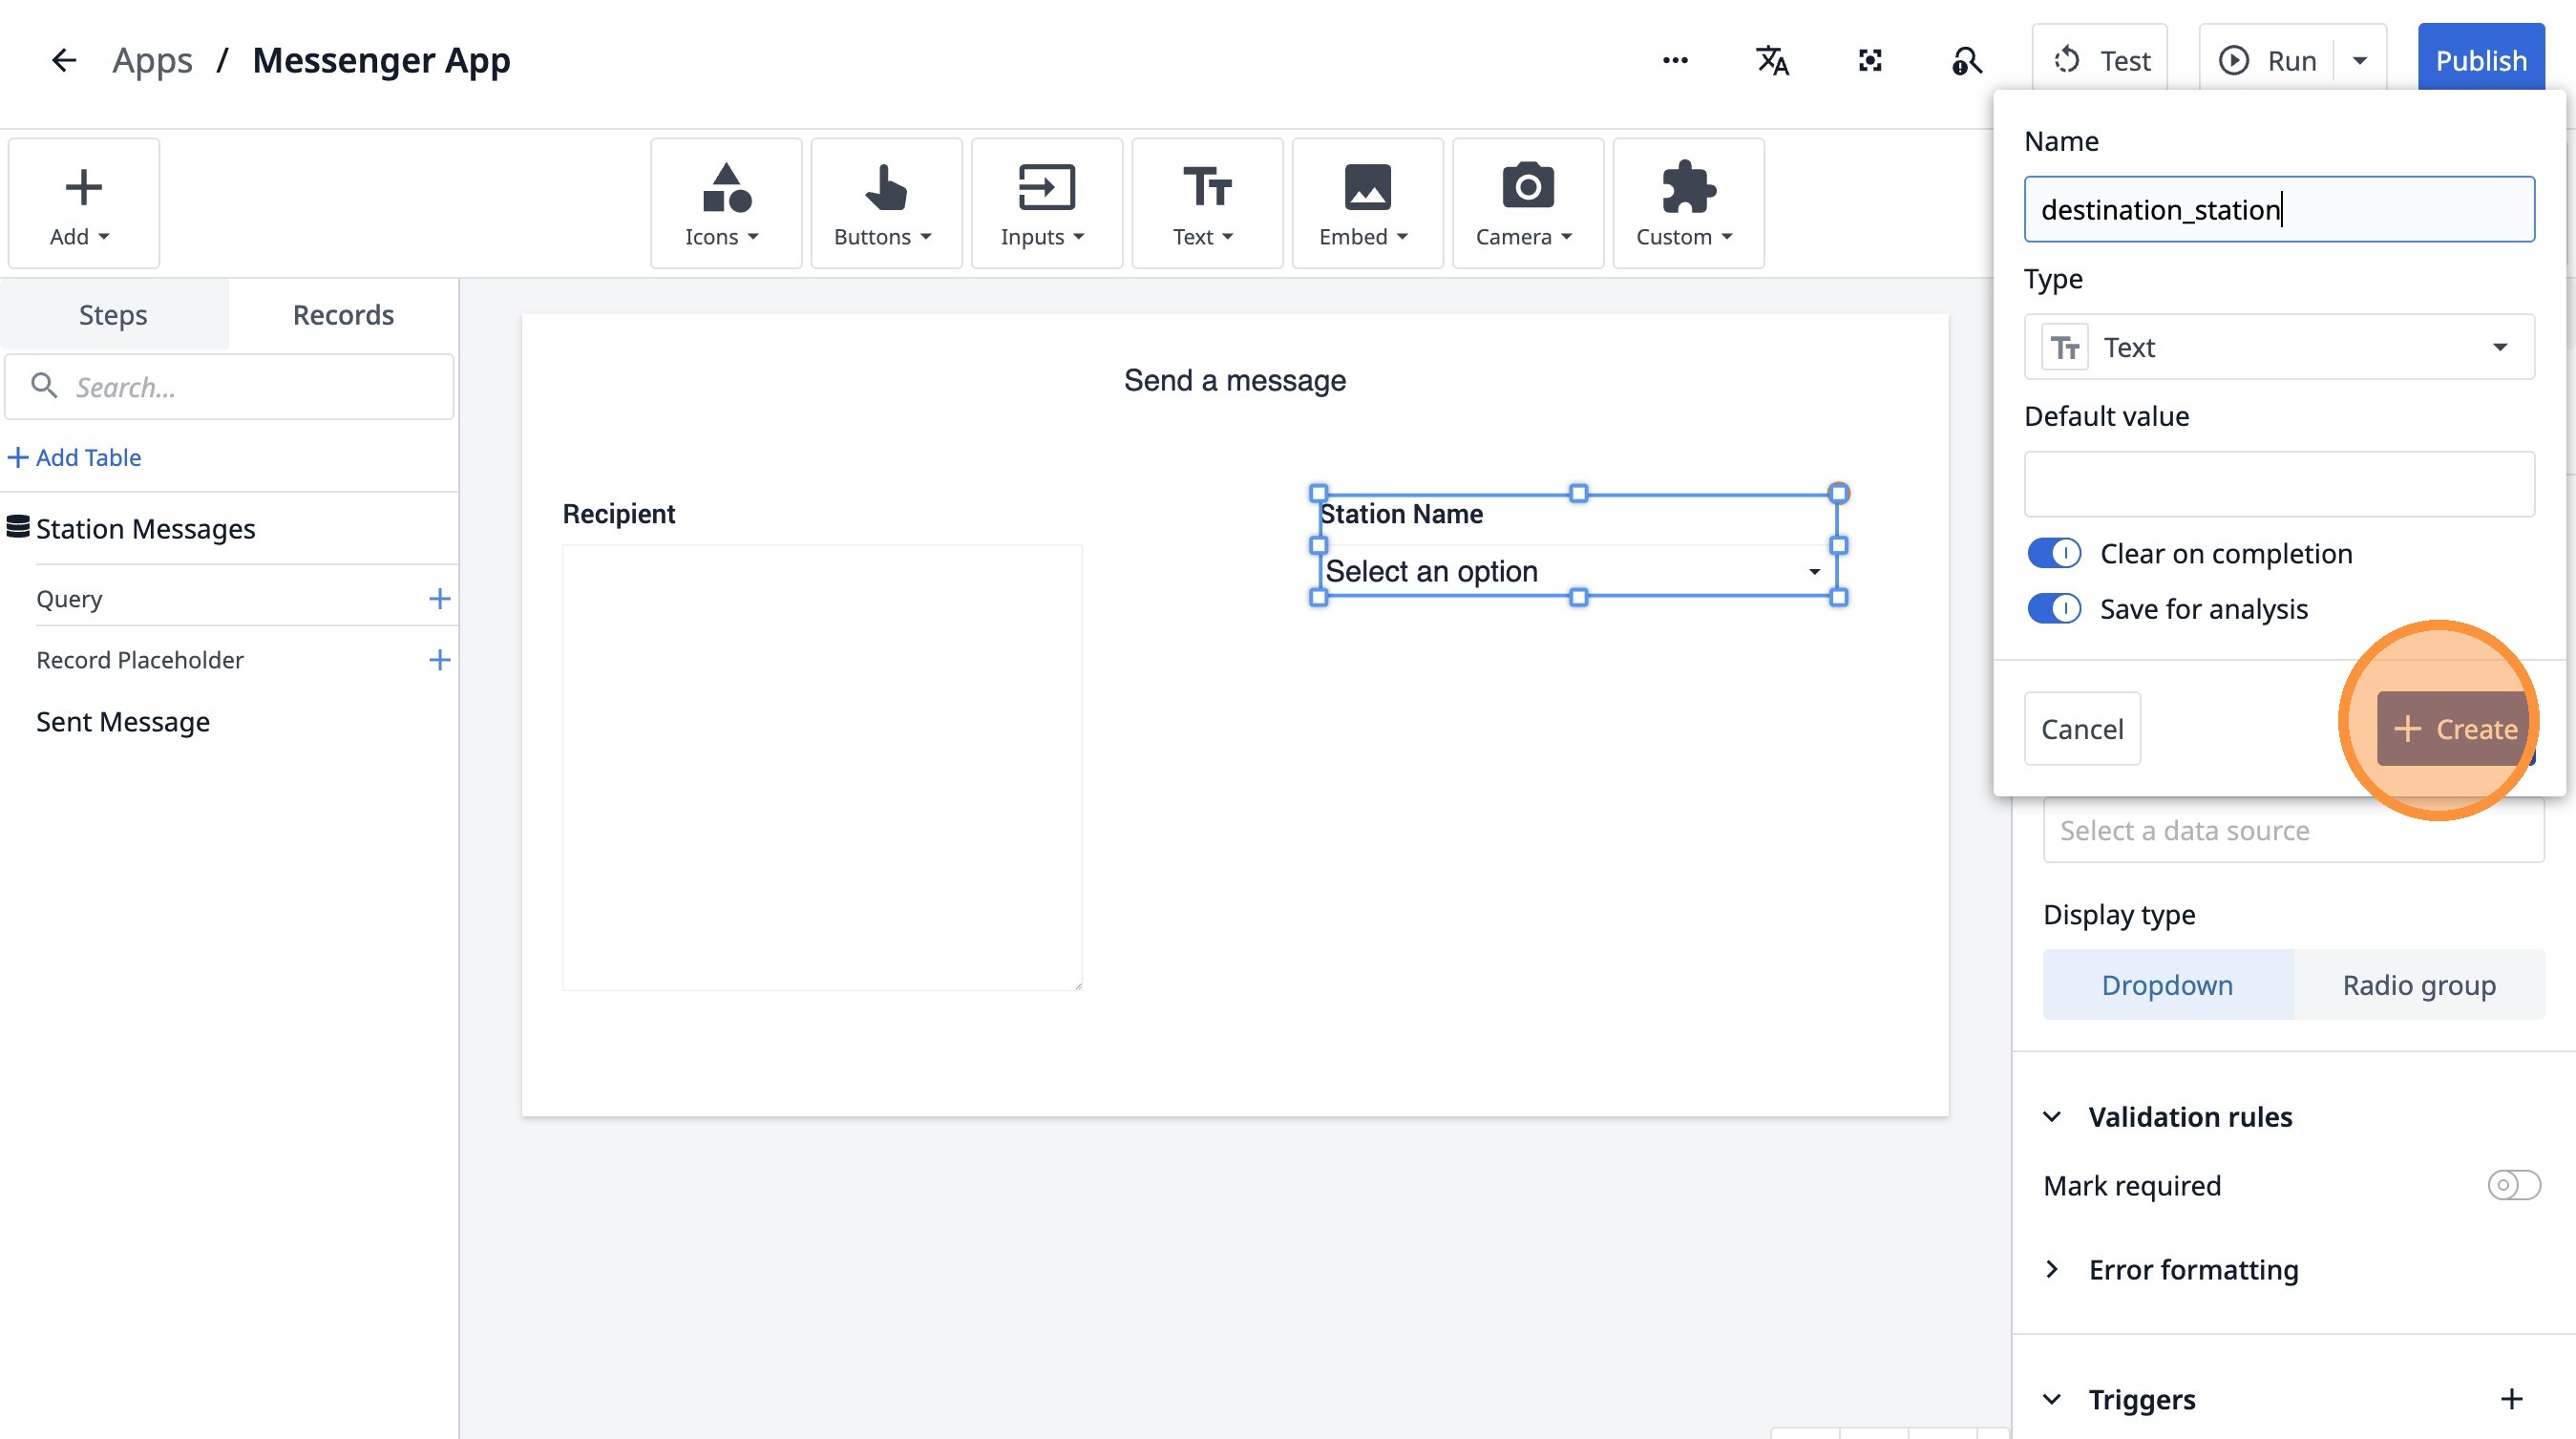
40. Type "destination_station"
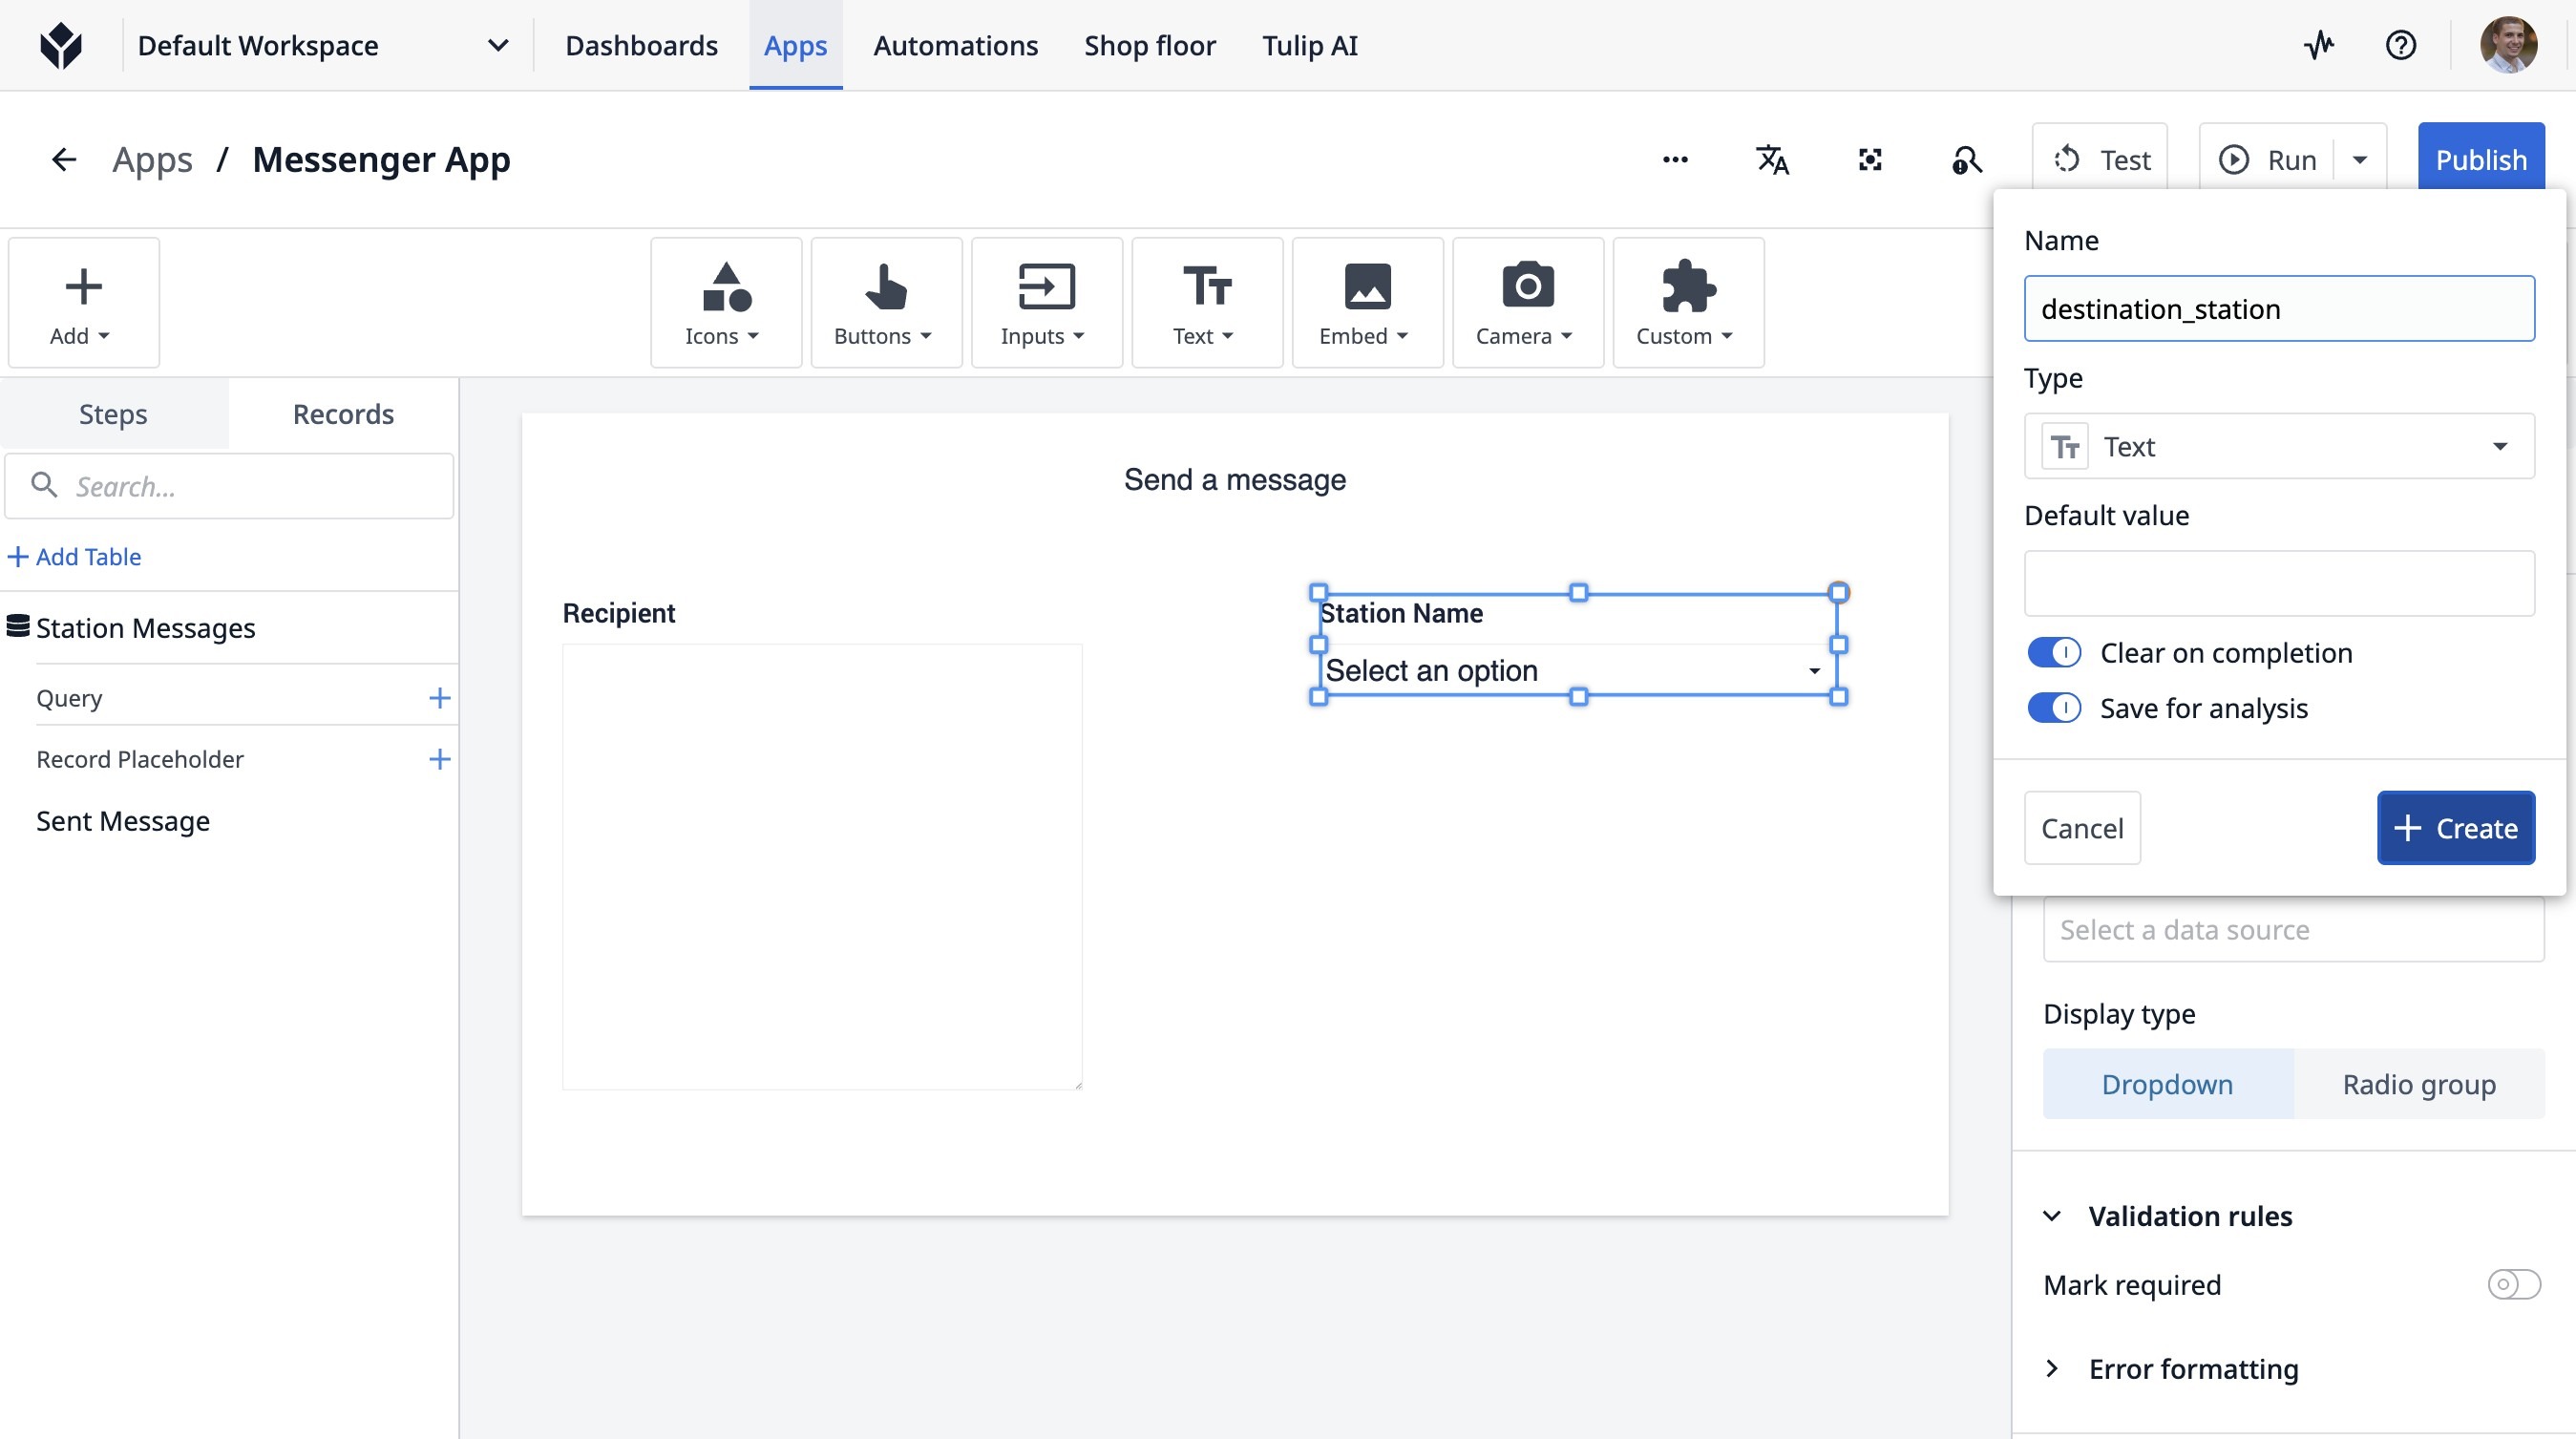
41. Click "Create"
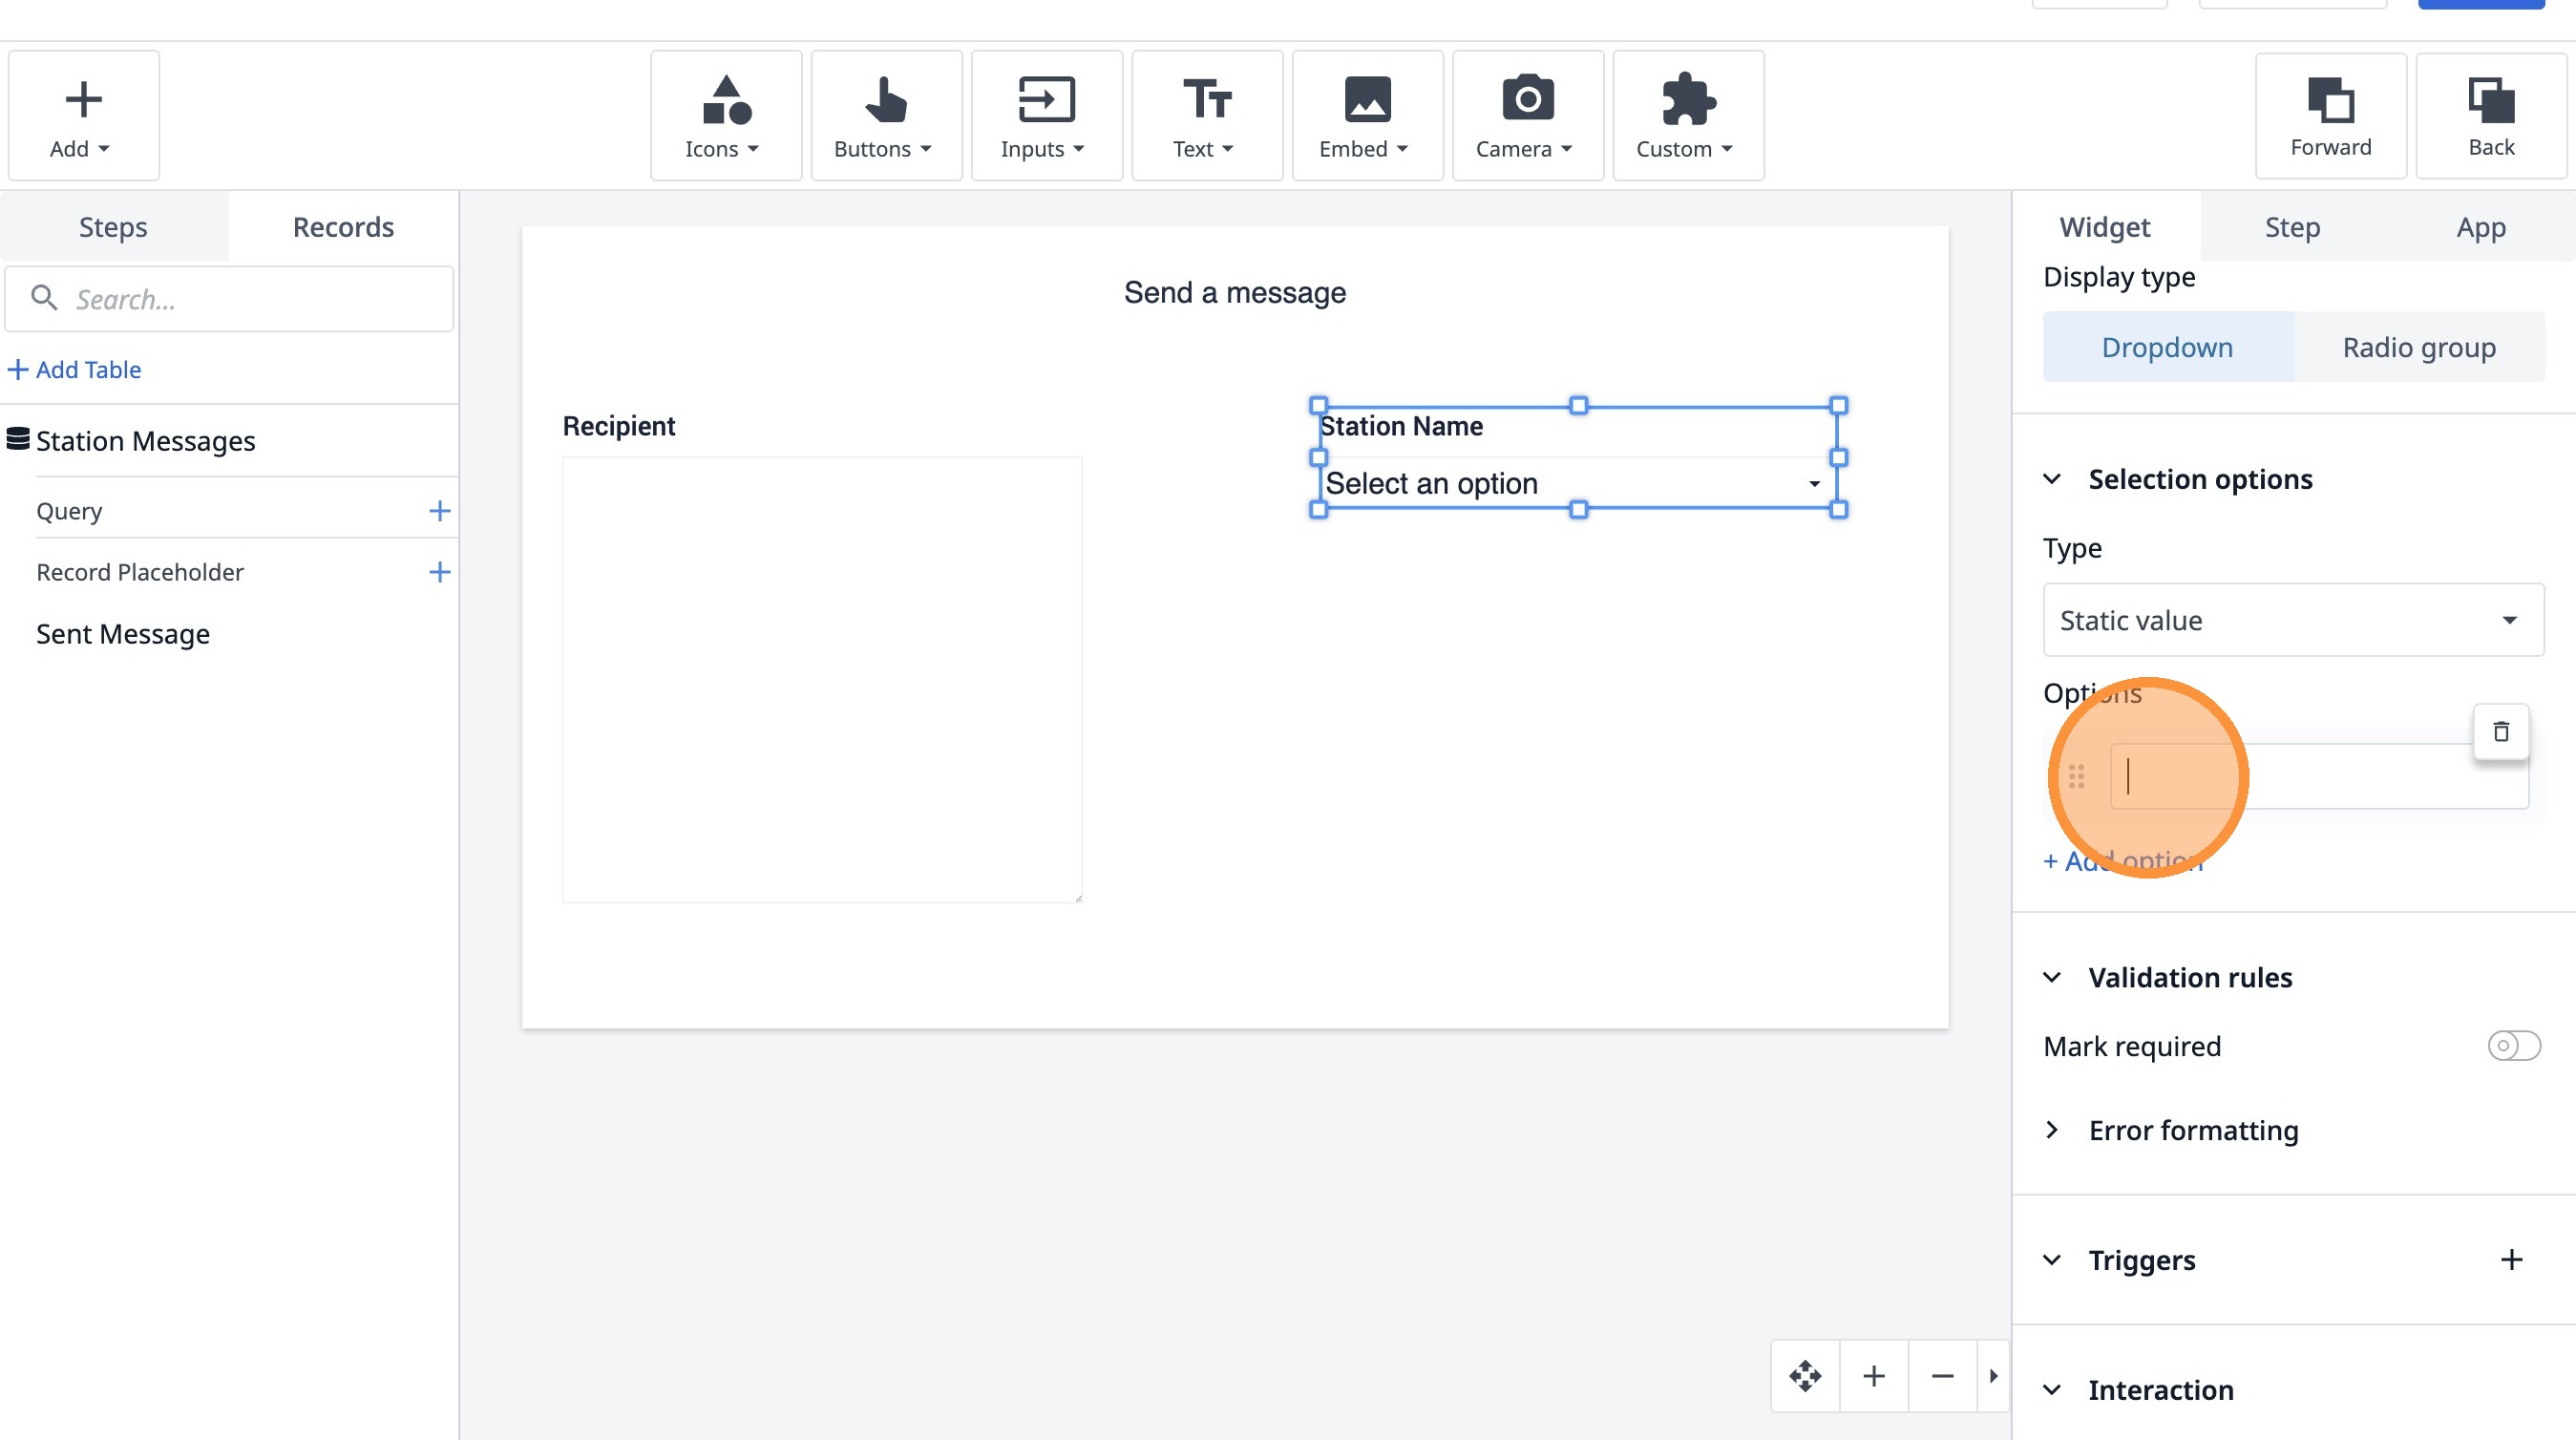
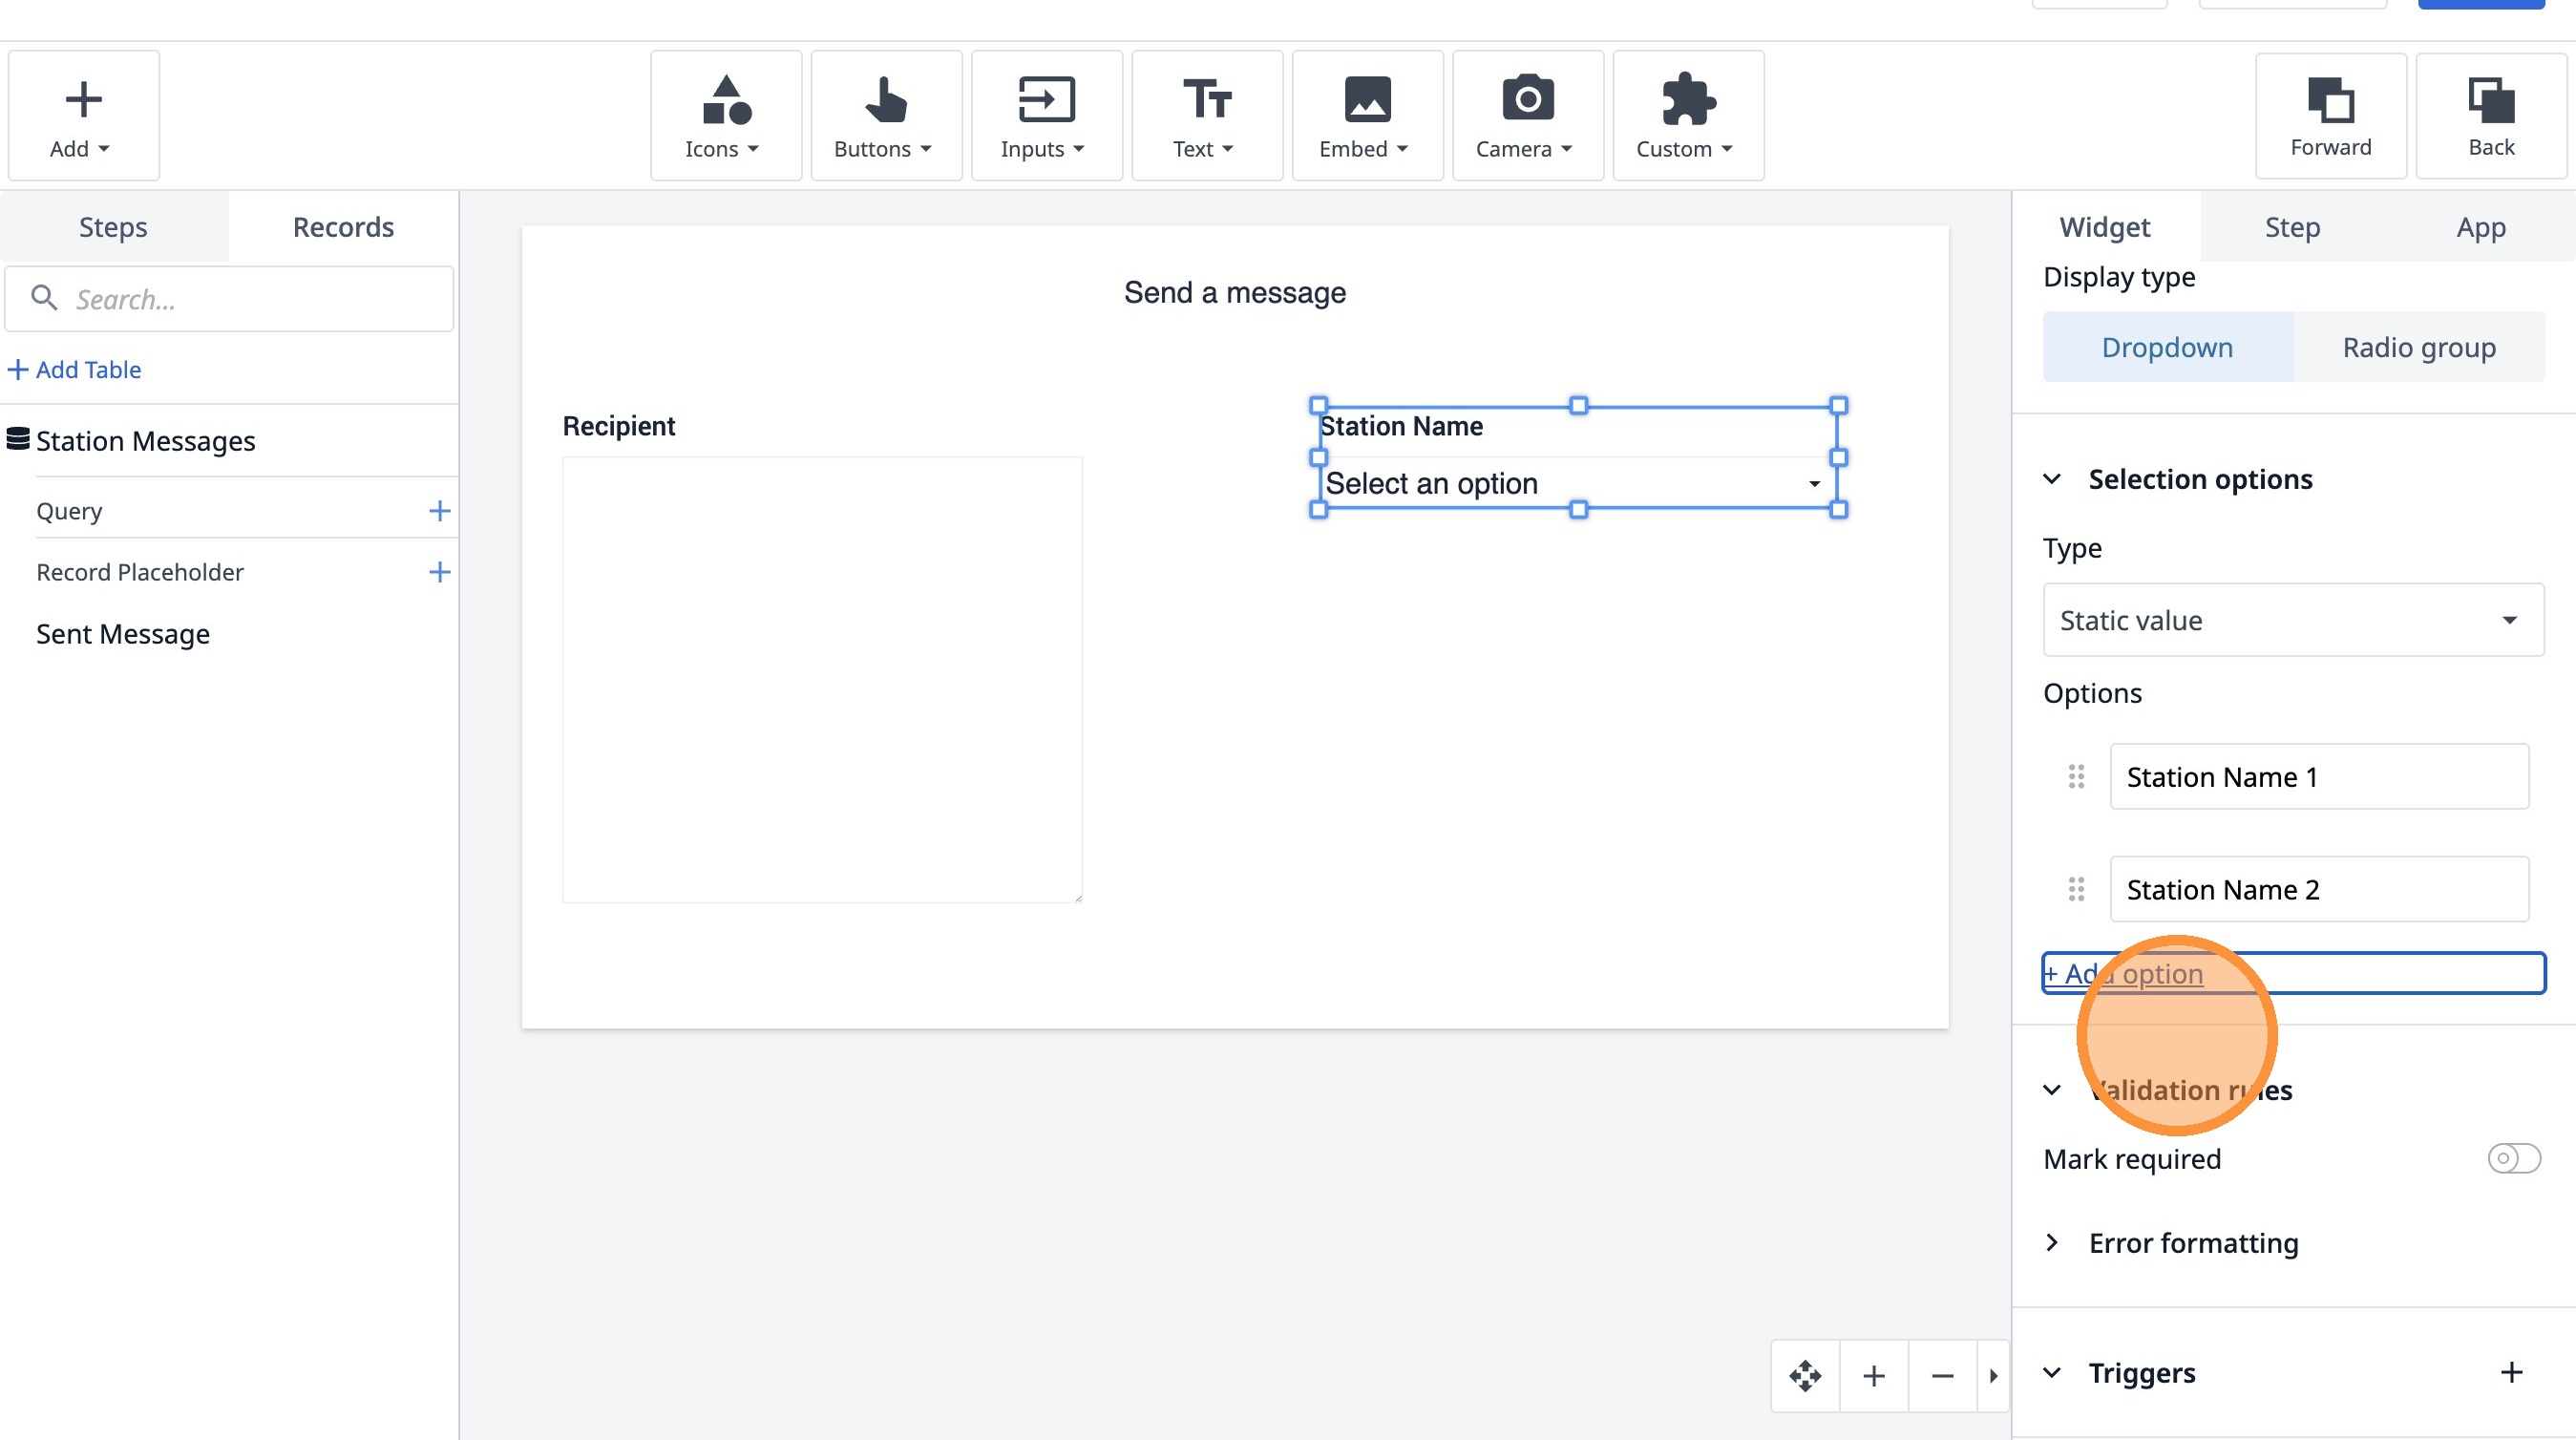
42. Click "+ Add option"
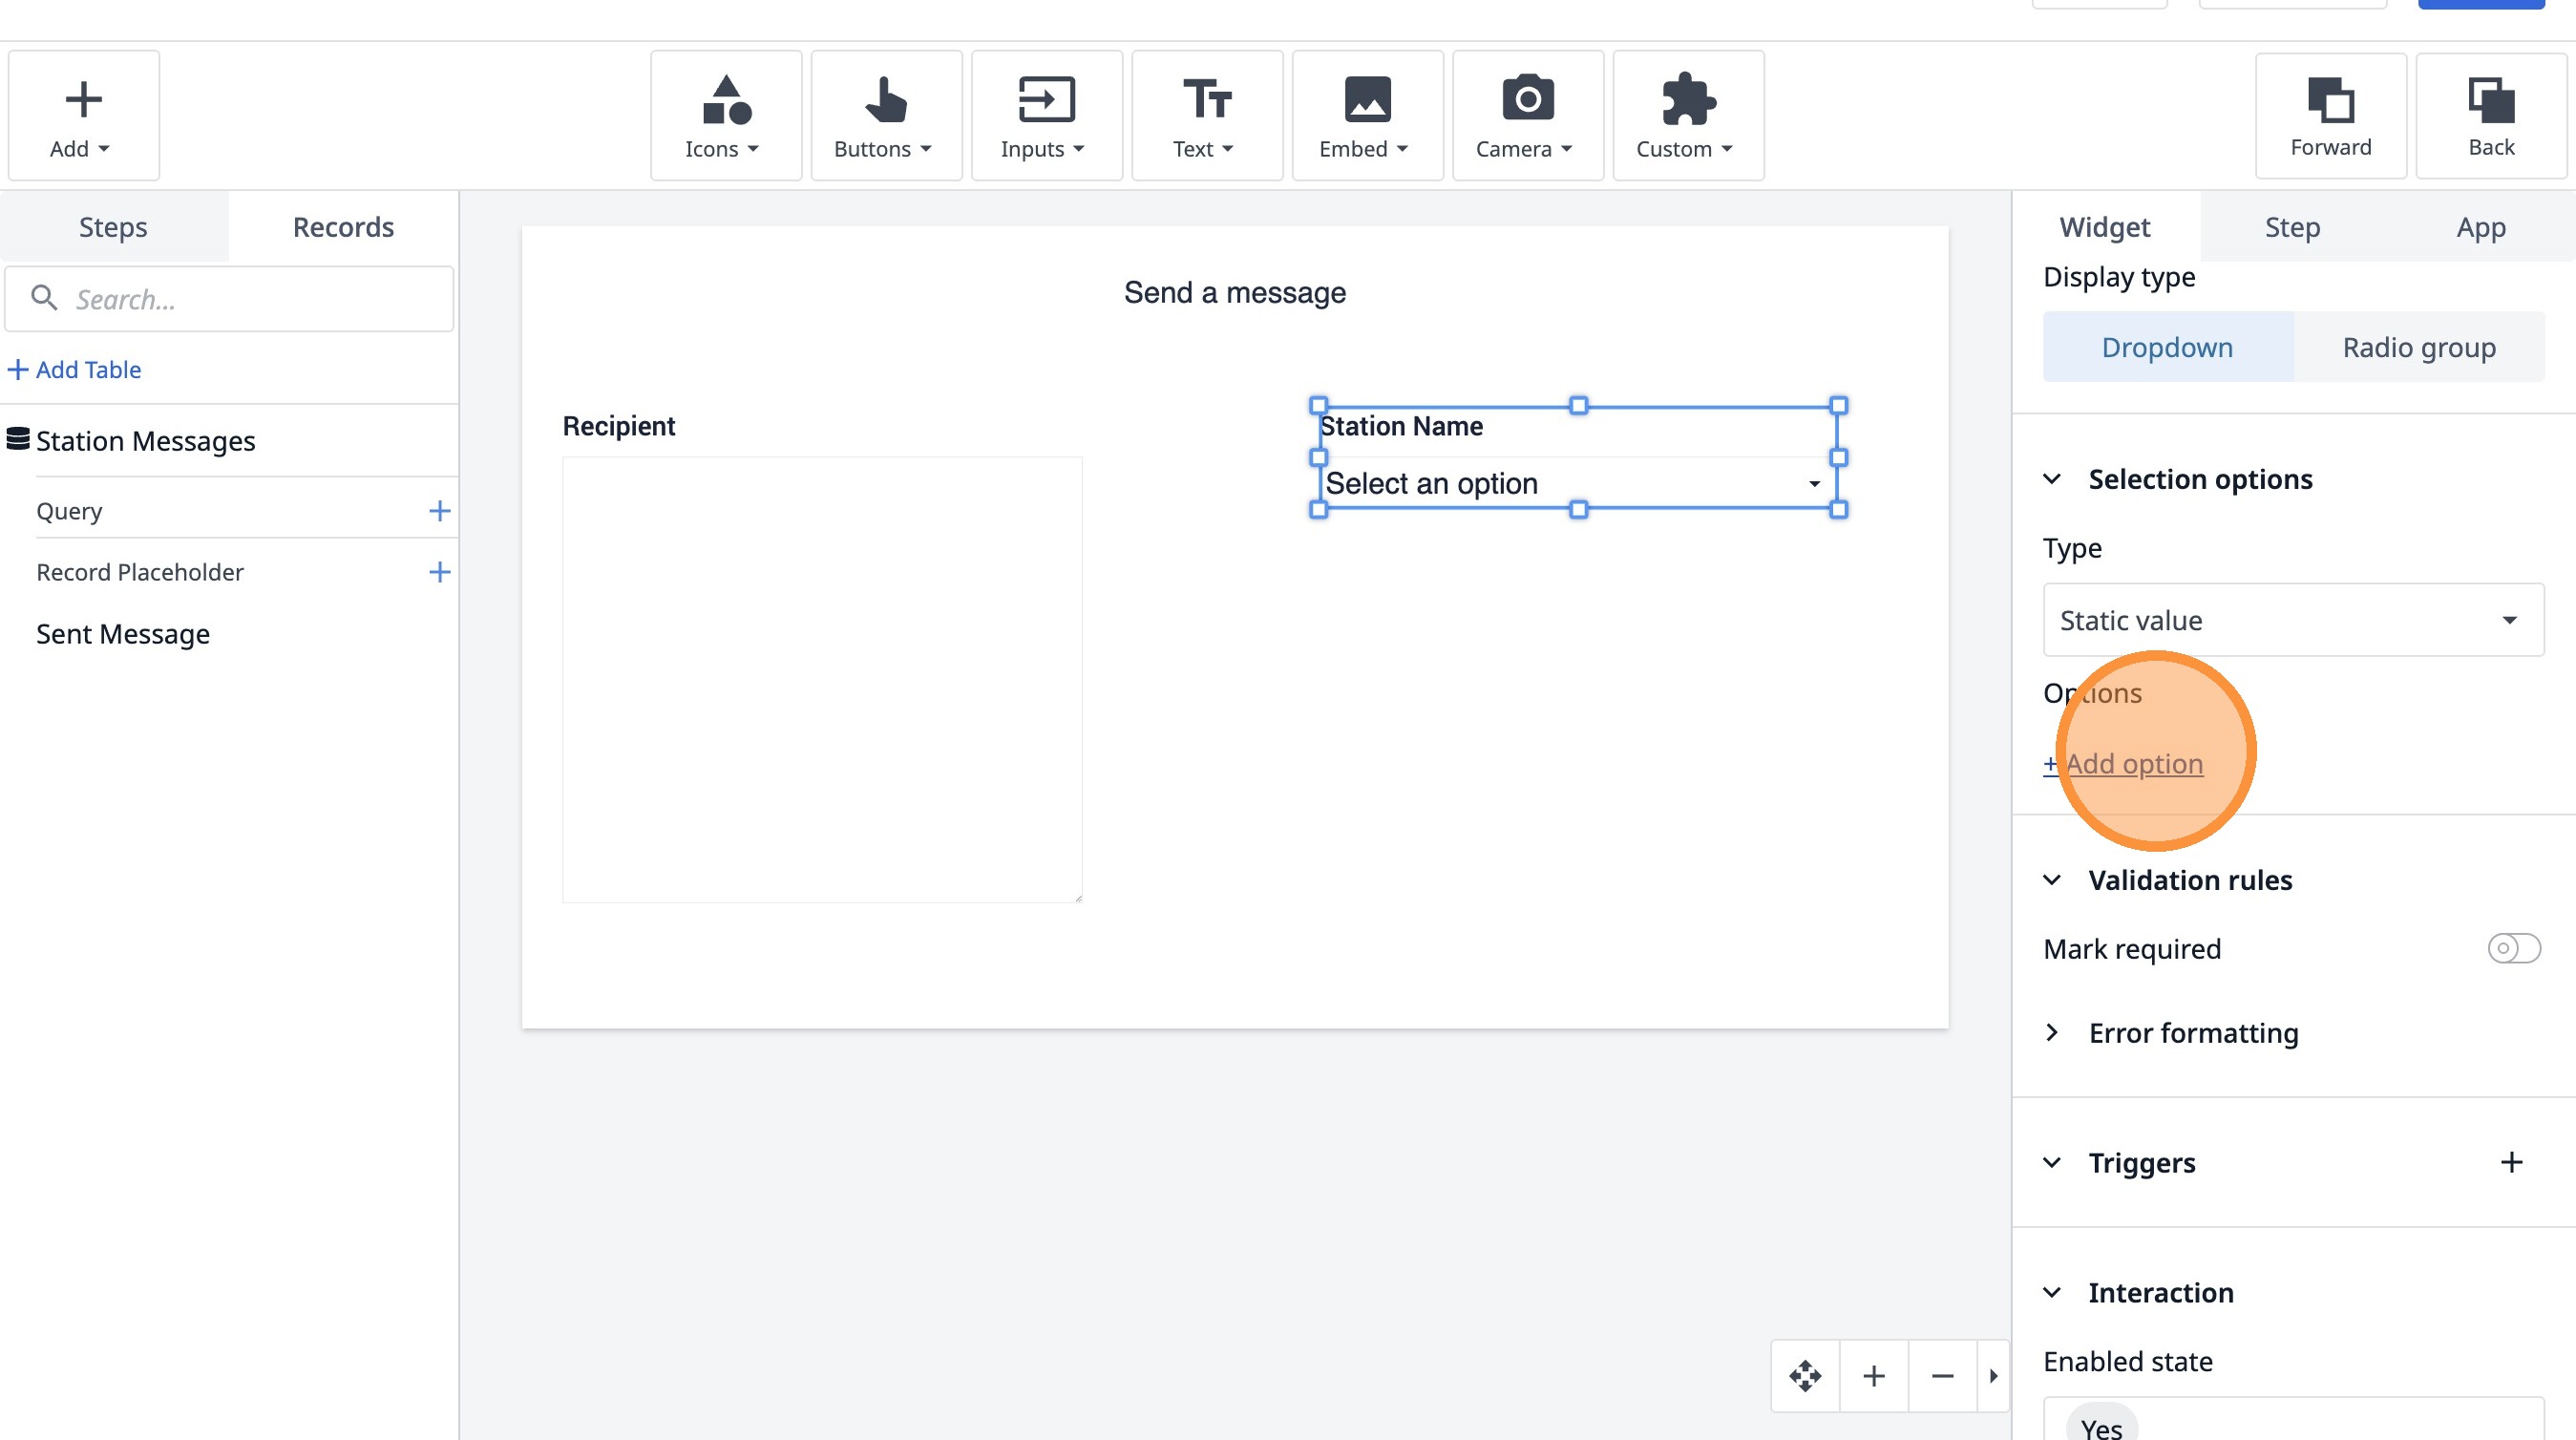
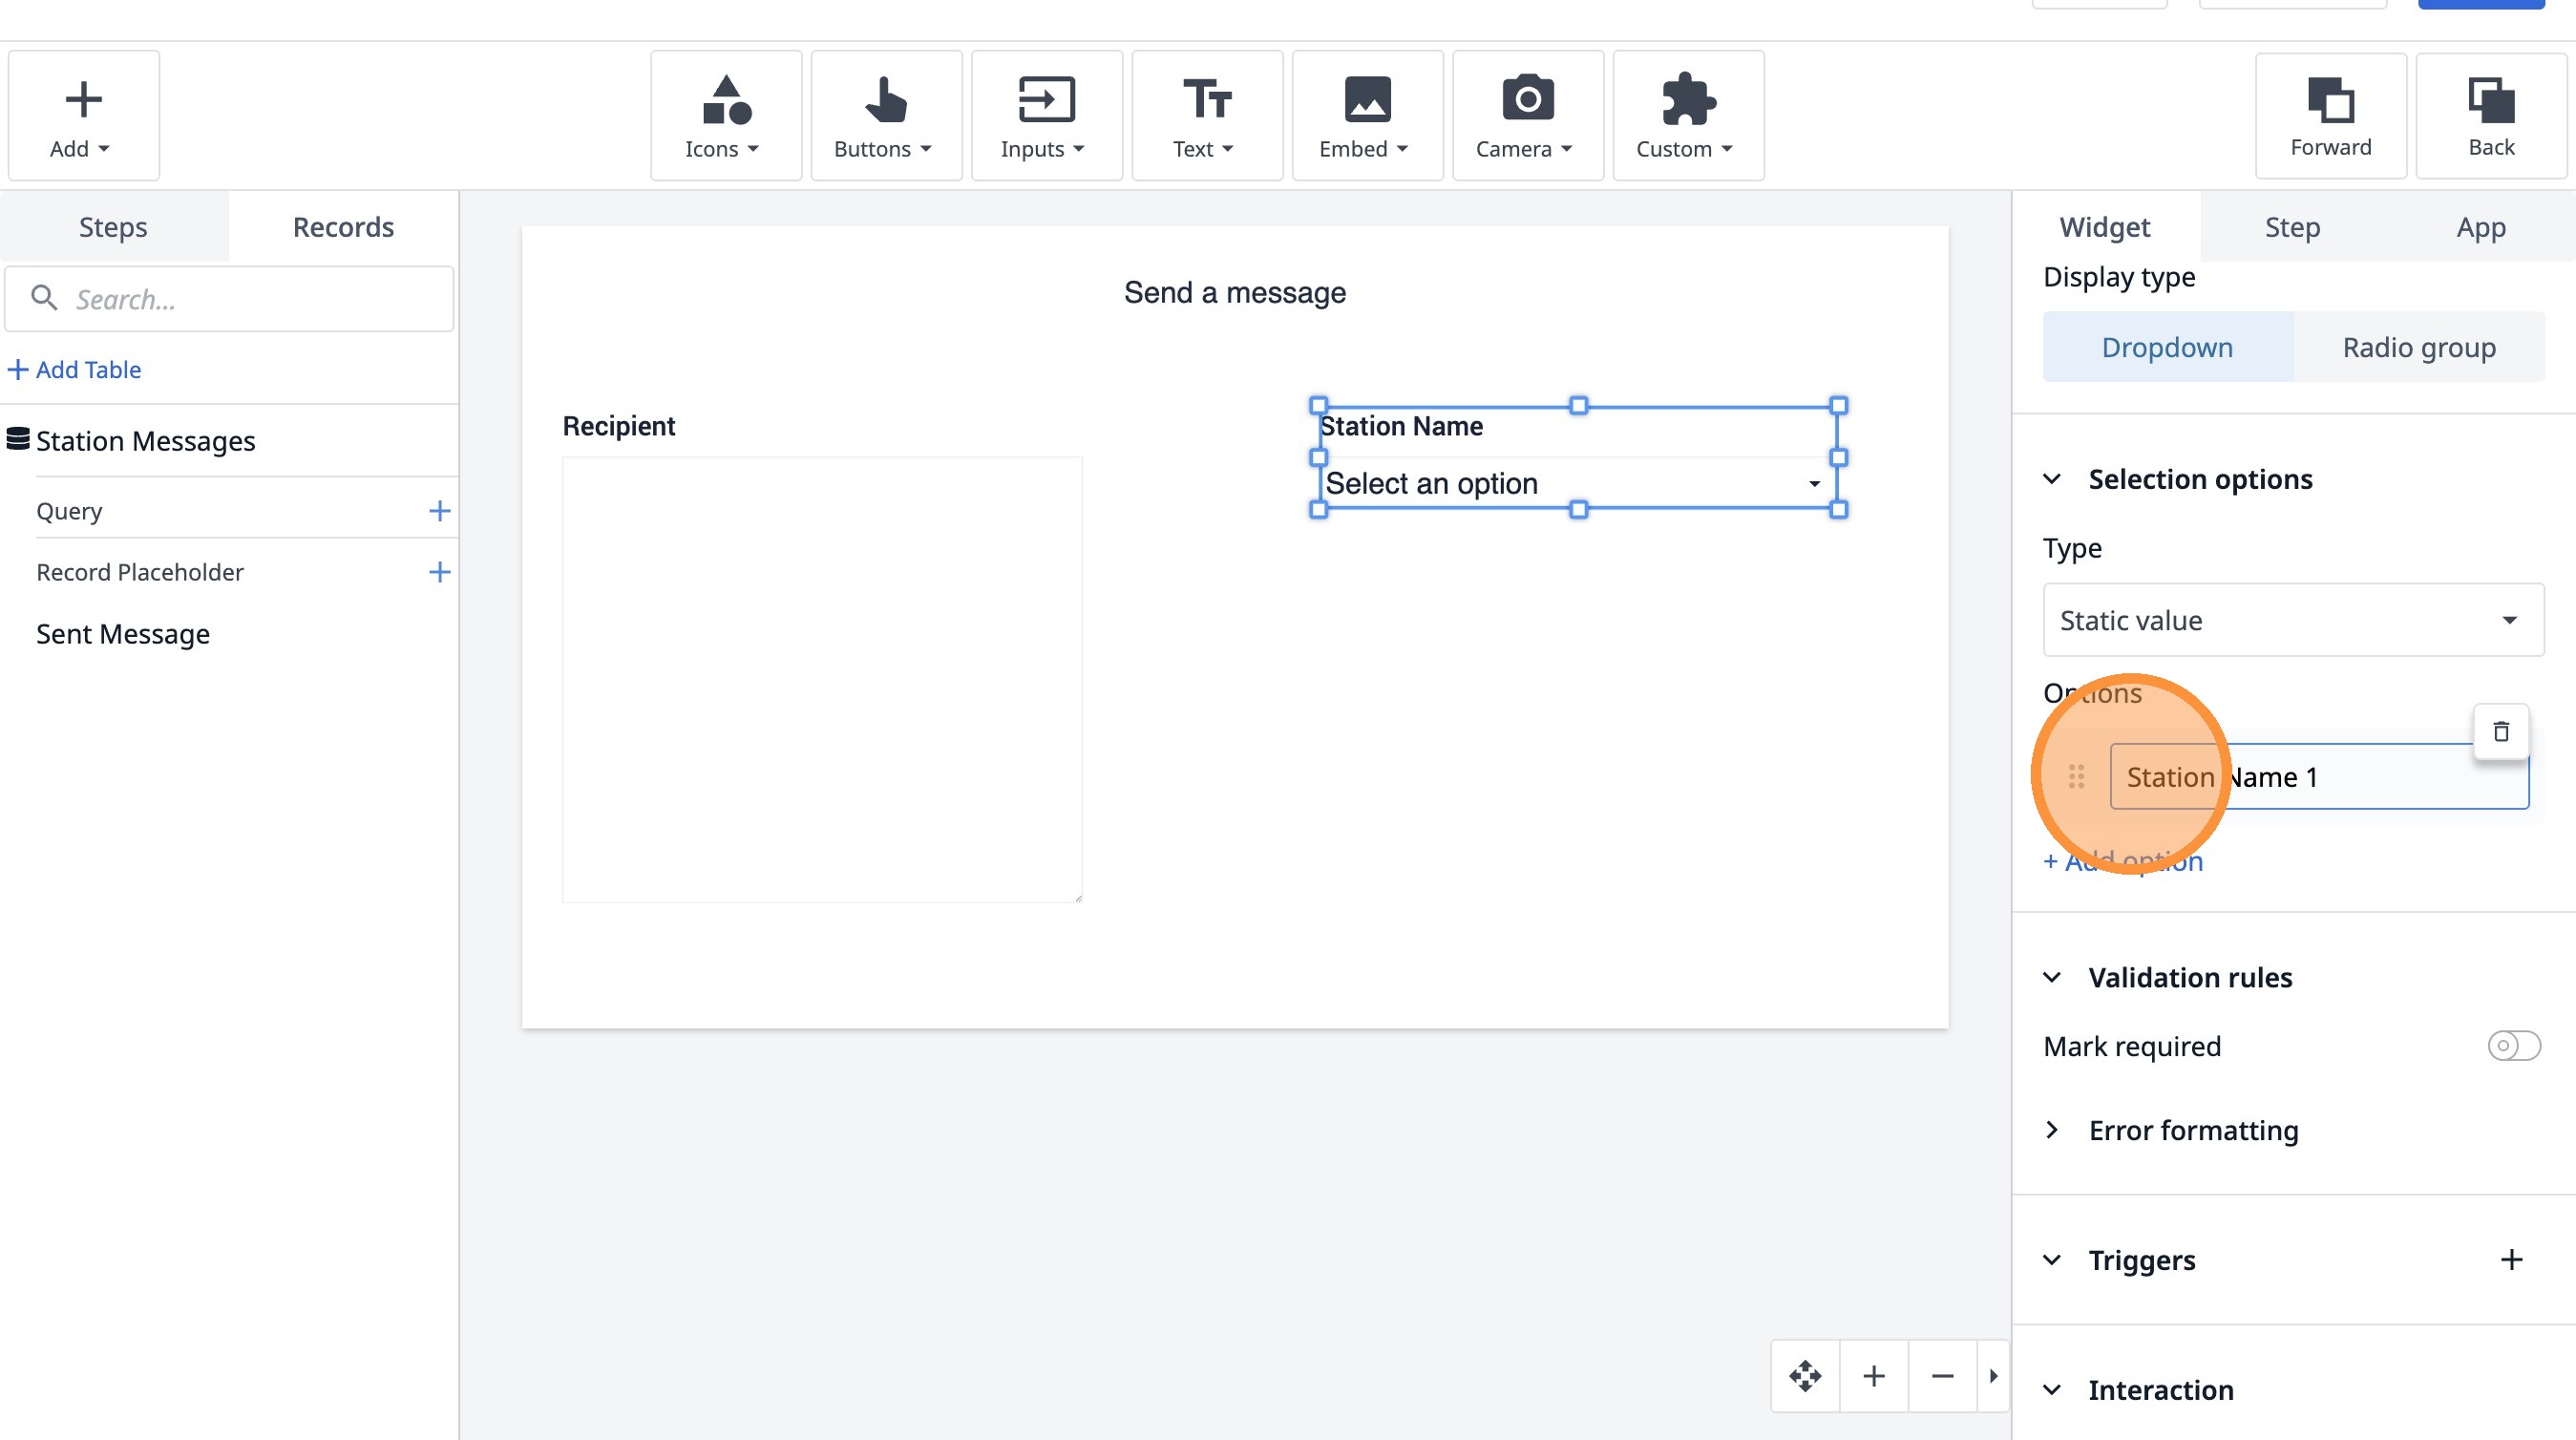
43. Click this text field.
44. Type "Station Name 1"
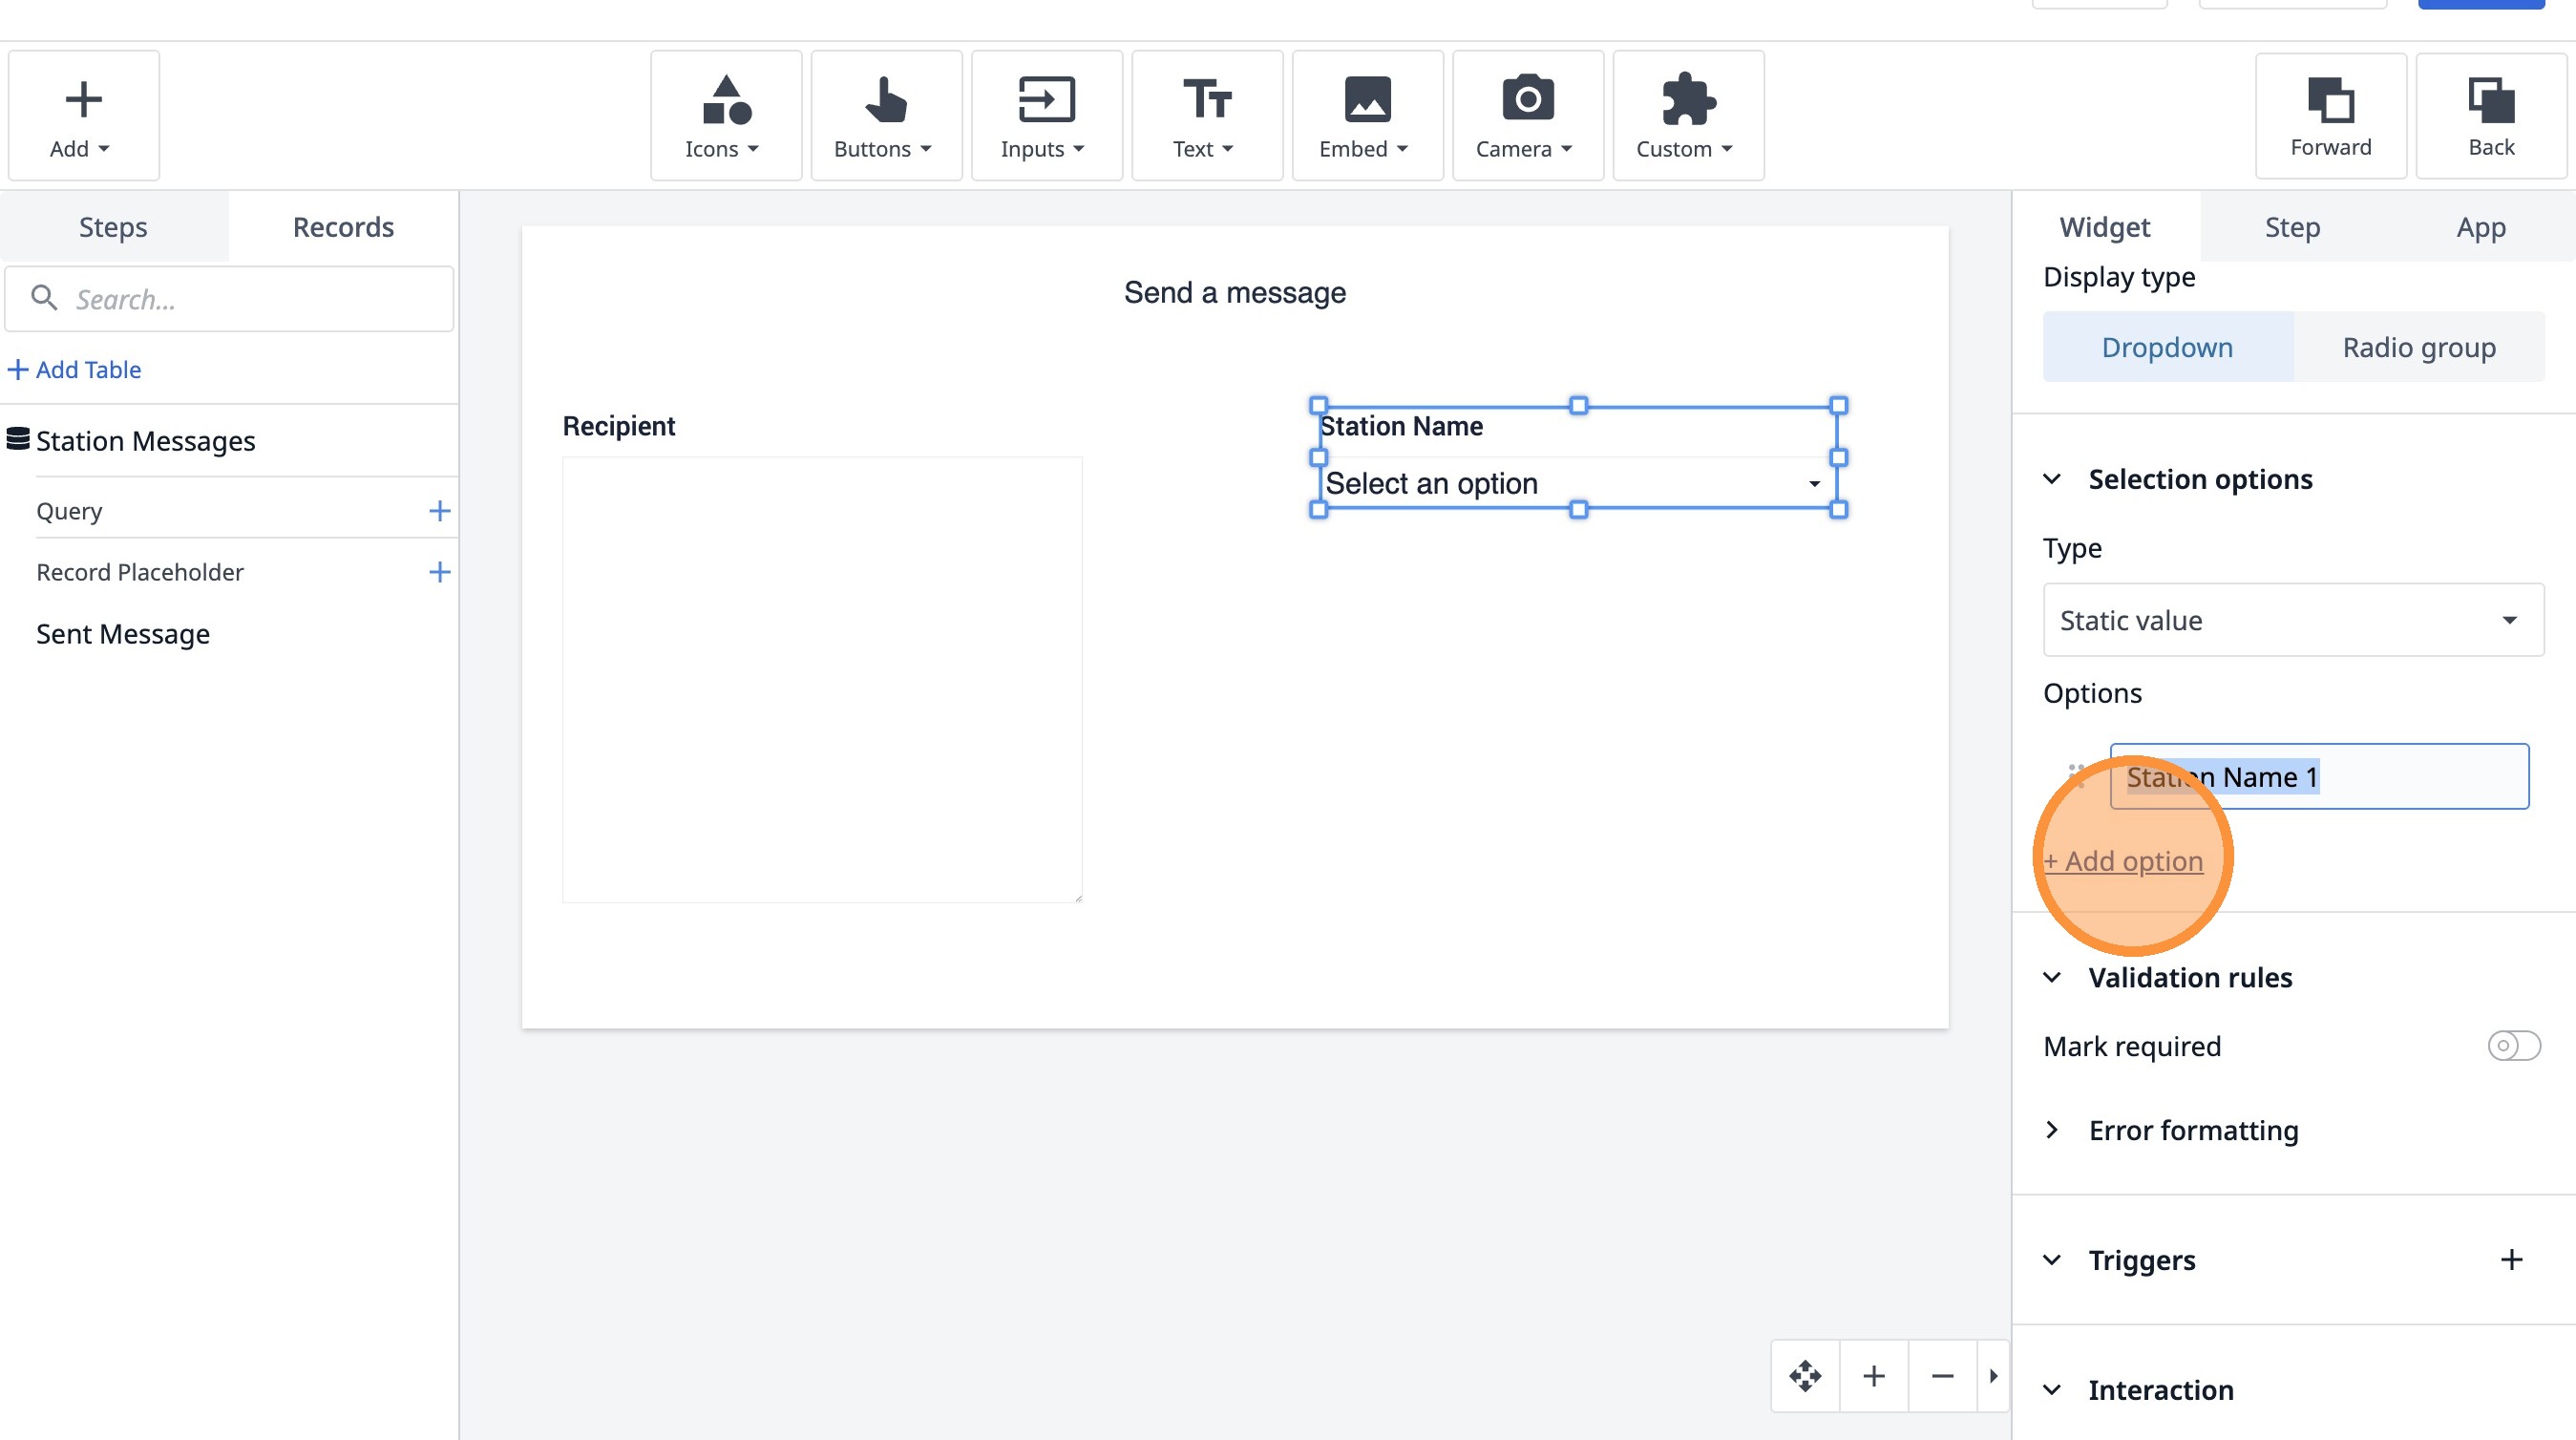
45. Double-click this text field.
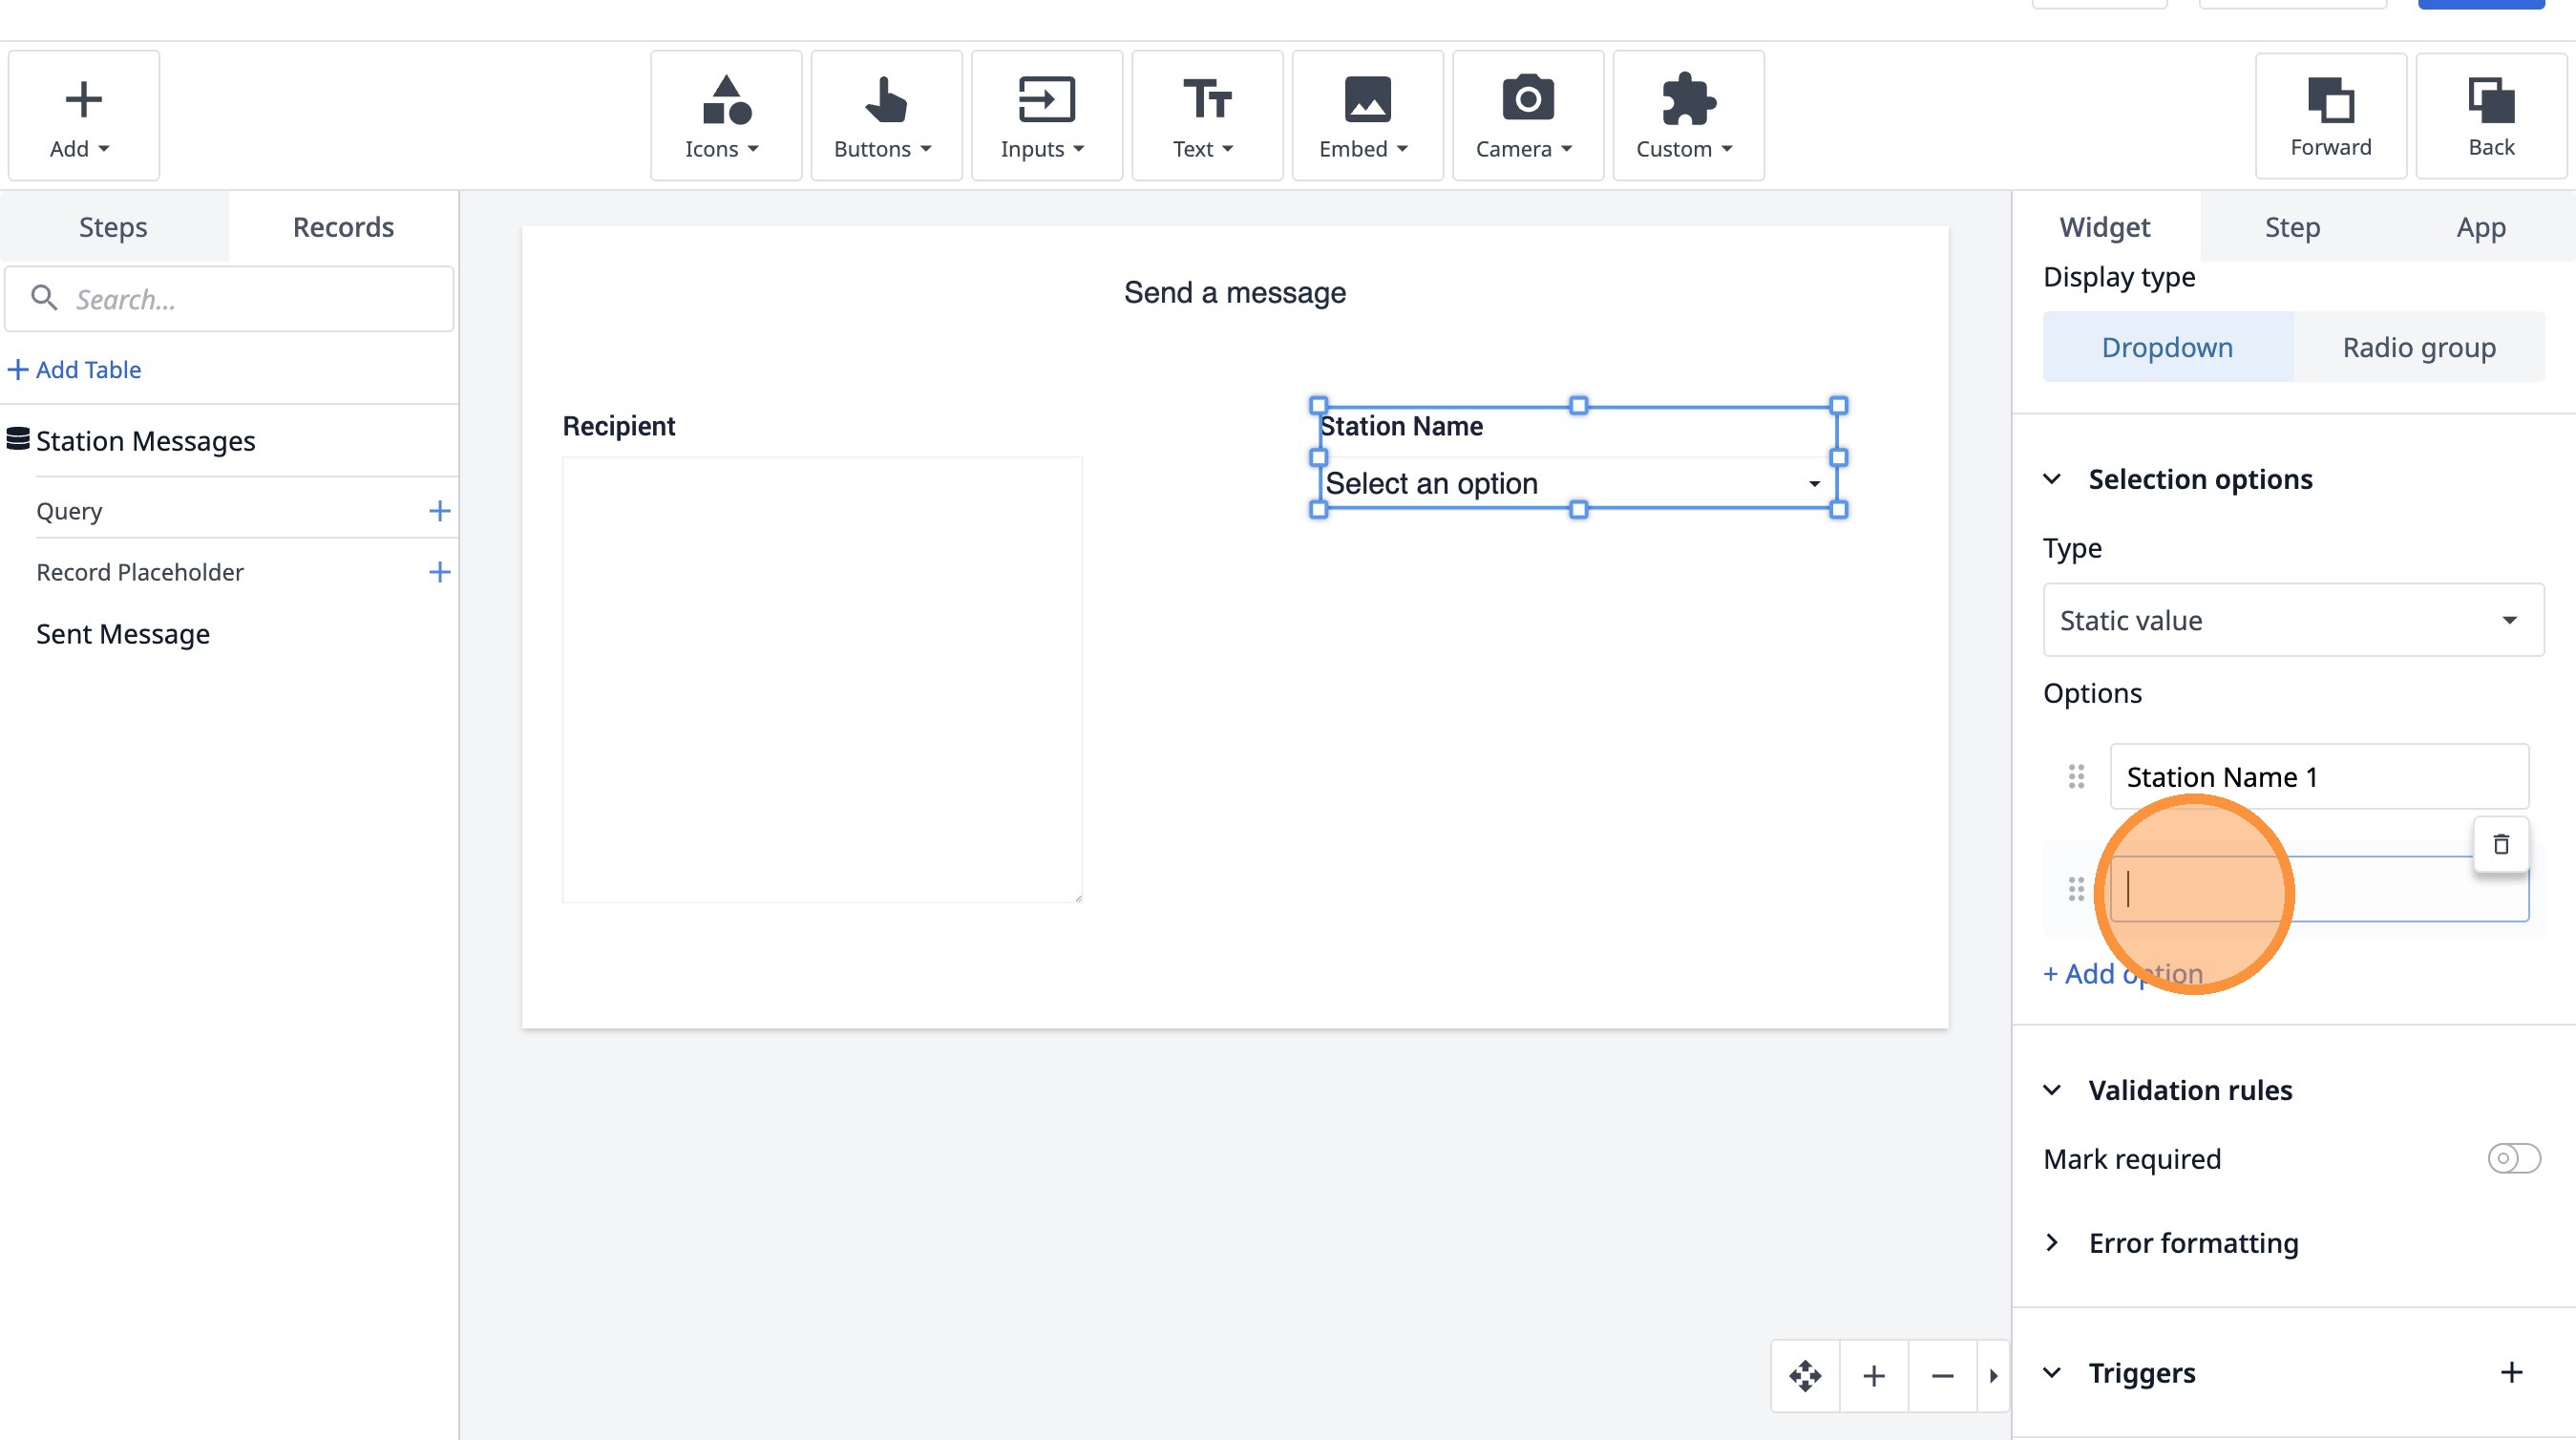
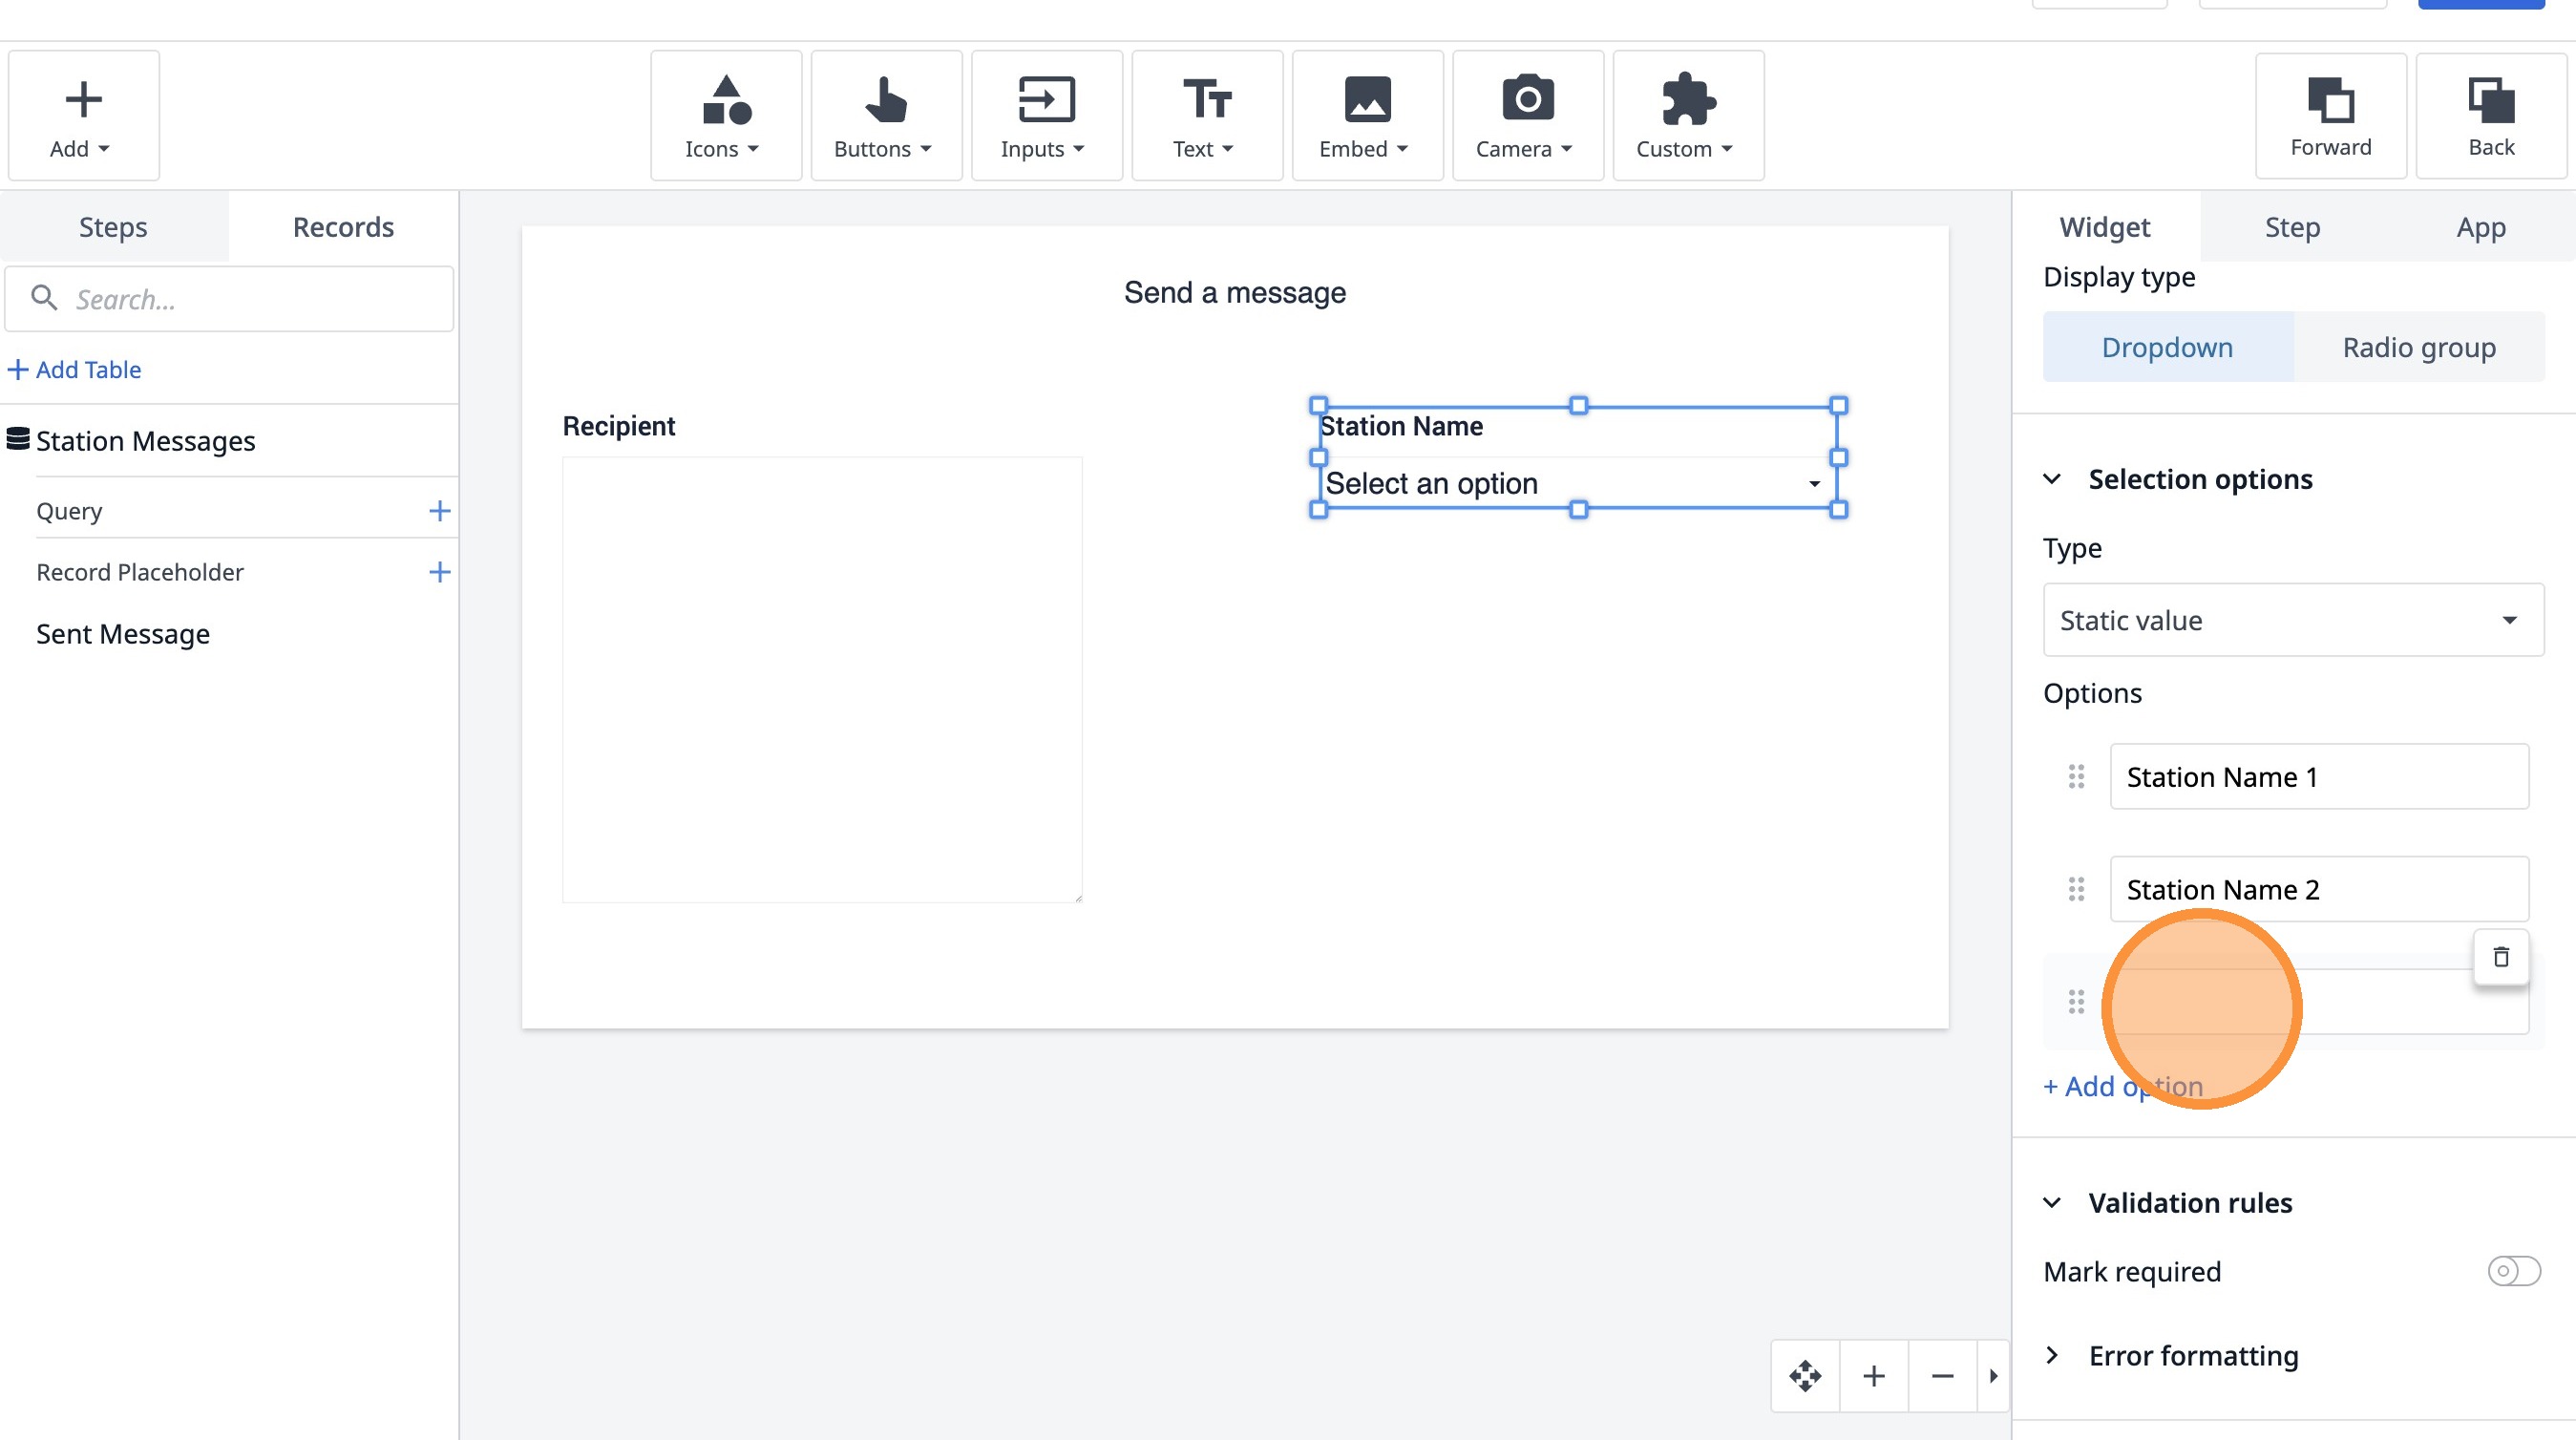
46. Click "+ Add option"
47. Click this text field.
48. Click here.
49. Click this text field.
50. Click here.
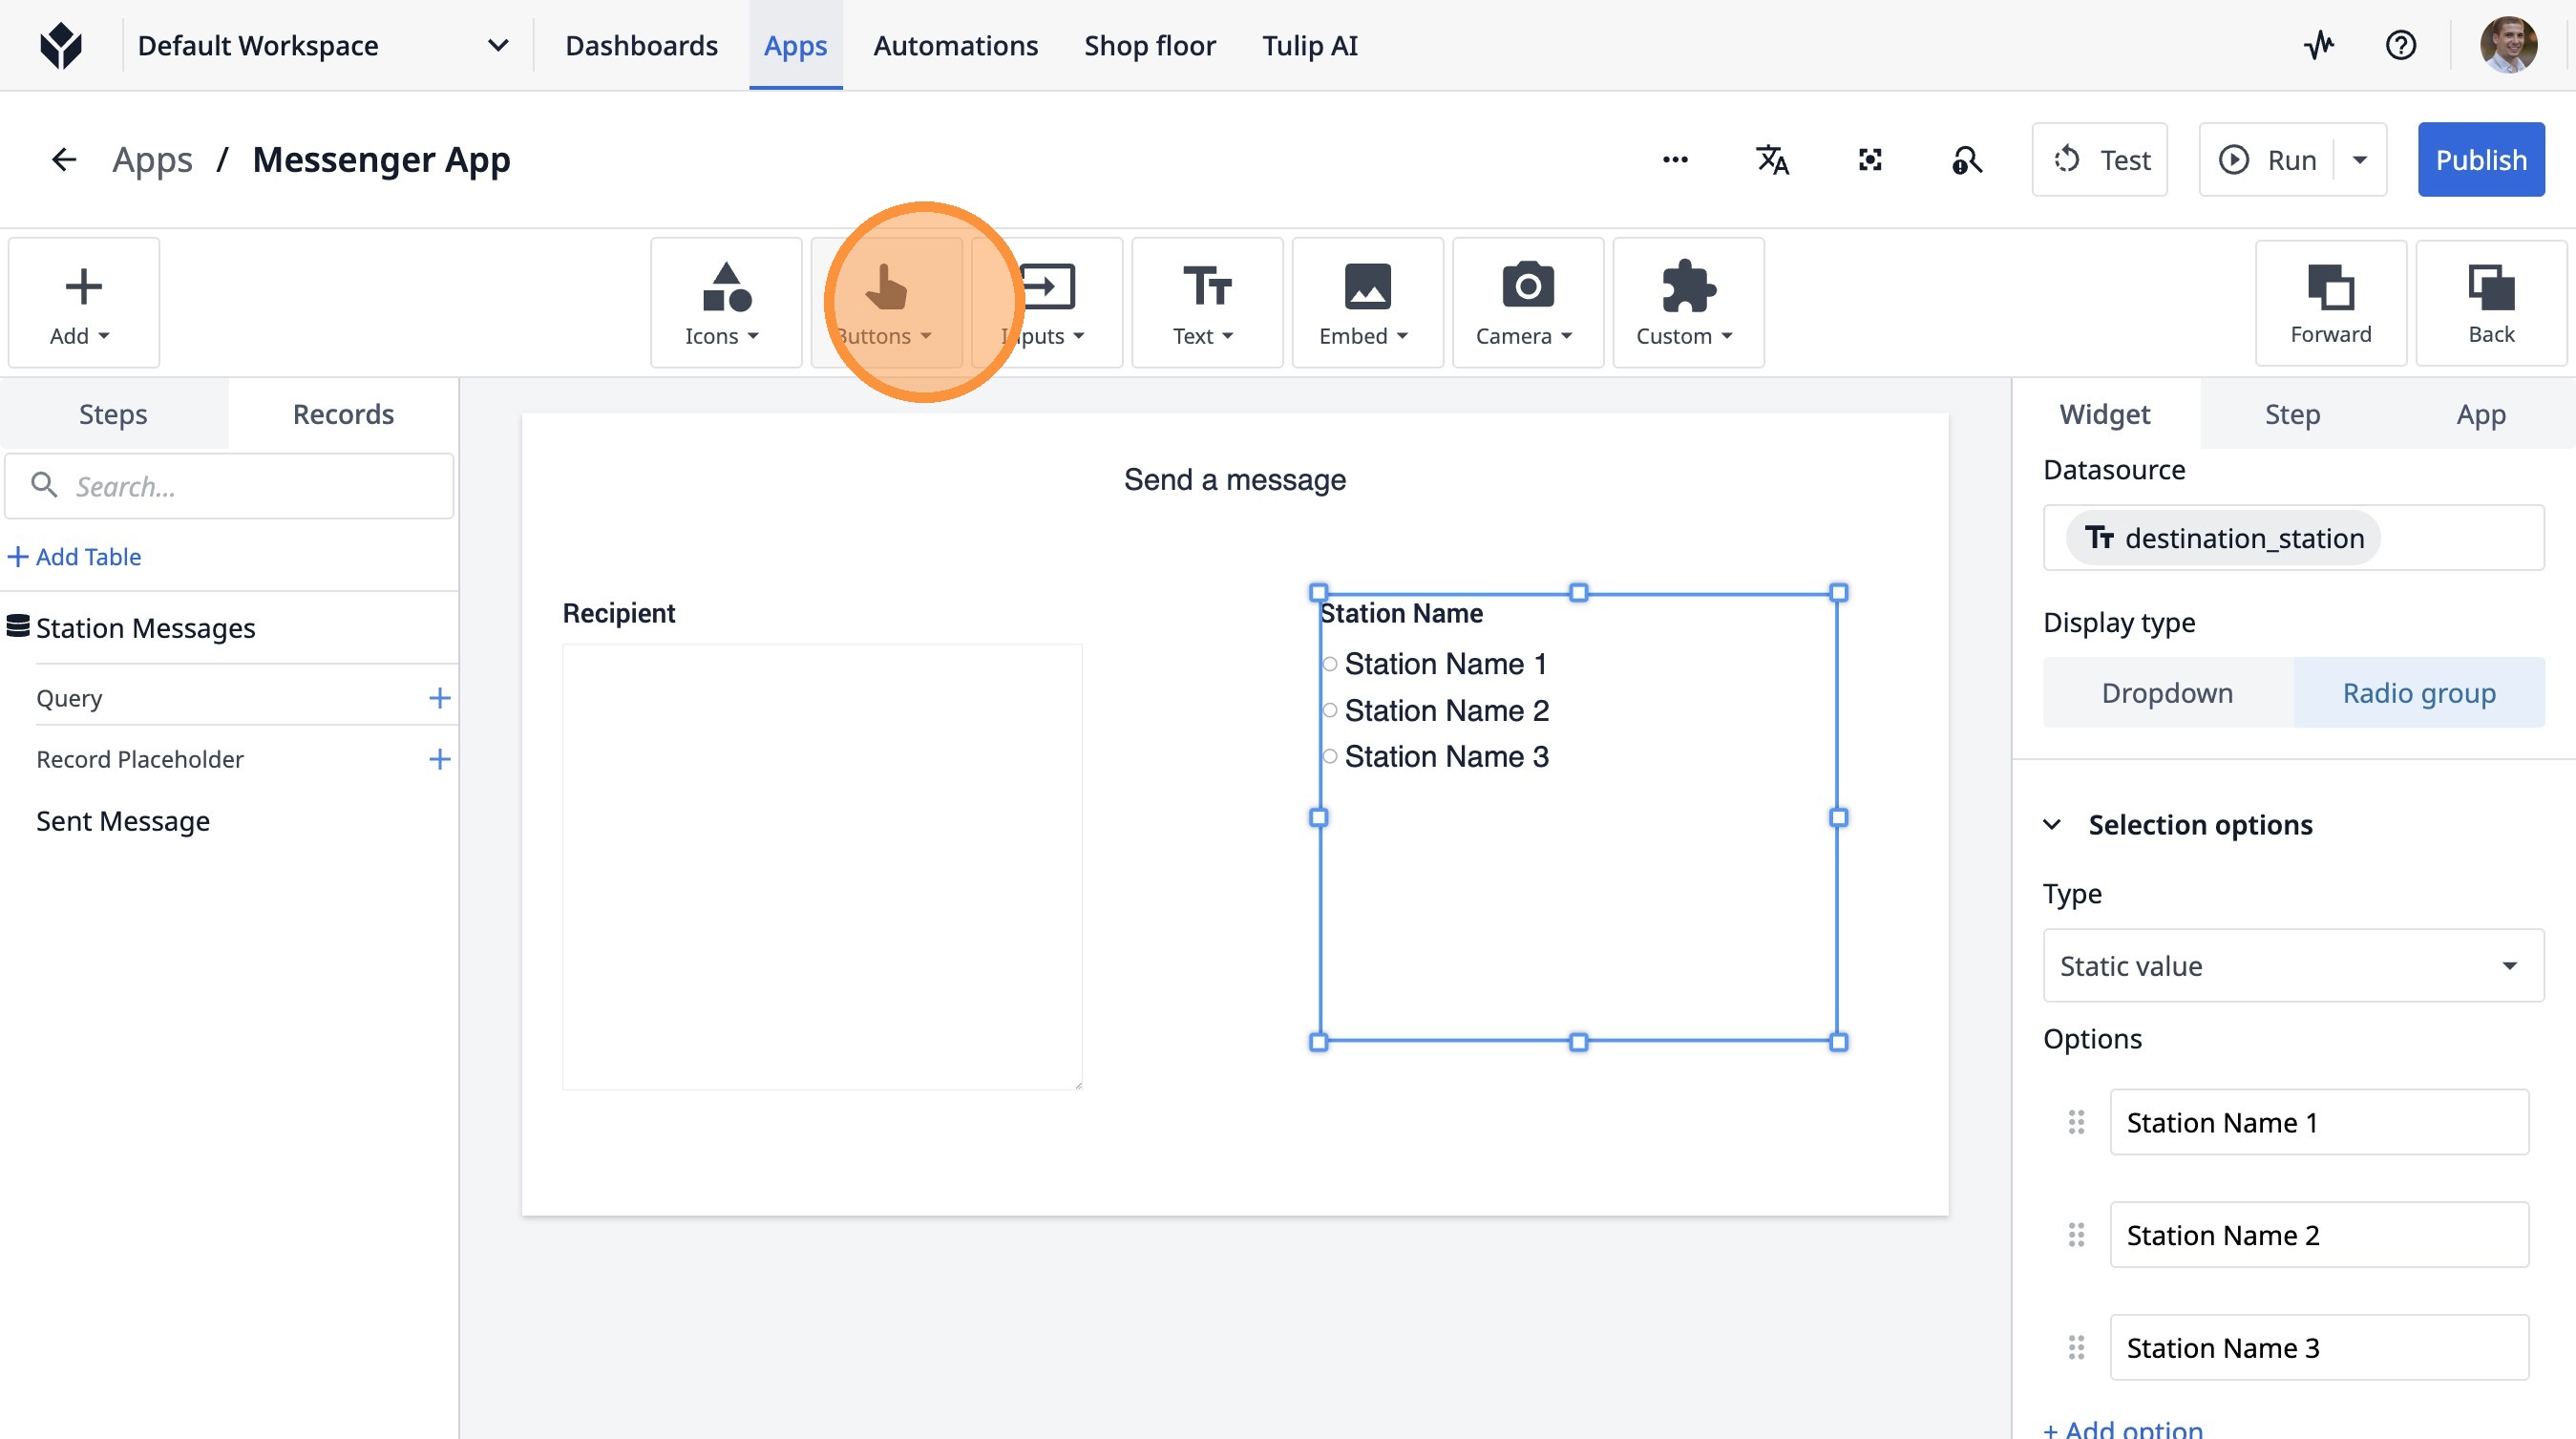
51. Click here.
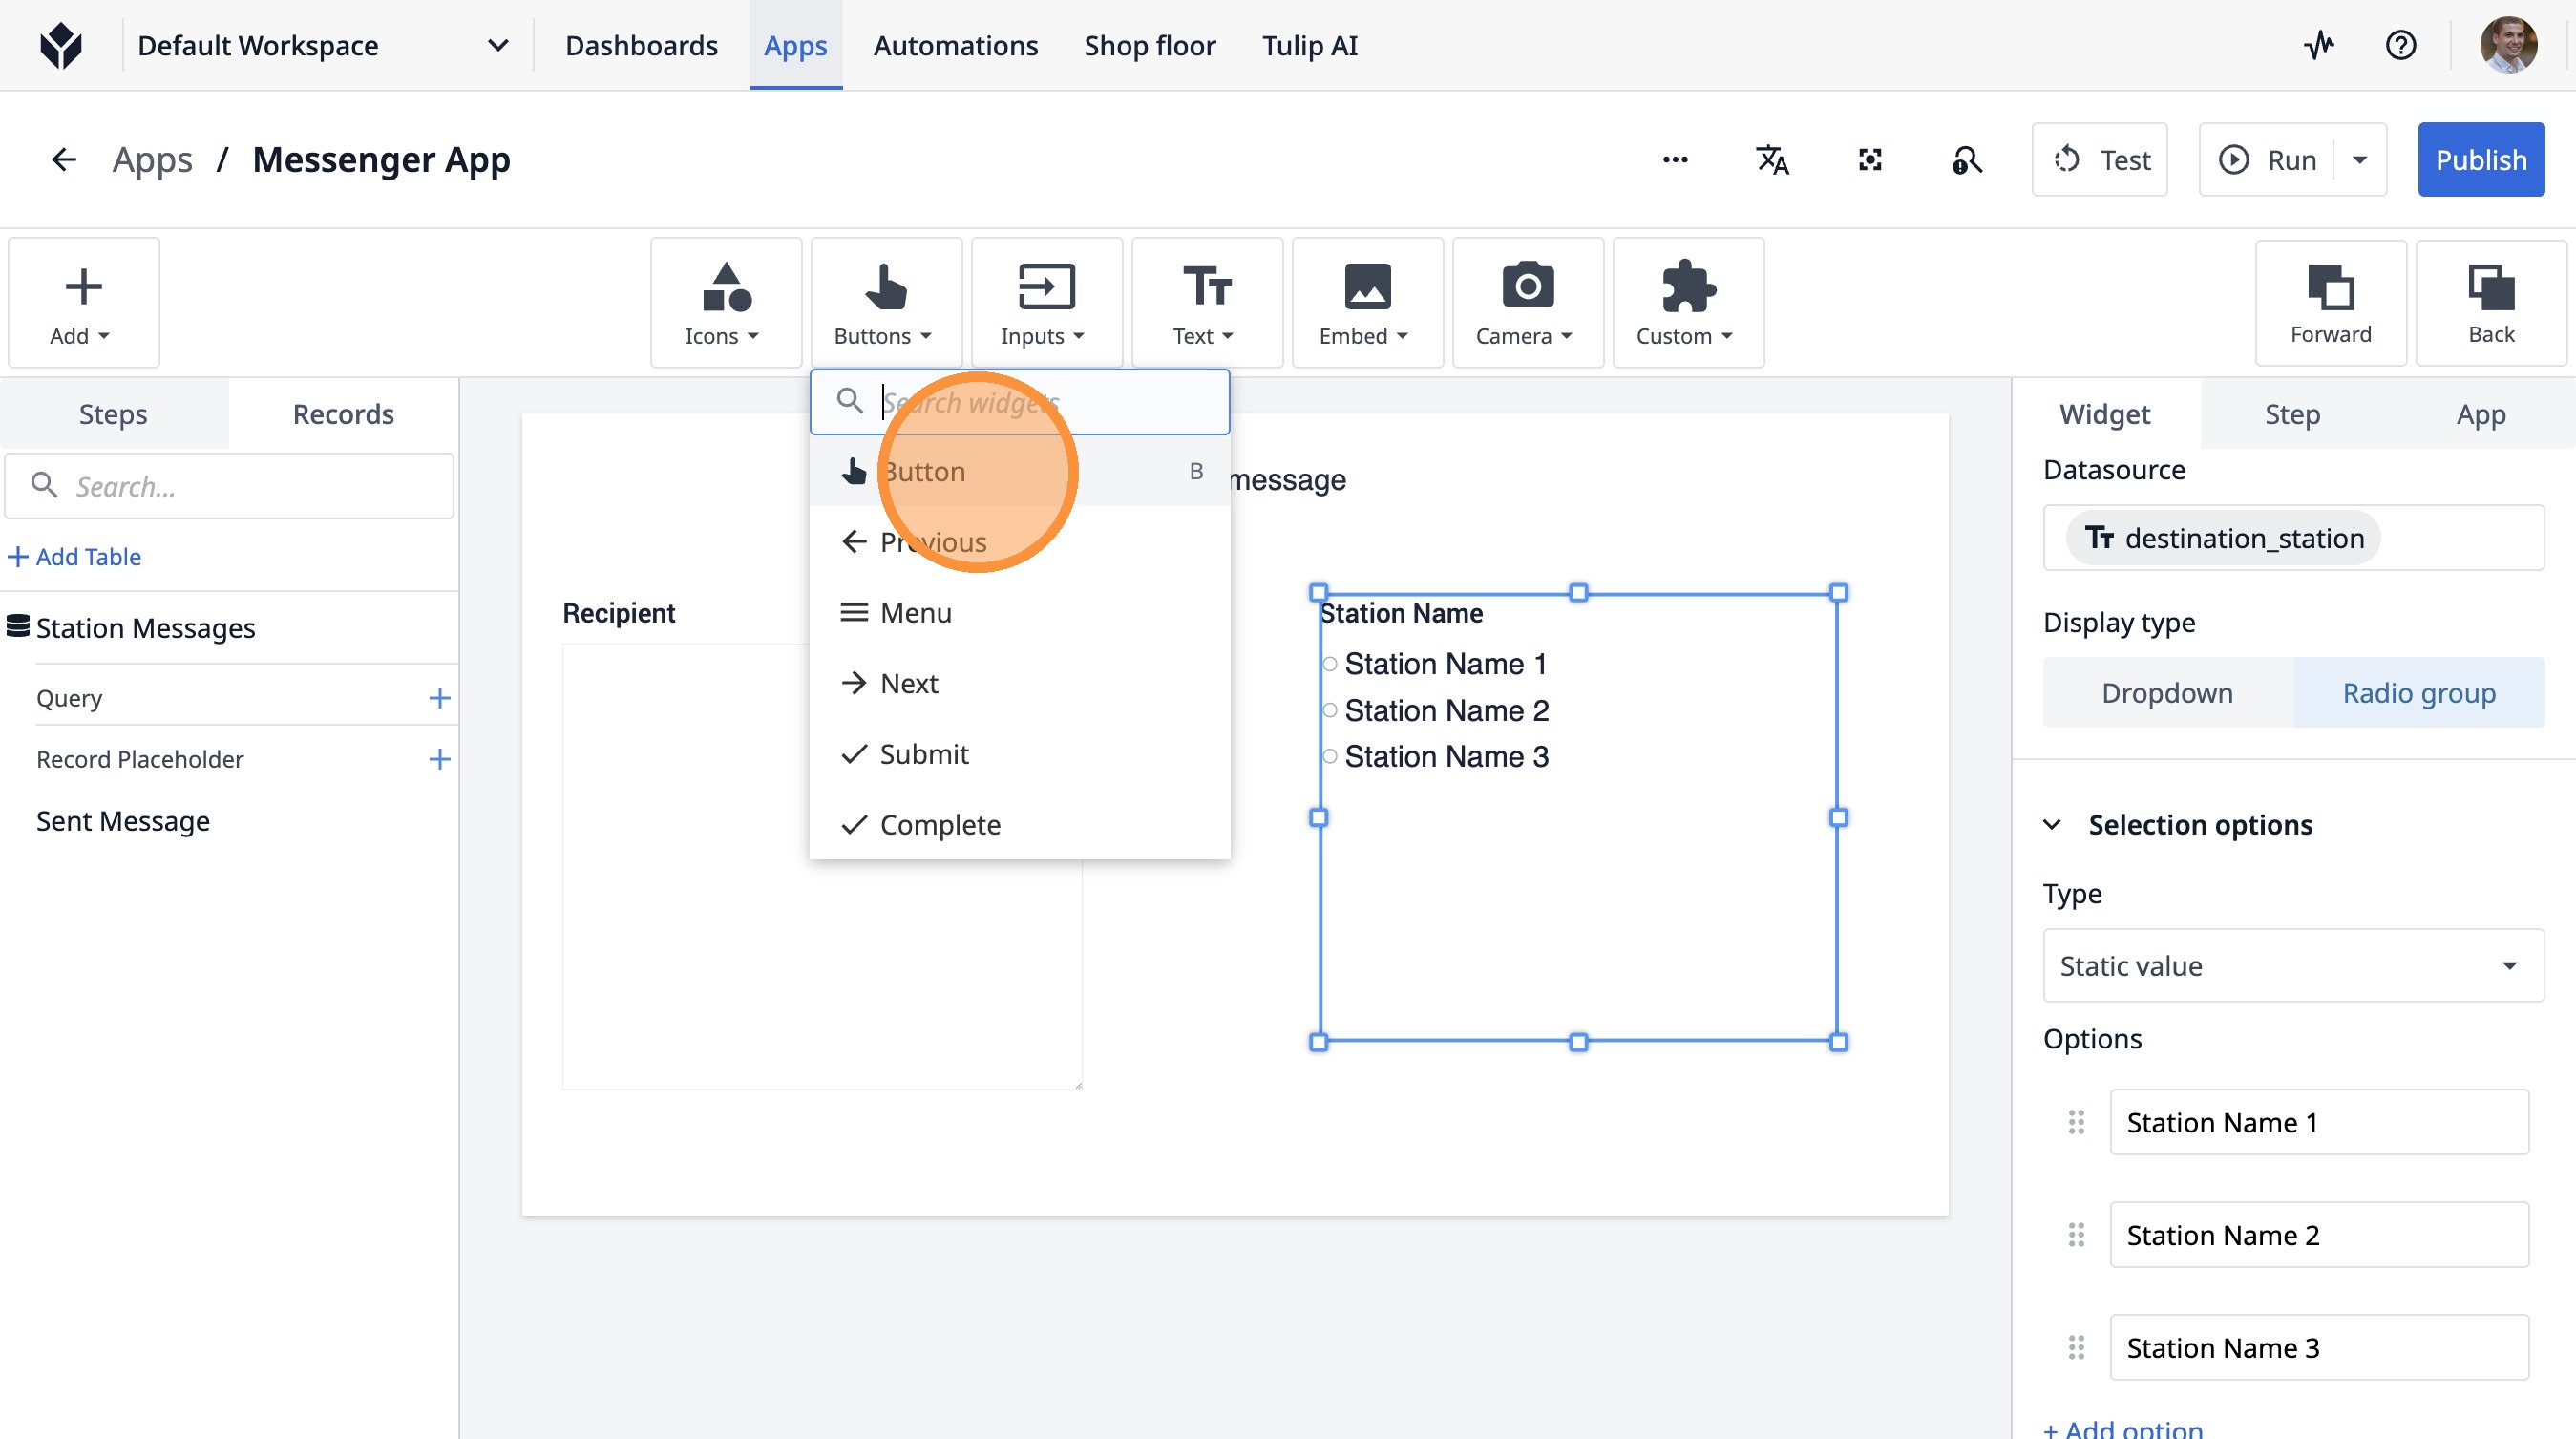
52. Click "Buttons"
53. Click "ButtonB"
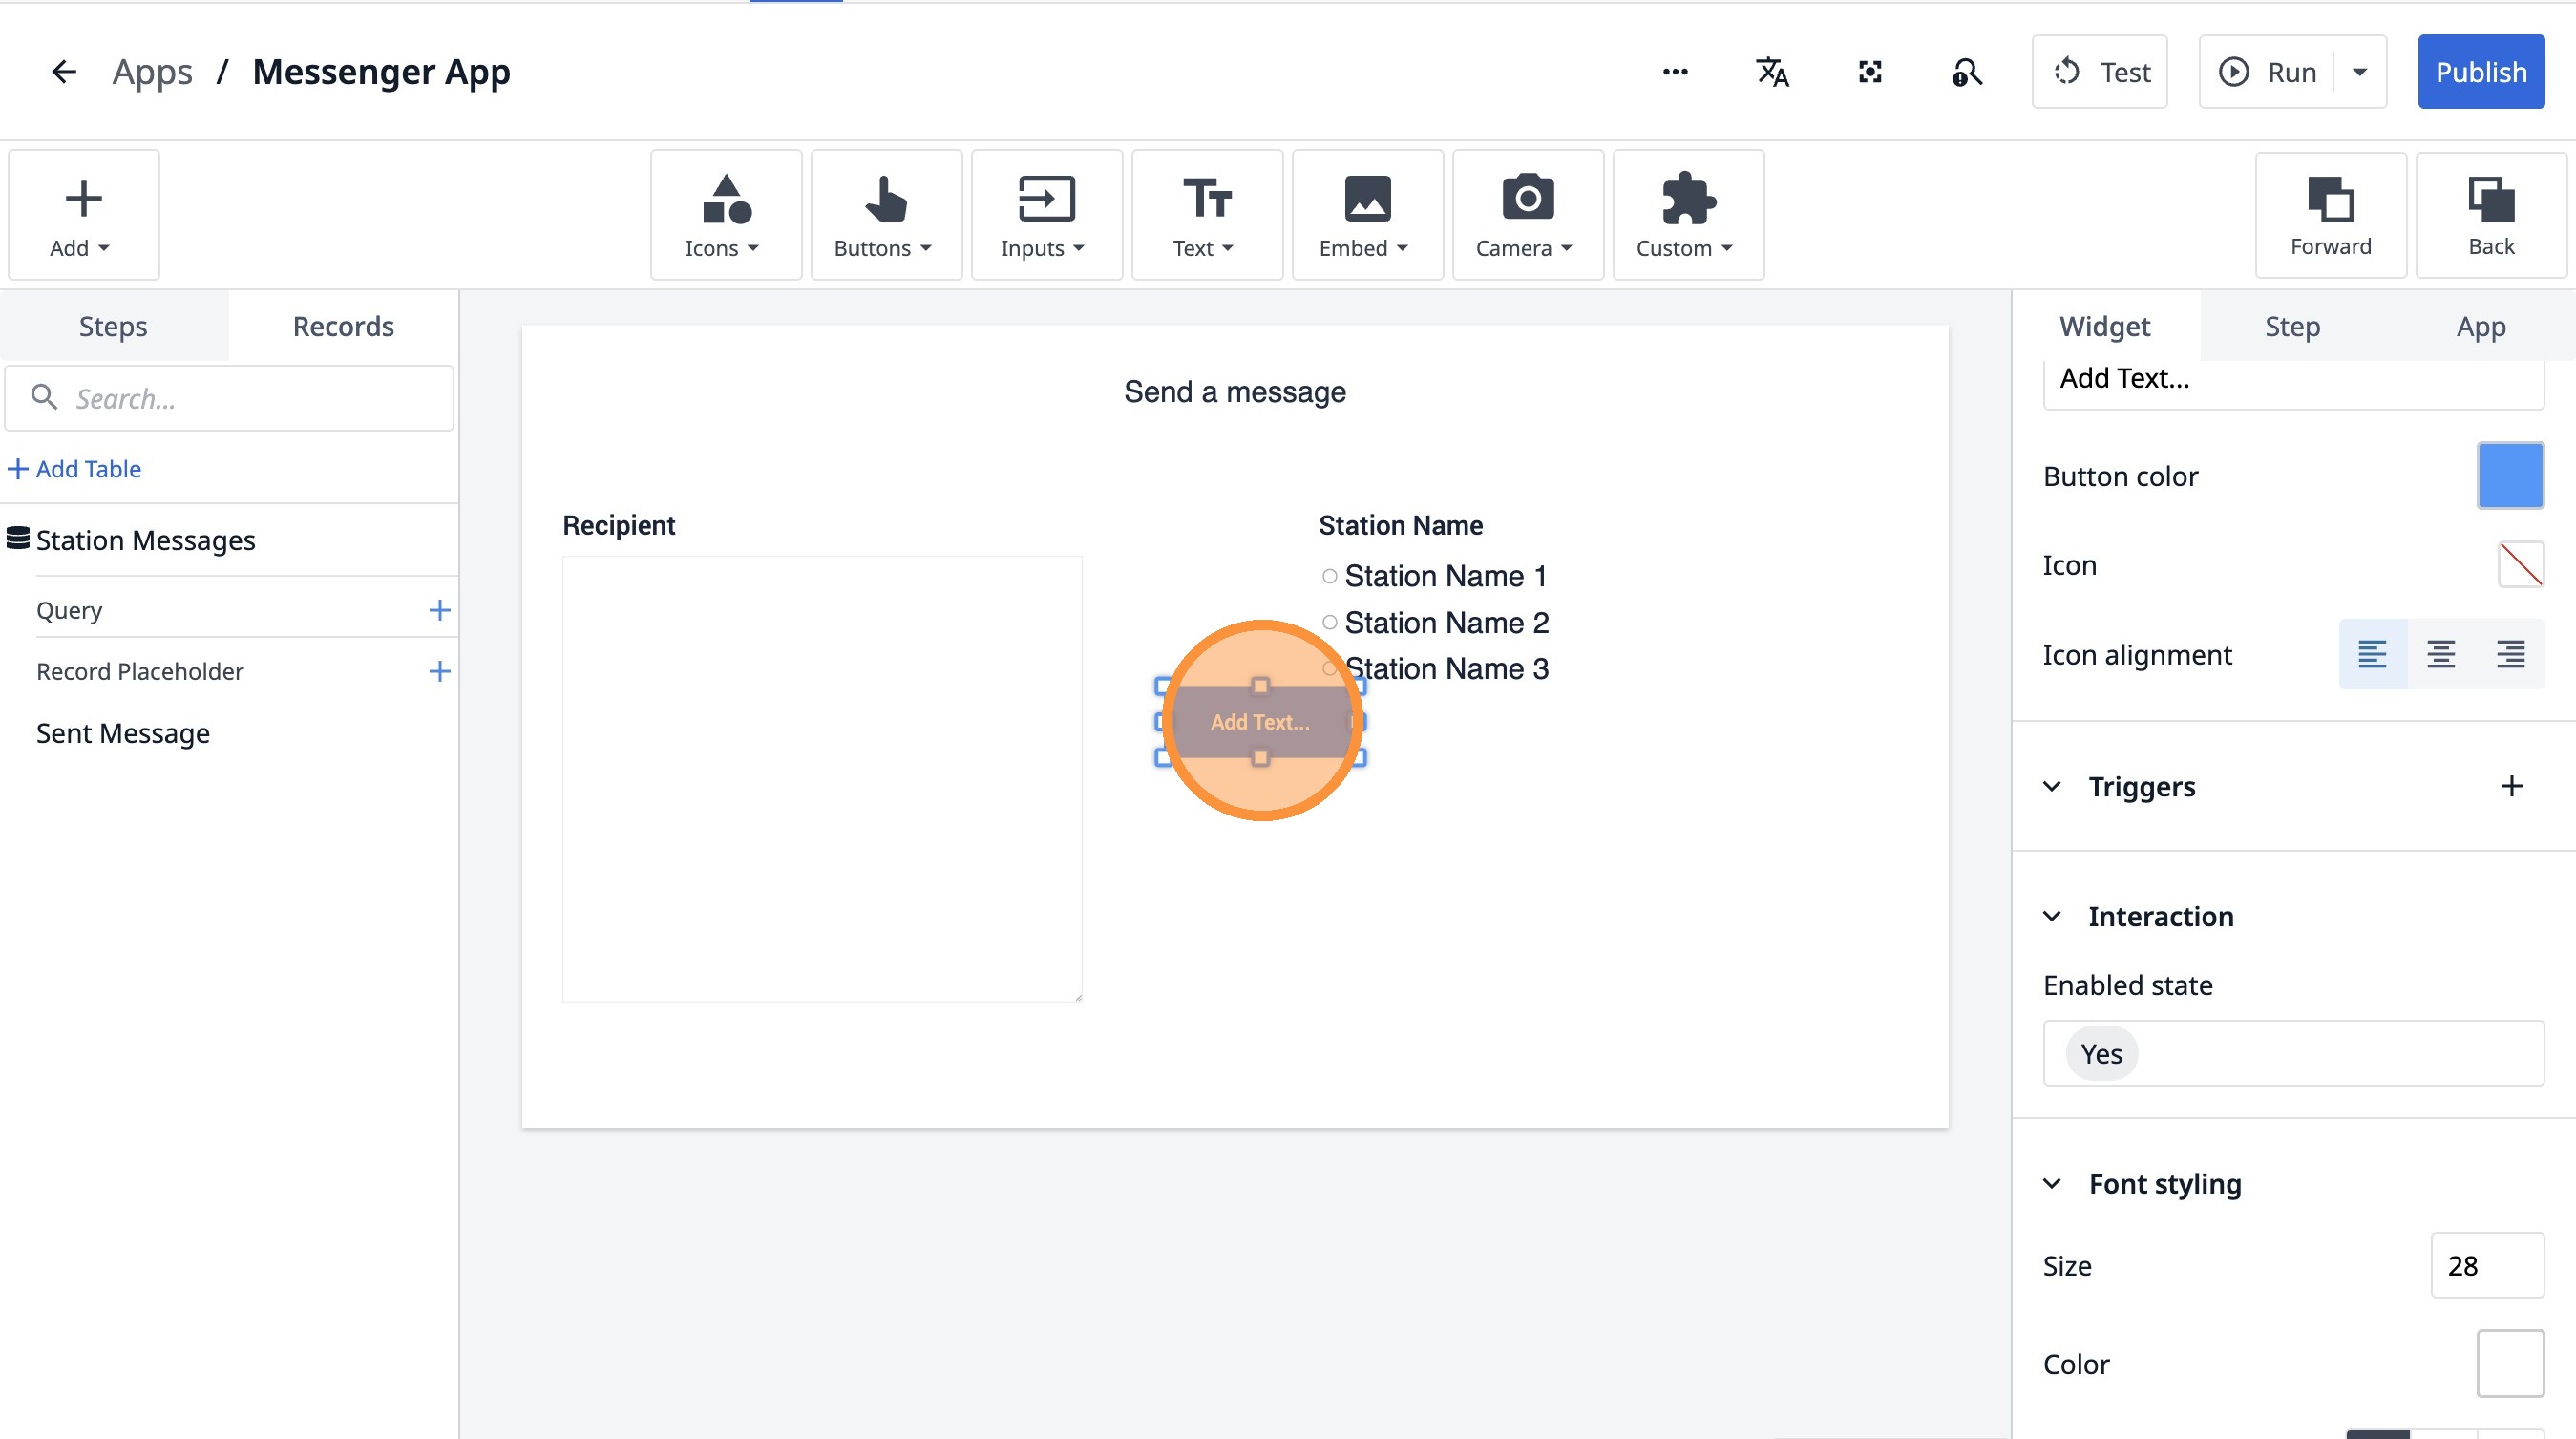
54. Click here.
55. Double-click the "Text" field.
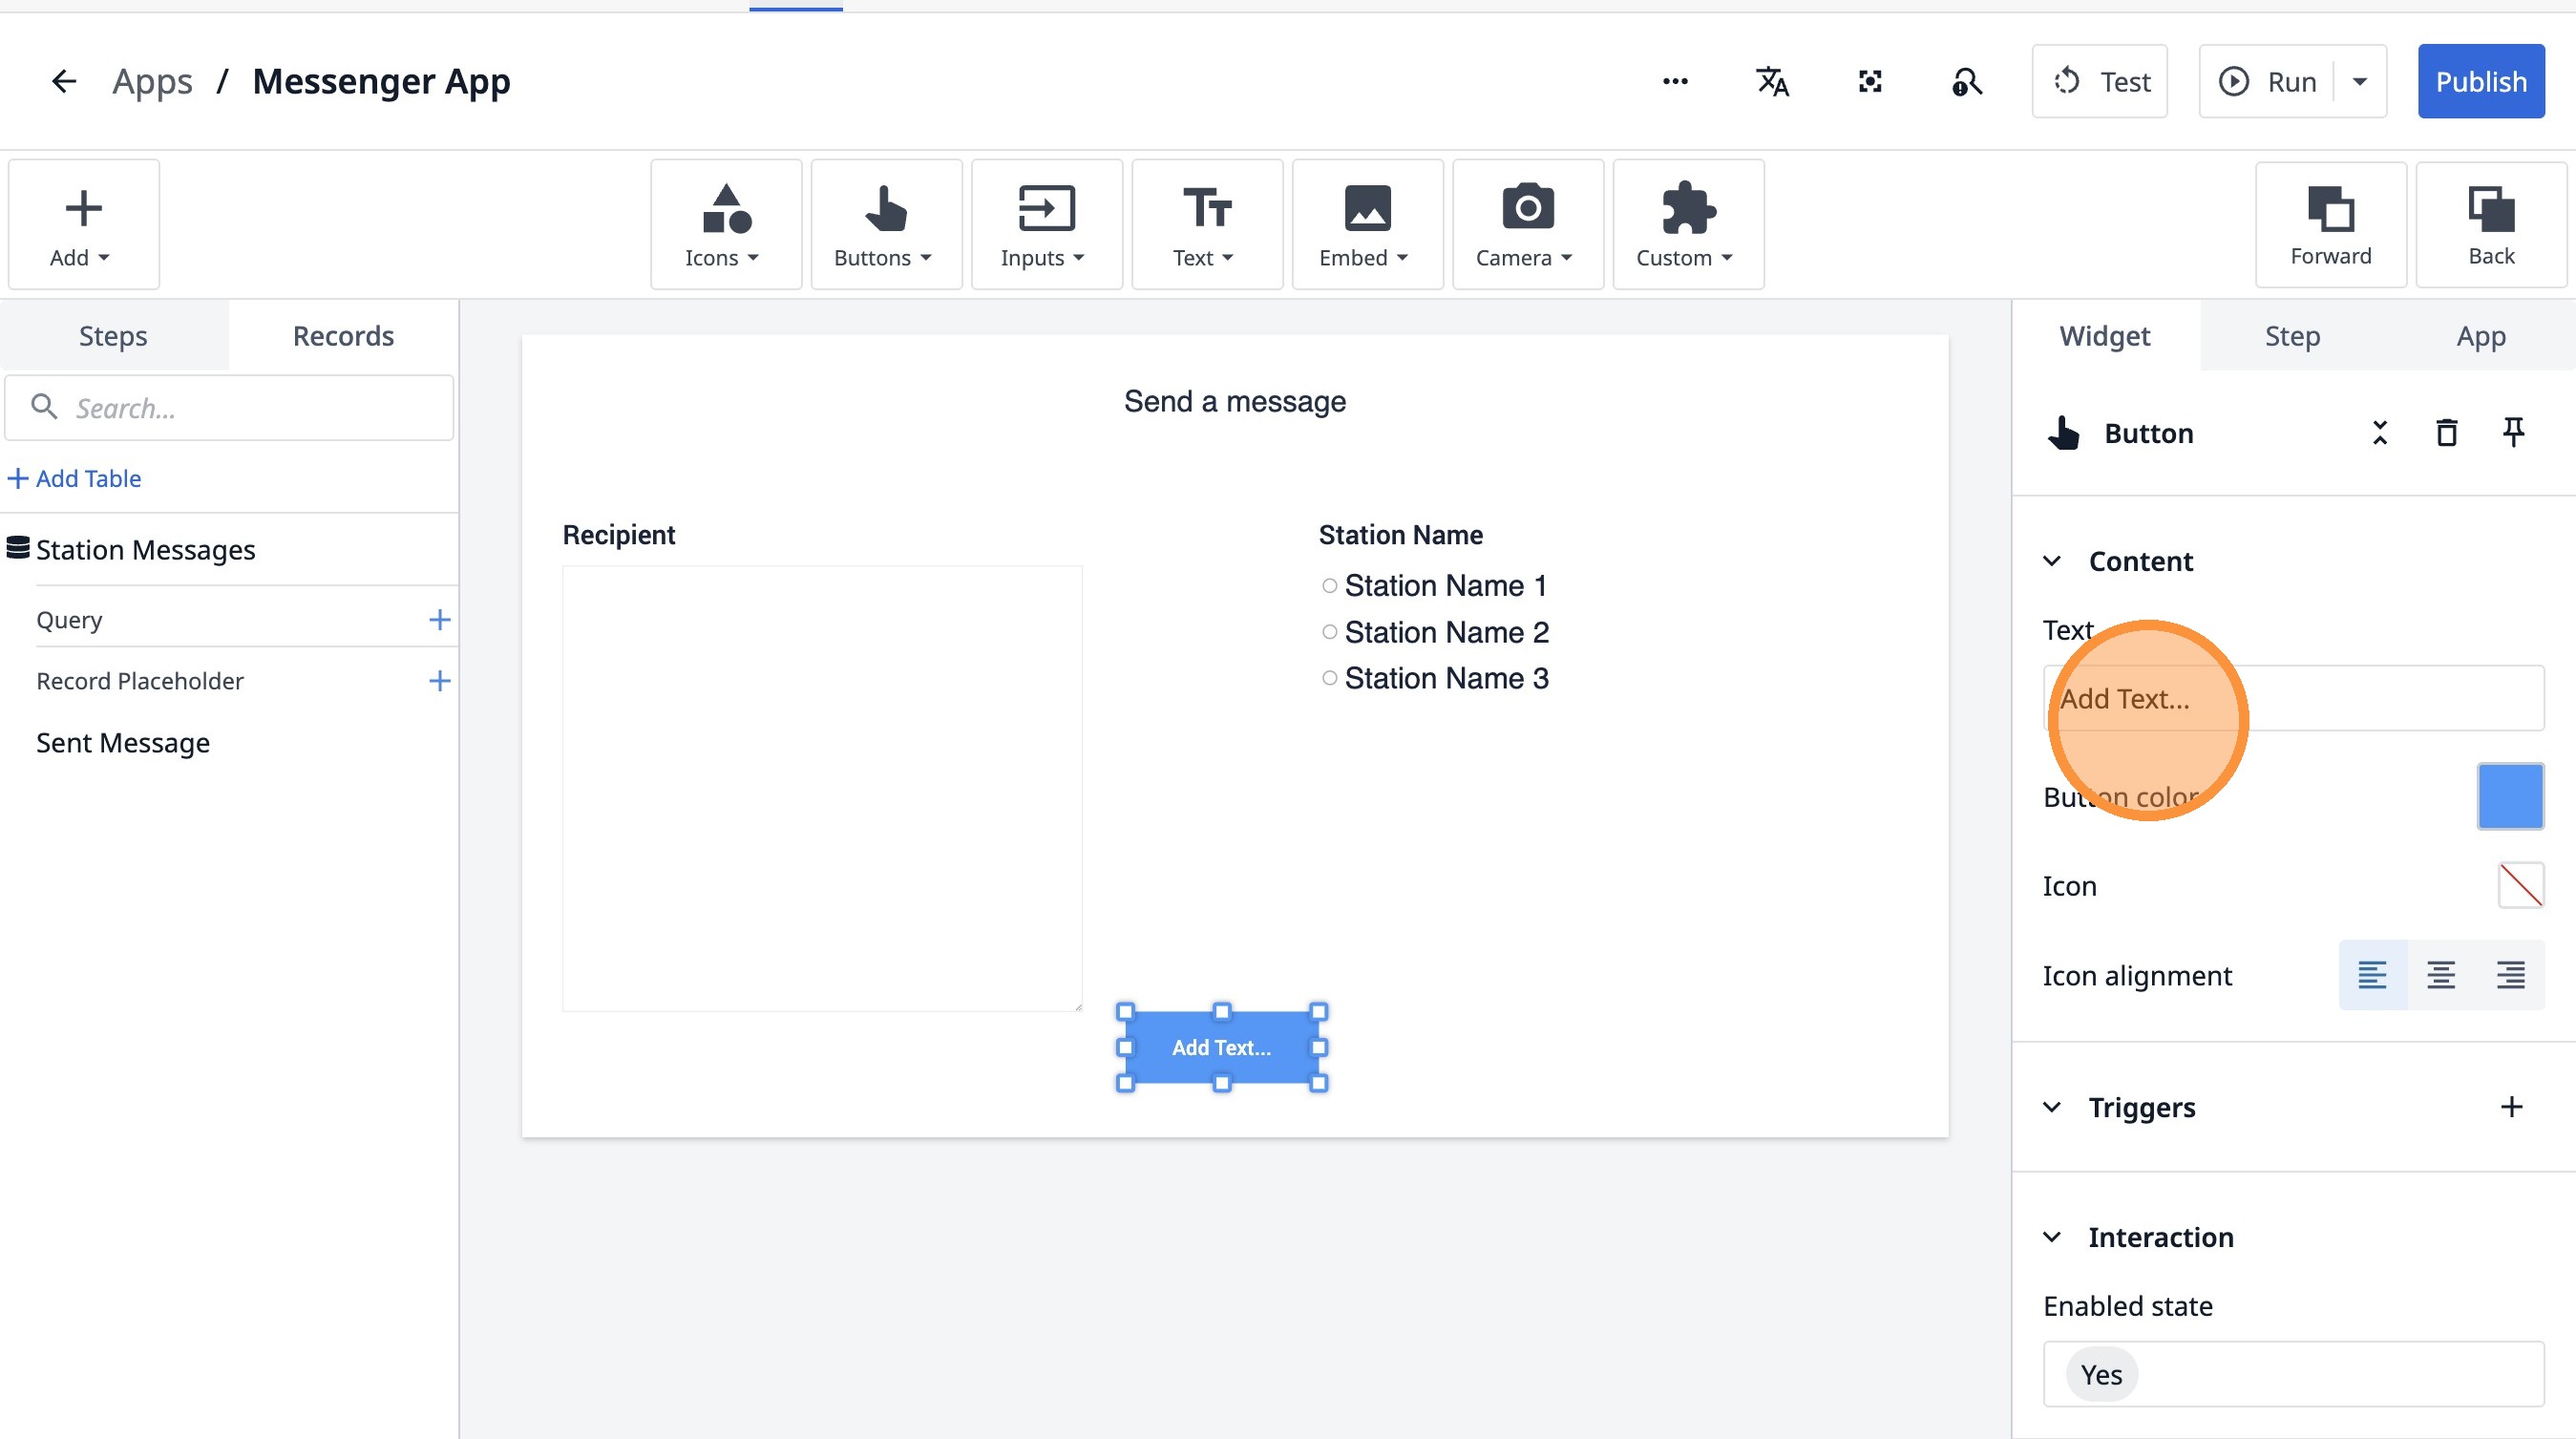
56. Type "Send"
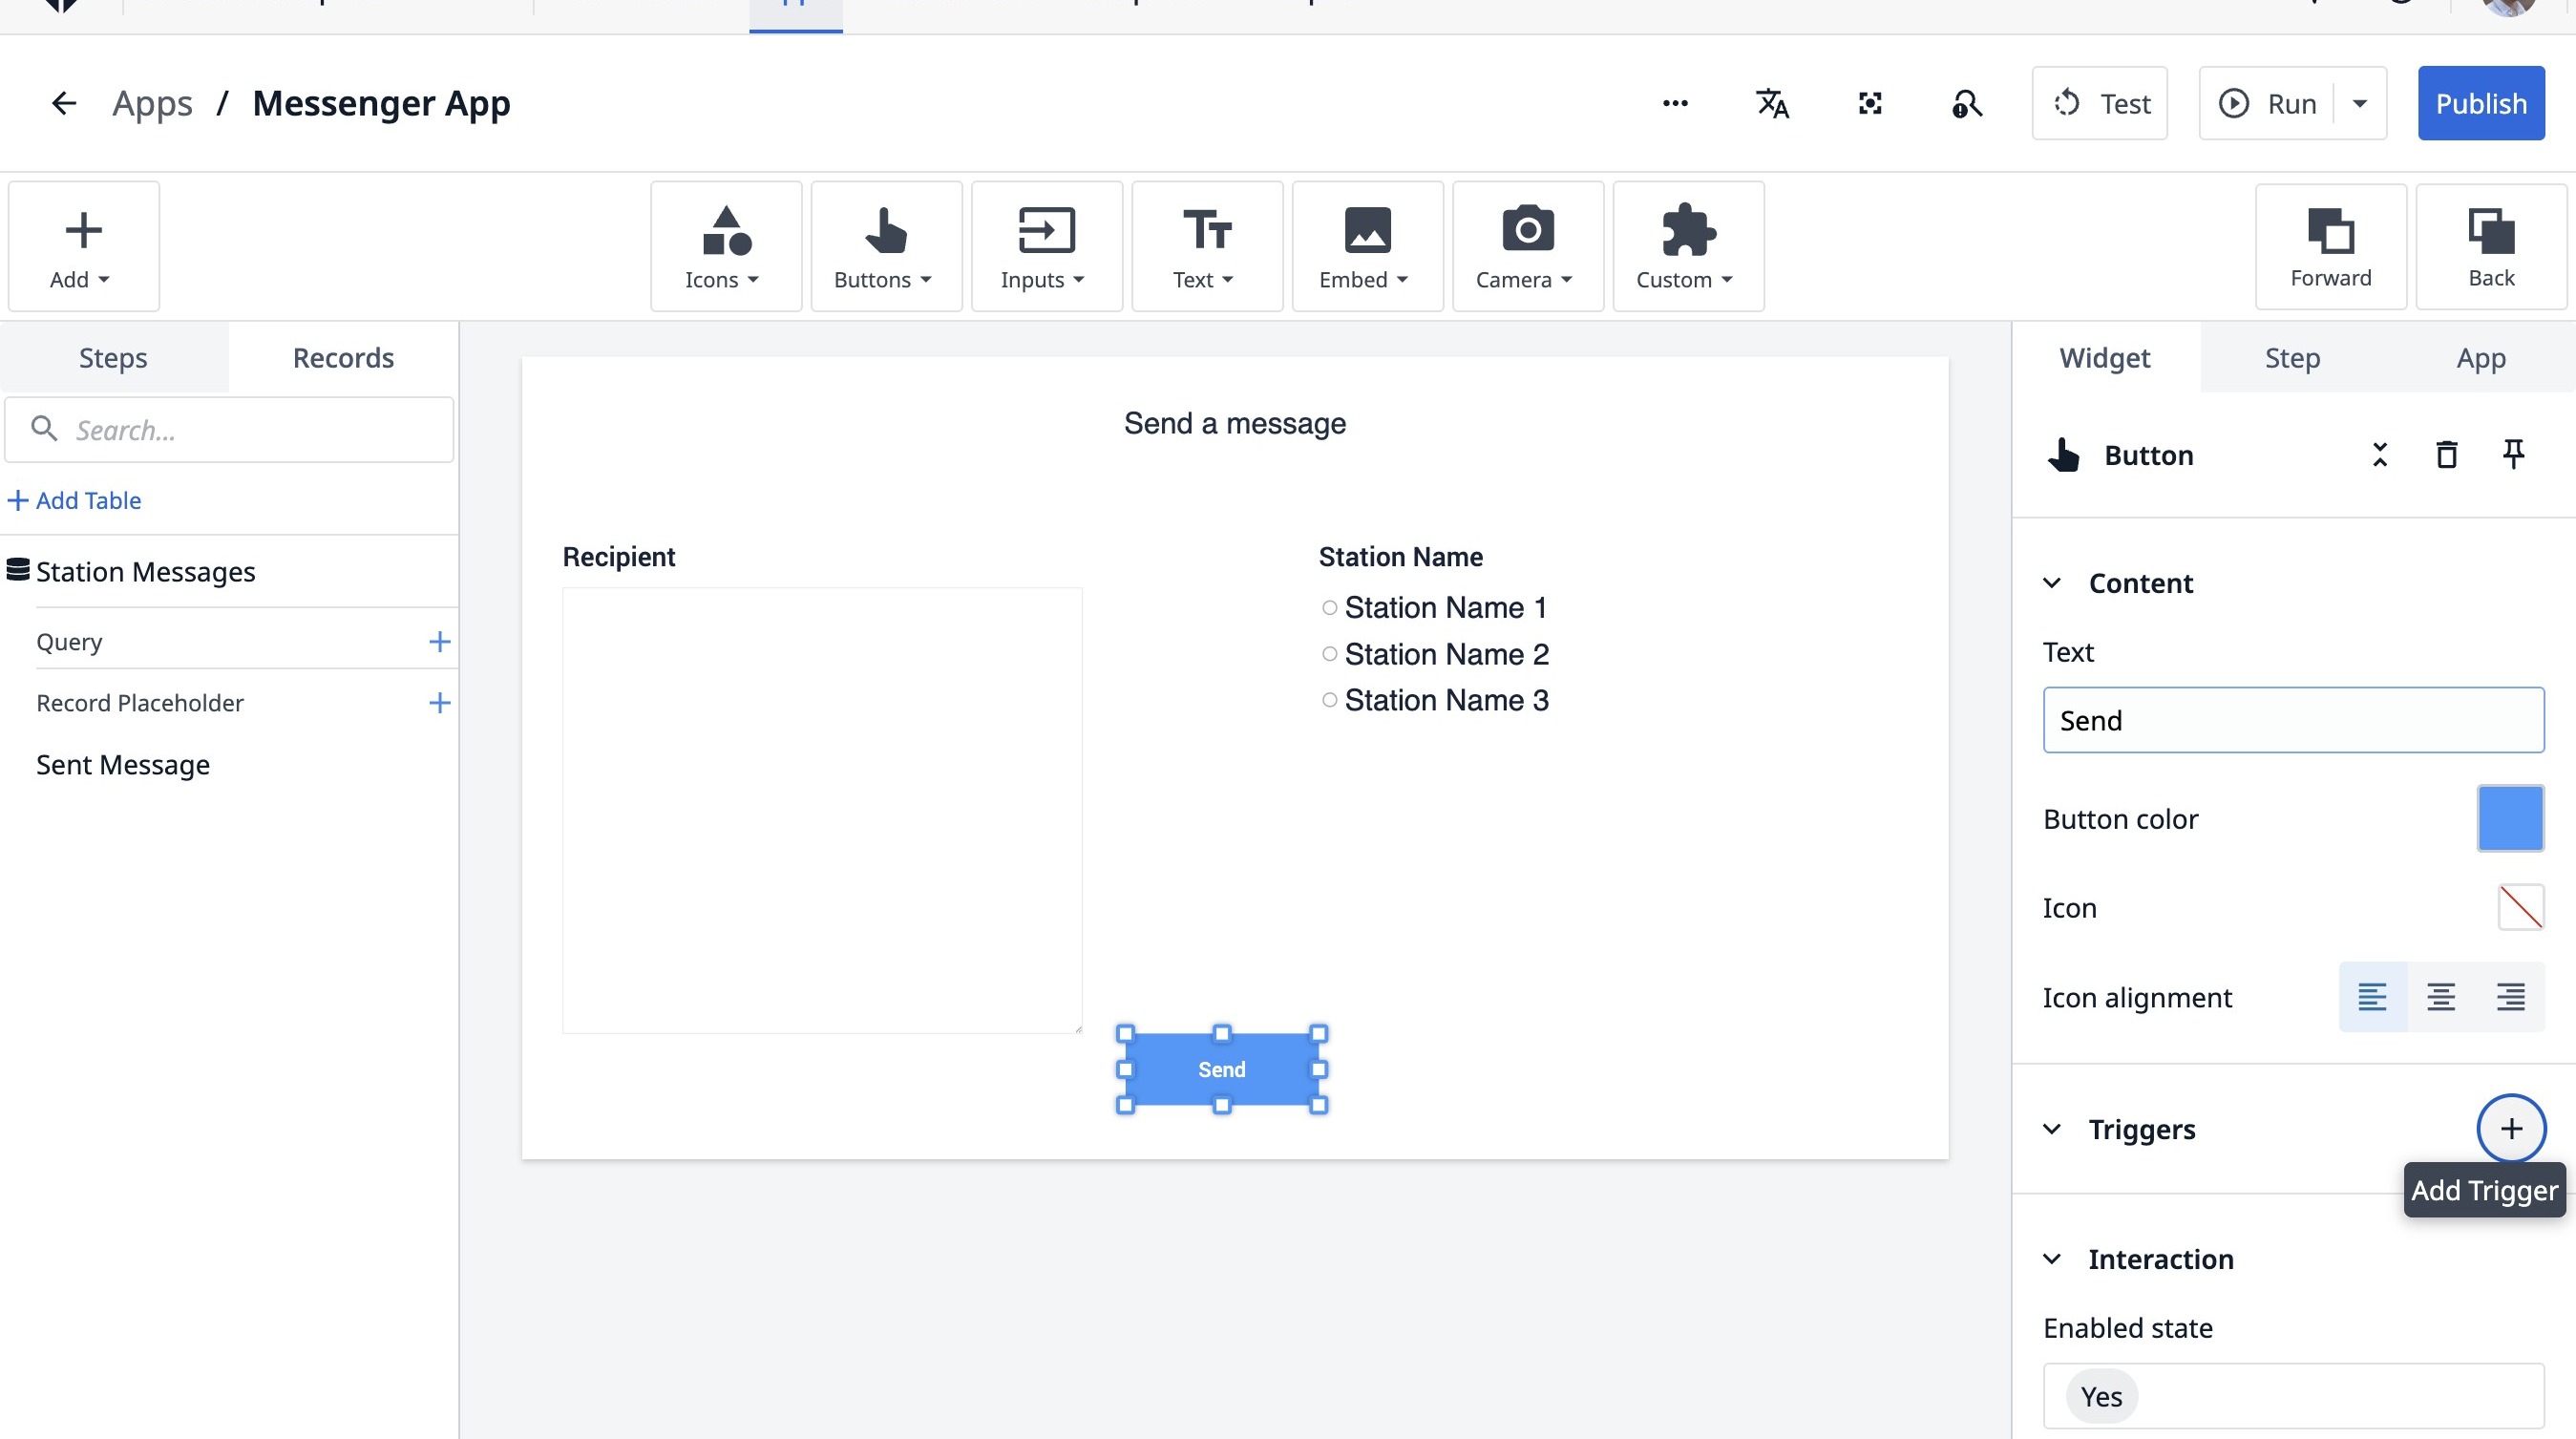
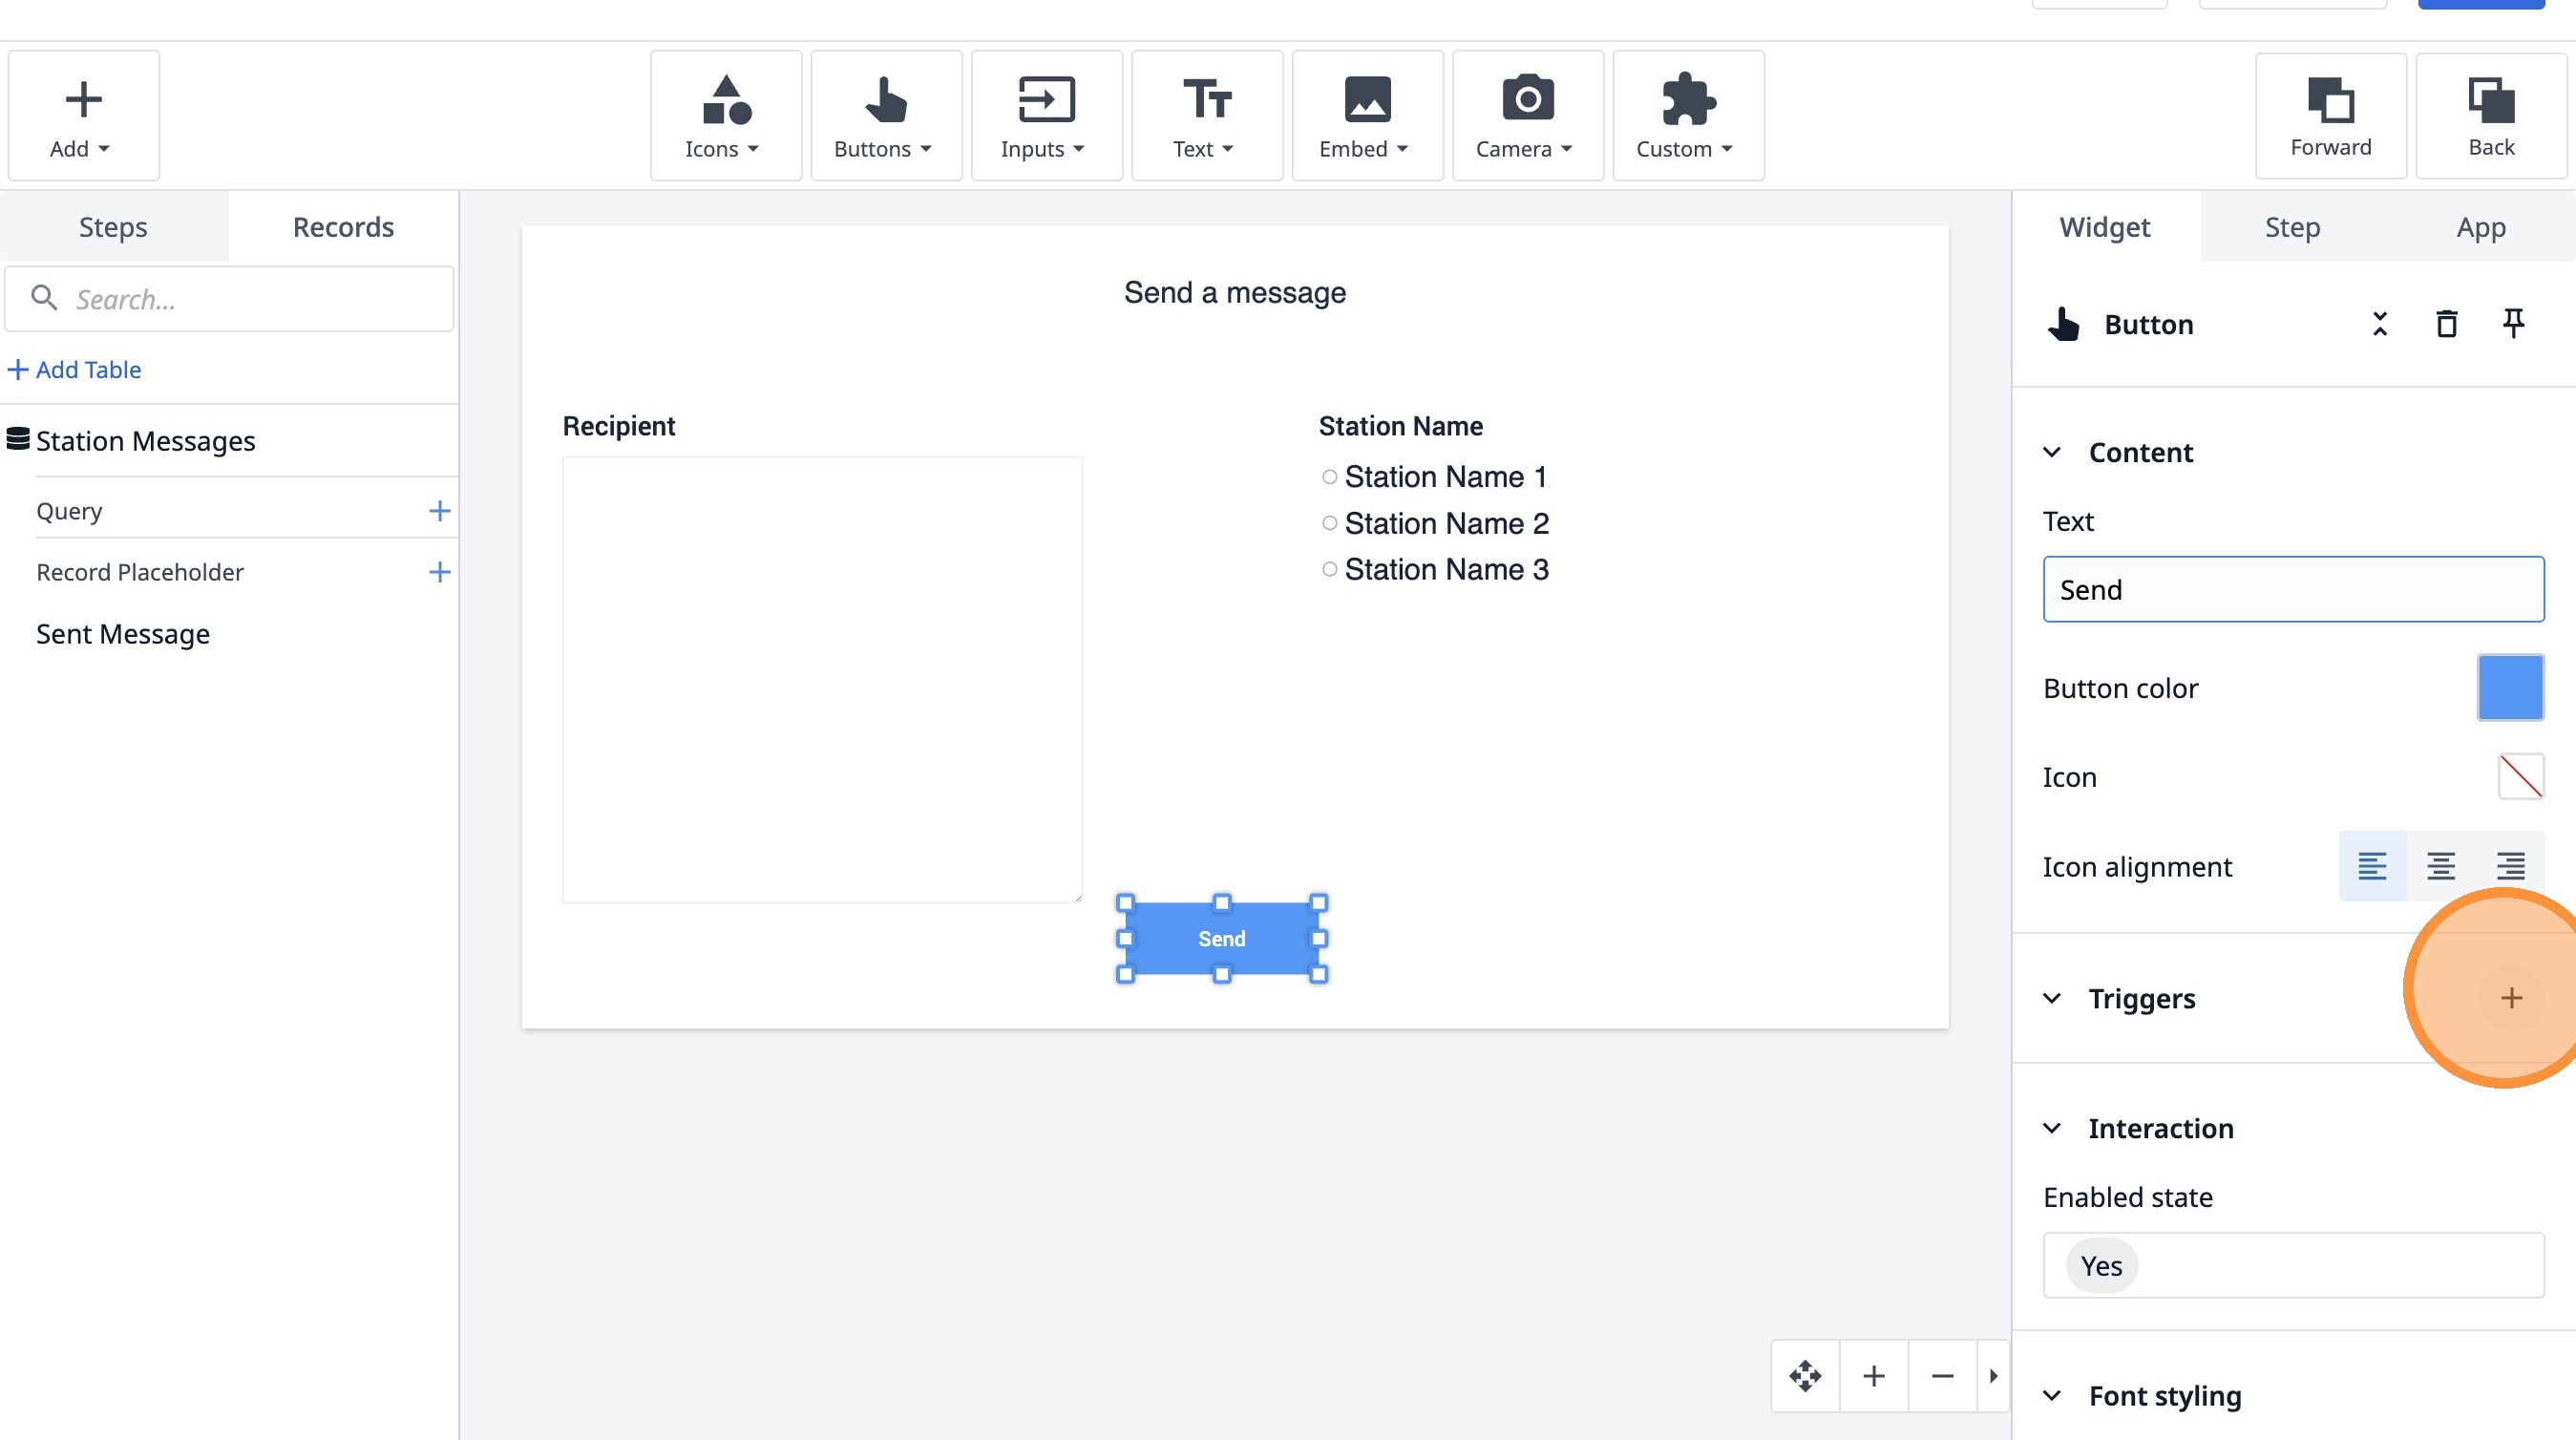
57. Click this icon.
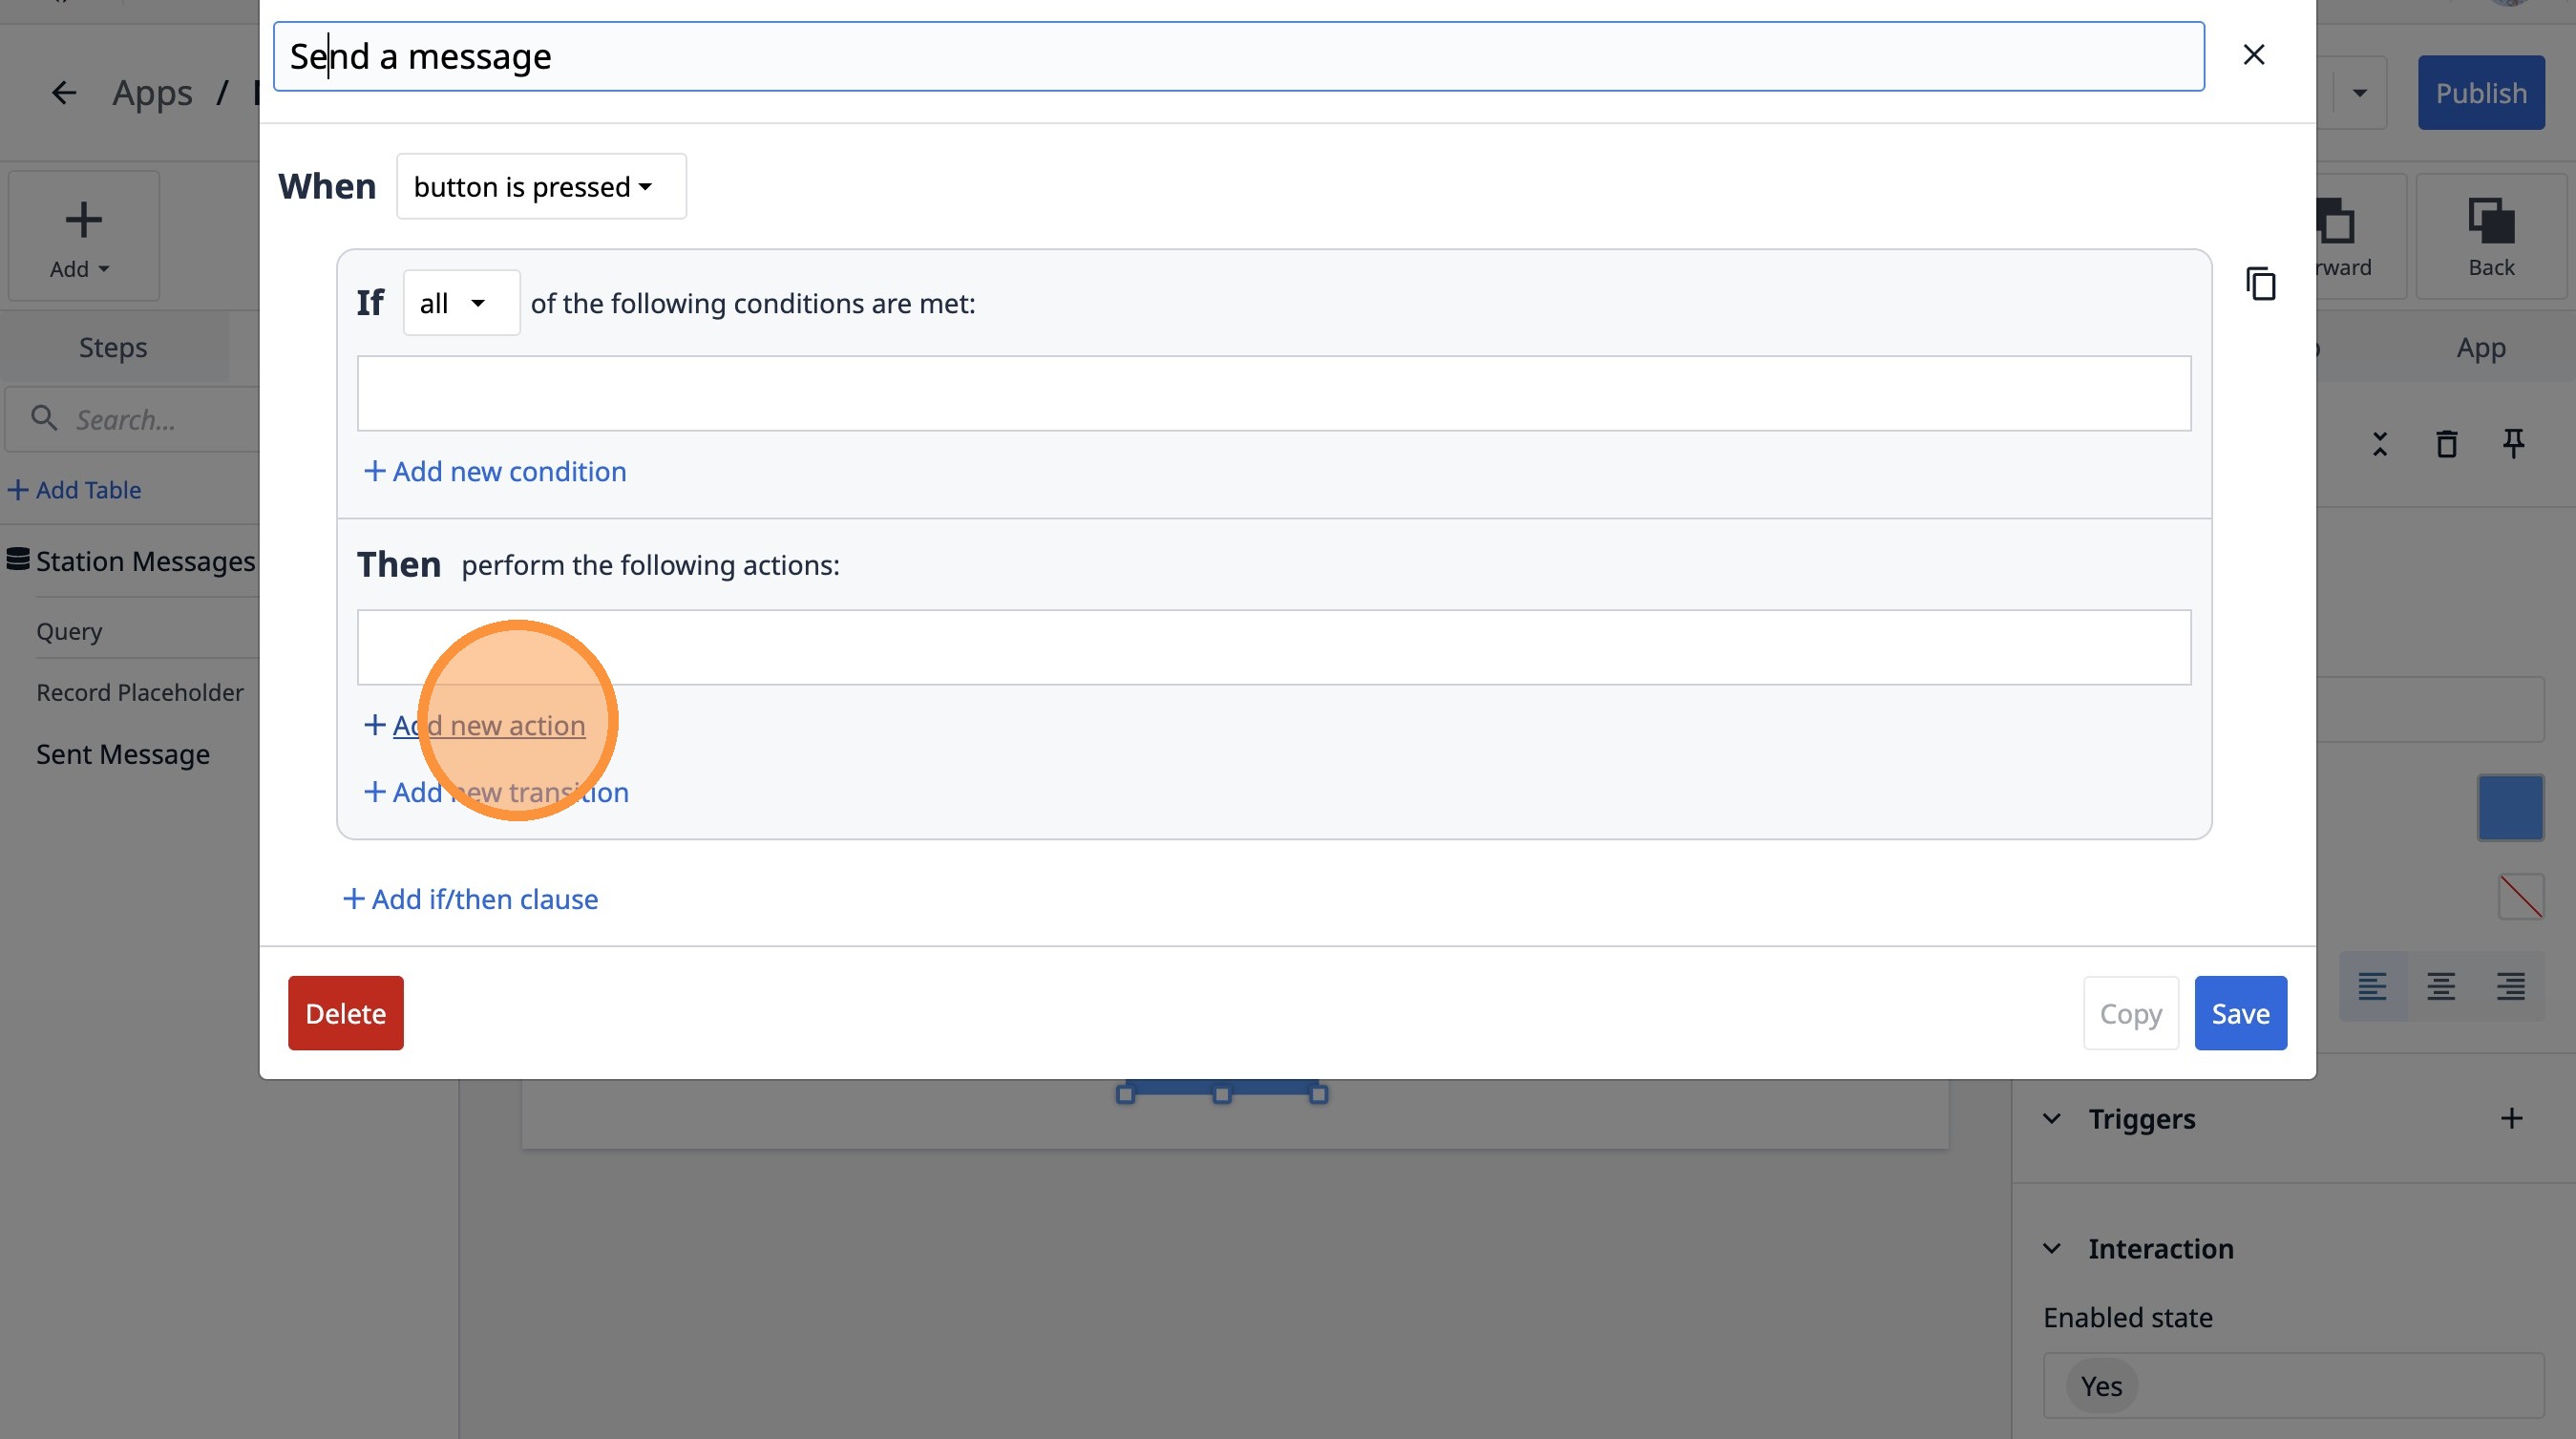
58. Type "SEnd a message"
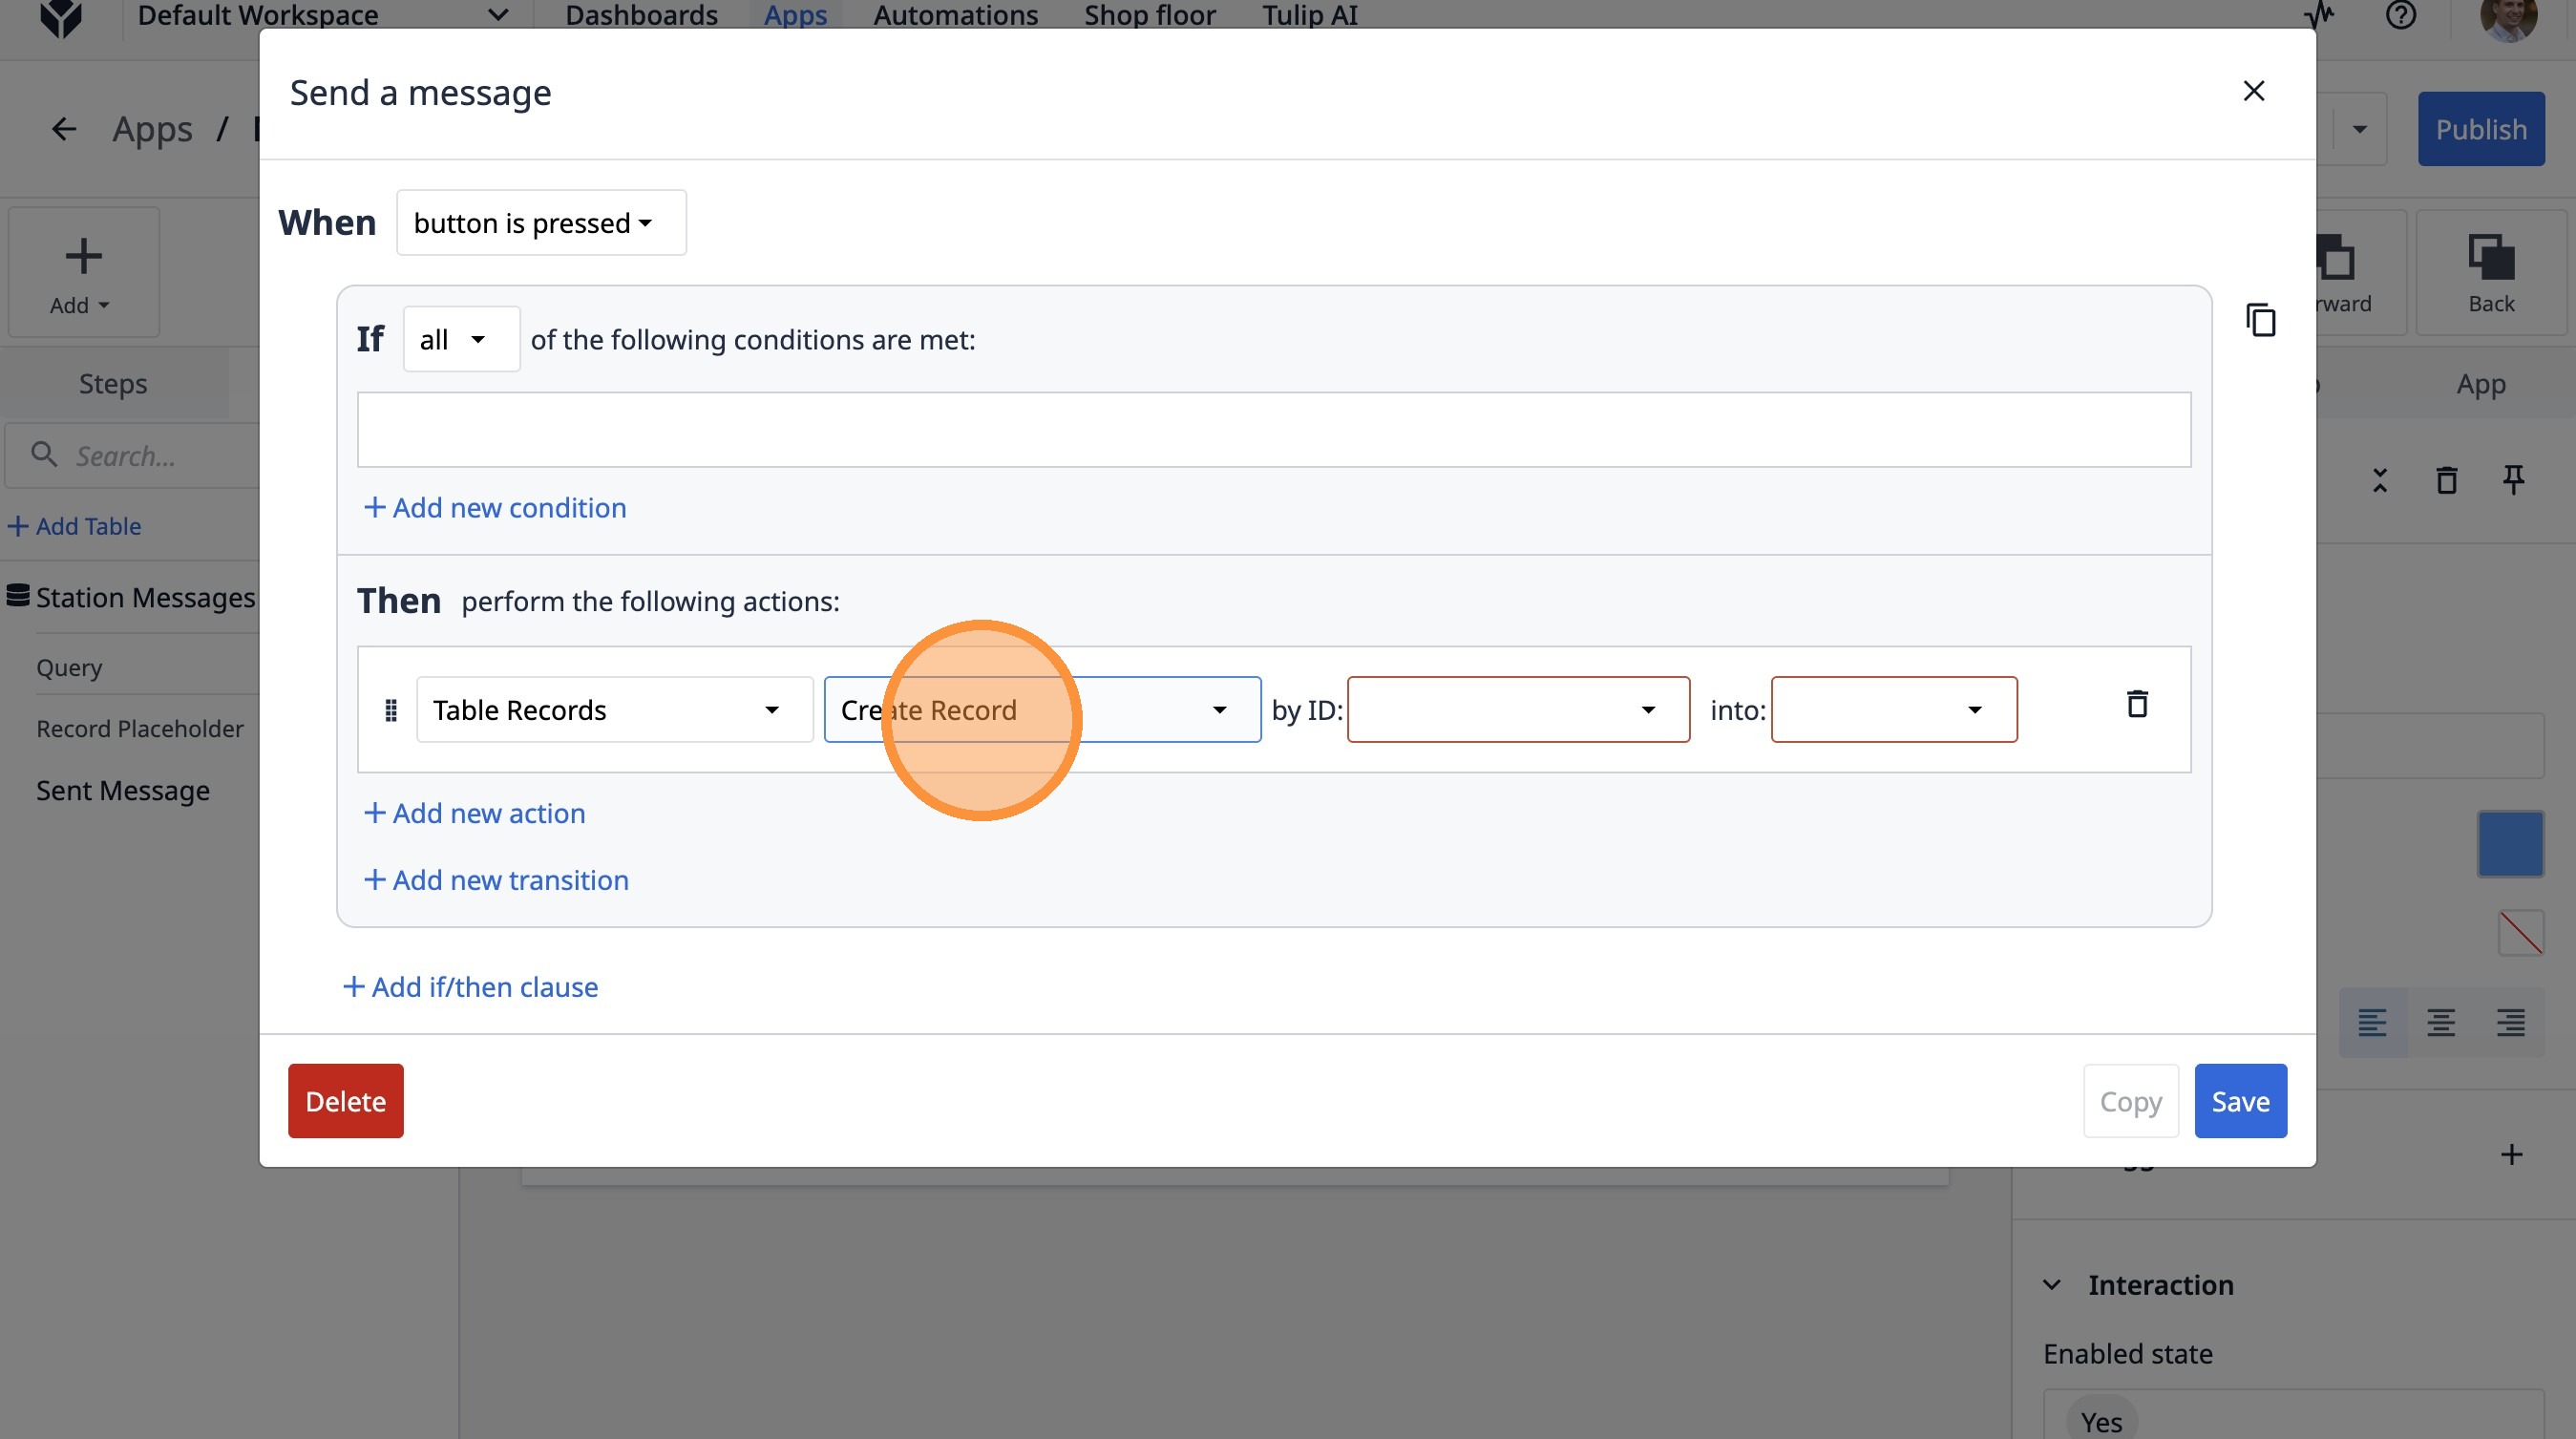
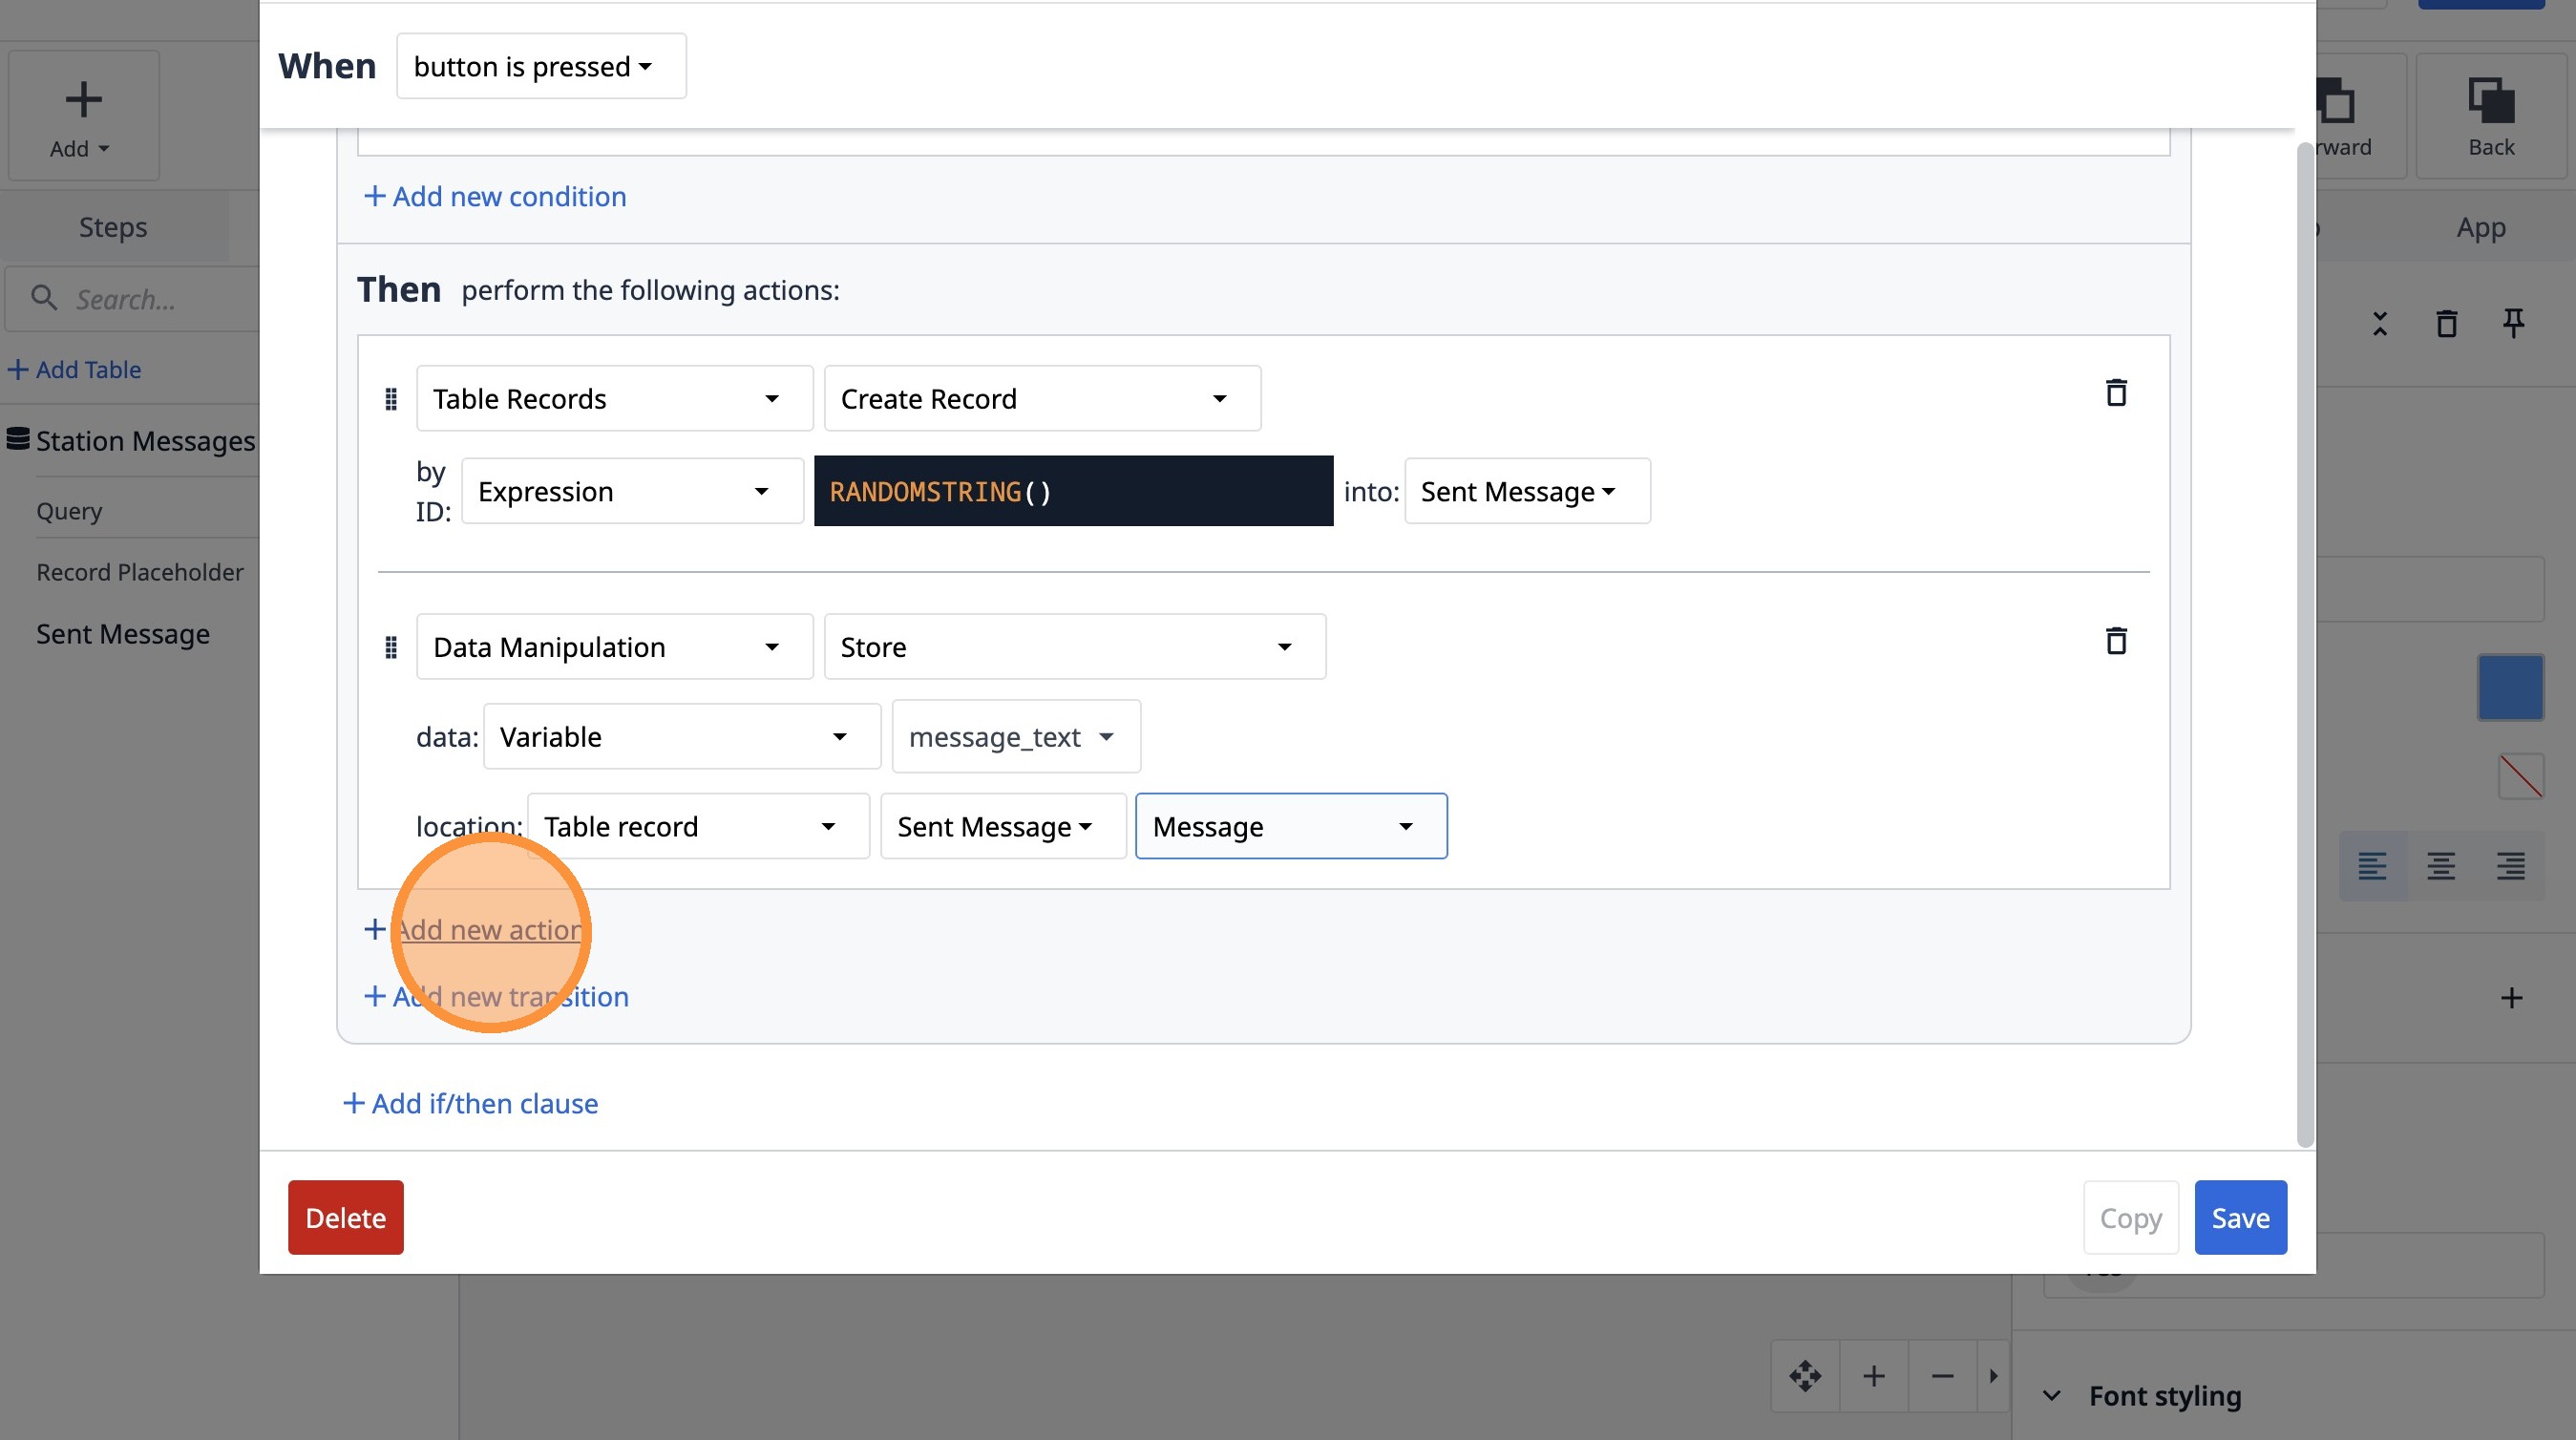
59. Click "Add new action"
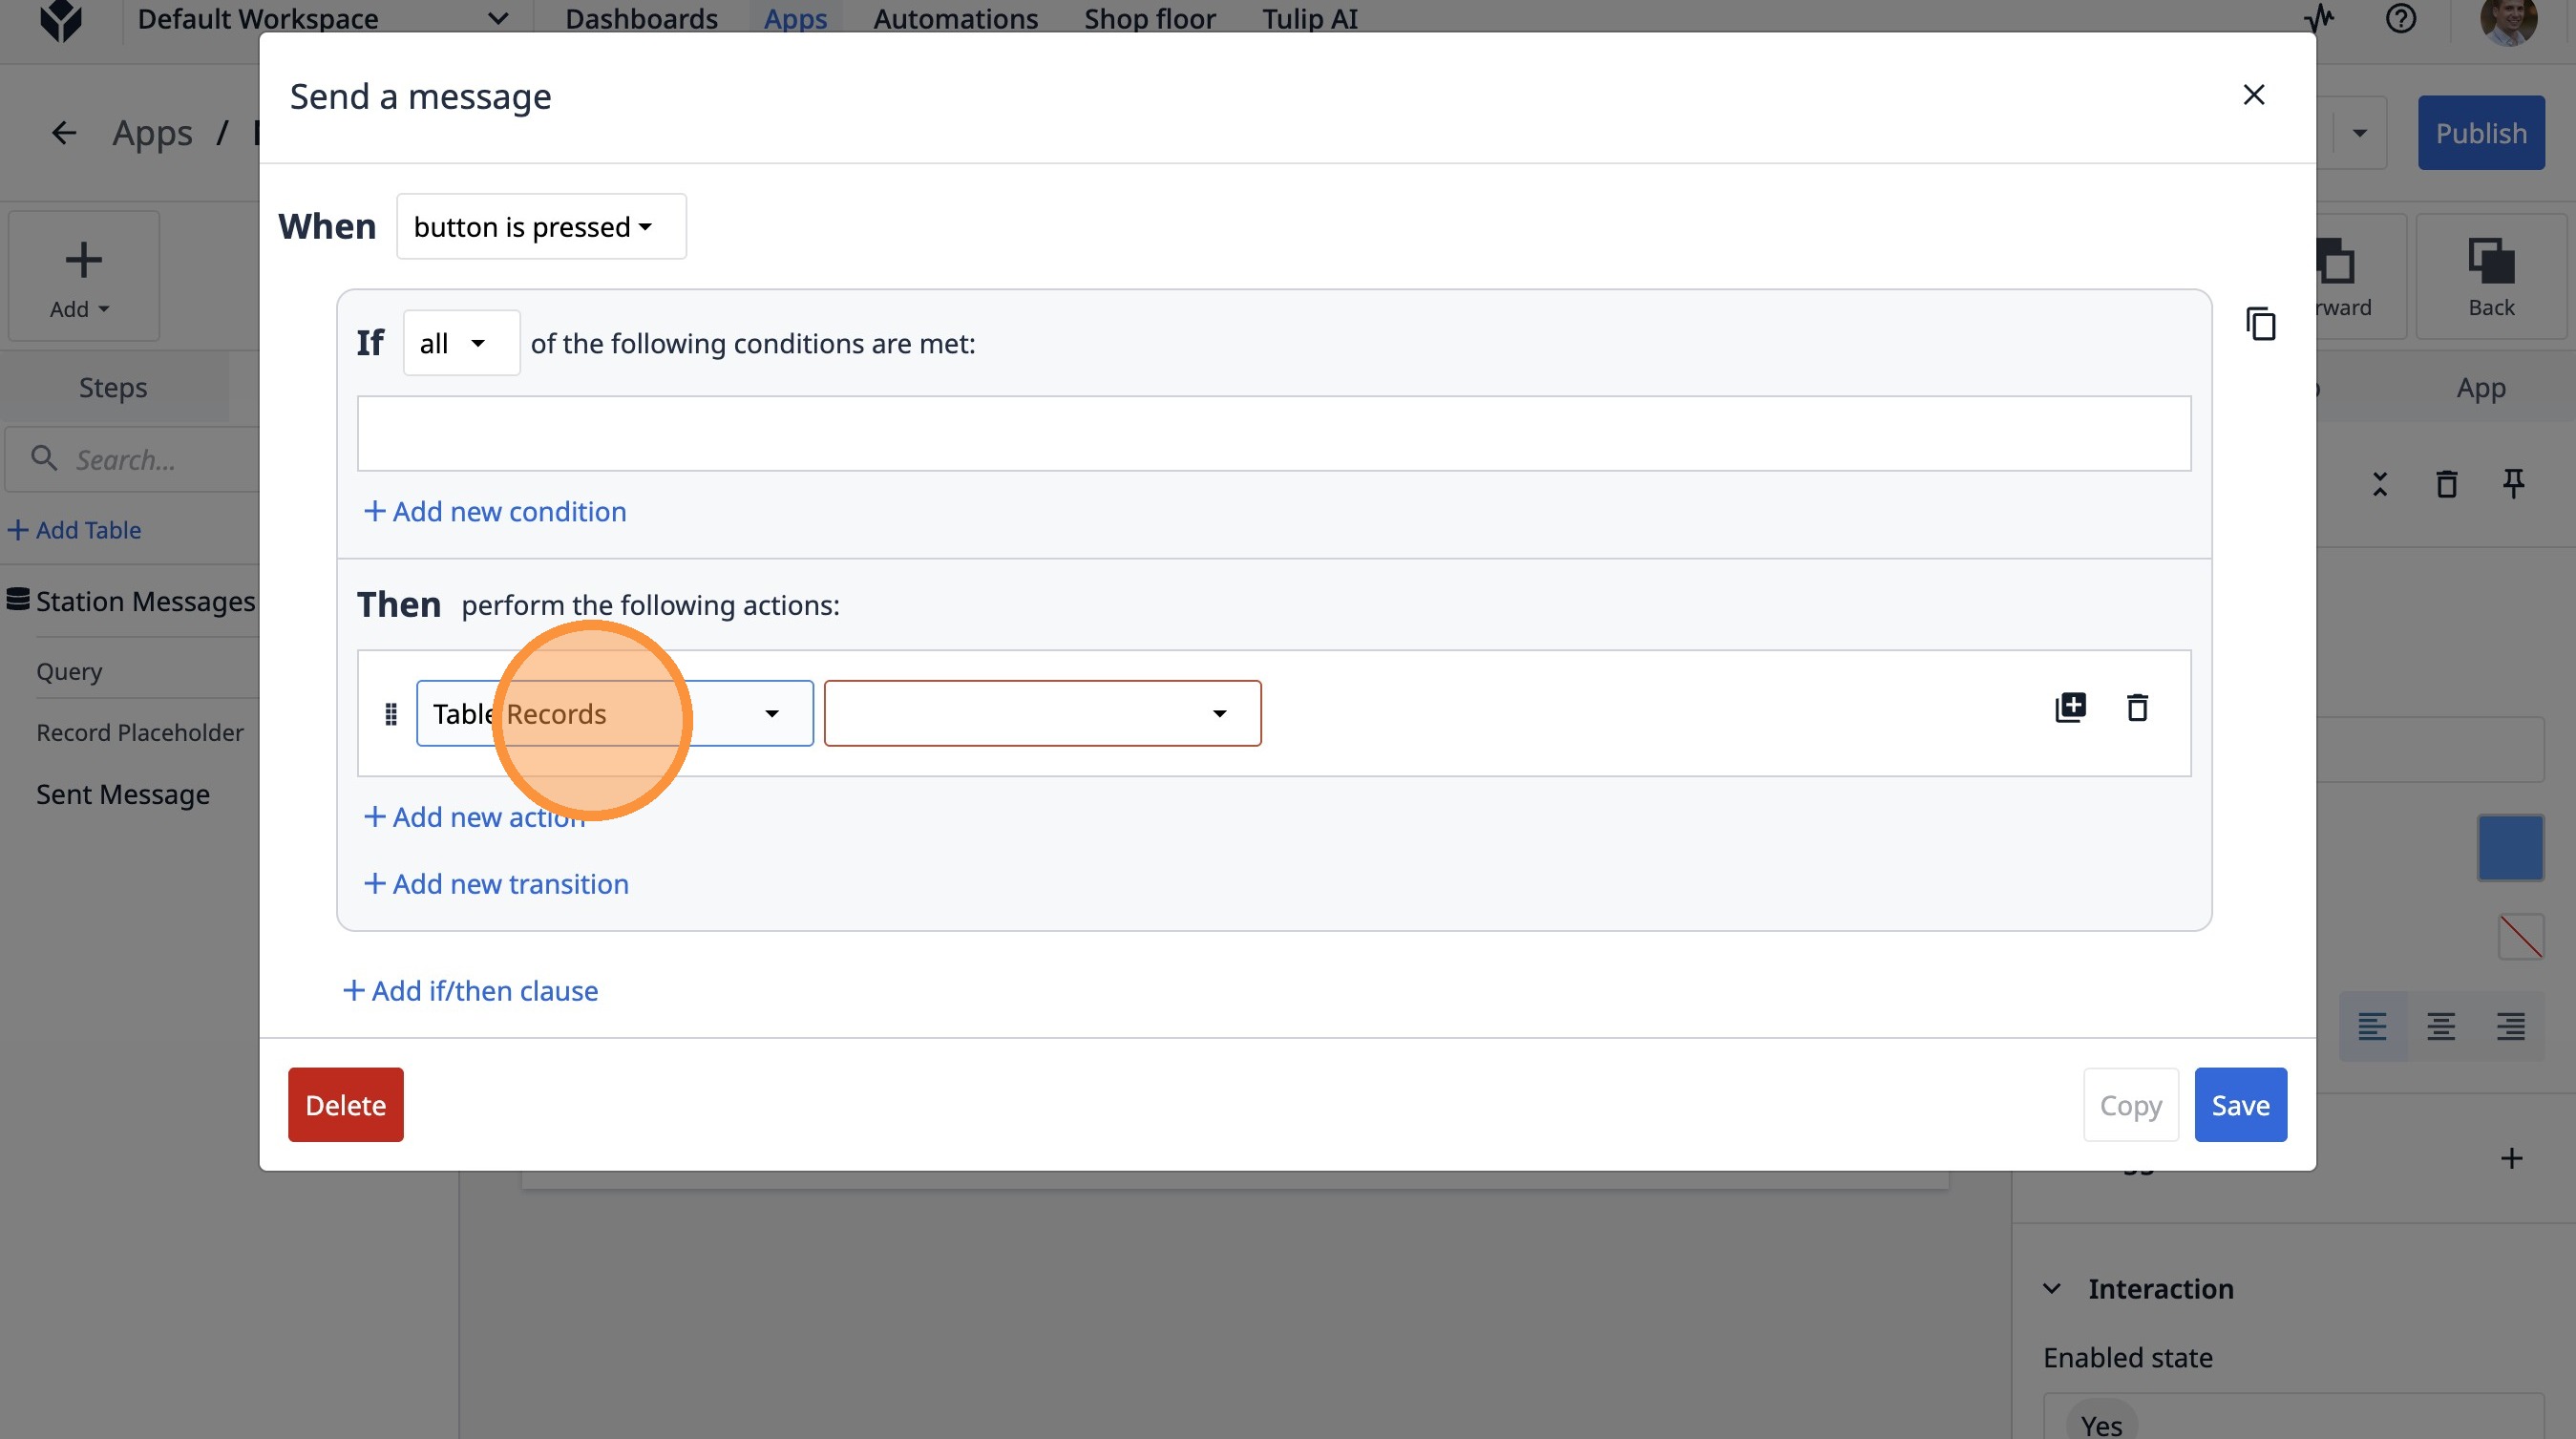
60. Select the "Table Records" option.
61. Select the "Create Record" option.
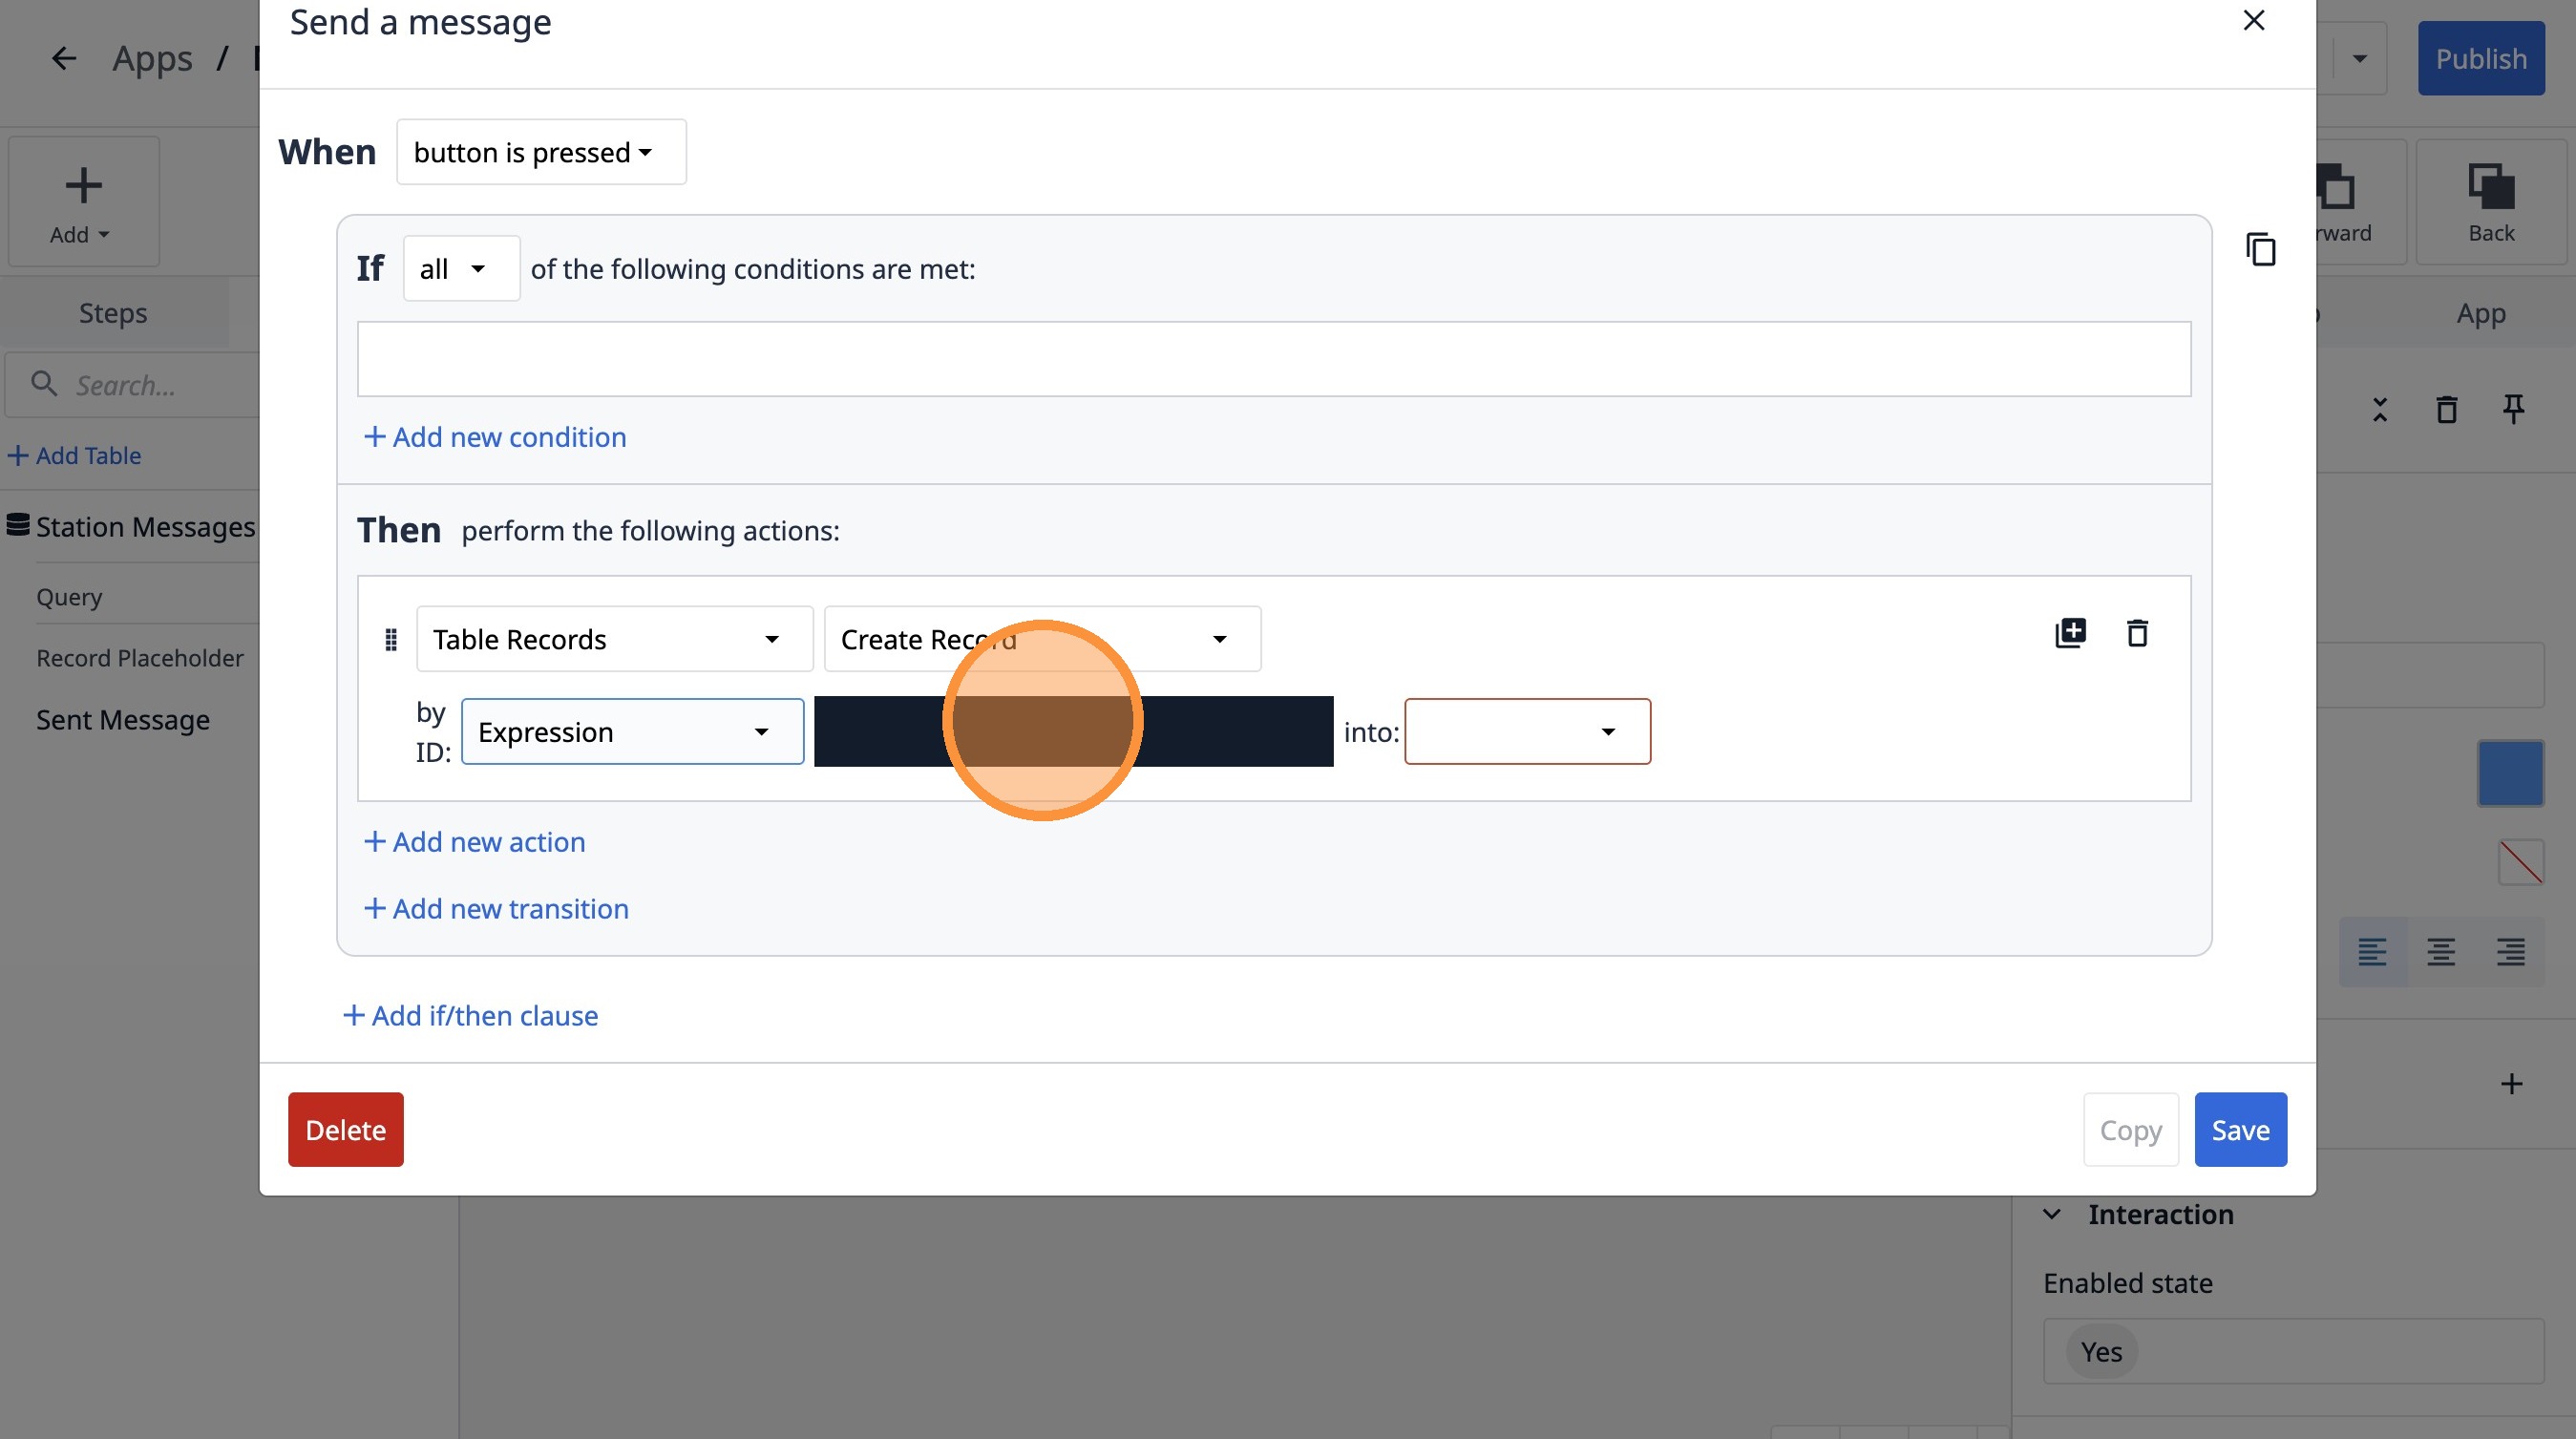
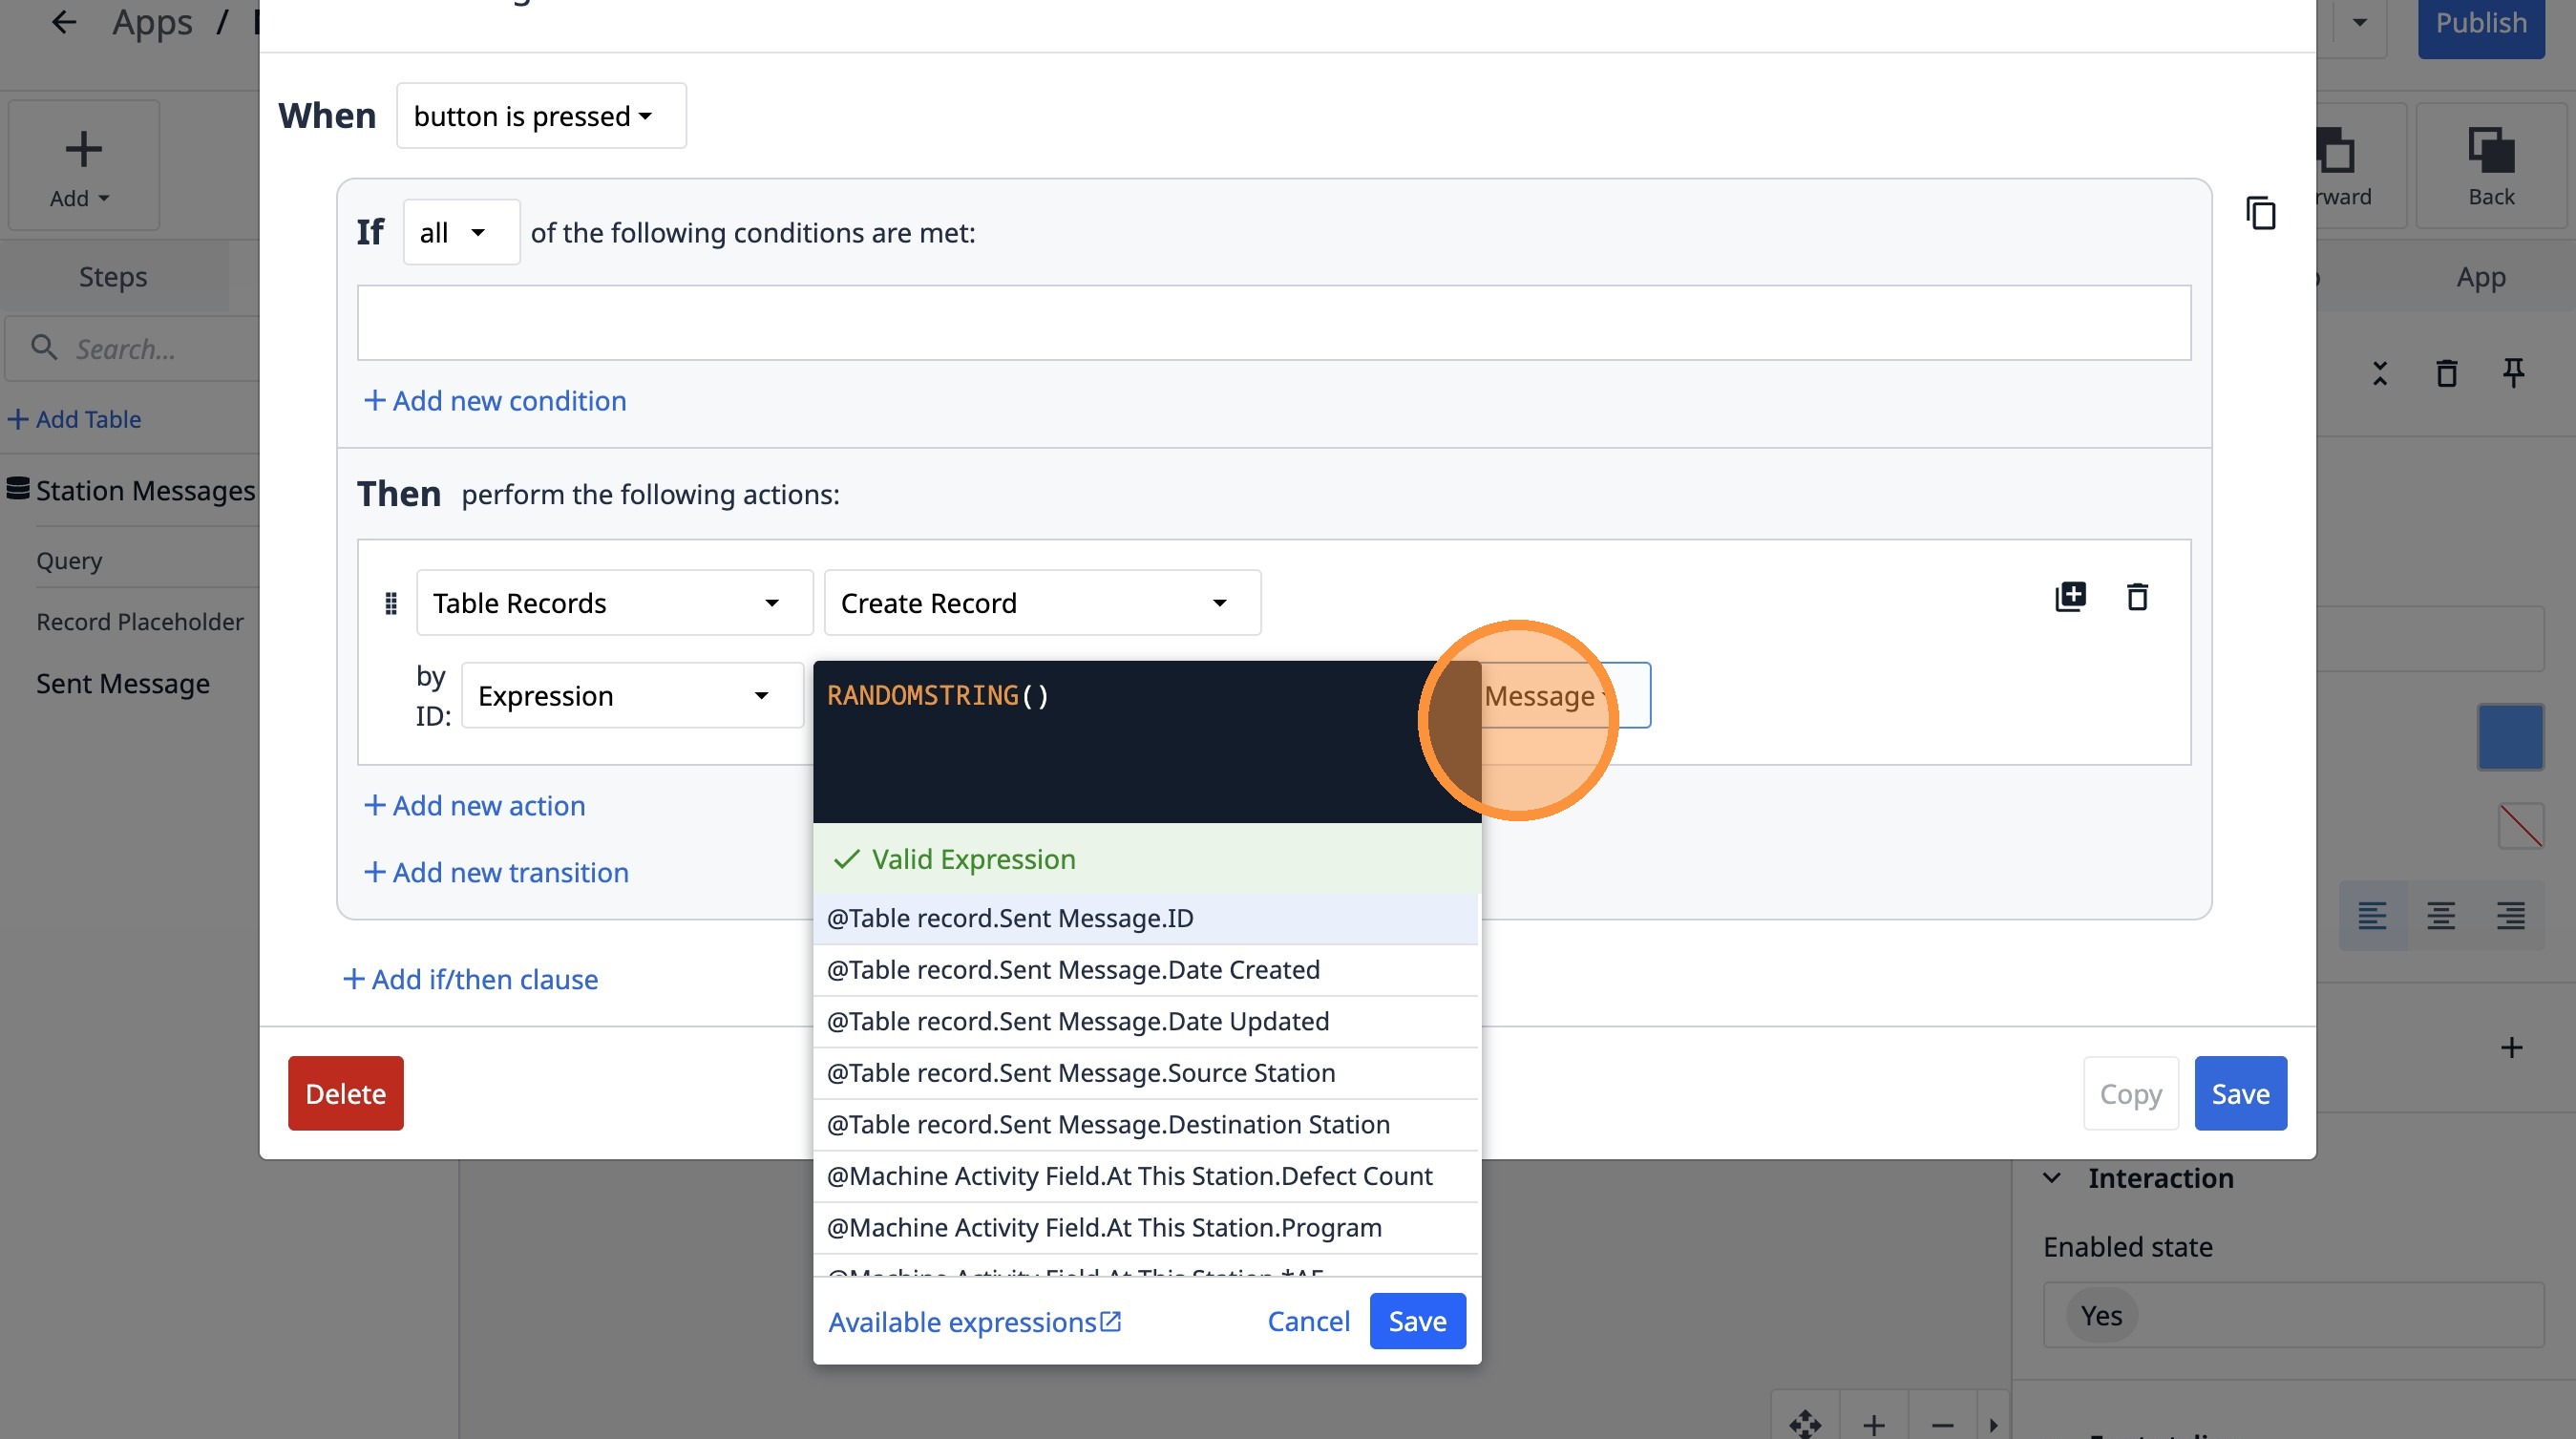
62. Select the "Expression" option.
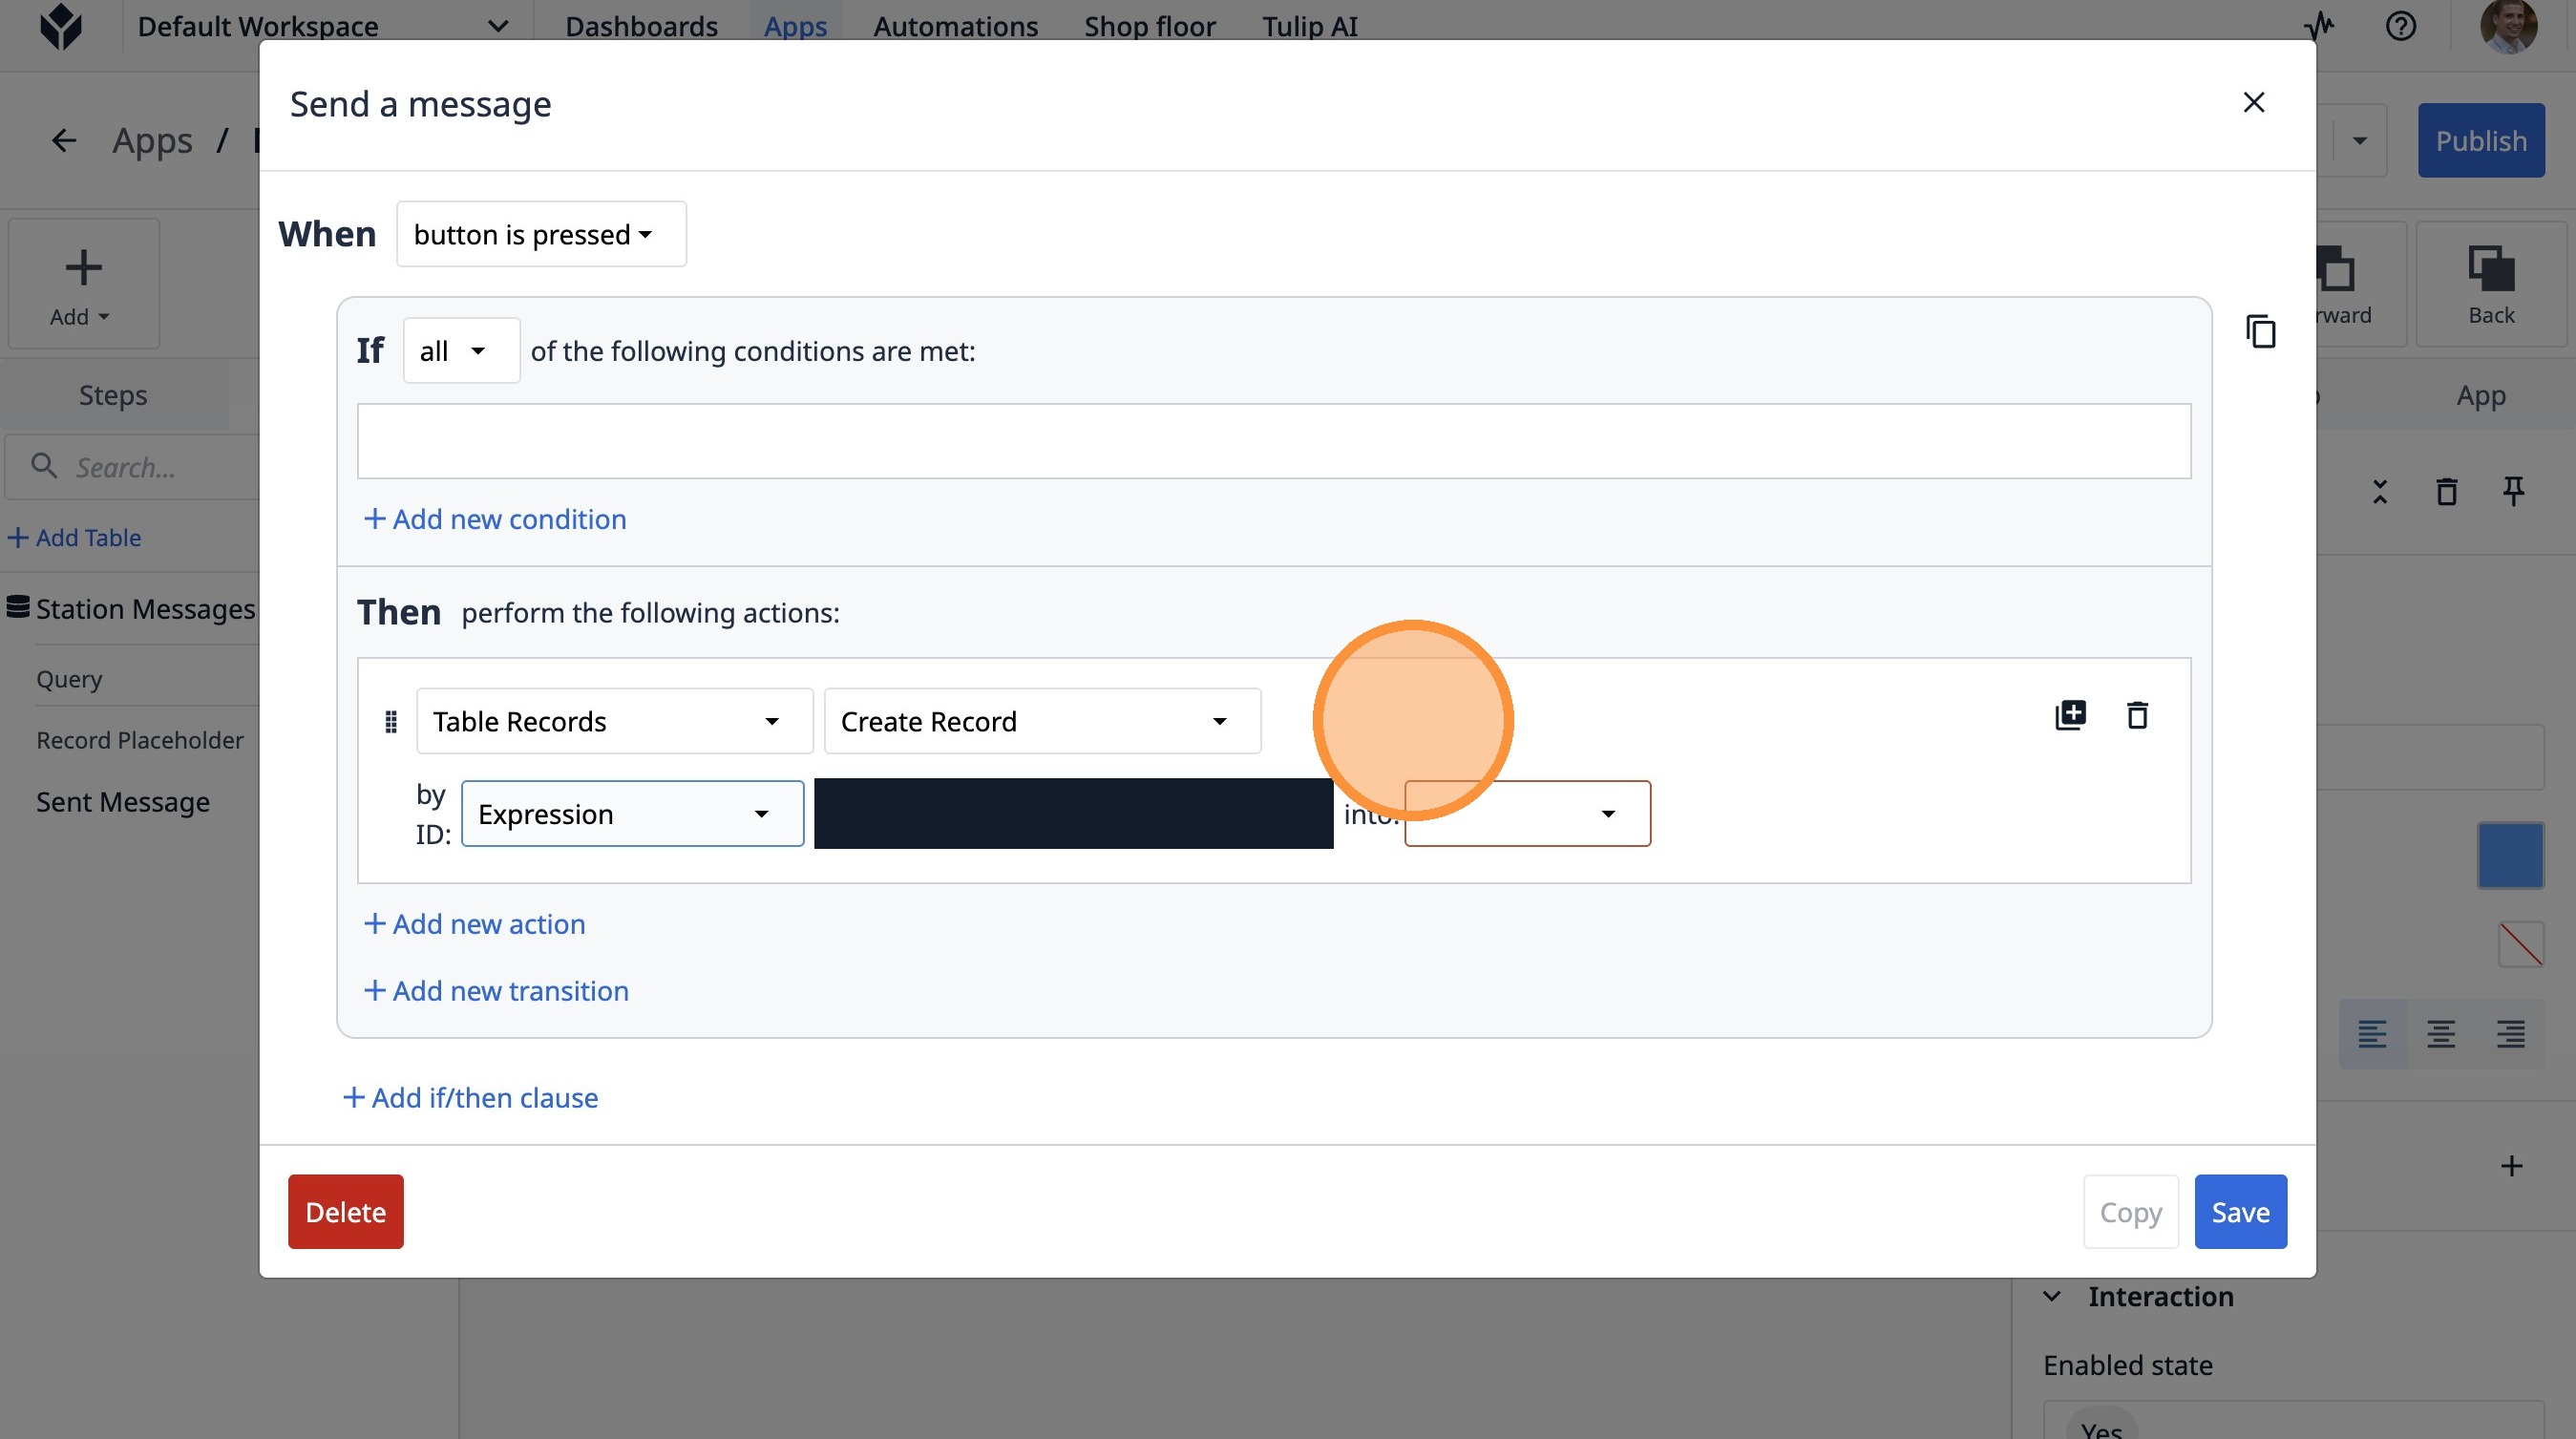
63. Click here.
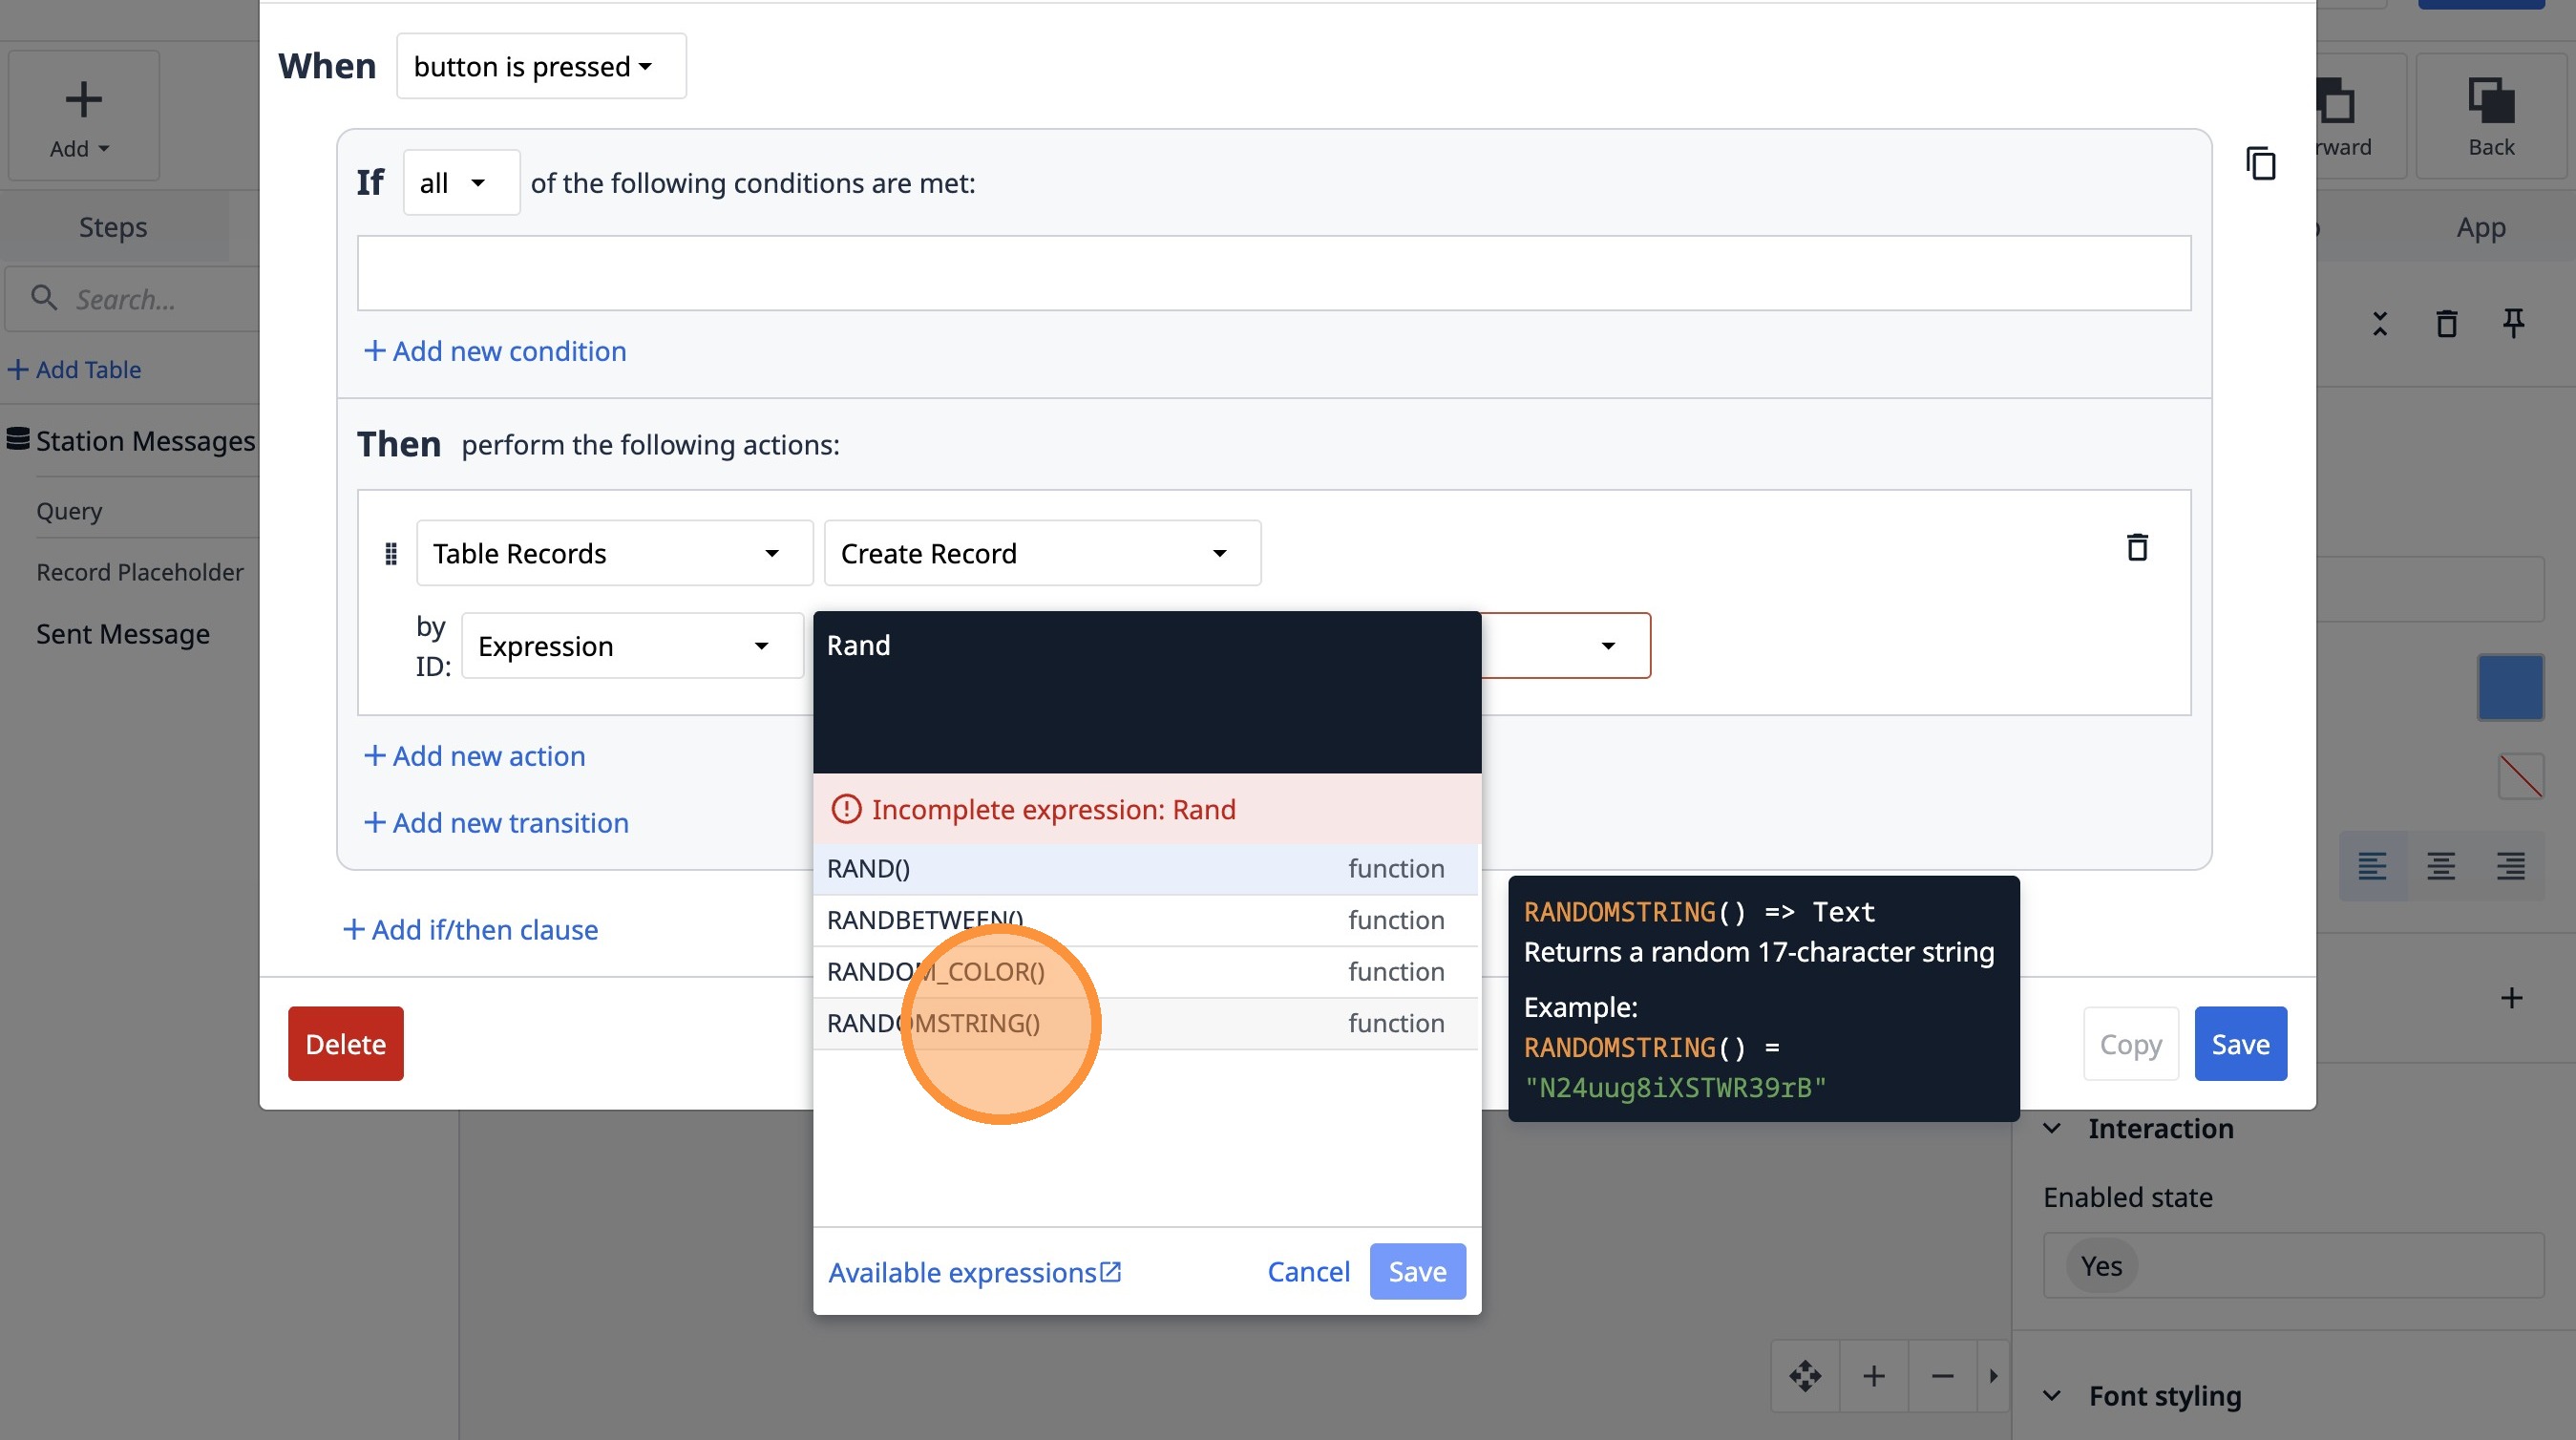
64. Type "Rand"
65. Click "randomstring()function"
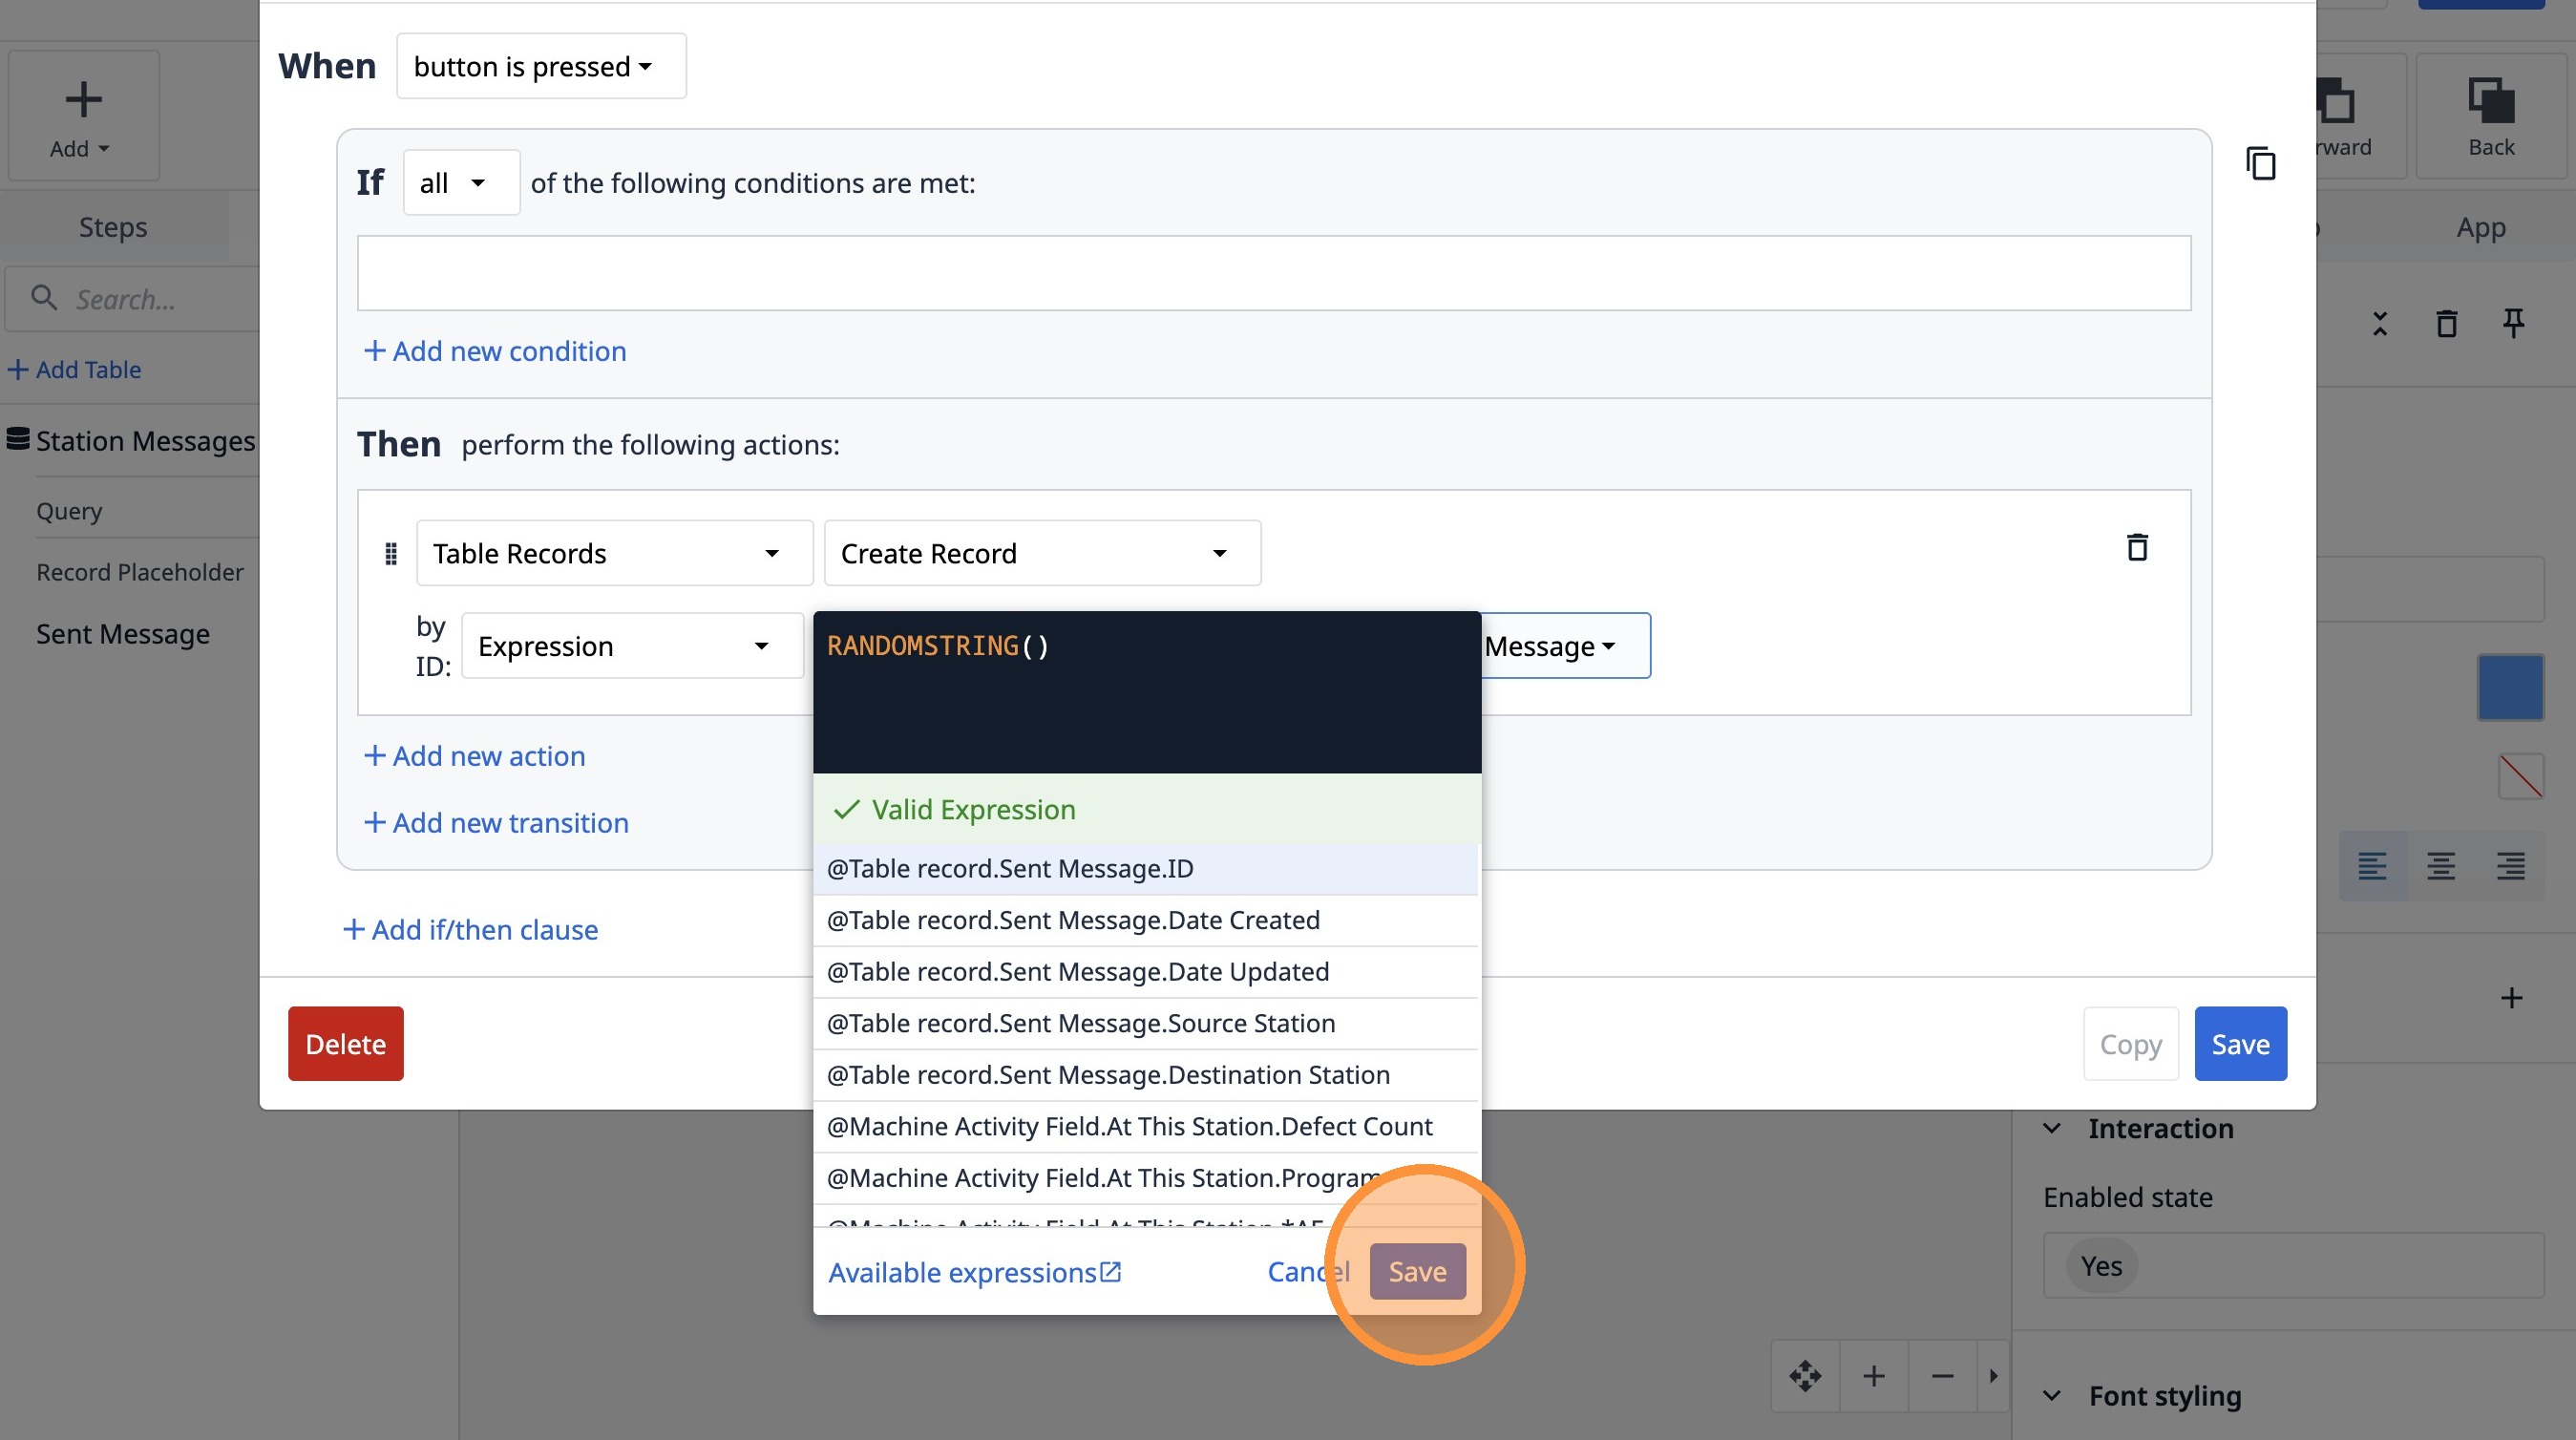
66. Select the "Sent Message" option.
67. Click "Save"
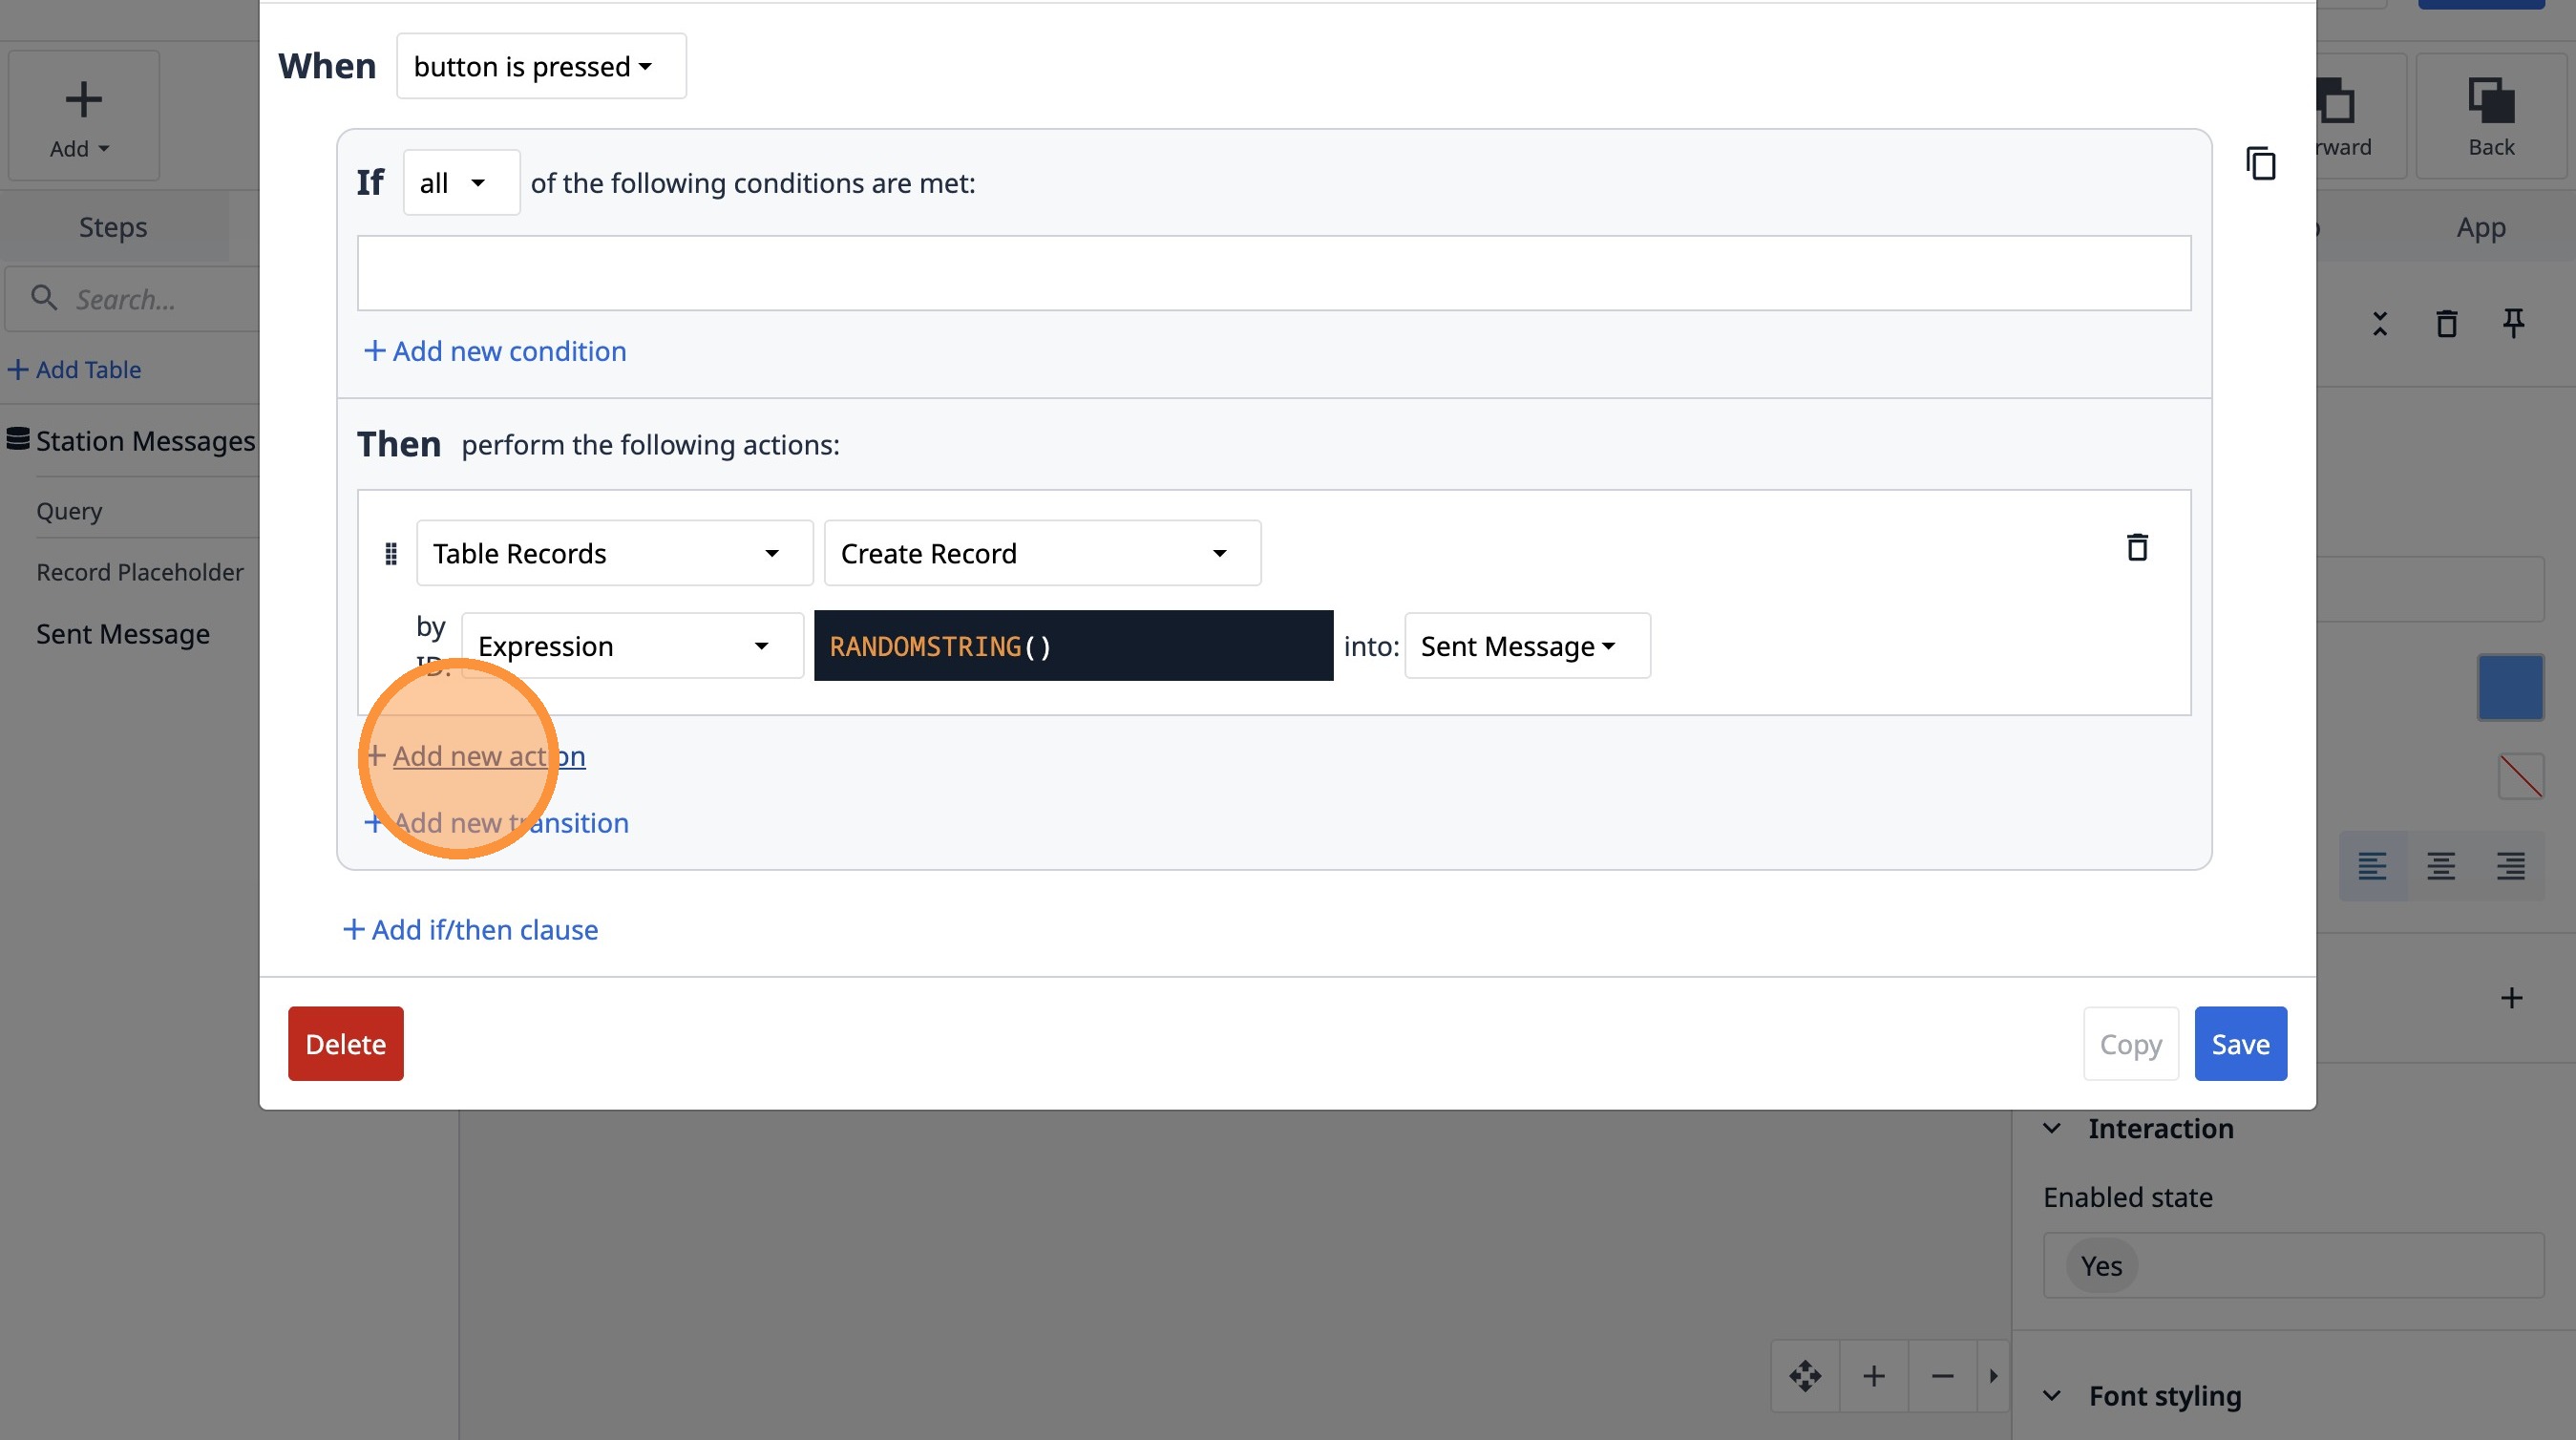
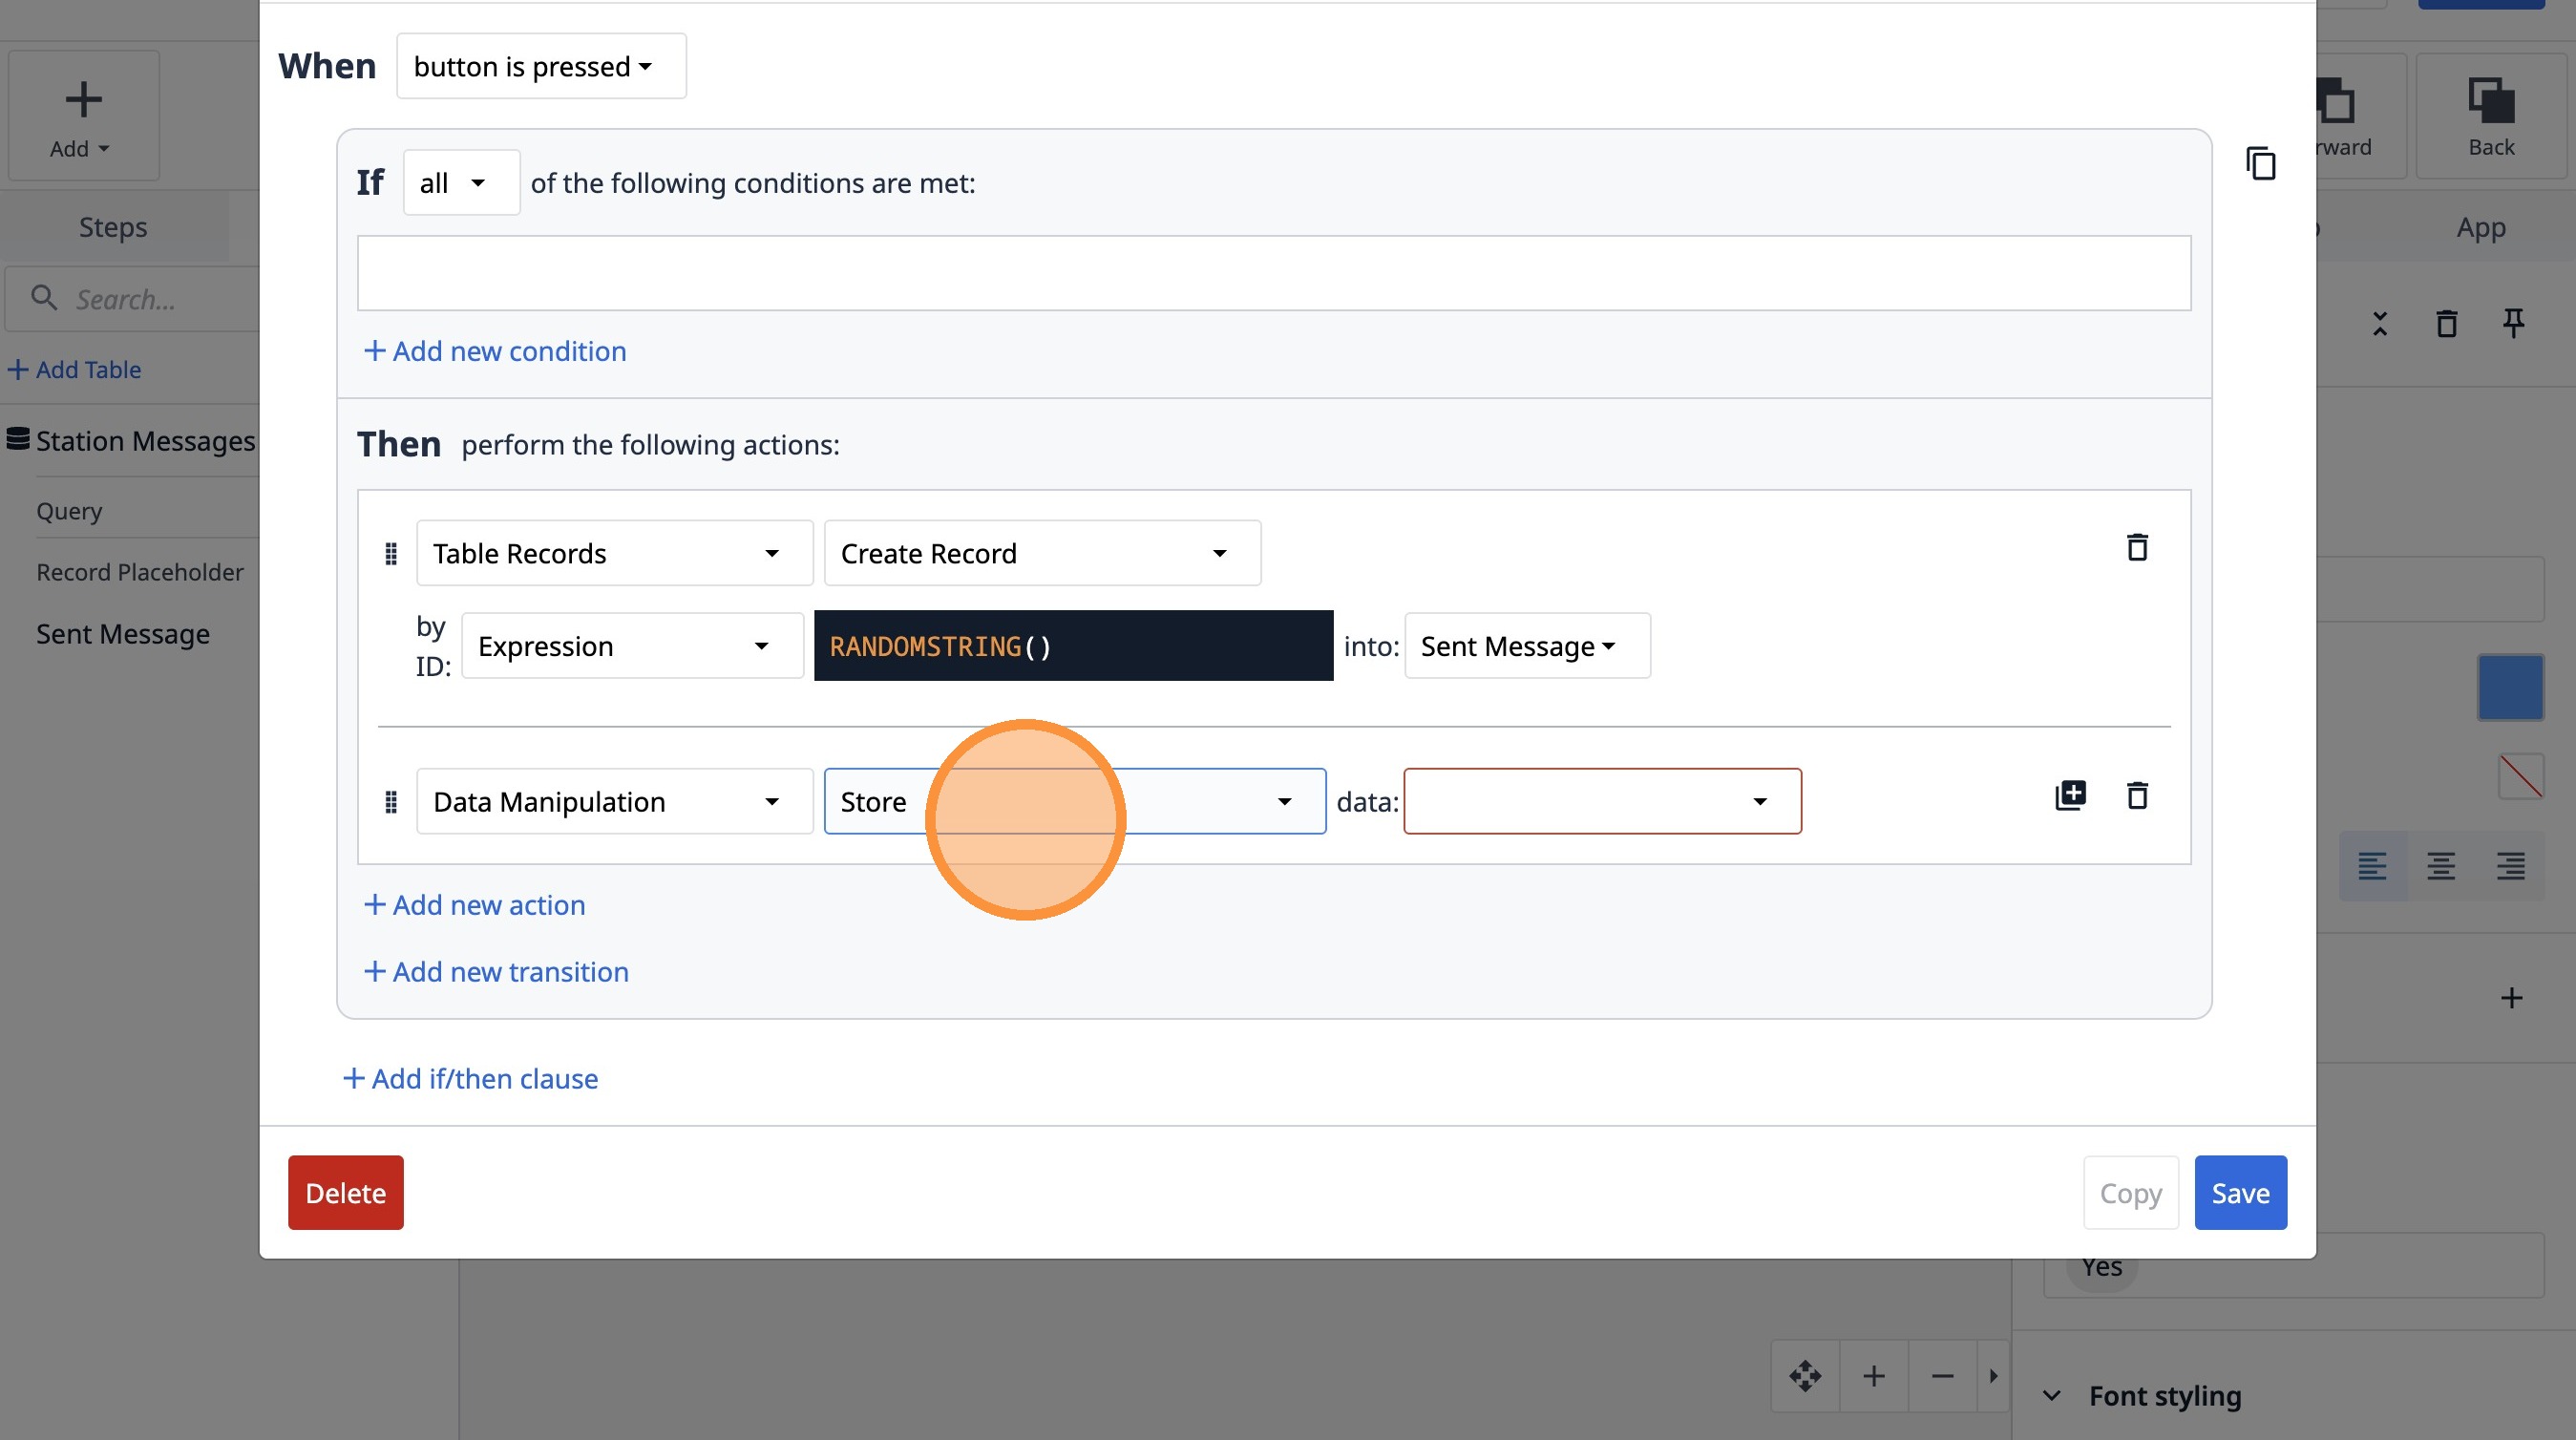
68. Click "Add new action"
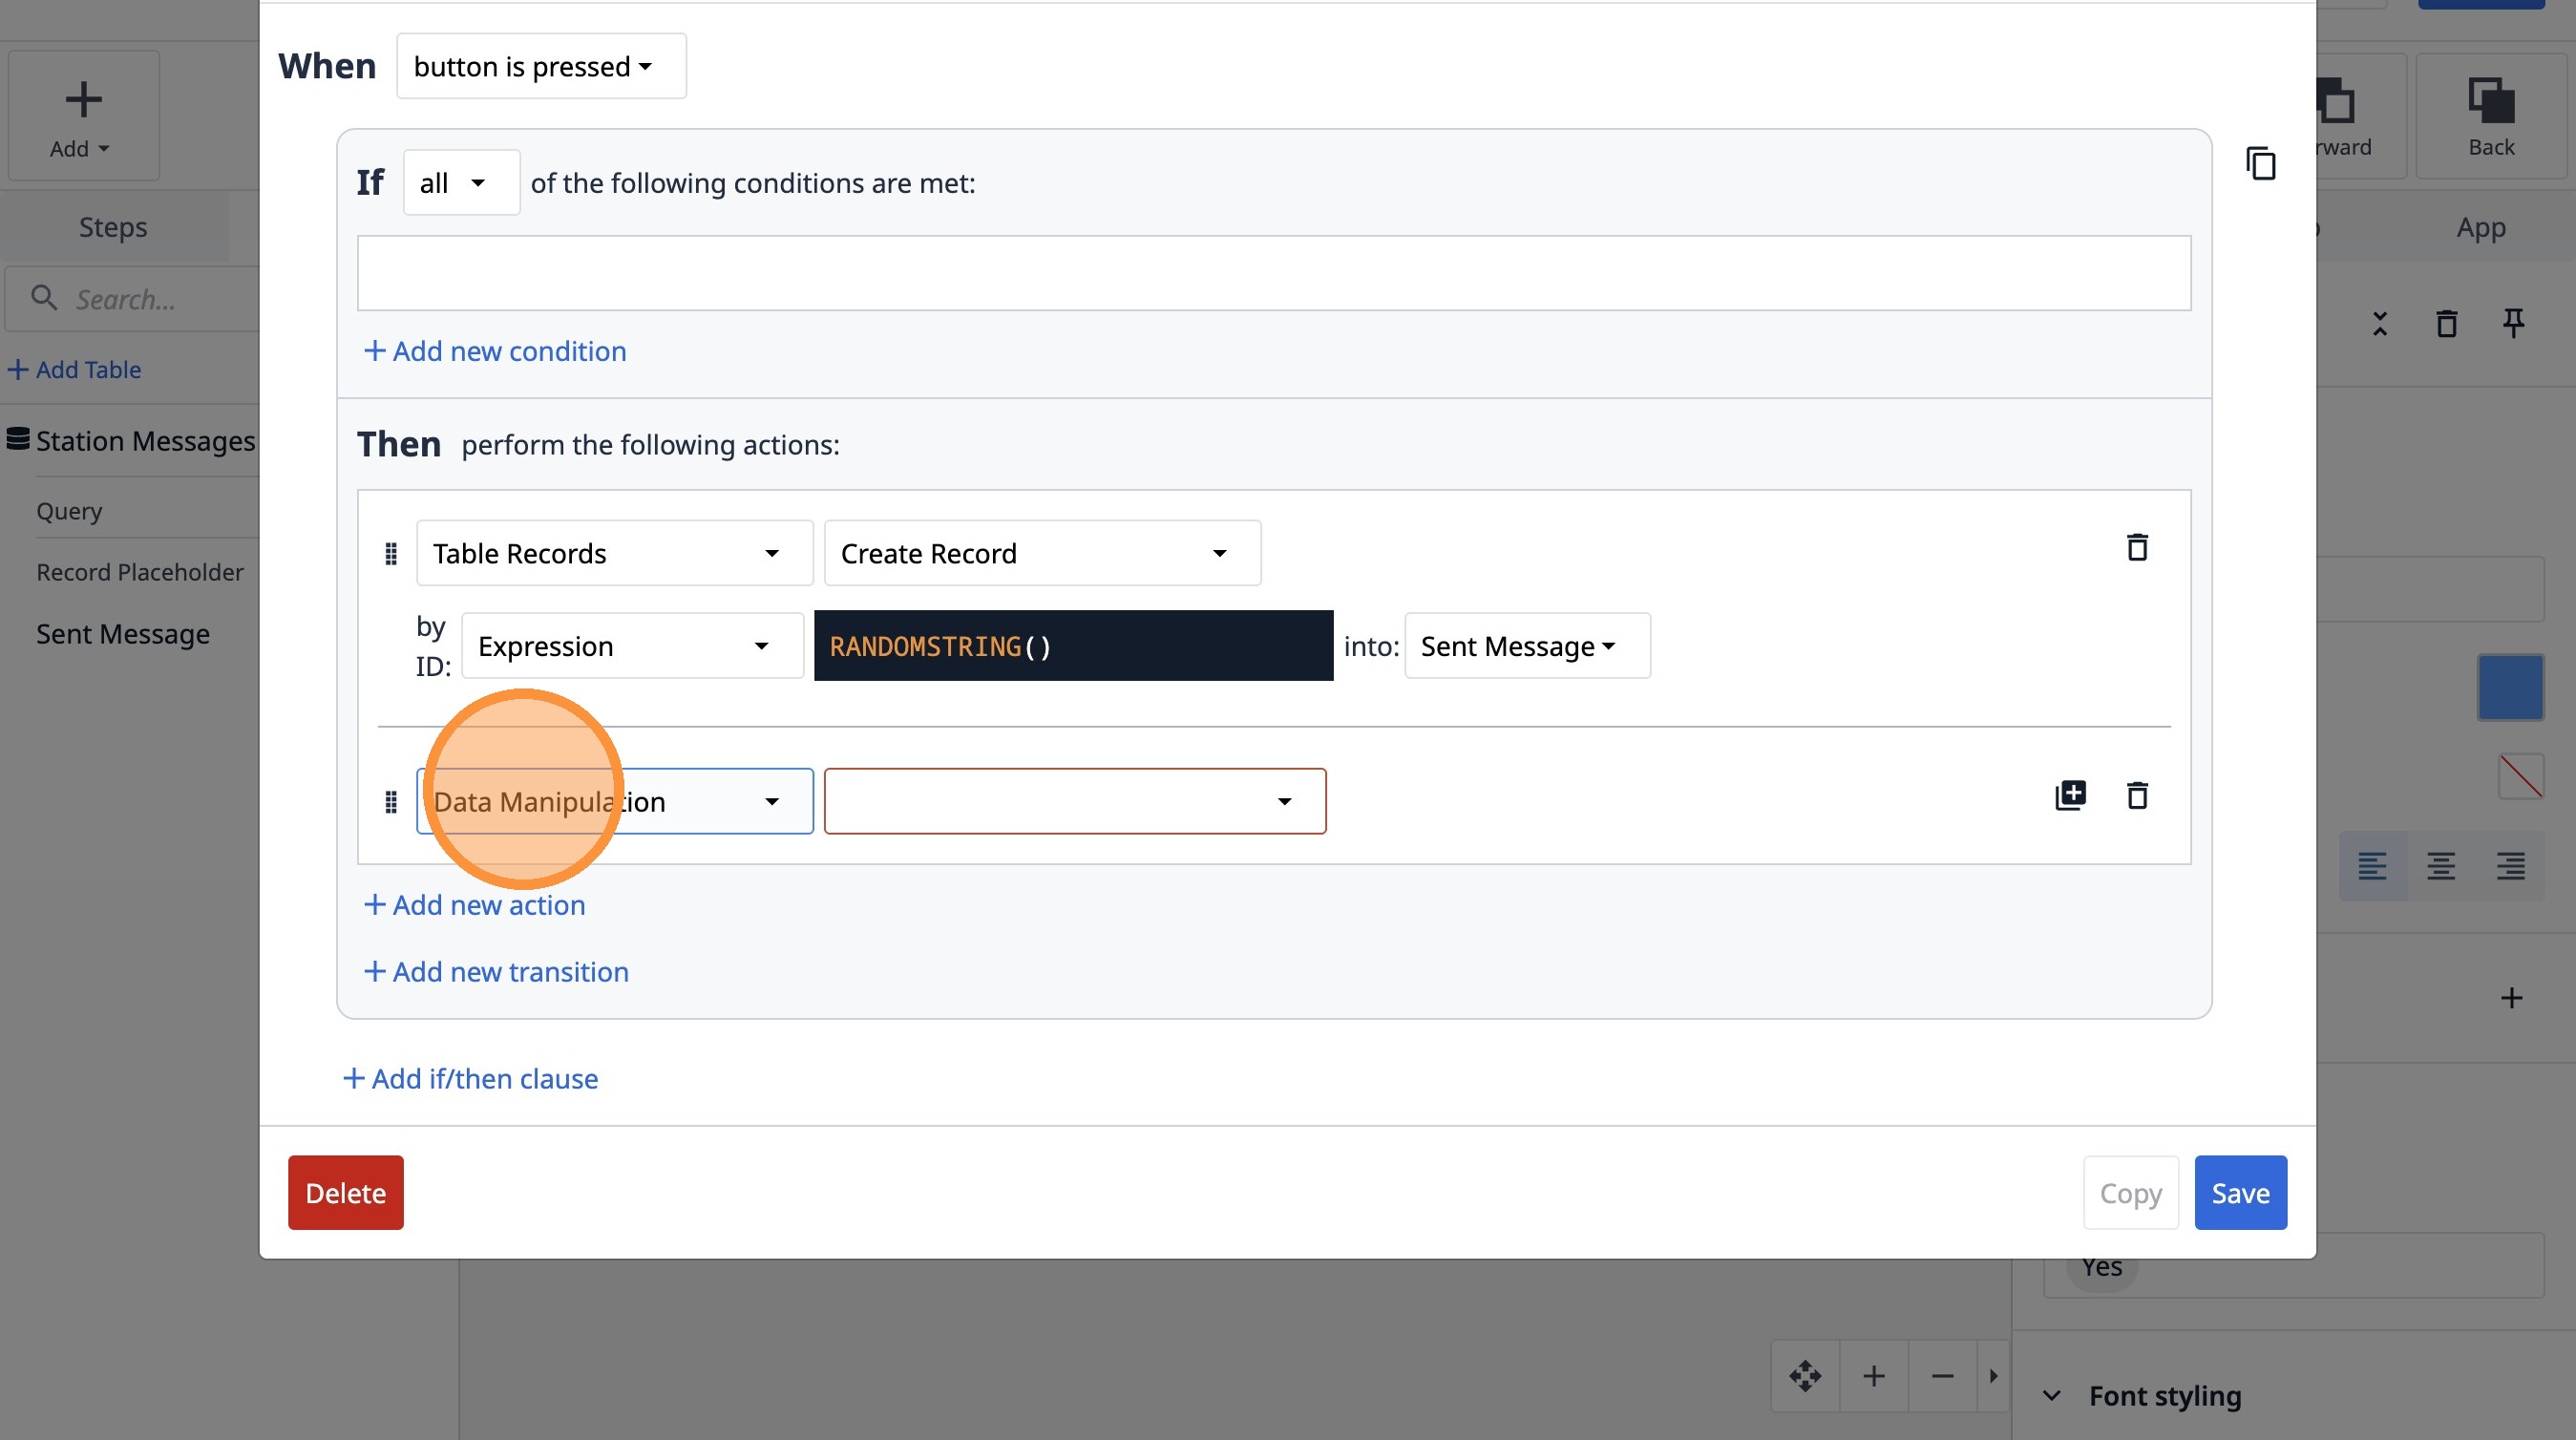
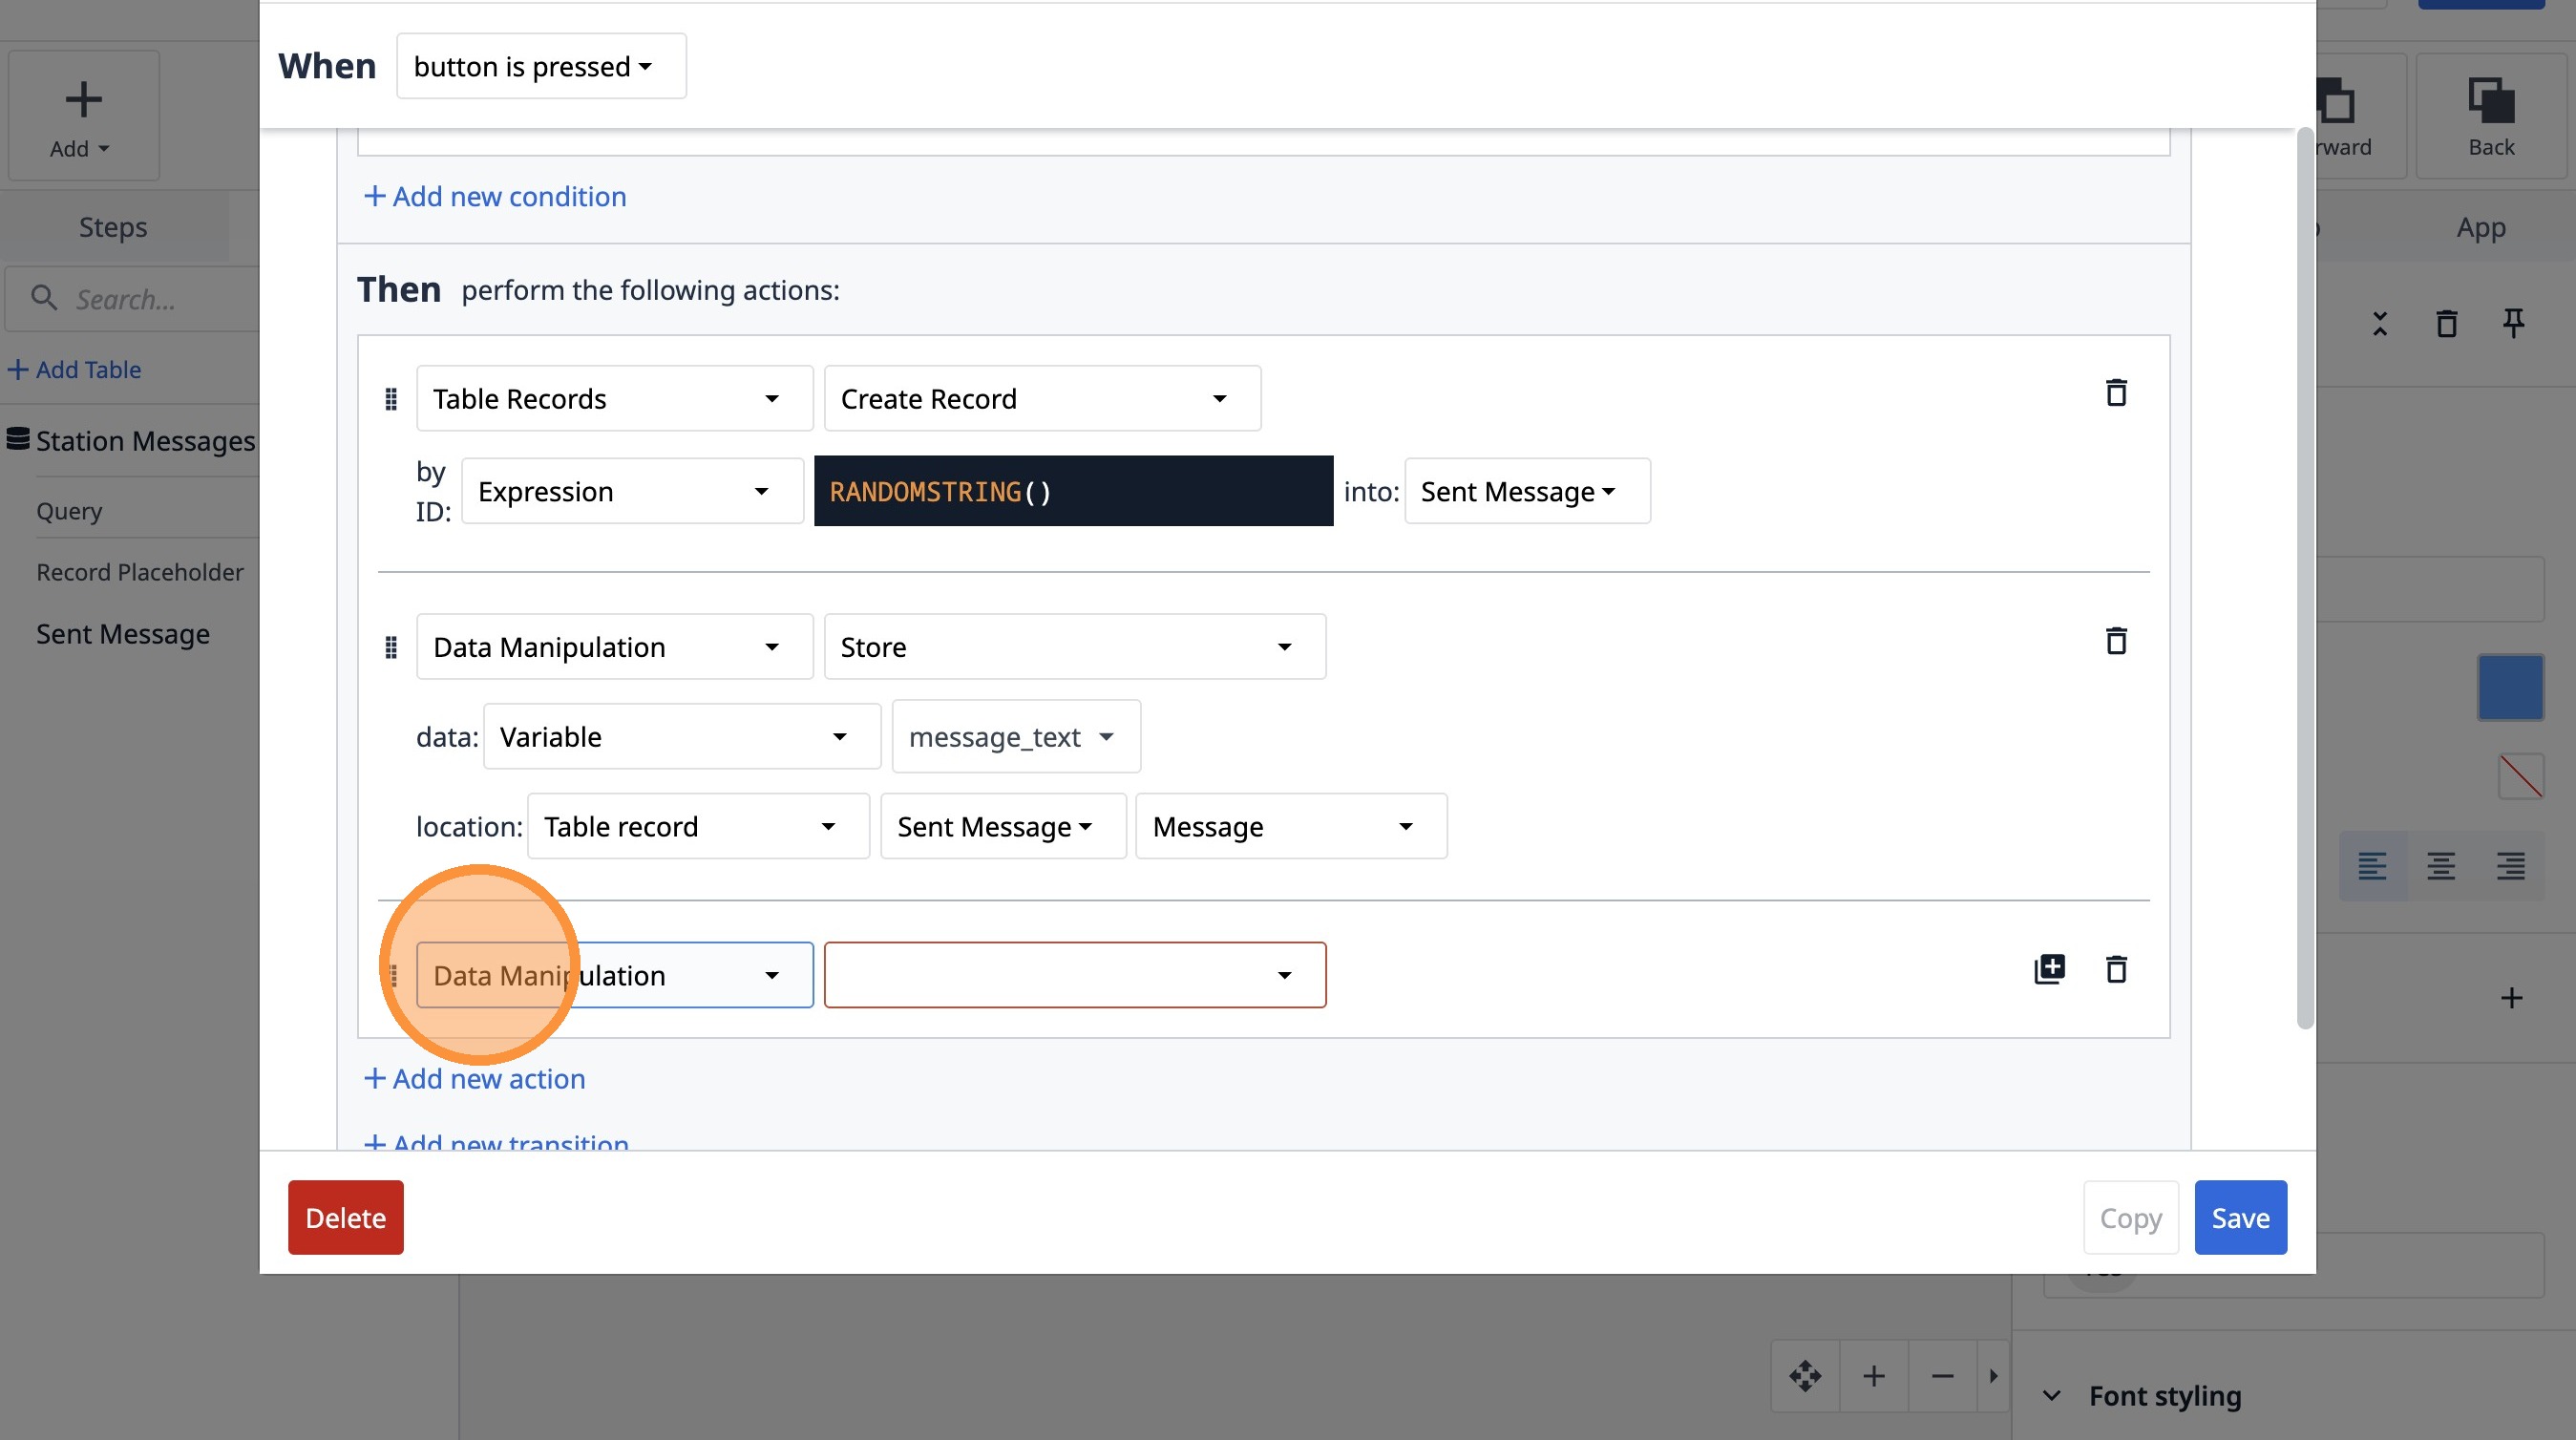
69. Select the "Data Manipulation" option.
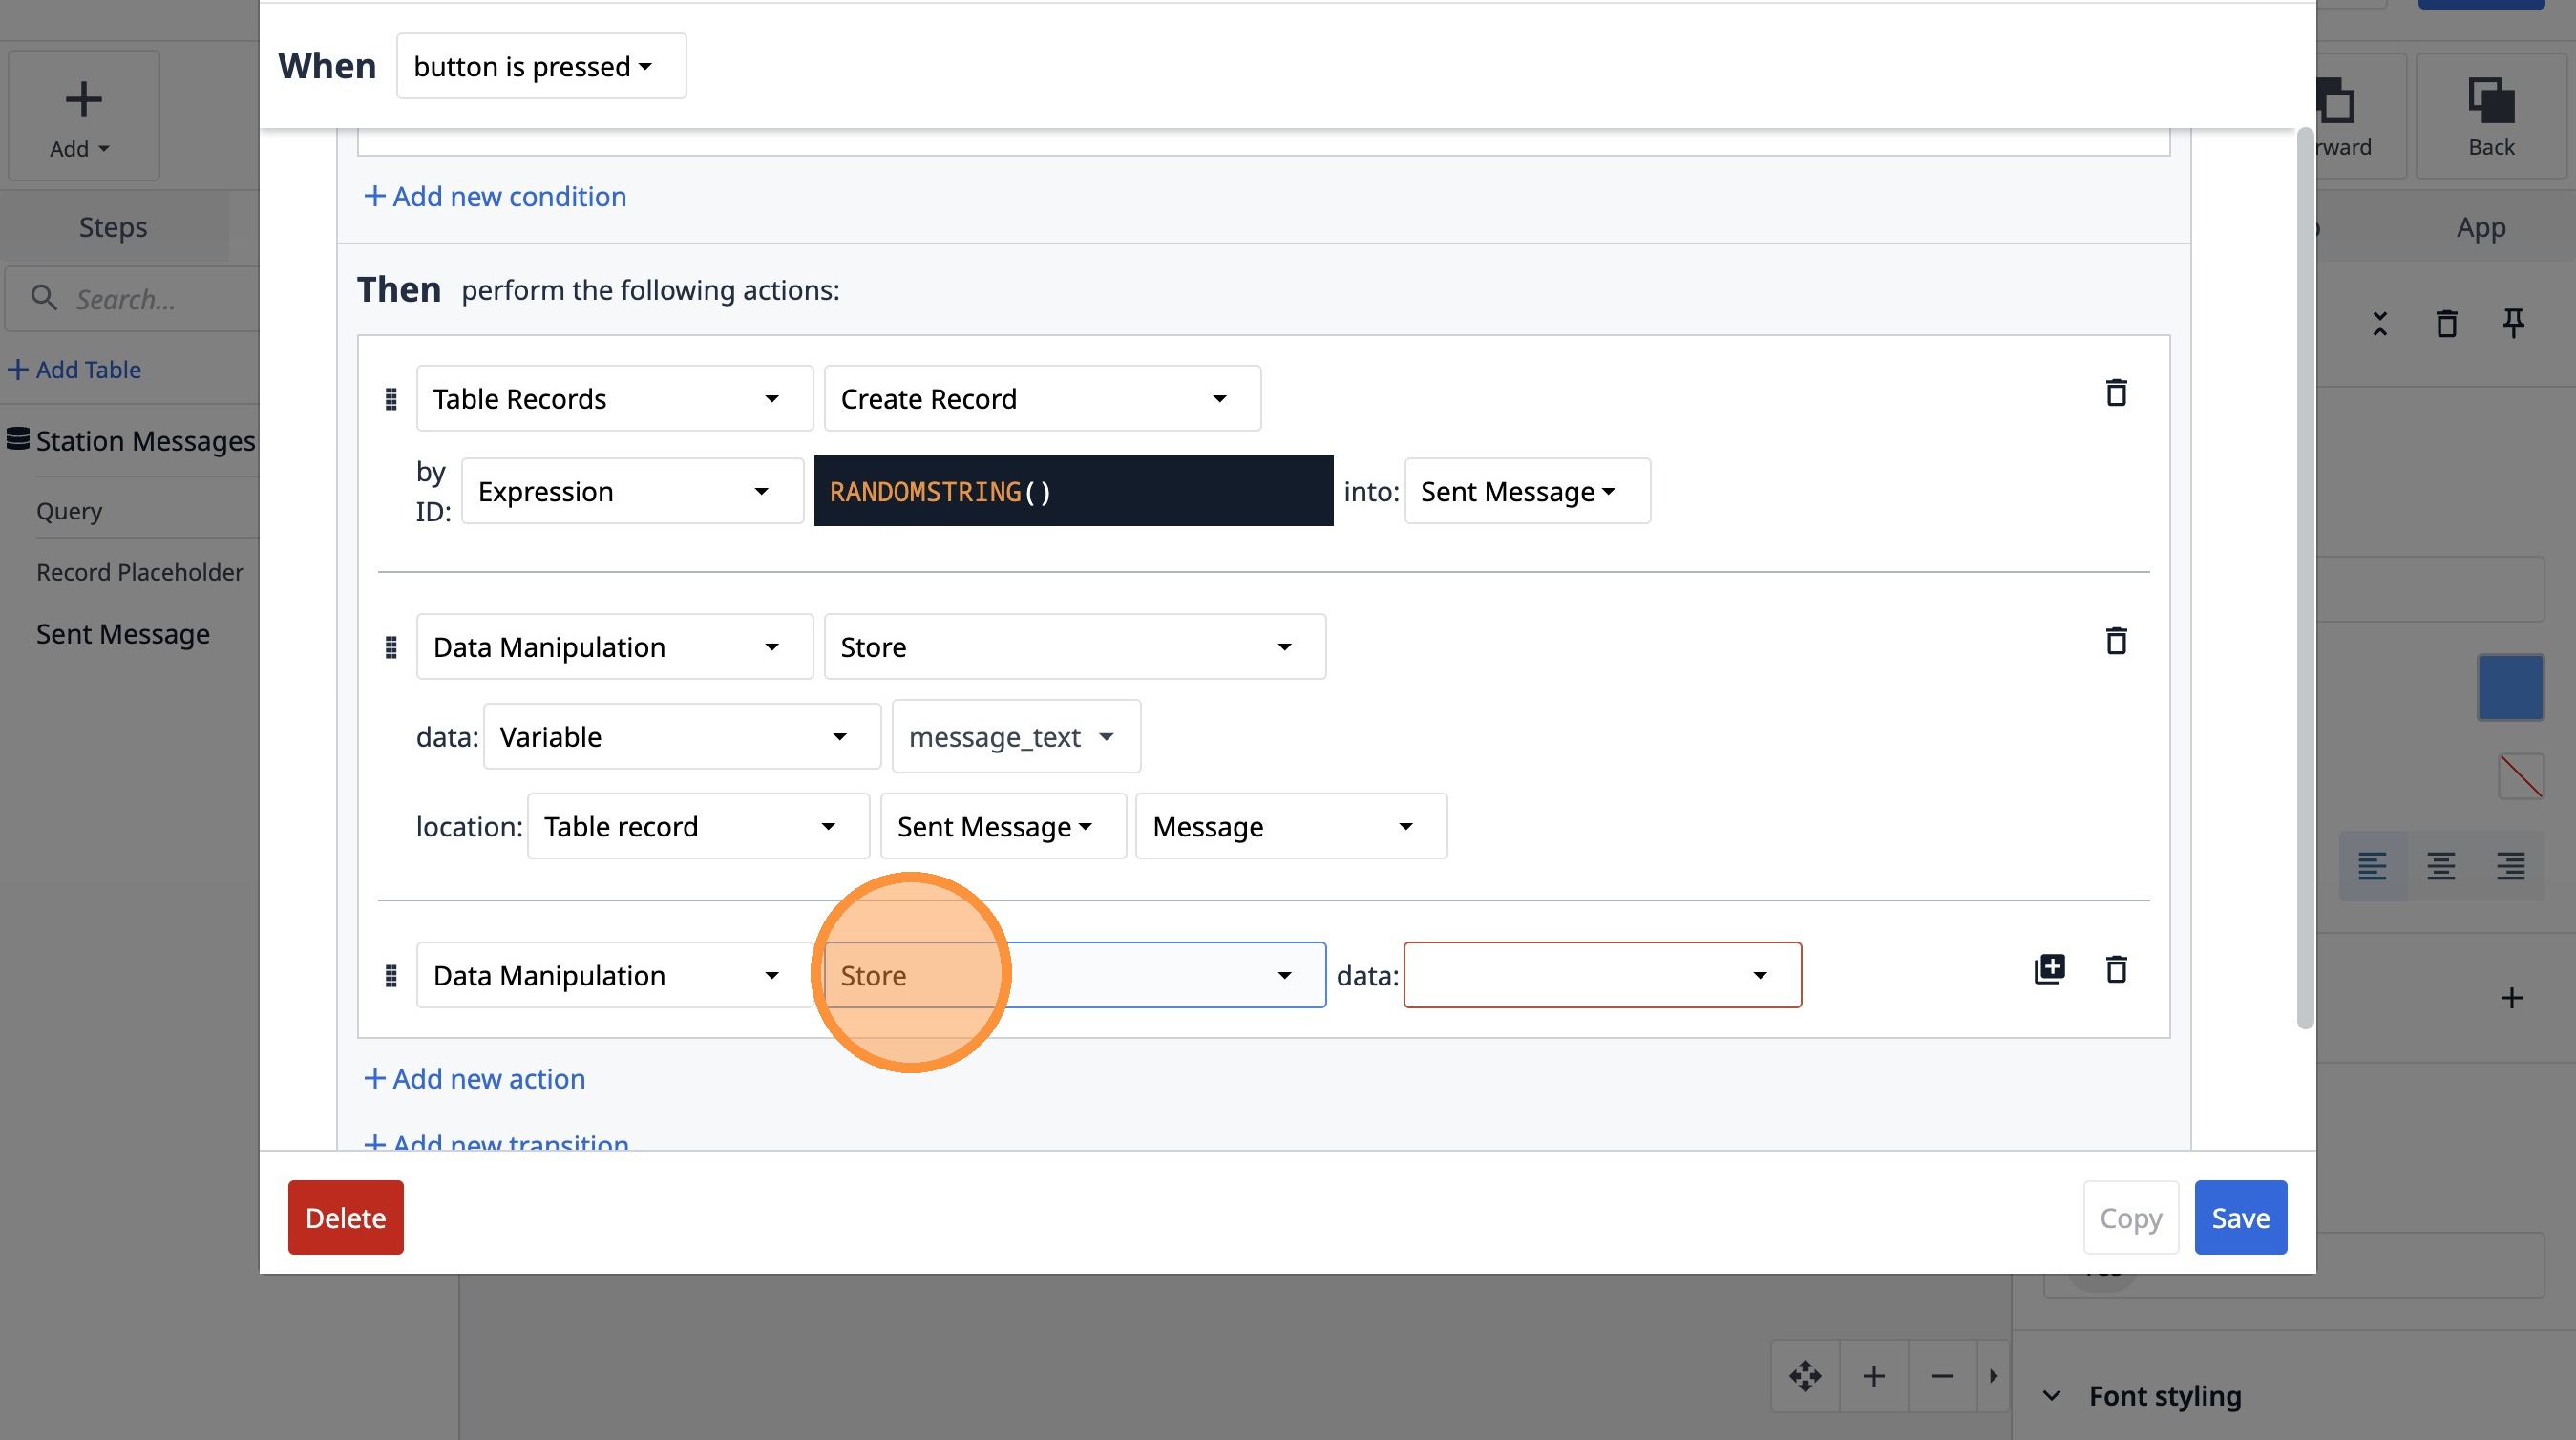
70. Select the "Store" option.
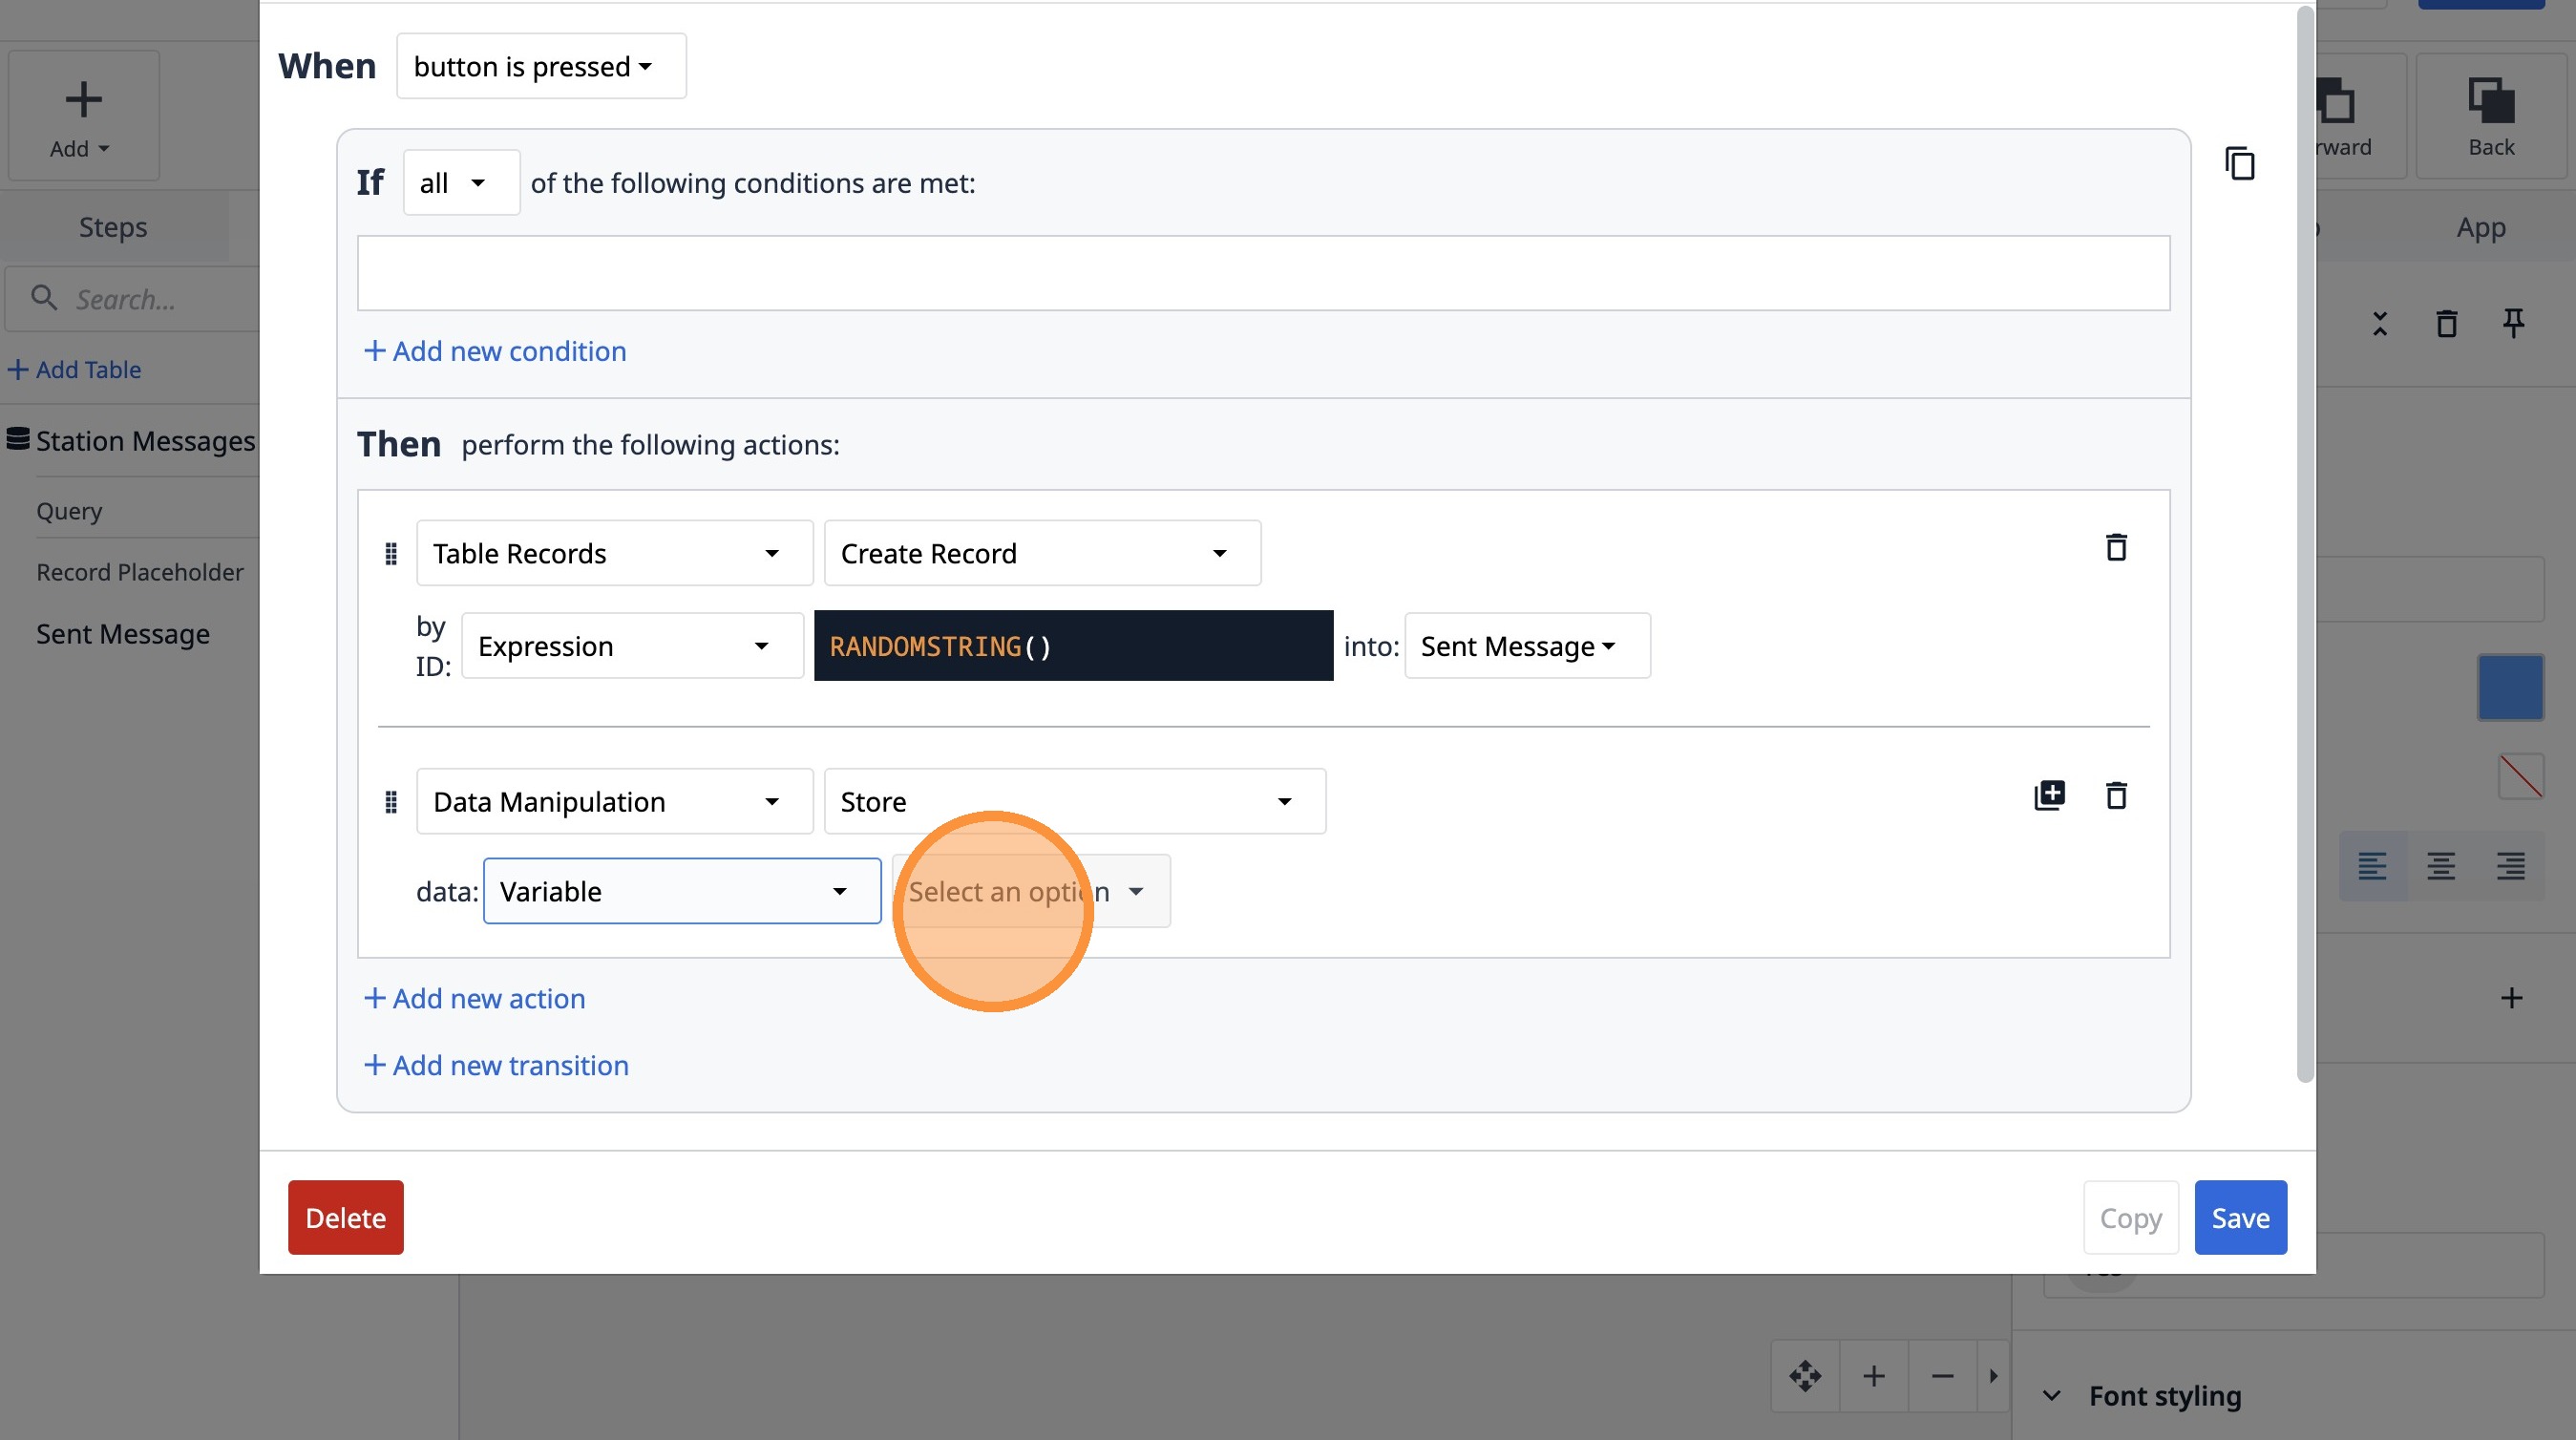
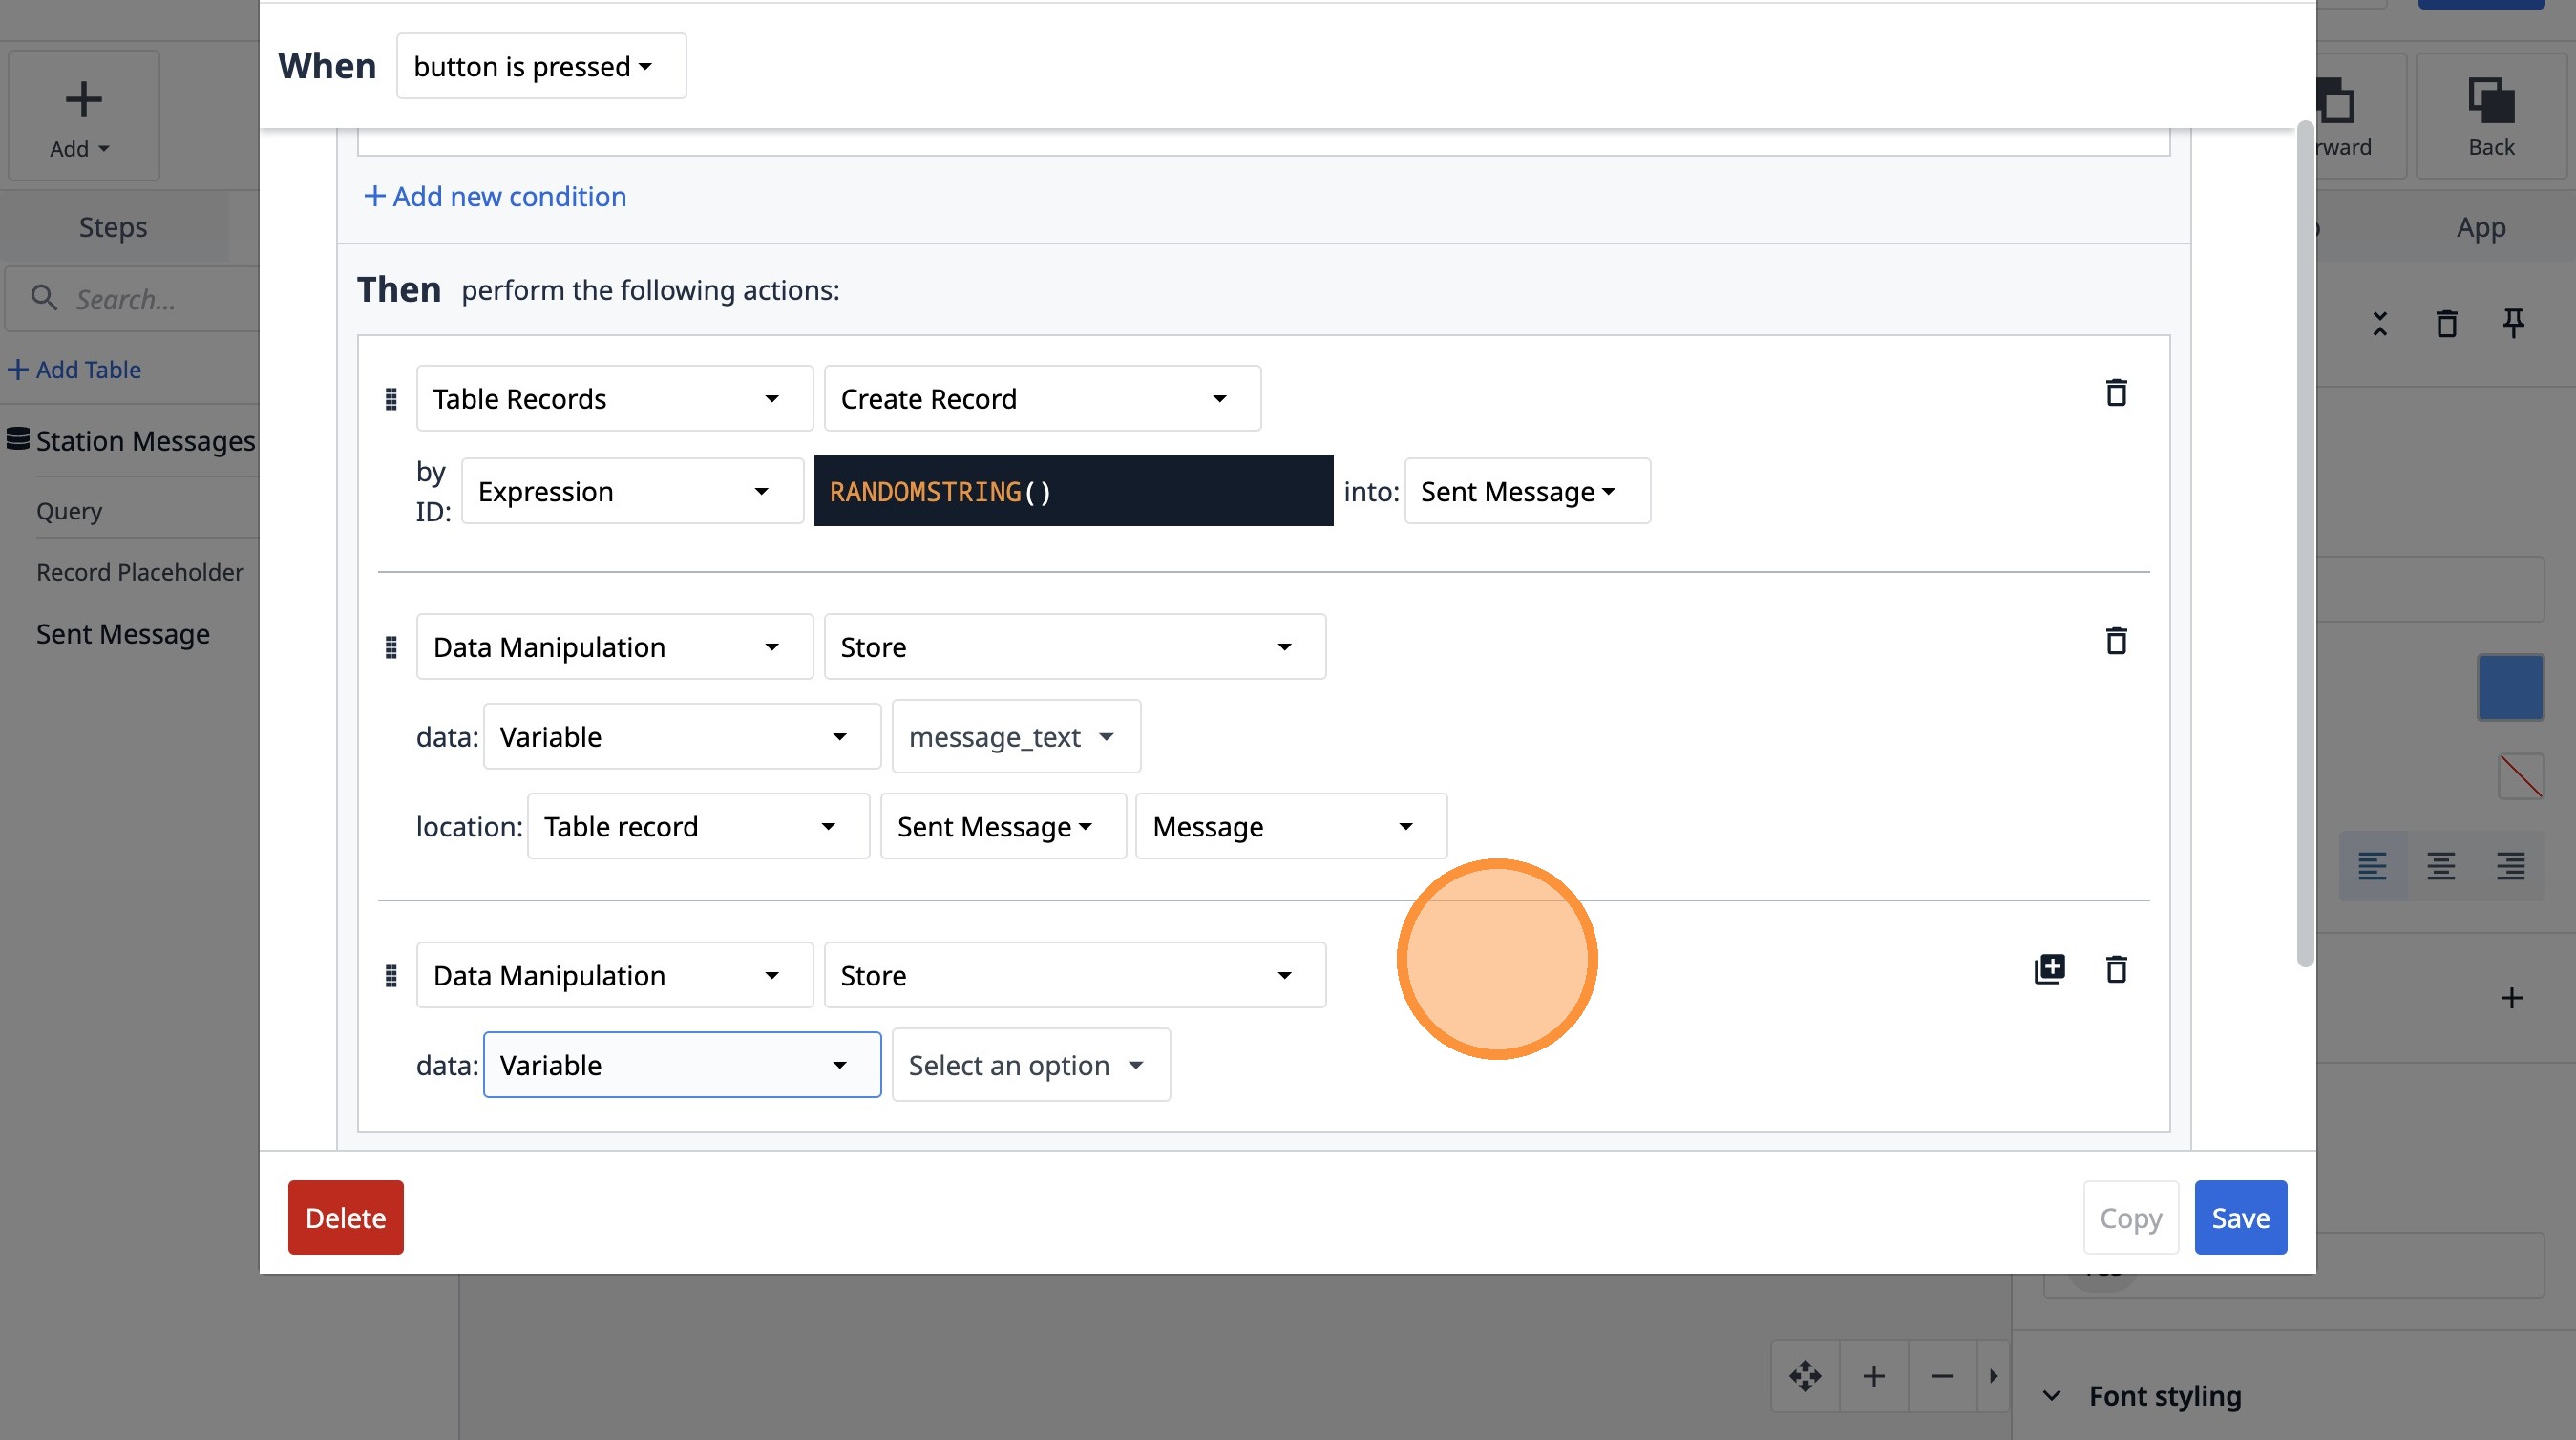
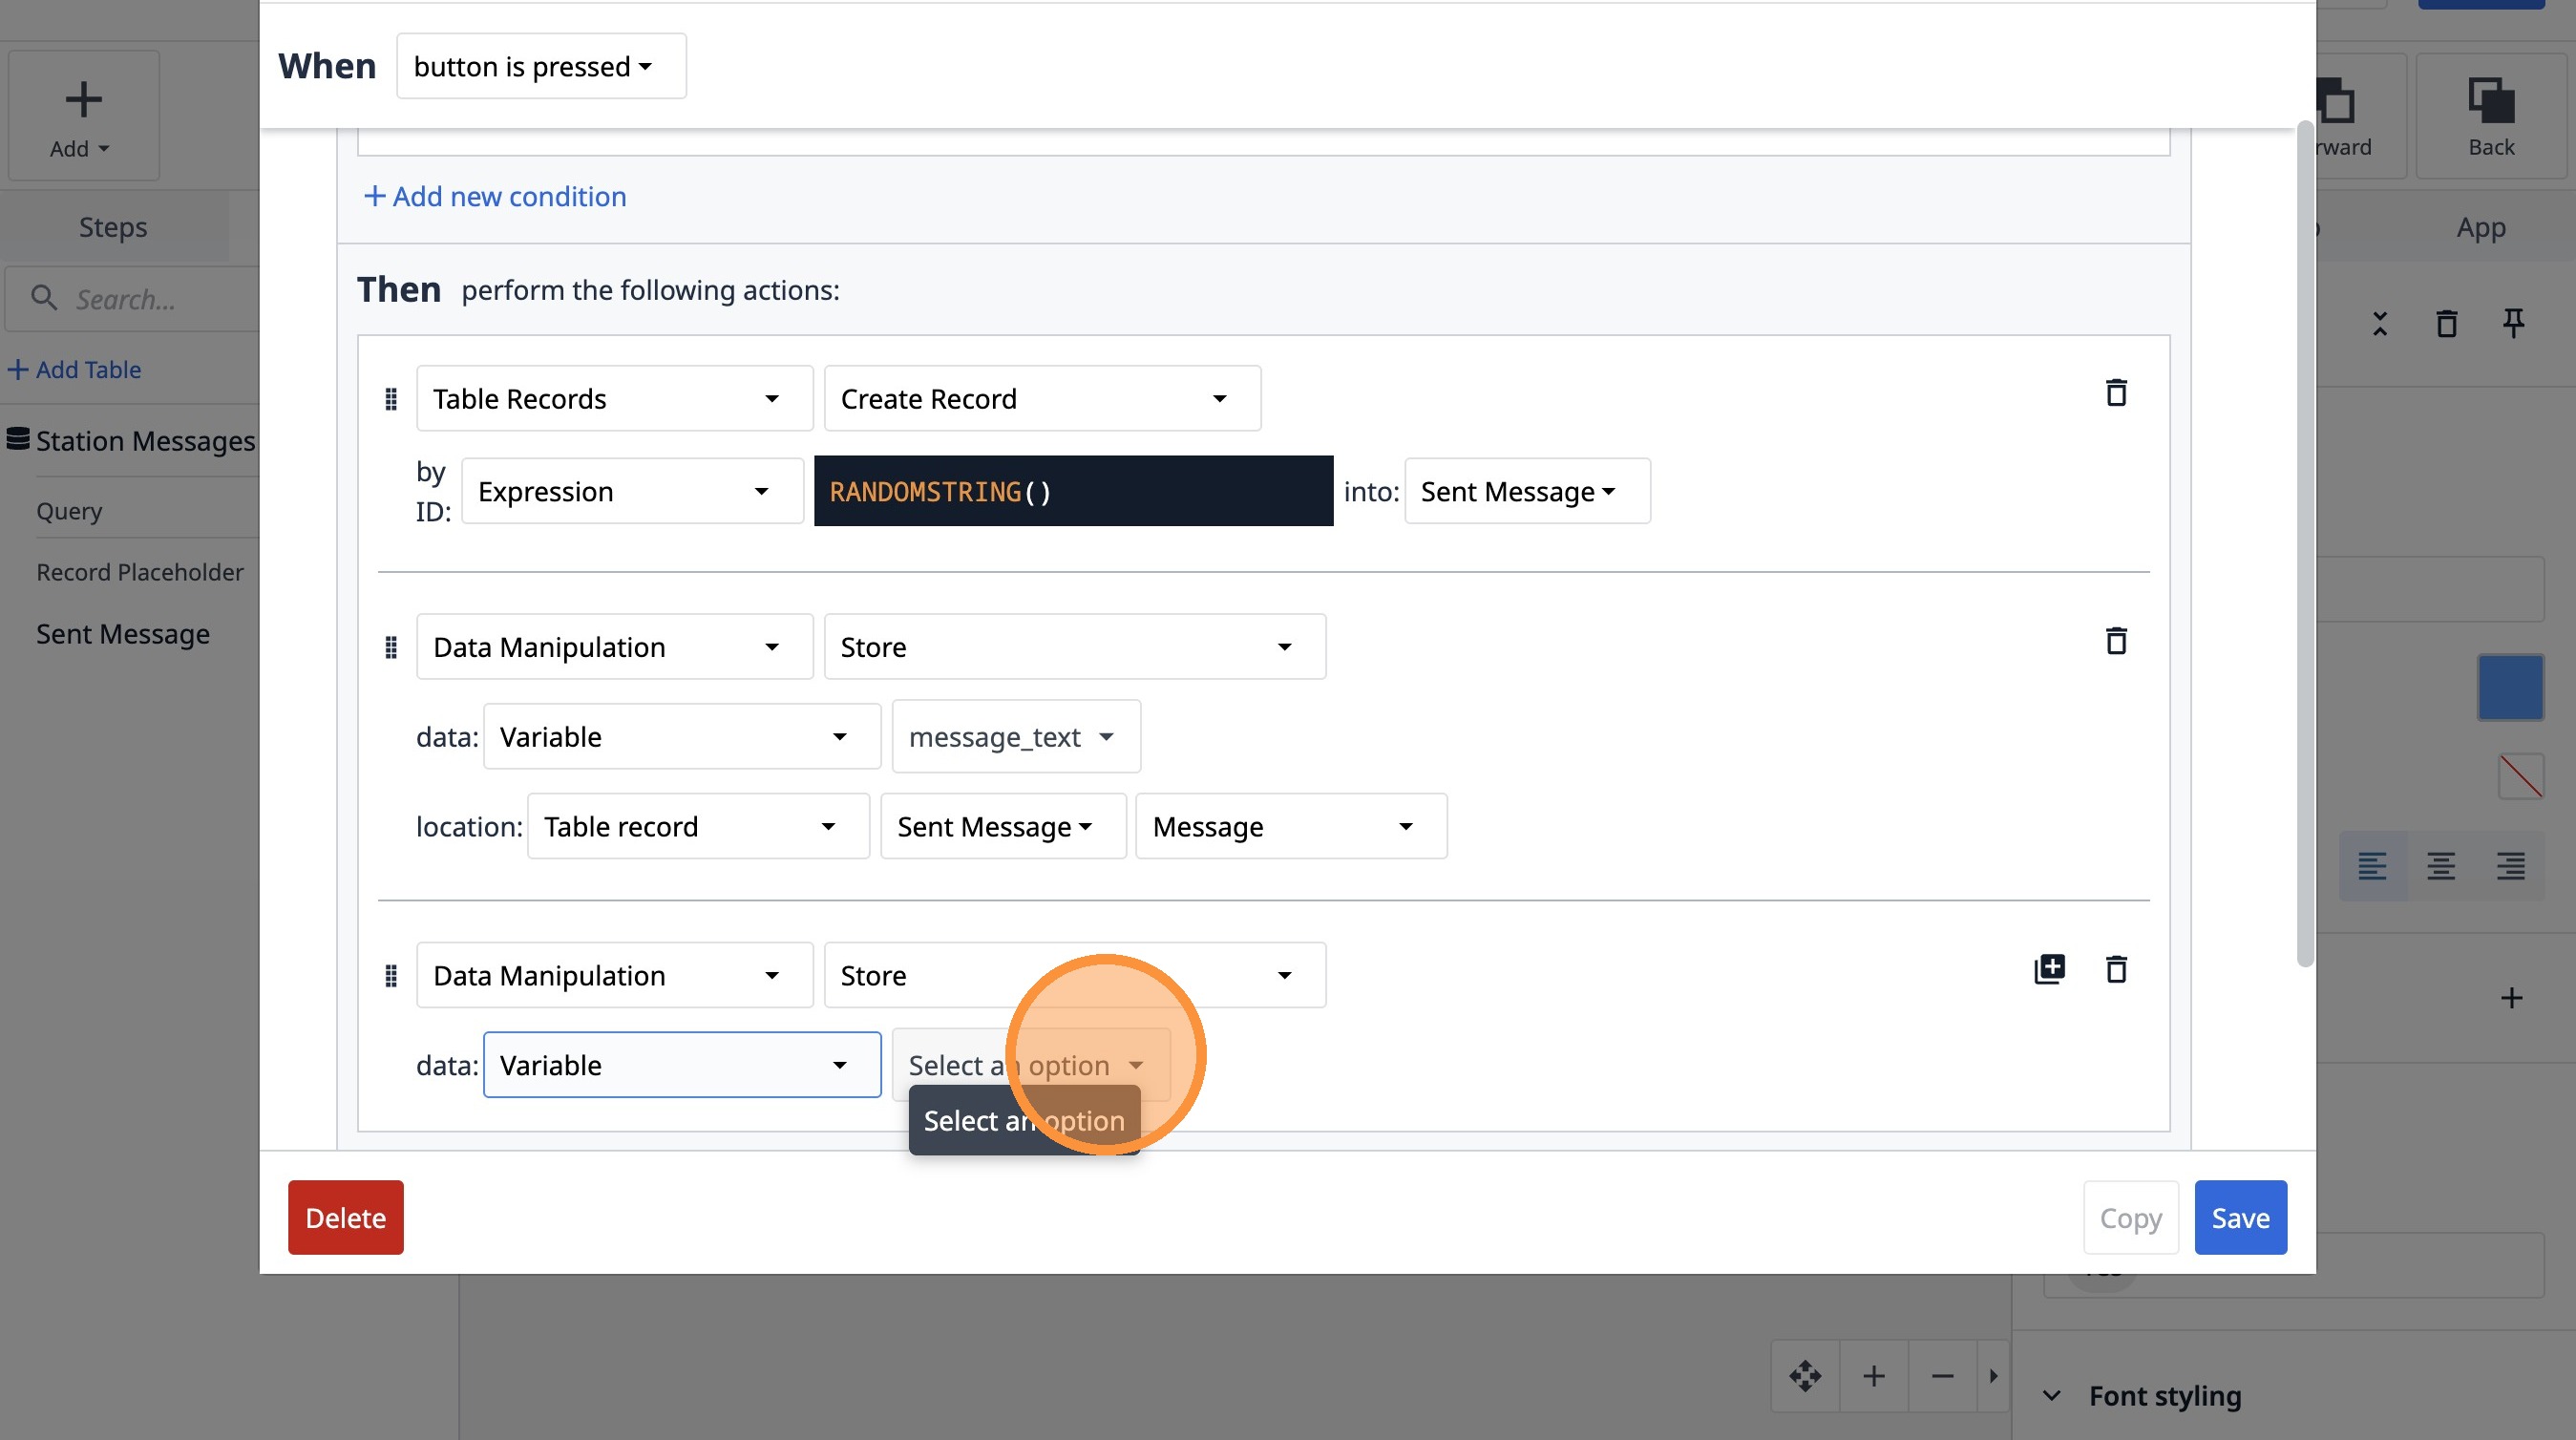
71. Select the "Variable" option.

72. Click "Select an option"
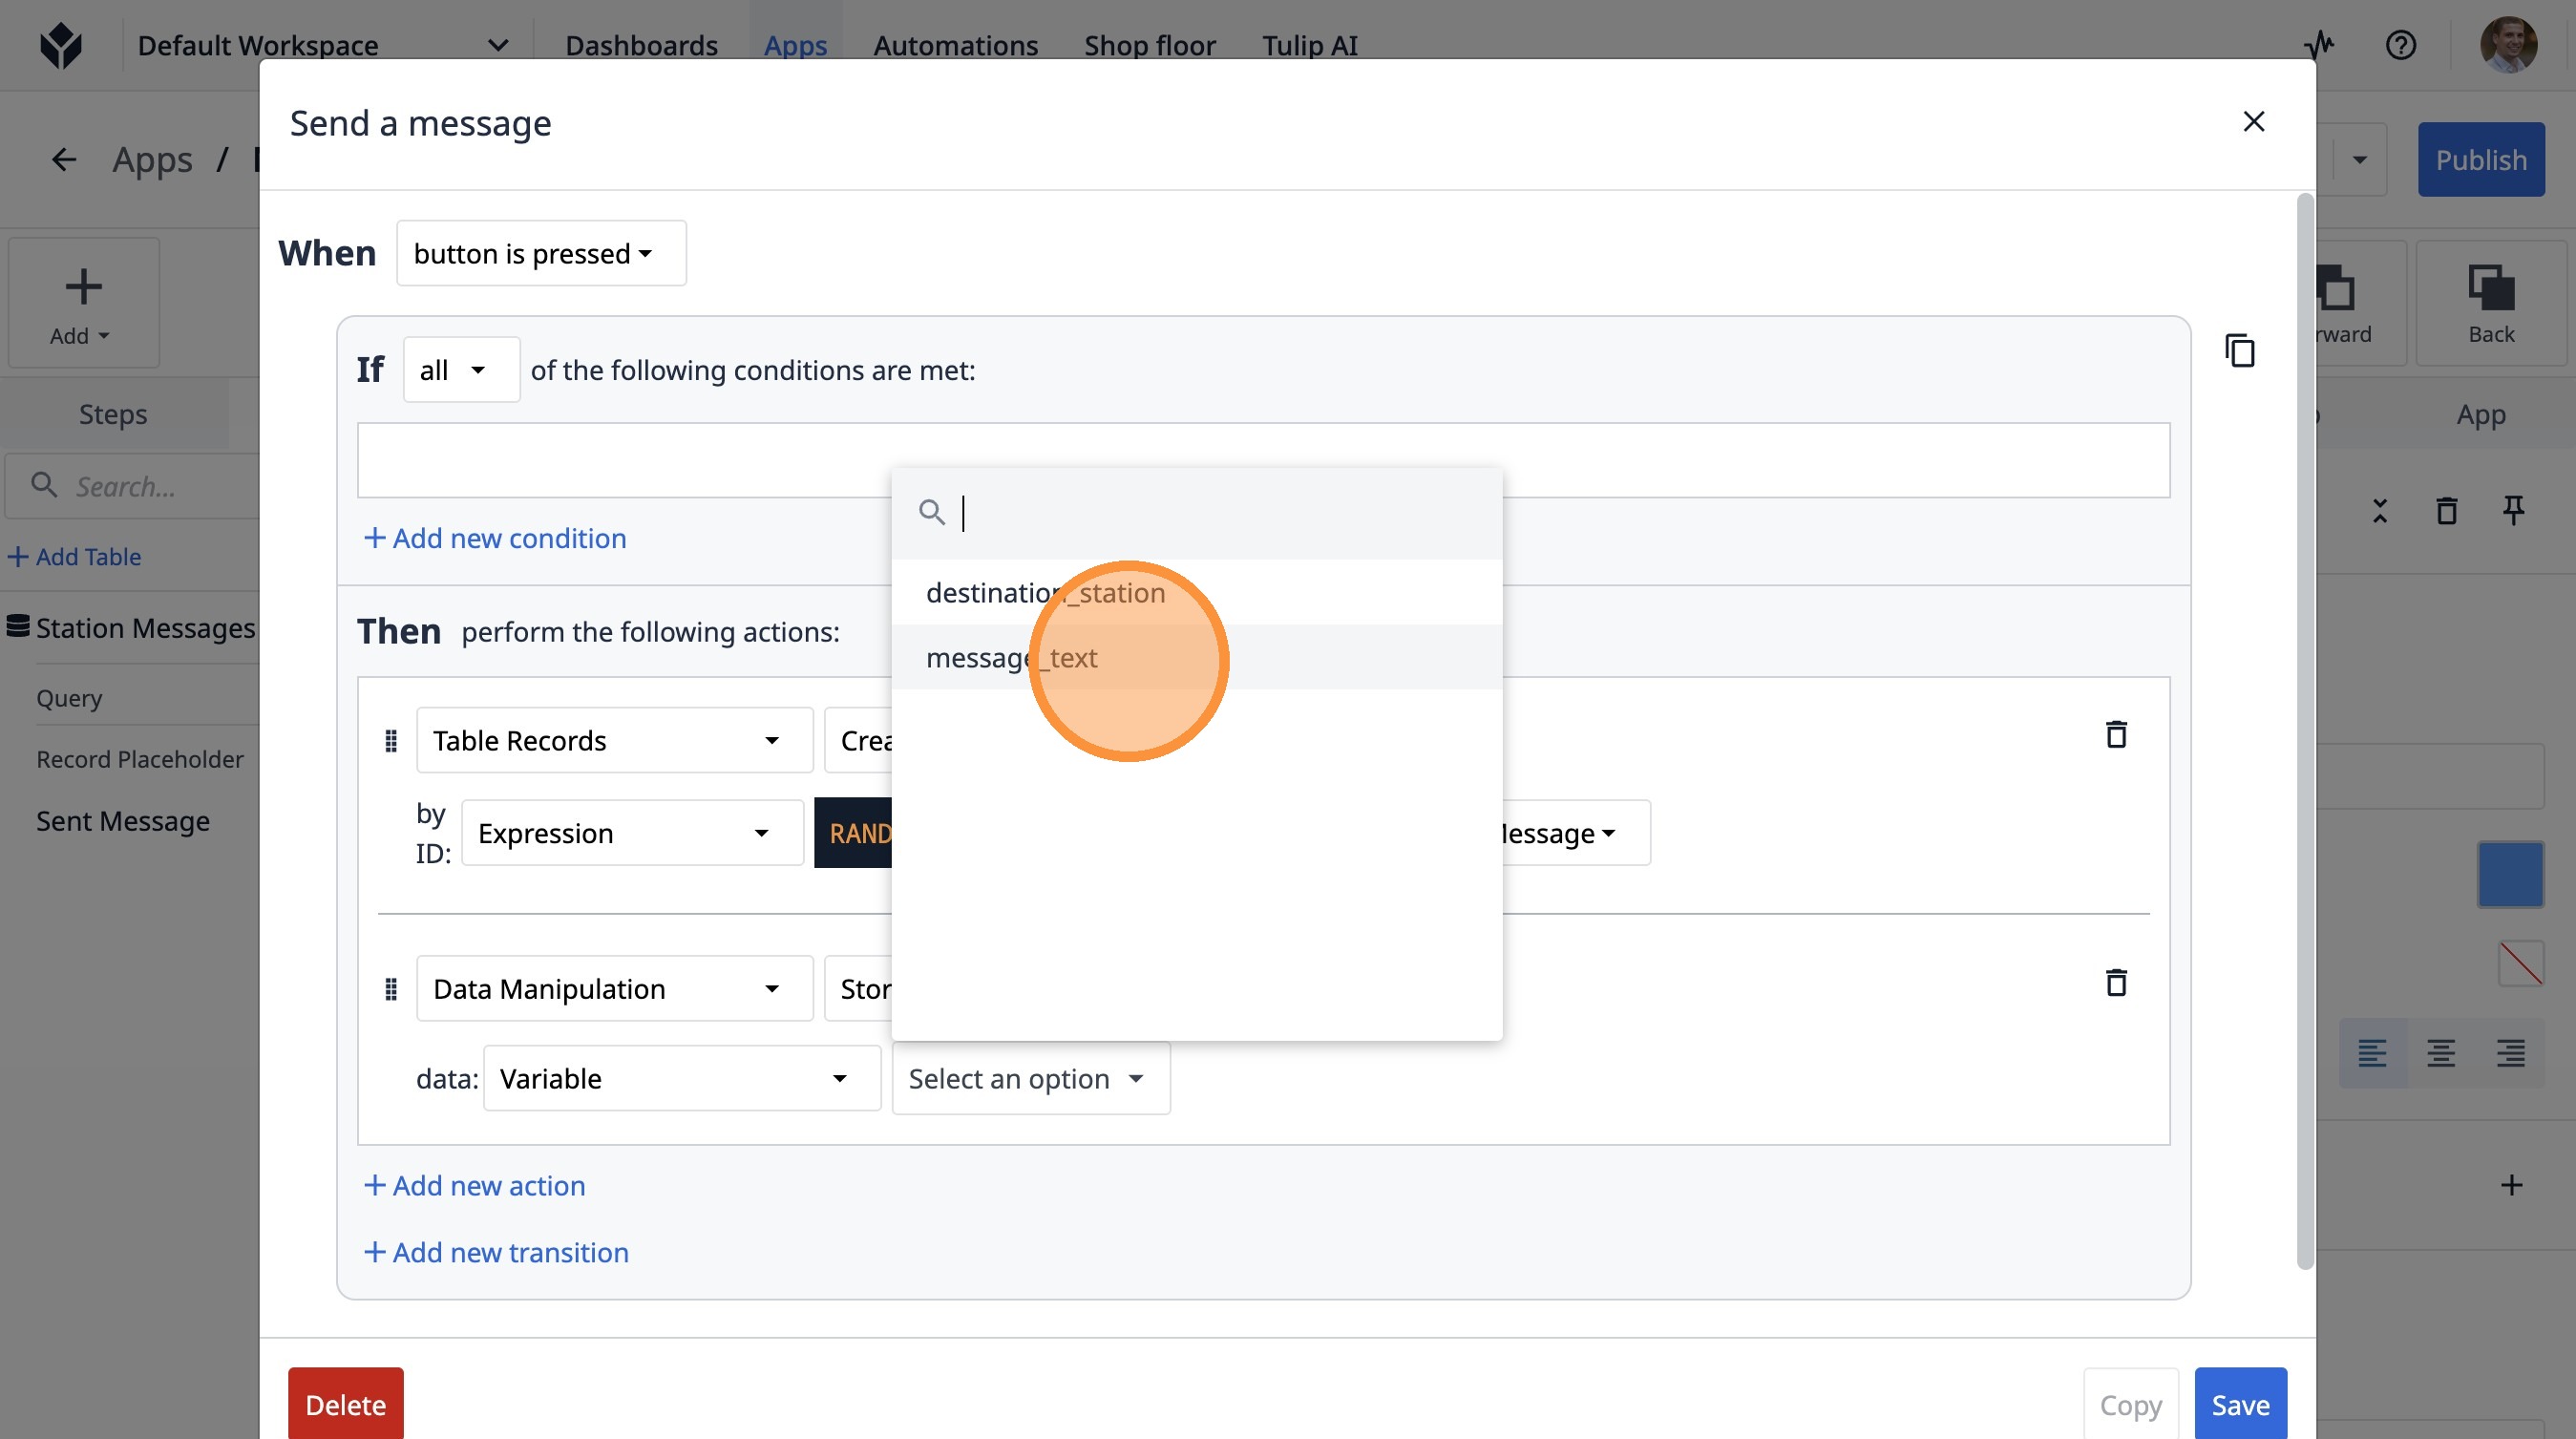
73. Click "message_text"
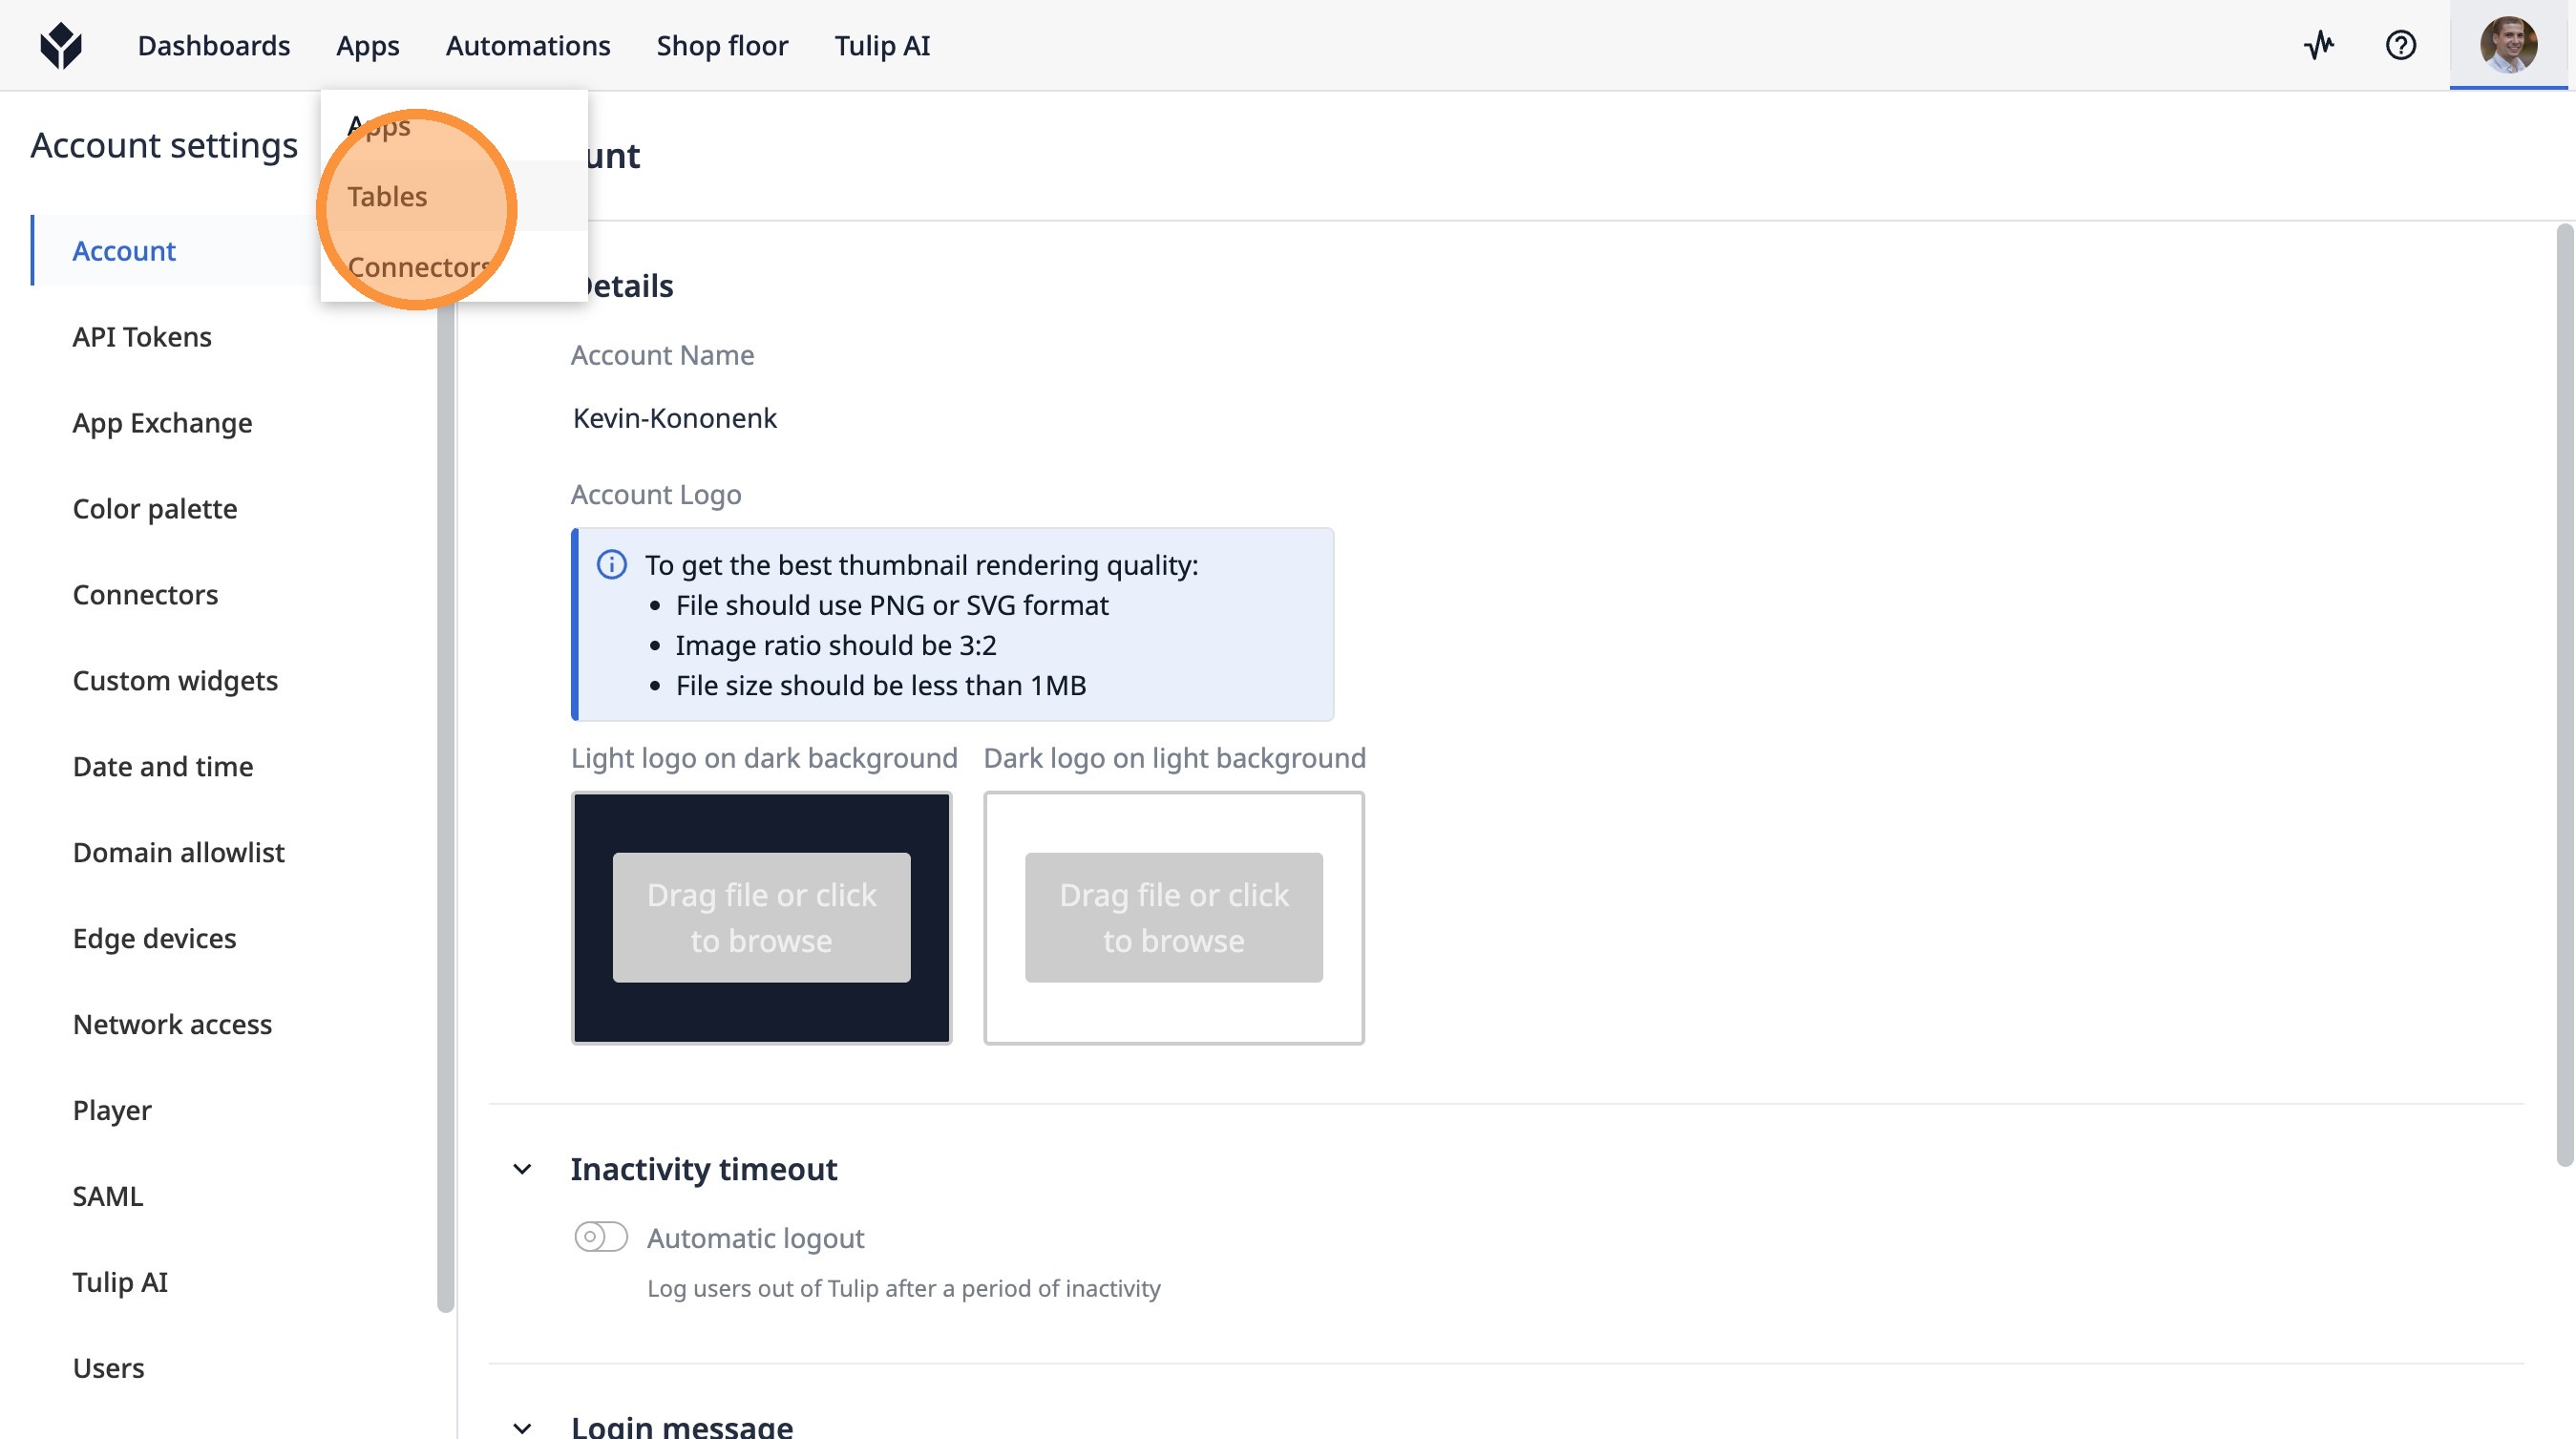
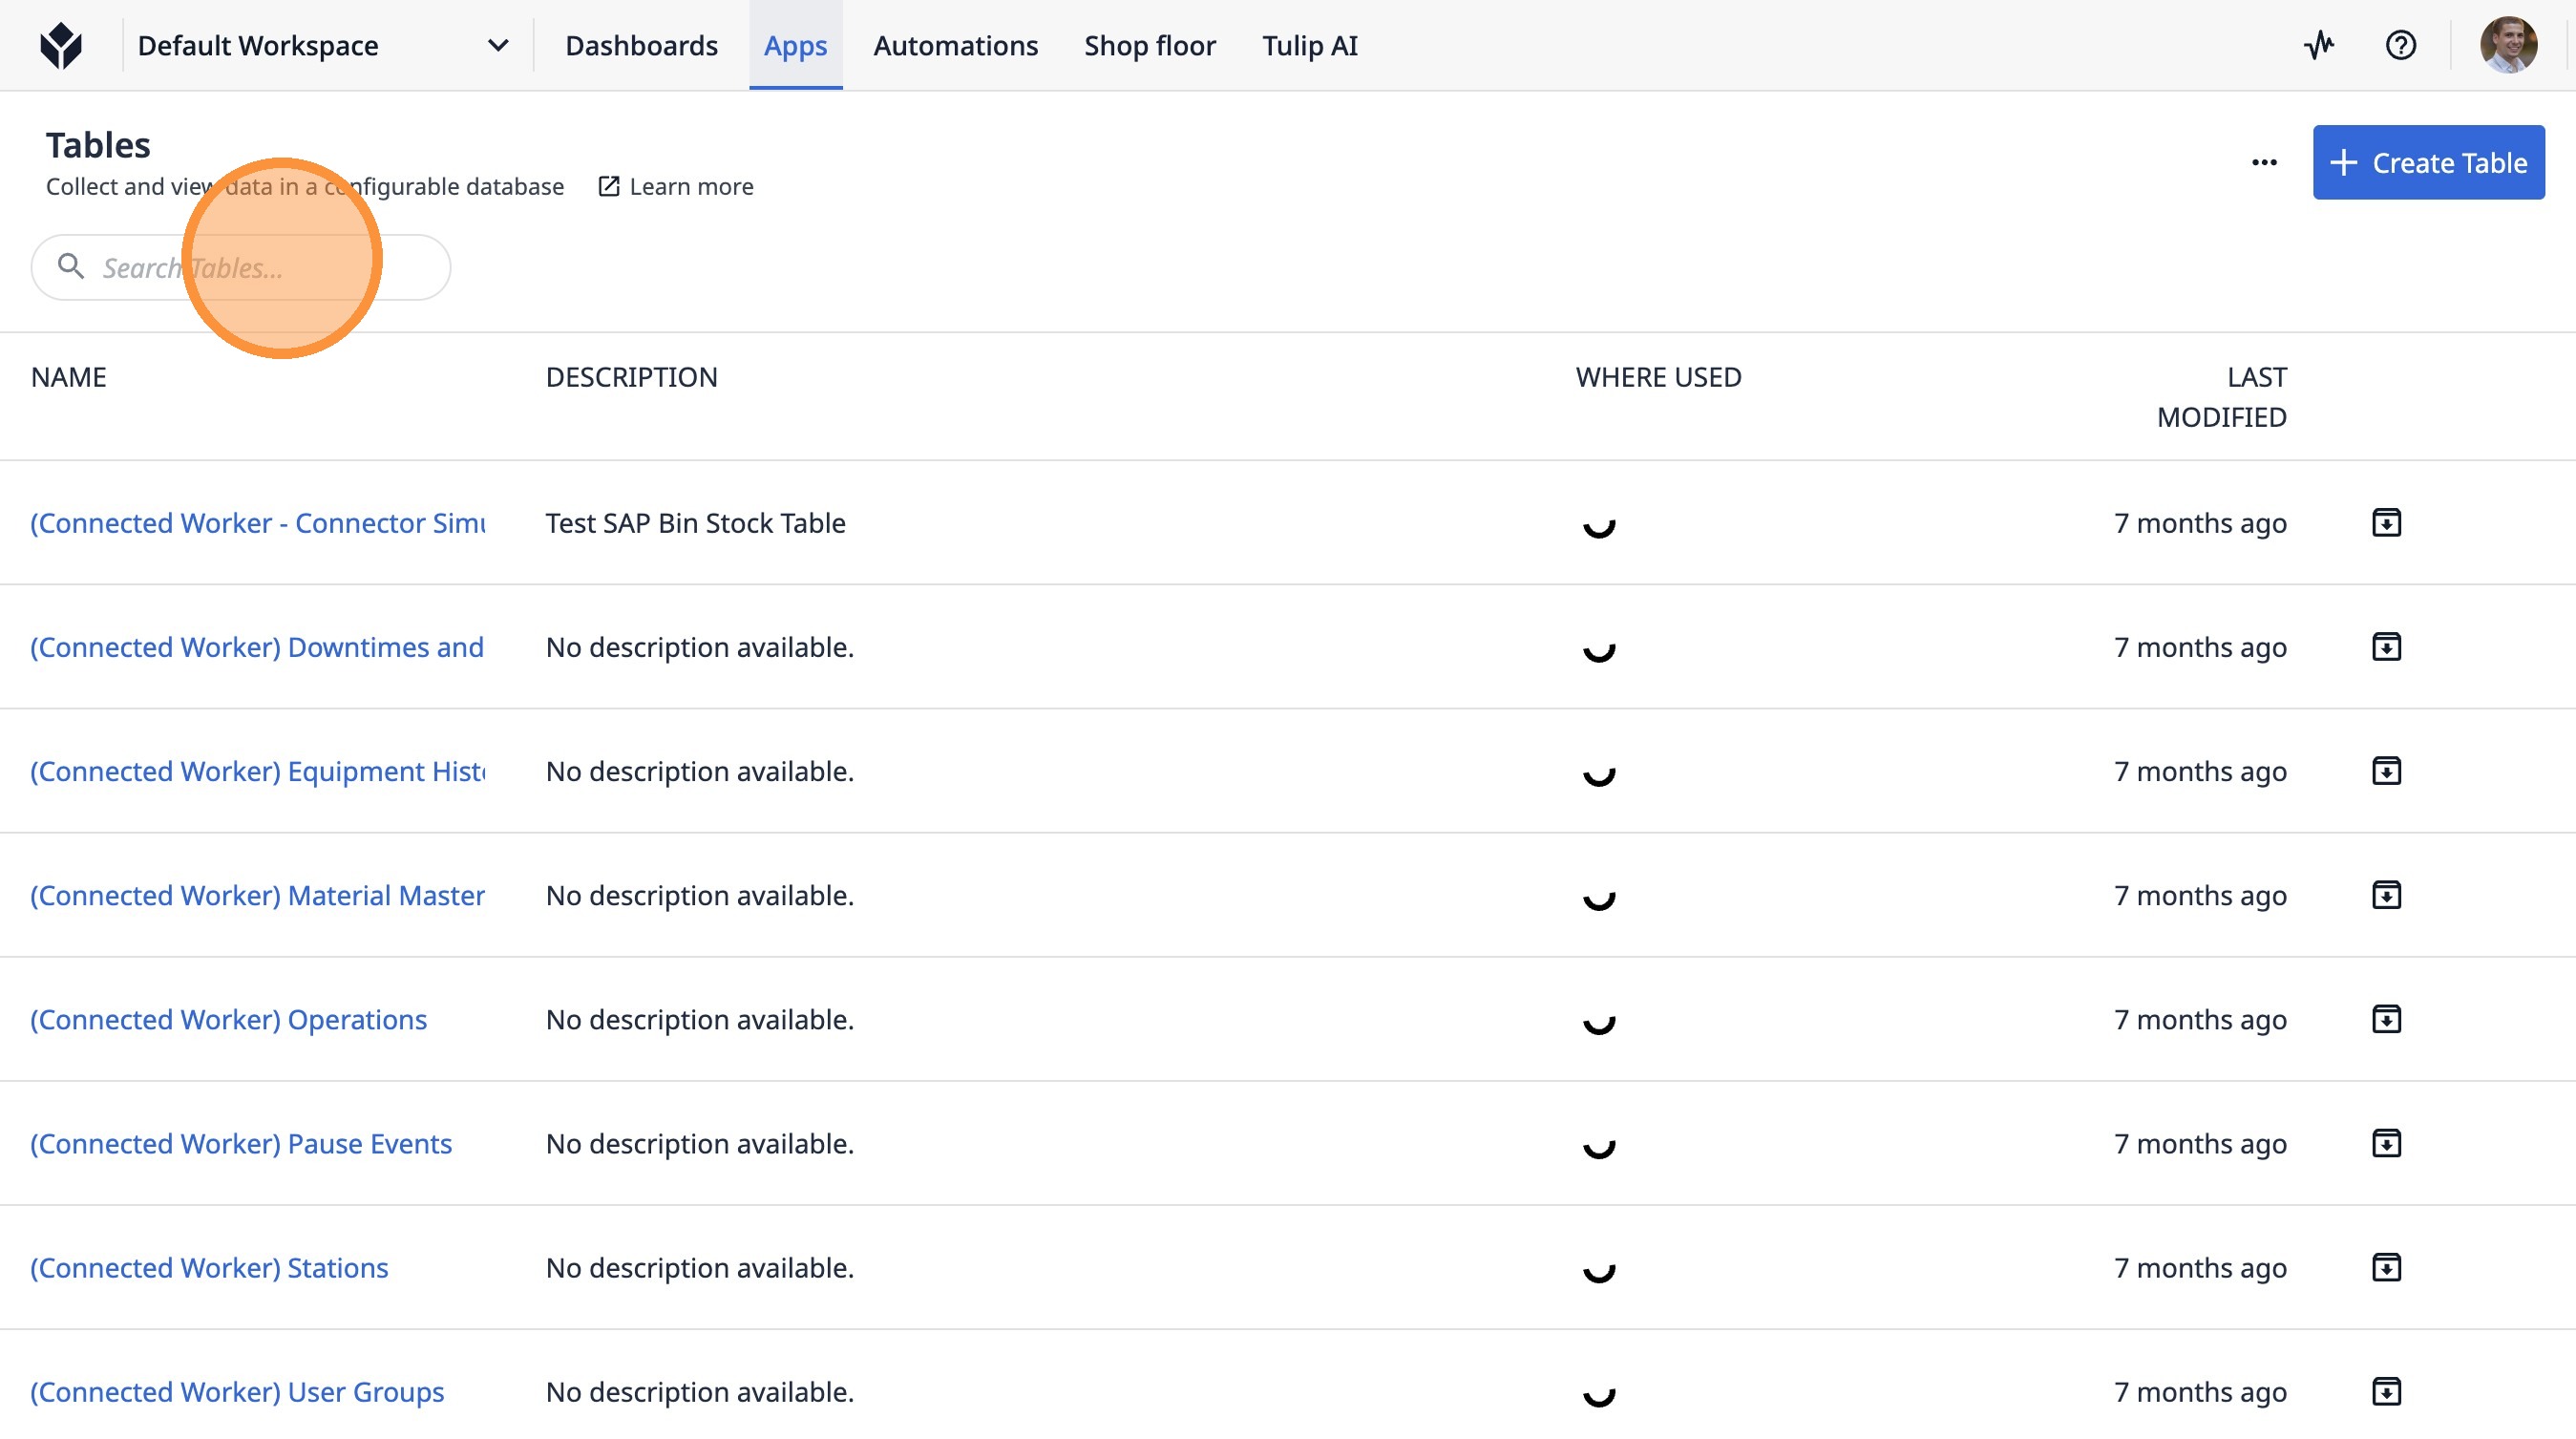
74. Click "Tables"
75. Click the "Search Tables..." field.
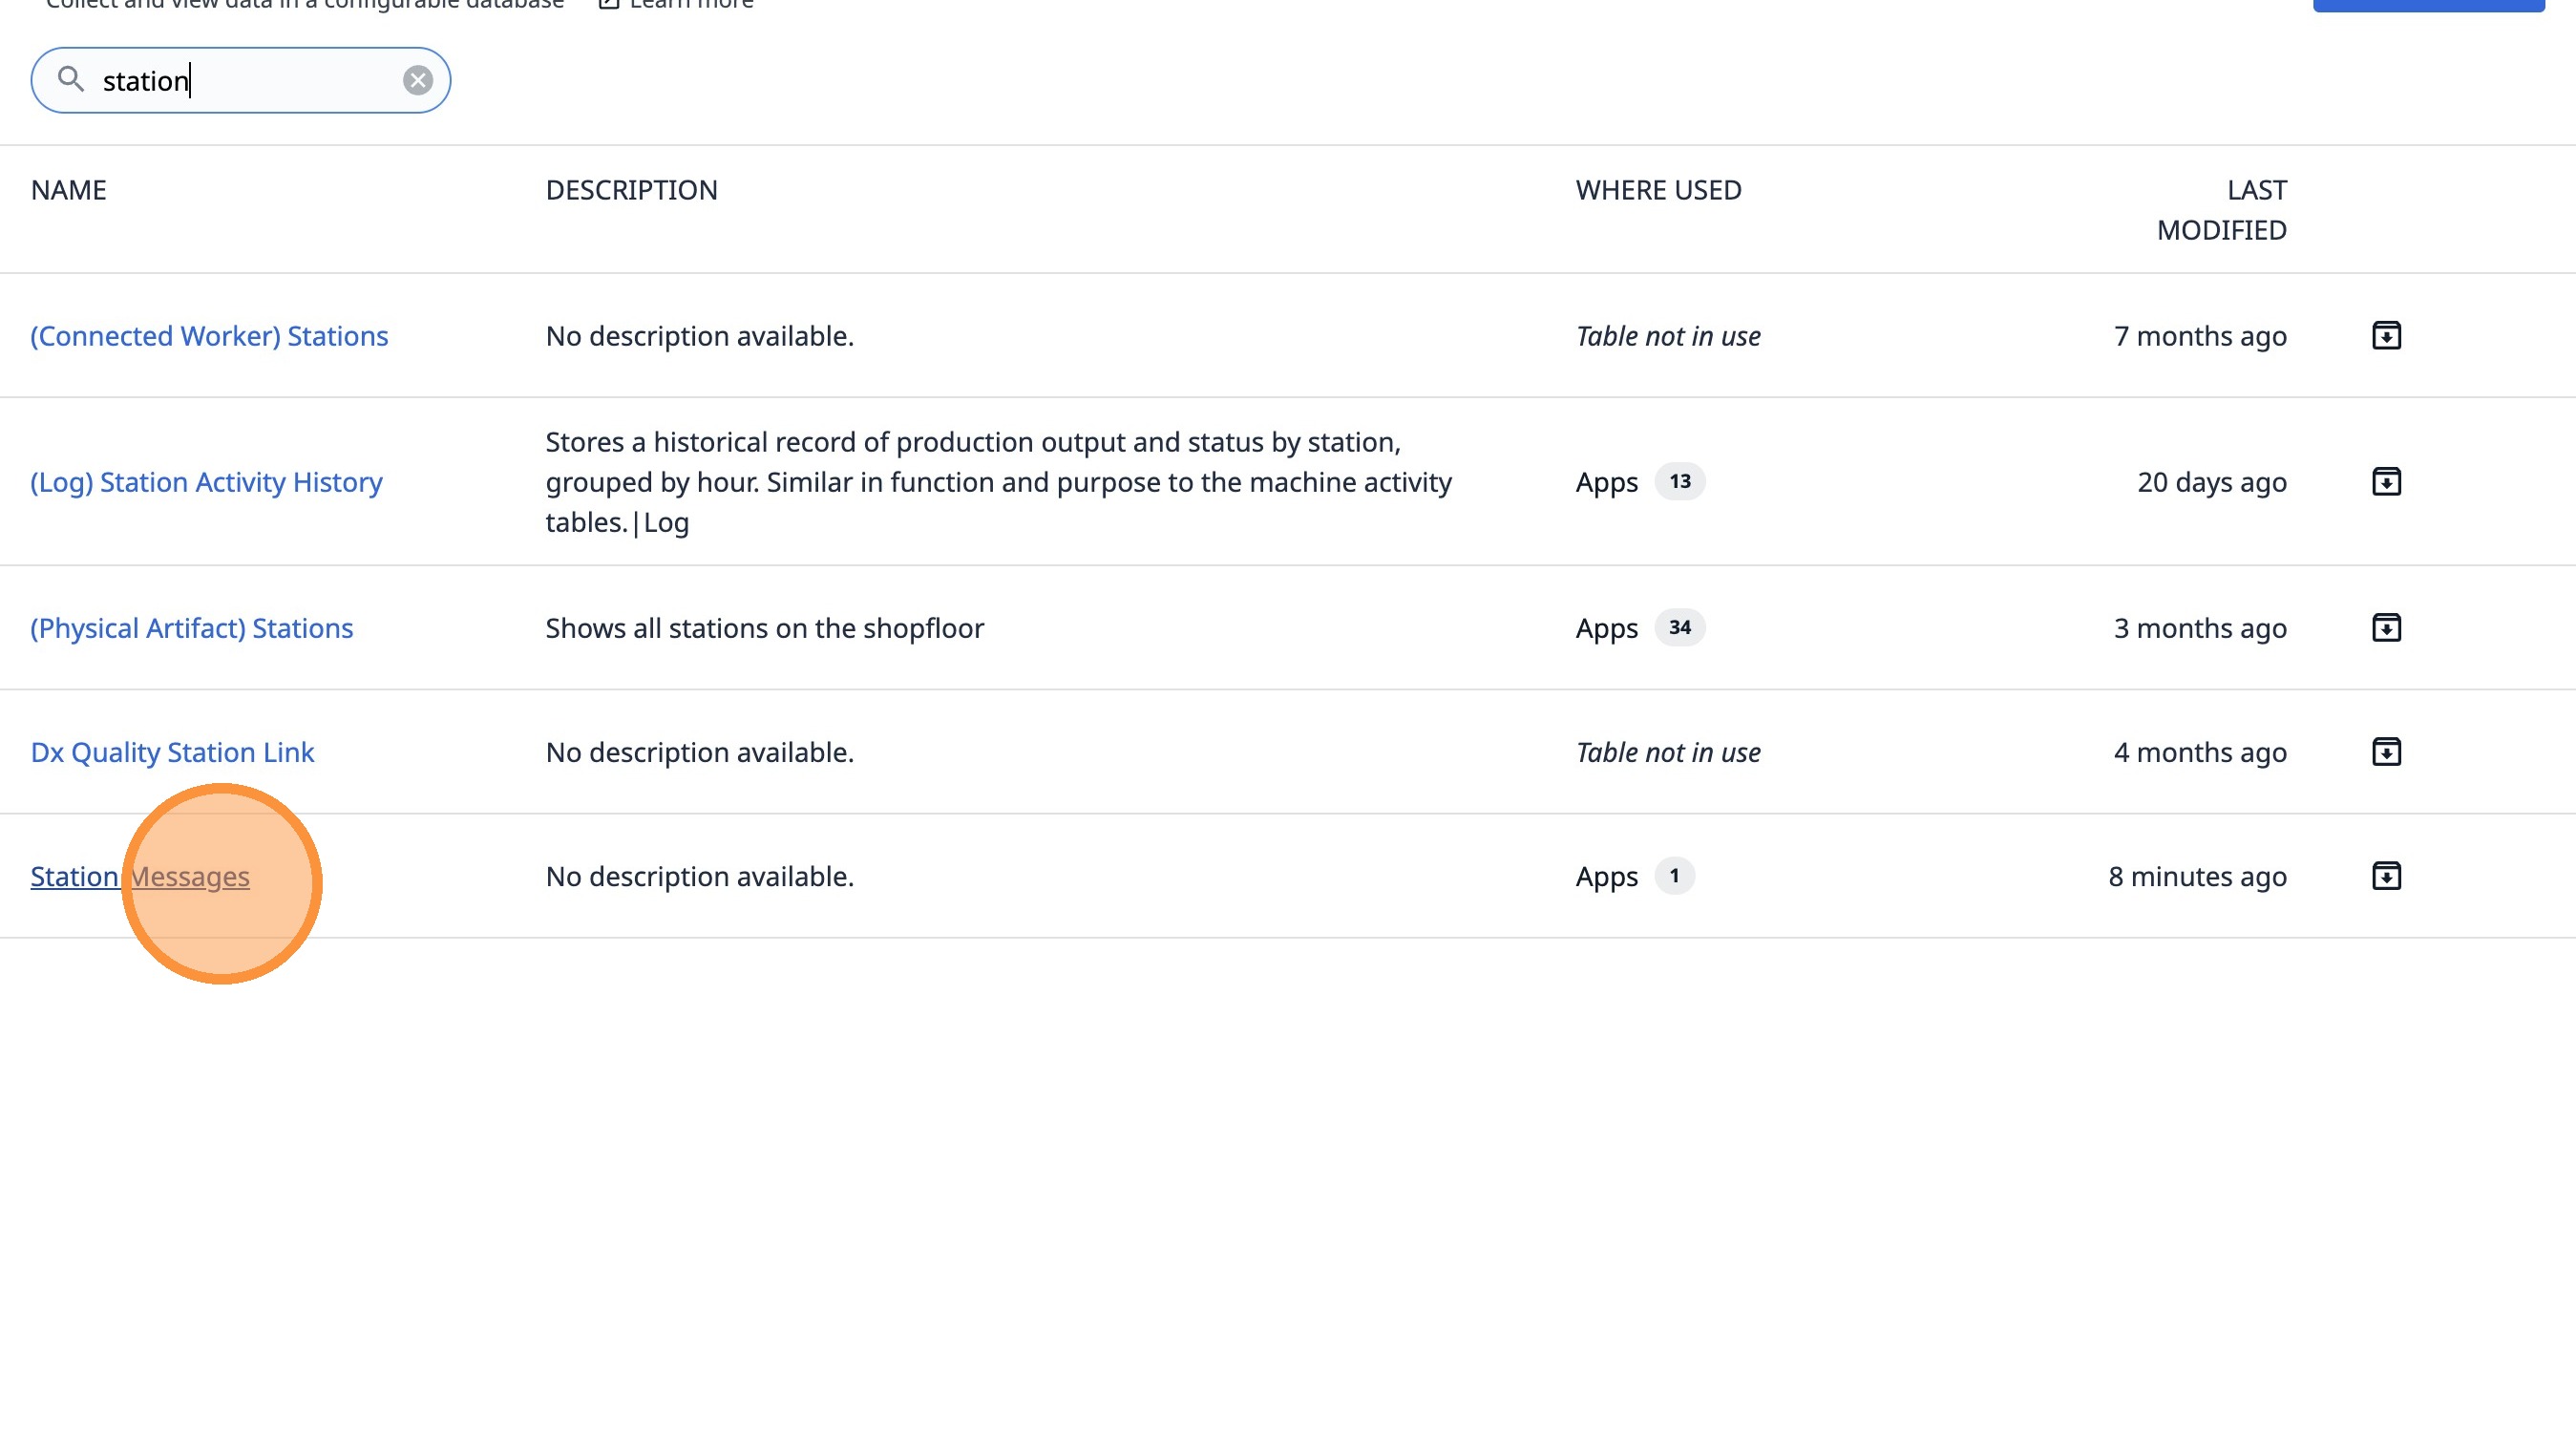
76. Type "station"
77. Click "Station Messages"
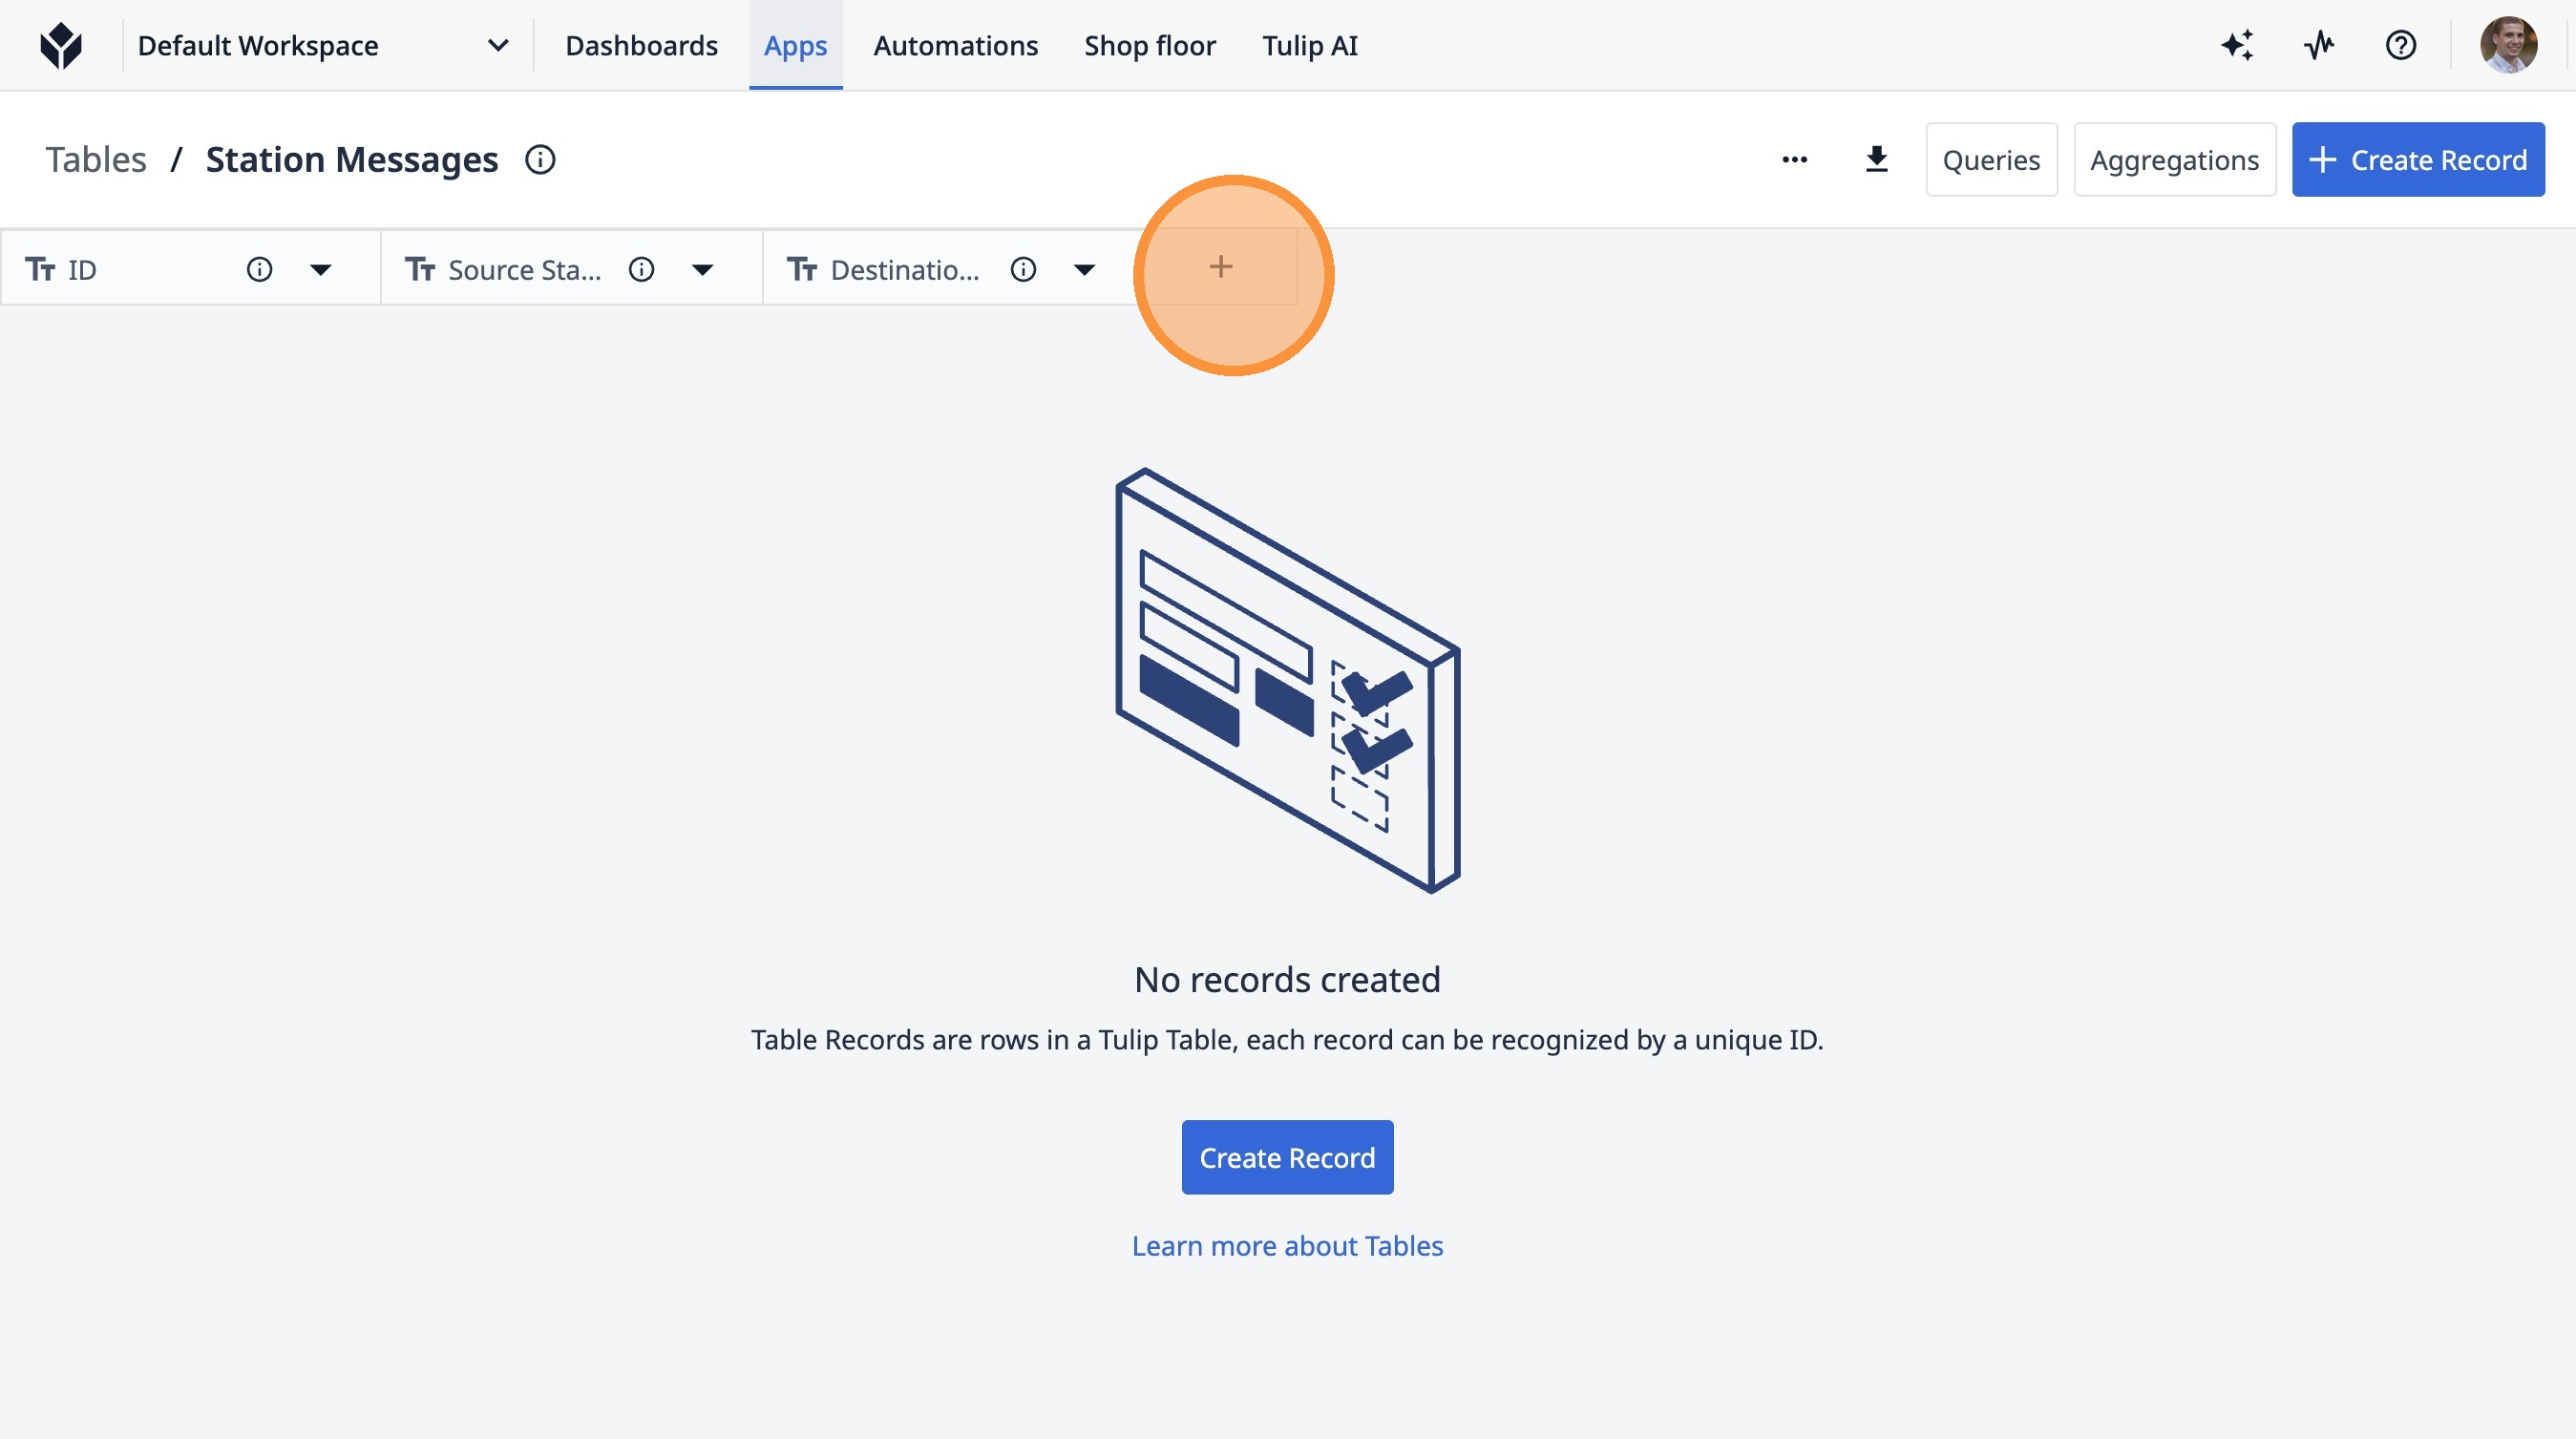
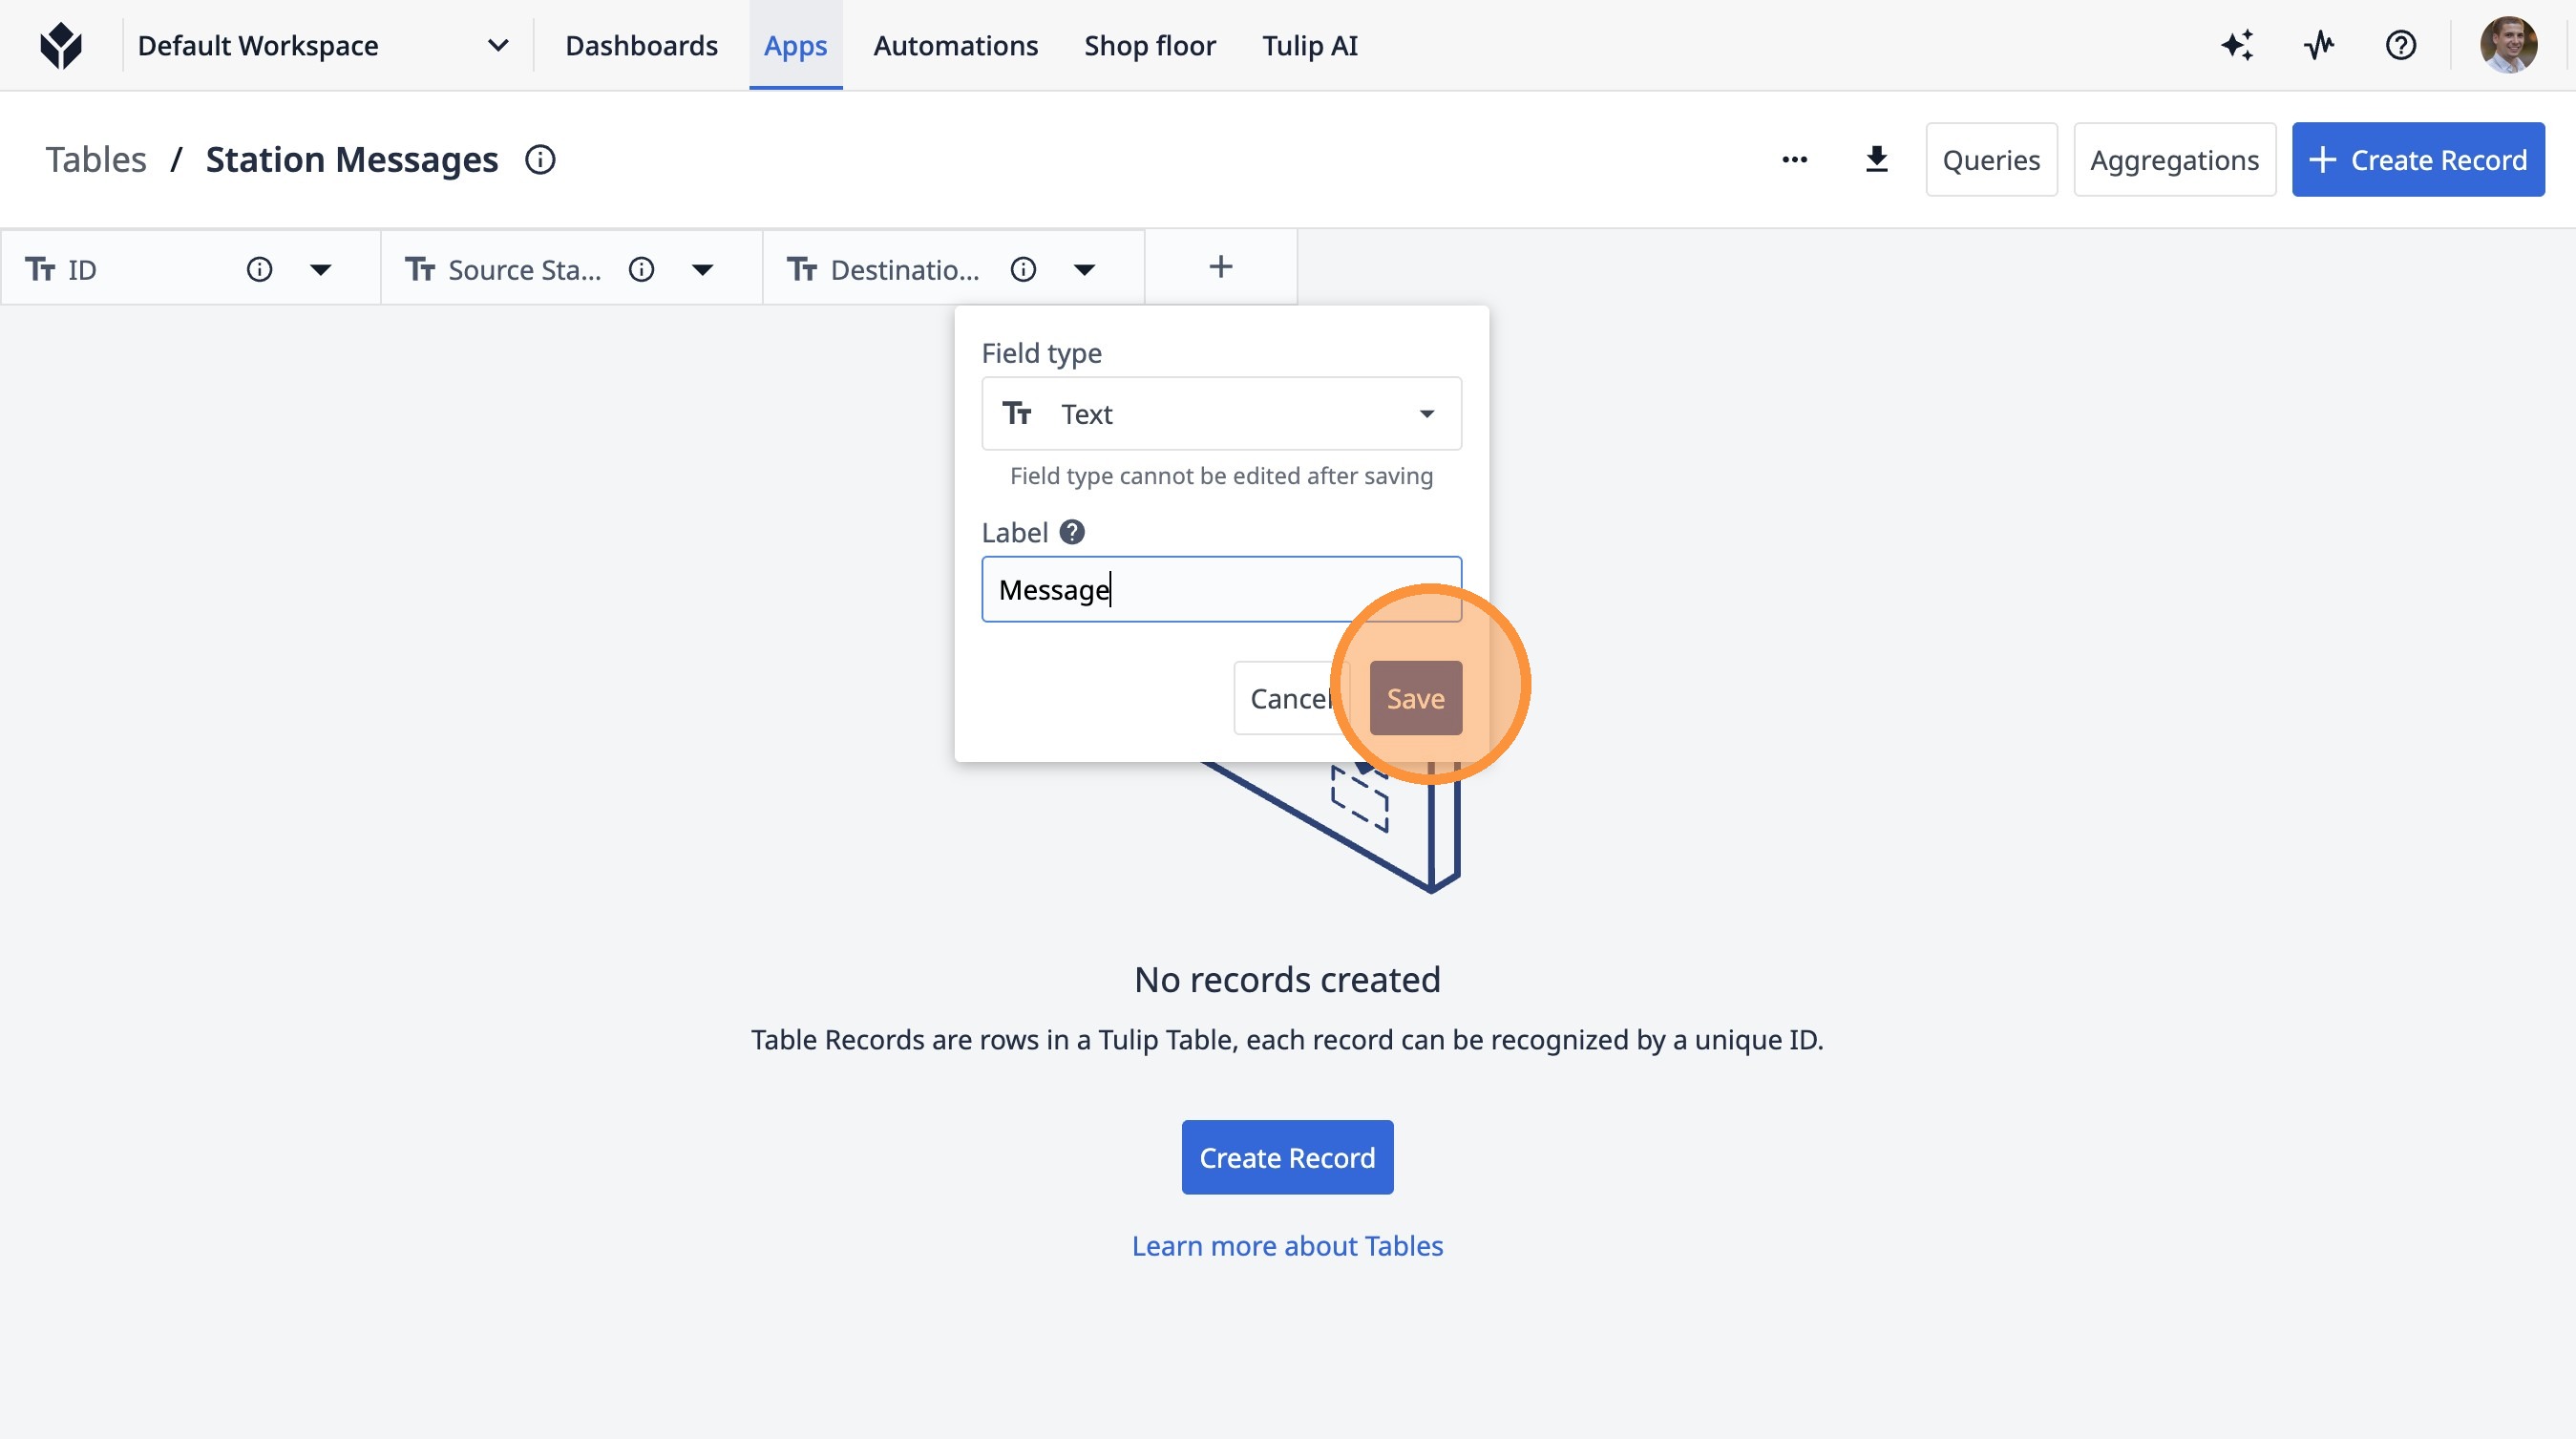
78. Click this icon.
79. Click this text field.
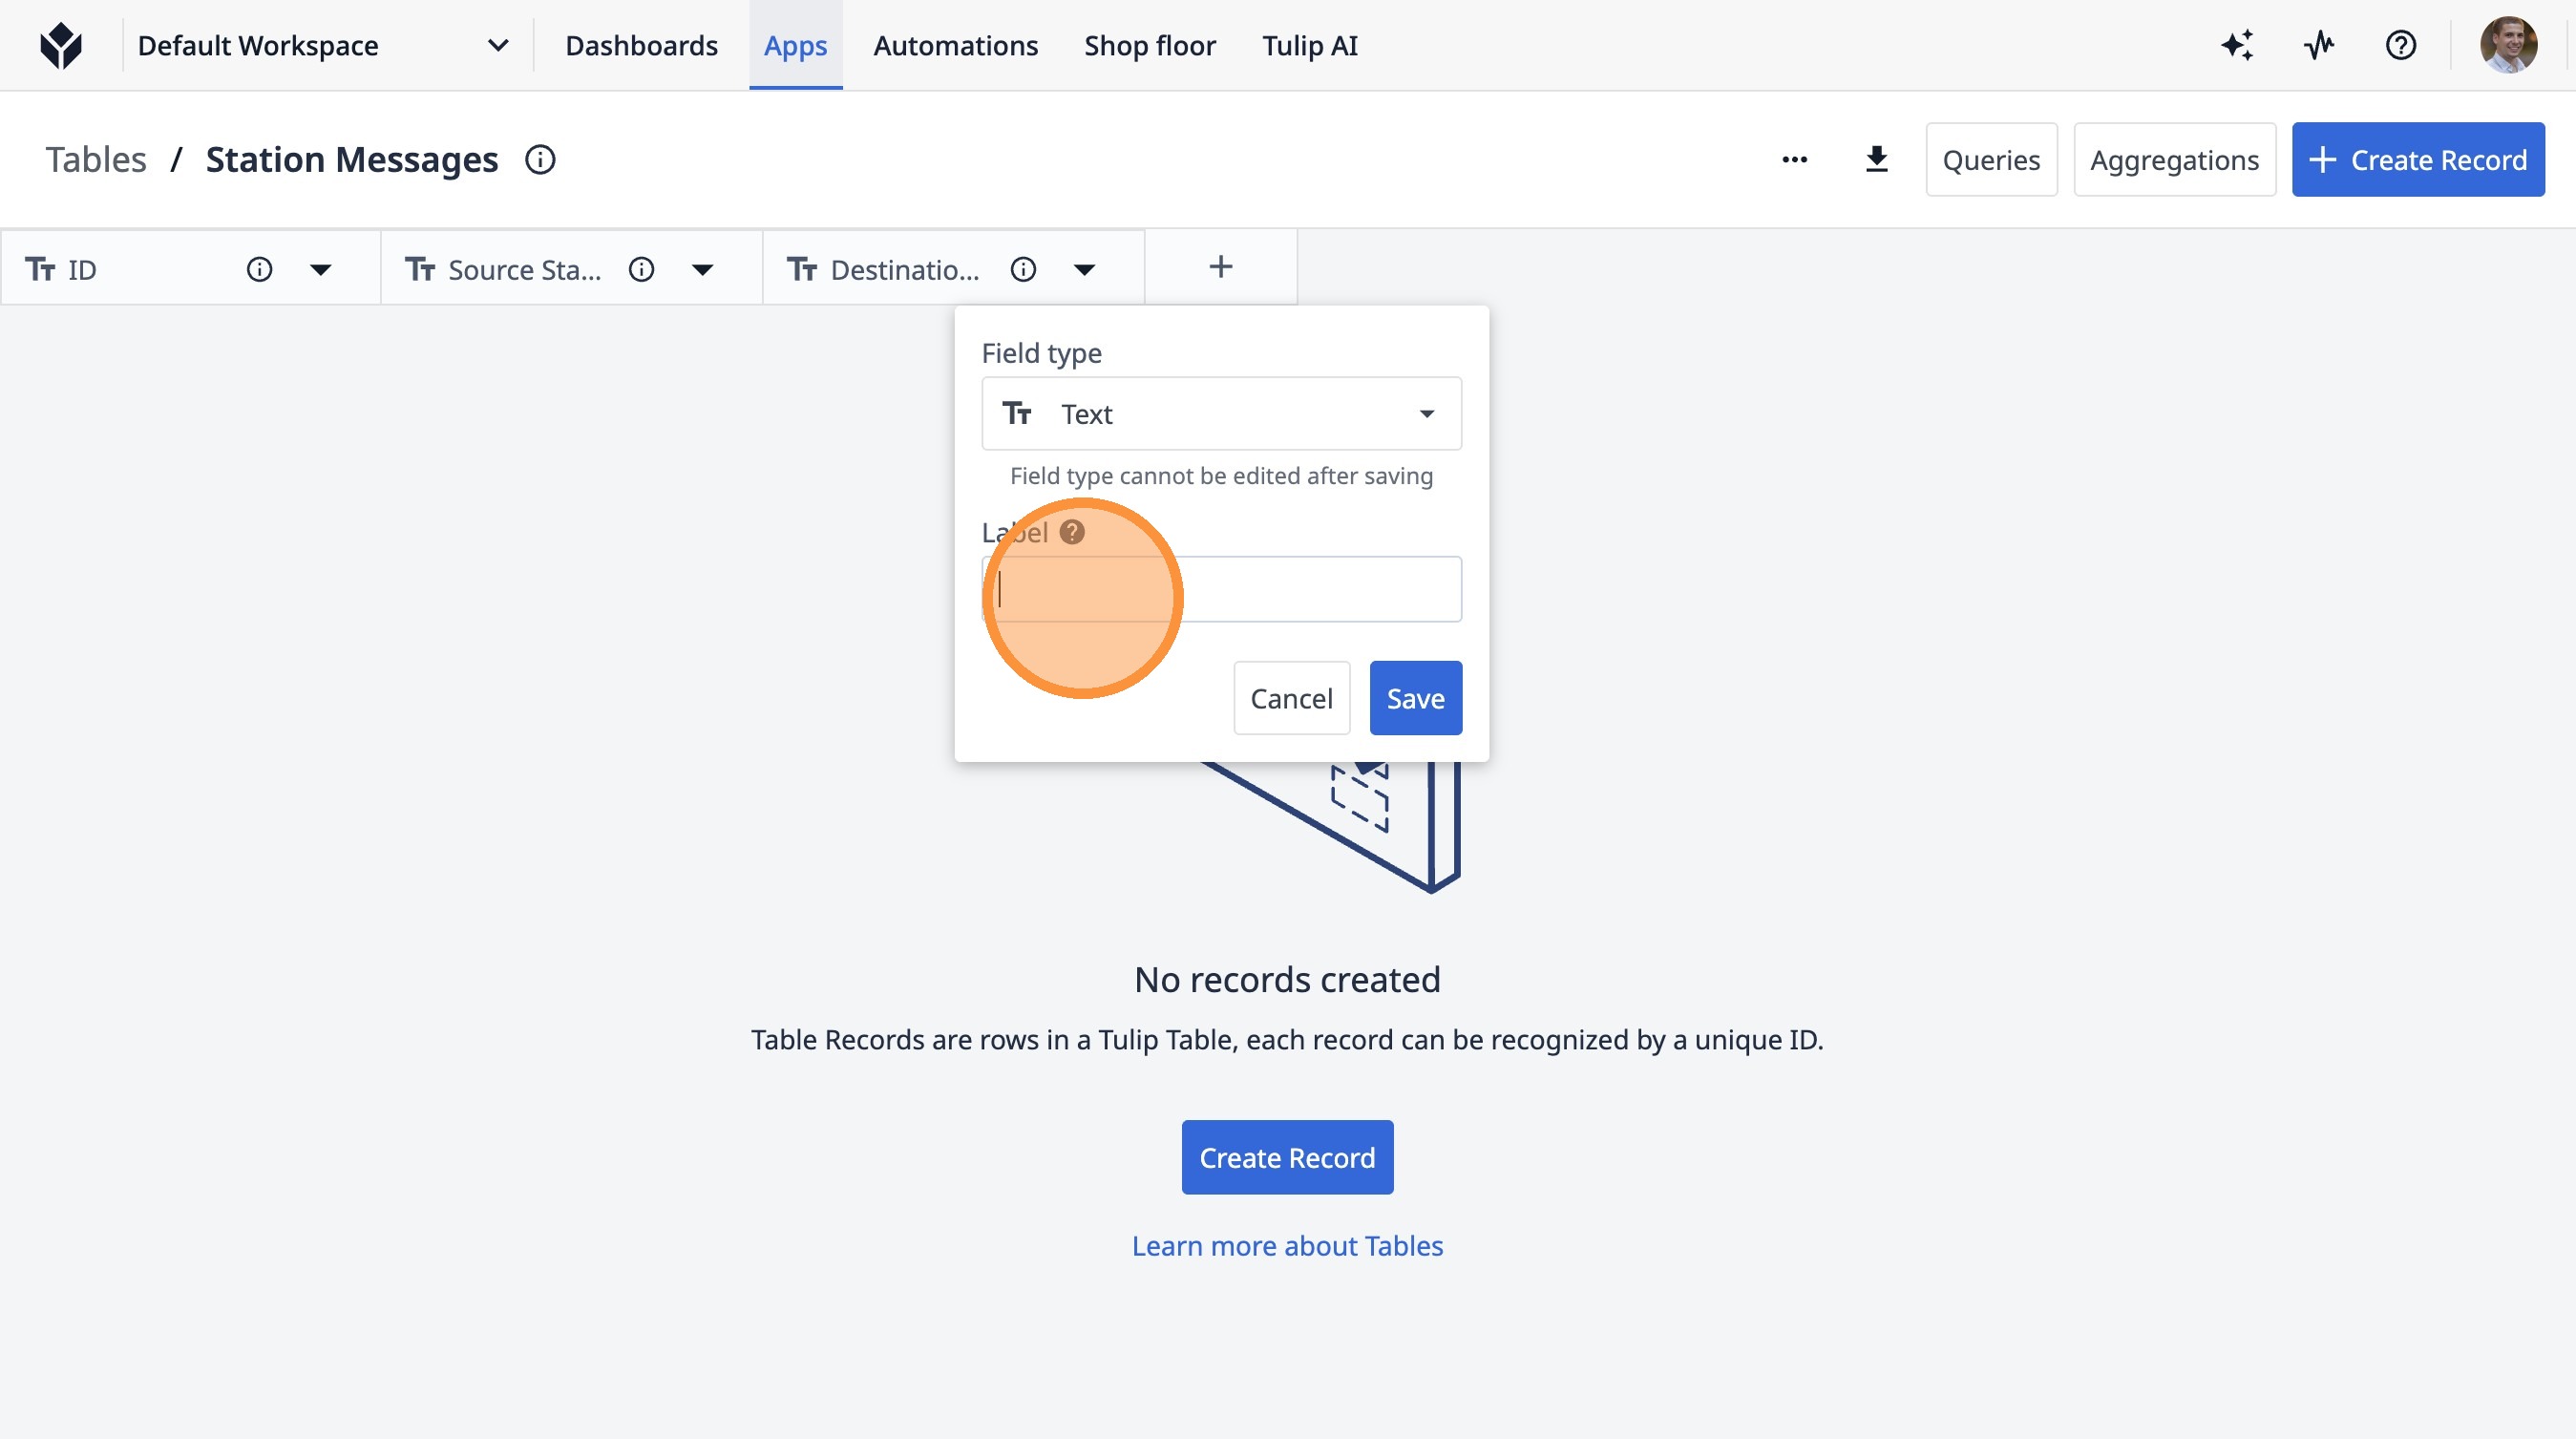
80. Type "Message"
81. Click "Save"
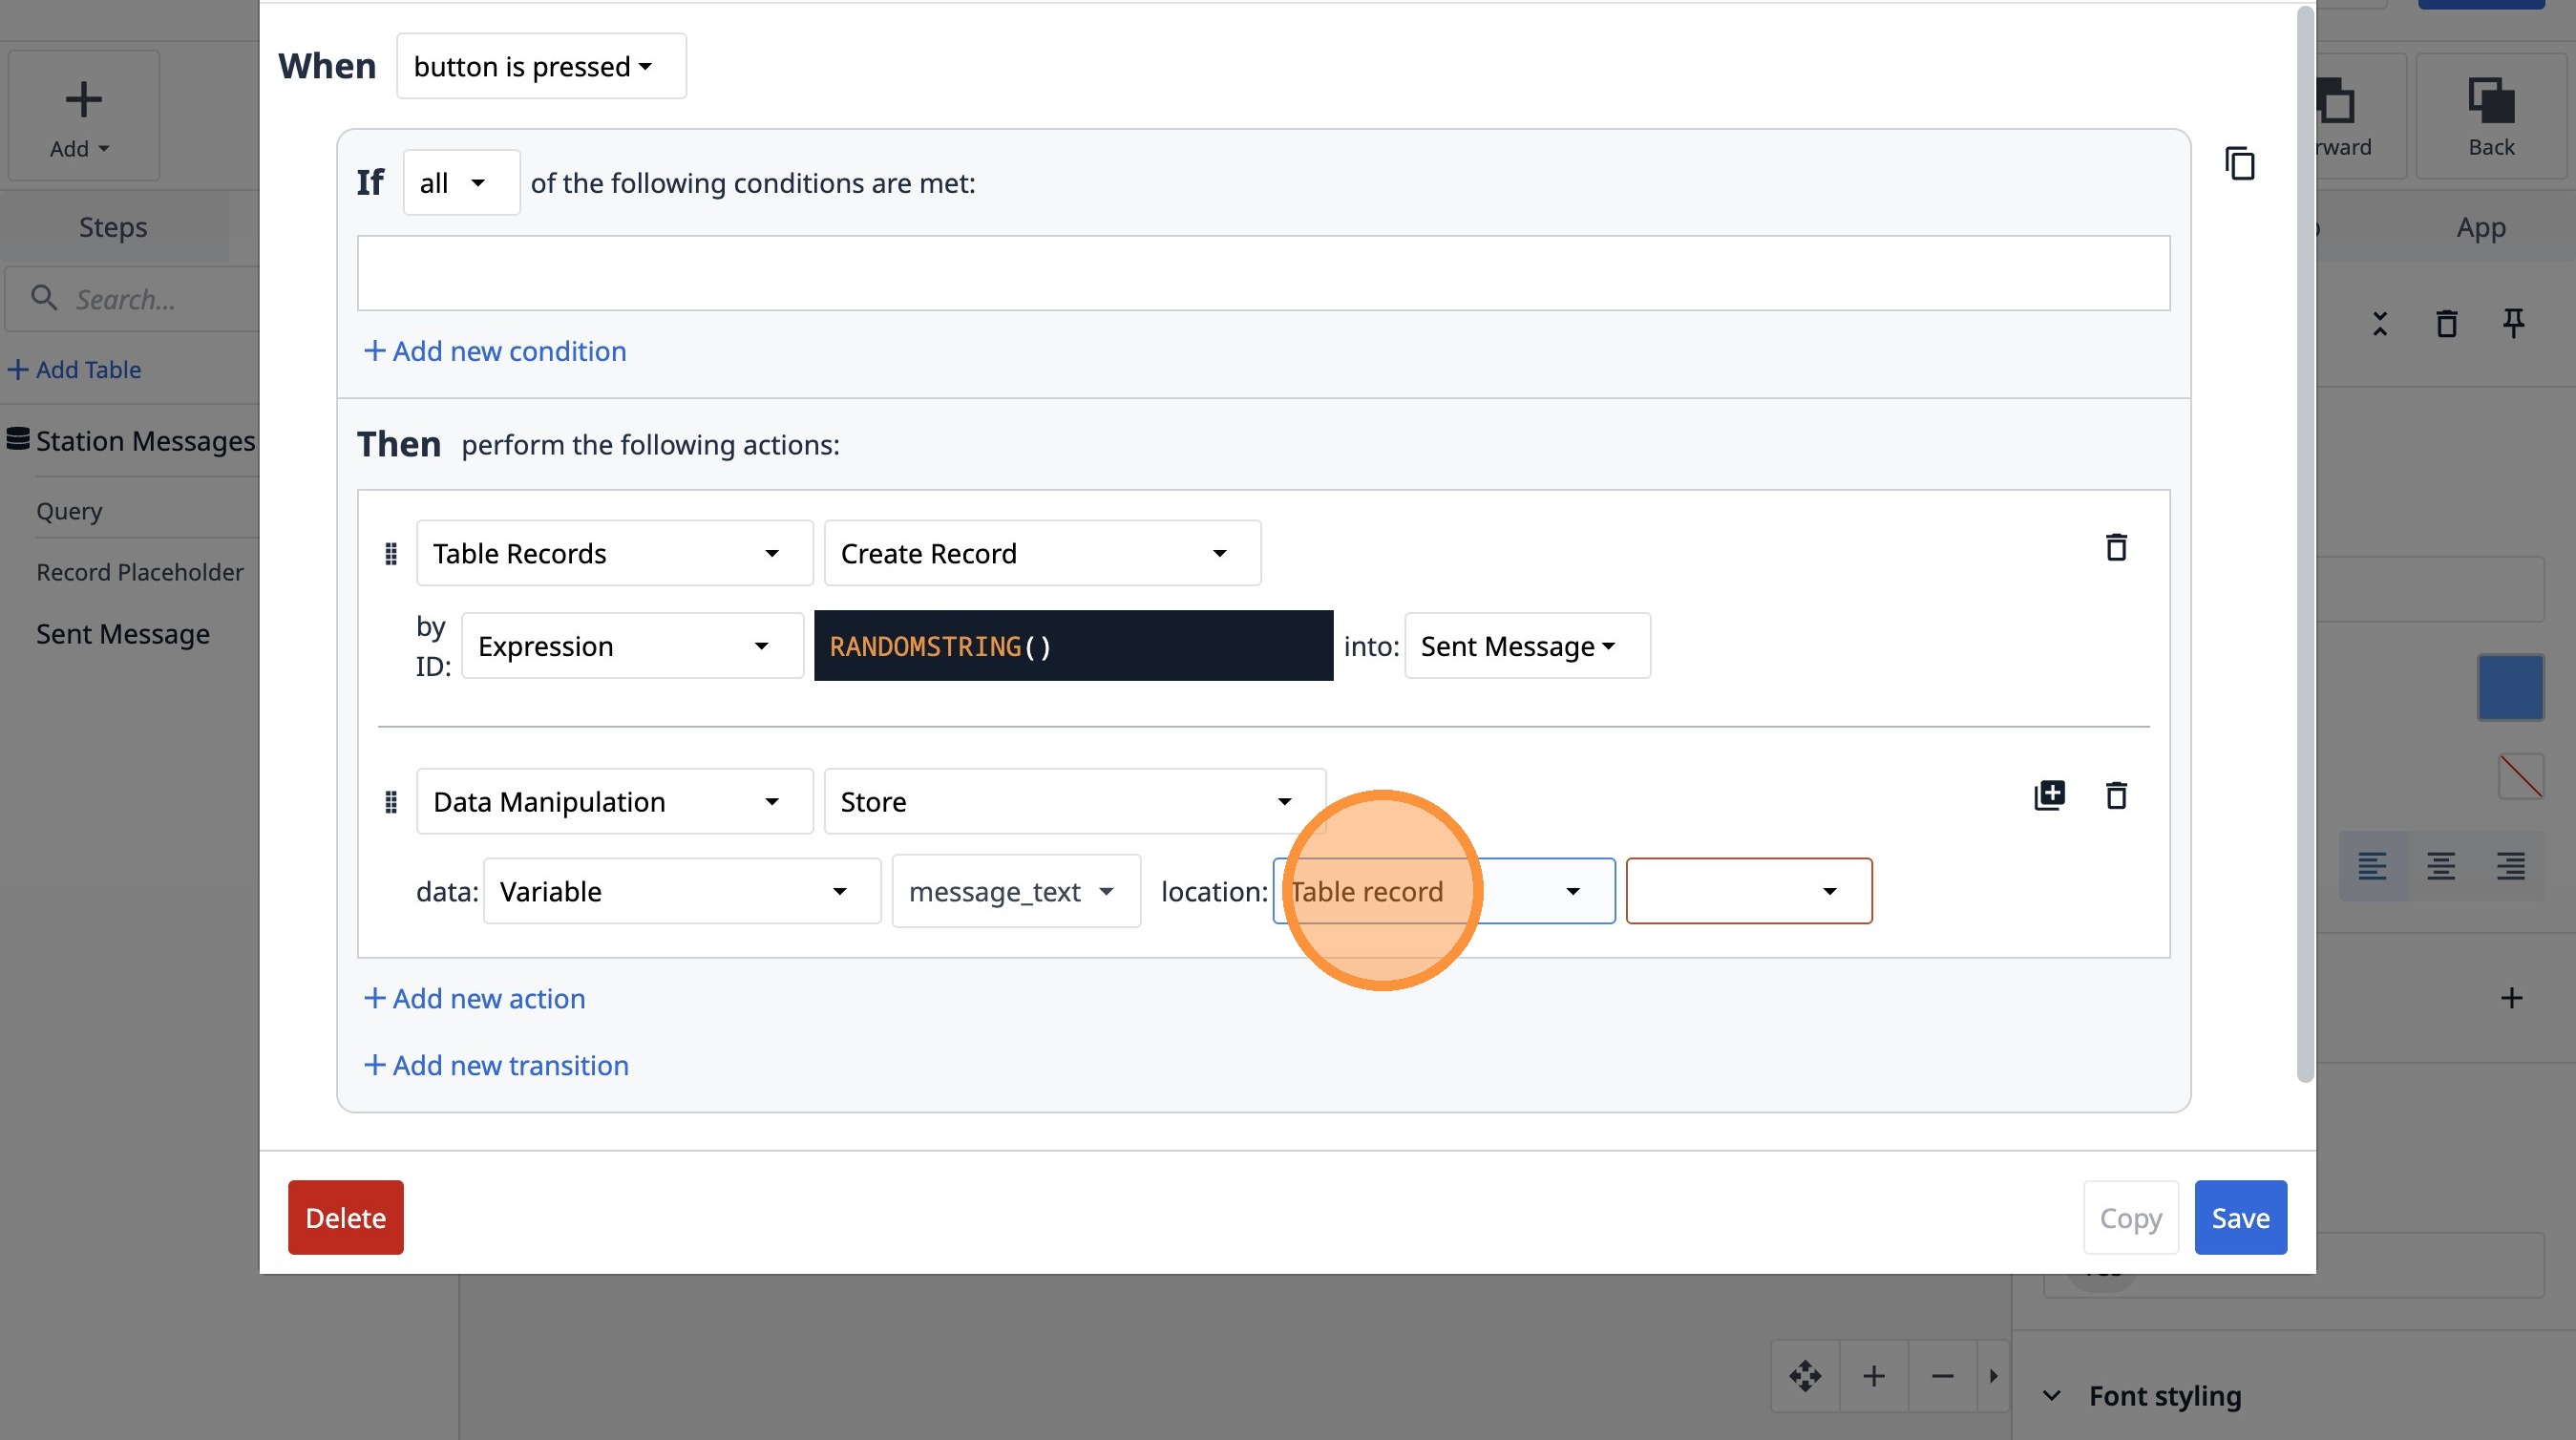
82. Switch to tab Tulip | Messenger App"
83. Select the "Table record" option.
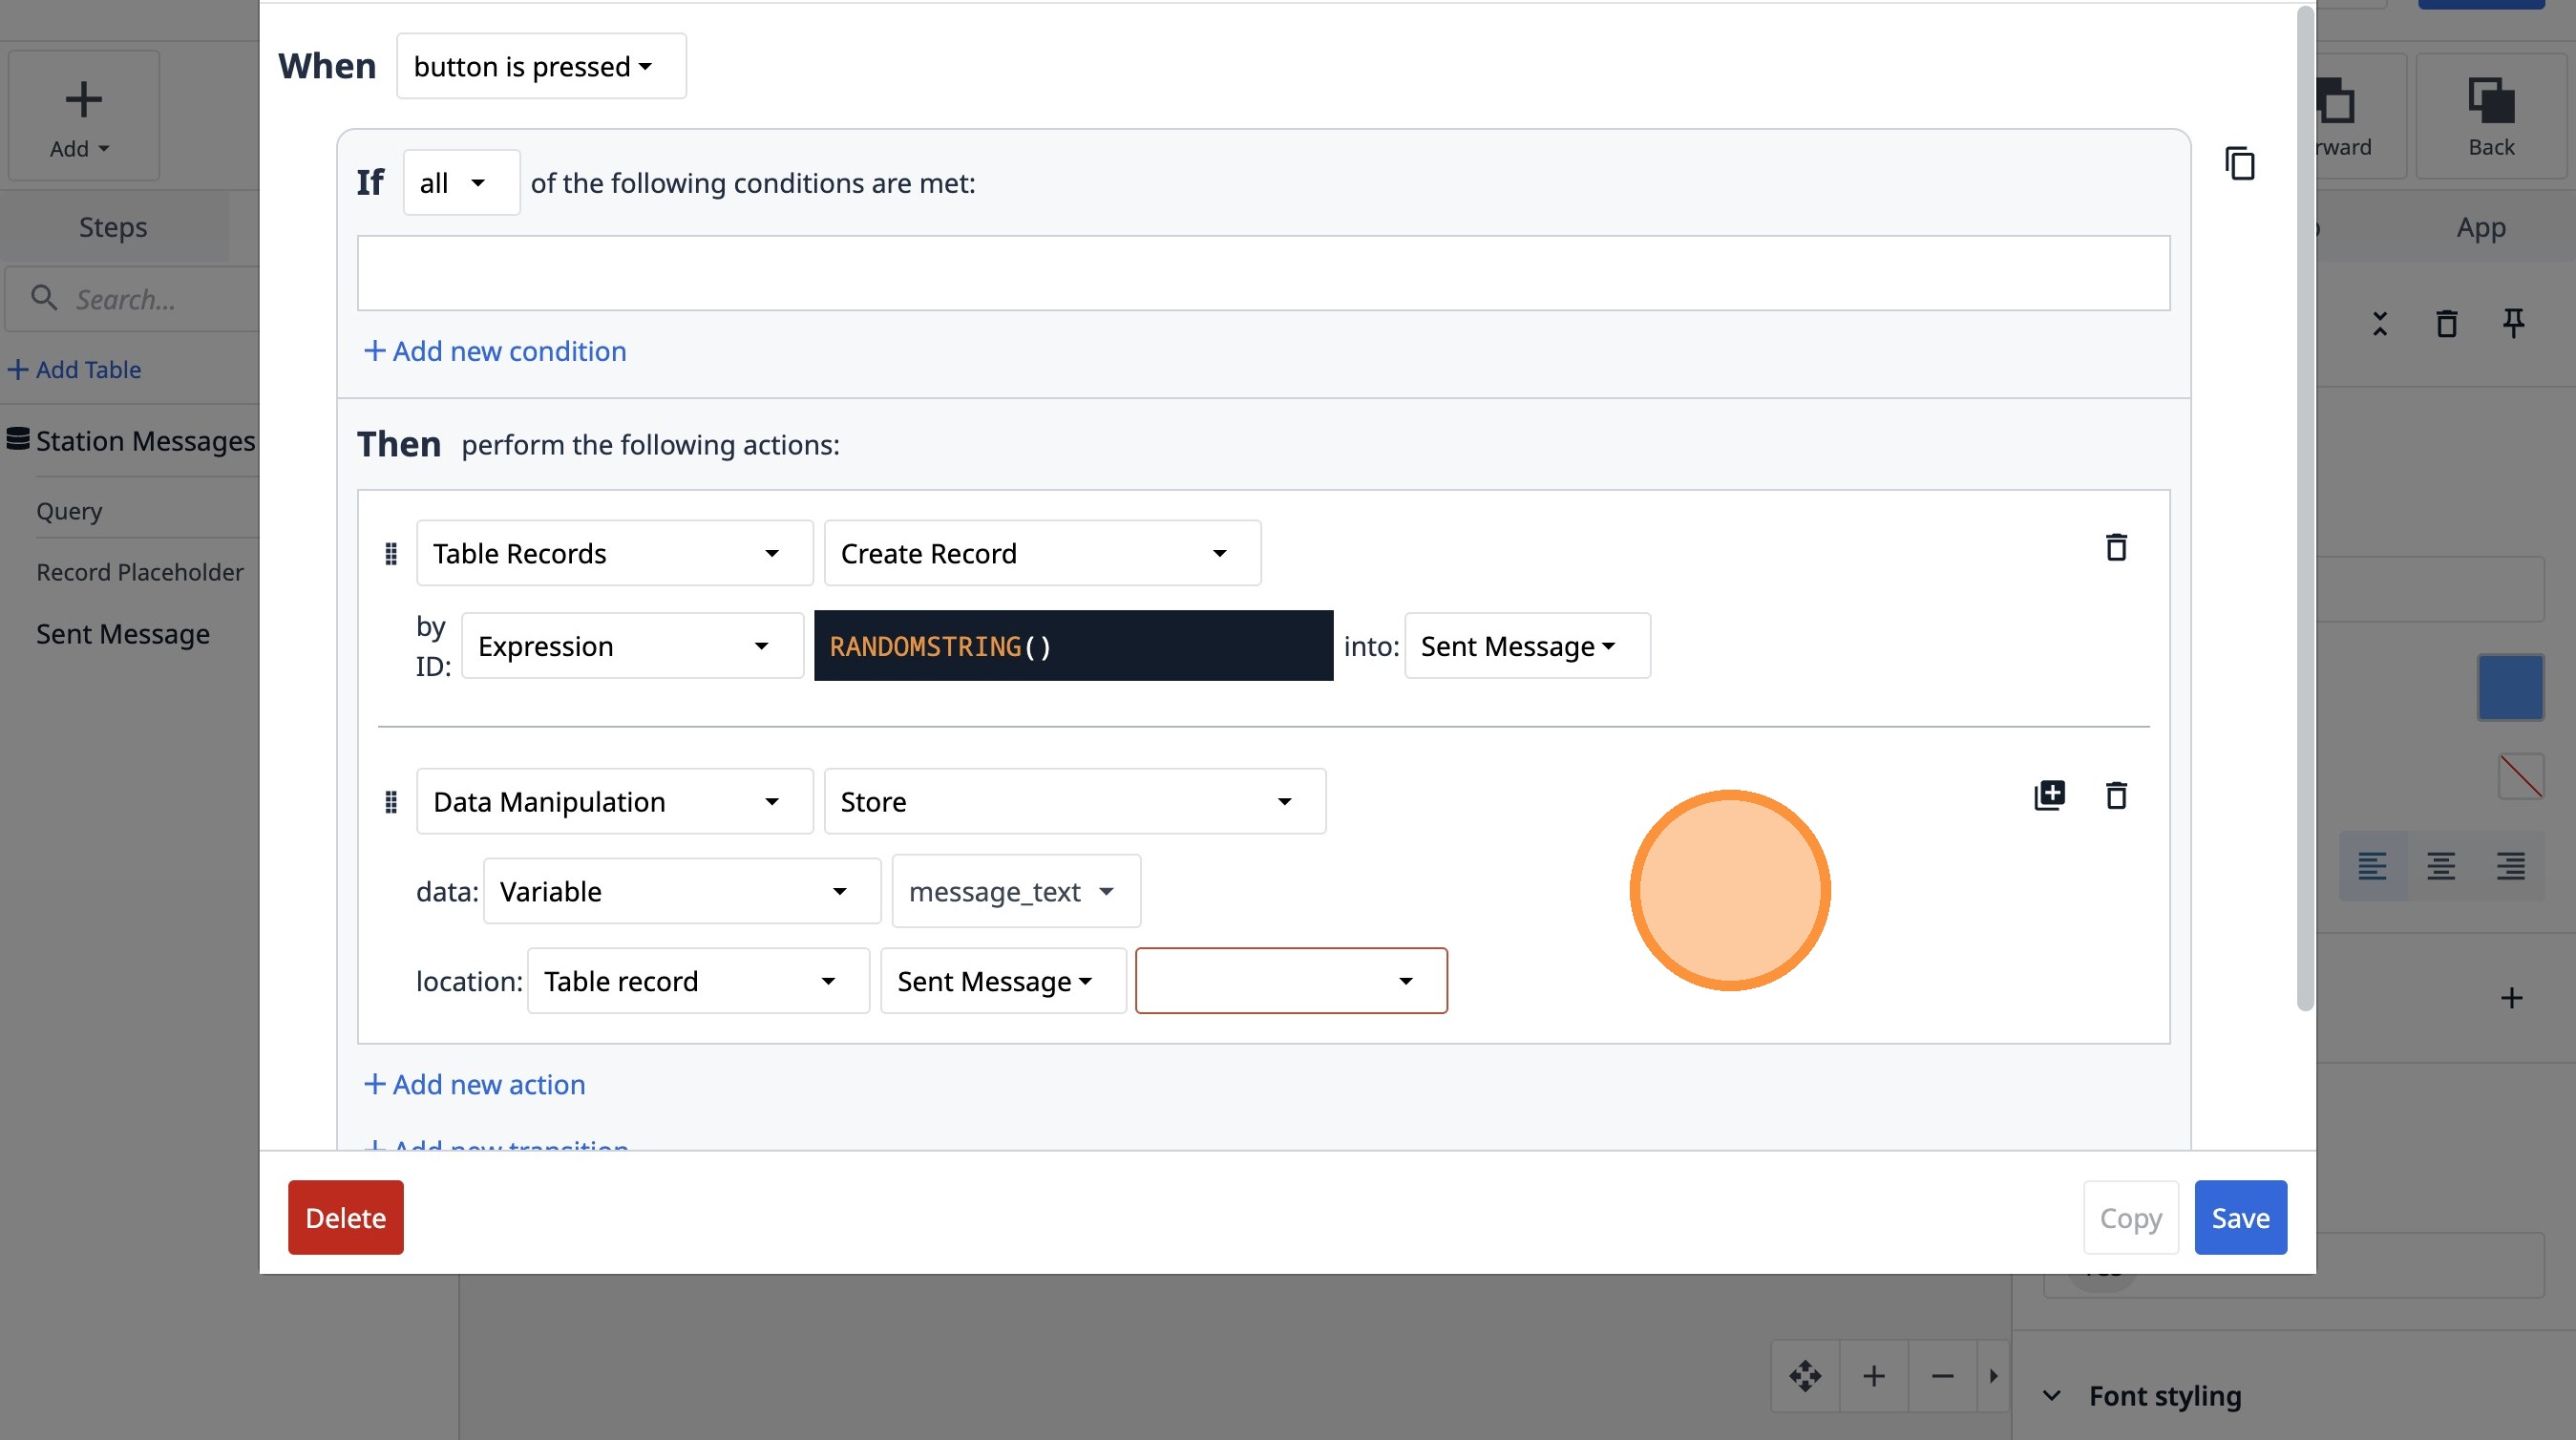
84. Select the "AXWEEwyJB2E3XhjYv" option.
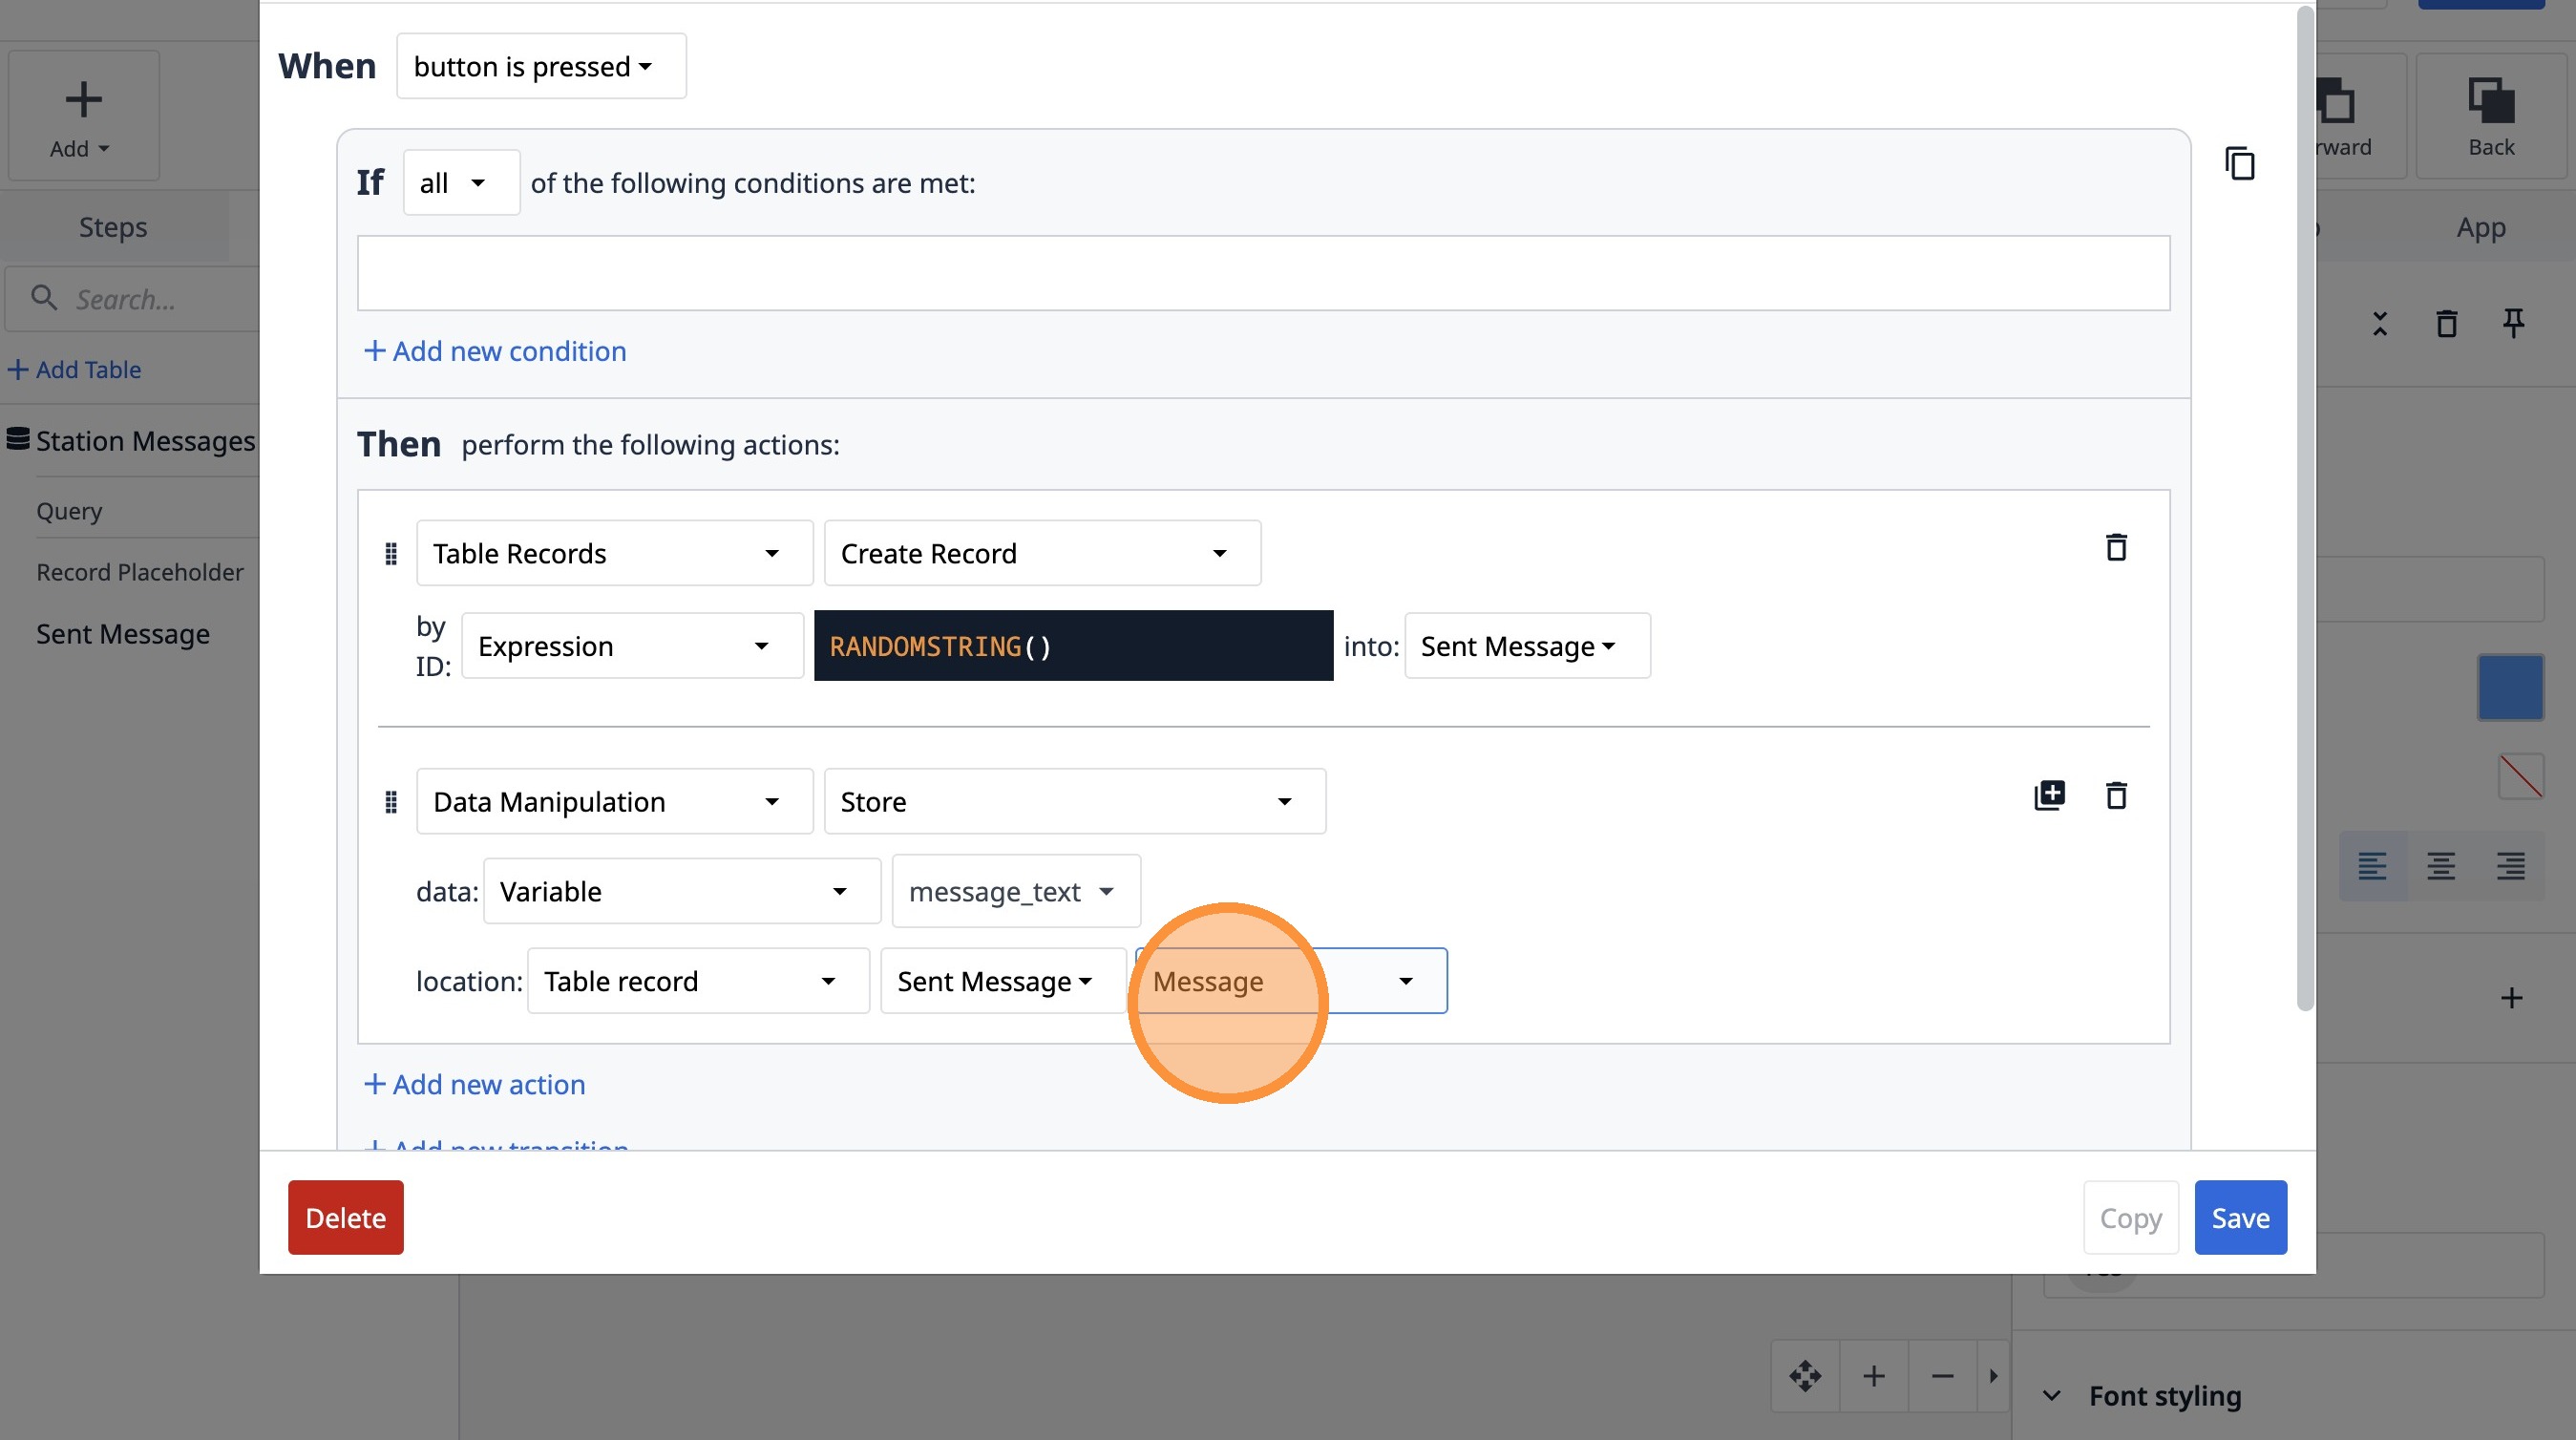
85. Select the "Message" option.
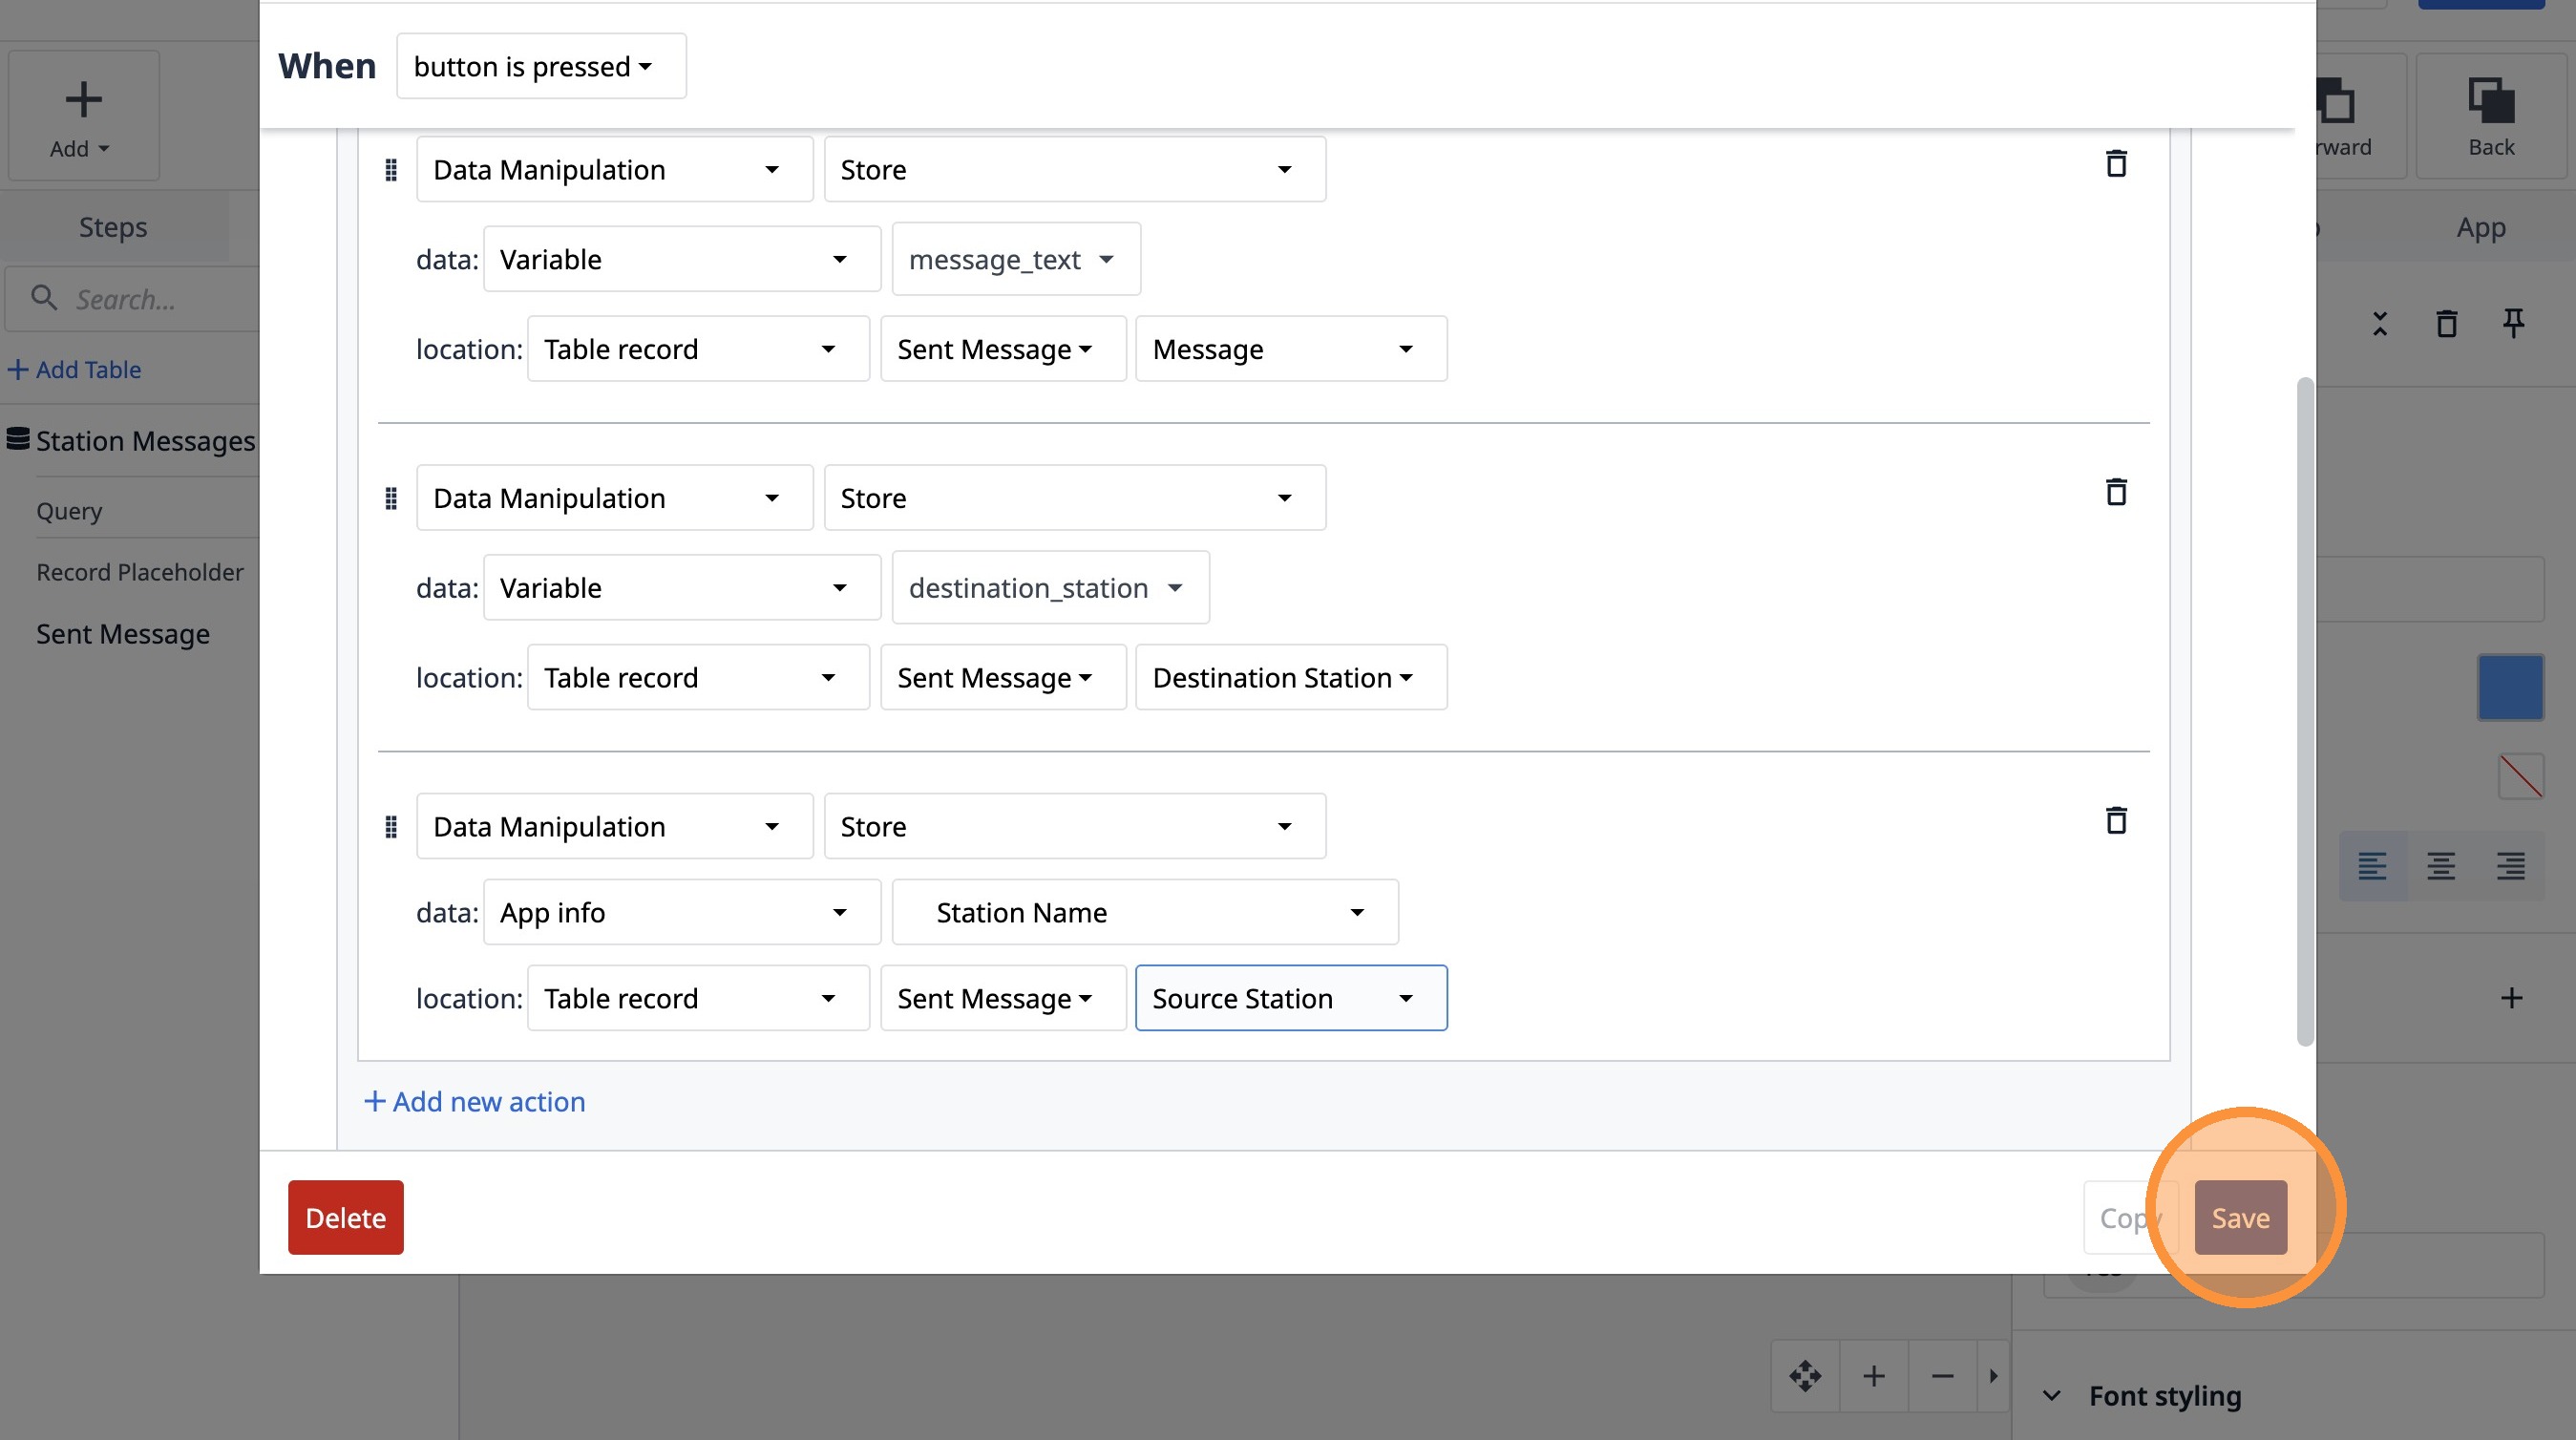
86. Click "Add new action"
87. Select the "Data Manipulation" option.
88. Select the "Store" option.
89. Select the "Variable" option.
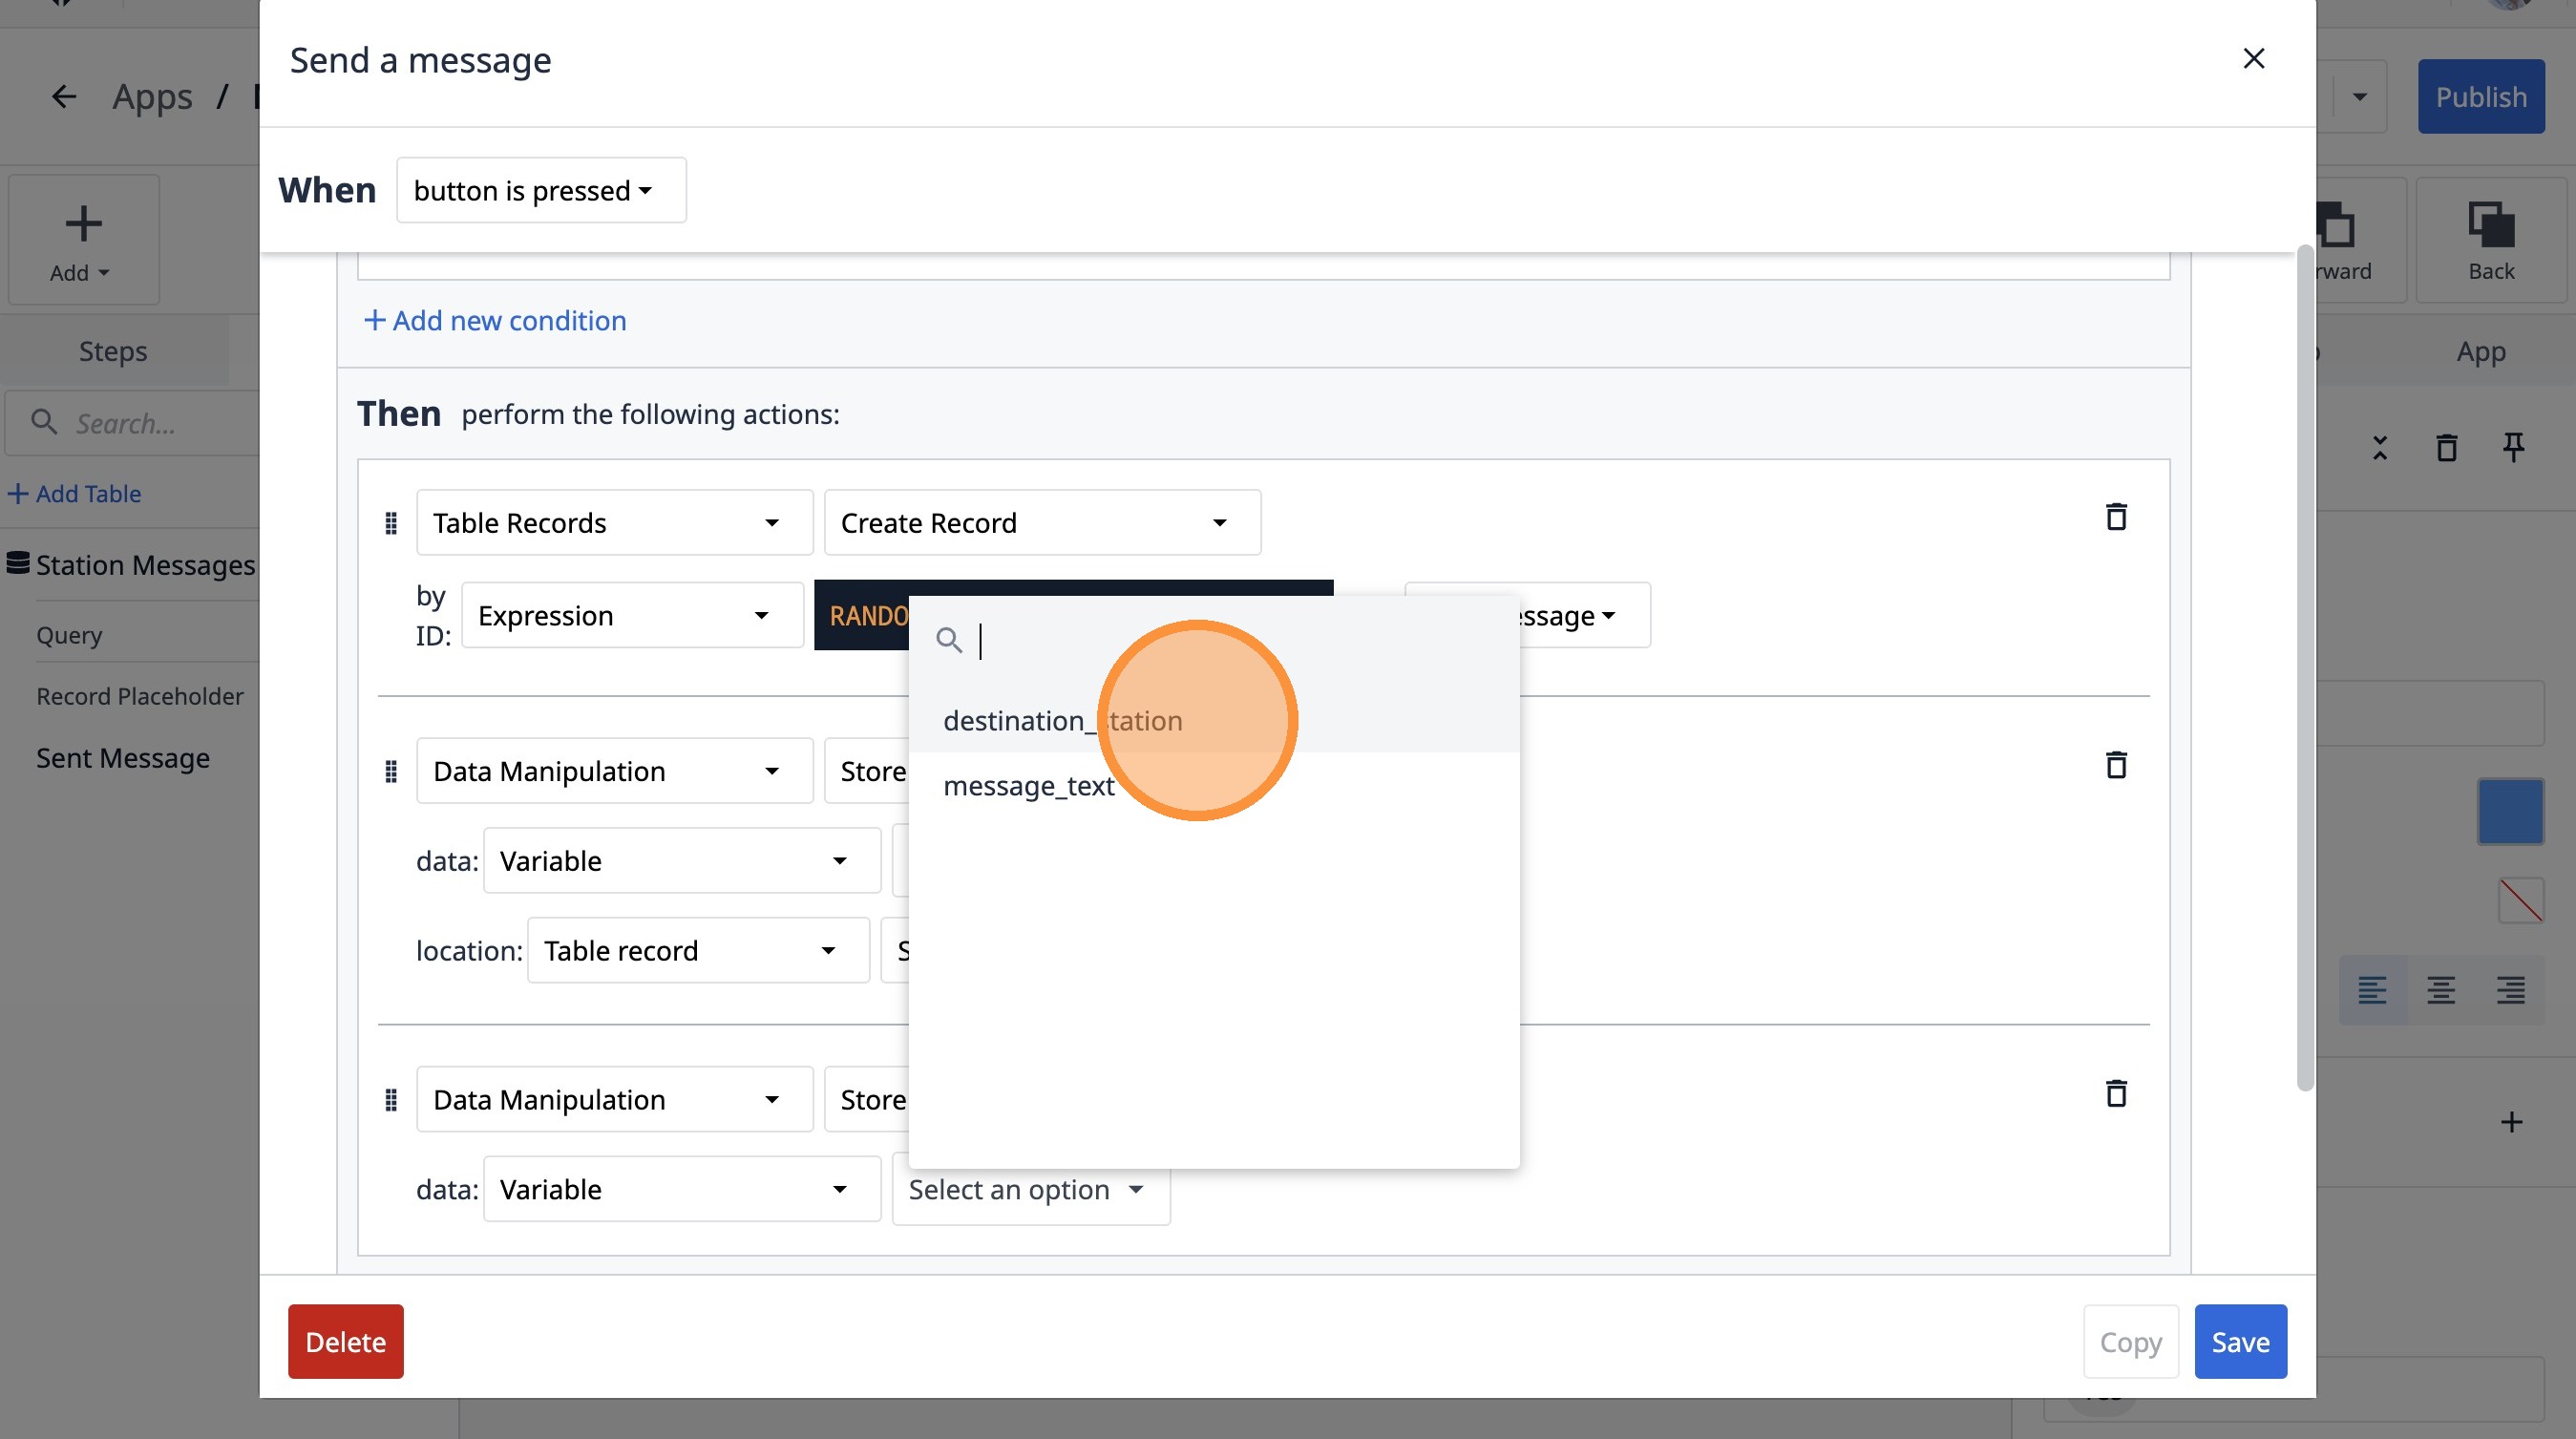
90. Click "Select an option"
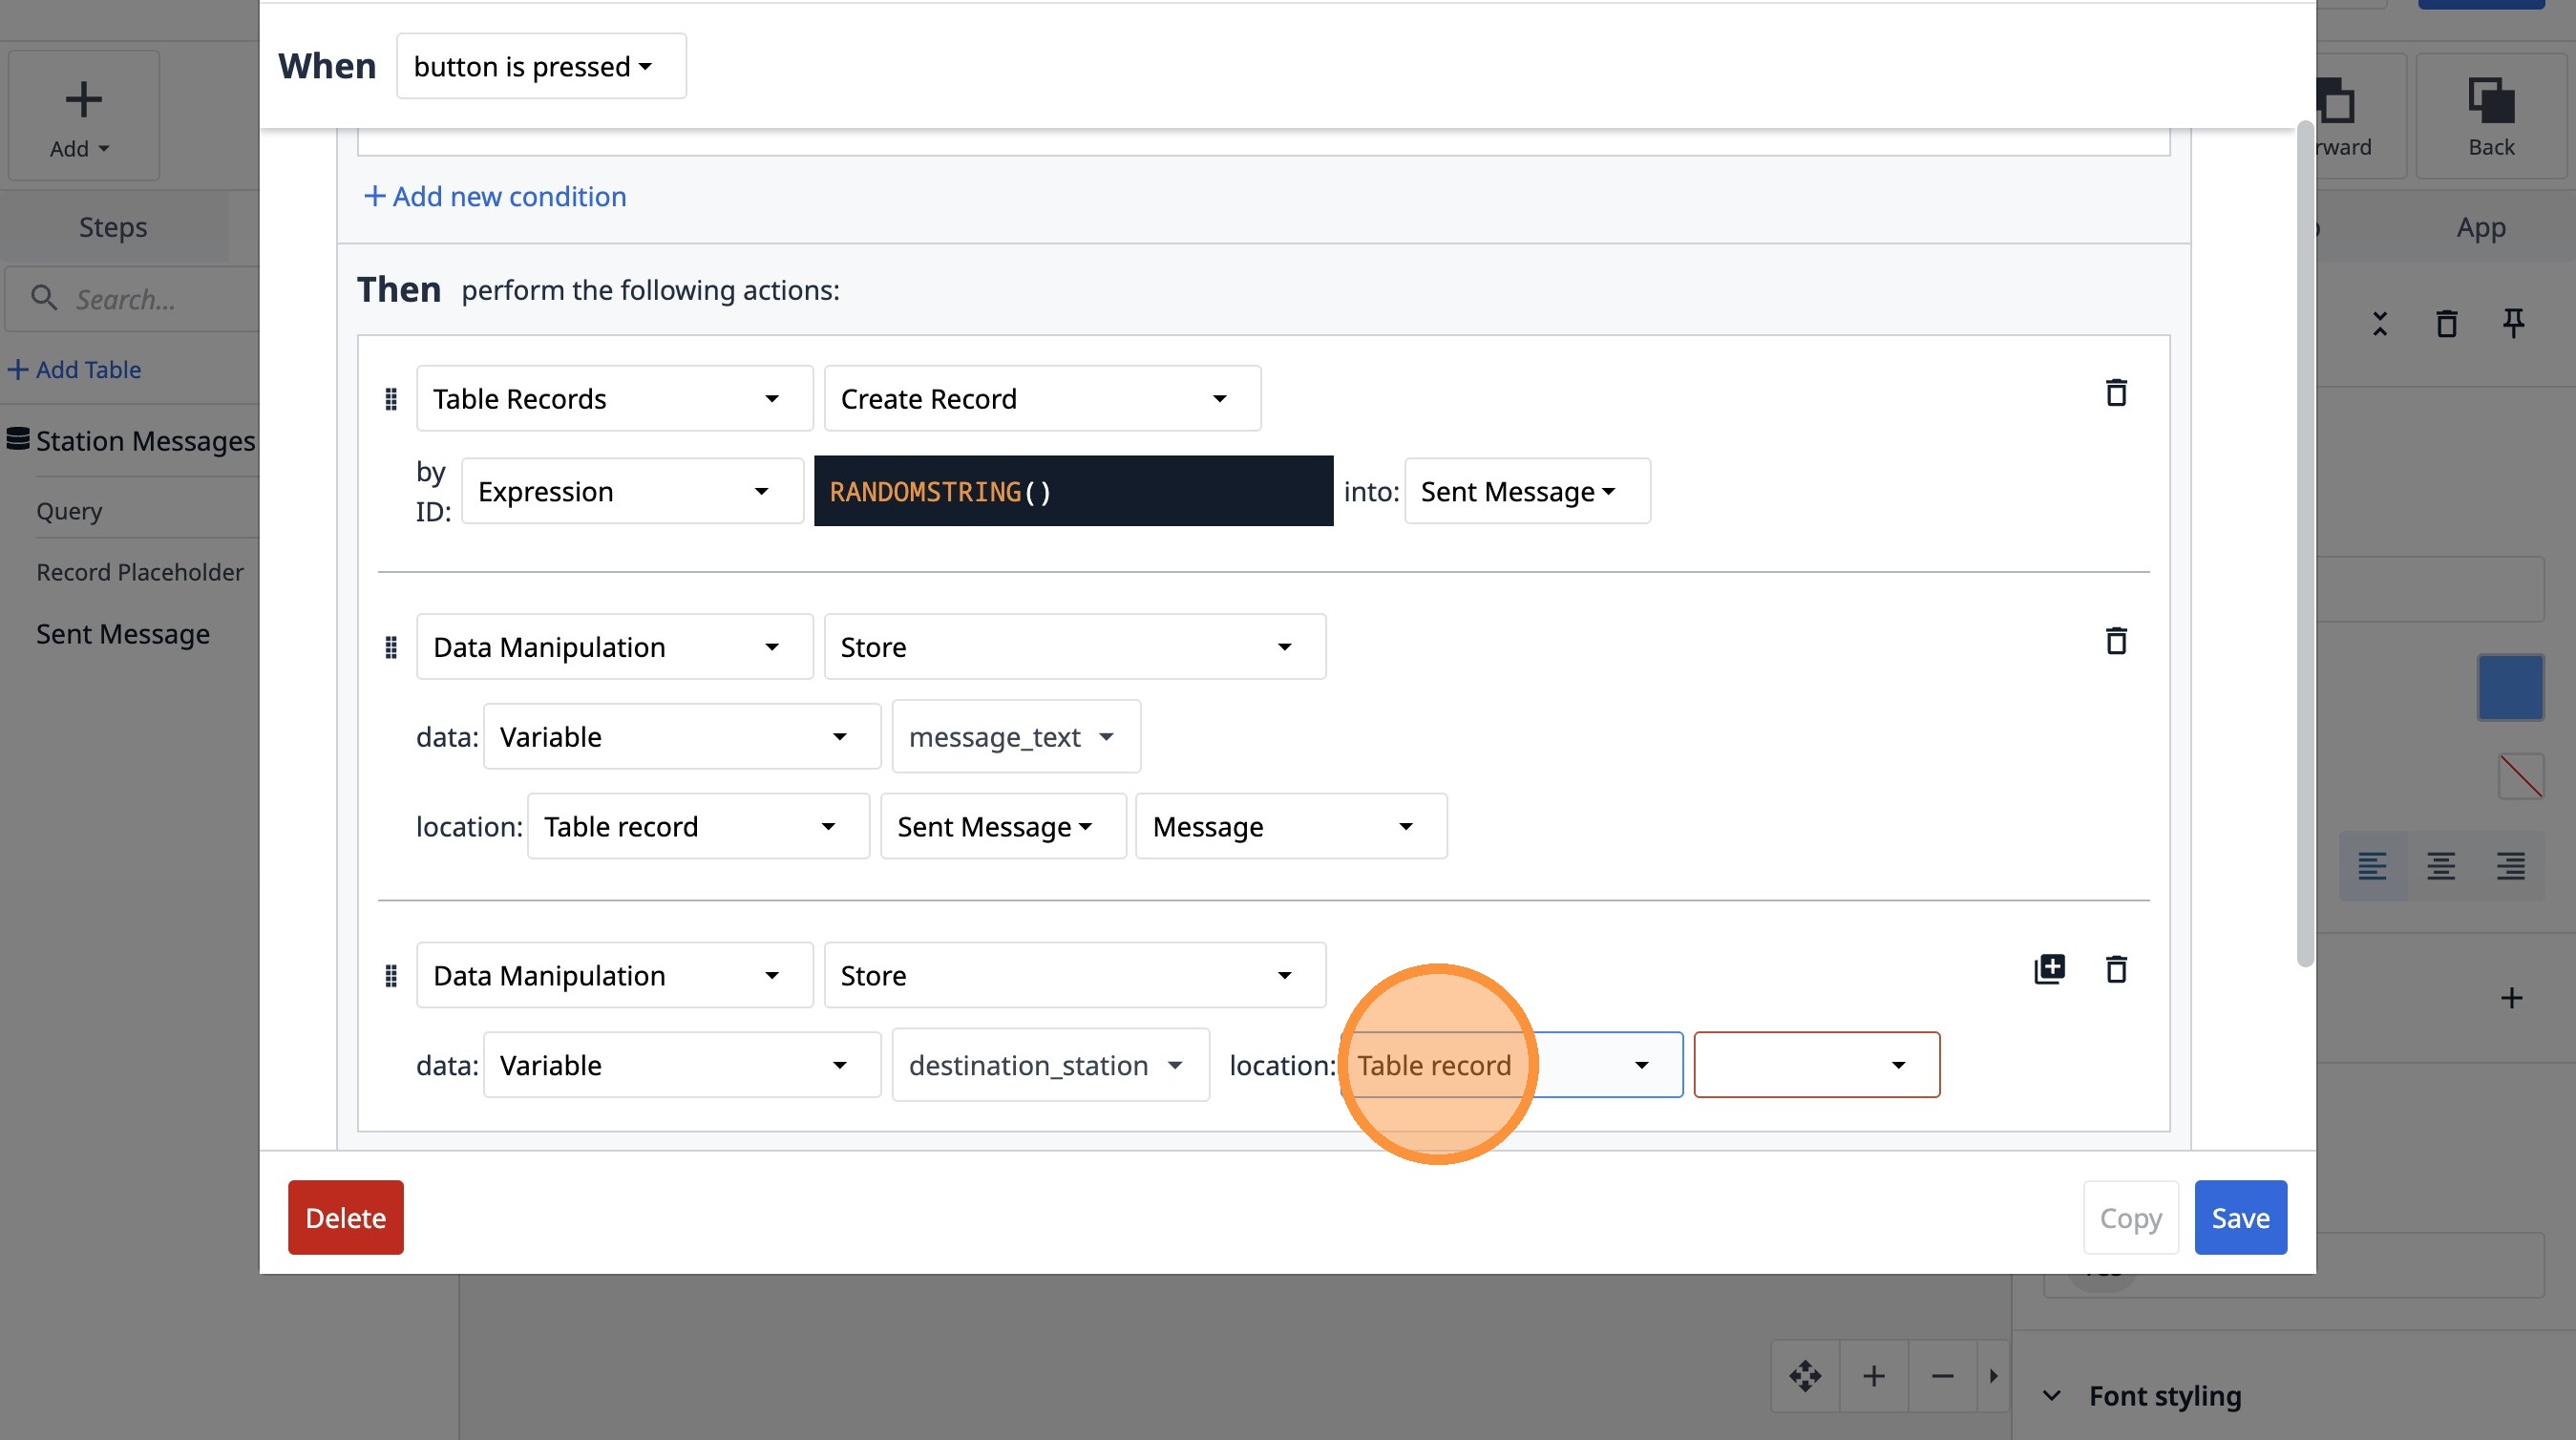
91. Click "destination_station"
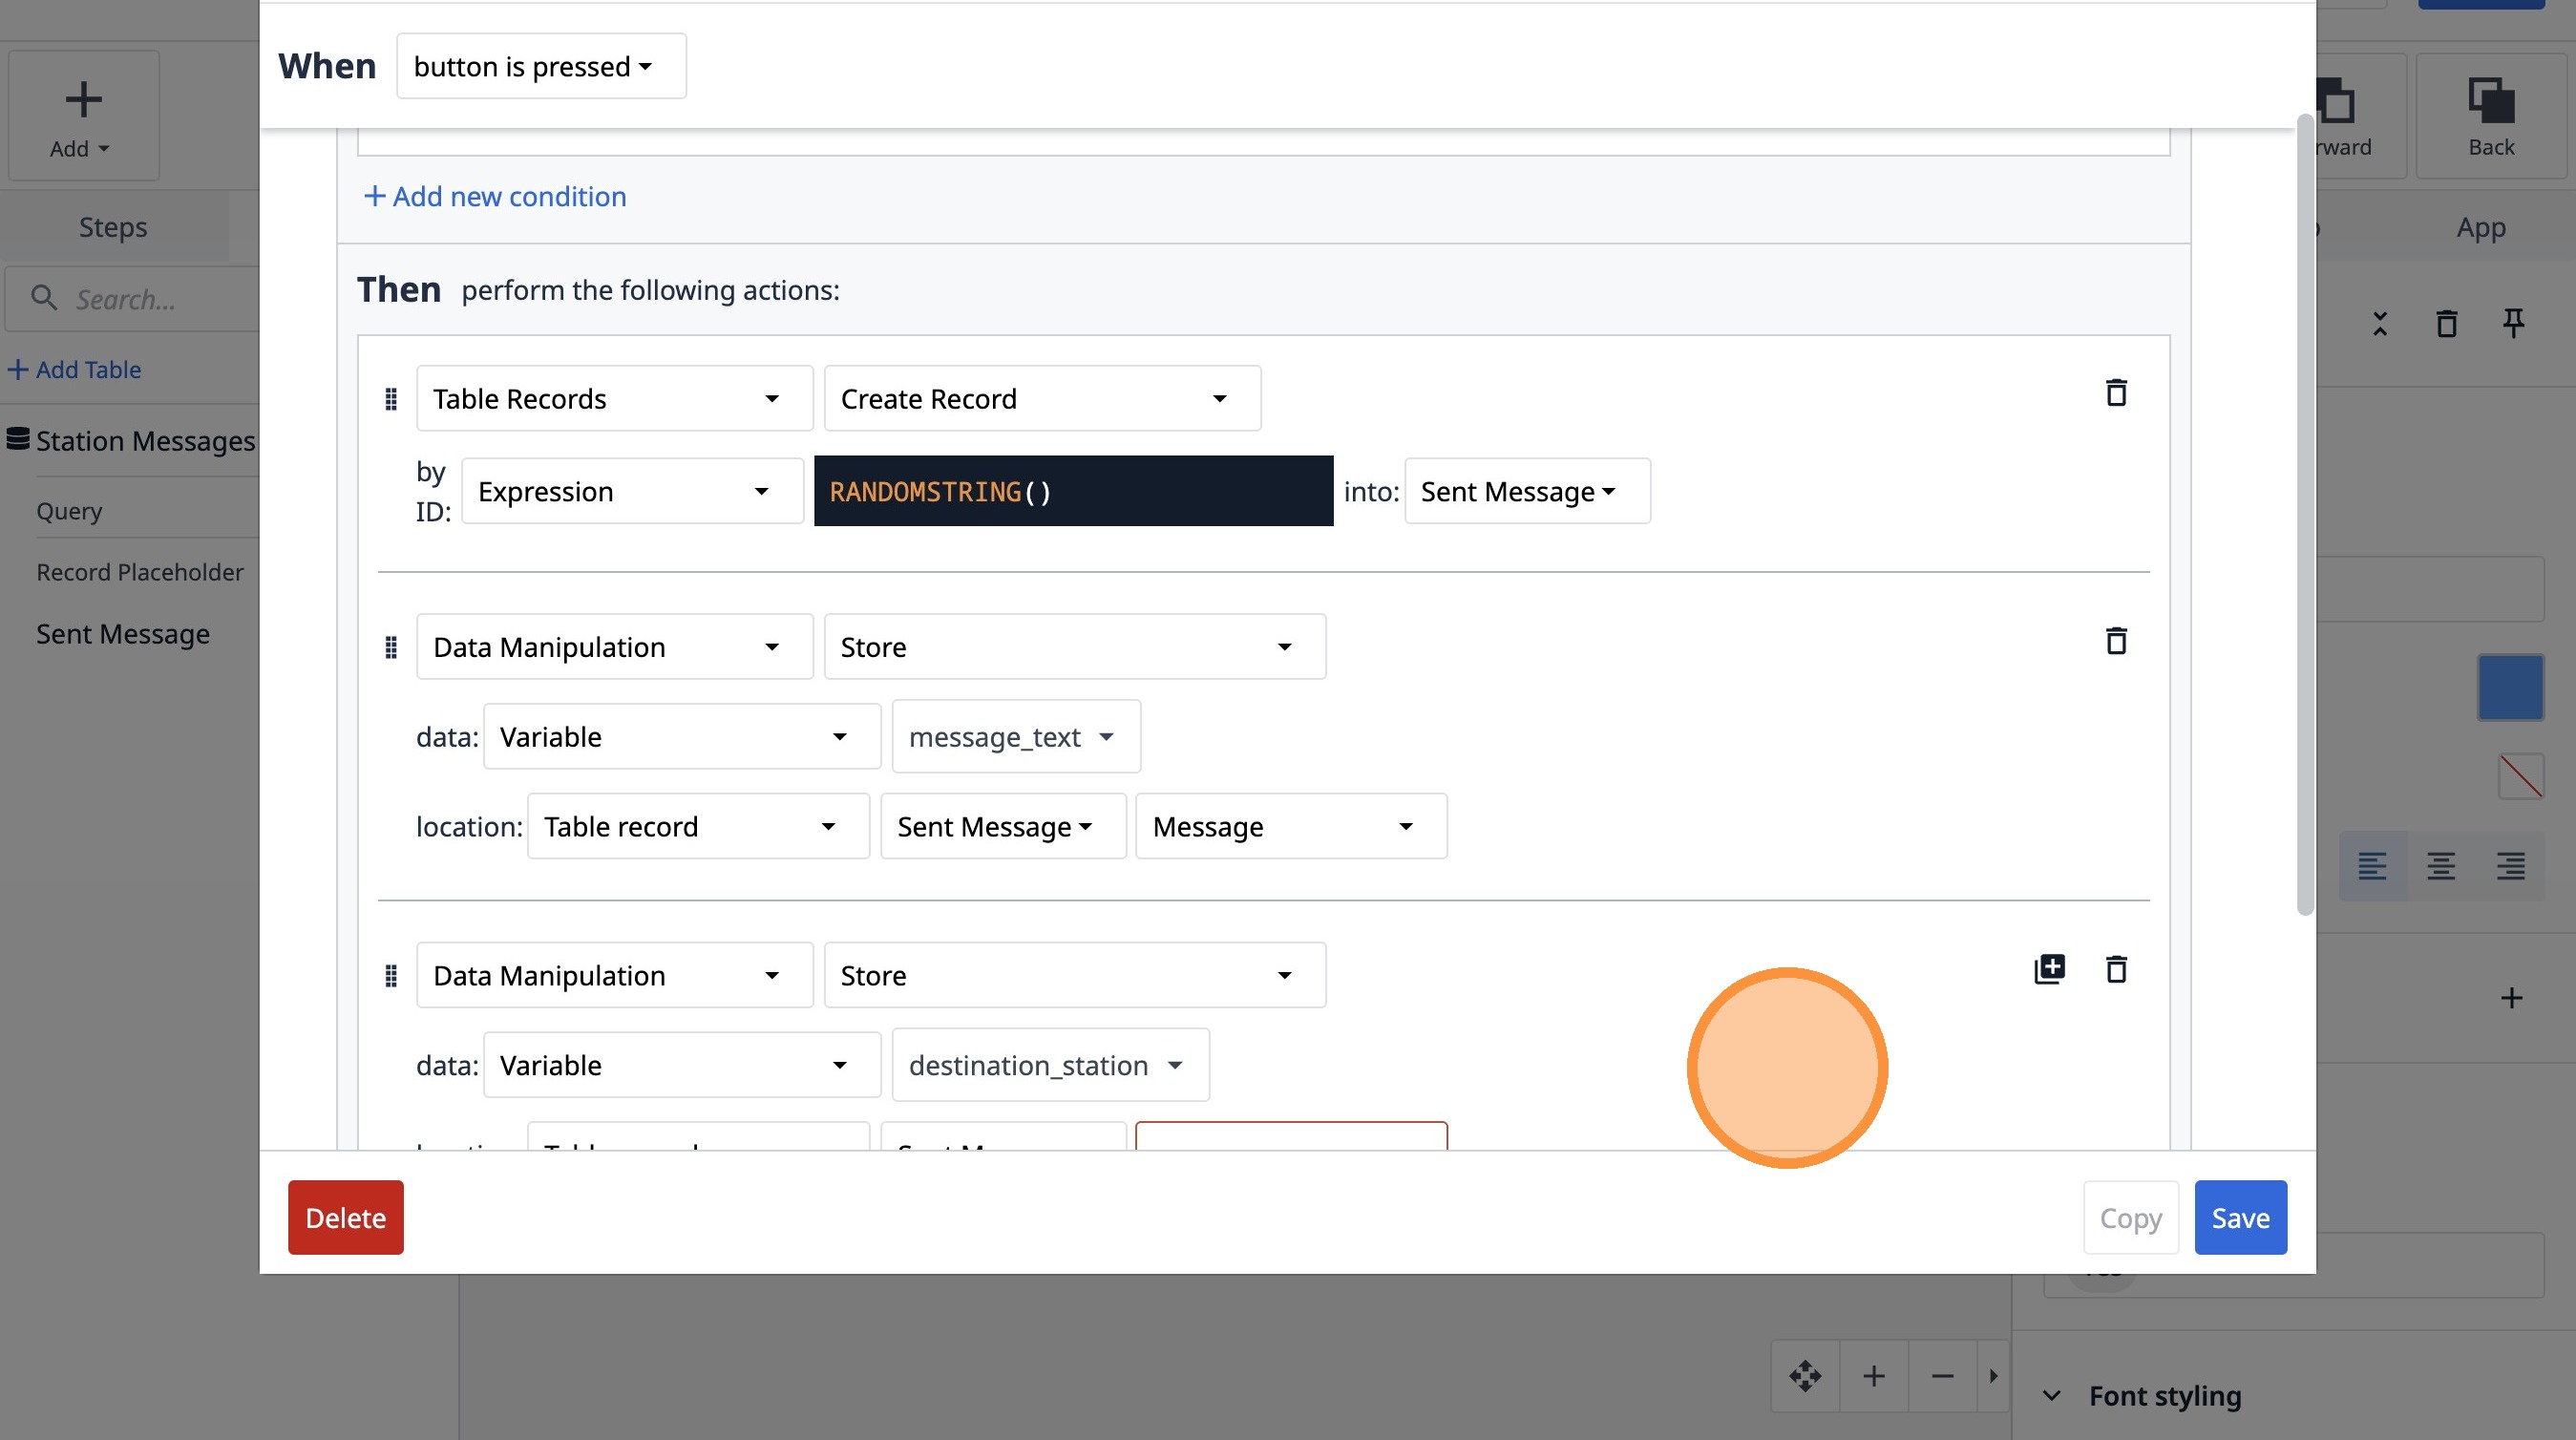
92. Select the "Table record" option.
93. Select the "pPpBX5DBjzXgwwqqd" option.
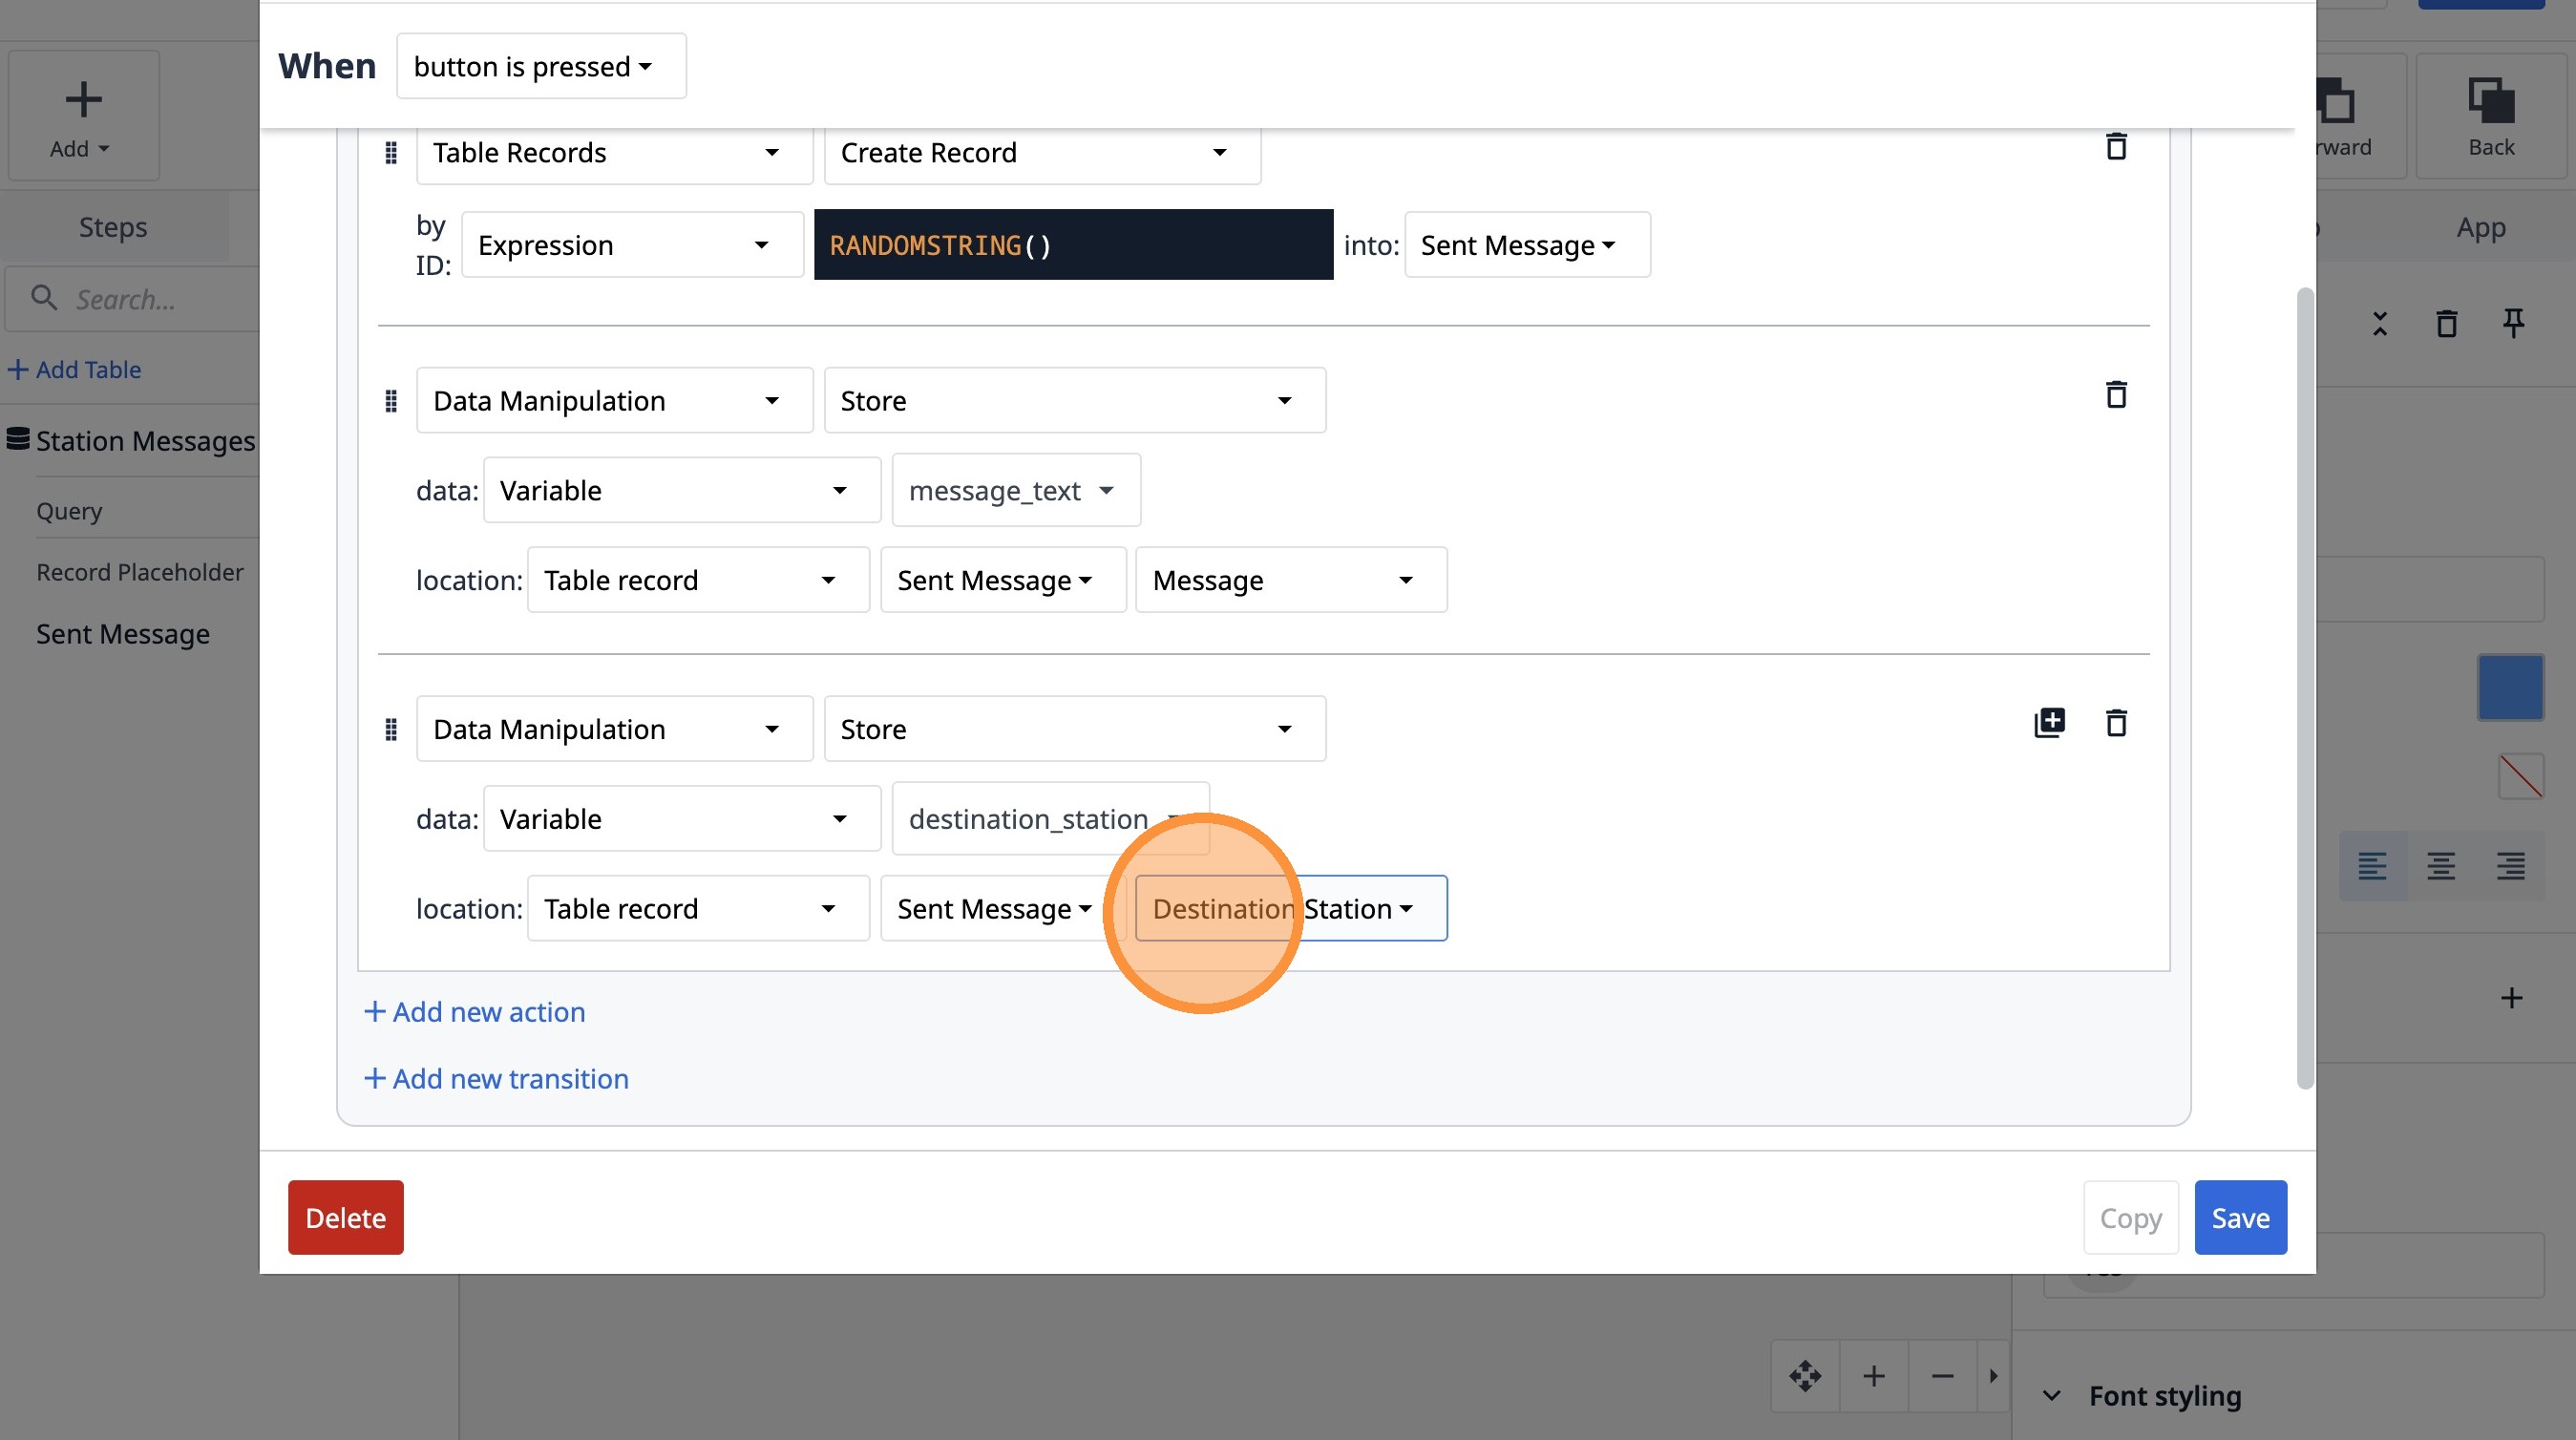
94. Select the "Destination Station" option.
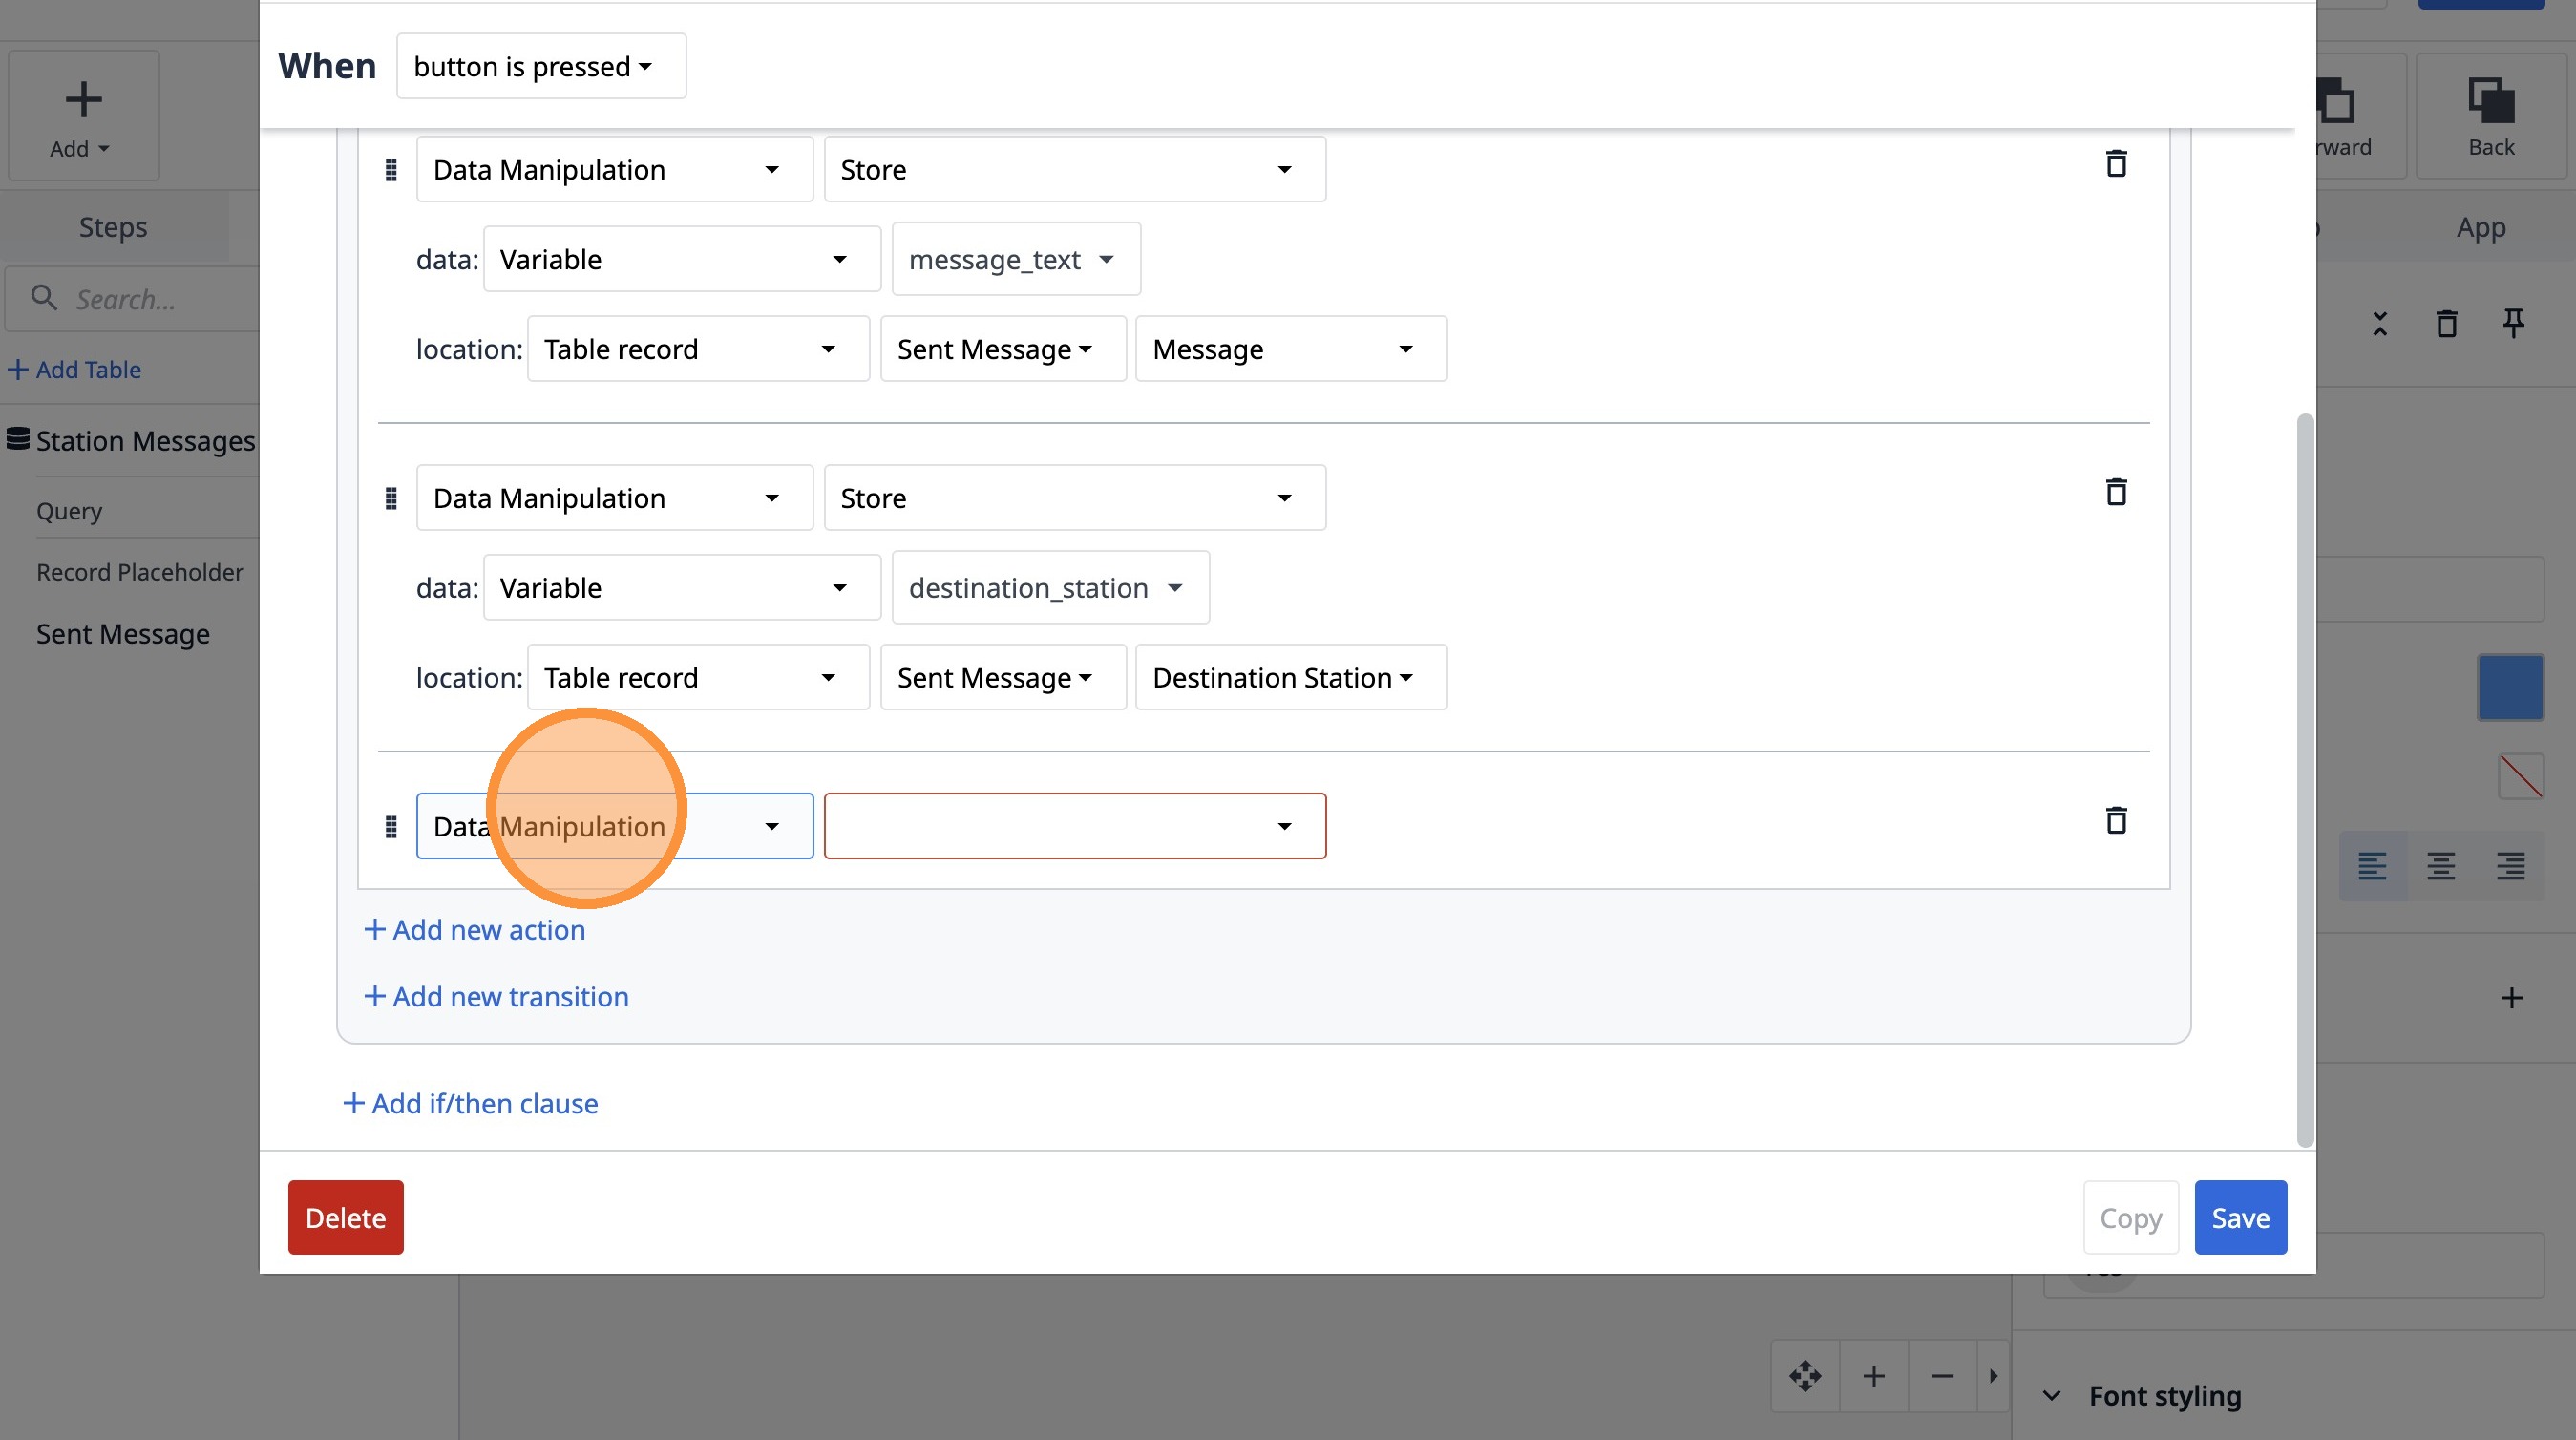
95. Click "Add new action"

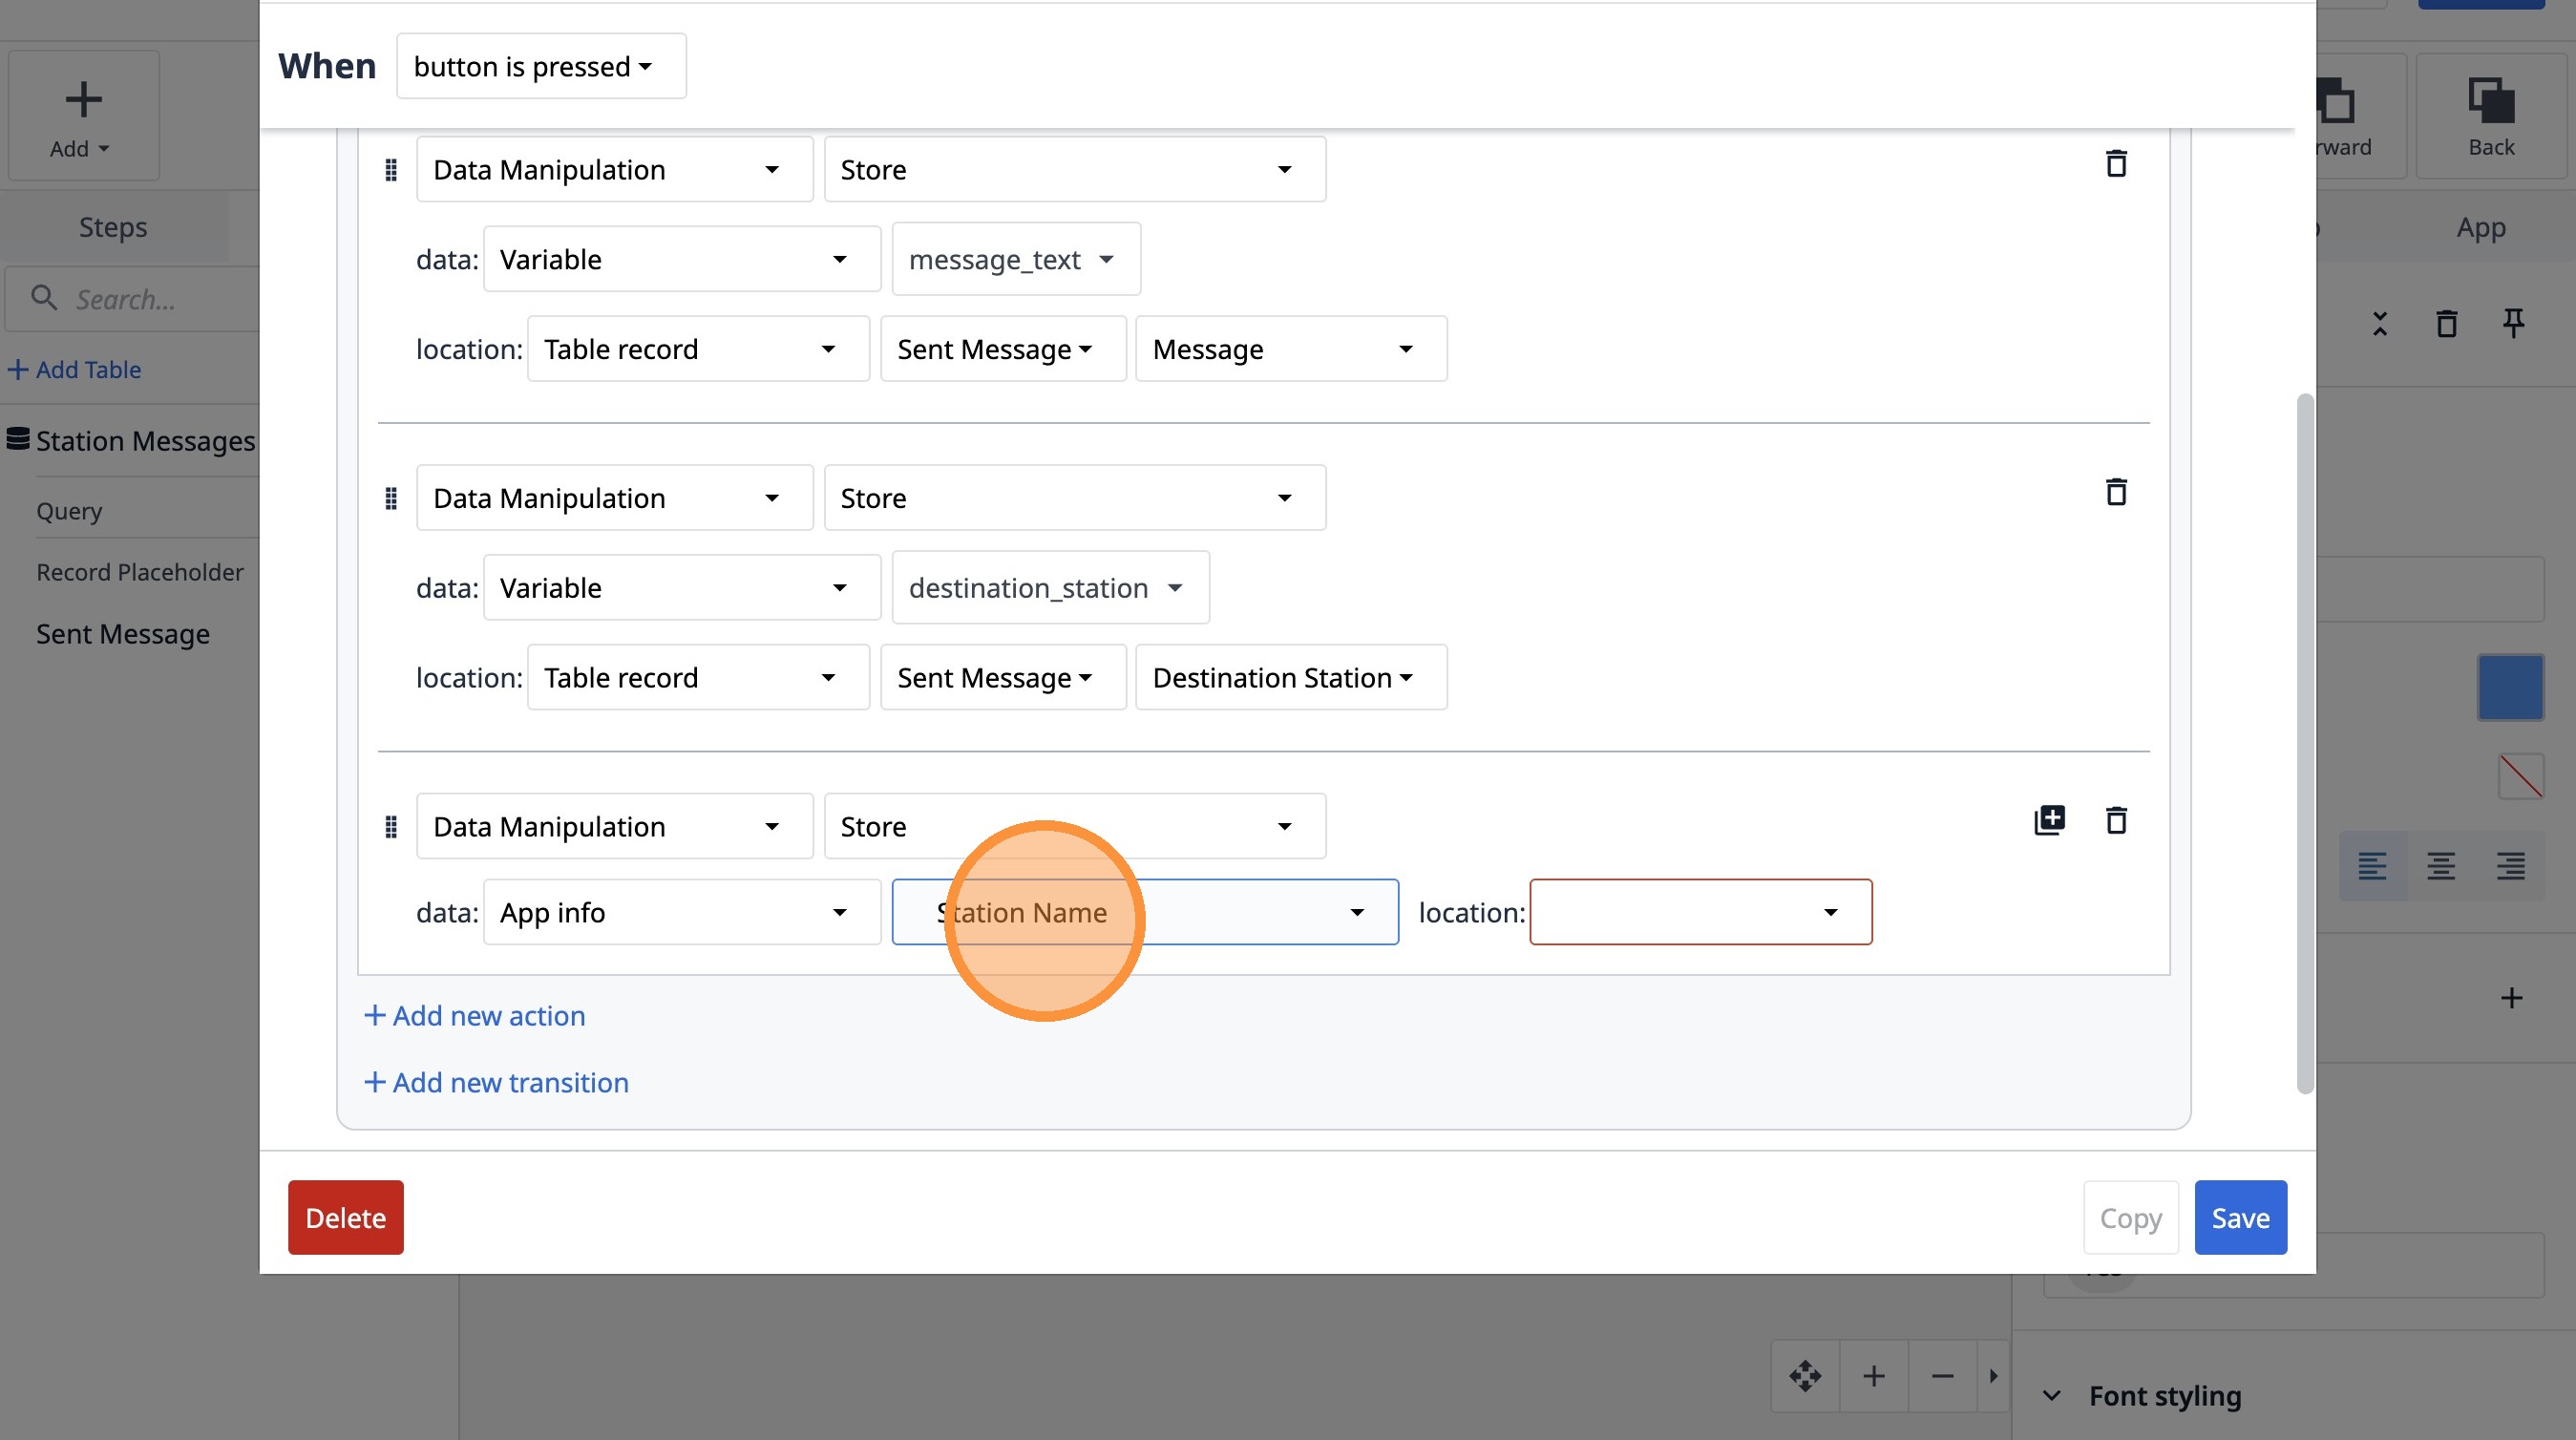
96. Select the "Data Manipulation" option.
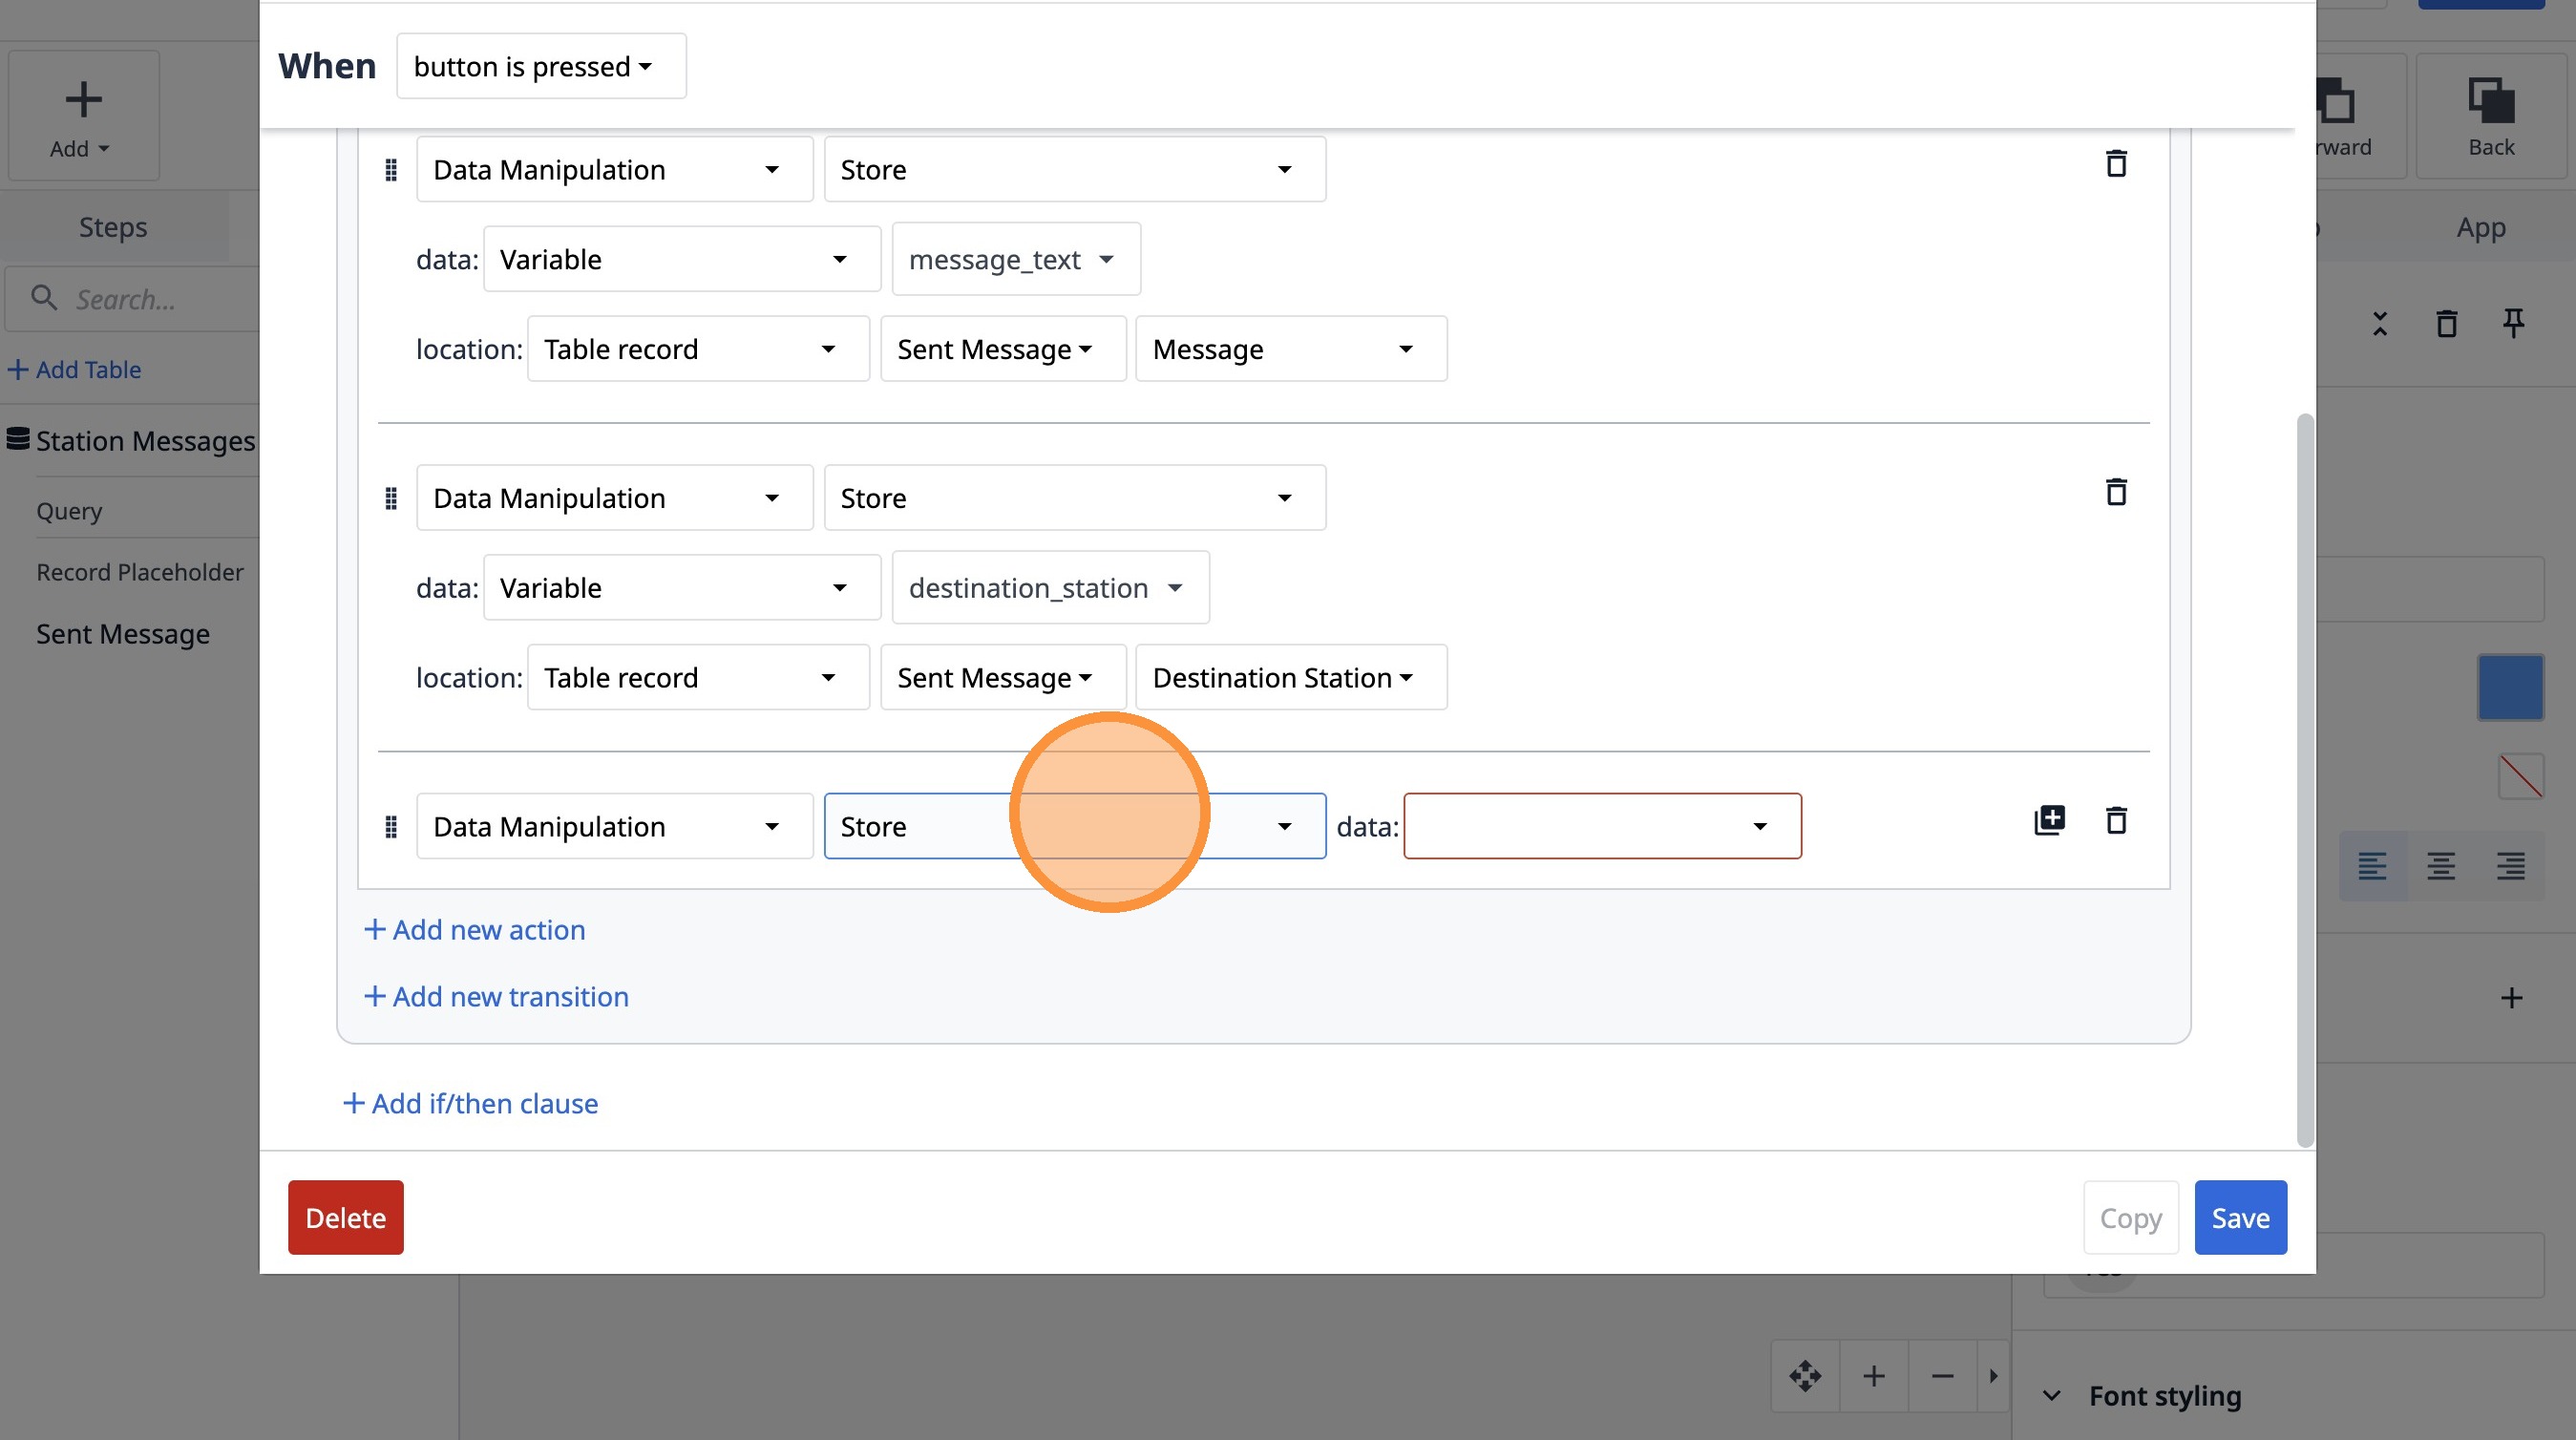
97. Select the "Store" option.
98. Select the "App info" option.
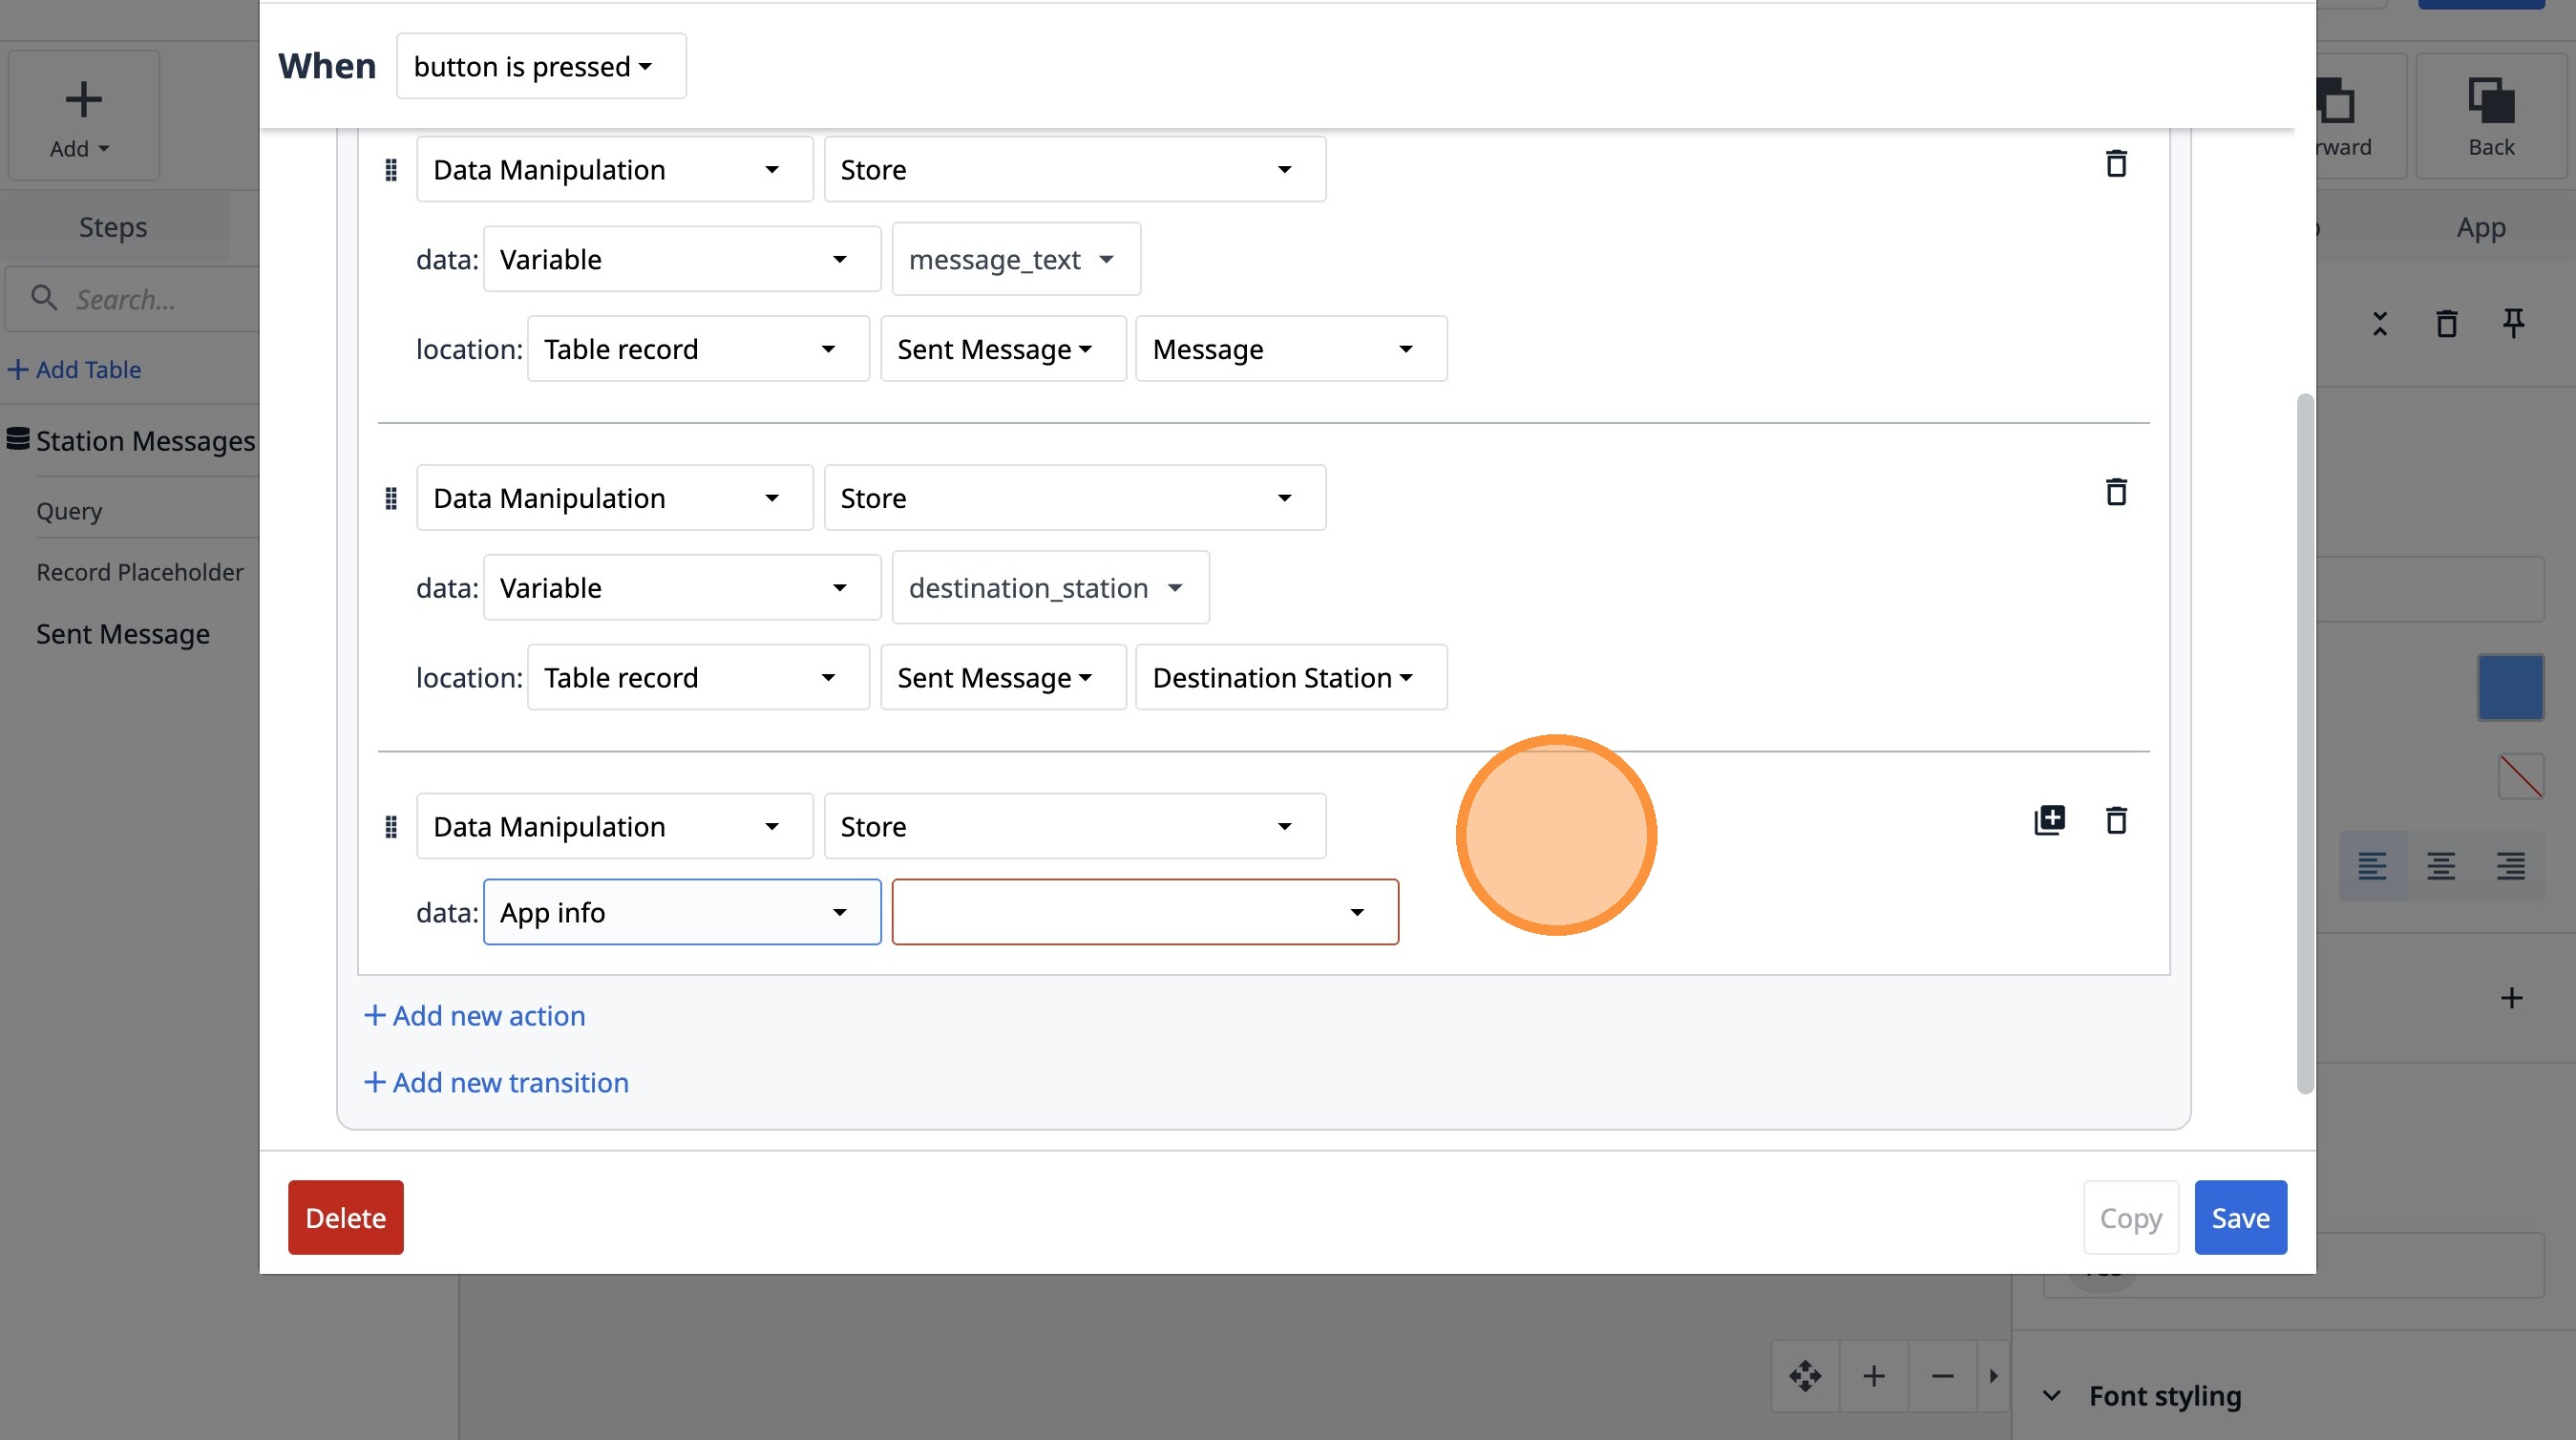
99. Select the " Station Name" option.
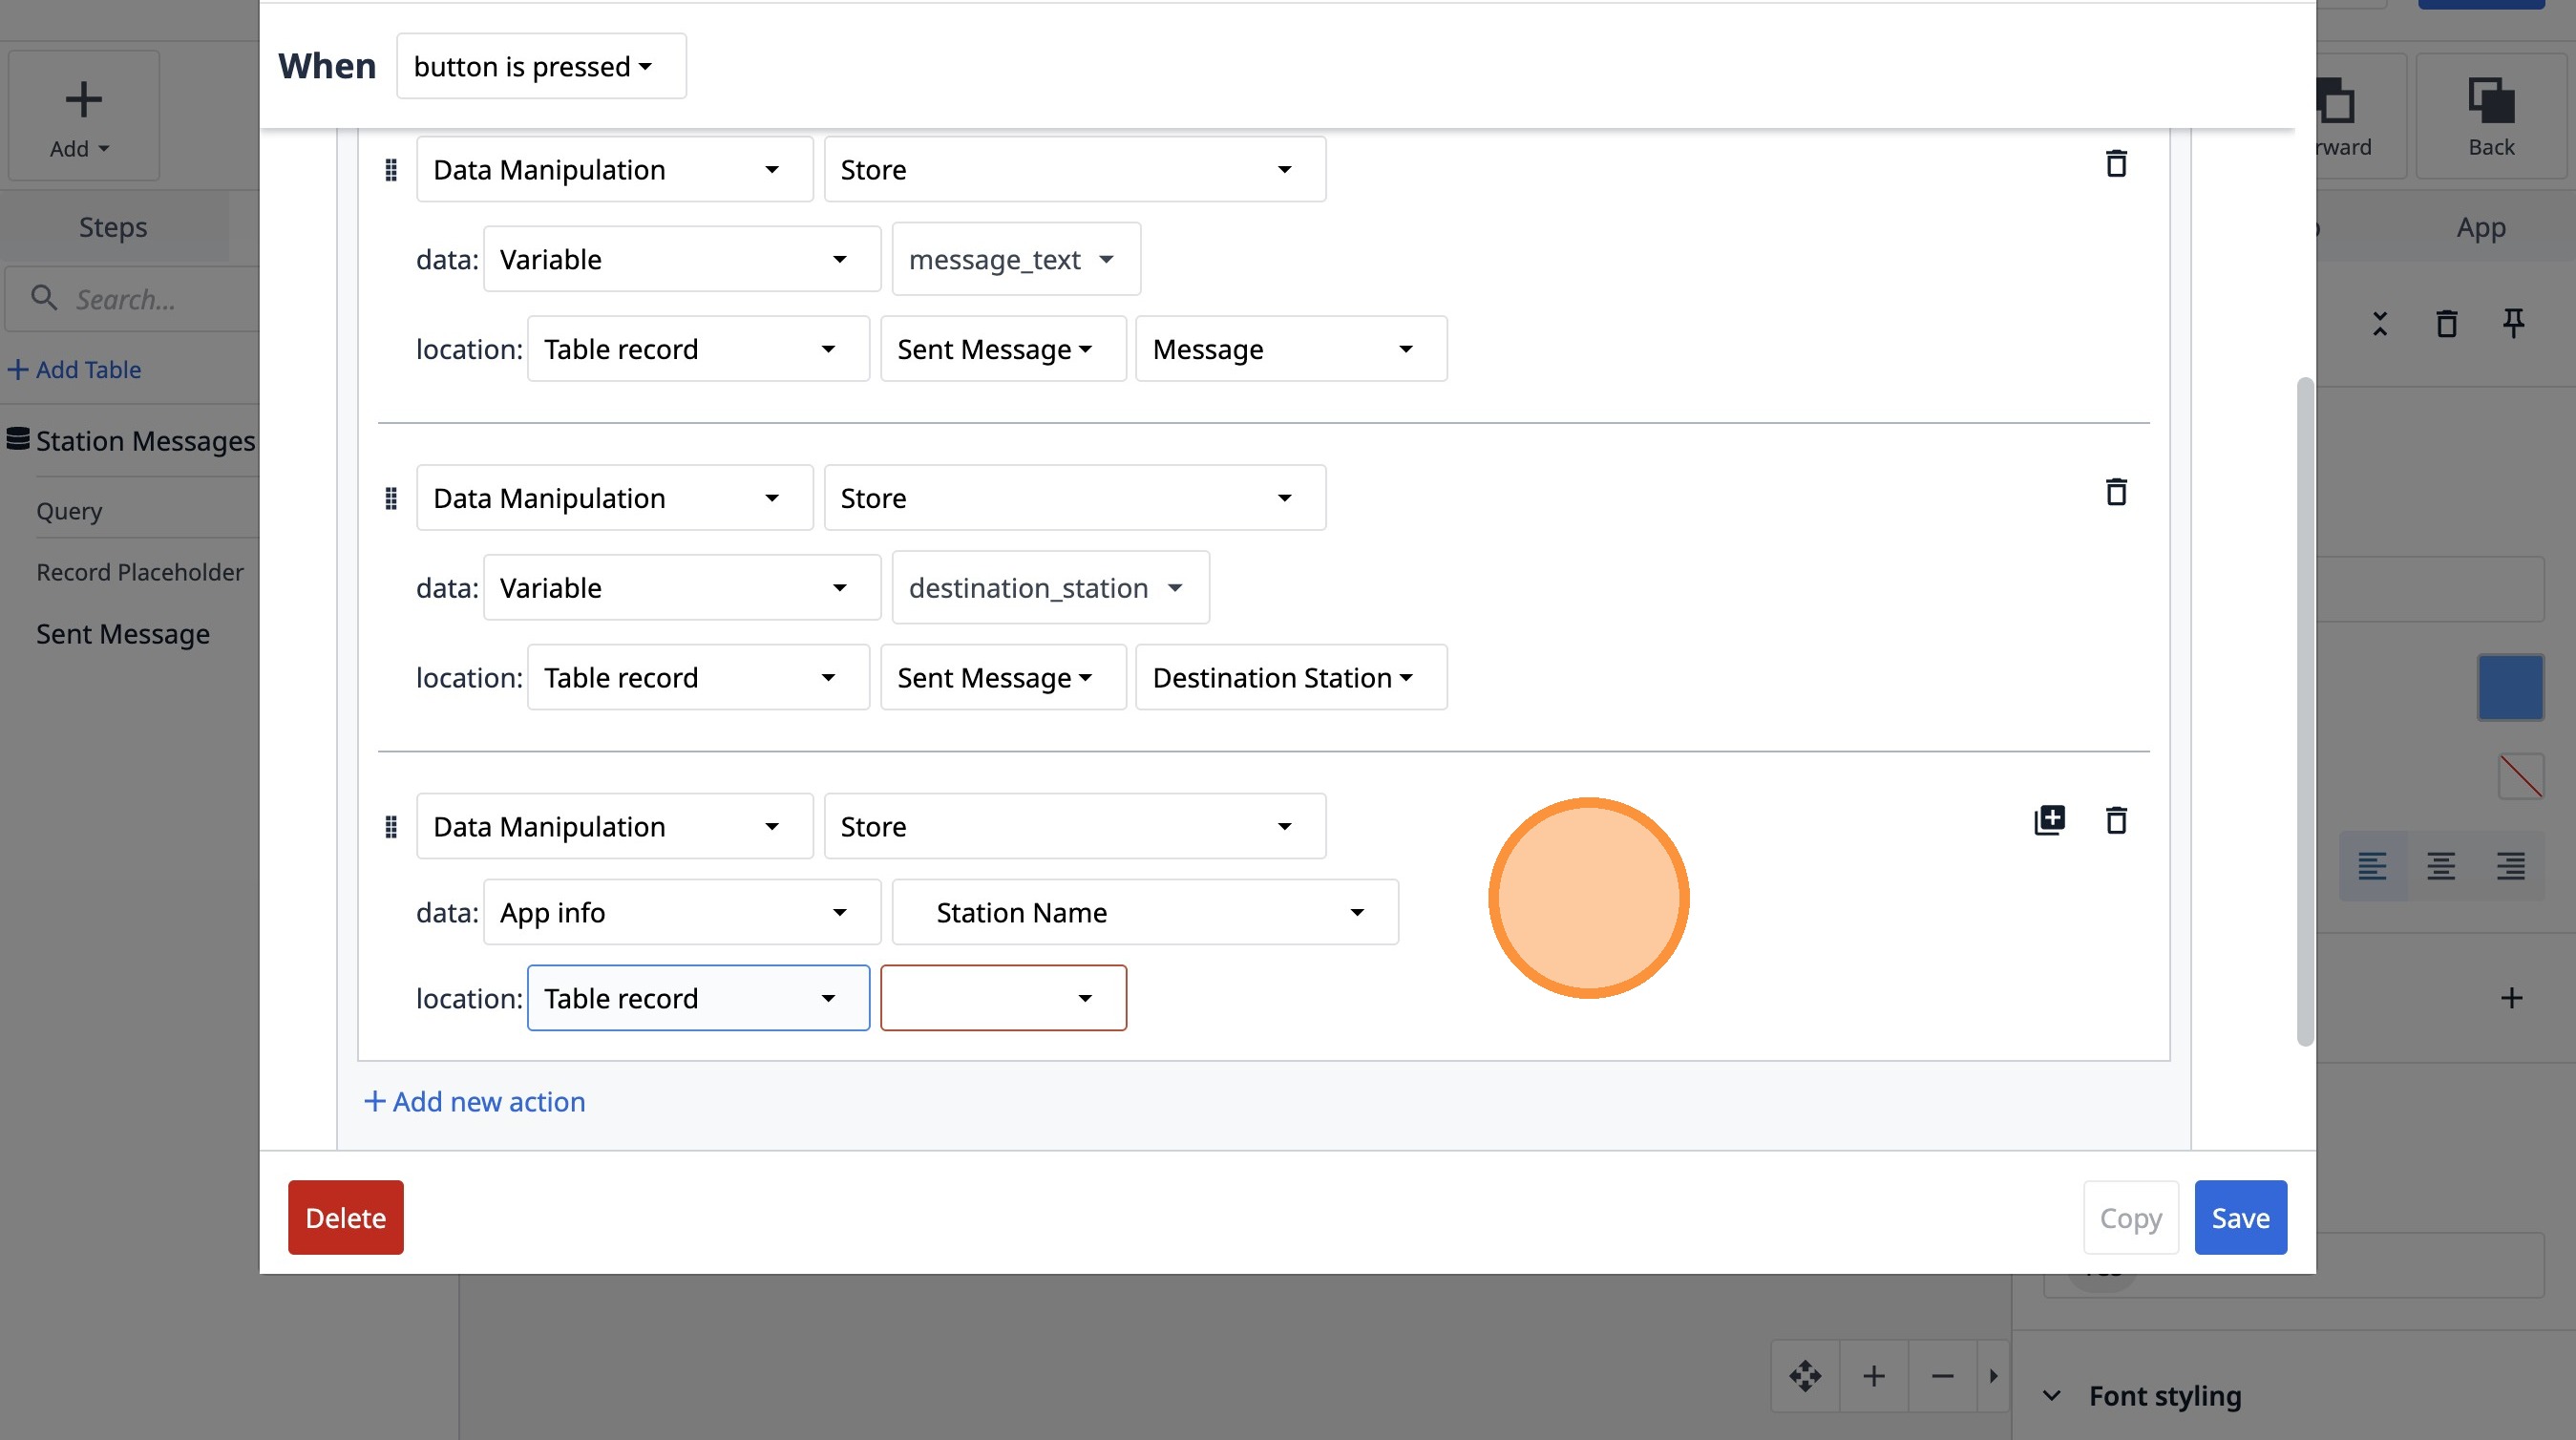
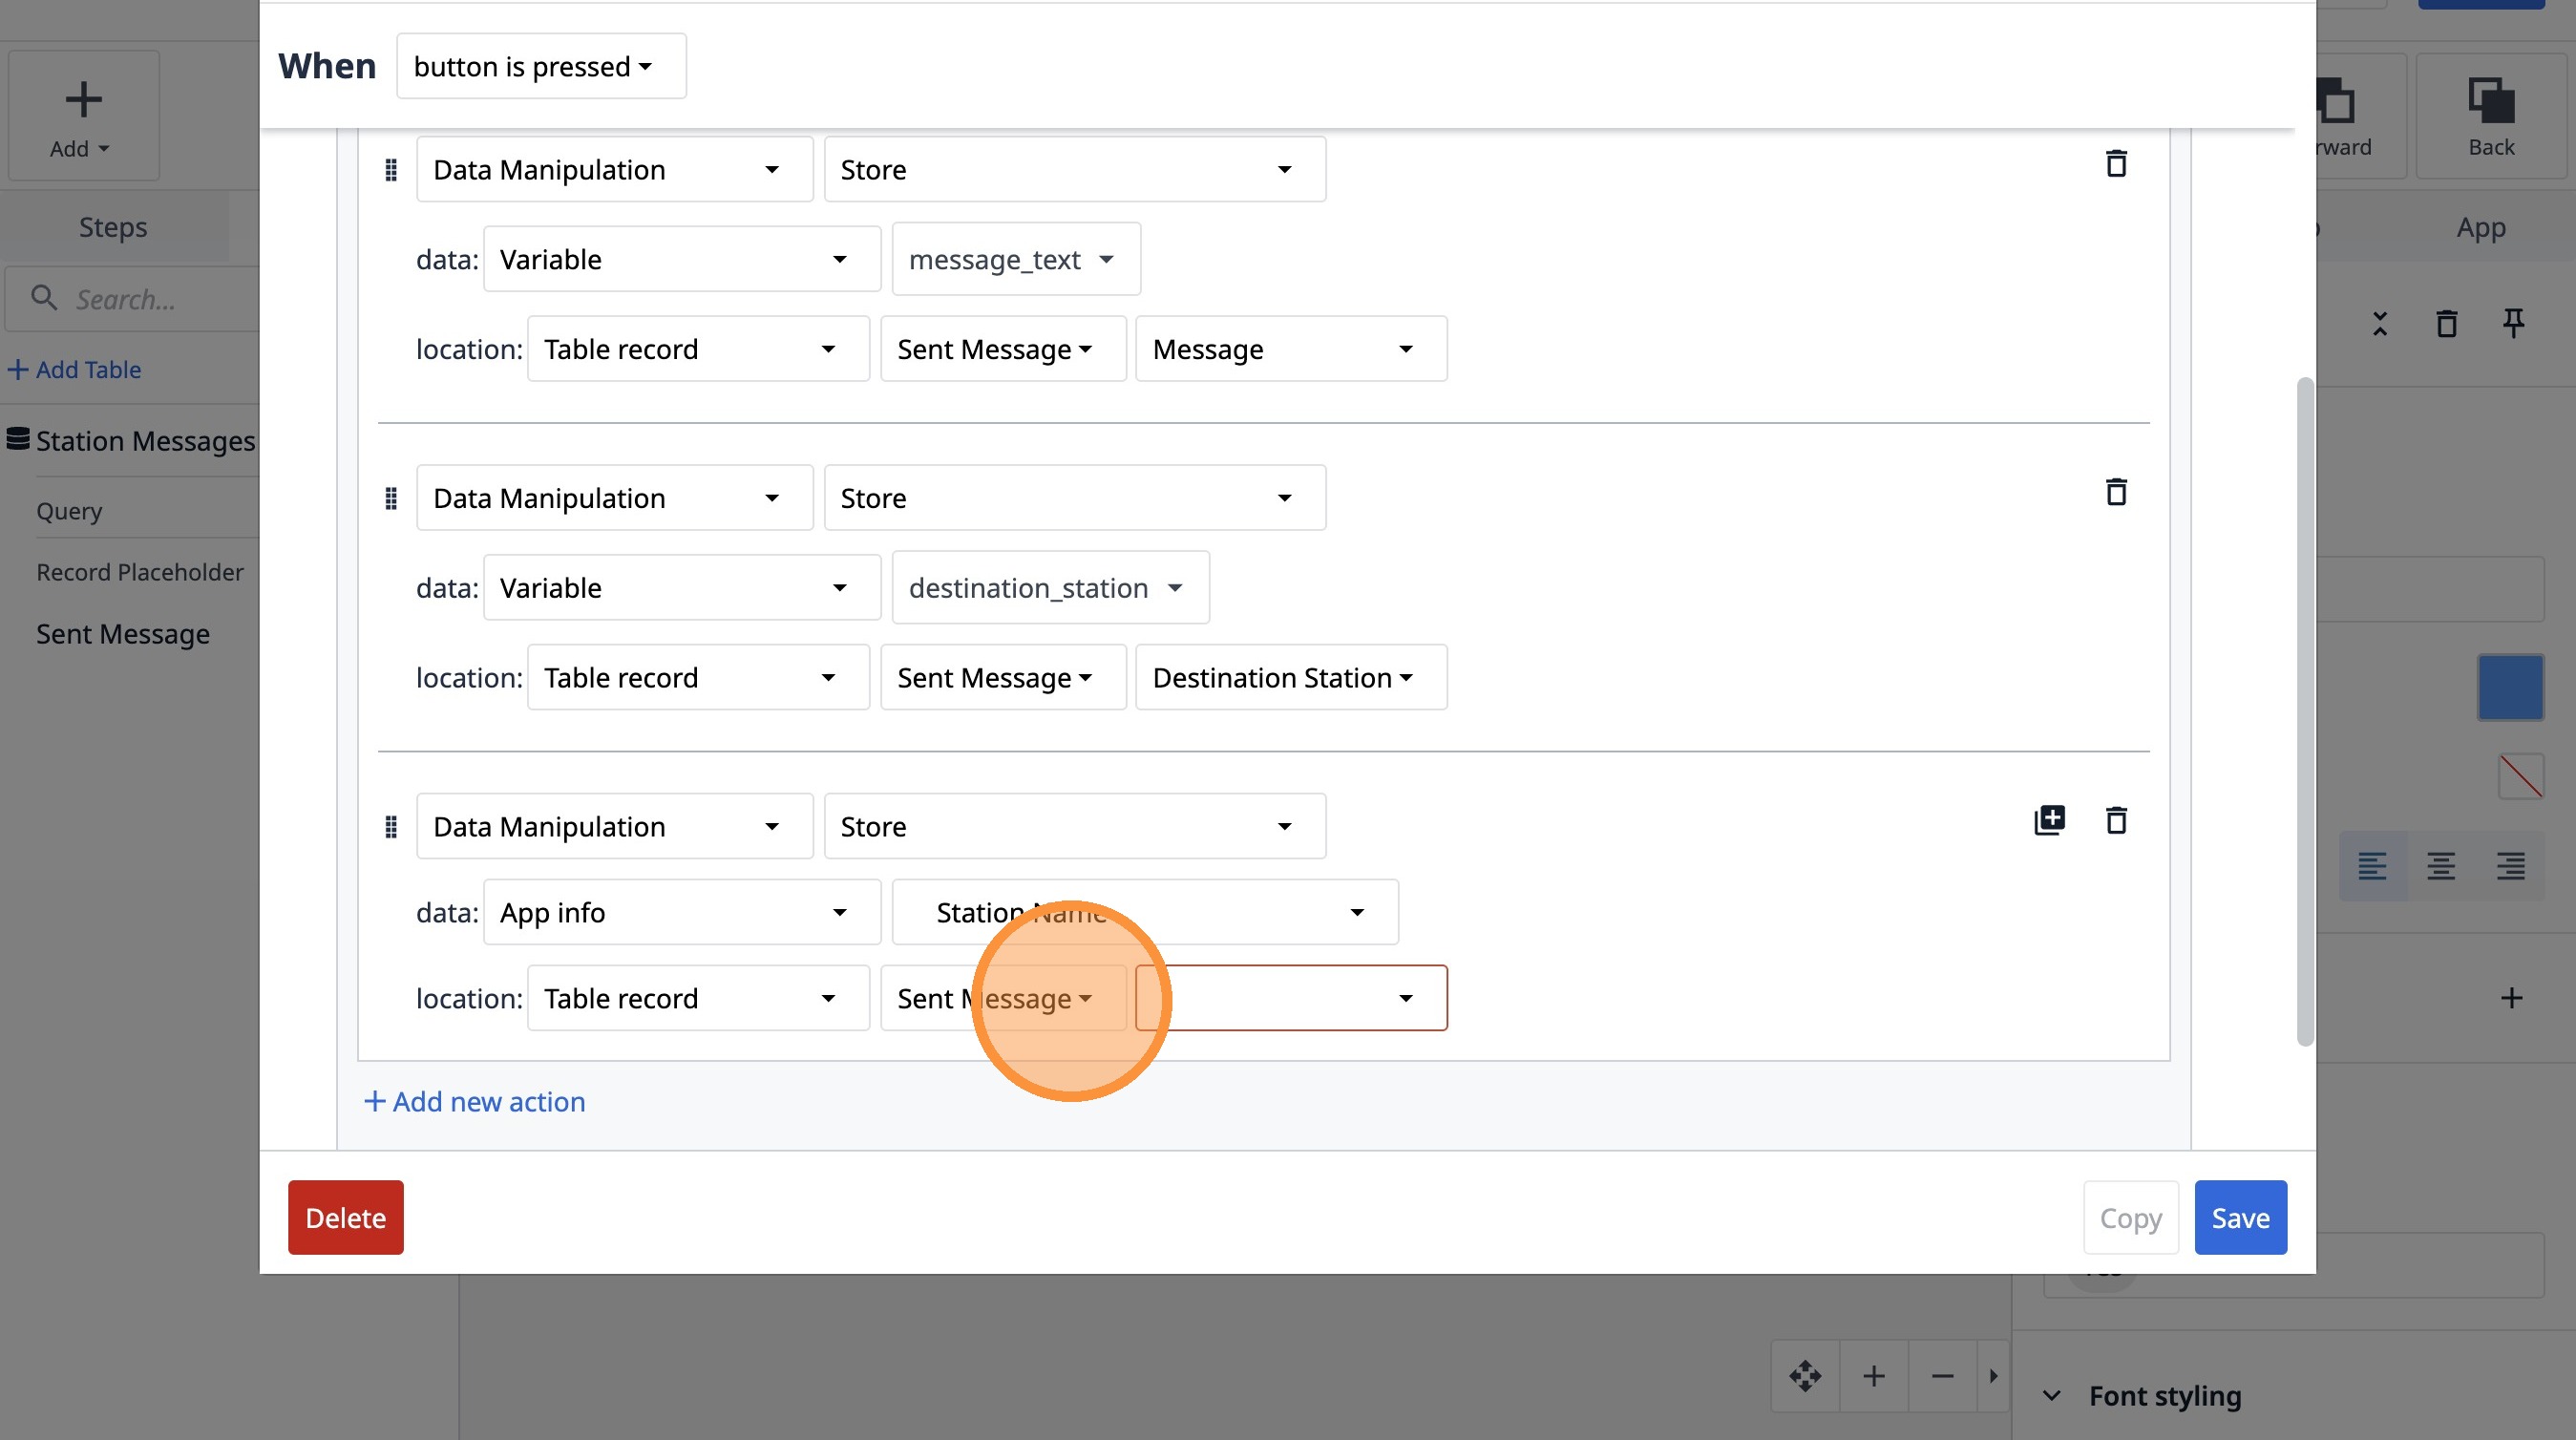
100. Select the "Table record" option.
101. Select the "KSdDbJJADZQ7oSxeo" option.
102. Select the "Source Station" option.
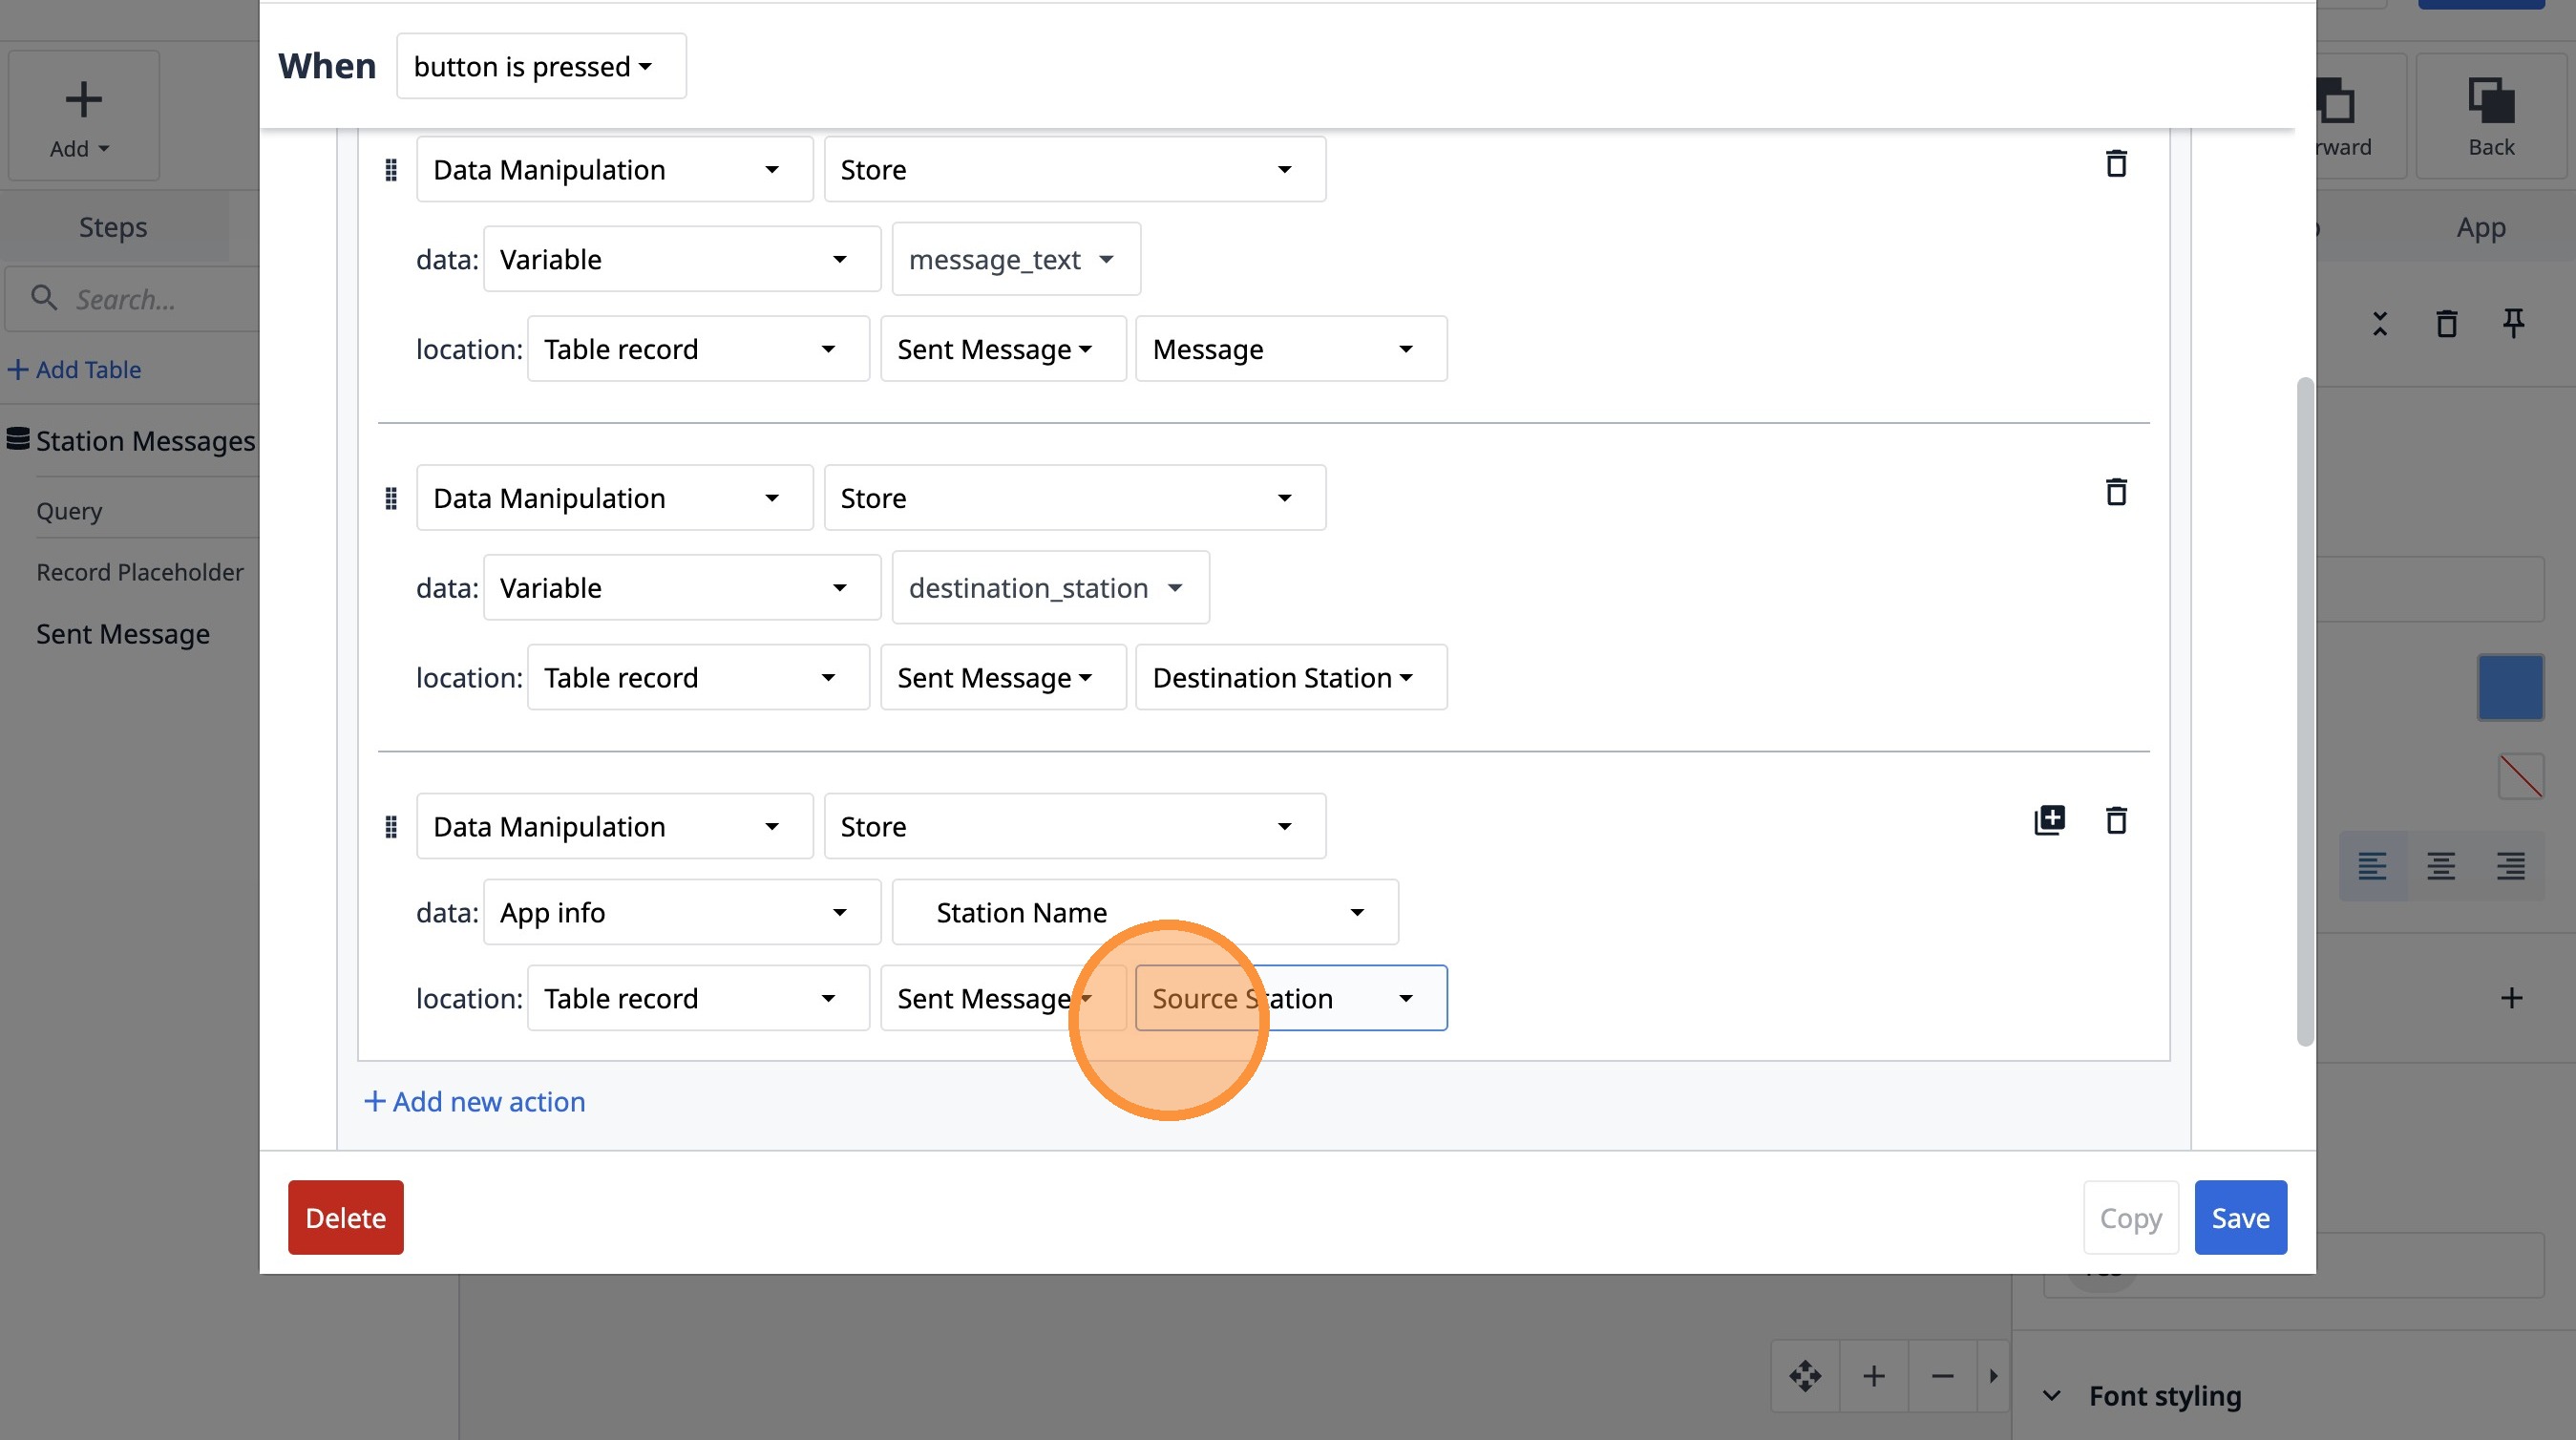
103. Click "Save"