Learn how to set up your Tulip app to display the most recent message received. This guide will walk you through configuring records, aggregations, and steps to effectively showcase the latest communication.
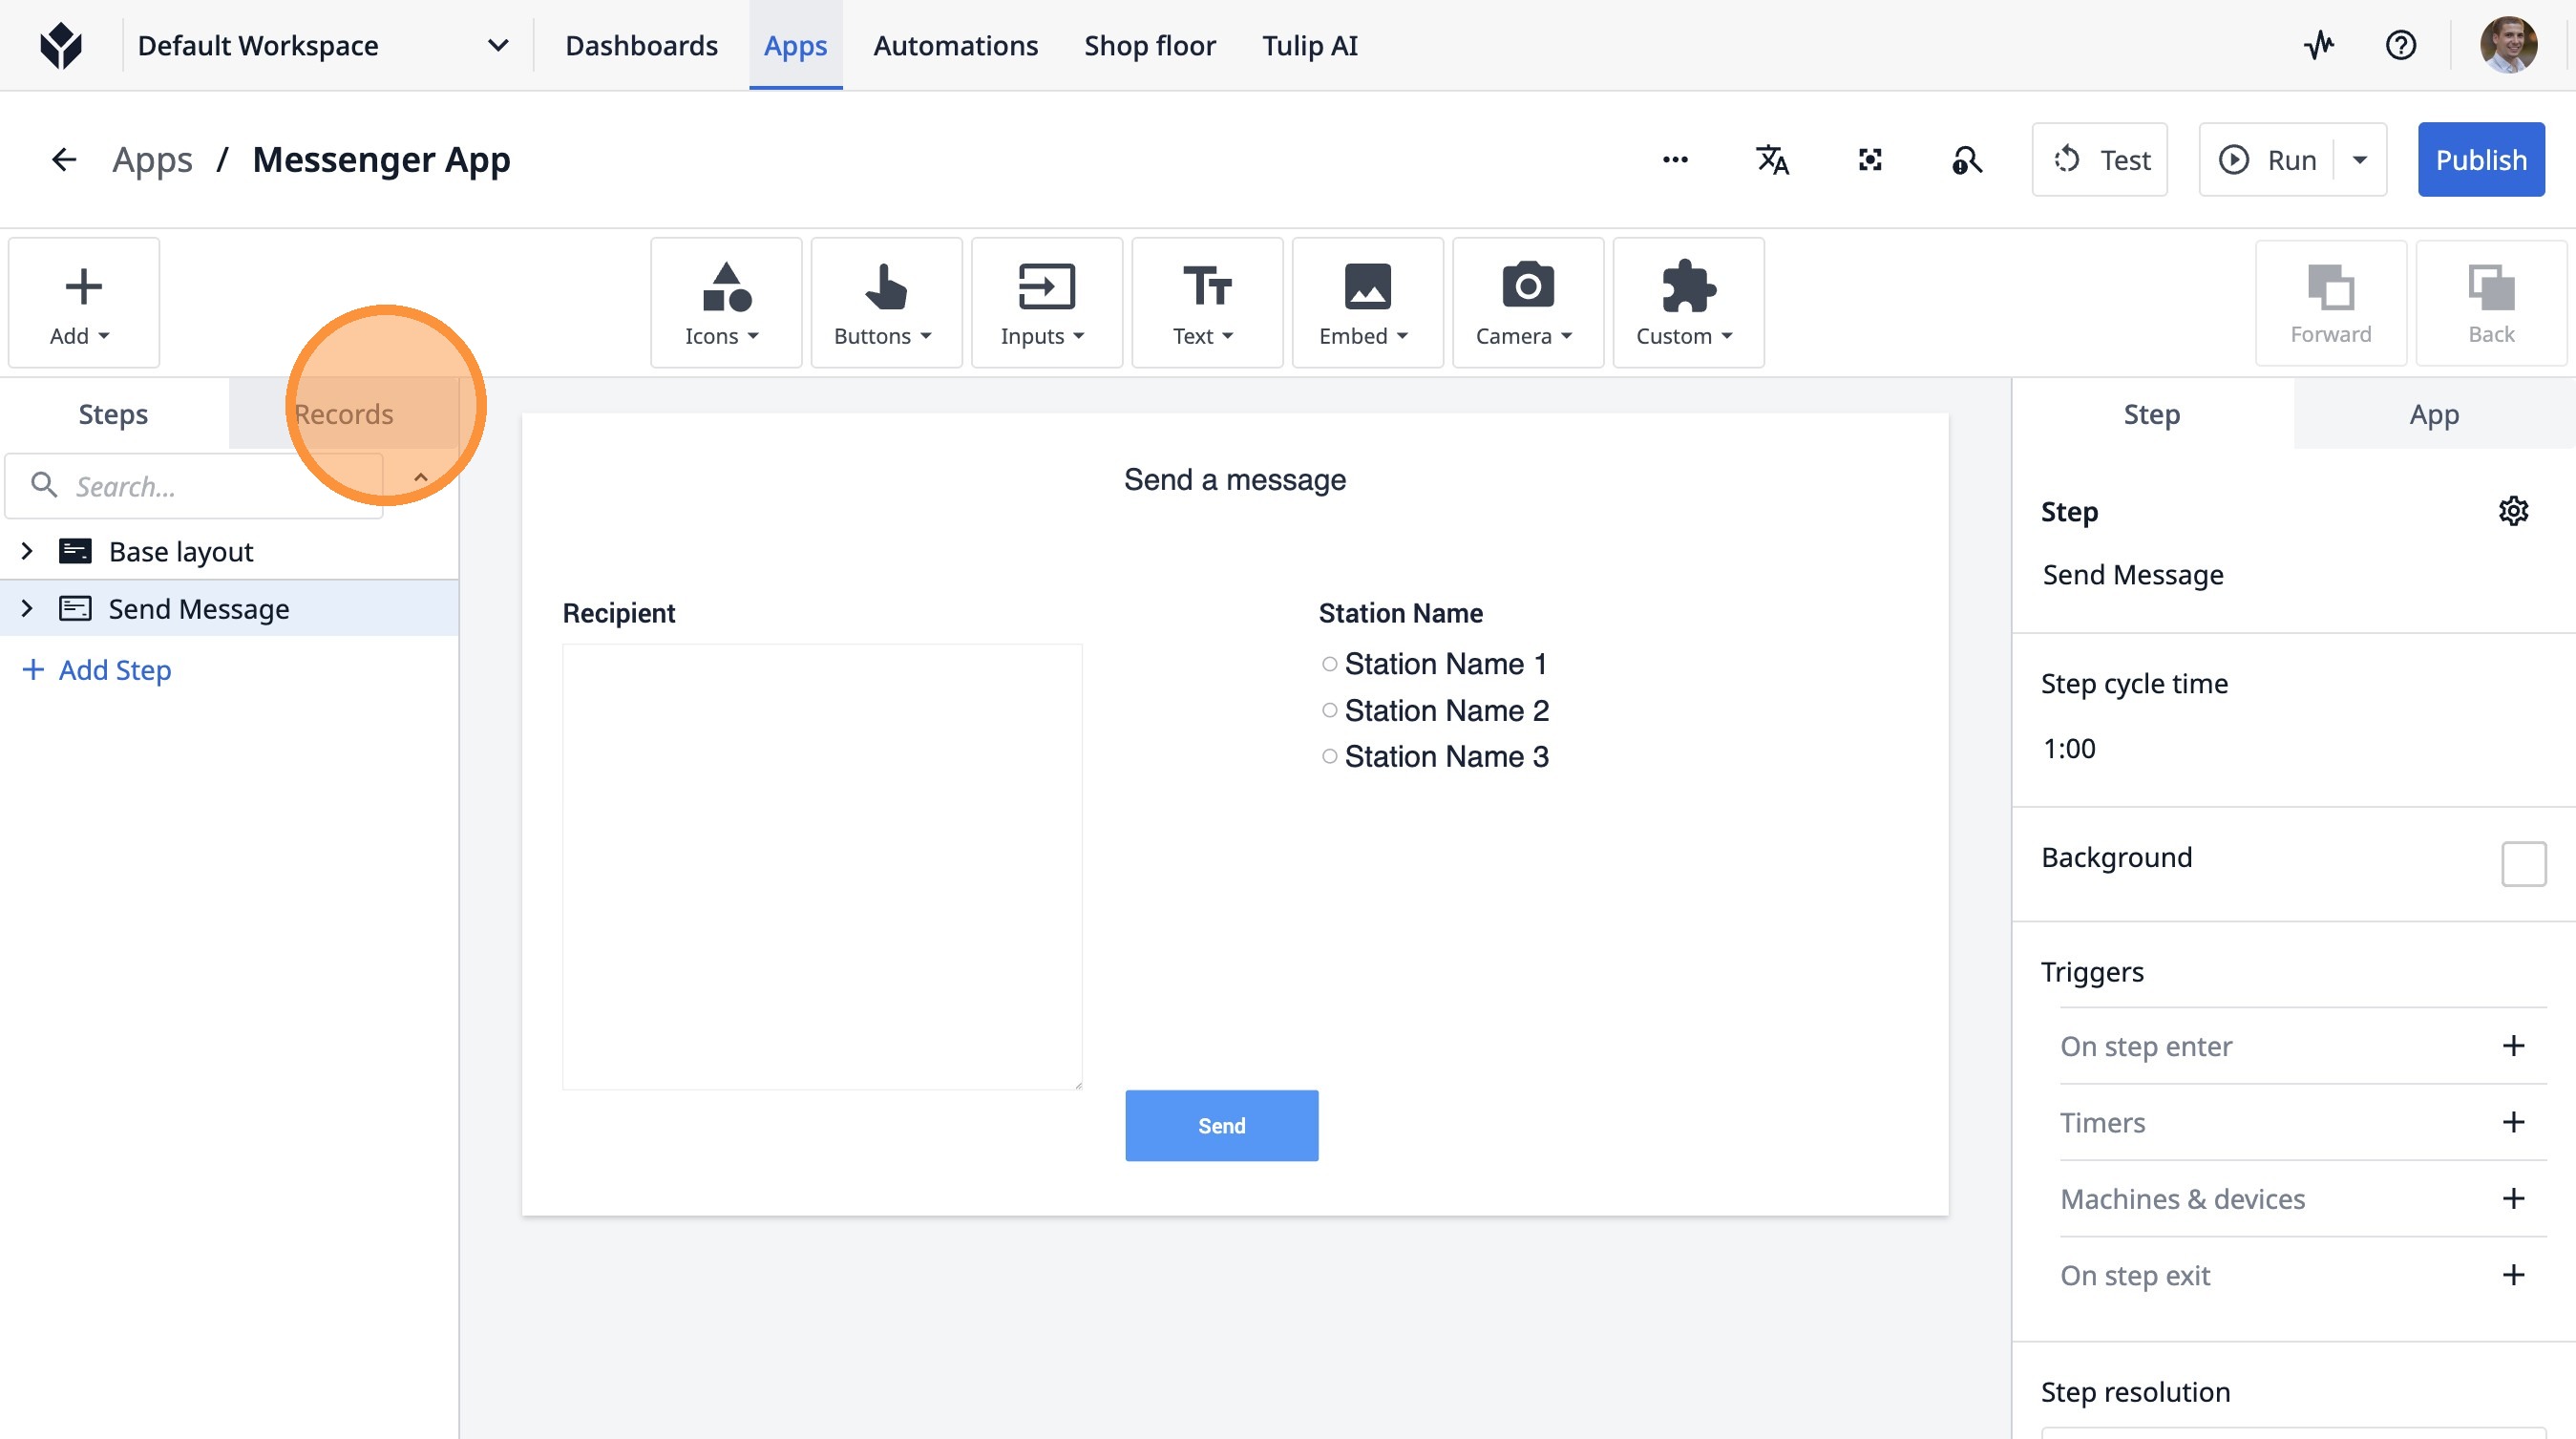
1. Click "Records"
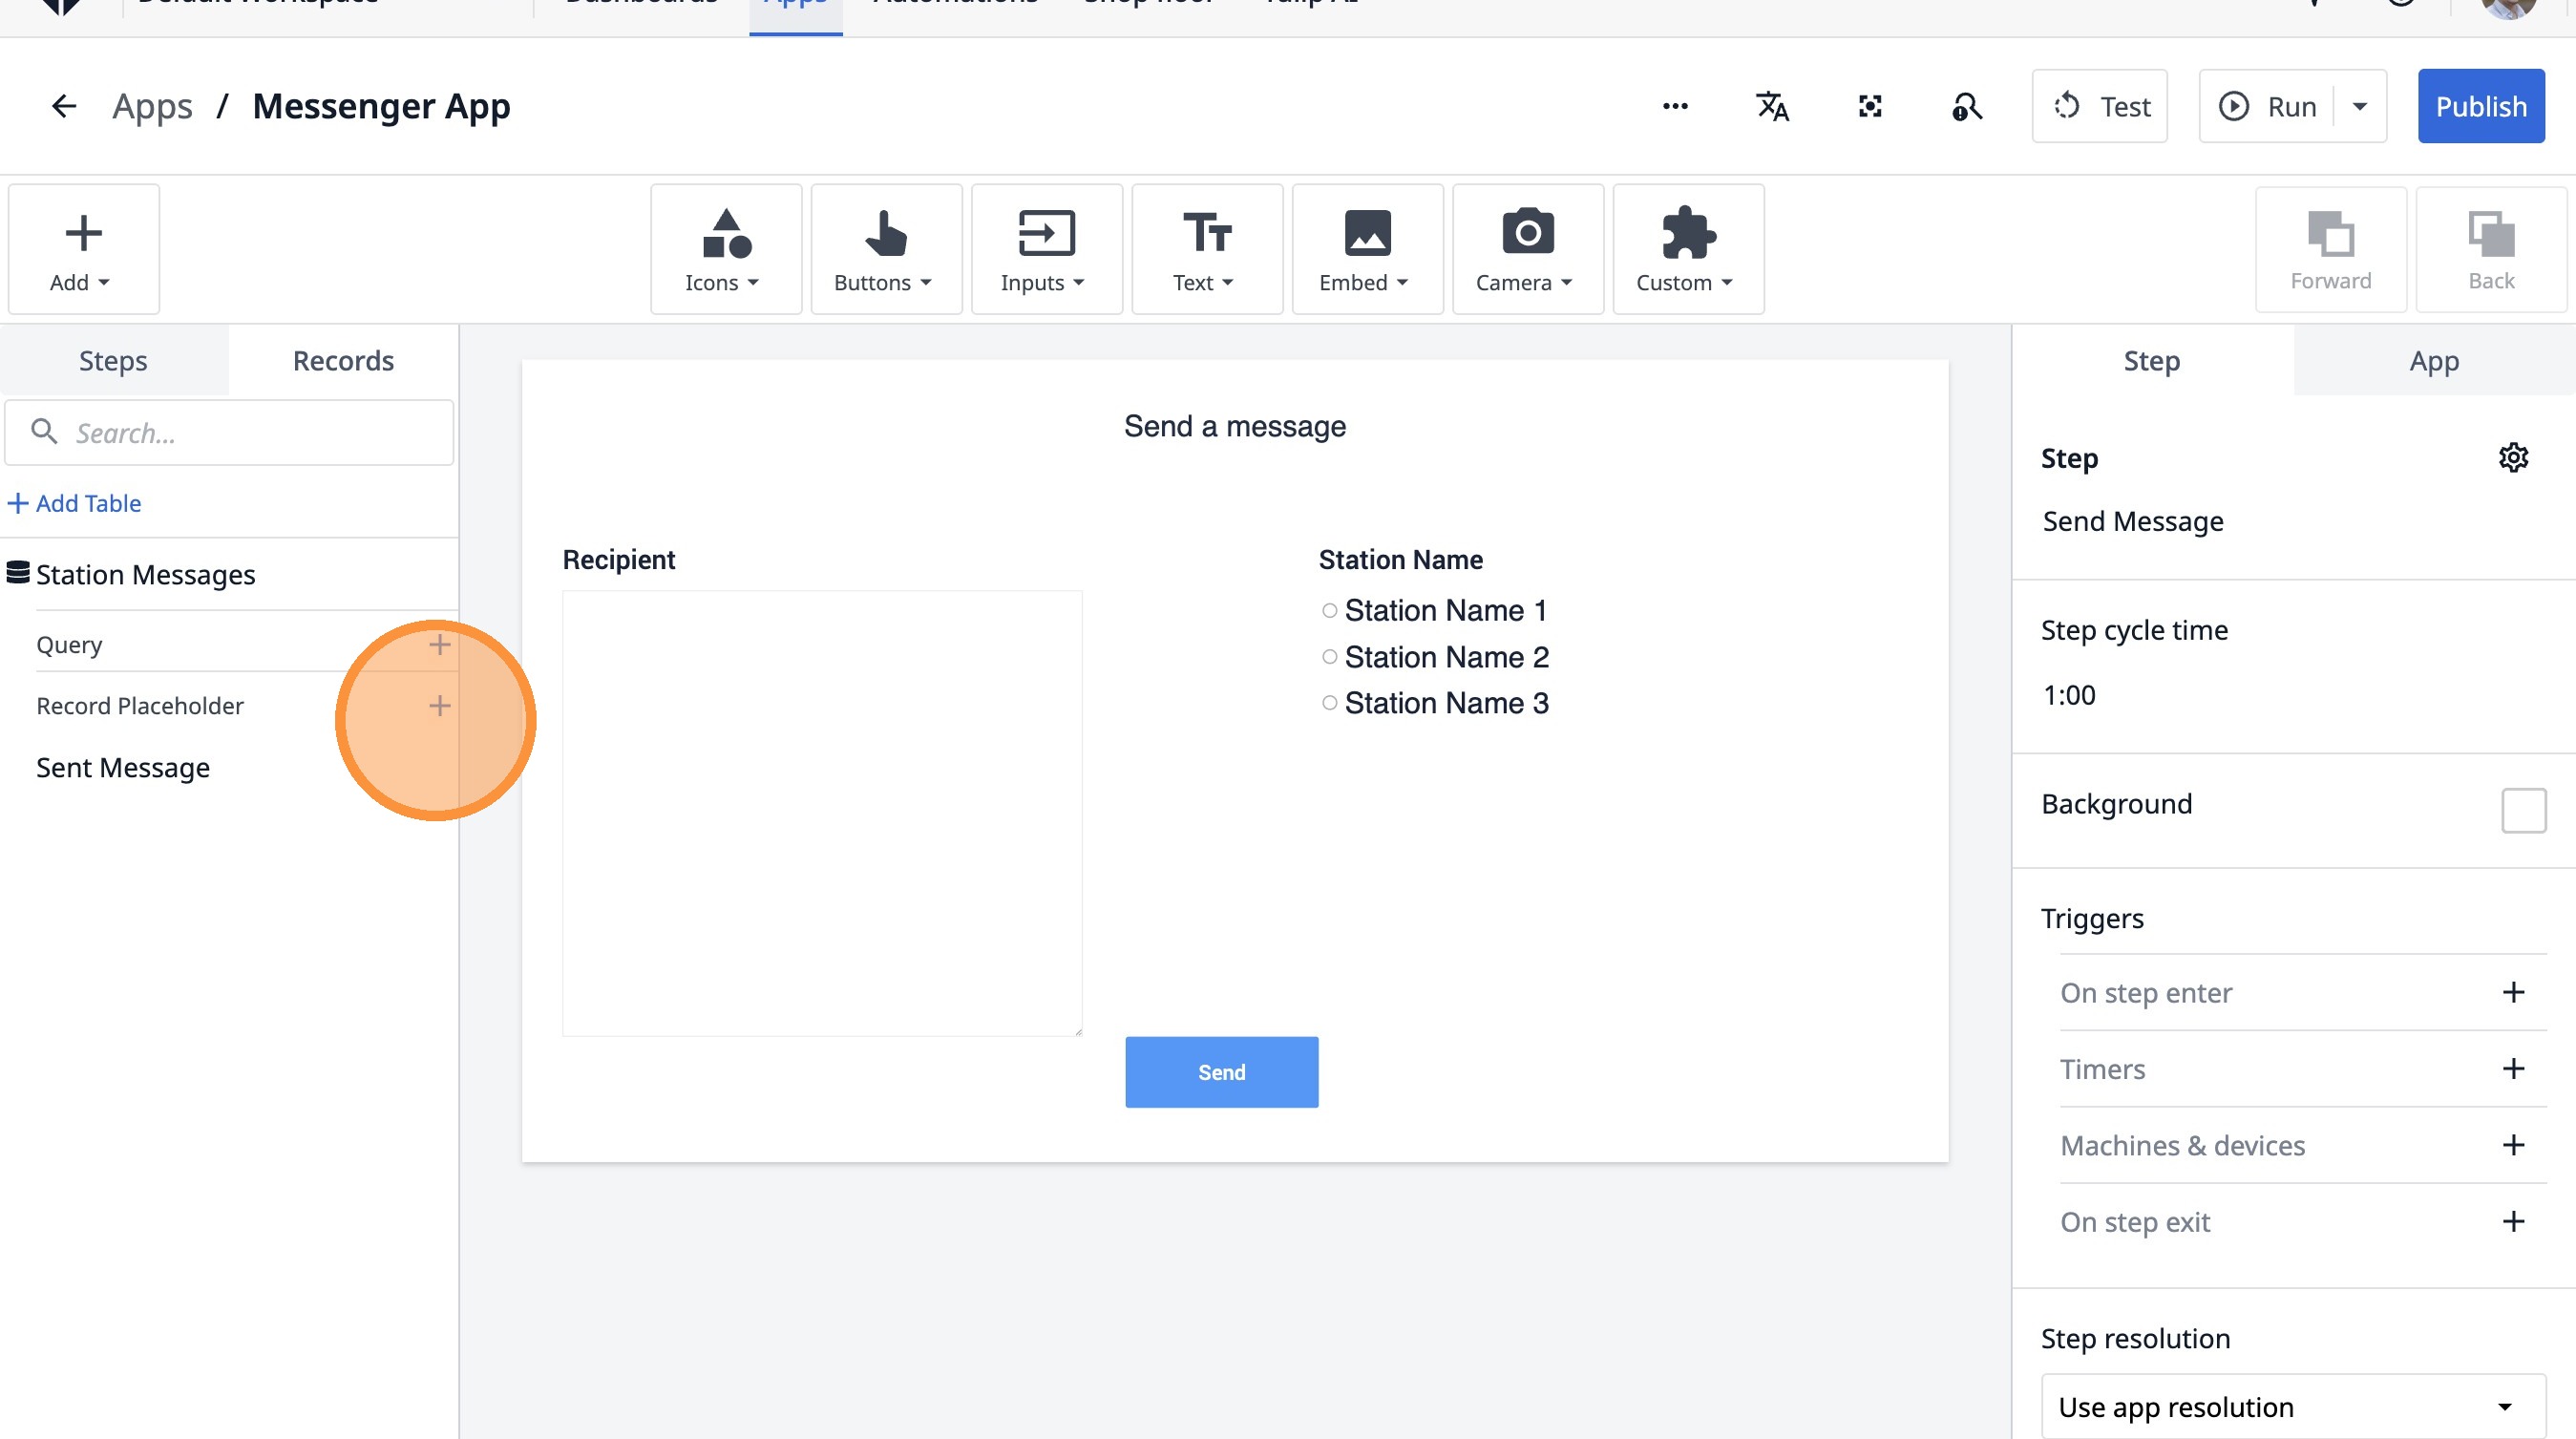
2. Click this icon.
3. Click the "Current Station Messages" field.
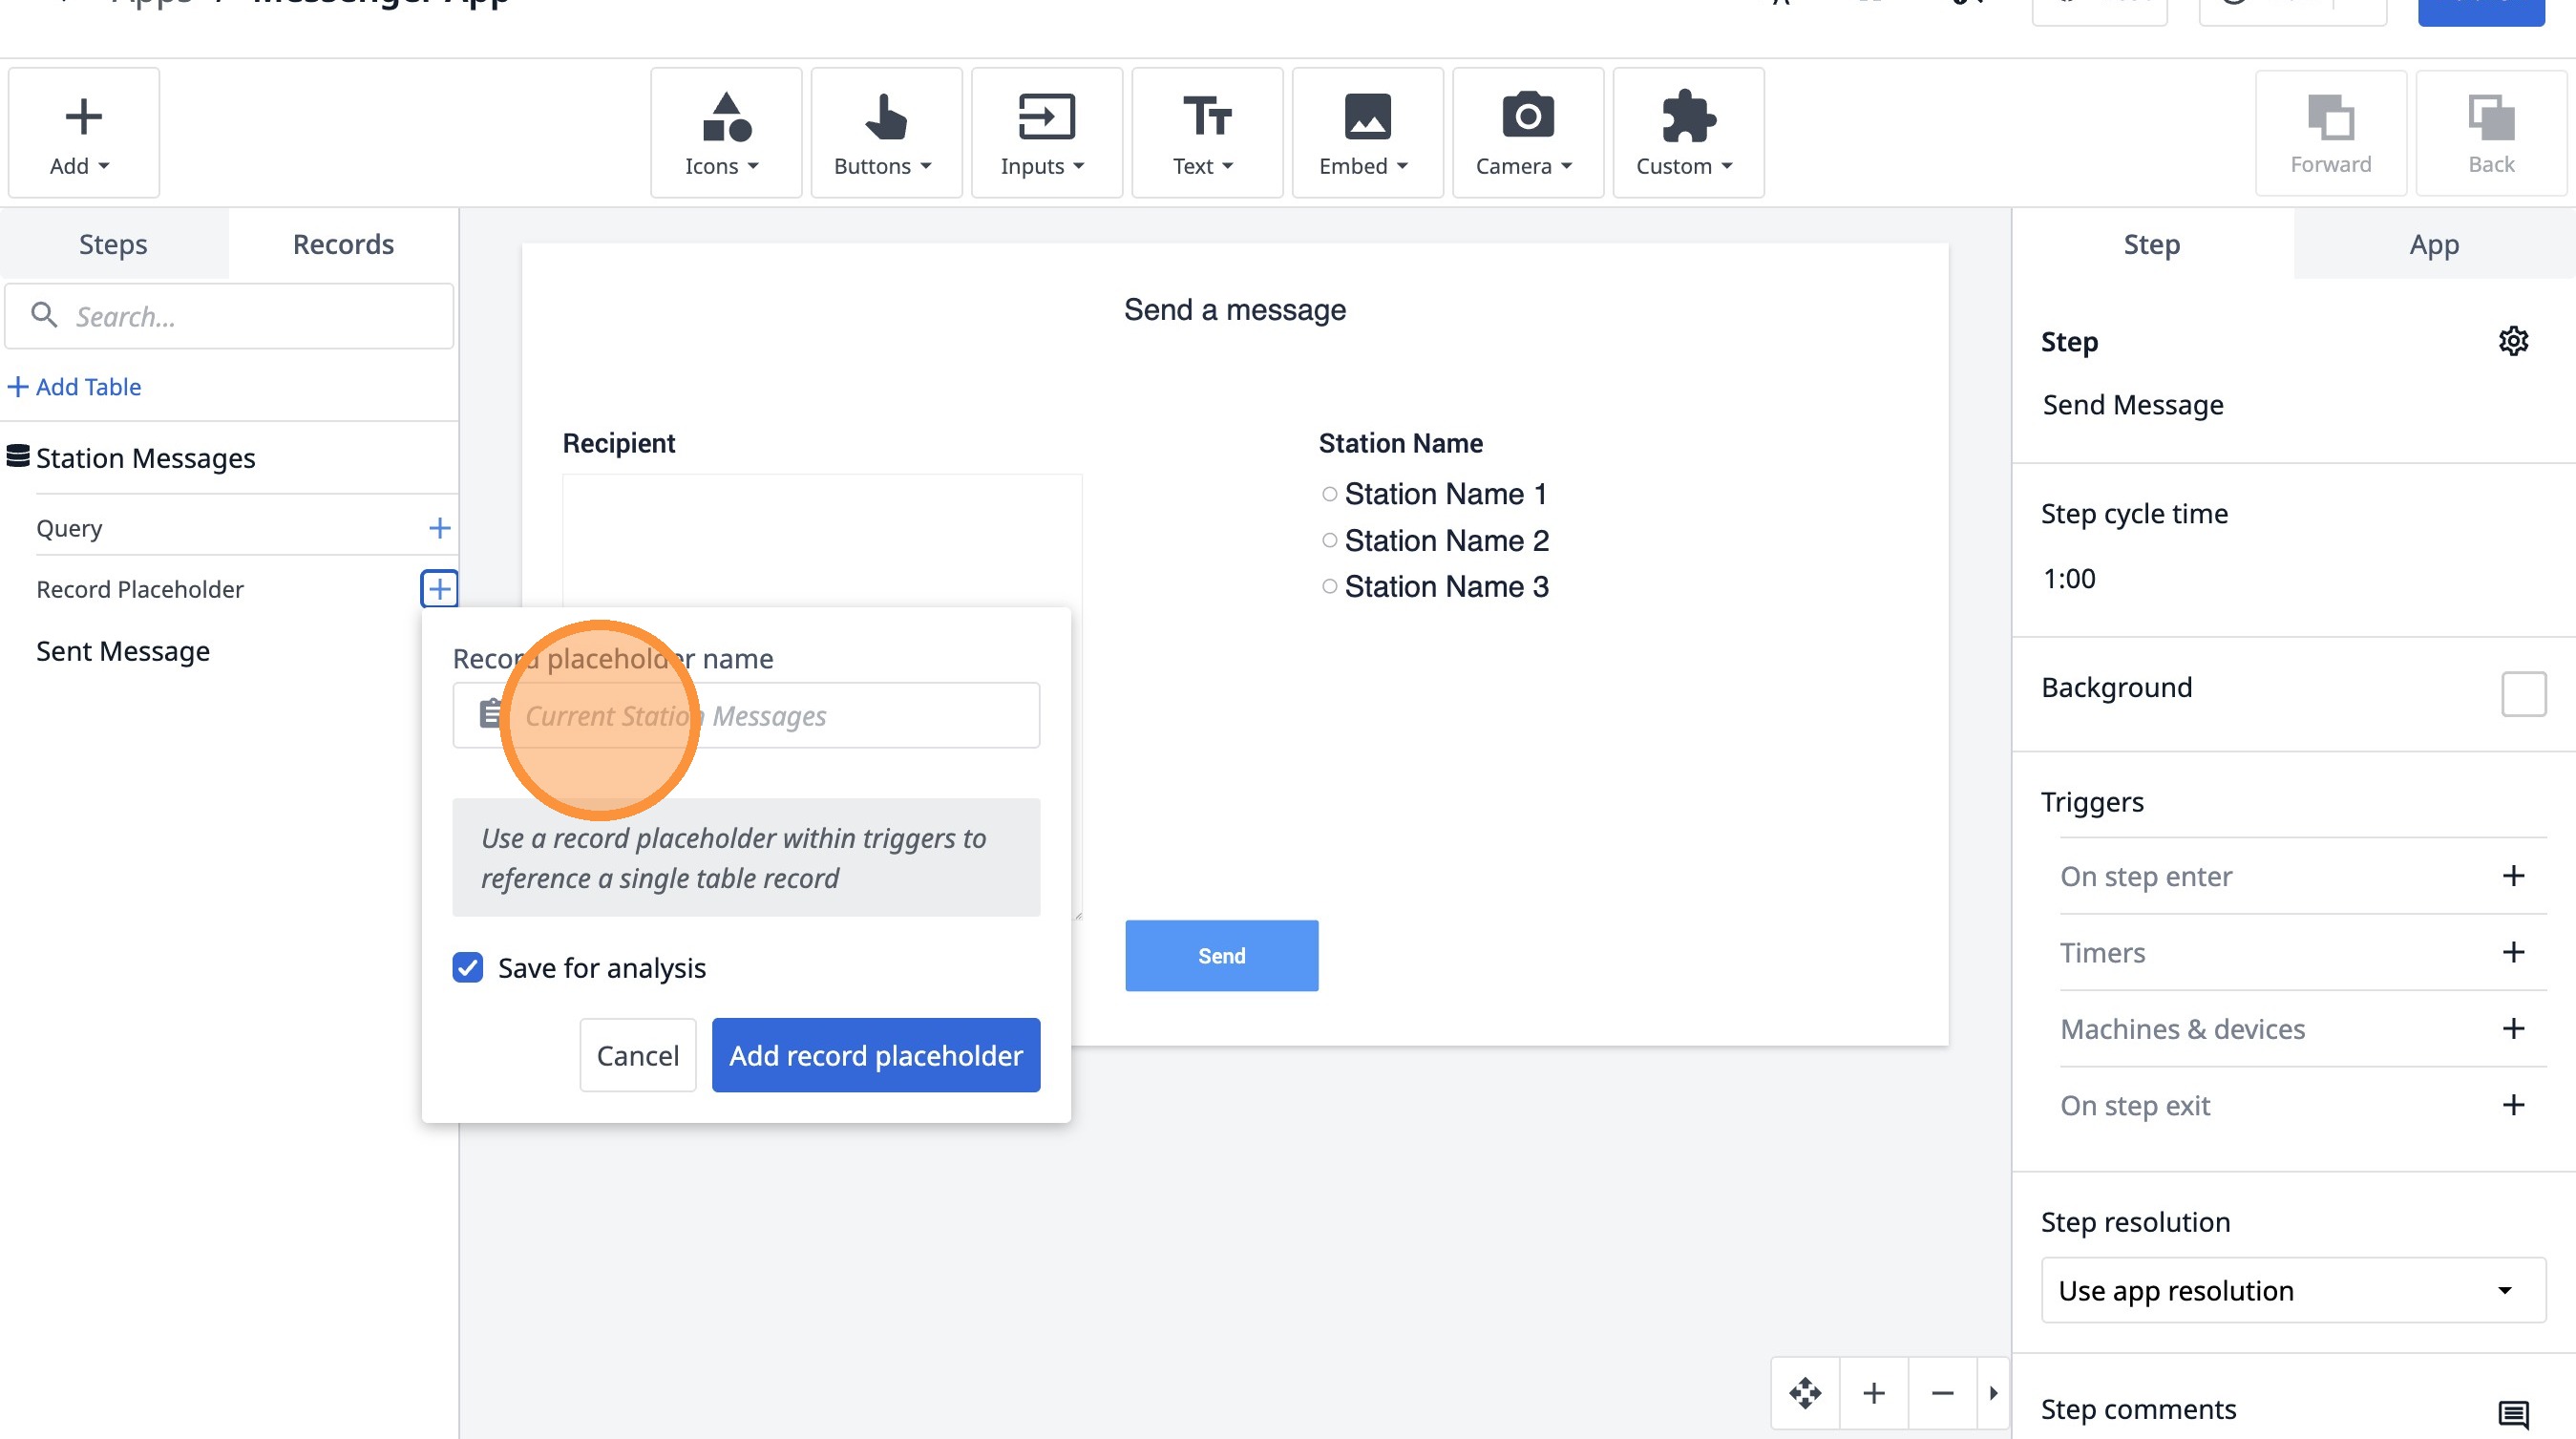
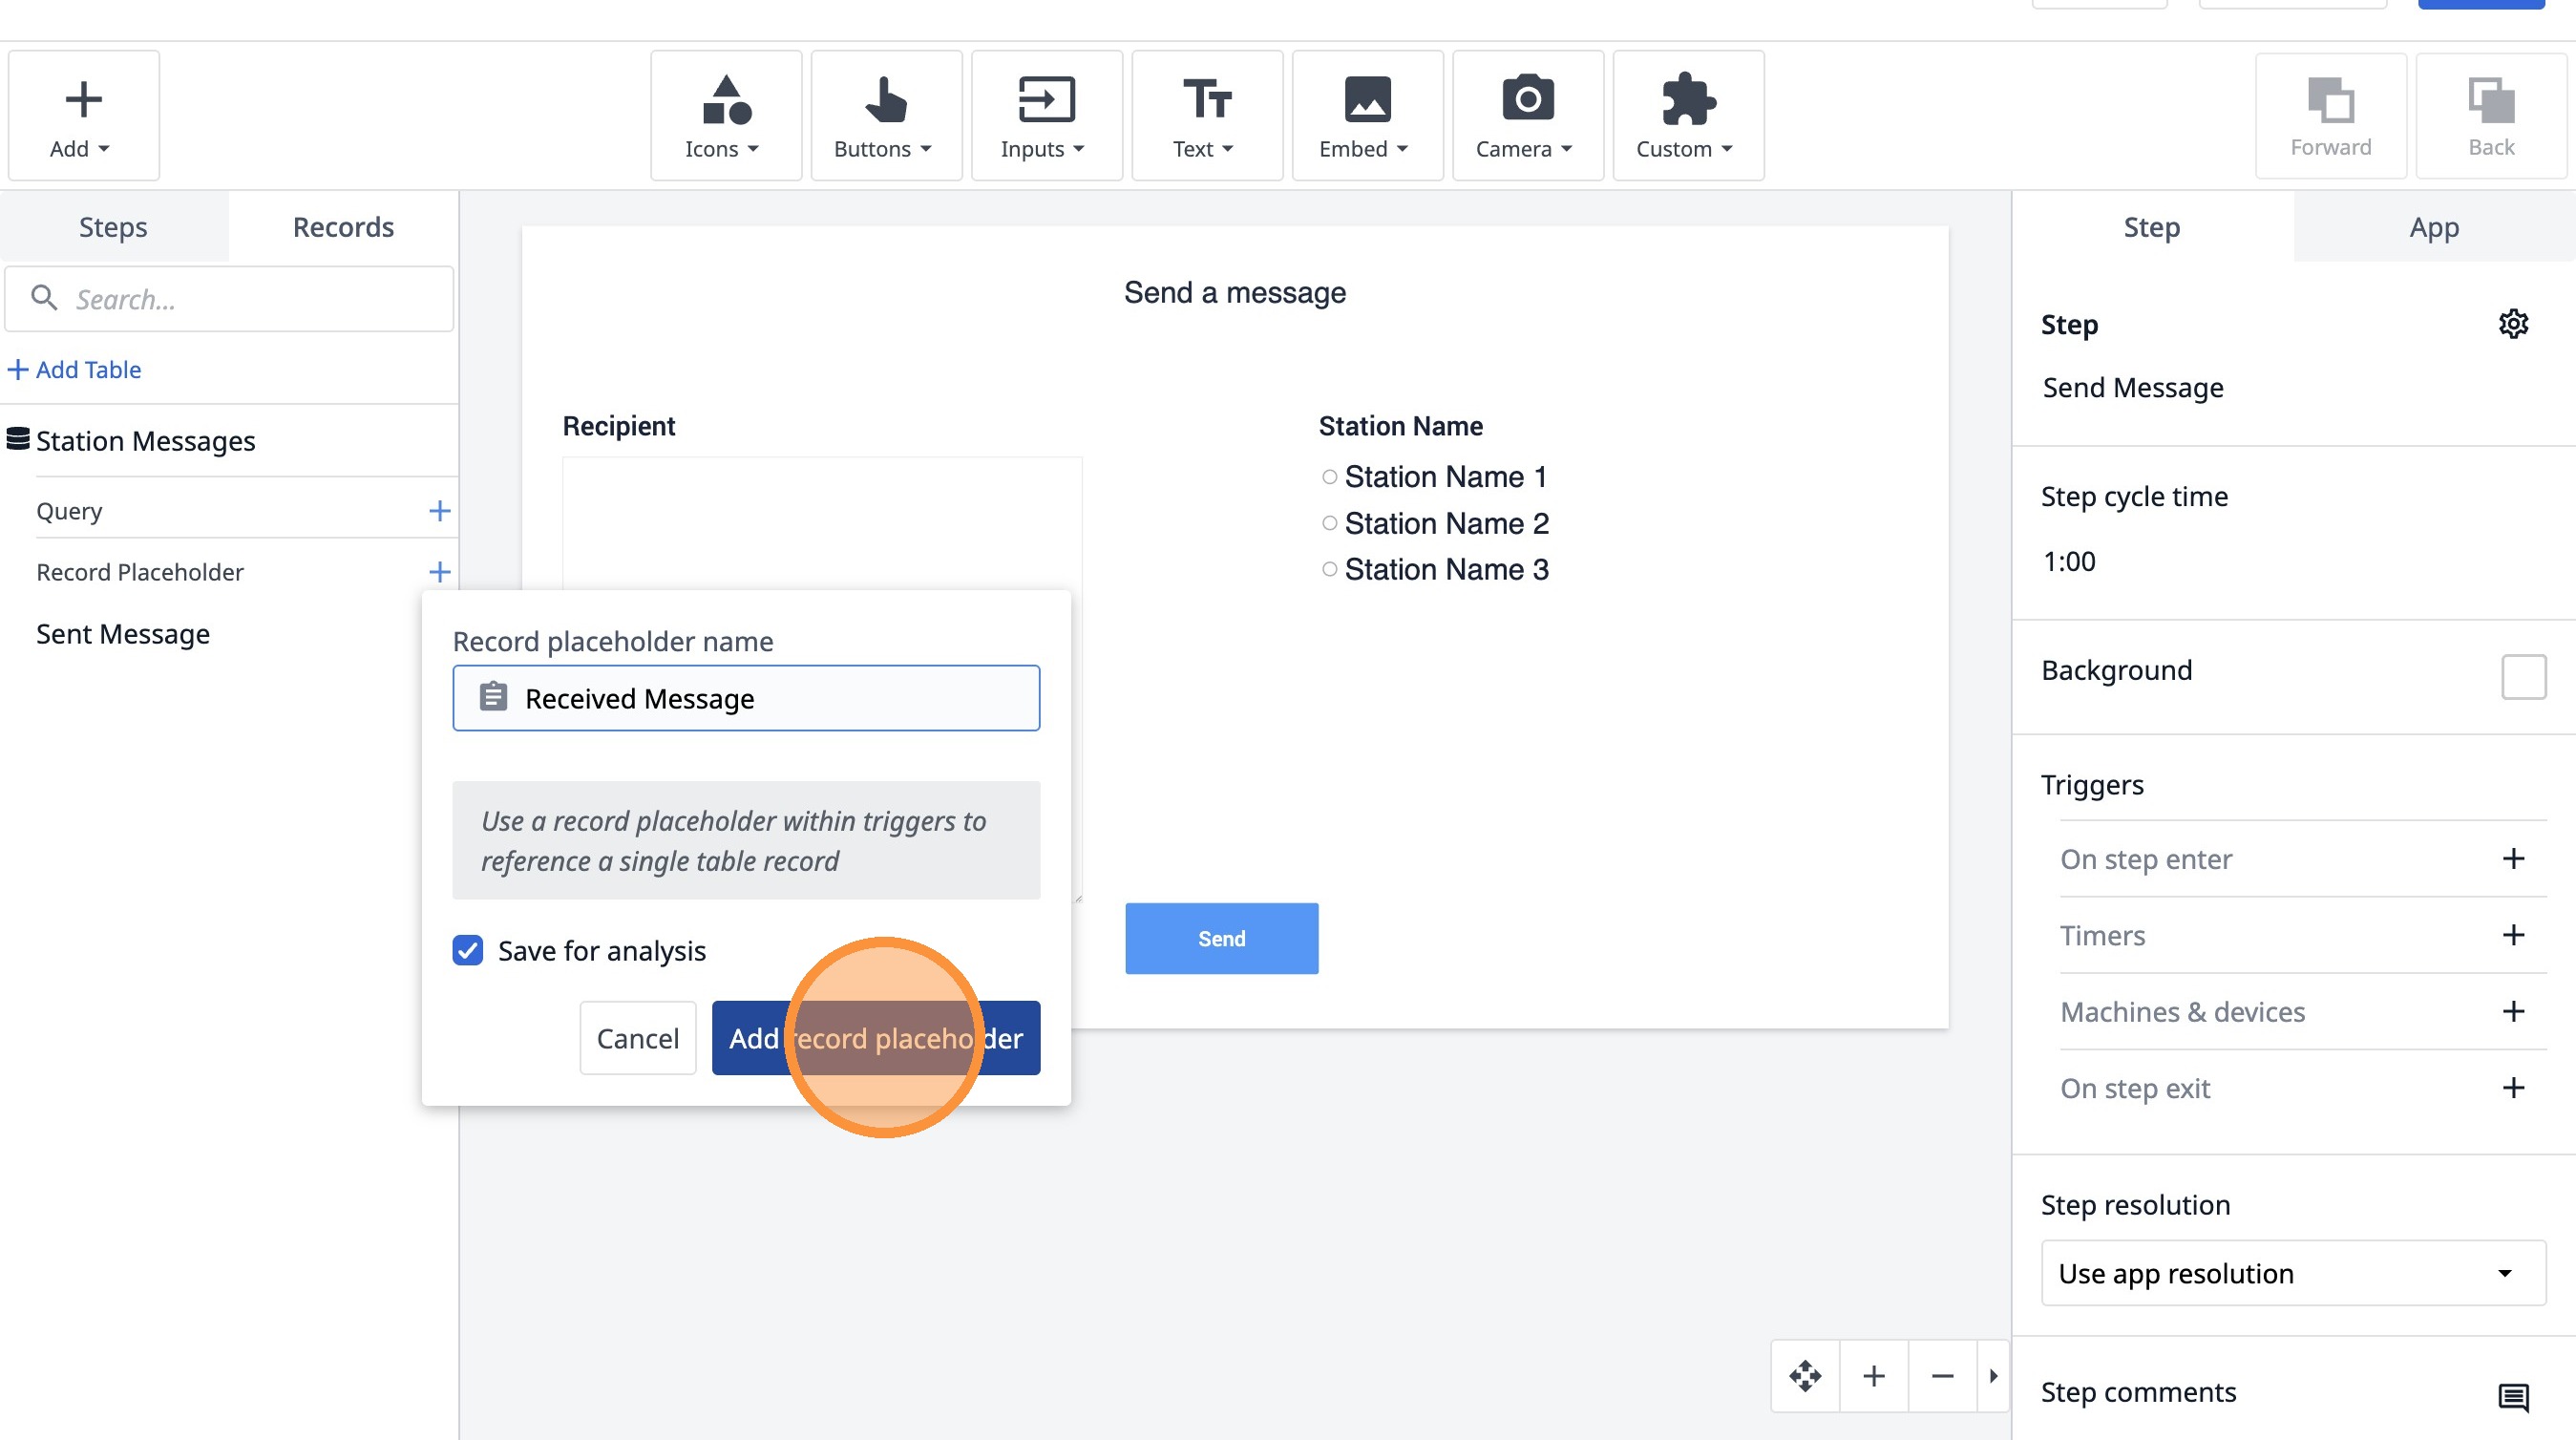
4. Type "Received Message"

5. Click "Add record placeholder"
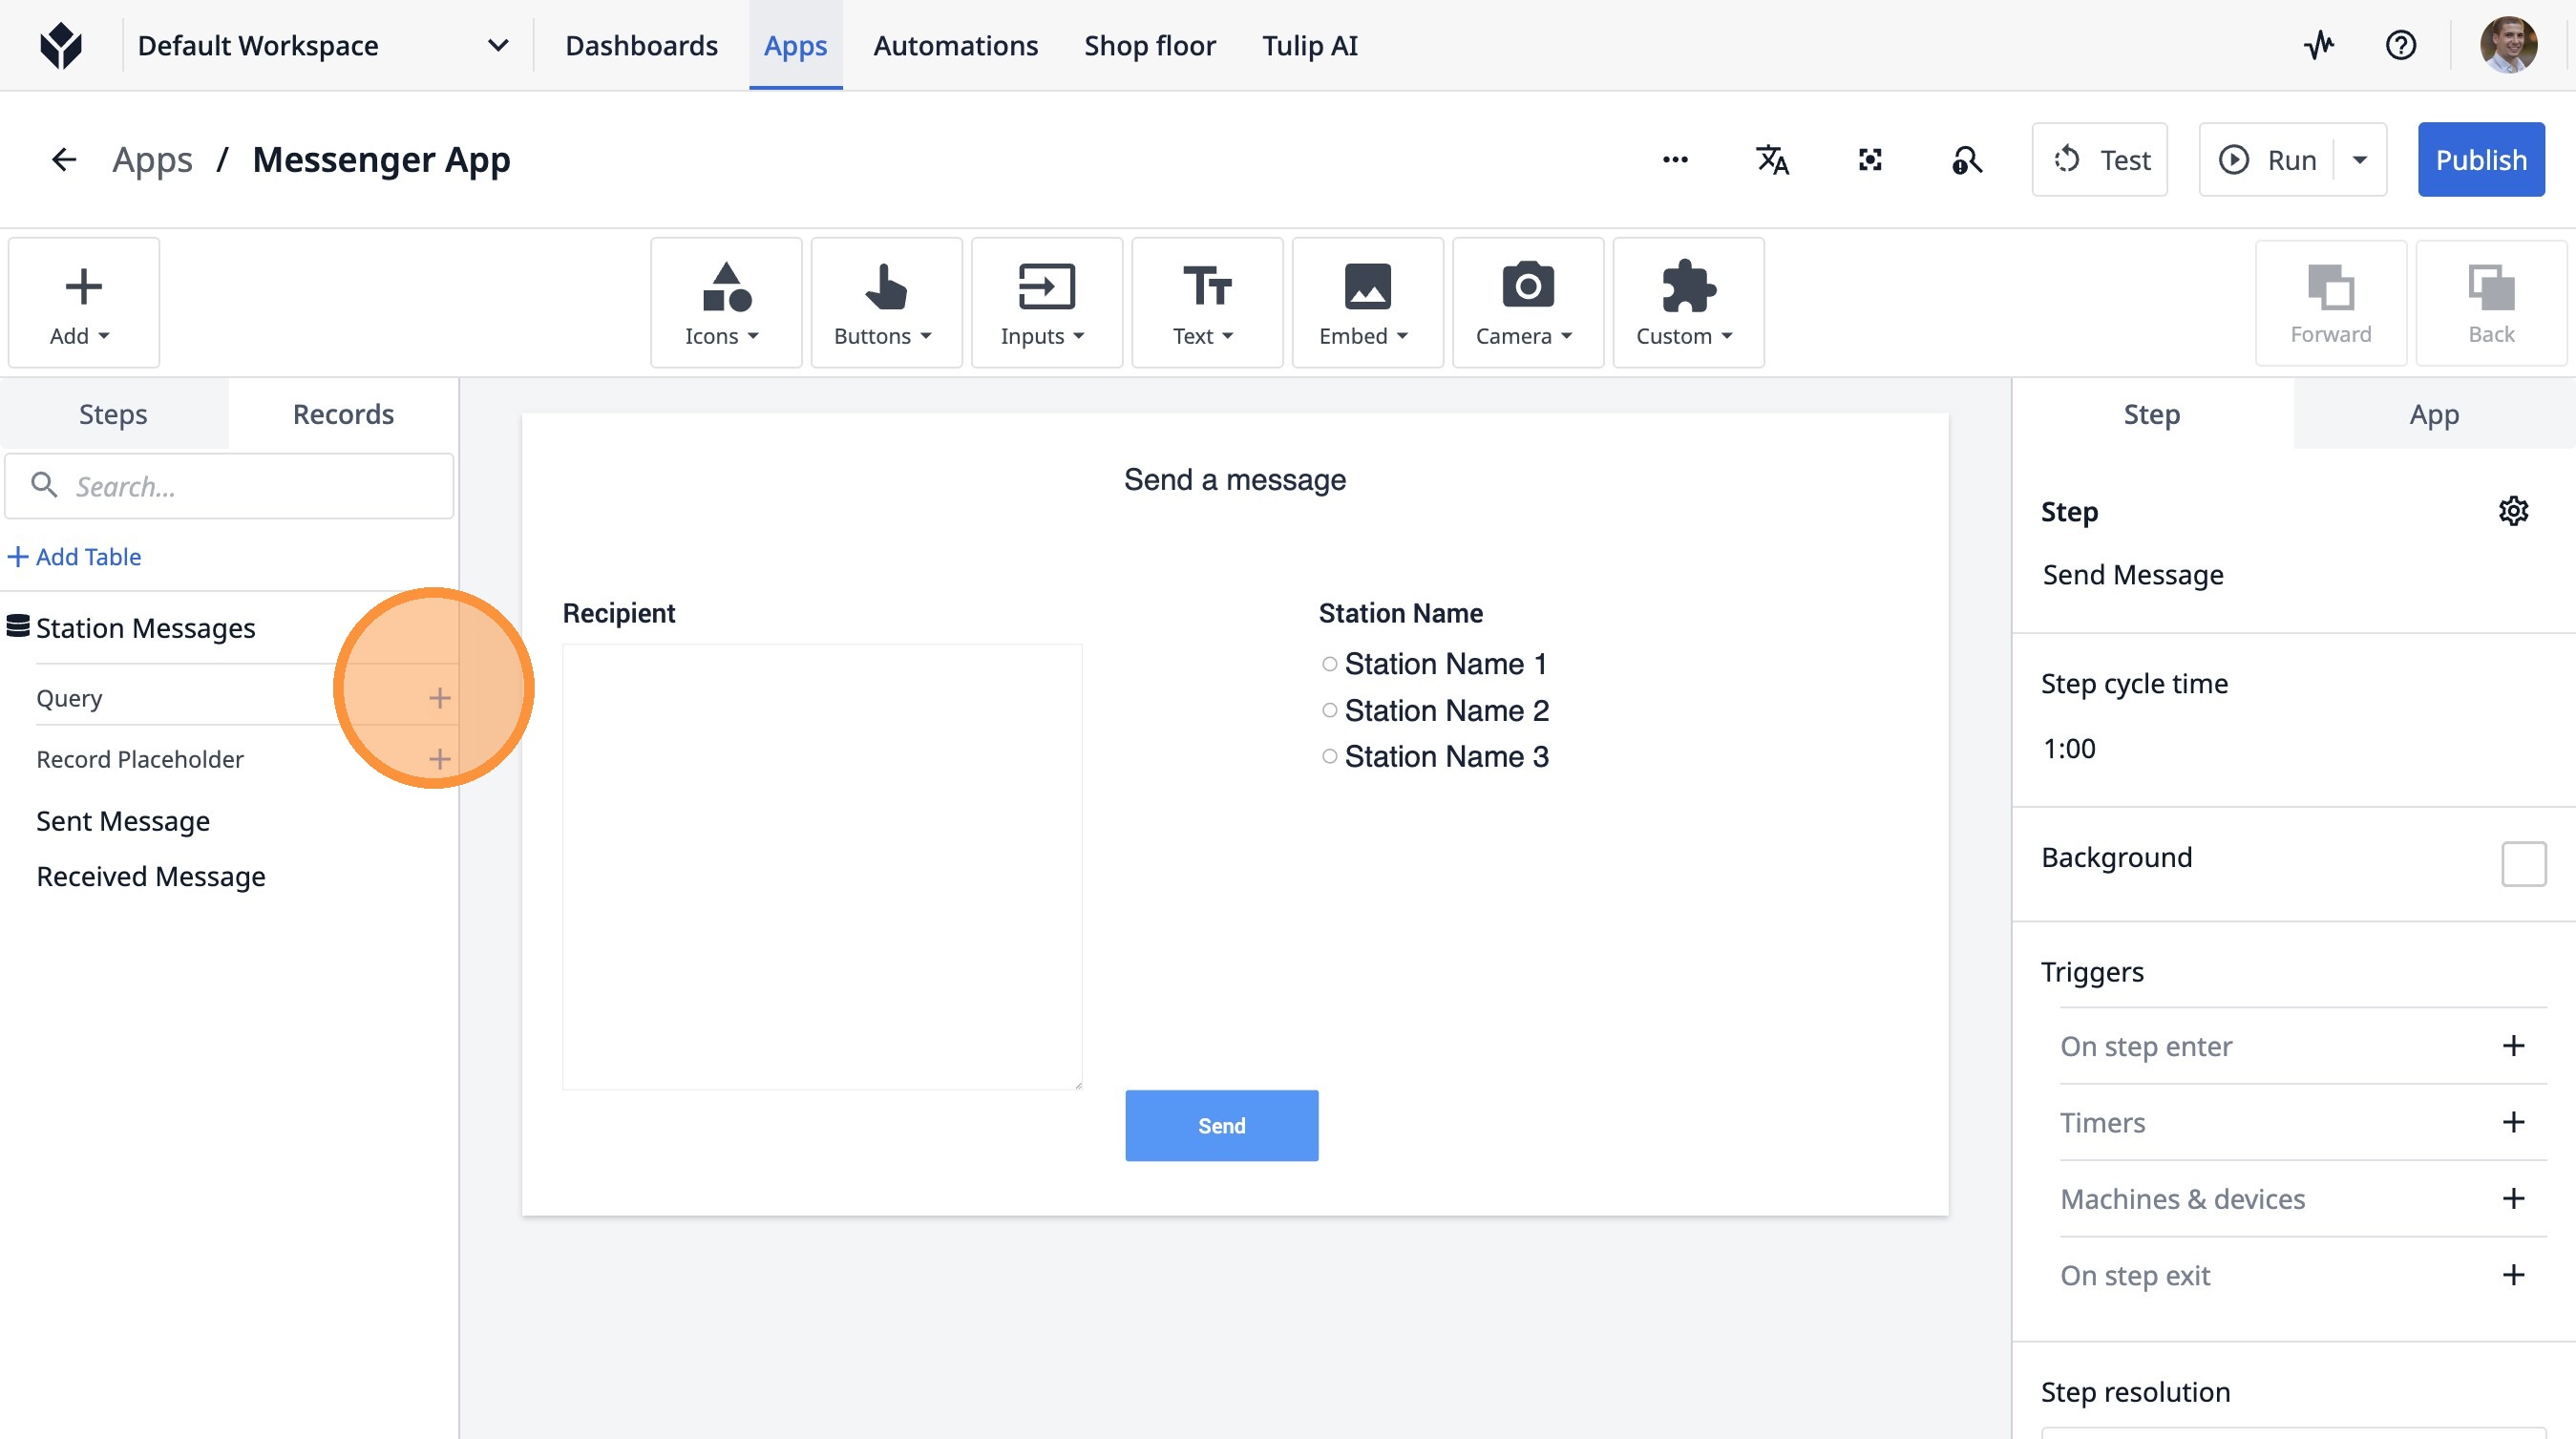
6. Click this icon.
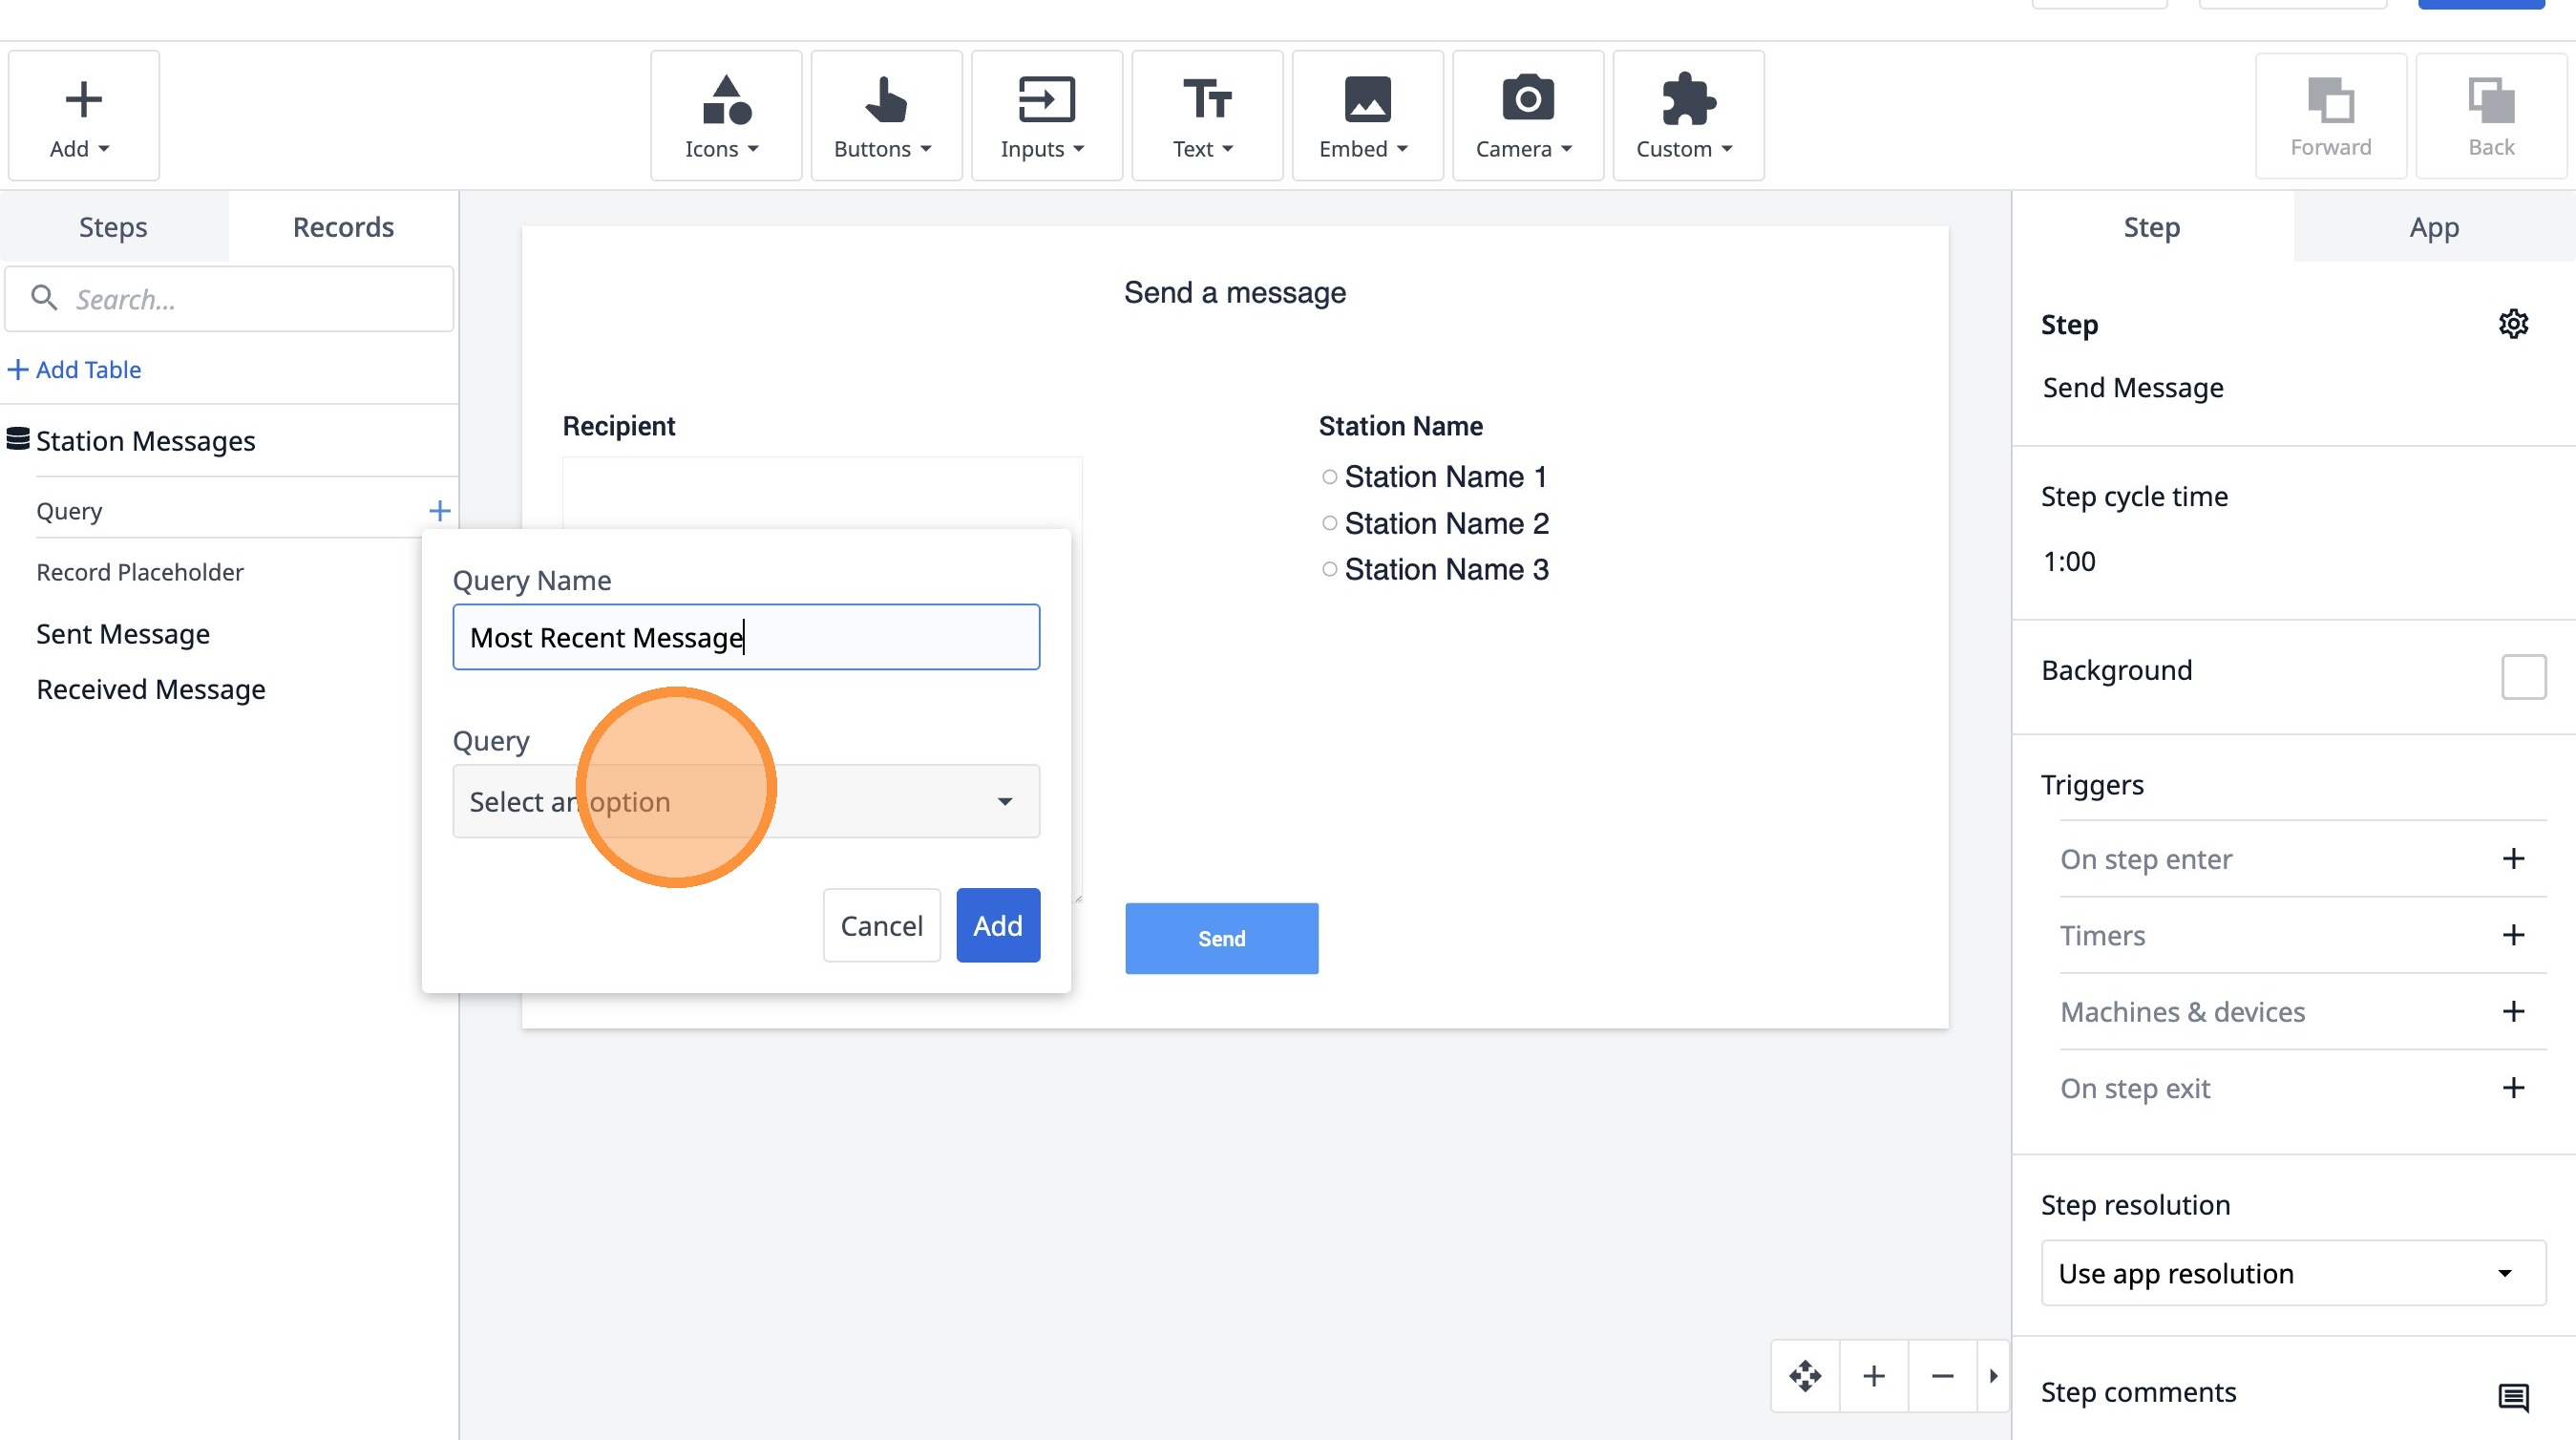
7. Click this text field.
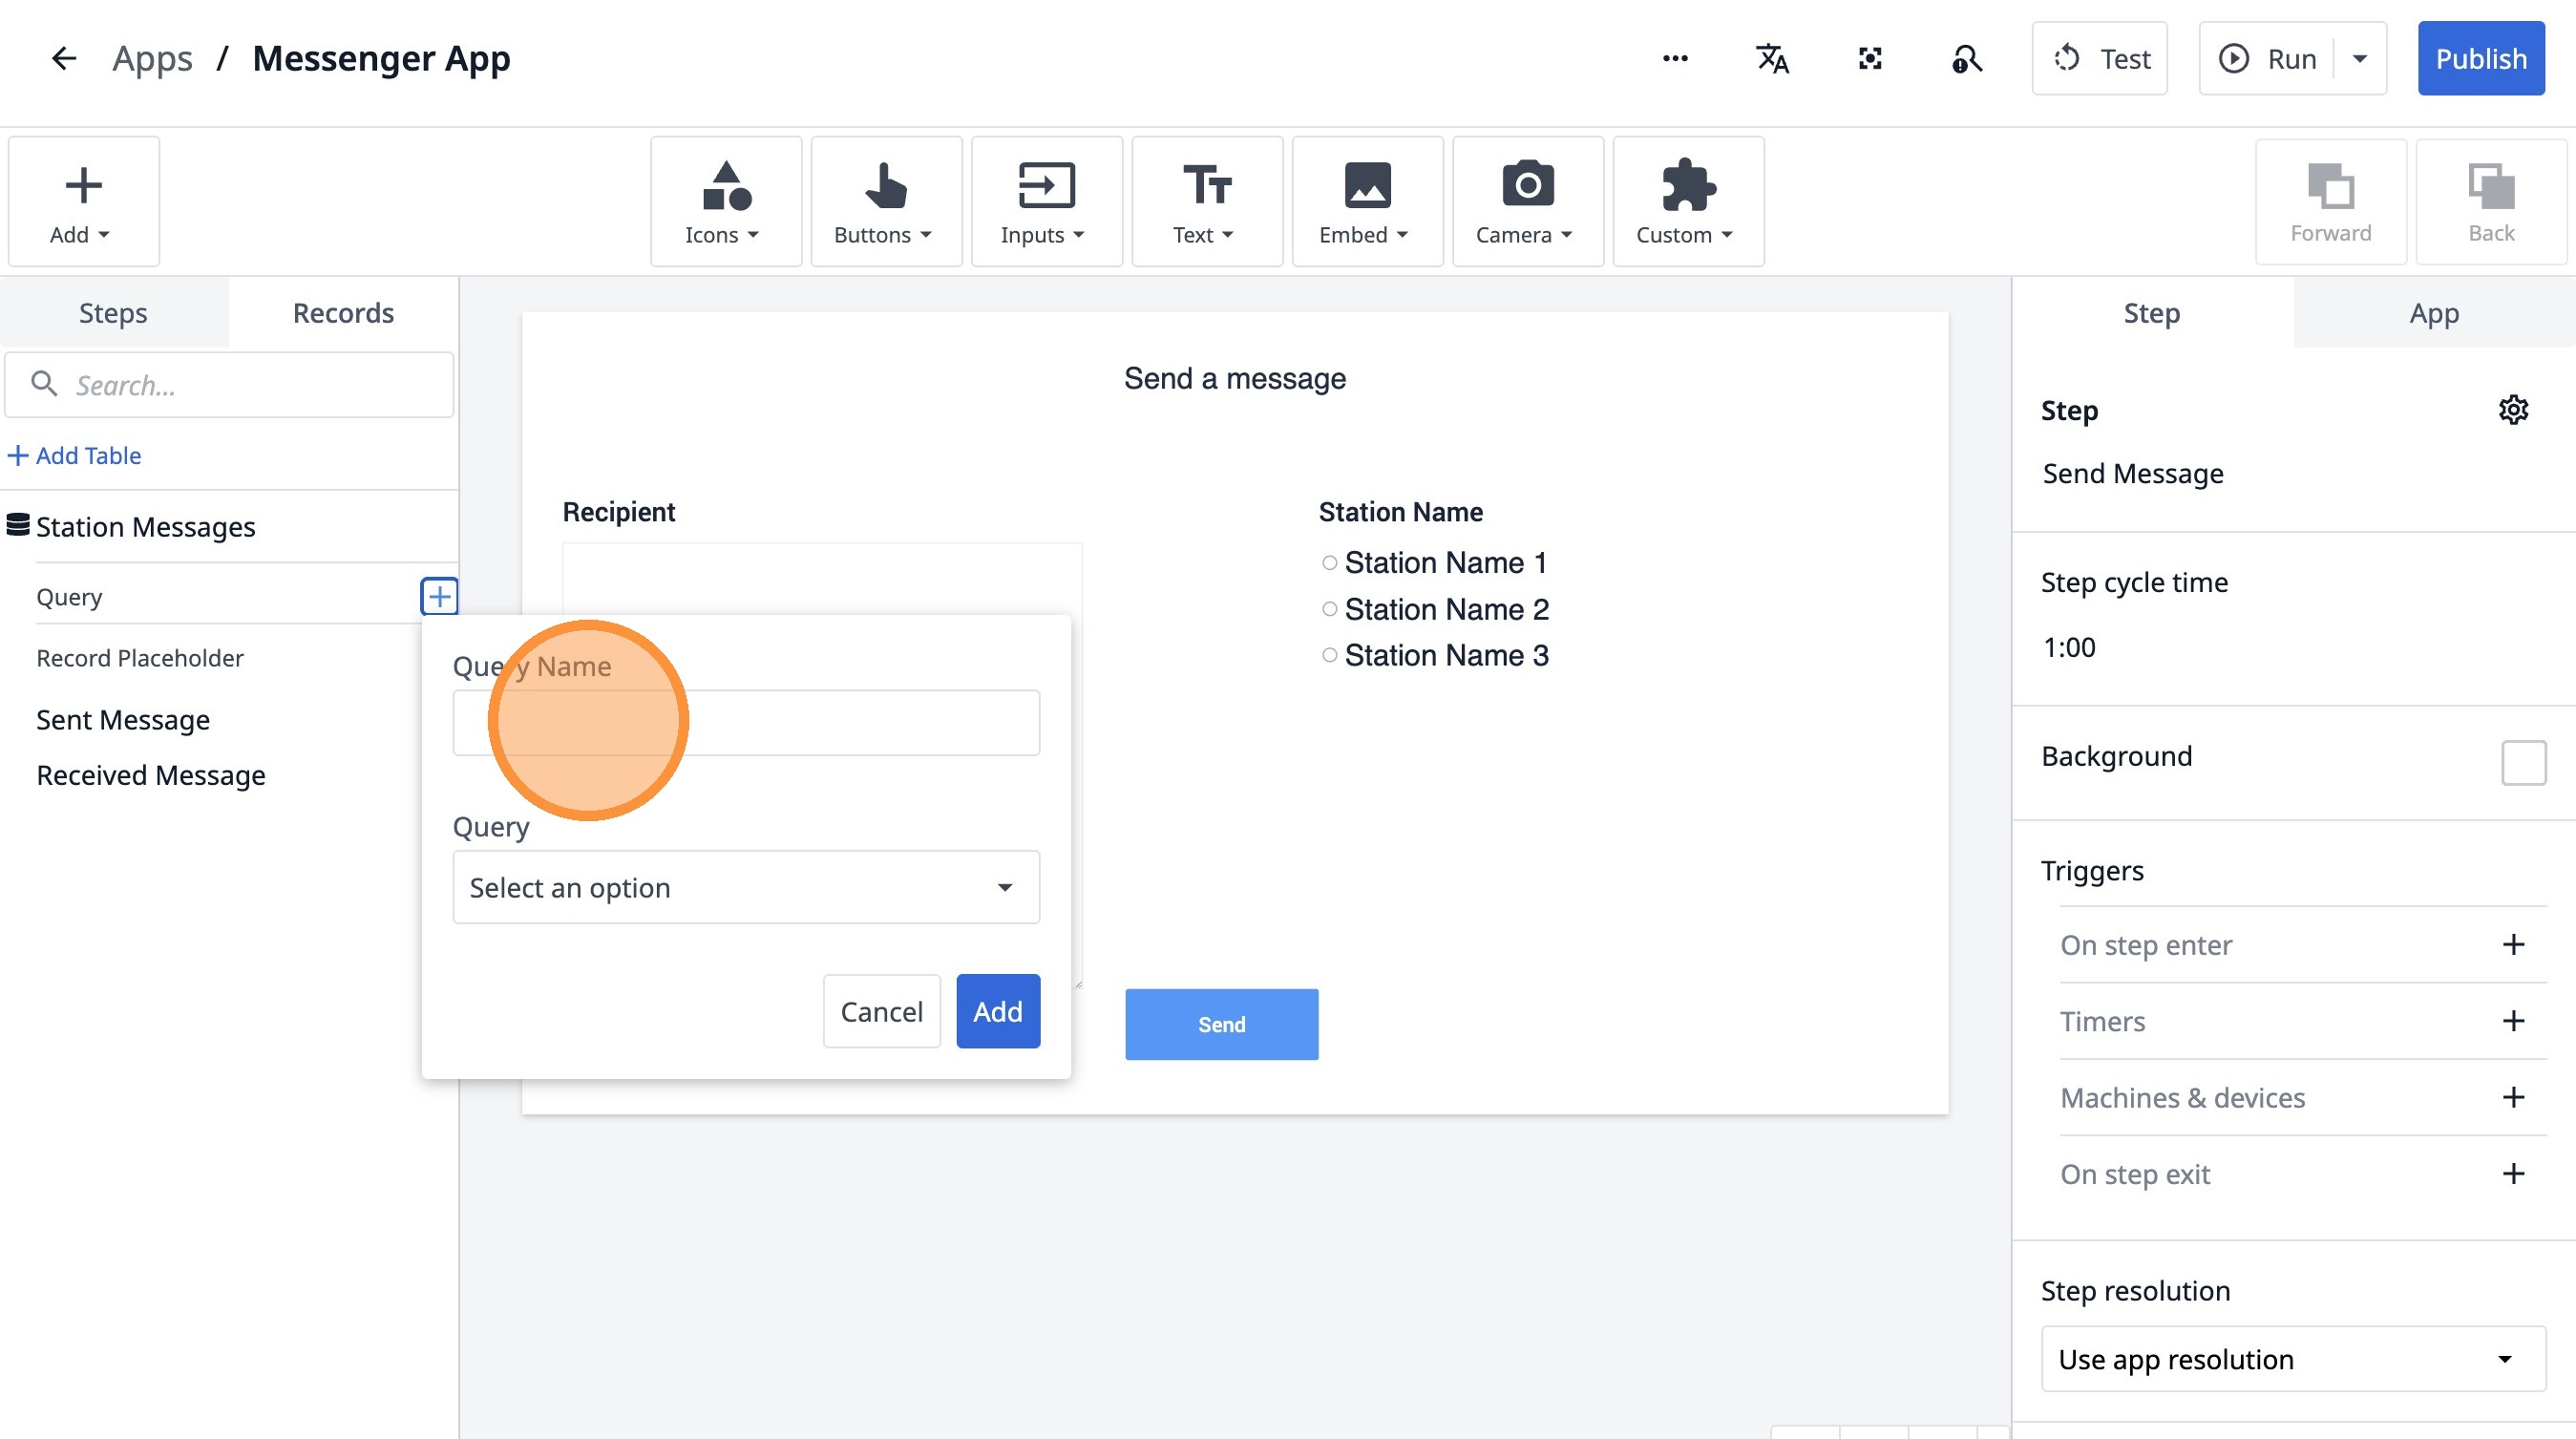
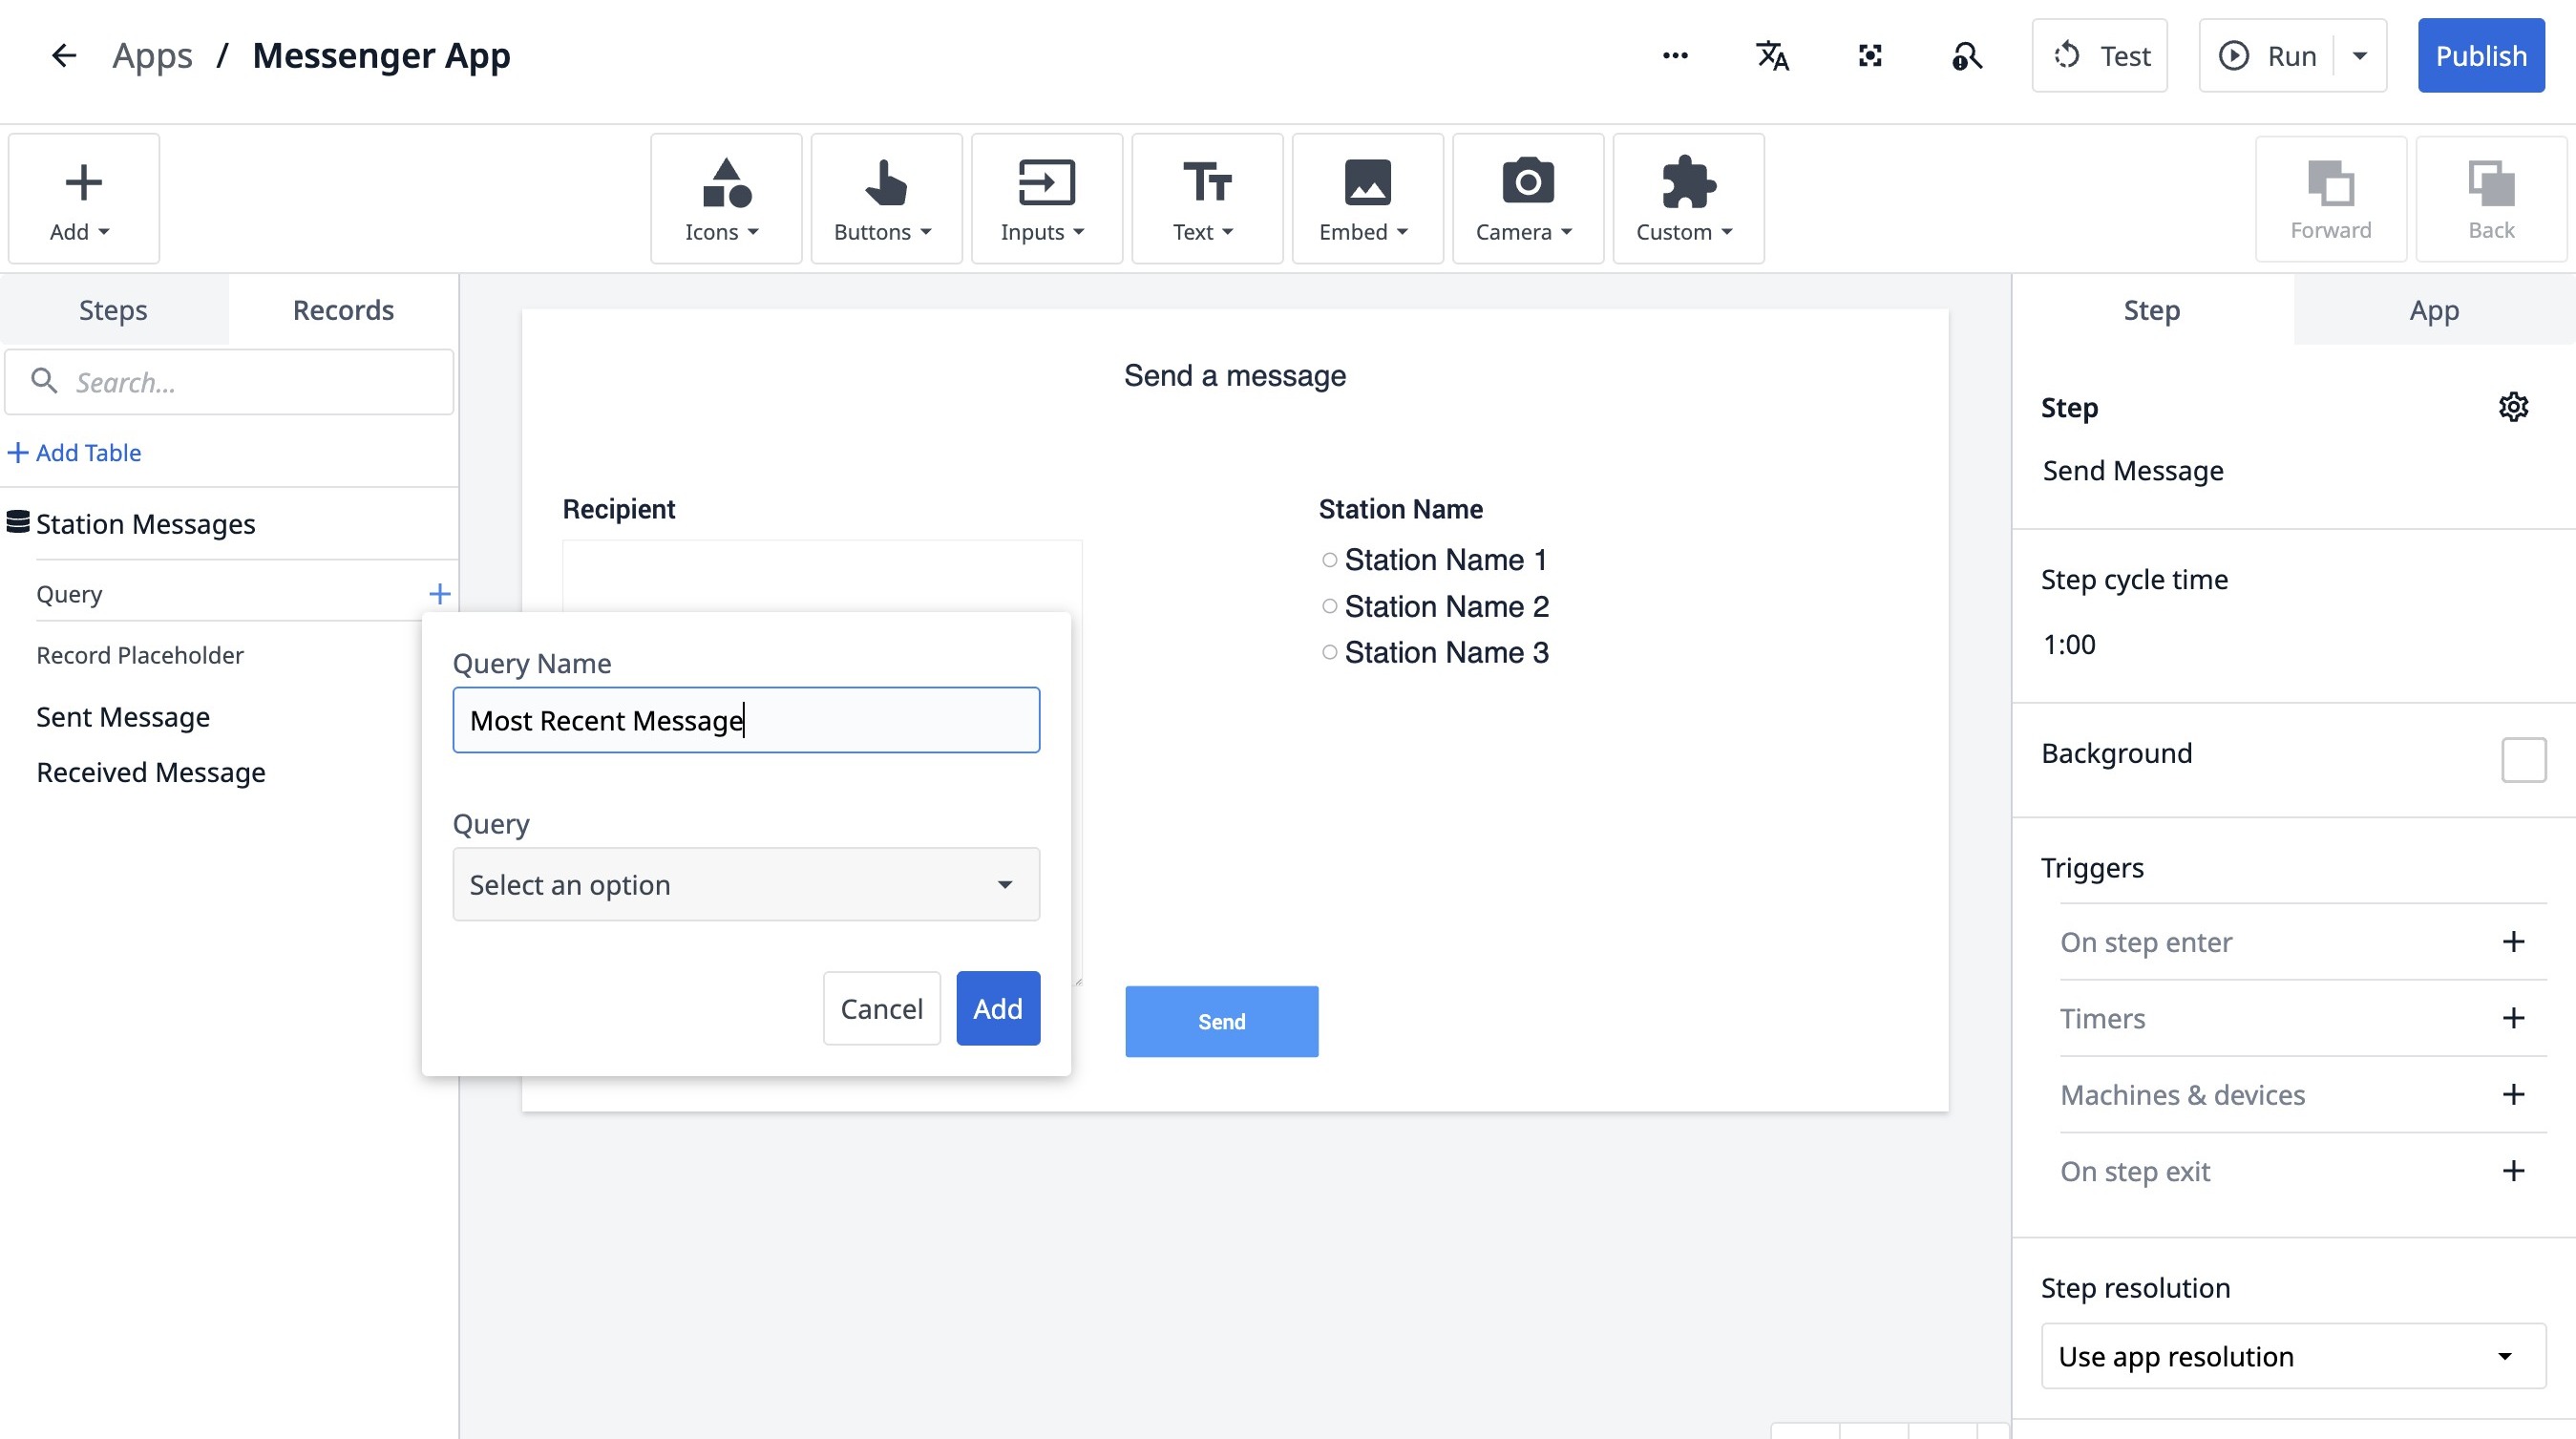
8. Type "Most Recent Message"
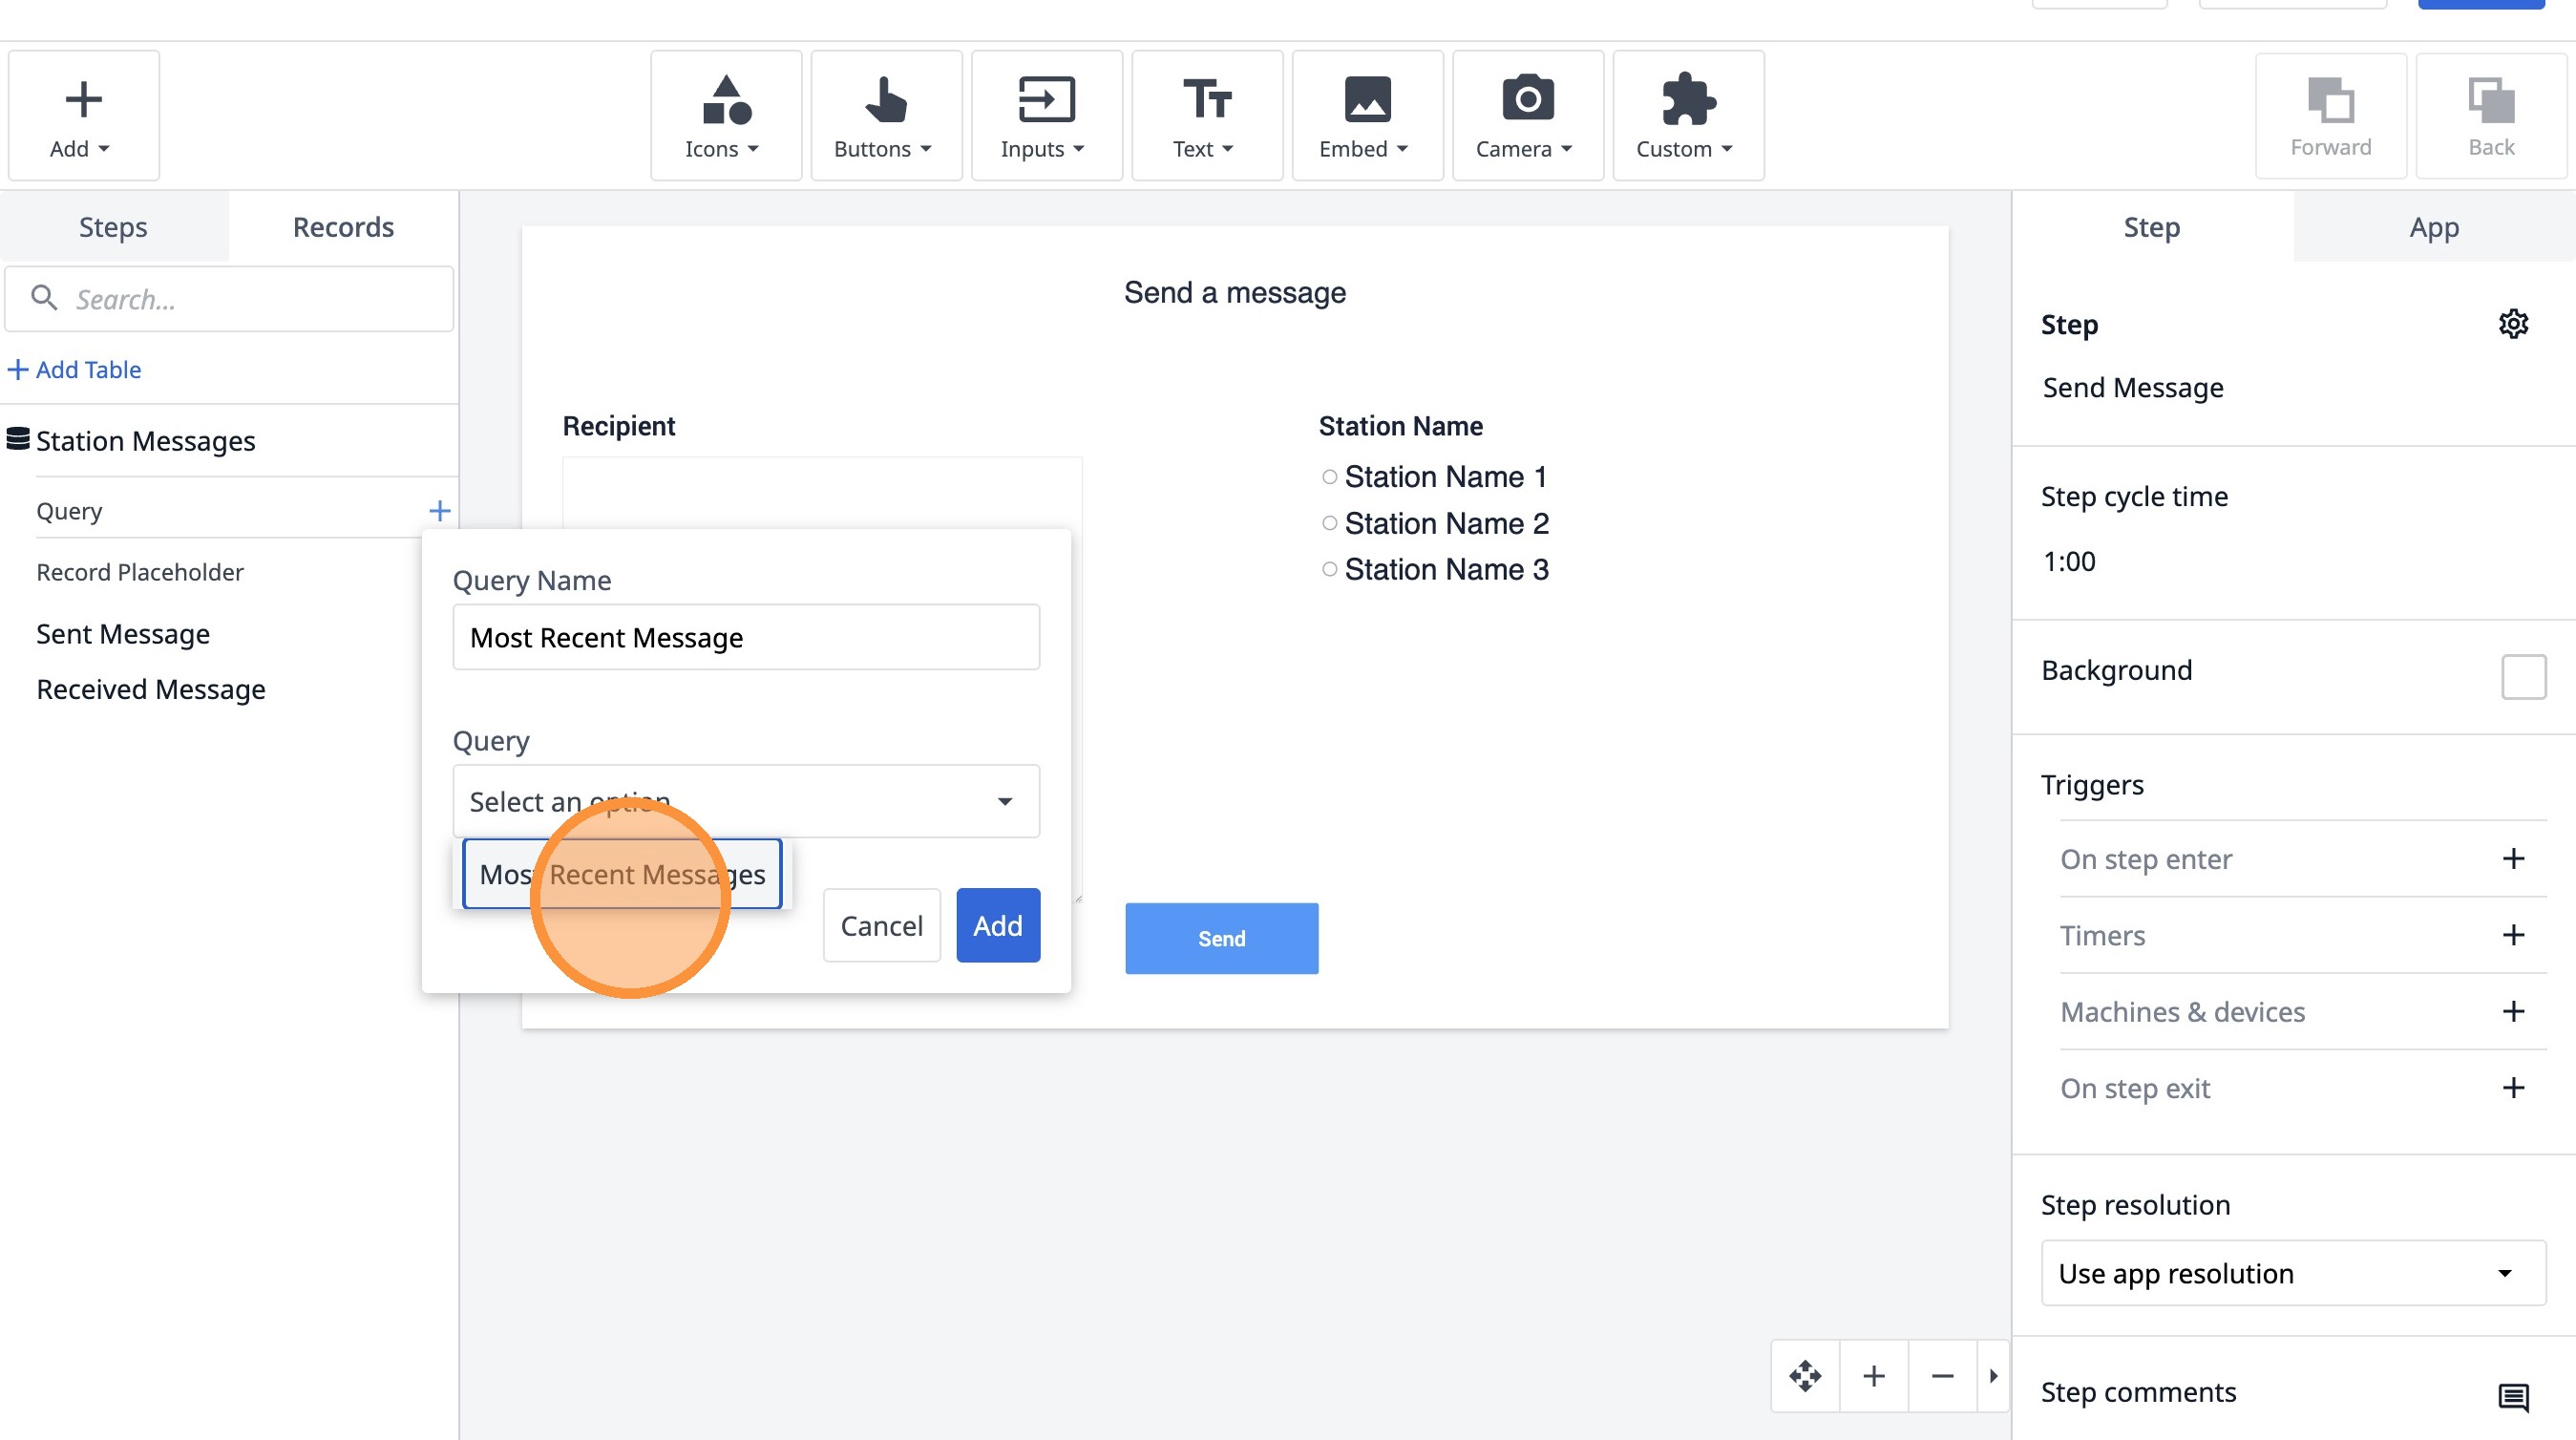
9. Click "Select an option"
10. Click "Most Recent Messages"
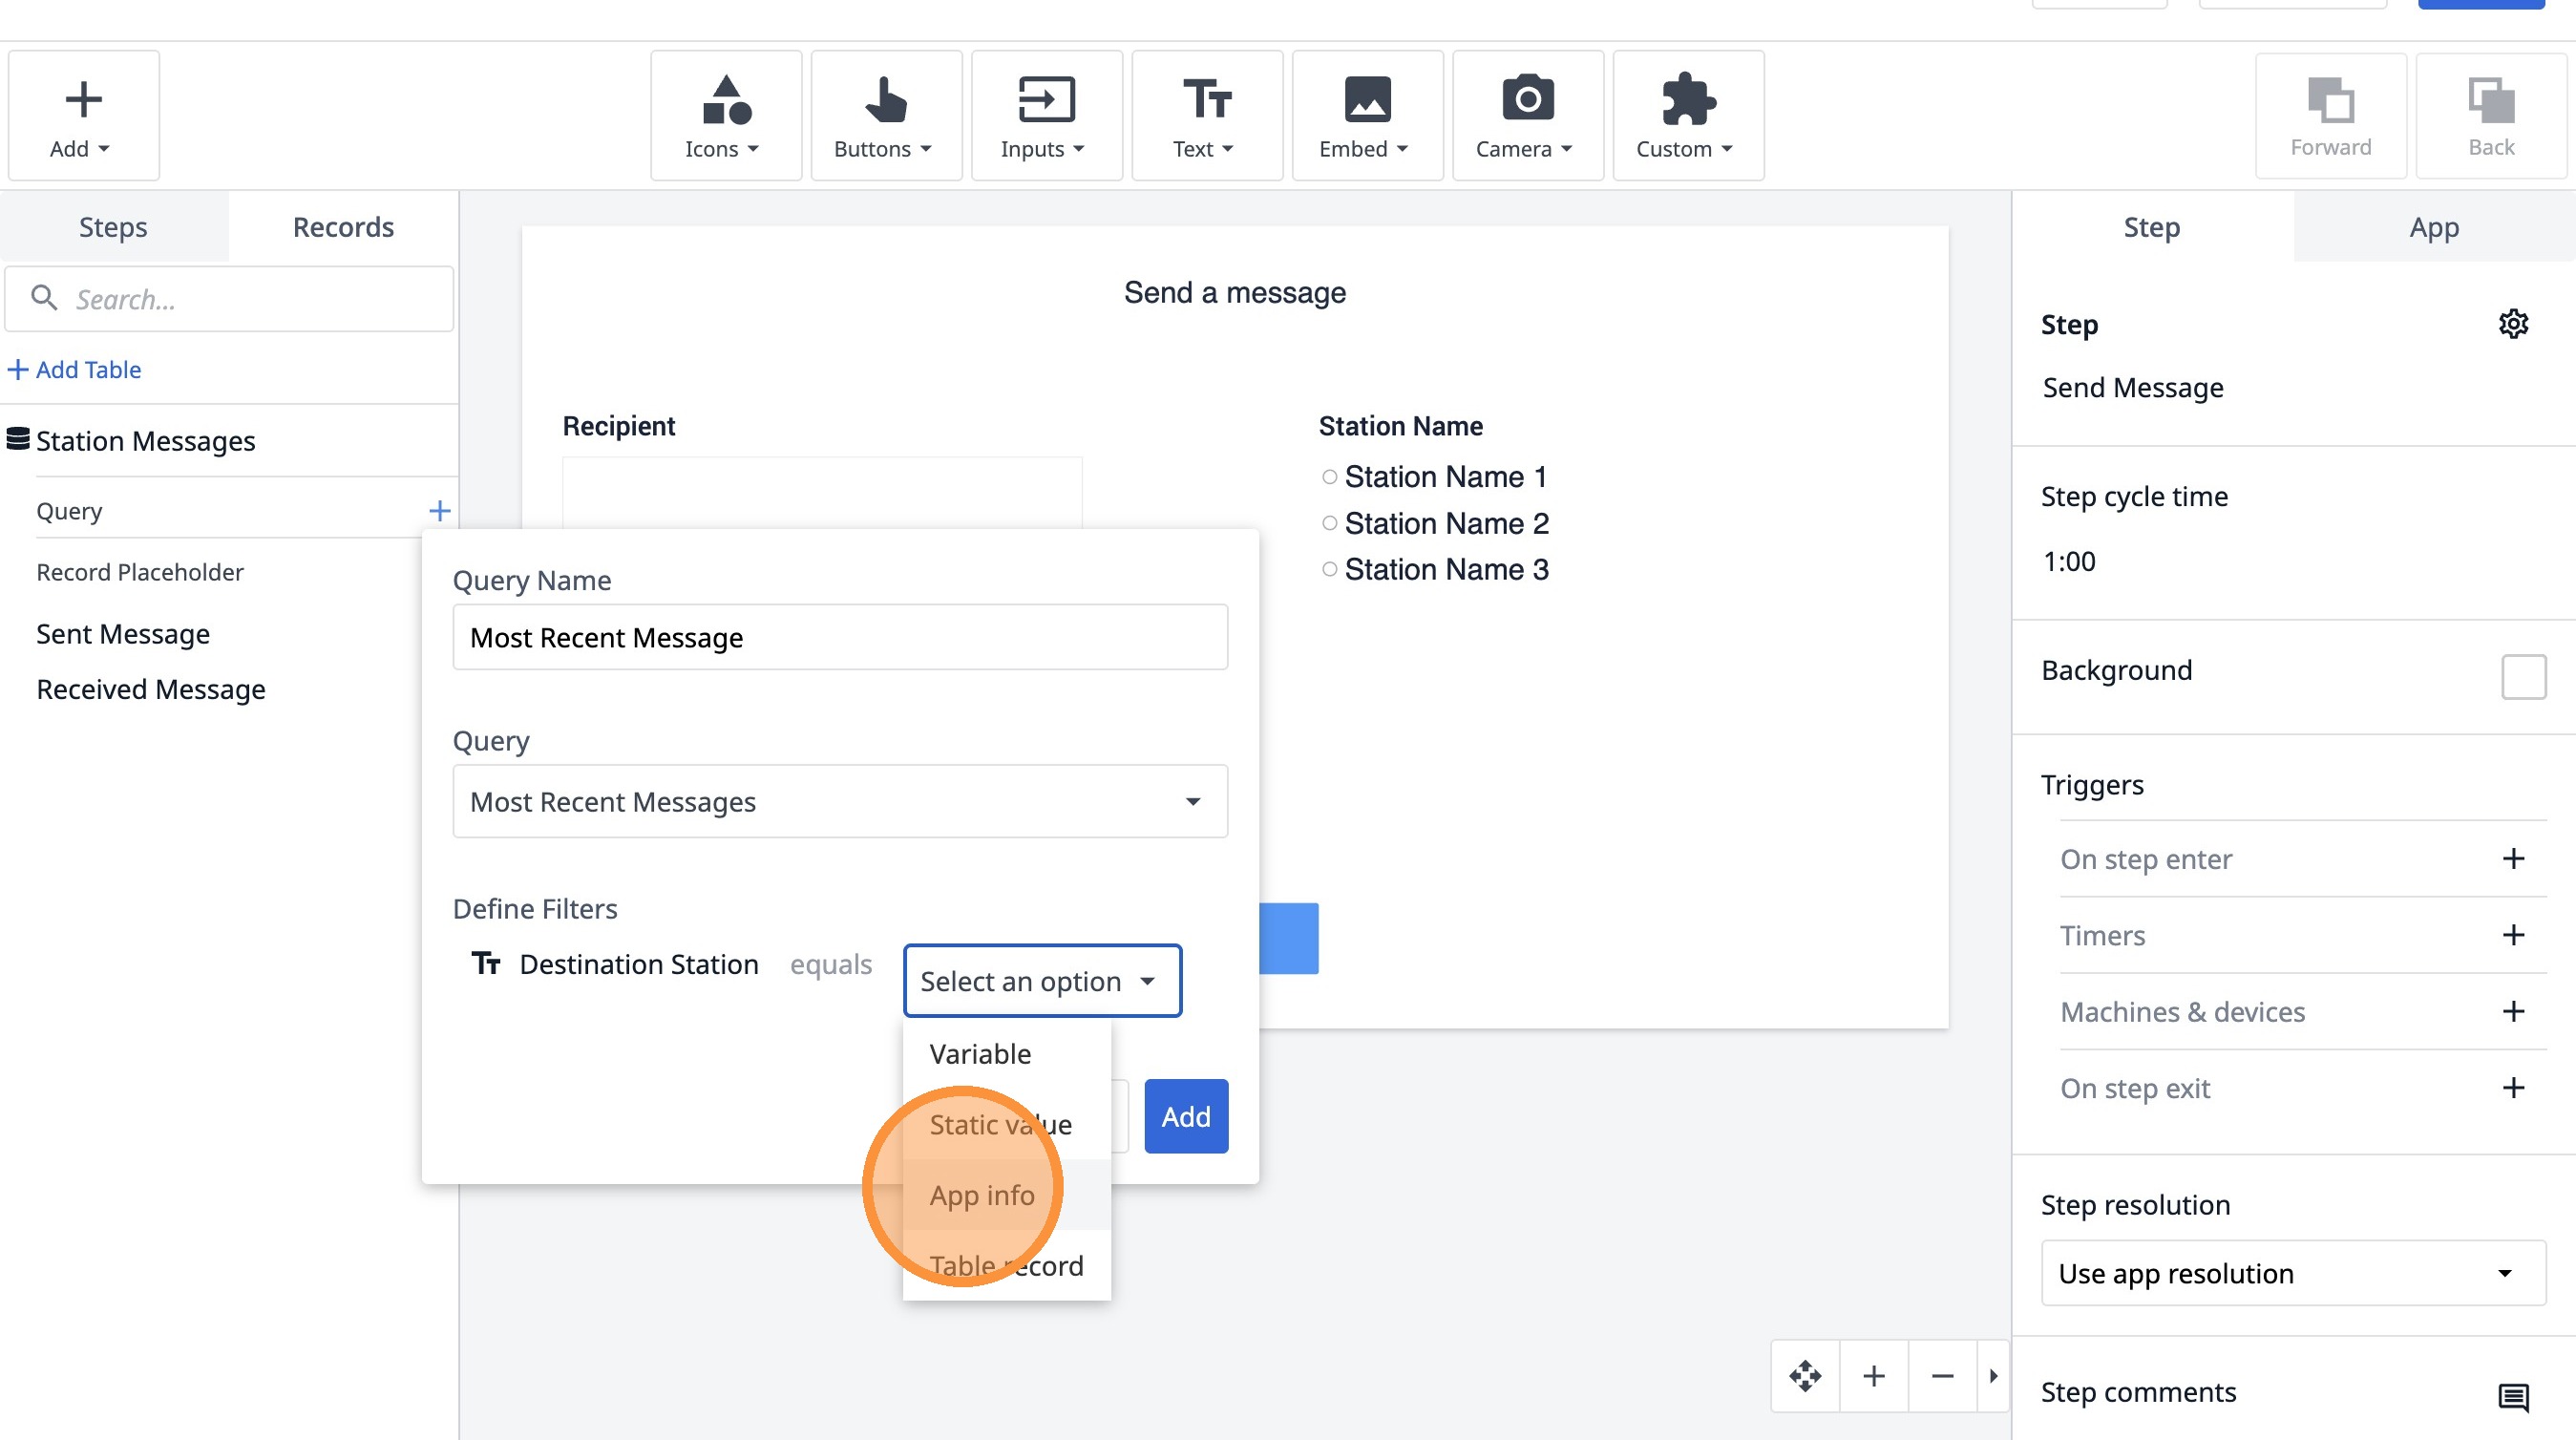
11. Click "Select an option"
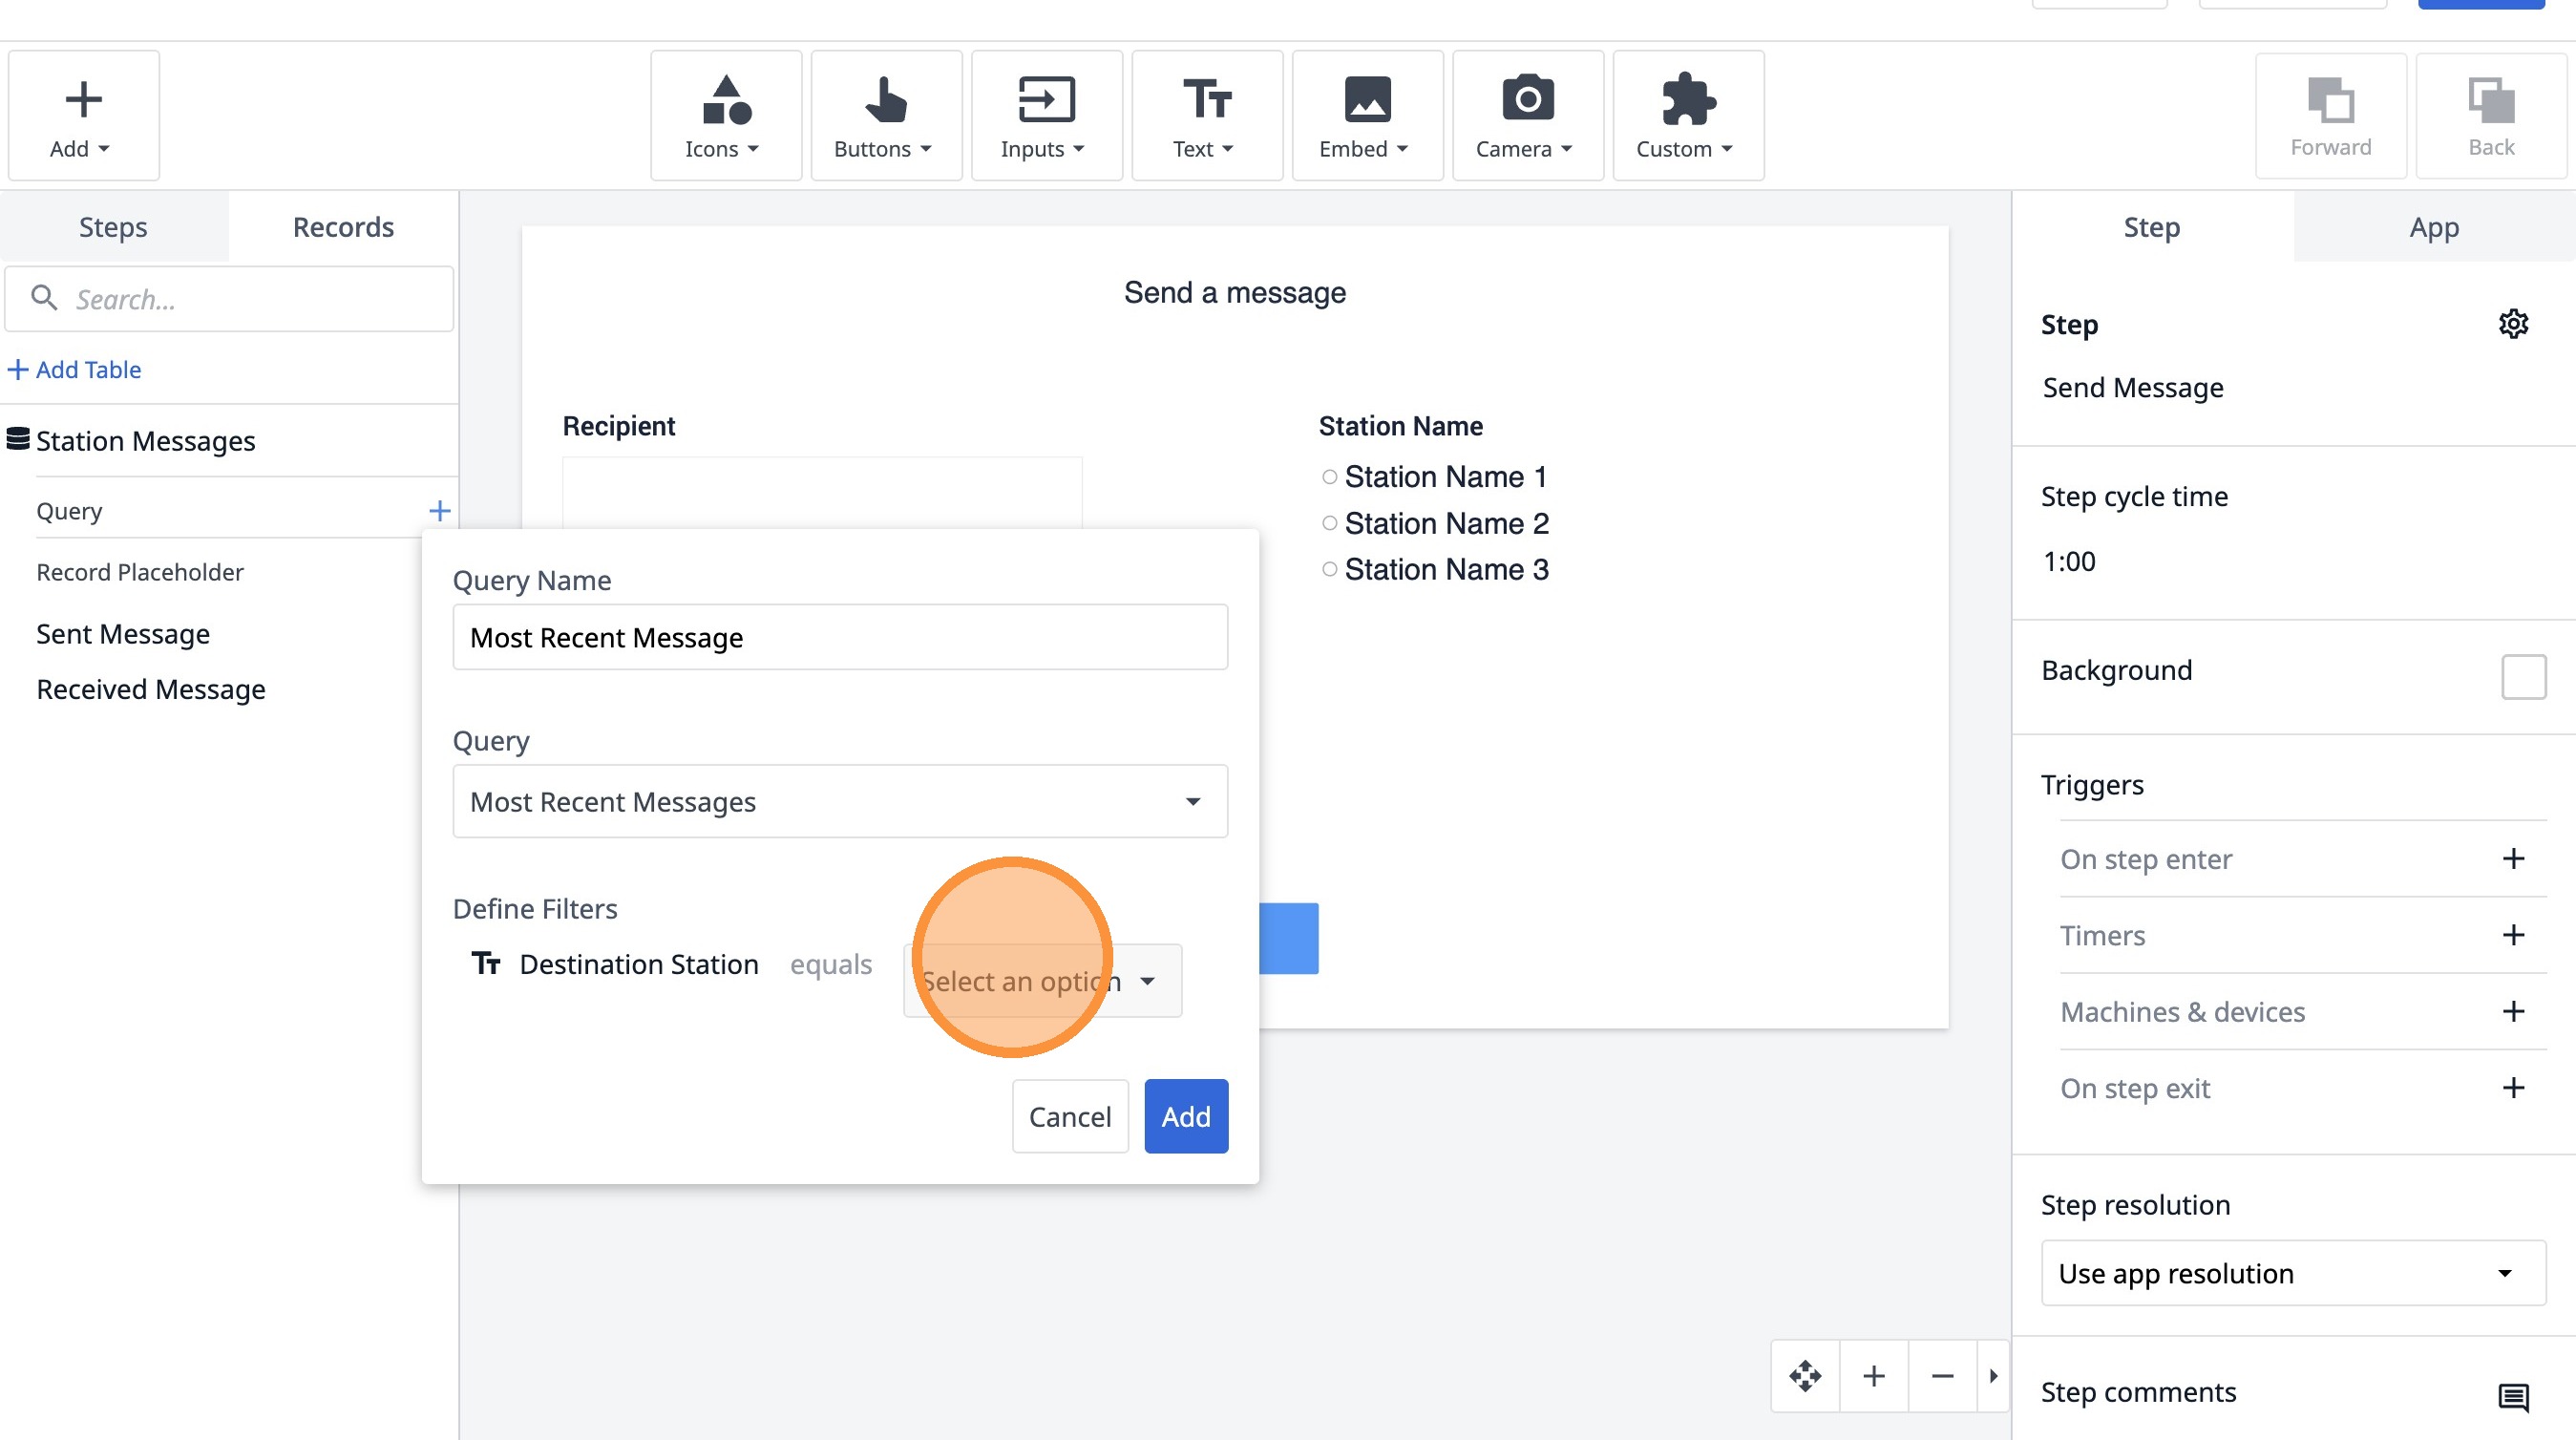
12. Click "App info"
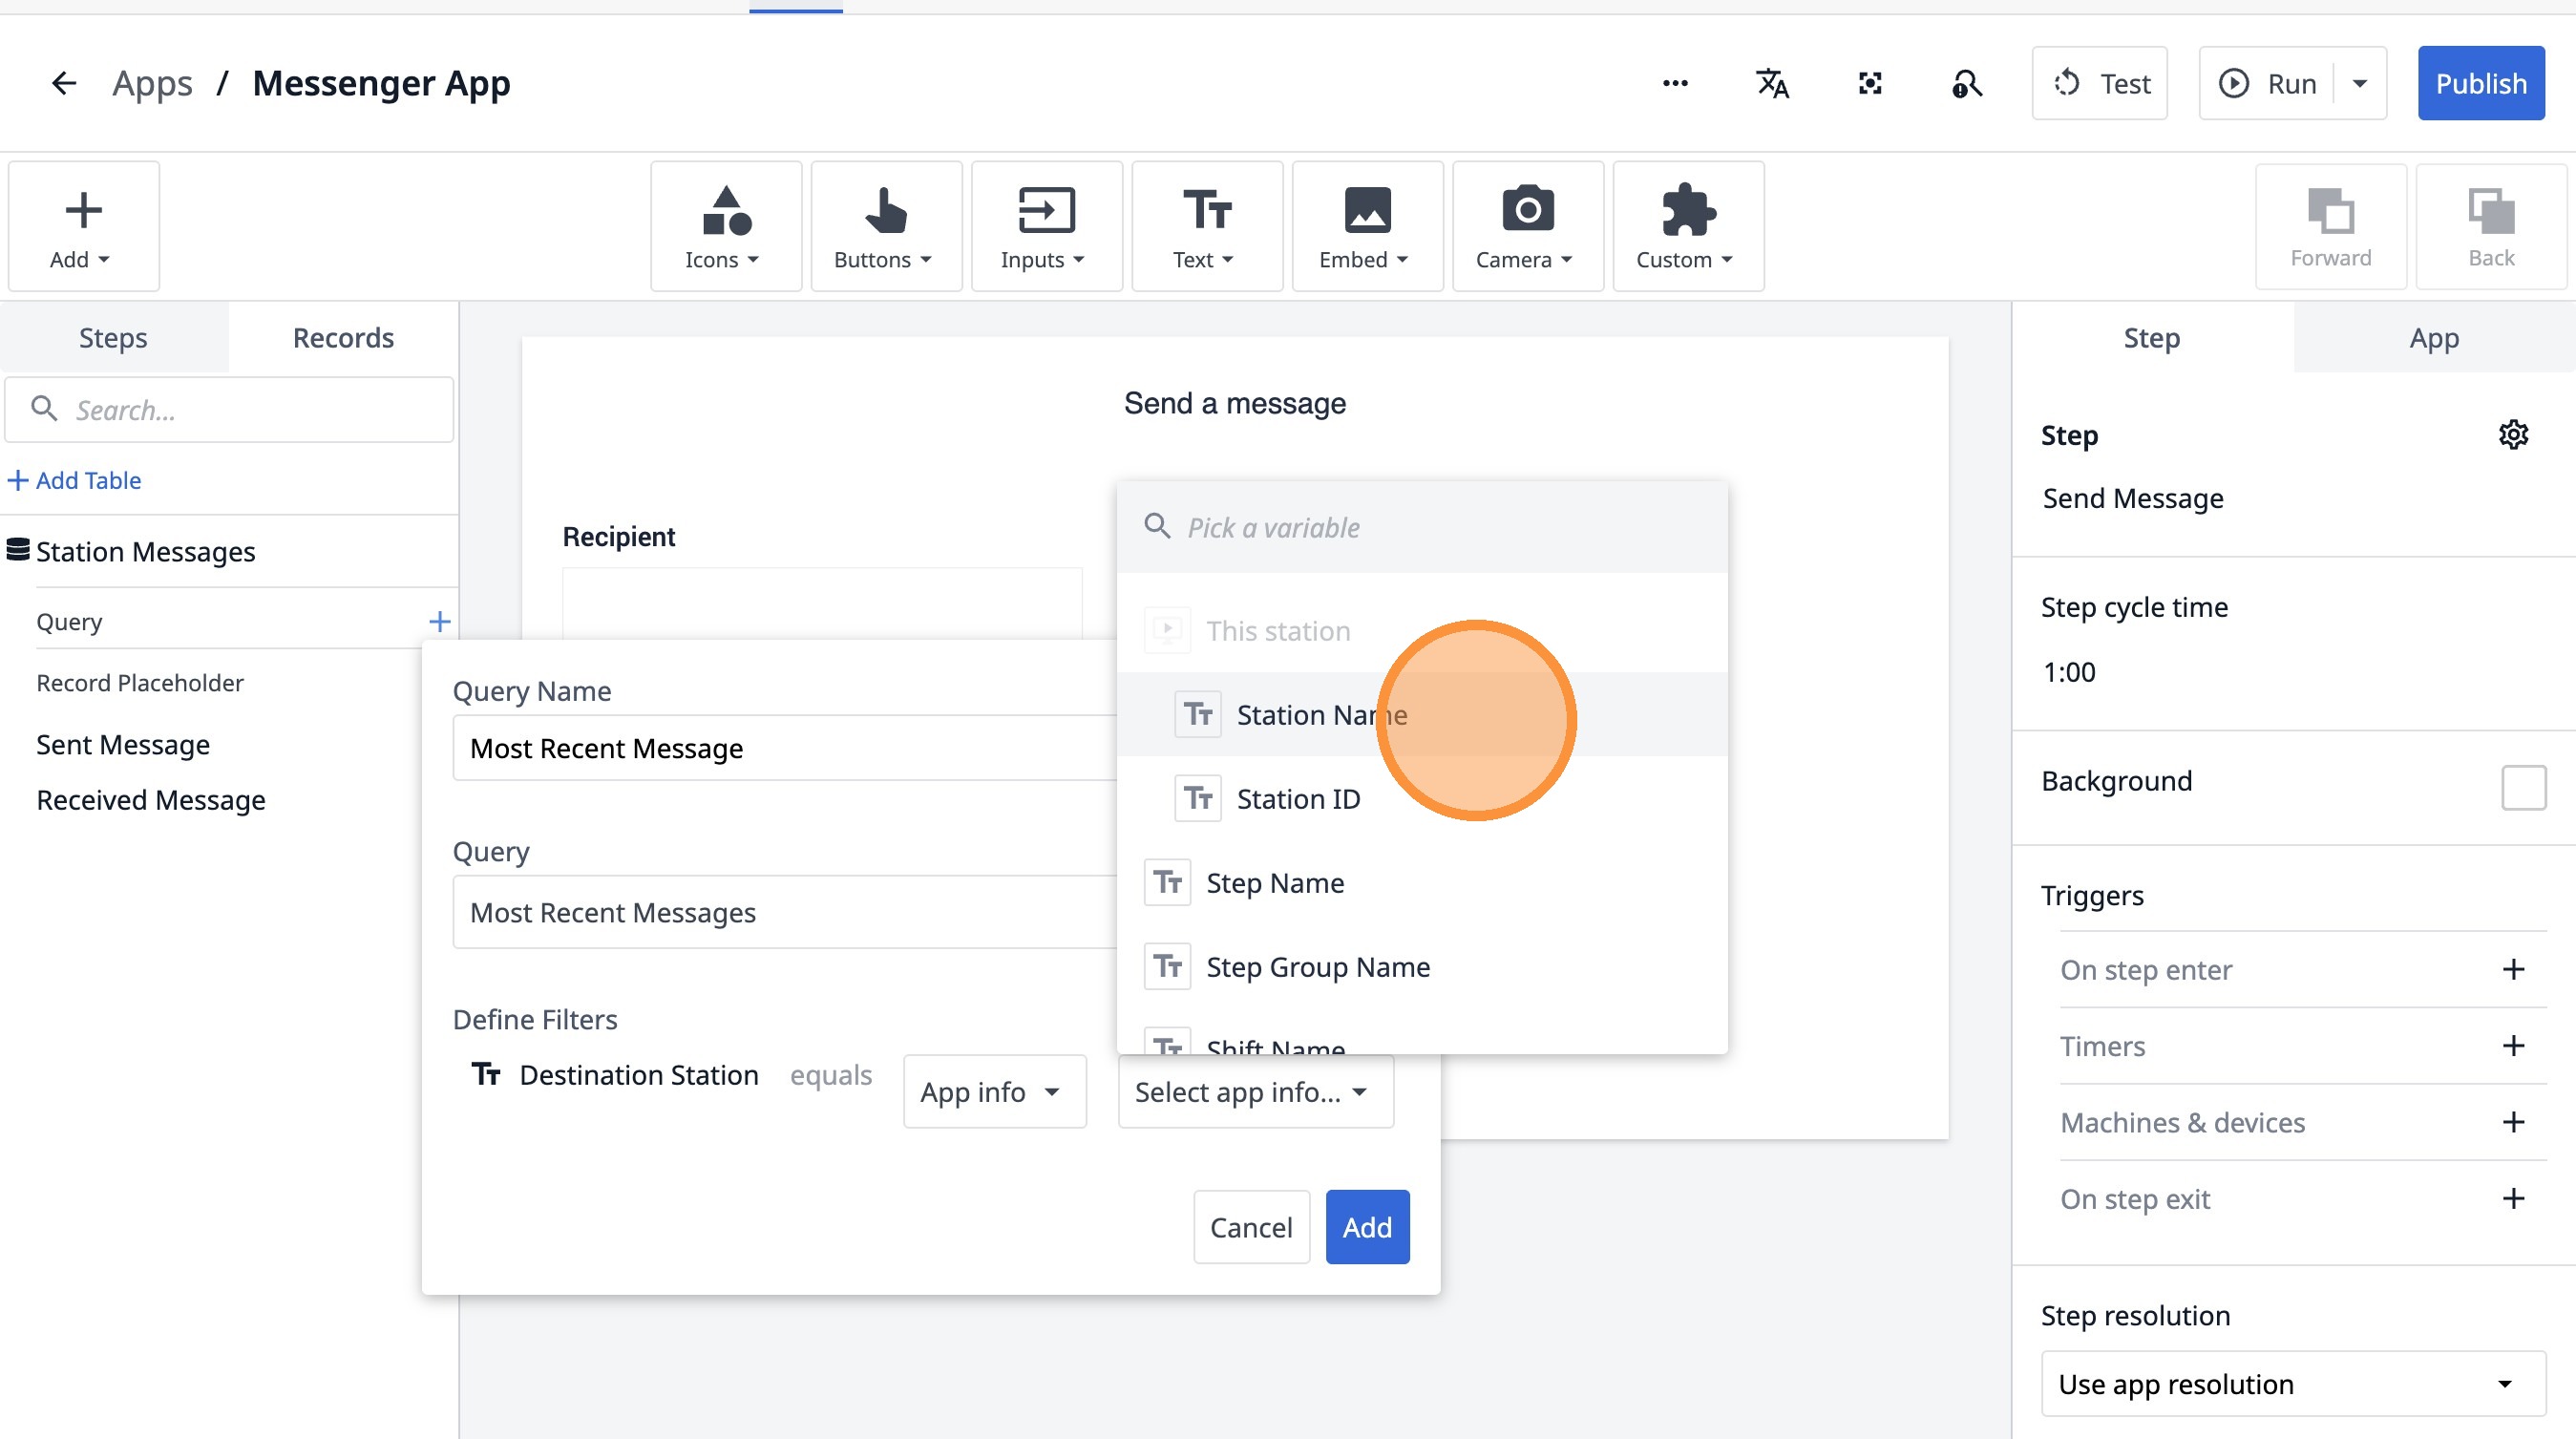
13. Click "Select app info..."
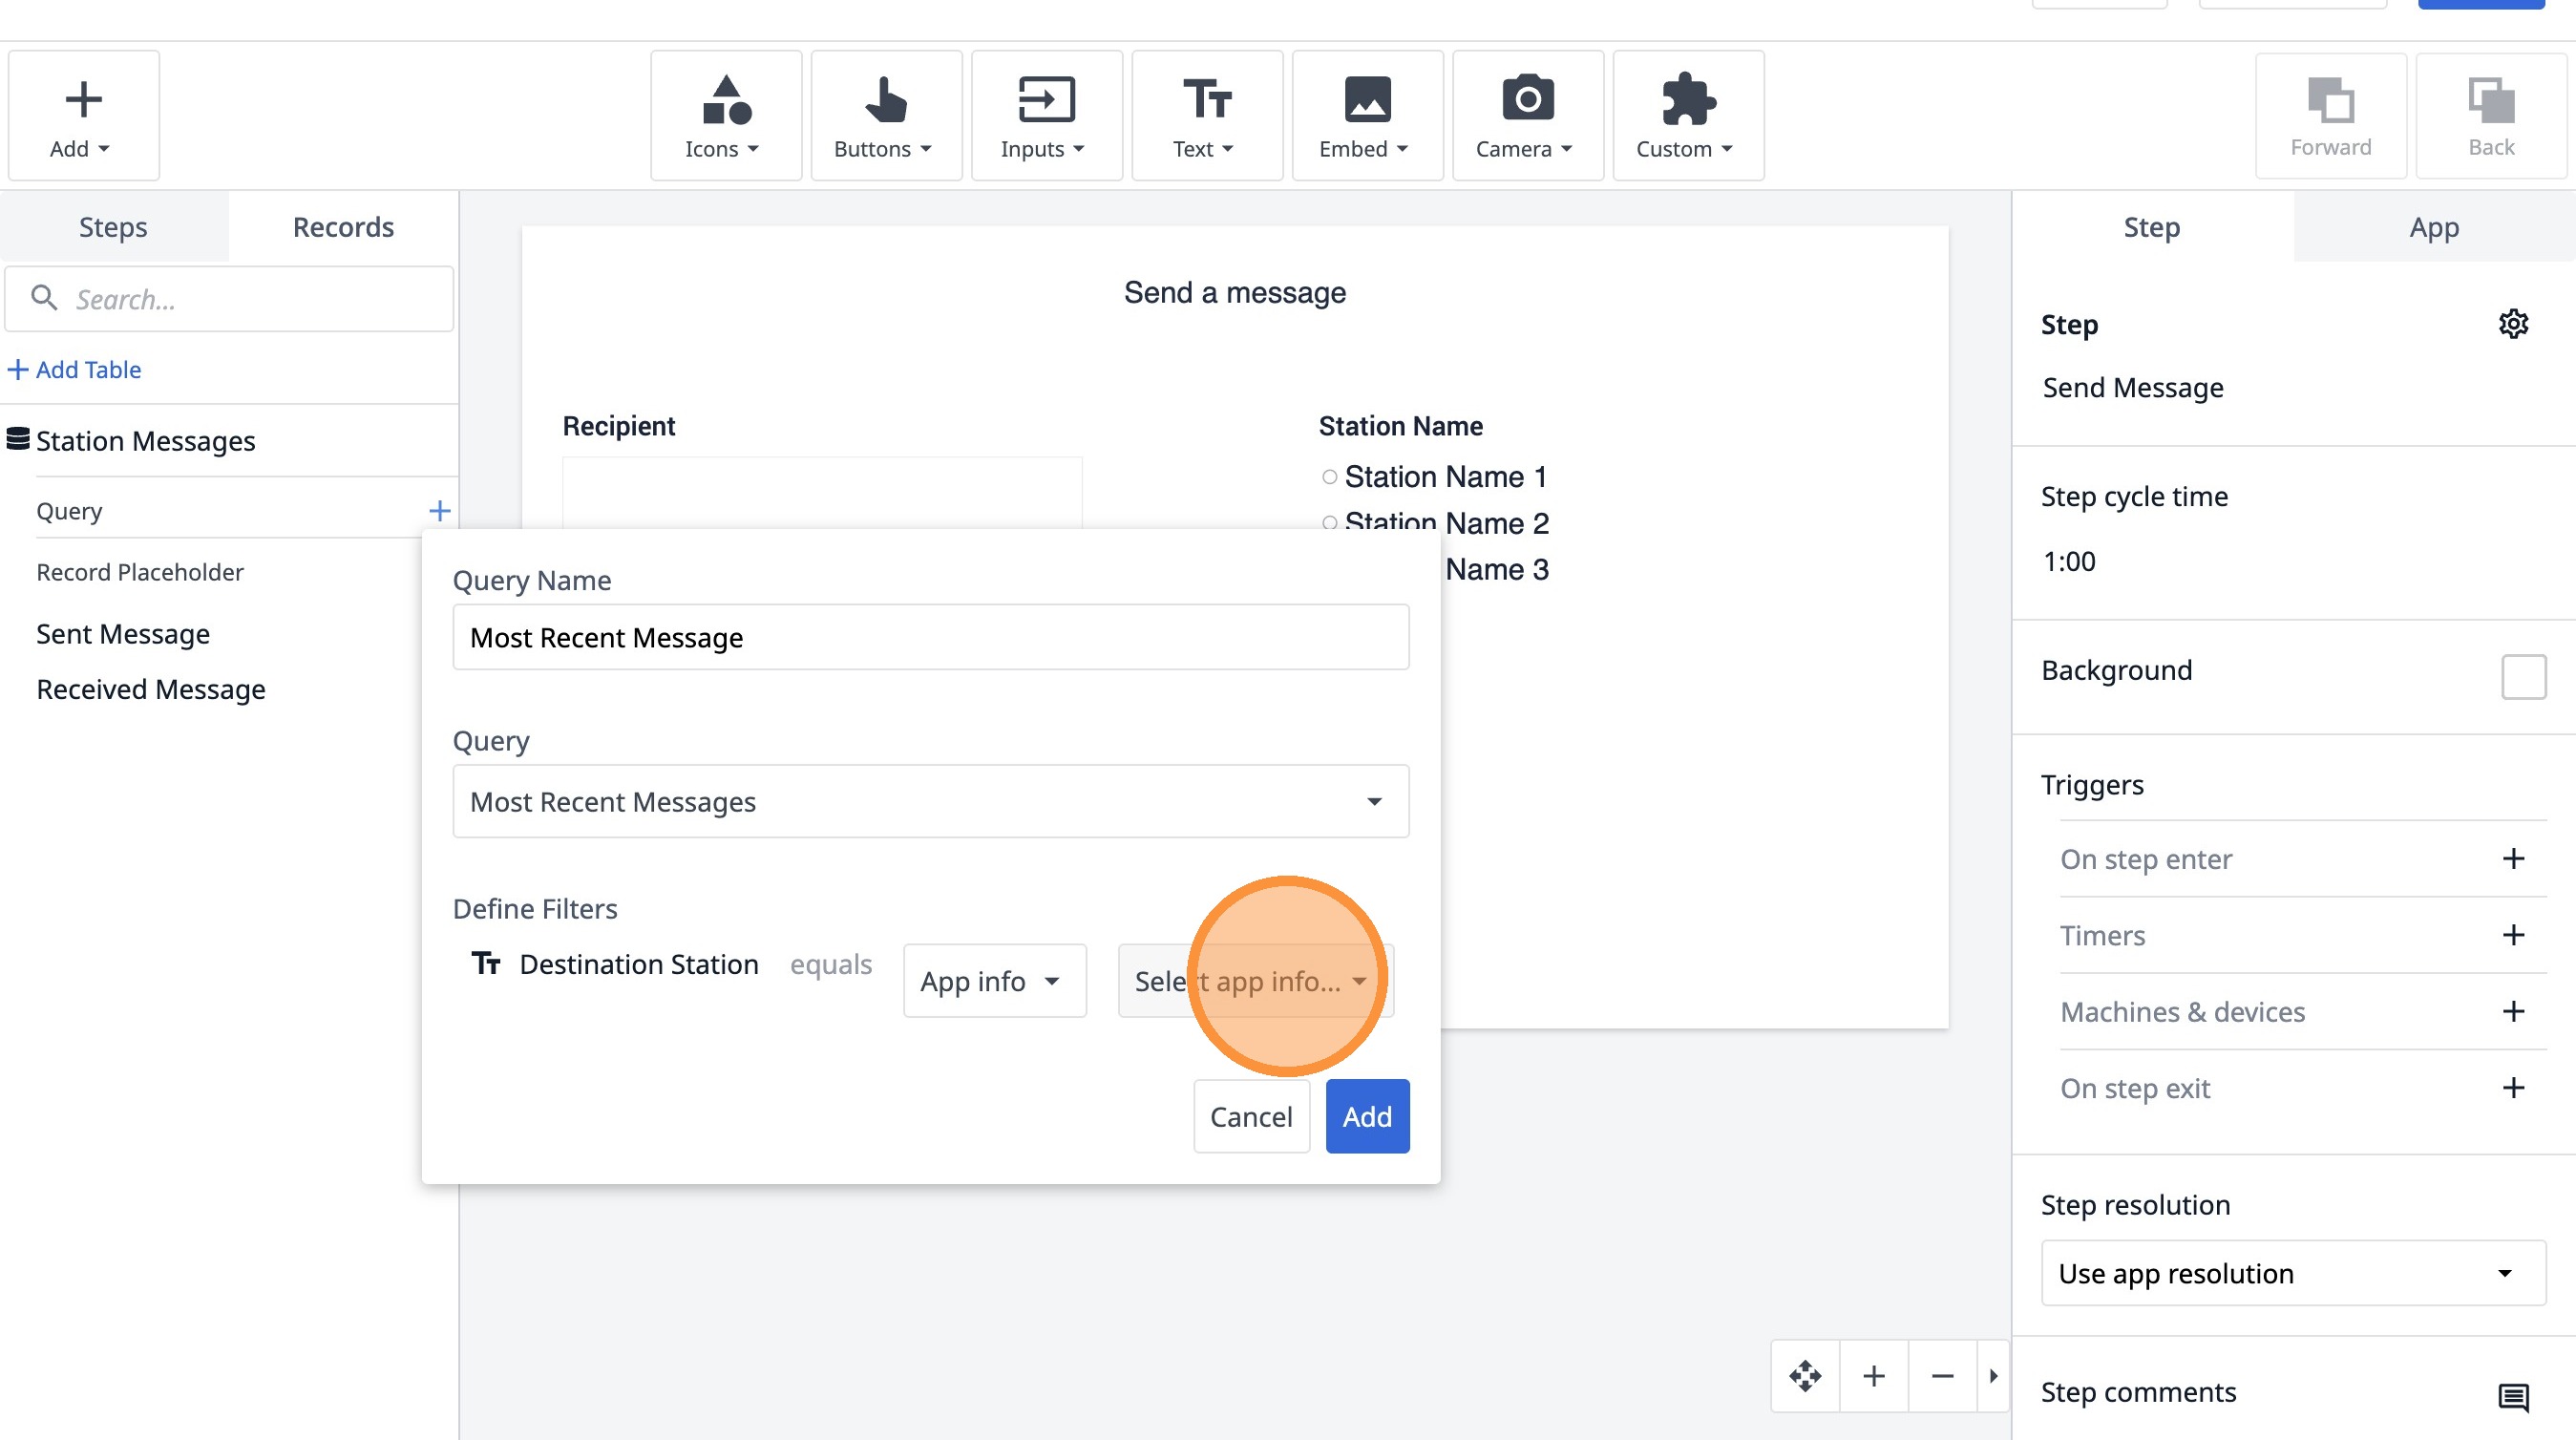
14. Click "Station Name"
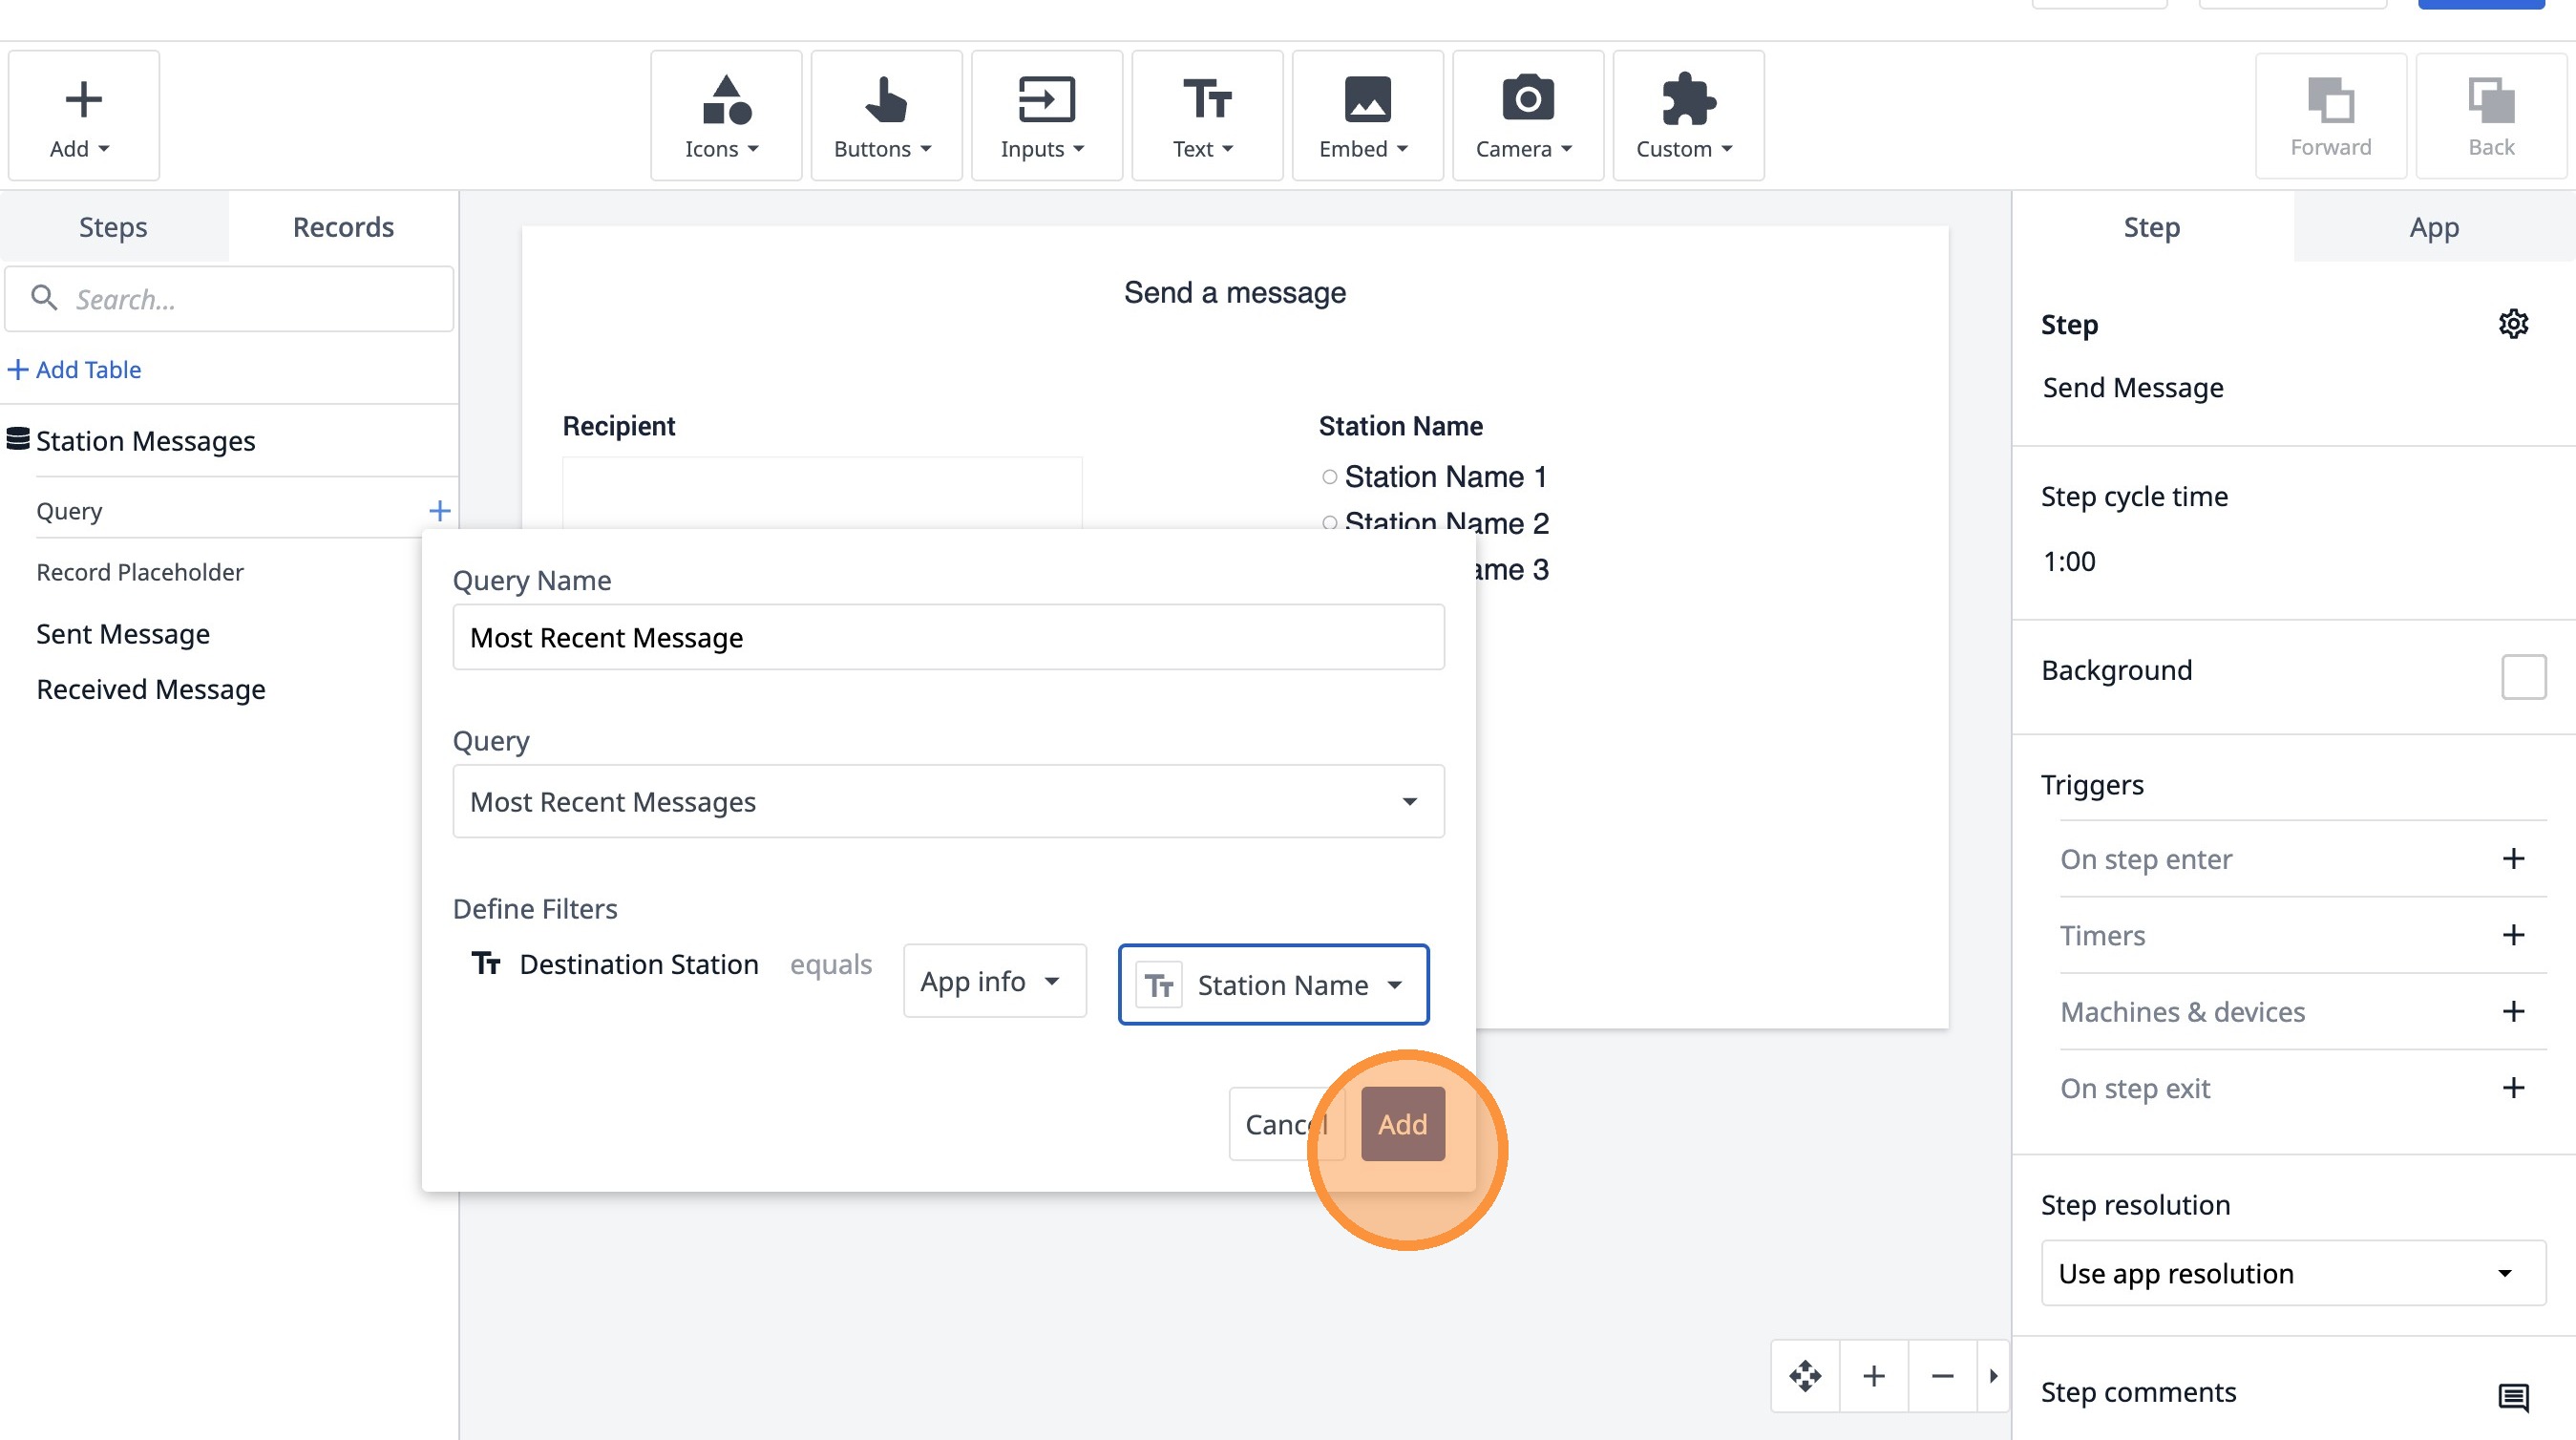
15. Click "Add"
16. Click "Add Aggregation"

17. Click this text field.
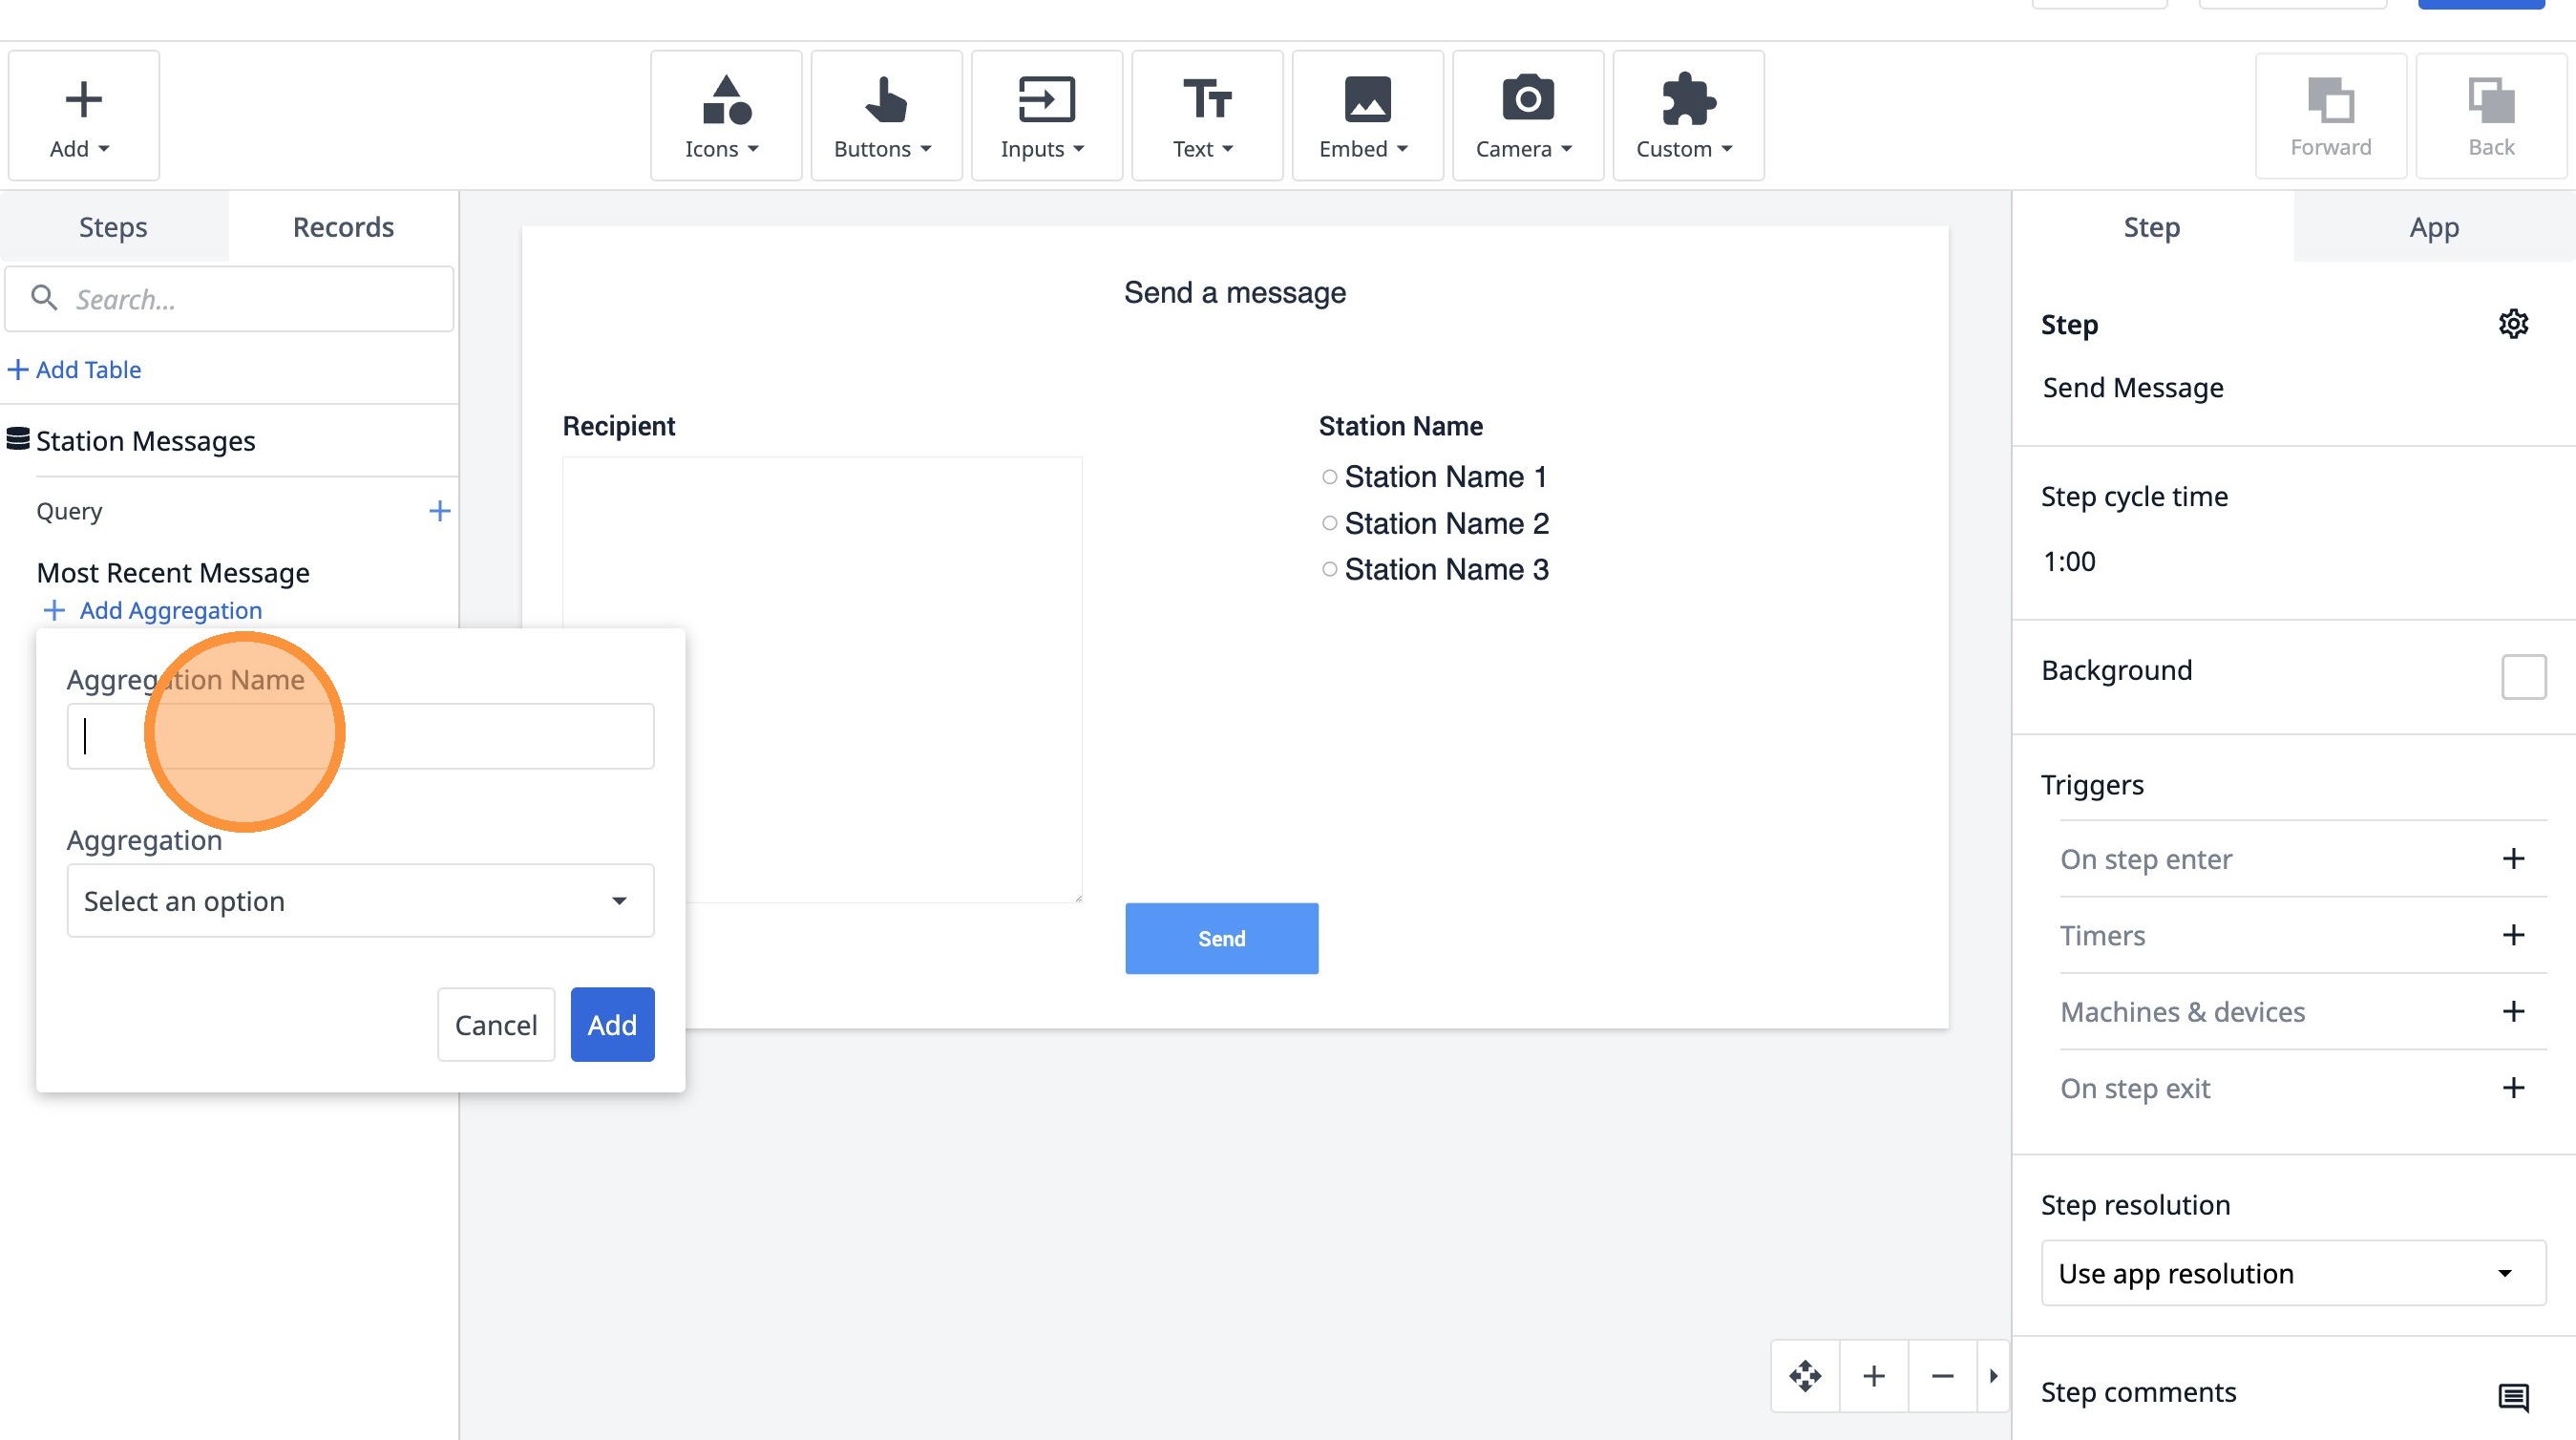
18. Type "Message ID"
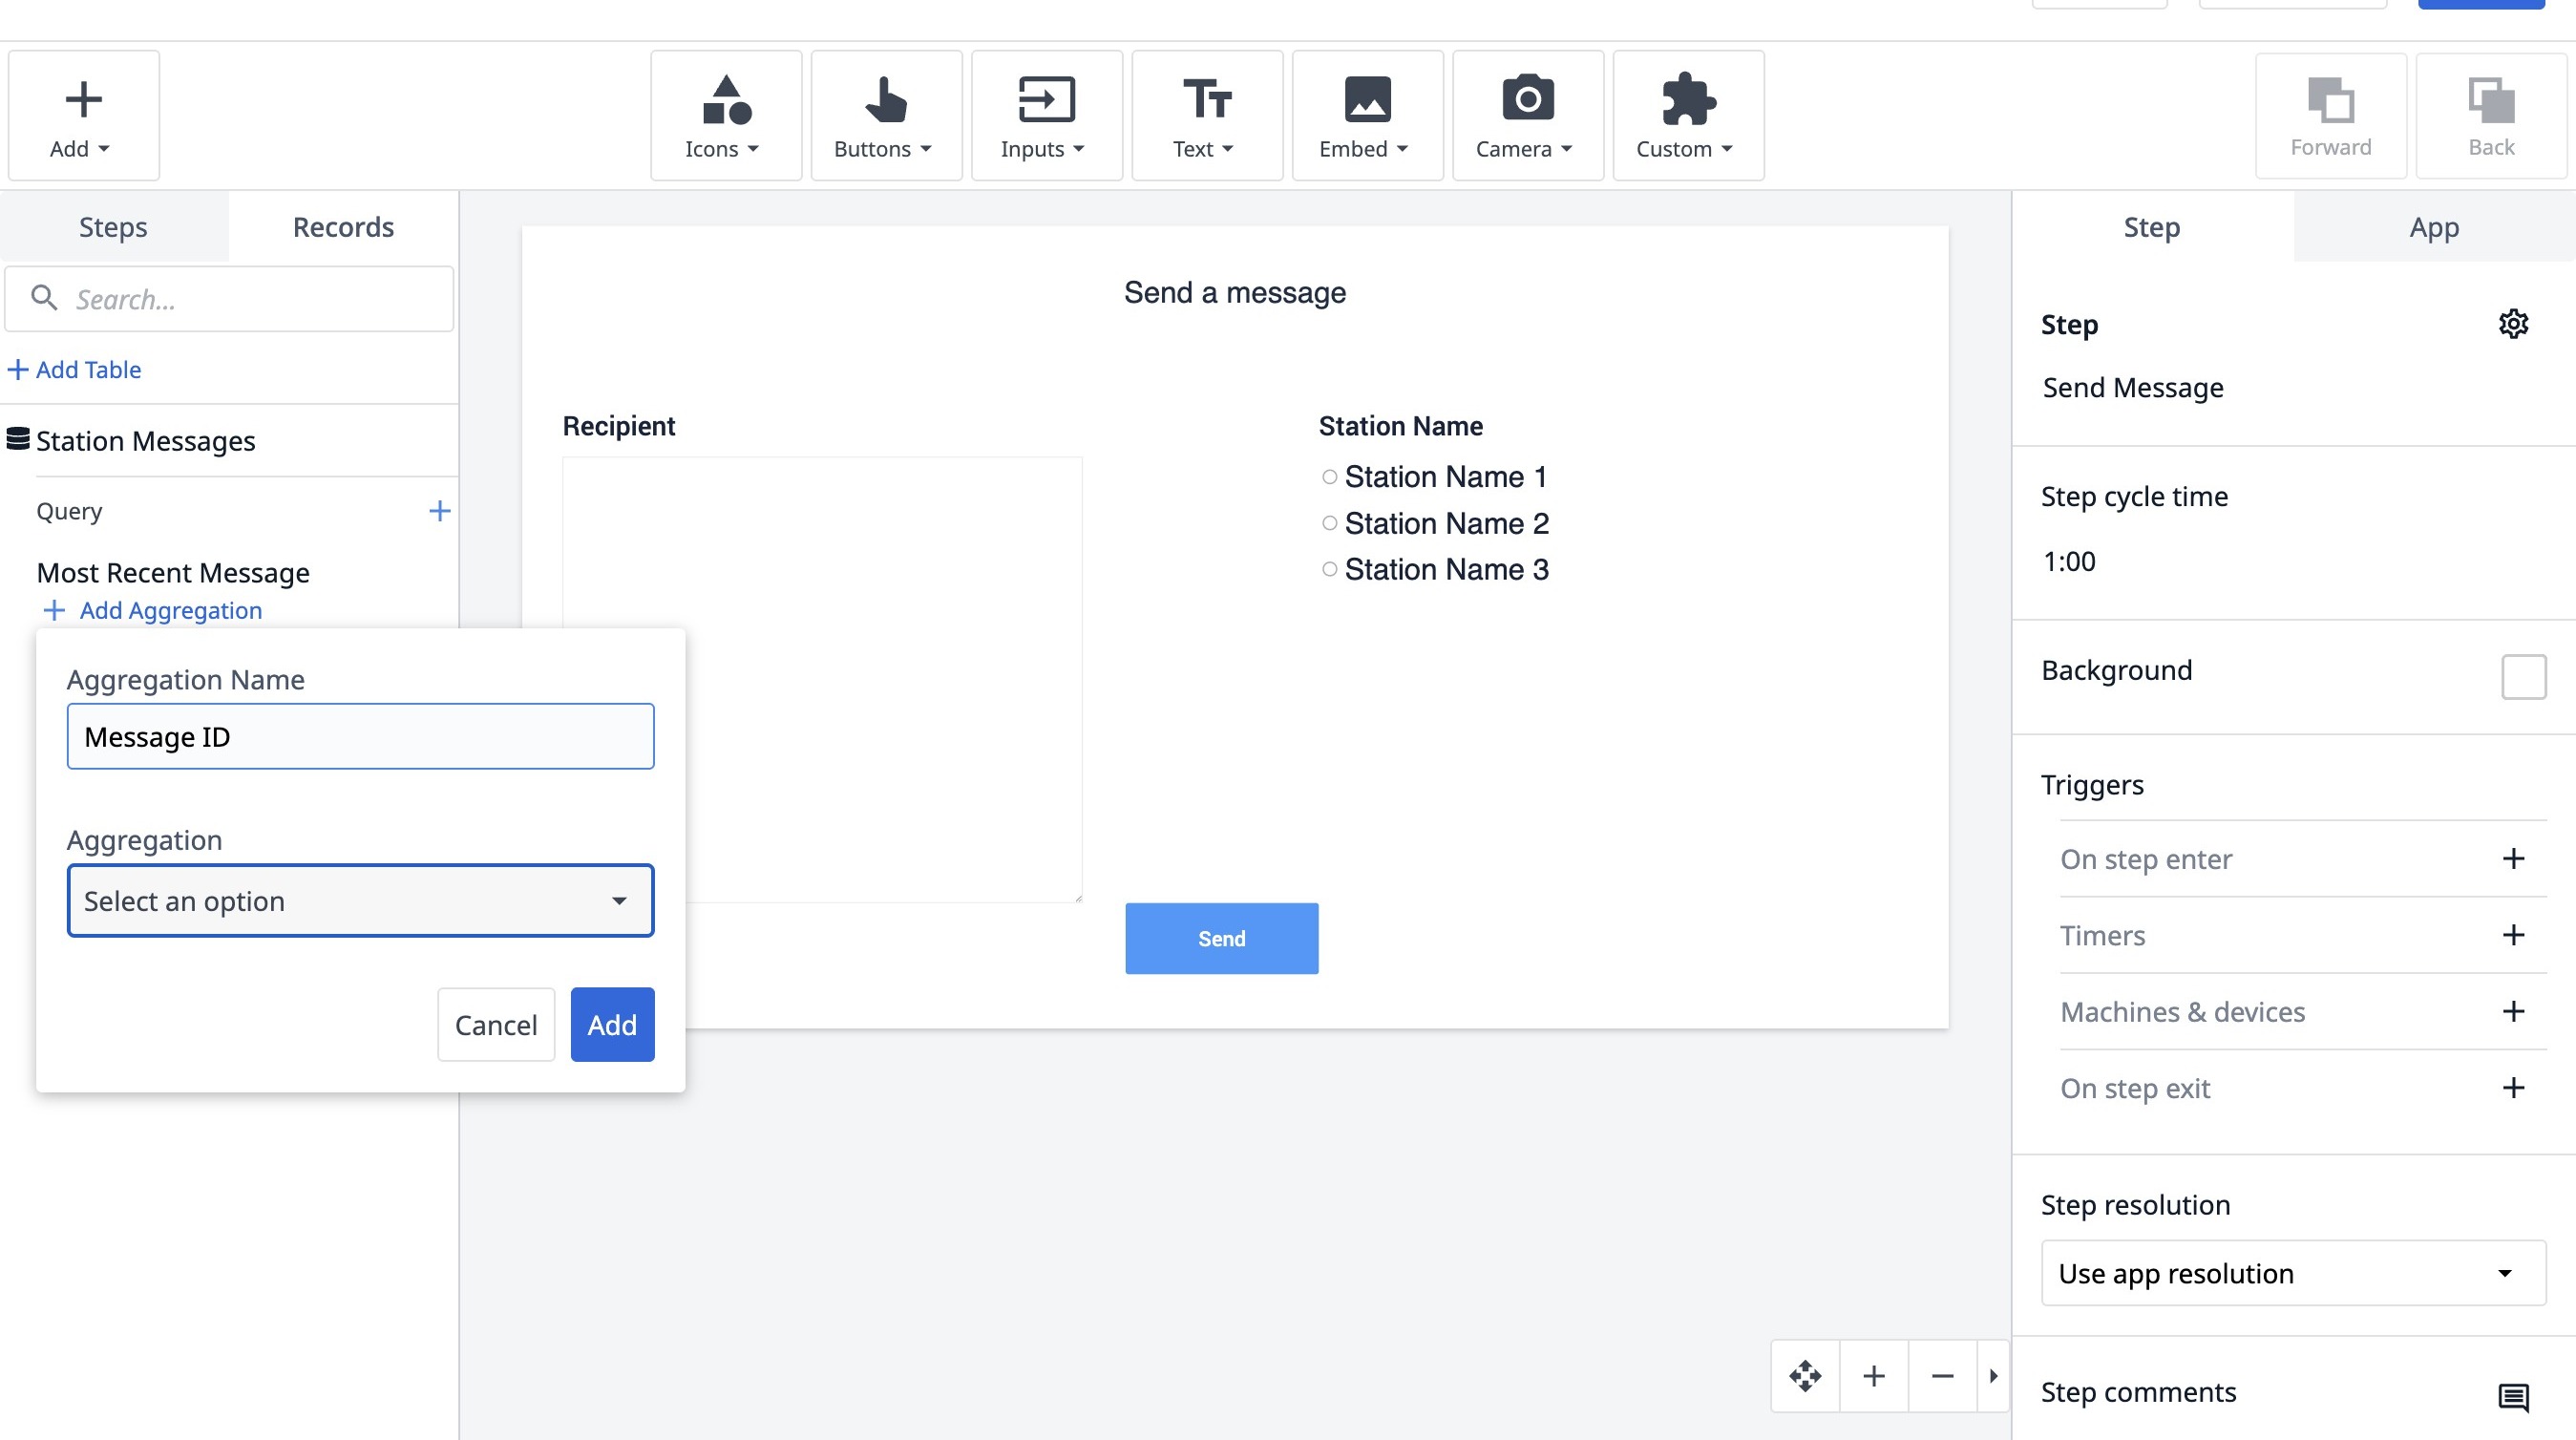
19. Click "Select an option"
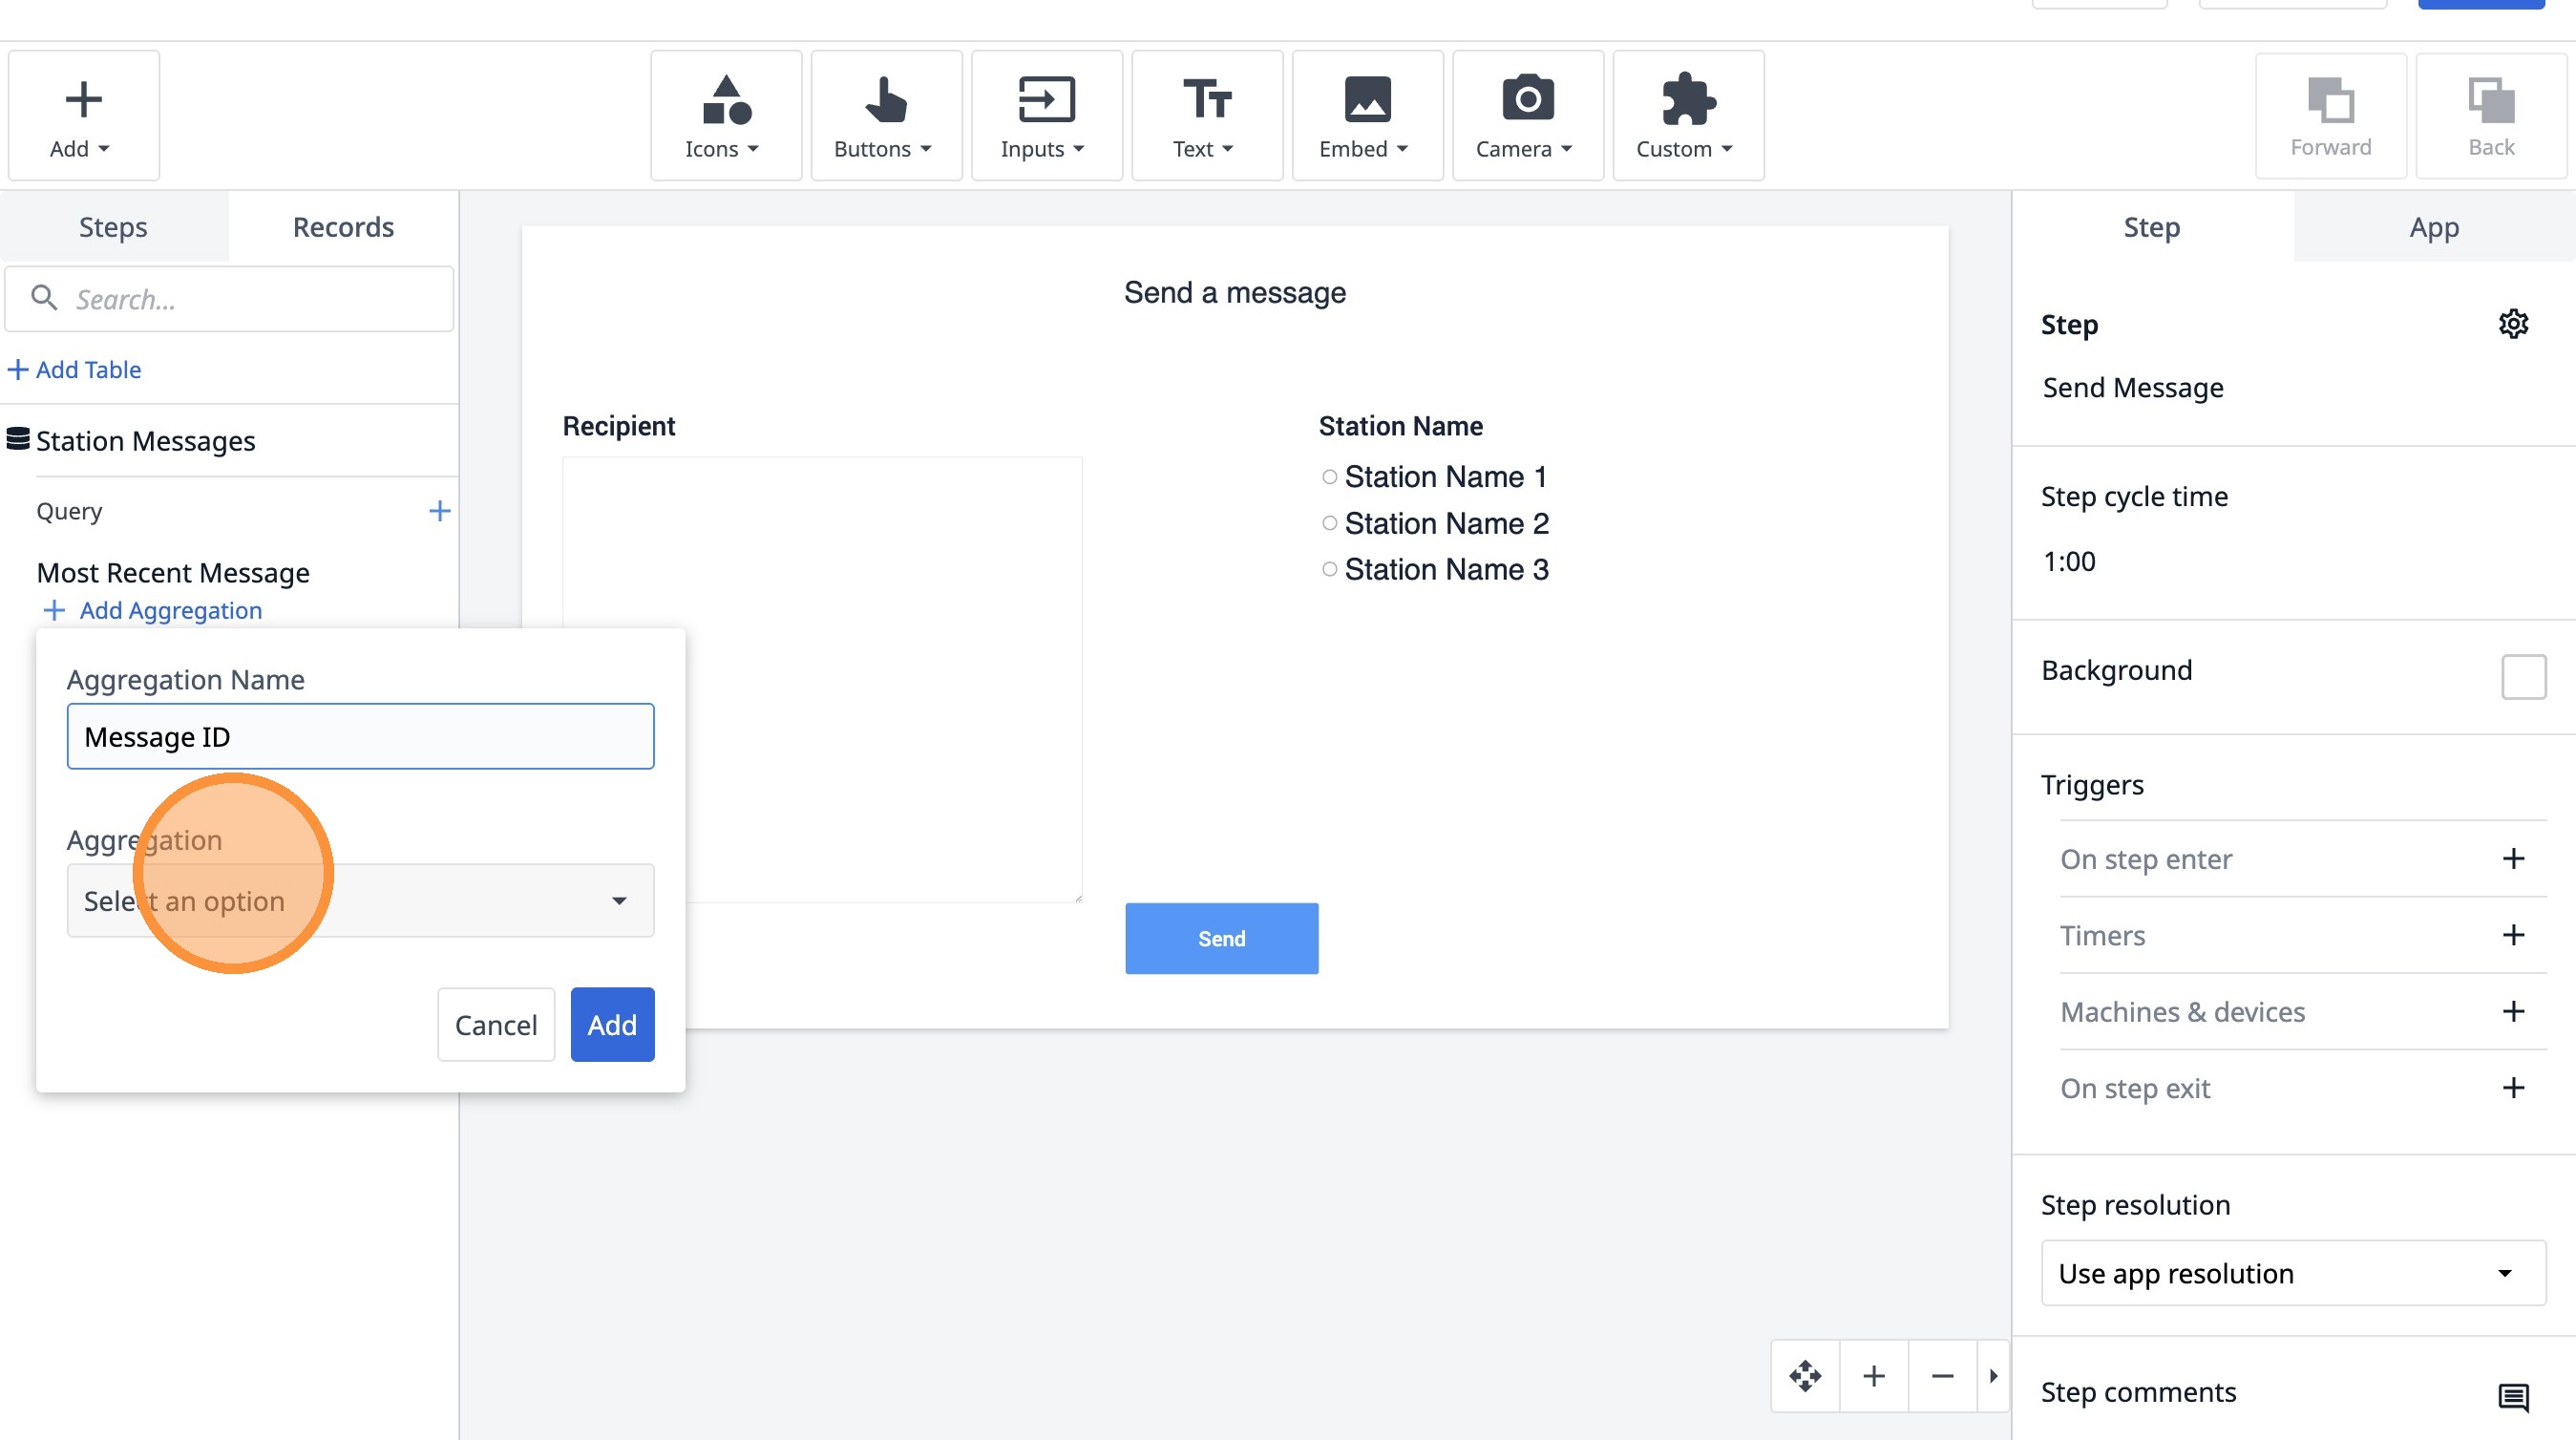
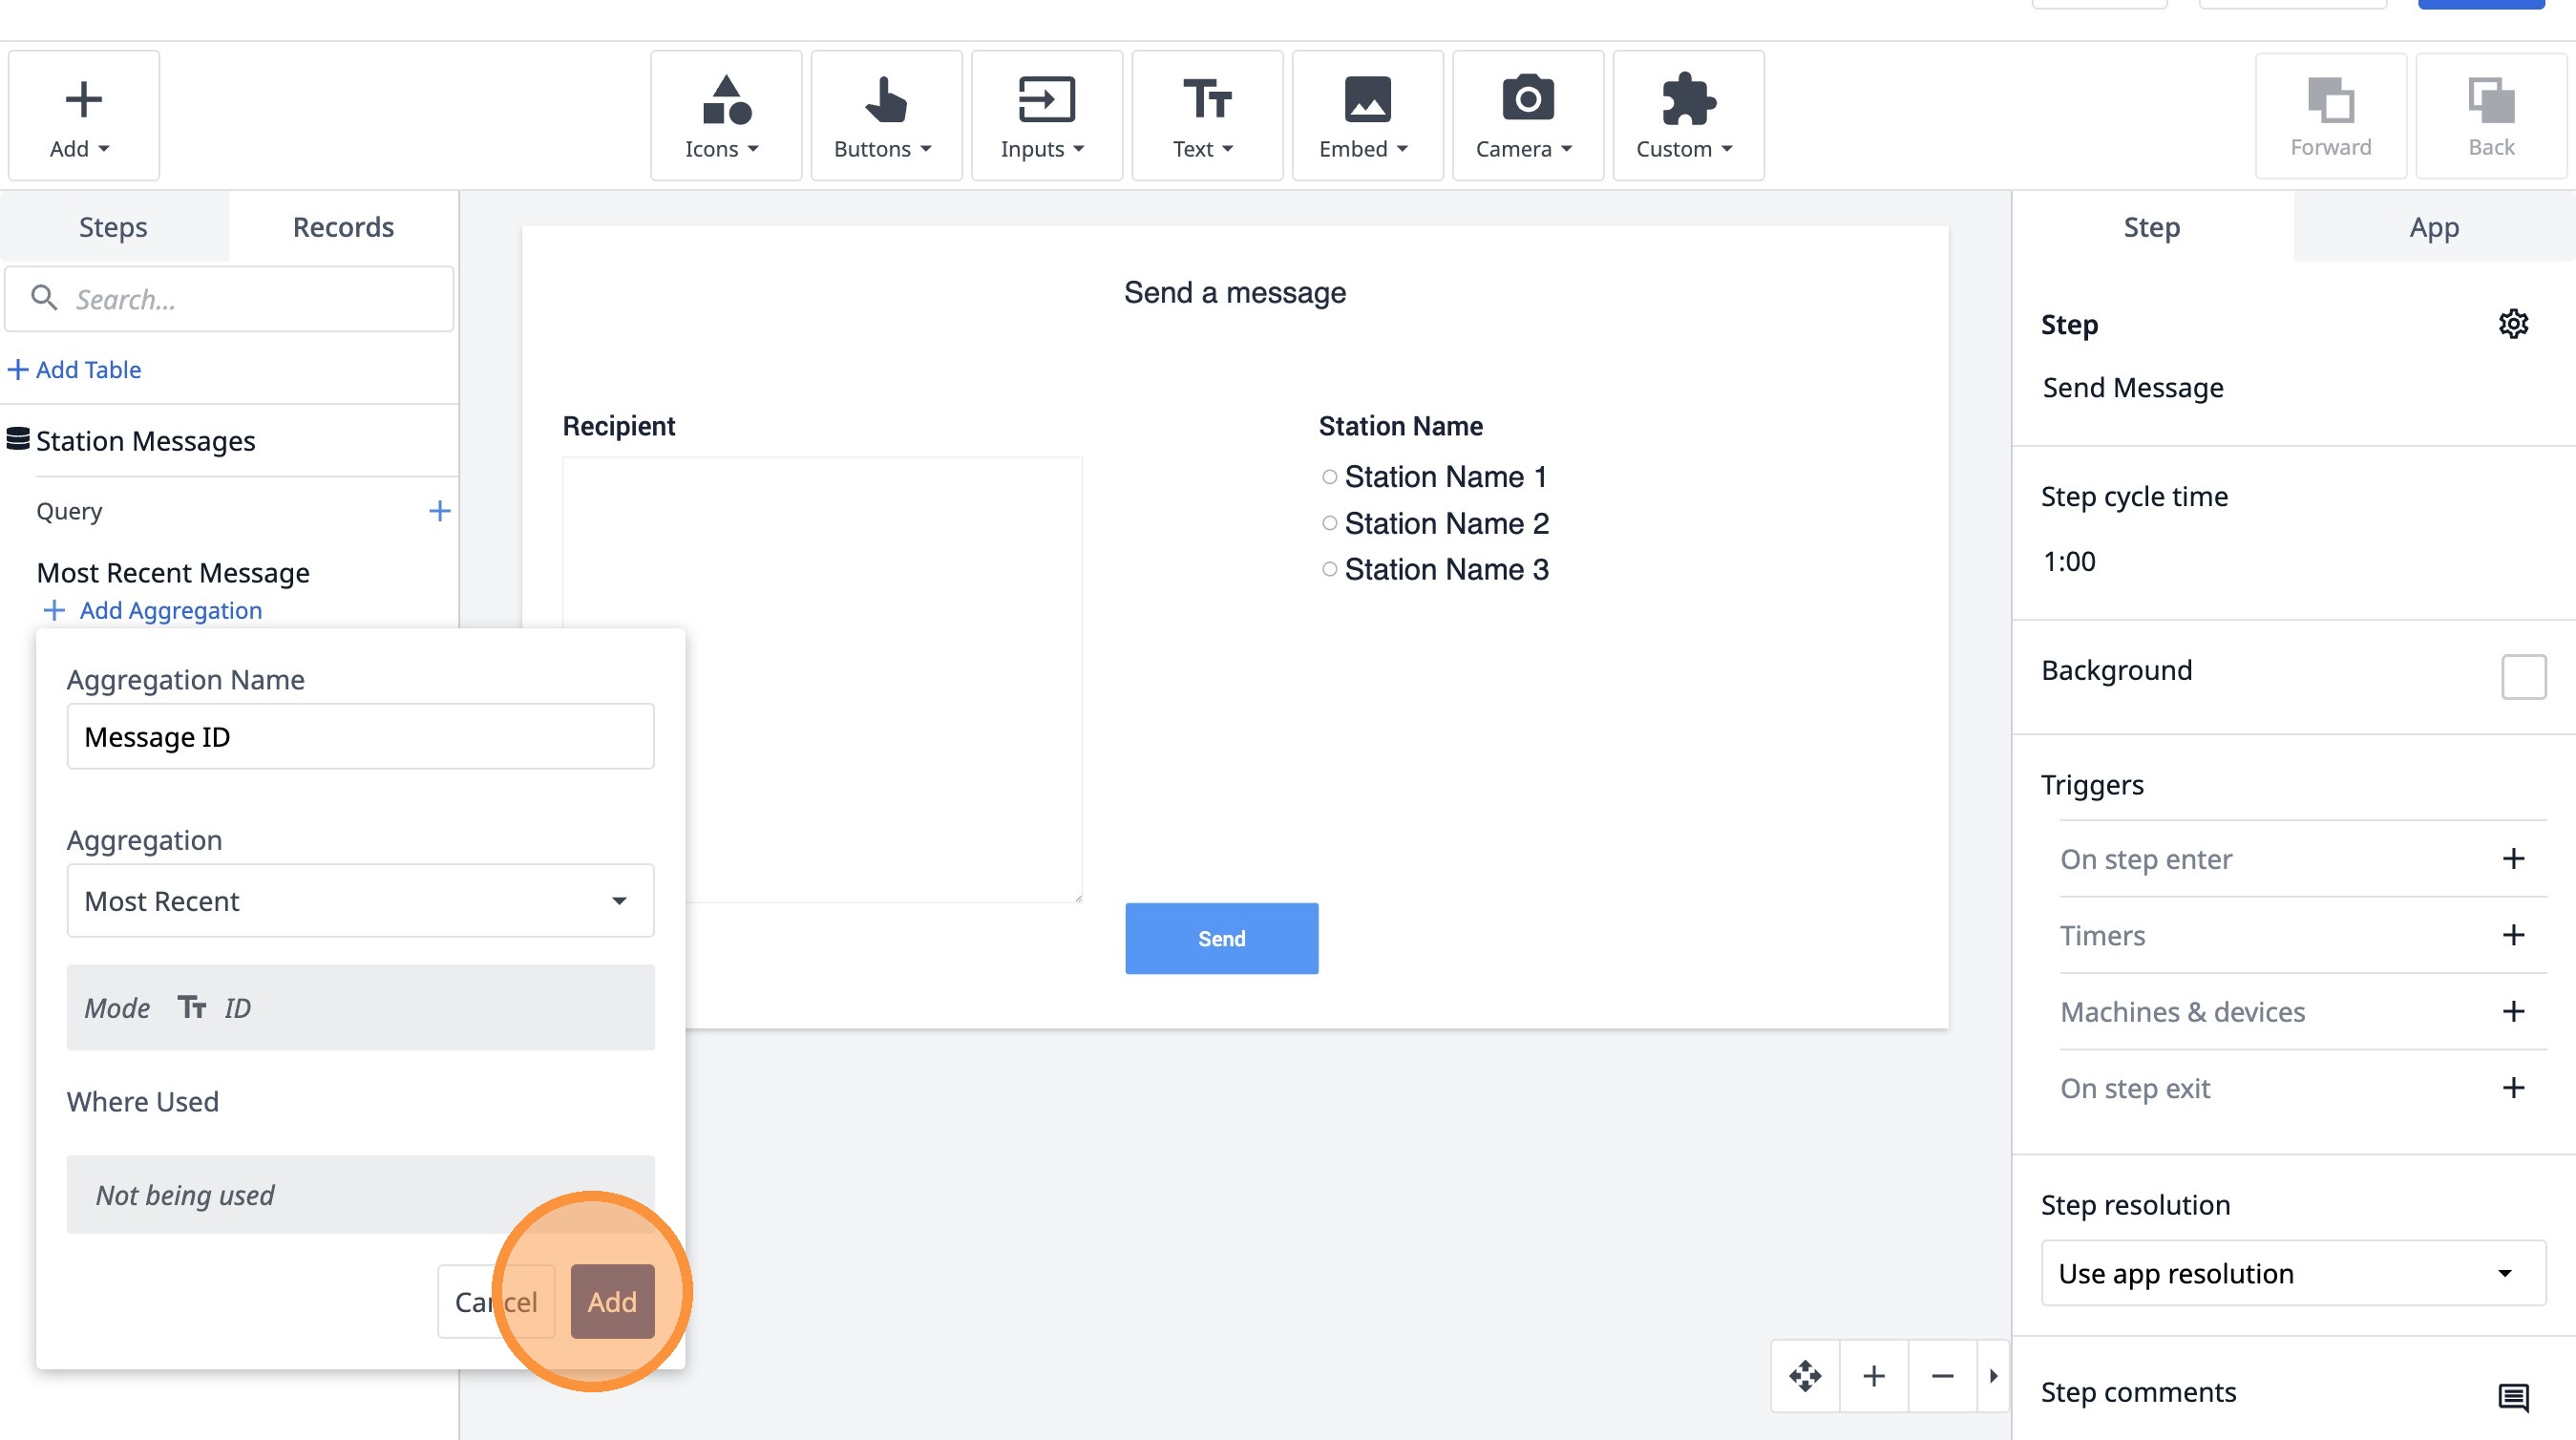
20. Click "Most Recent"
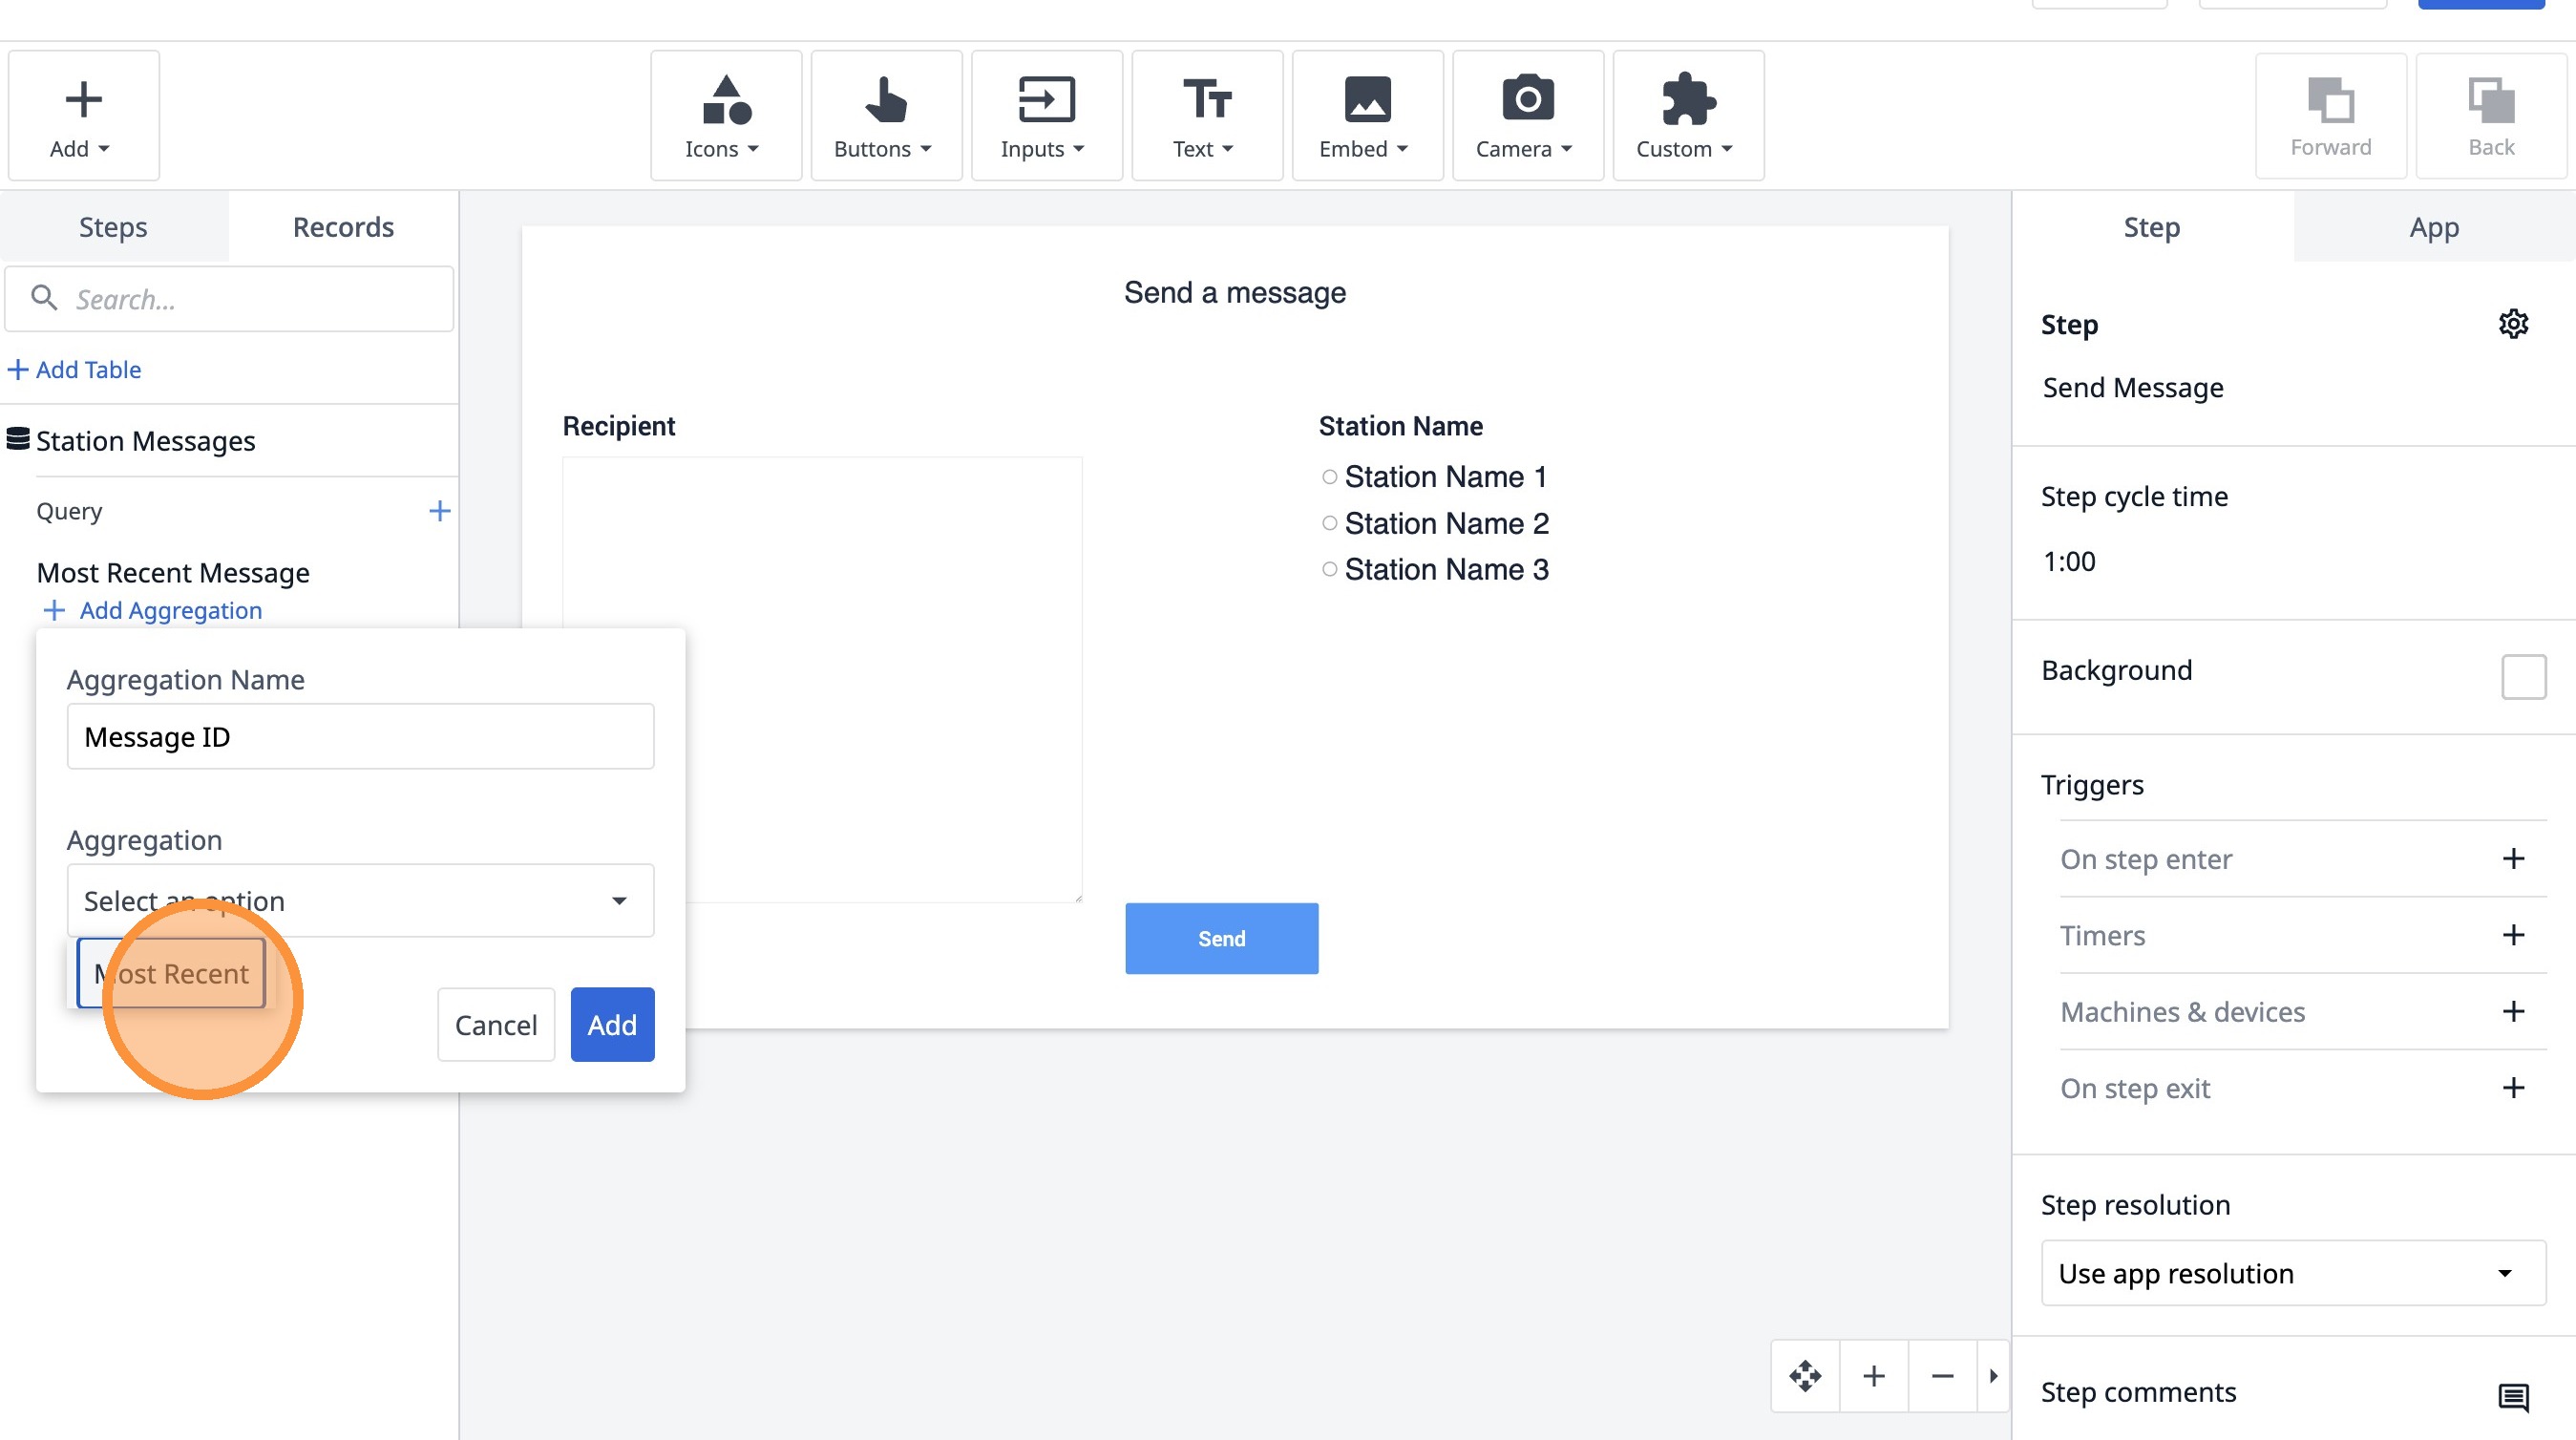
21. Click "Add"
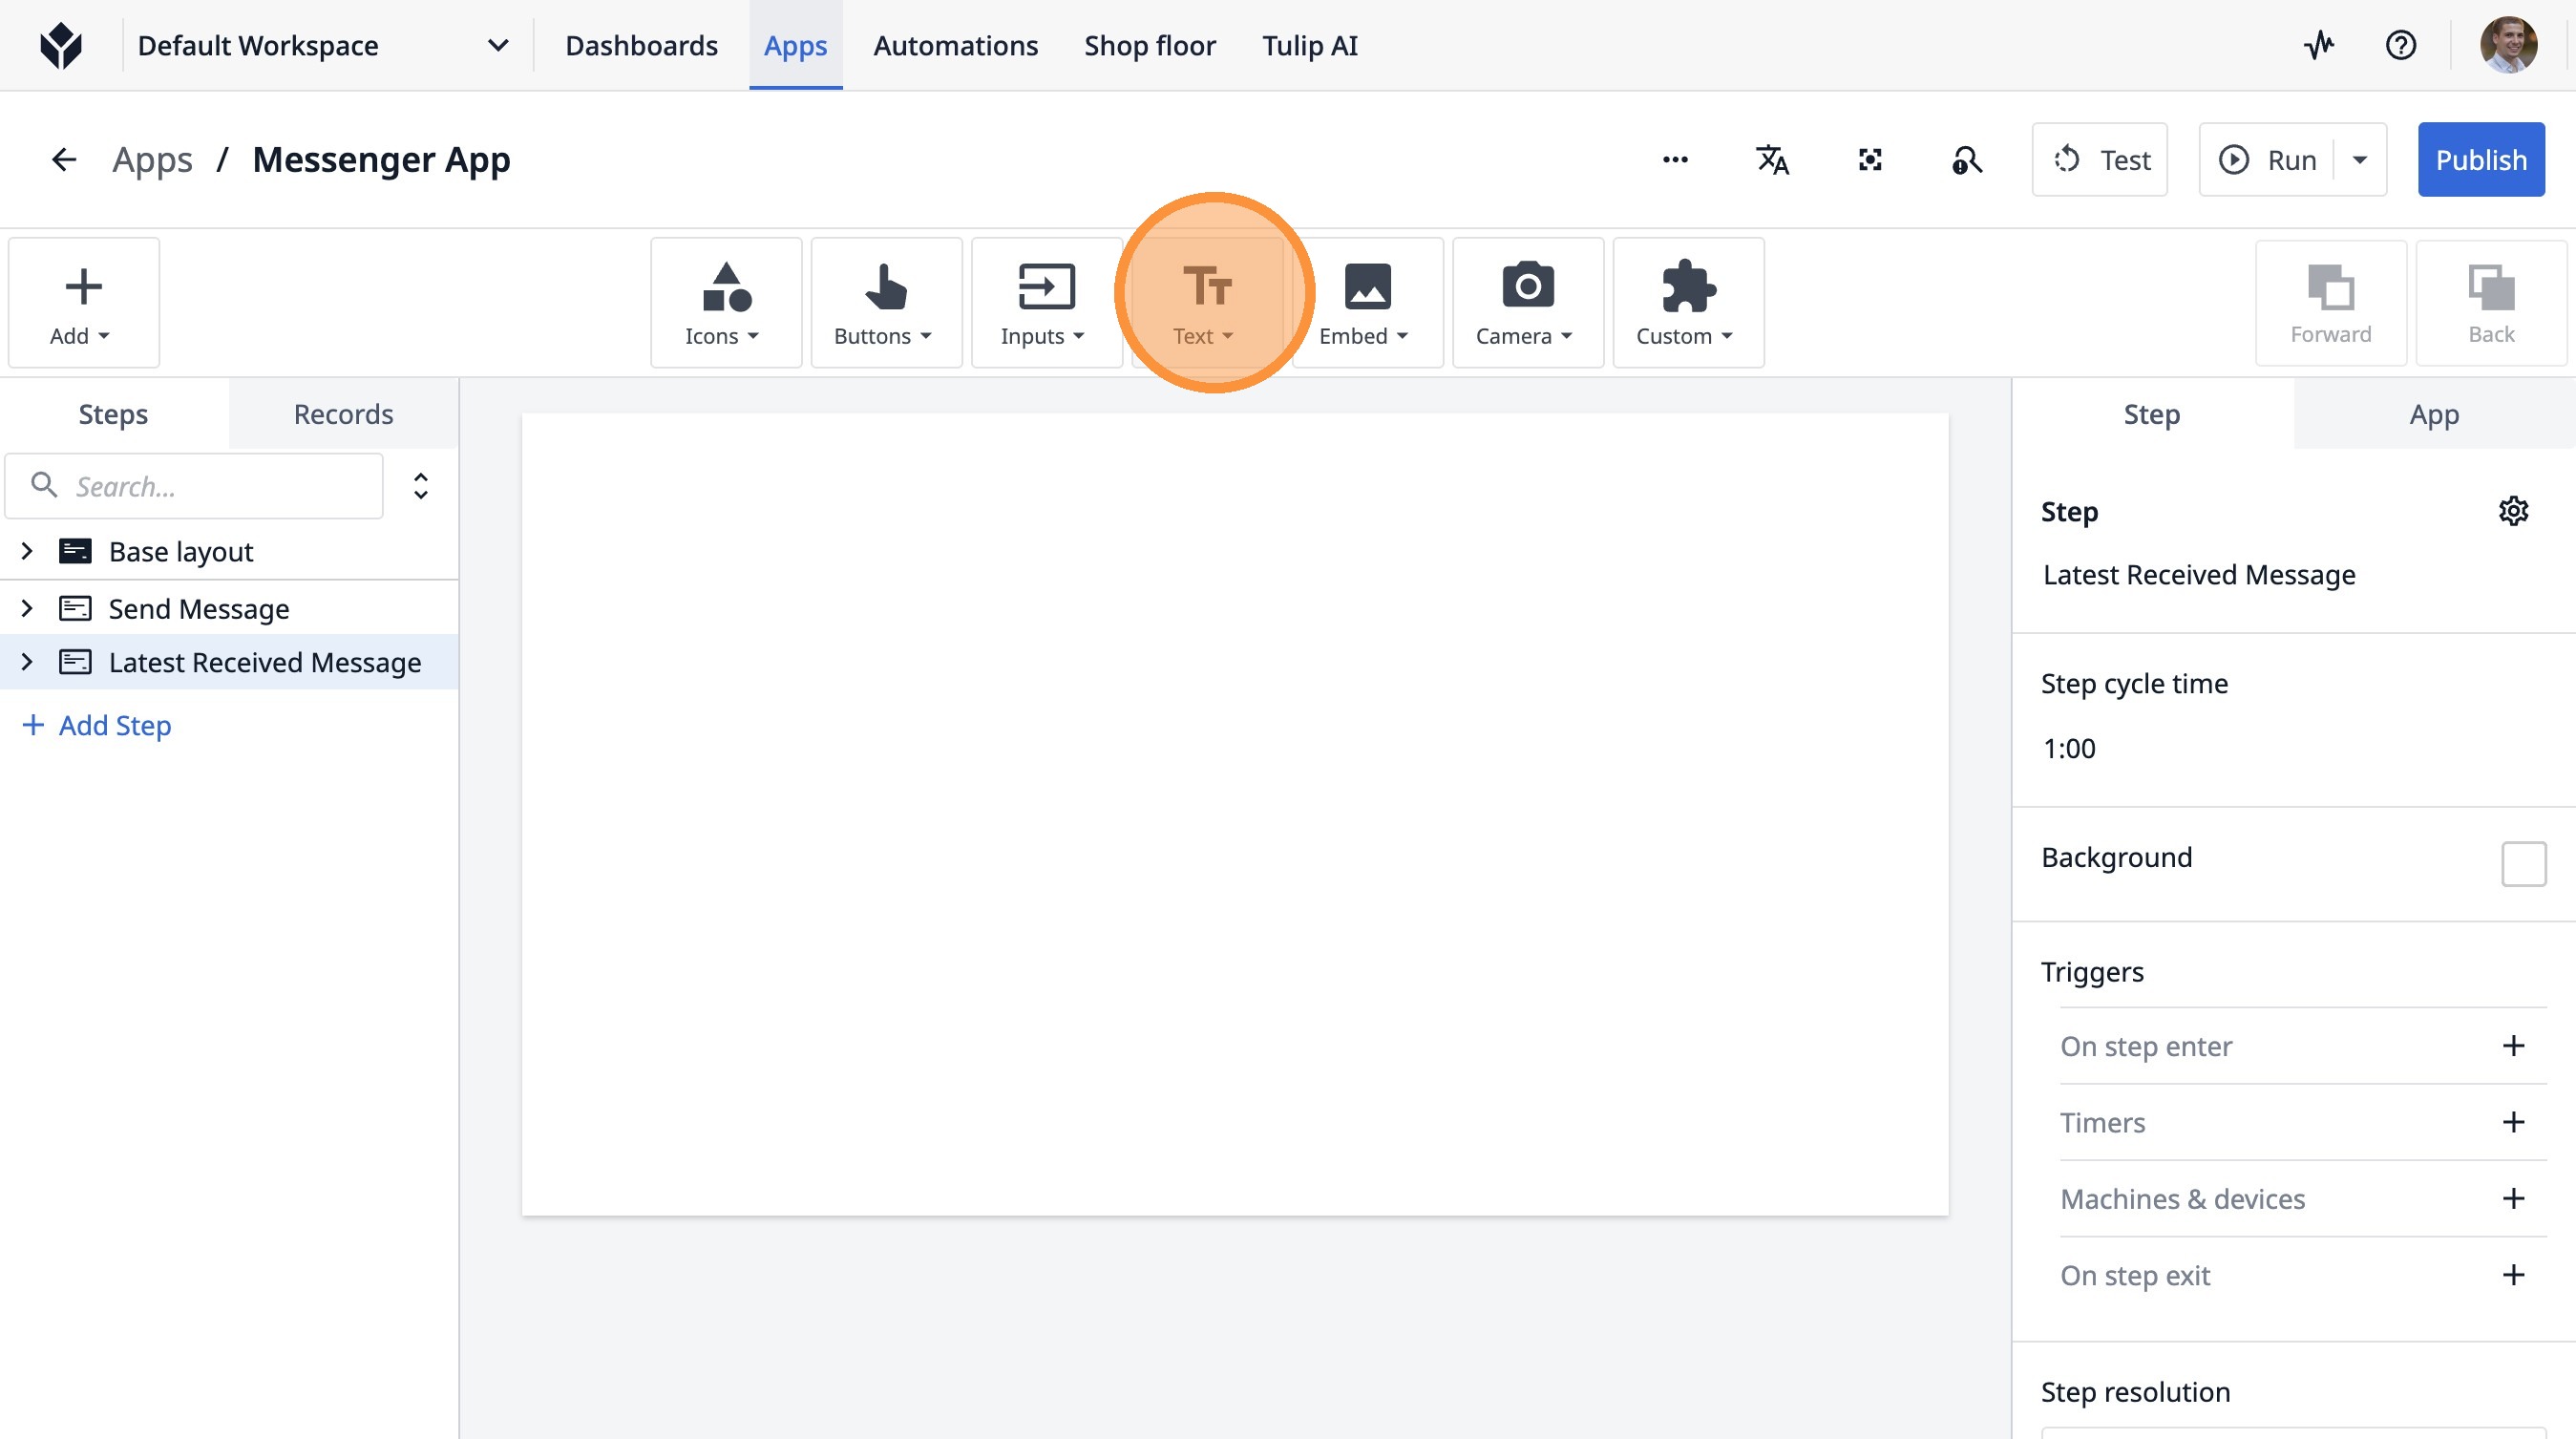
22. Click "Steps"
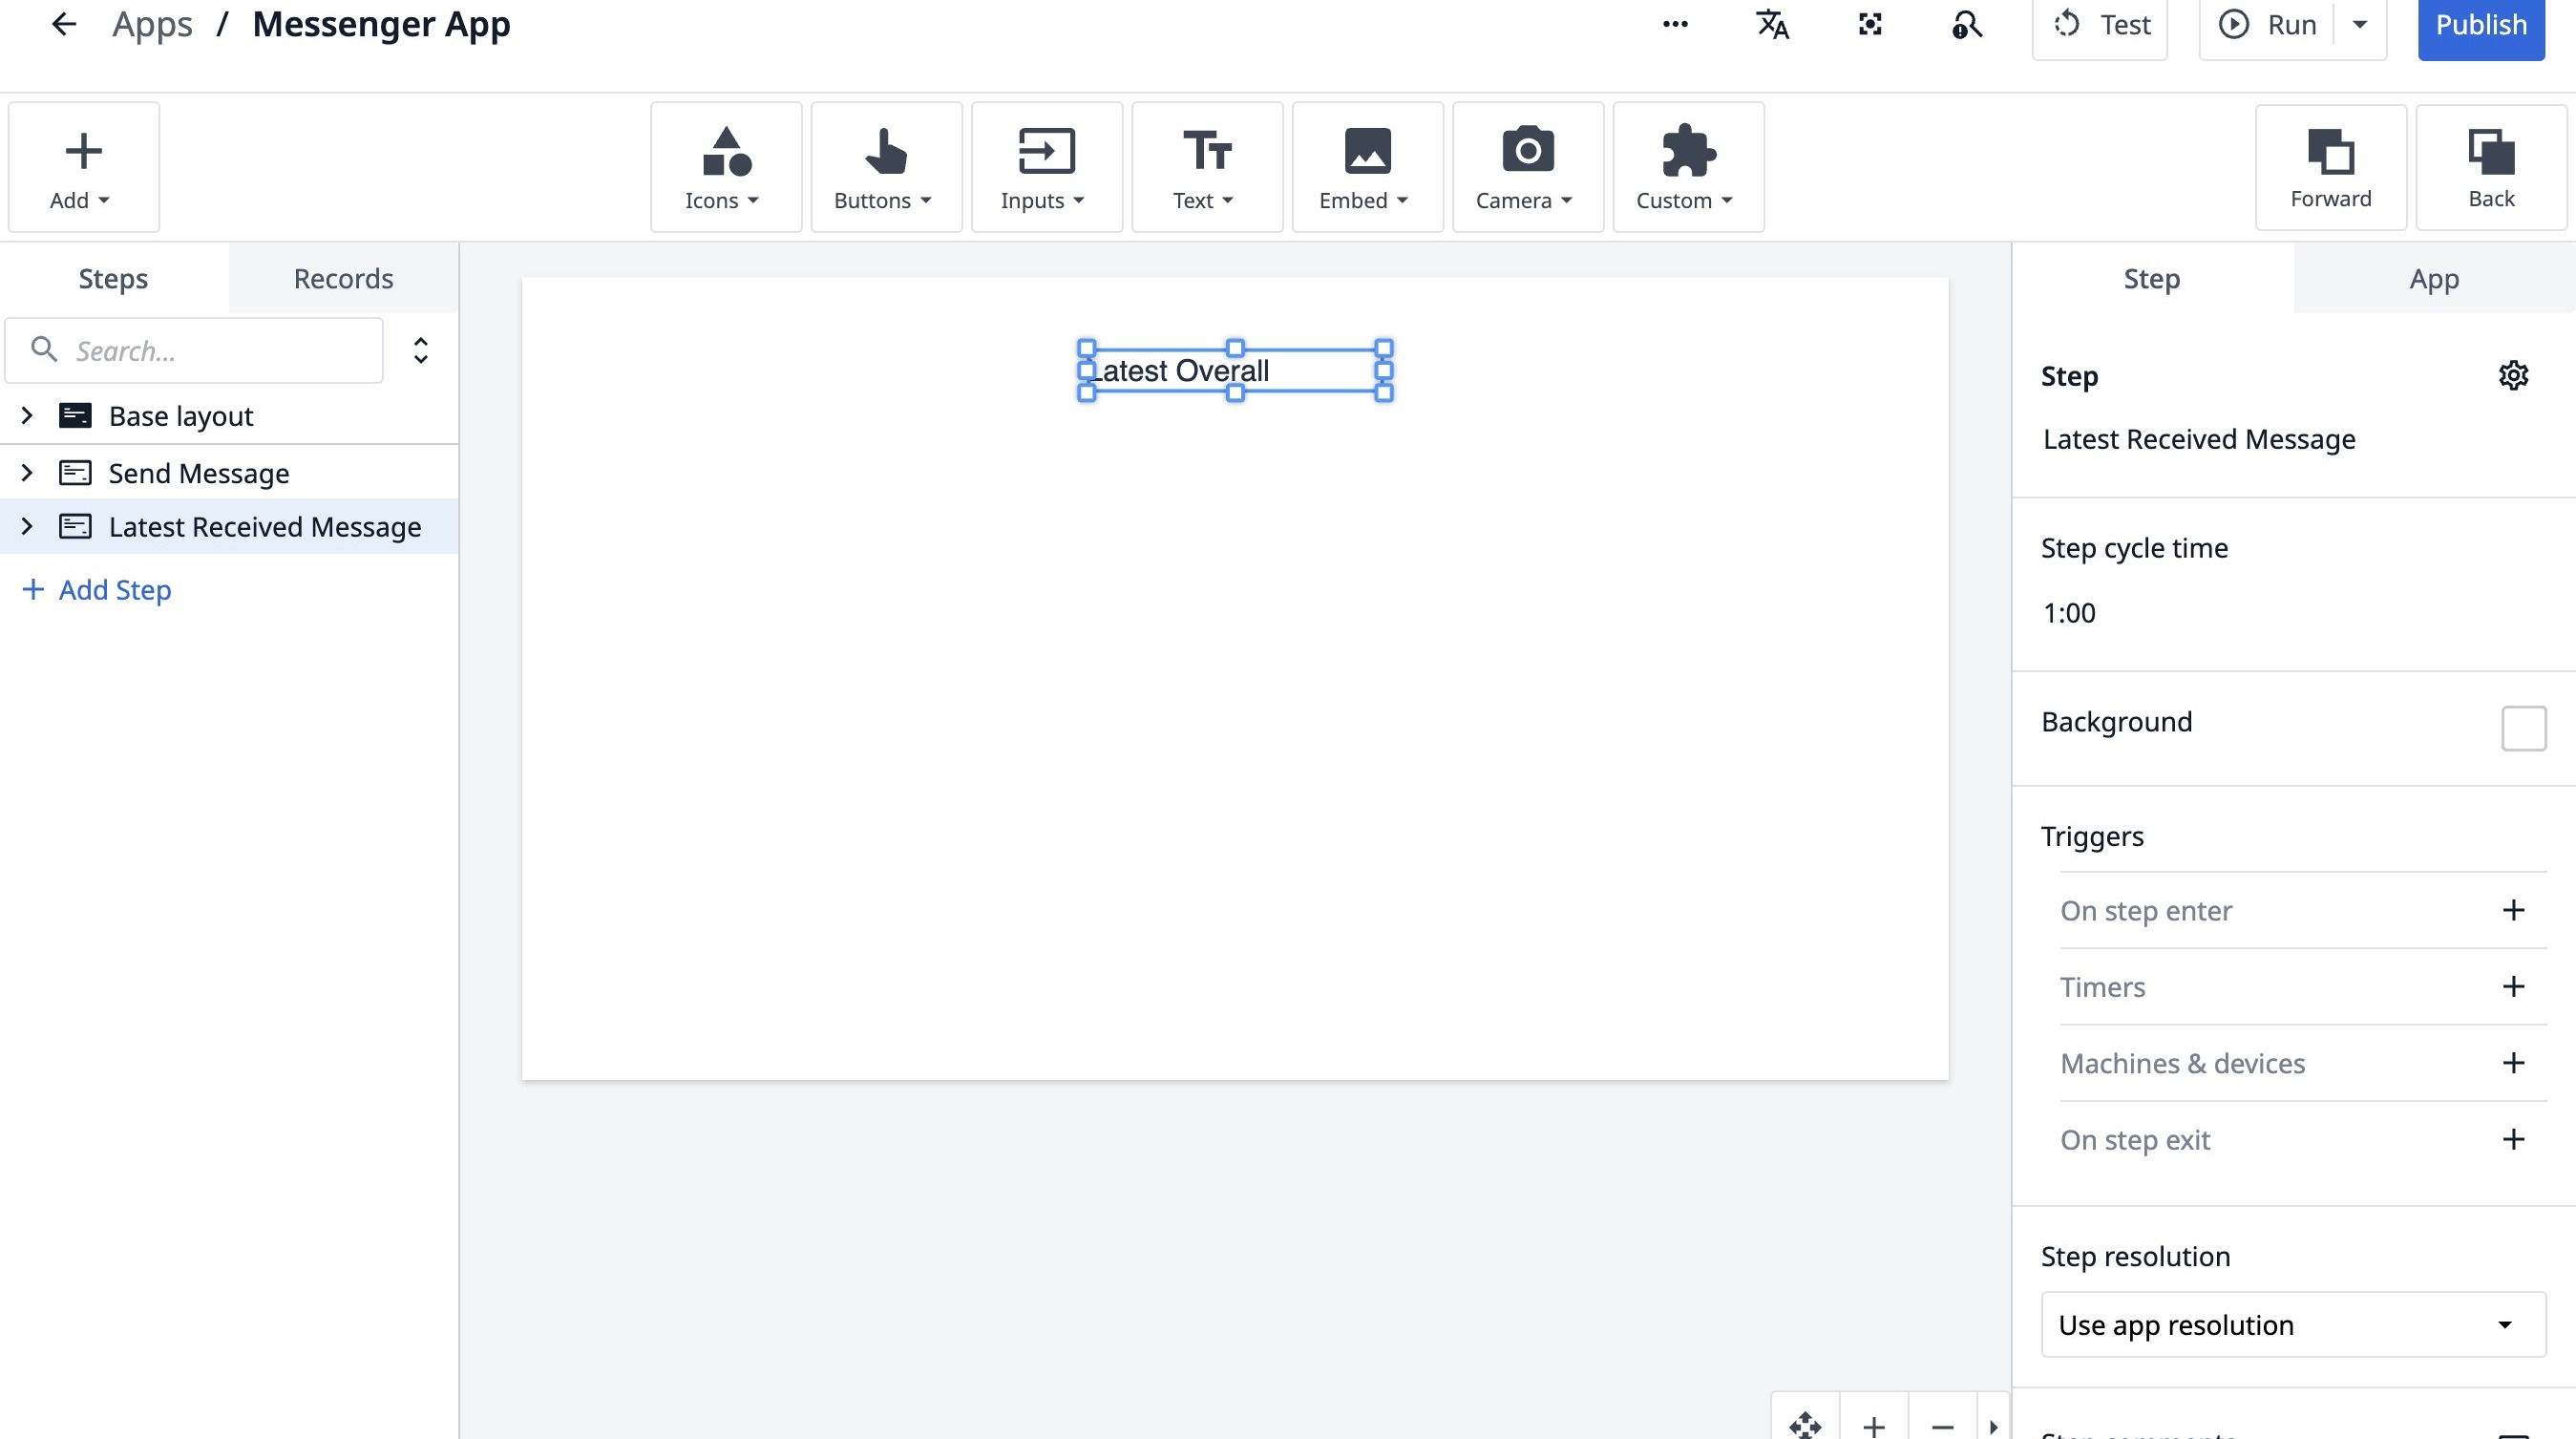
23. Click "Add Step"
24. Type "Latest Received Message"
25. Click here.
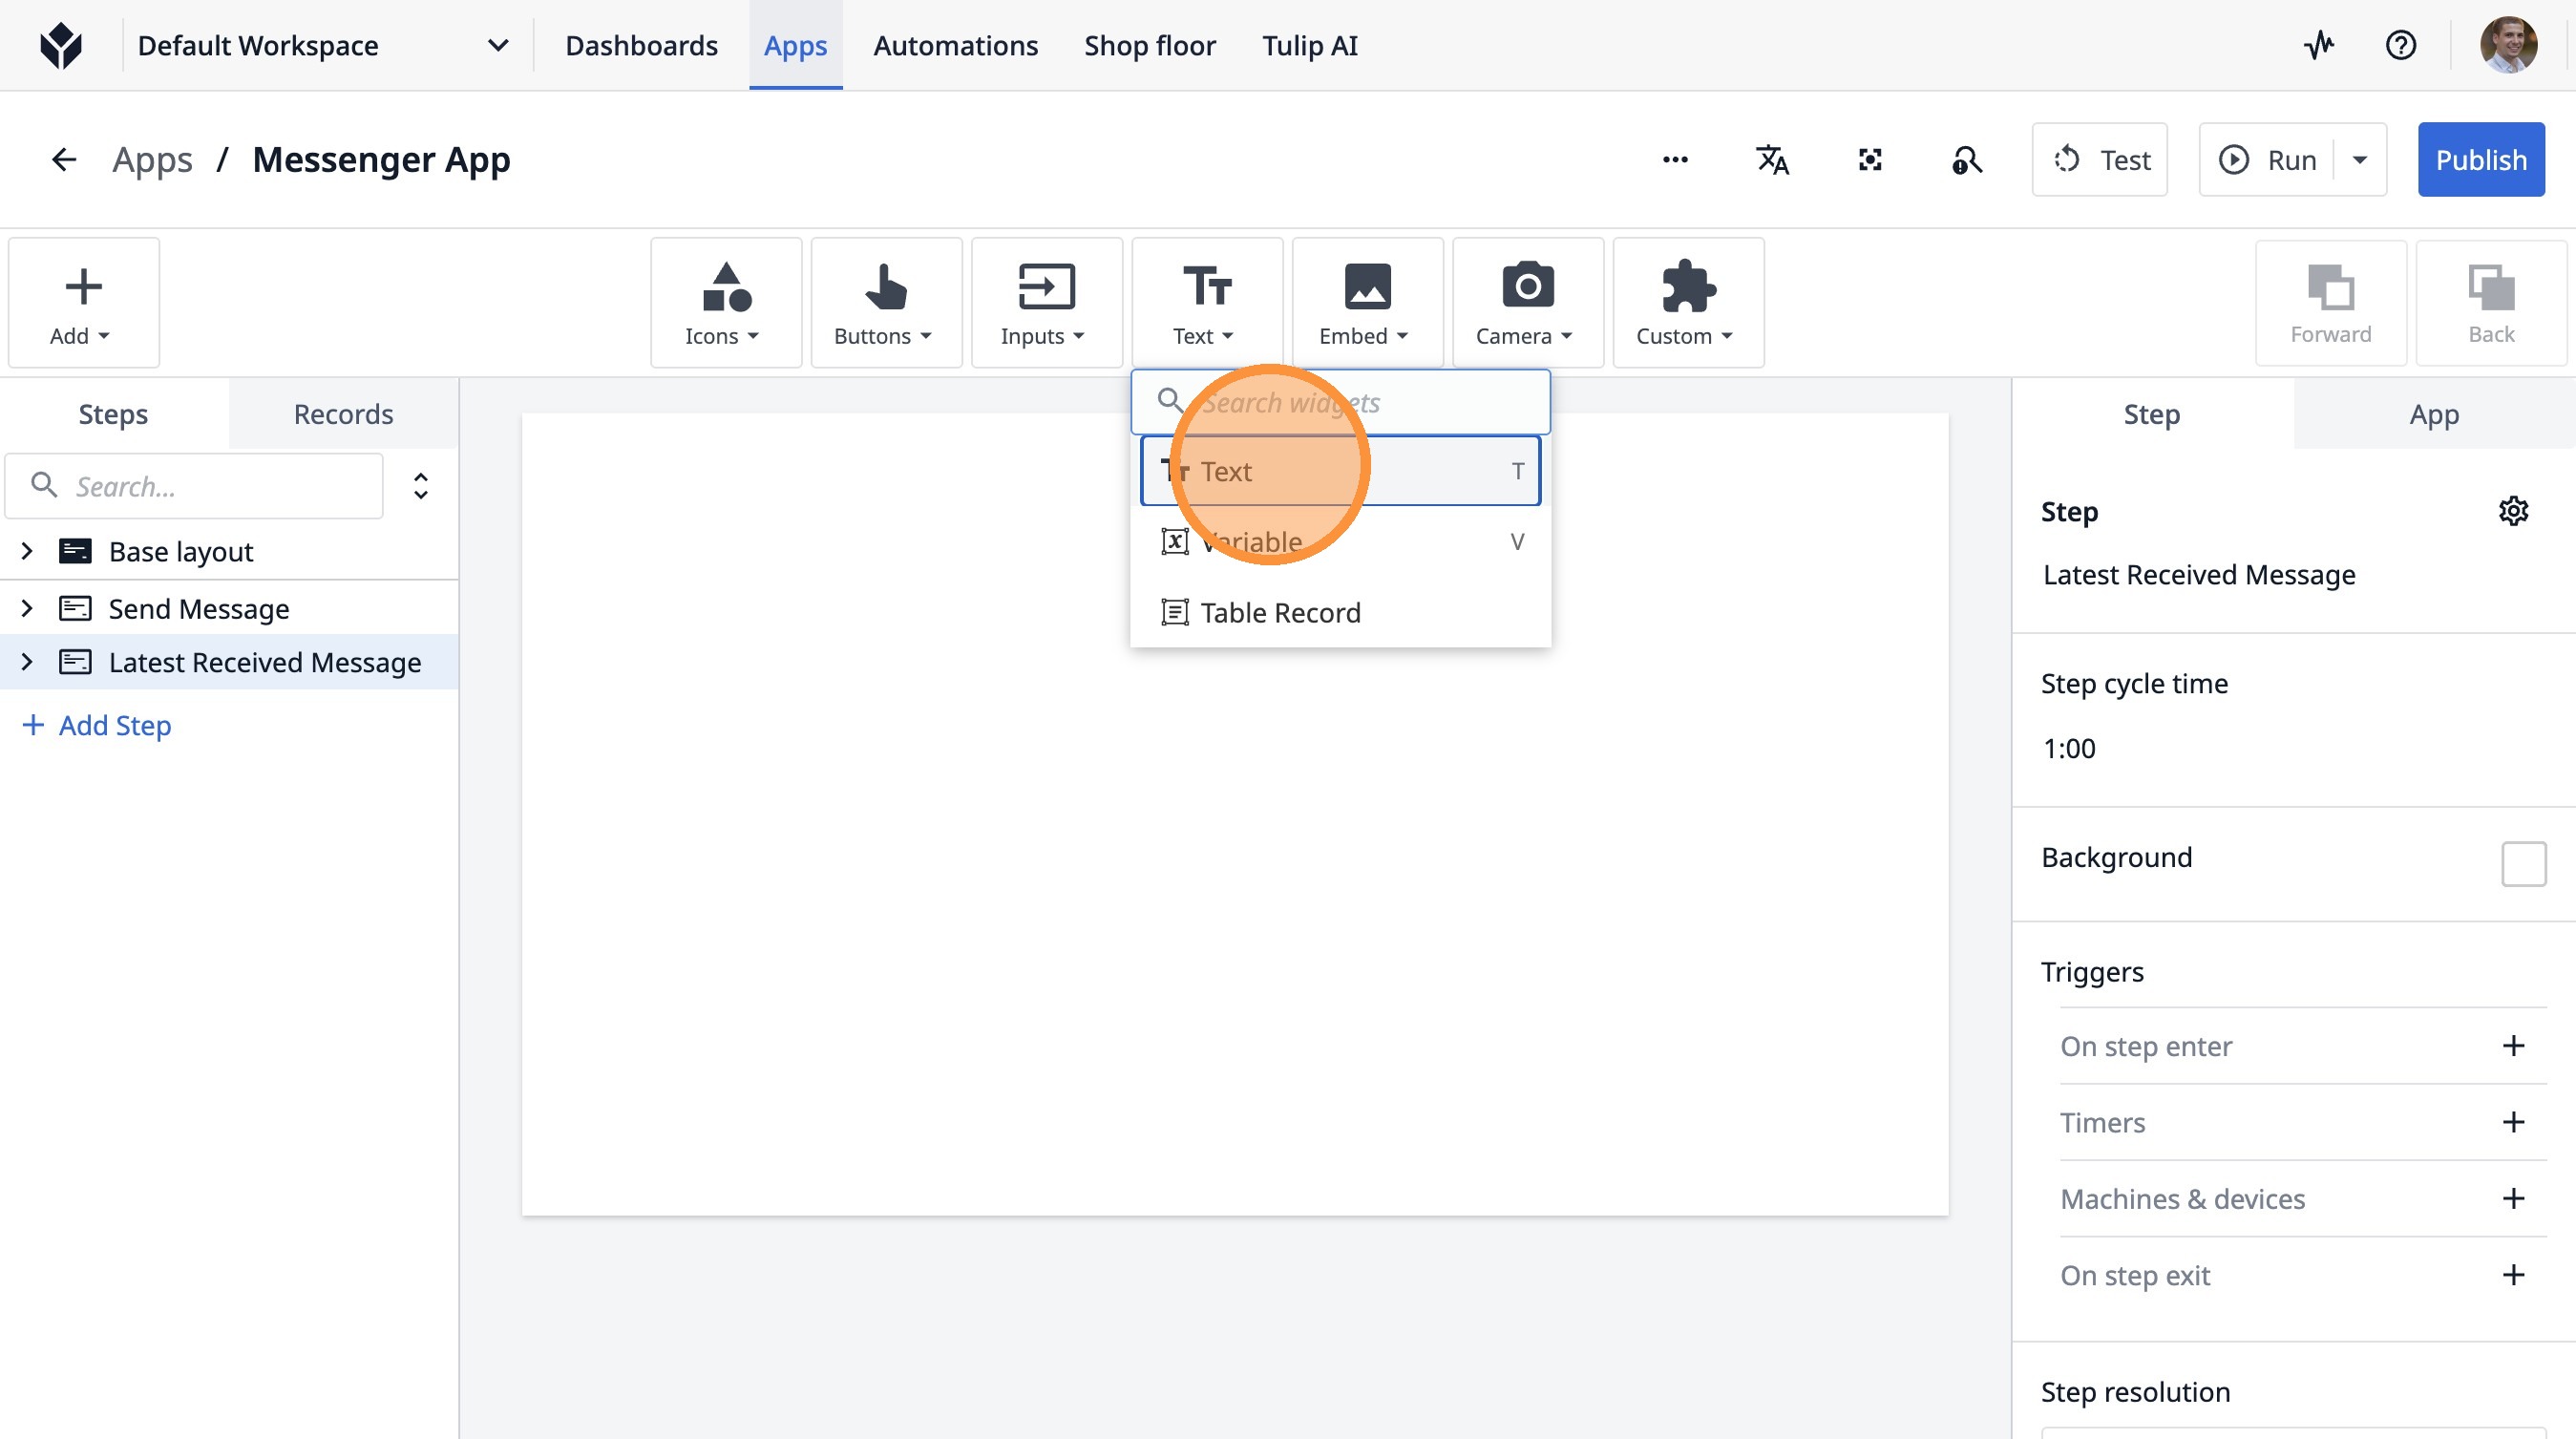
26. Click this icon.
27. Click "TextT"
28. Click "Add Text..."
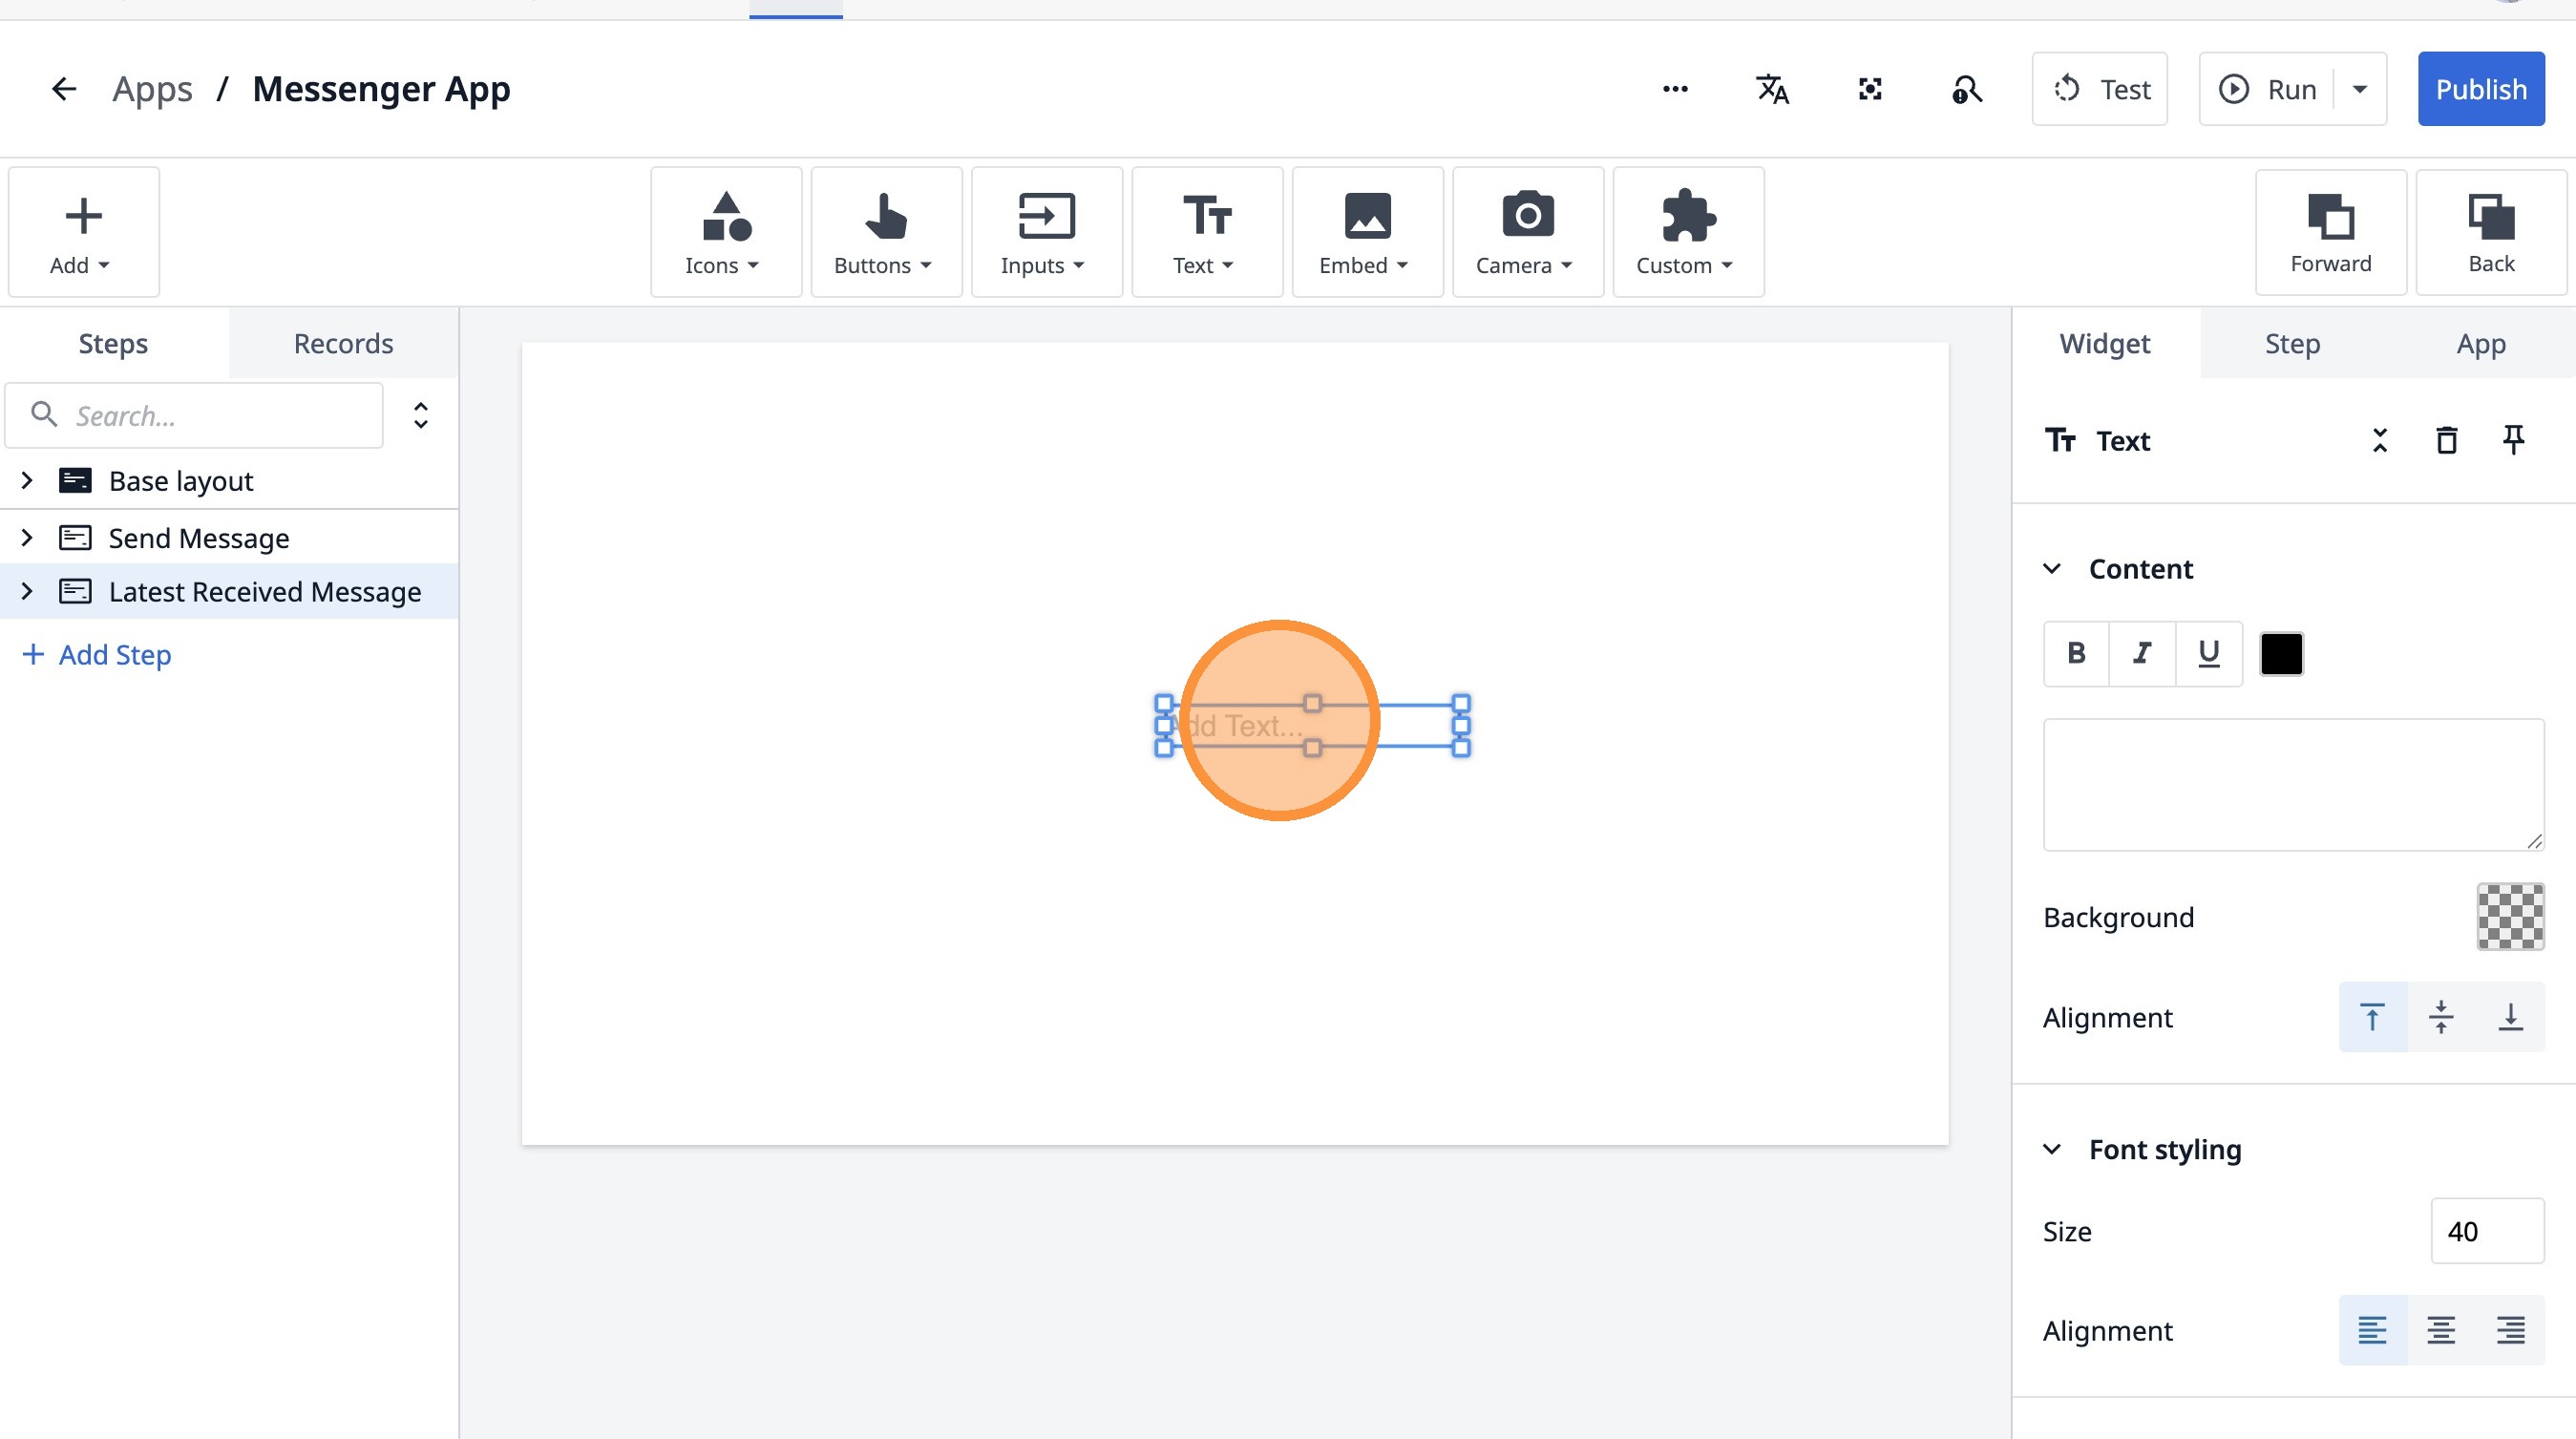
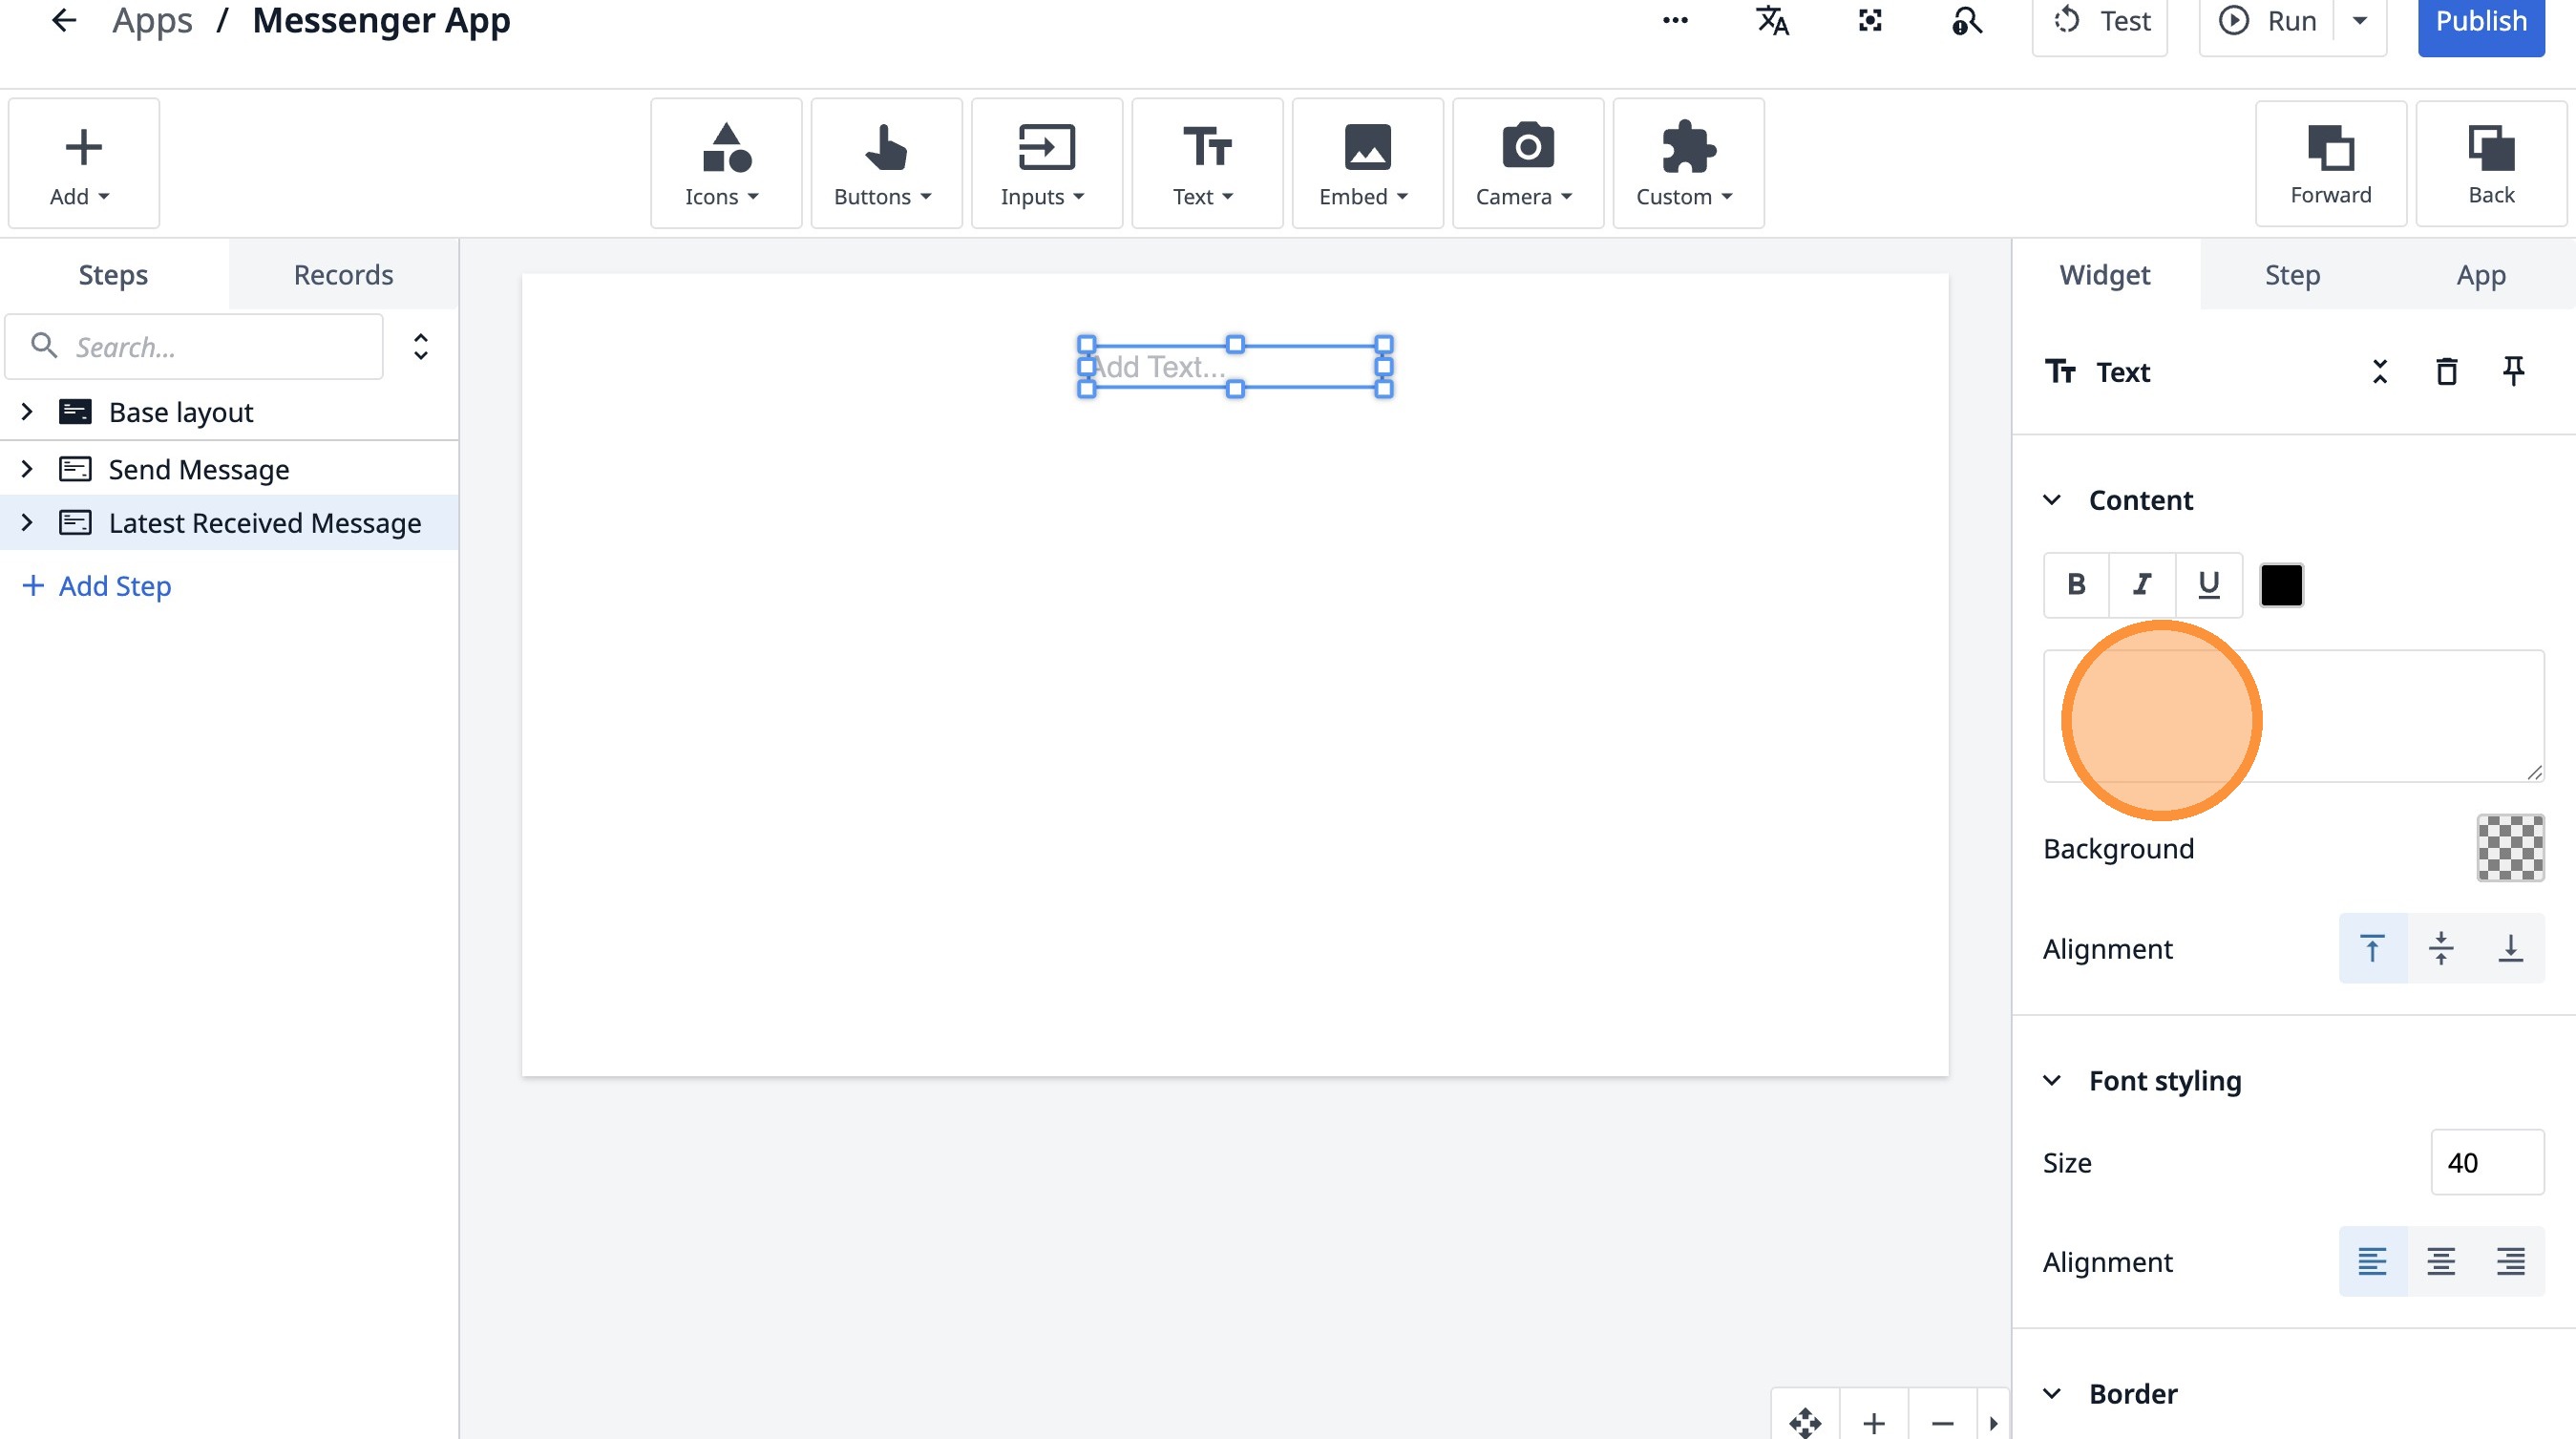
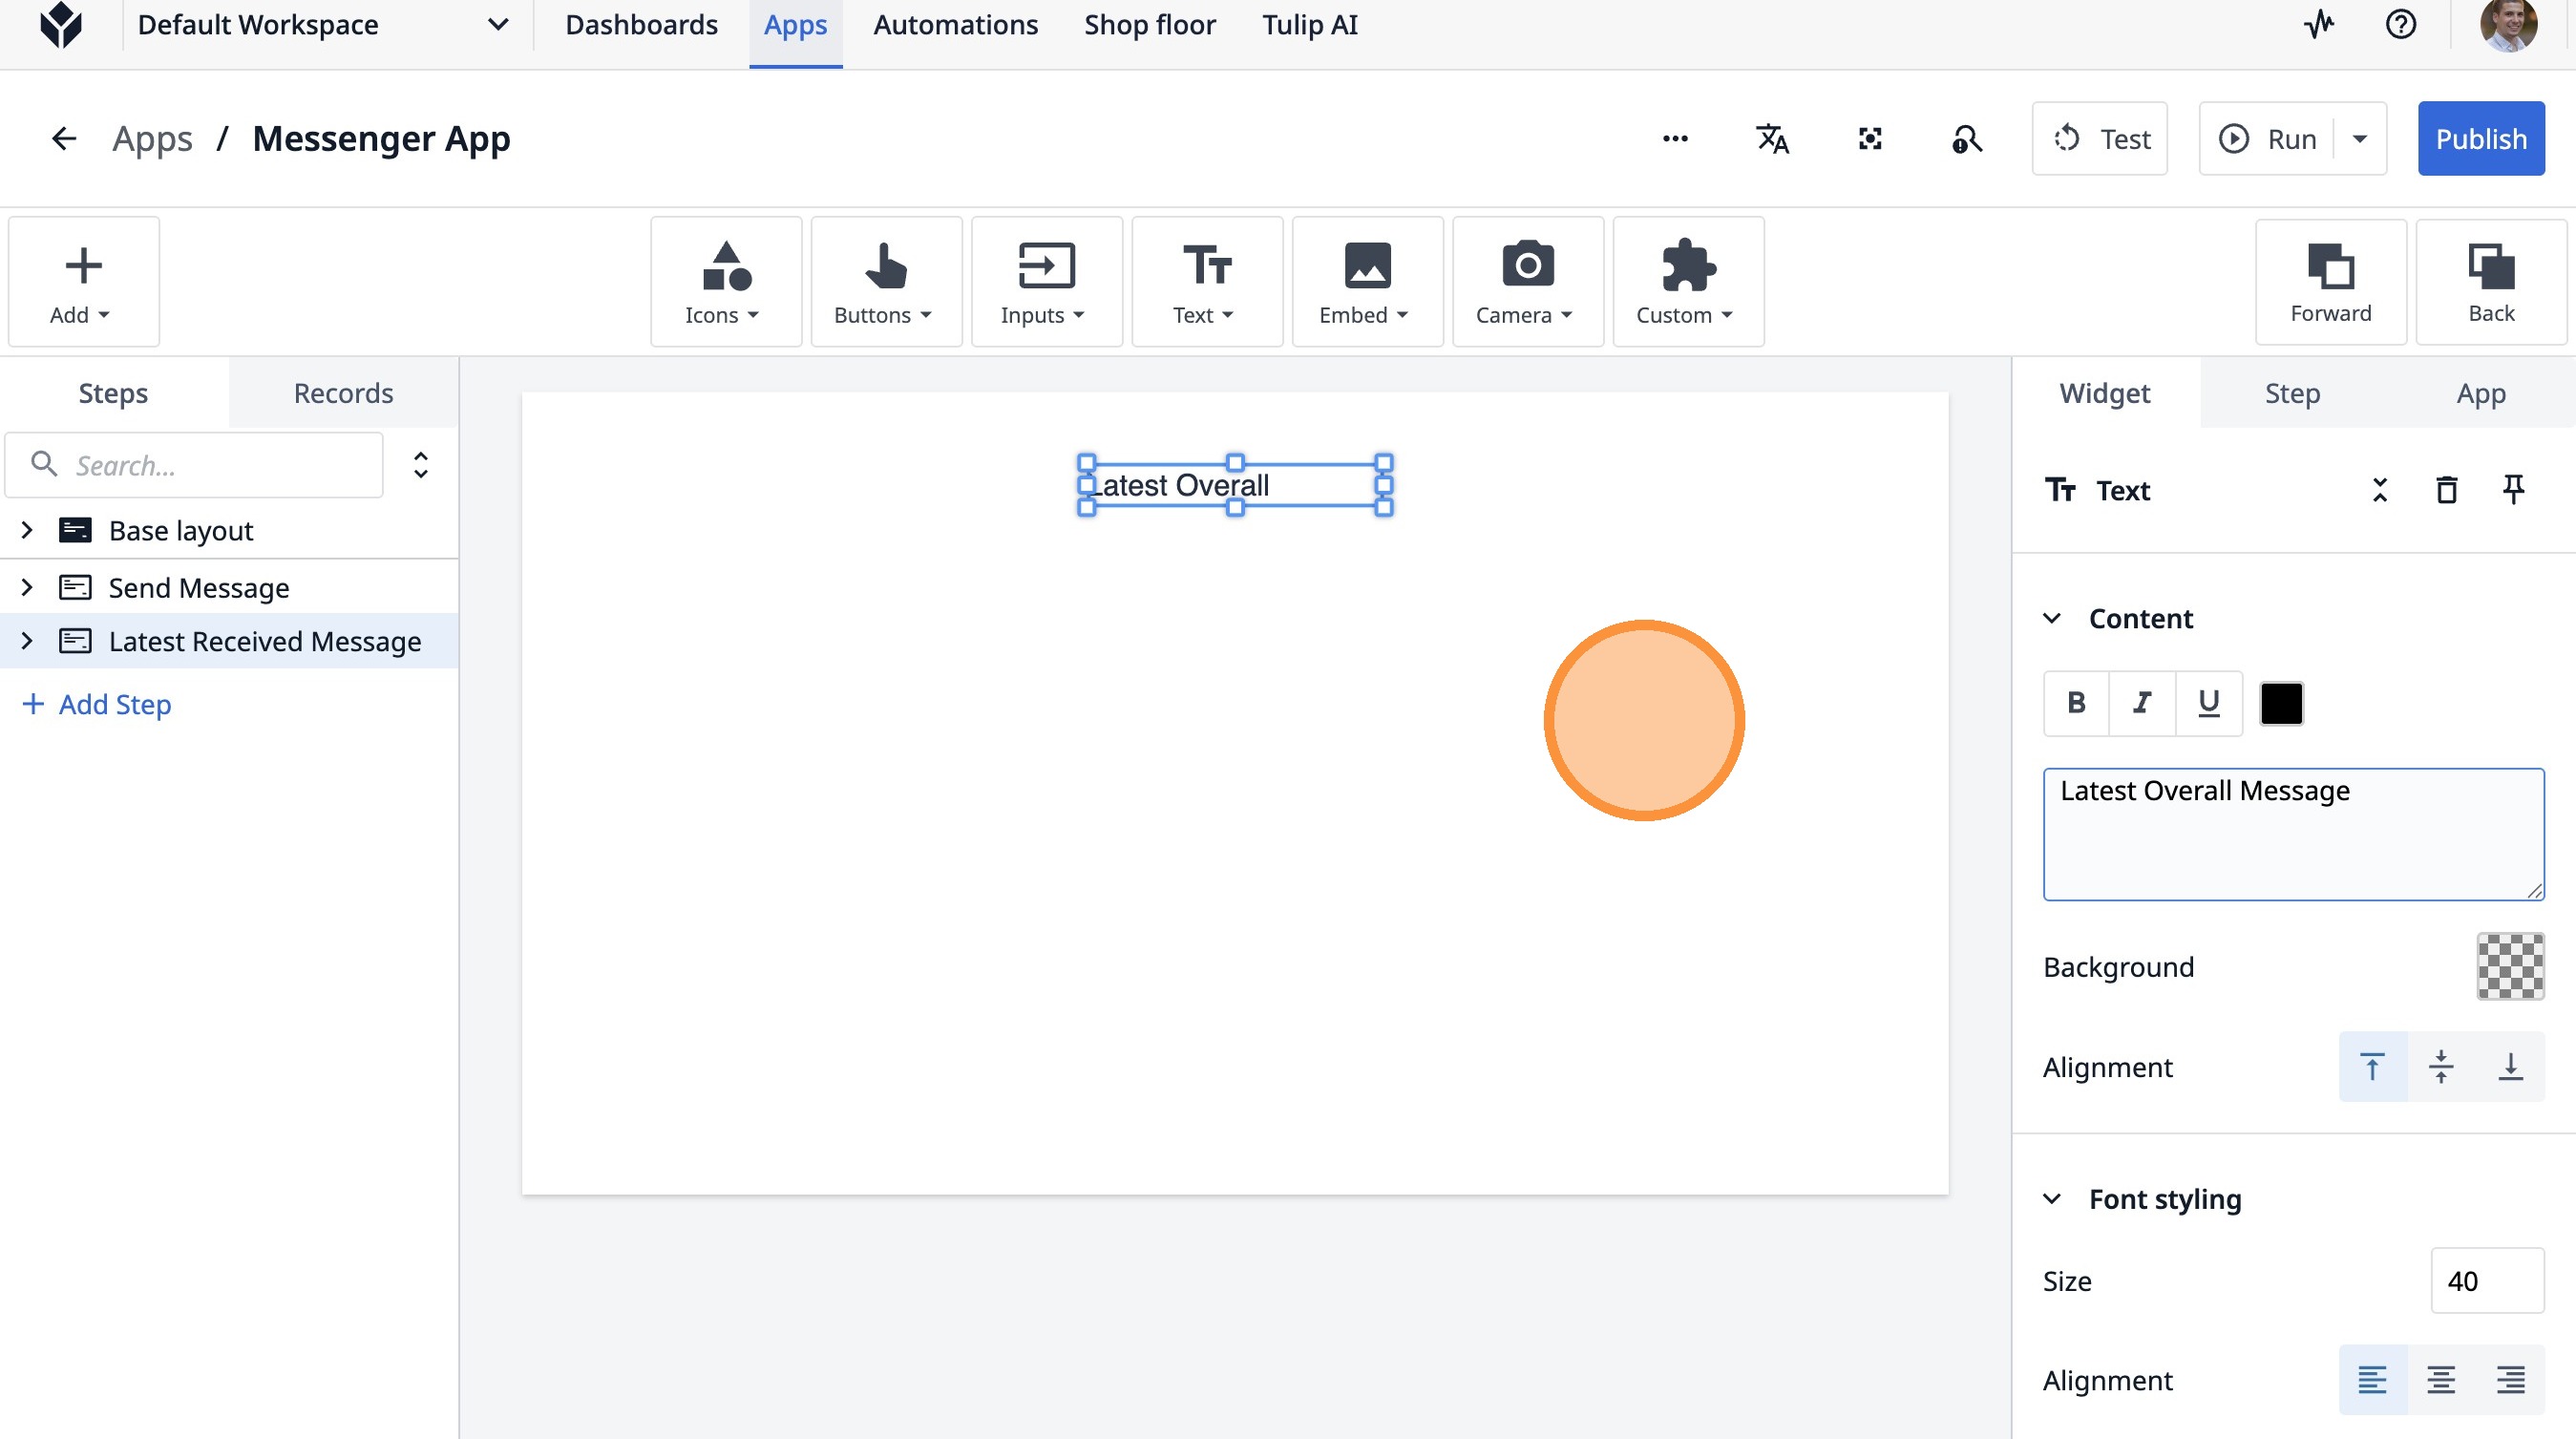
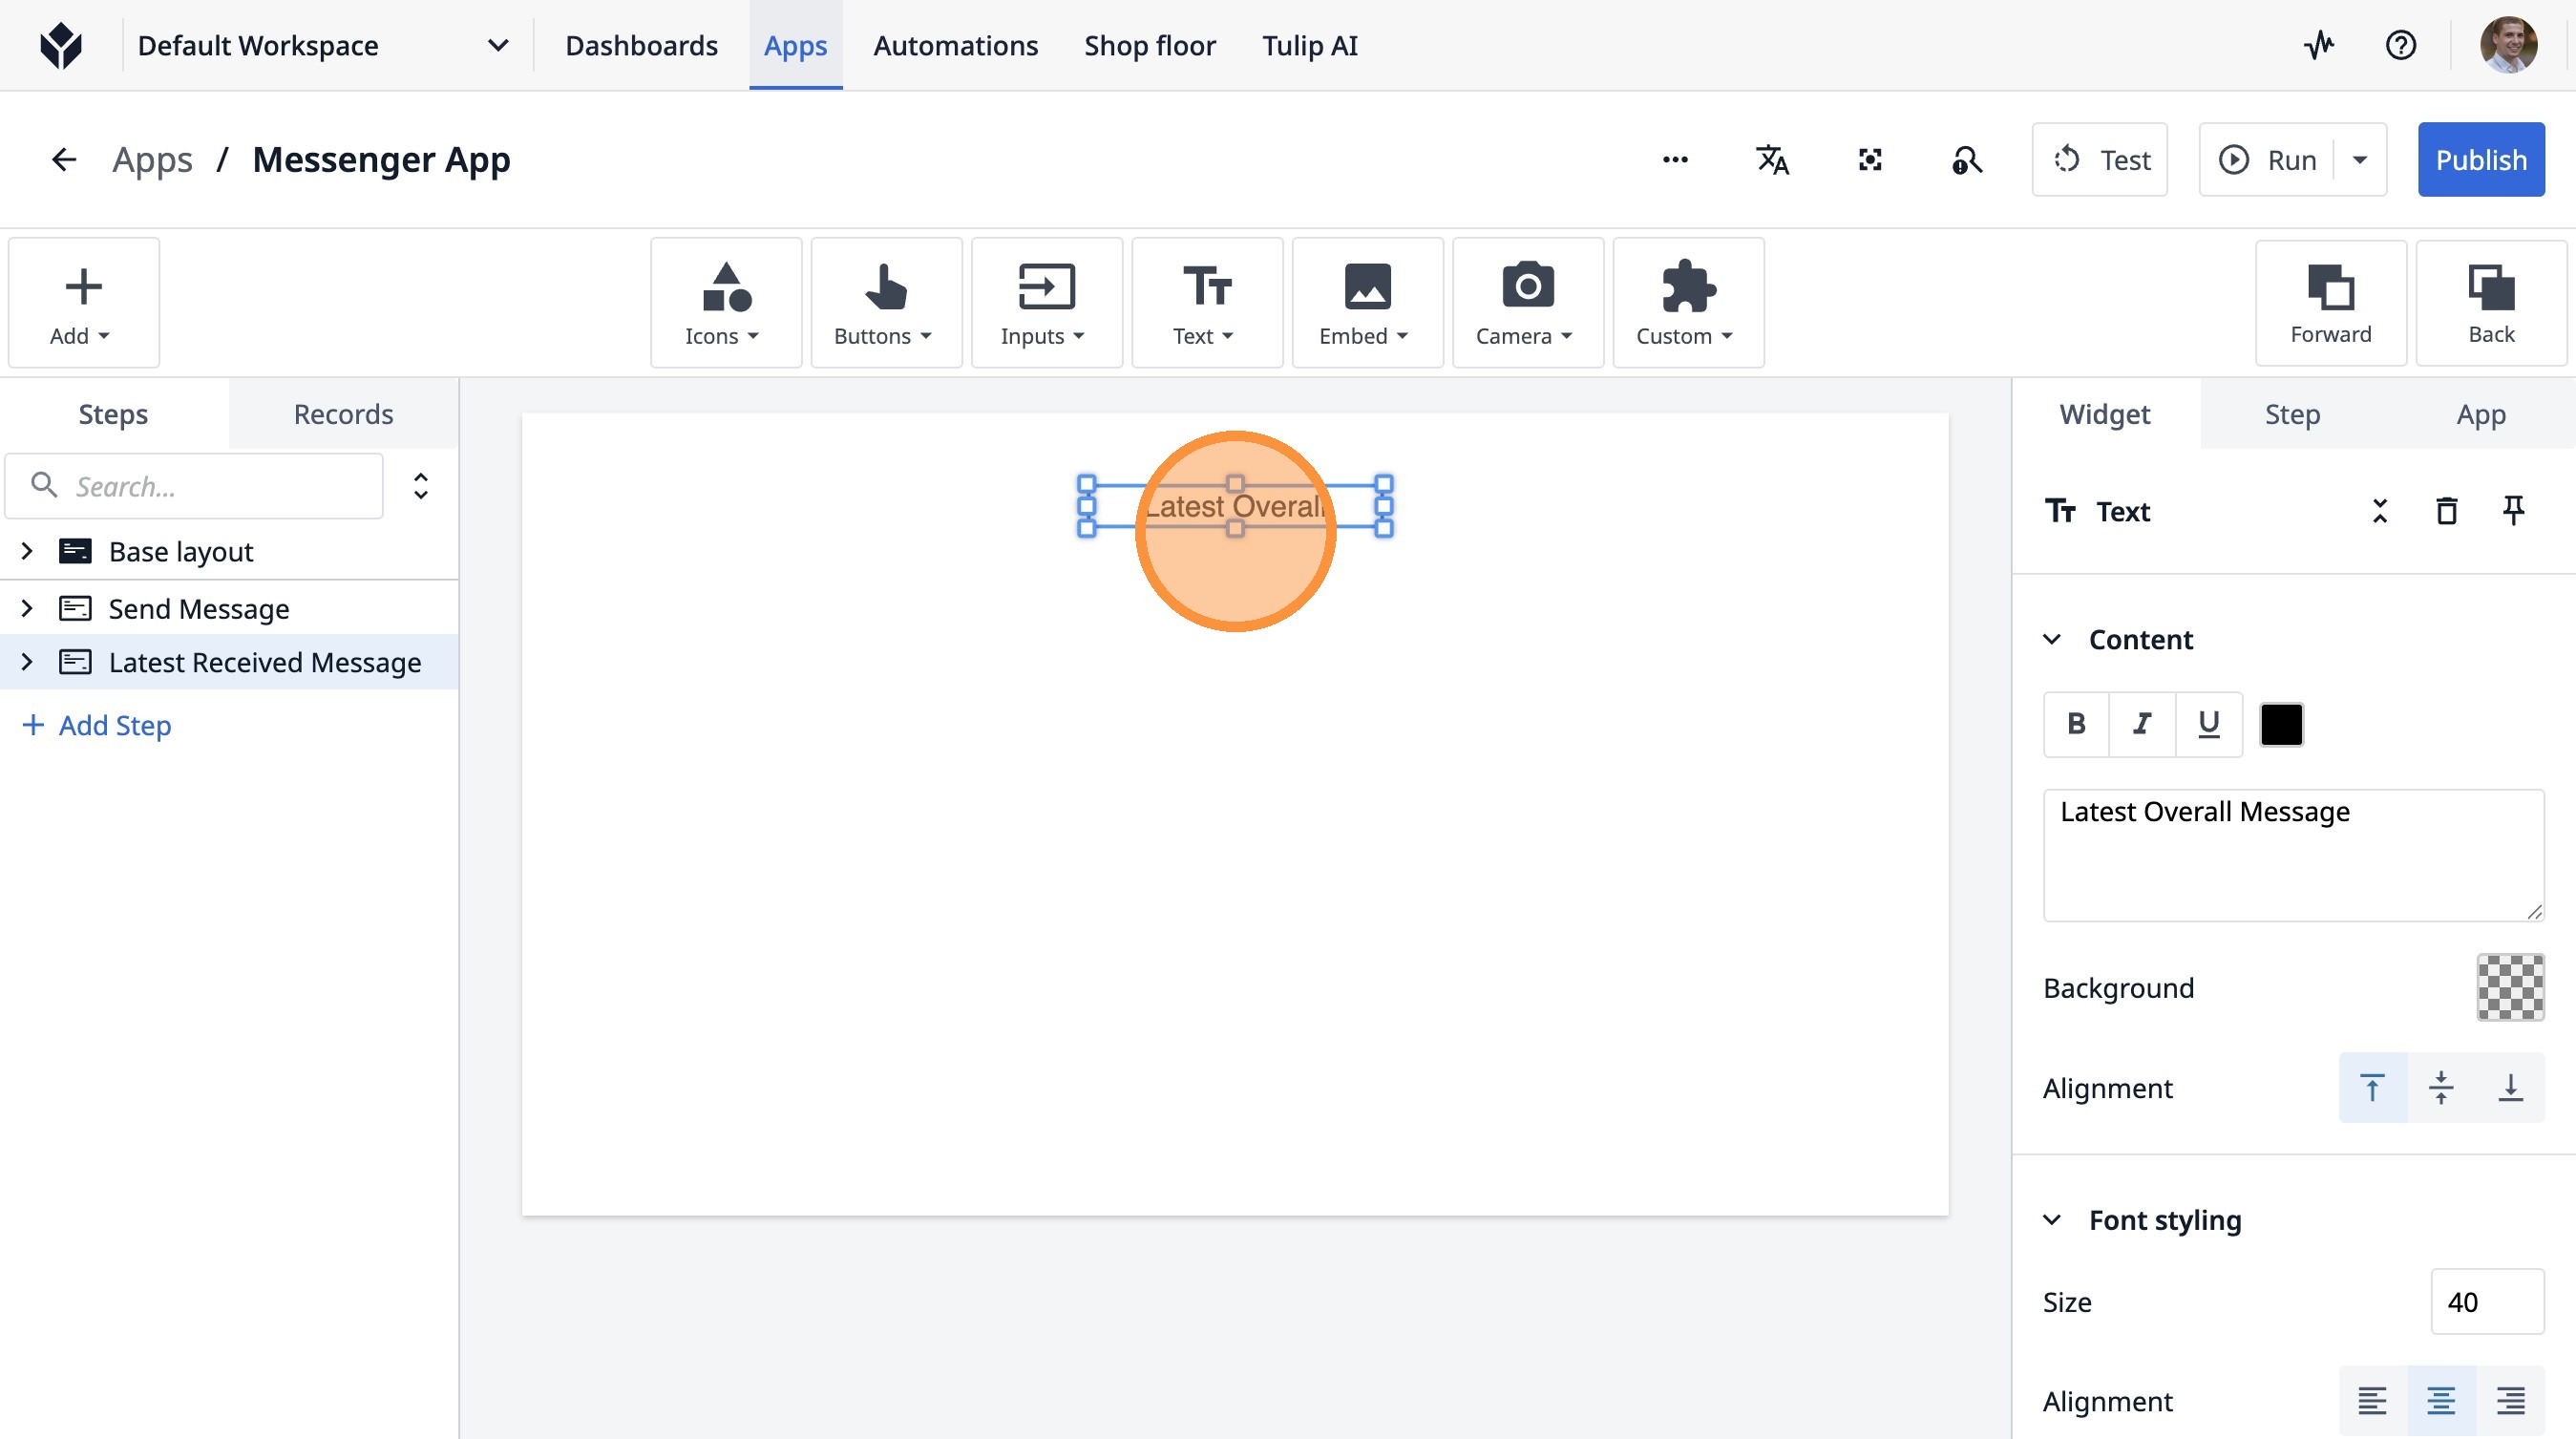
29. Click here.
30. Type "Latest Overall Message"
31. Click here.
32. Click "Latest Overall Message"
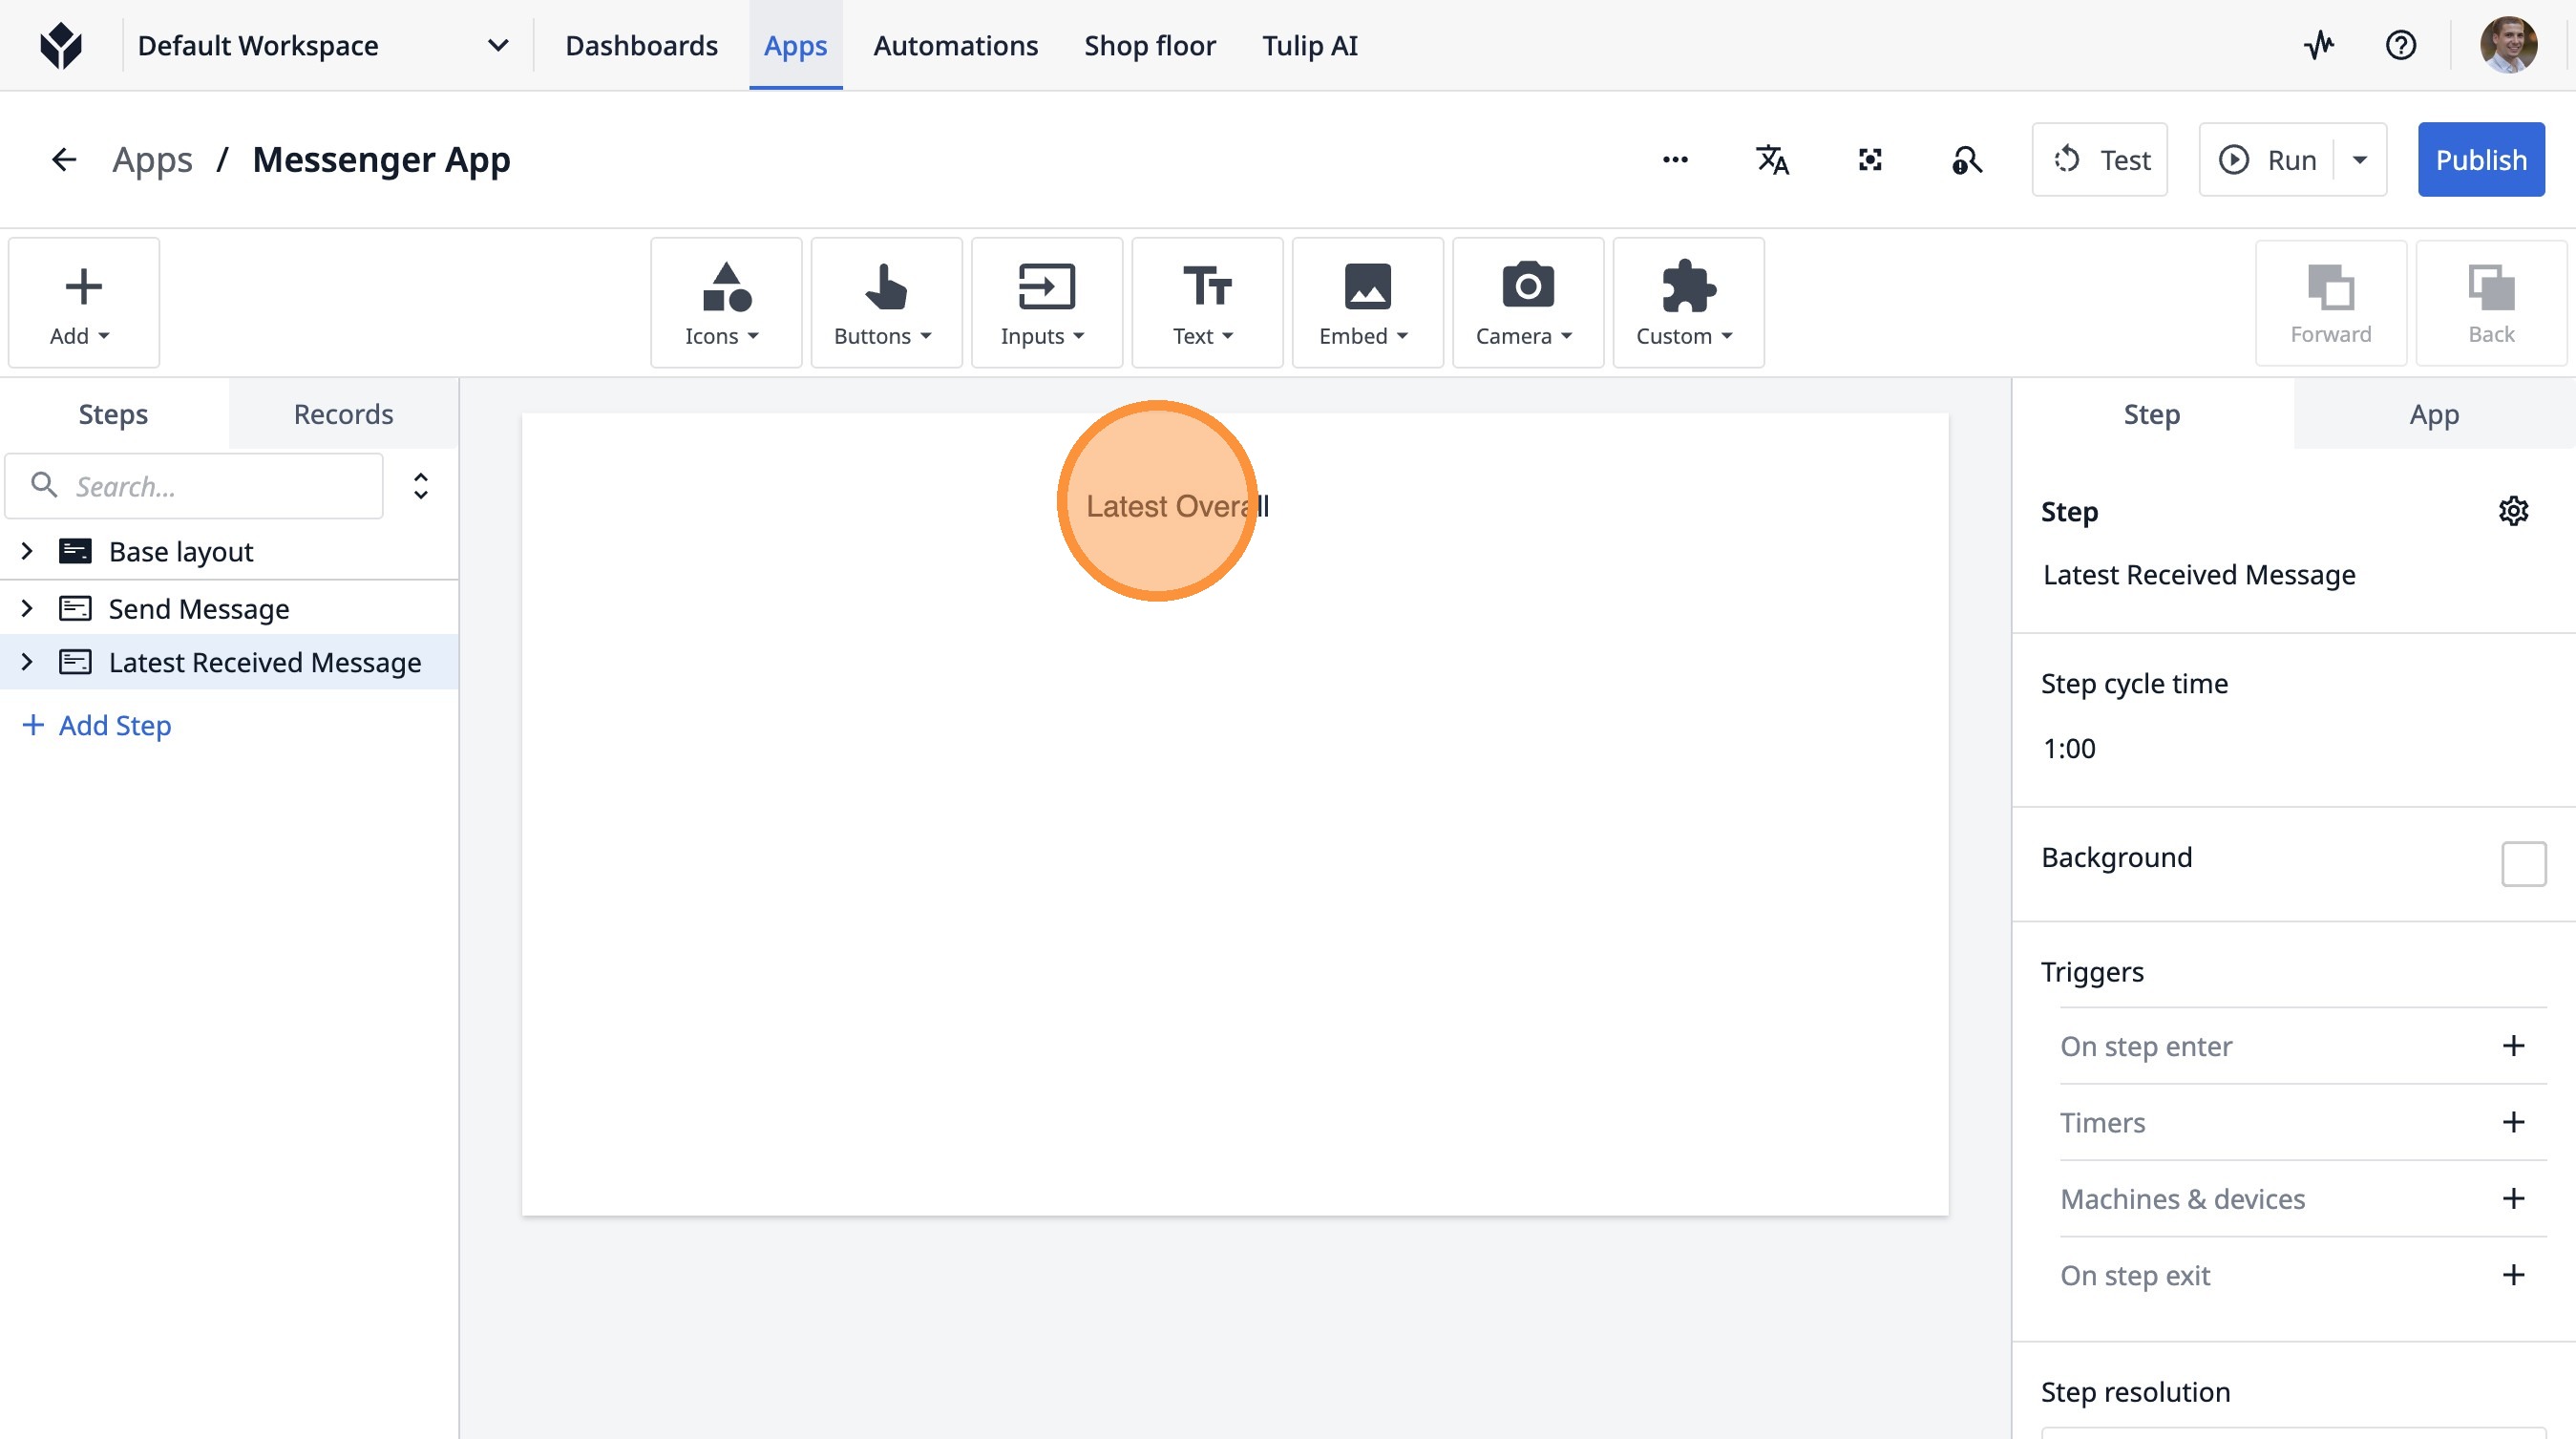
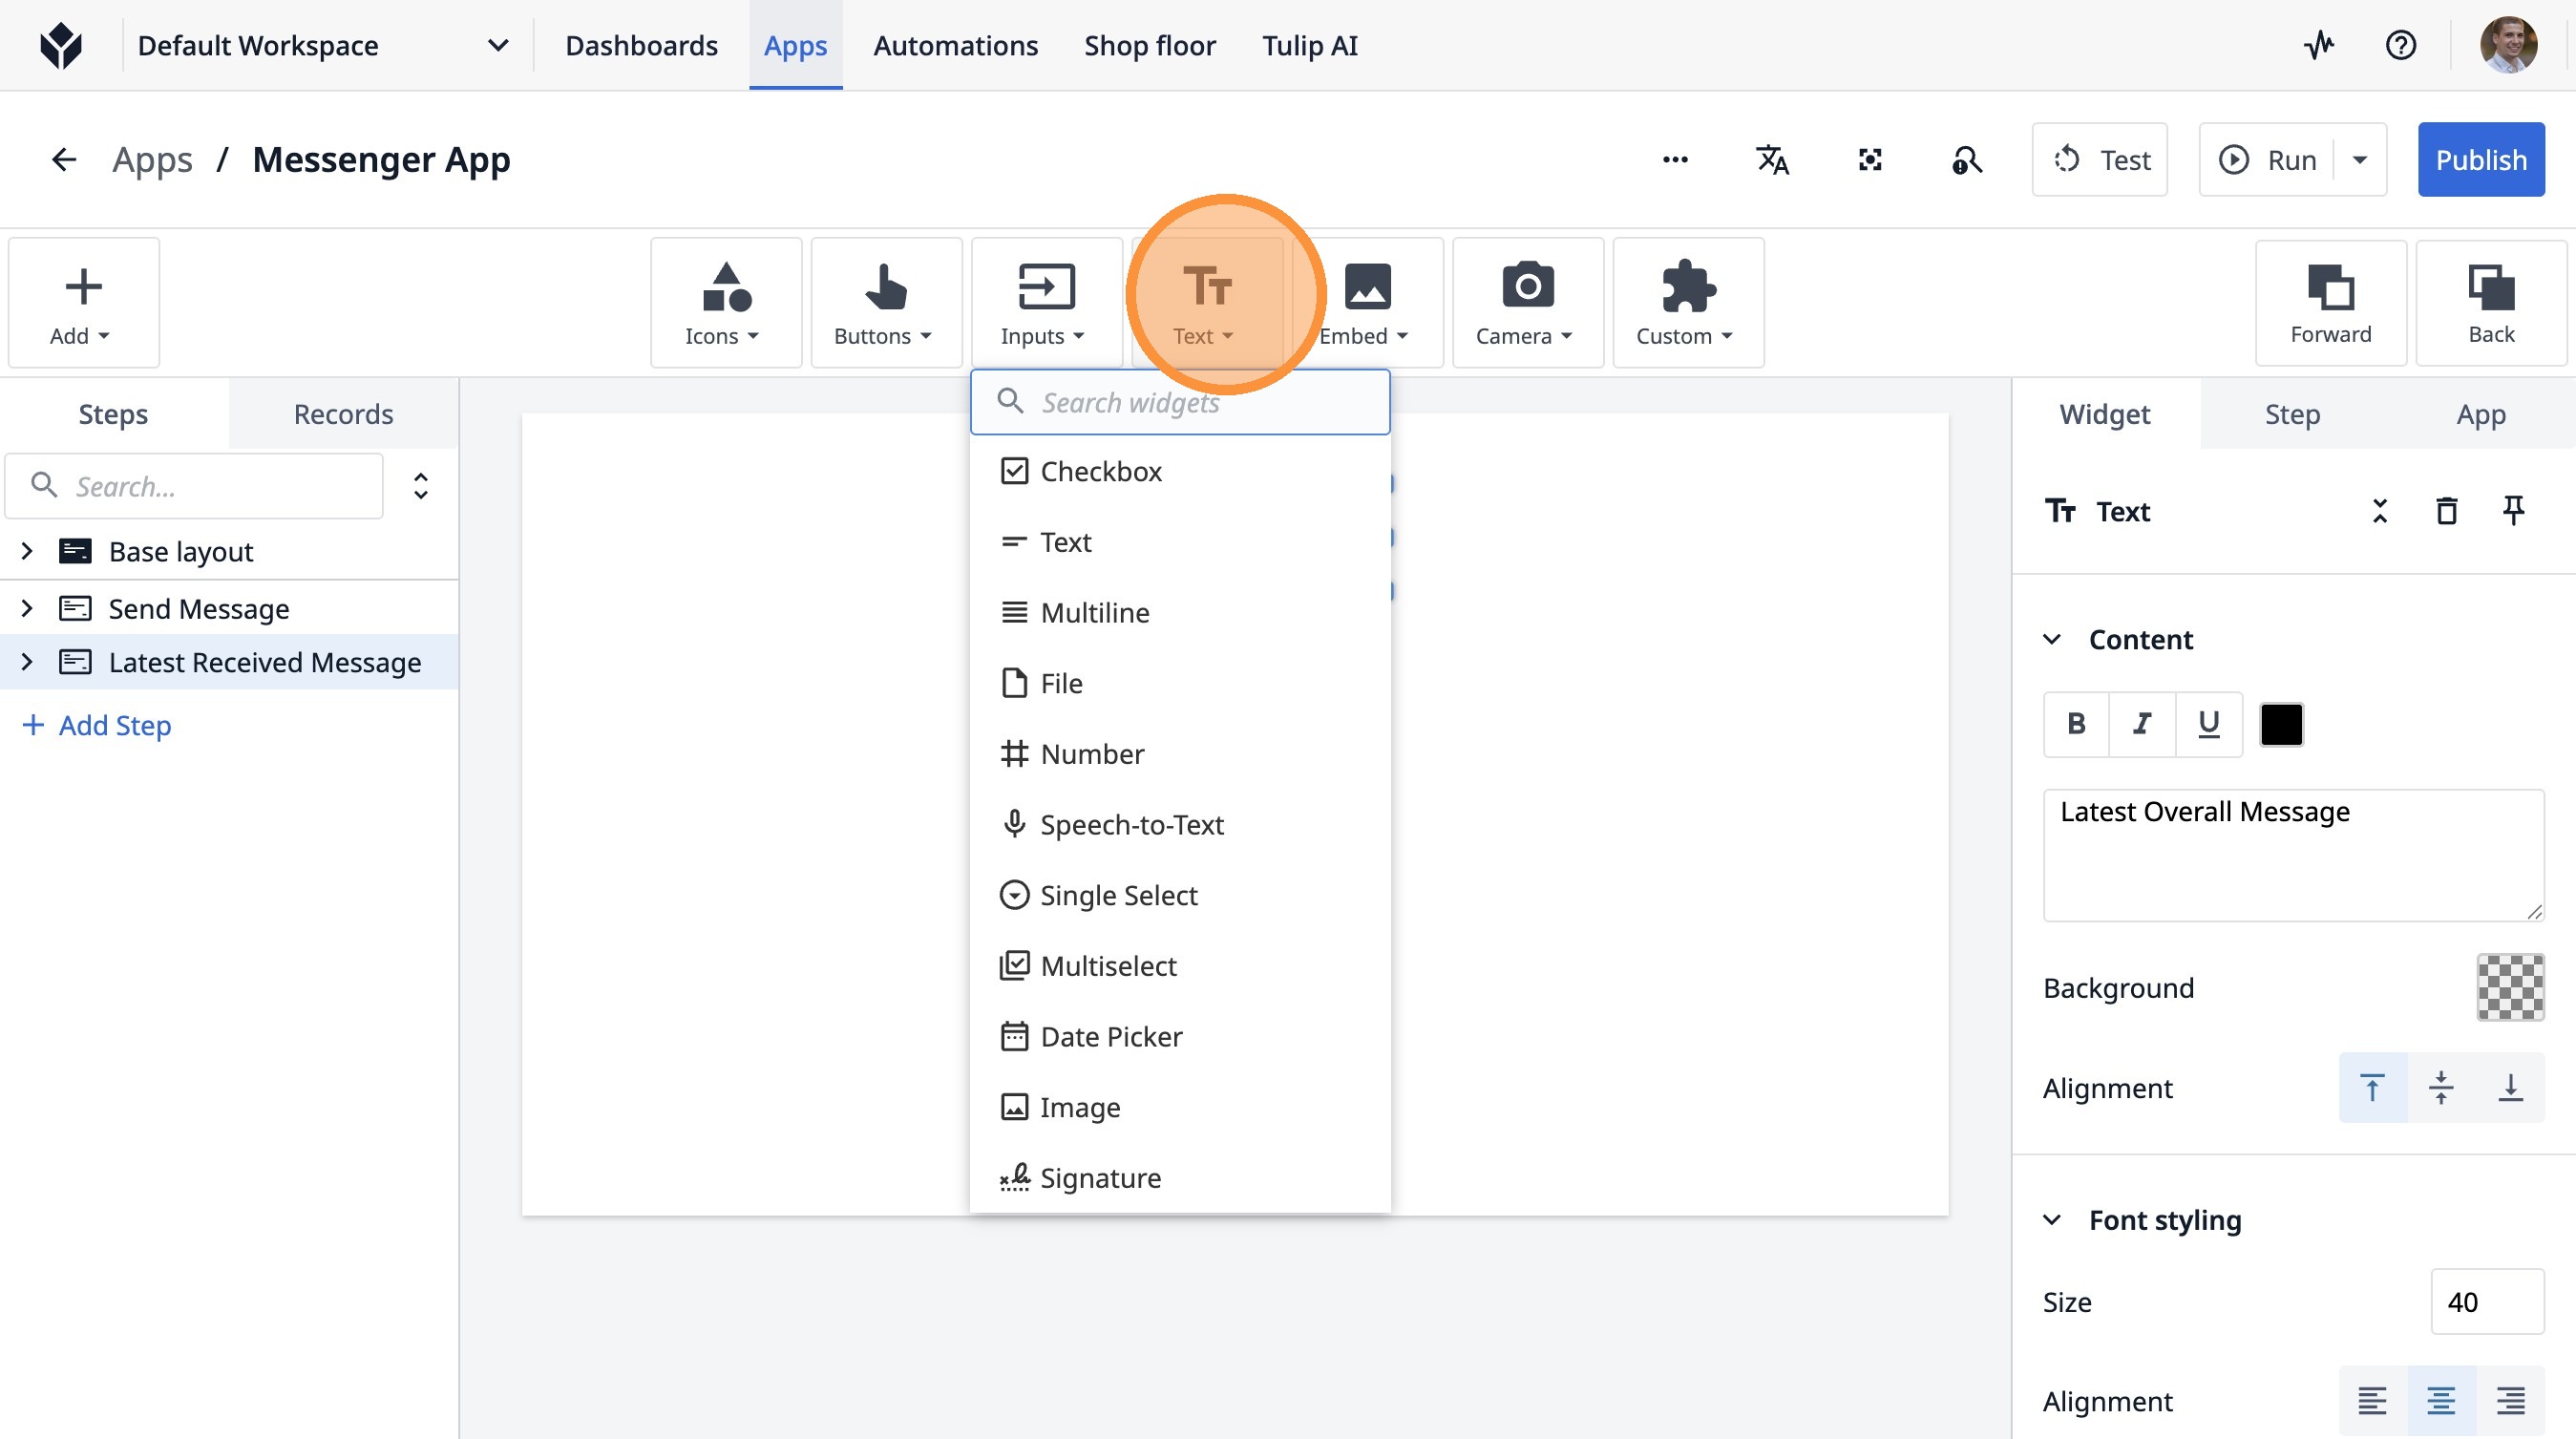
33. Click this button.
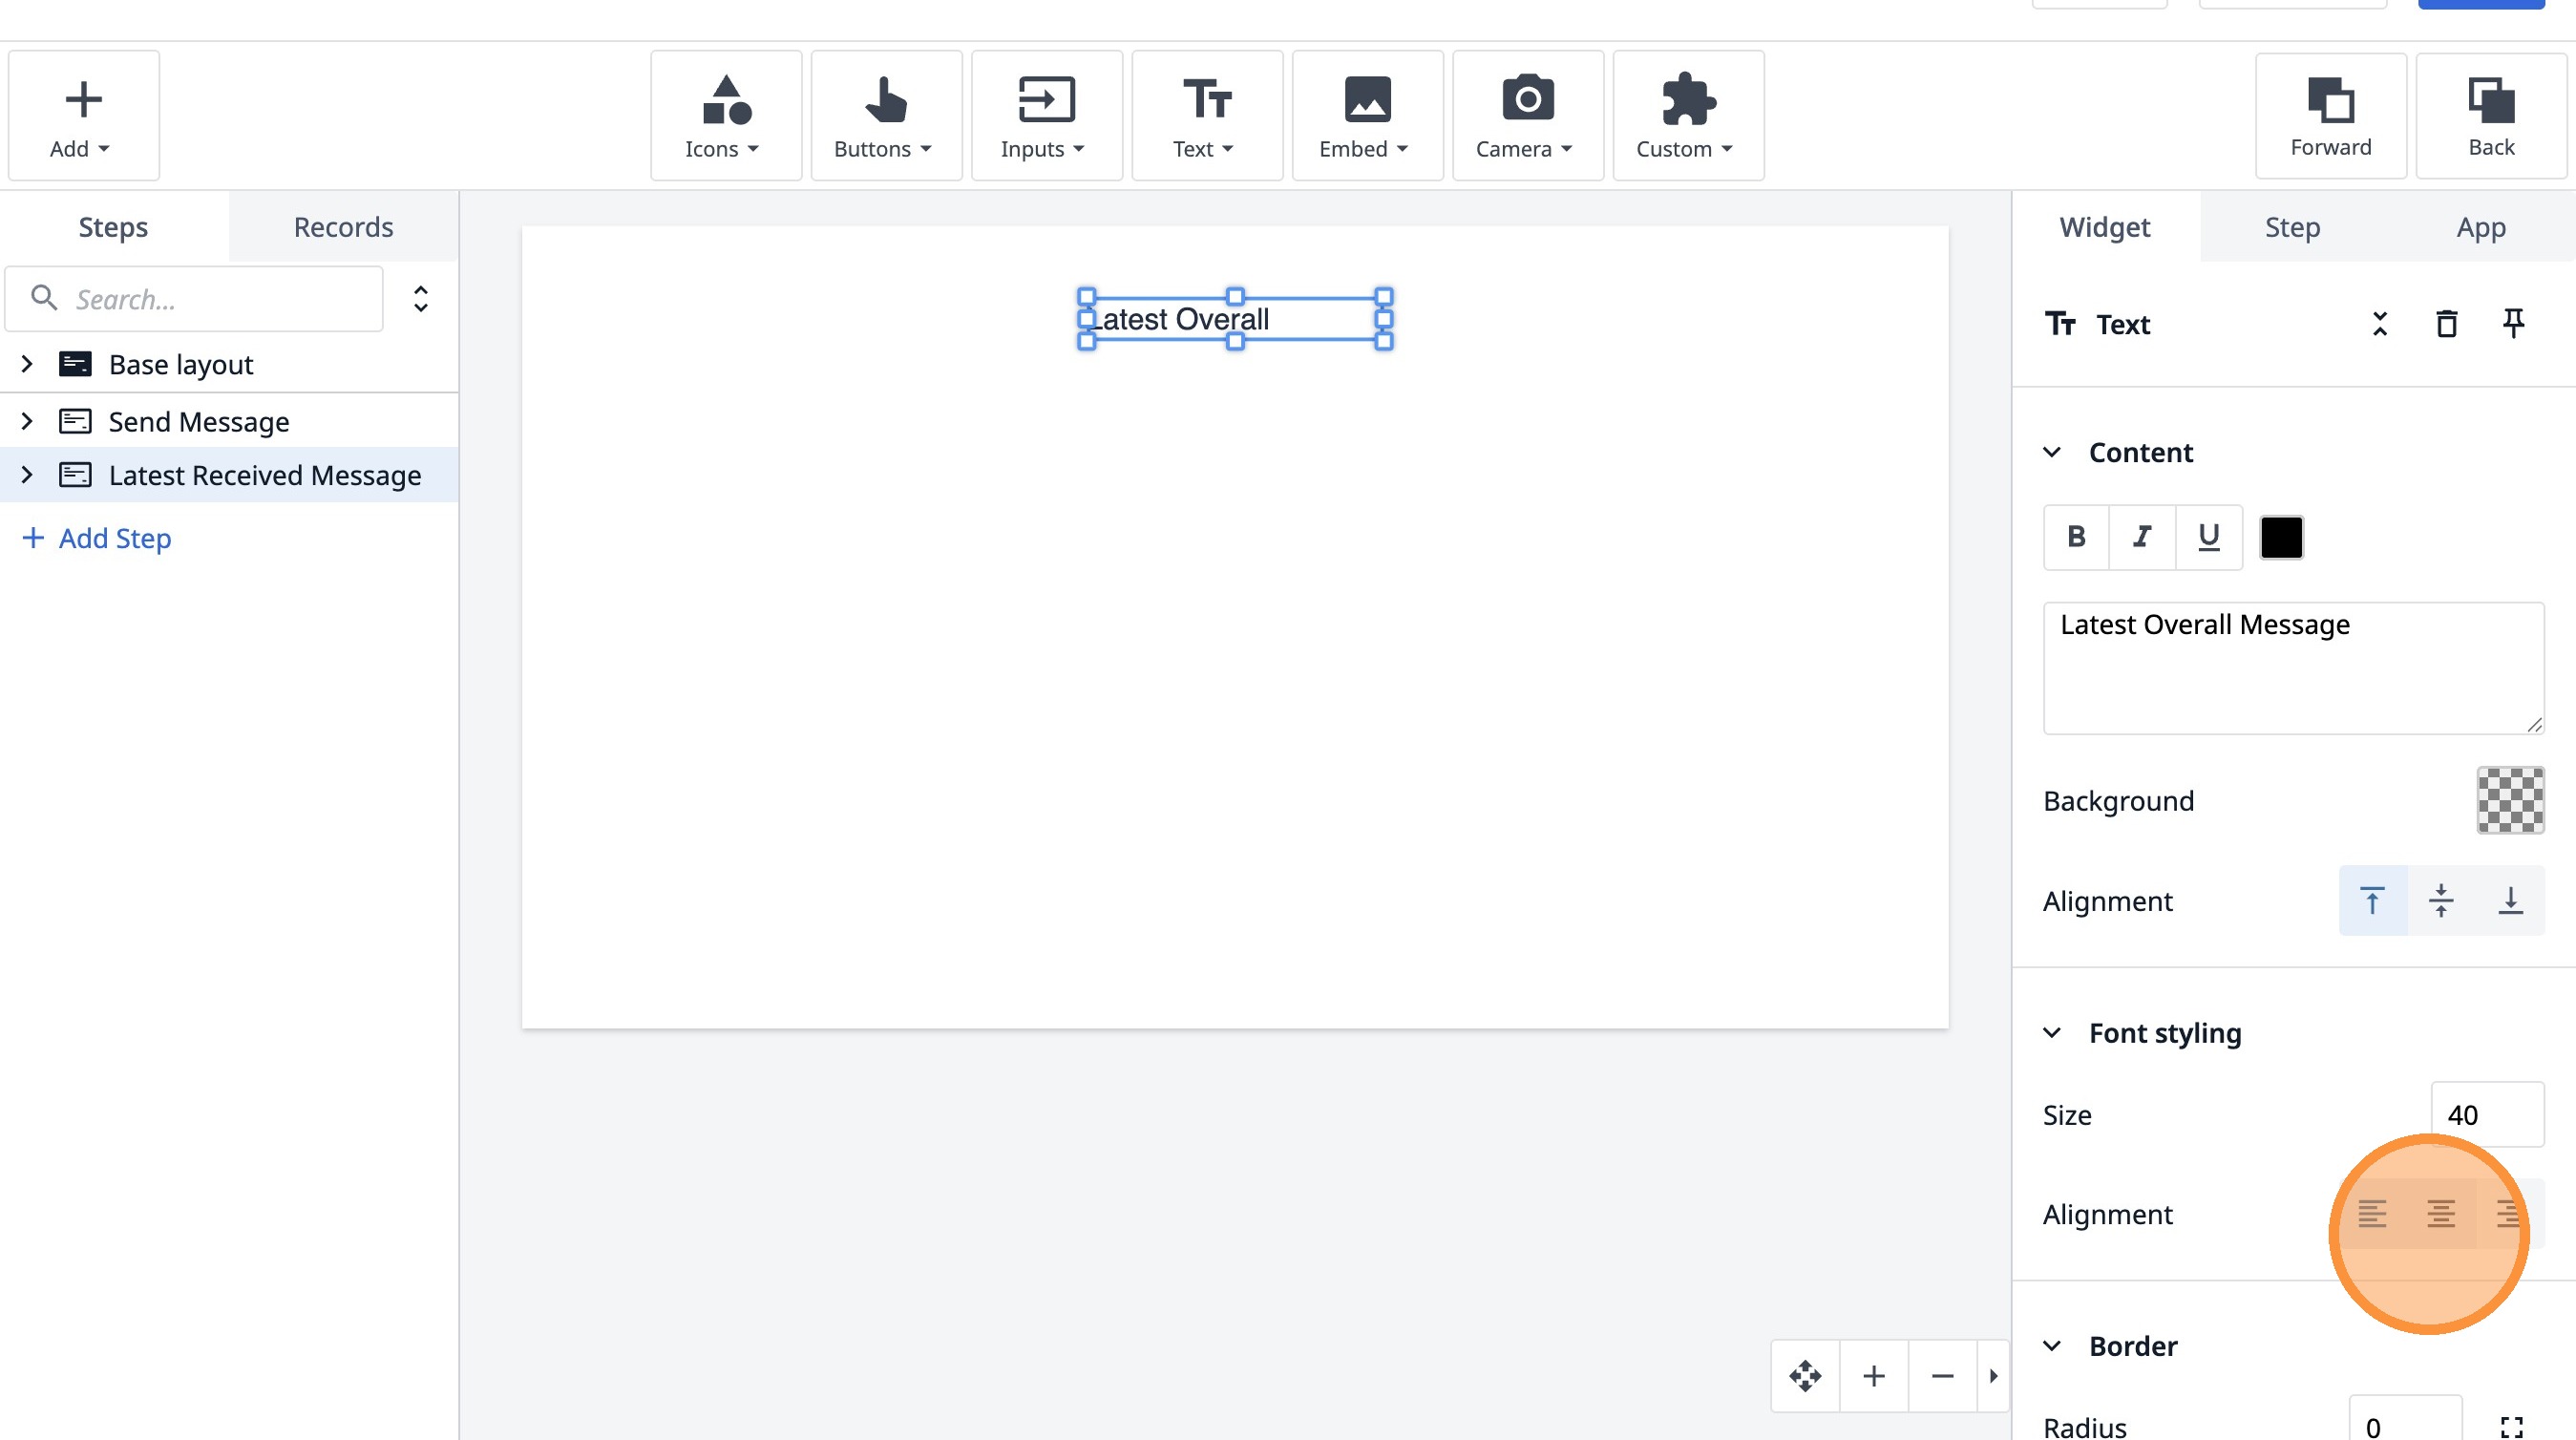
34. Click here.

35. Click here.
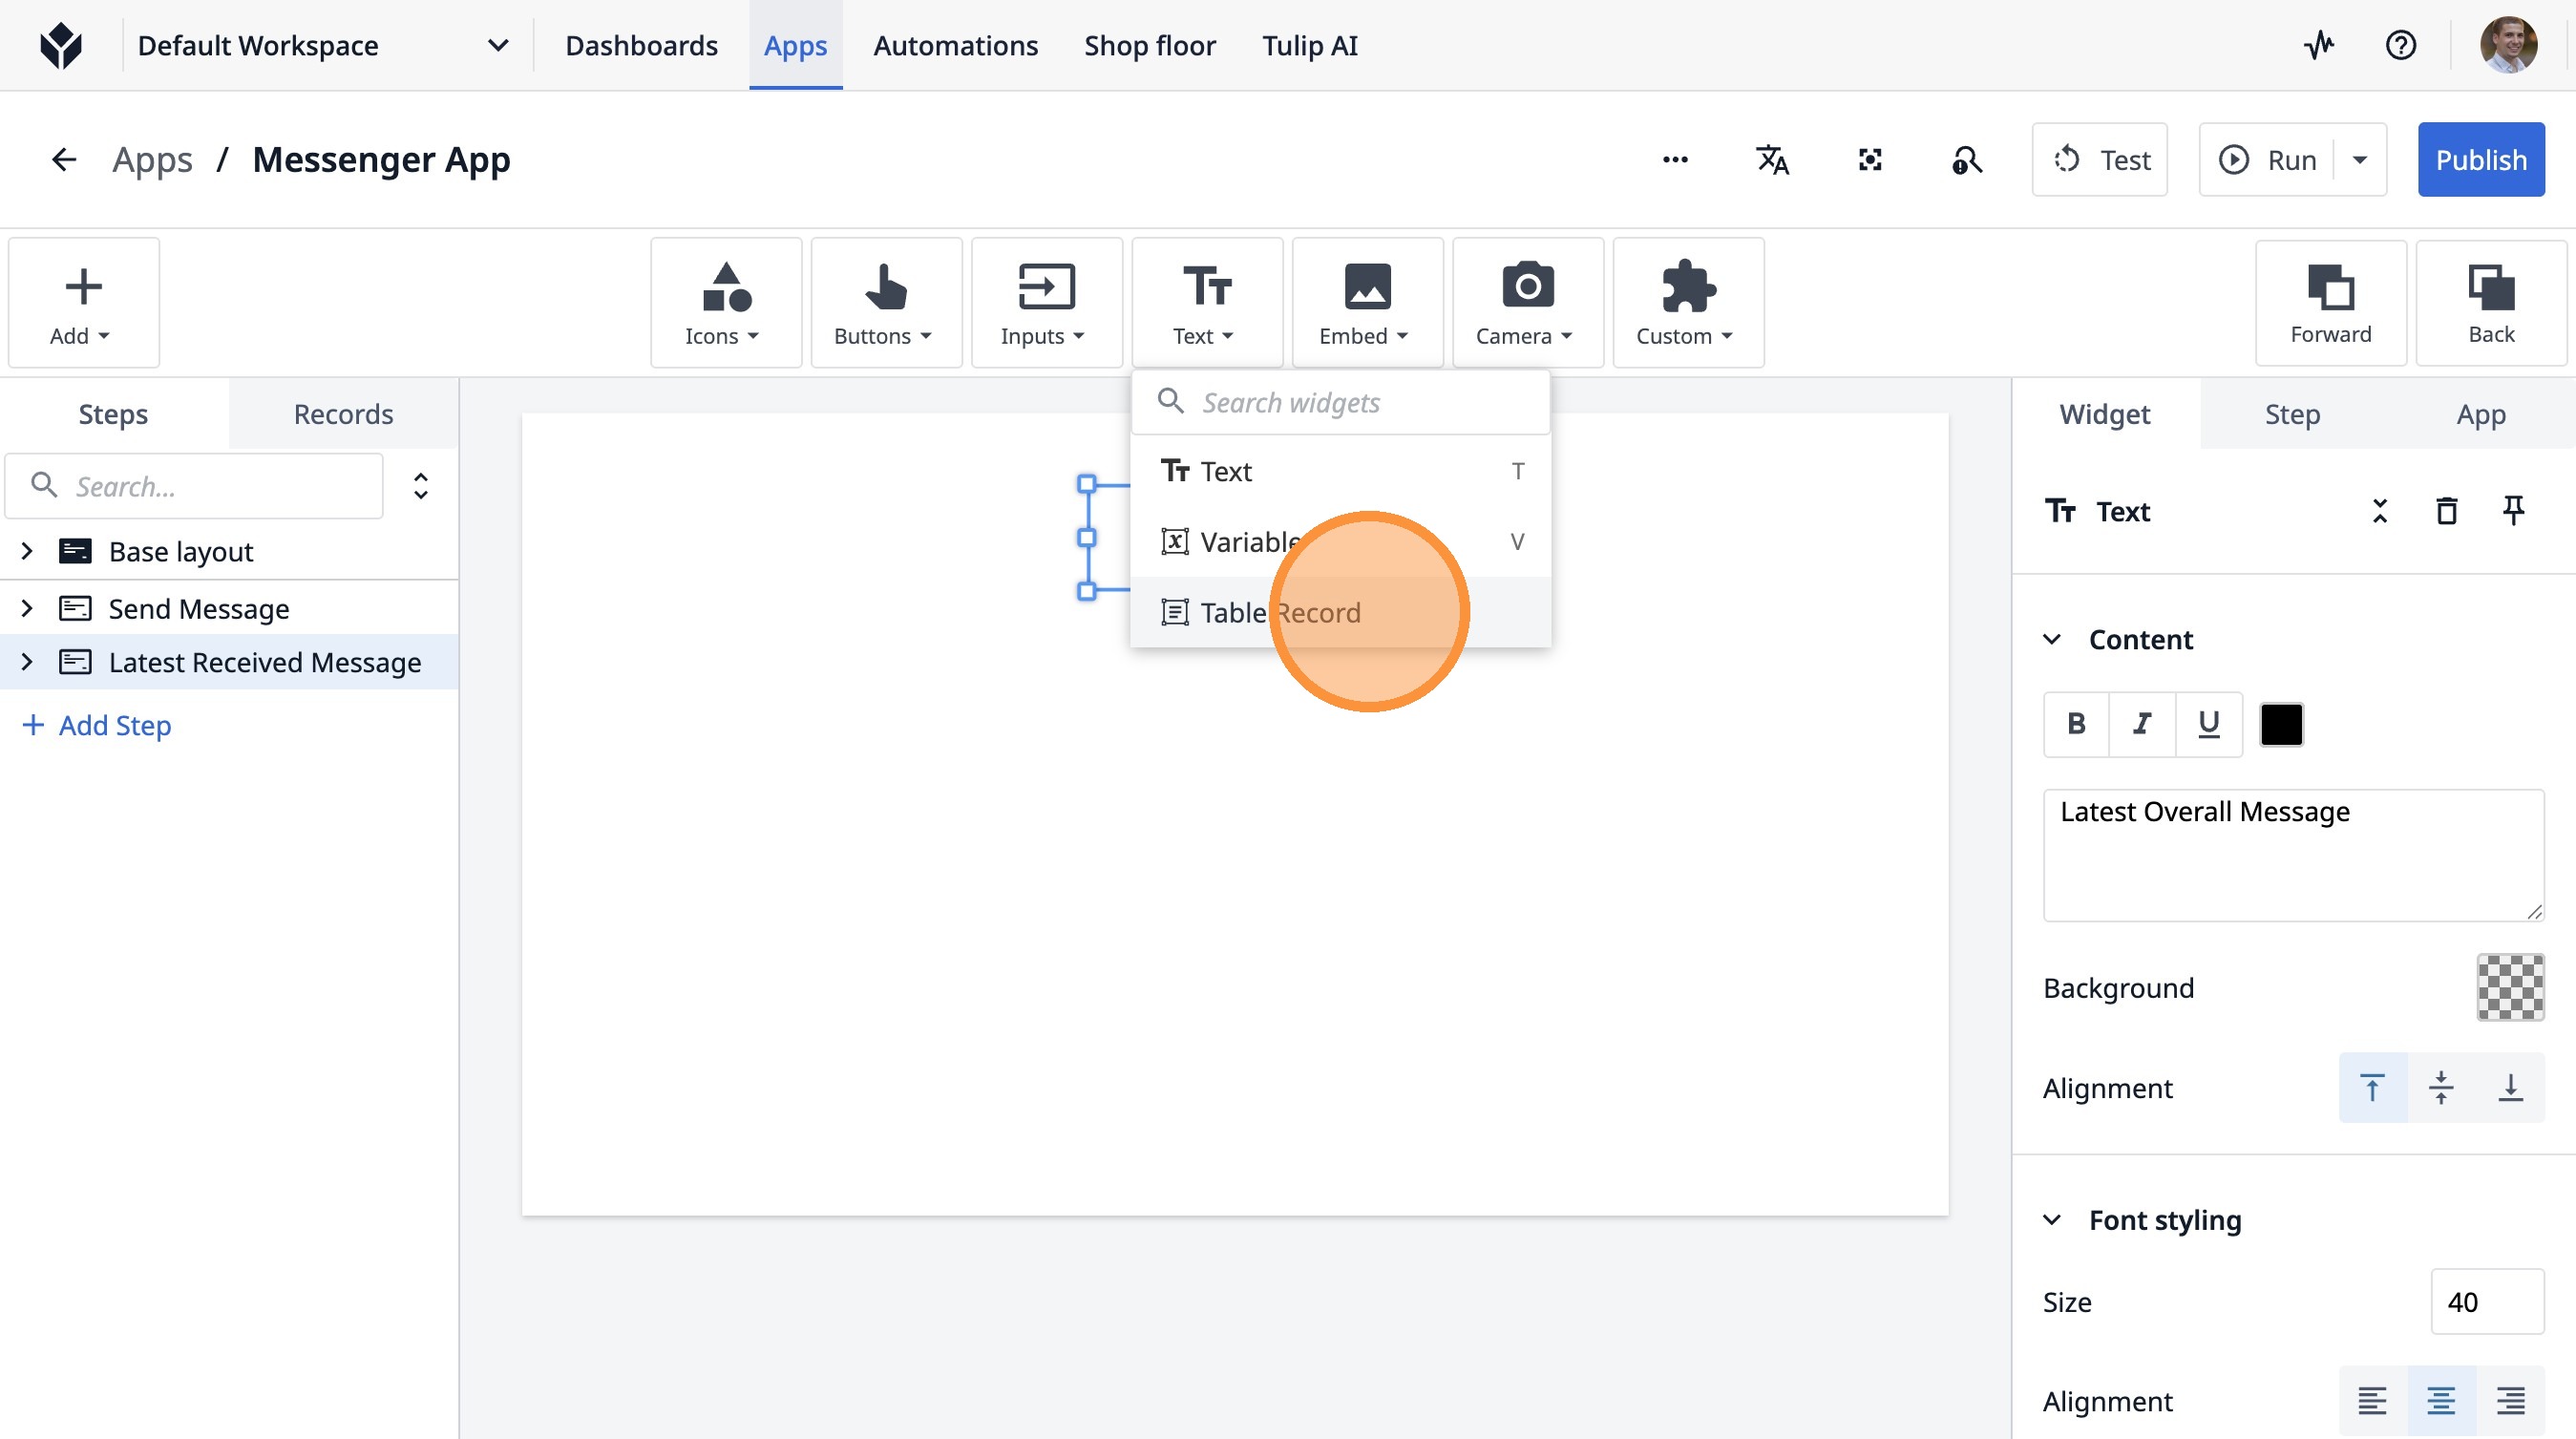
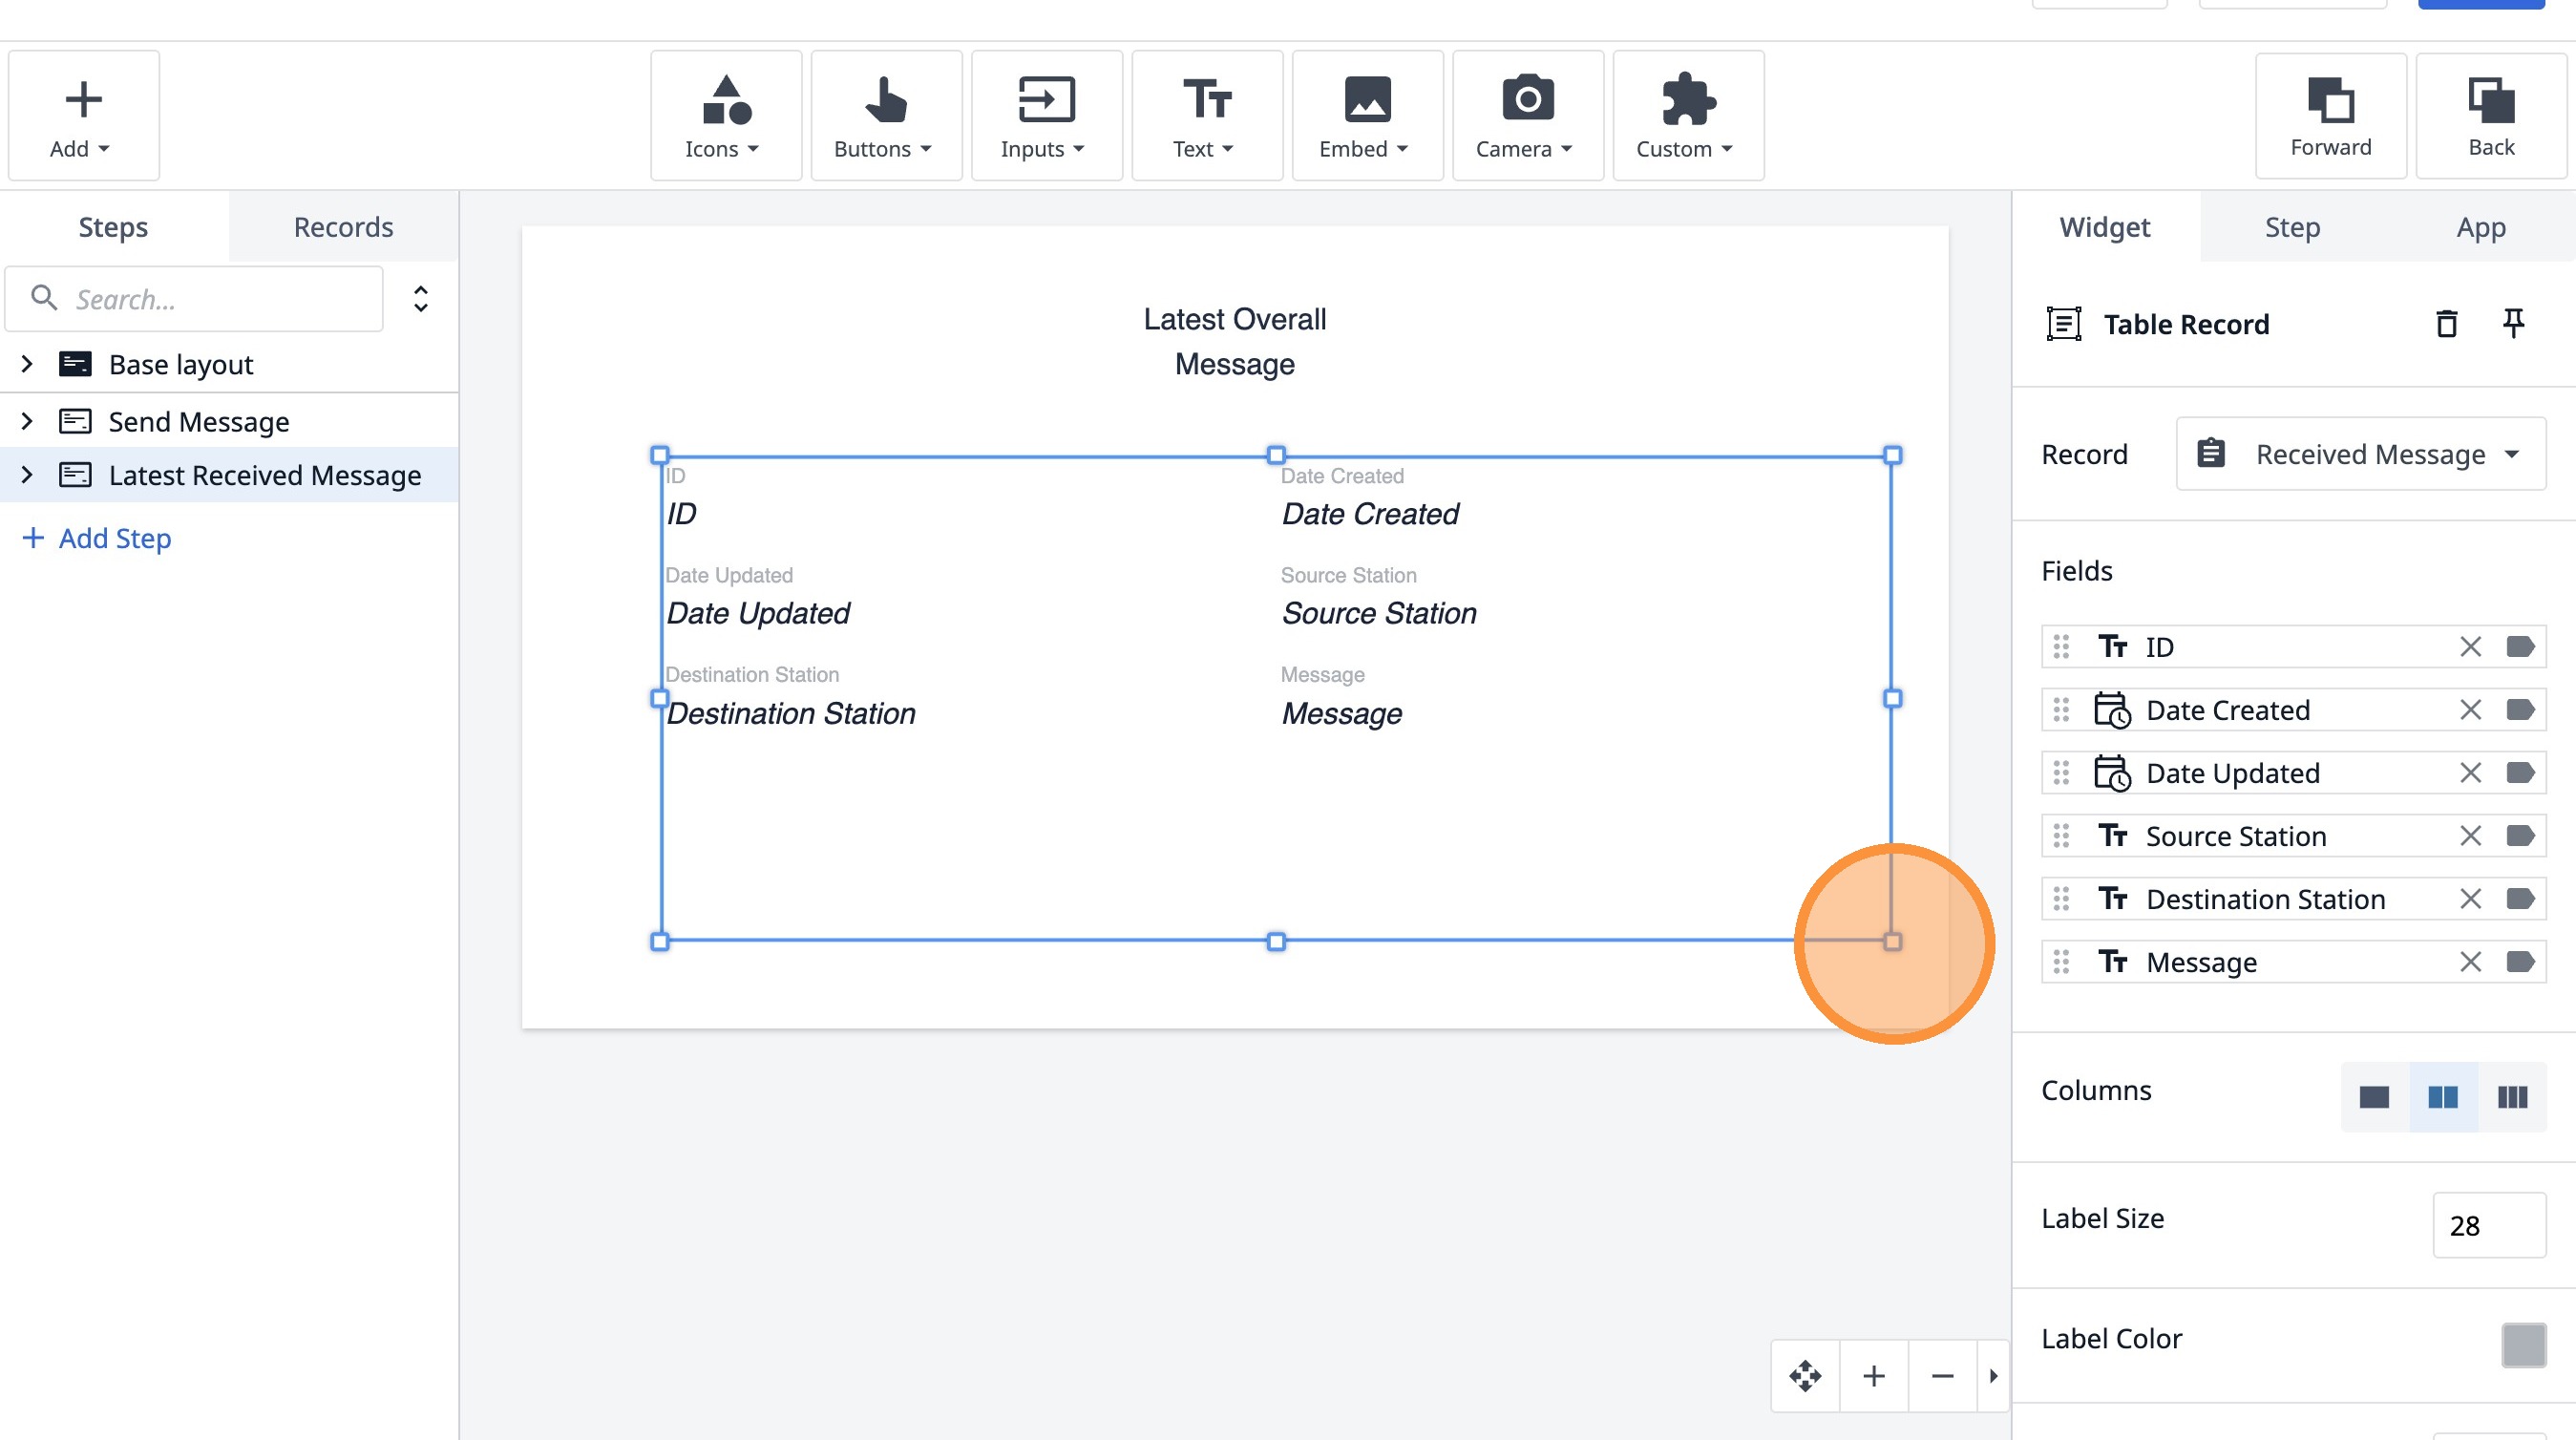
36. Click this icon.
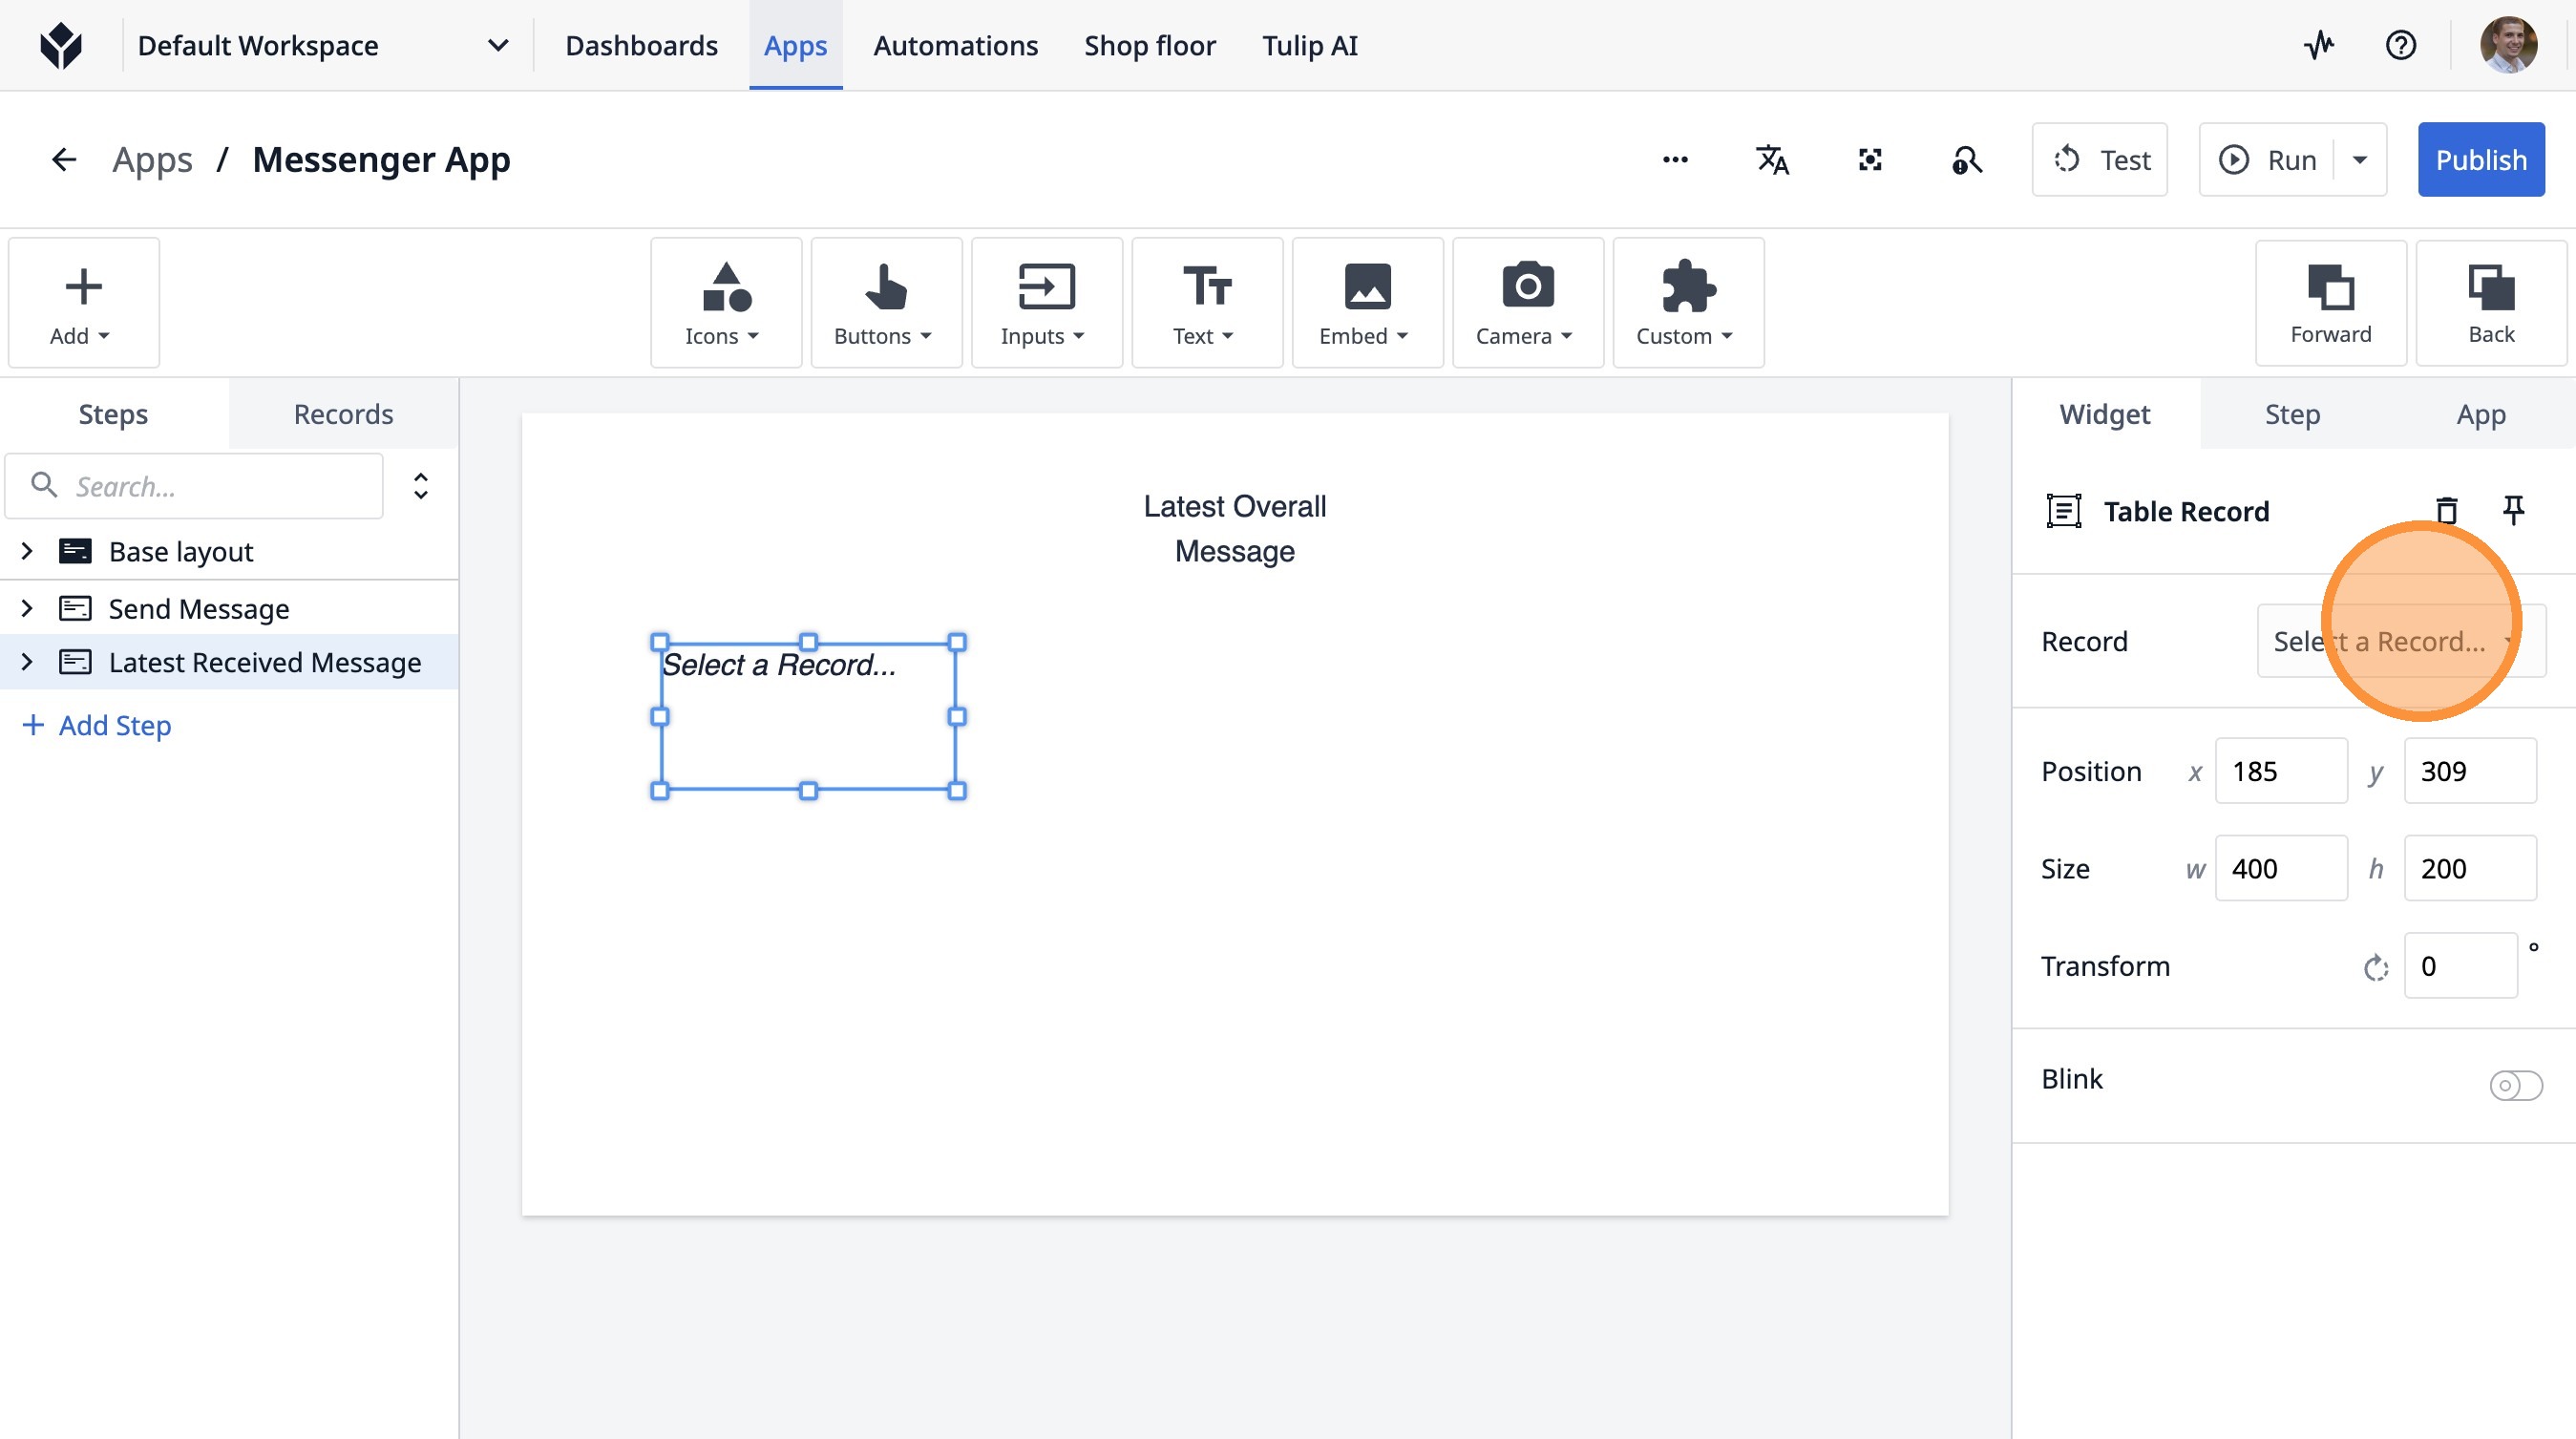
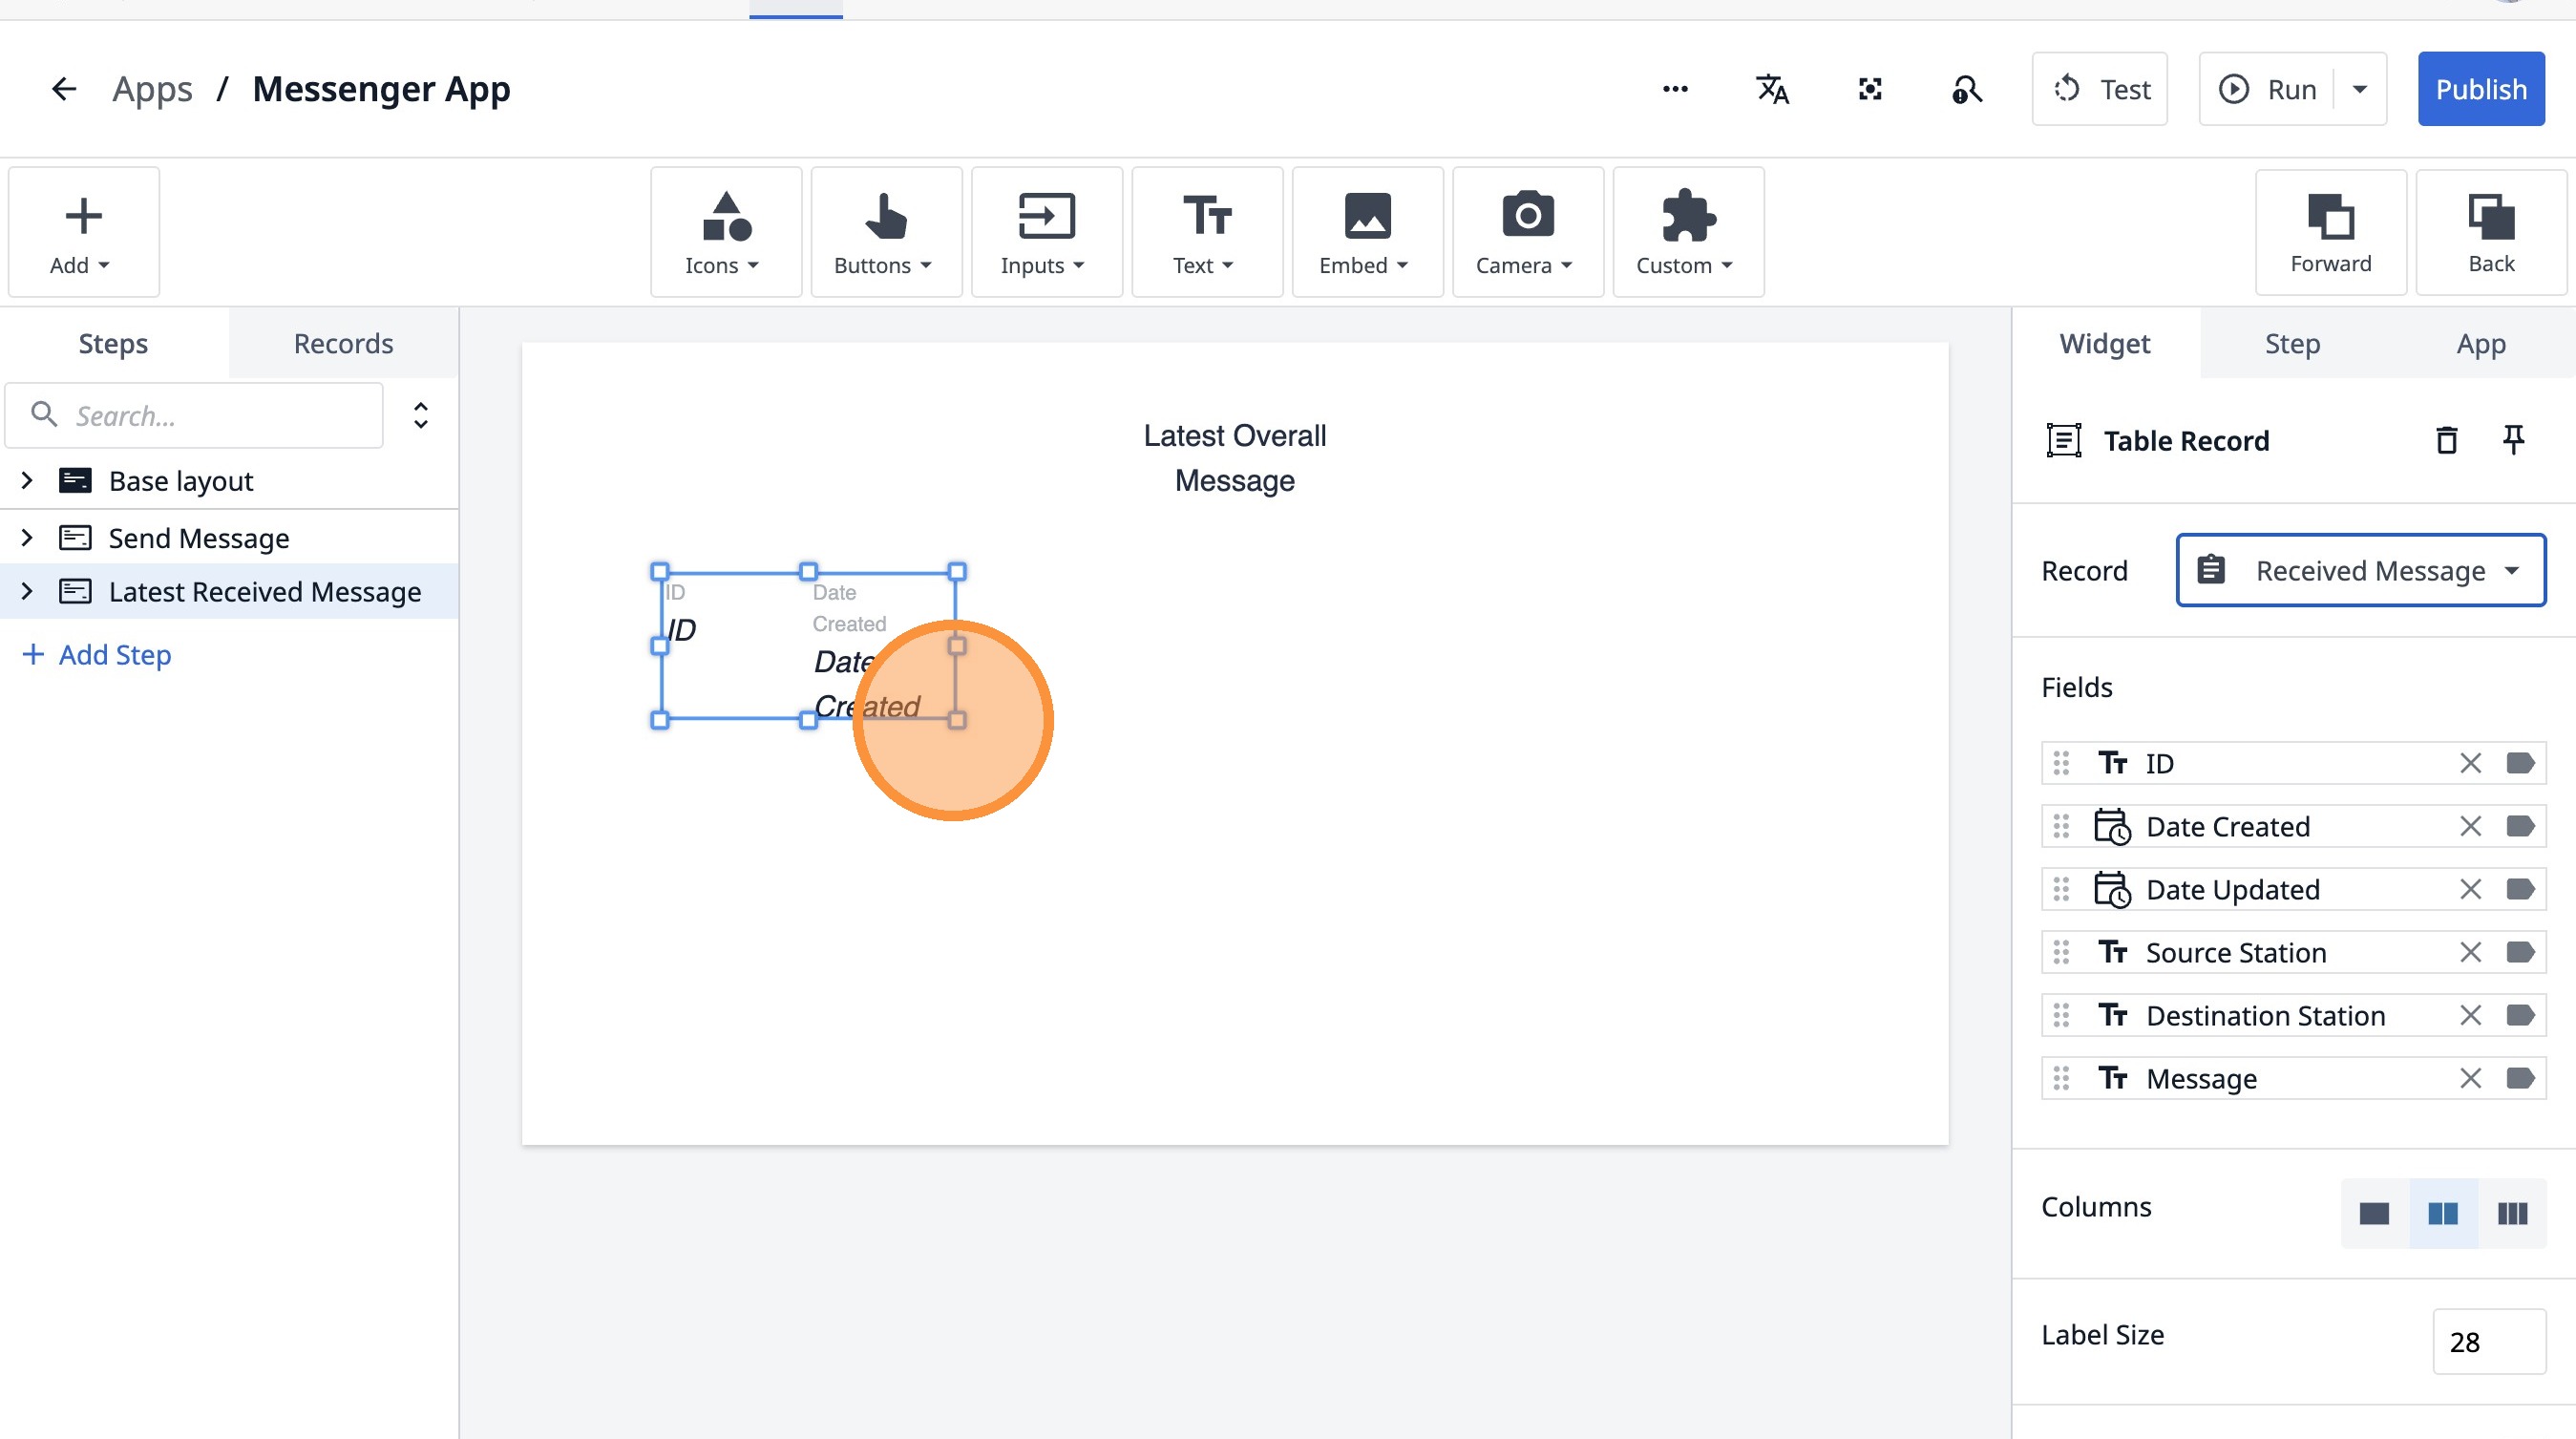
37. Click "Table Record"
38. Click "Select a Record..."
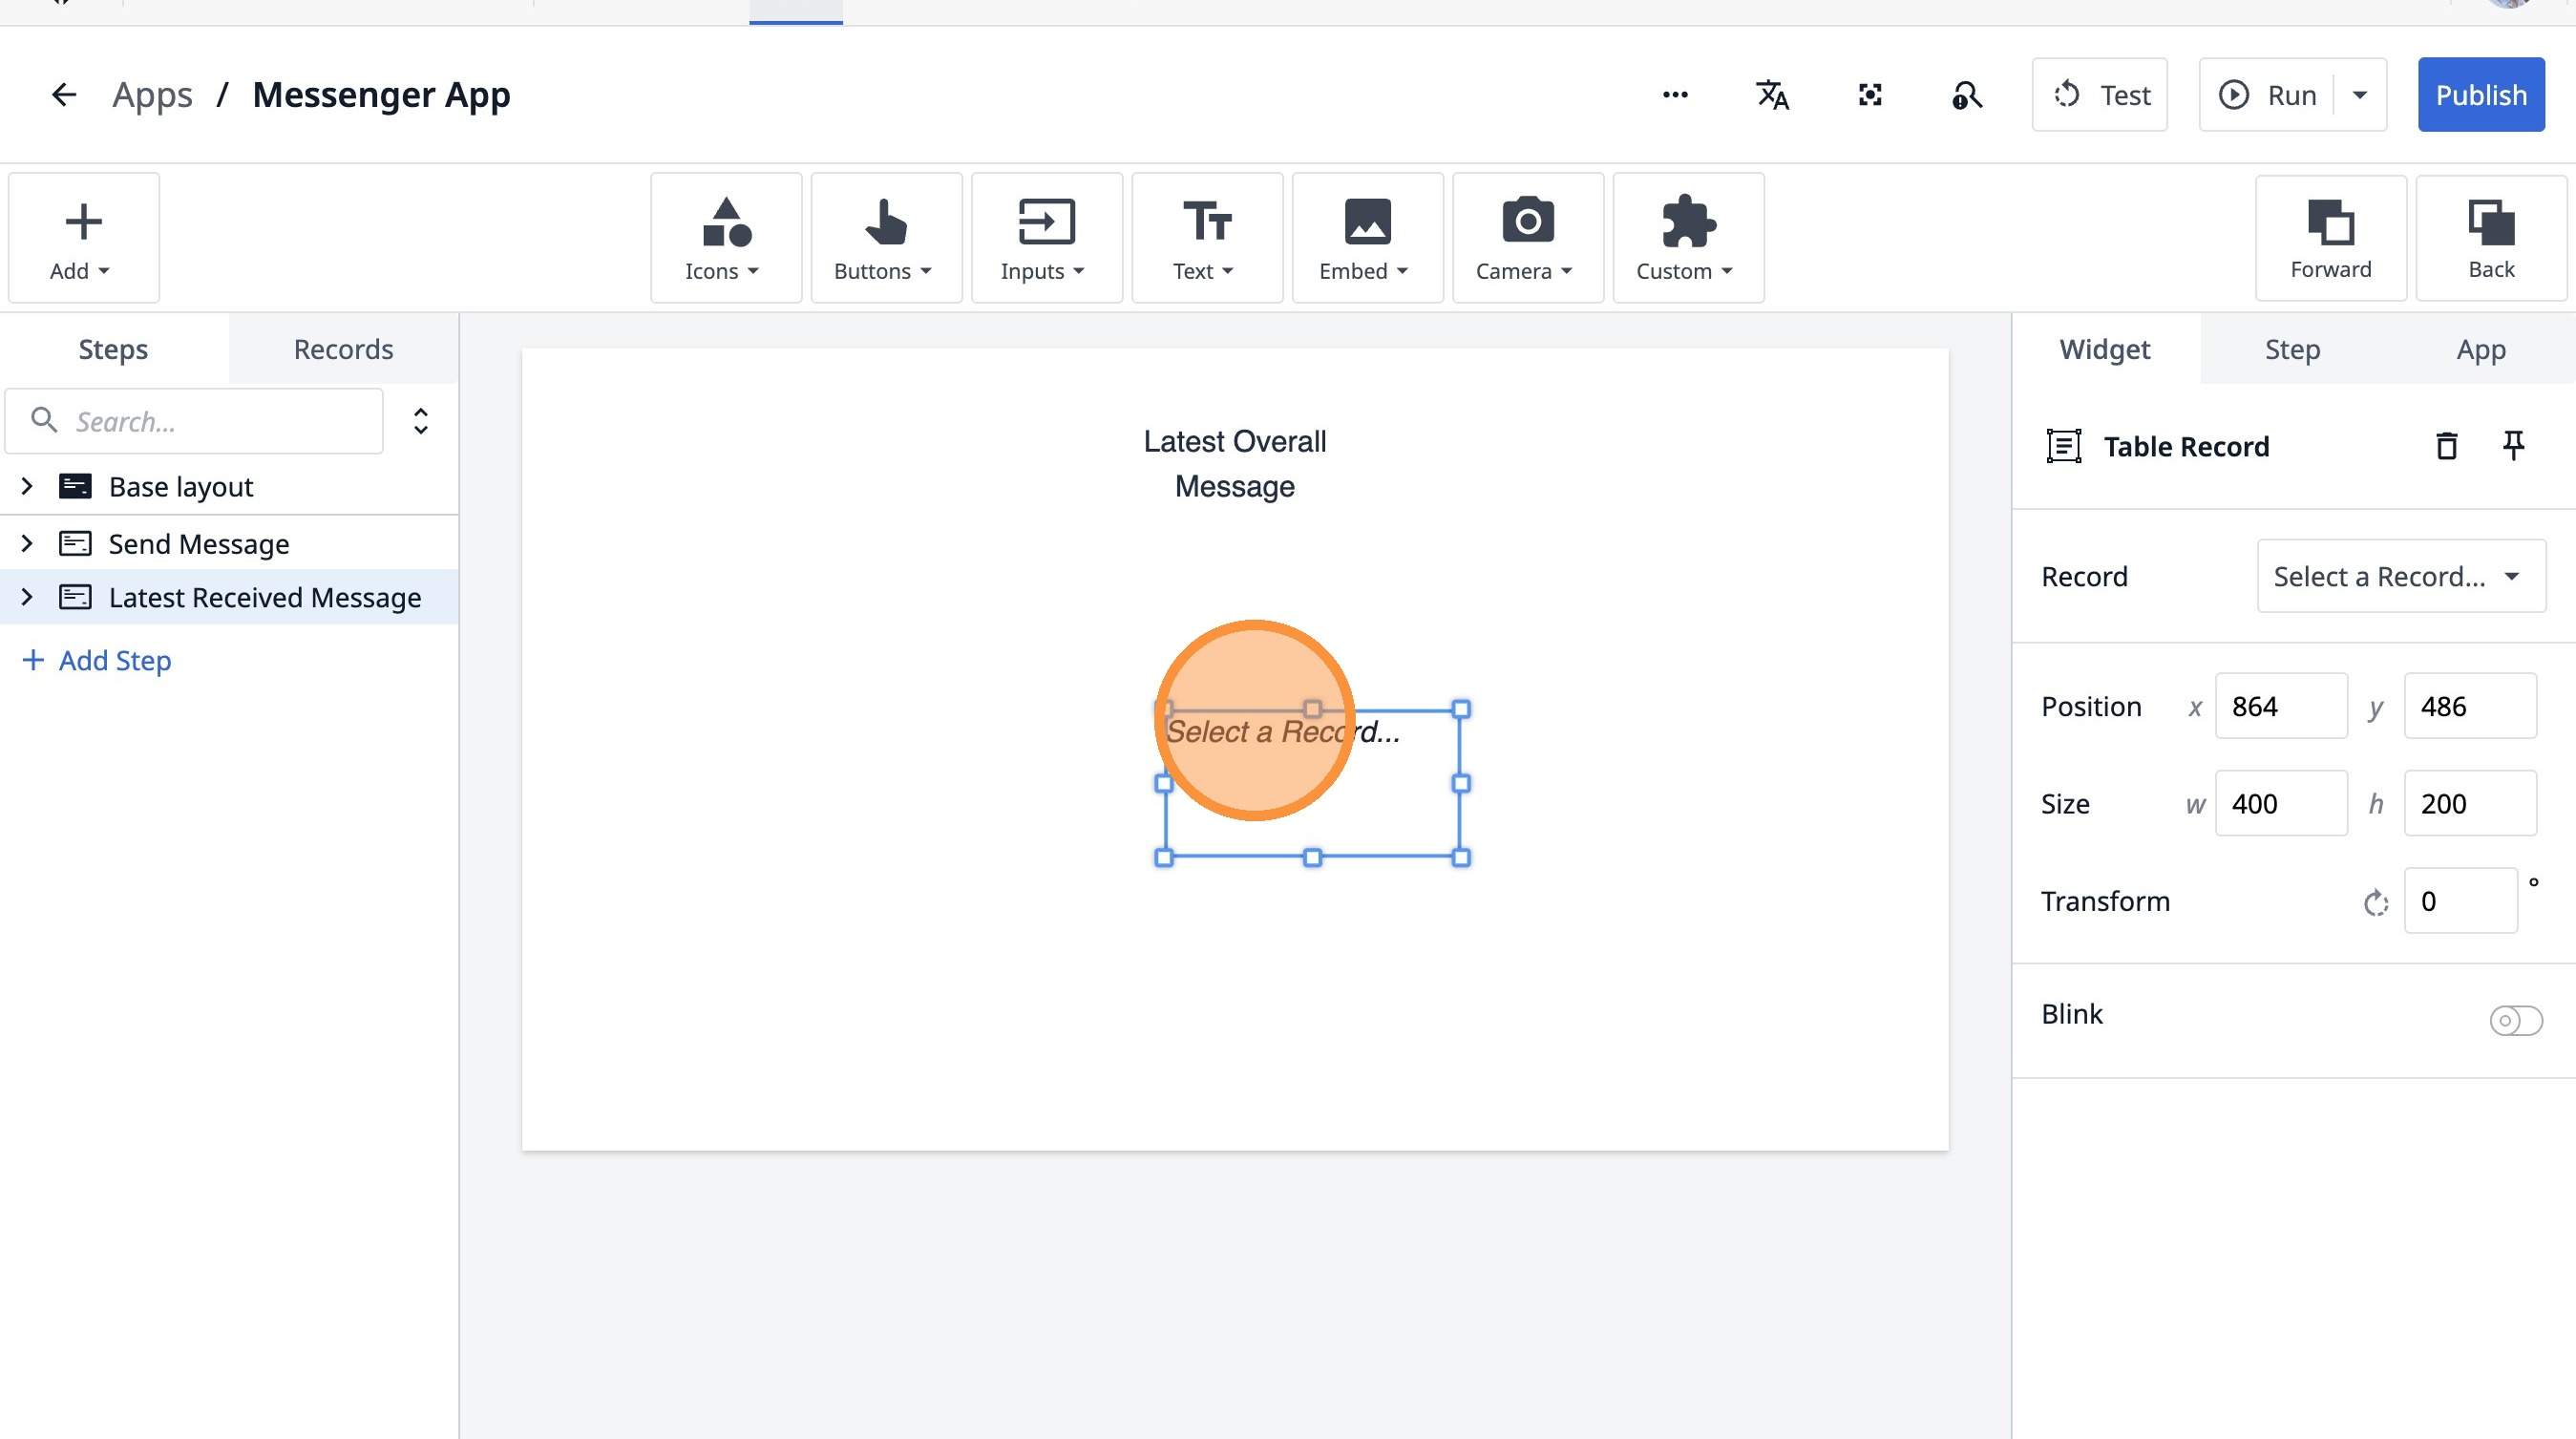
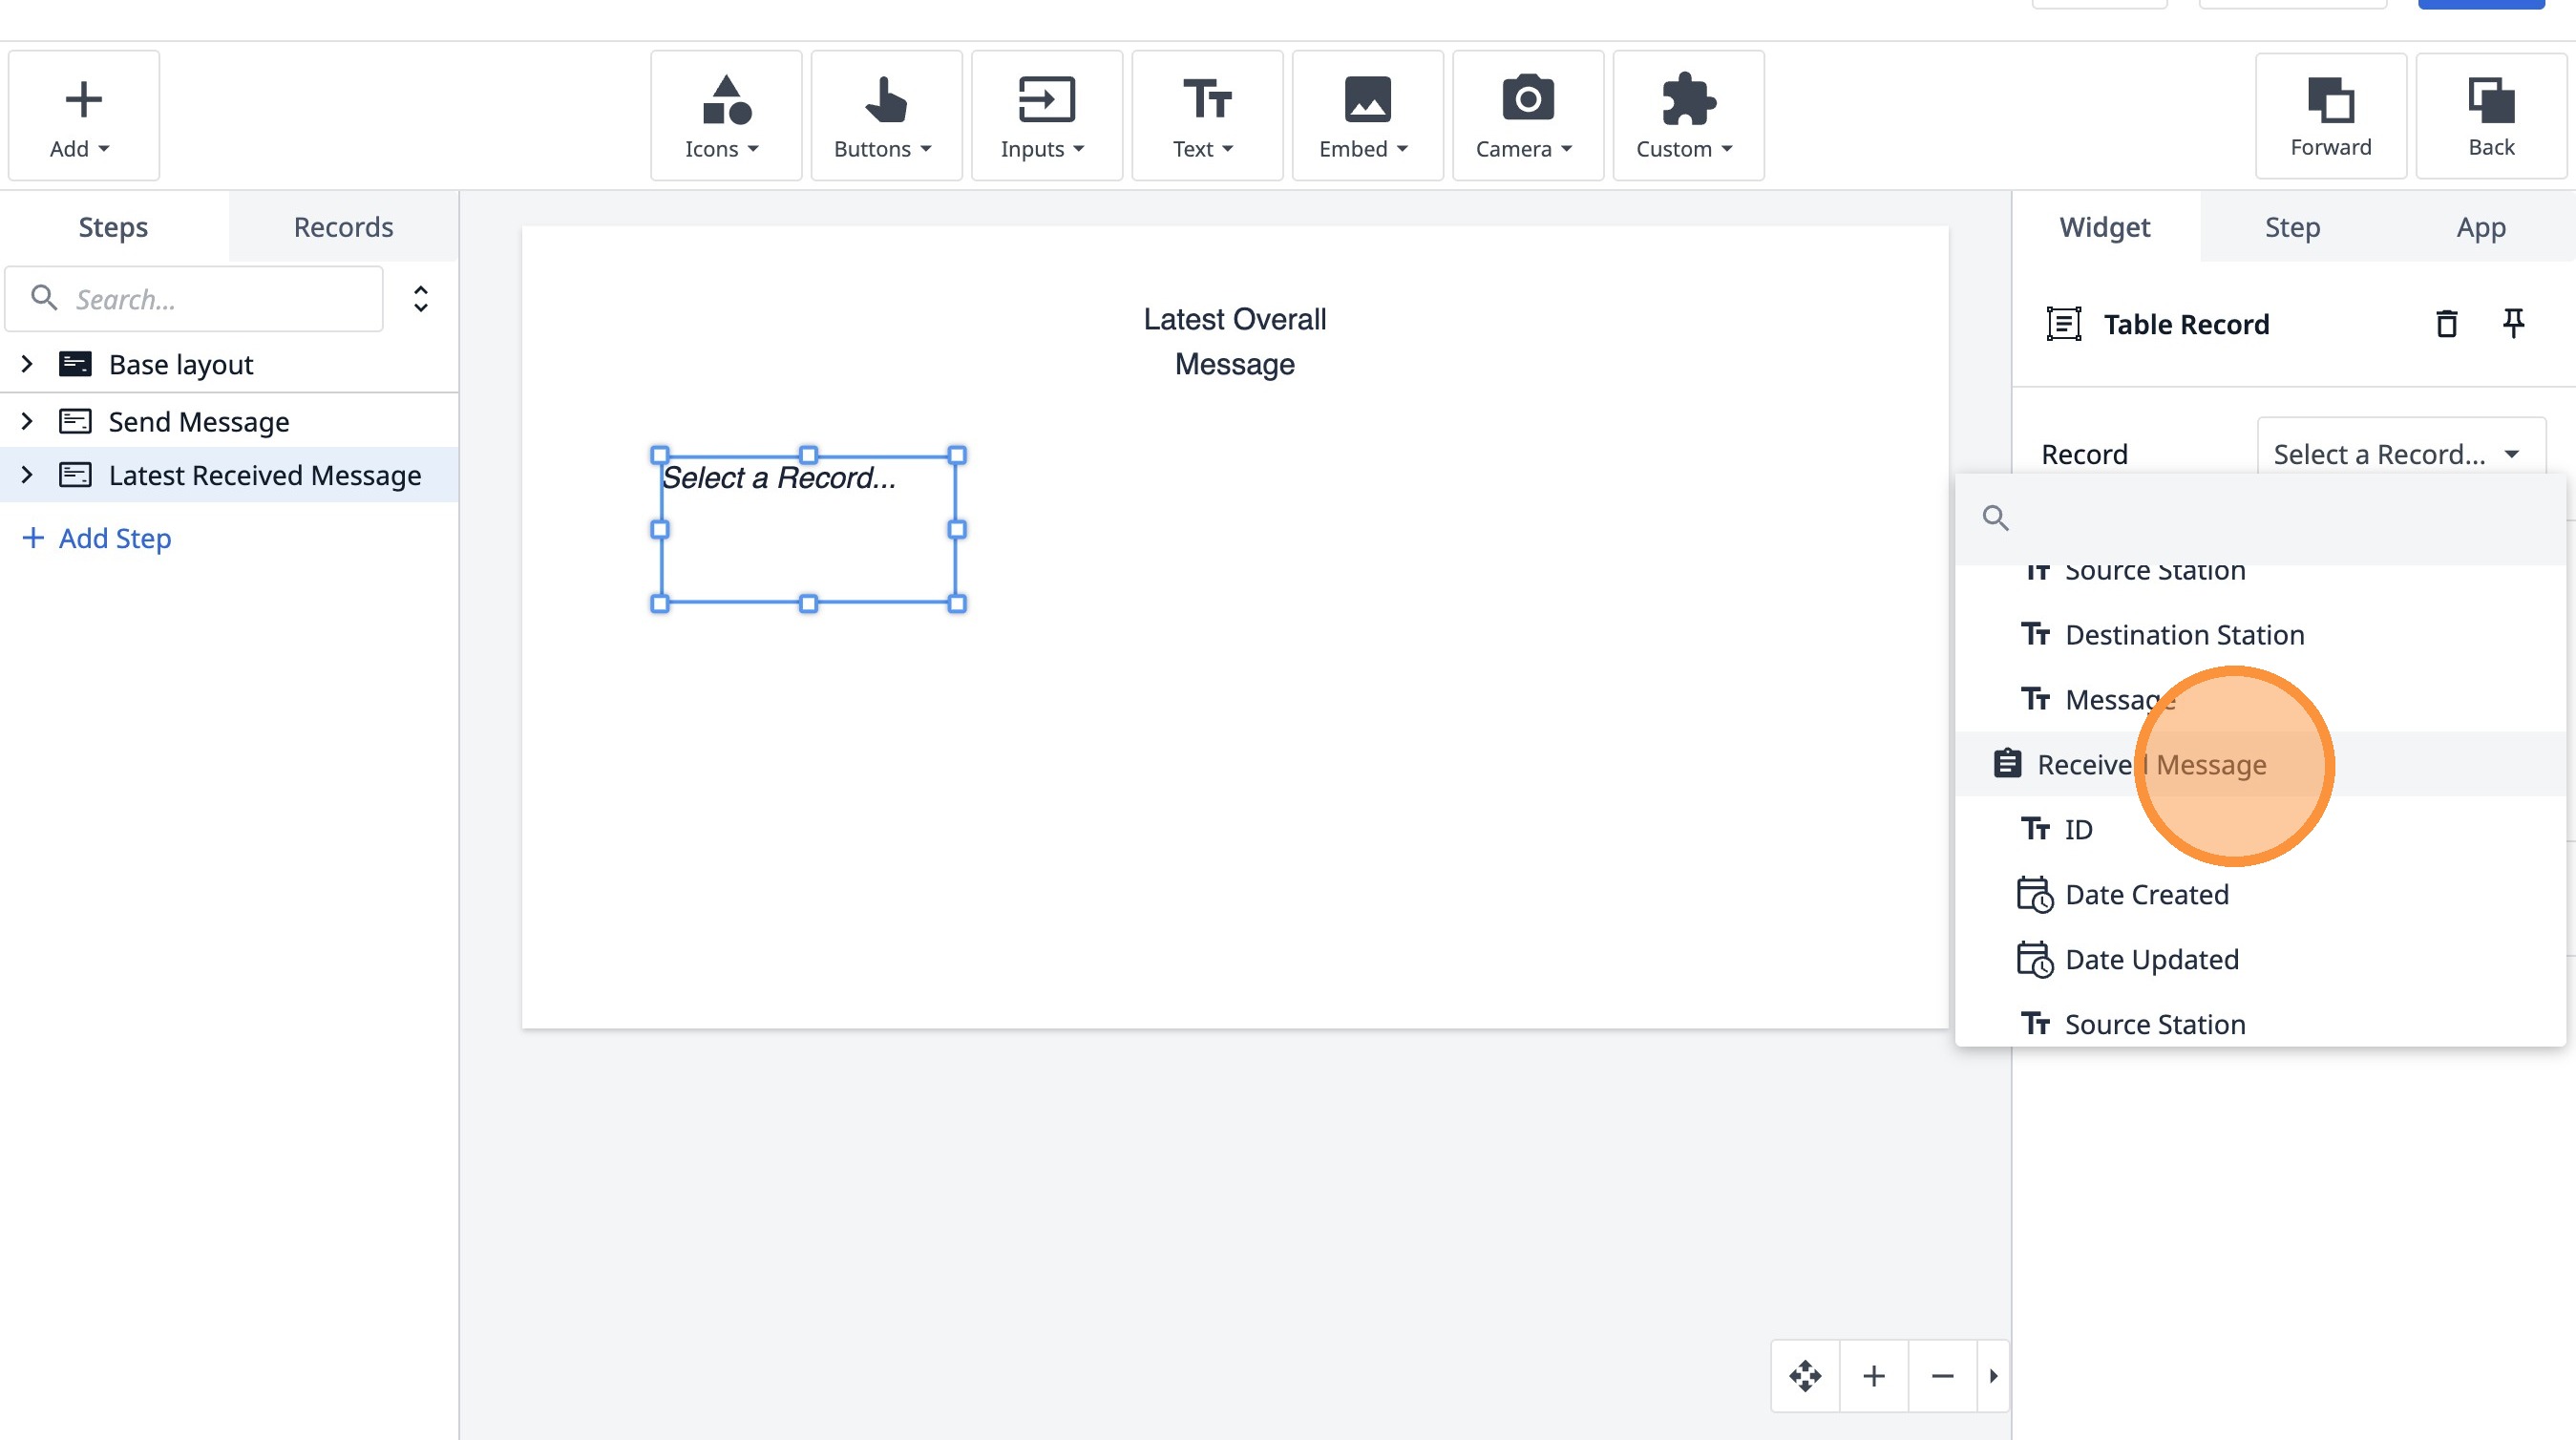
39. Click "Select a Record..."
40. Click "Received Message"
41. Click here.
42. Click here.
43. Click here.
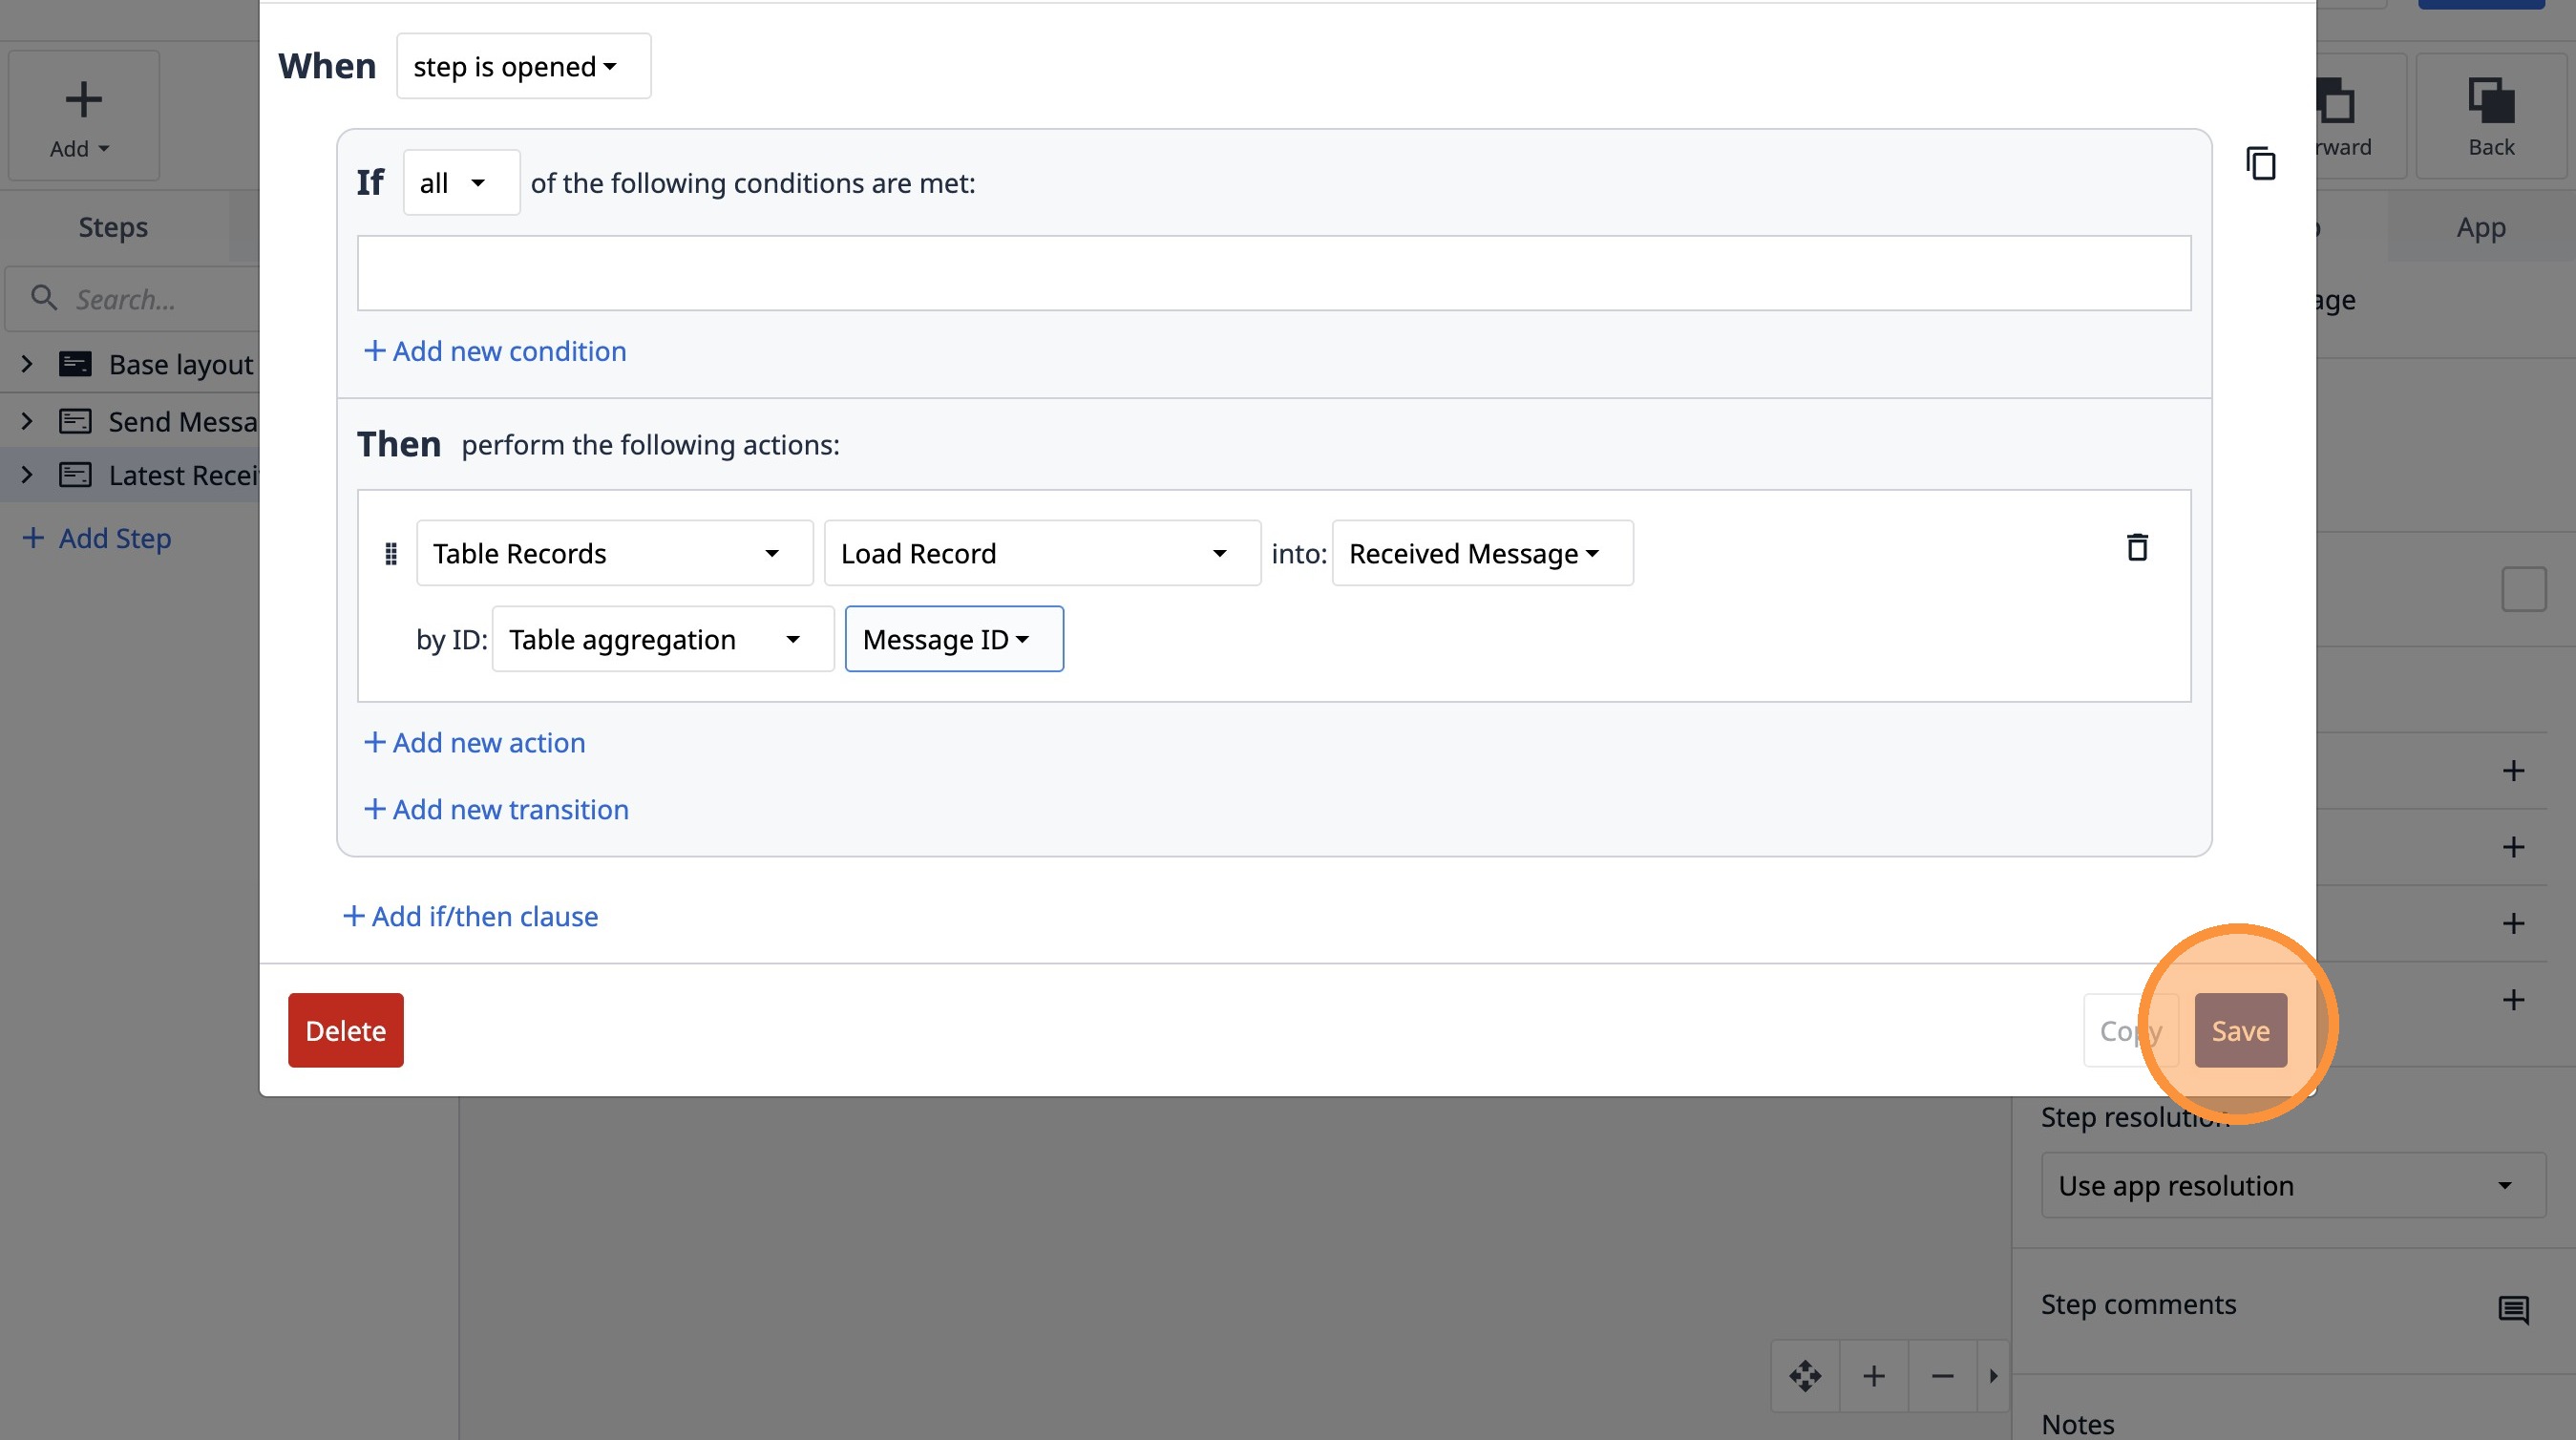
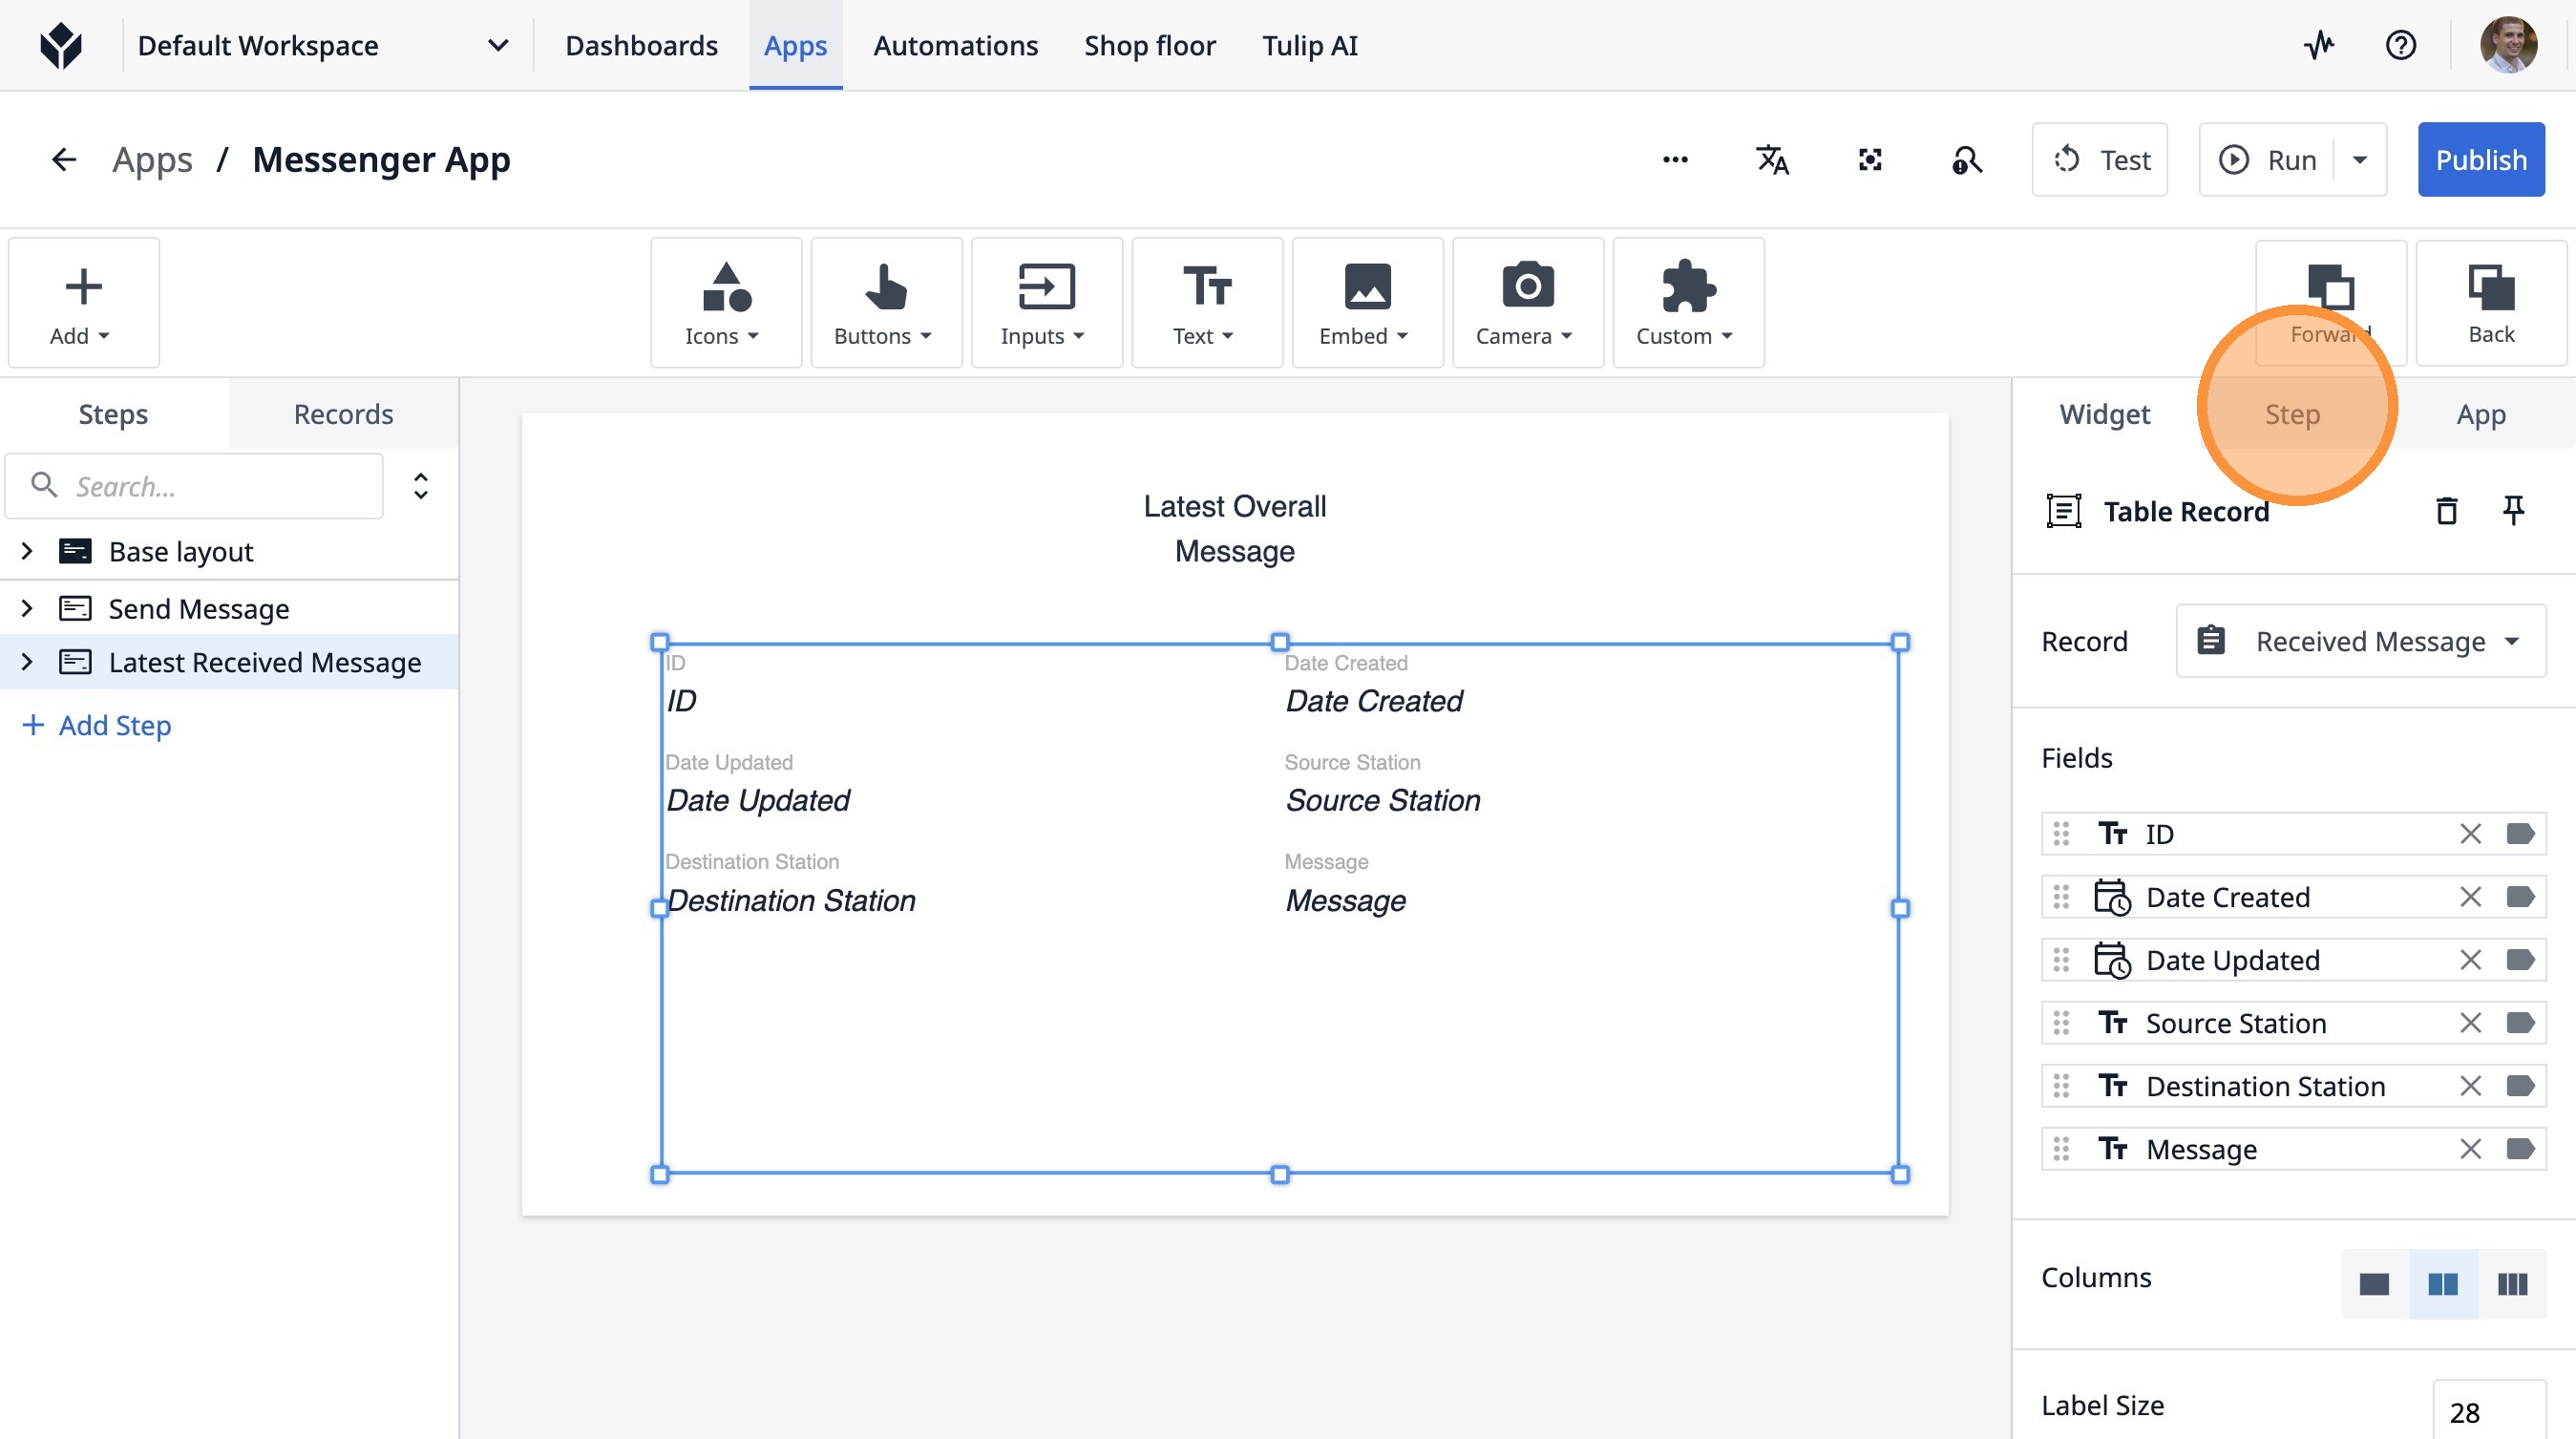
44. Click "Step"
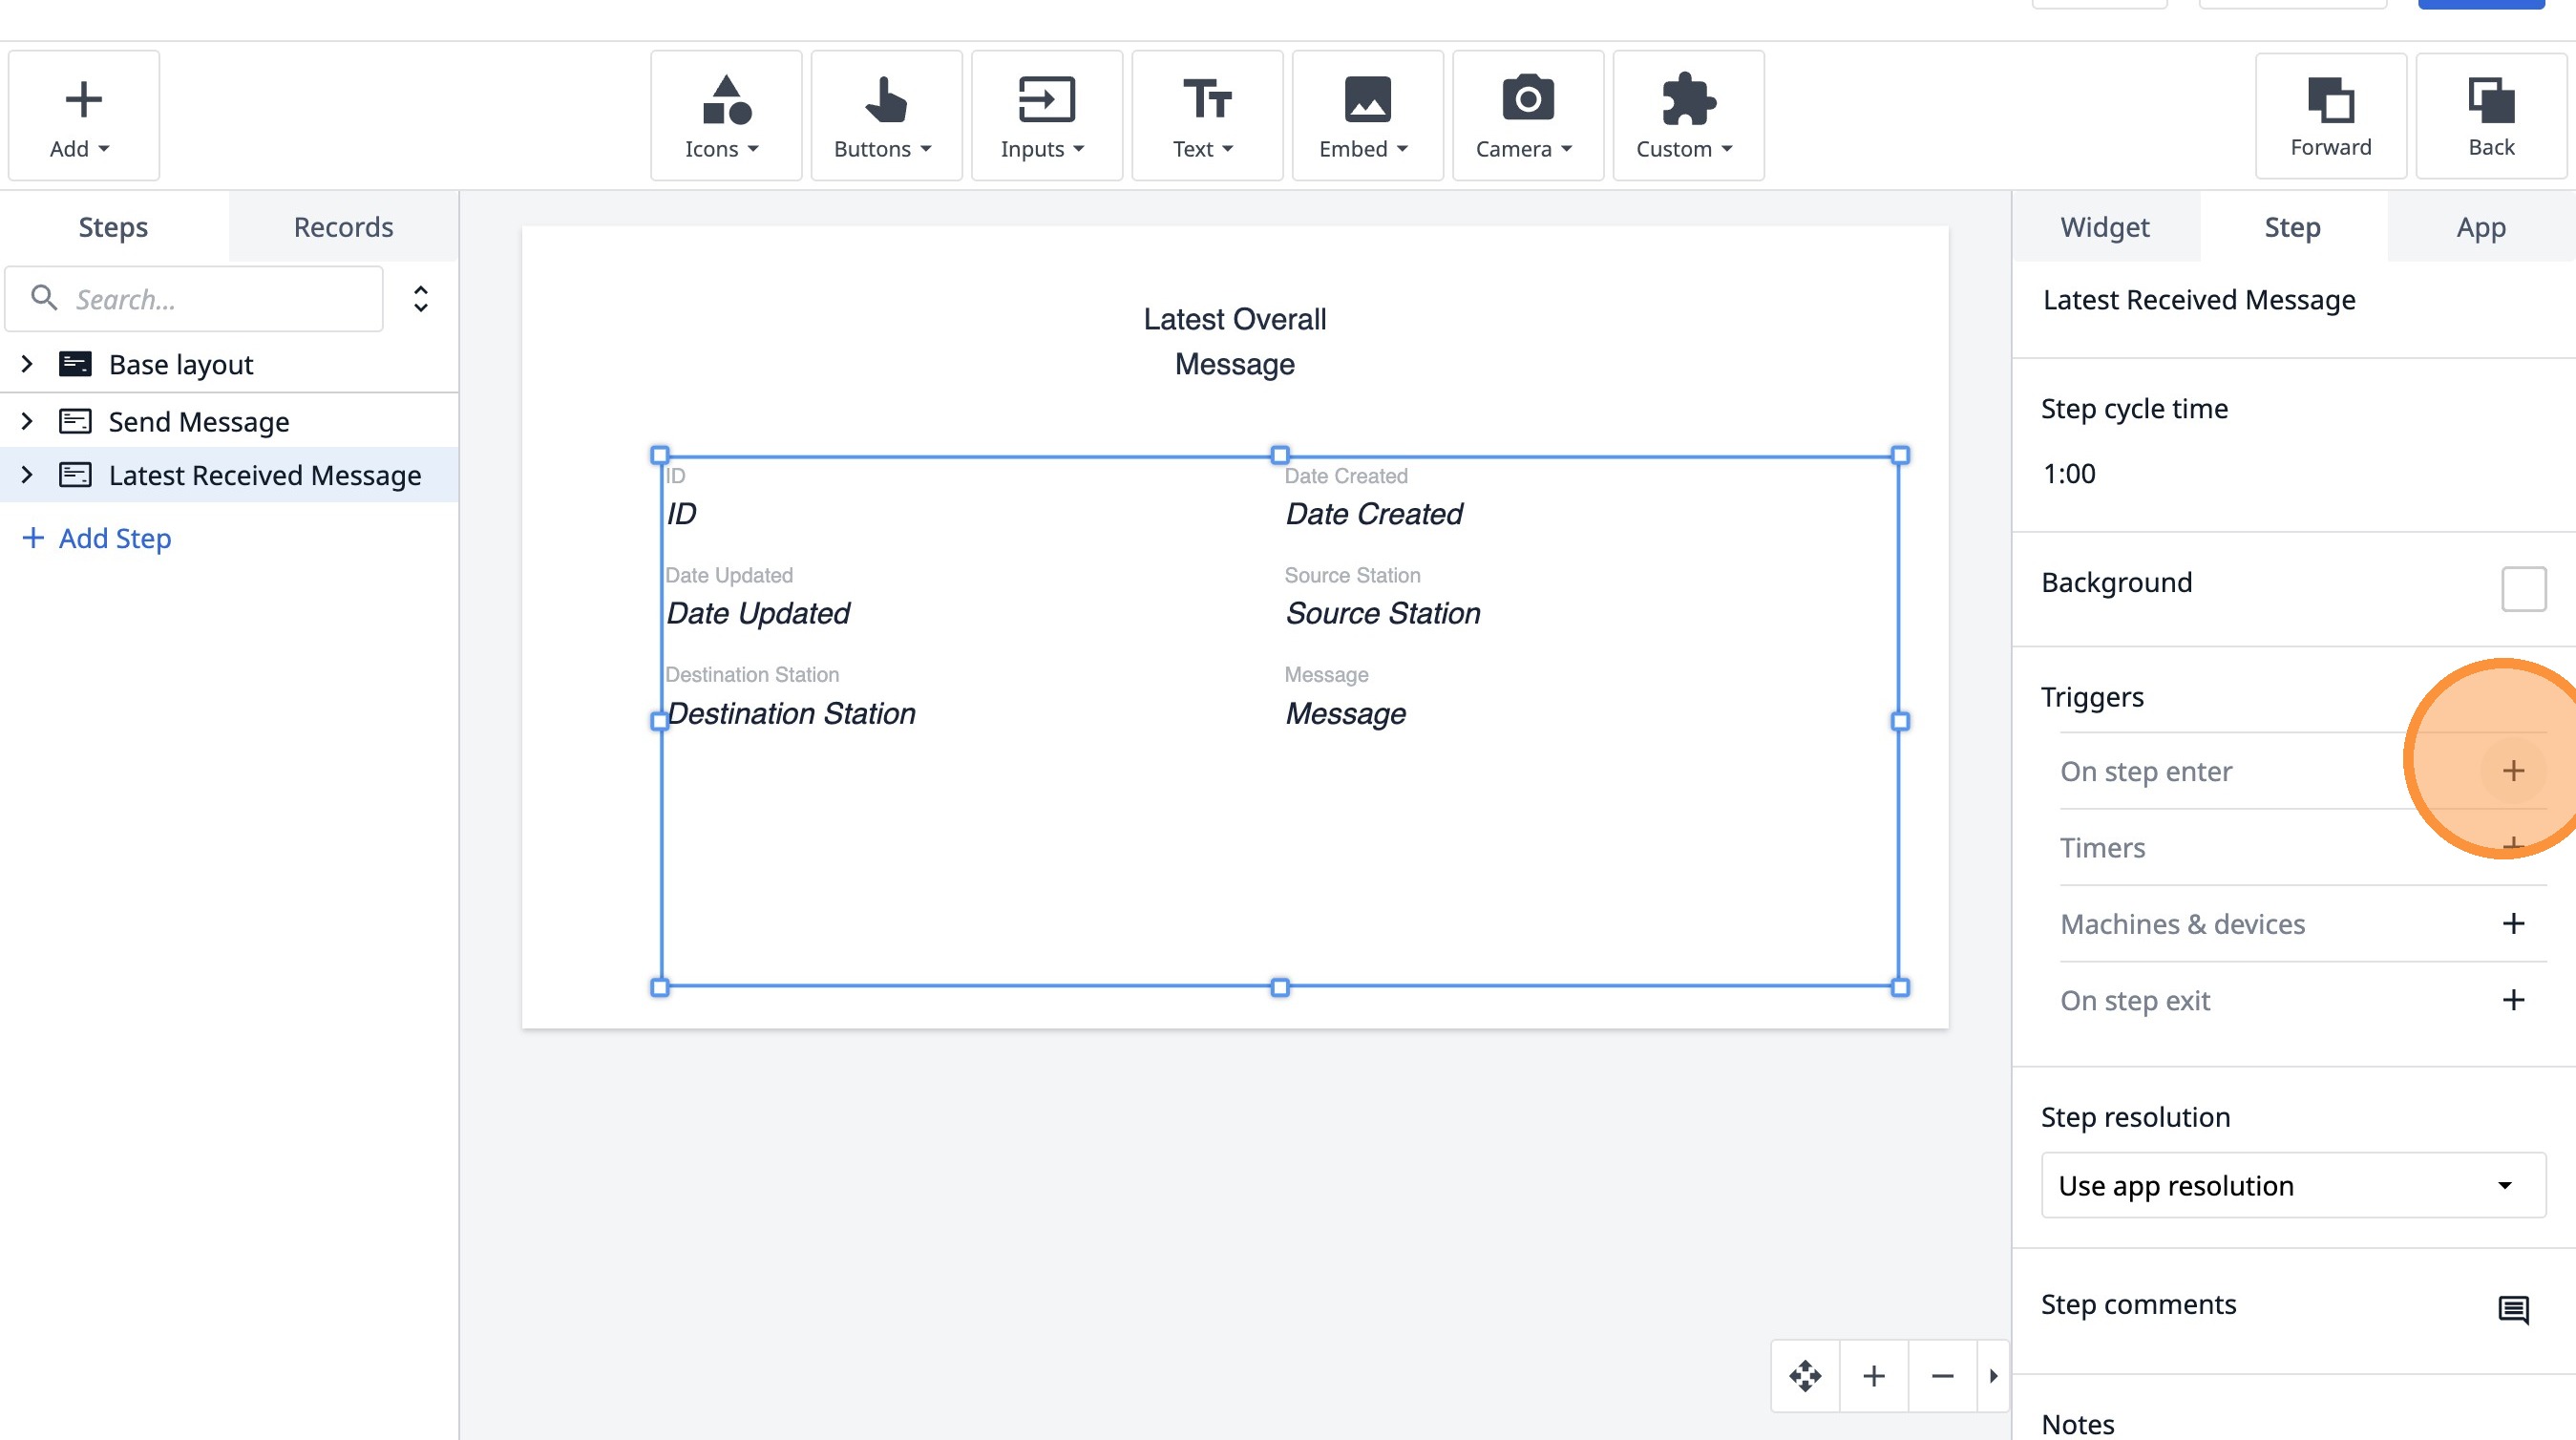
45. Click this icon.
46. Type "Load latest message to me"
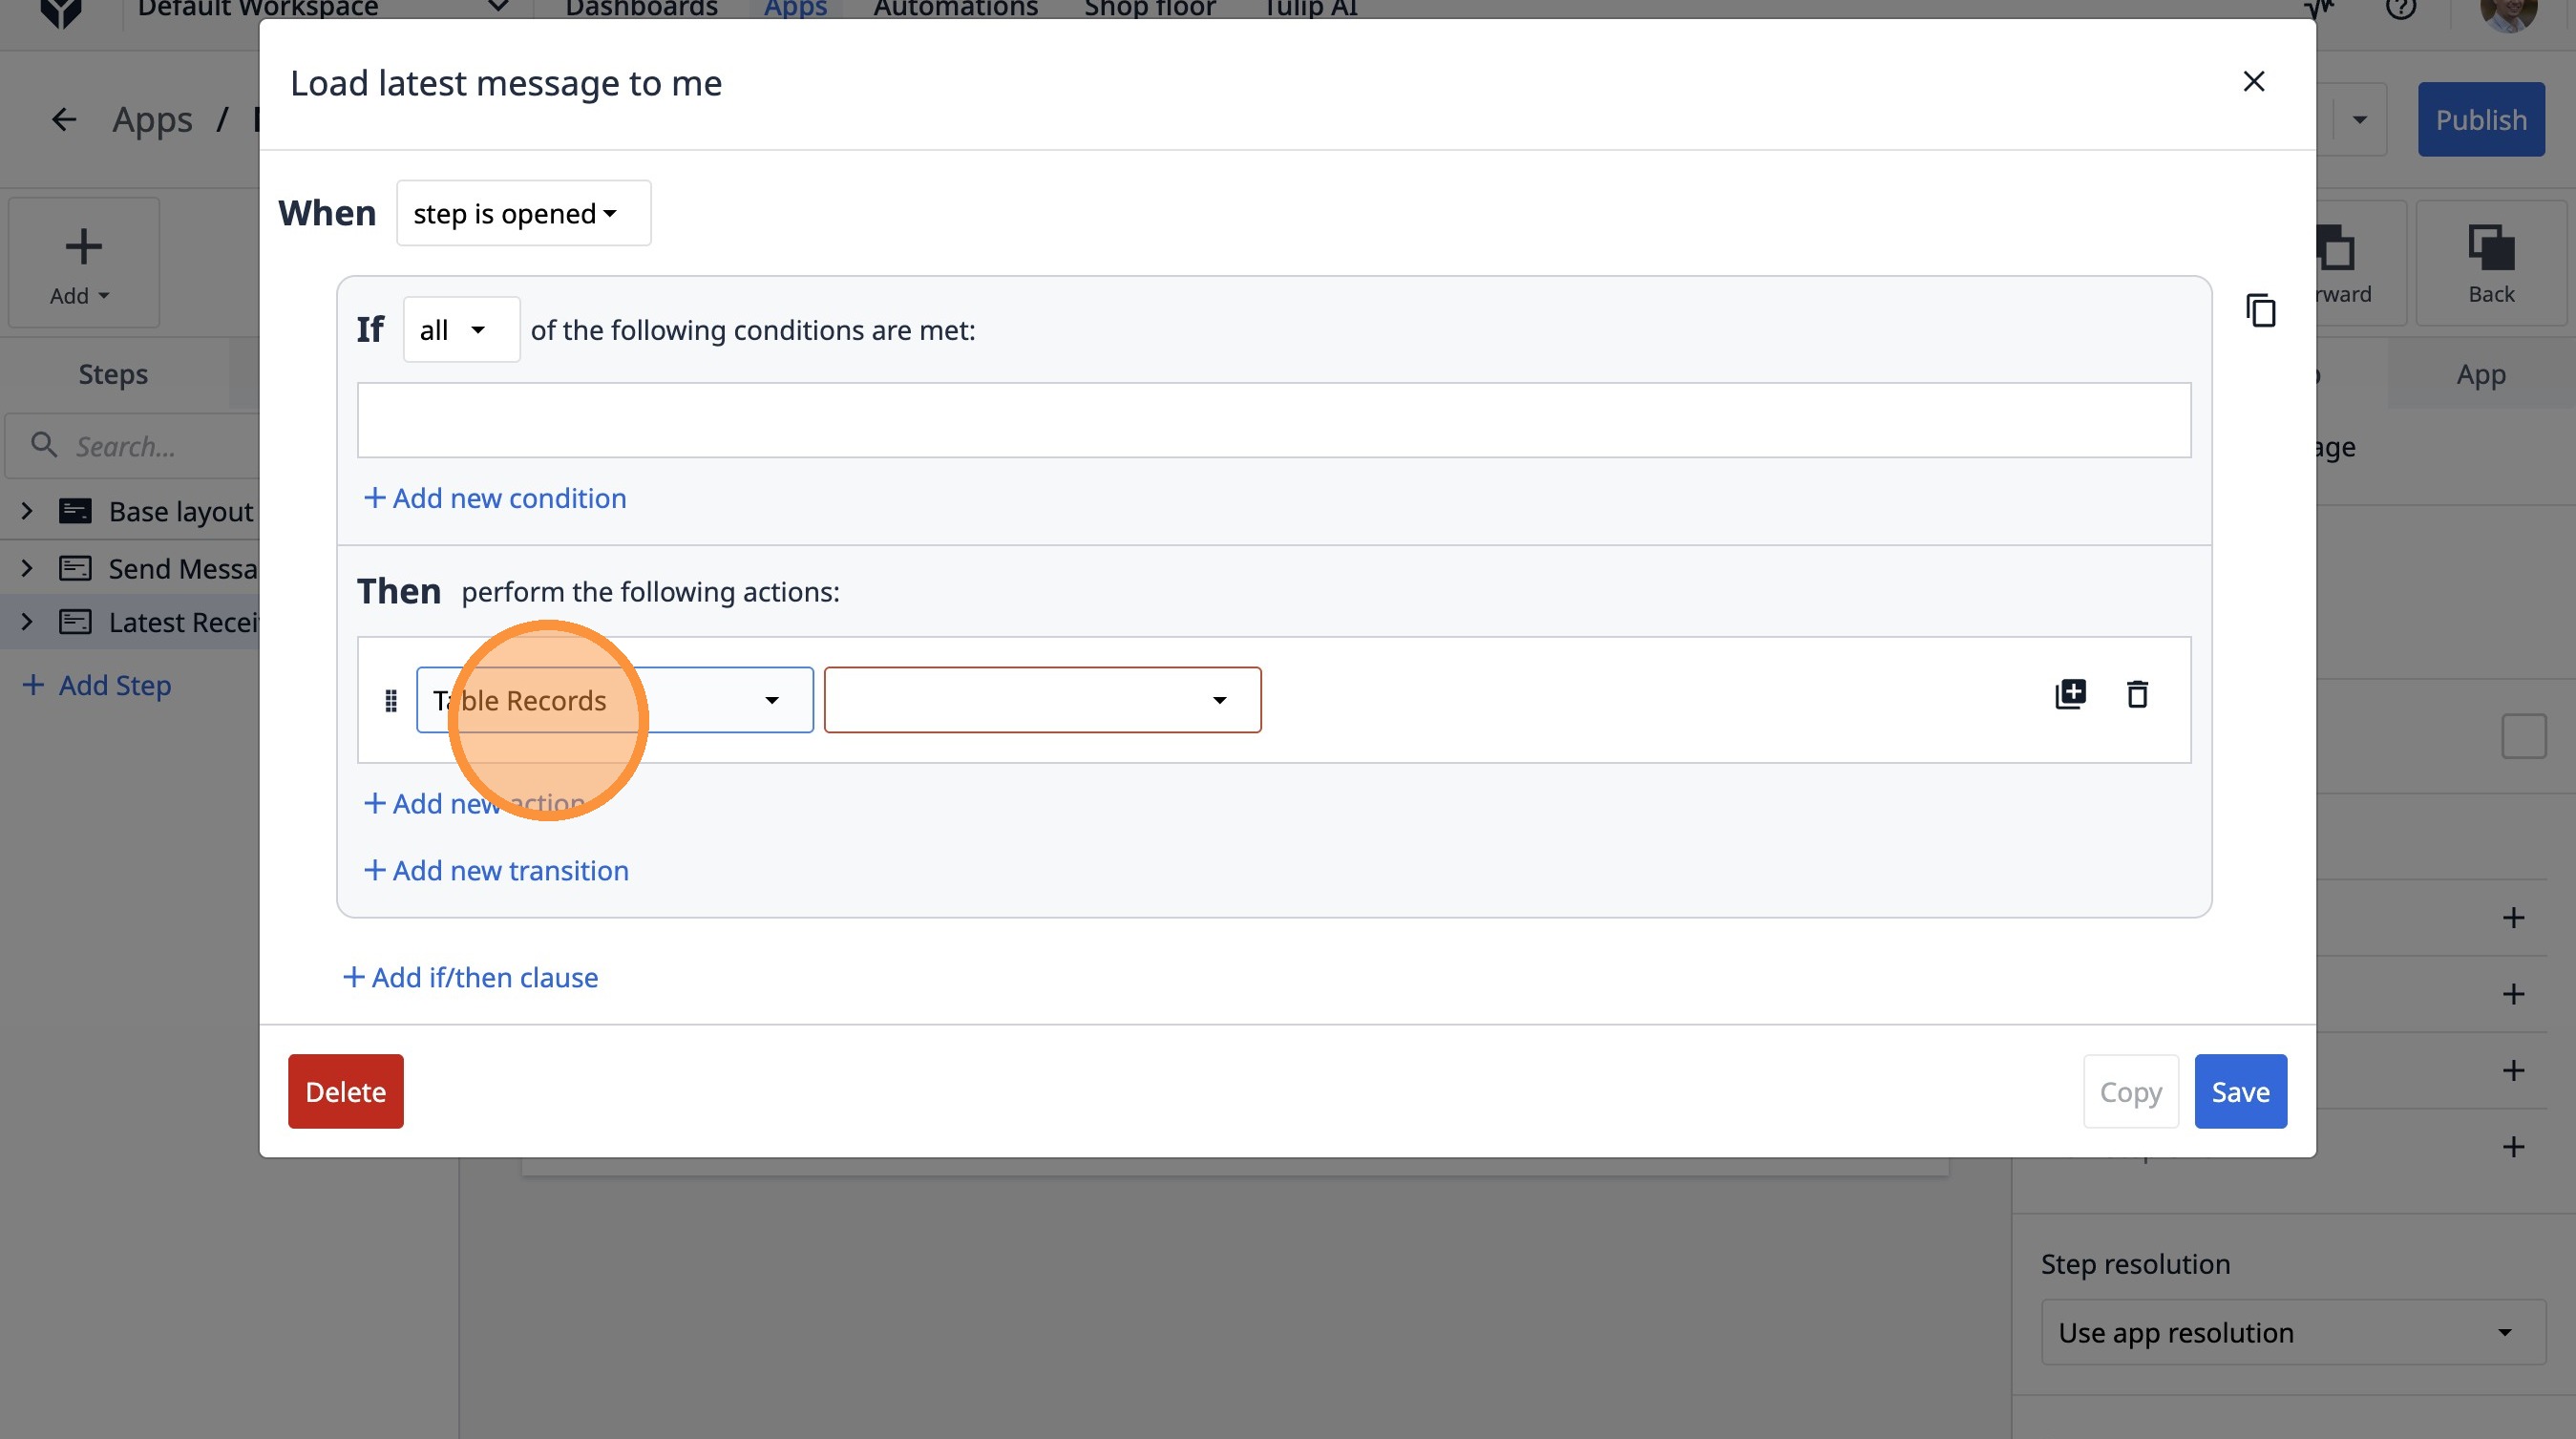
47. Click "Add new action"
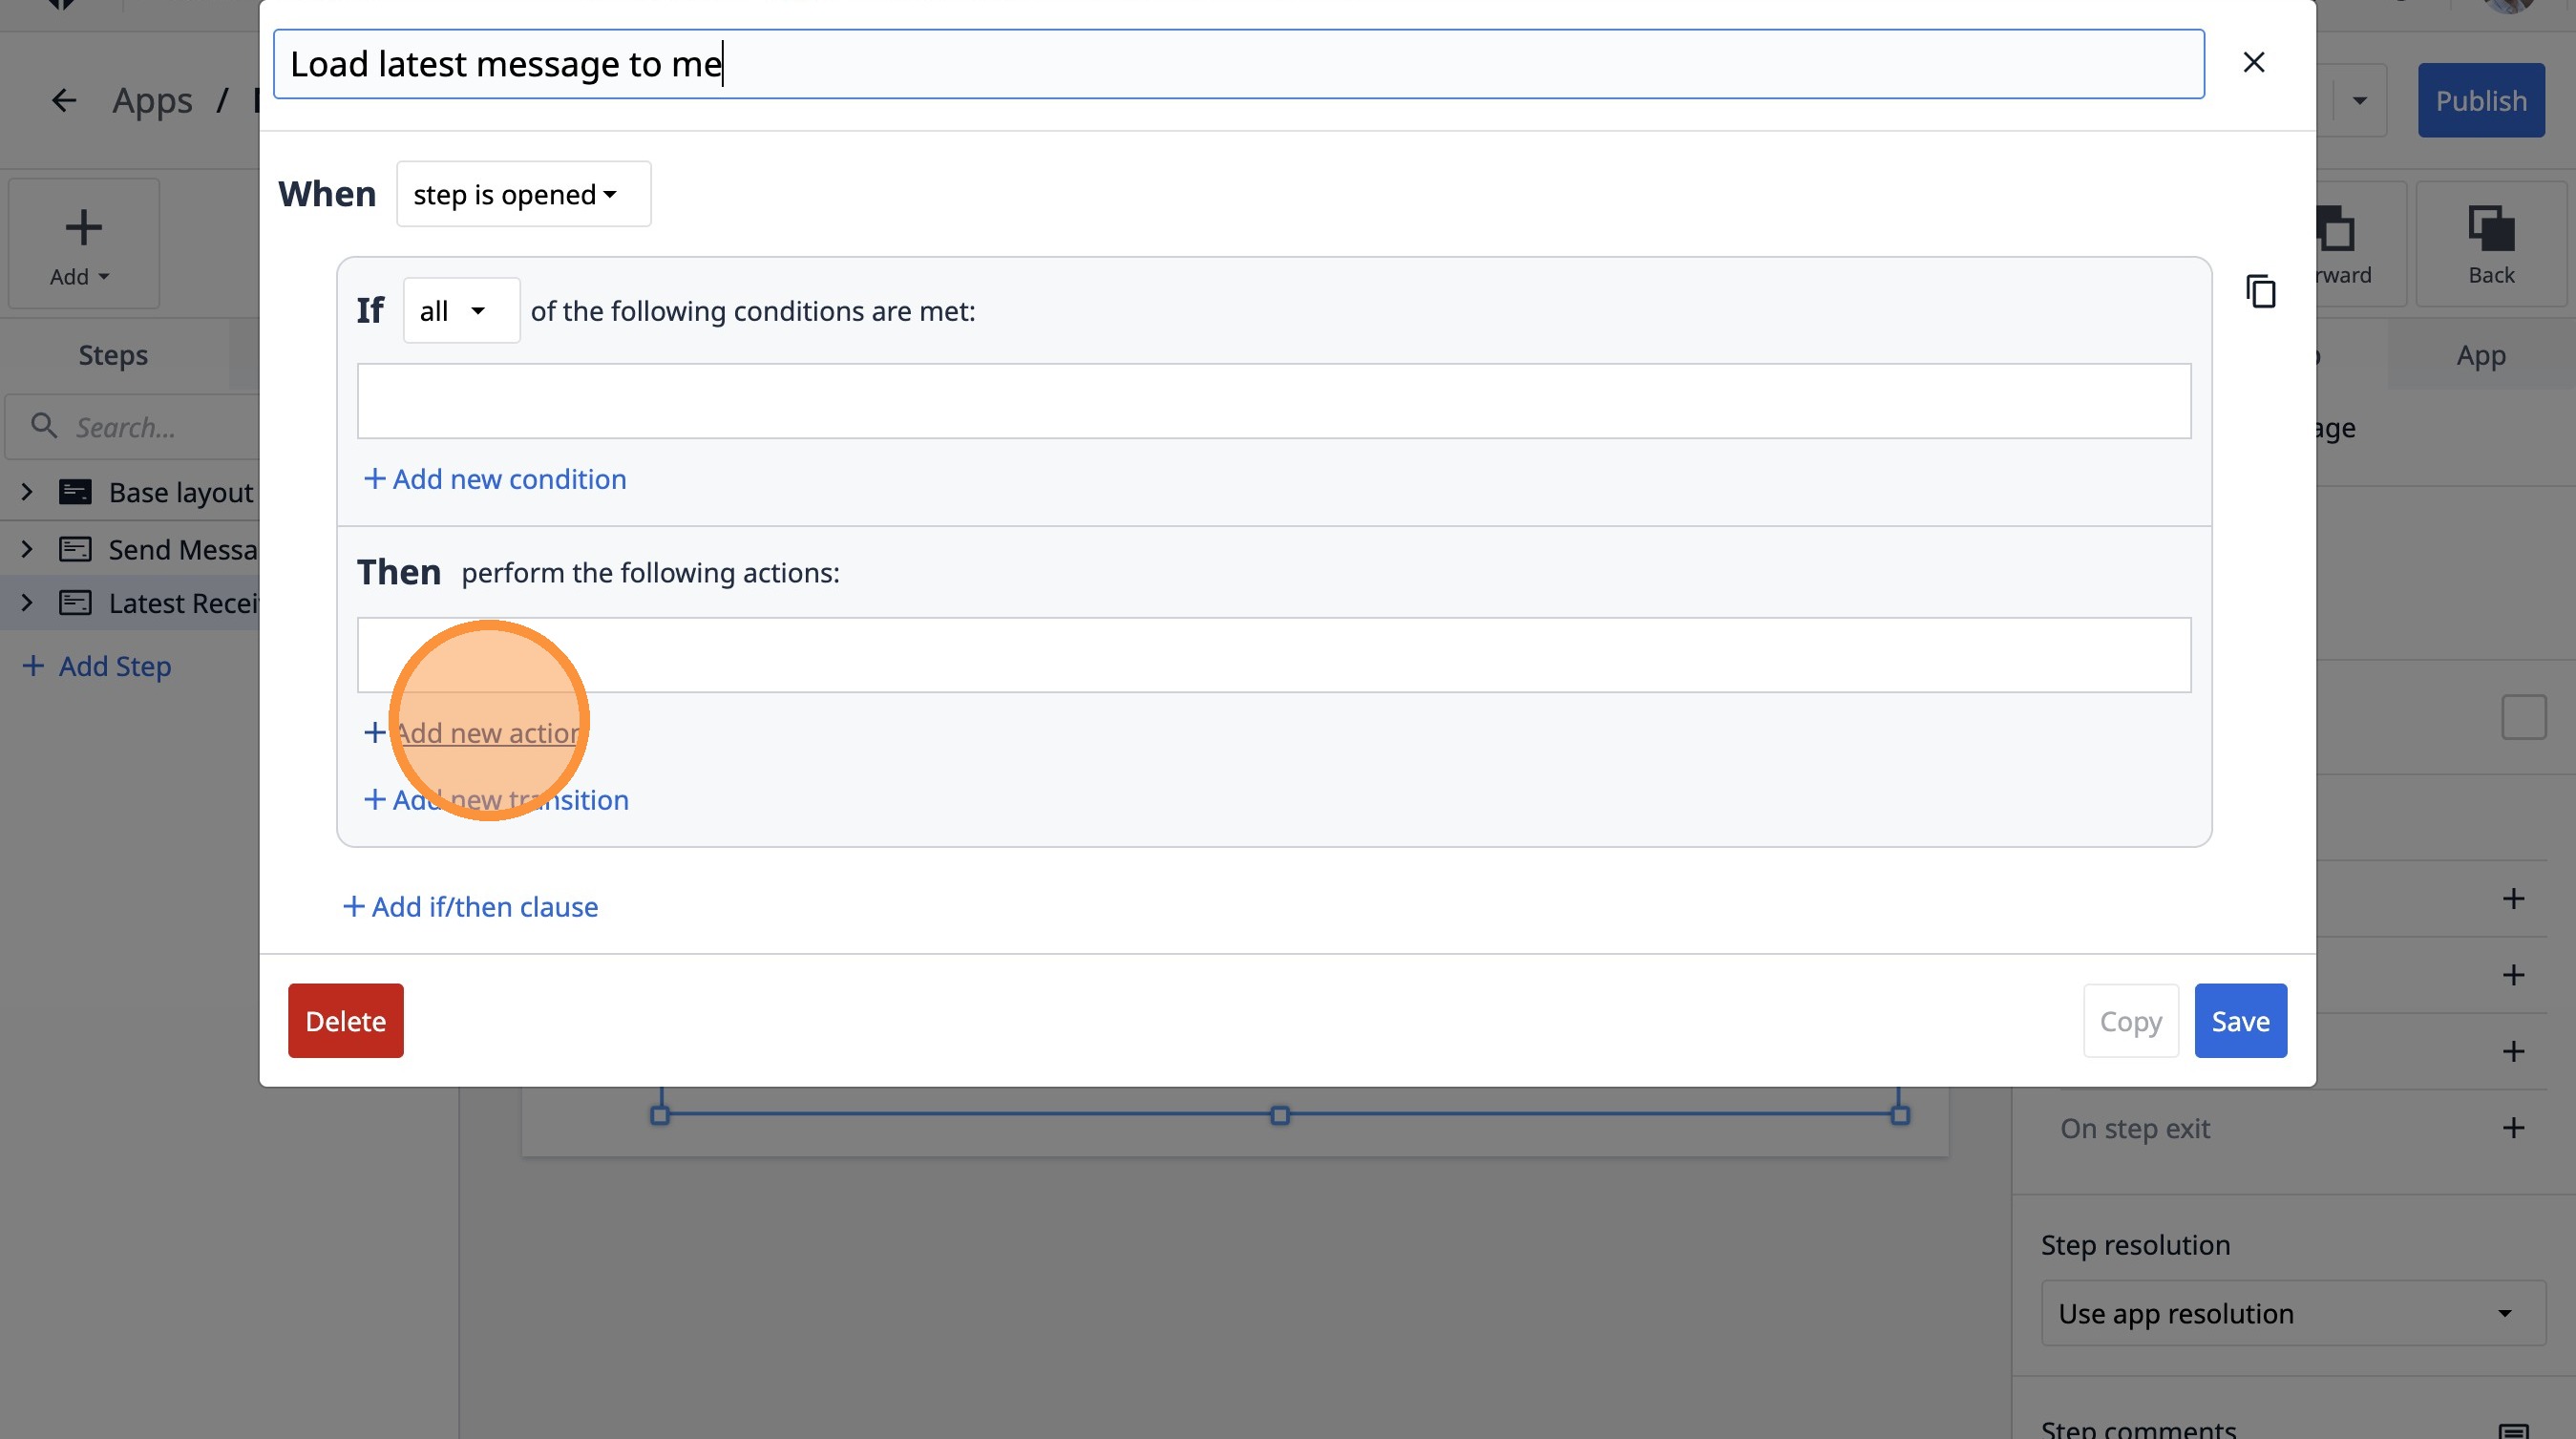
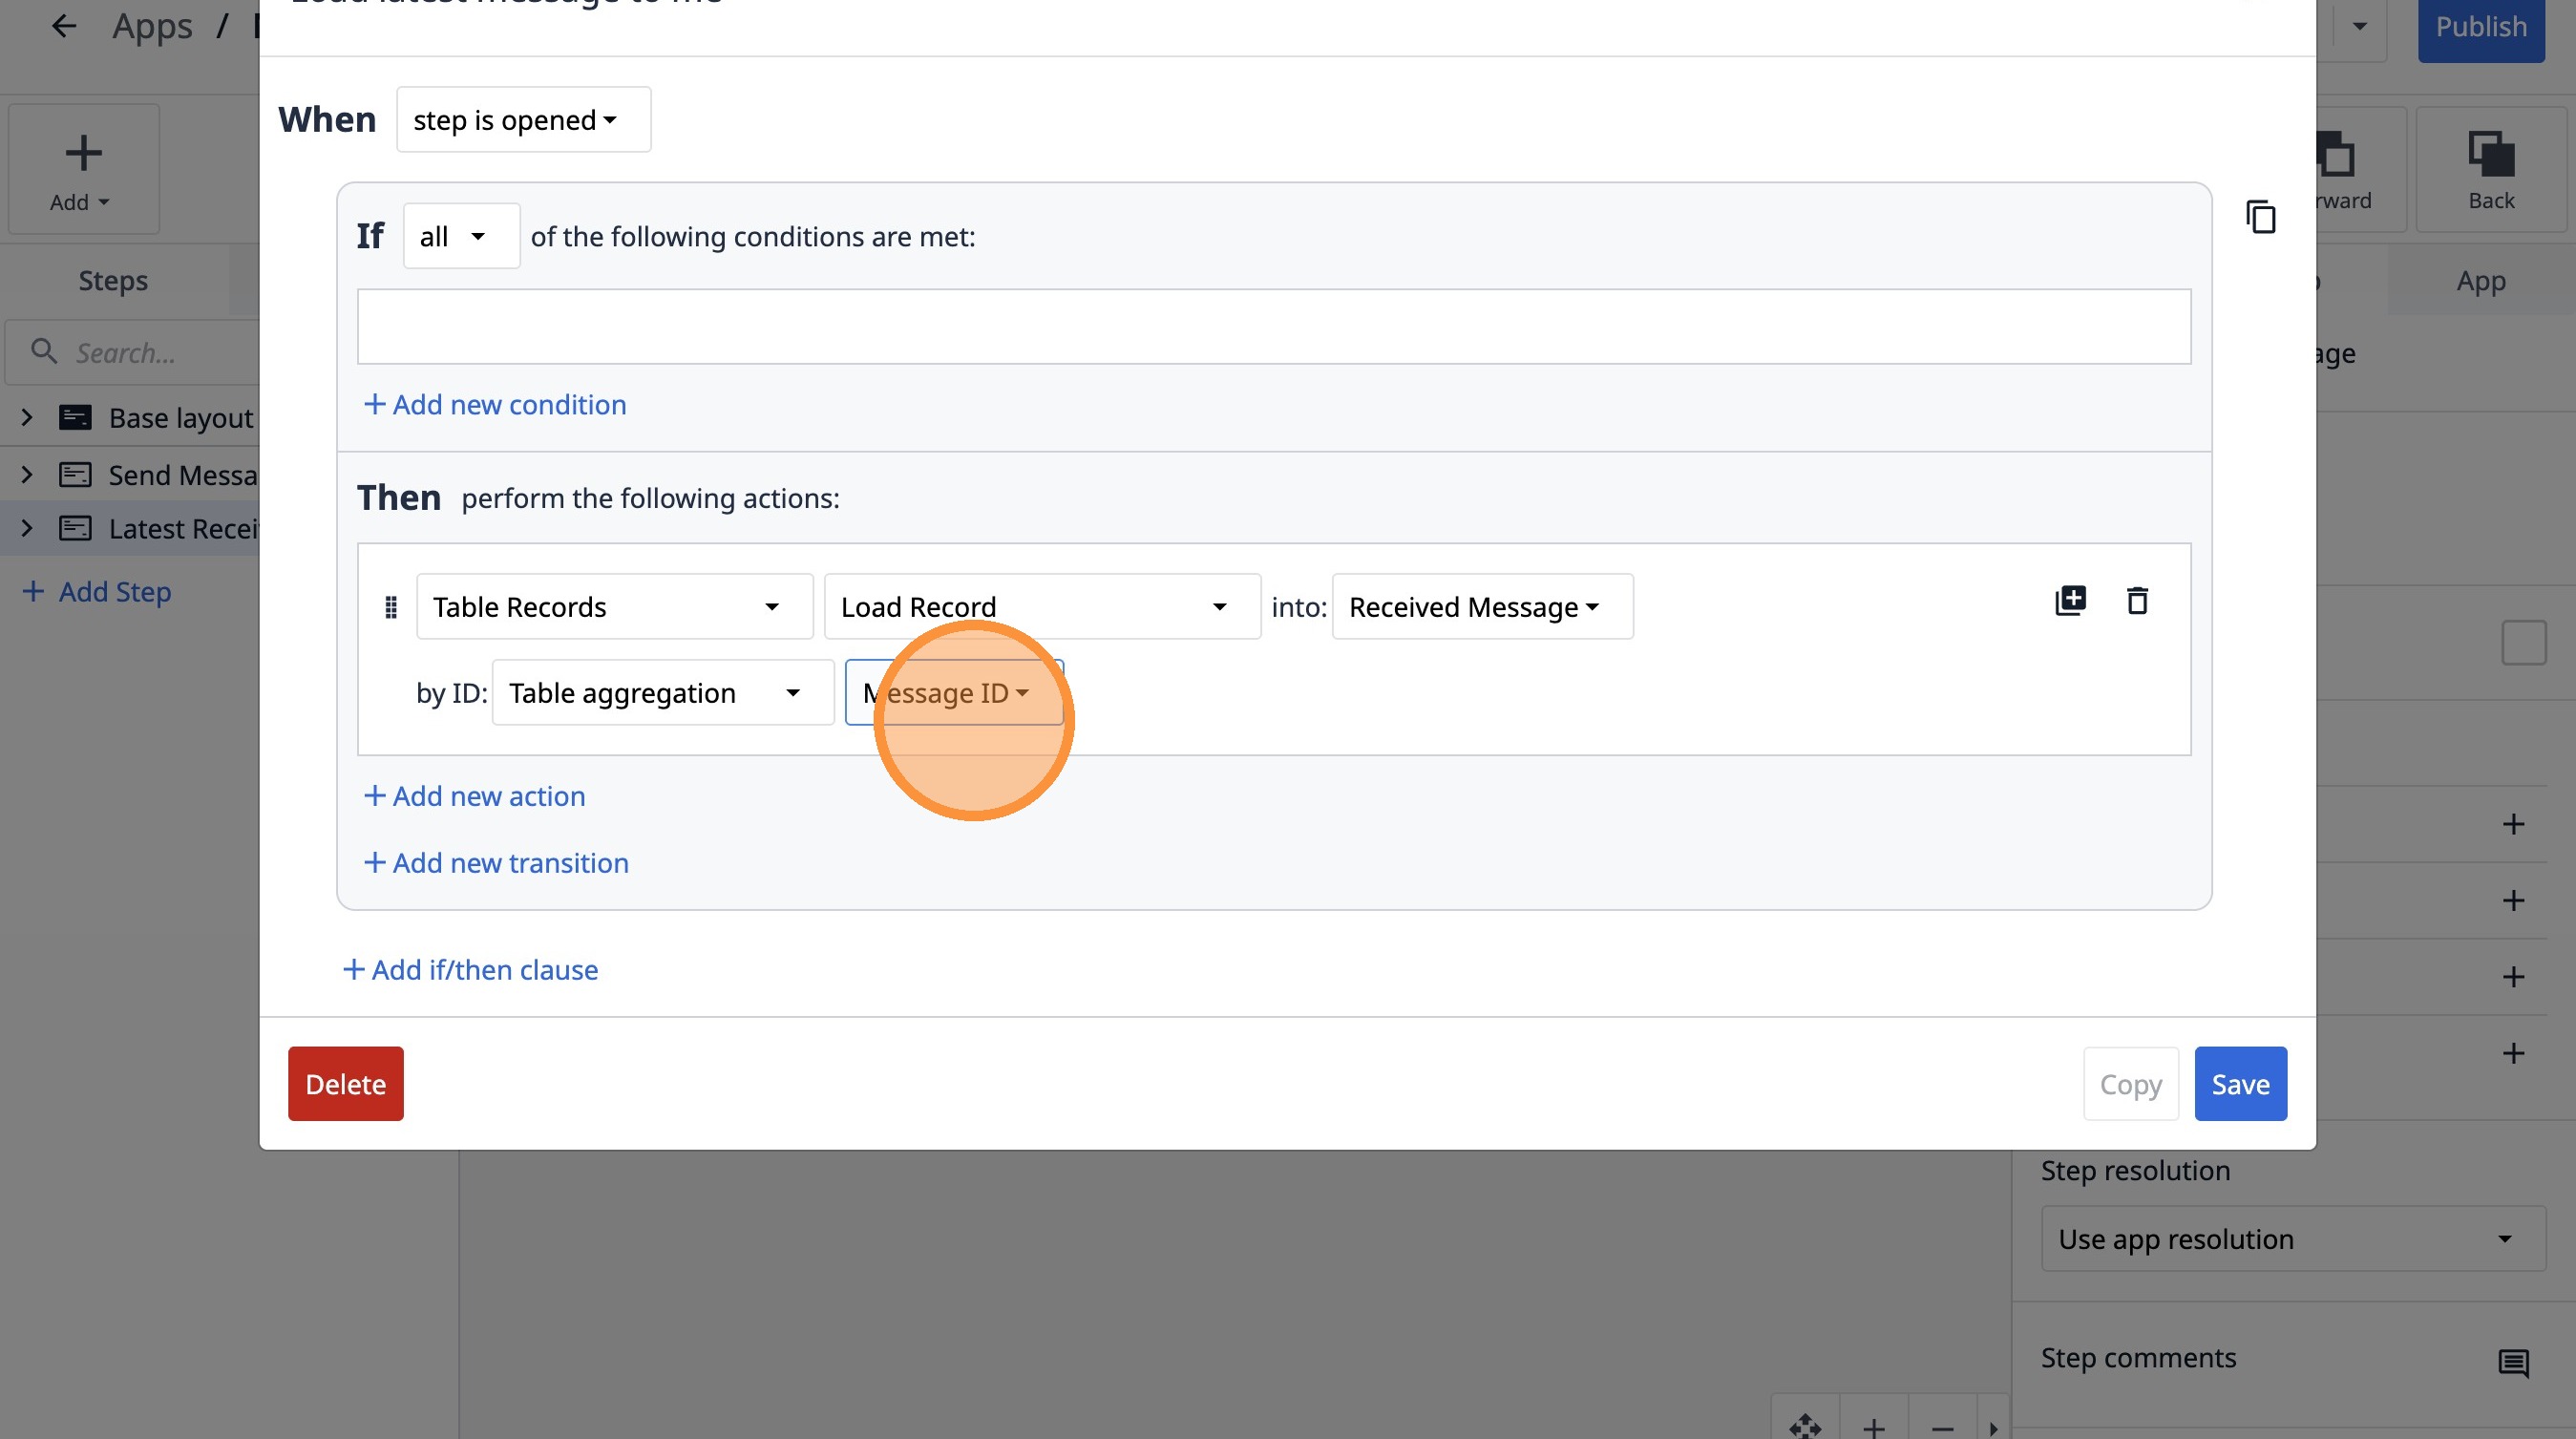
48. Select the "Table Records" option.
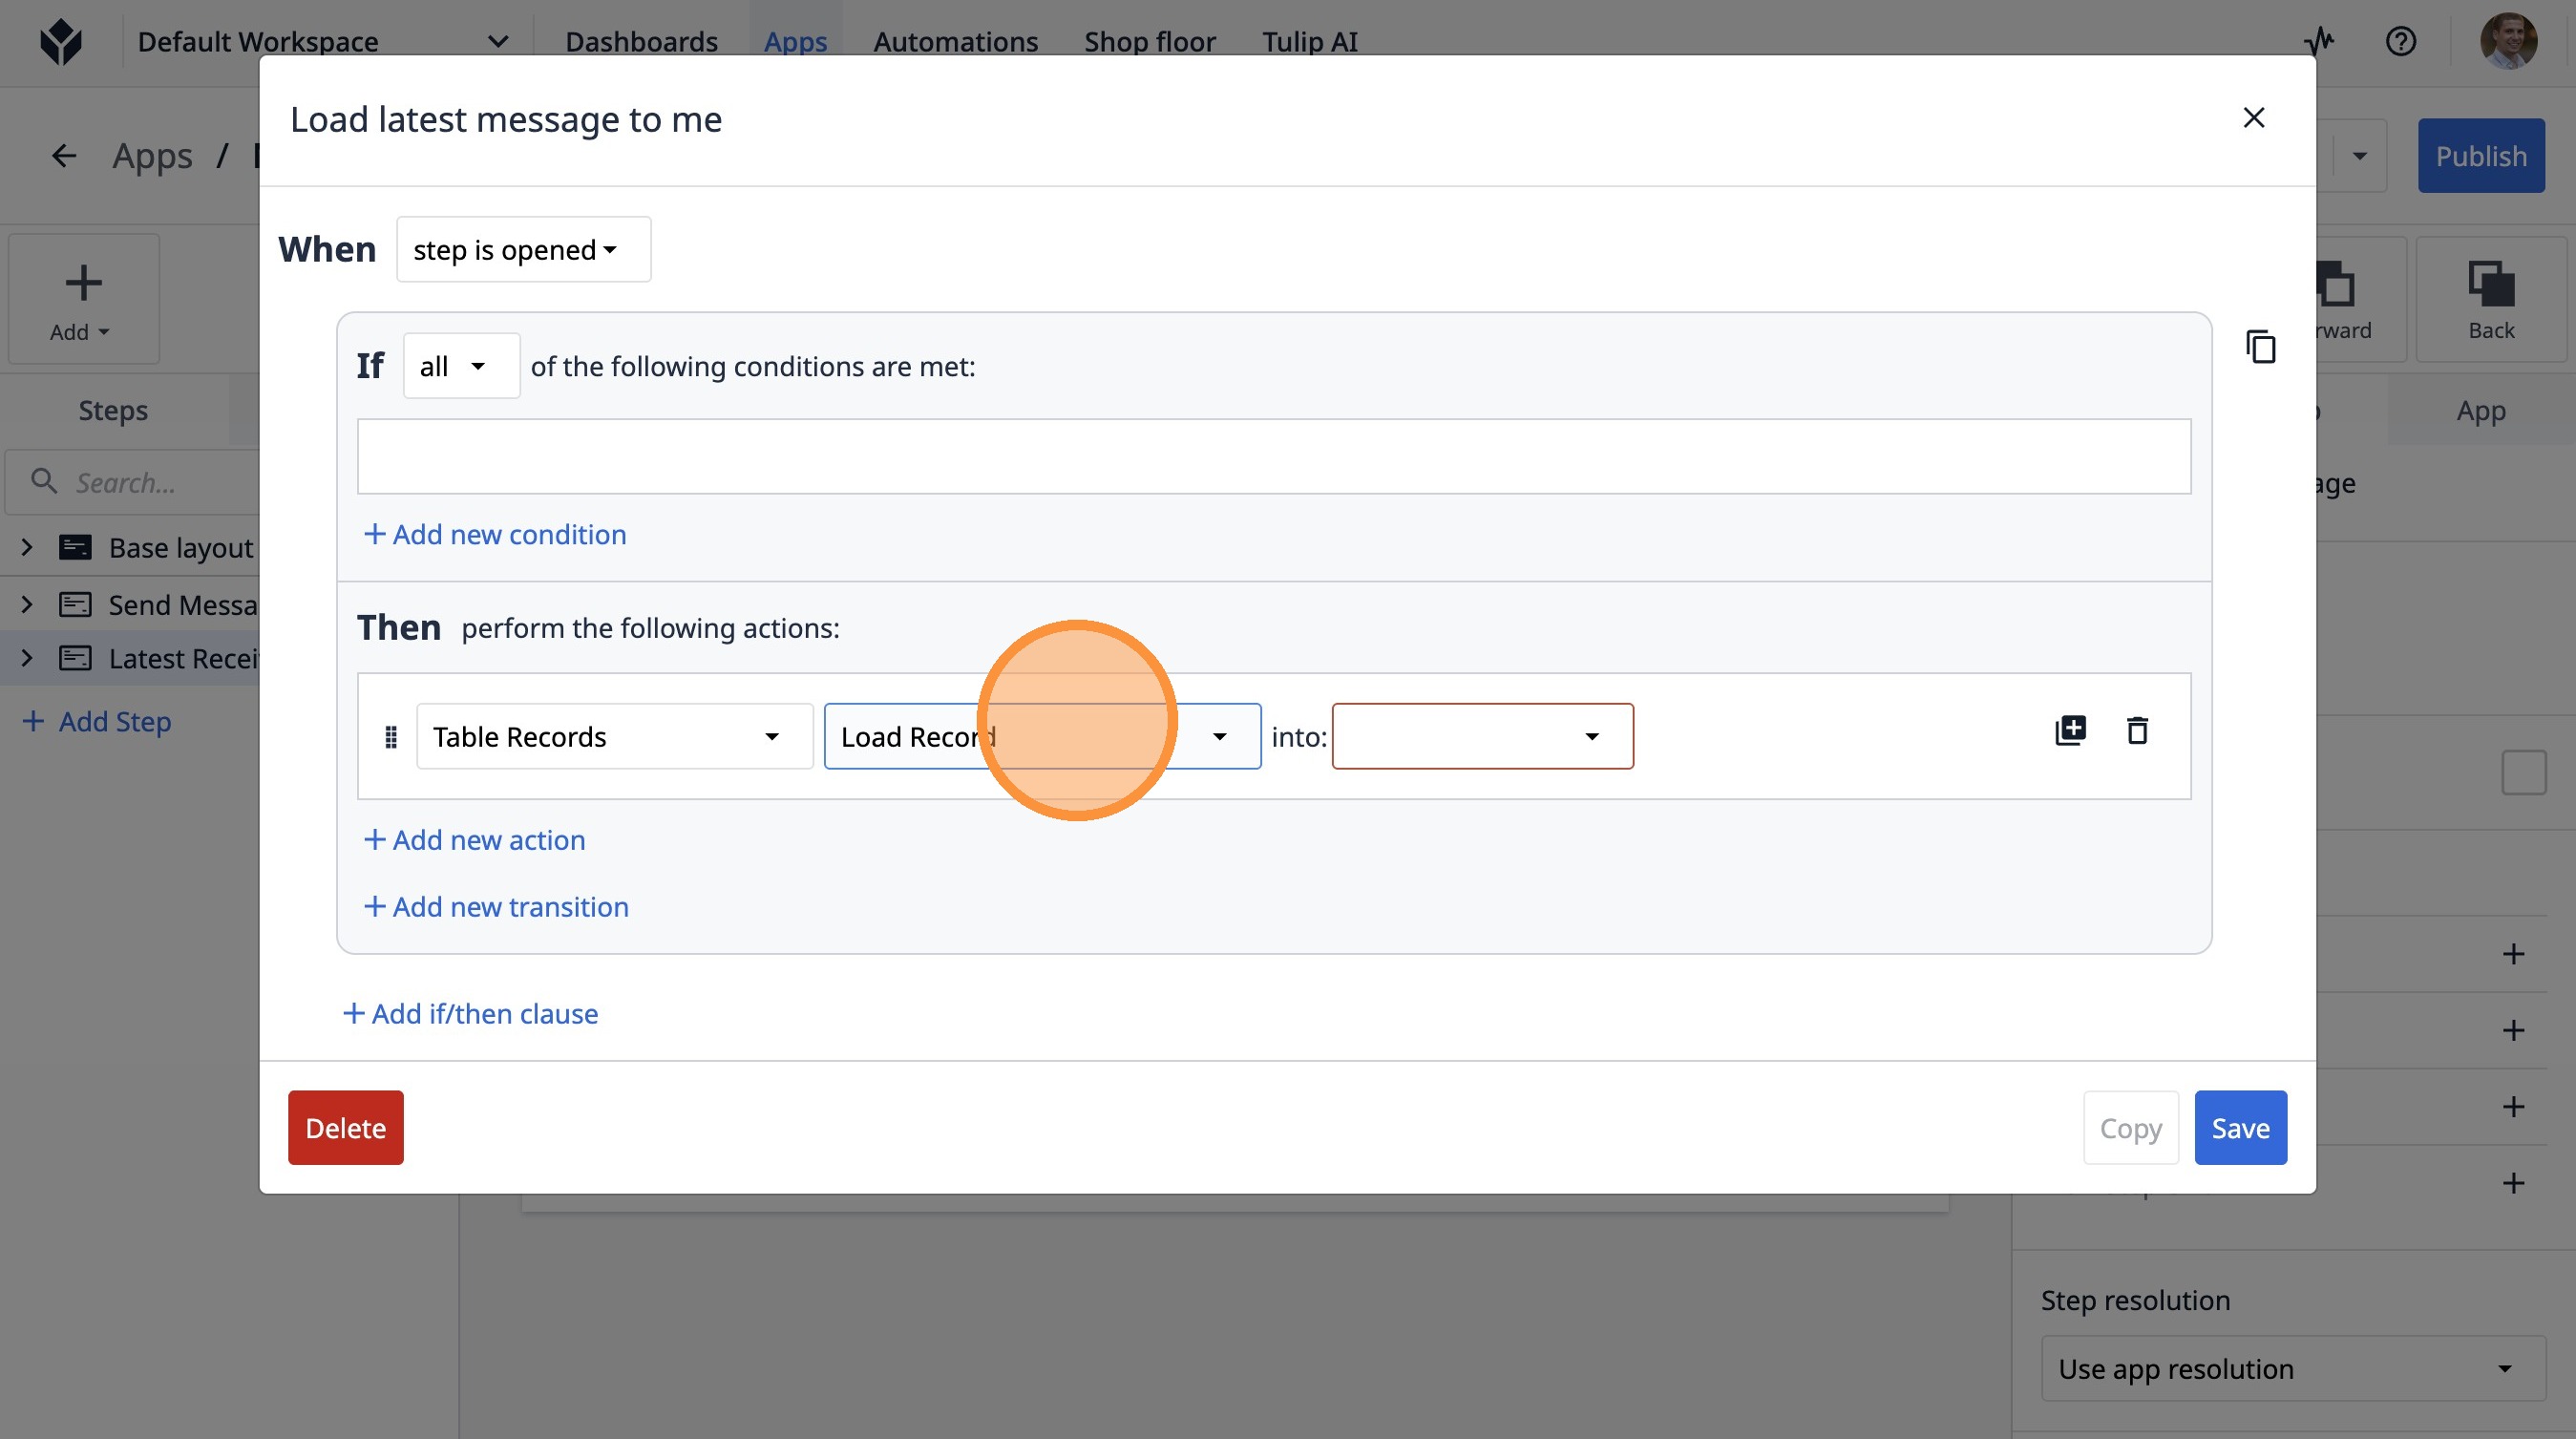
49. Select the "Load Record" option.
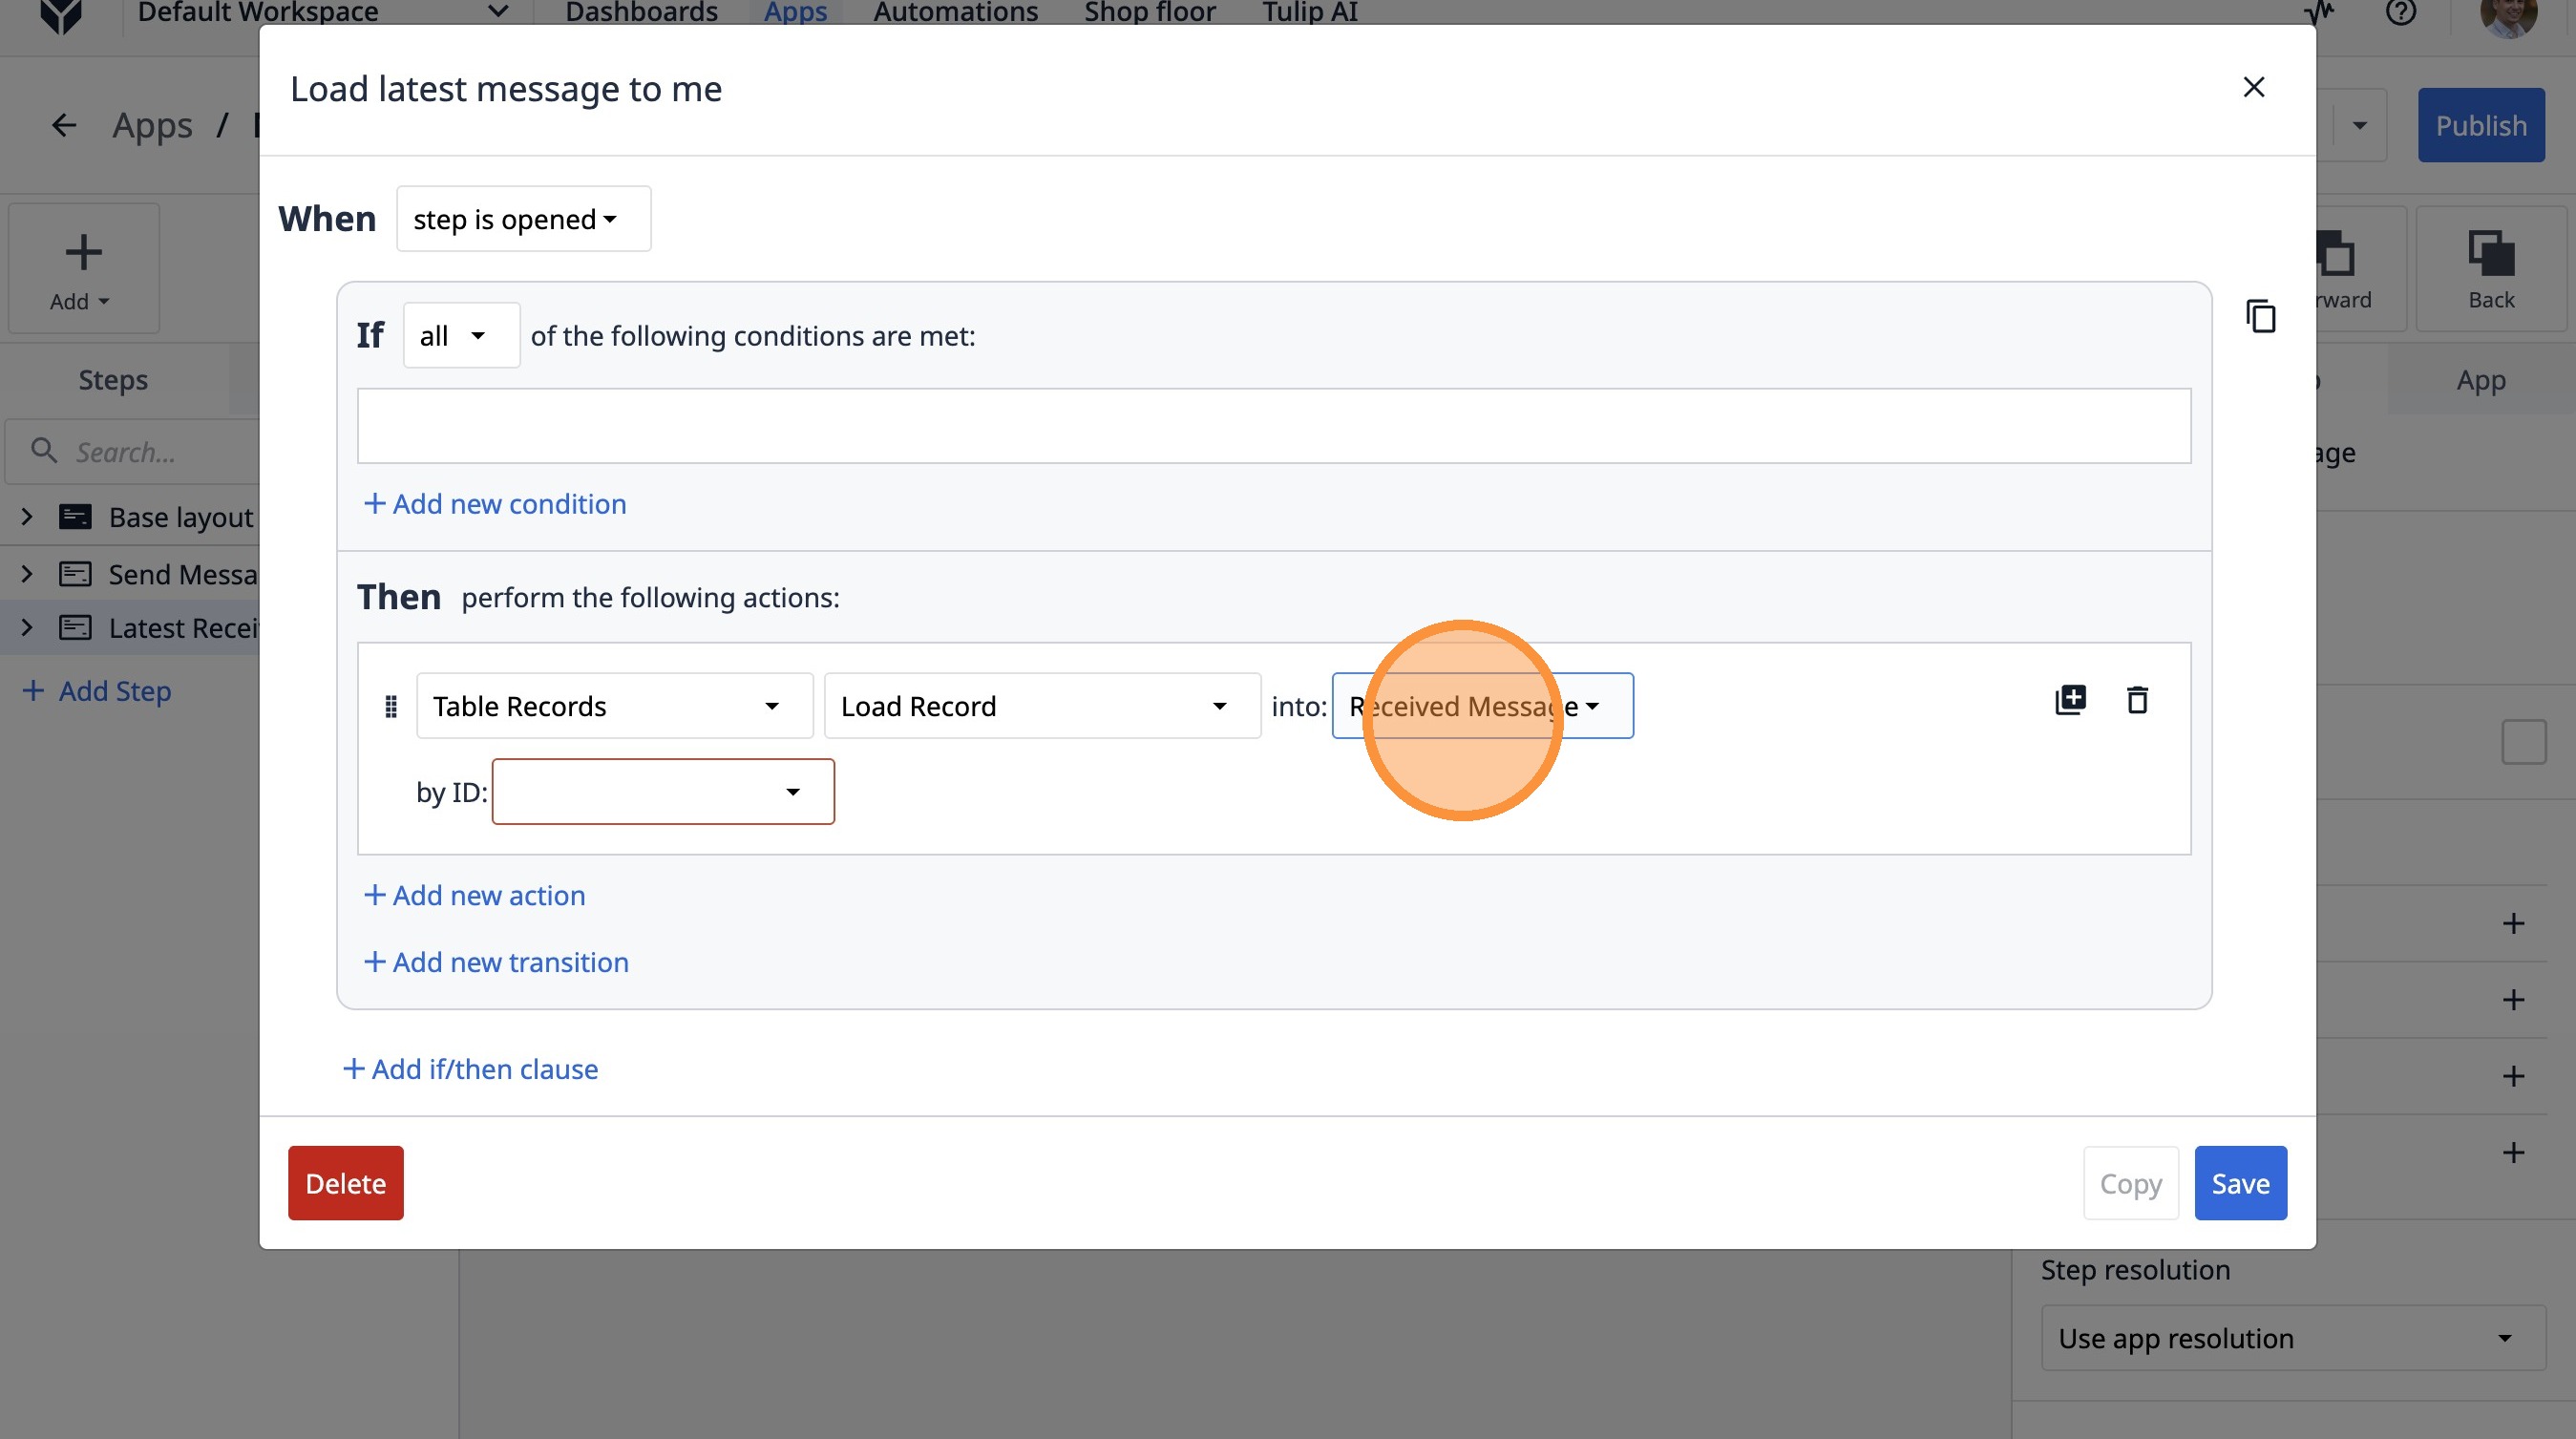
50. Select the "Received Message" option.
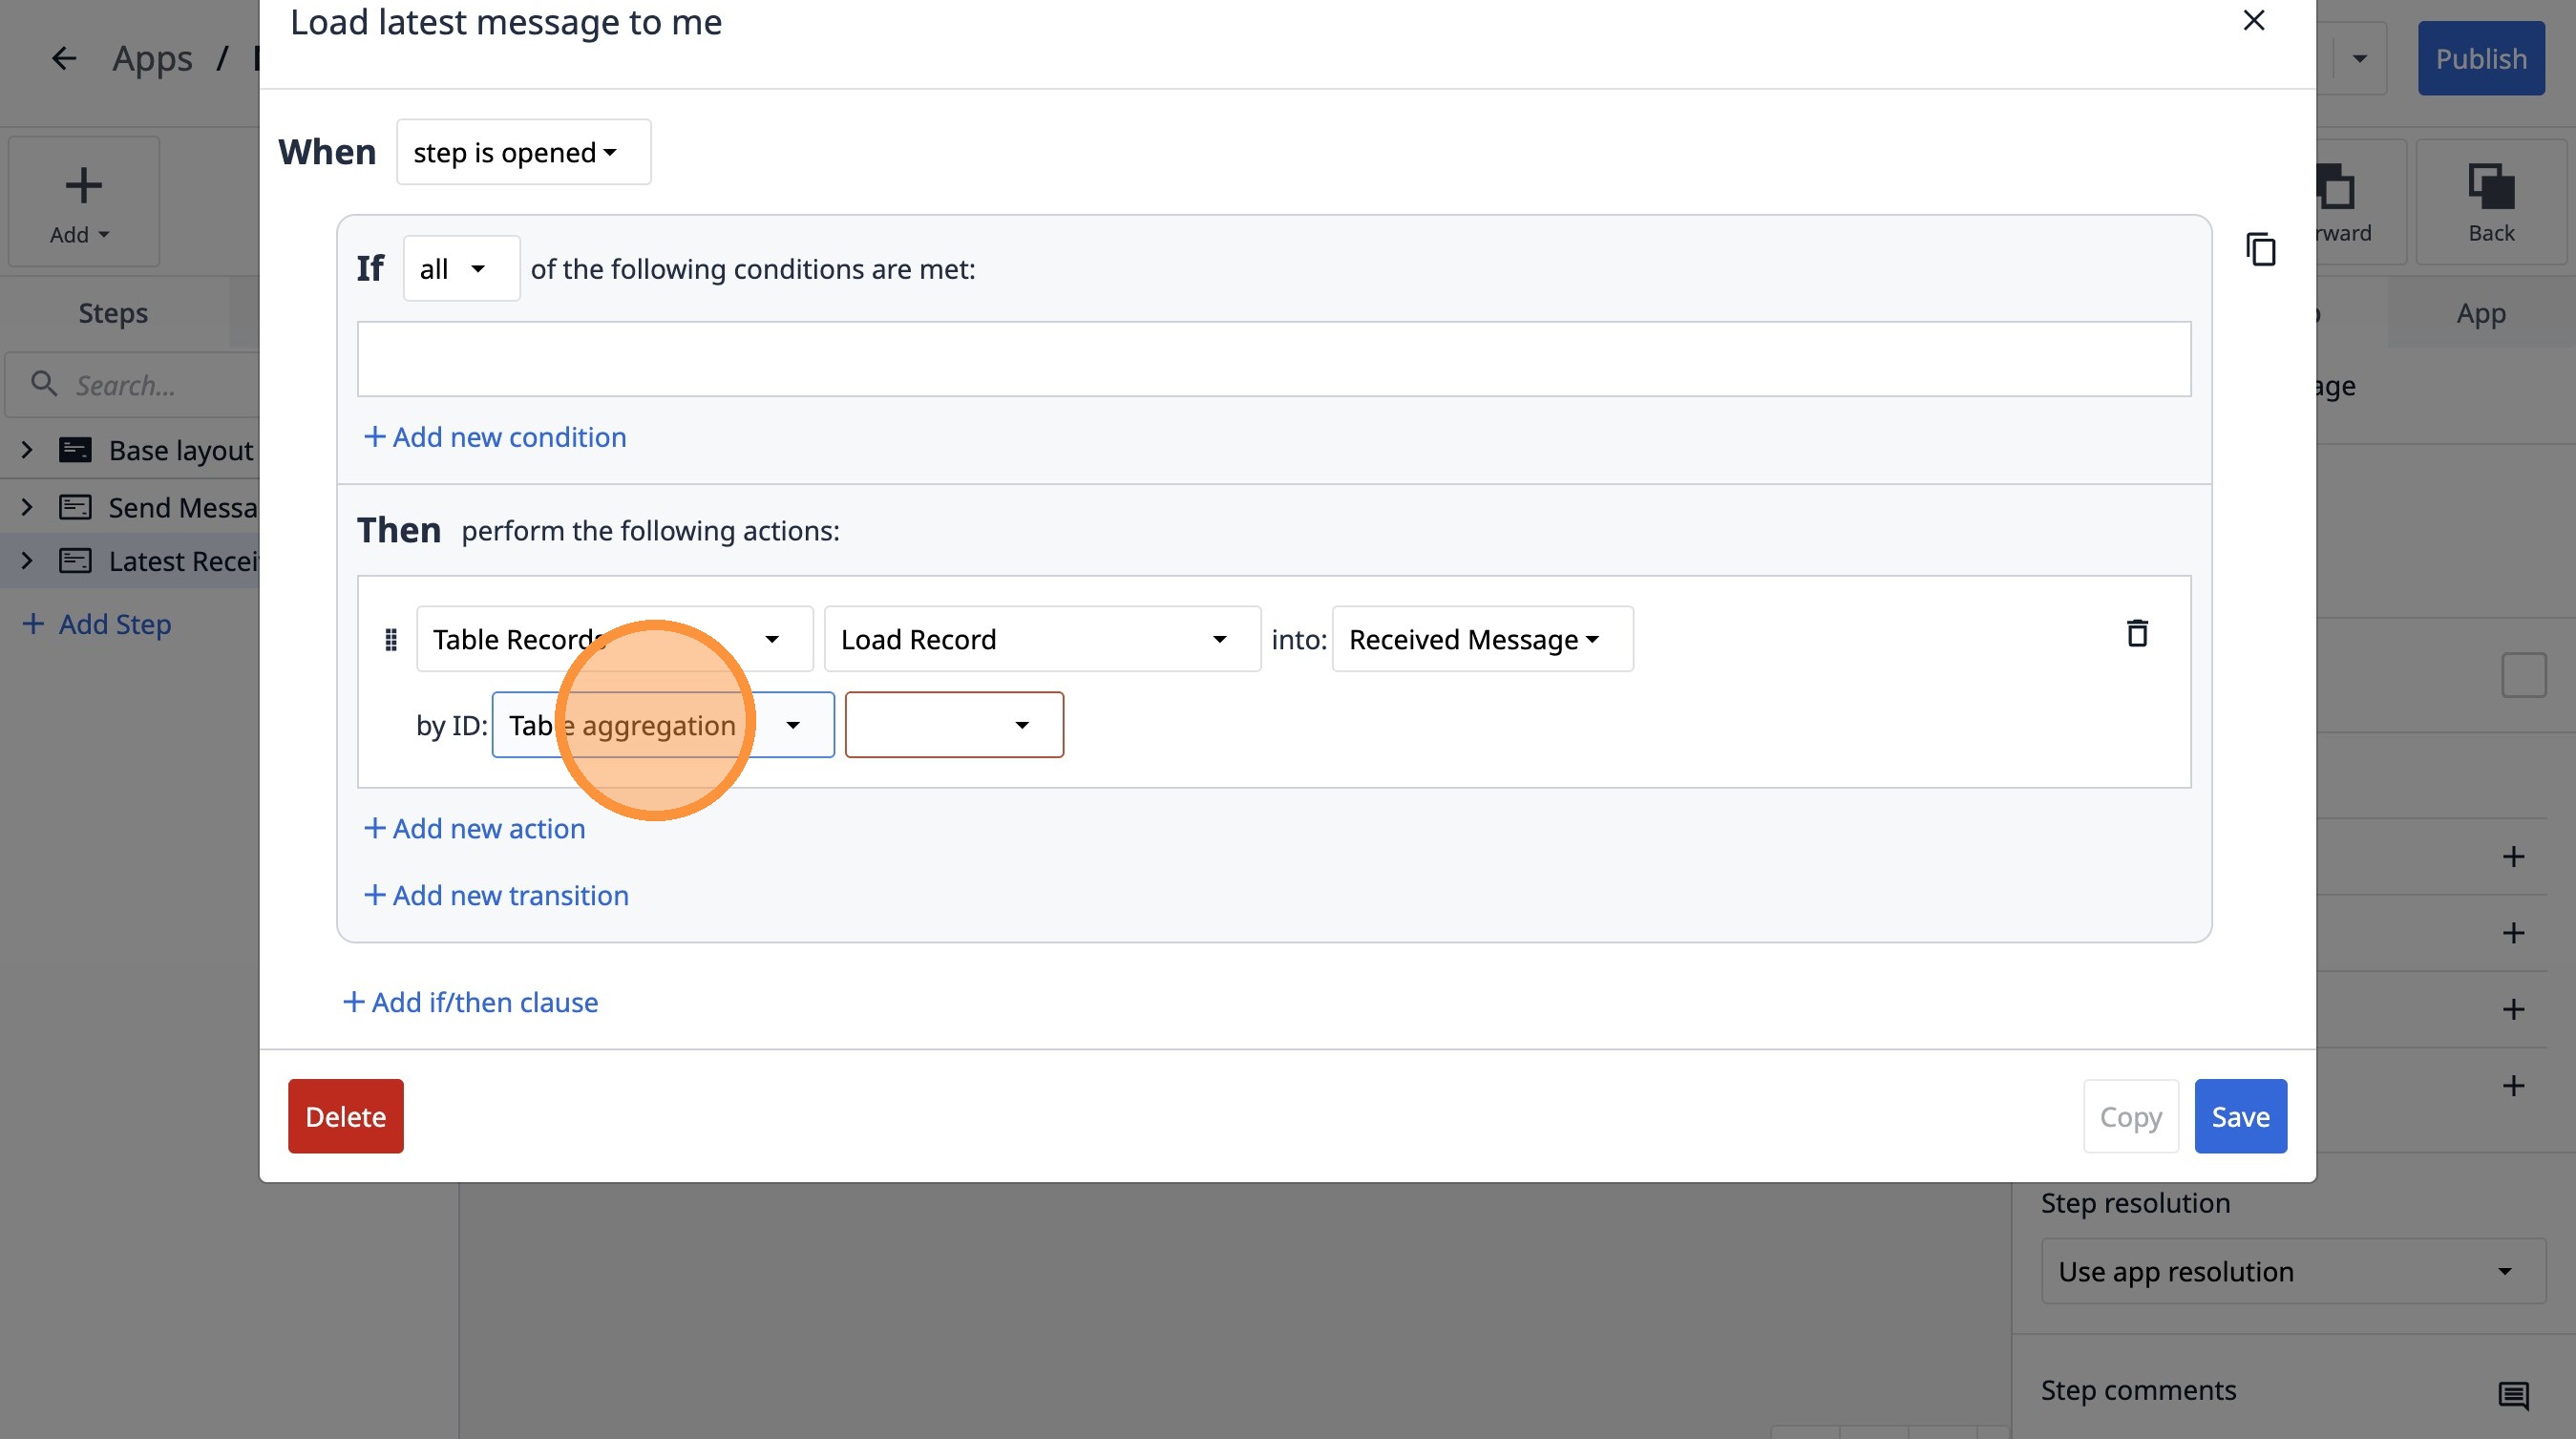
51. Select the "Table aggregation" option.
52. Select the "Message ID" option.
53. Click "Save"