


In this walkthrough, you will:
- Create a simple Work Orders table
- Import data into a table from a CSV file
A table is like a spreadsheet of data stored directly in Tulip. You can read from and write to a table directly from an app.
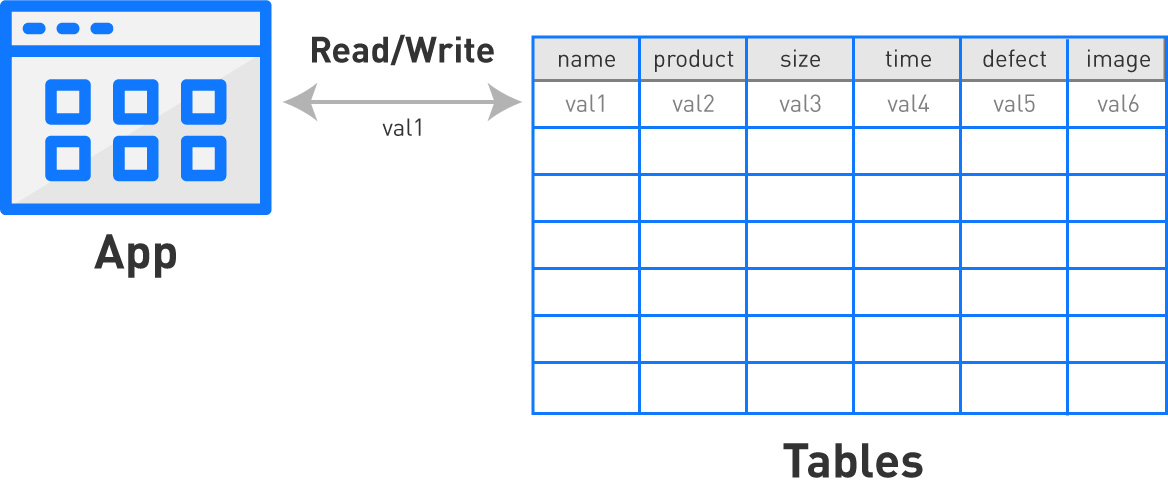
In this walkthrough, you’ll learn the basics of tables by creating one and adding data to it.
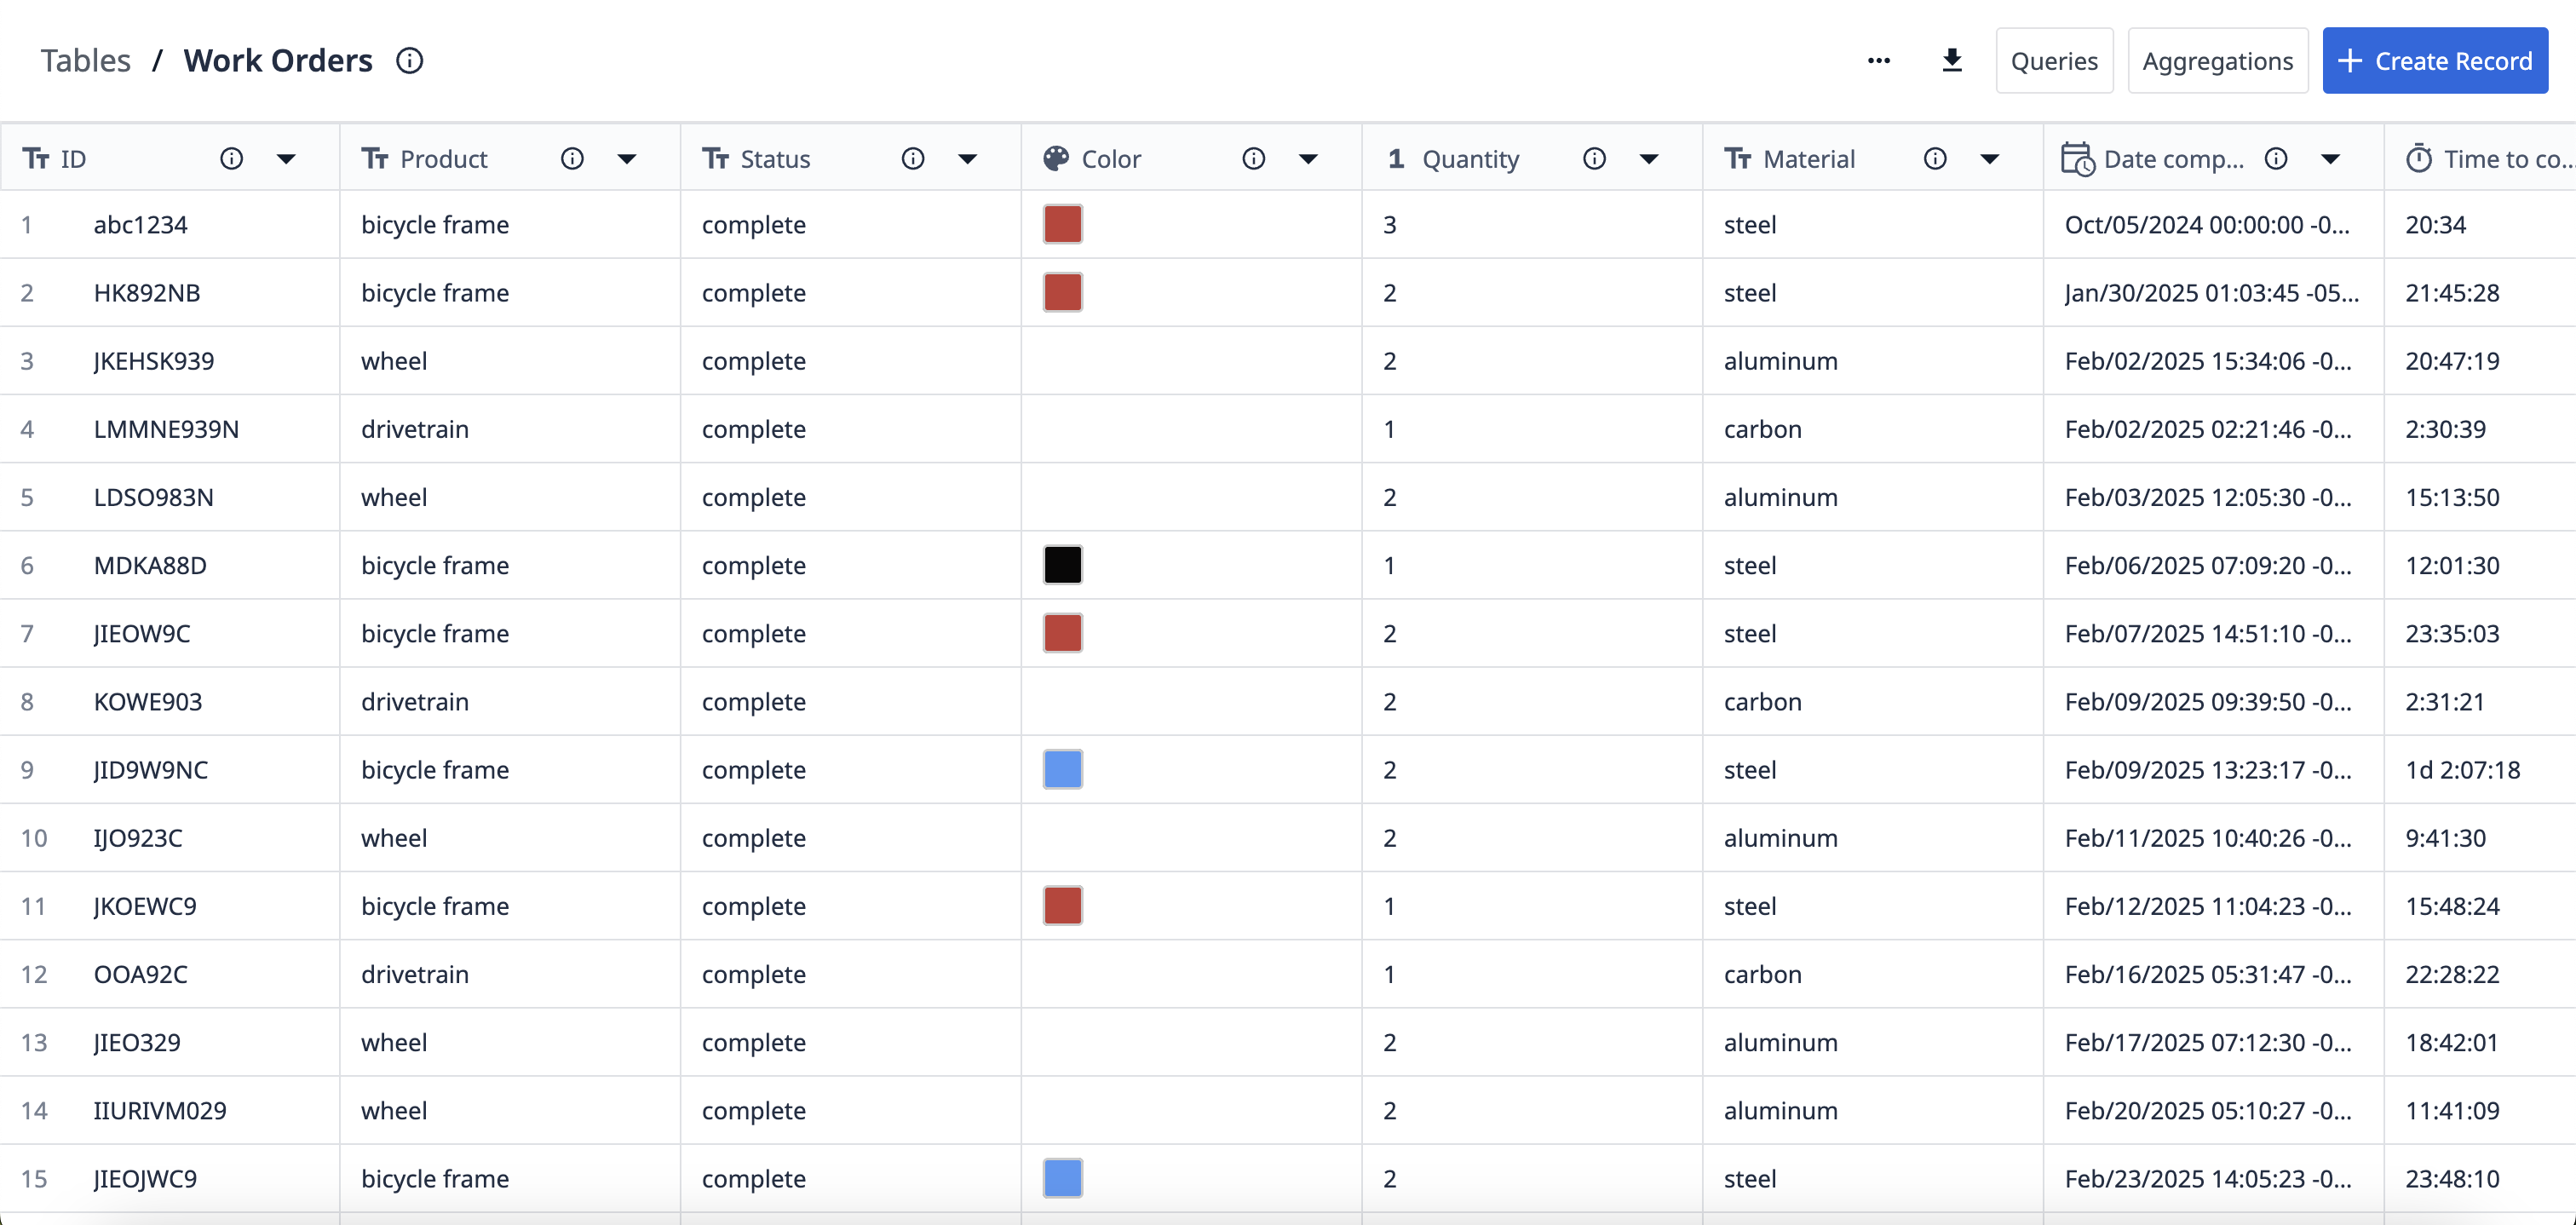
At the end of both exercises, you will have a Work Orders table that looks like this:
Exercise 1: Create a work orders table
In this exercise, you’ll create a simple Work Orders table.
-
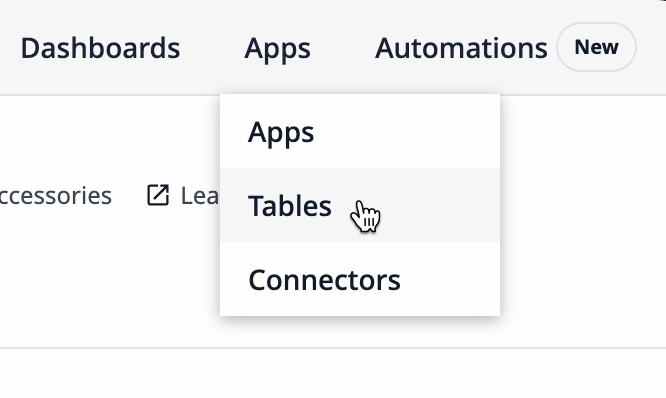
In the Apps tab, click Tables.
-
Click + Create Table in the top right corner.
-
Name the table “Work Orders”. Optionally, you can add a description so other users know what this table is for.
-
Click Create.

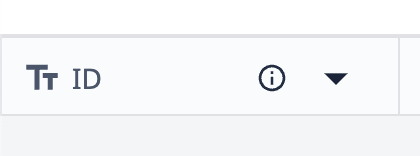
Every new table is empty besides a single field, ID.
The ID field is a necessary text field. It ensures that each record has a unique text value to identify real world artifacts.
Next, let’s add new fields to this table.
- Click the + button next to the ID field.
- For the Field type, select Text from the dropdown. Label this field “Product”.
- Click Save.
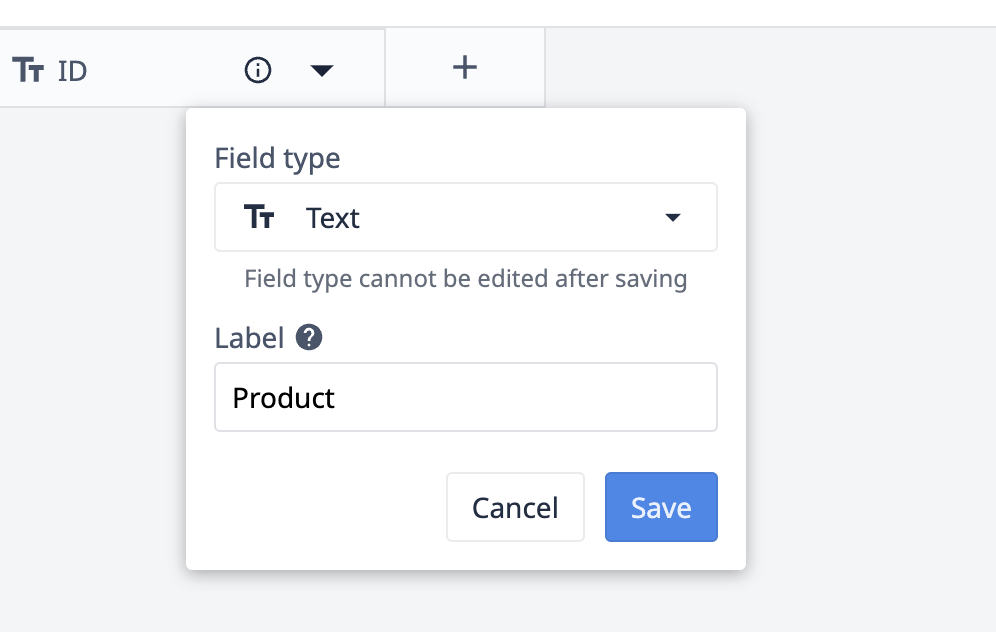
The field you just created will appear to the right of the existing ID field.
- Add the following fields to your table with their indicated field types:
- Status (text)
- Color (color)
- Quantity (integer)
- Material (text)
- Date completed (datetime)
- Time to complete (interval)
- Defect (boolean)
Now, let’s create a record with data in each field.
-
Click + Create Record in the top right corner.
-
Enter in the following for each field:
- ID - “abc1234”
- Product - “bicycle frame”
- Status - “complete”
- Color - Red
- Quantity - 3
- Material - “steel”
- Date completed - 10/05/24
- Time to complete - 1234
- Defect - No
Now, you have the first record in your Work Orders table. Your fields should look like the following:

Exercise 2: Import records from a CSV file
In this exercise, you’ll add records to the Work Orders table by importing data from a CSV file.
-
Download the work orders table CSV file here.
-
From the Work Orders table, click the three dot menu and select Import data from CSV file.

-
Read through the preparation rules, then click Next.
-
Click Upload data from file and select the CSV file you downloaded in step 1.
-
In the Match panel, ensure each column matches with the appropriate corresponding table field.
Example
‘Product’ → ‘Product’

For each field mapping, click Confirm mapping.
- In the Review panel, click Continue to verify the dataset.
- Click Yes to import the CSV file.
- Review any changes to the table, and click Next.

Now your Work Orders table contains records from the existing data file. The table will look like this:

Next Steps
Now that you've created a table for data, learn what you can do with that data:
Did you find what you were looking for?
You can also head to community.tulip.co to post your question or see if others have faced a similar question!