Learn how to organize Tulip assets for multiple production environments within a single instance.
Users on Enterprise plans.
Workspaces are a new feature set in Tulip, allowing organizations to manage users and resources for multiple sites within a single global Tulip instance.
A Workspace is a partition within a Tulip account with its own set of resources like apps, Machines, and Tables, that are independent of other workspaces within an account. Workspaces can be useful for separating data for different teams or facilities.
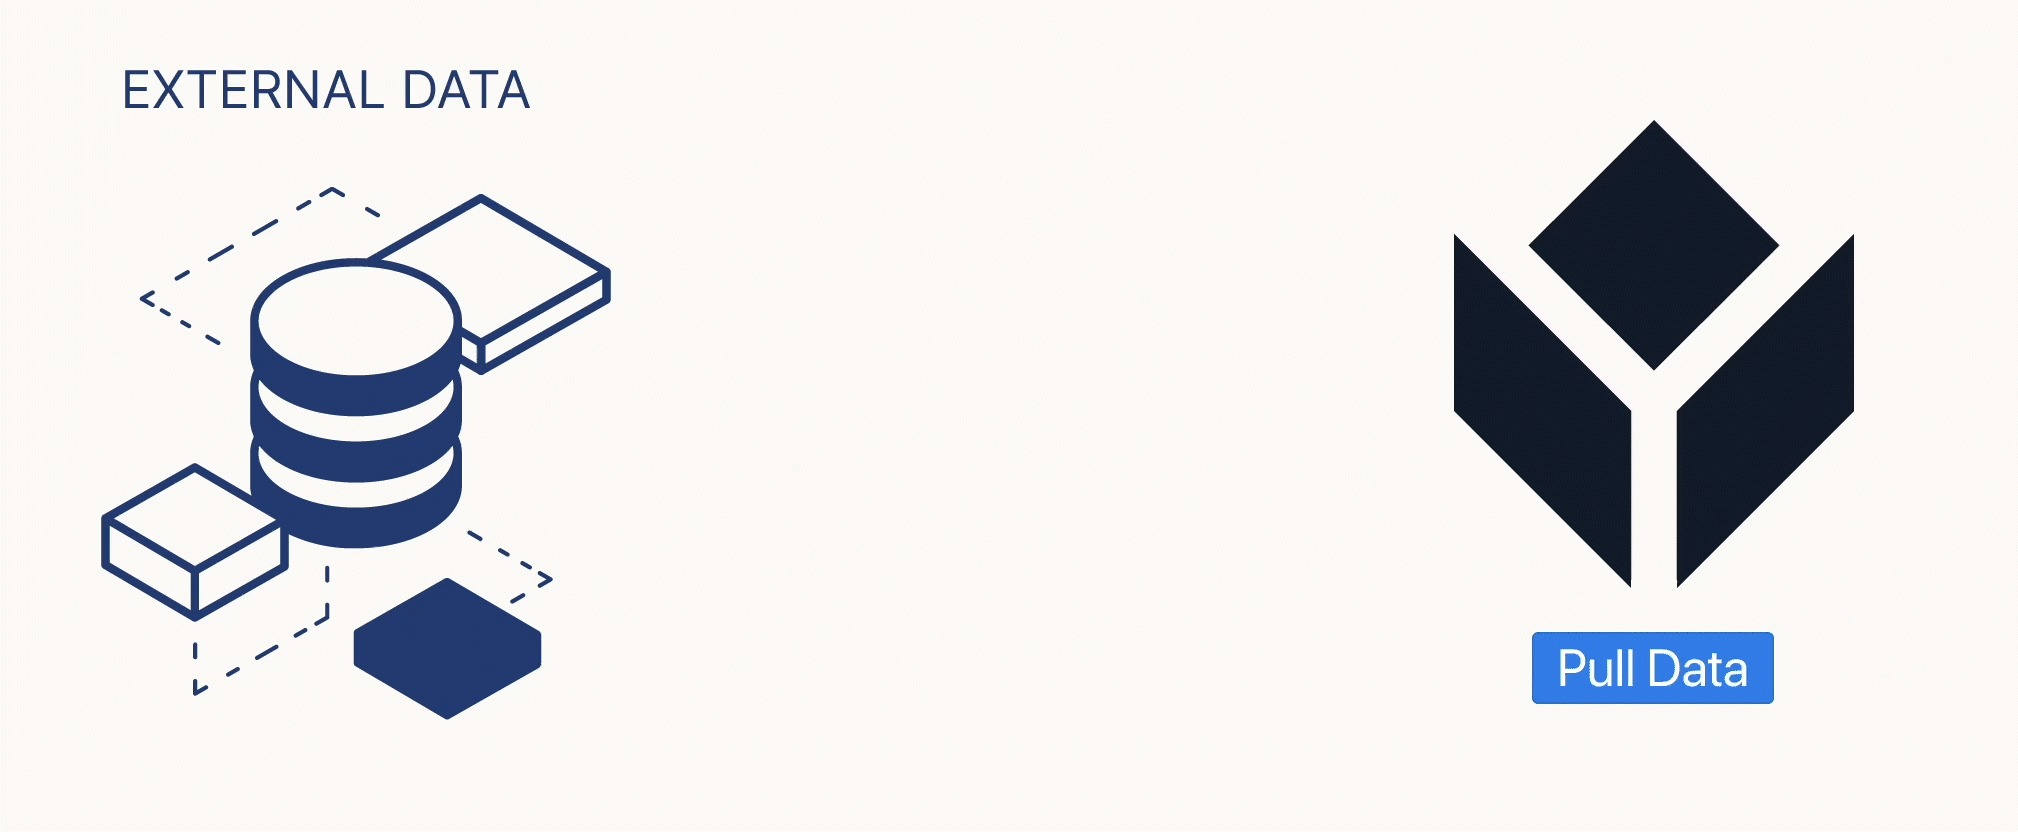
Resources like Connectors can be standardized and deployed globally to different sites, while apps and data can be managed locally at each facility.
Workspace Use-Cases
-
Organizing operations by site
- Boston, Munich, Hungary
-
Organizing team data by department level
Prior to Workspaces, these use-cases required a number of instances to be provisioned in order to segregate data but this is now made simpler with only needing to manage one instance that houses multiple workspaces.
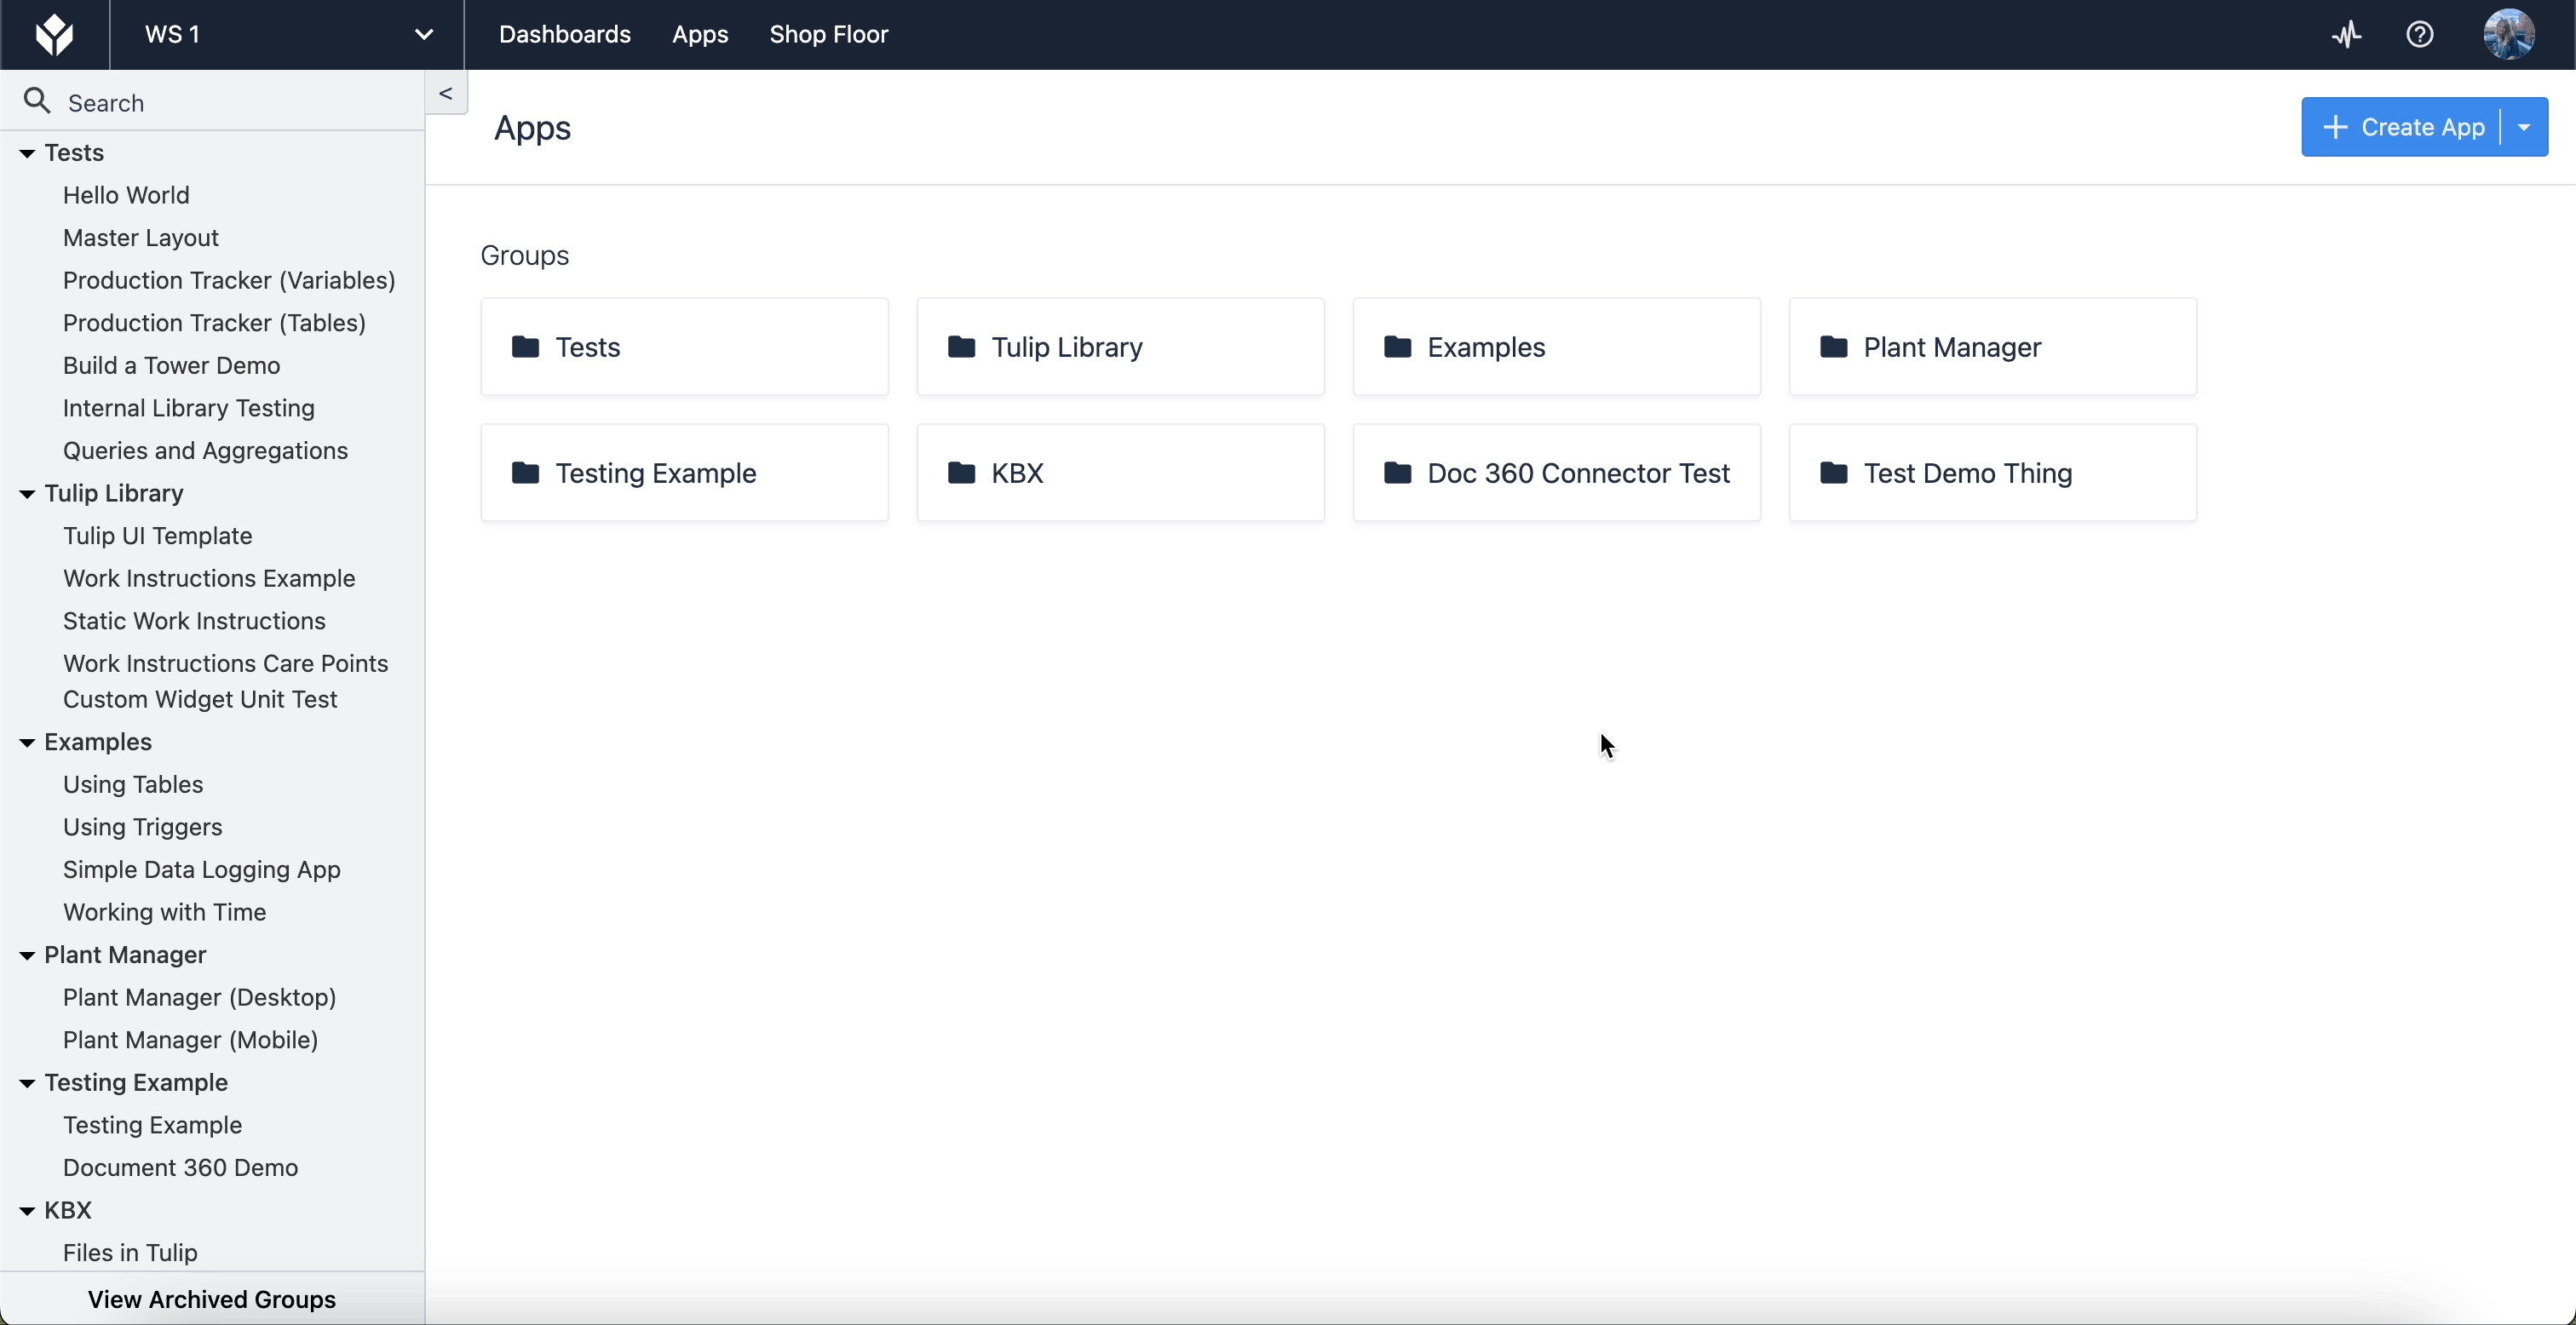
Workspaces Page
To find the Workspaces page, click your user icon in the top right corner. Select Account Settings then click the Workspaces tab on the left navigation bar.
Configuration
With the addition of Workspaces, you have access to assign a new user role: Workspace Owner. This user role has all Account Owner permissions, but restricted to their assigned Workspace. All other user roles/permissions remain unchanged.
Learn more about user roles here.
An Account Owner can specify which Workspace a user has access to by navigating to the Account Settings and then to the Users page.
SAML and LDAP functionality remains unchanged. For SAML, Account Owners will have the ability to specify a Workspace mapping from their IdP. This will be used to set the initial Workspace for a user. A default Workspace can also be defined for all new users.
Resources
Here is the breakdown of resource sharing at the Account and Workspace level:
| Account Scoped | Workspace Scoped |
|---|---|
| Connectors | Stations |
| Connector Functions | Apps |
| Machine Types | Analytics |
| Machine Data Sources | Tables |
| Edge Devices | Machines |
| IP Cameras | Cameras |
| Camera Detectors | User Table* |
*With Workspaces enabled, the User Table is scoped to users defined within the Workspace. Global roles (Account Owners) are not included in the User Table for an individual Workspace, which may impact the ability to run app logic that involves reading or writing to the User Table.
Settings
With Workspaces enabled, here is a breakdown of the Account and Workspace scoped settings that can be adjusted by Account Owners at the account level and Workspace Owners at the Workspace level:
| Account Settings | Workspace Settings |
|---|---|
| Account | Workspace |
| Users | Users |
| Player | Date and Time - Time Zone |
| Date and Time - Format only | Schedules and Shifts |
| Color Palette | Device Uptime |
| Developer Mode | Approvals |
| Network Access | API Tokens |
Add users to multiple workspaces
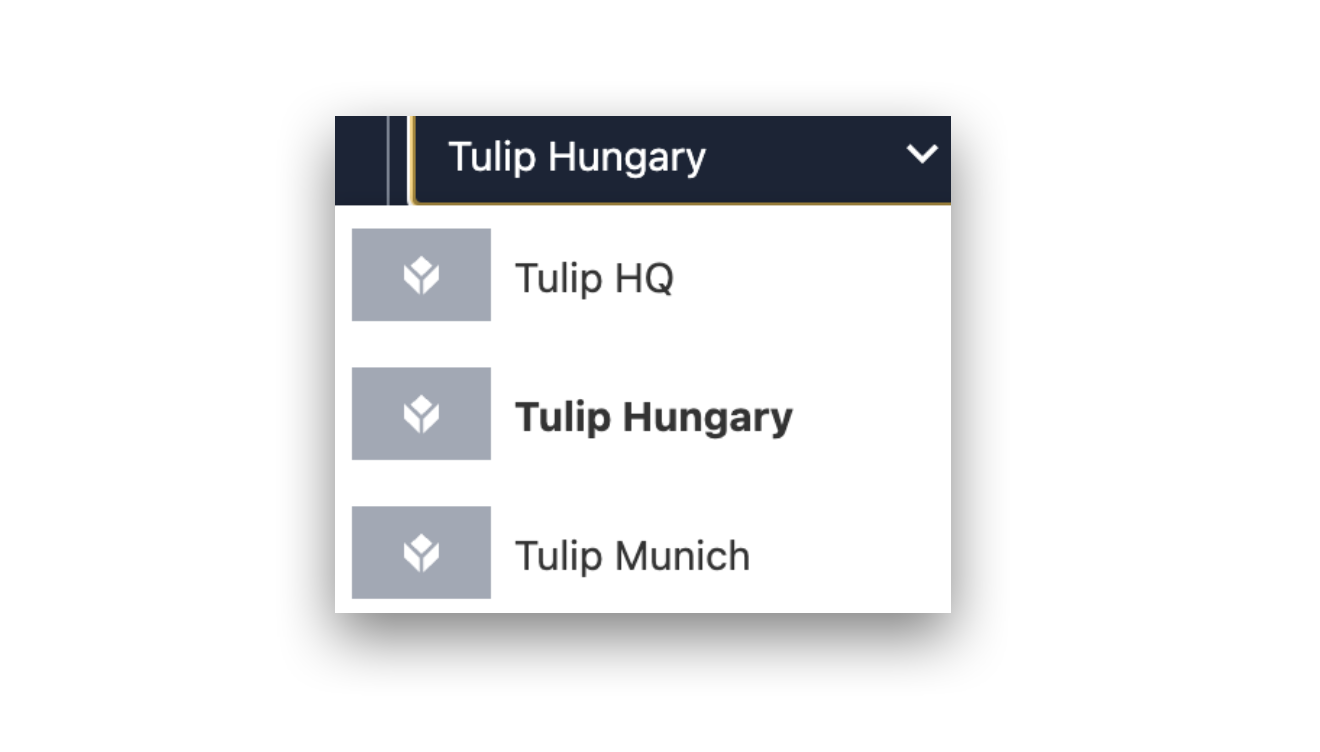
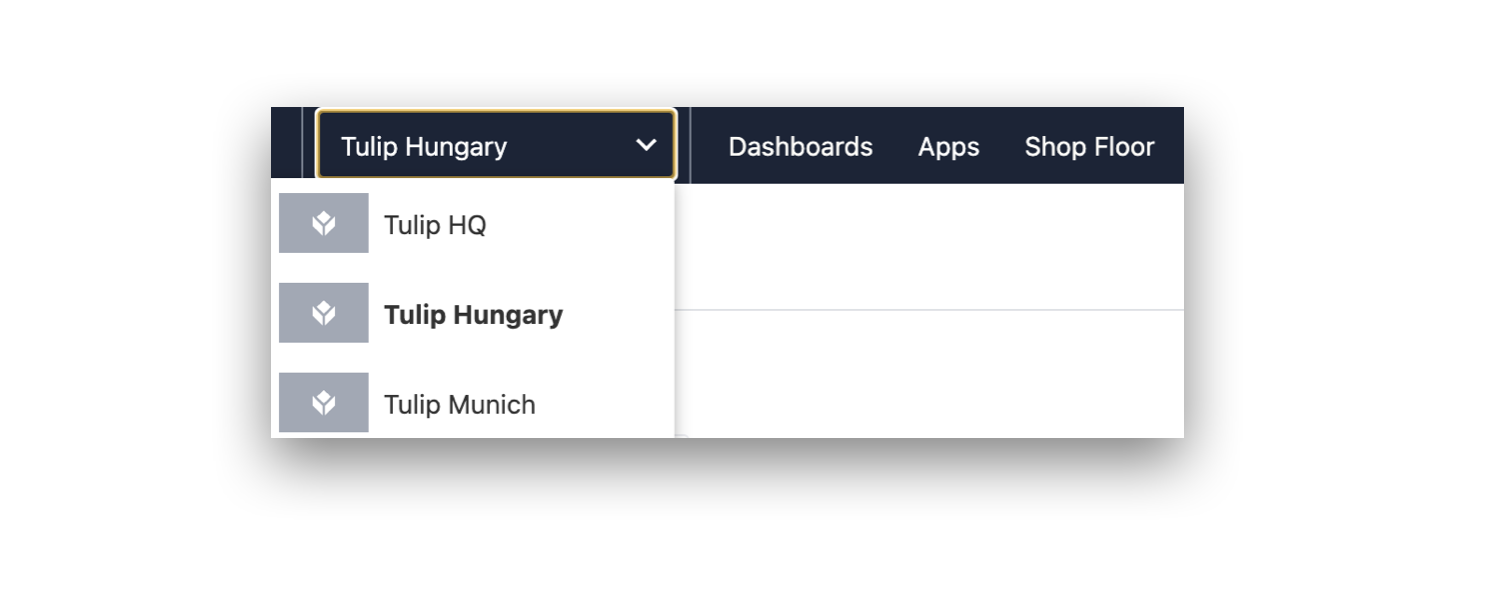
In the App editor, you can navigate across Workspaces using the dropdown menu in the top left of the page from Workspace scoped pages.
Global Roles
Account Owners have the ability to navigate across workspaces within an Instance.
Workspace-Scoped Roles
Users can be a part of multiple workspaces, with a separate role in each workspace.
Once you add a user to multiple workpsaces, they will be able to choose from the list of workspaces where they have a role, as shown above.
Add/archive/rename a workspace
Account Owners can create new workspaces, as well as rename, archive, and un-archive workspaces. To access these abilities, go the the Workspaces page under Account Settings.
You cannot archive workspaces that use the Enterprise App Exchange. You must first disable this feature from your workspace.
Move apps across workspaces
The App Import/Export functionality remains unchanged across Workspaces within the same instance.