Learn how to add a new button to your Tulip application that will print a barcode. This guide will walk you through creating the button, configuring its actions, and linking it to your work orders.
1. Navigate to the app builder.
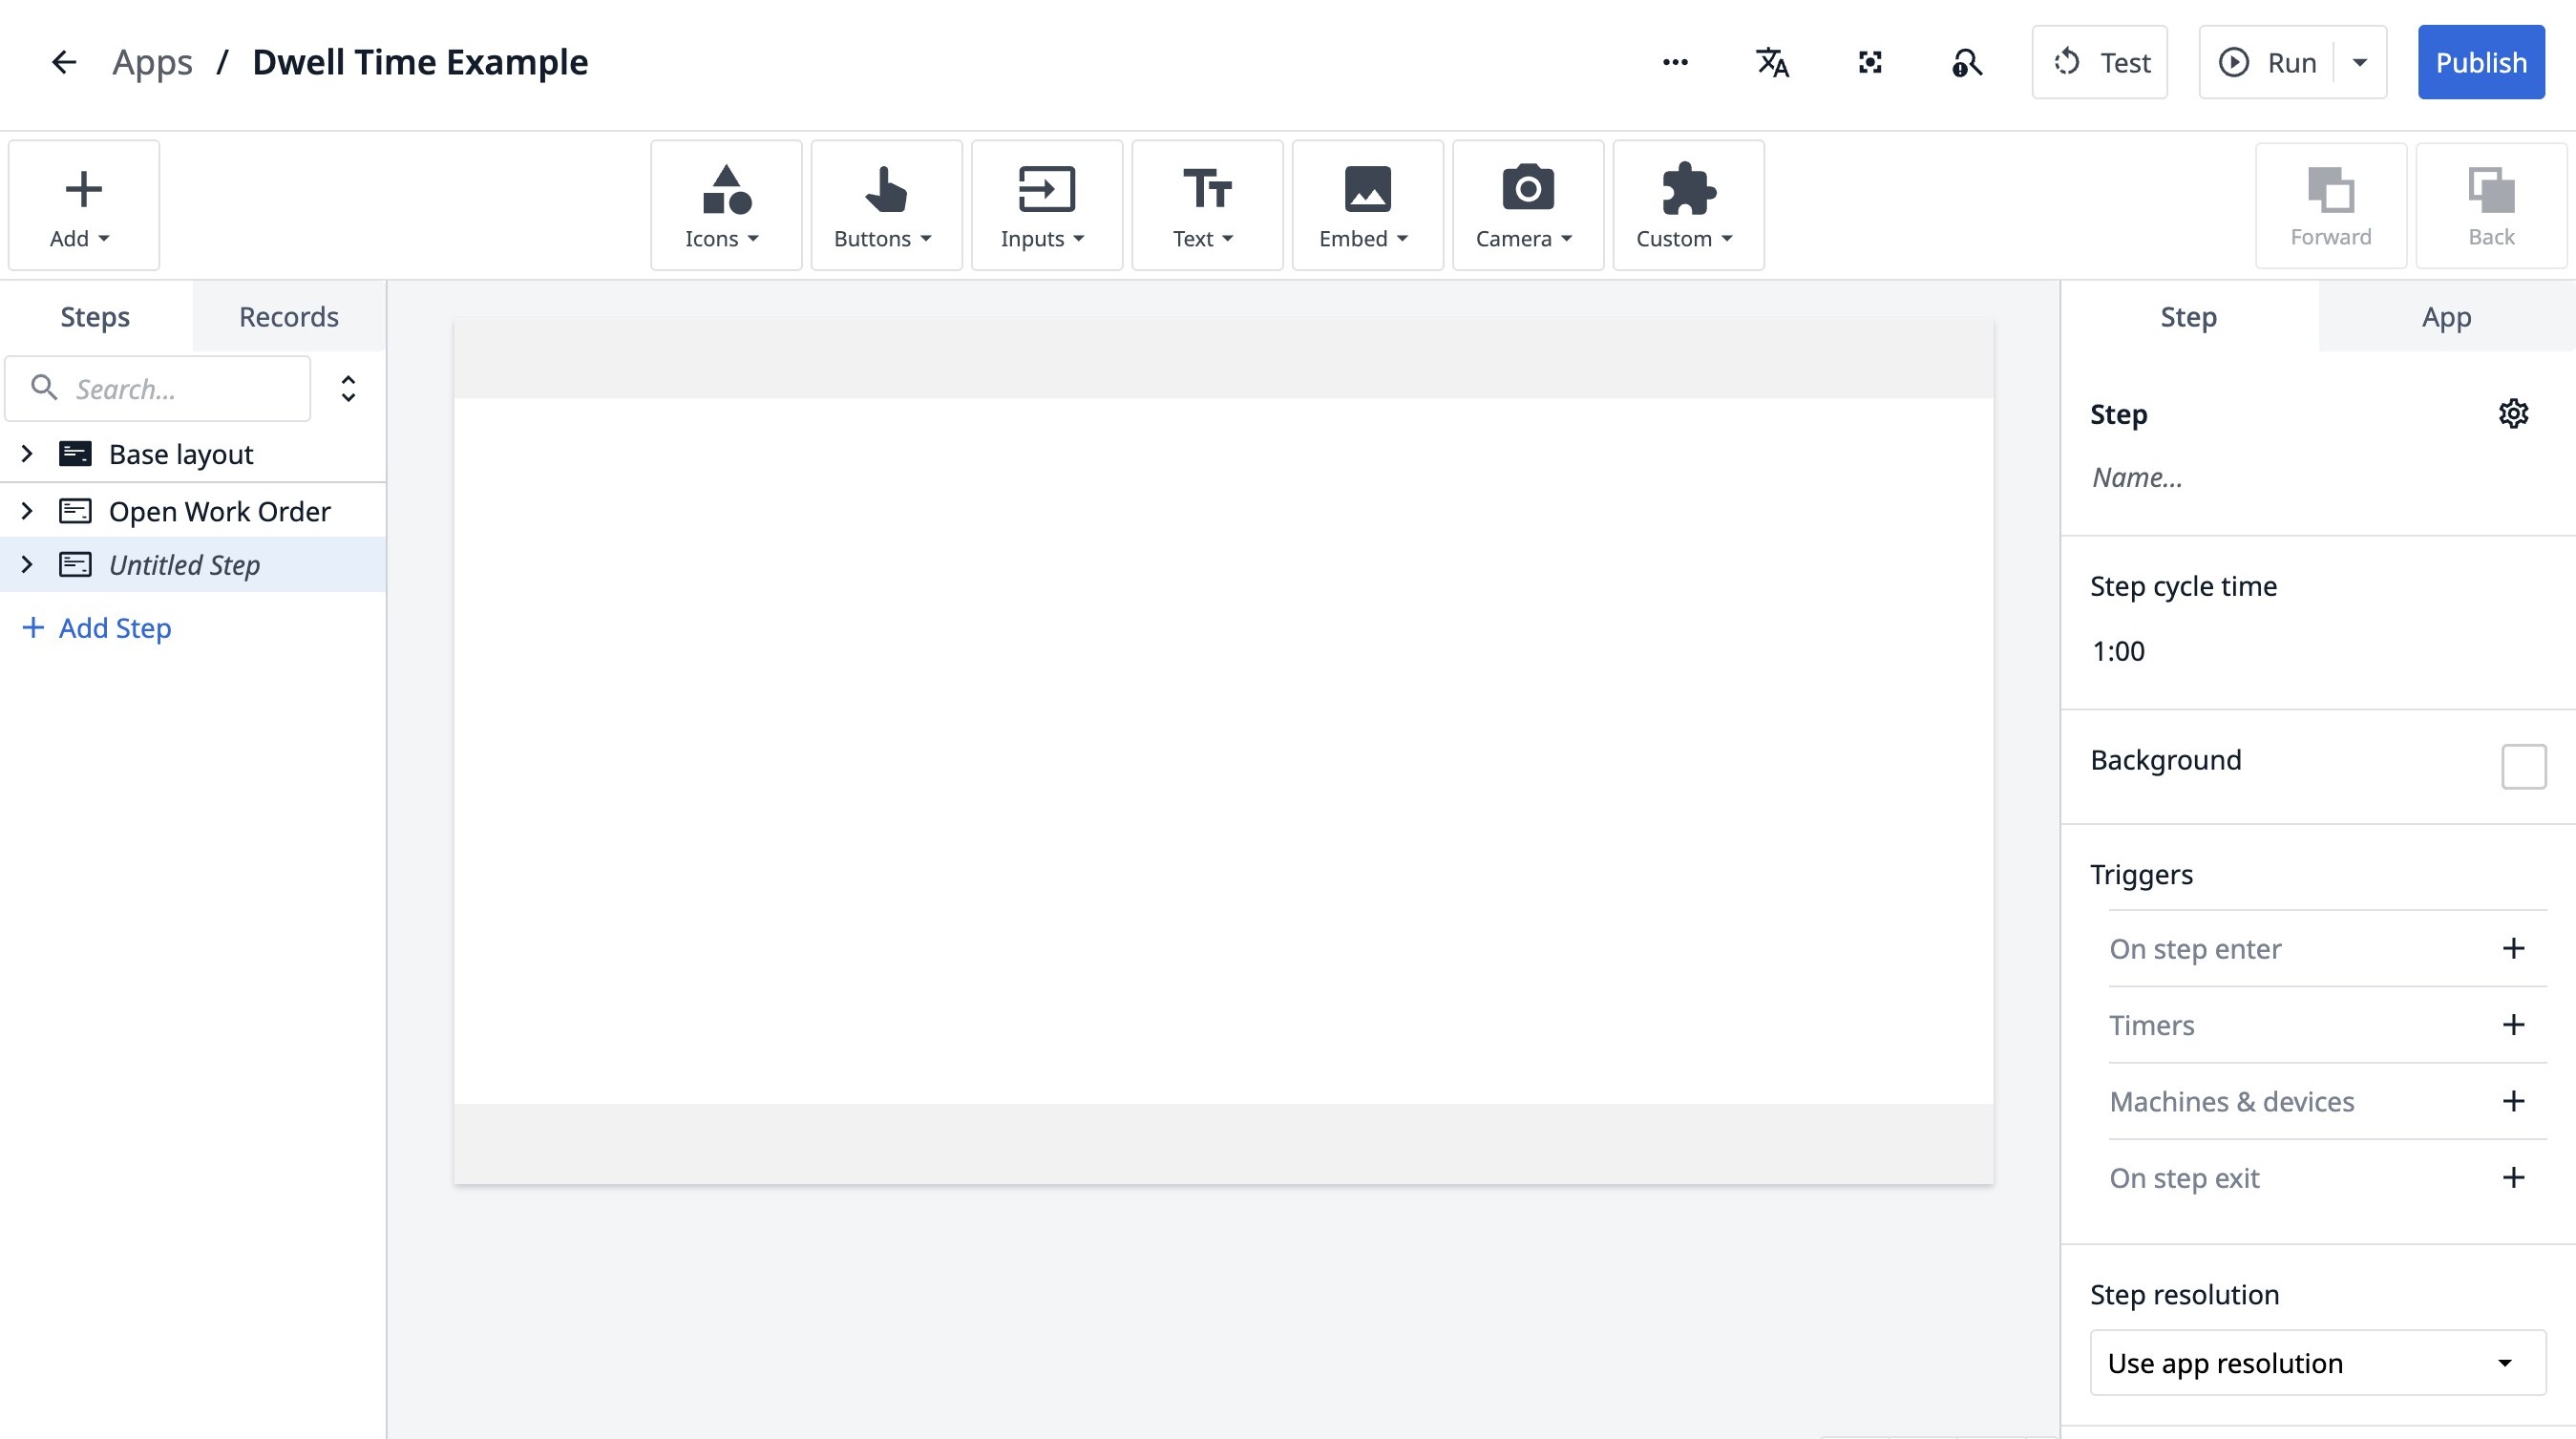
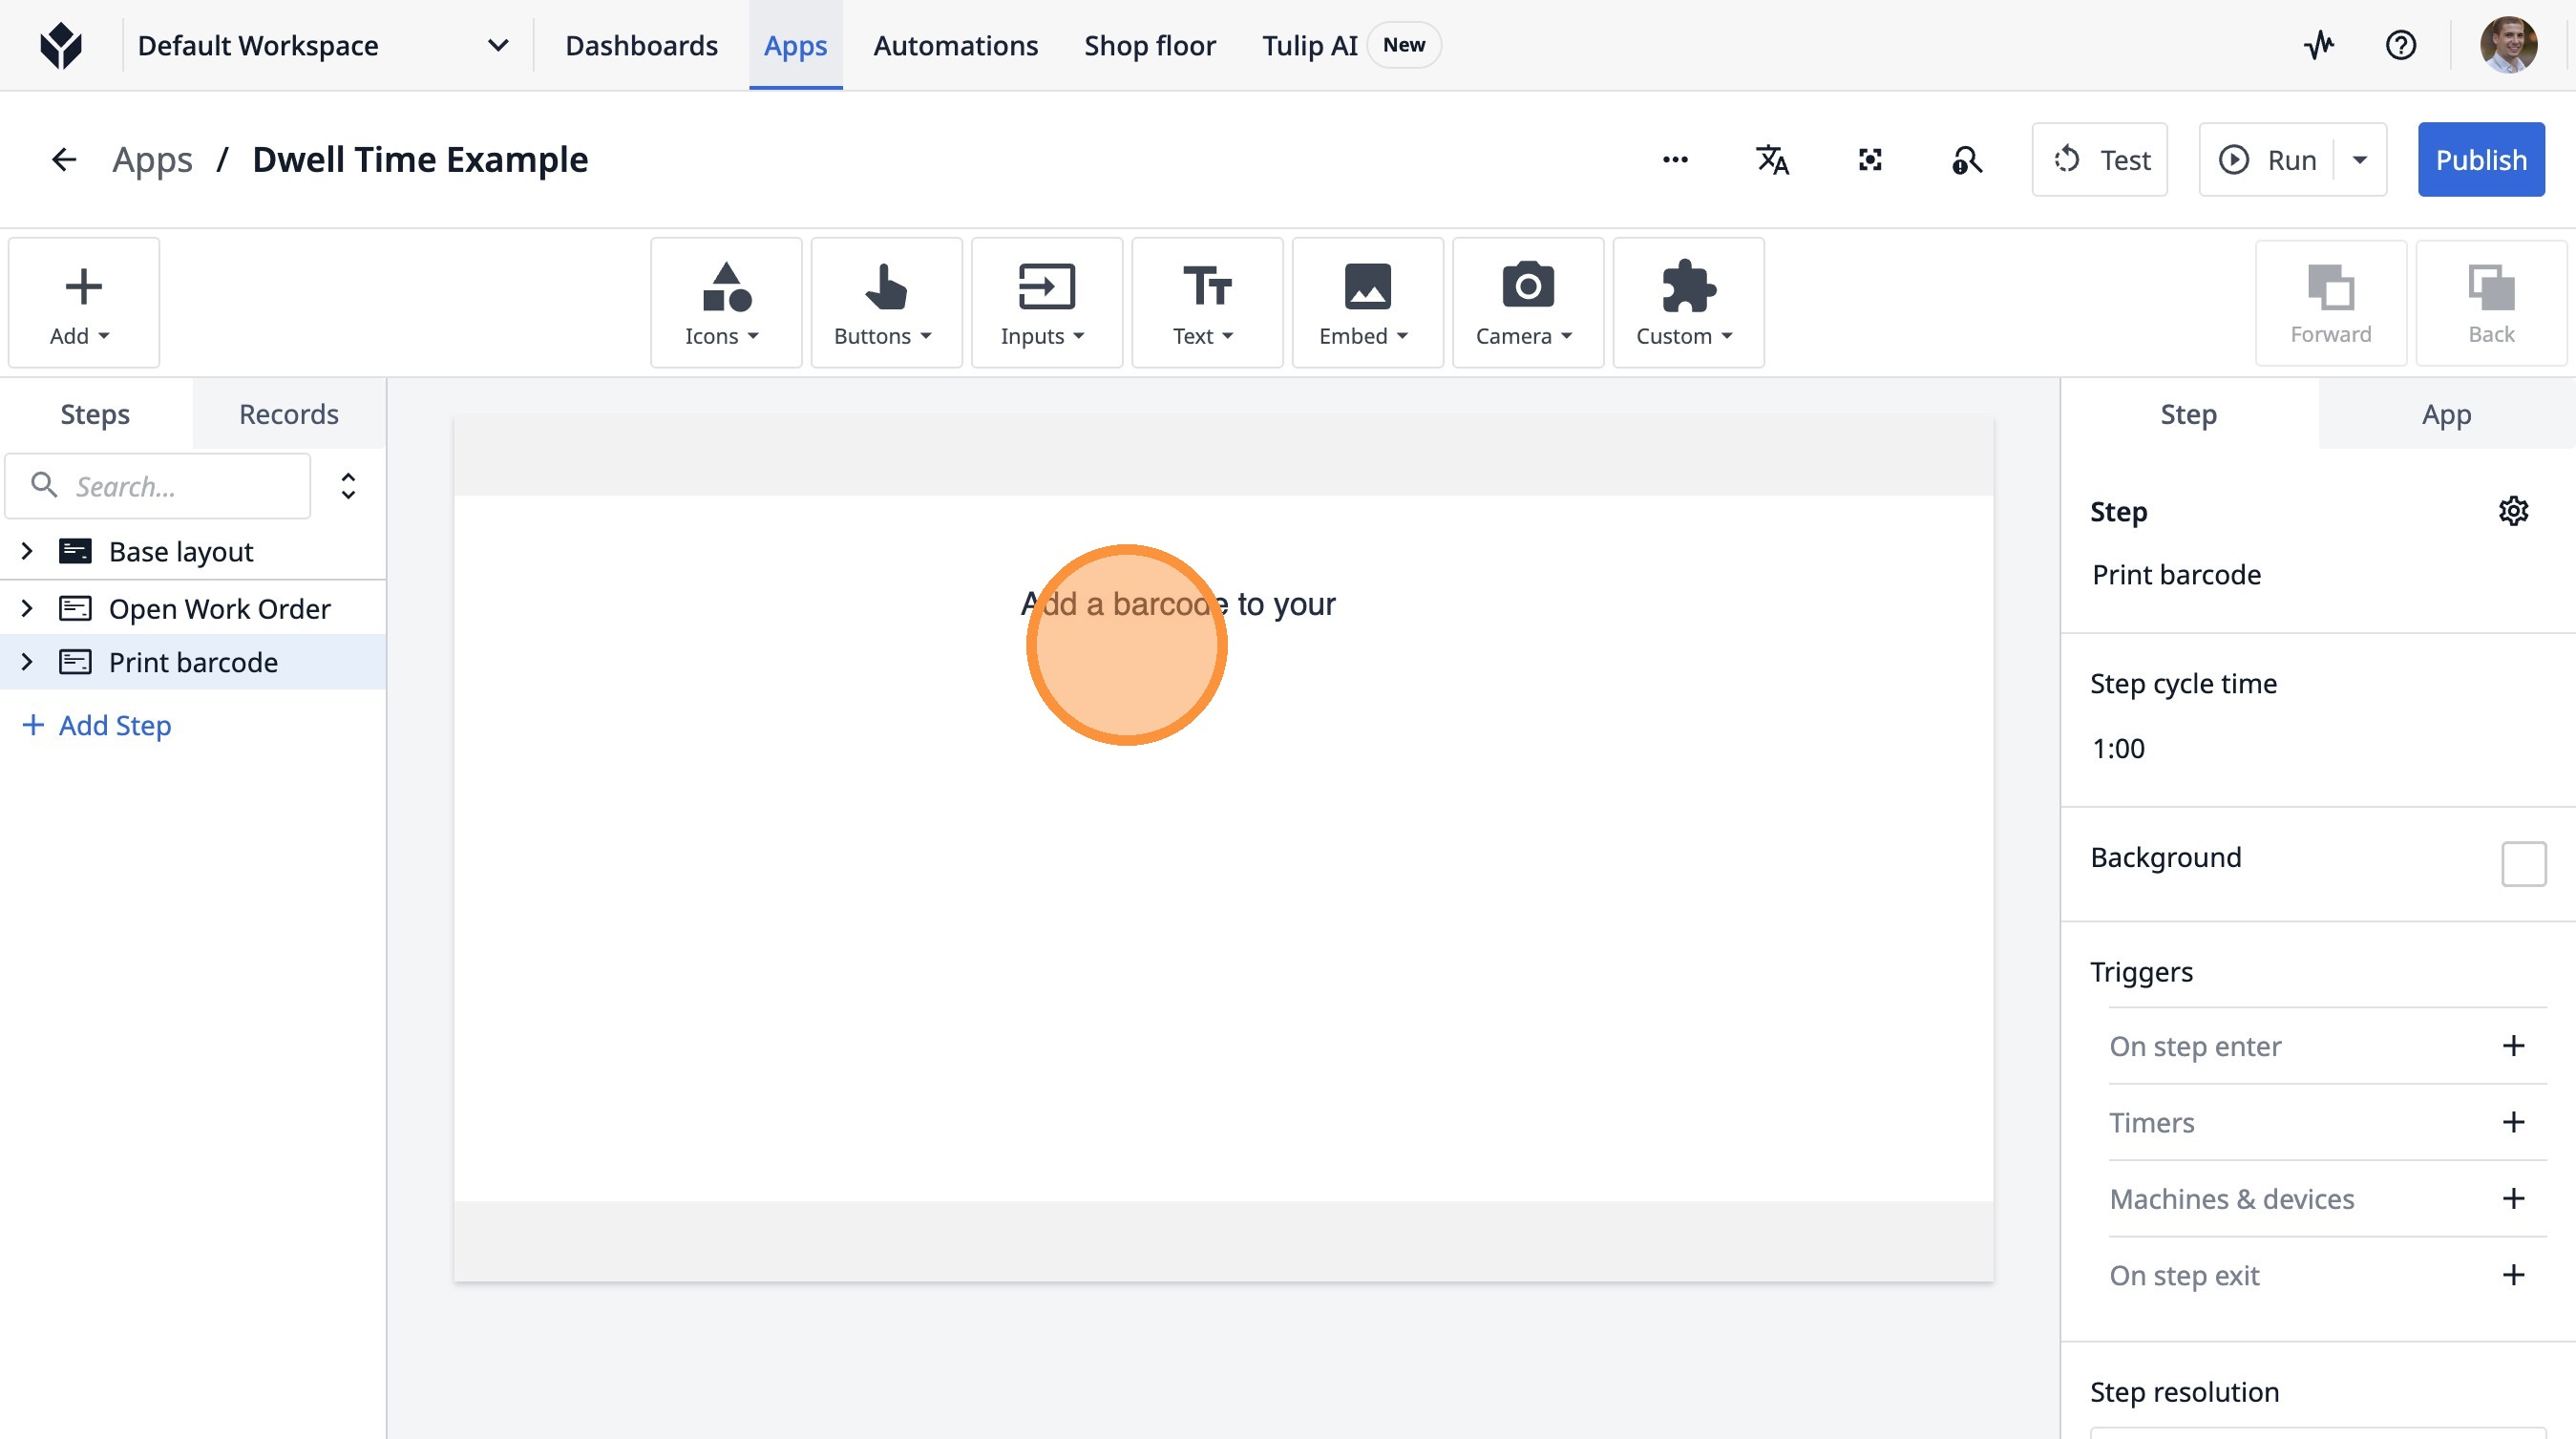
2. Double-click "Untitled Step"
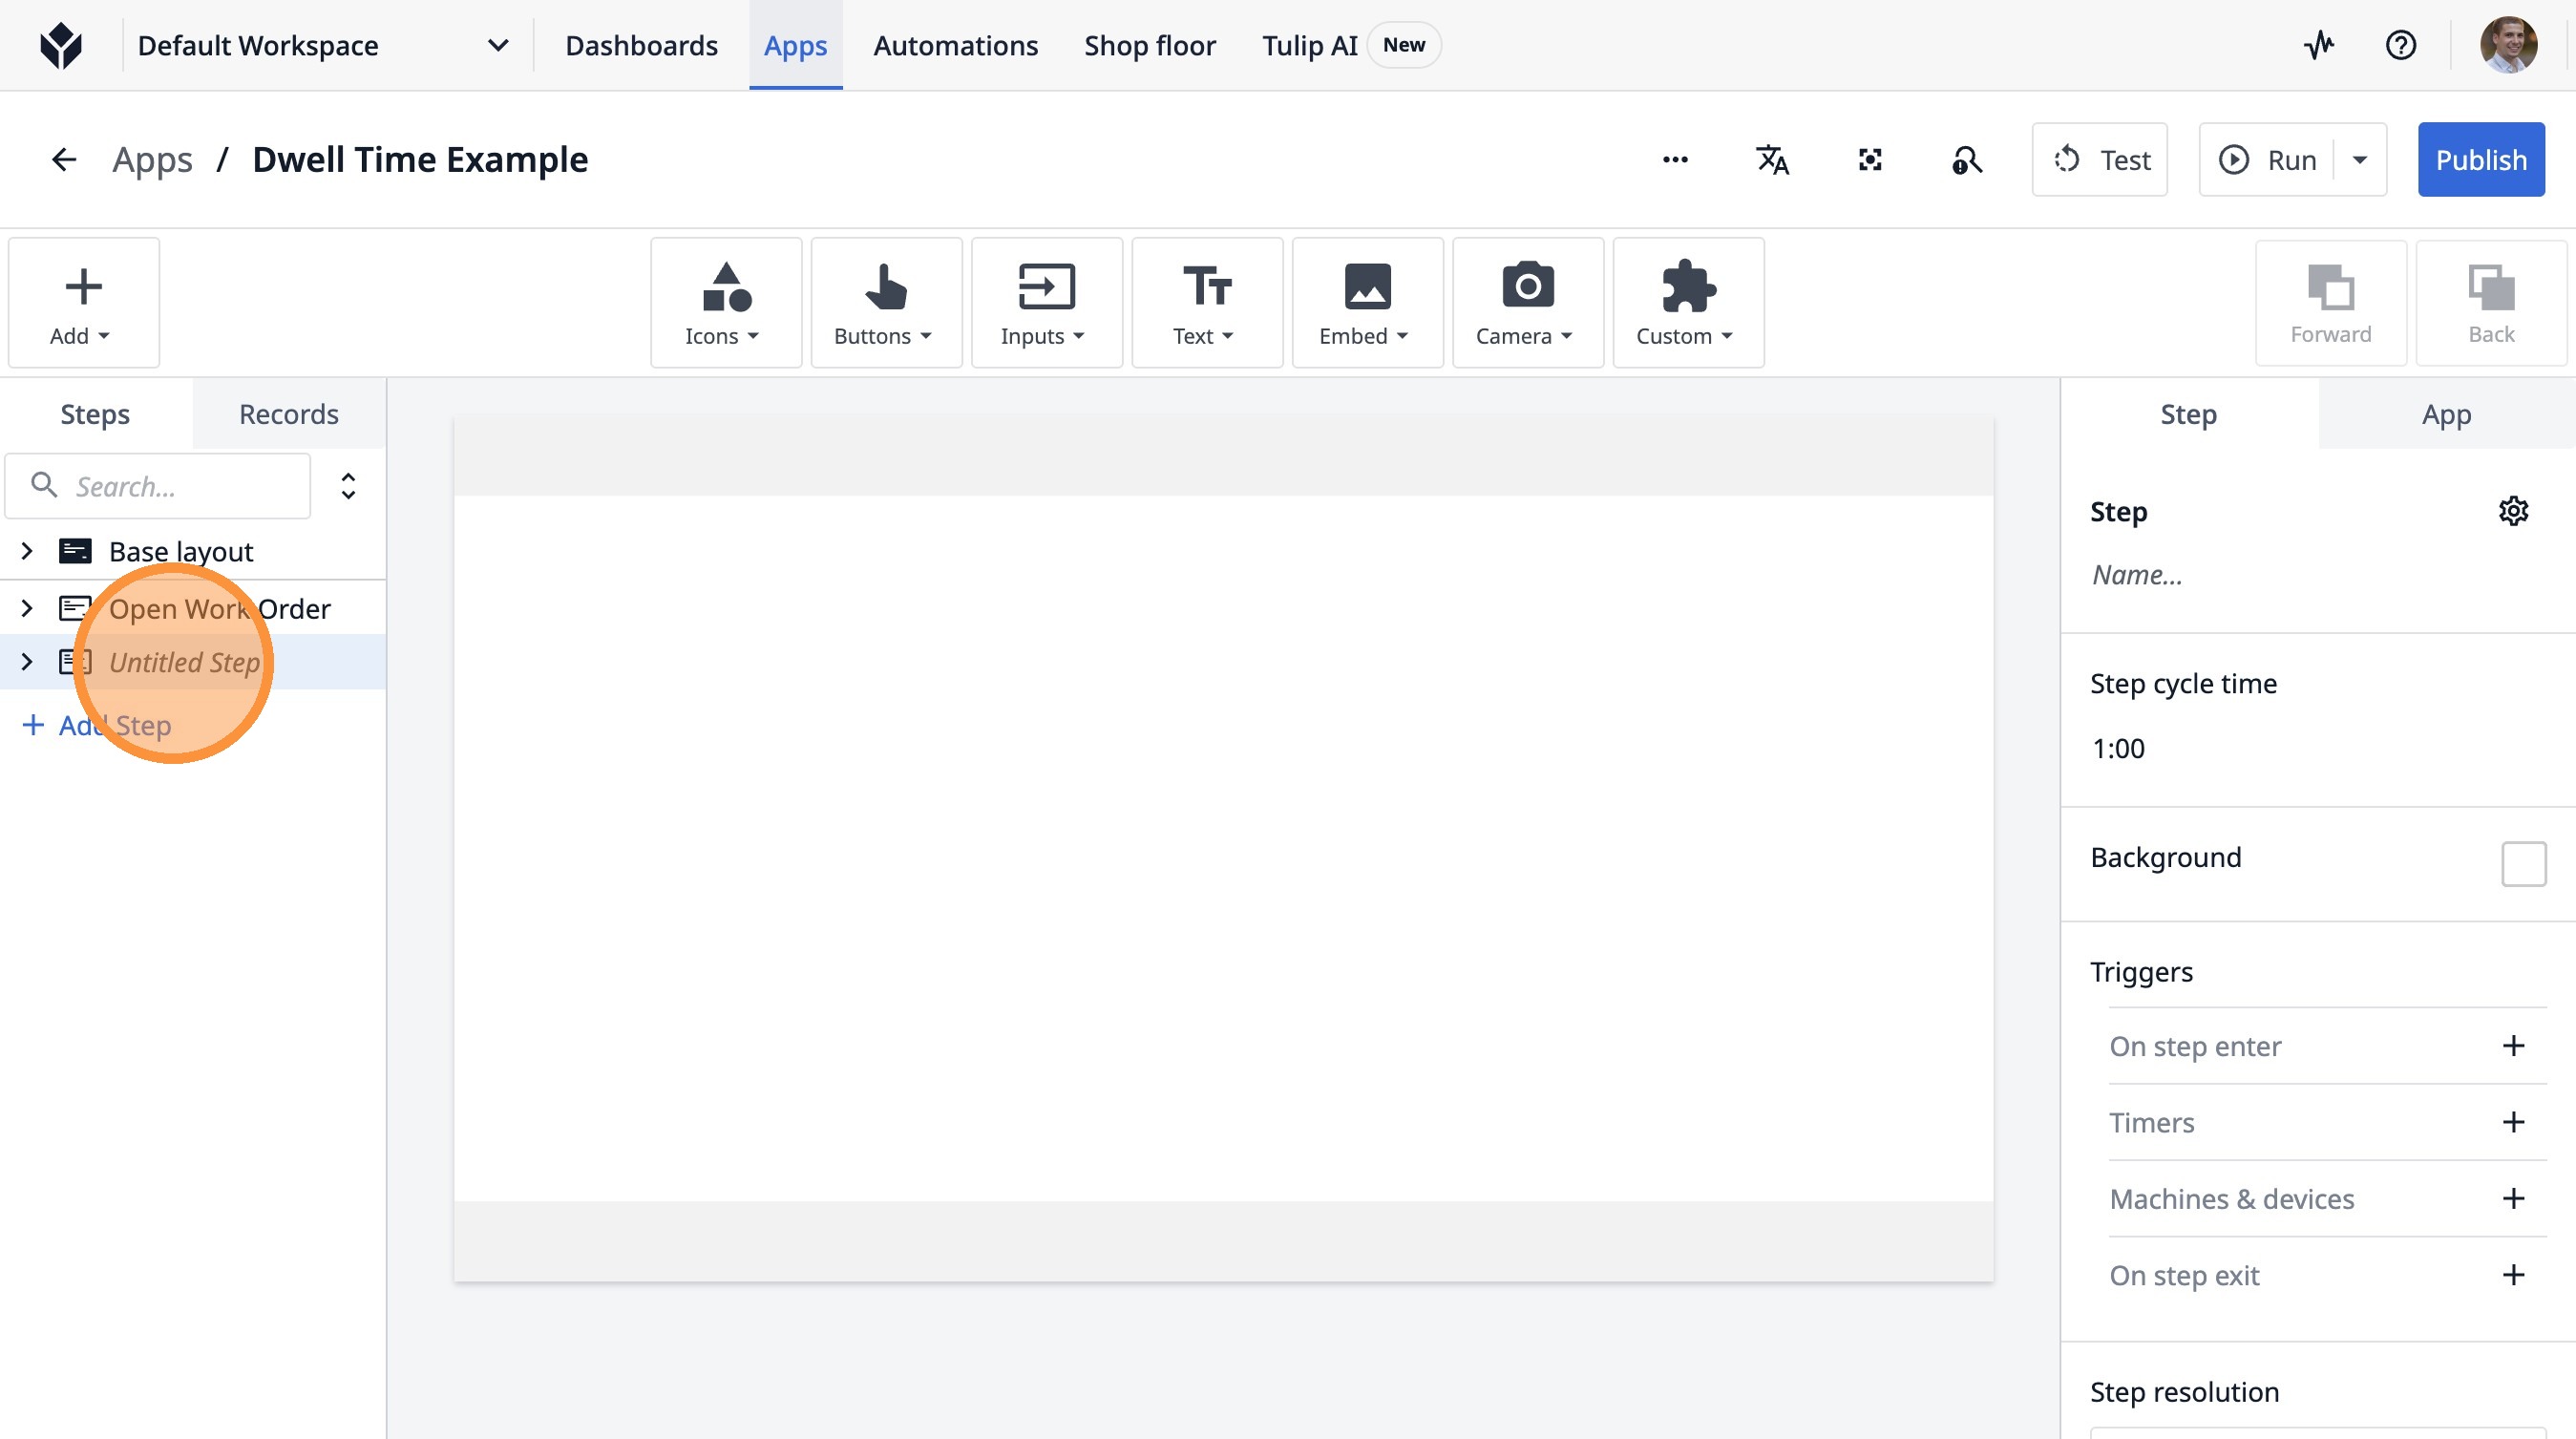
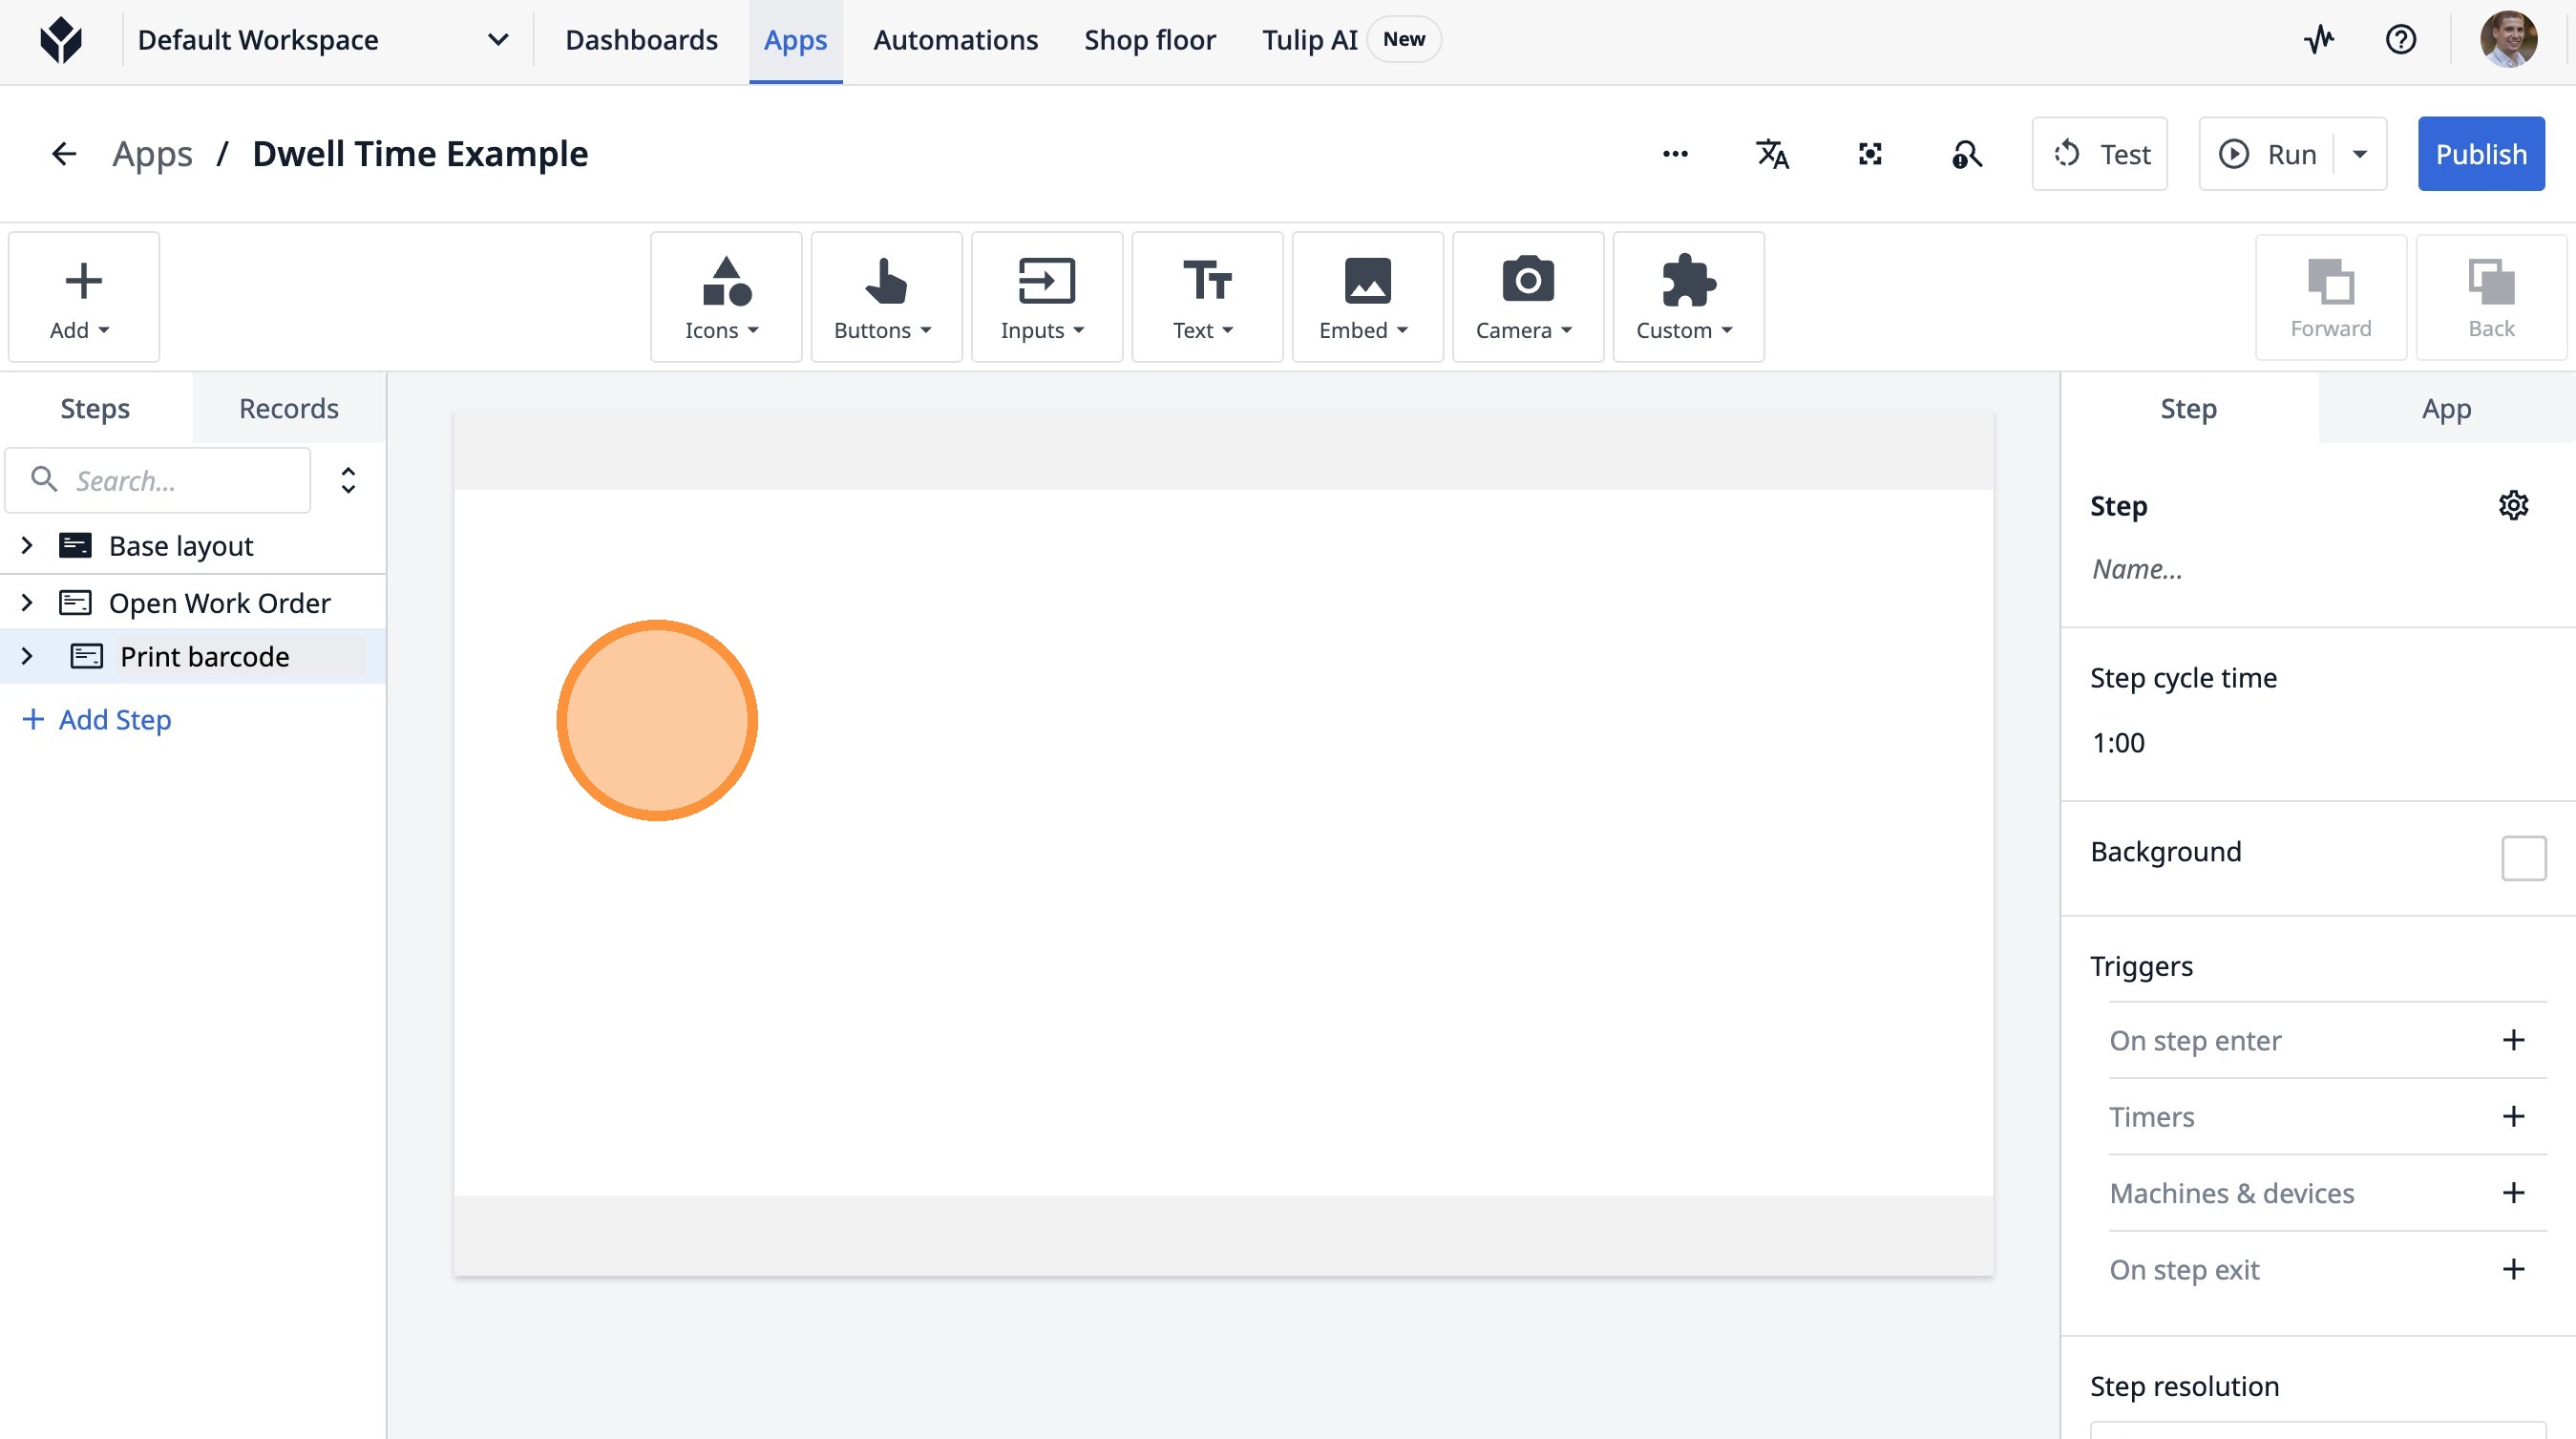
3. Type "Print barcode"
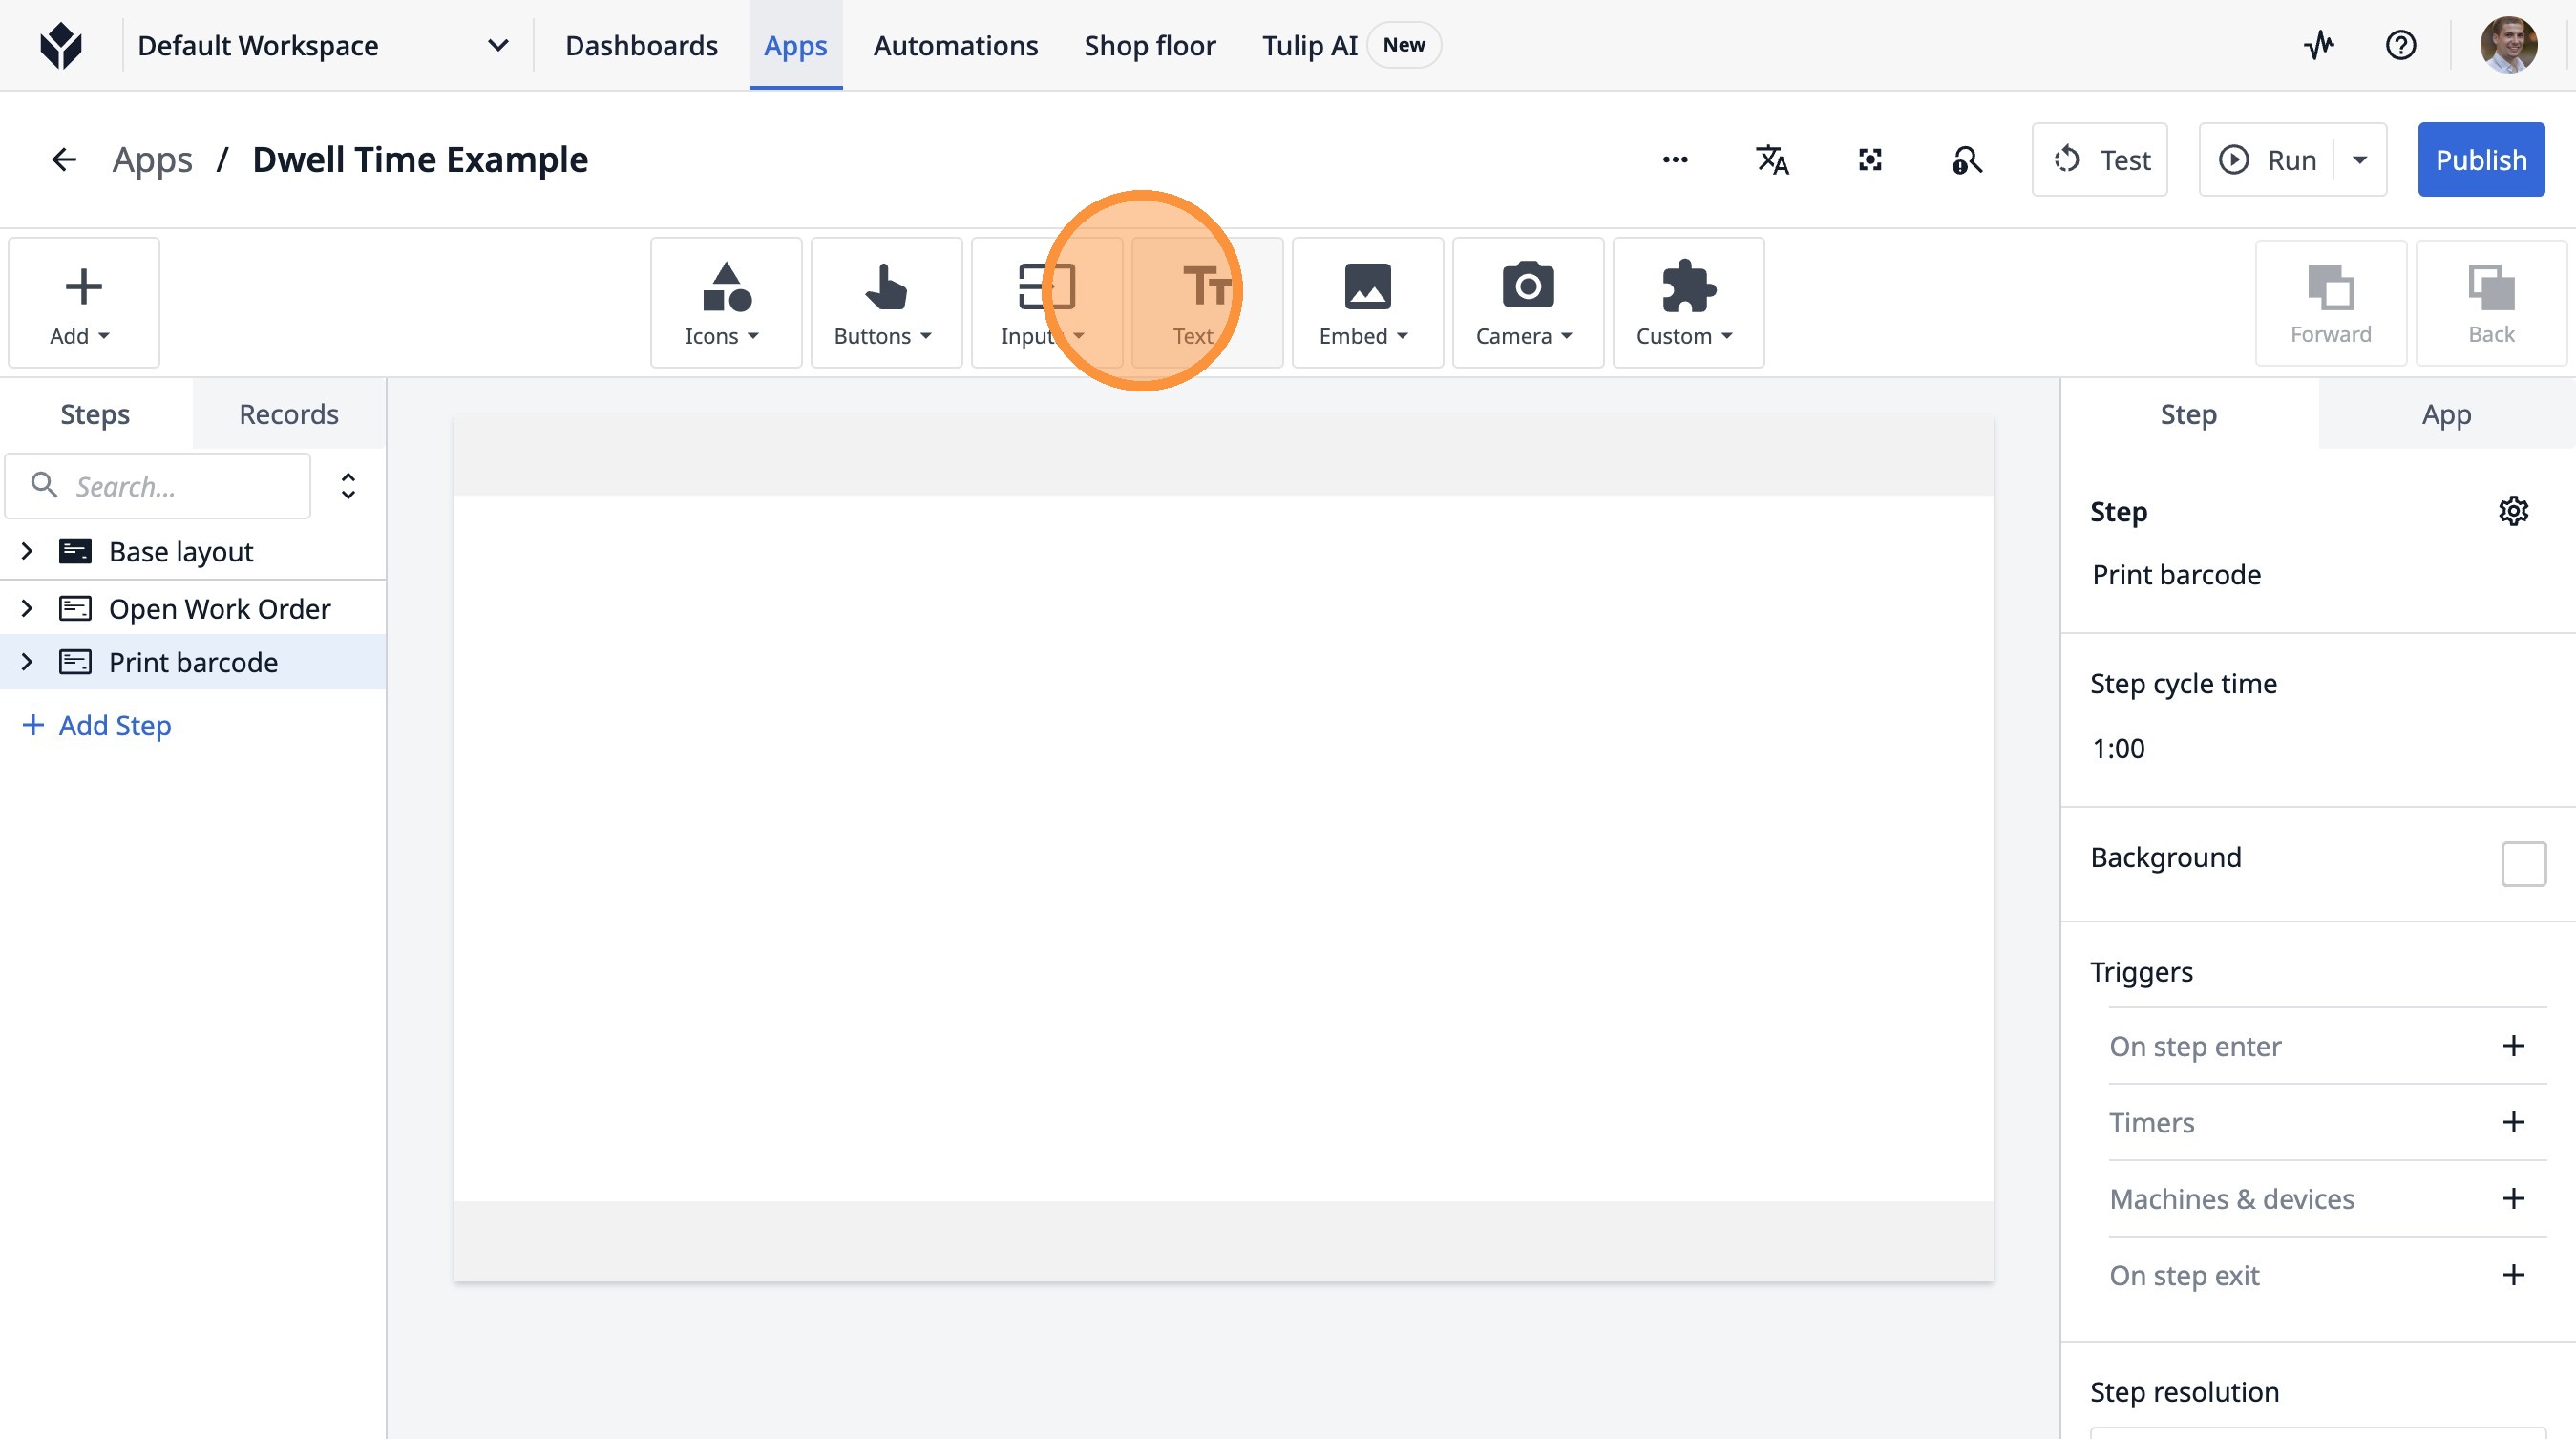
4. Click here.
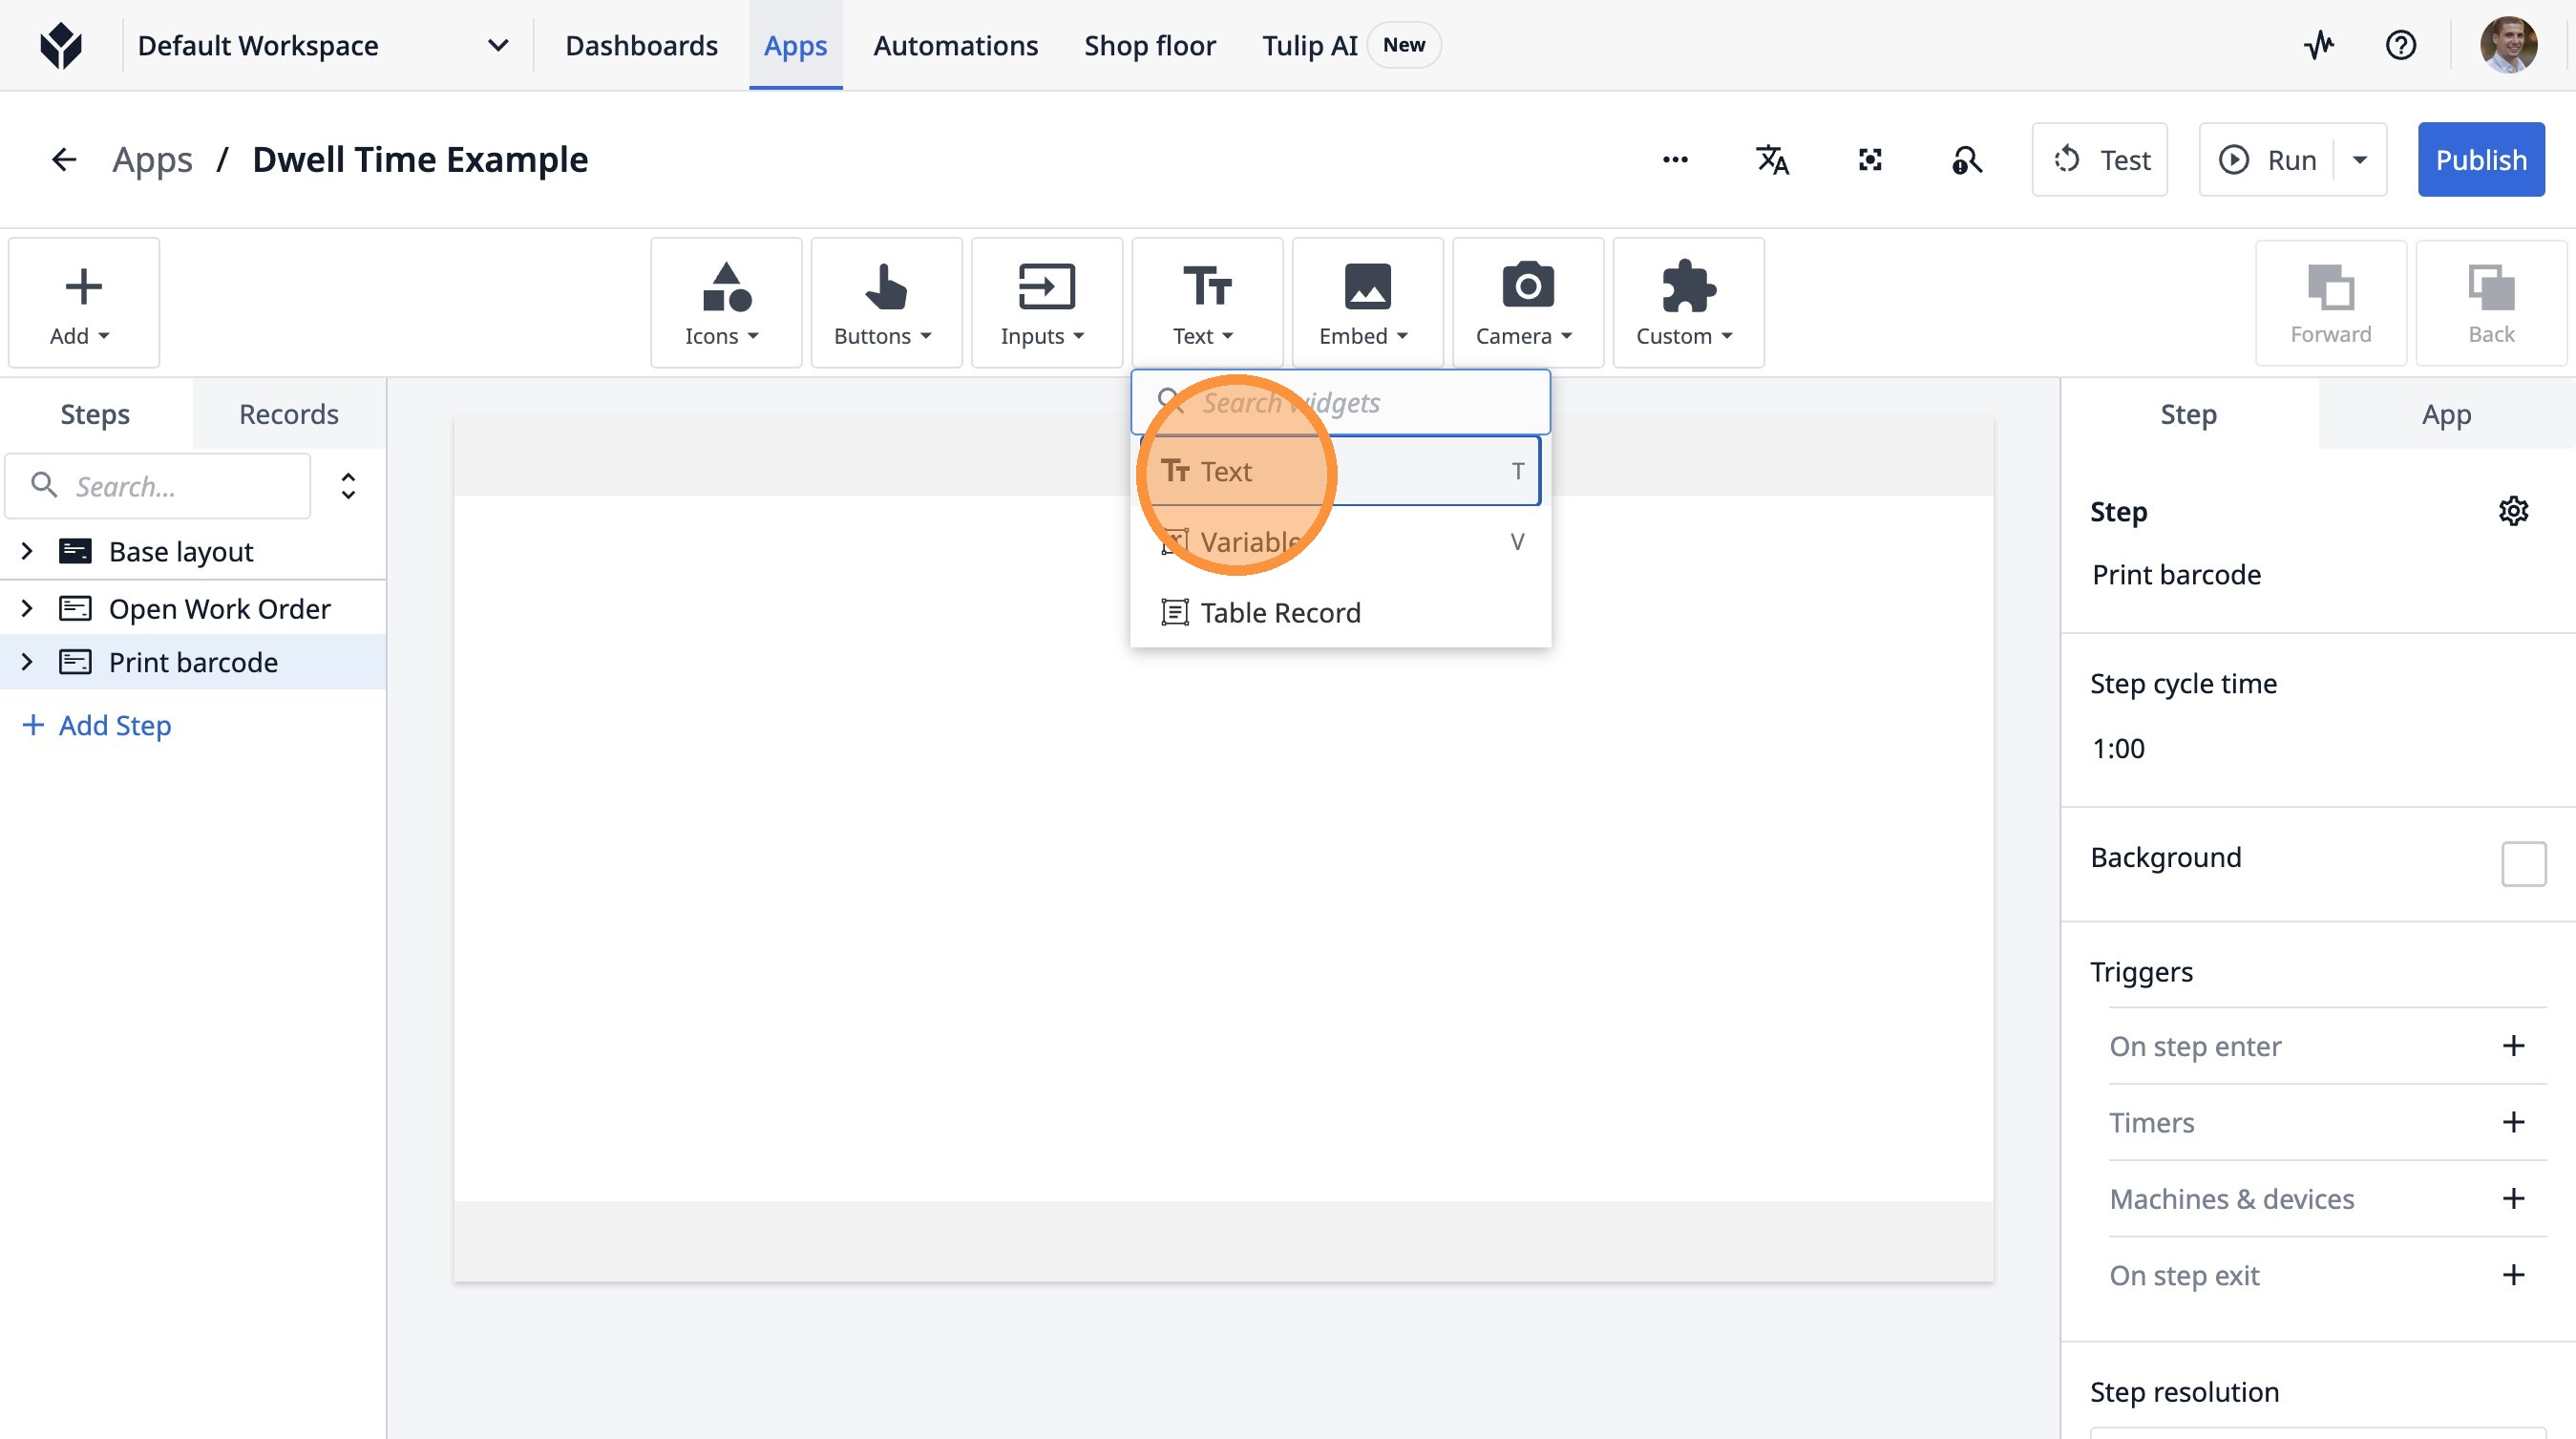
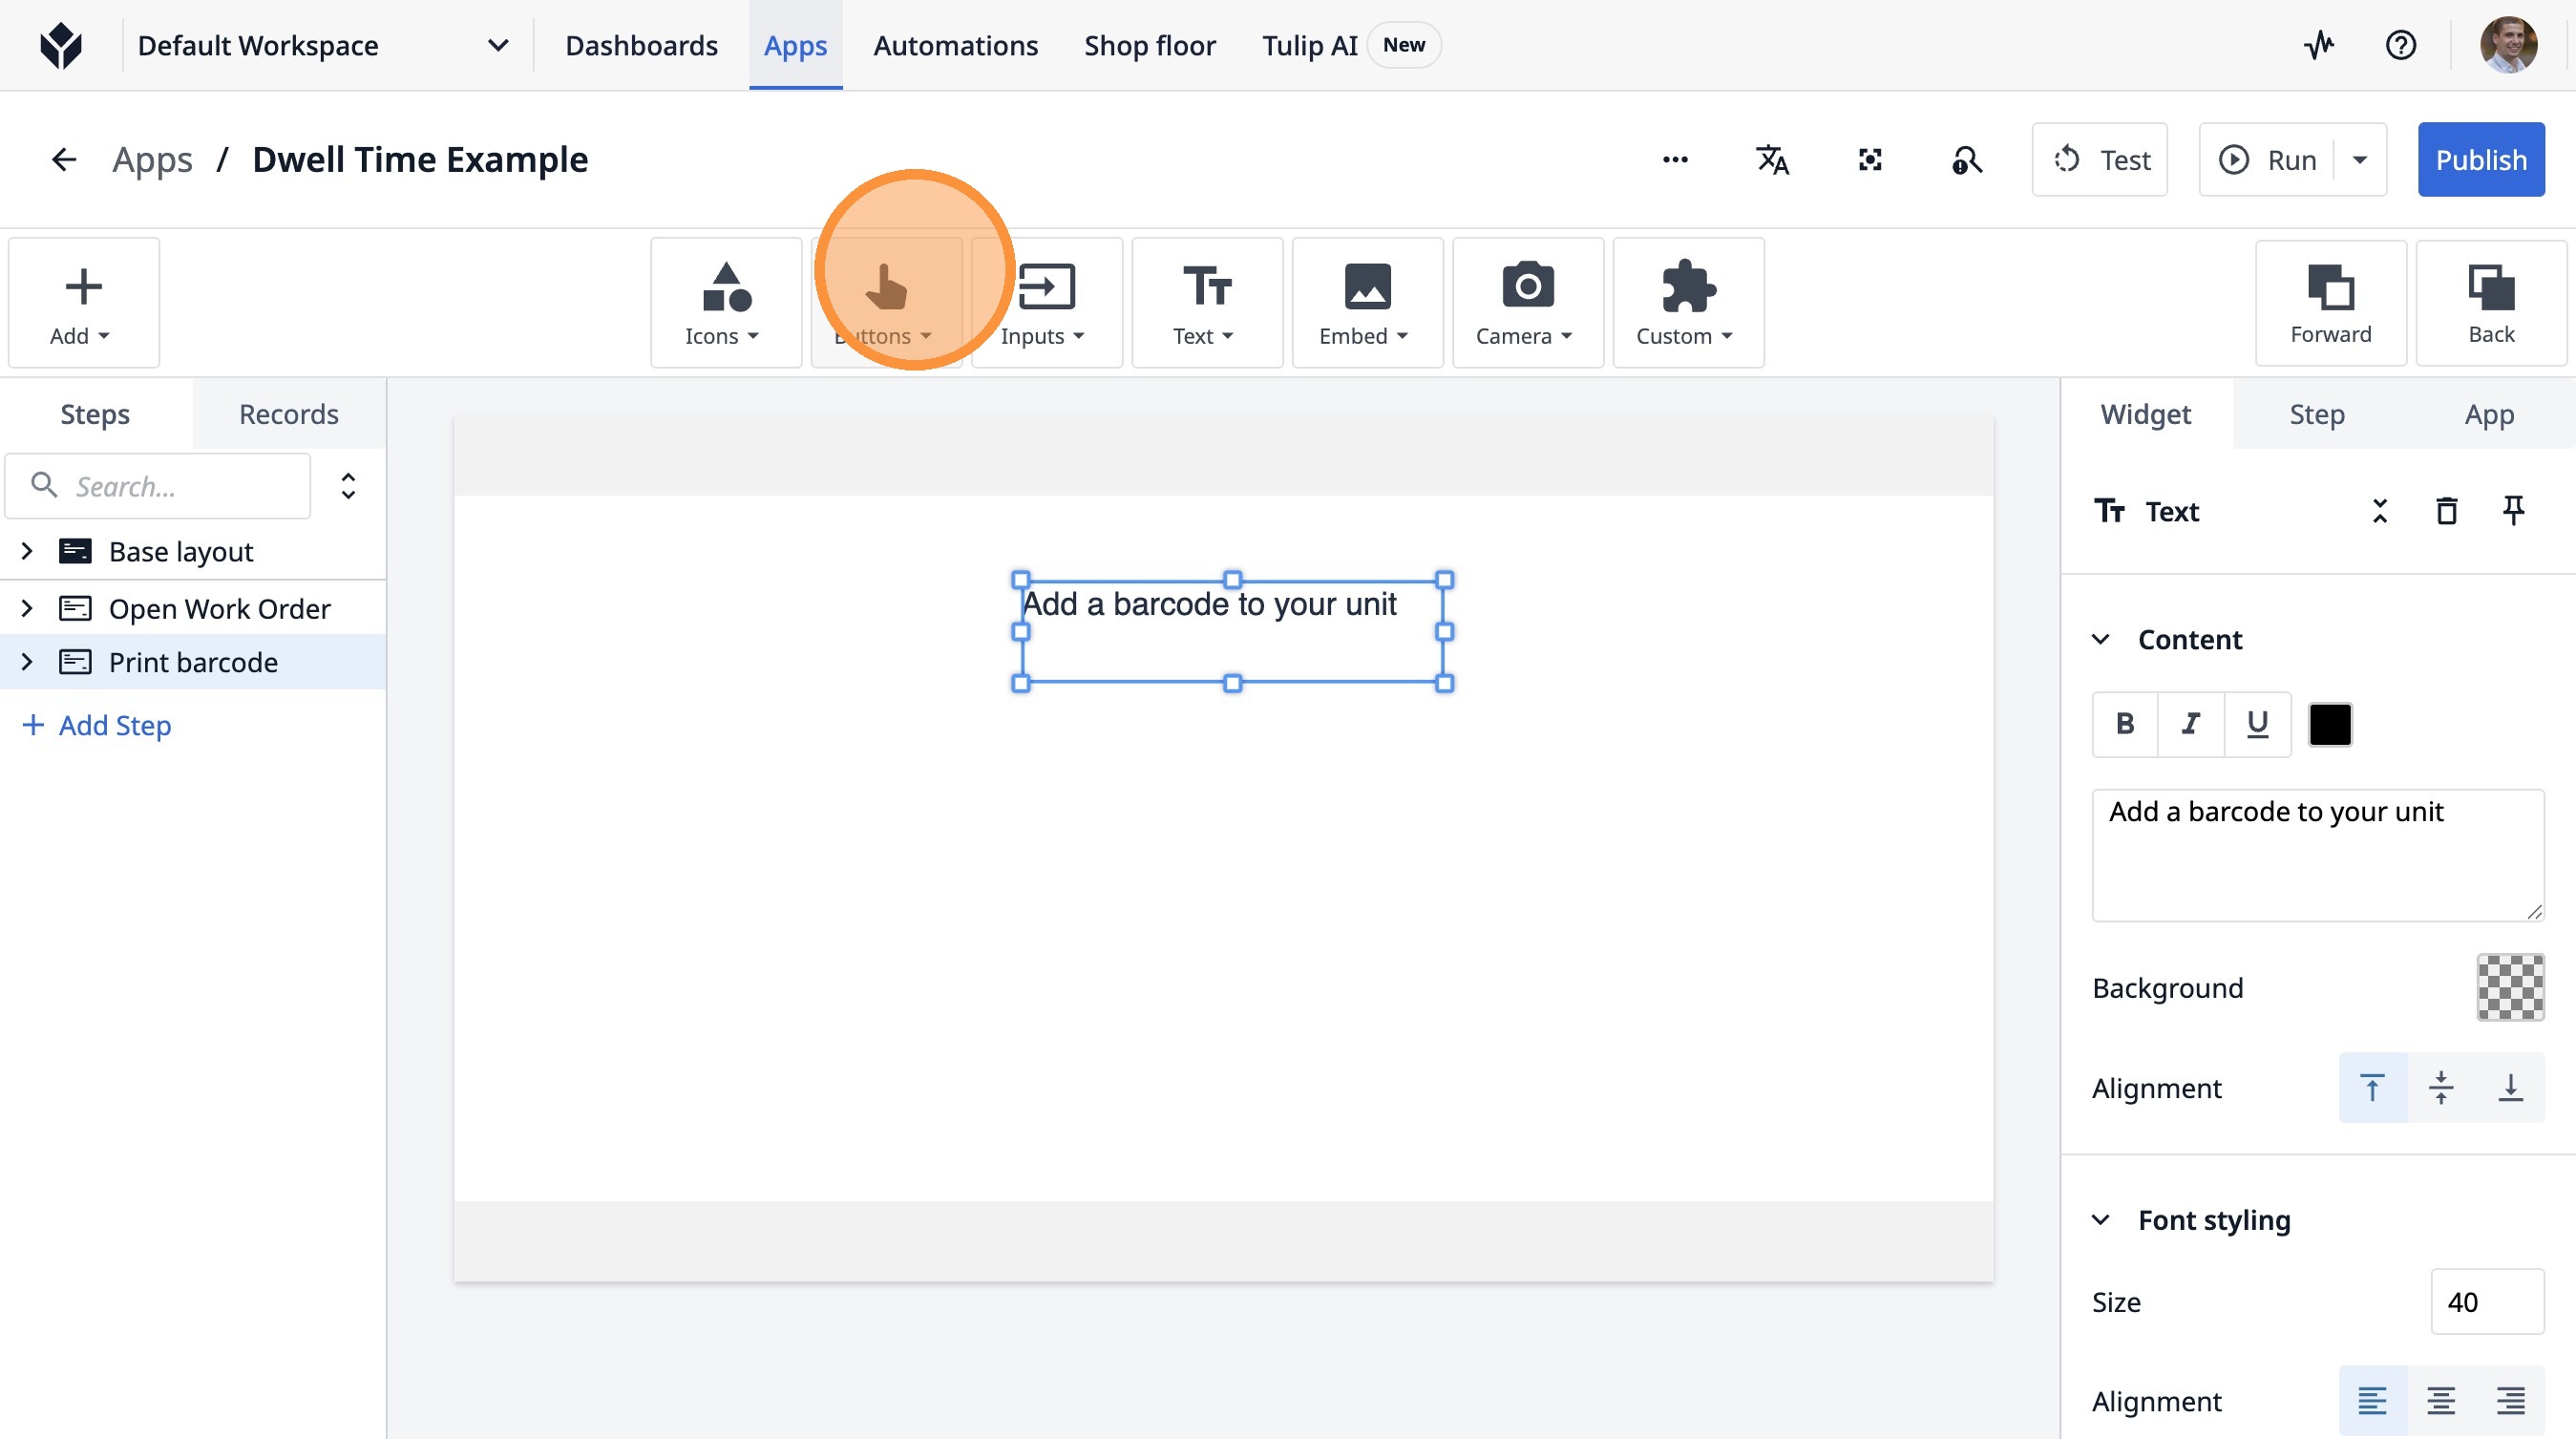
5. Click "Text"
6. Click "Text"
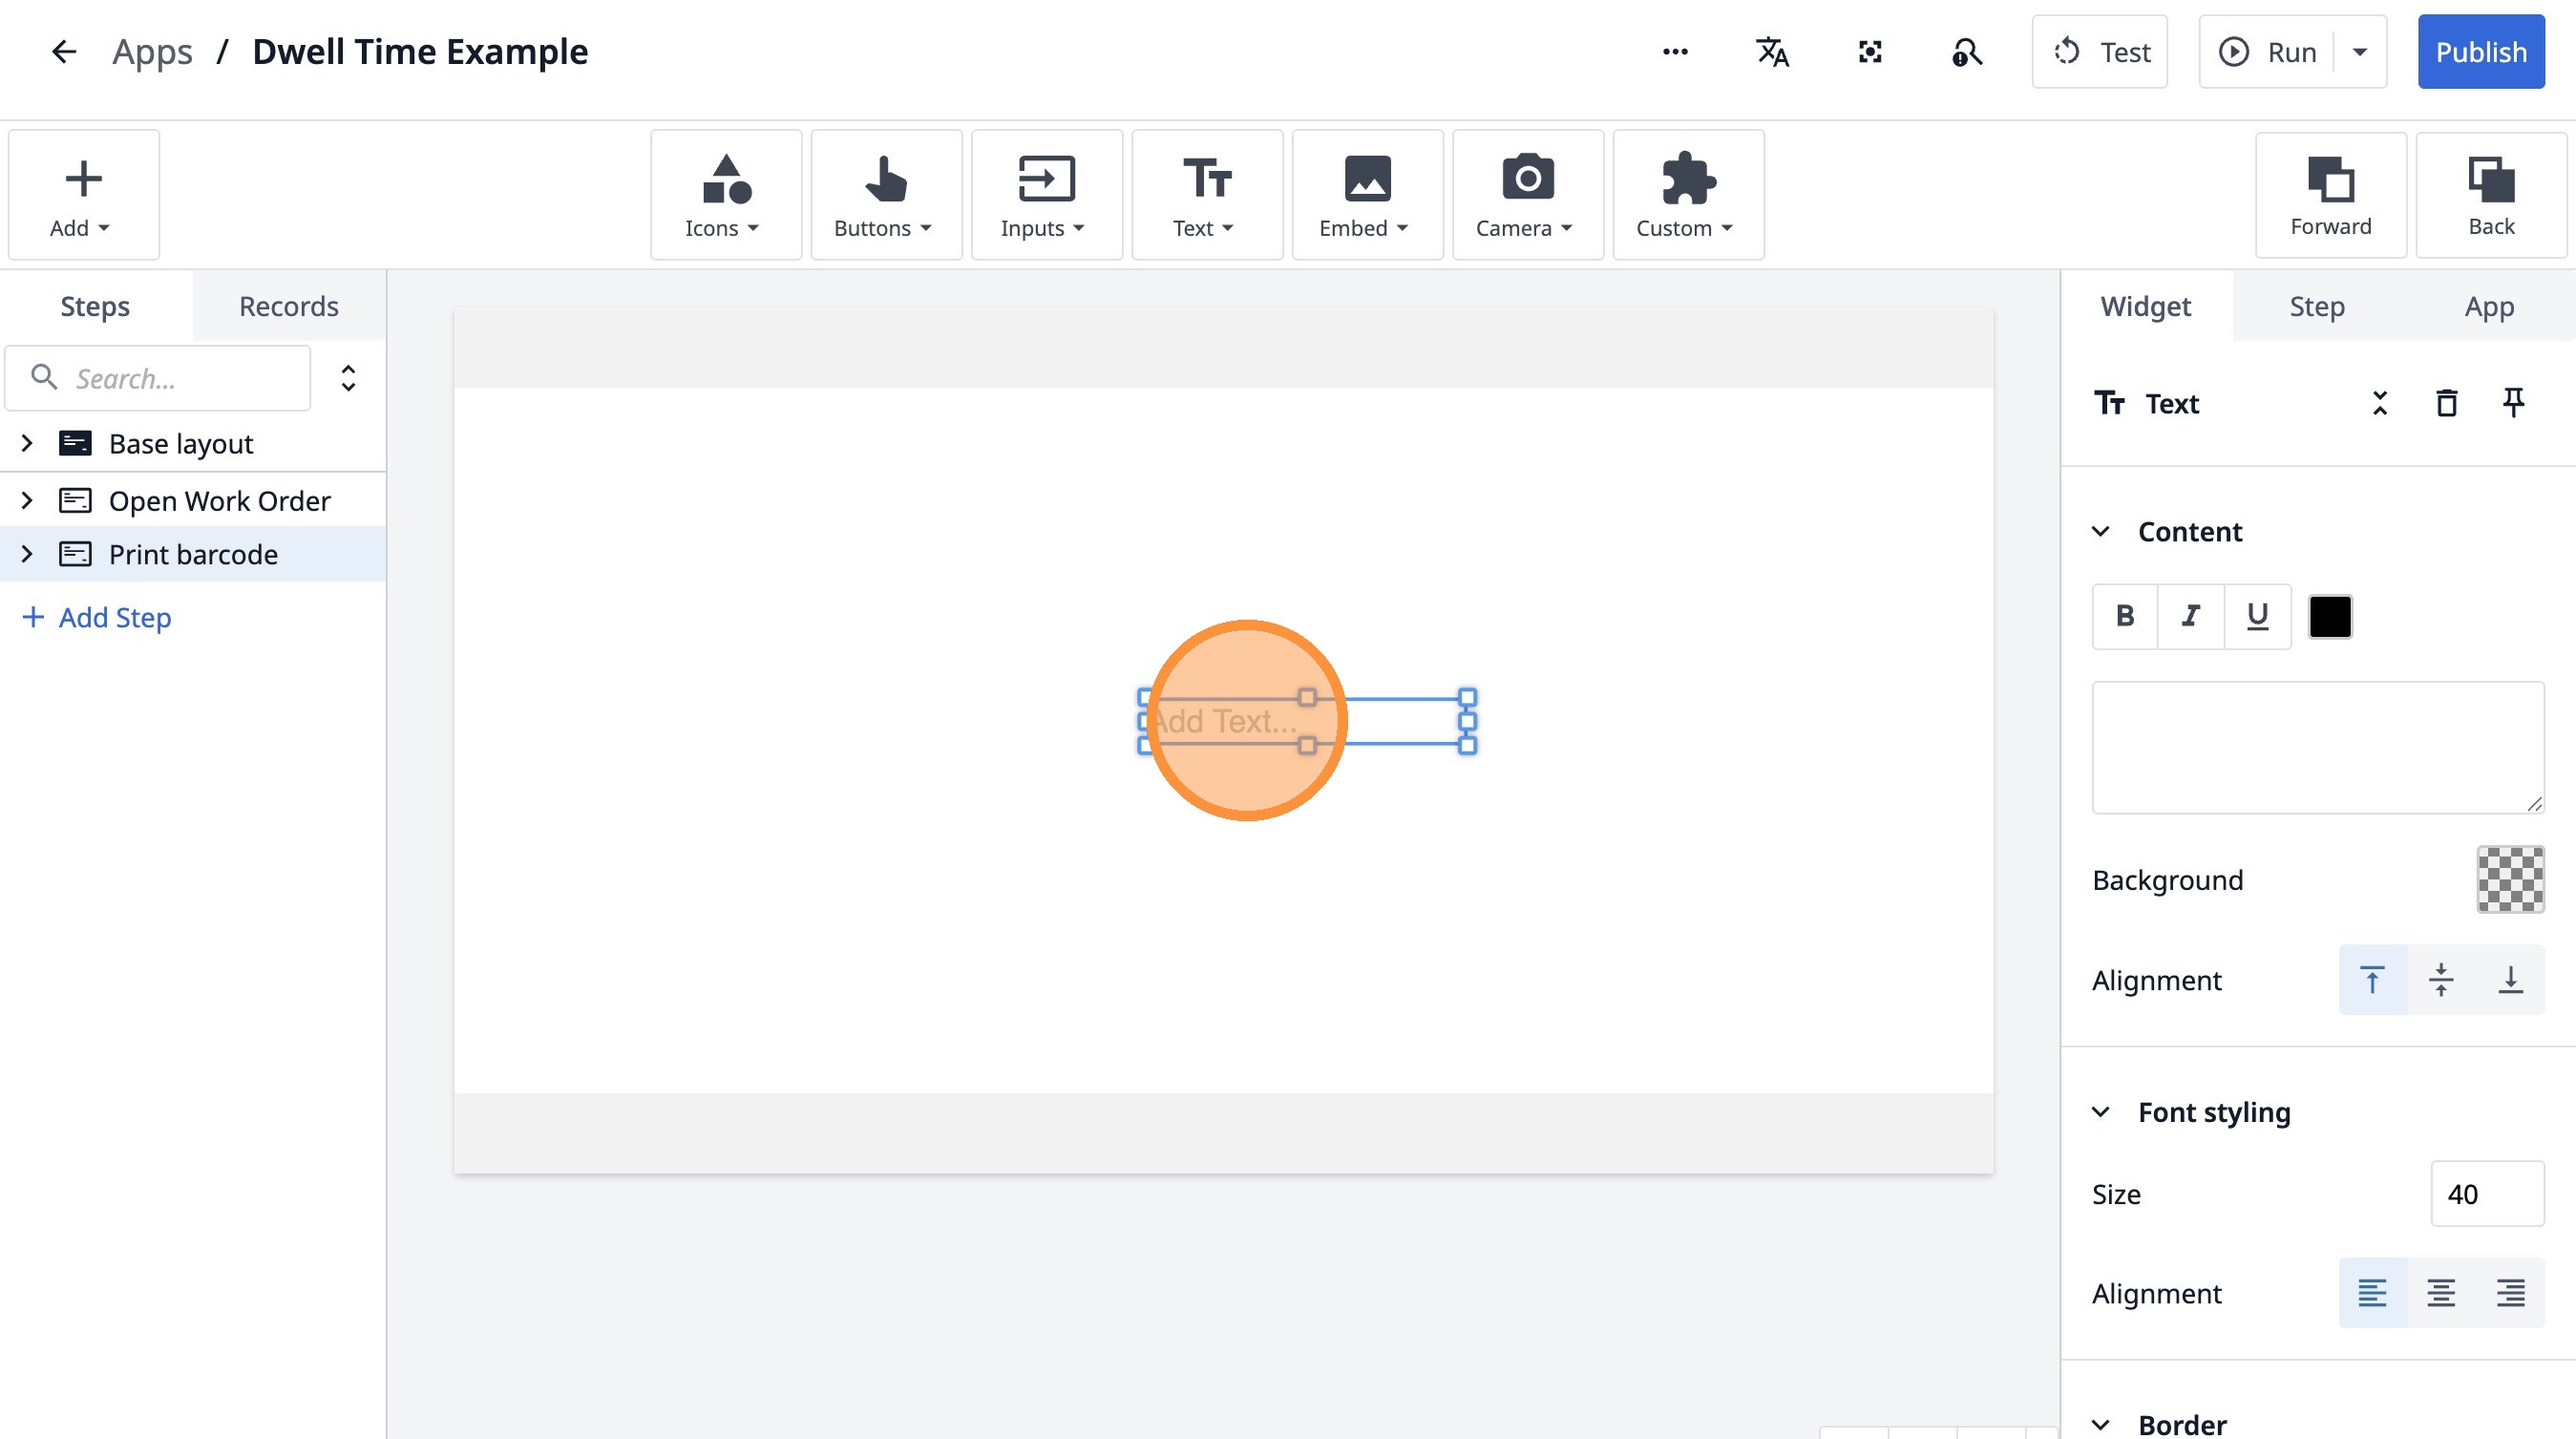
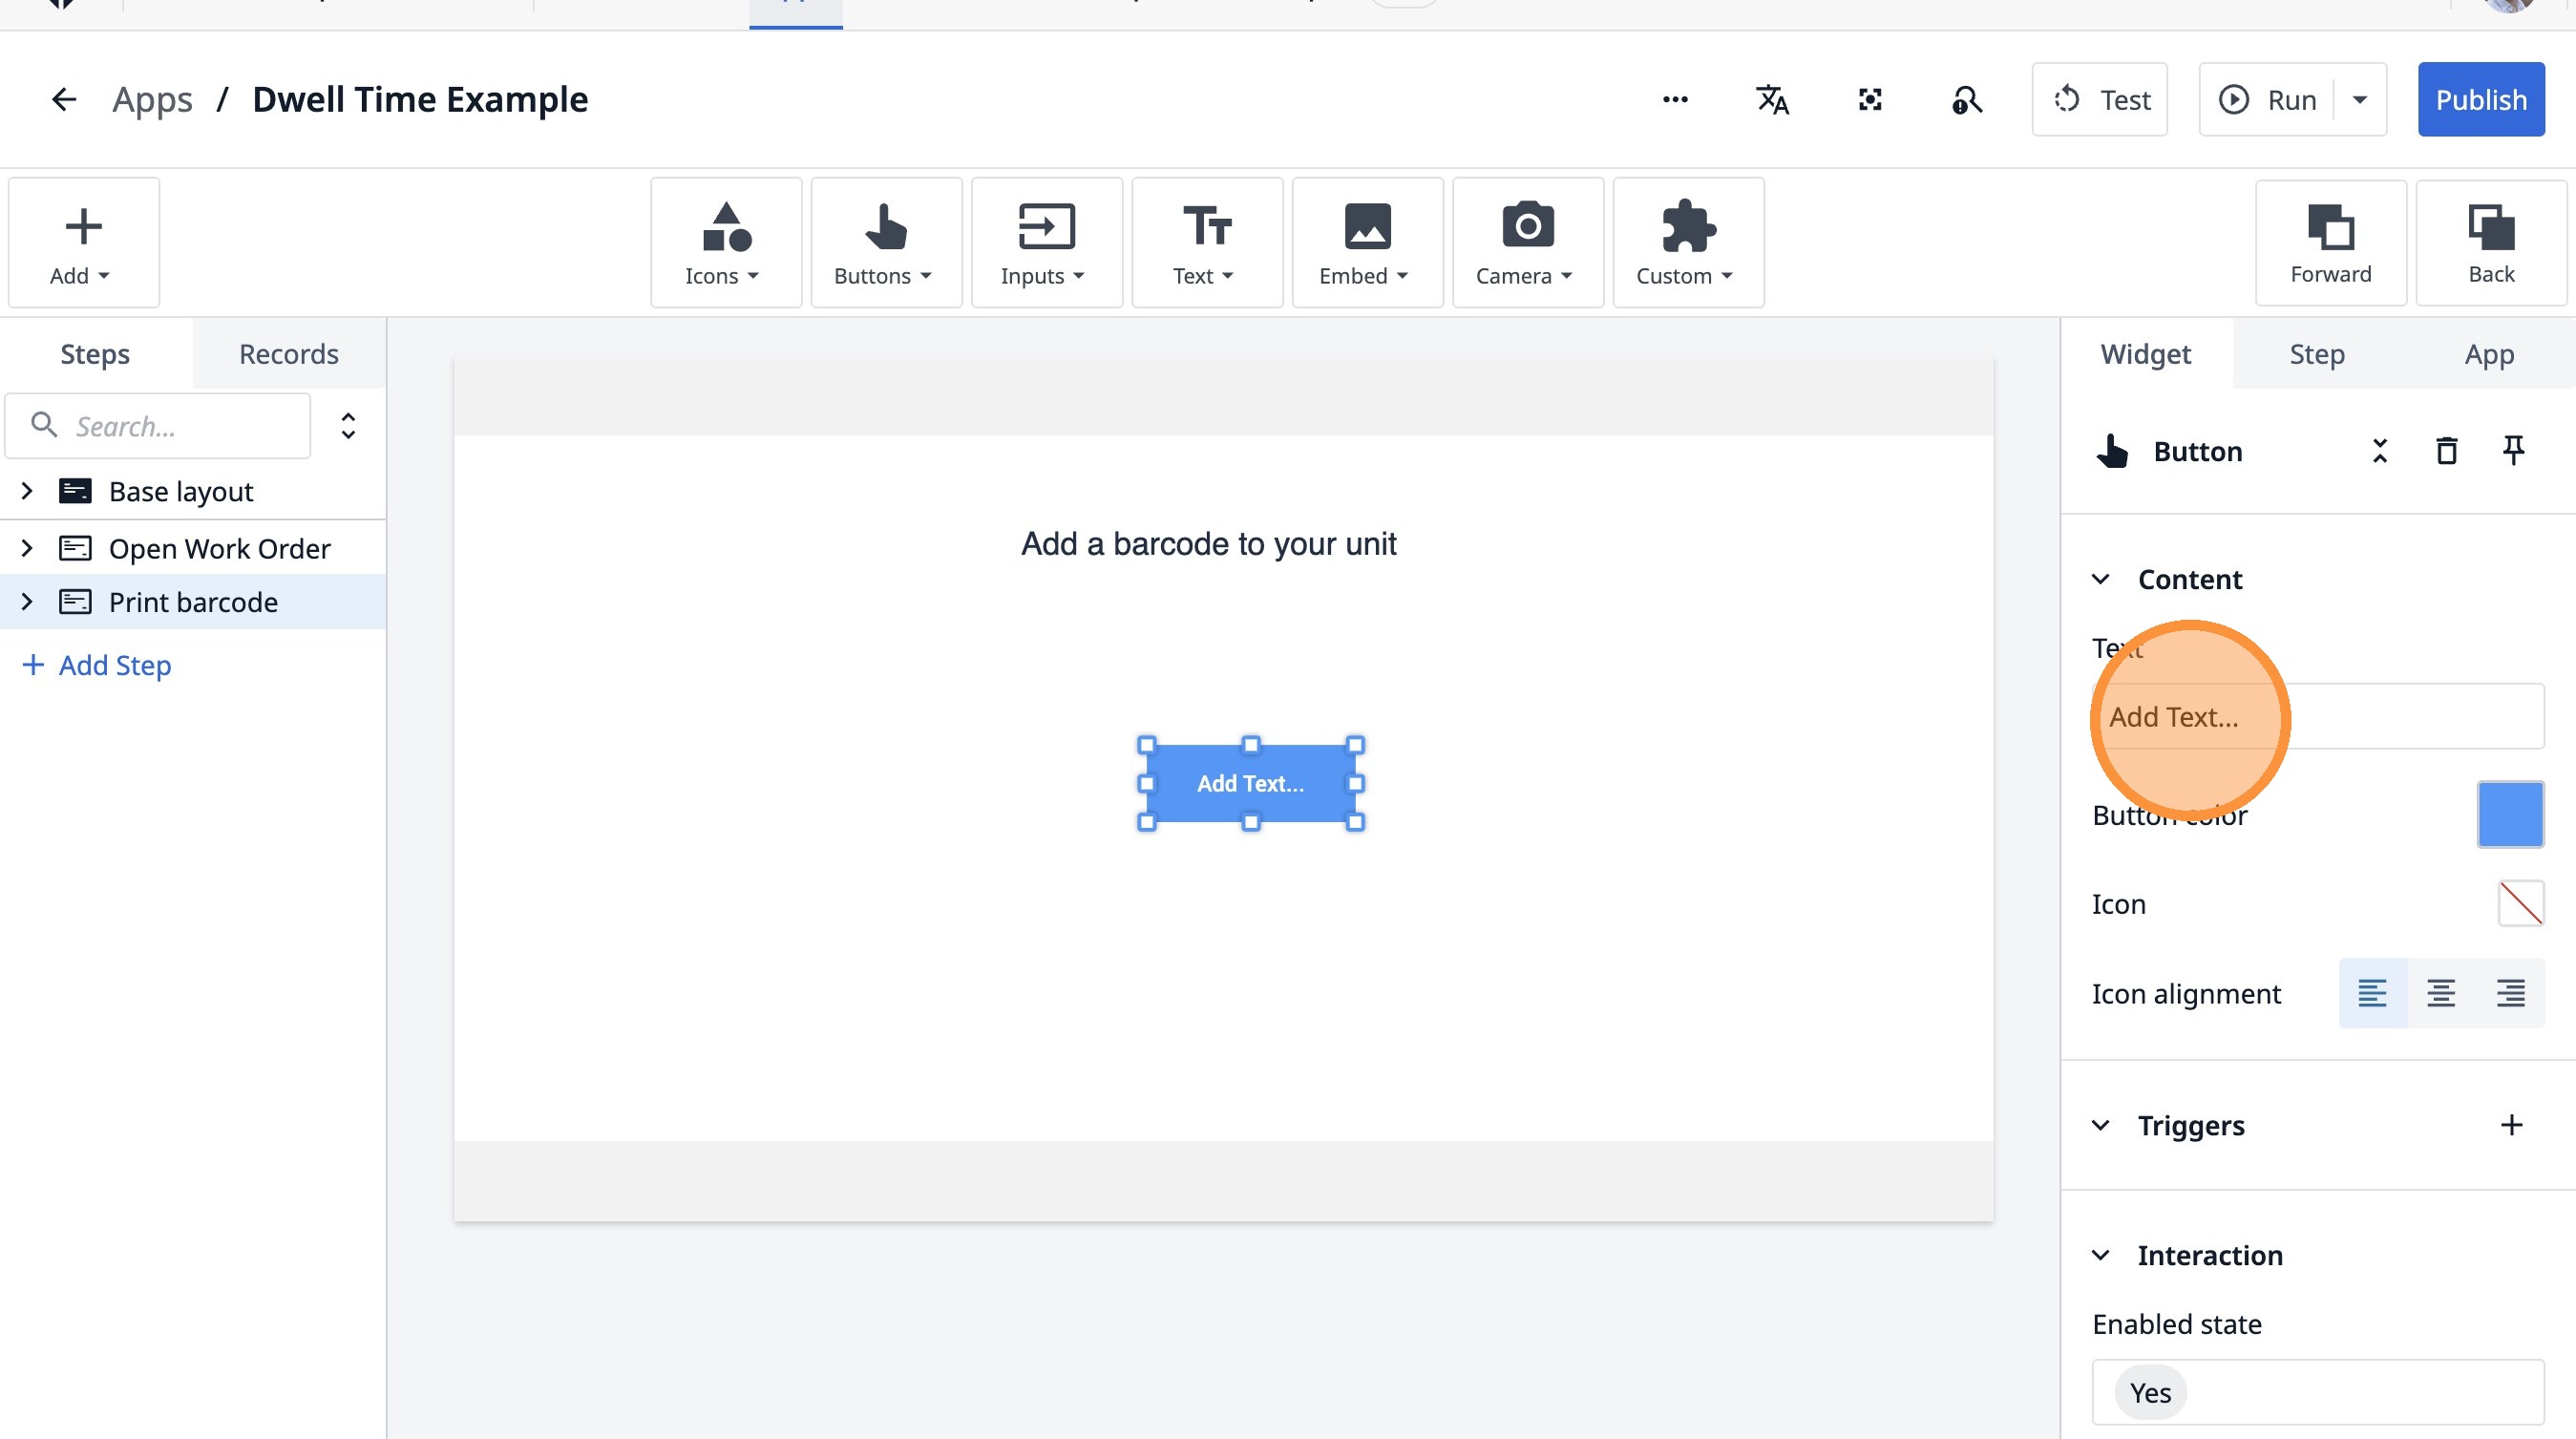
7. Click "Add Text..."
8. Click here.
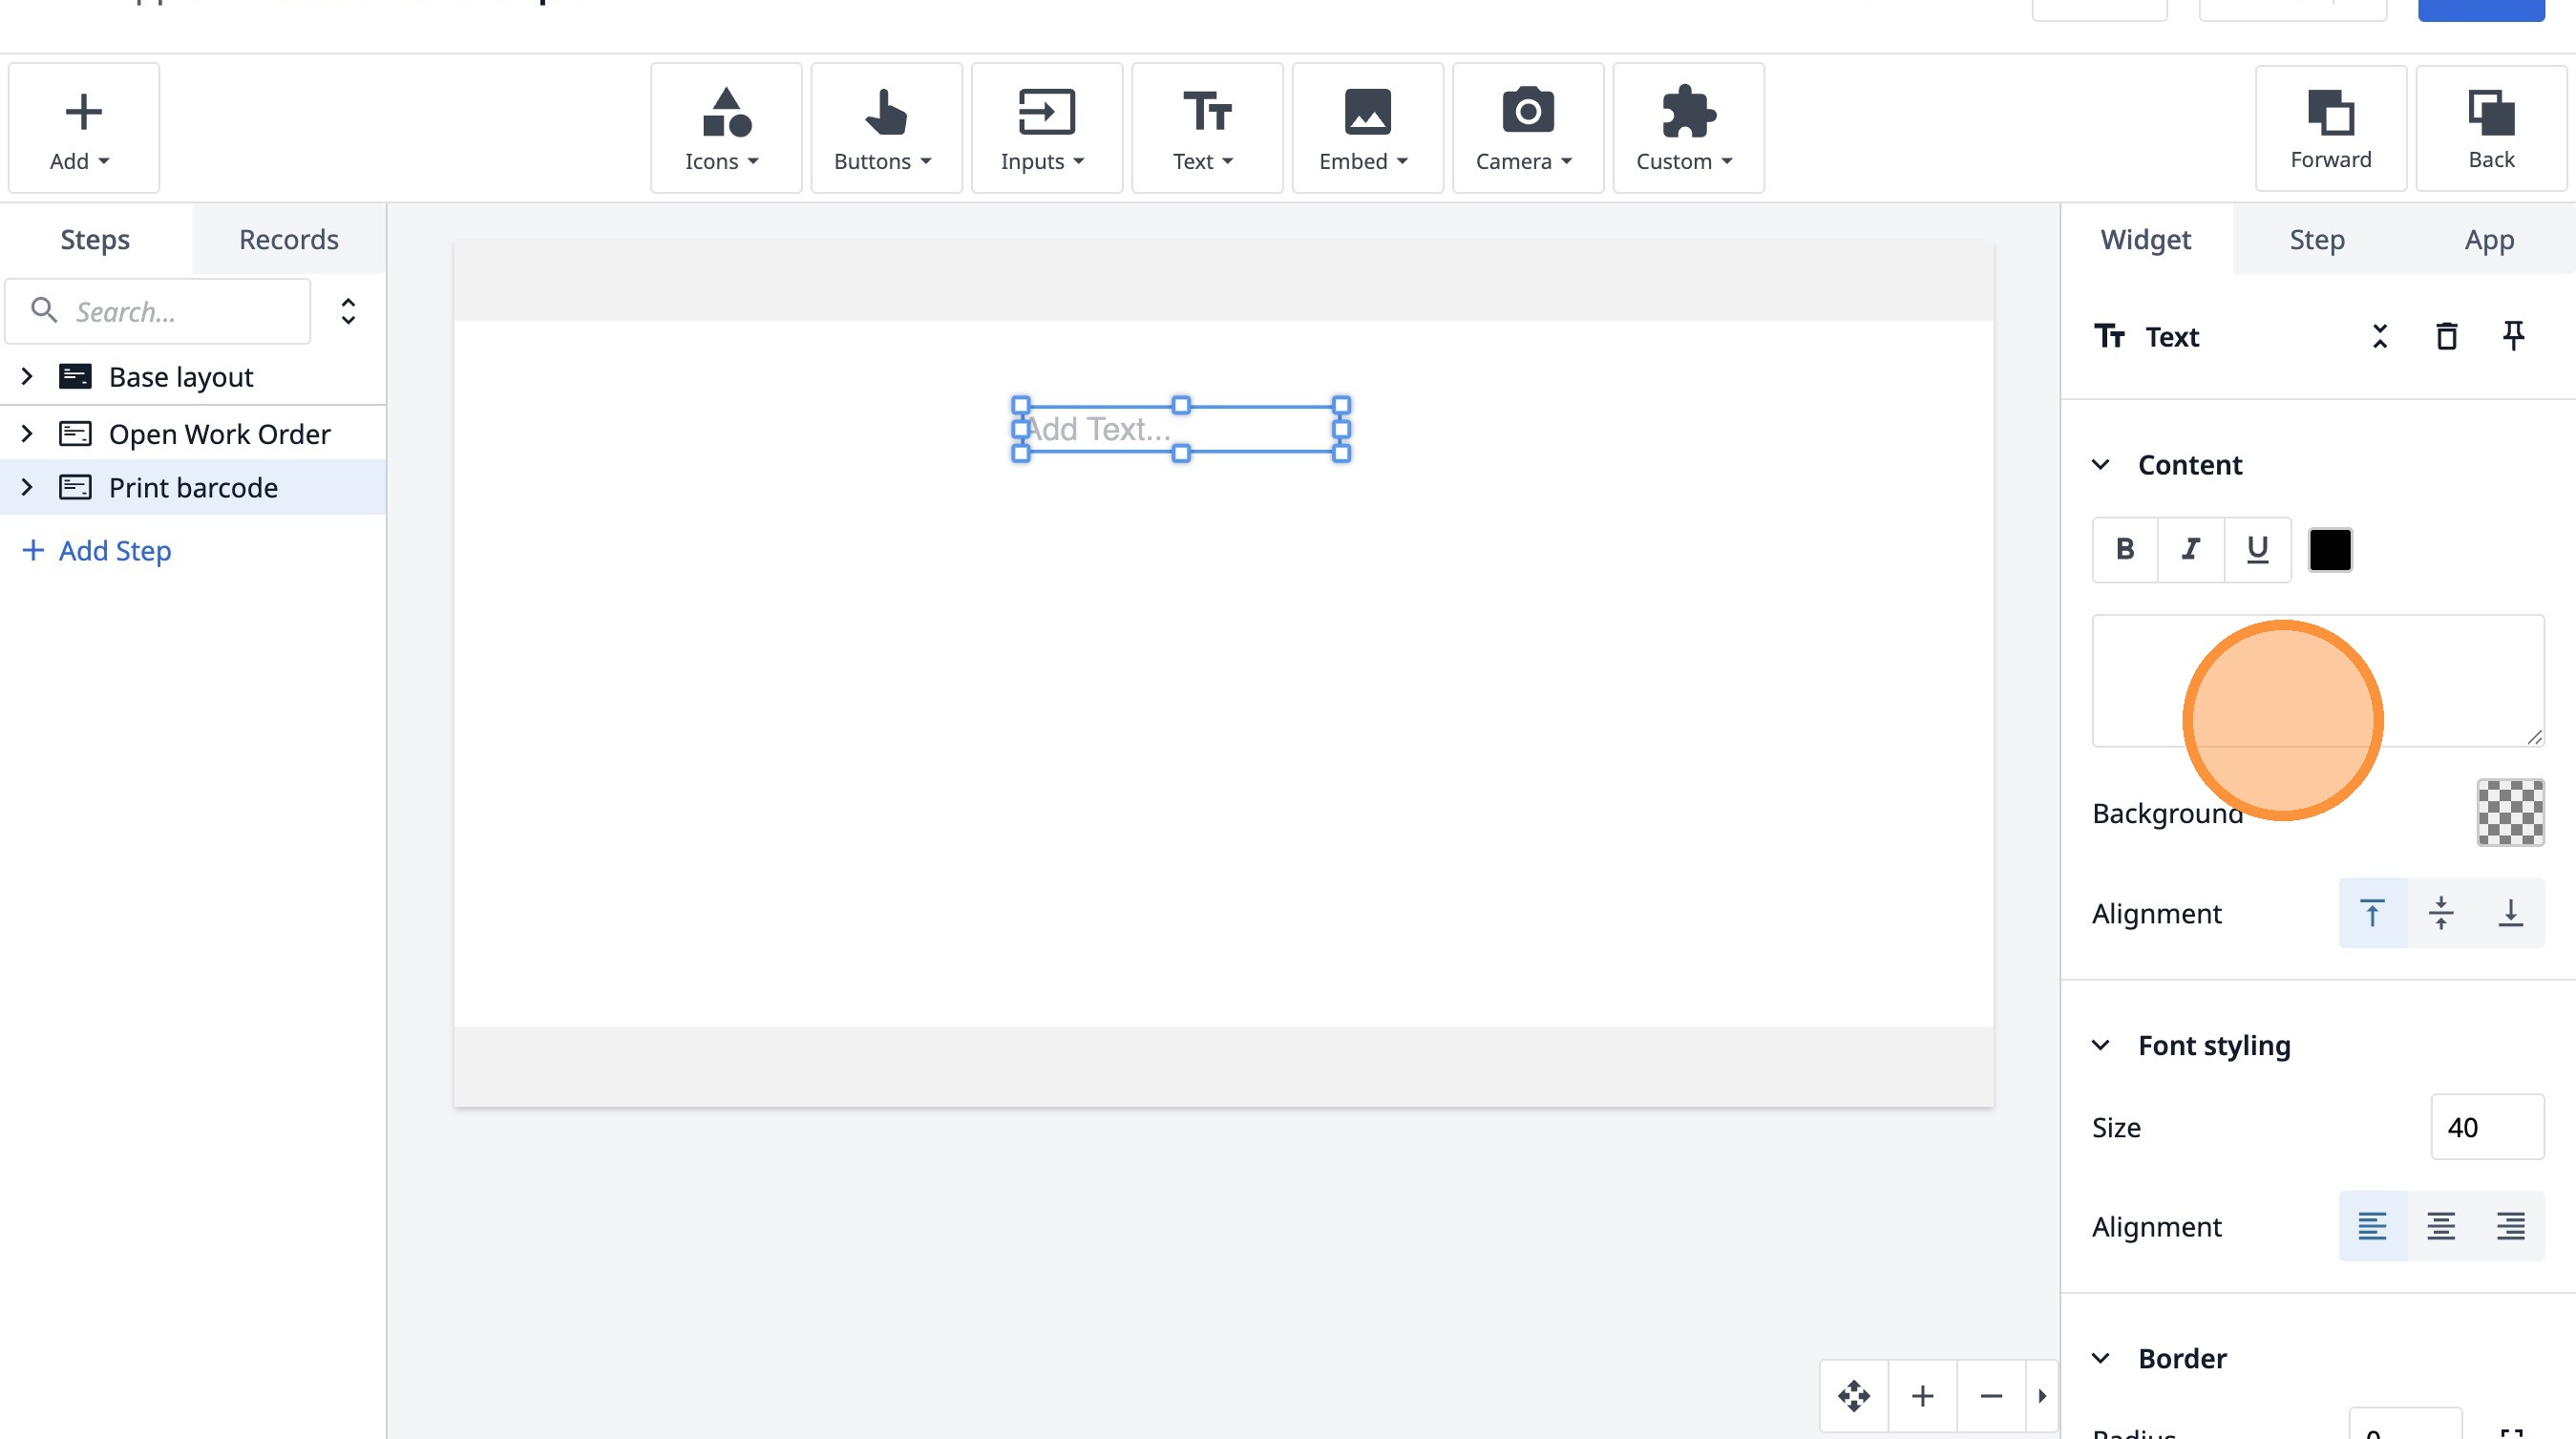
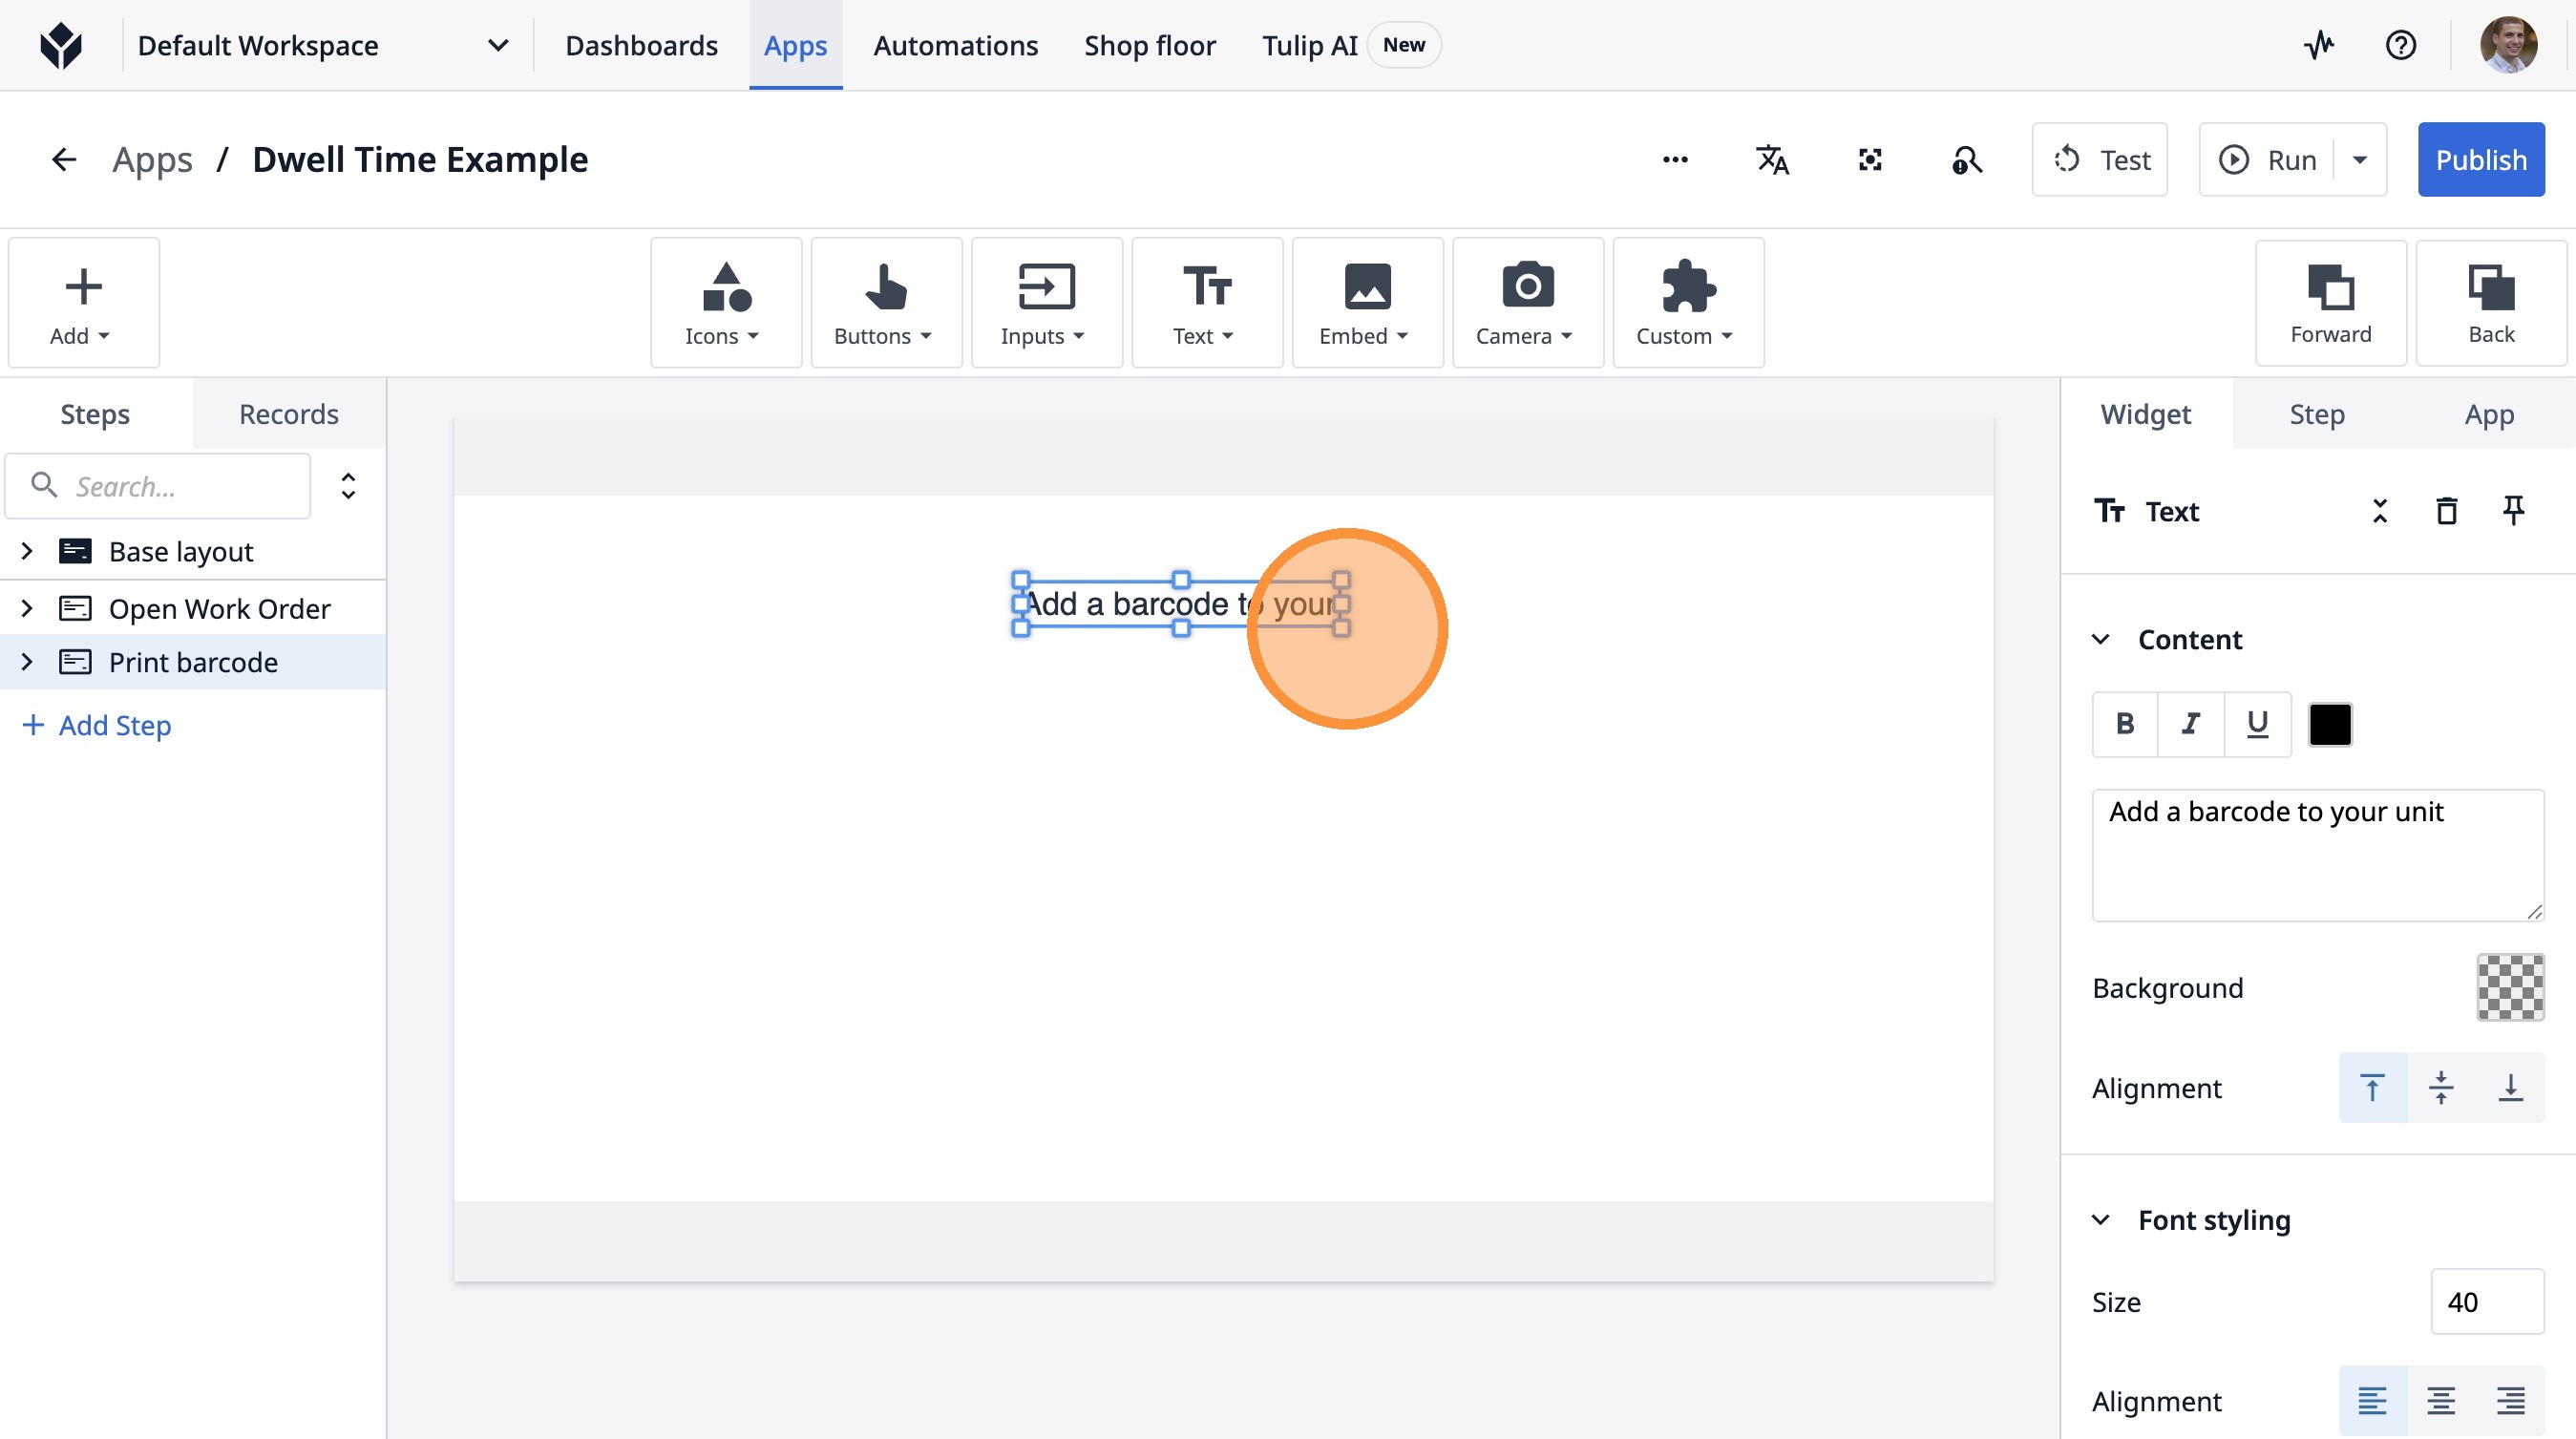
9. Type "Add a barcode to your unit"
10. Click here.
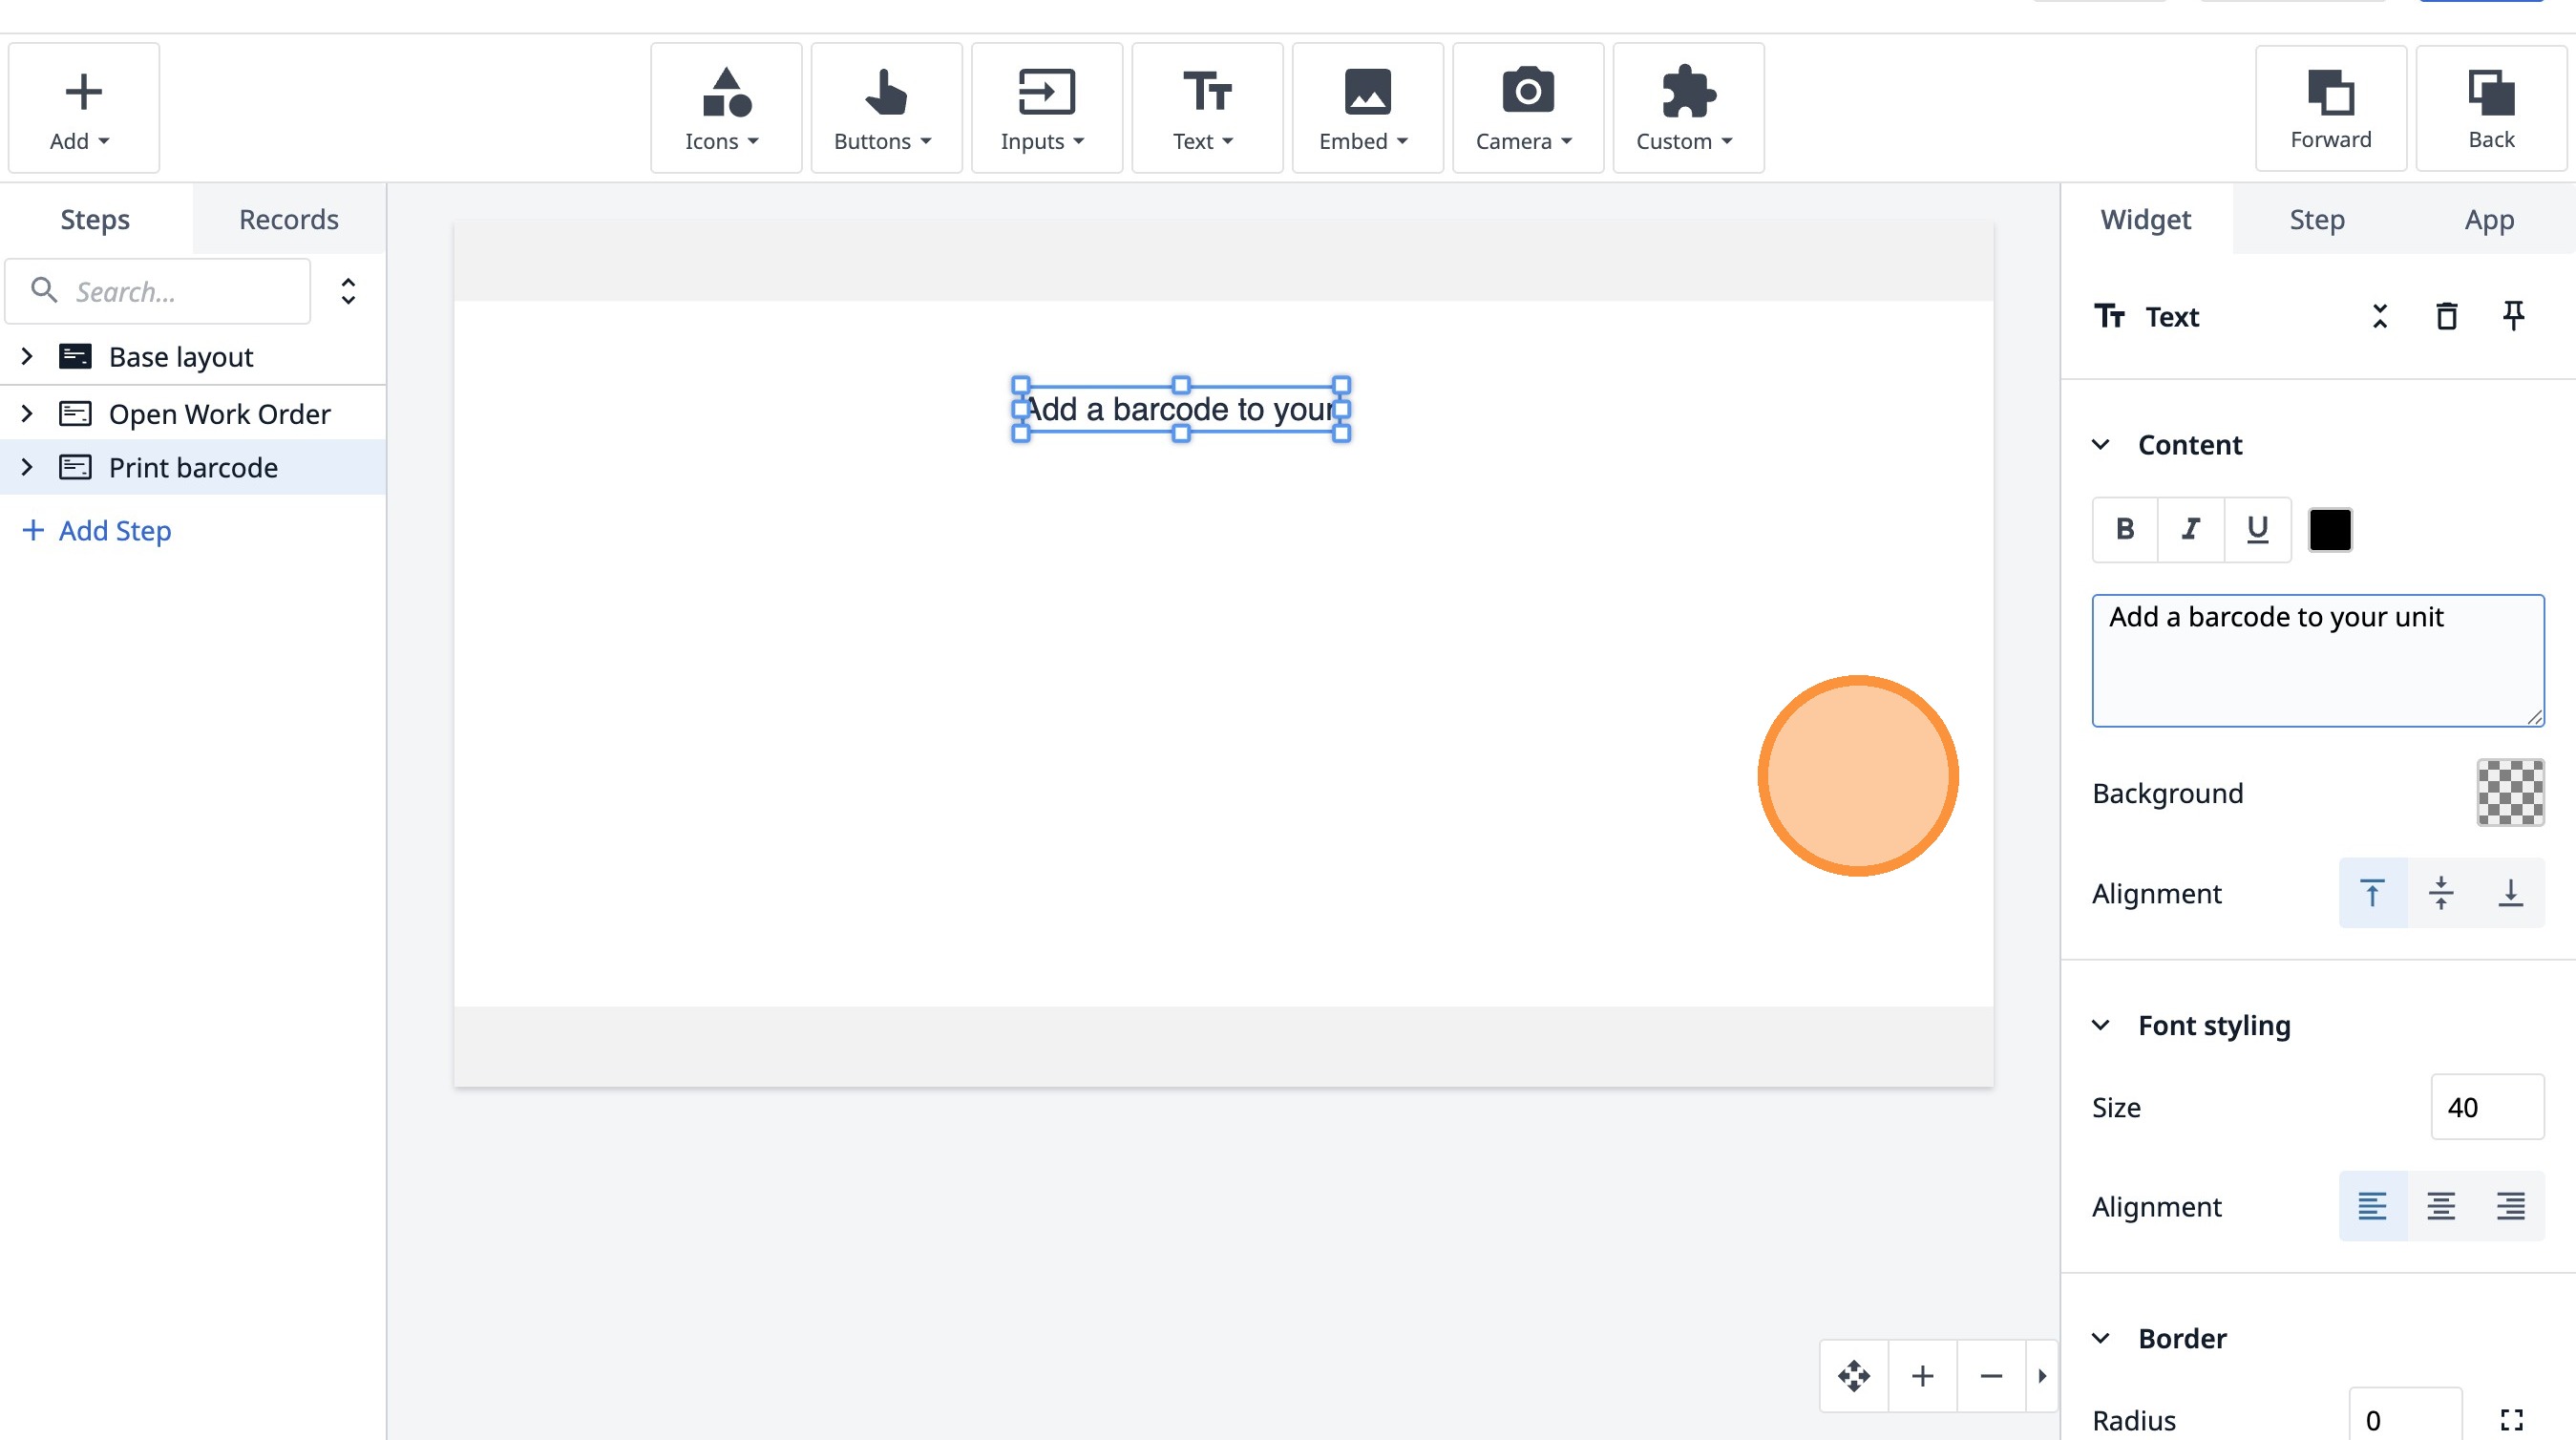
11. Click here.
12. Click "Add a barcode to your unit"
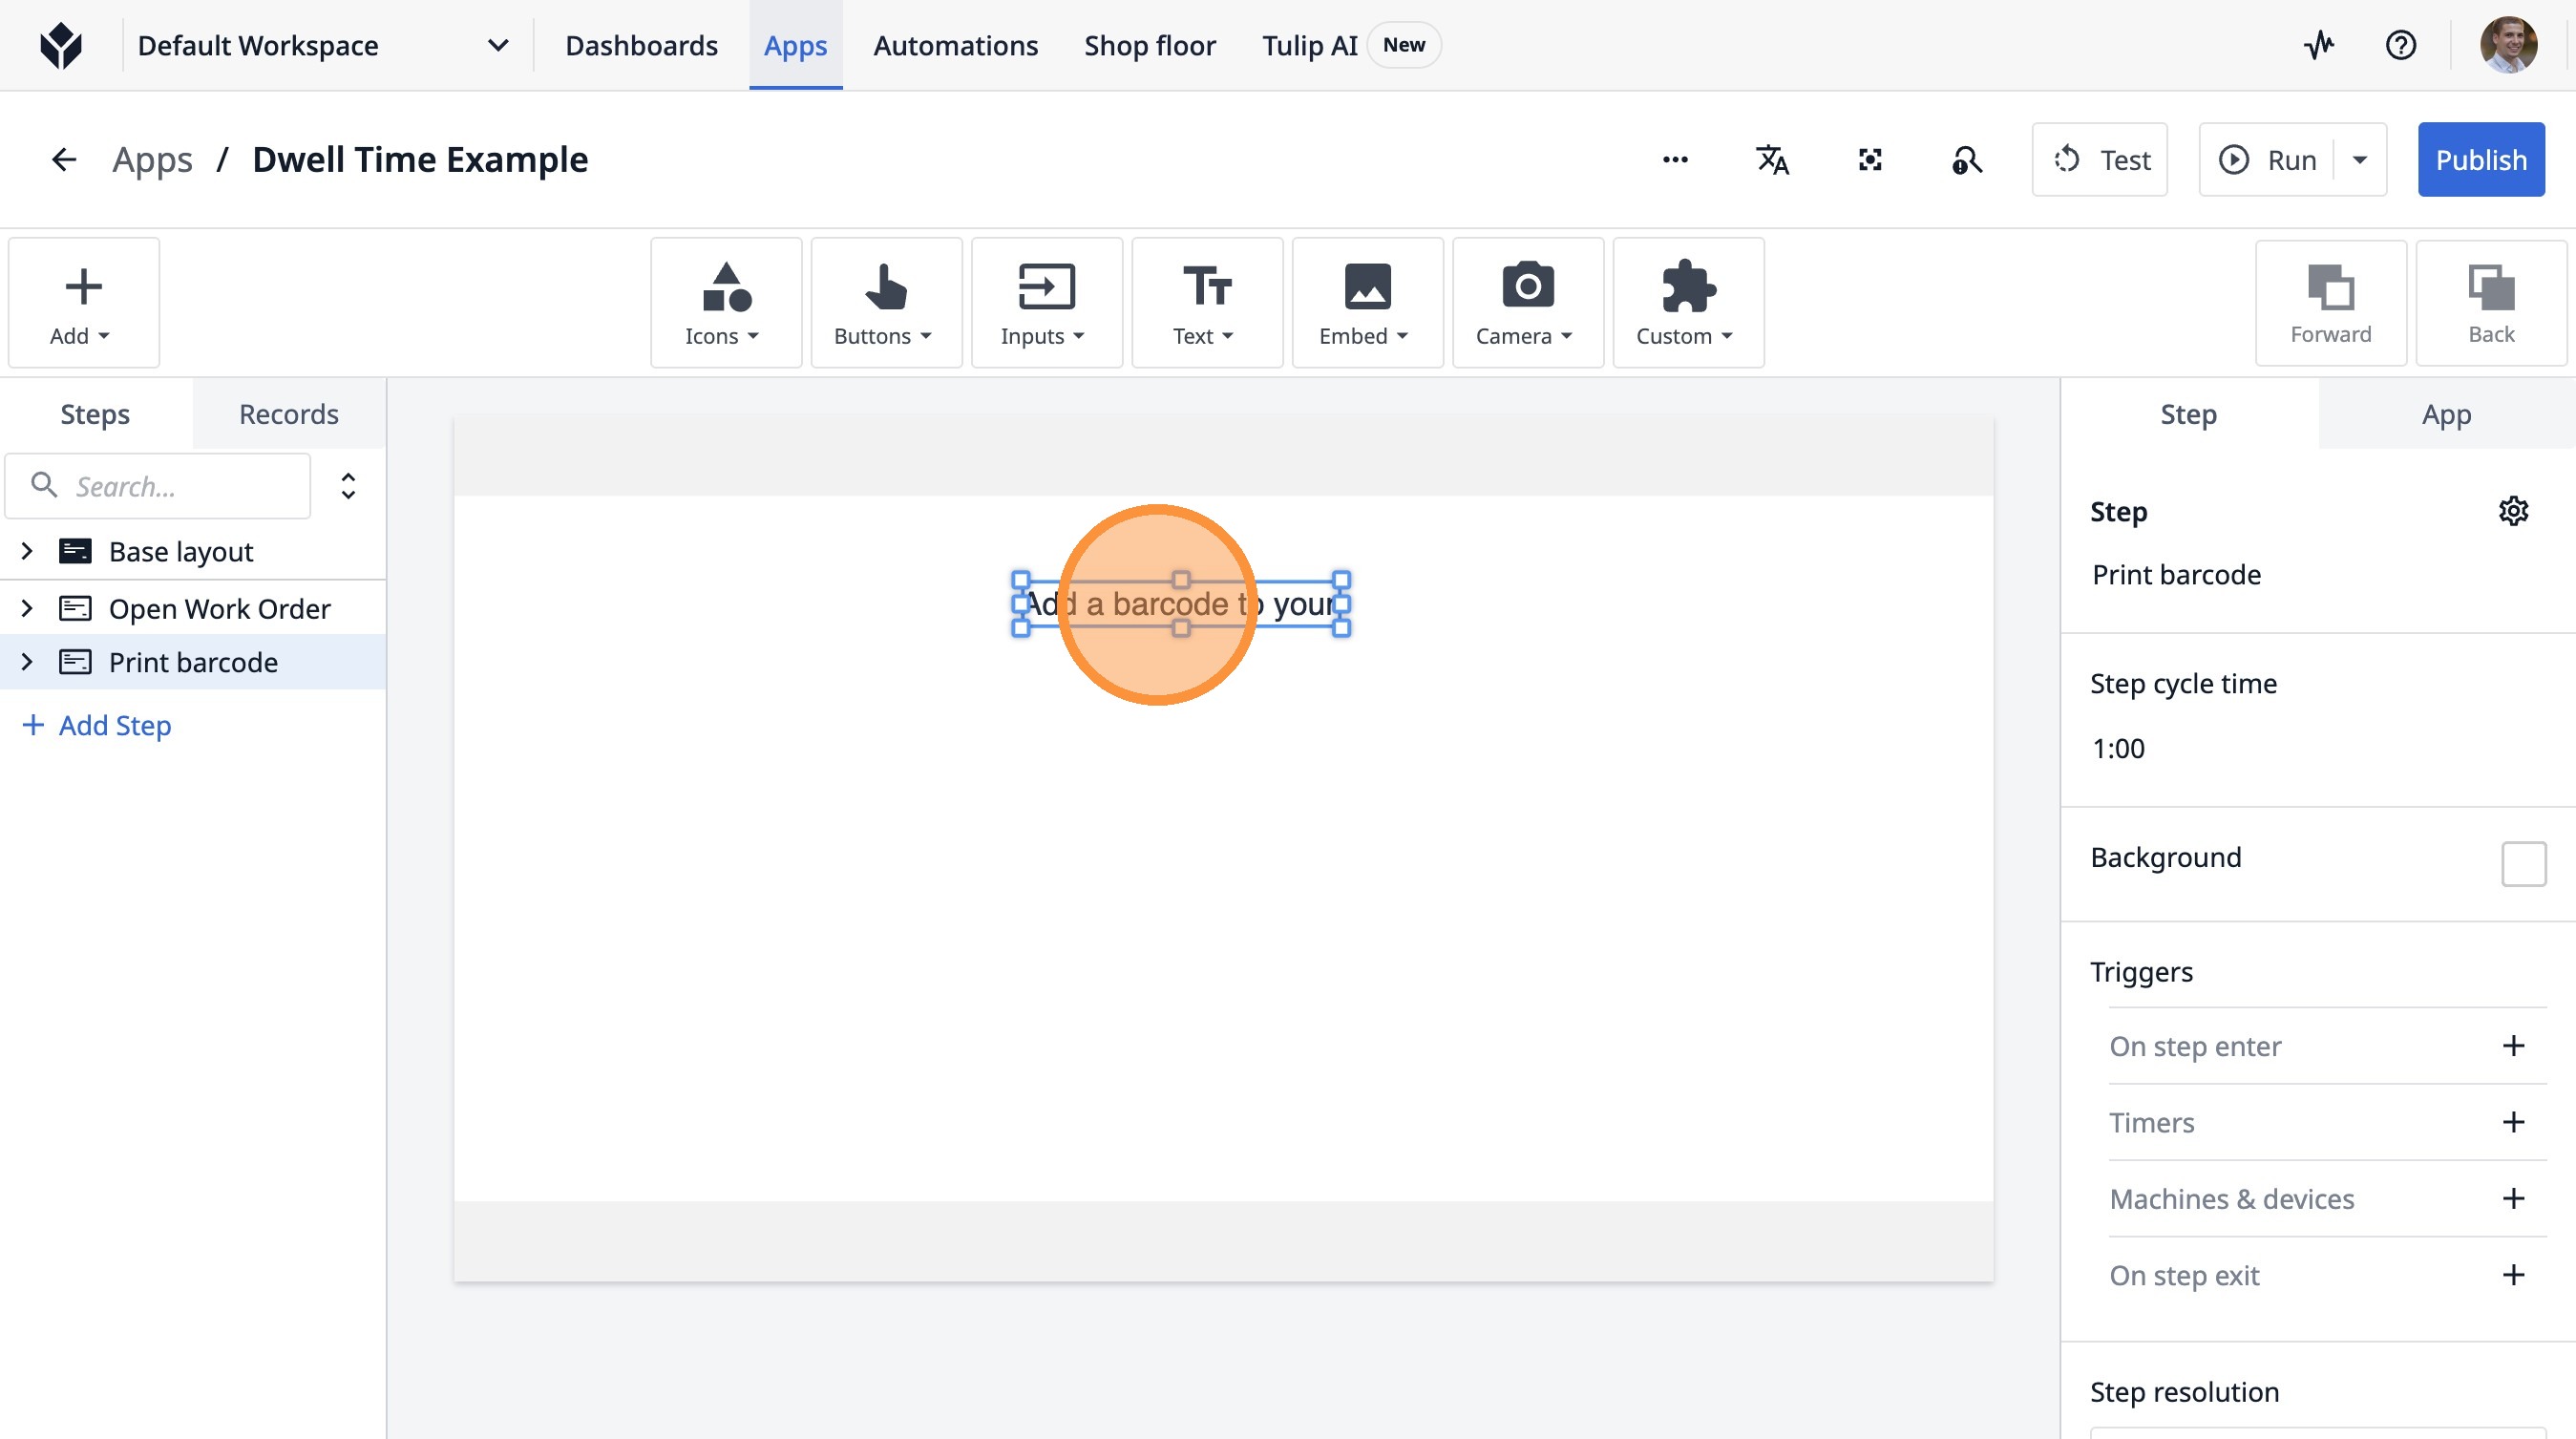
13. Click here.
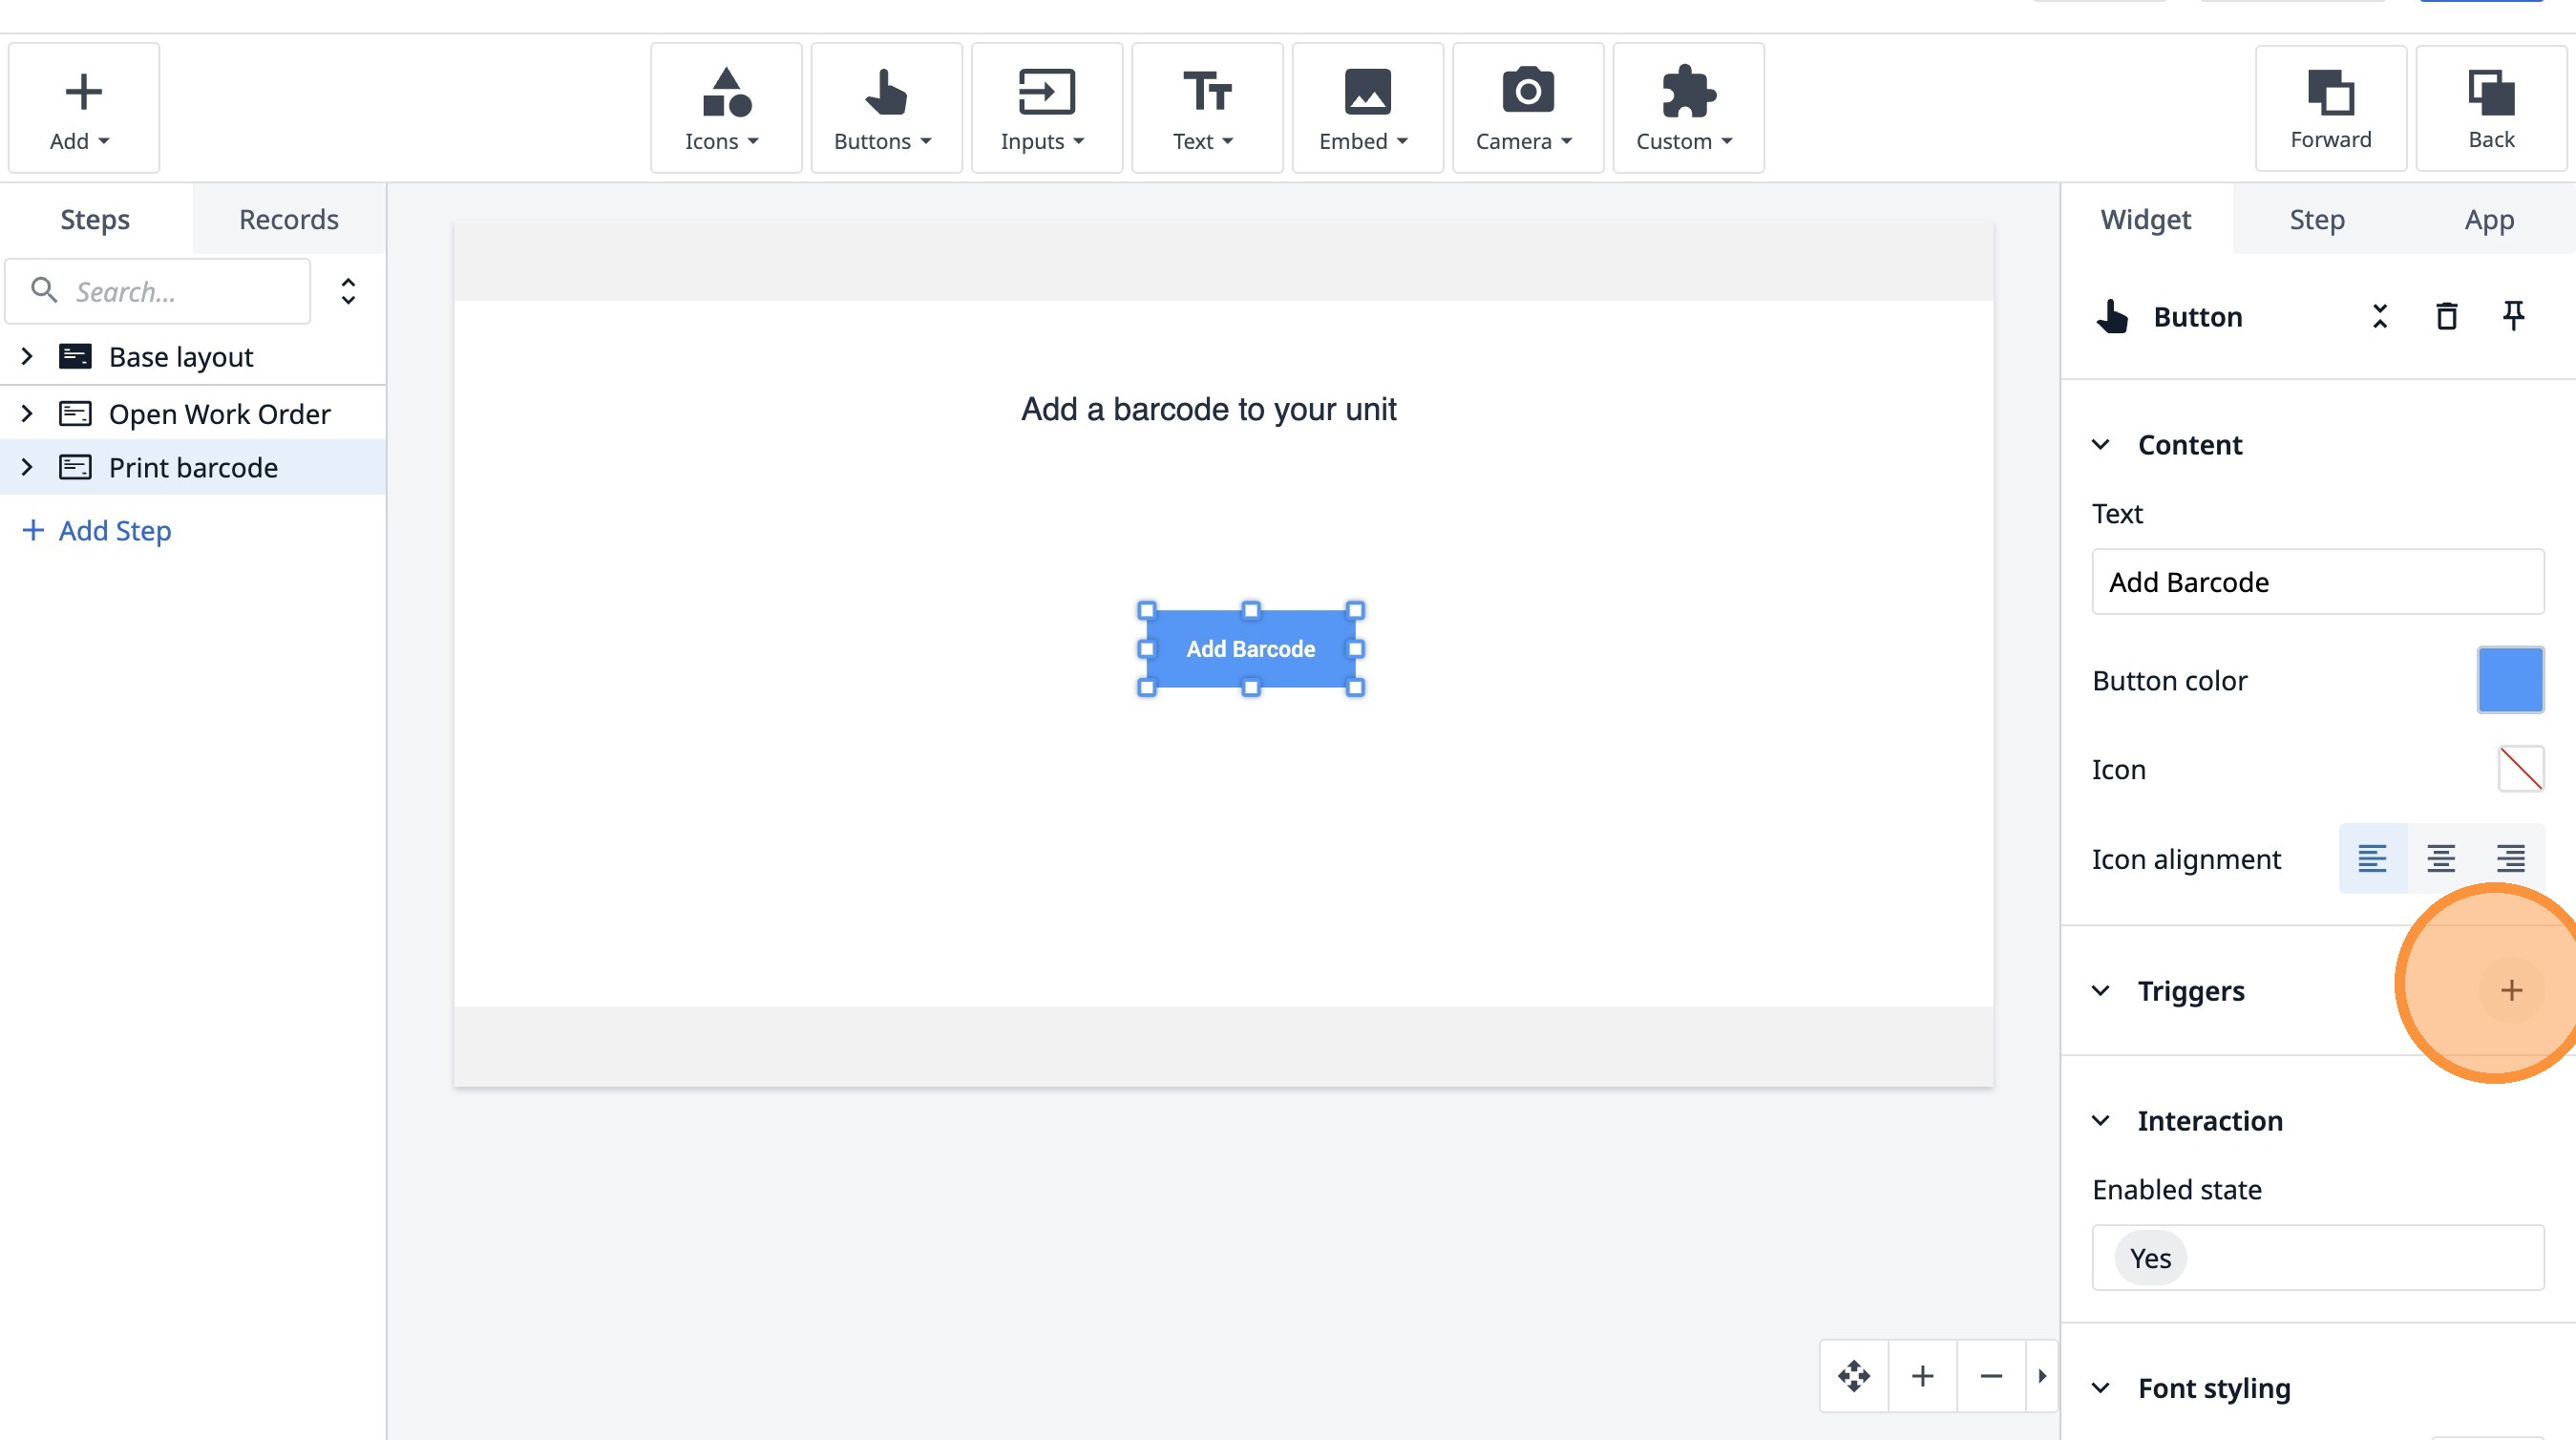
14. Click this icon.
15. Click "Button"

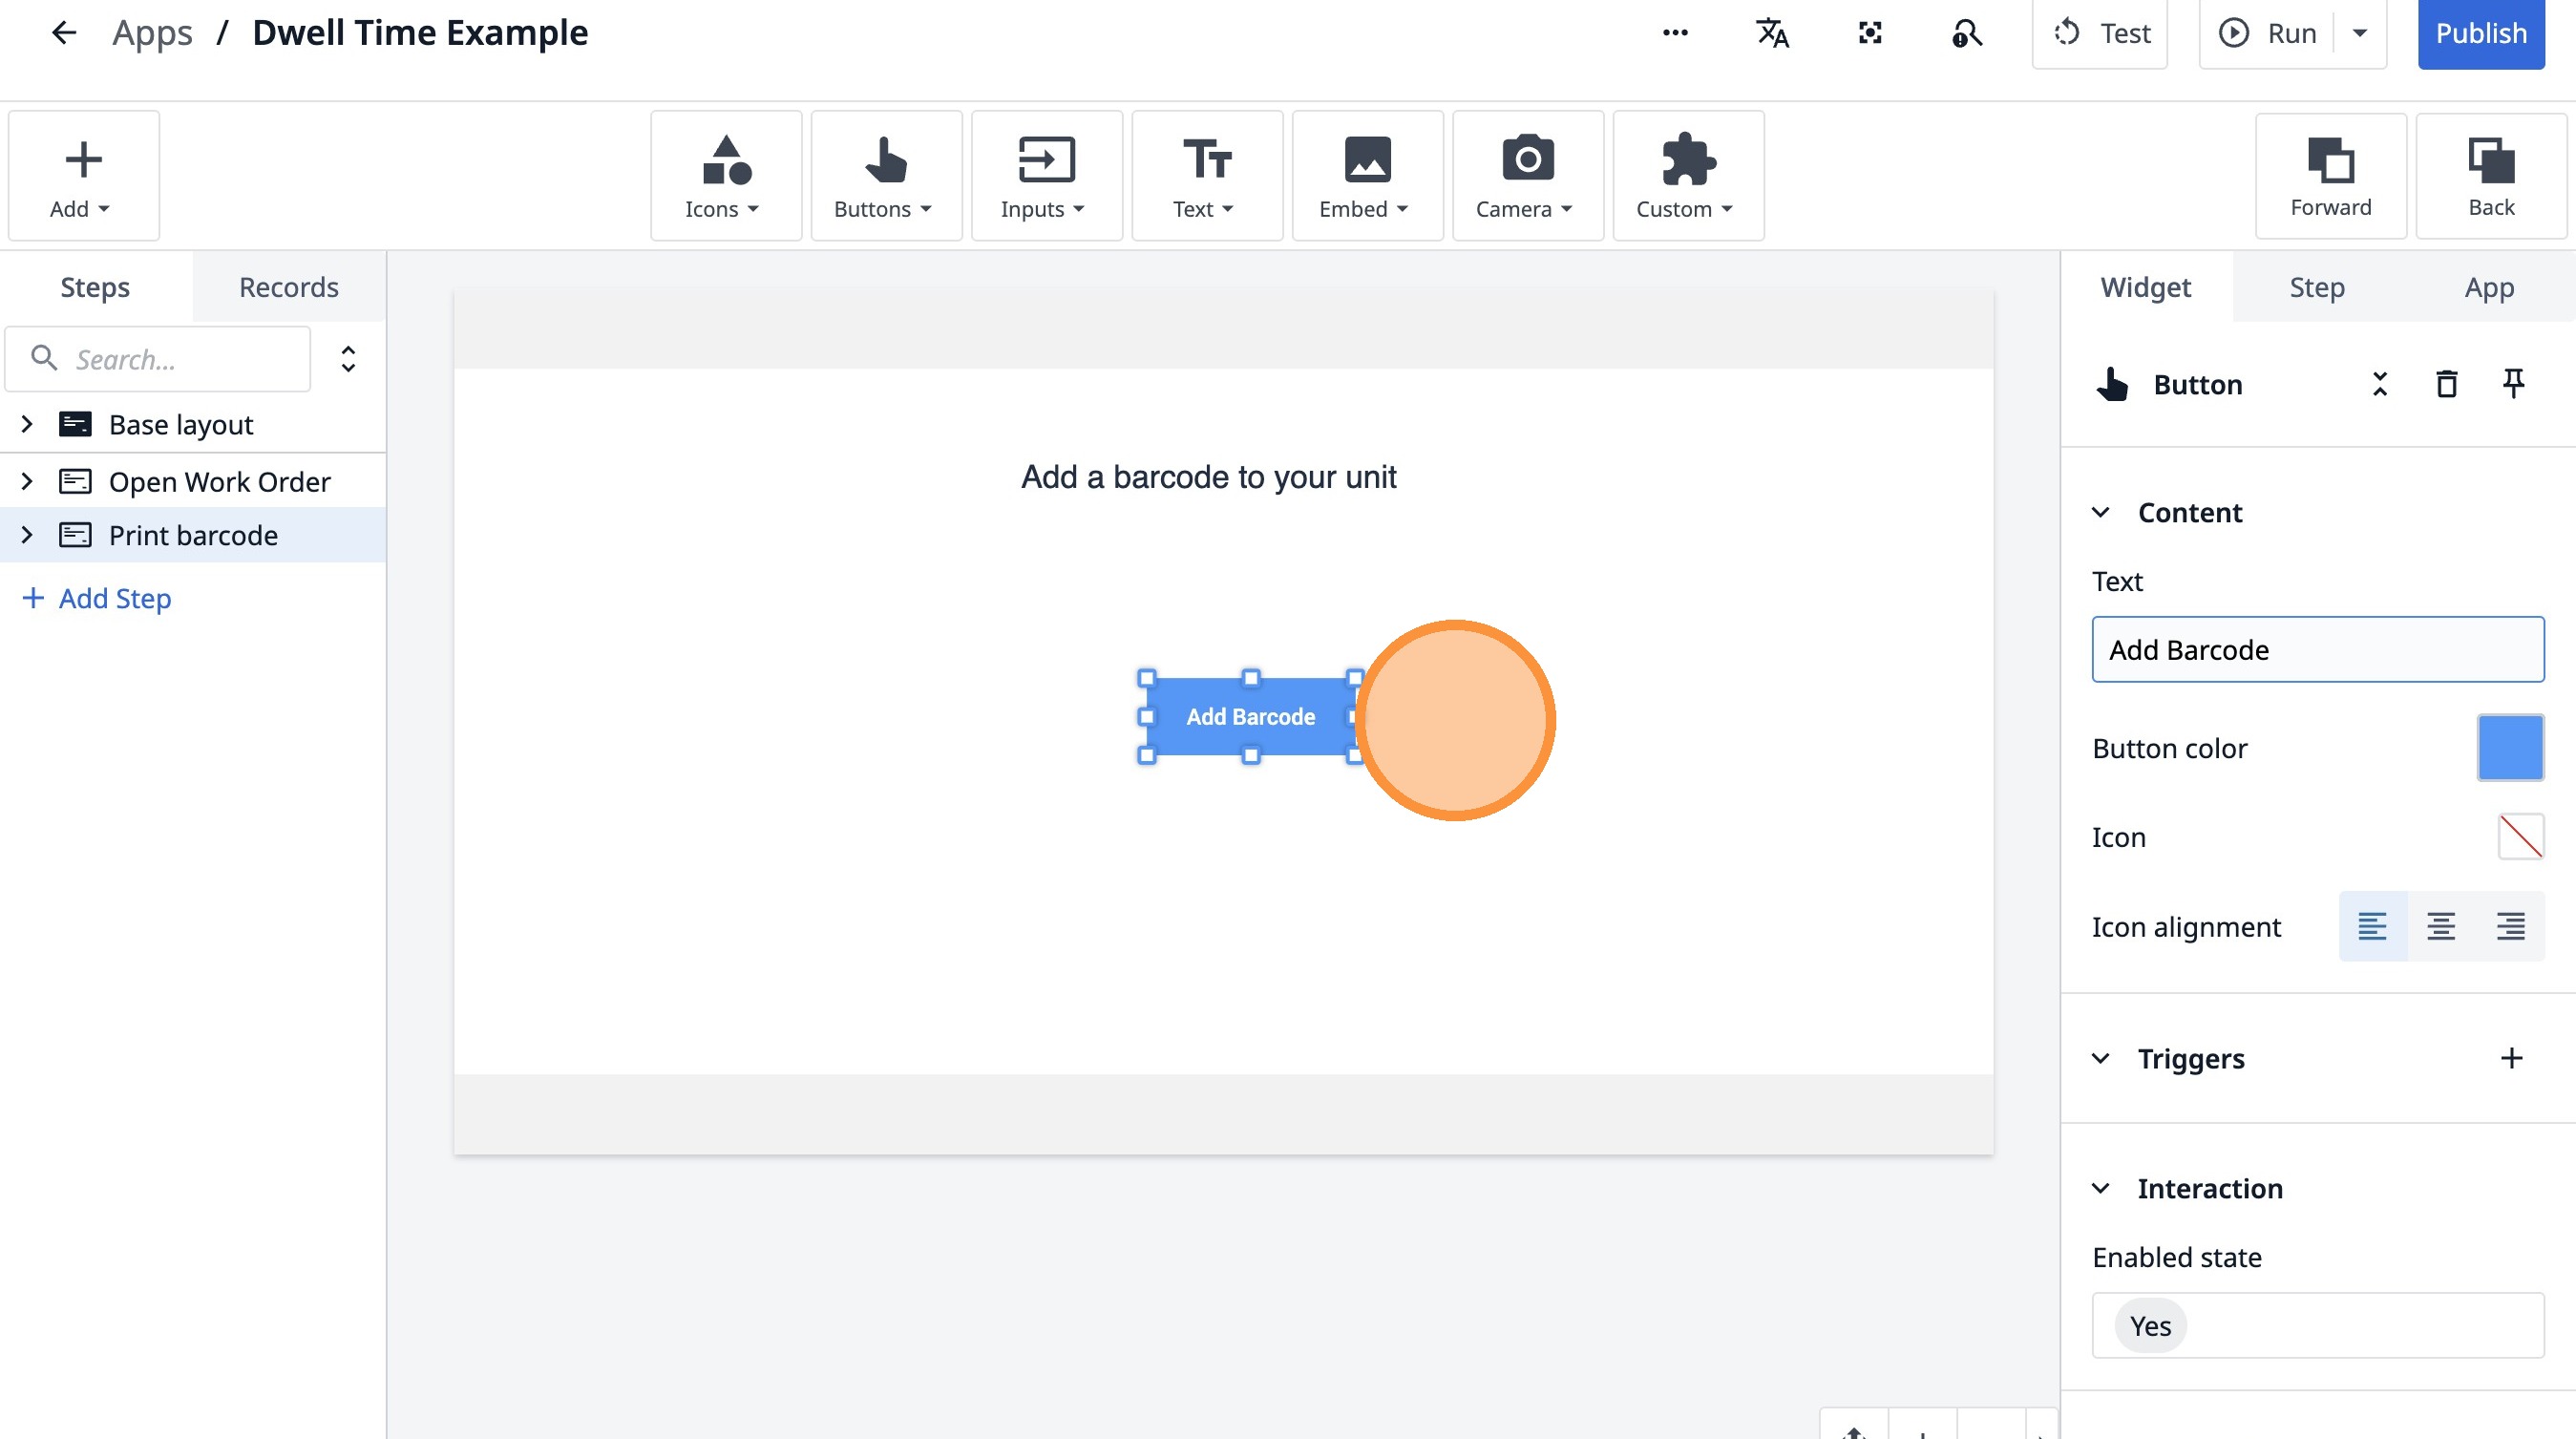
16. Double-click the "Text" field.
17. Type "Add Barcode"
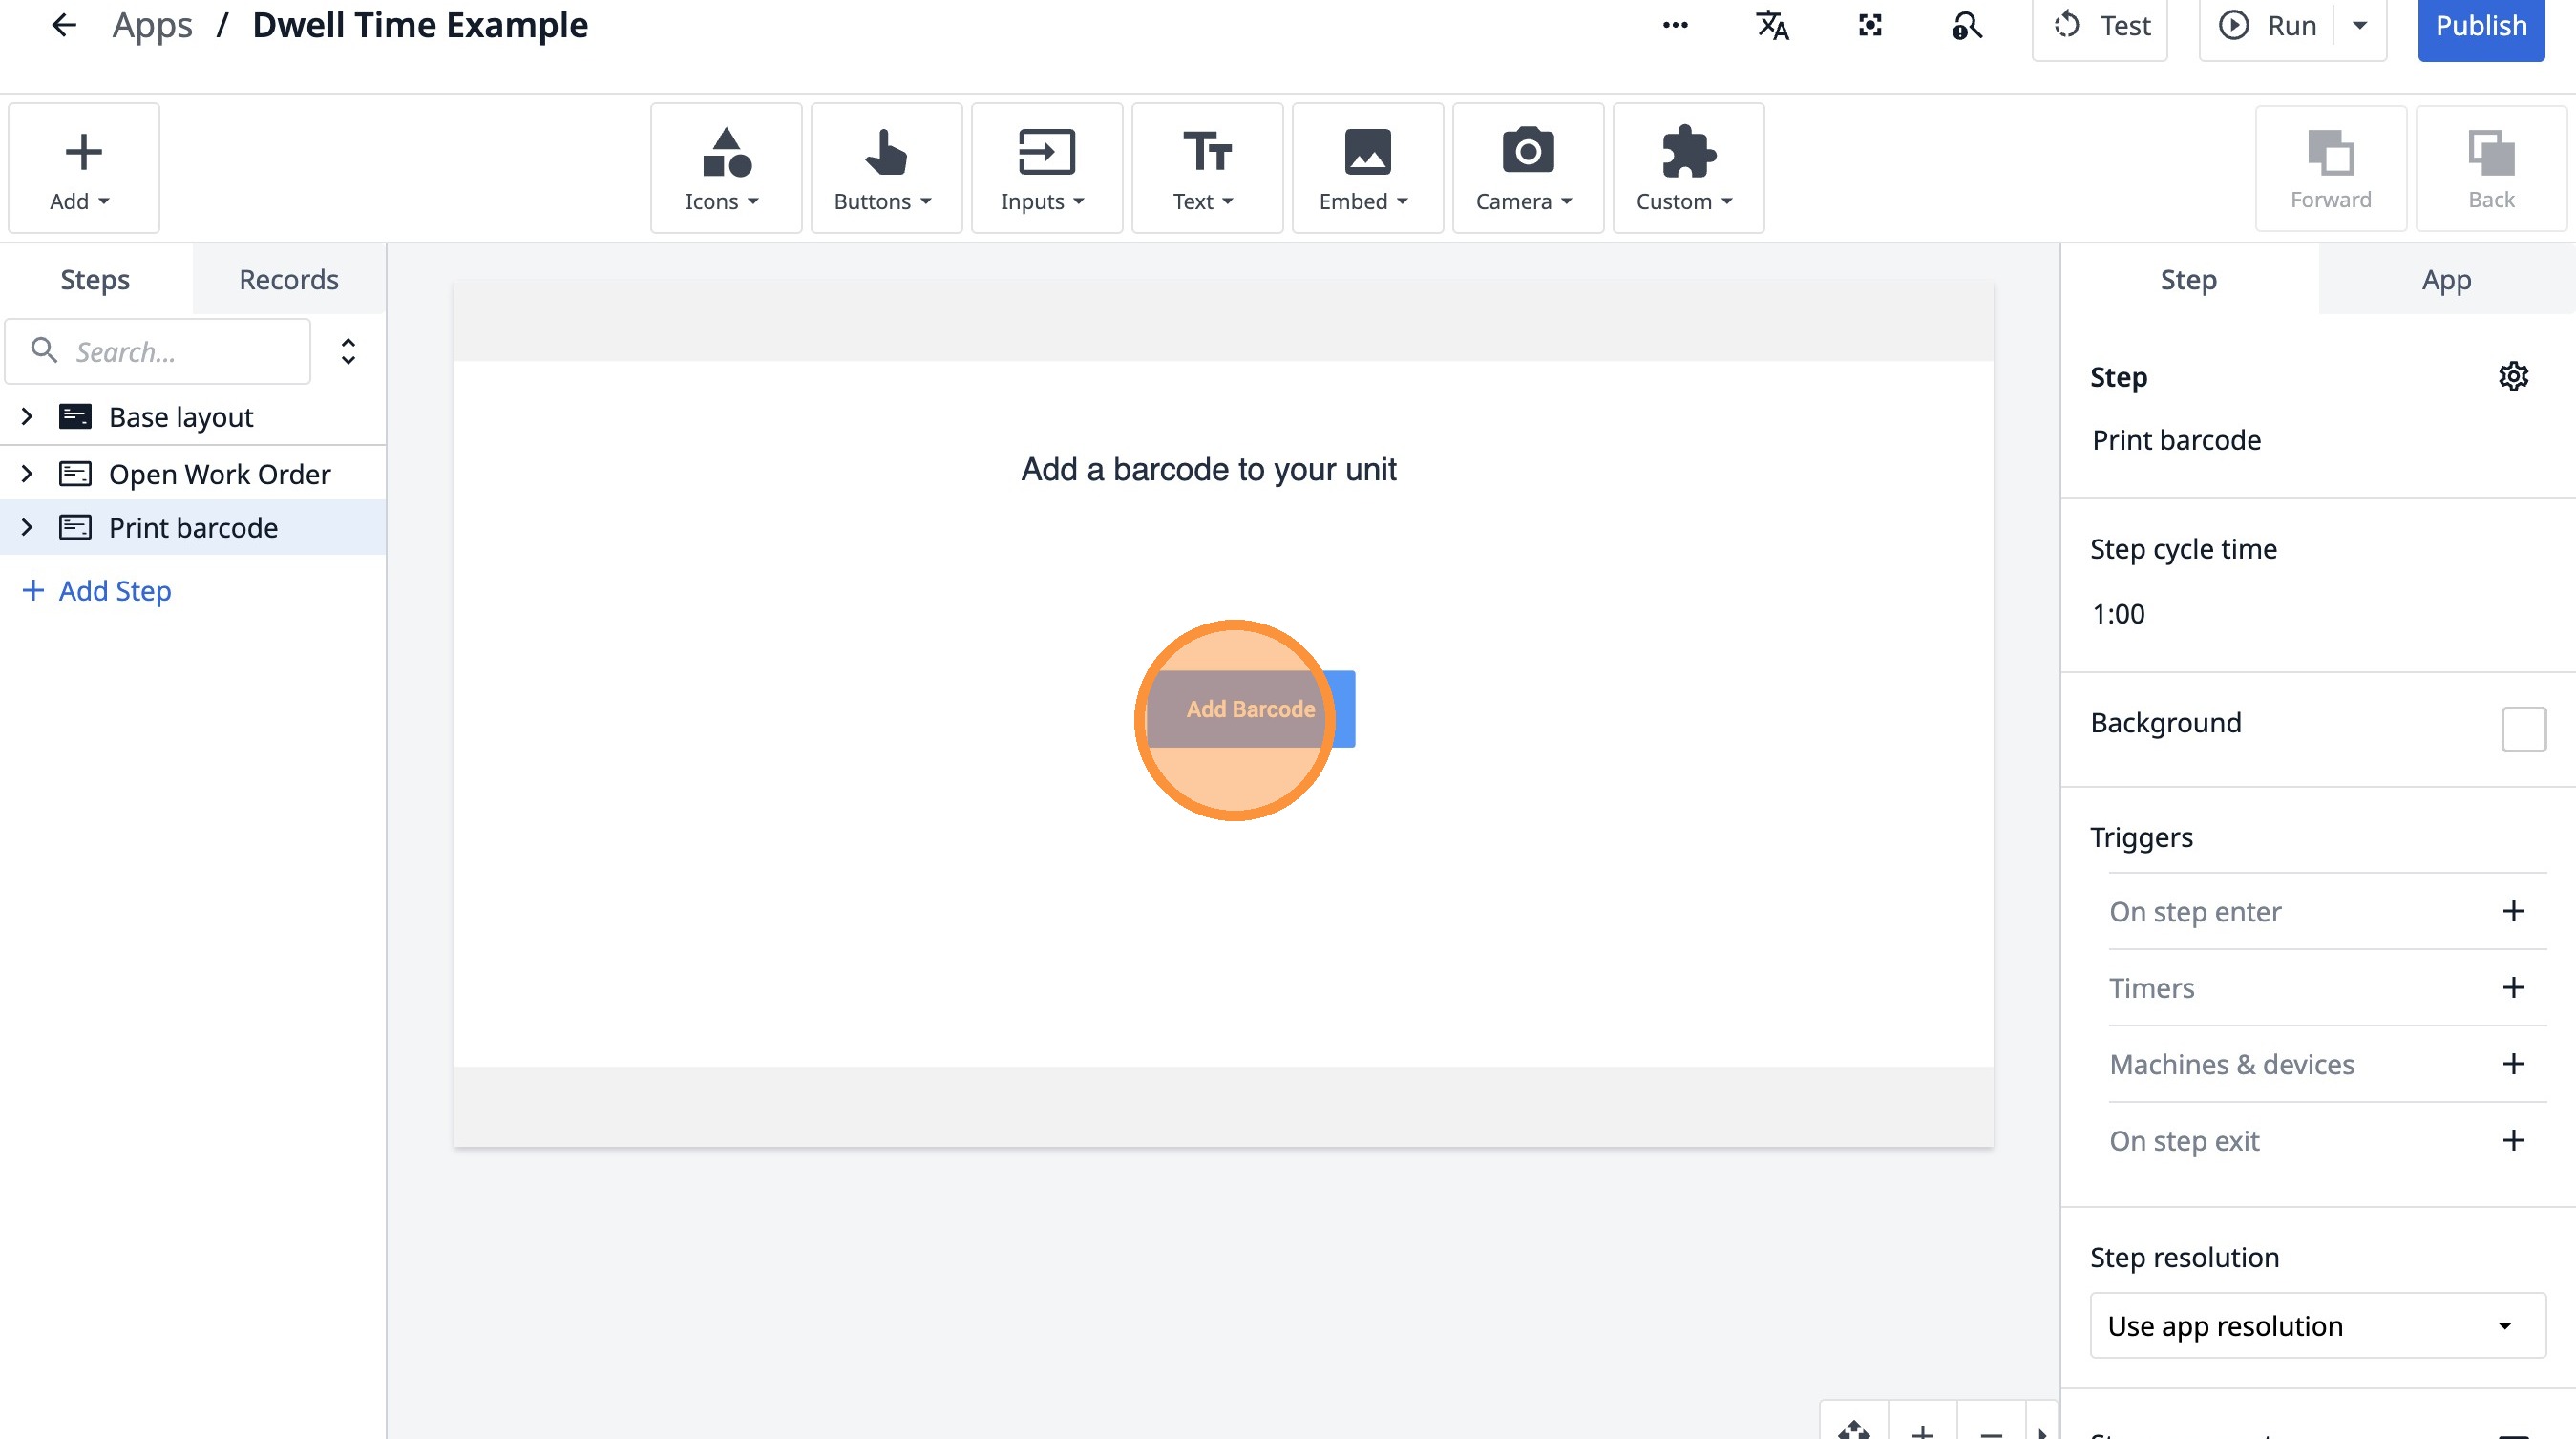
18. Click here.
19. Click here.
20. Click this icon.
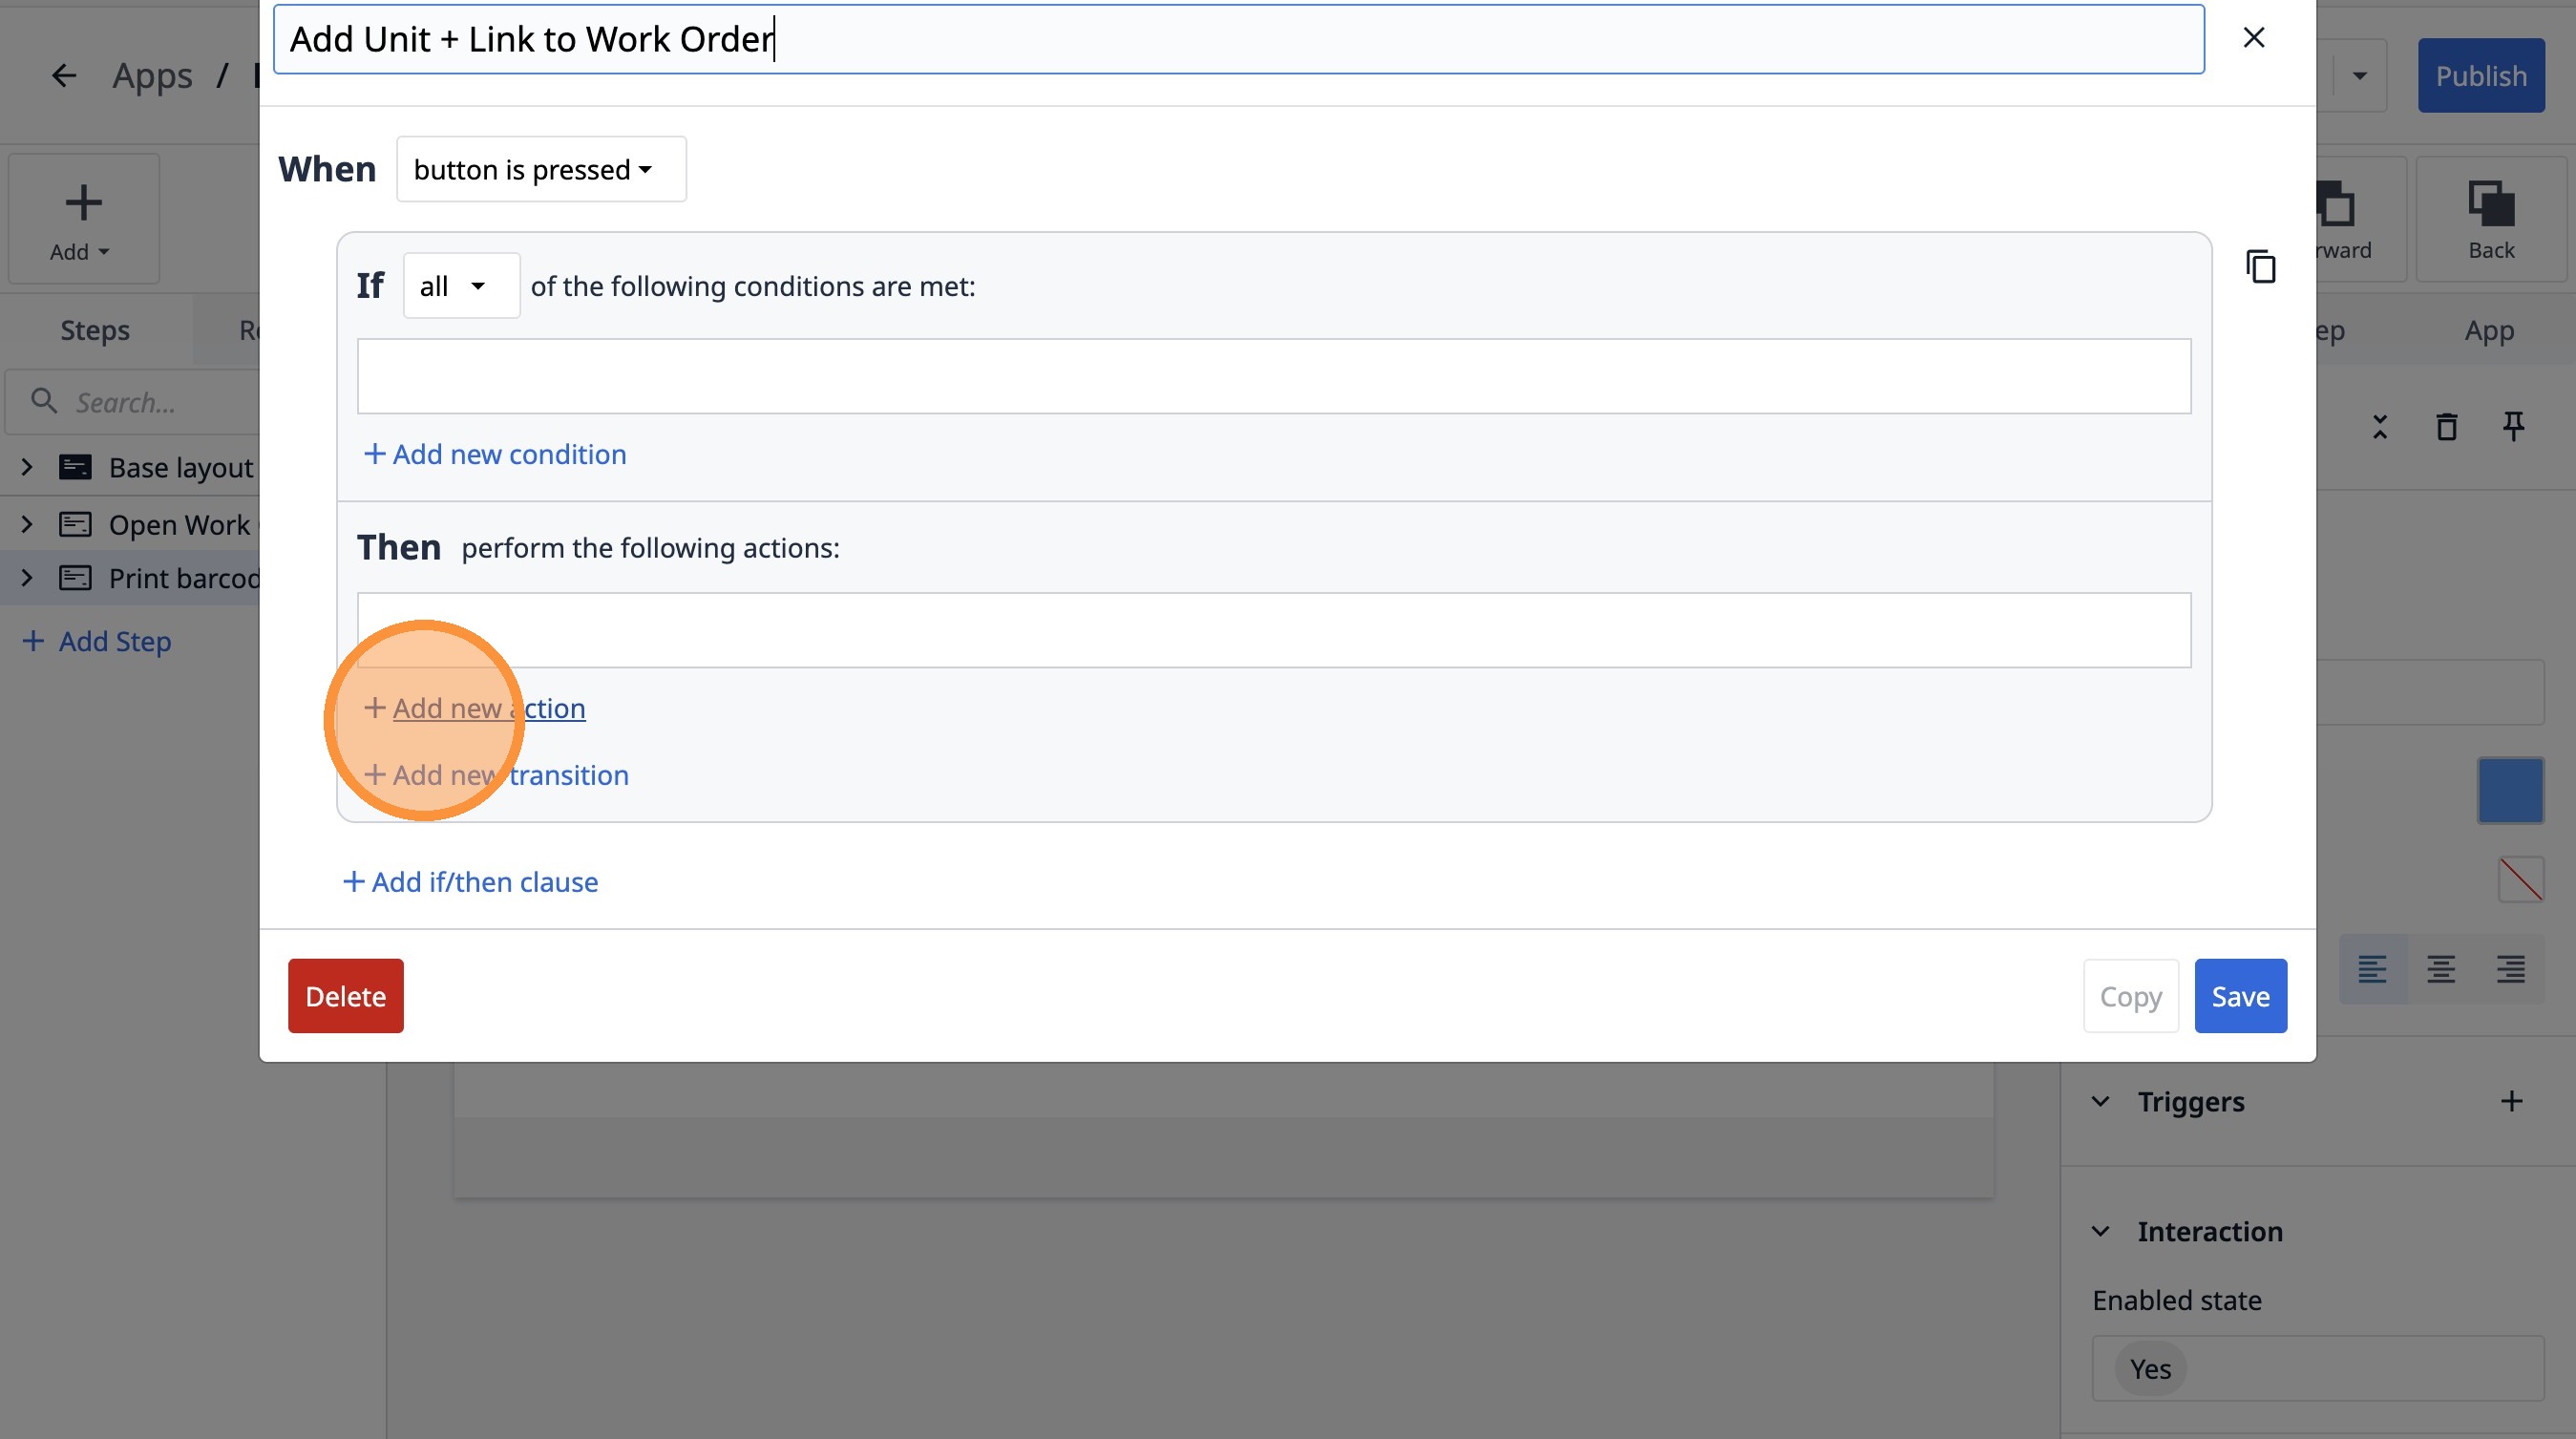
21. Type "Add Unit + Link to Work Order"
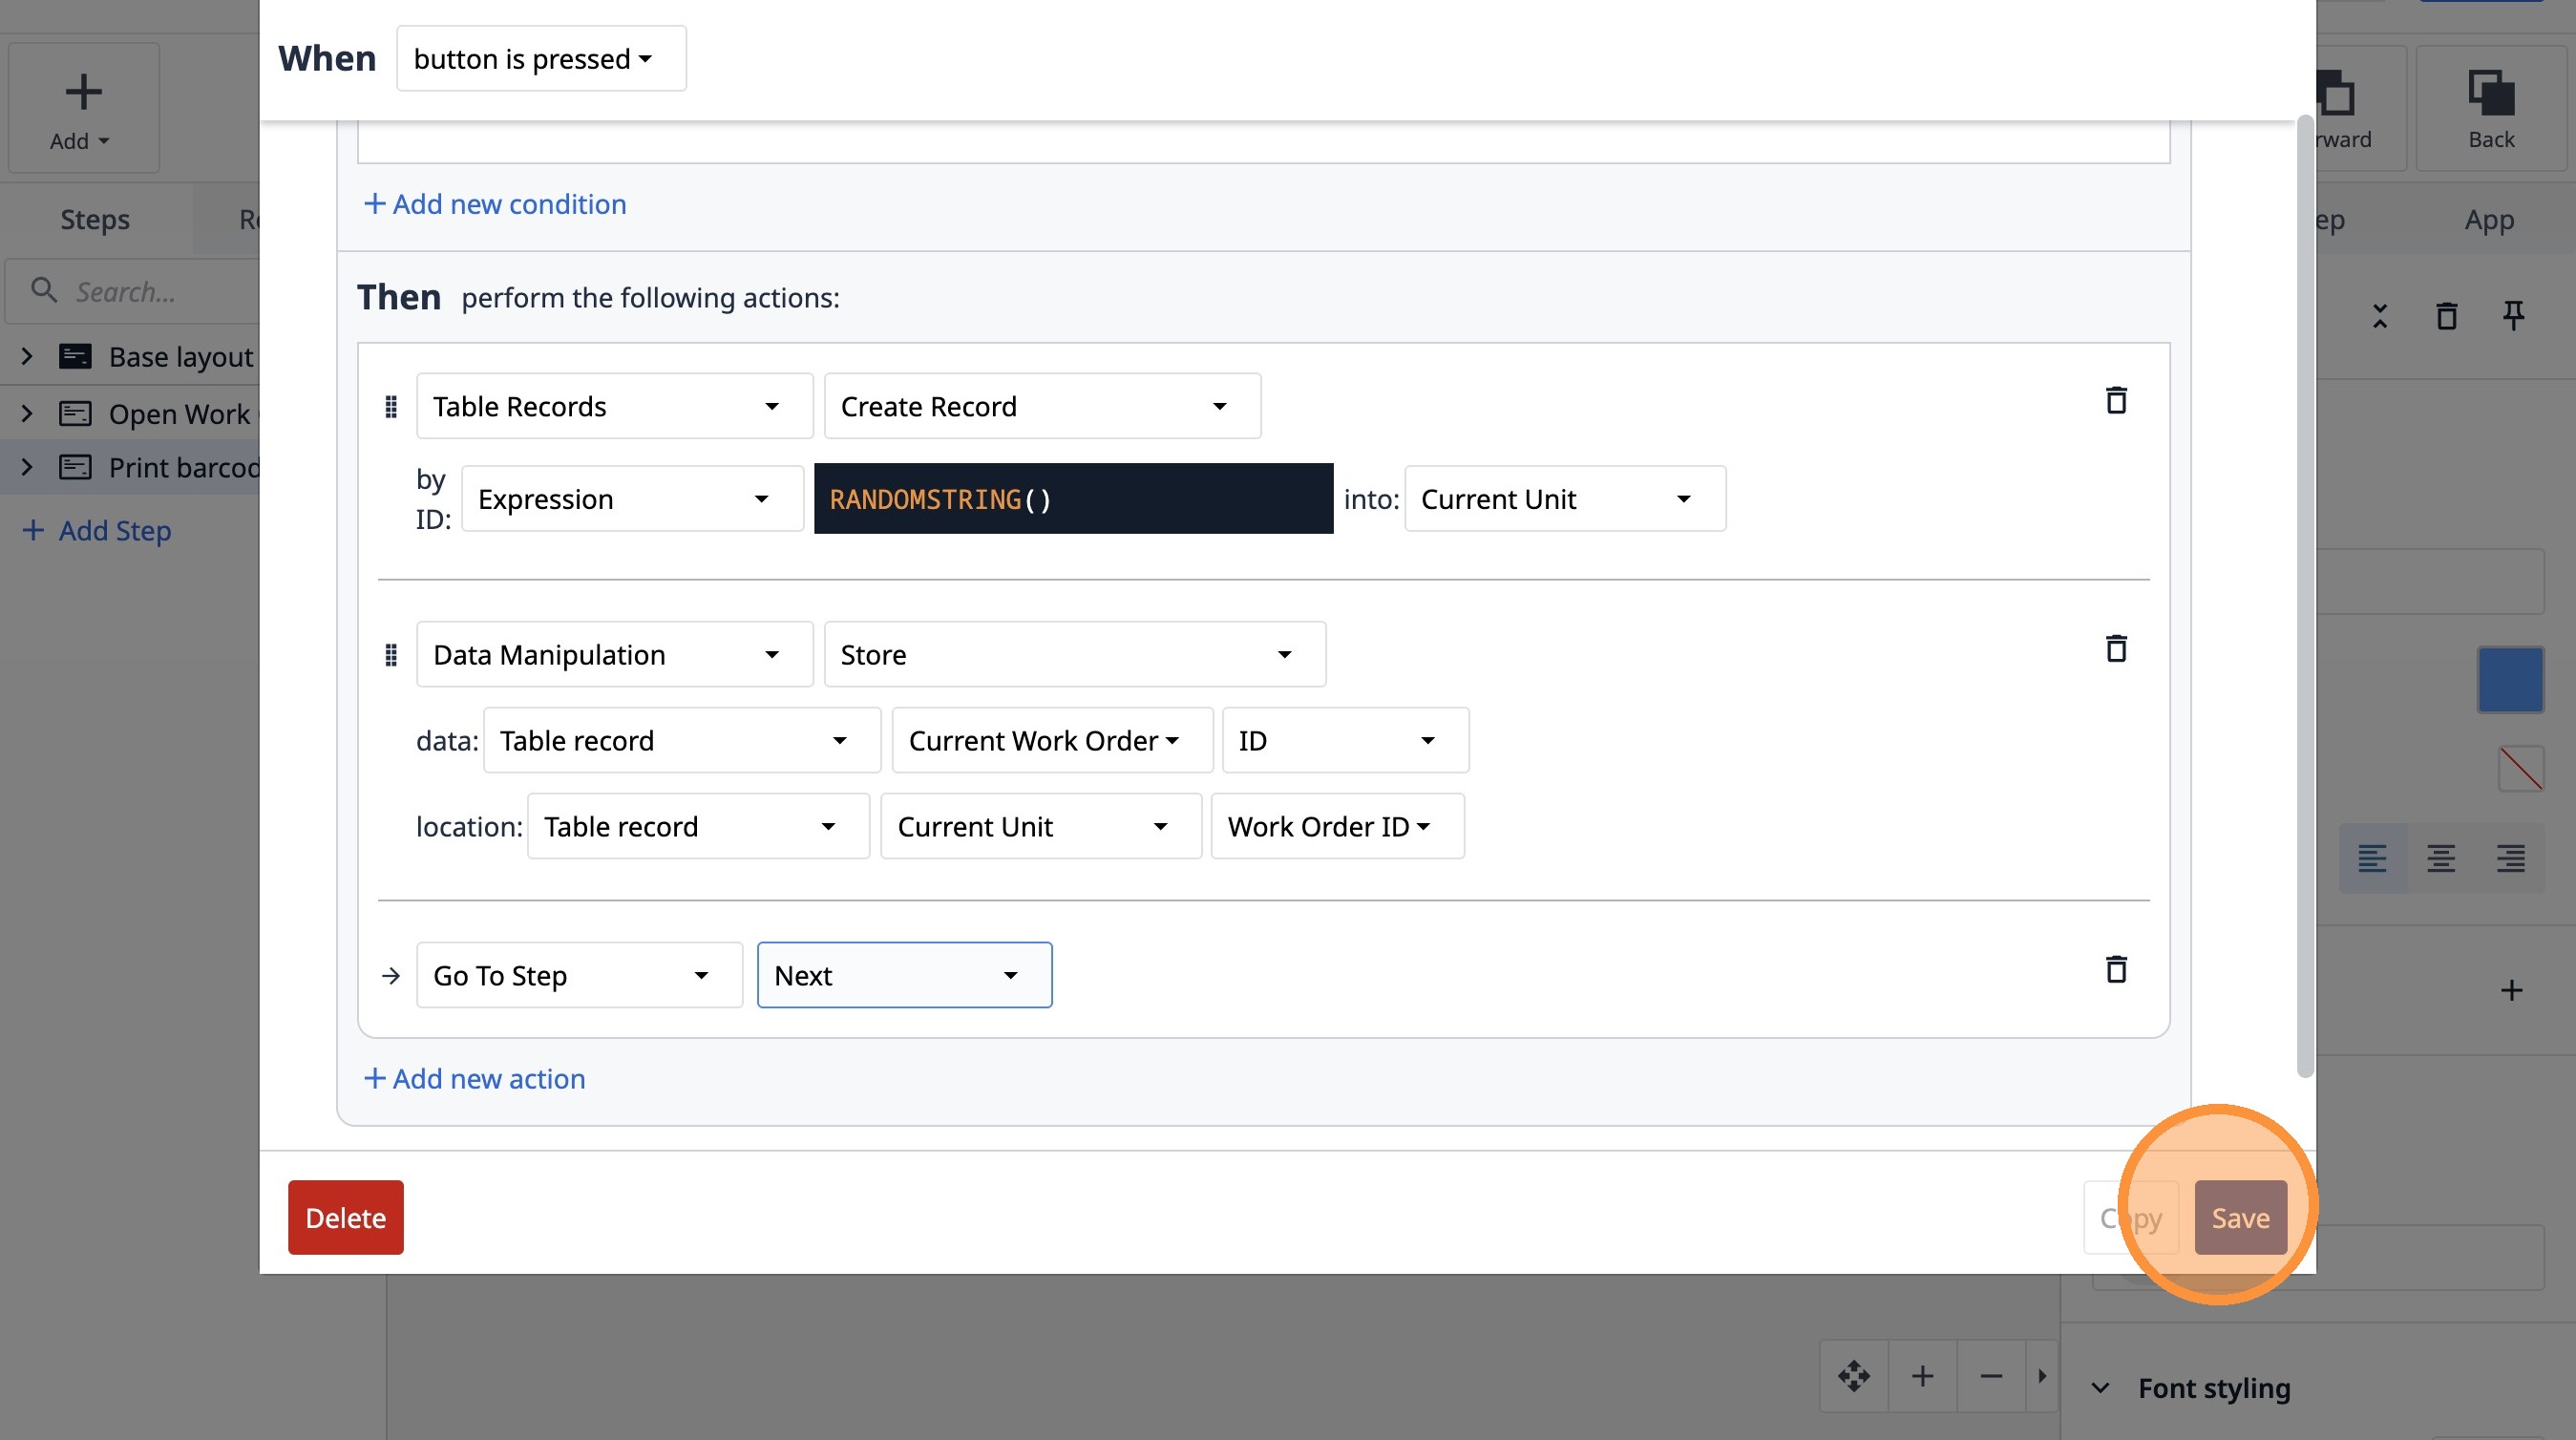
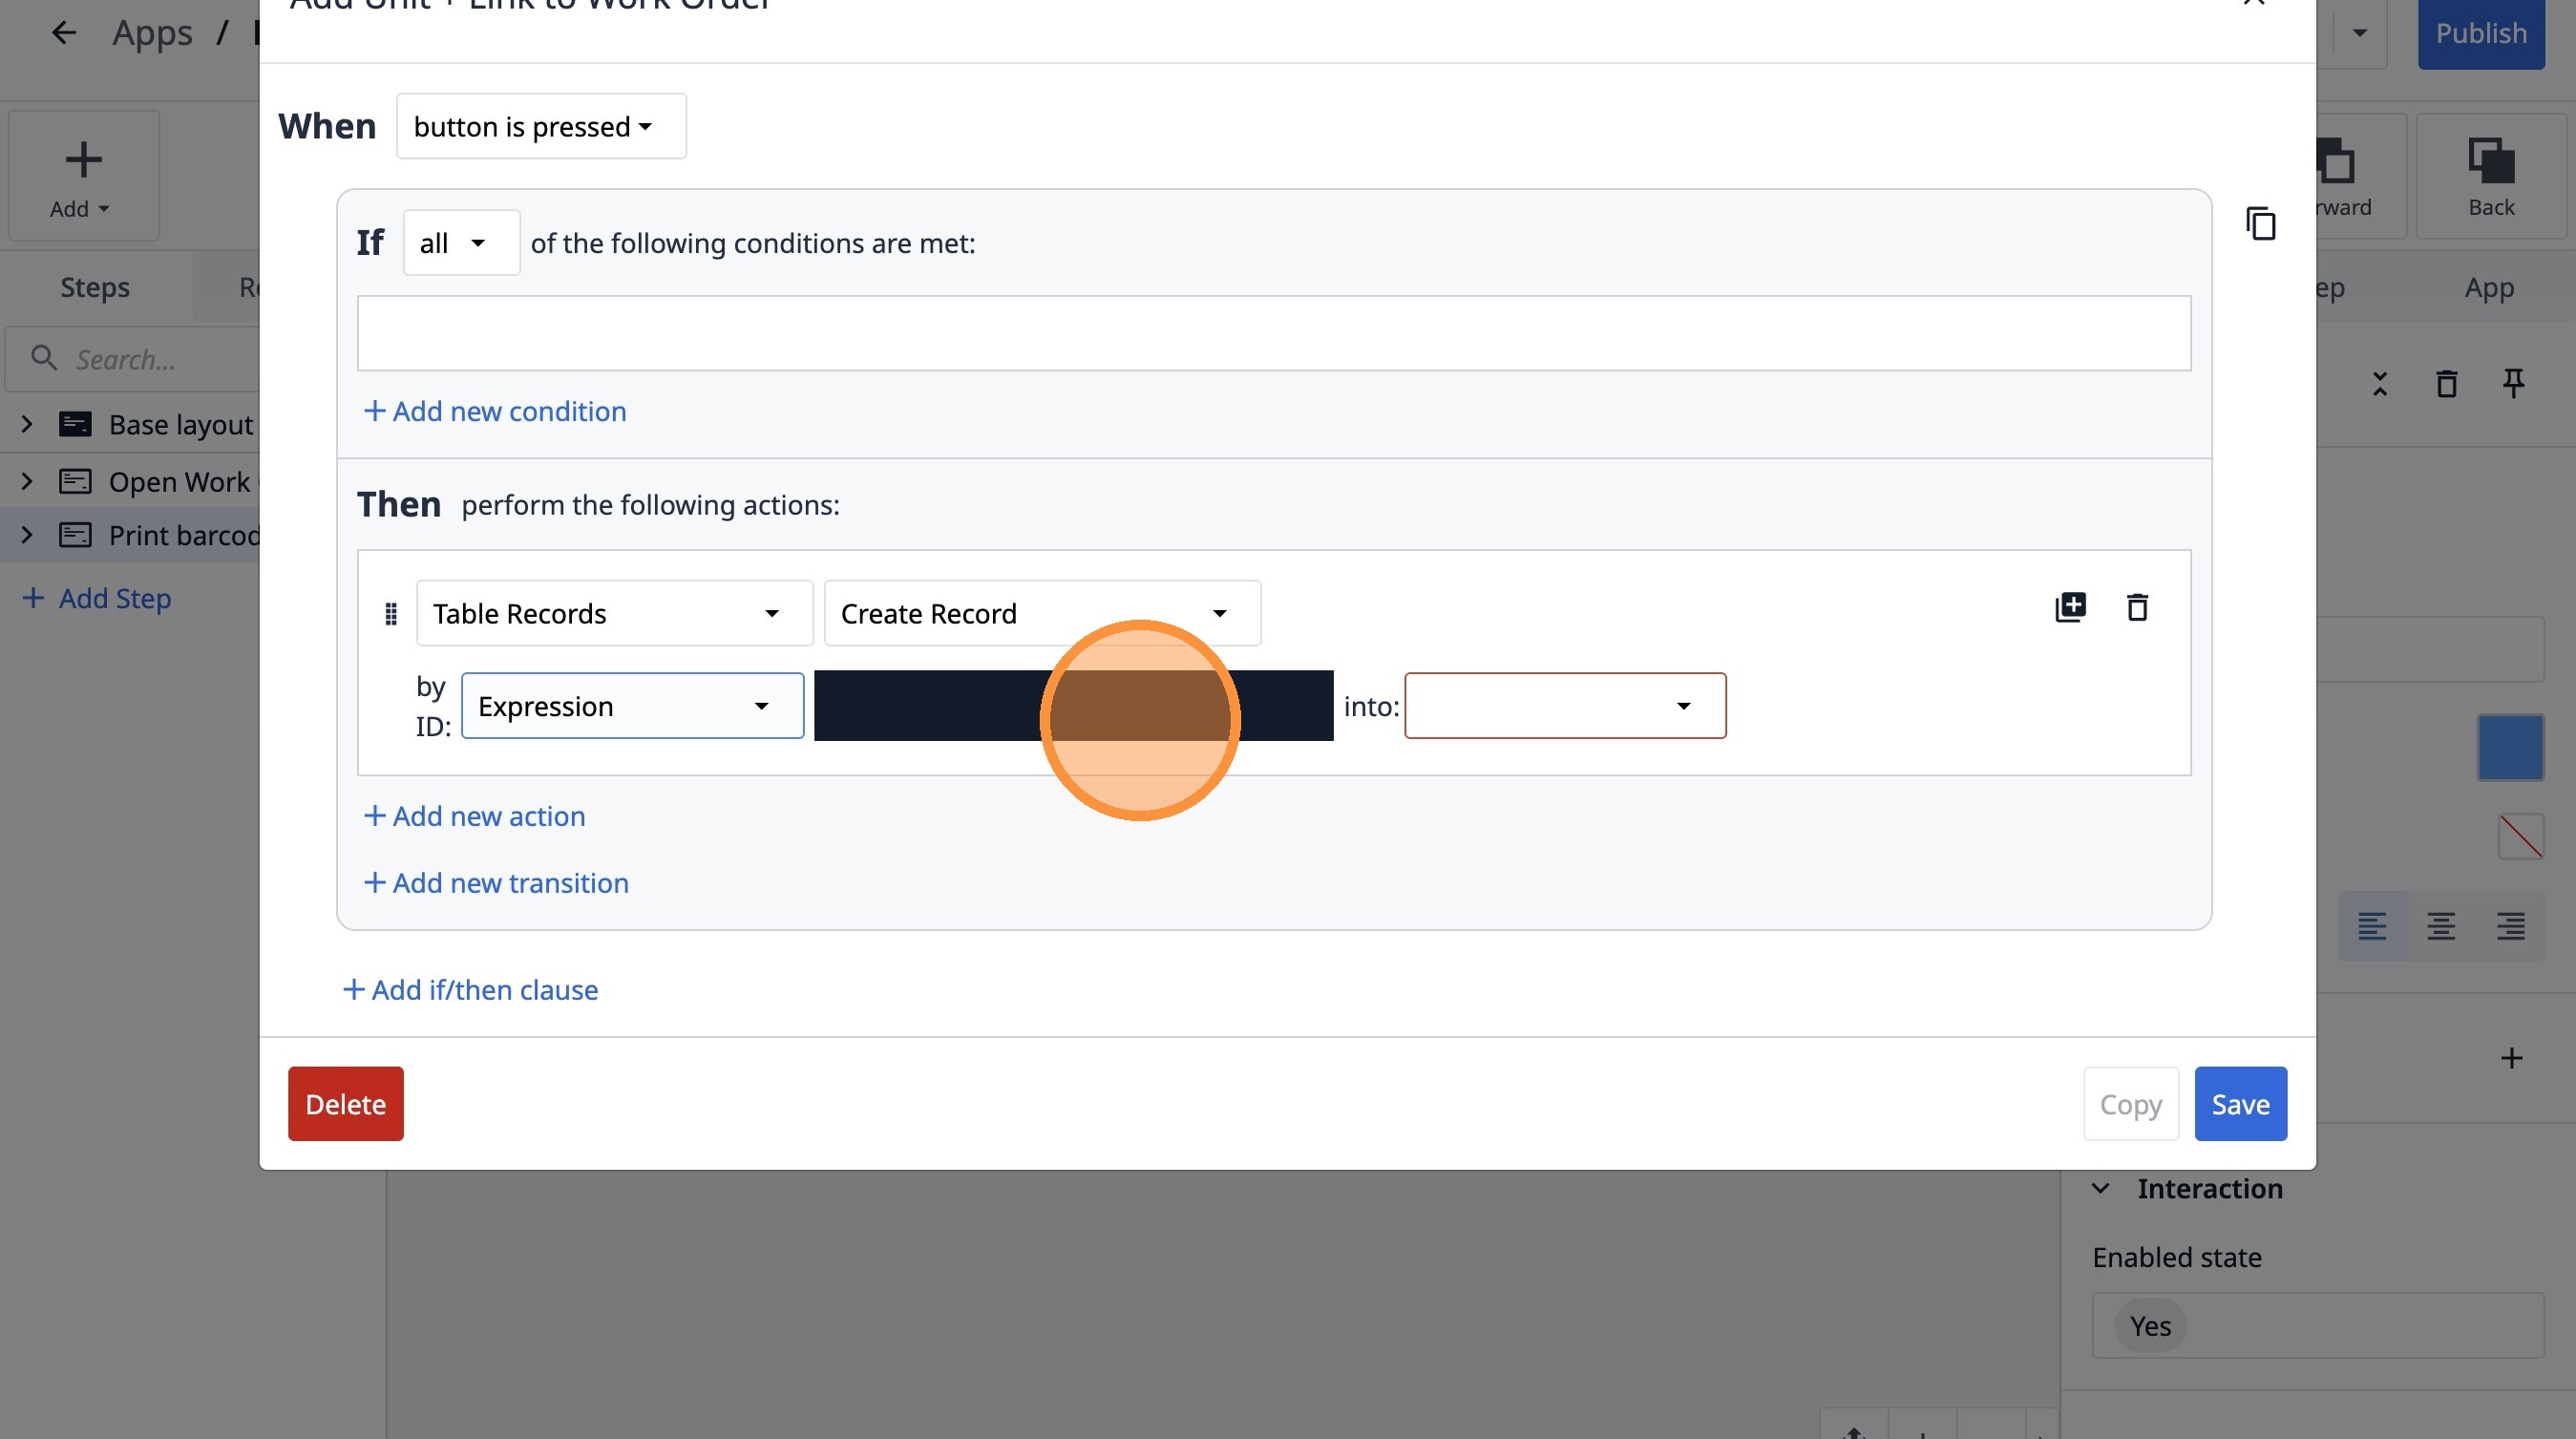
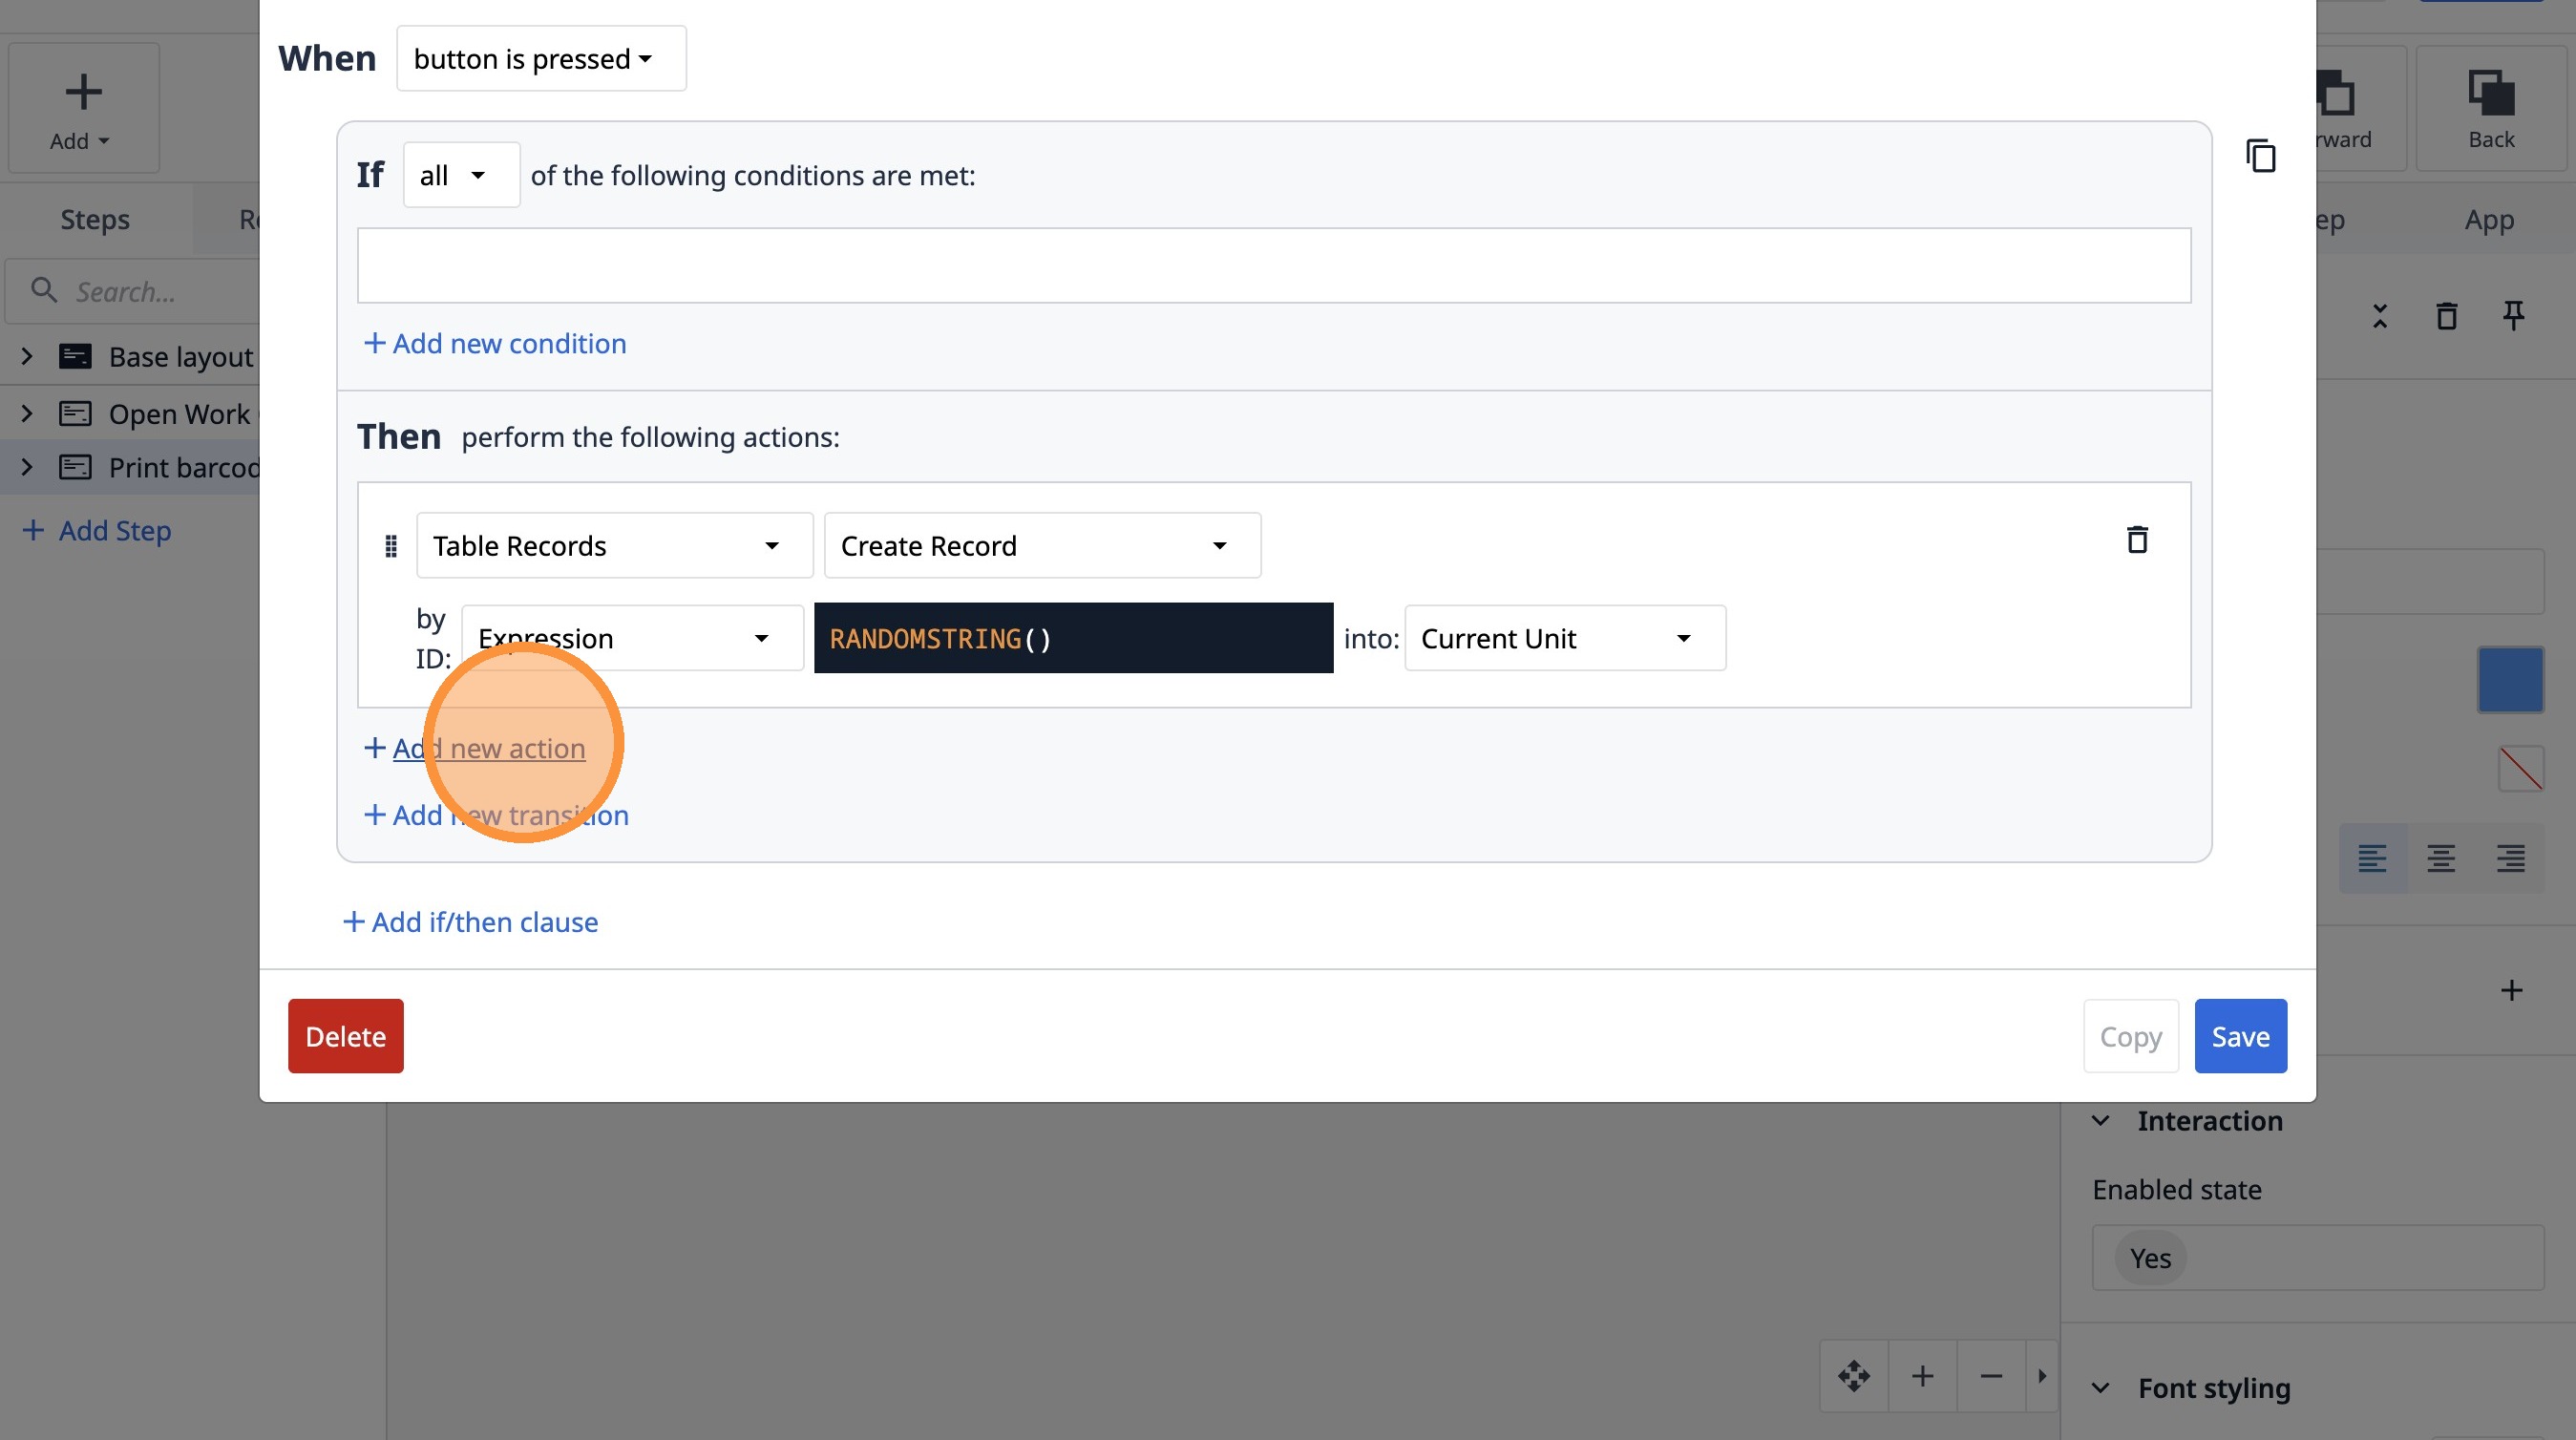
22. Click "Add new action"
23. Select the "Table Records" option.
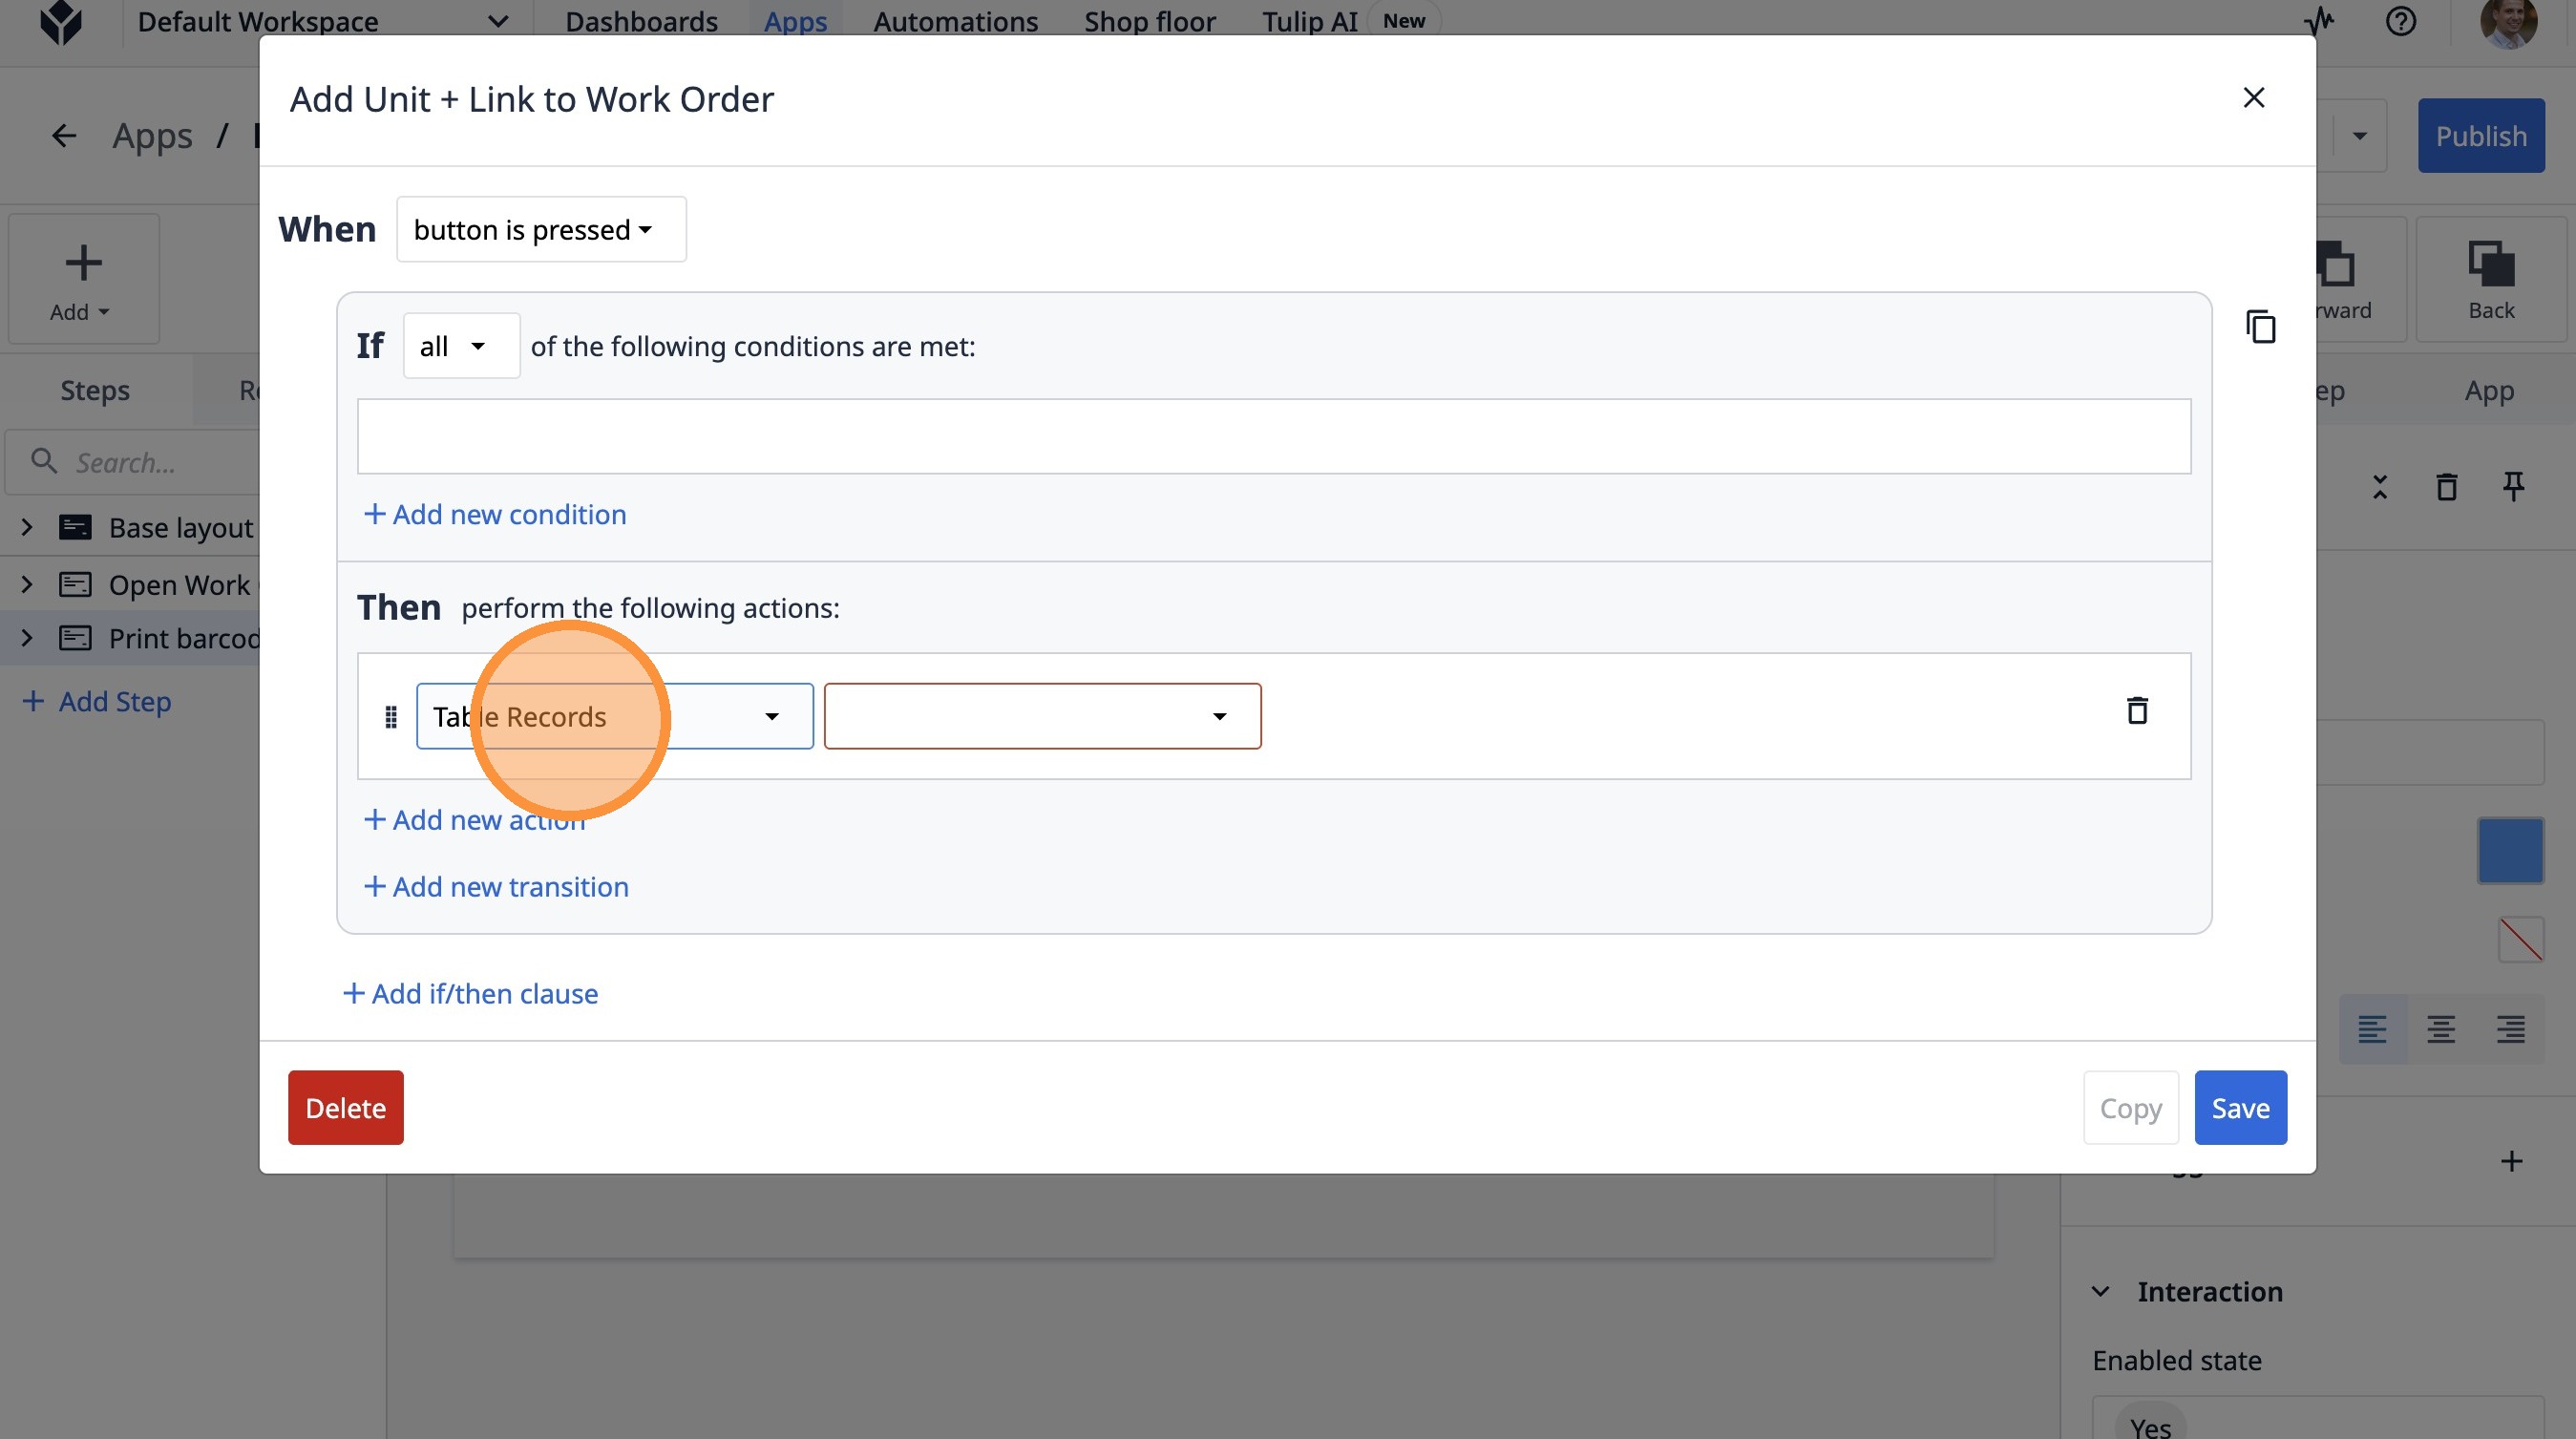
24. Select the "Create Record" option.

25. Select the "Expression" option.
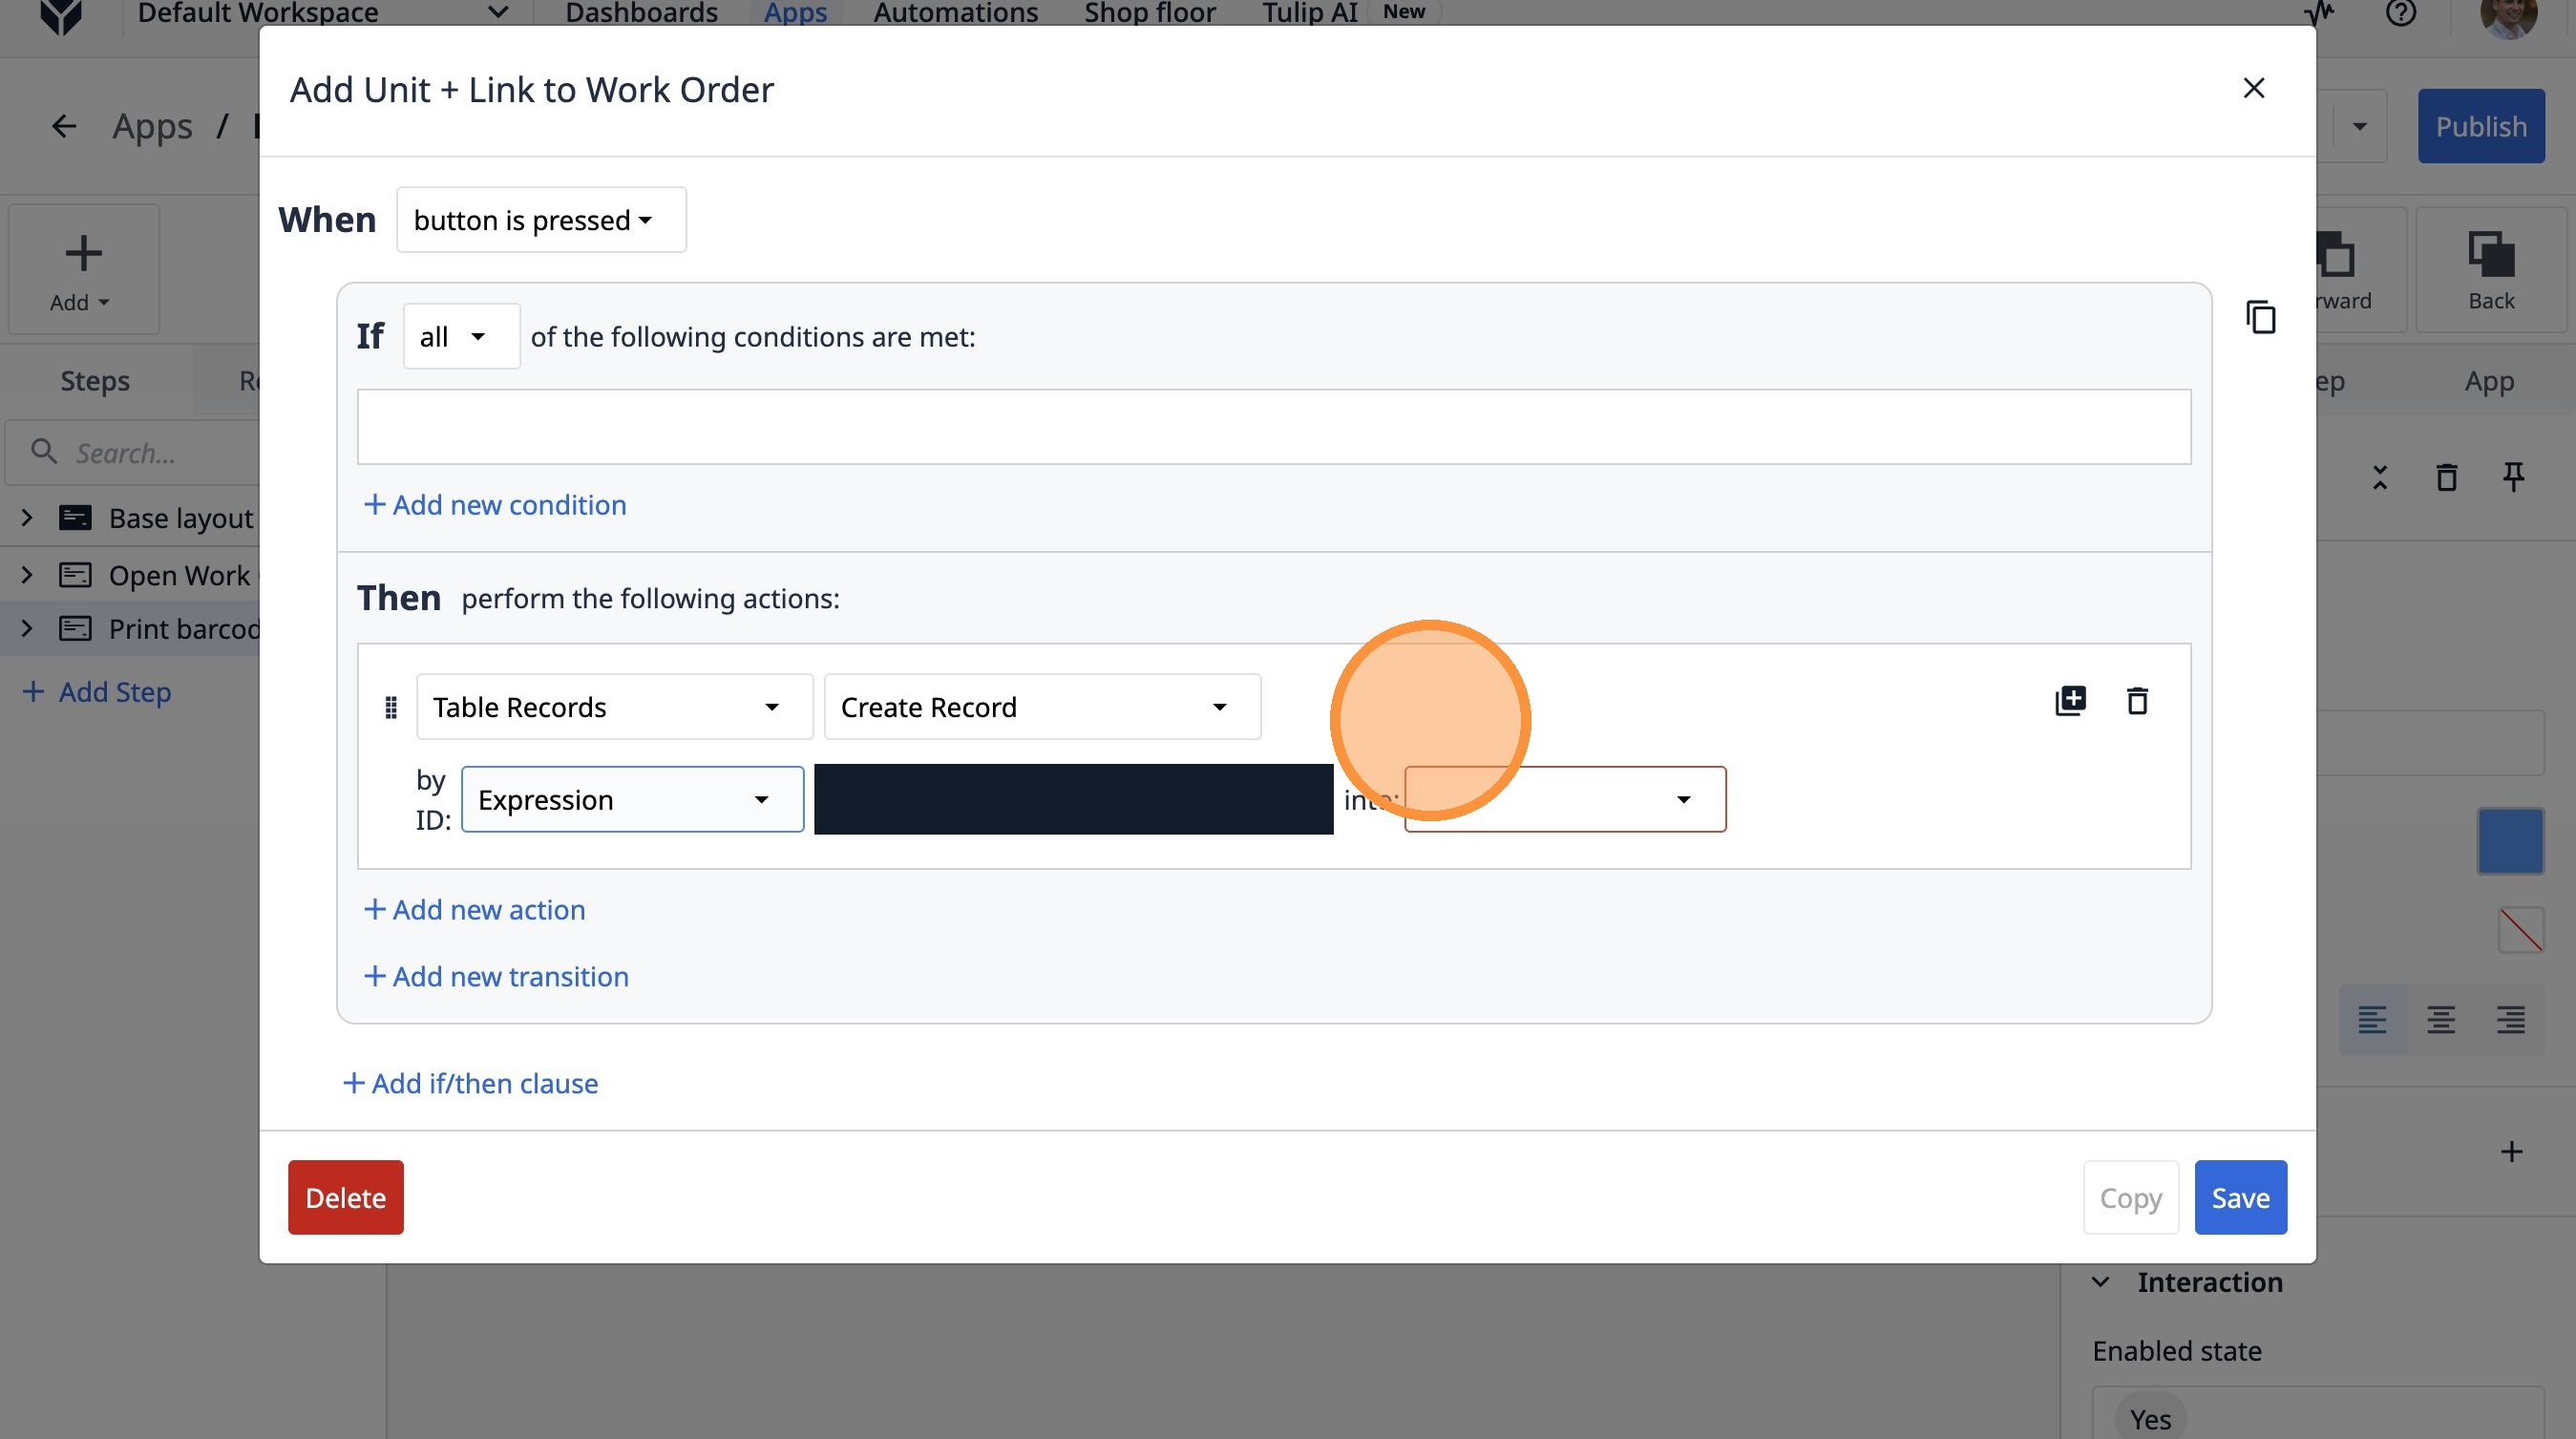
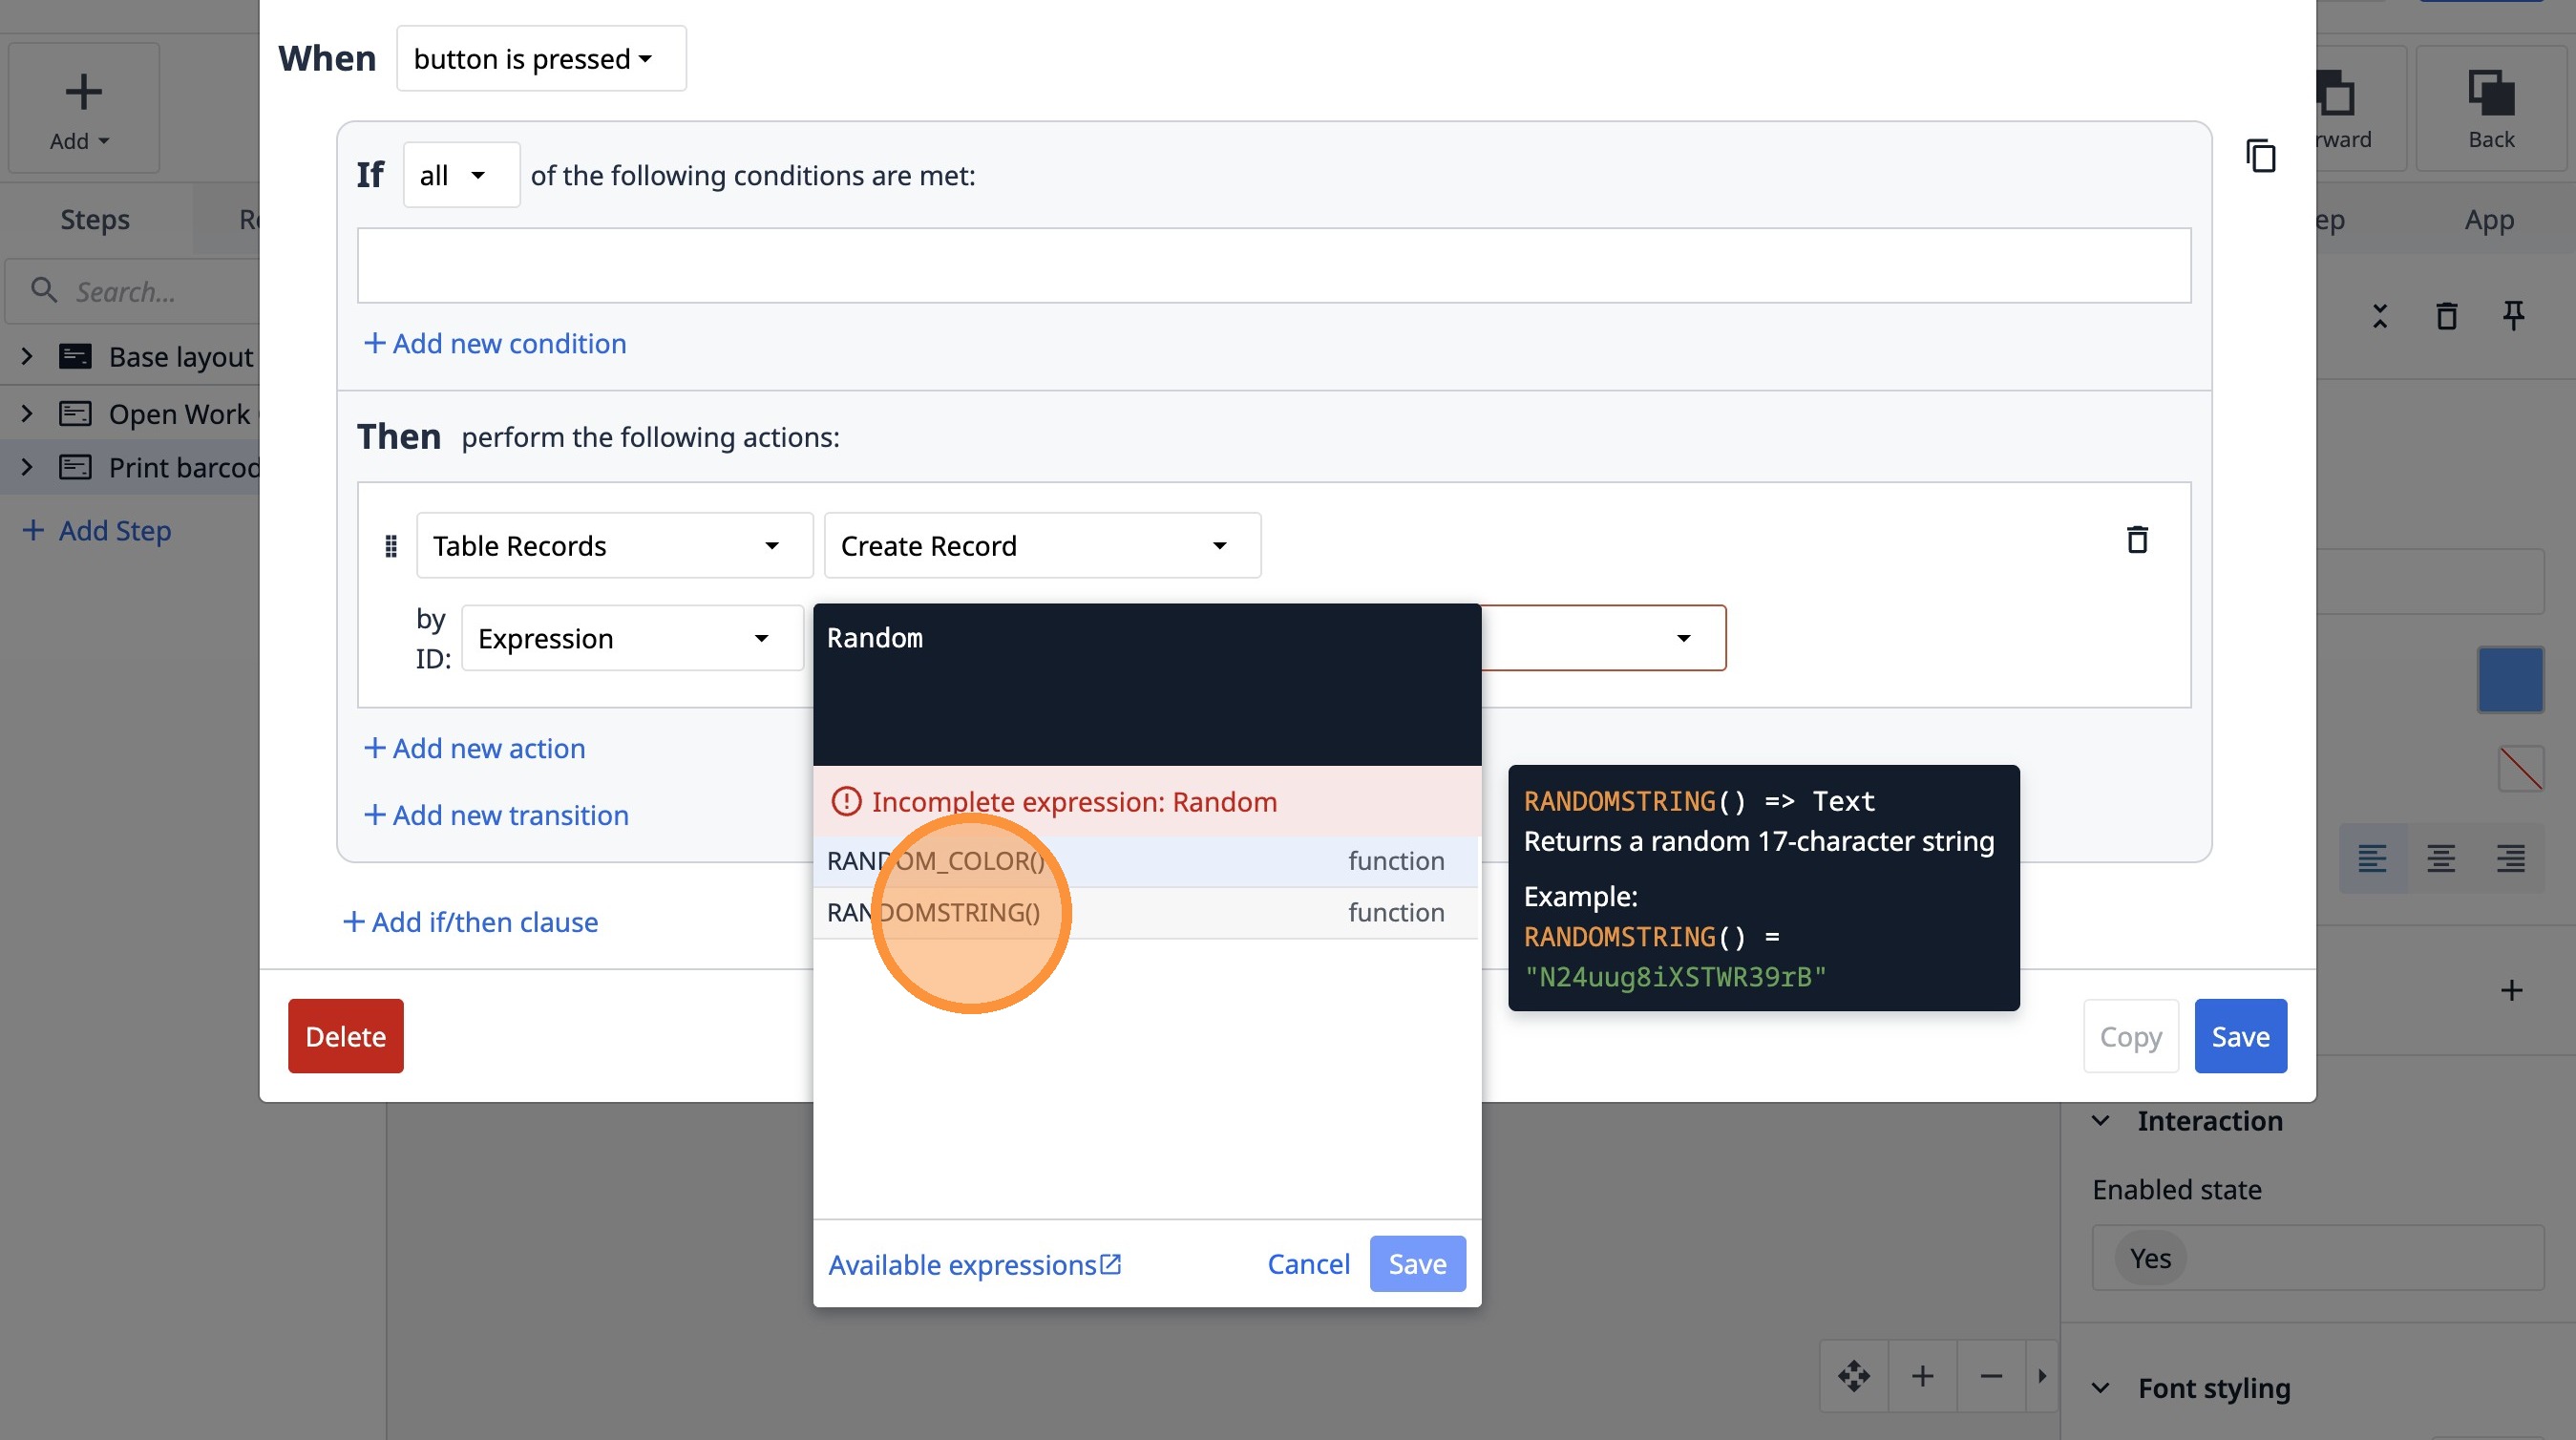
26. Click here.
27. Type "Random"
28. Click "randomstring()function"
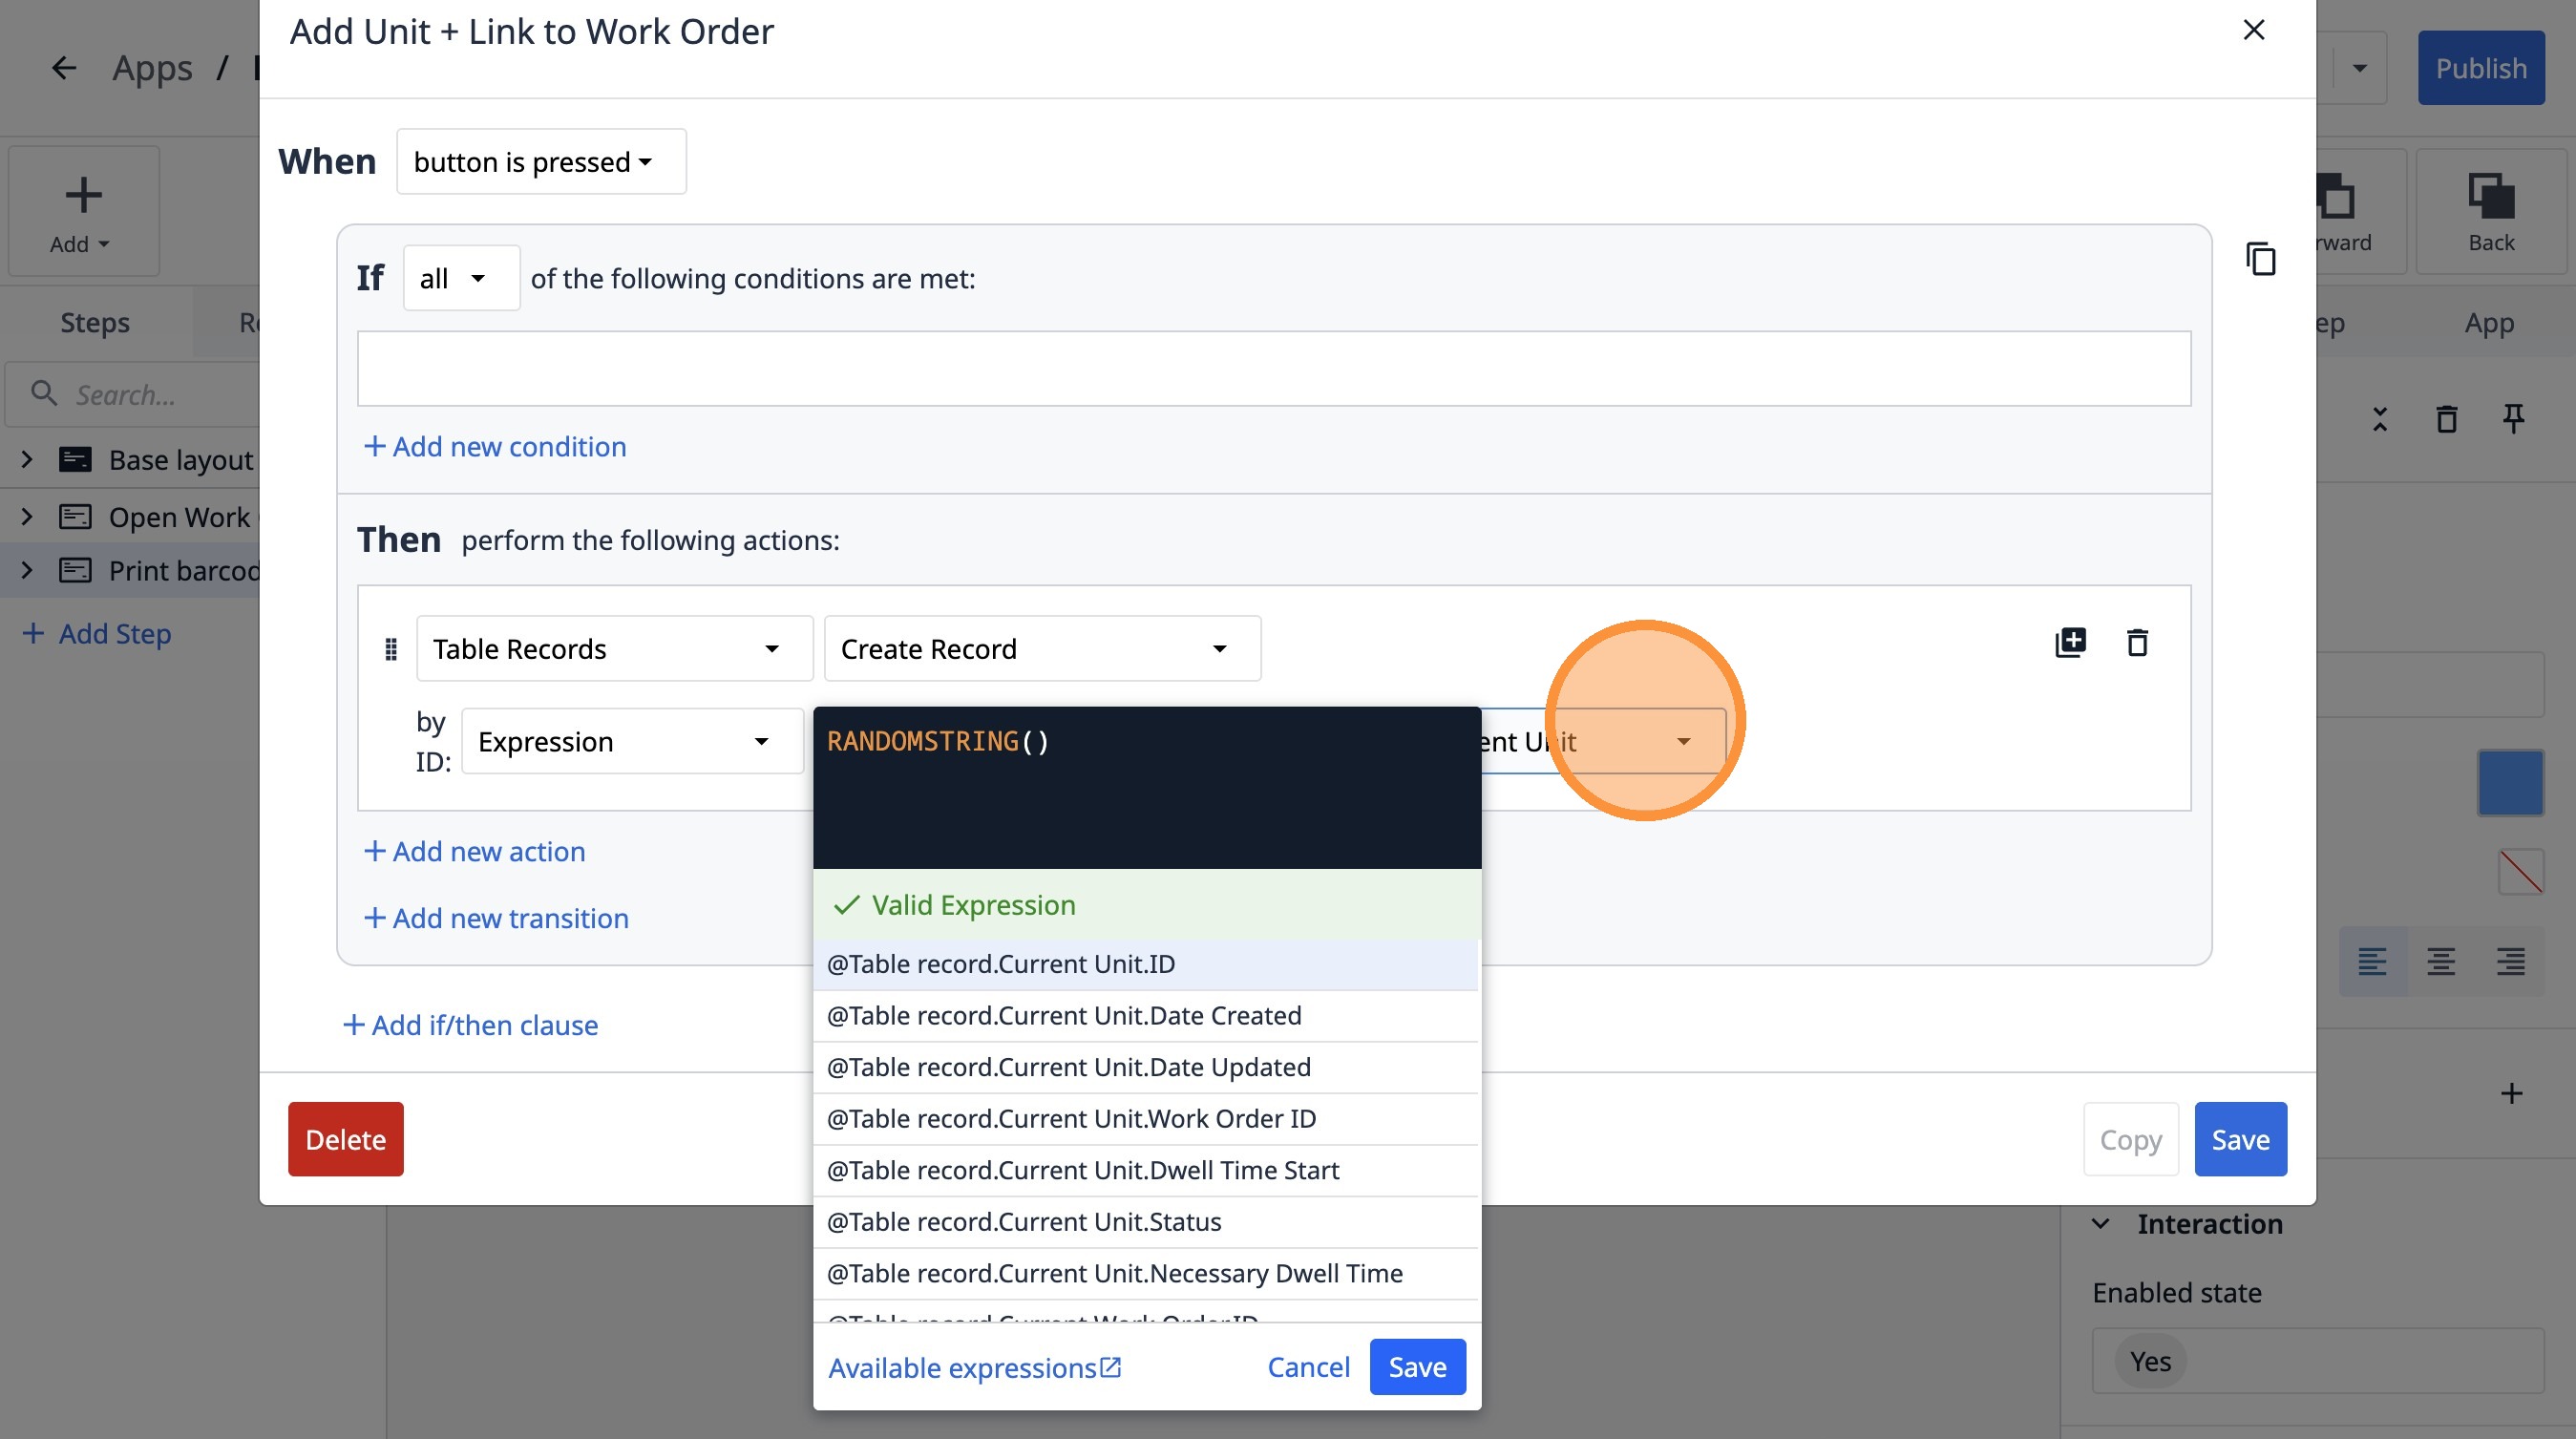
29. Select the "Current Unit" option.
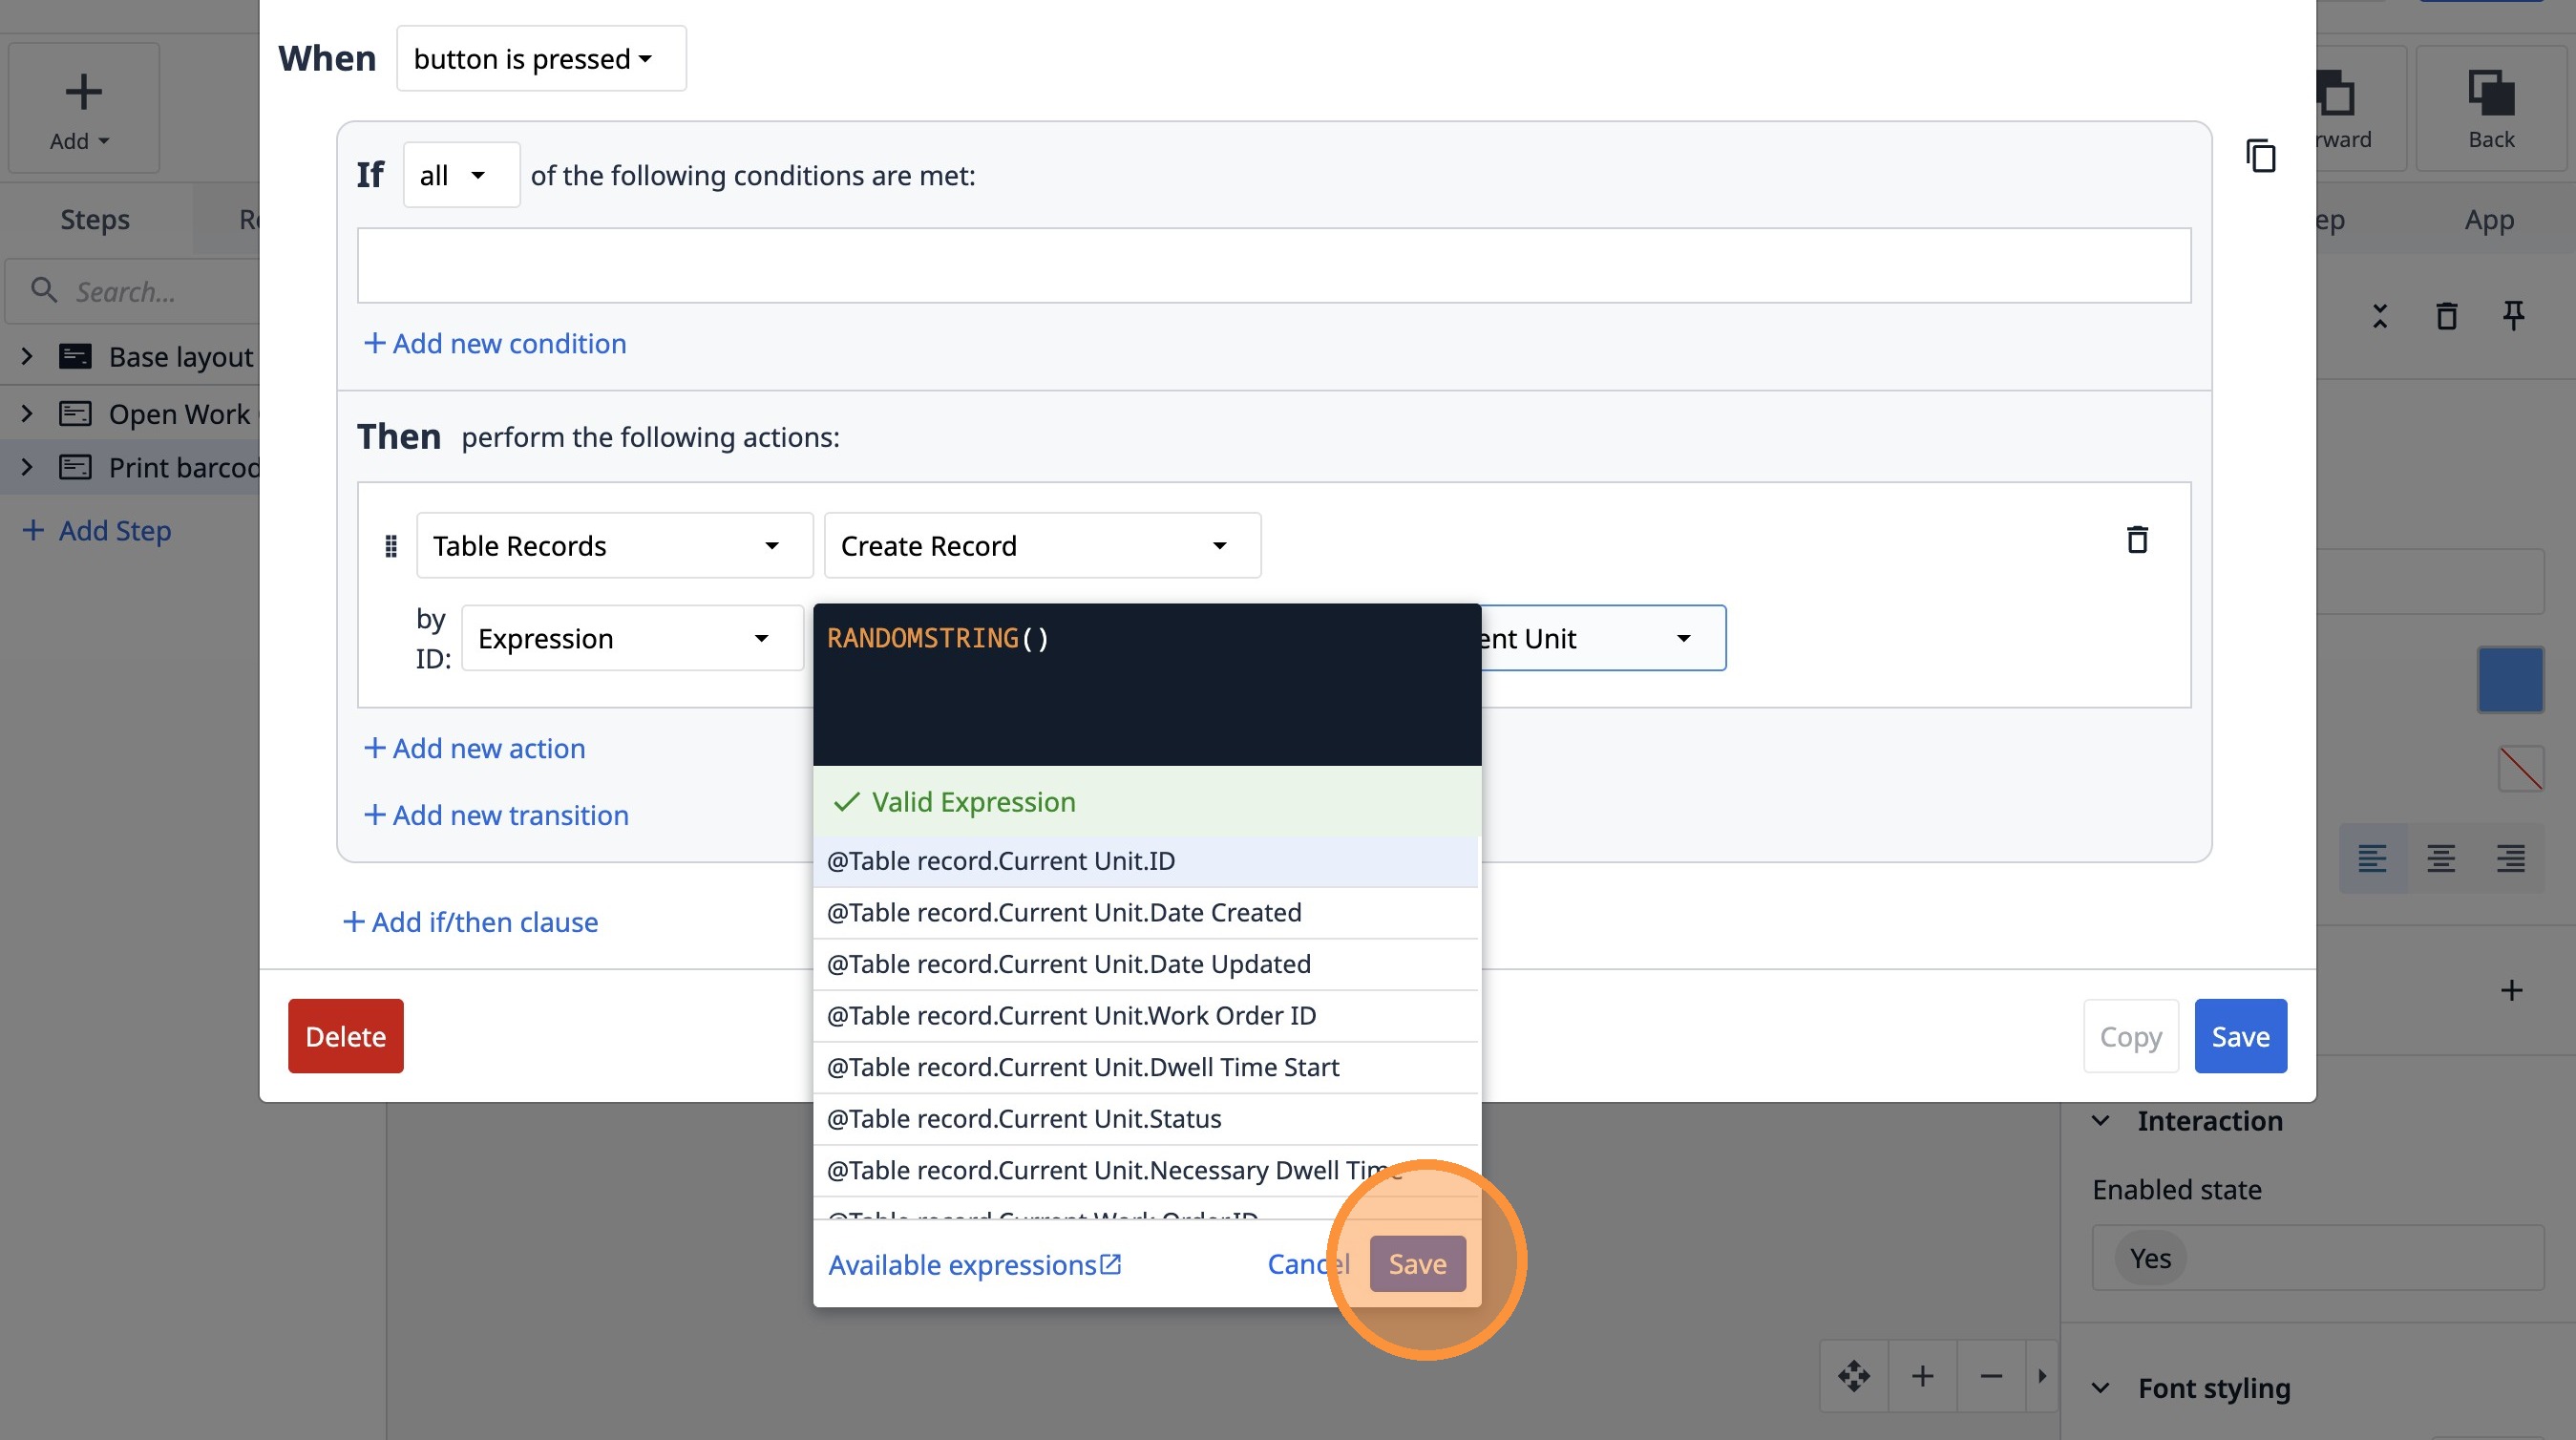
30. Click "Save"
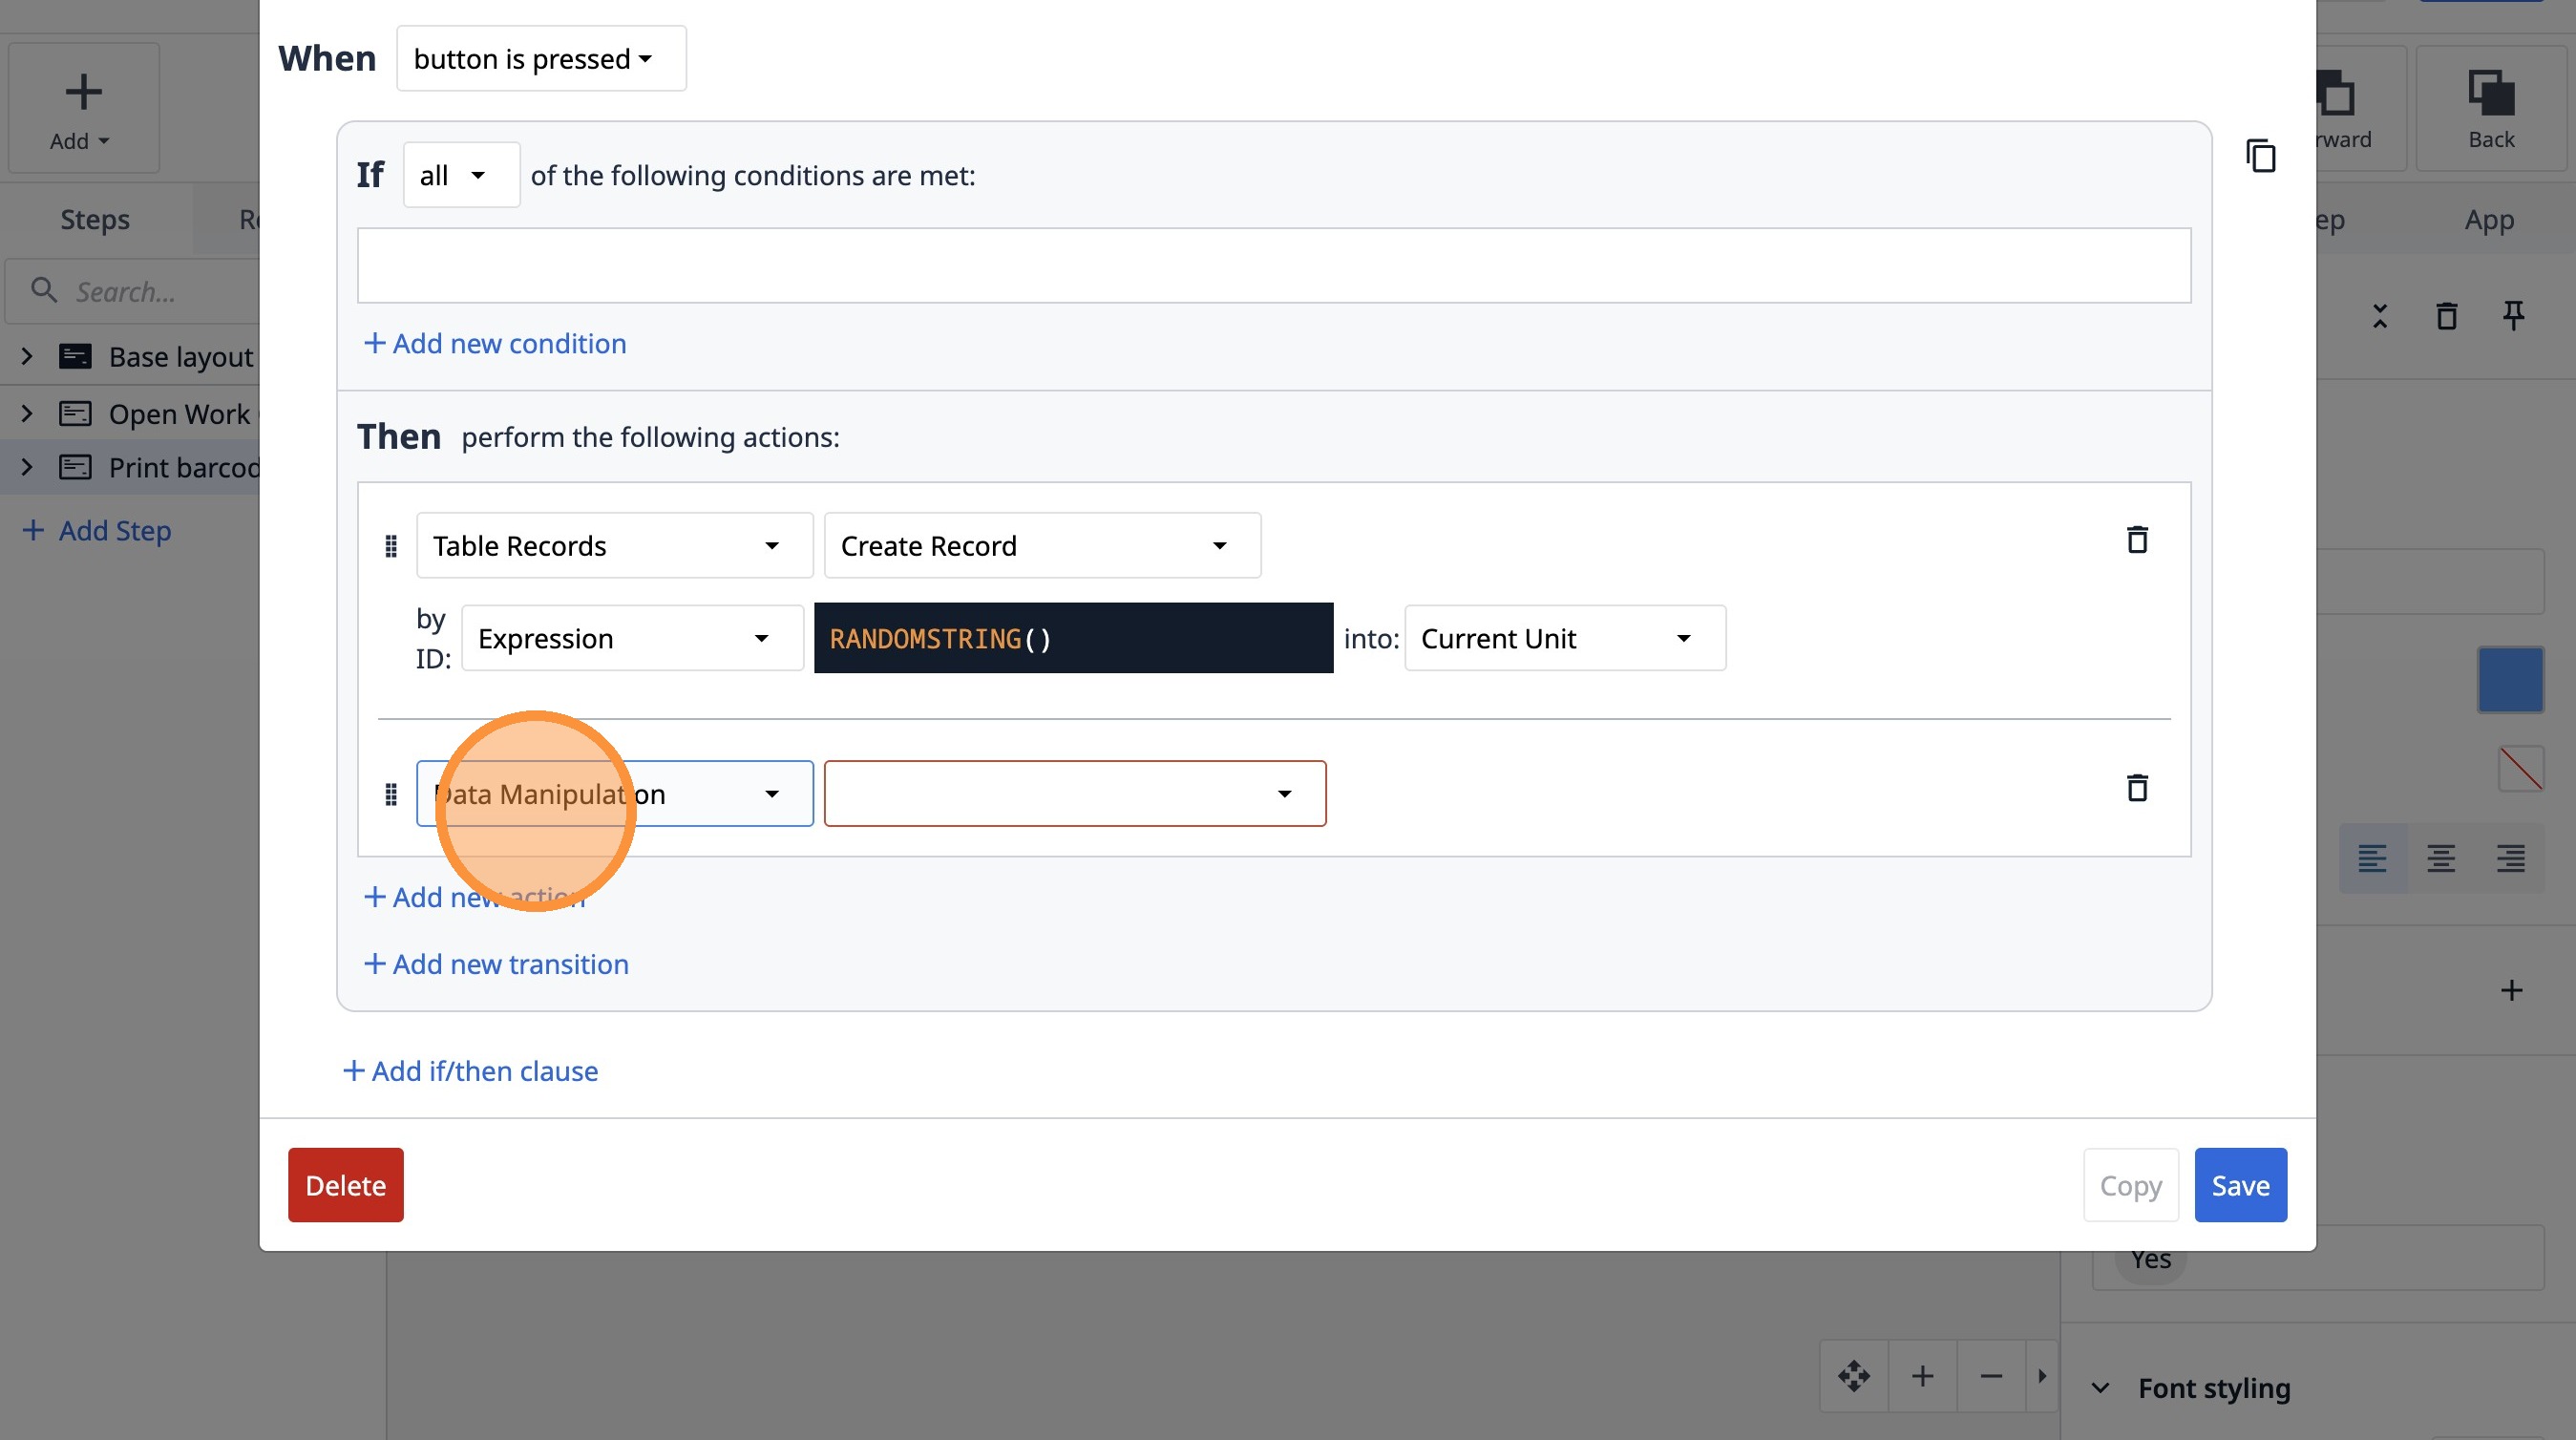
31. Click "Add new action"
32. Select the "Data Manipulation" option.
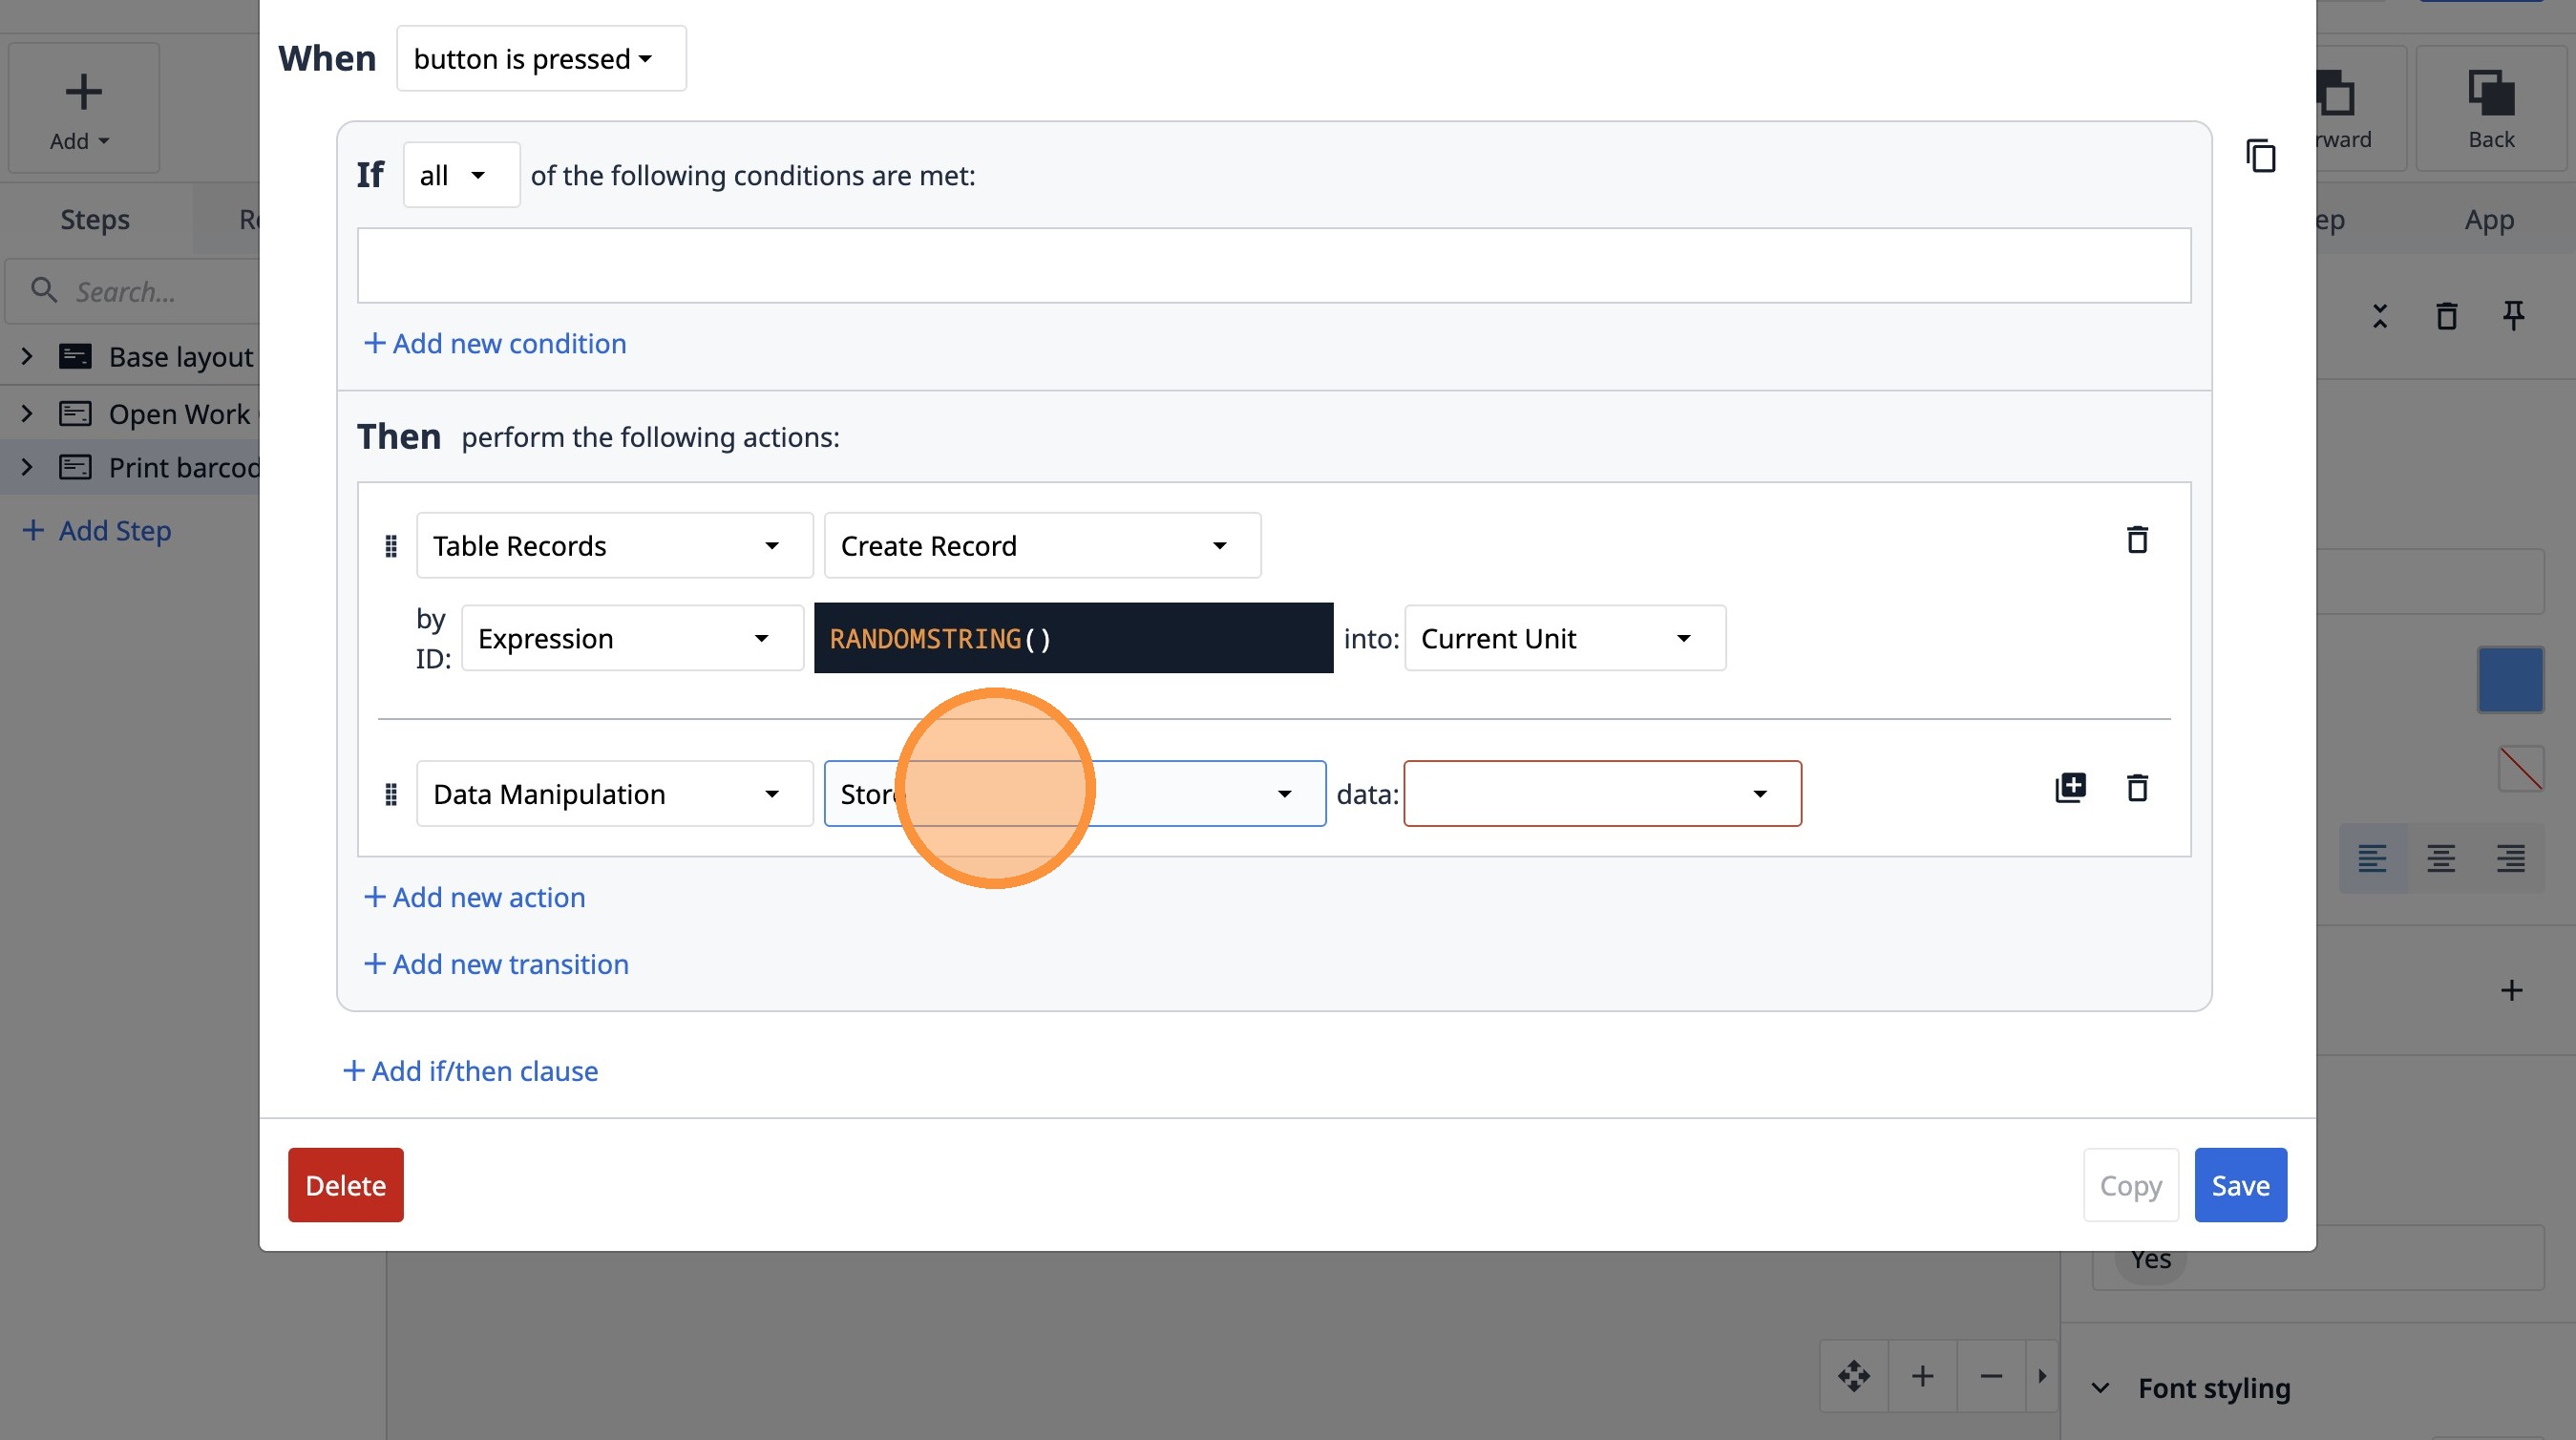
33. Select the "Store" option.
34. Select the "Table record" option.

35. Select the "B5TEtkXqjN9QgvGJL" option.
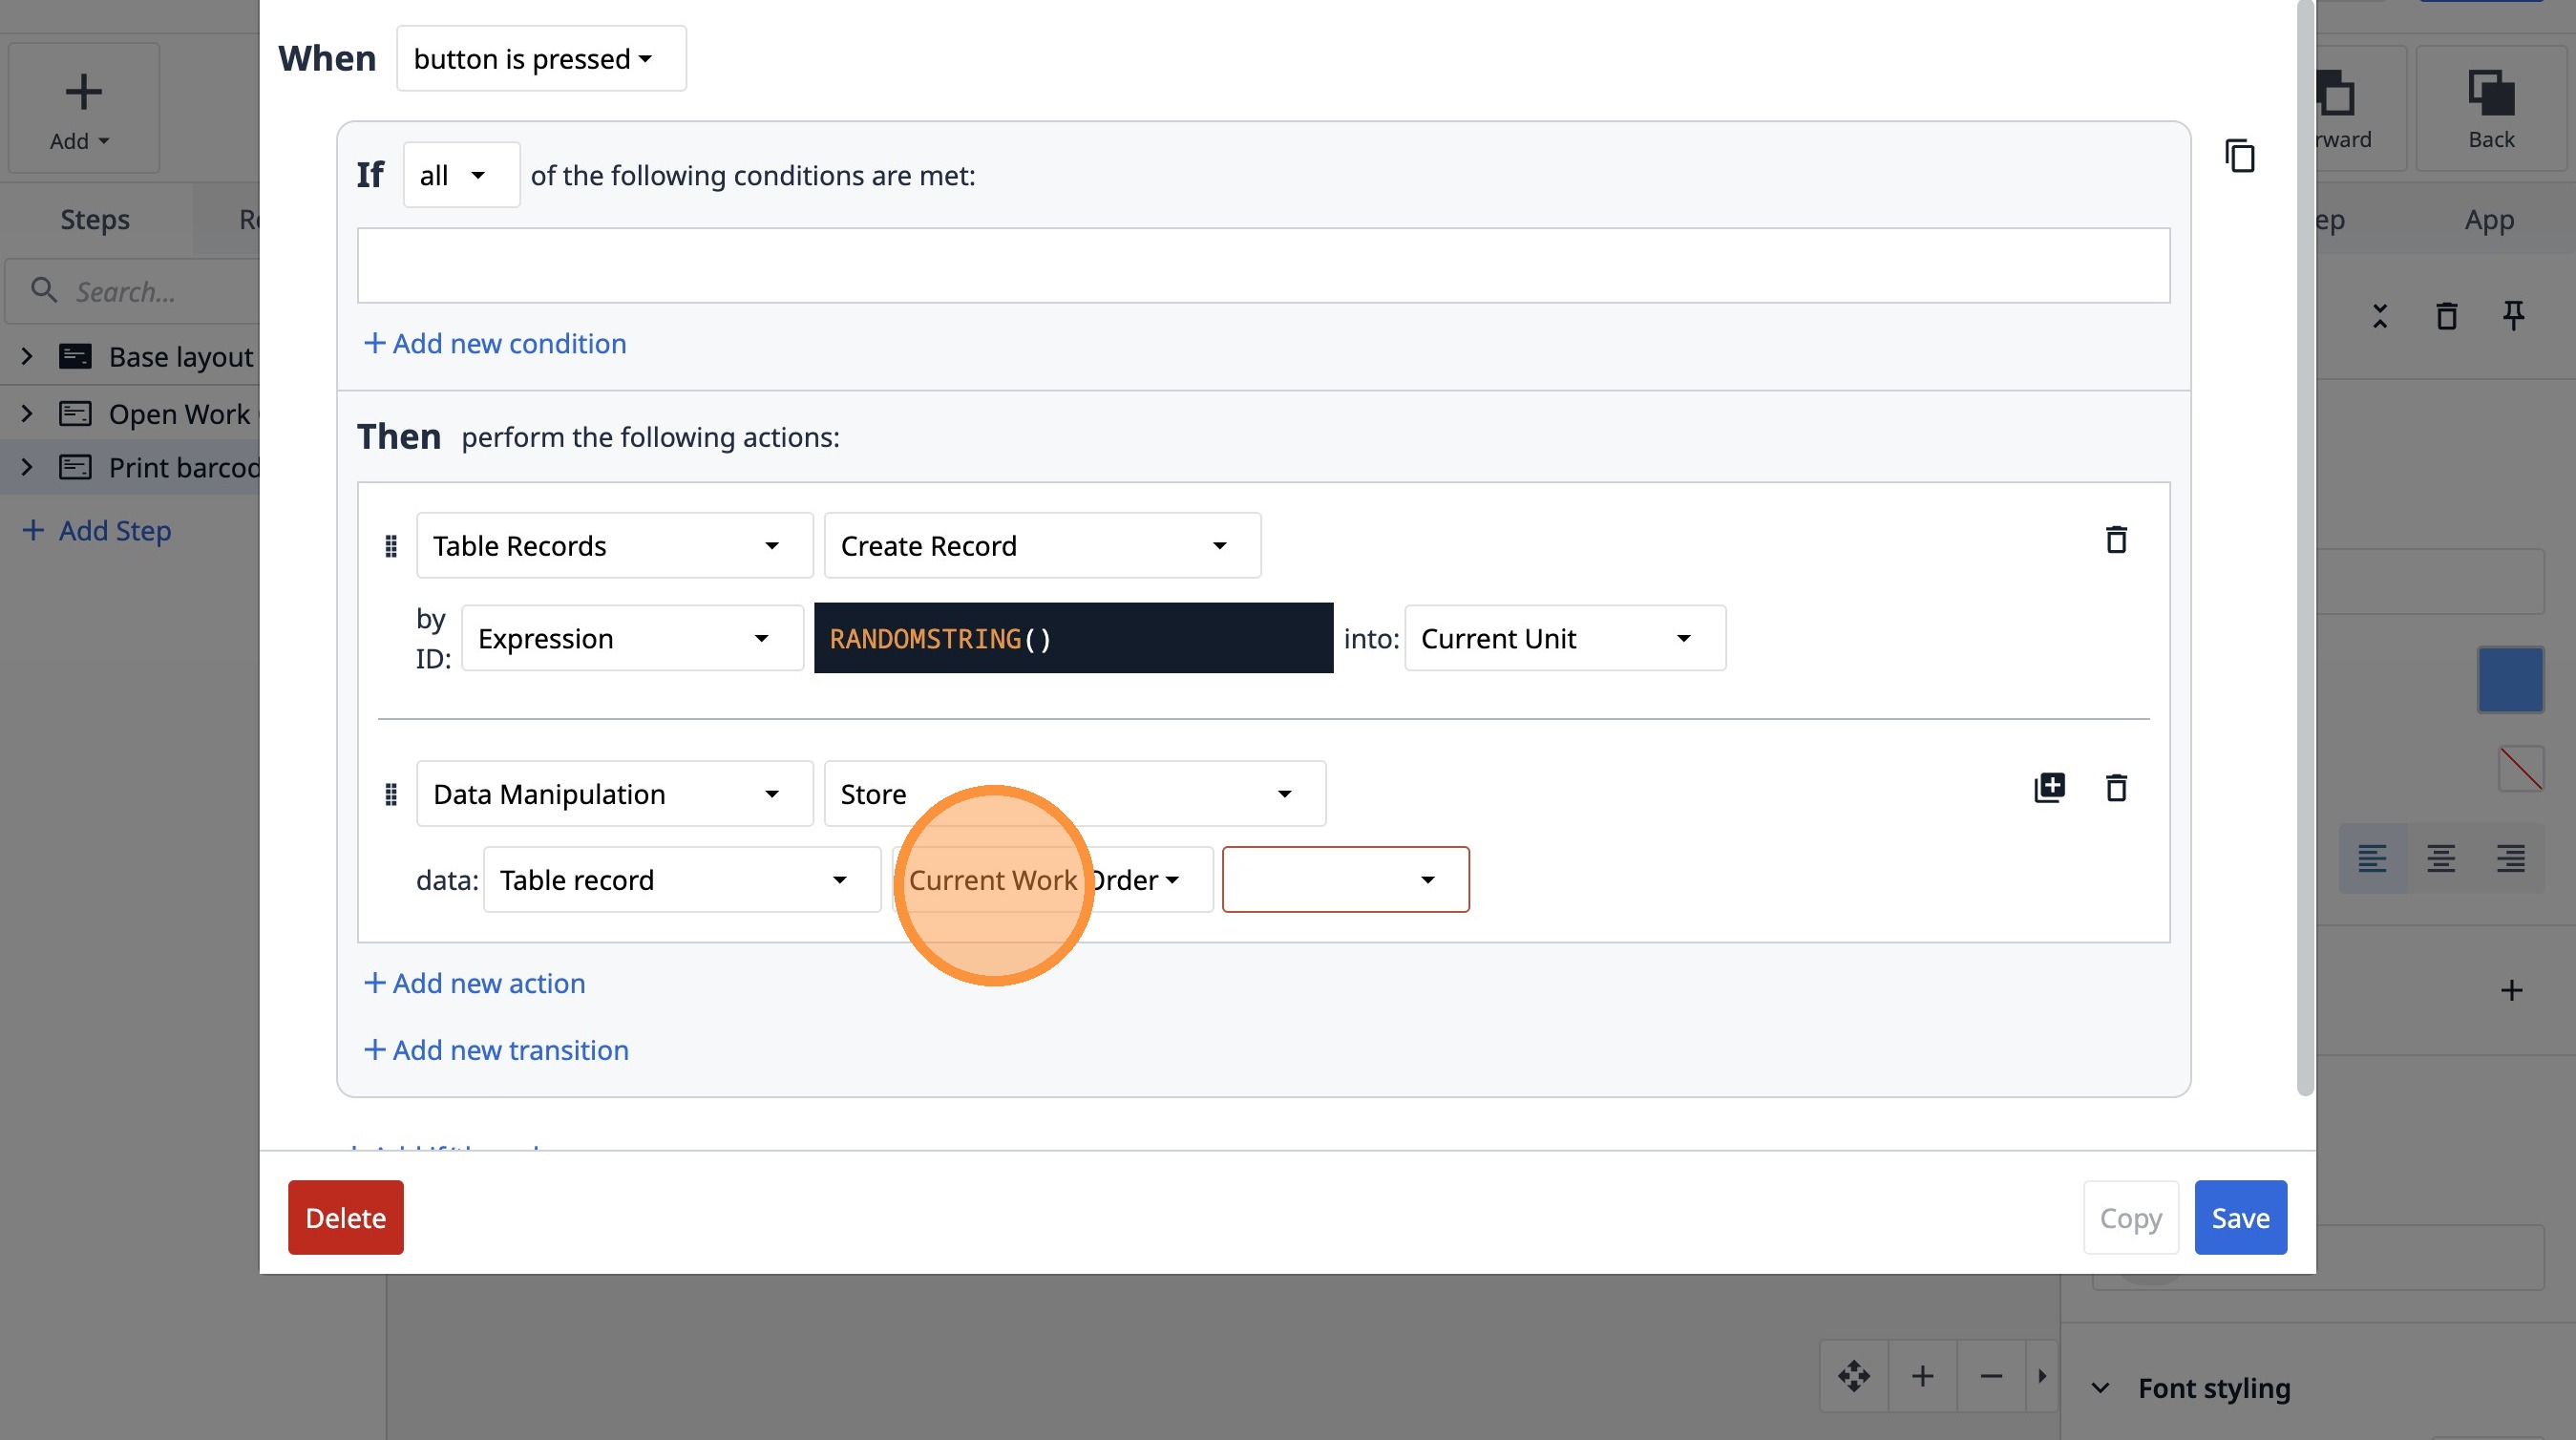
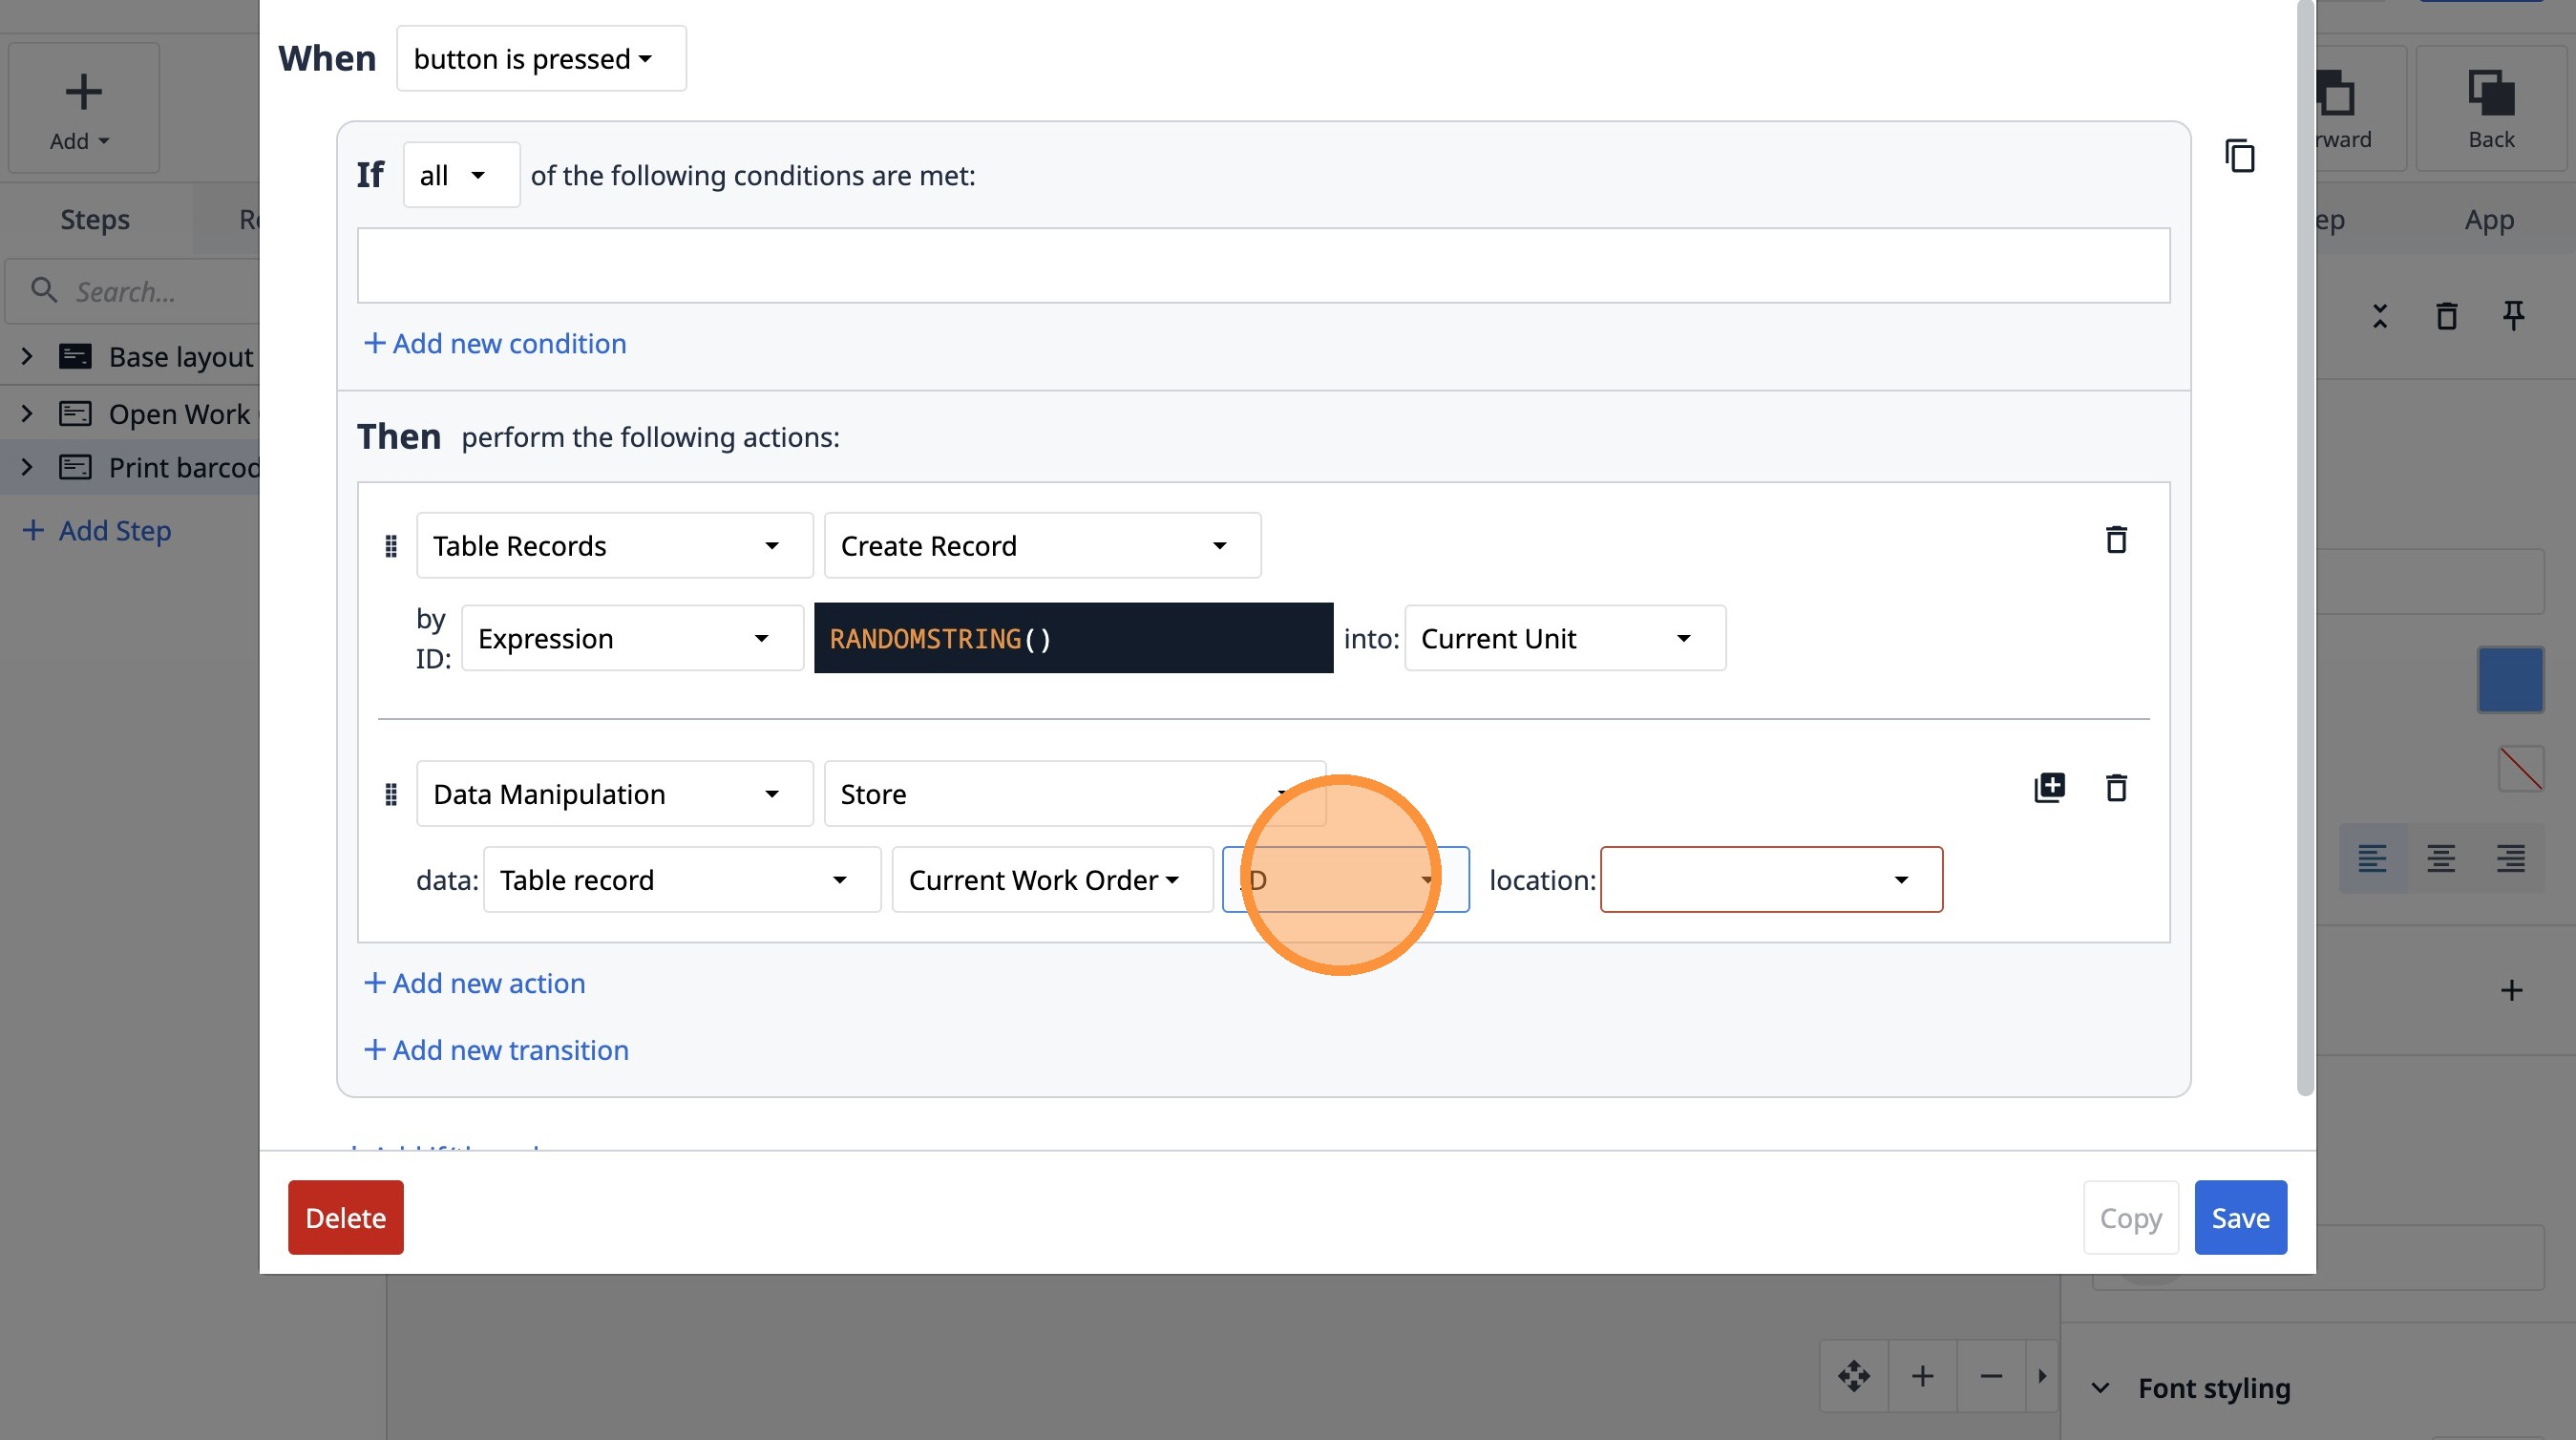
36. Select the "ID" option.
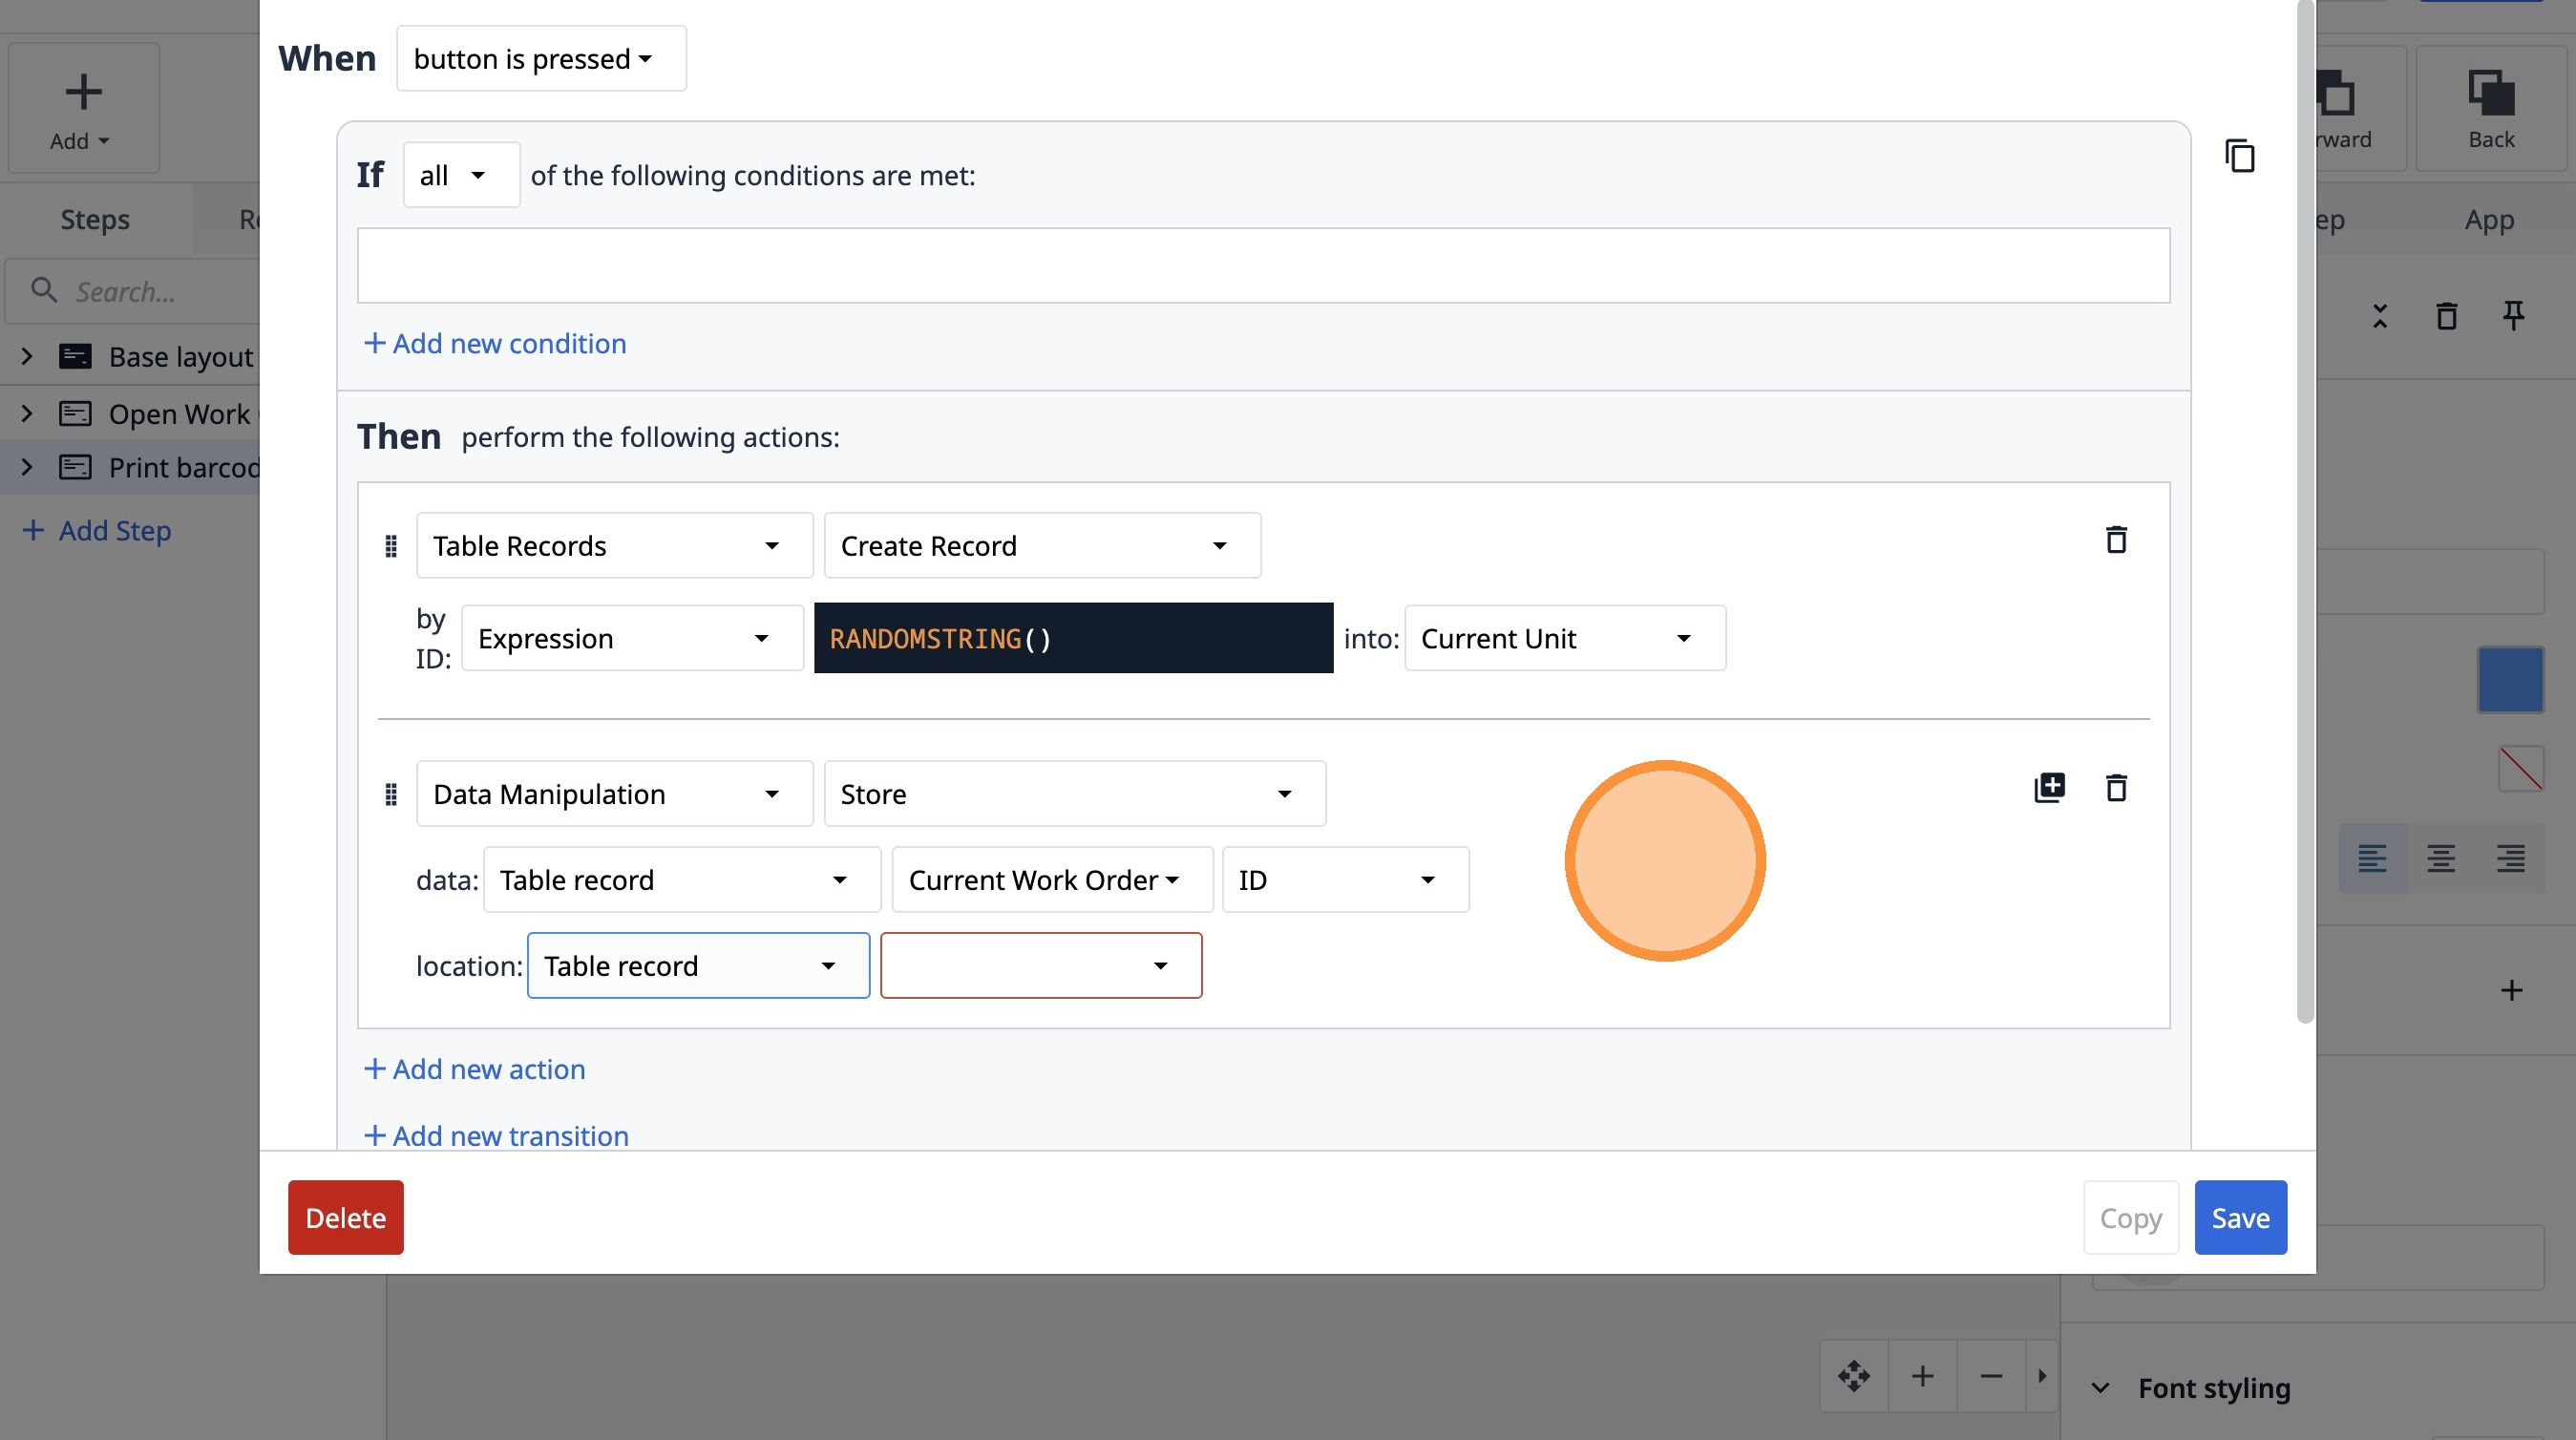
37. Select the "Table record" option.
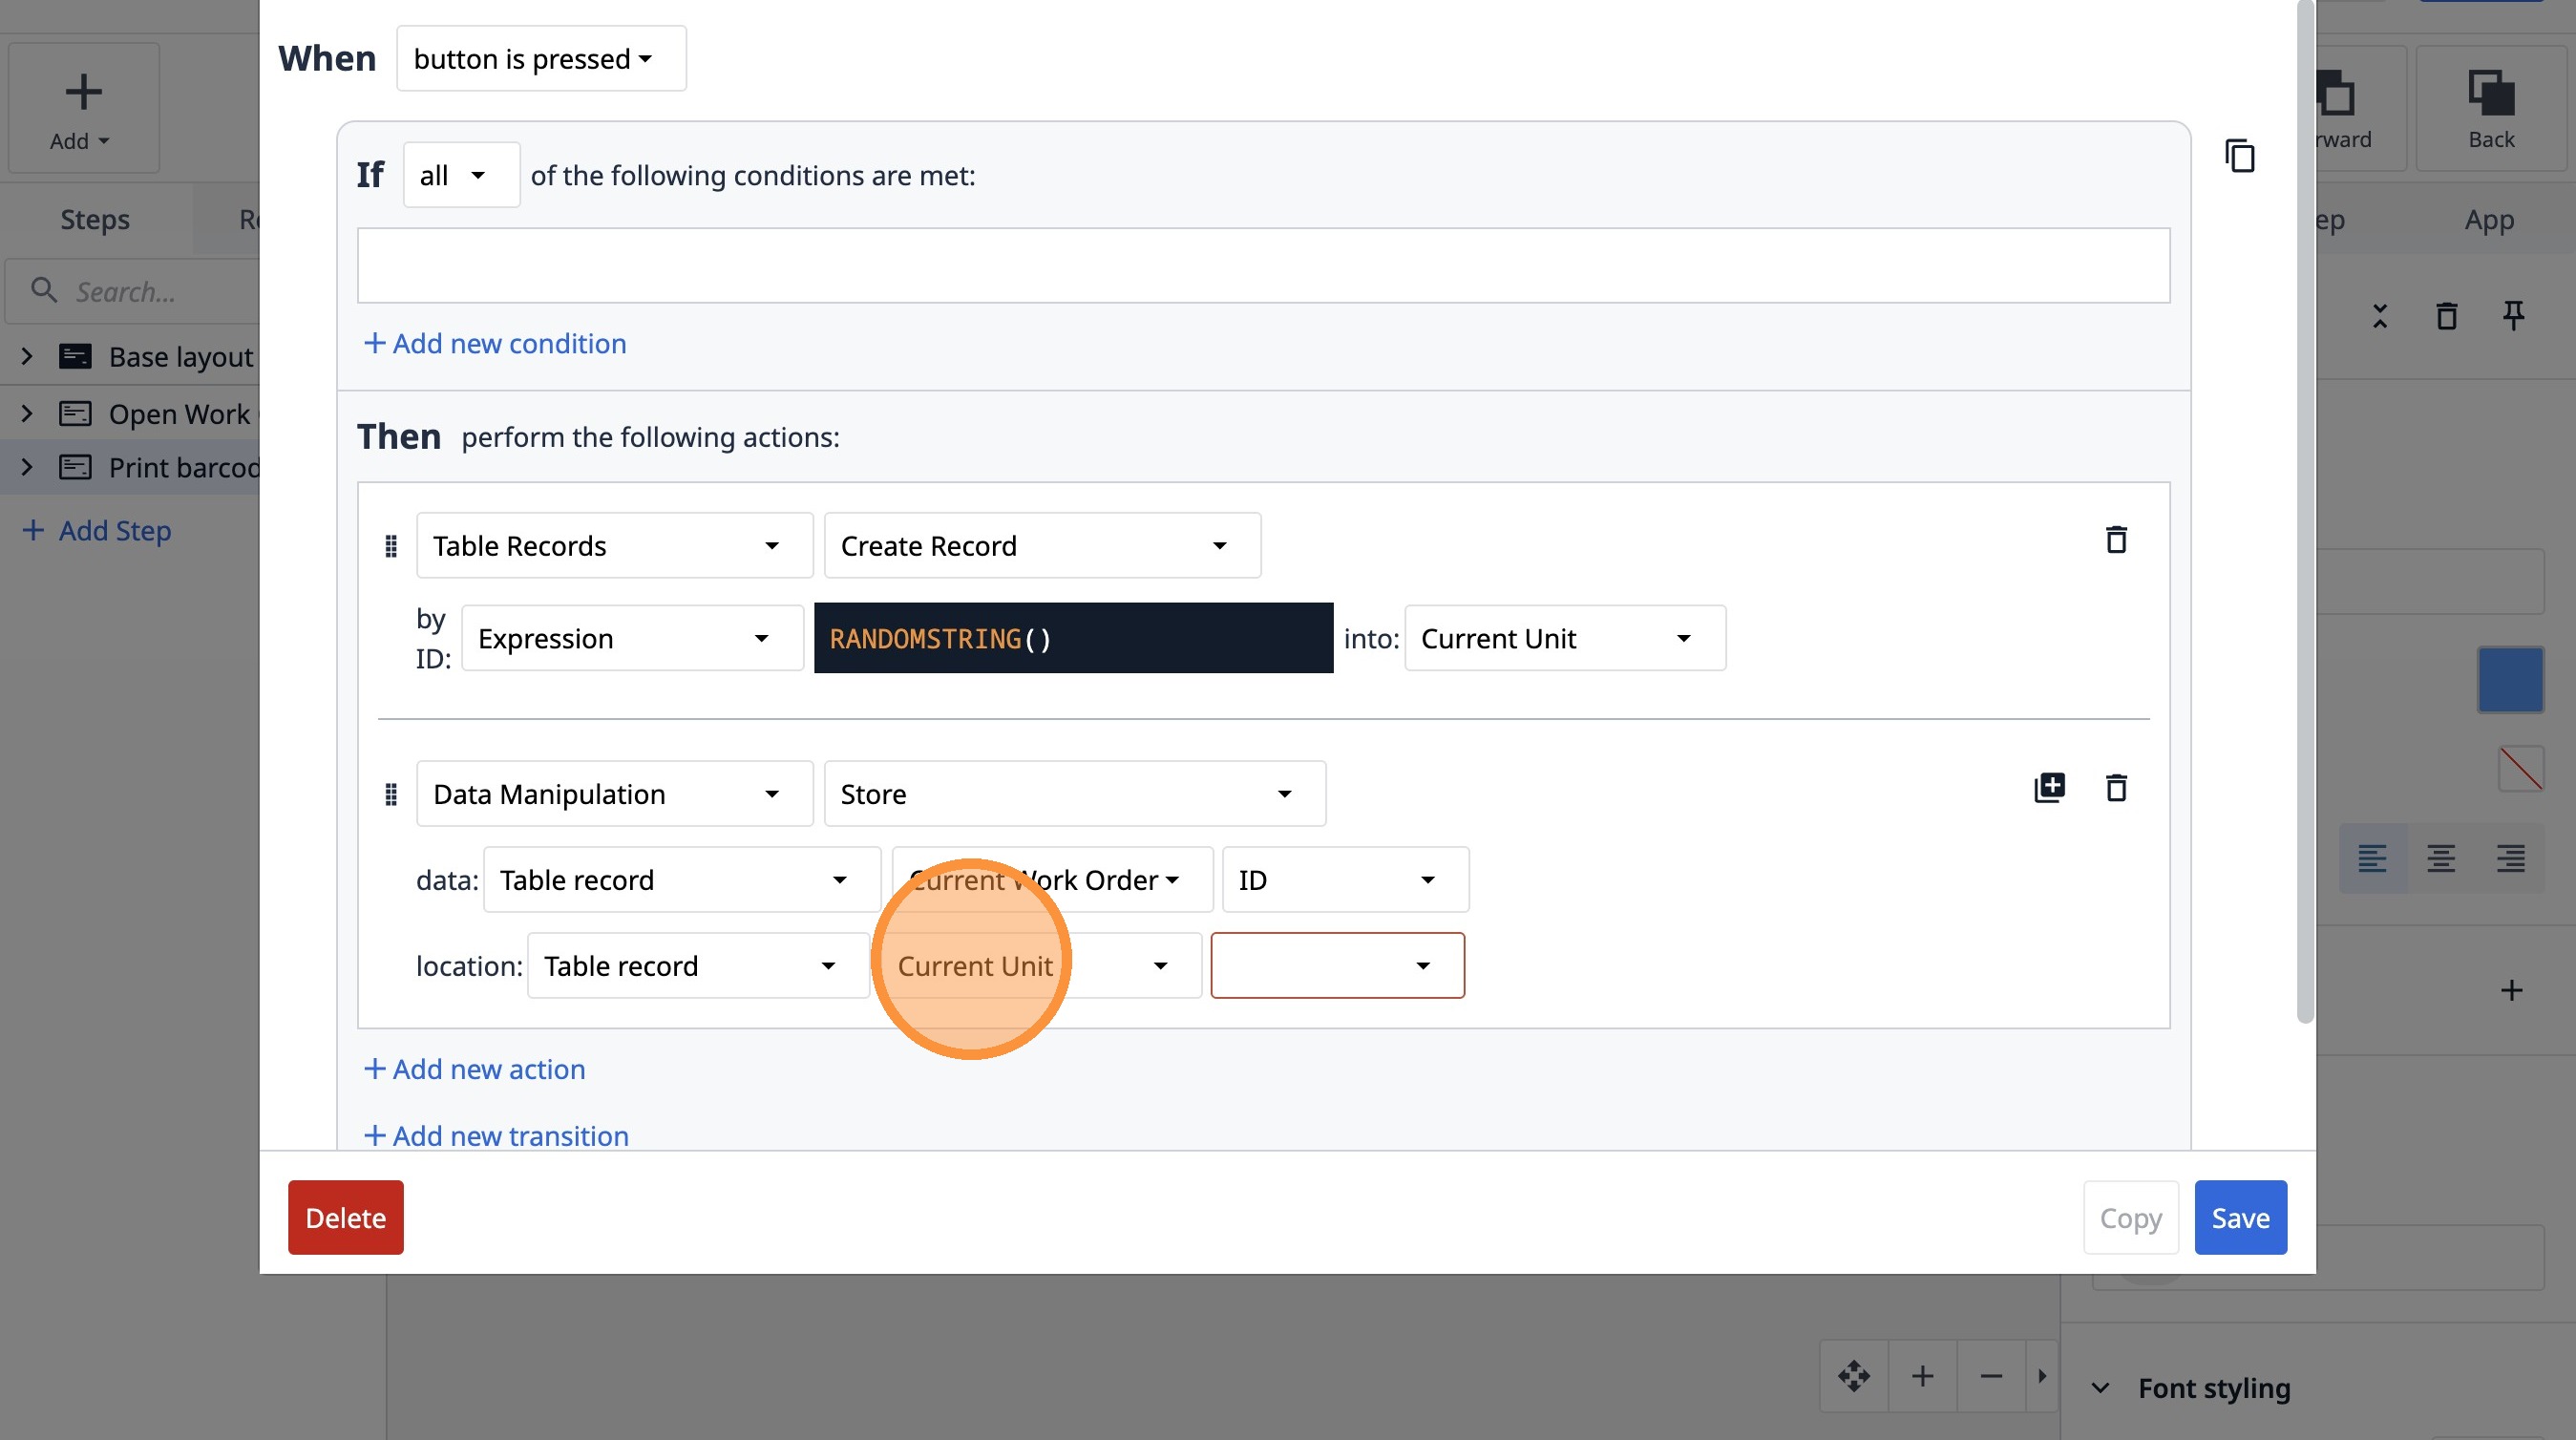
38. Select the "FTghJdF884NwQdJX9" option.
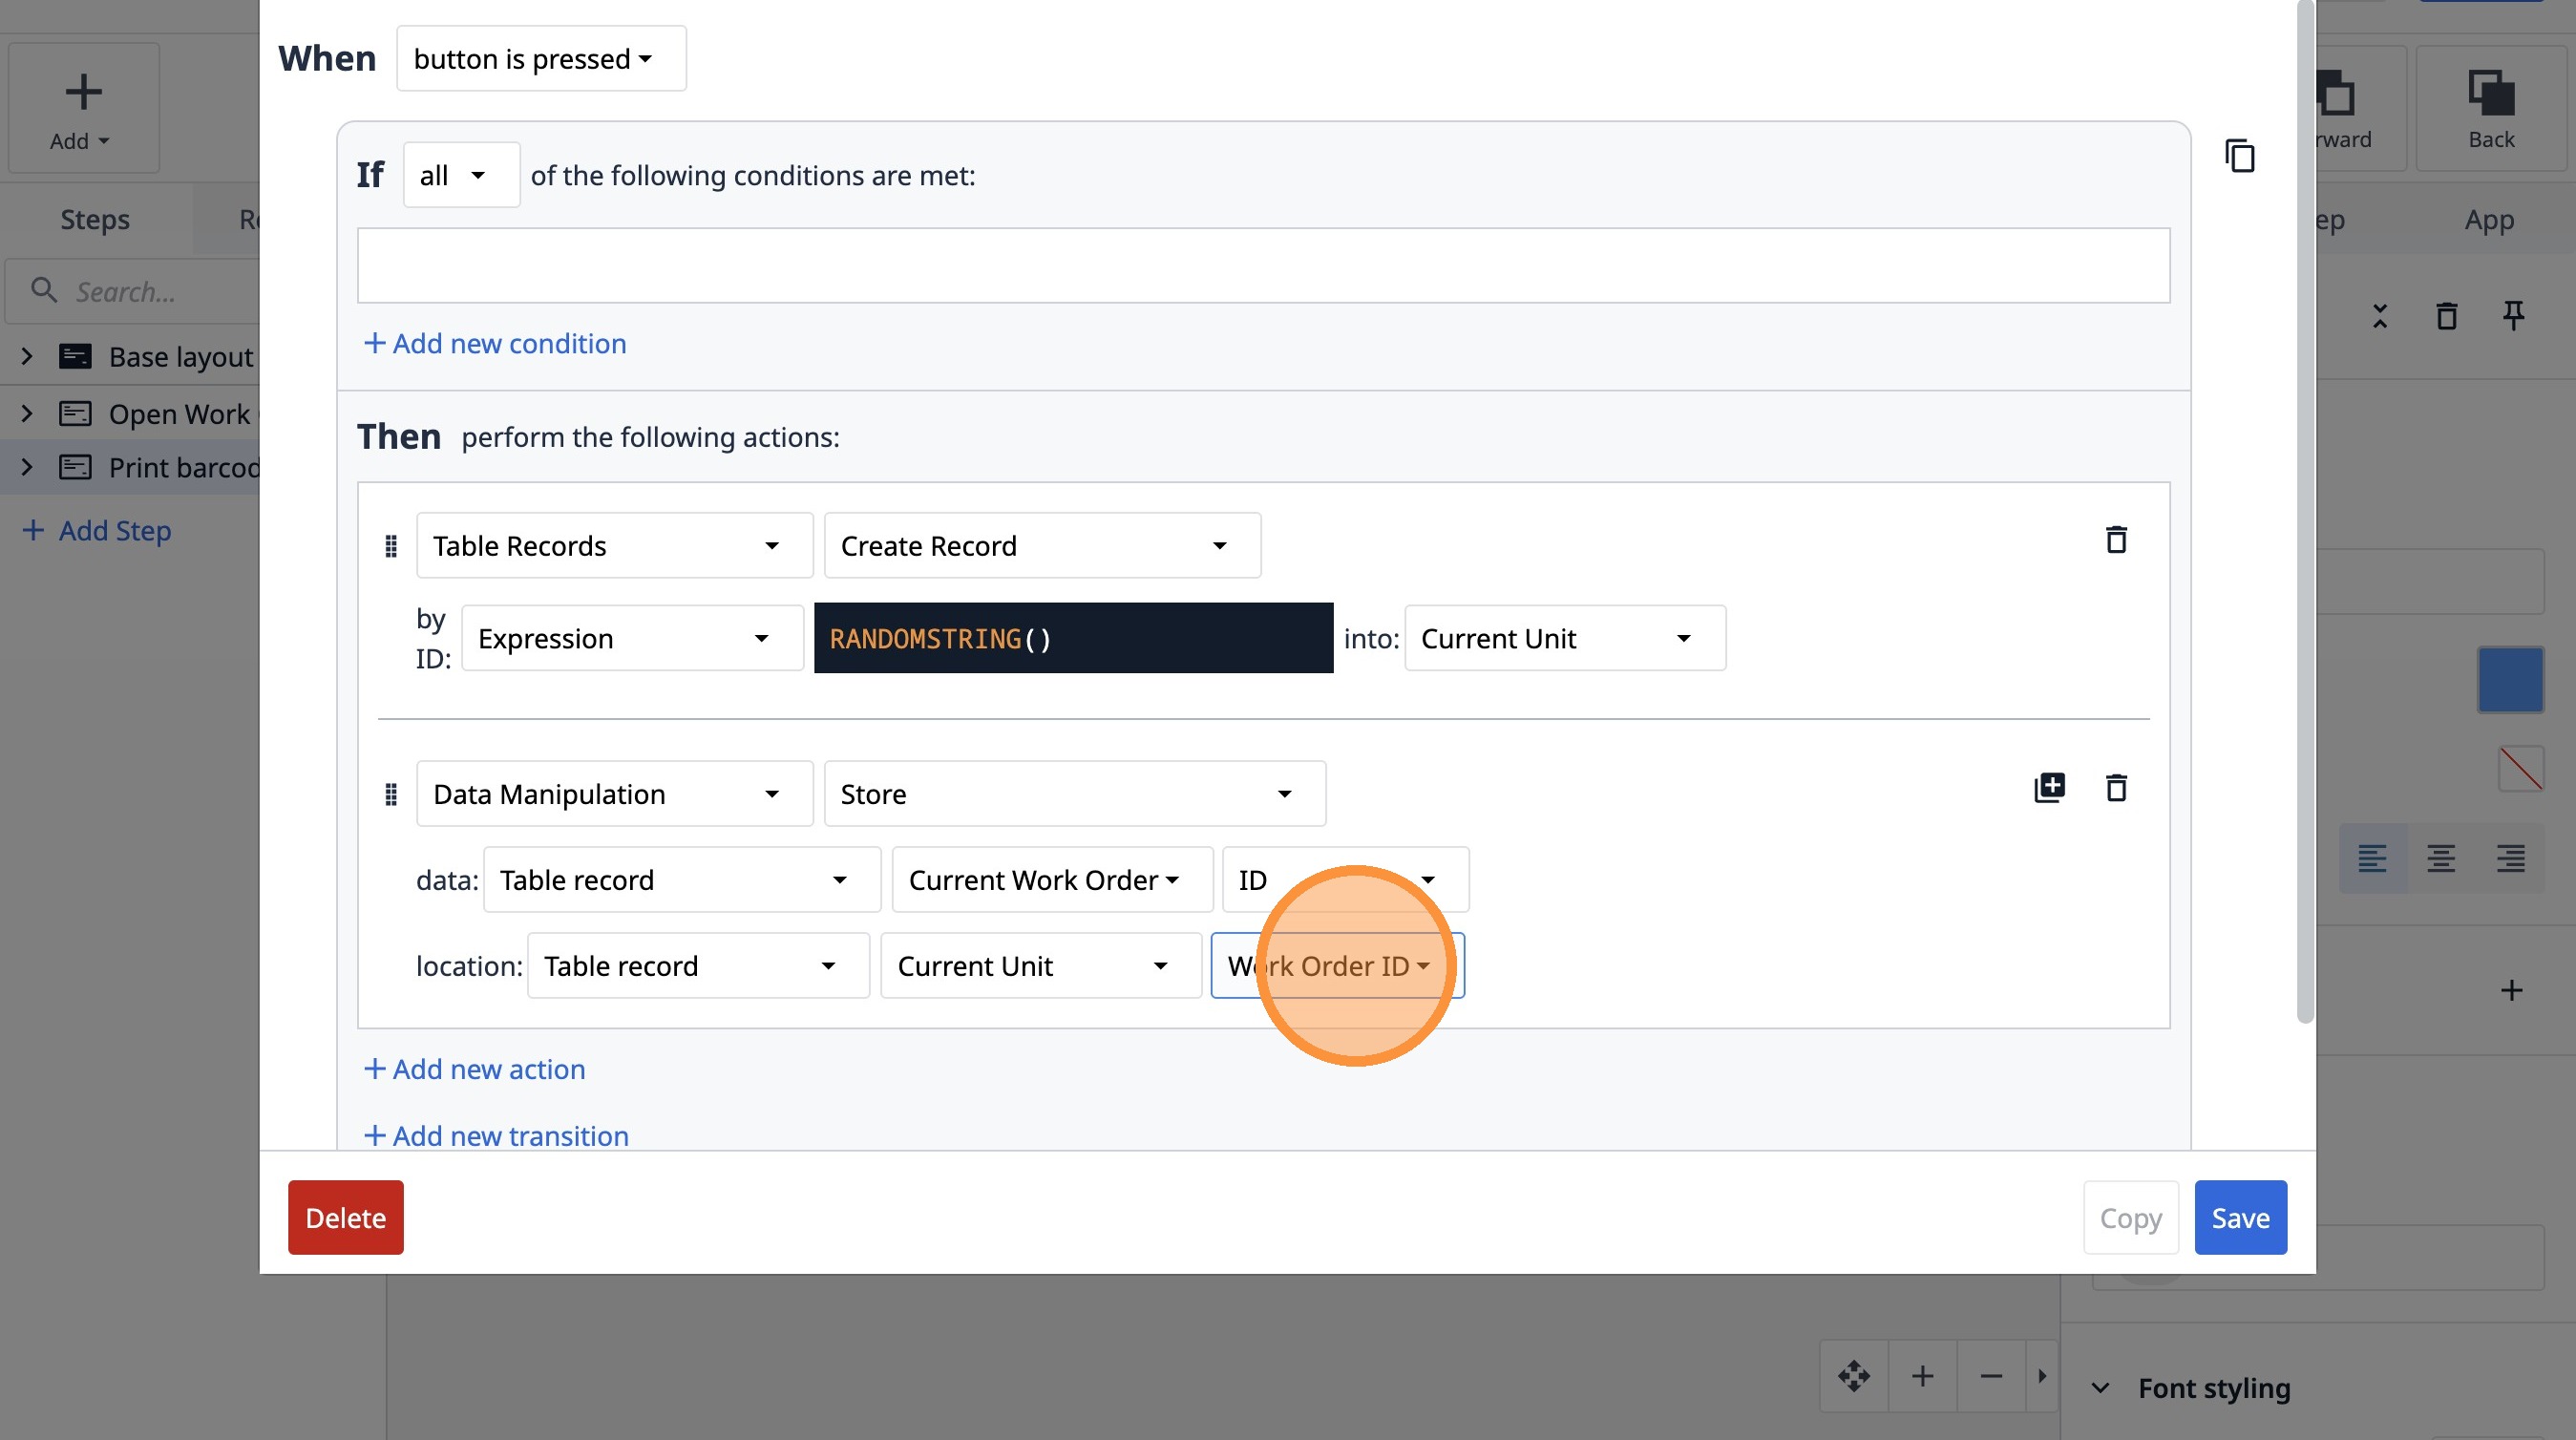
39. Select the "Work Order ID" option.
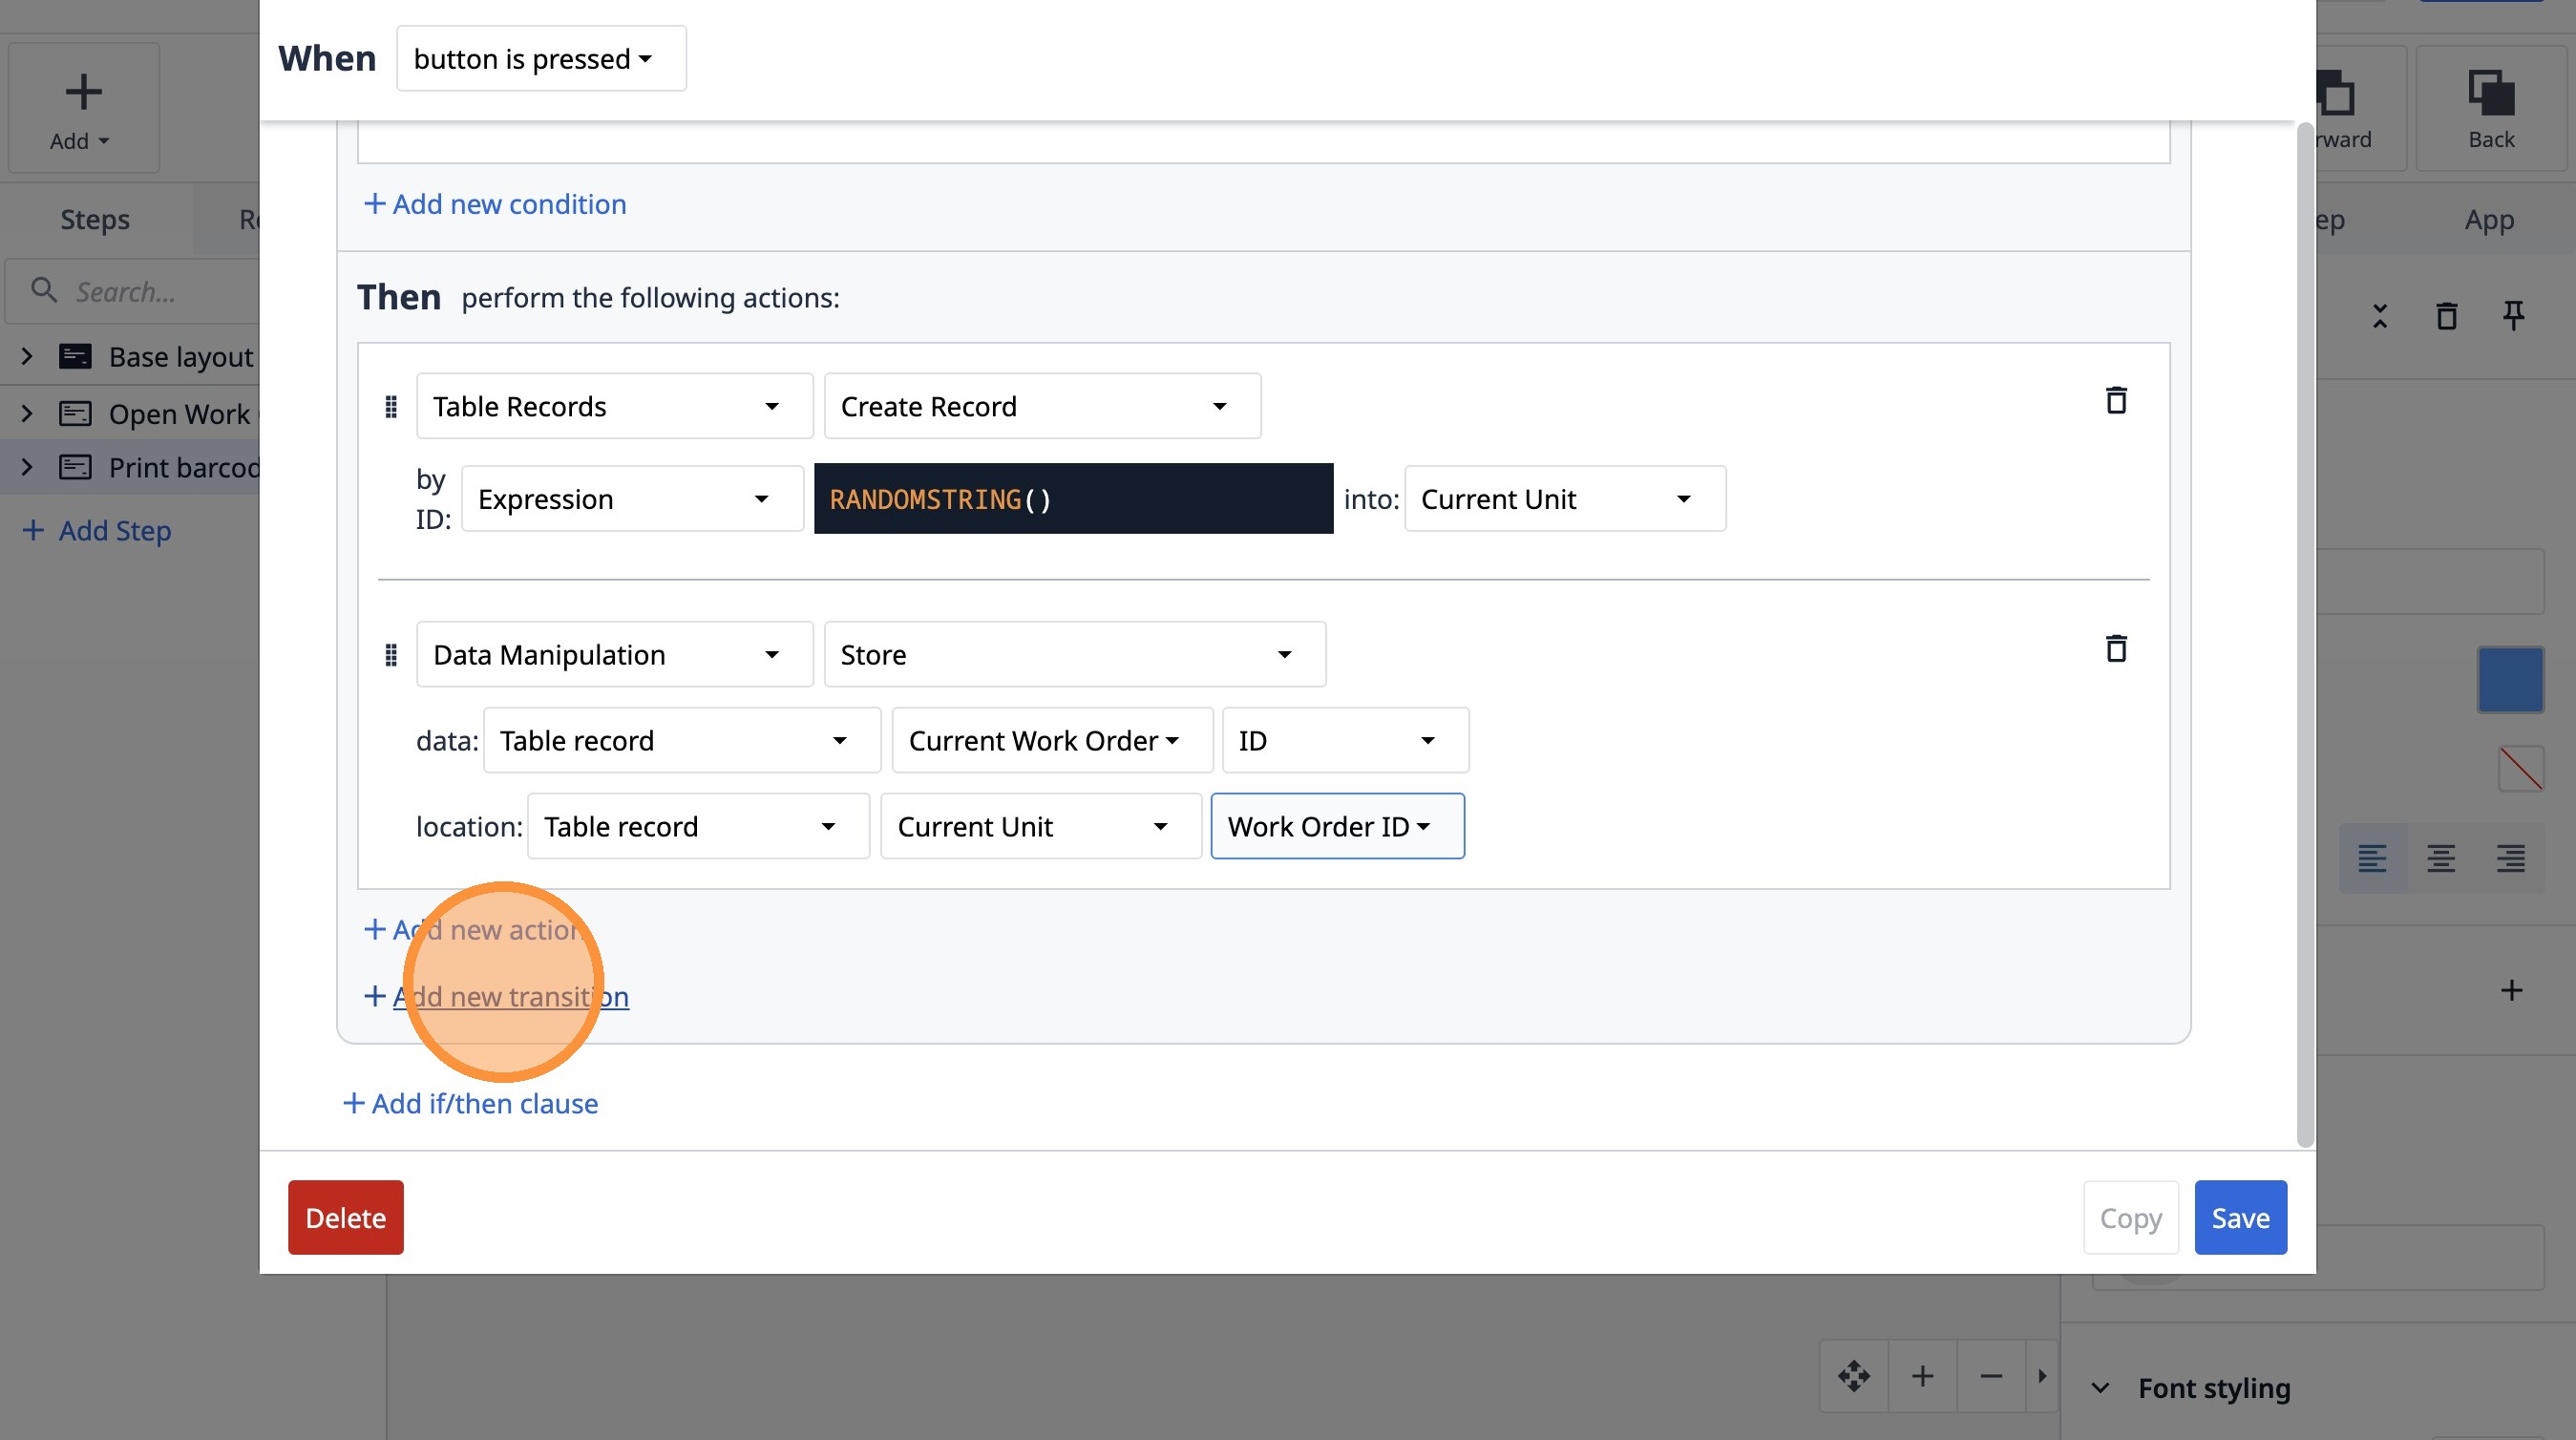
40. Click "Add new transition"
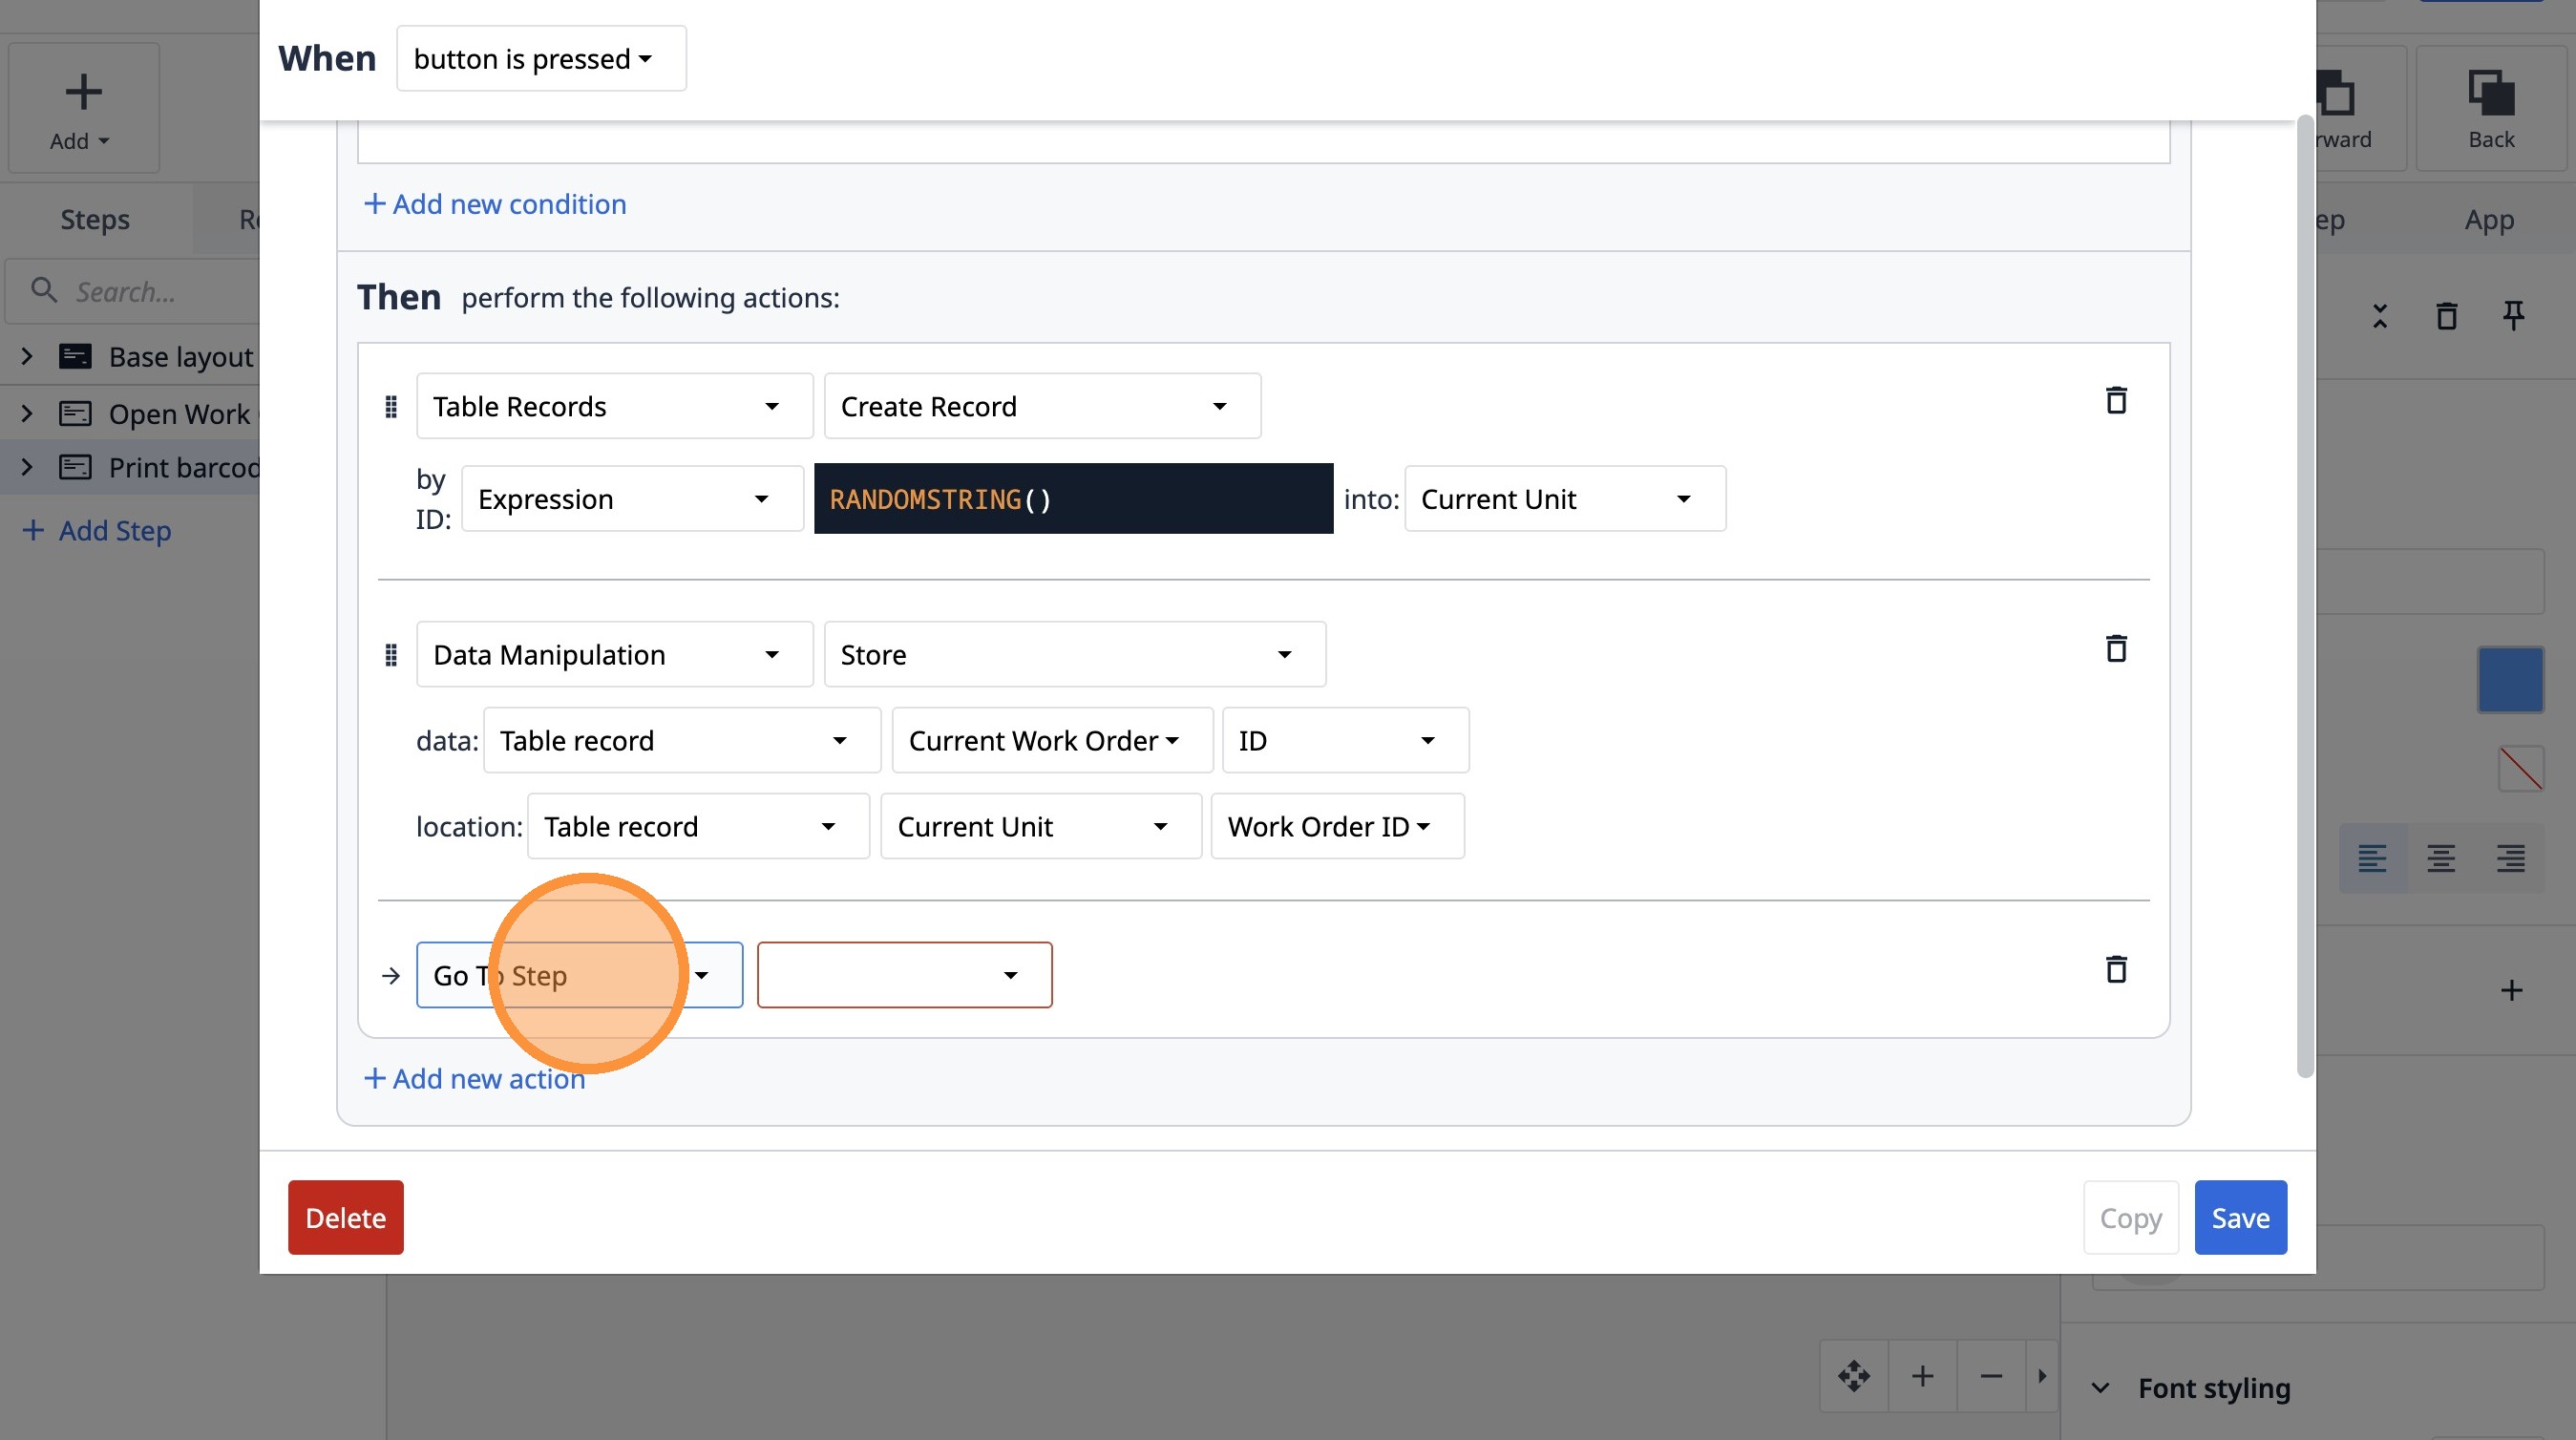
41. Select the "Go To Step" option.
42. Select the "Next" option.
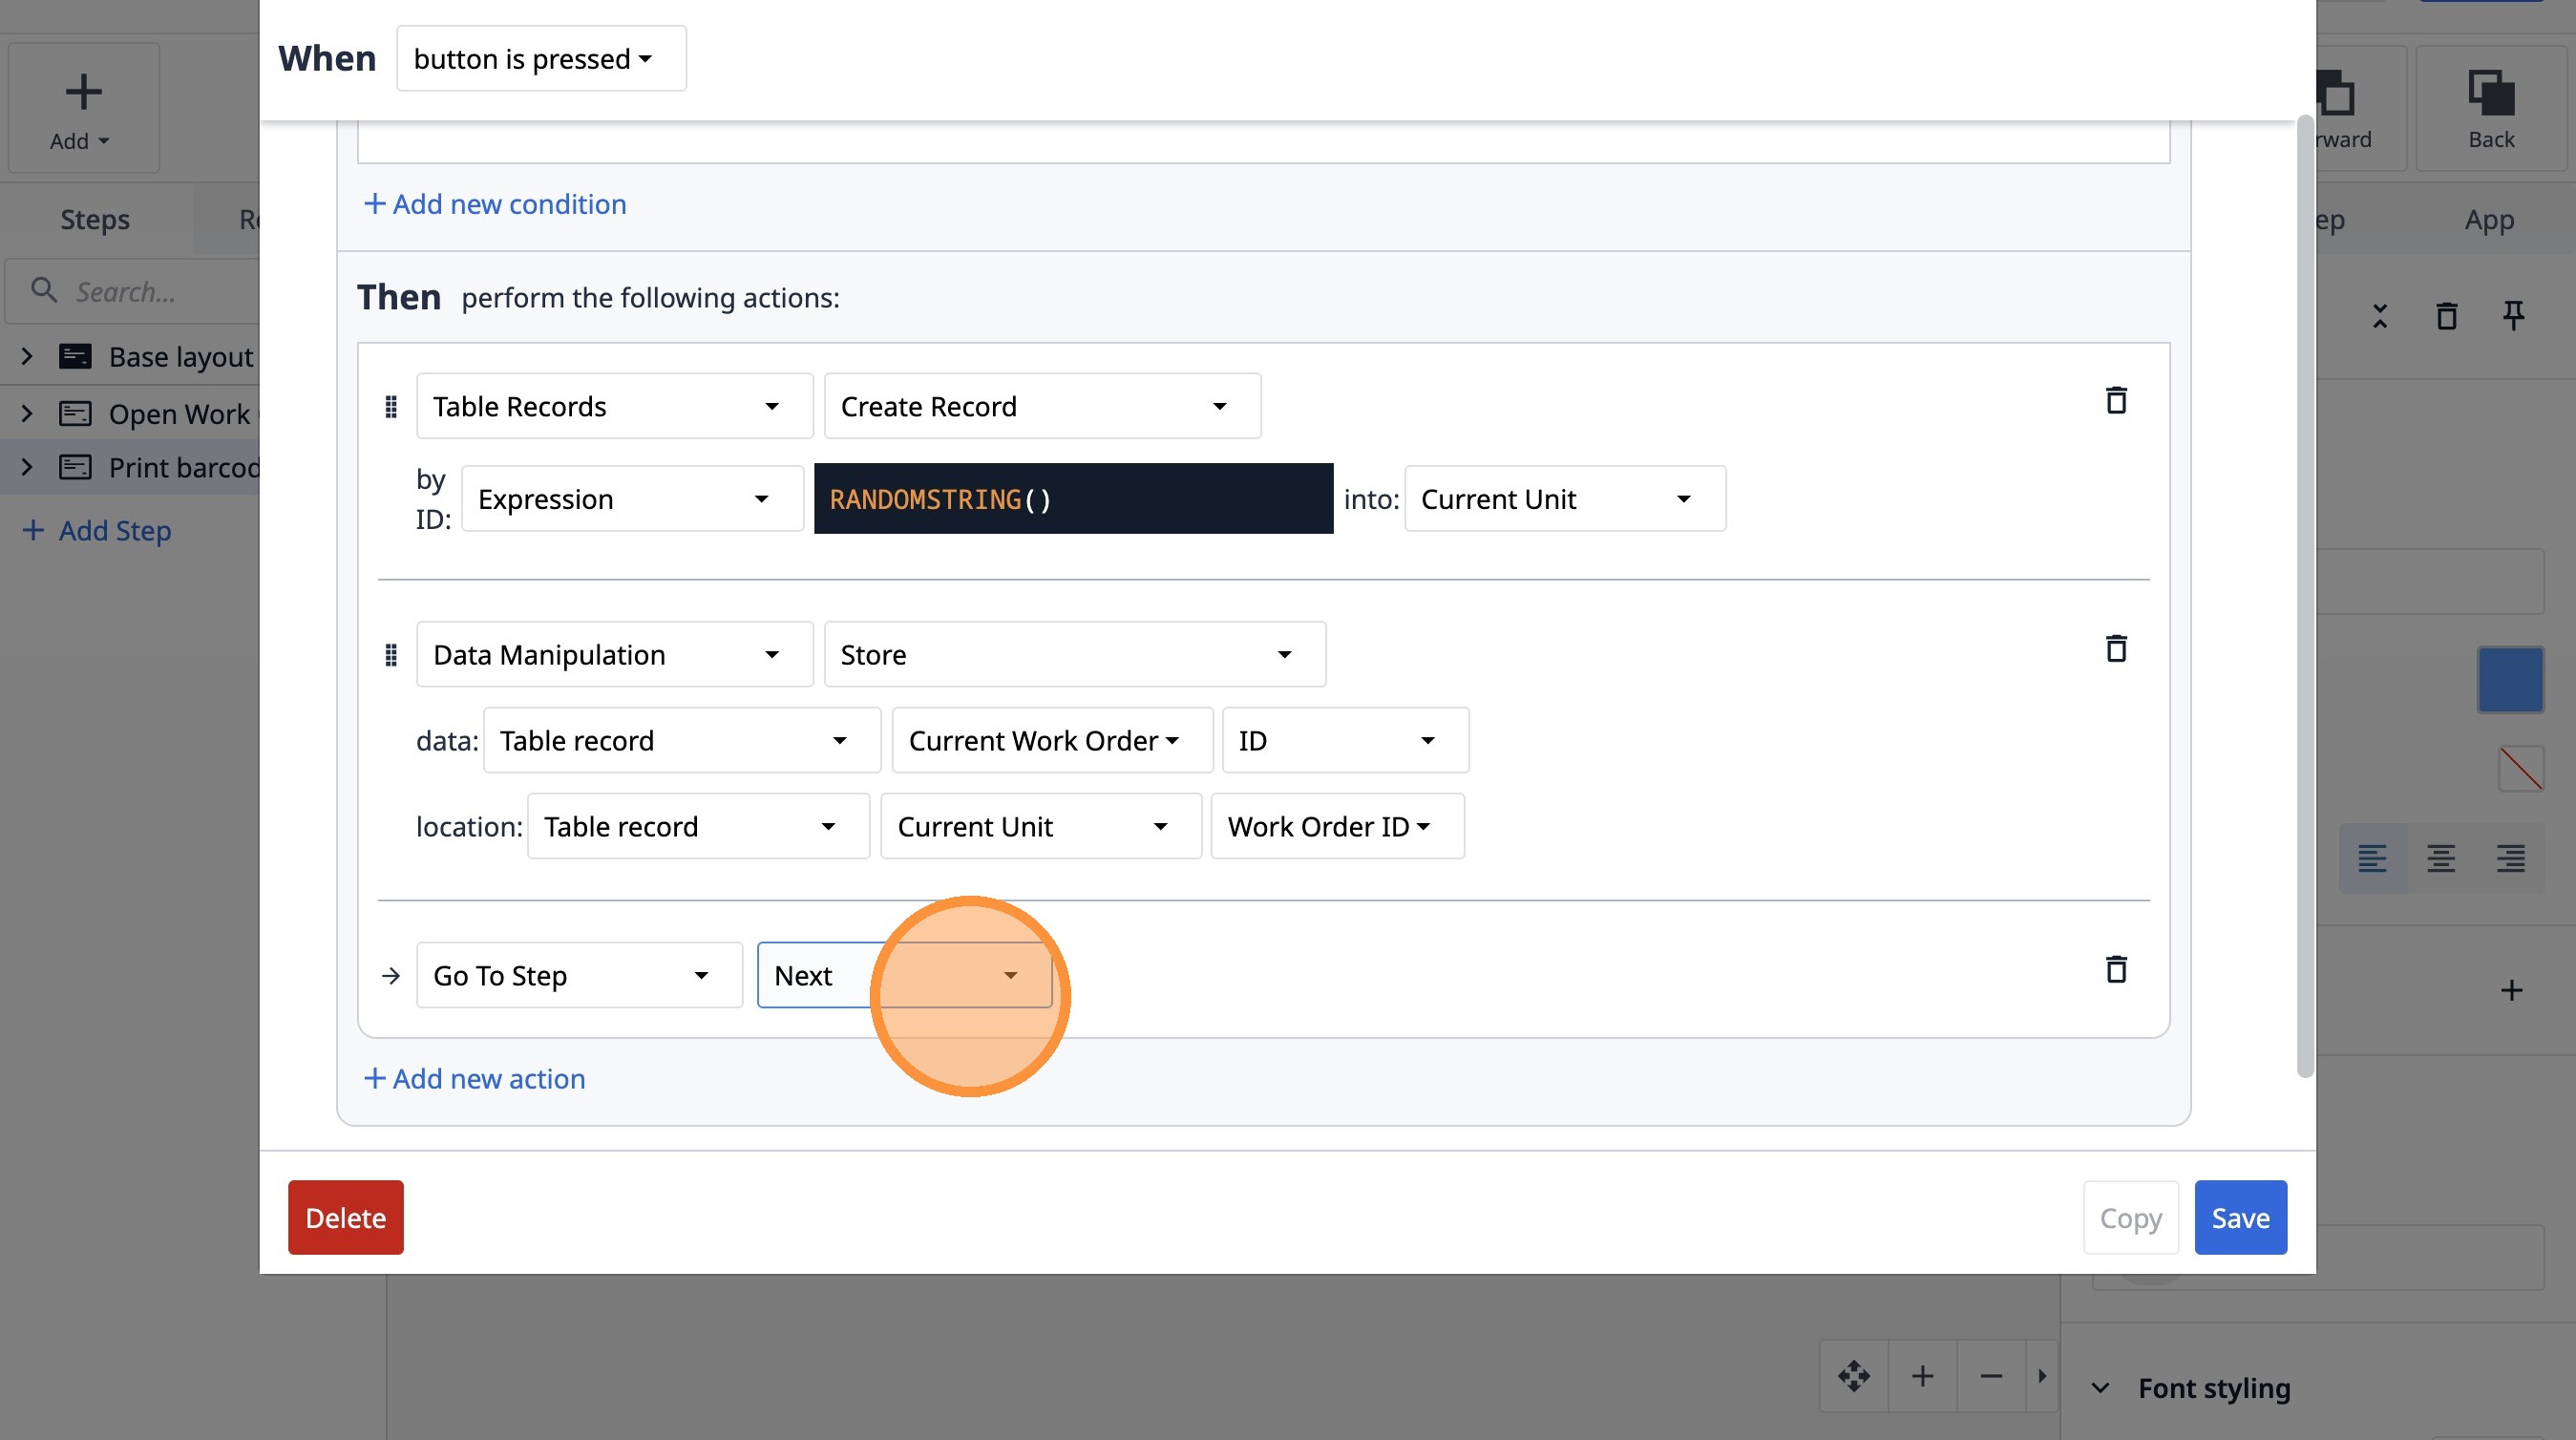
43. Click "Save"