Learn how to create new tables and add custom fields to store specific data. This guide walks you through setting up tables for work orders and inspections, including defining text and number fields for various attributes.
1. Navigate to the Tables page.
2. Click "Create Table"
3. Type "Work Order Example 1"
4. Click "Create"
5. Click this button.
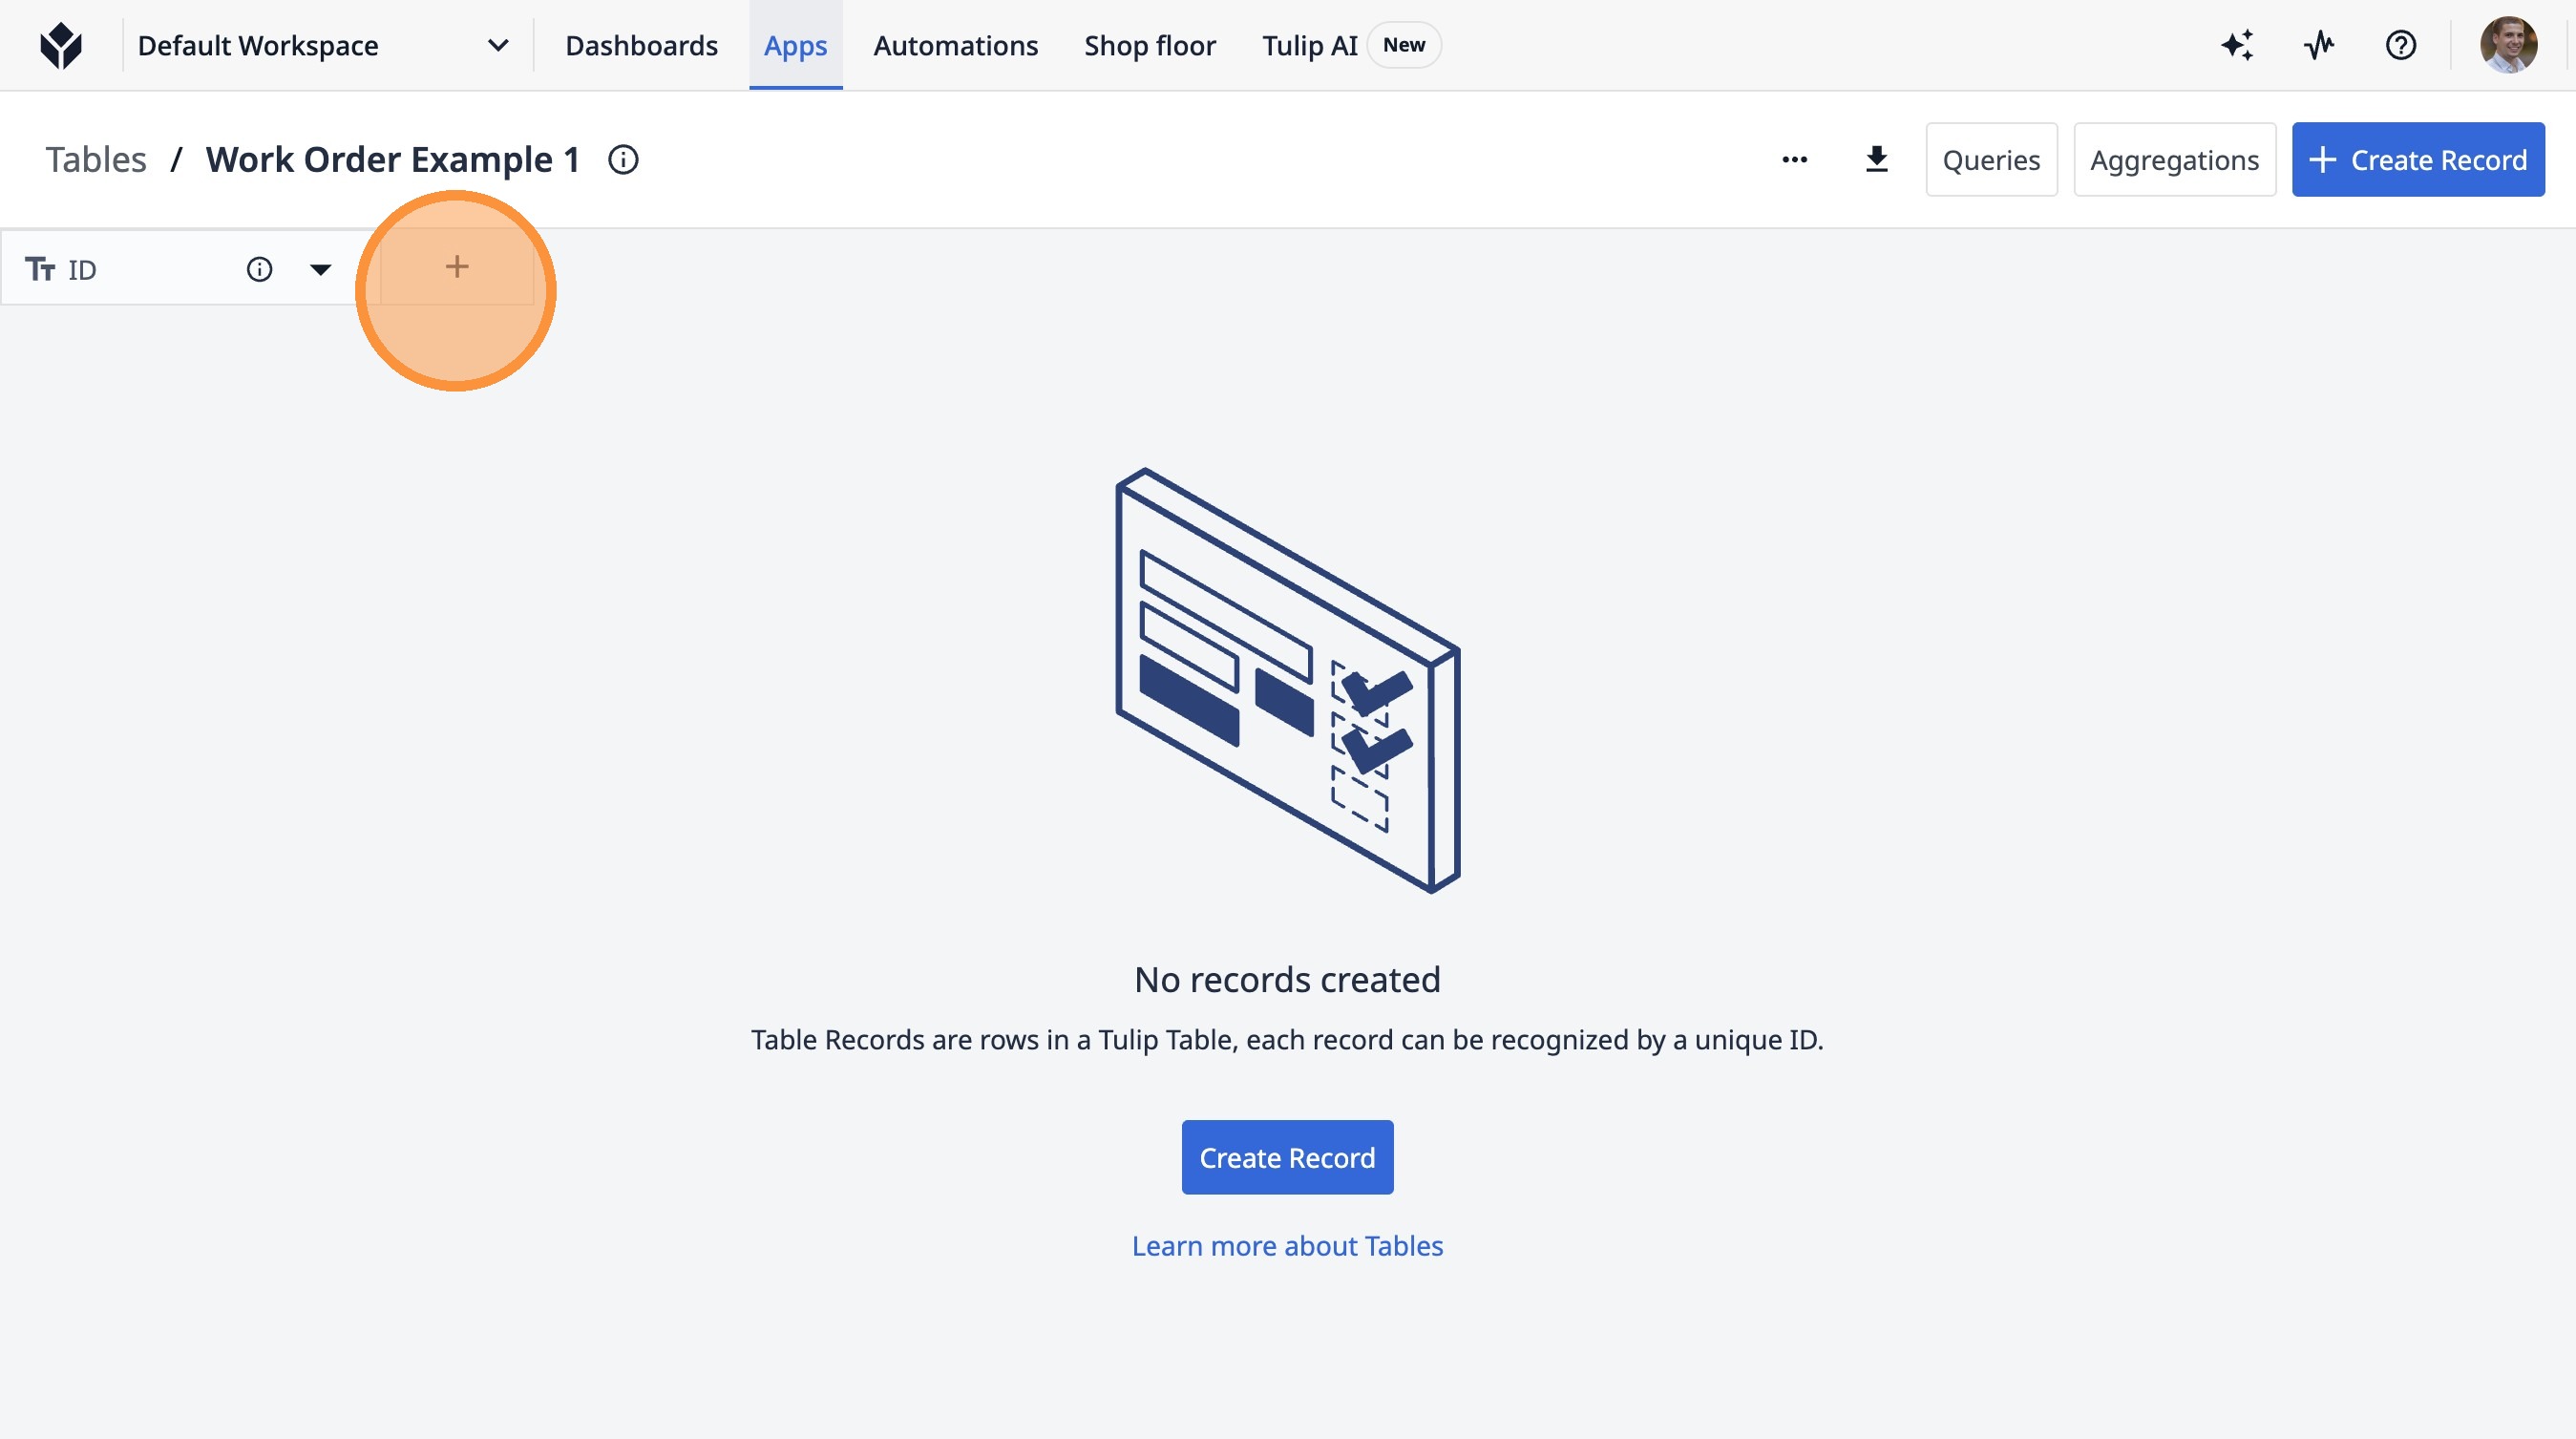
6. Click this text field.

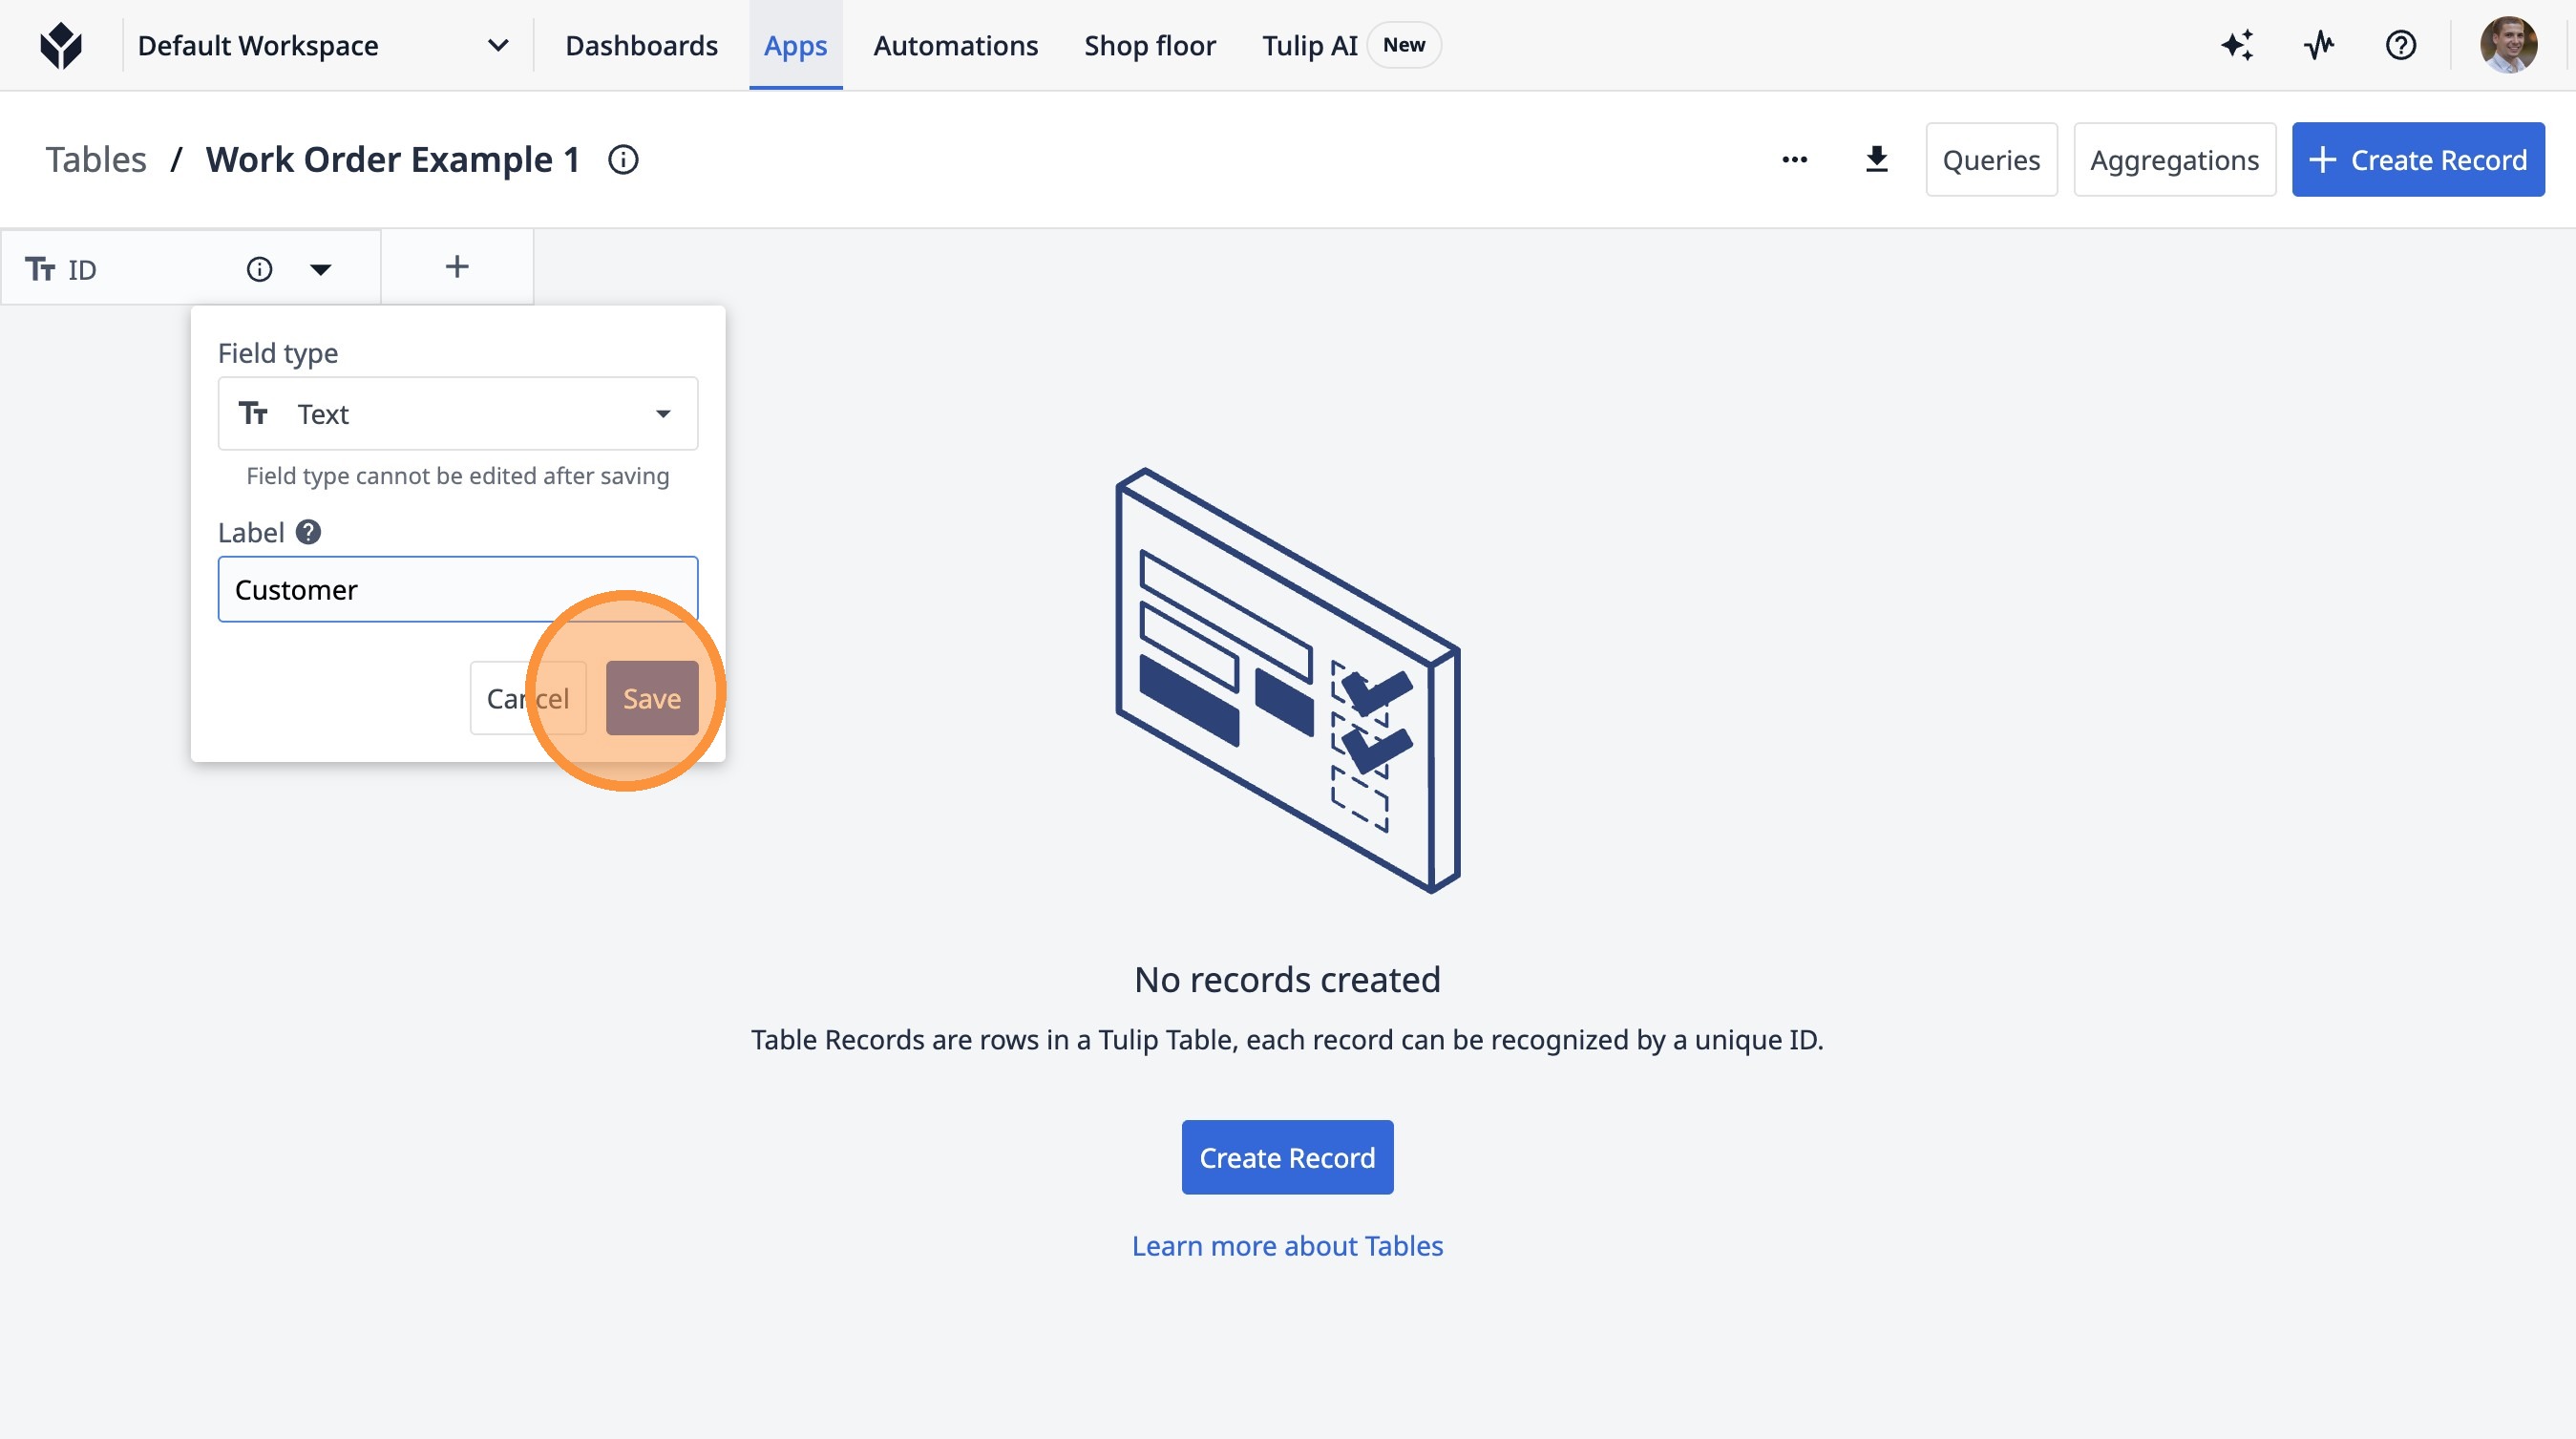
7. Type "Customer"
8. Click "Save"
9. Click this button.
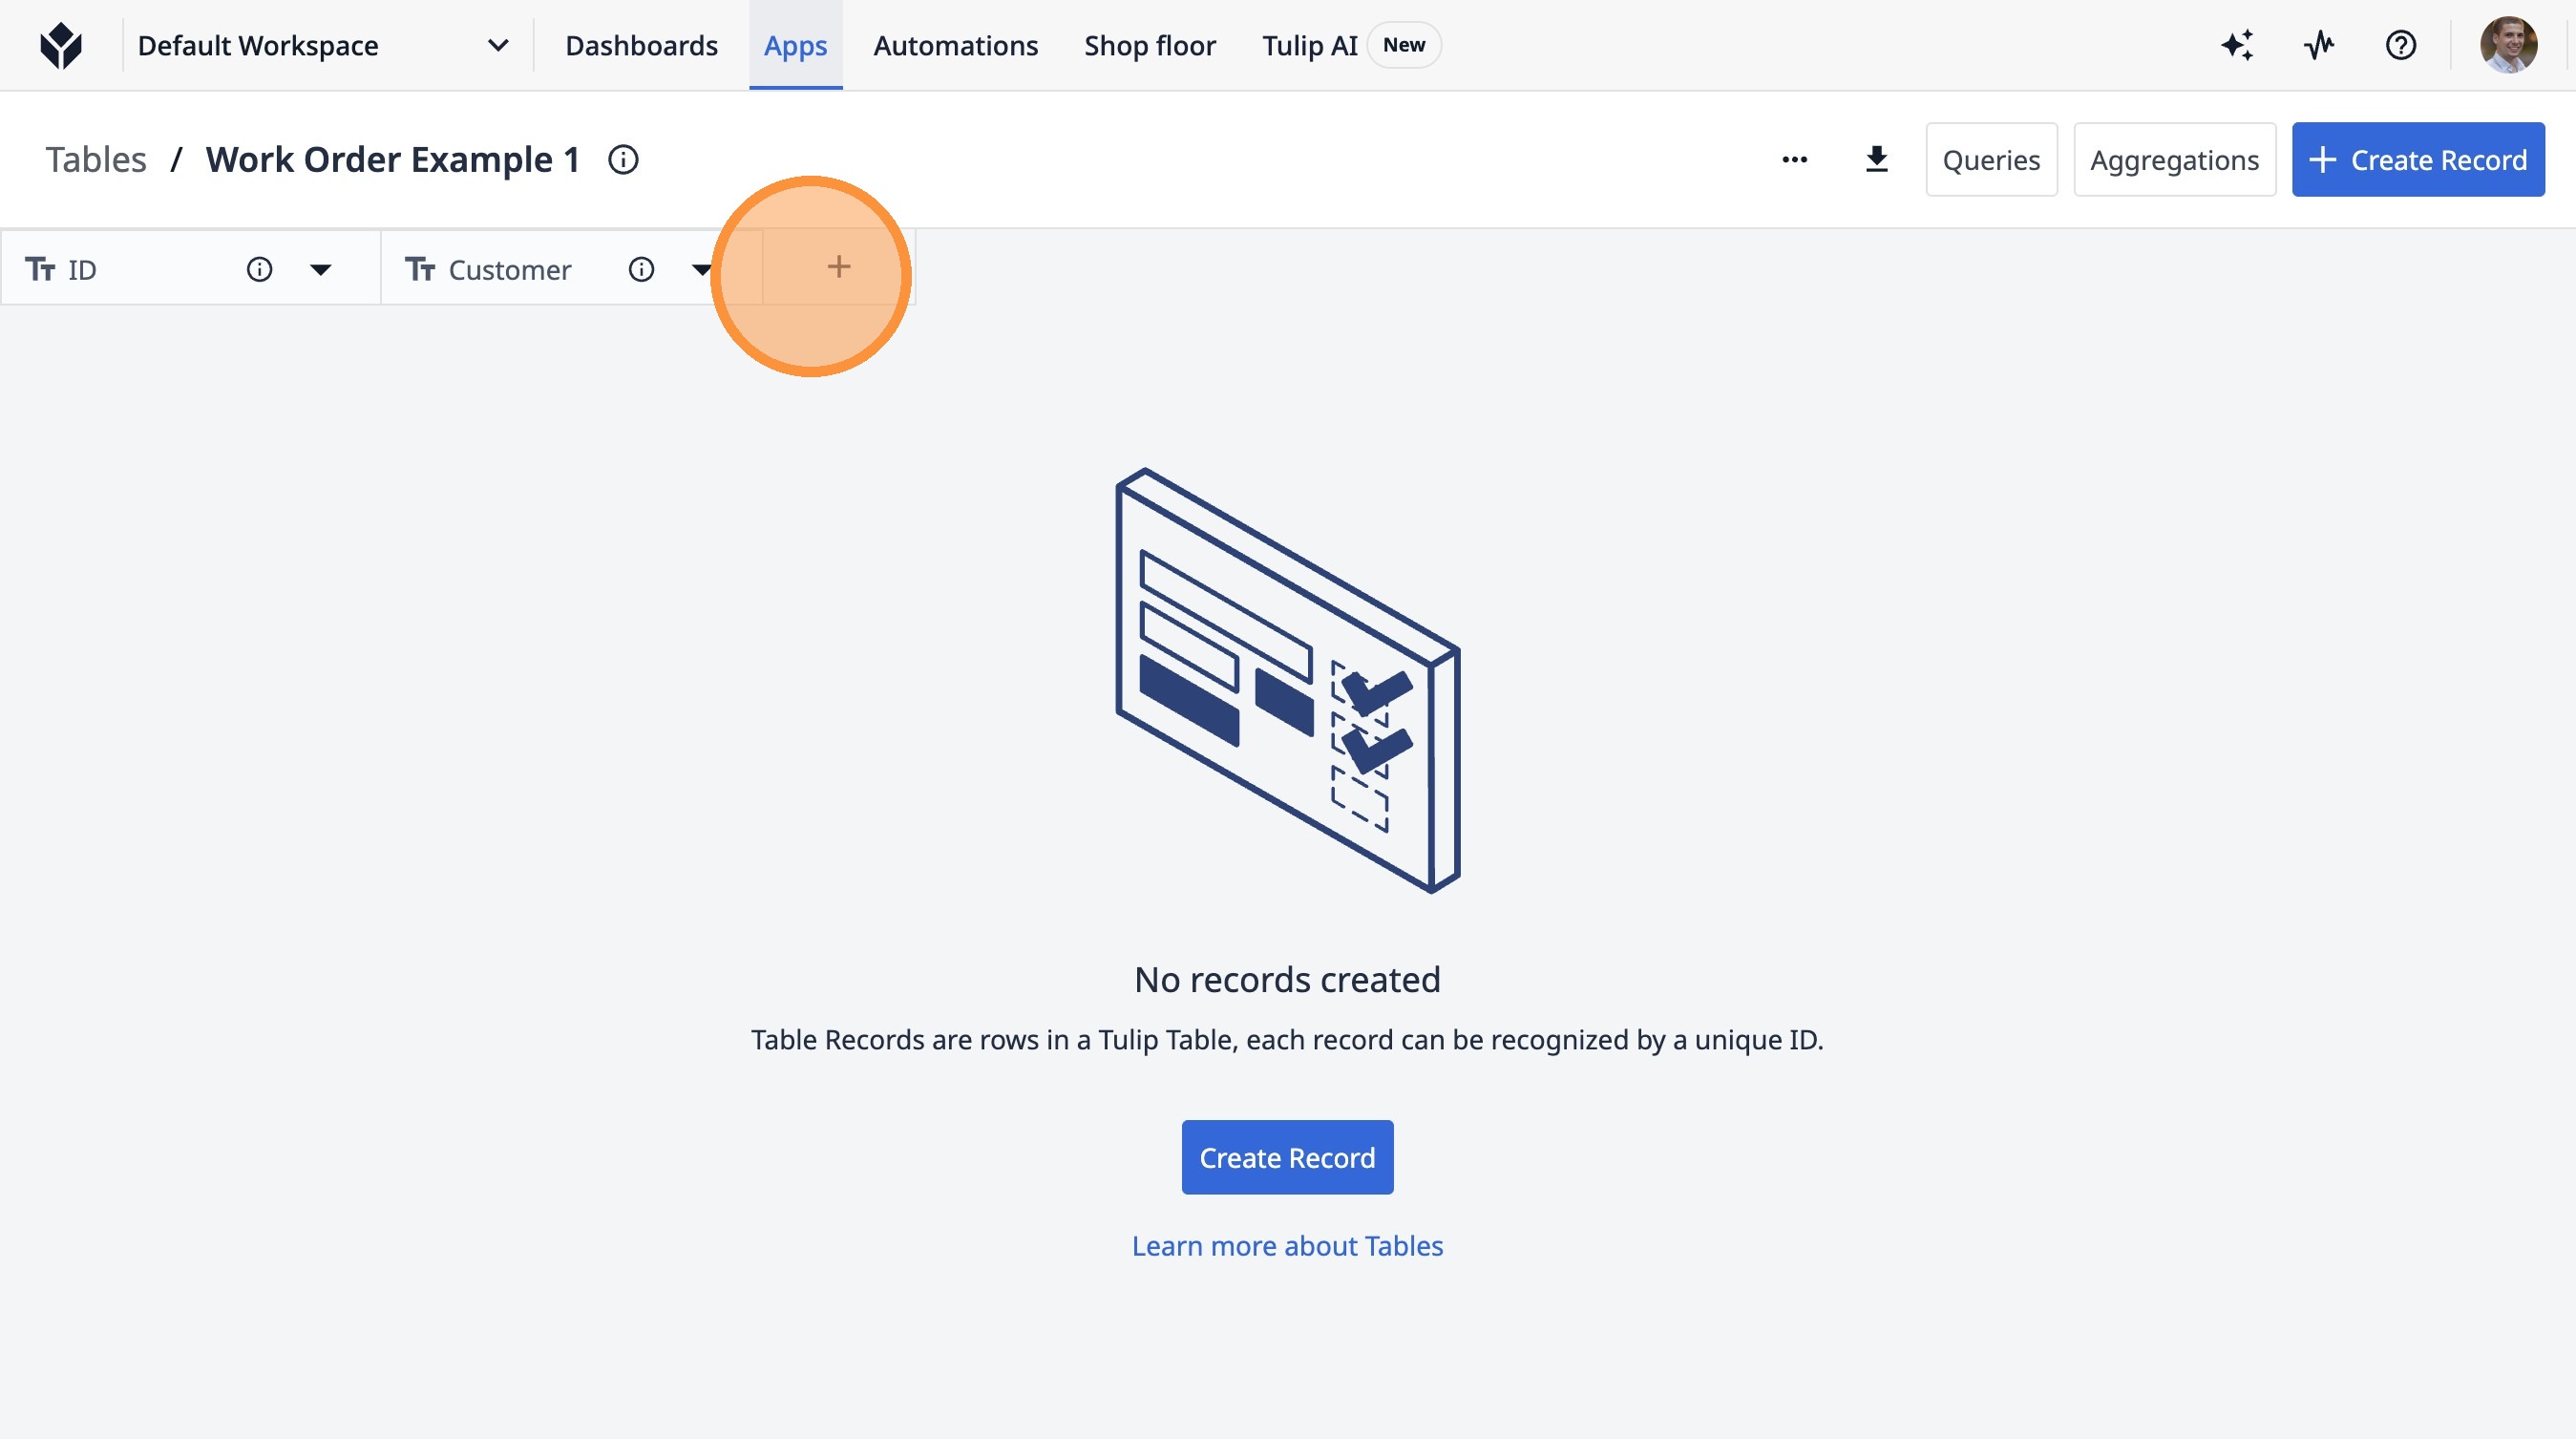
10. Click this text field.

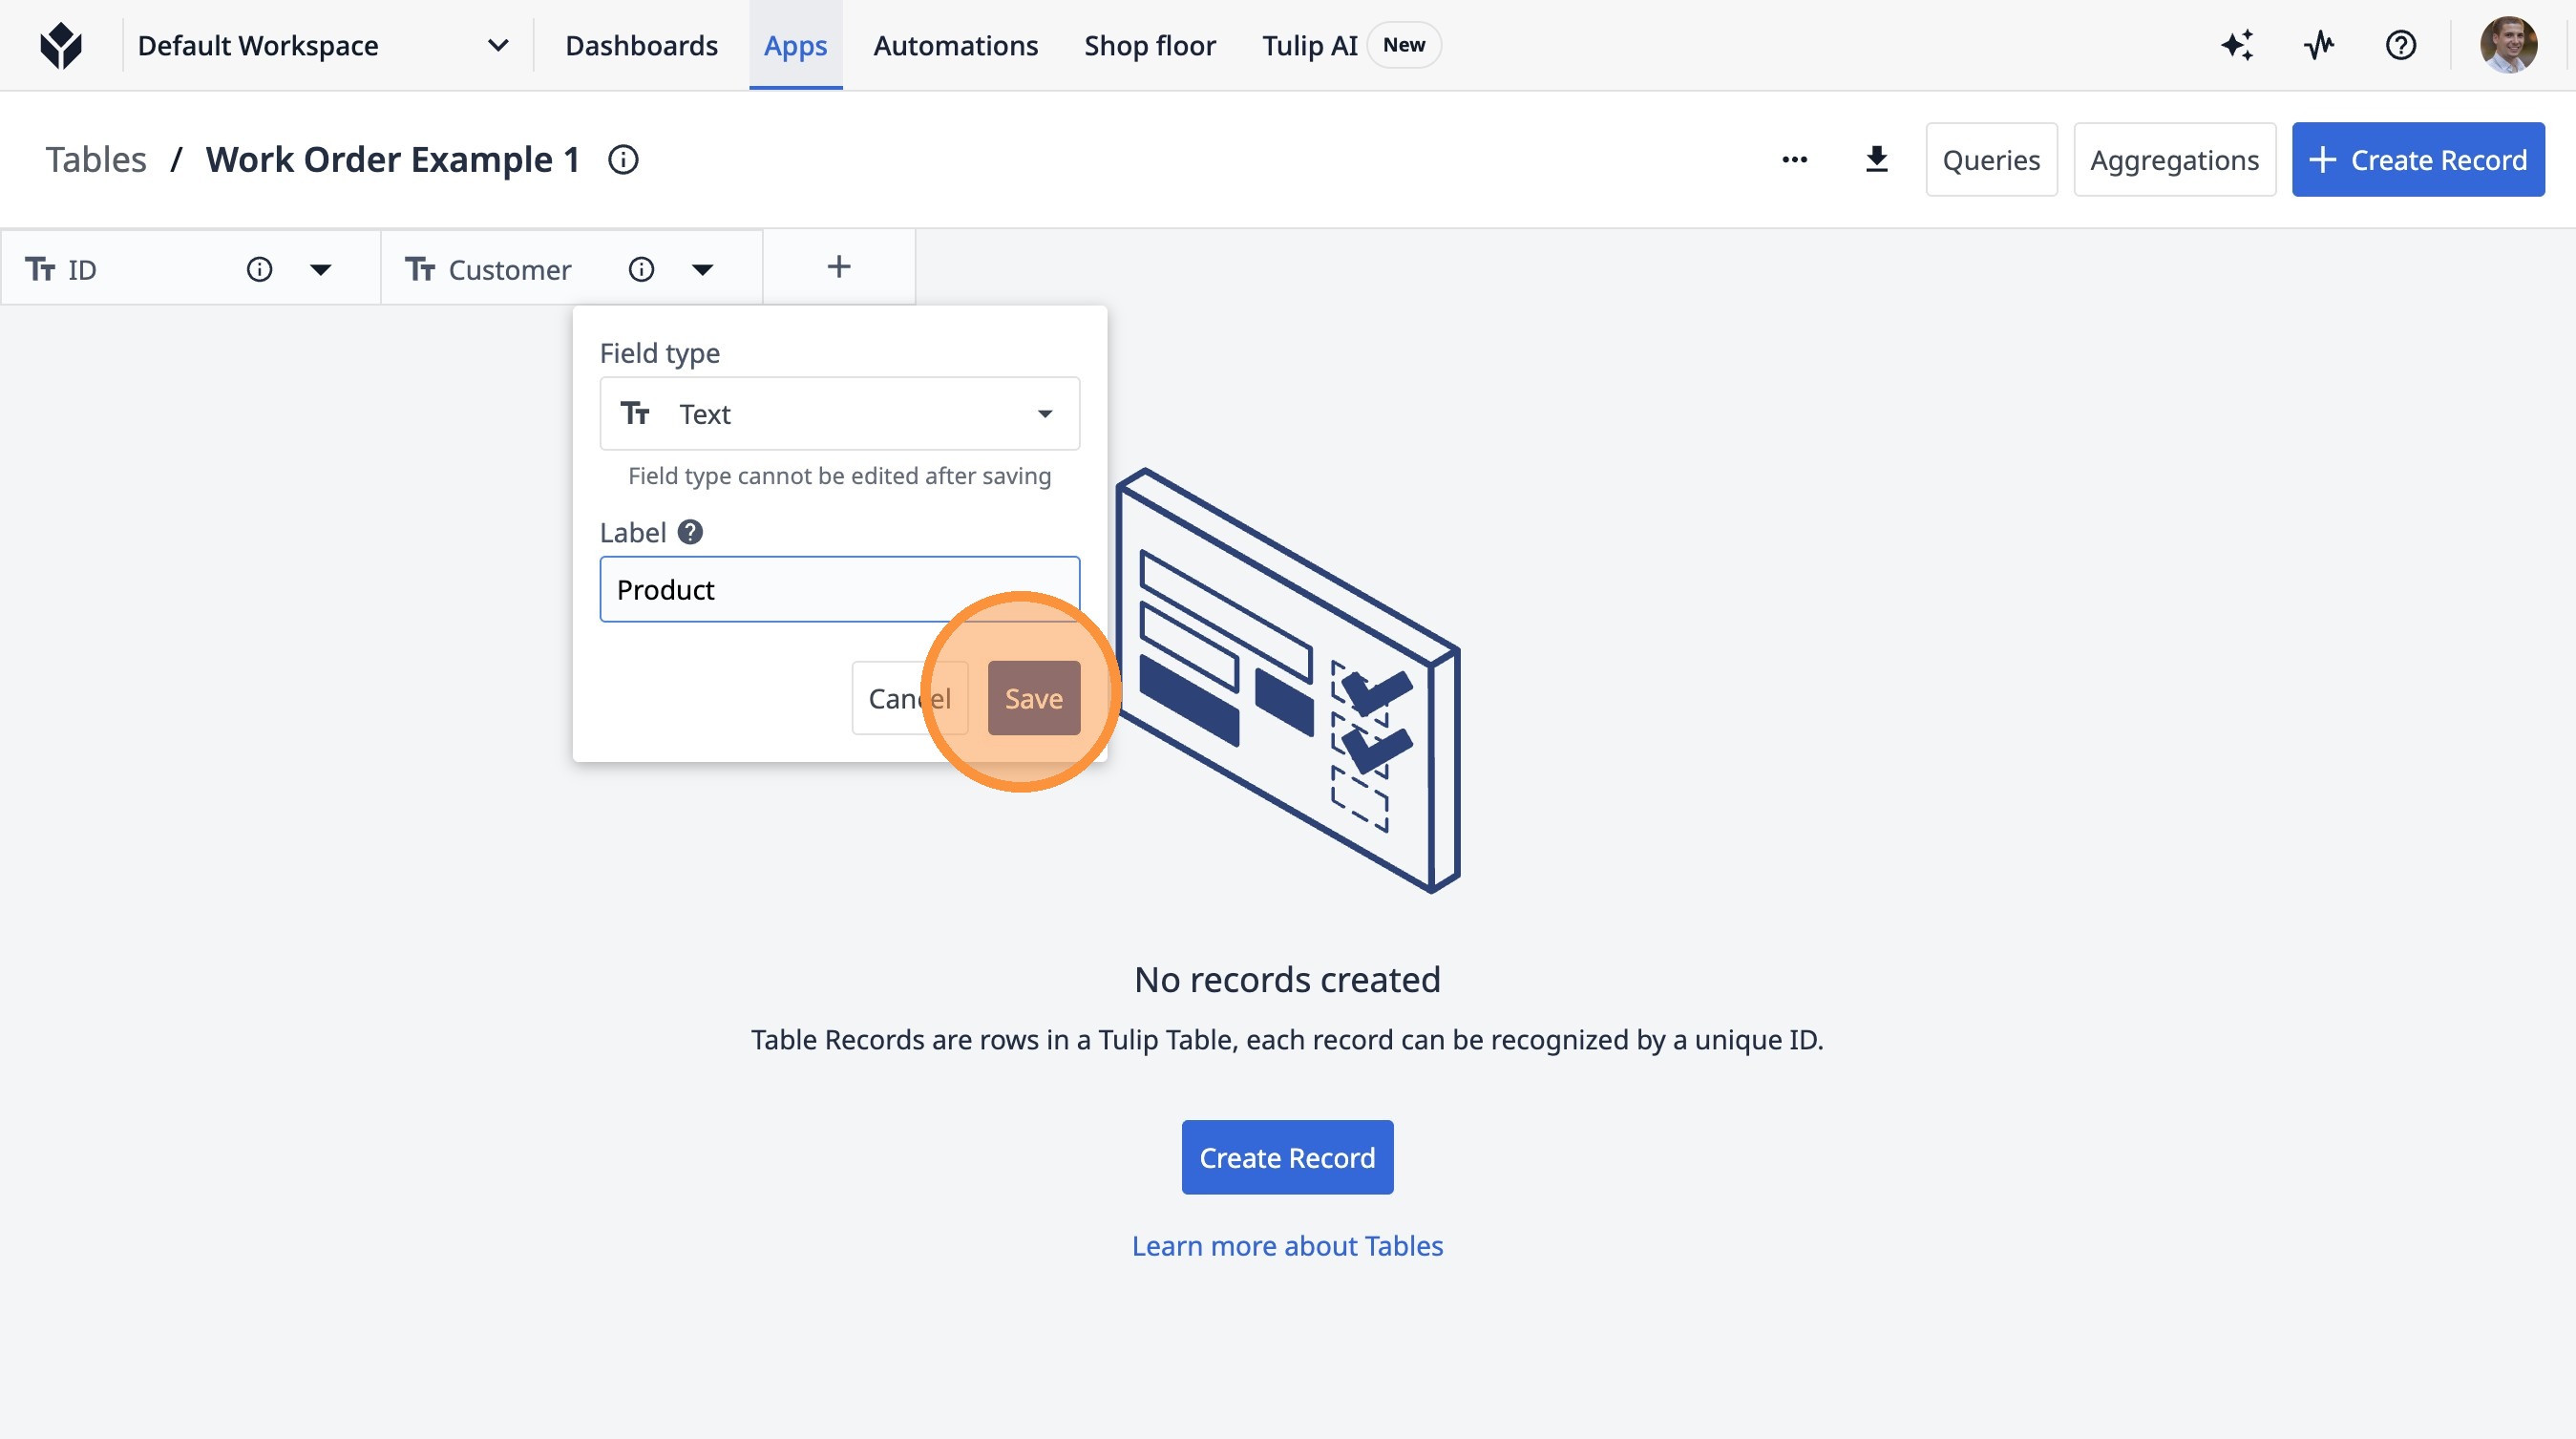
11. Type "Product"
12. Click "Save"
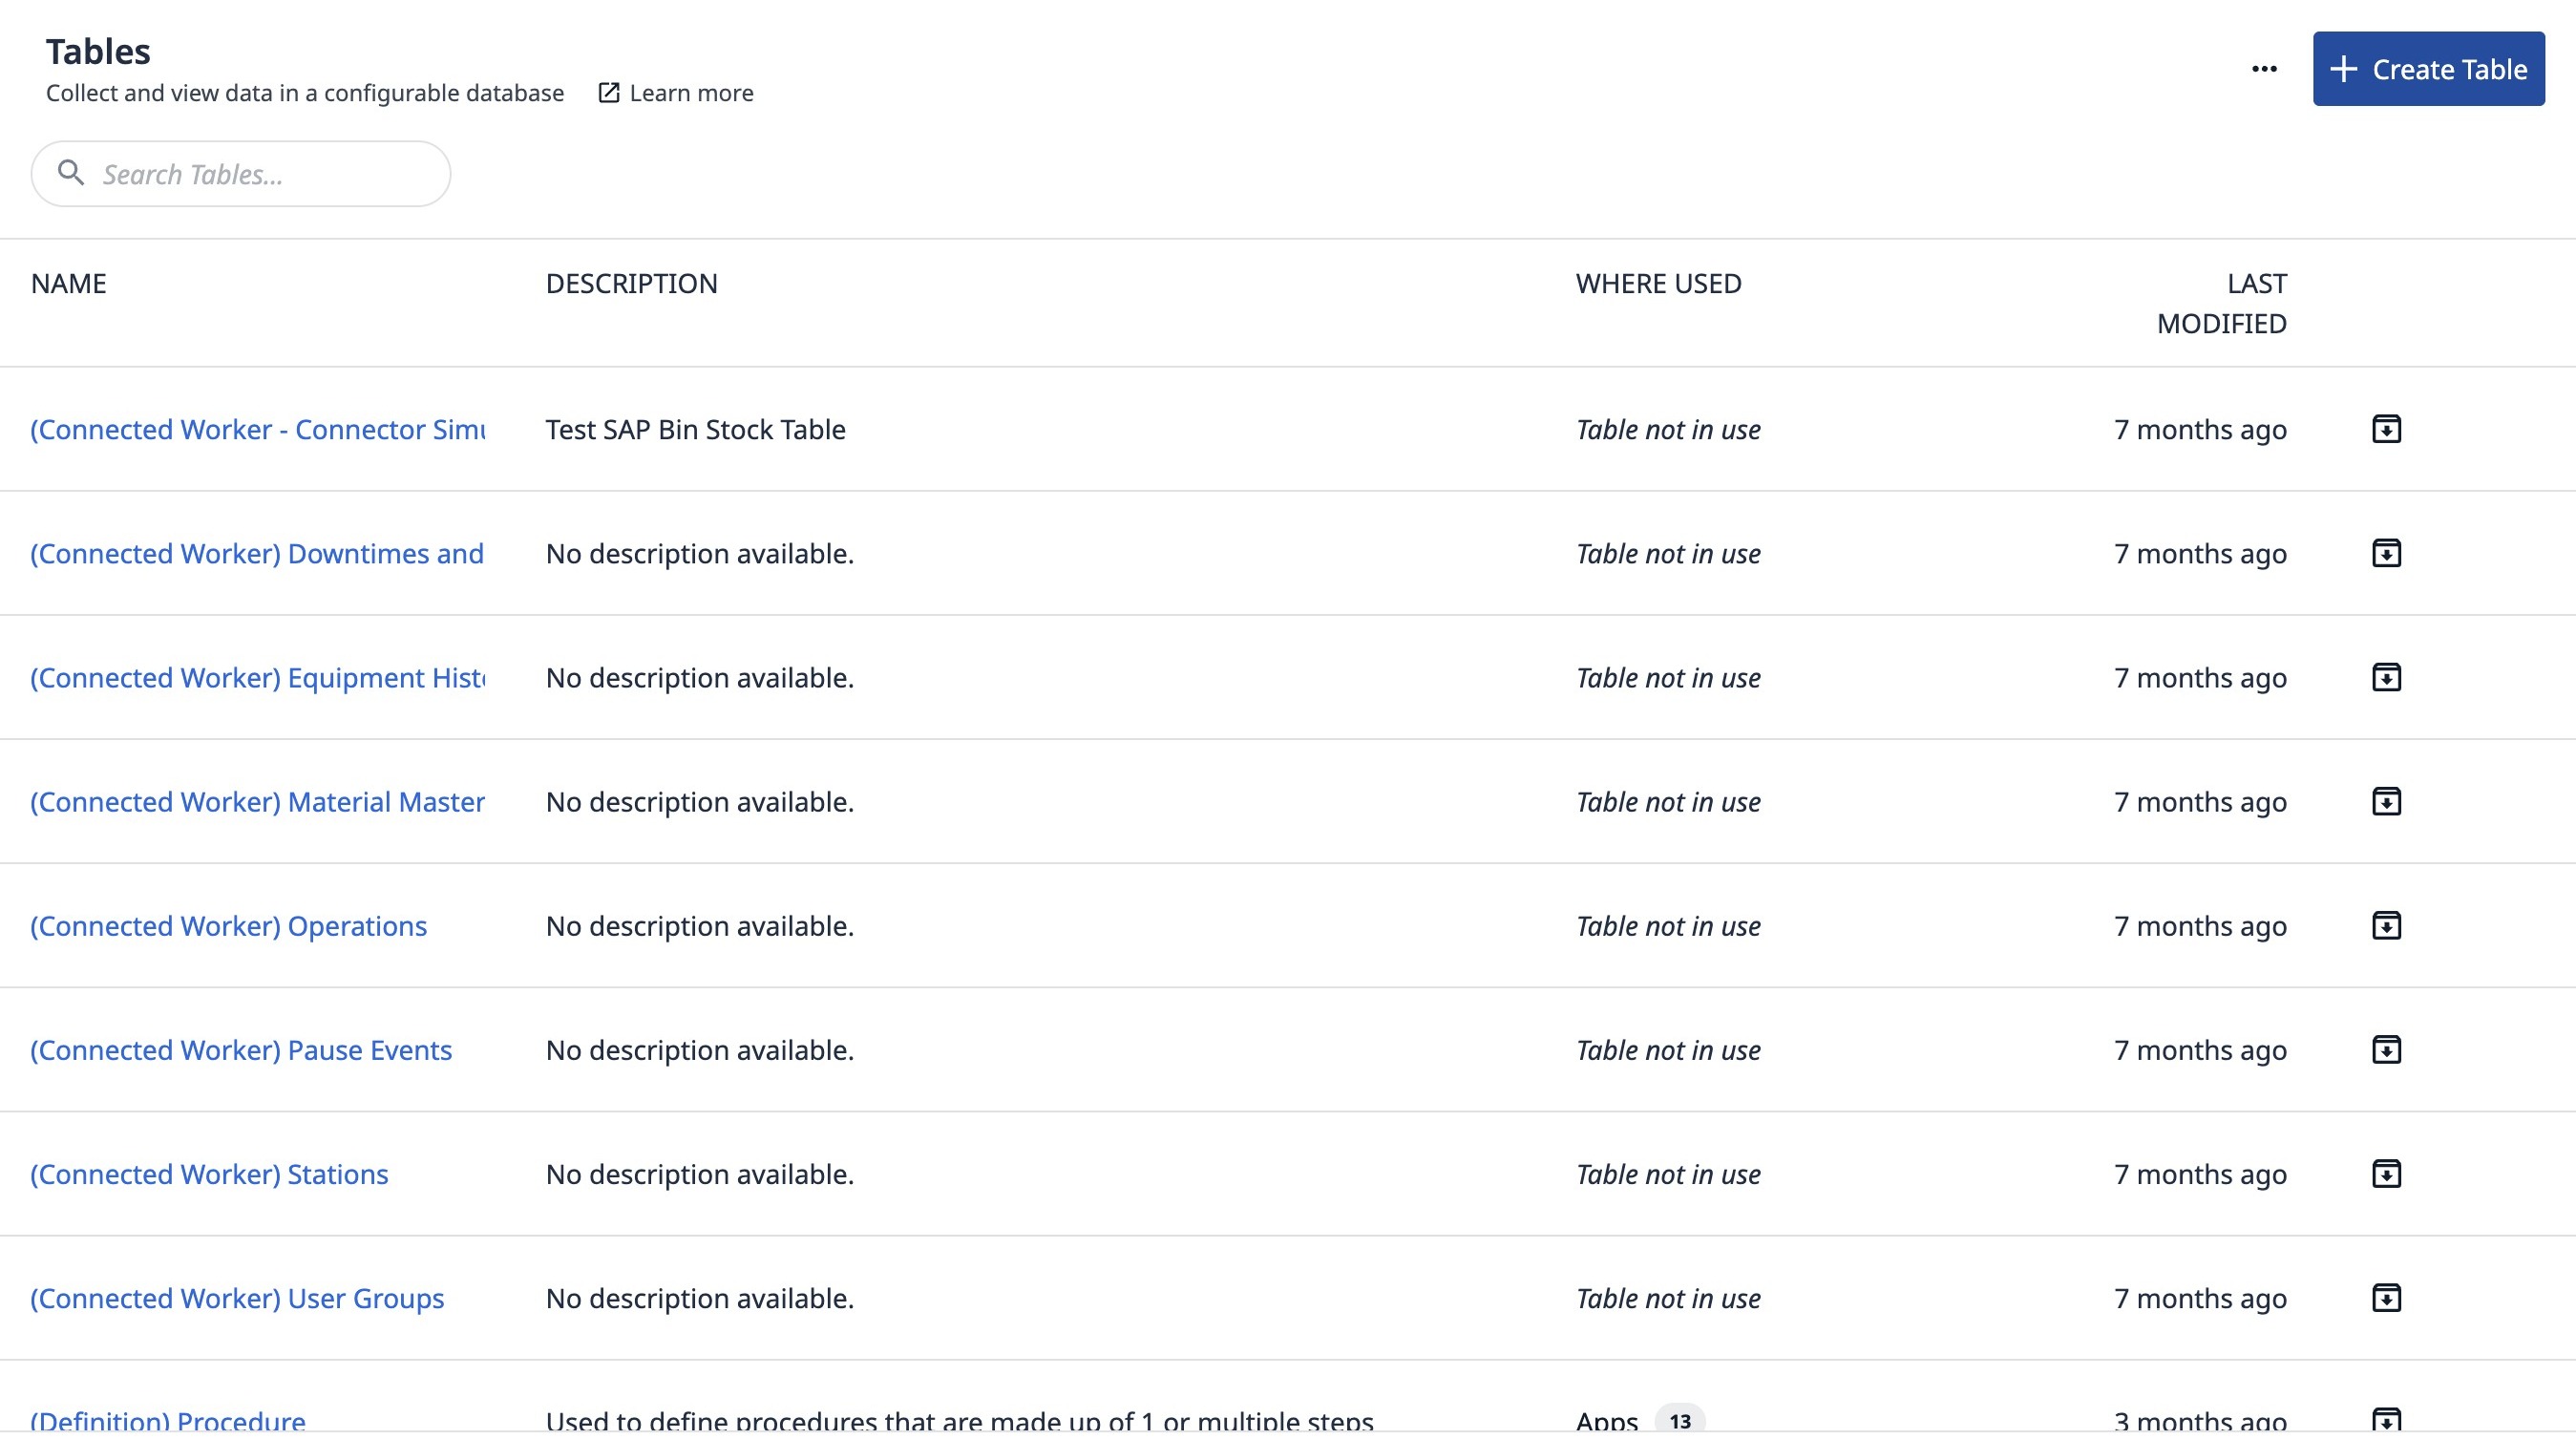
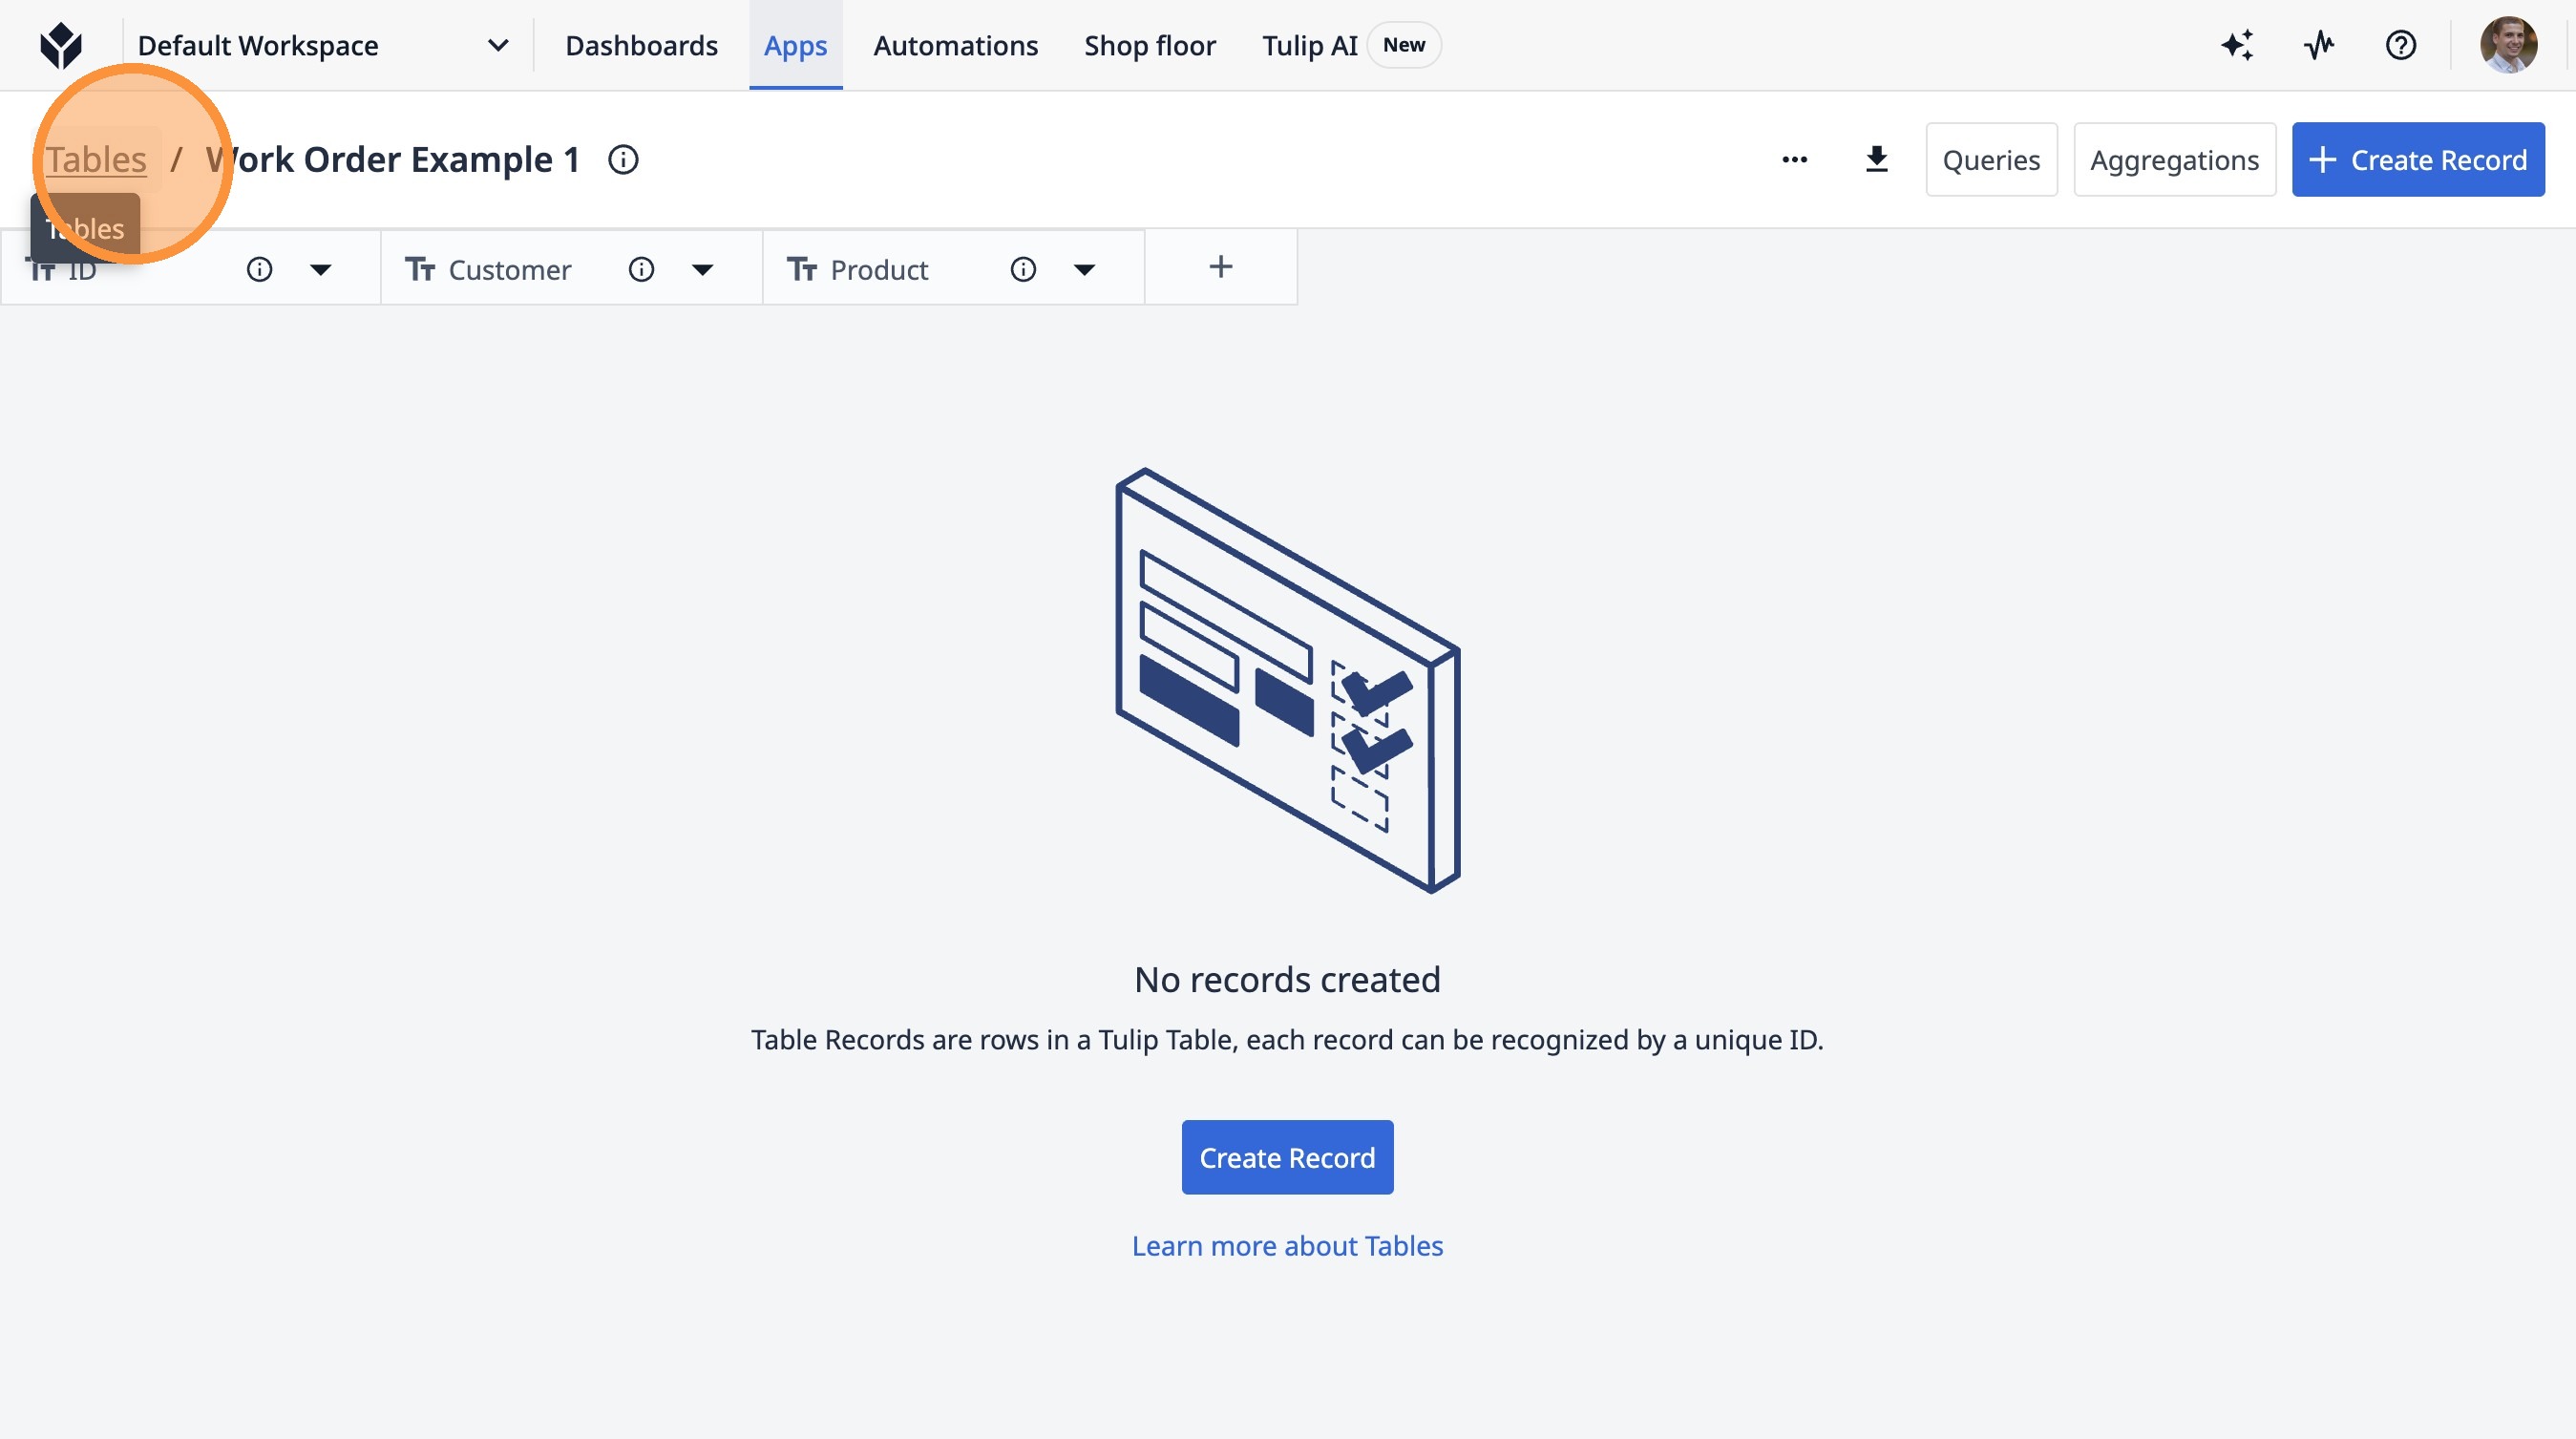
13. Click "Tables"
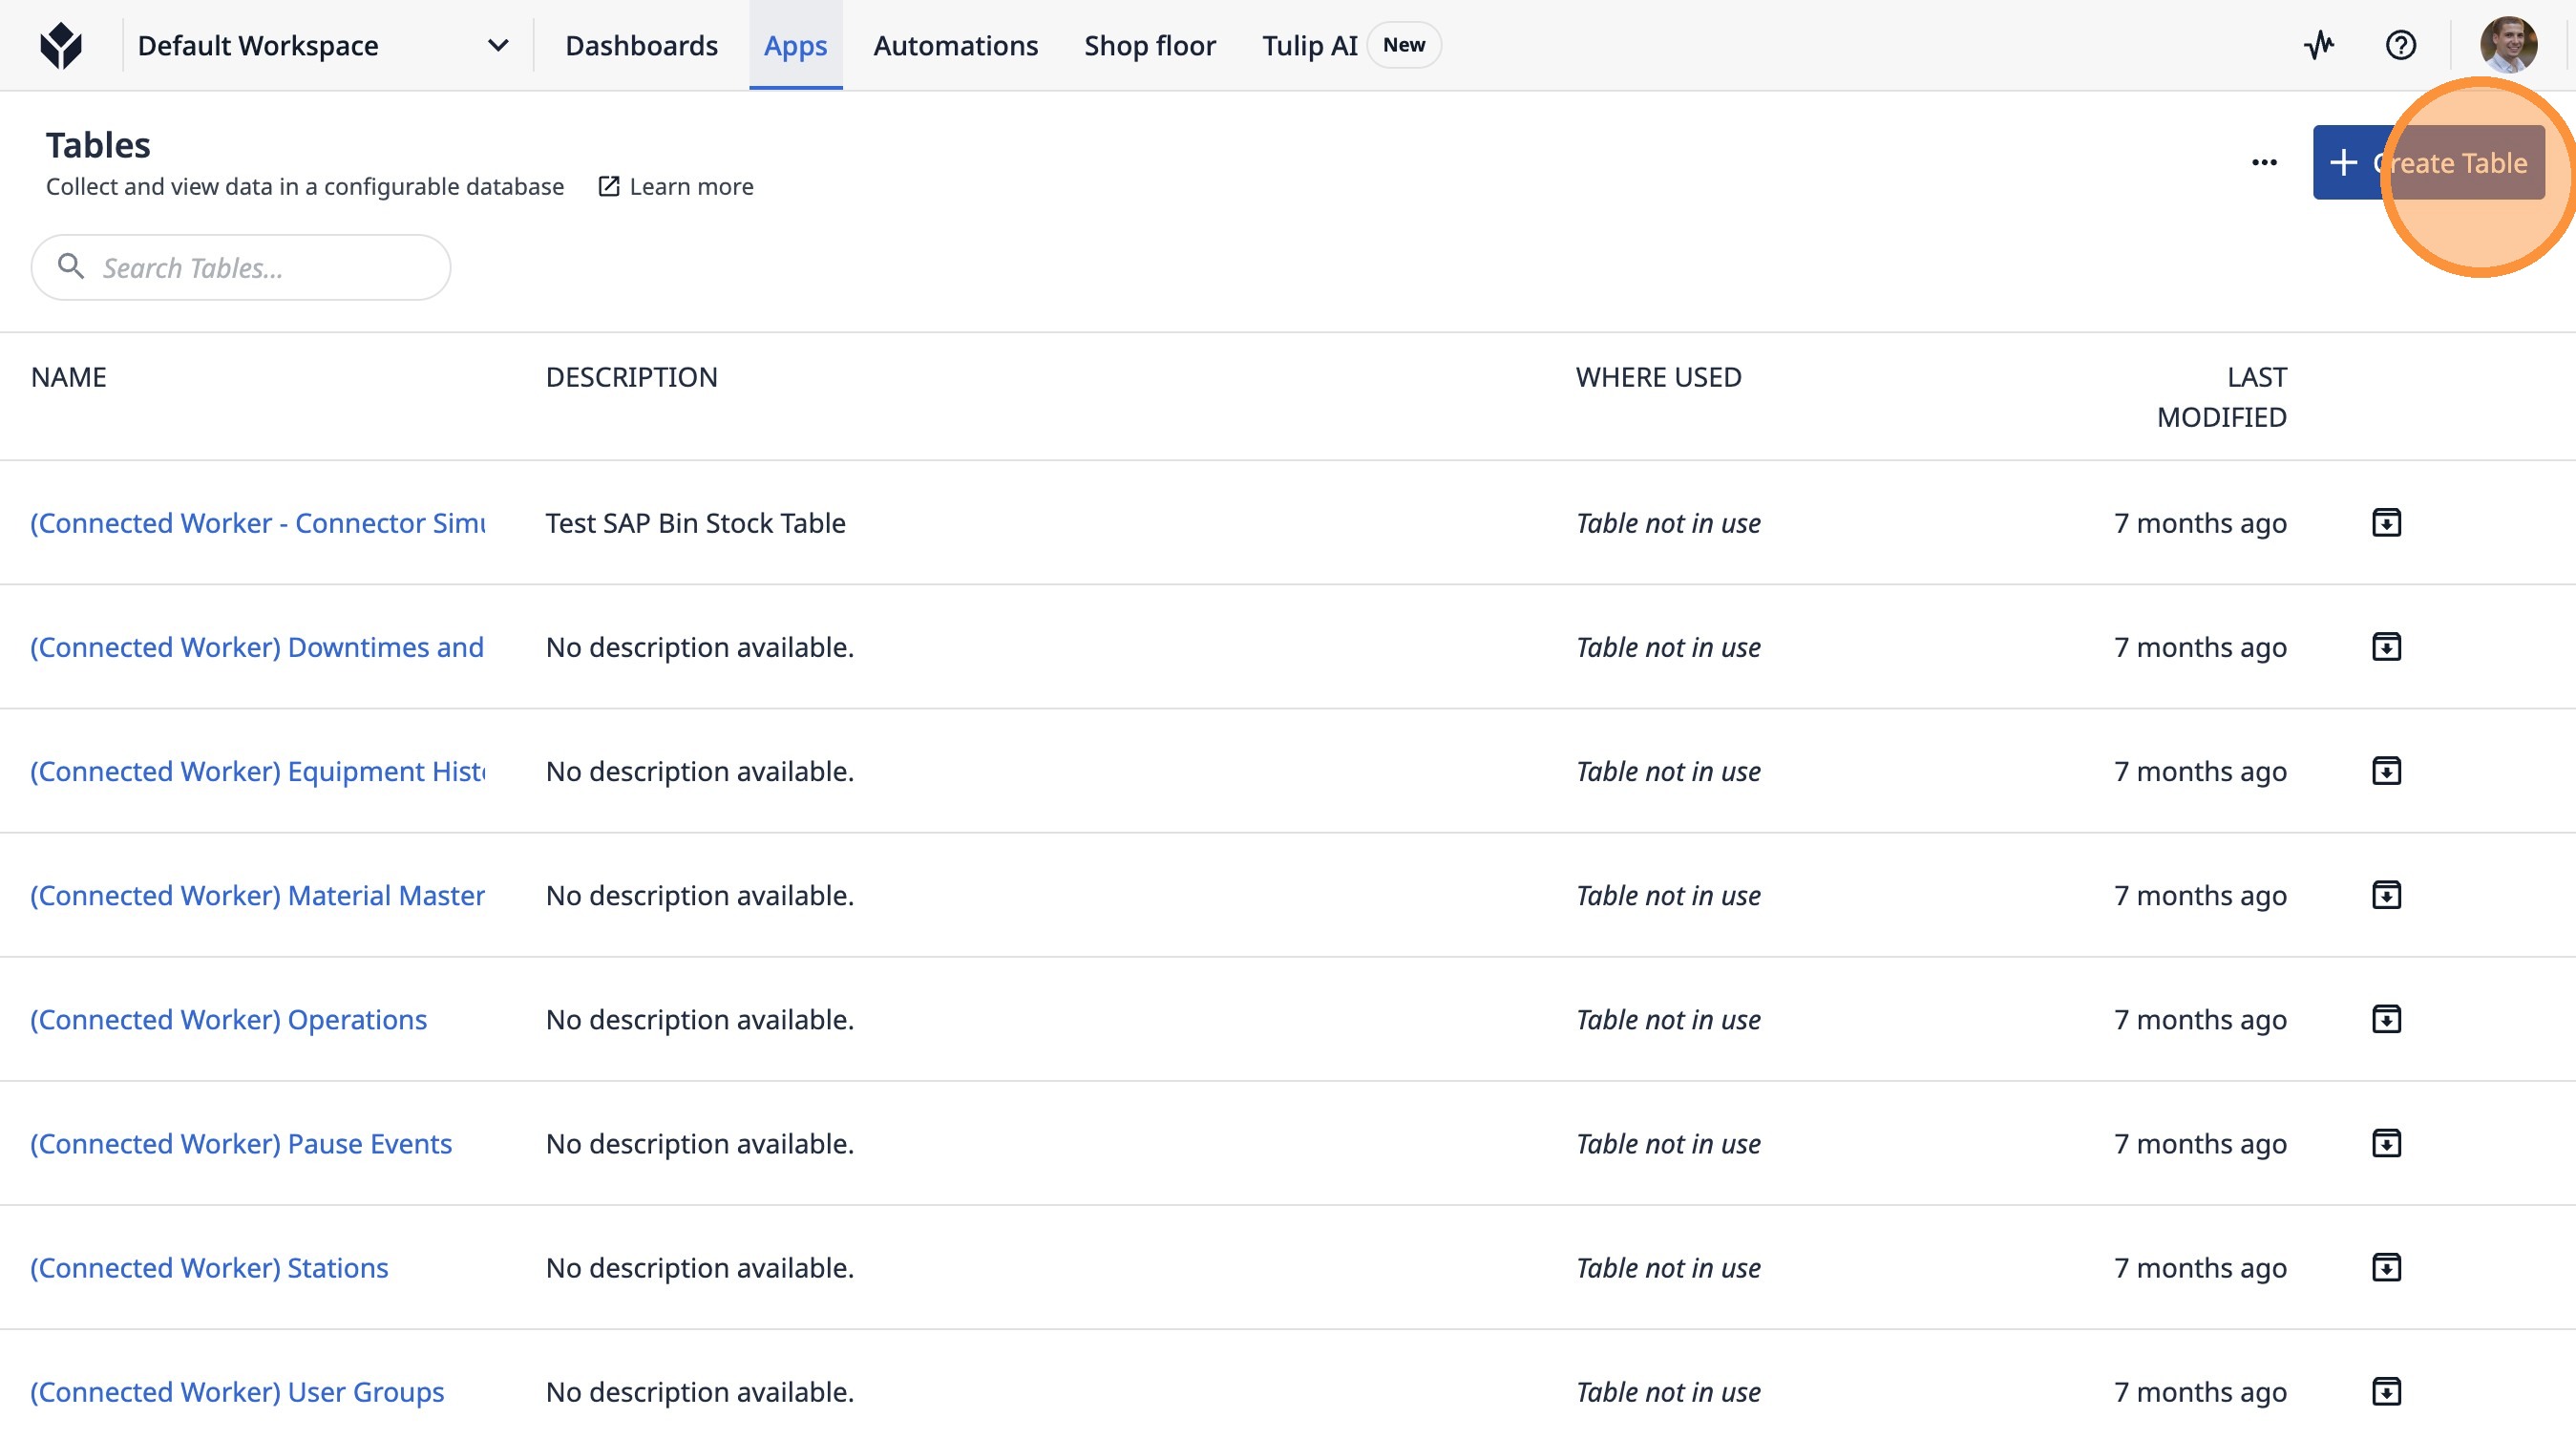
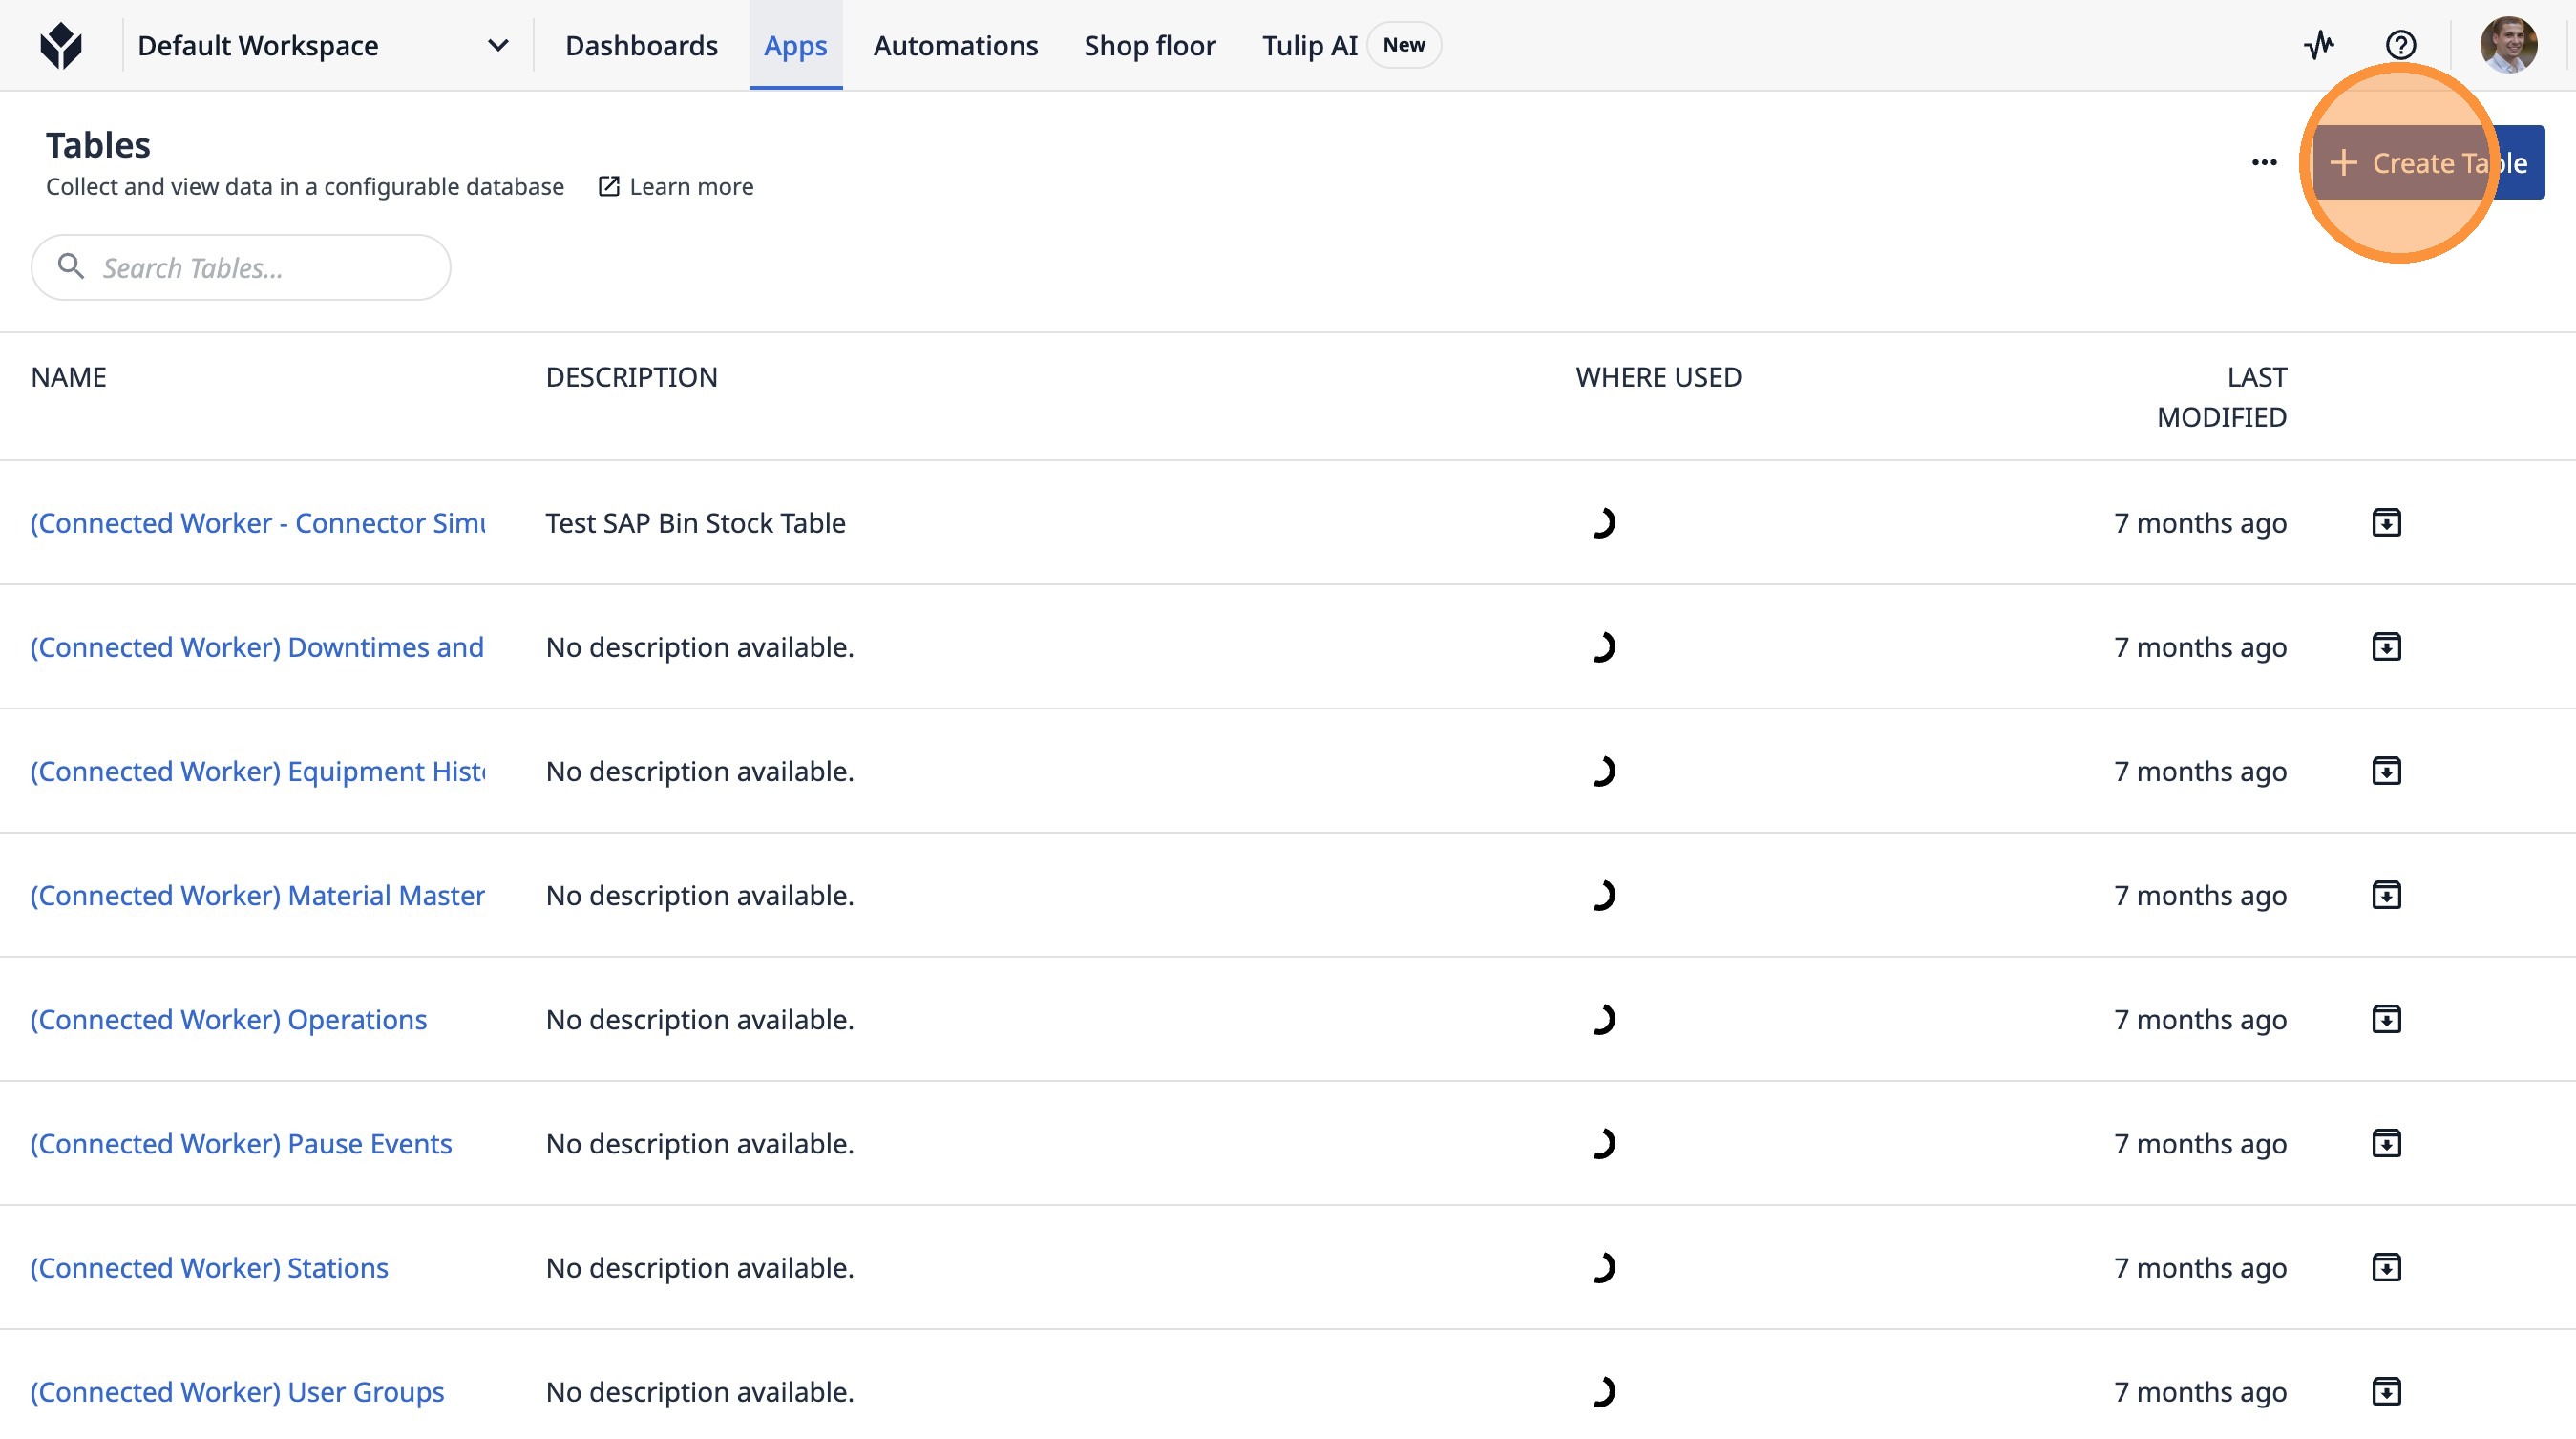
14. Click "Create Table"
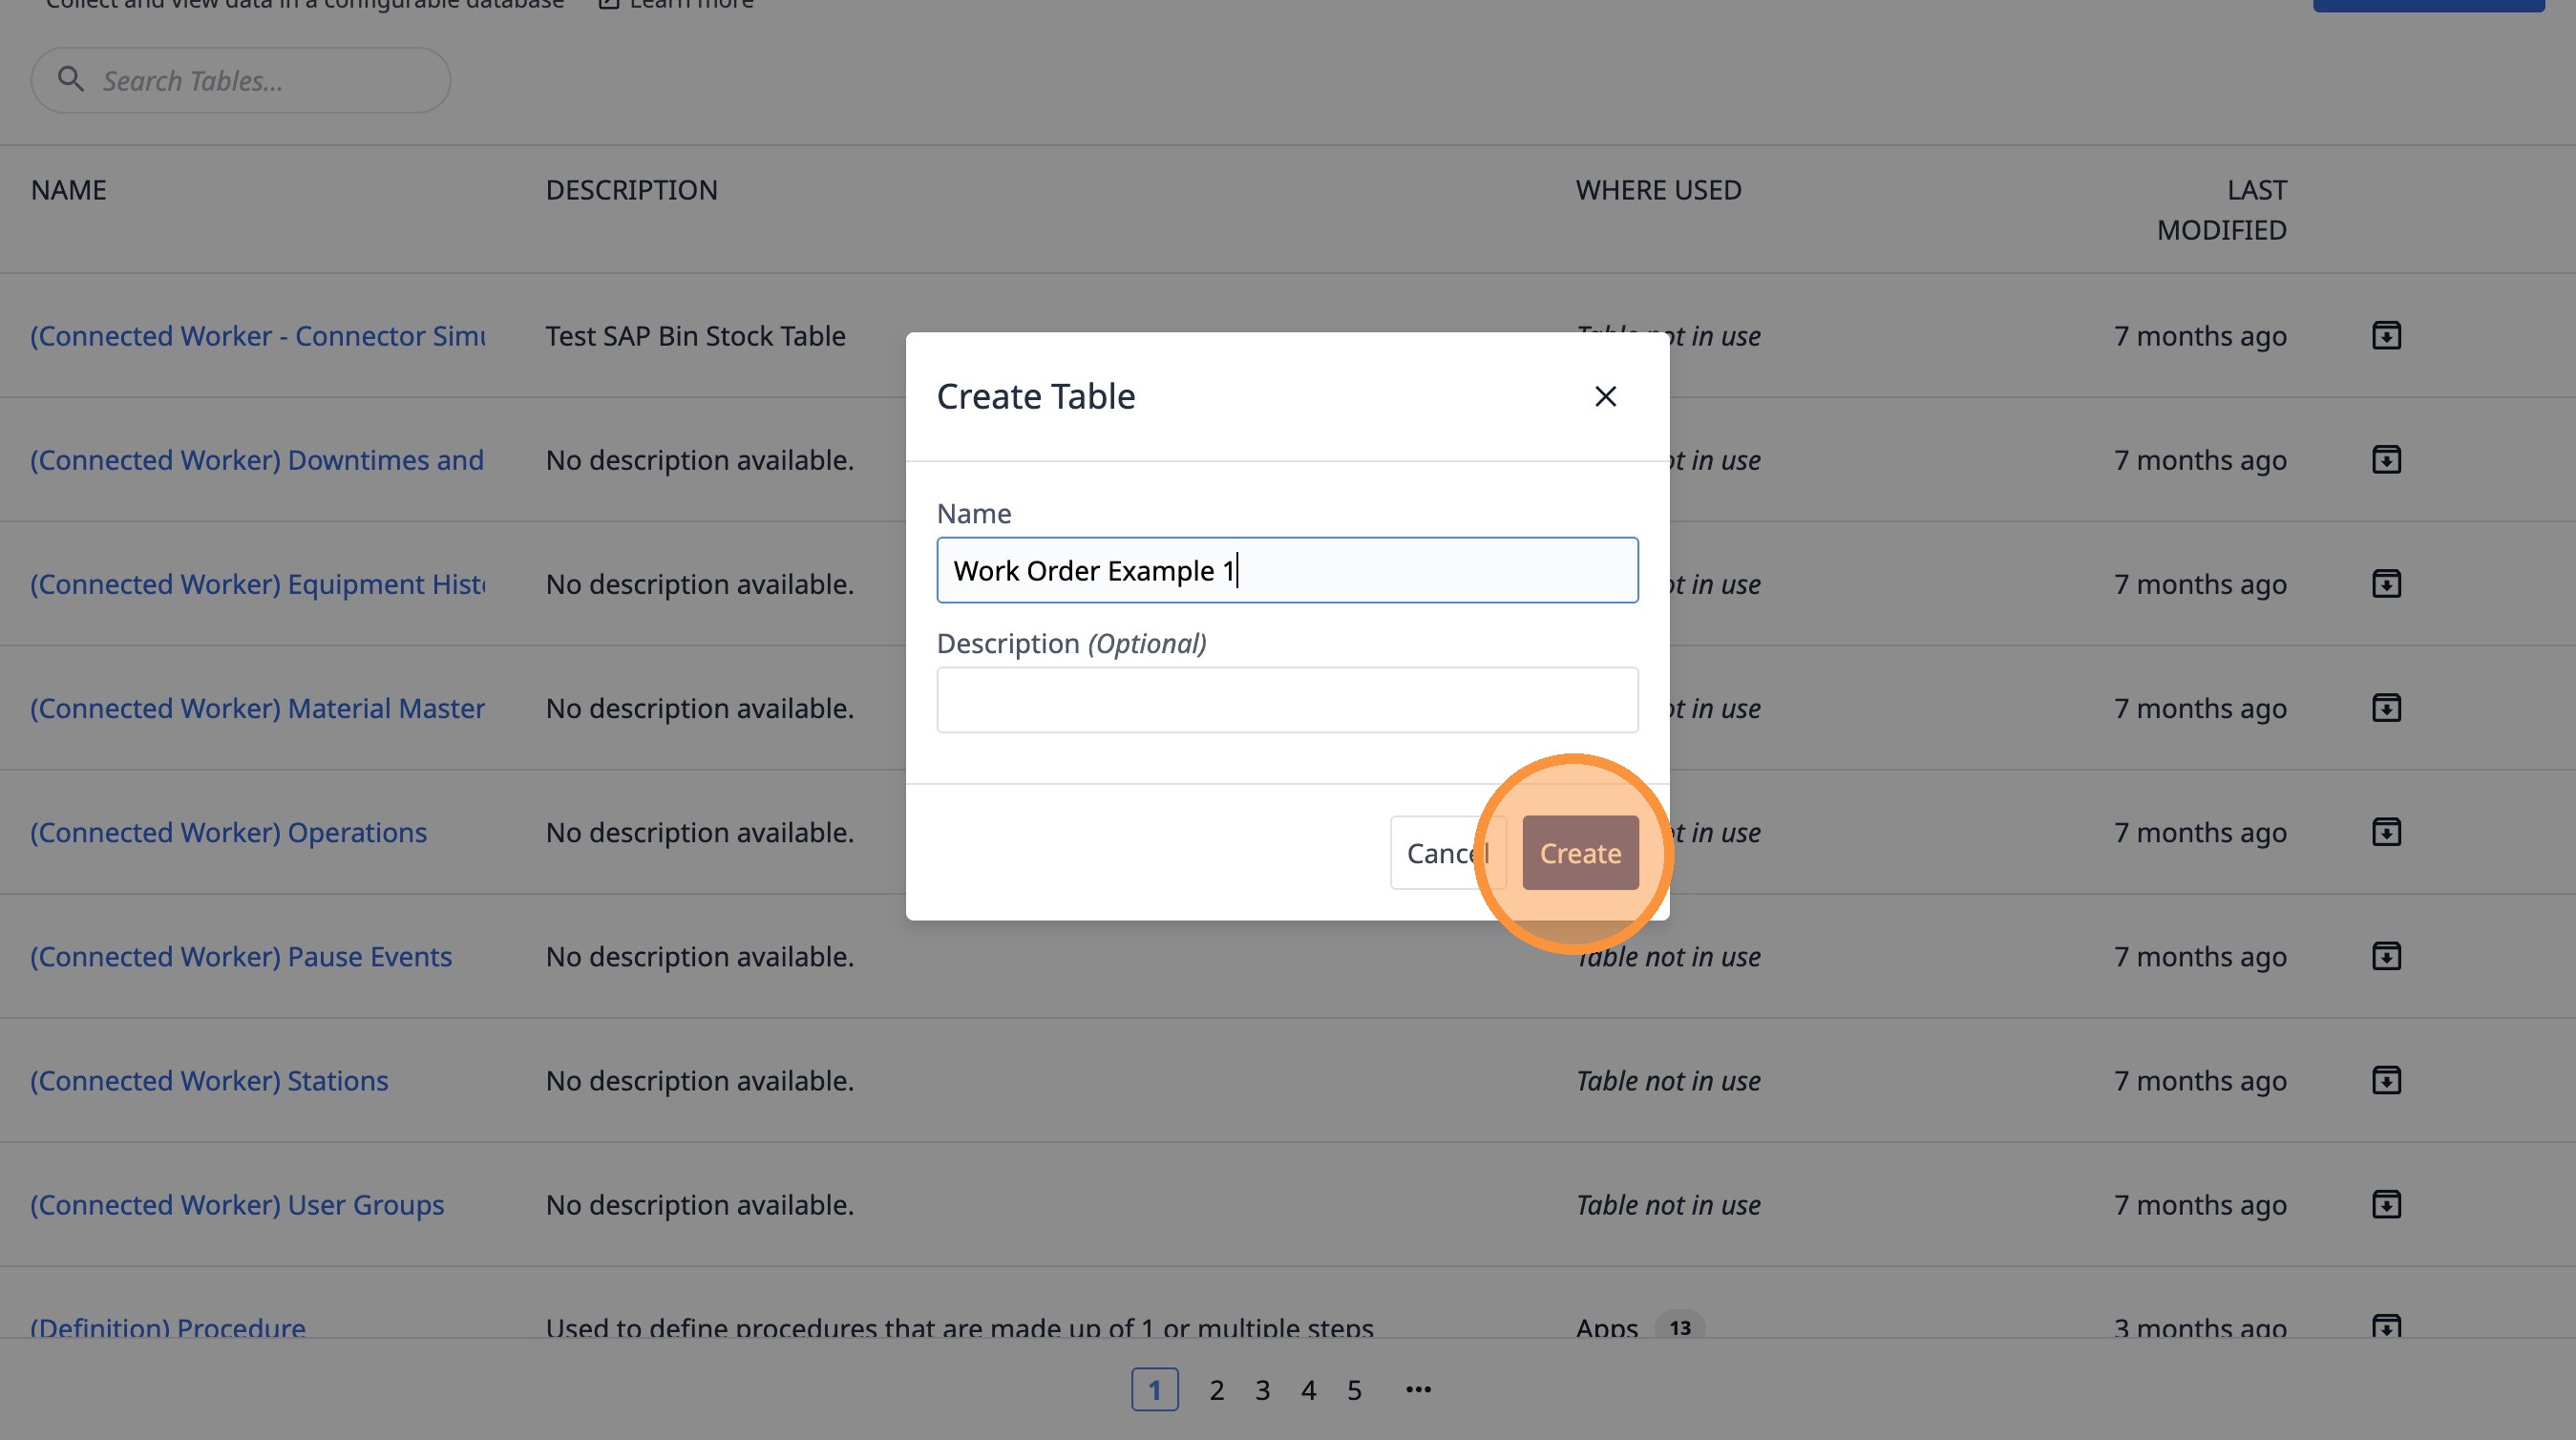
15. Type "Inspection Example 1"
16. Click "Create"

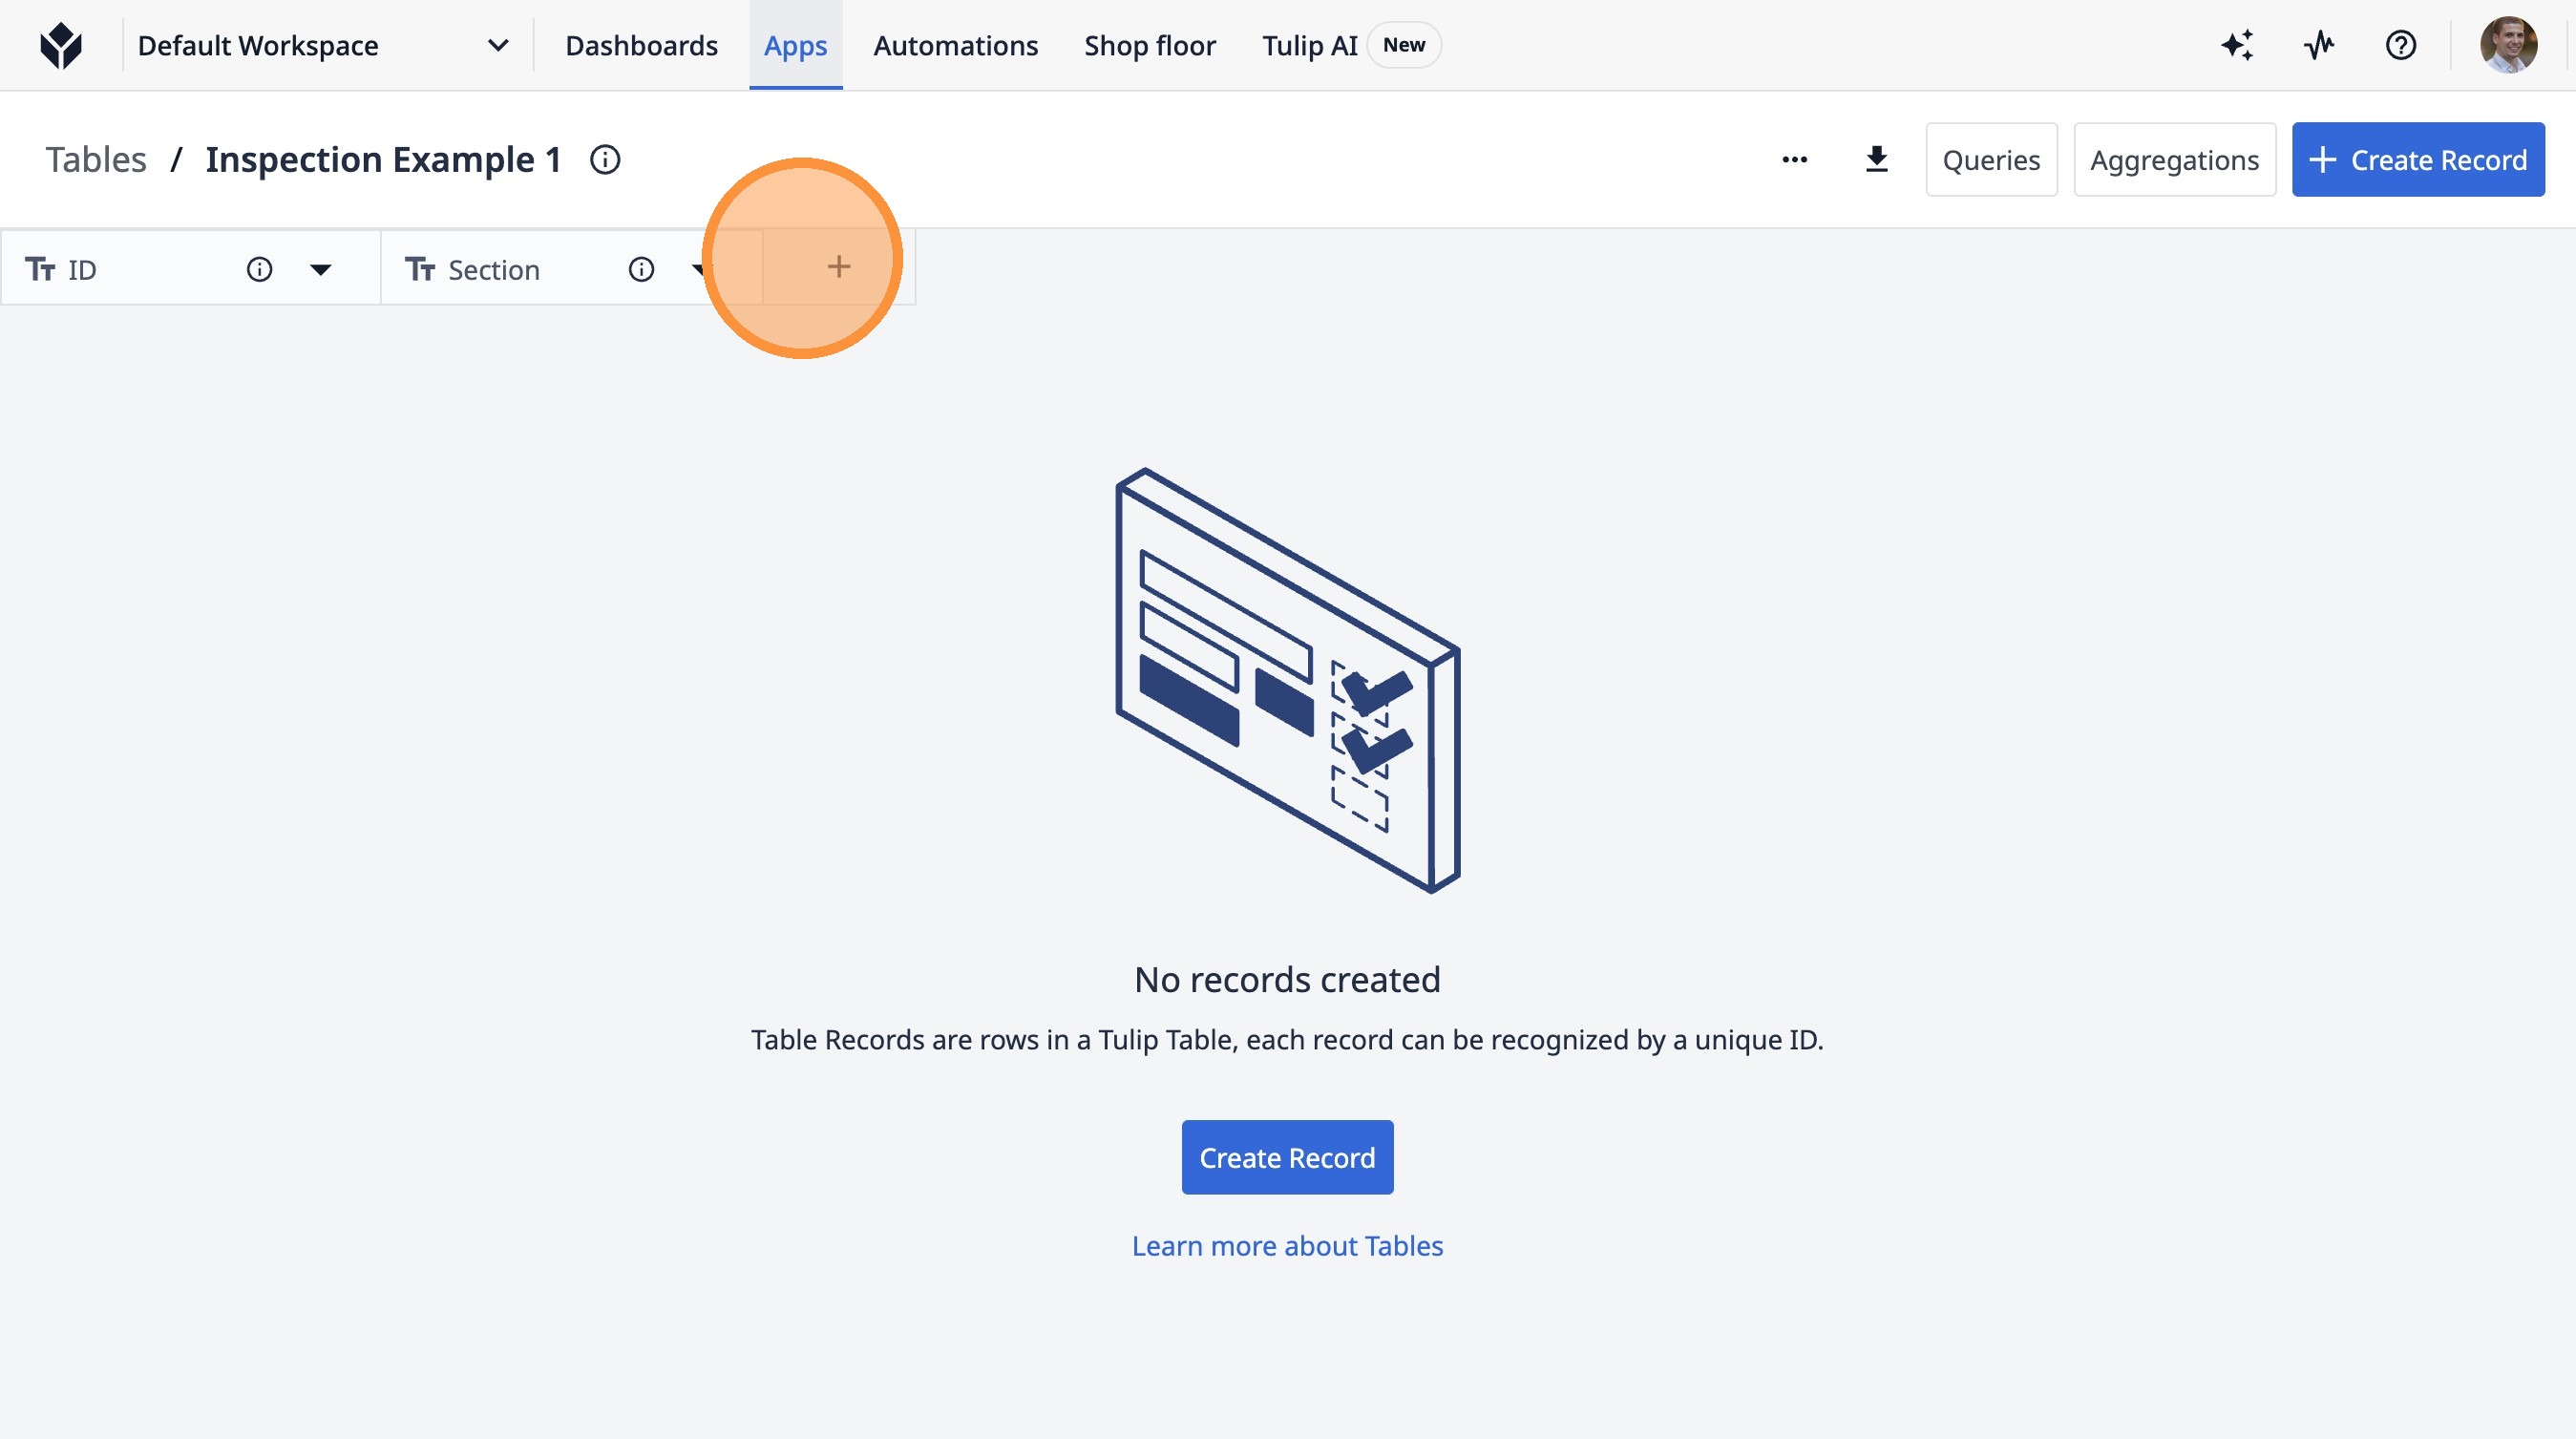
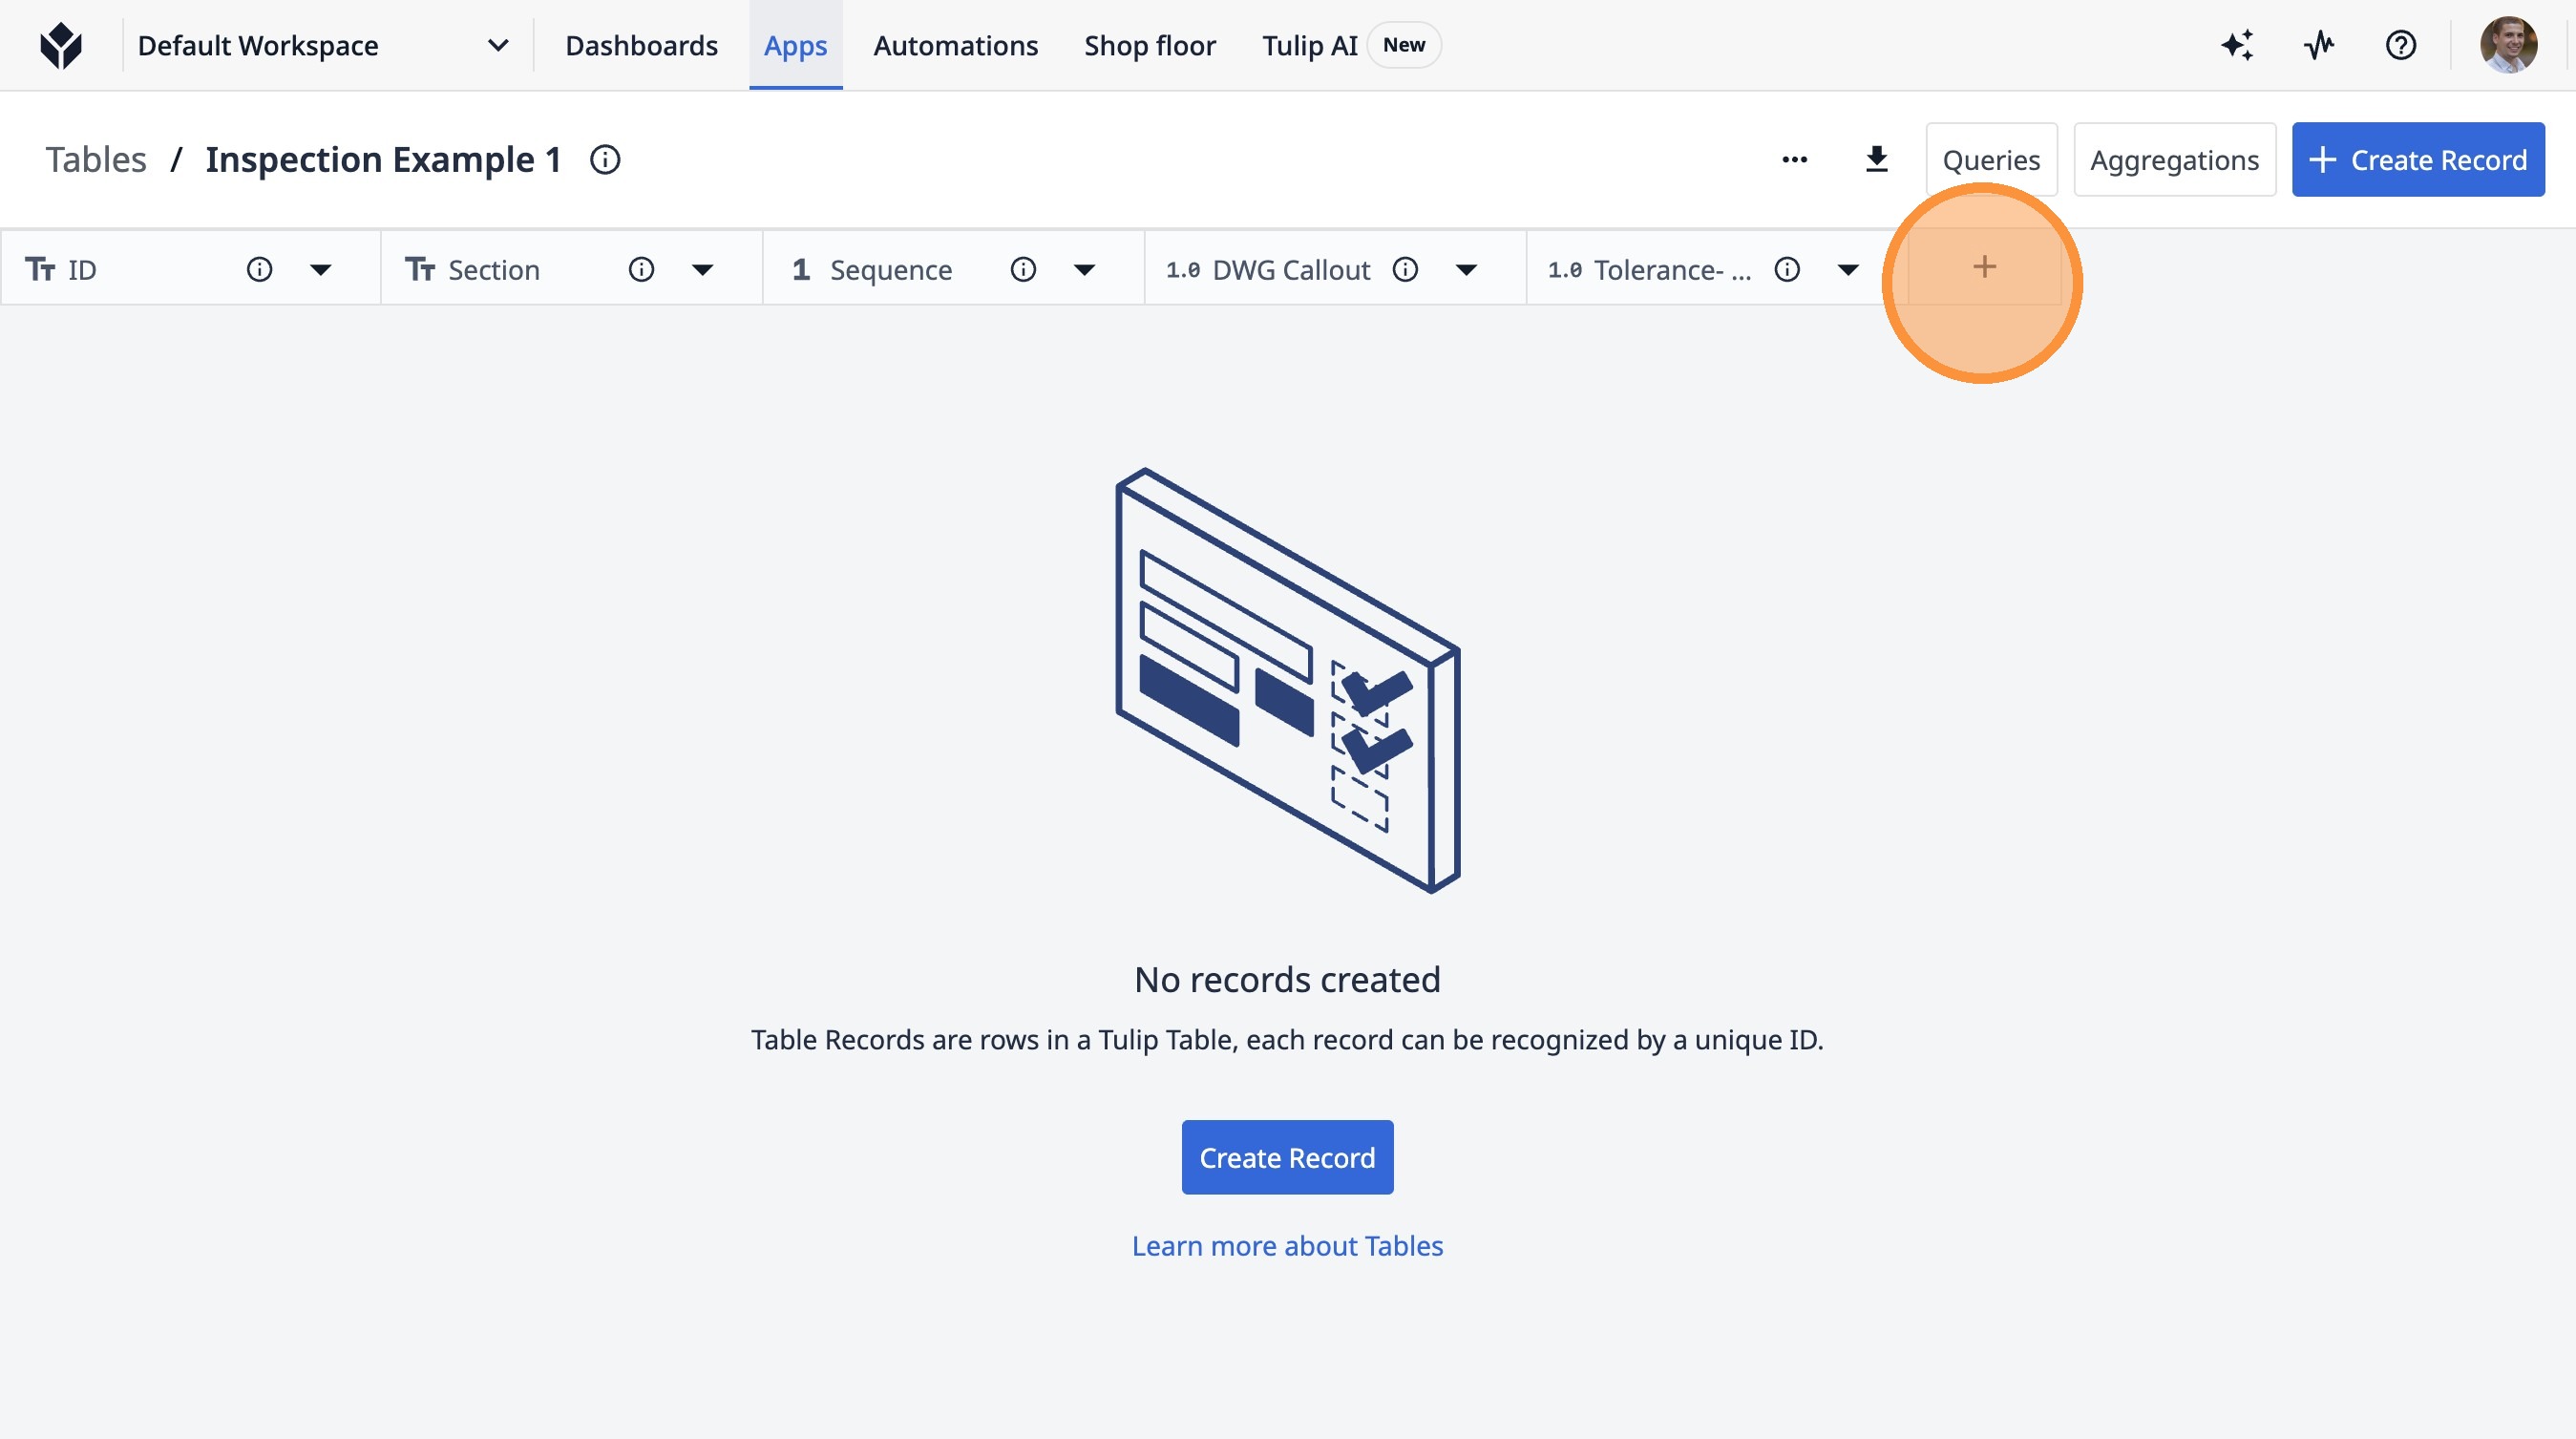
17. Click this button.

18. Click this text field.
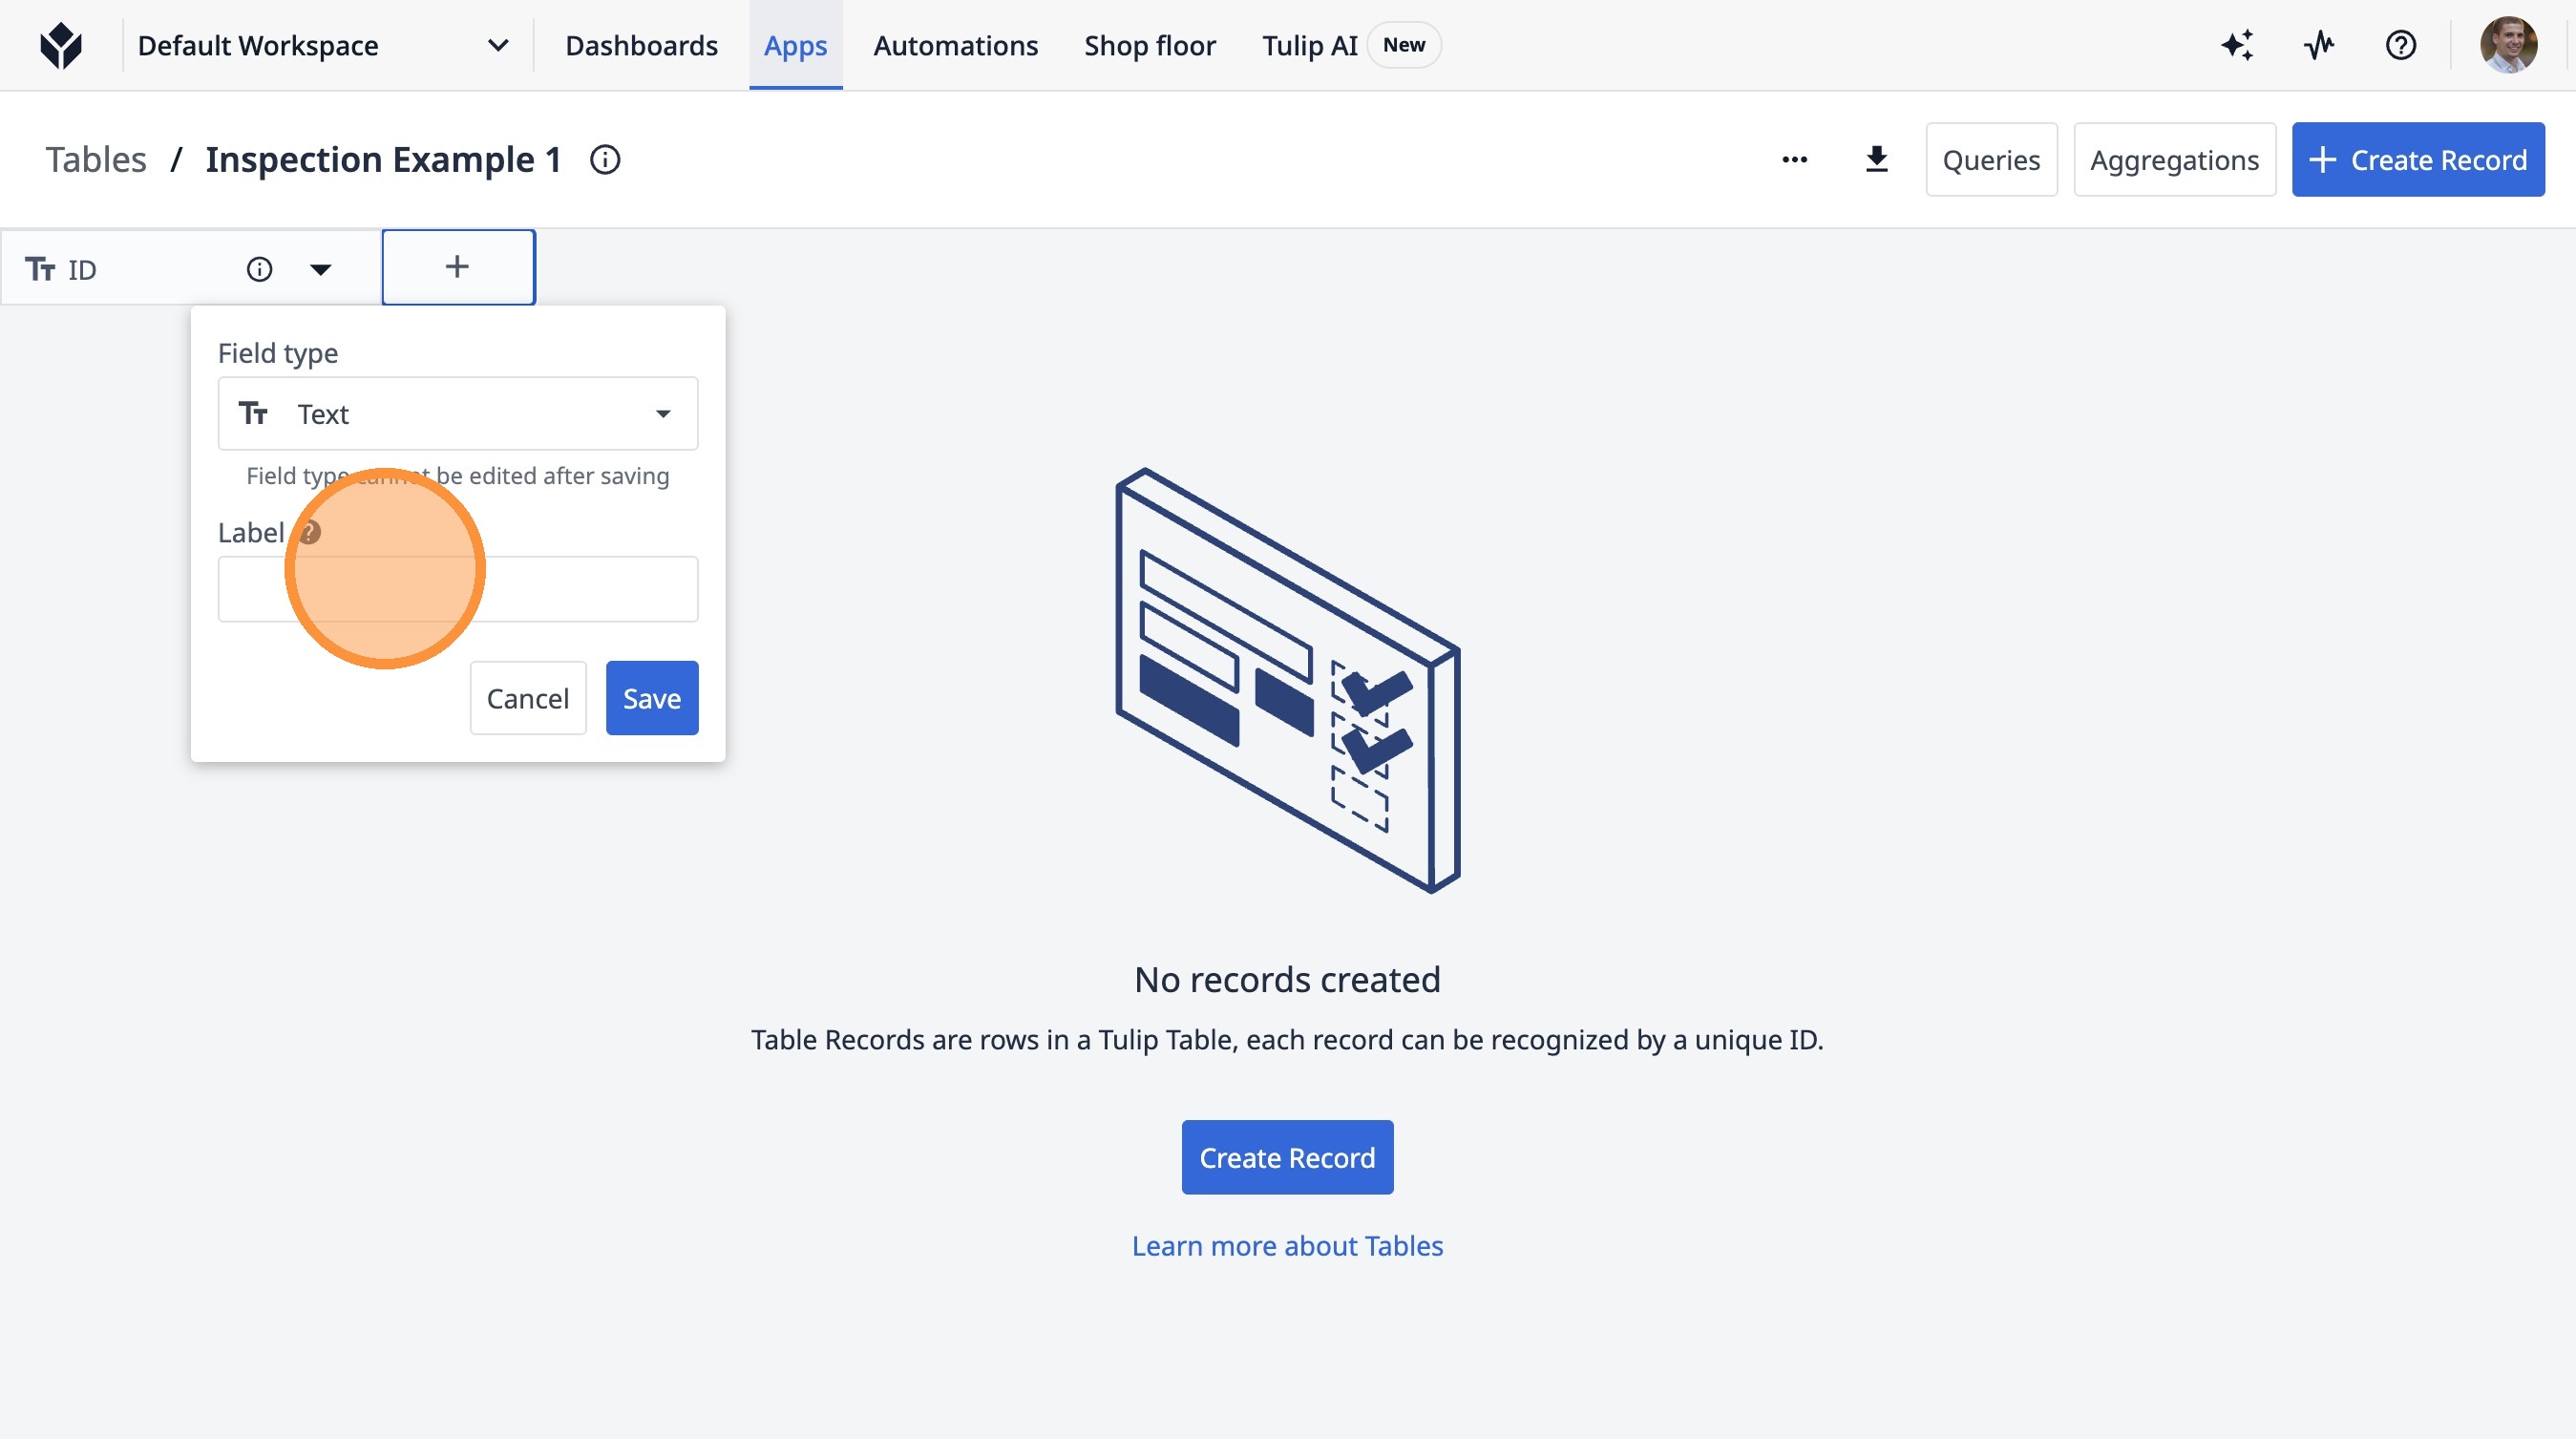
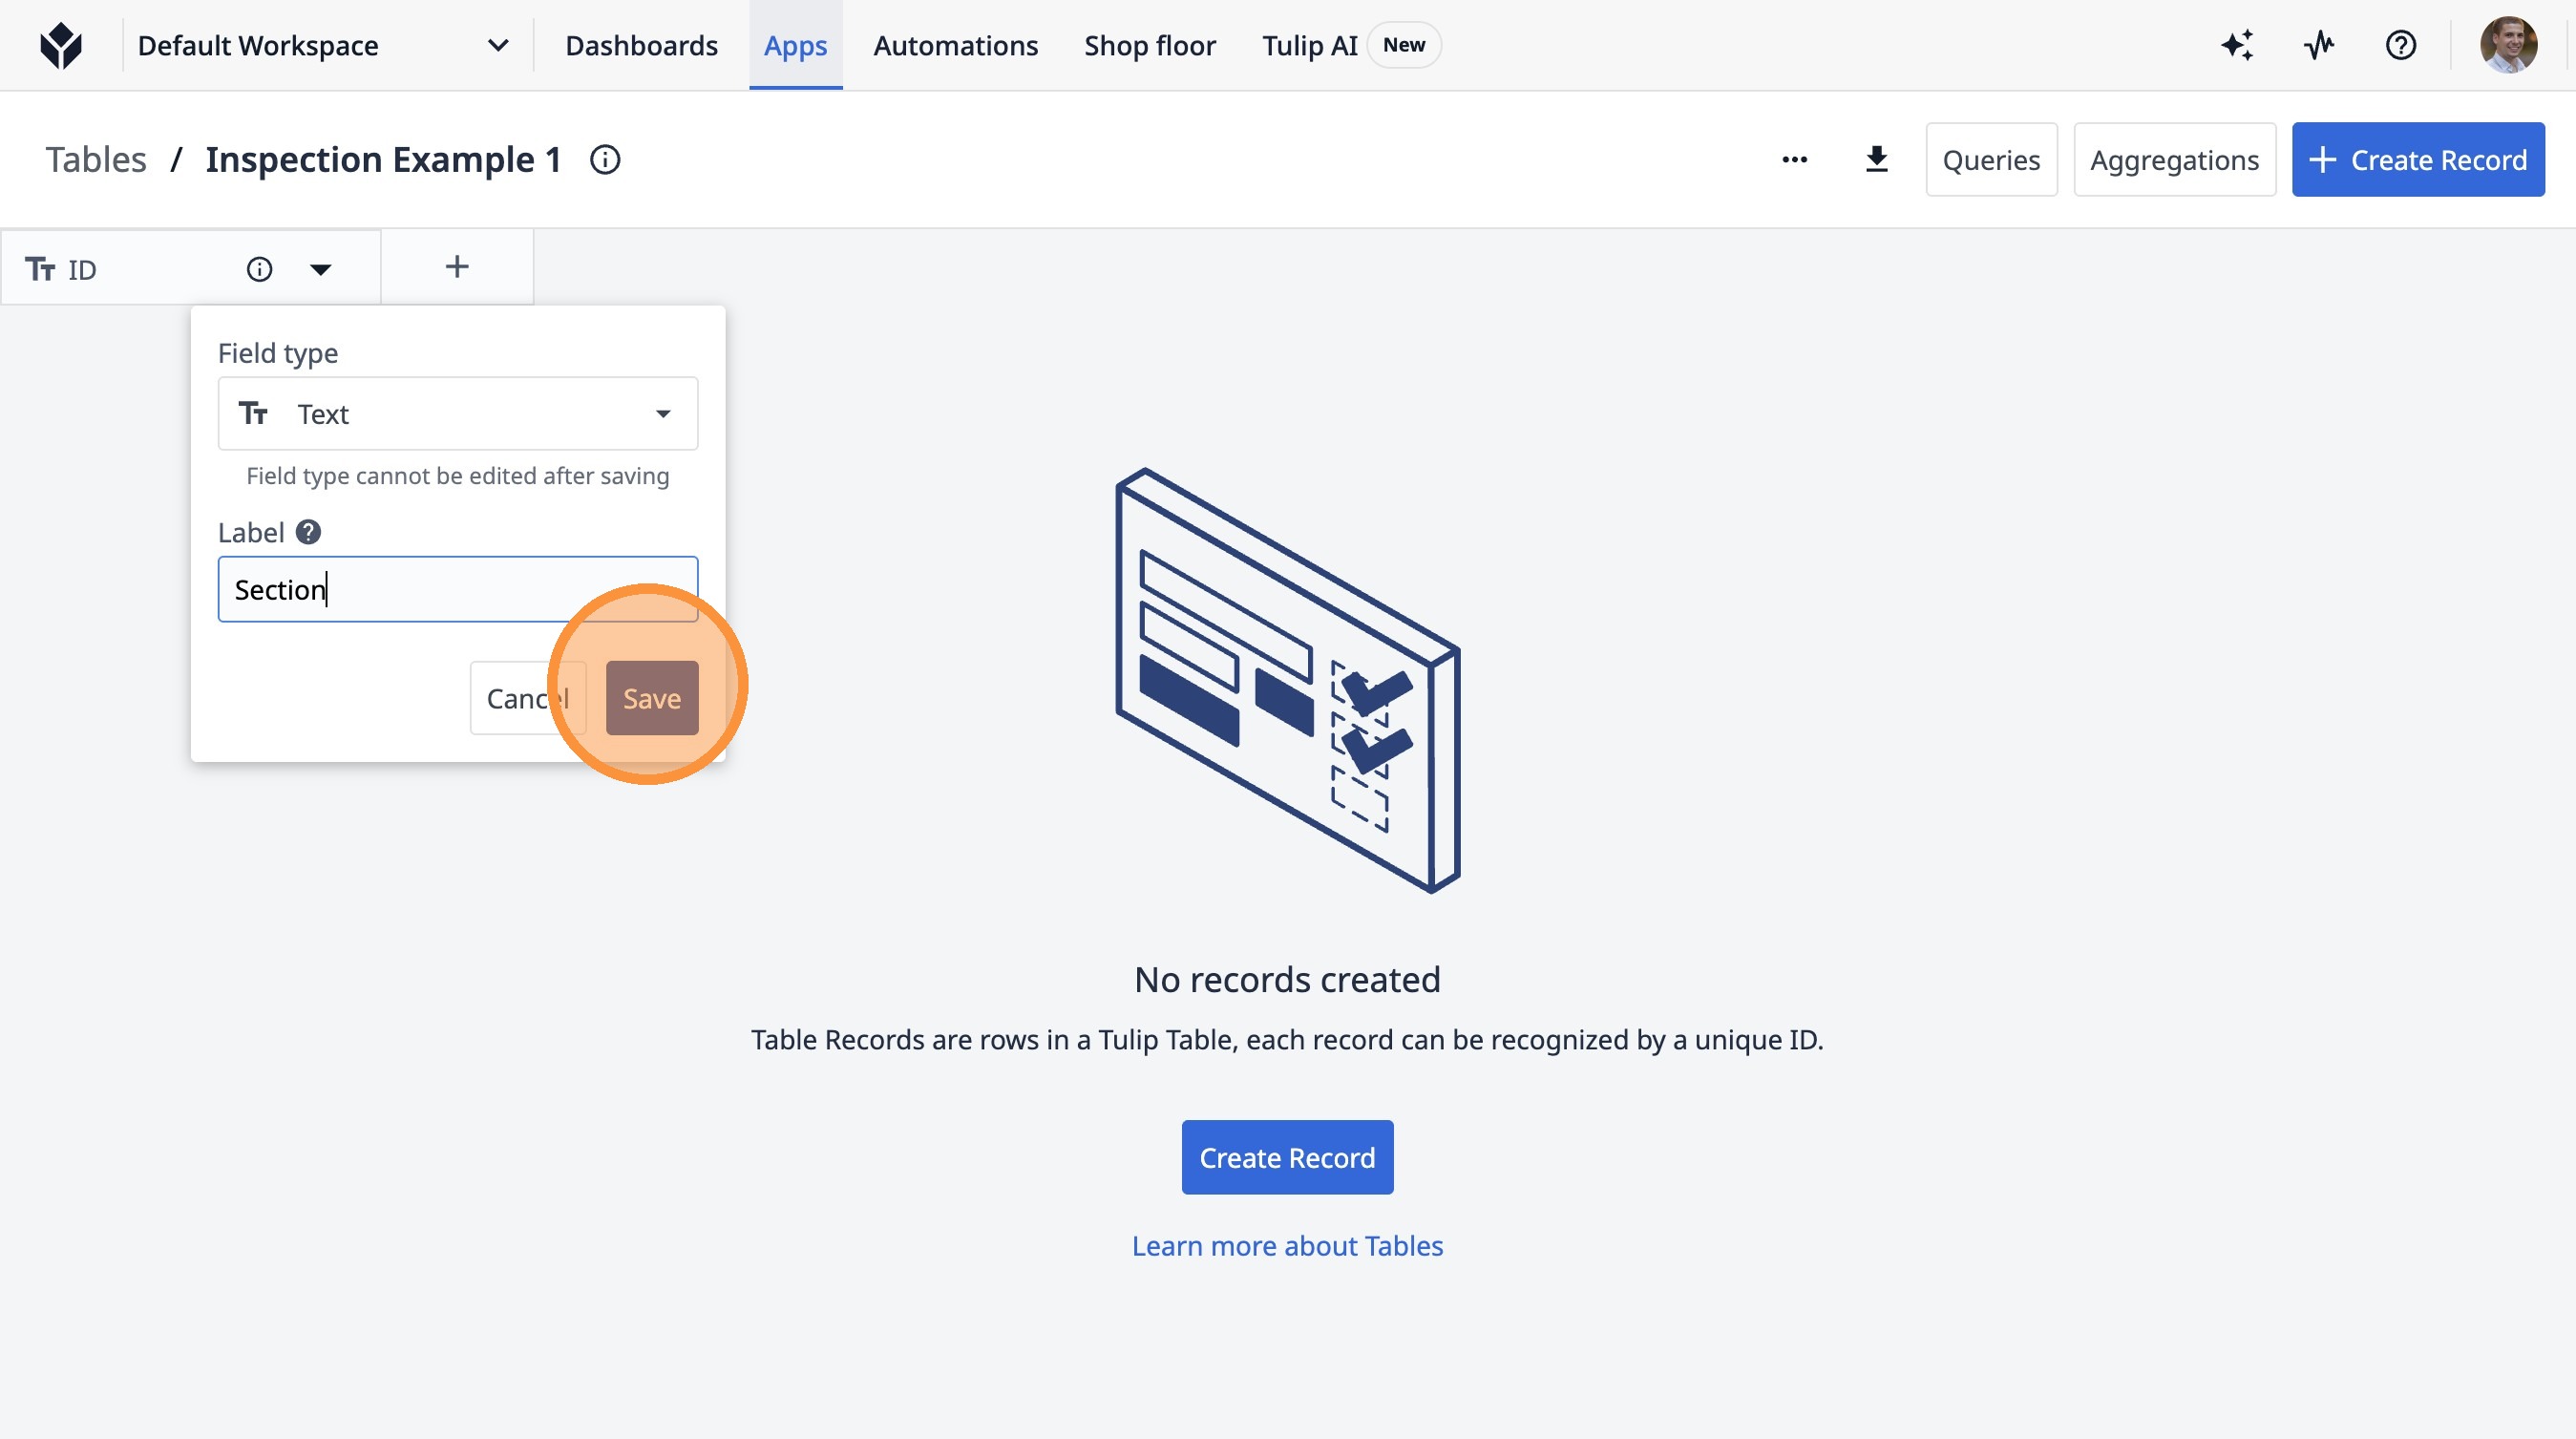
19. Type "Section"
20. Click "Save"
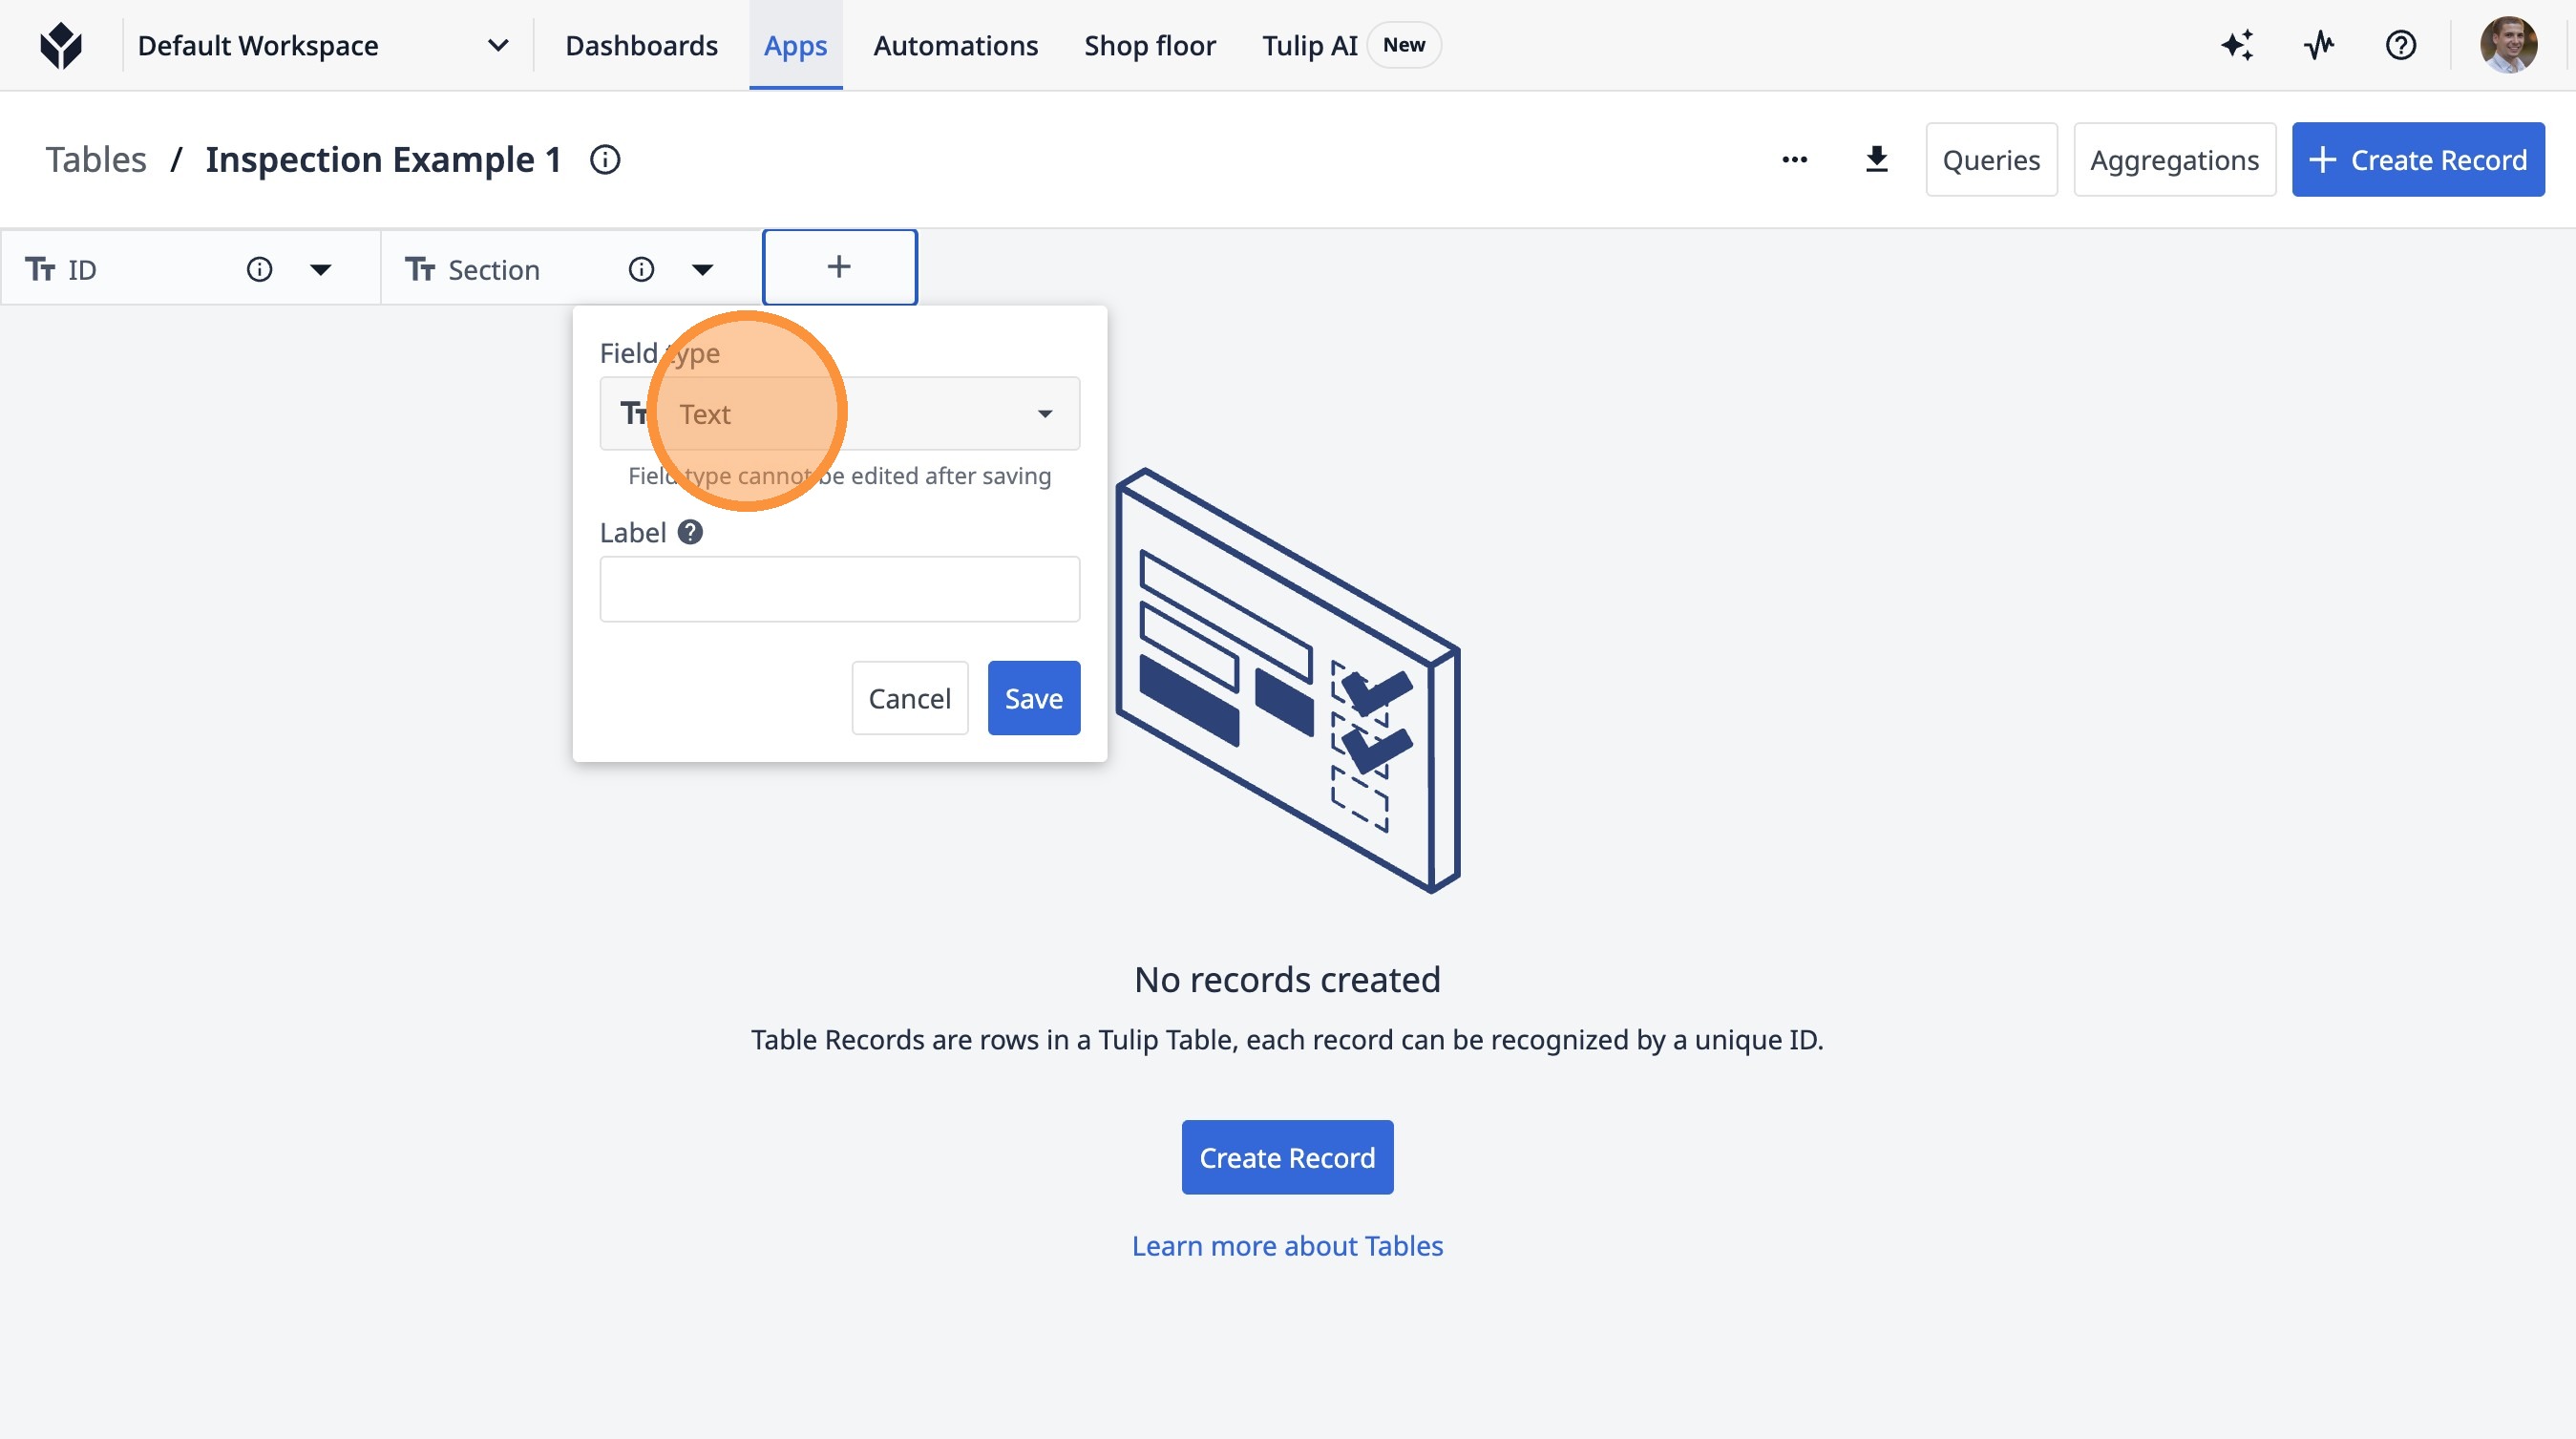
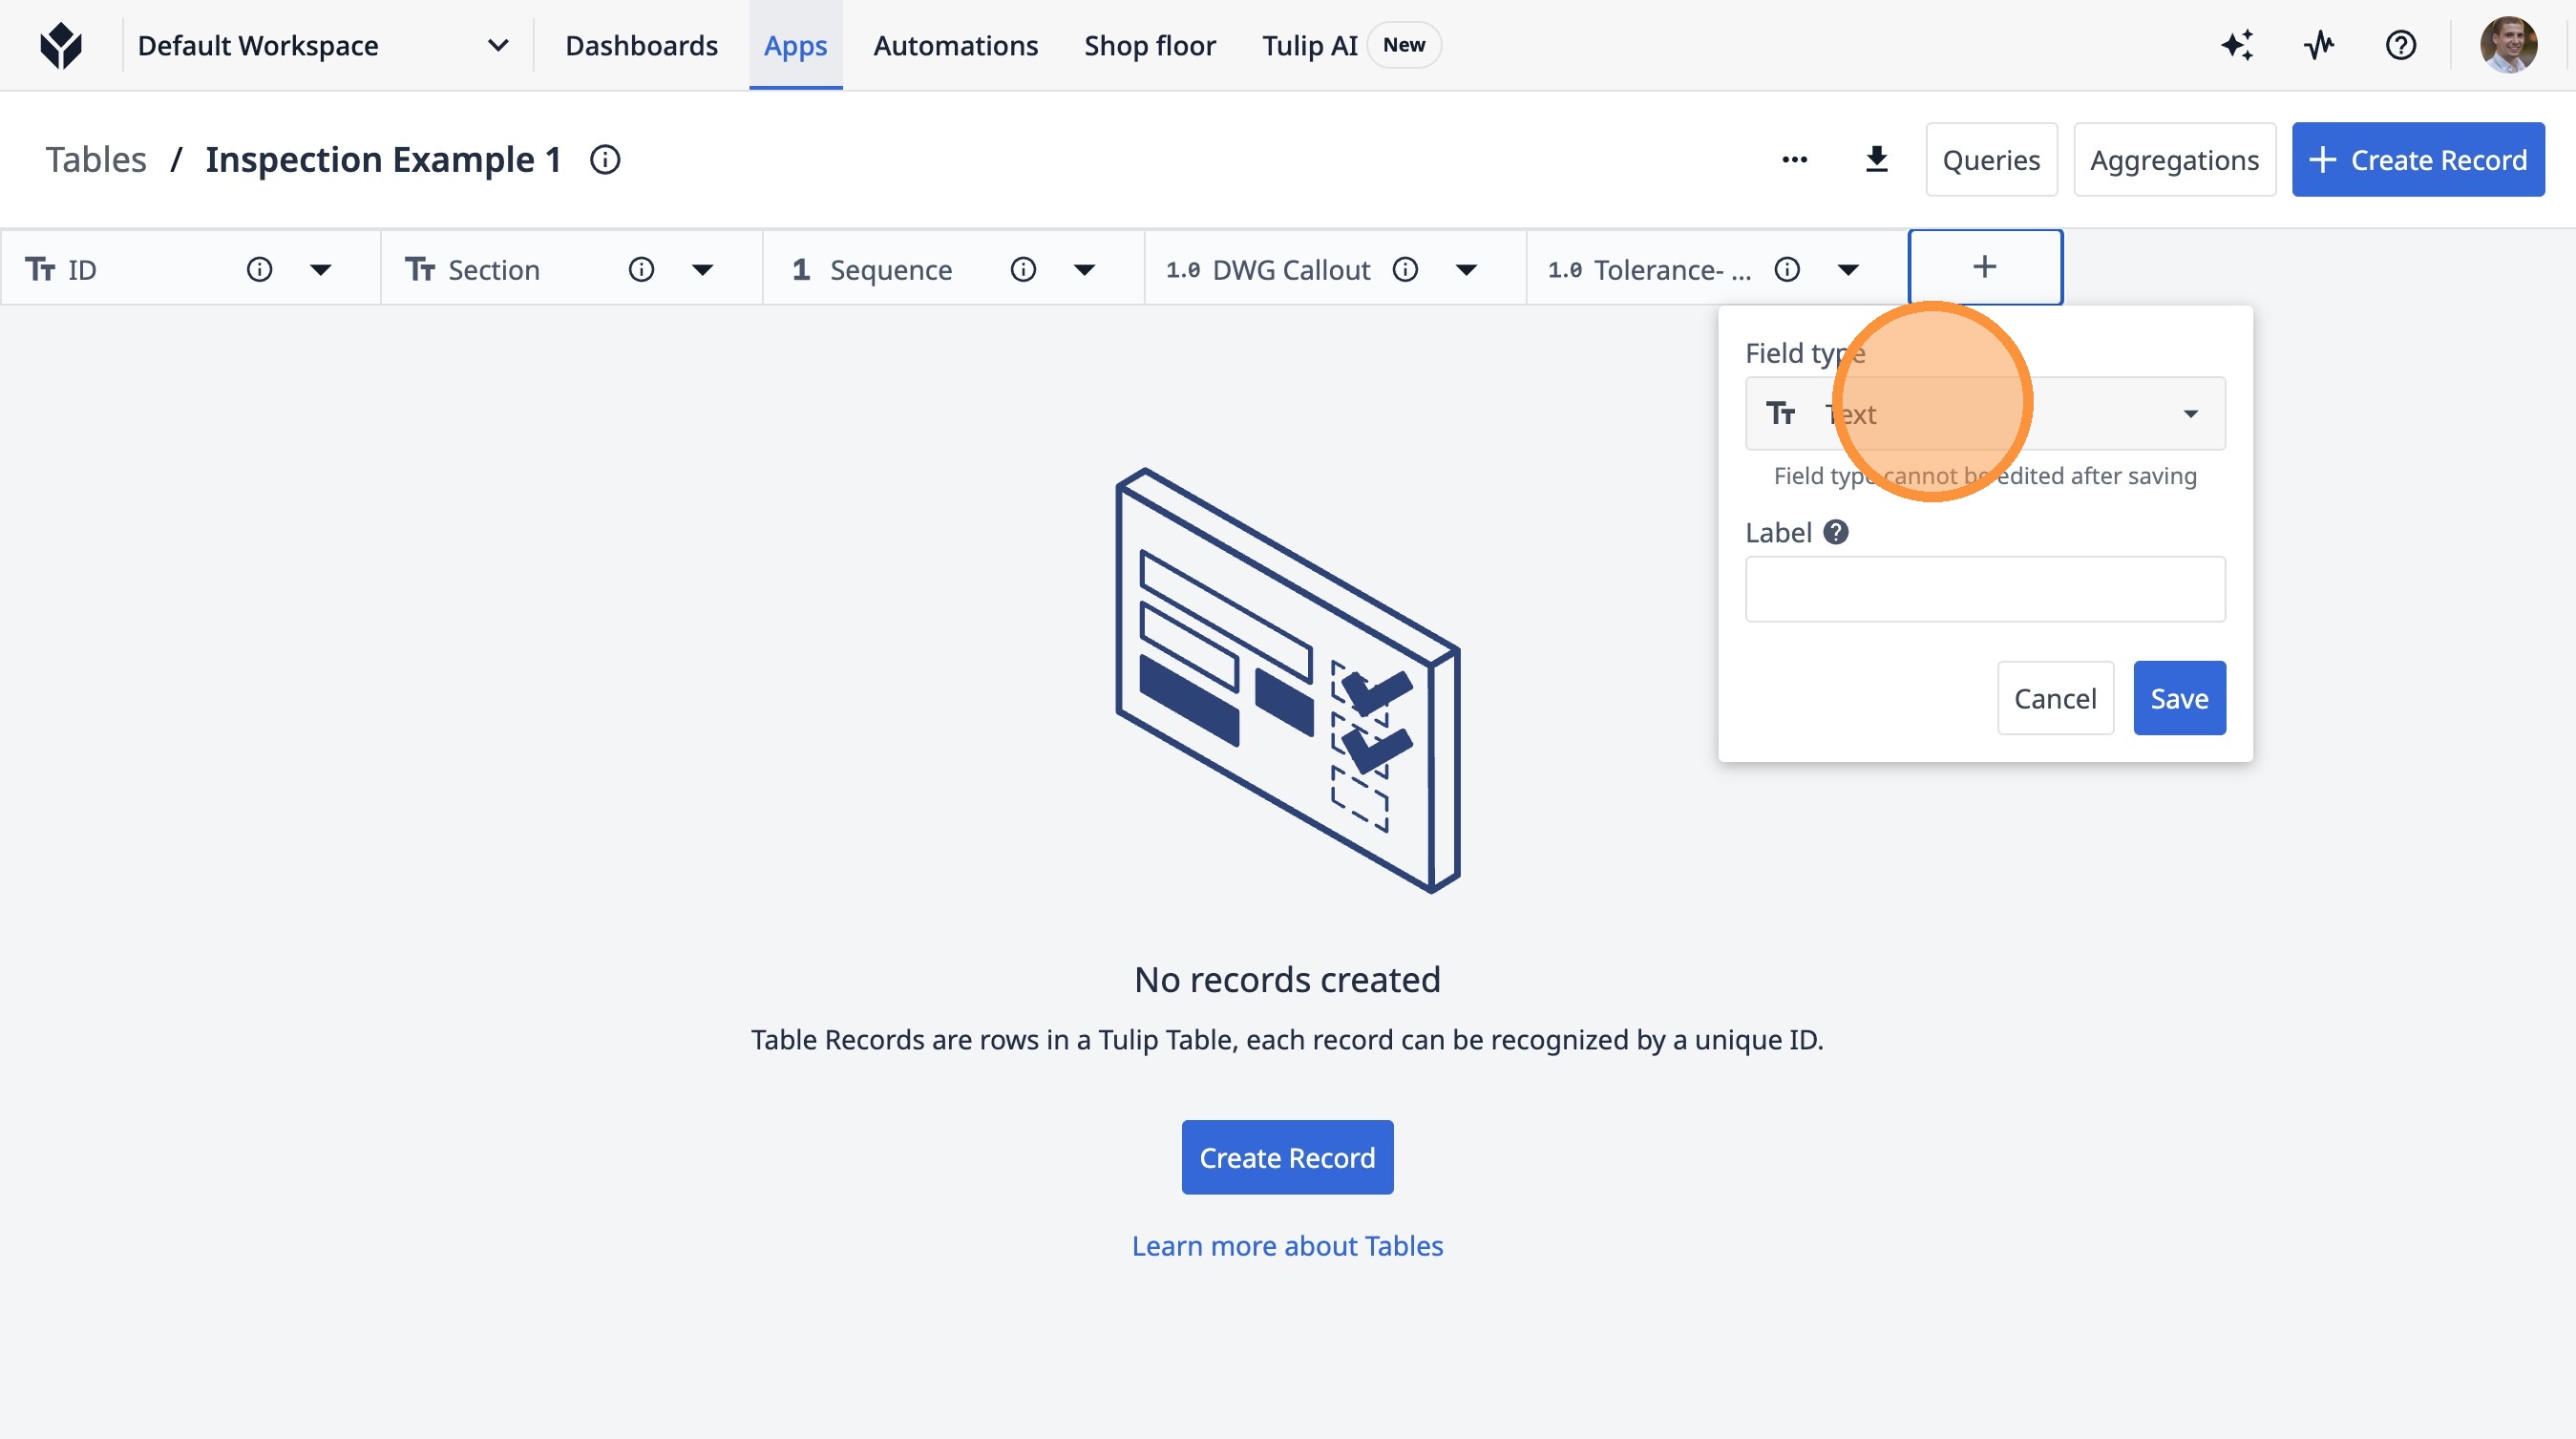
21. Click this button.
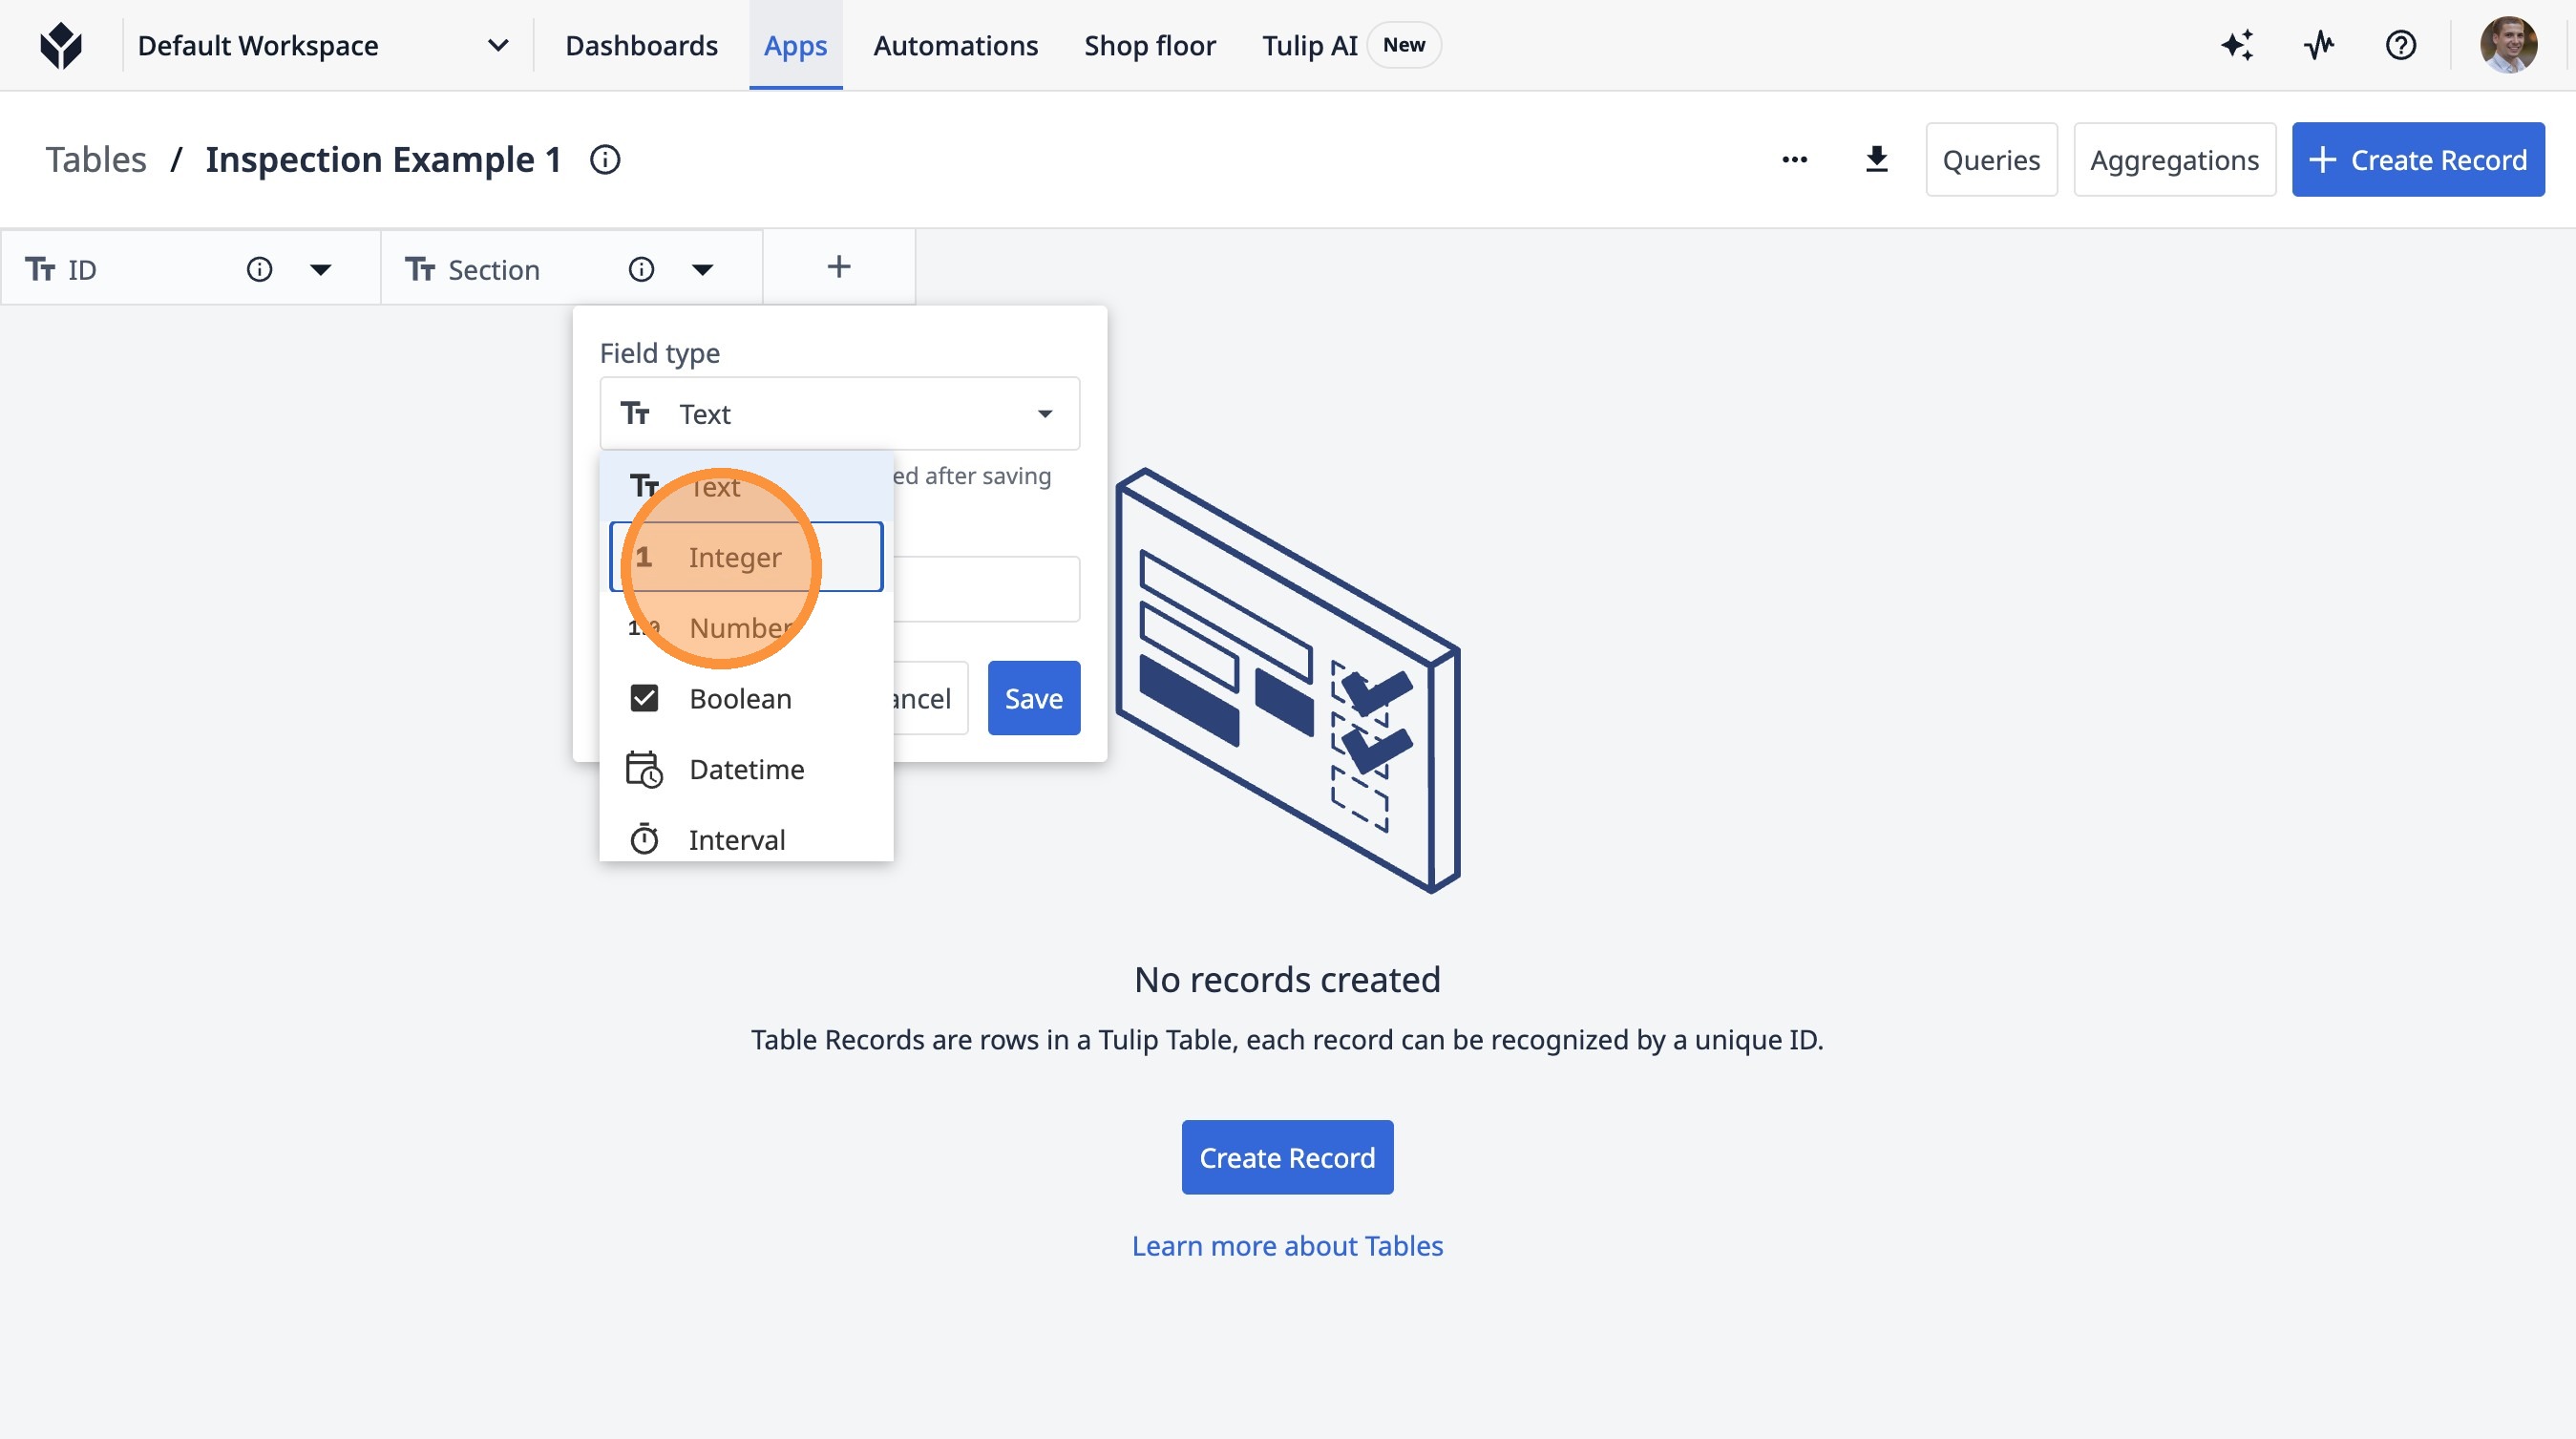
22. Click "Text"
23. Click "Integer"
24. Click this text field.
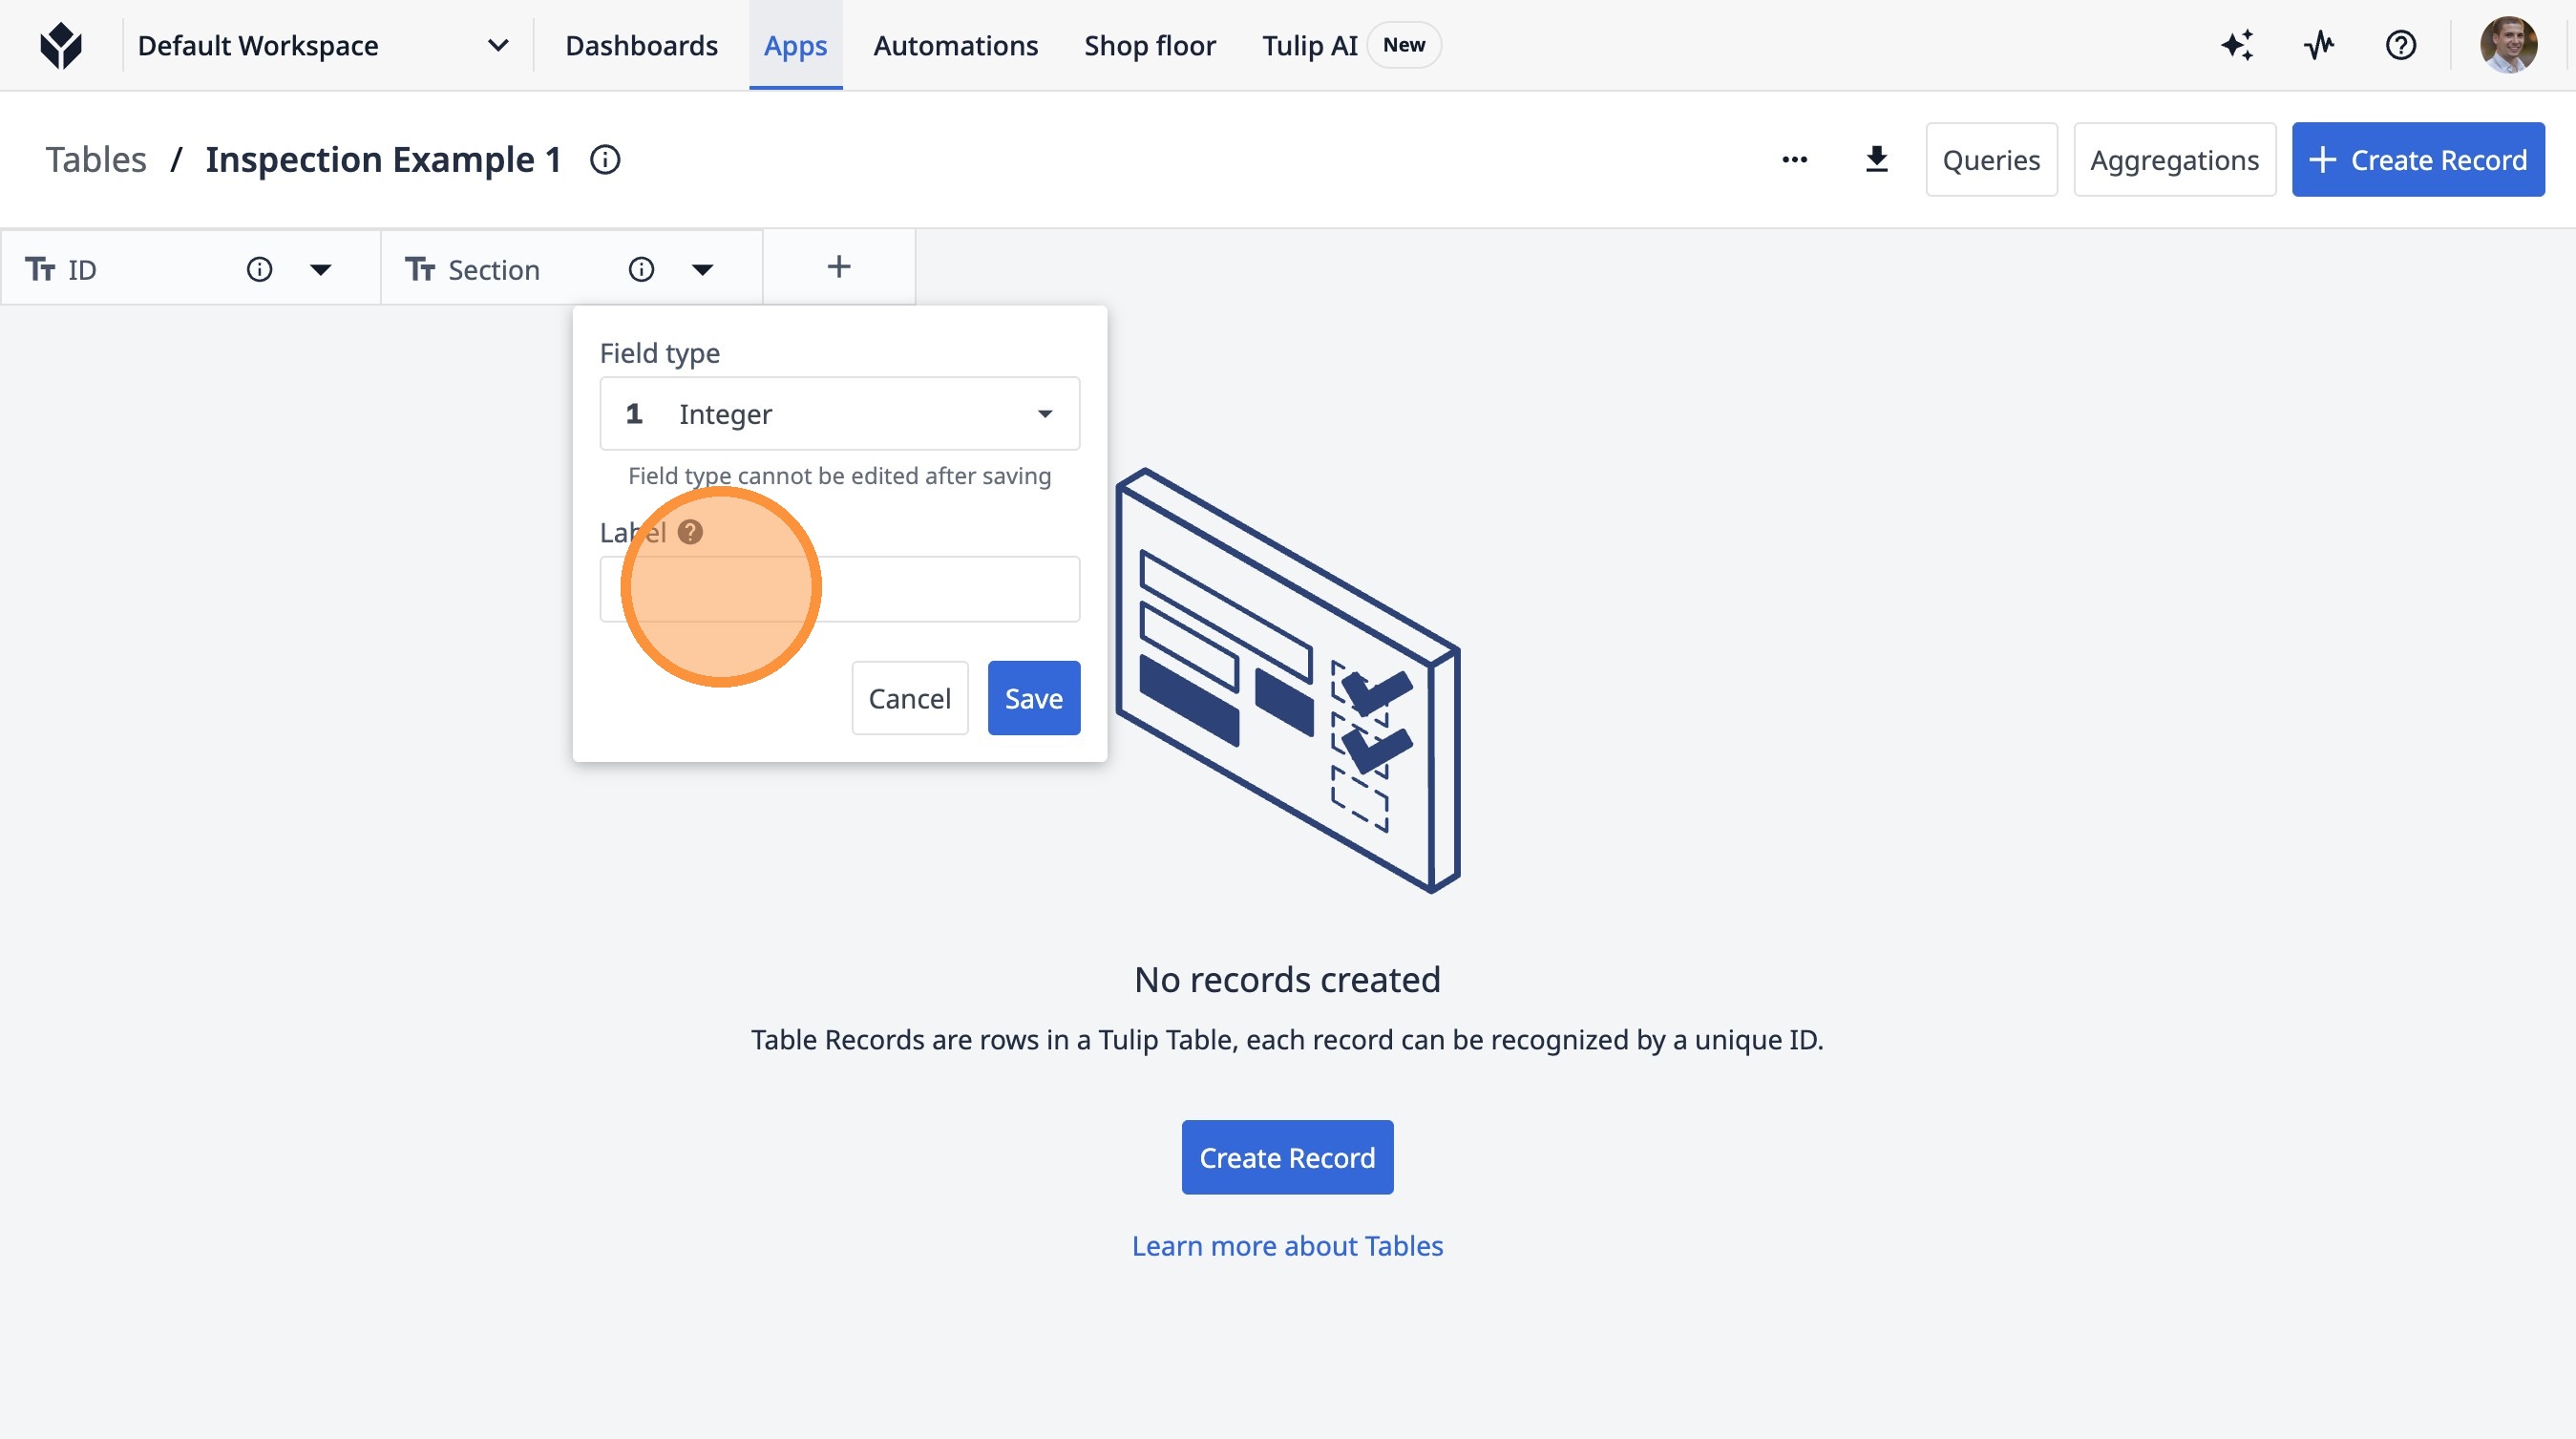
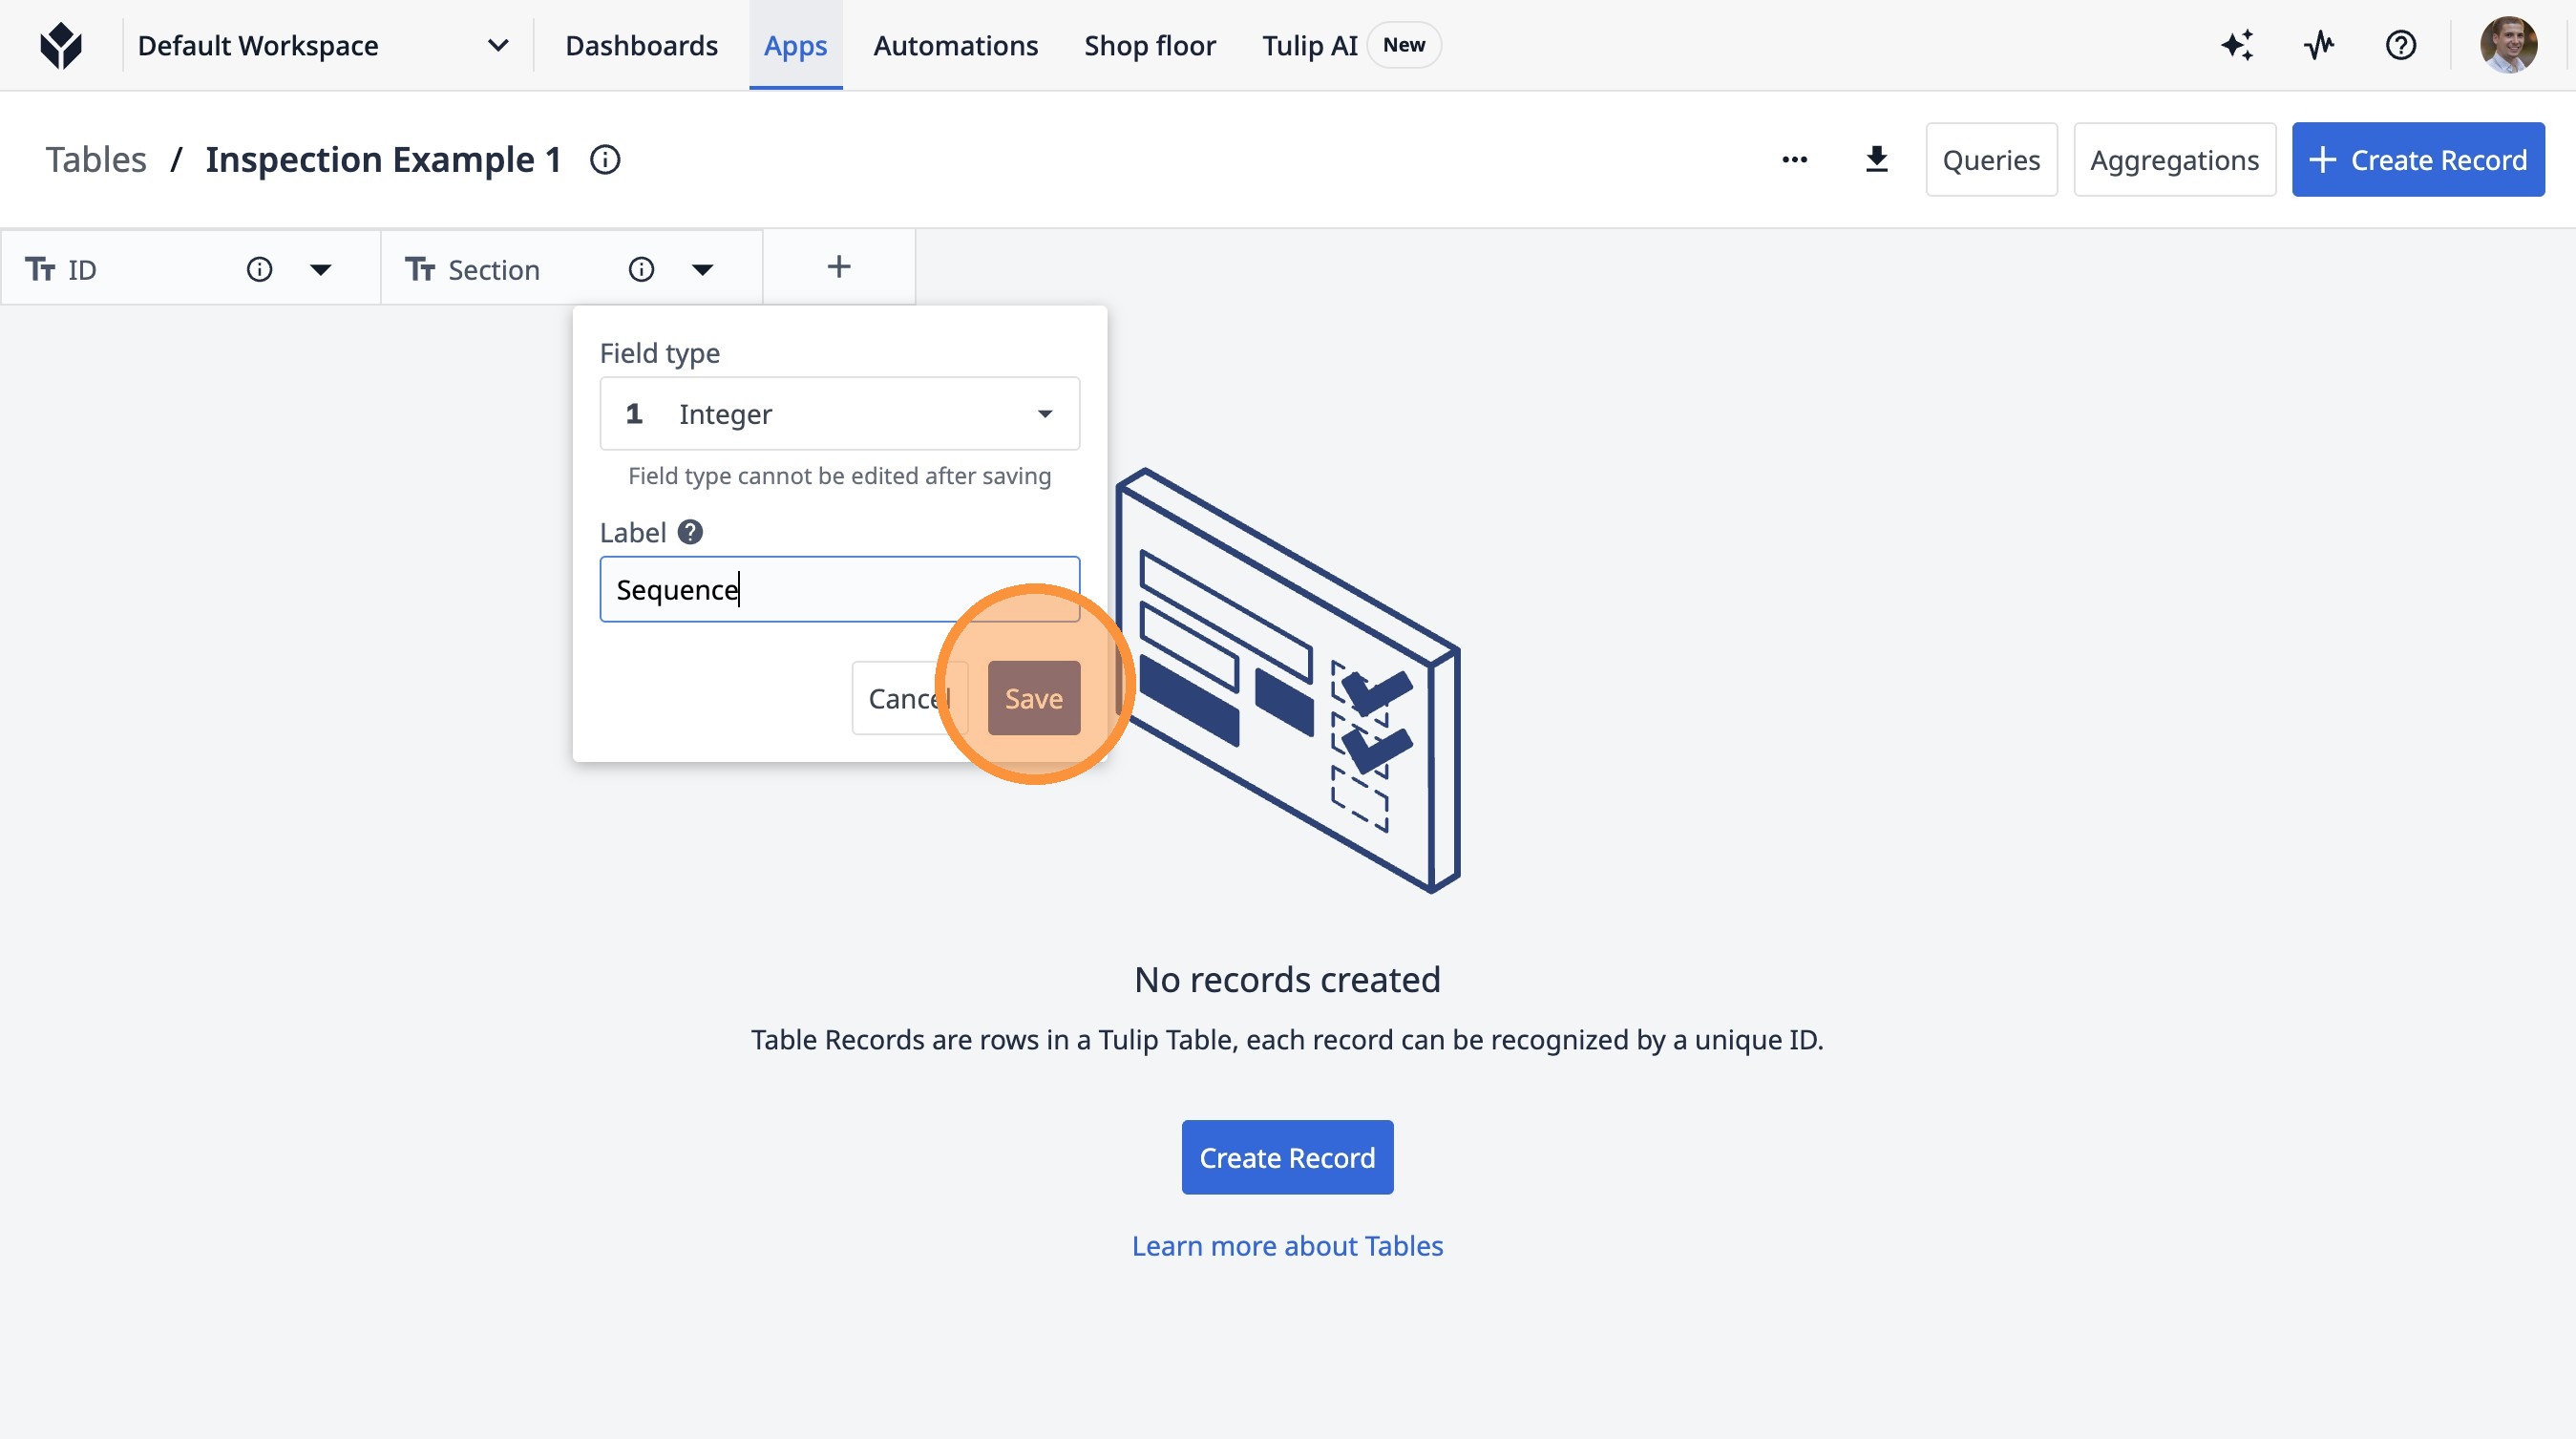
25. Type "Sequence"
26. Click "Save"
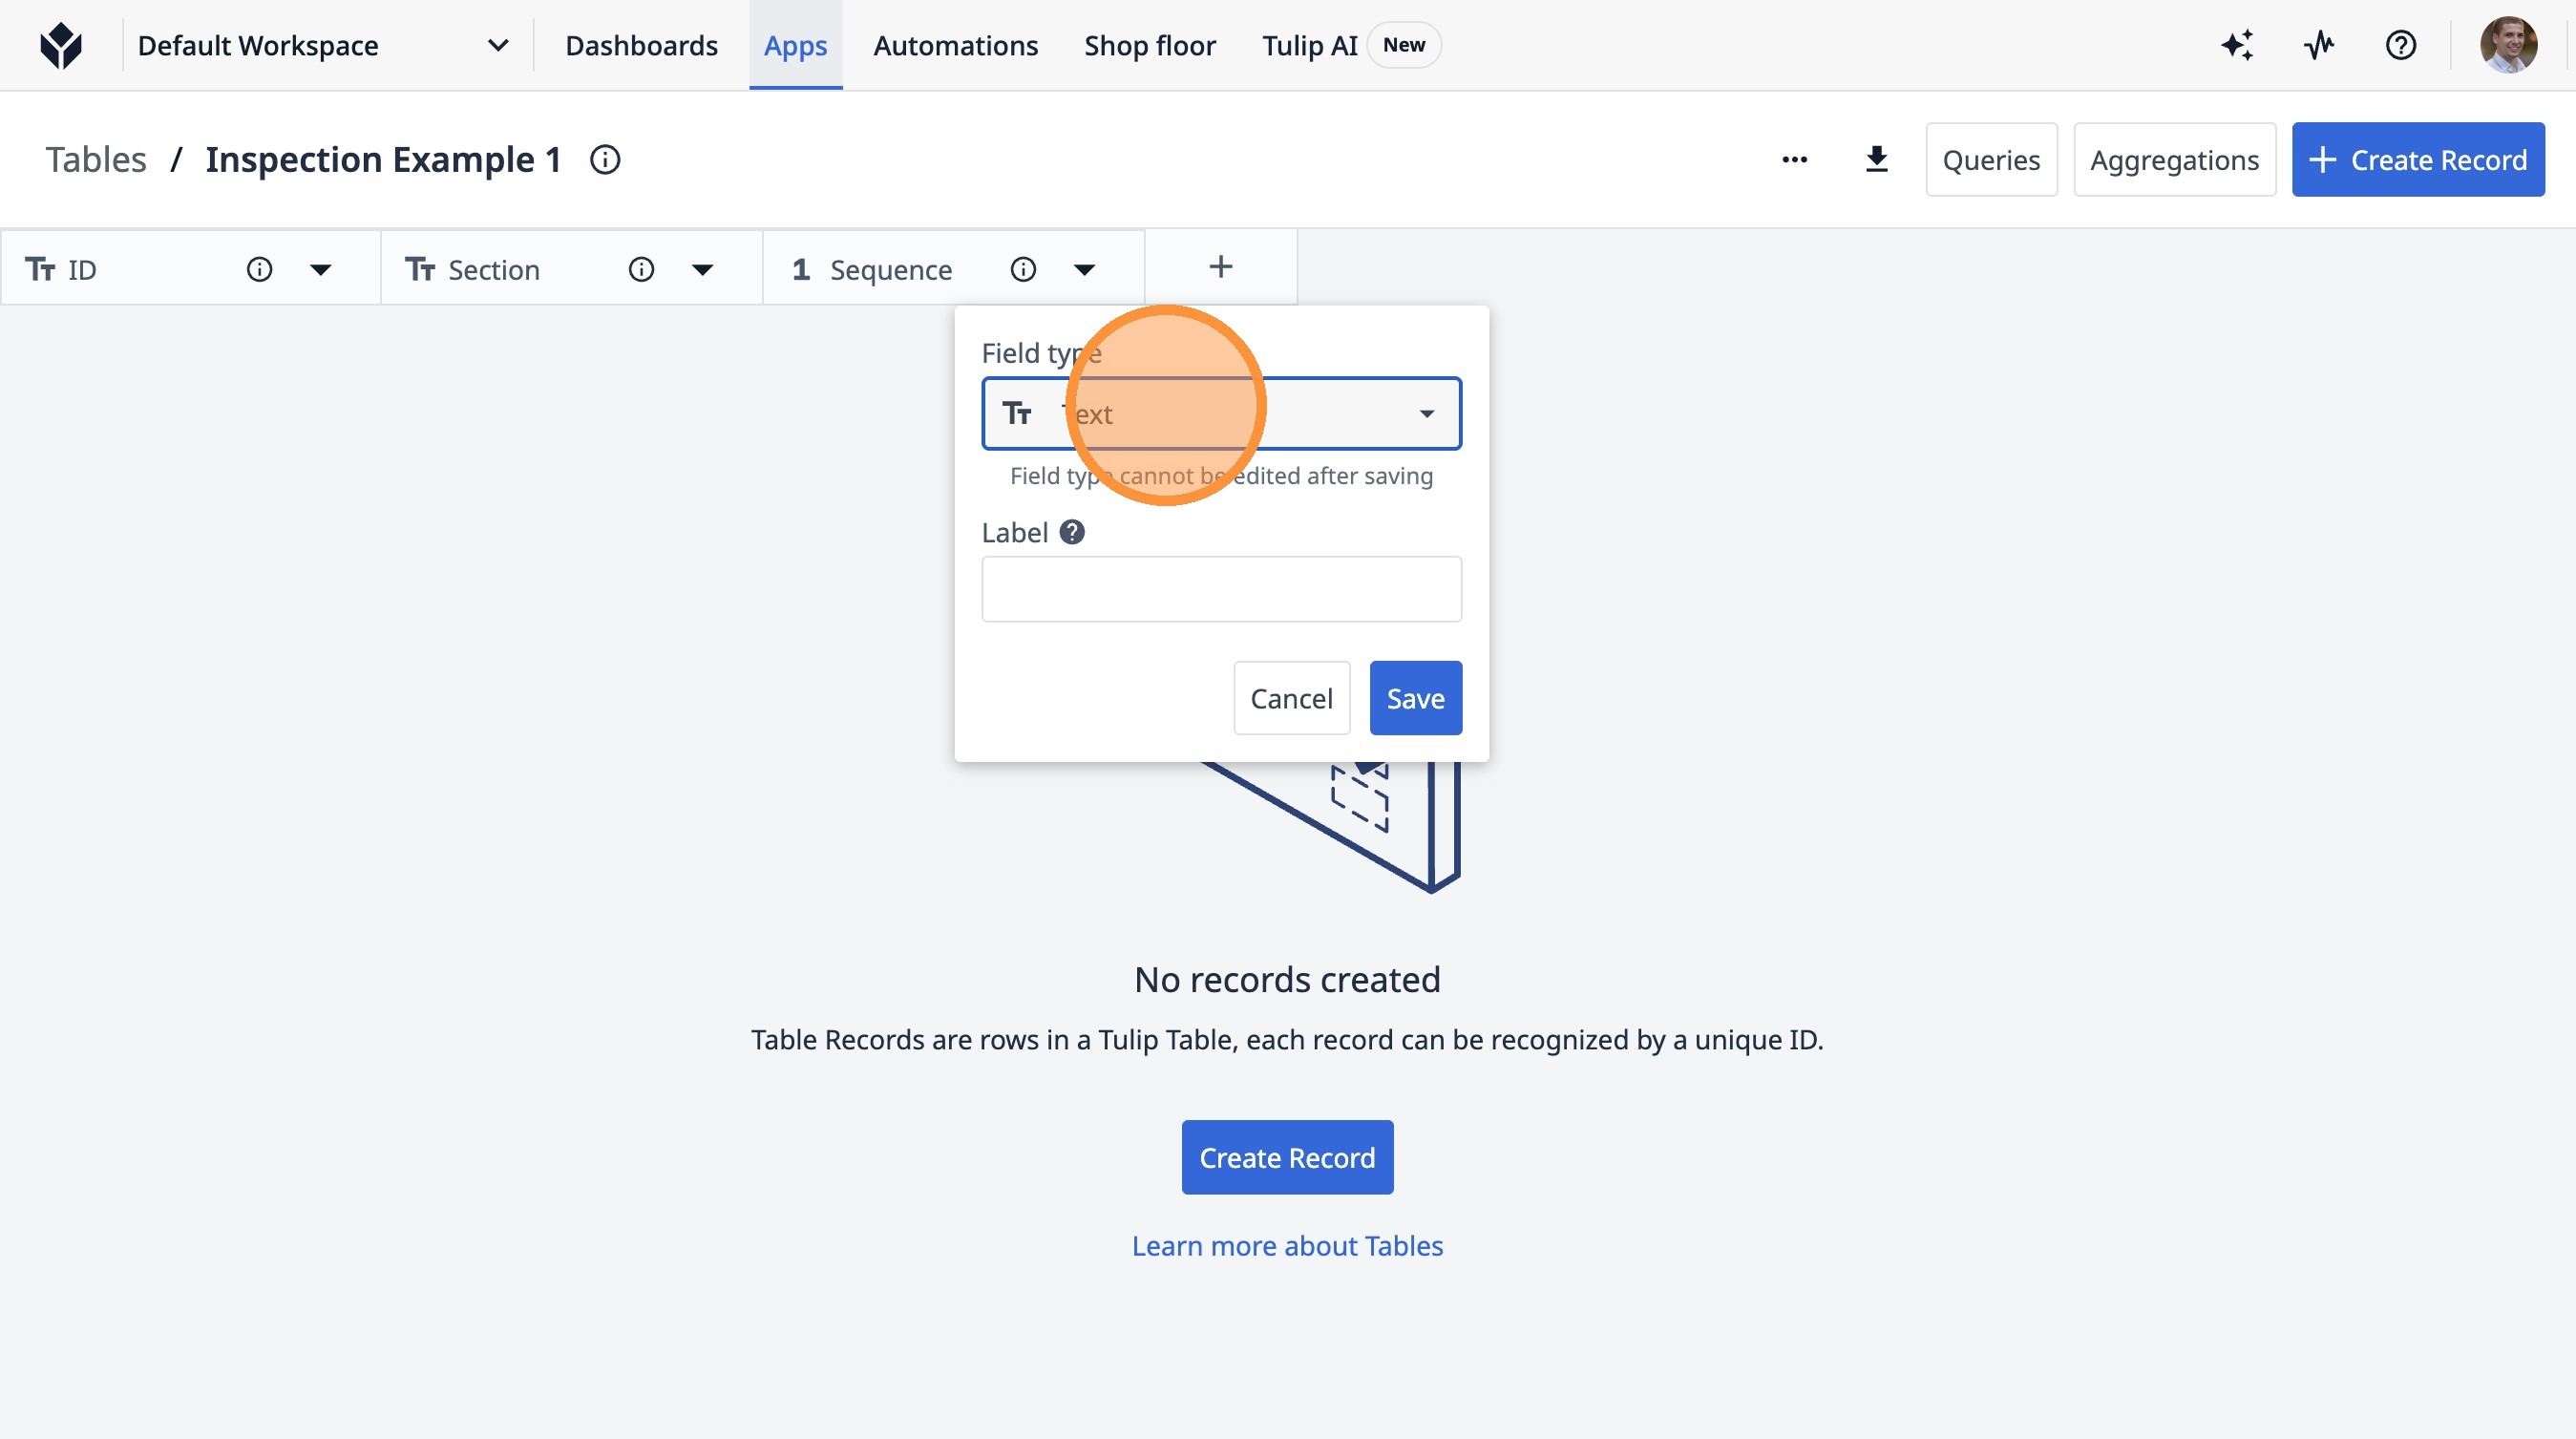
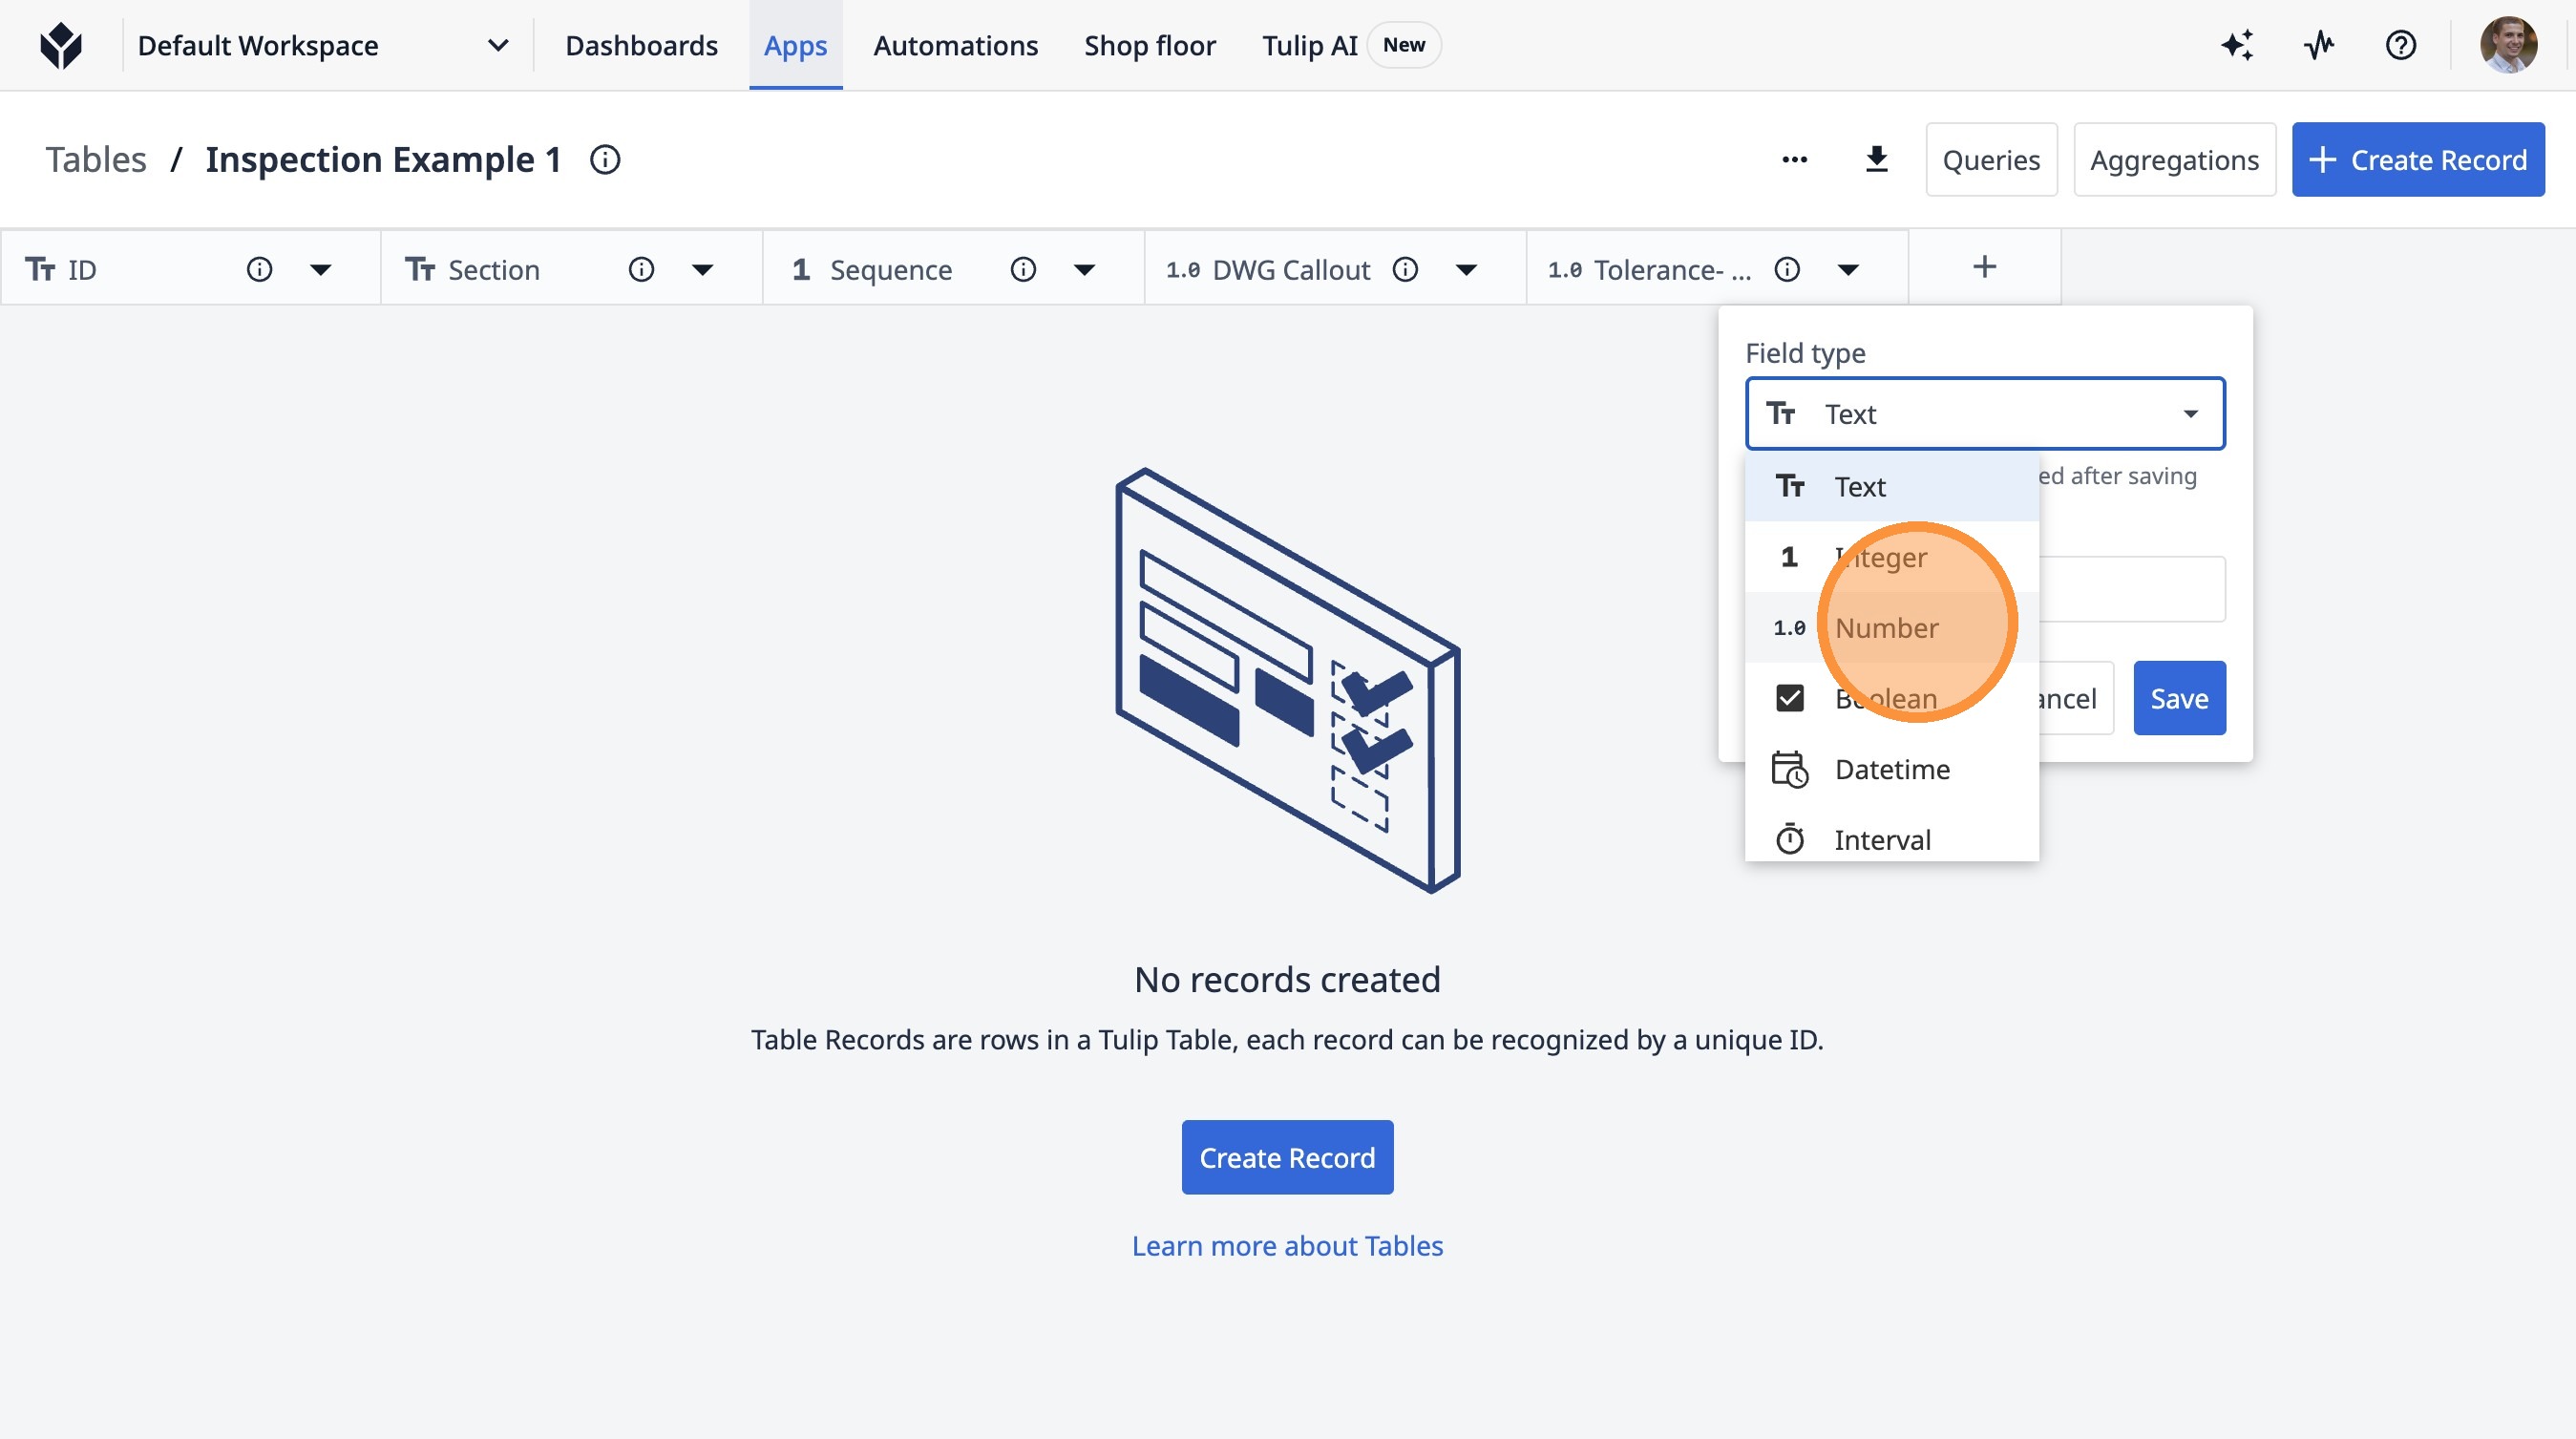
27. Click this button.

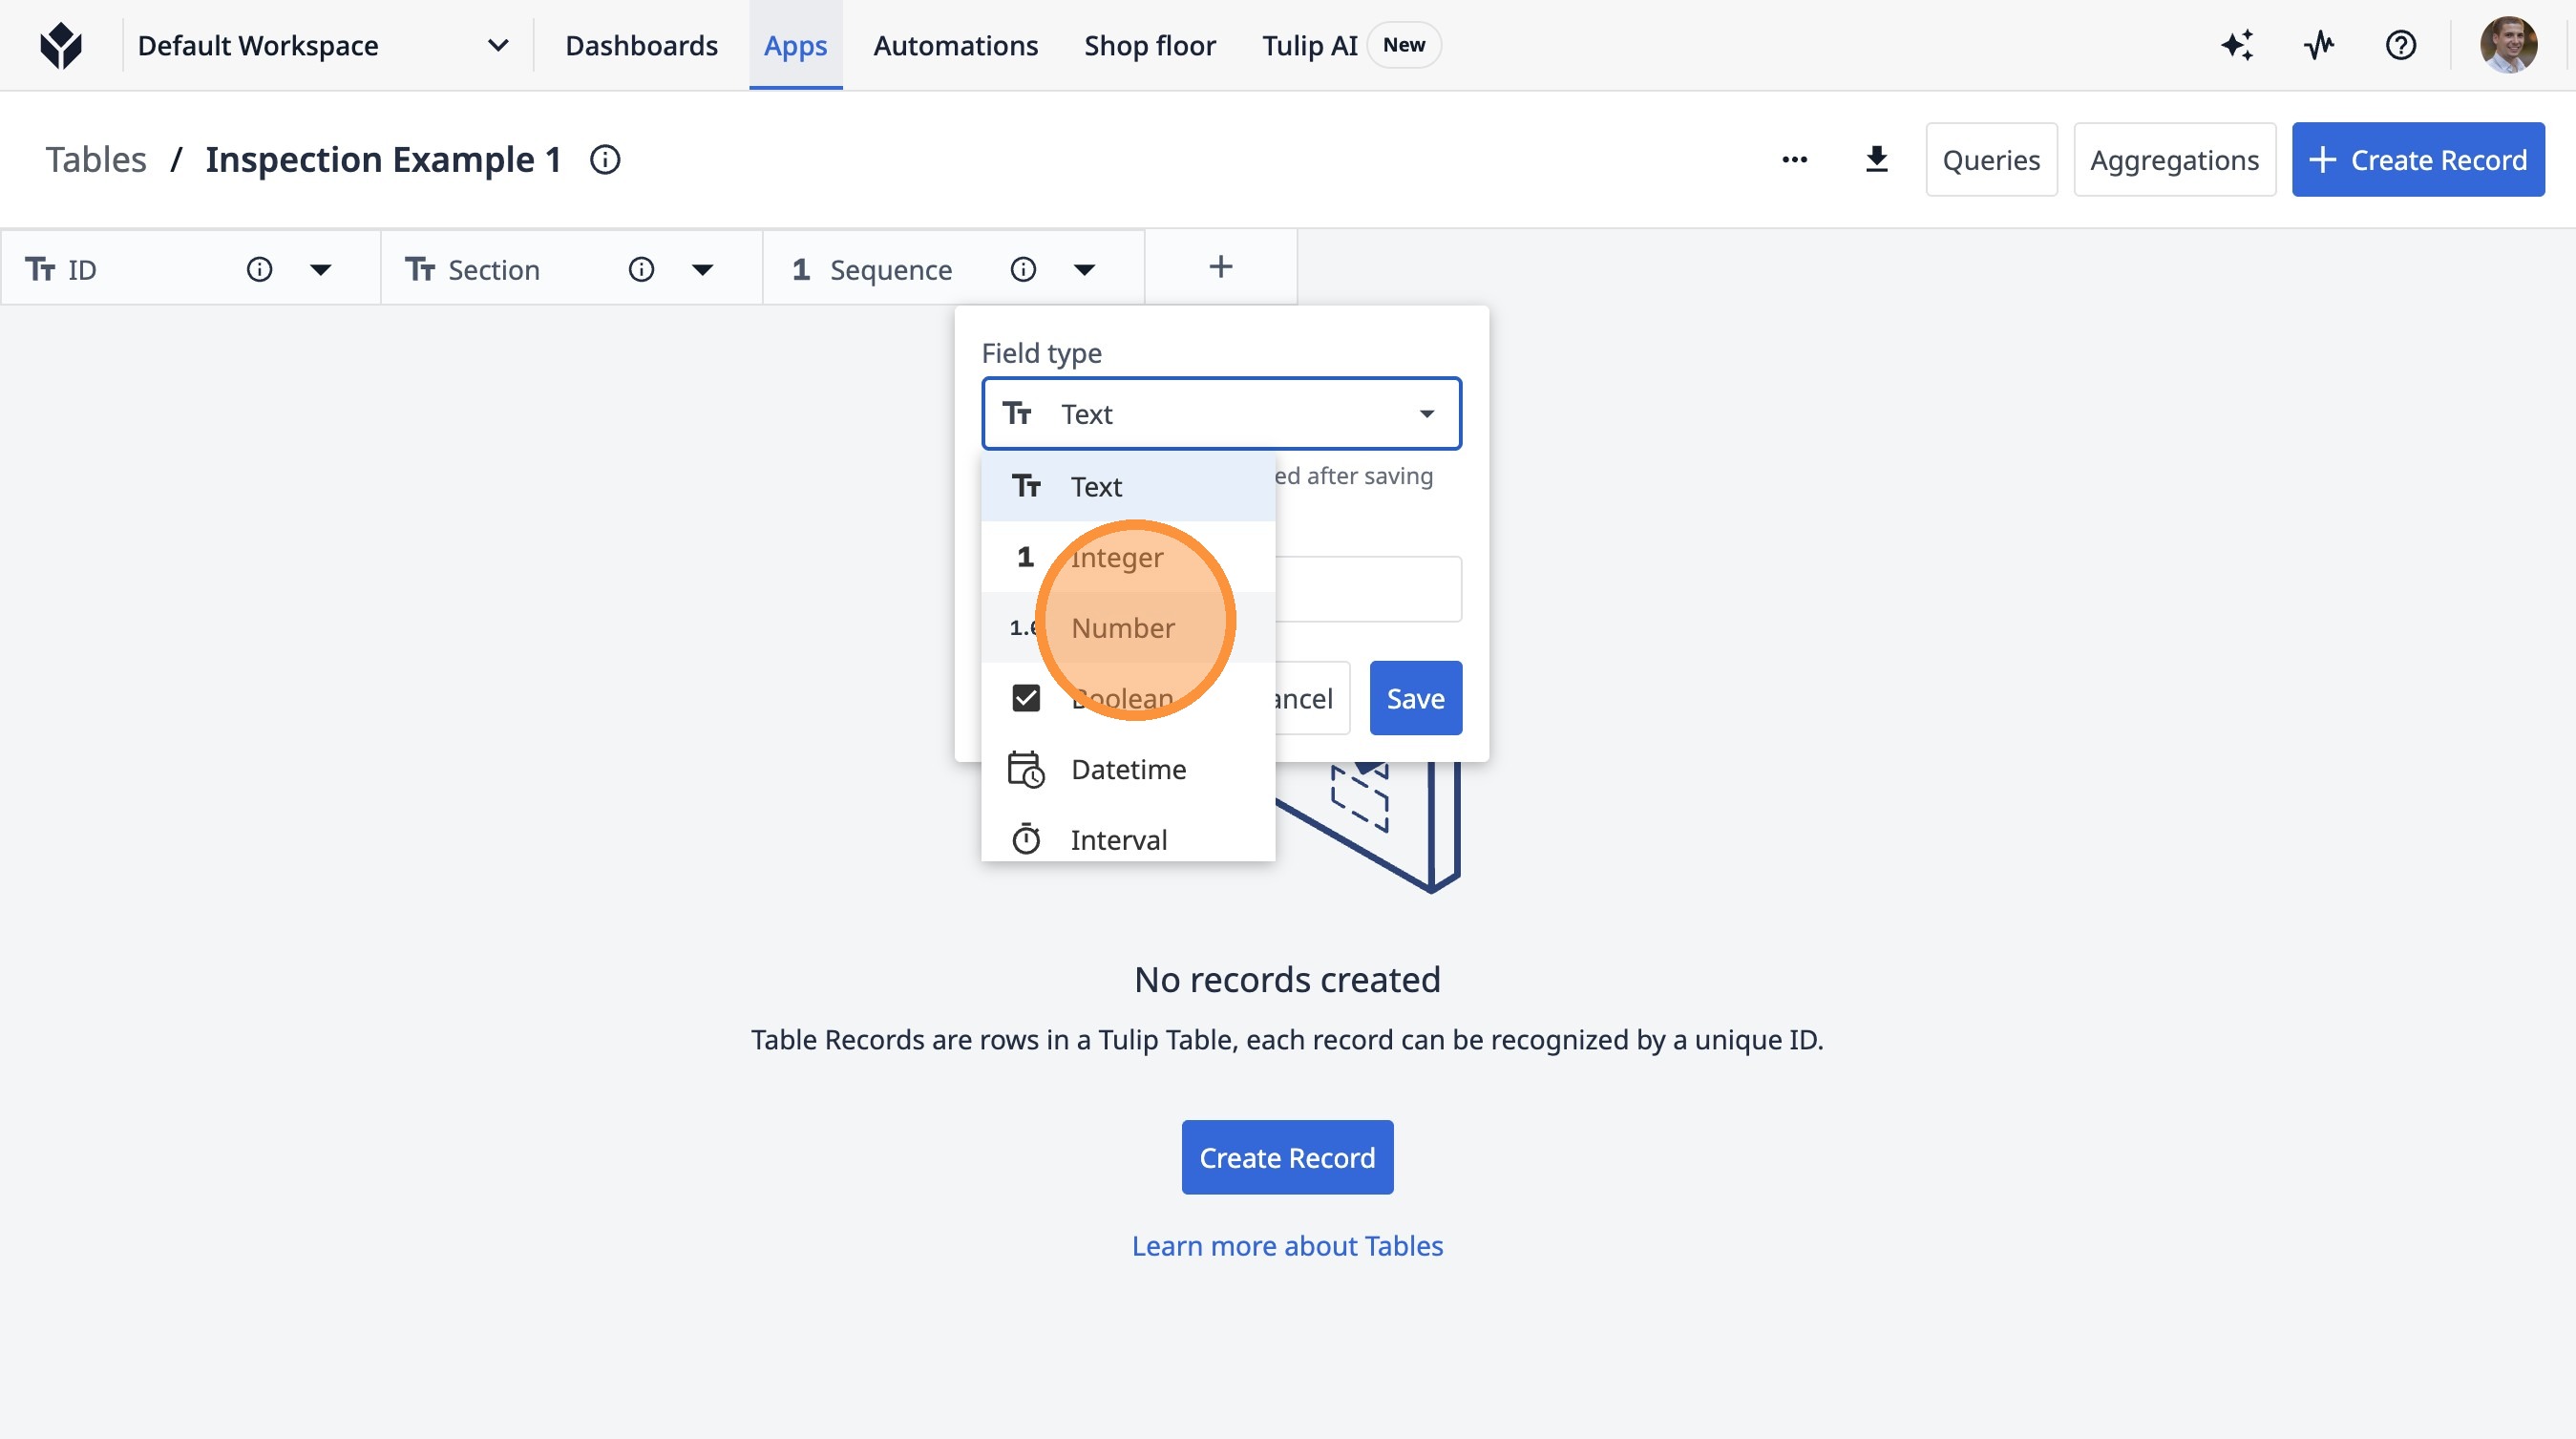
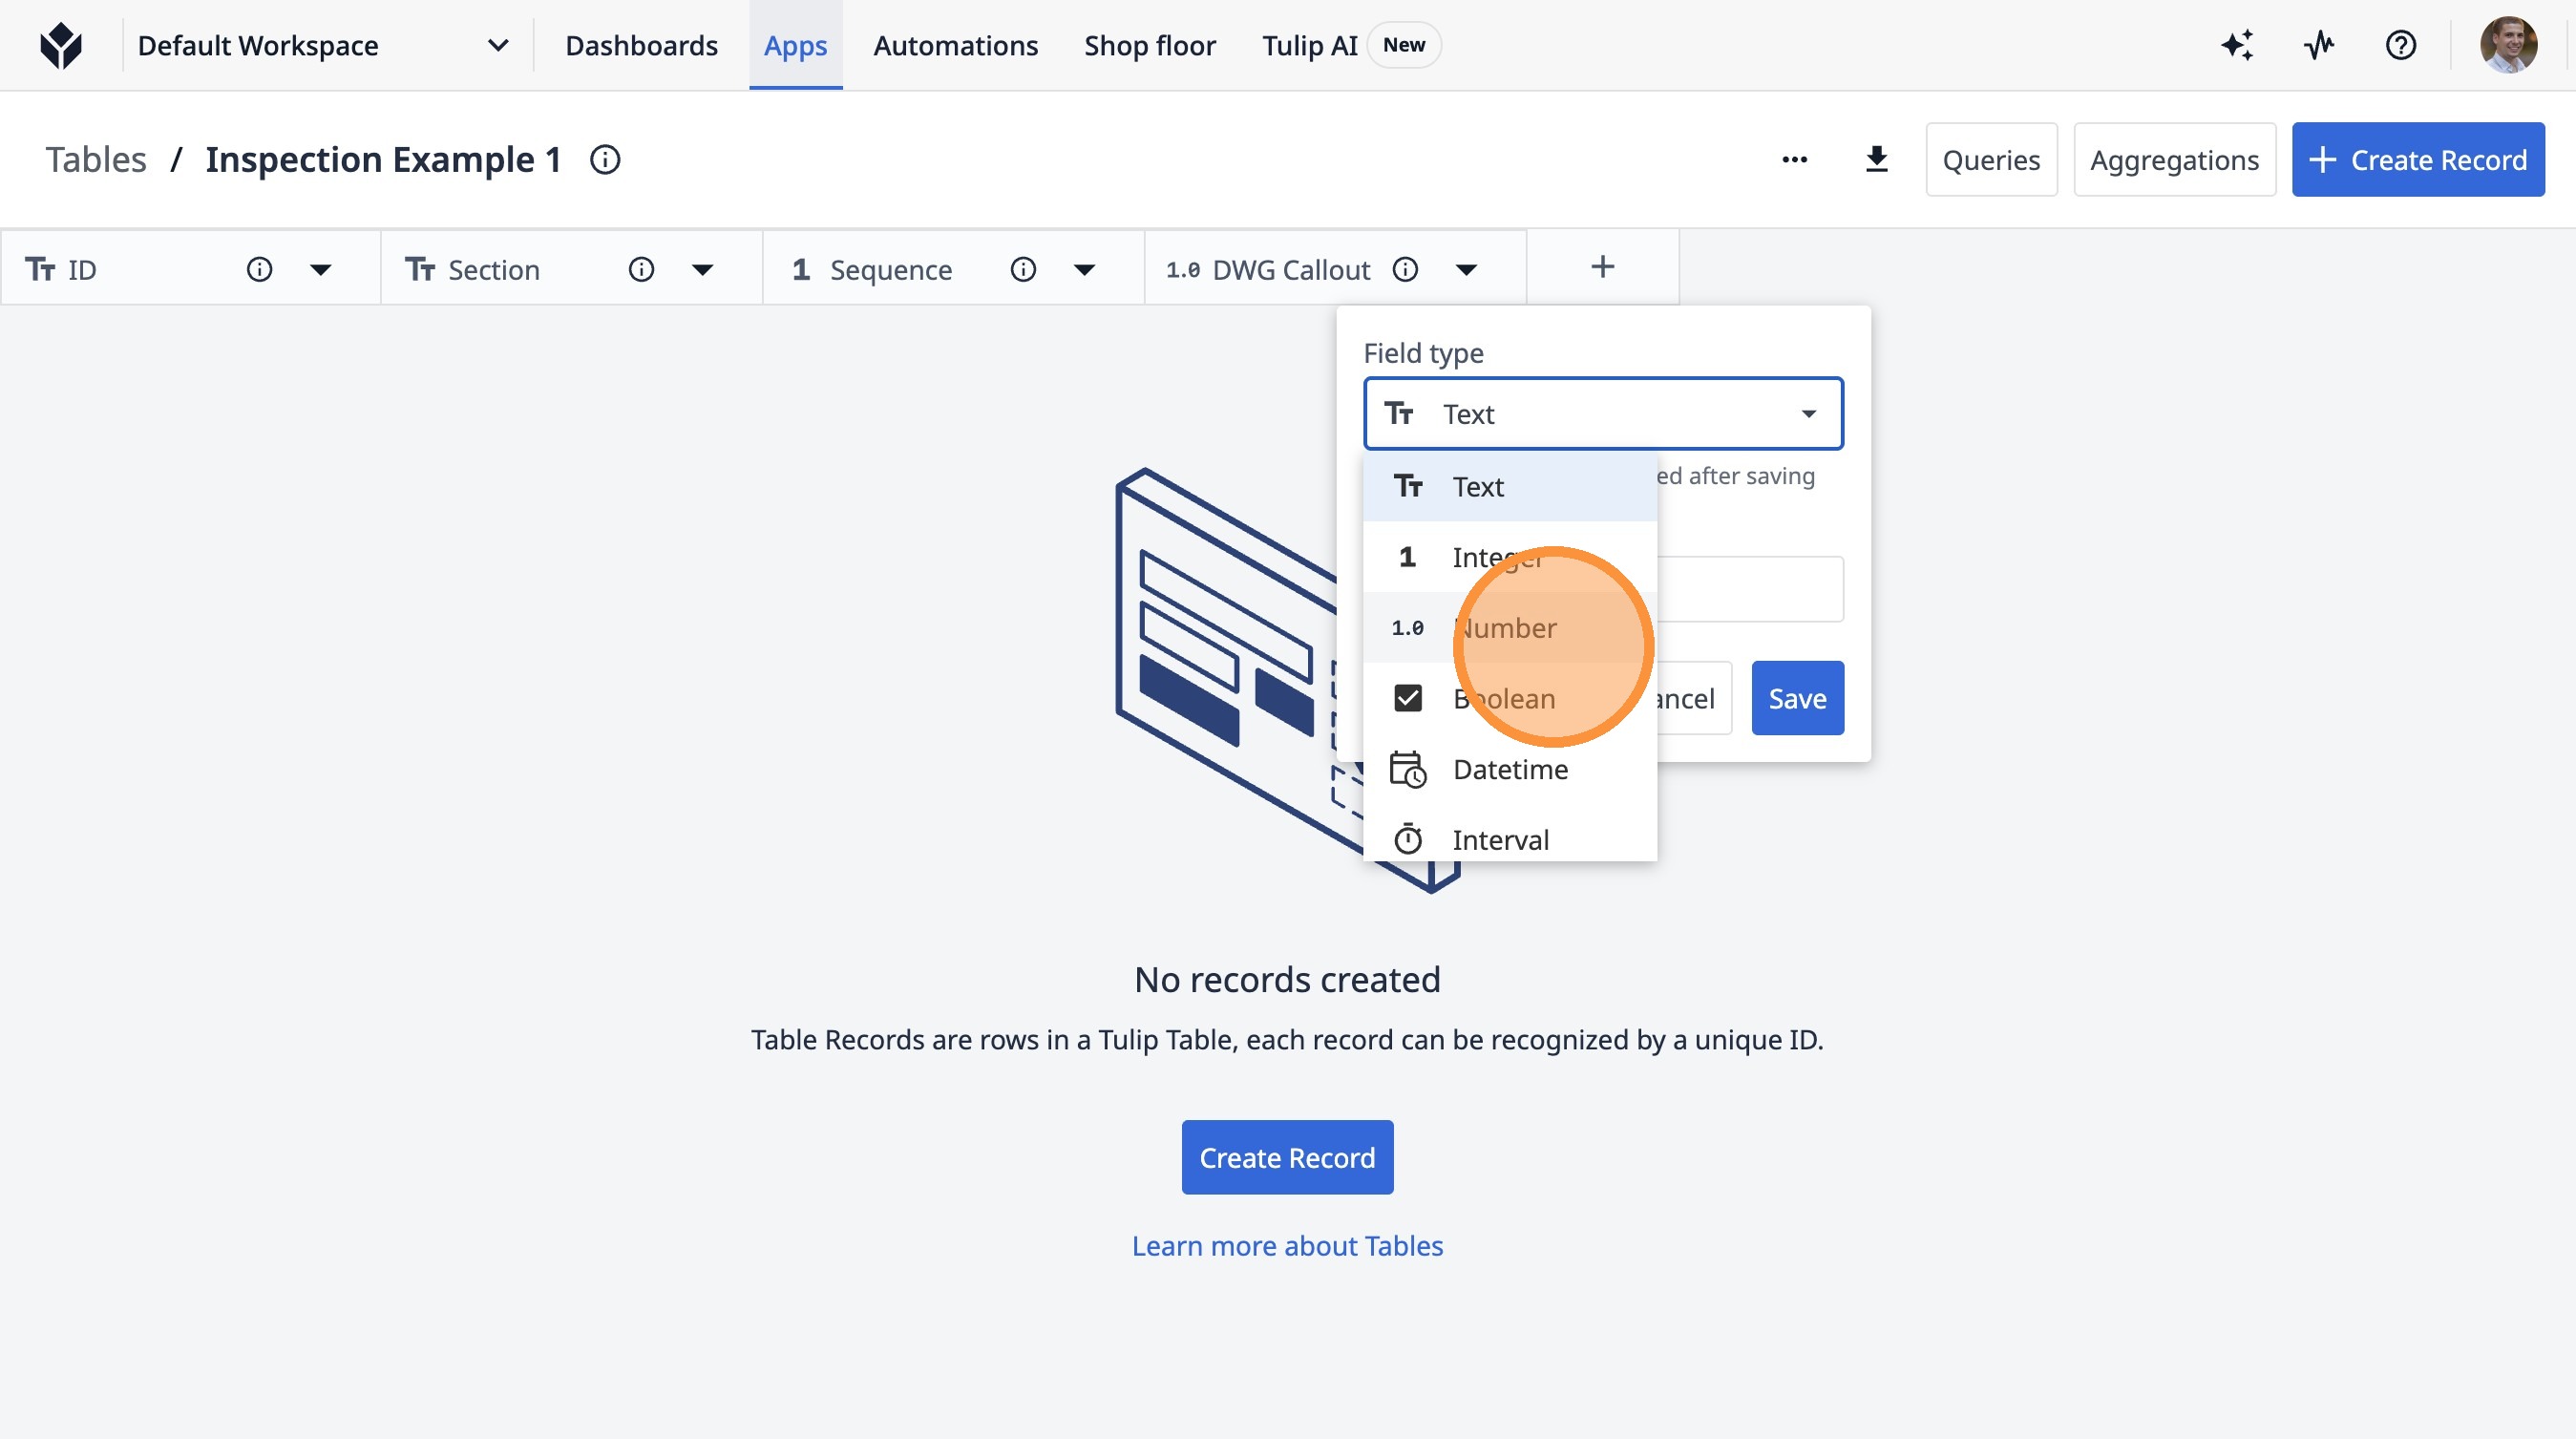
28. Click "Text"
29. Click "Number"
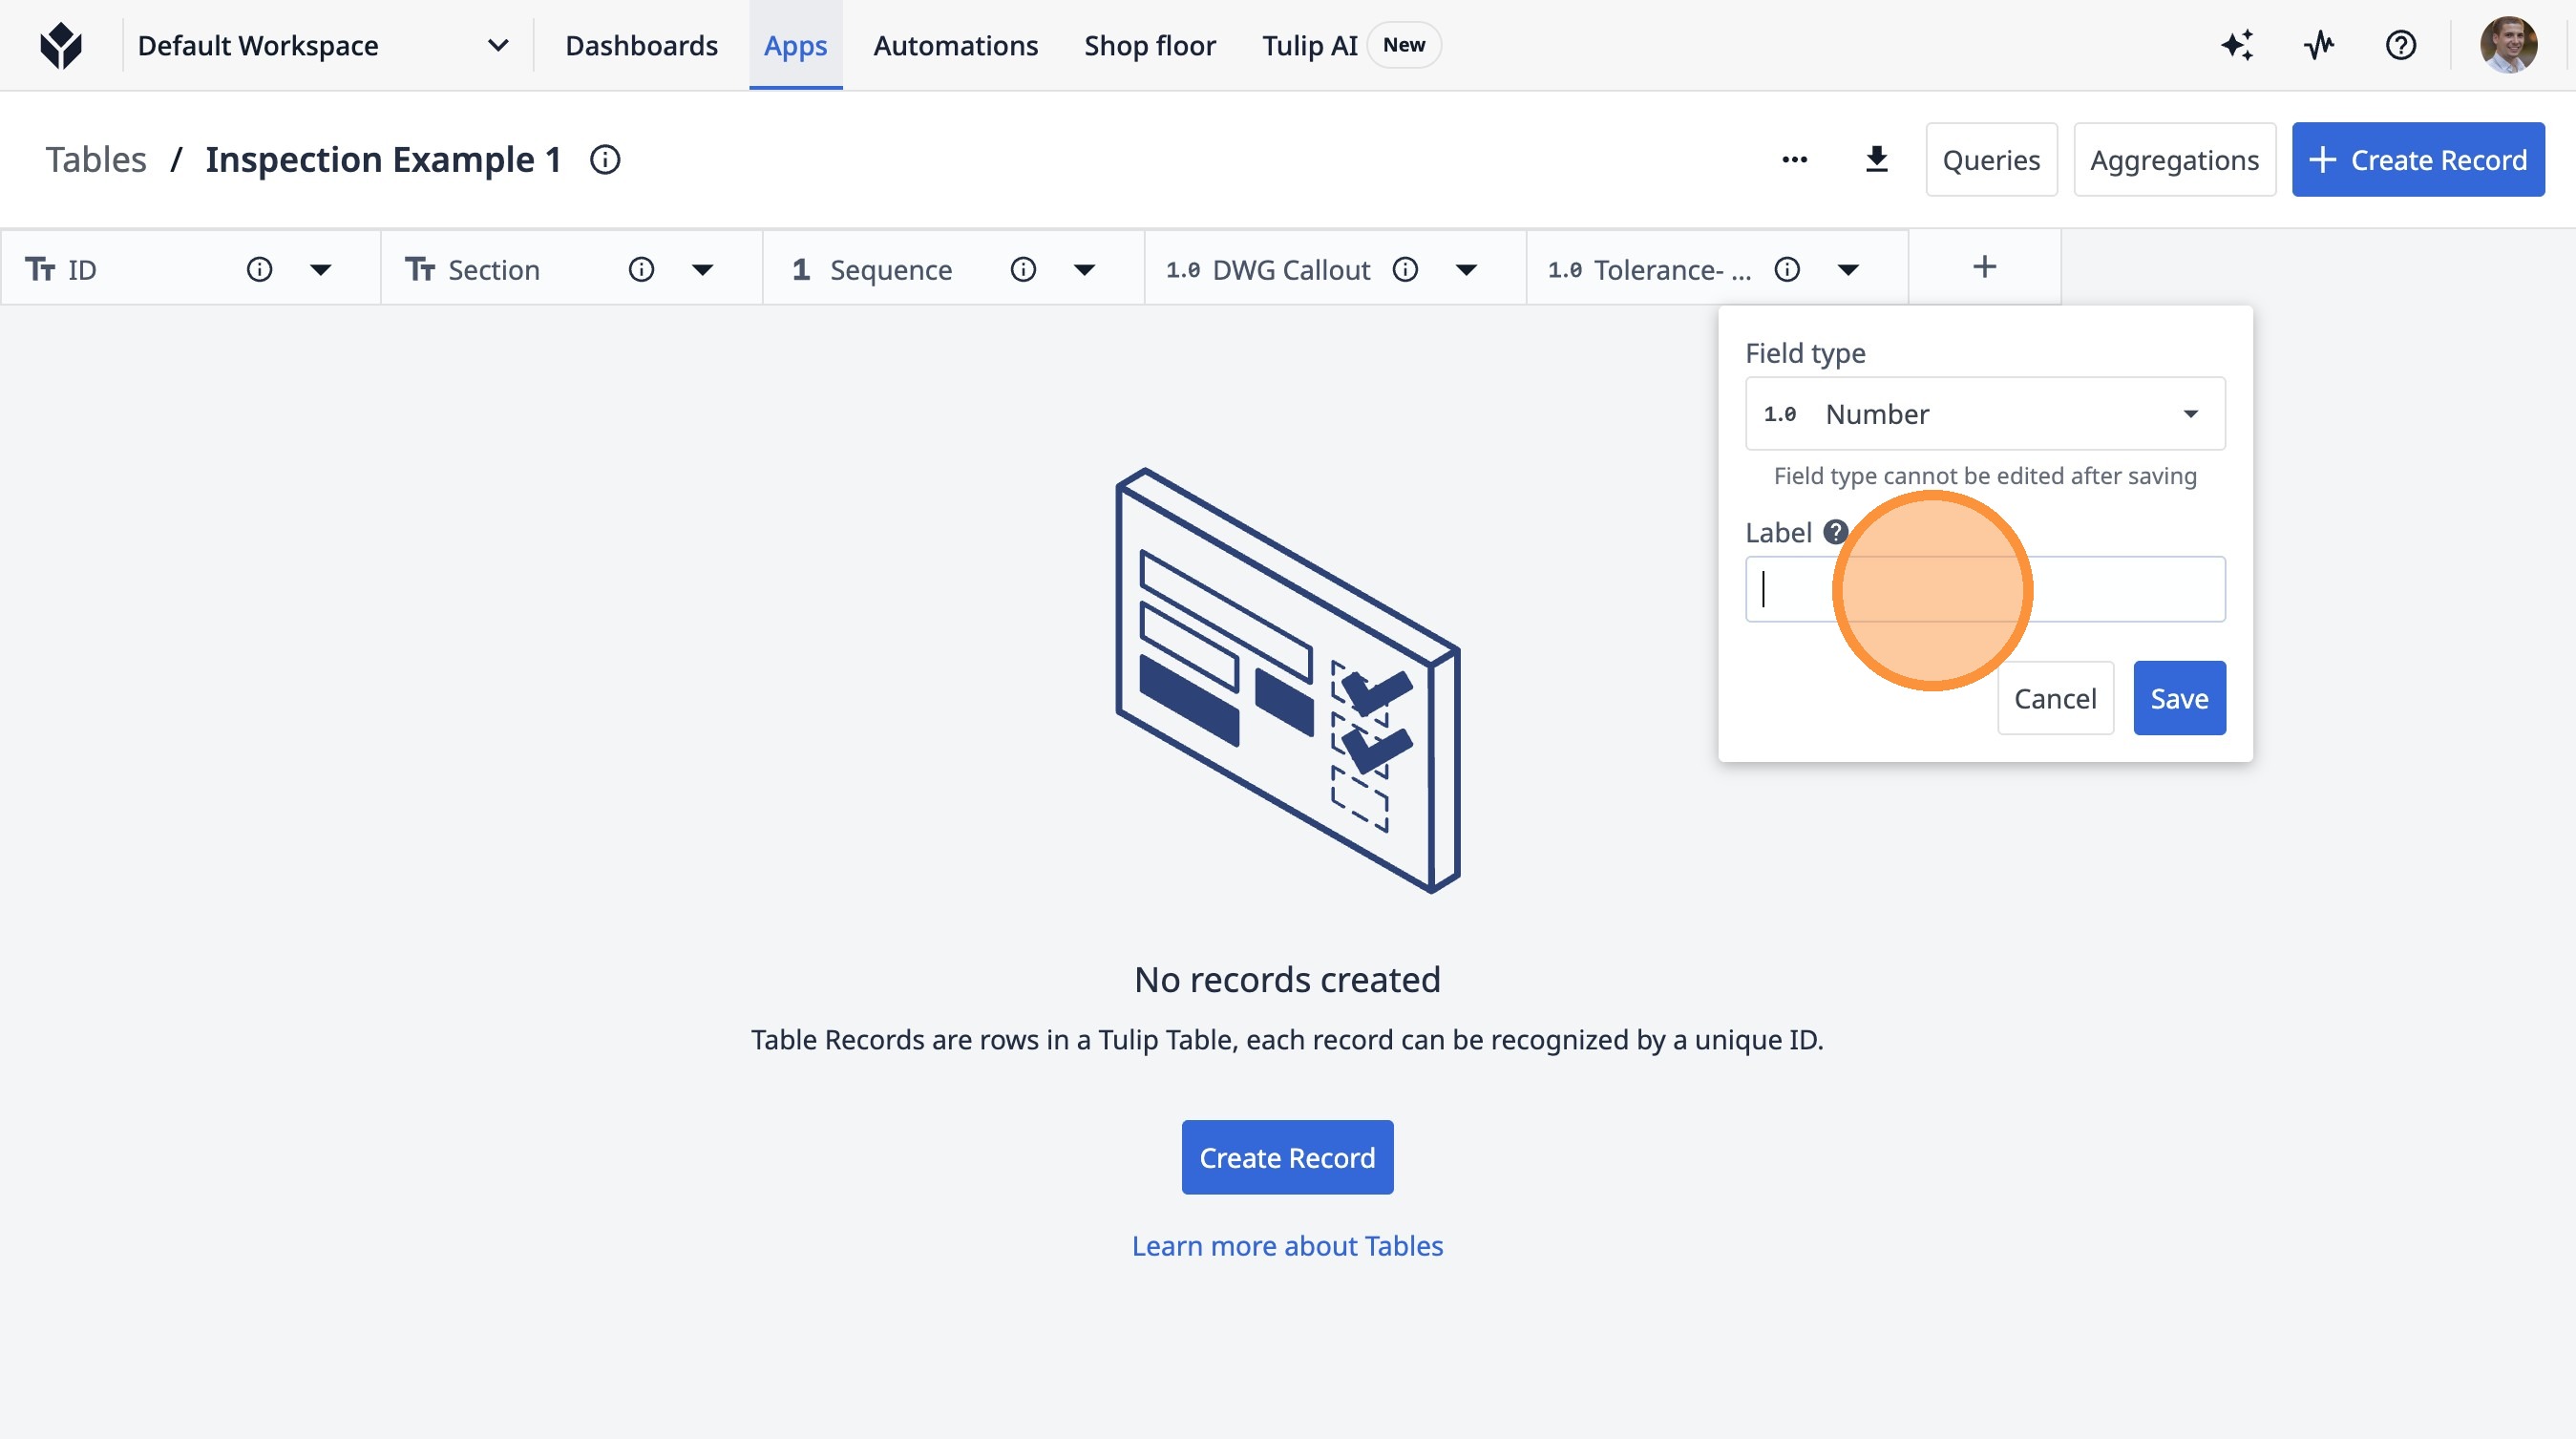
30. Click this button.
31. Click this text field.
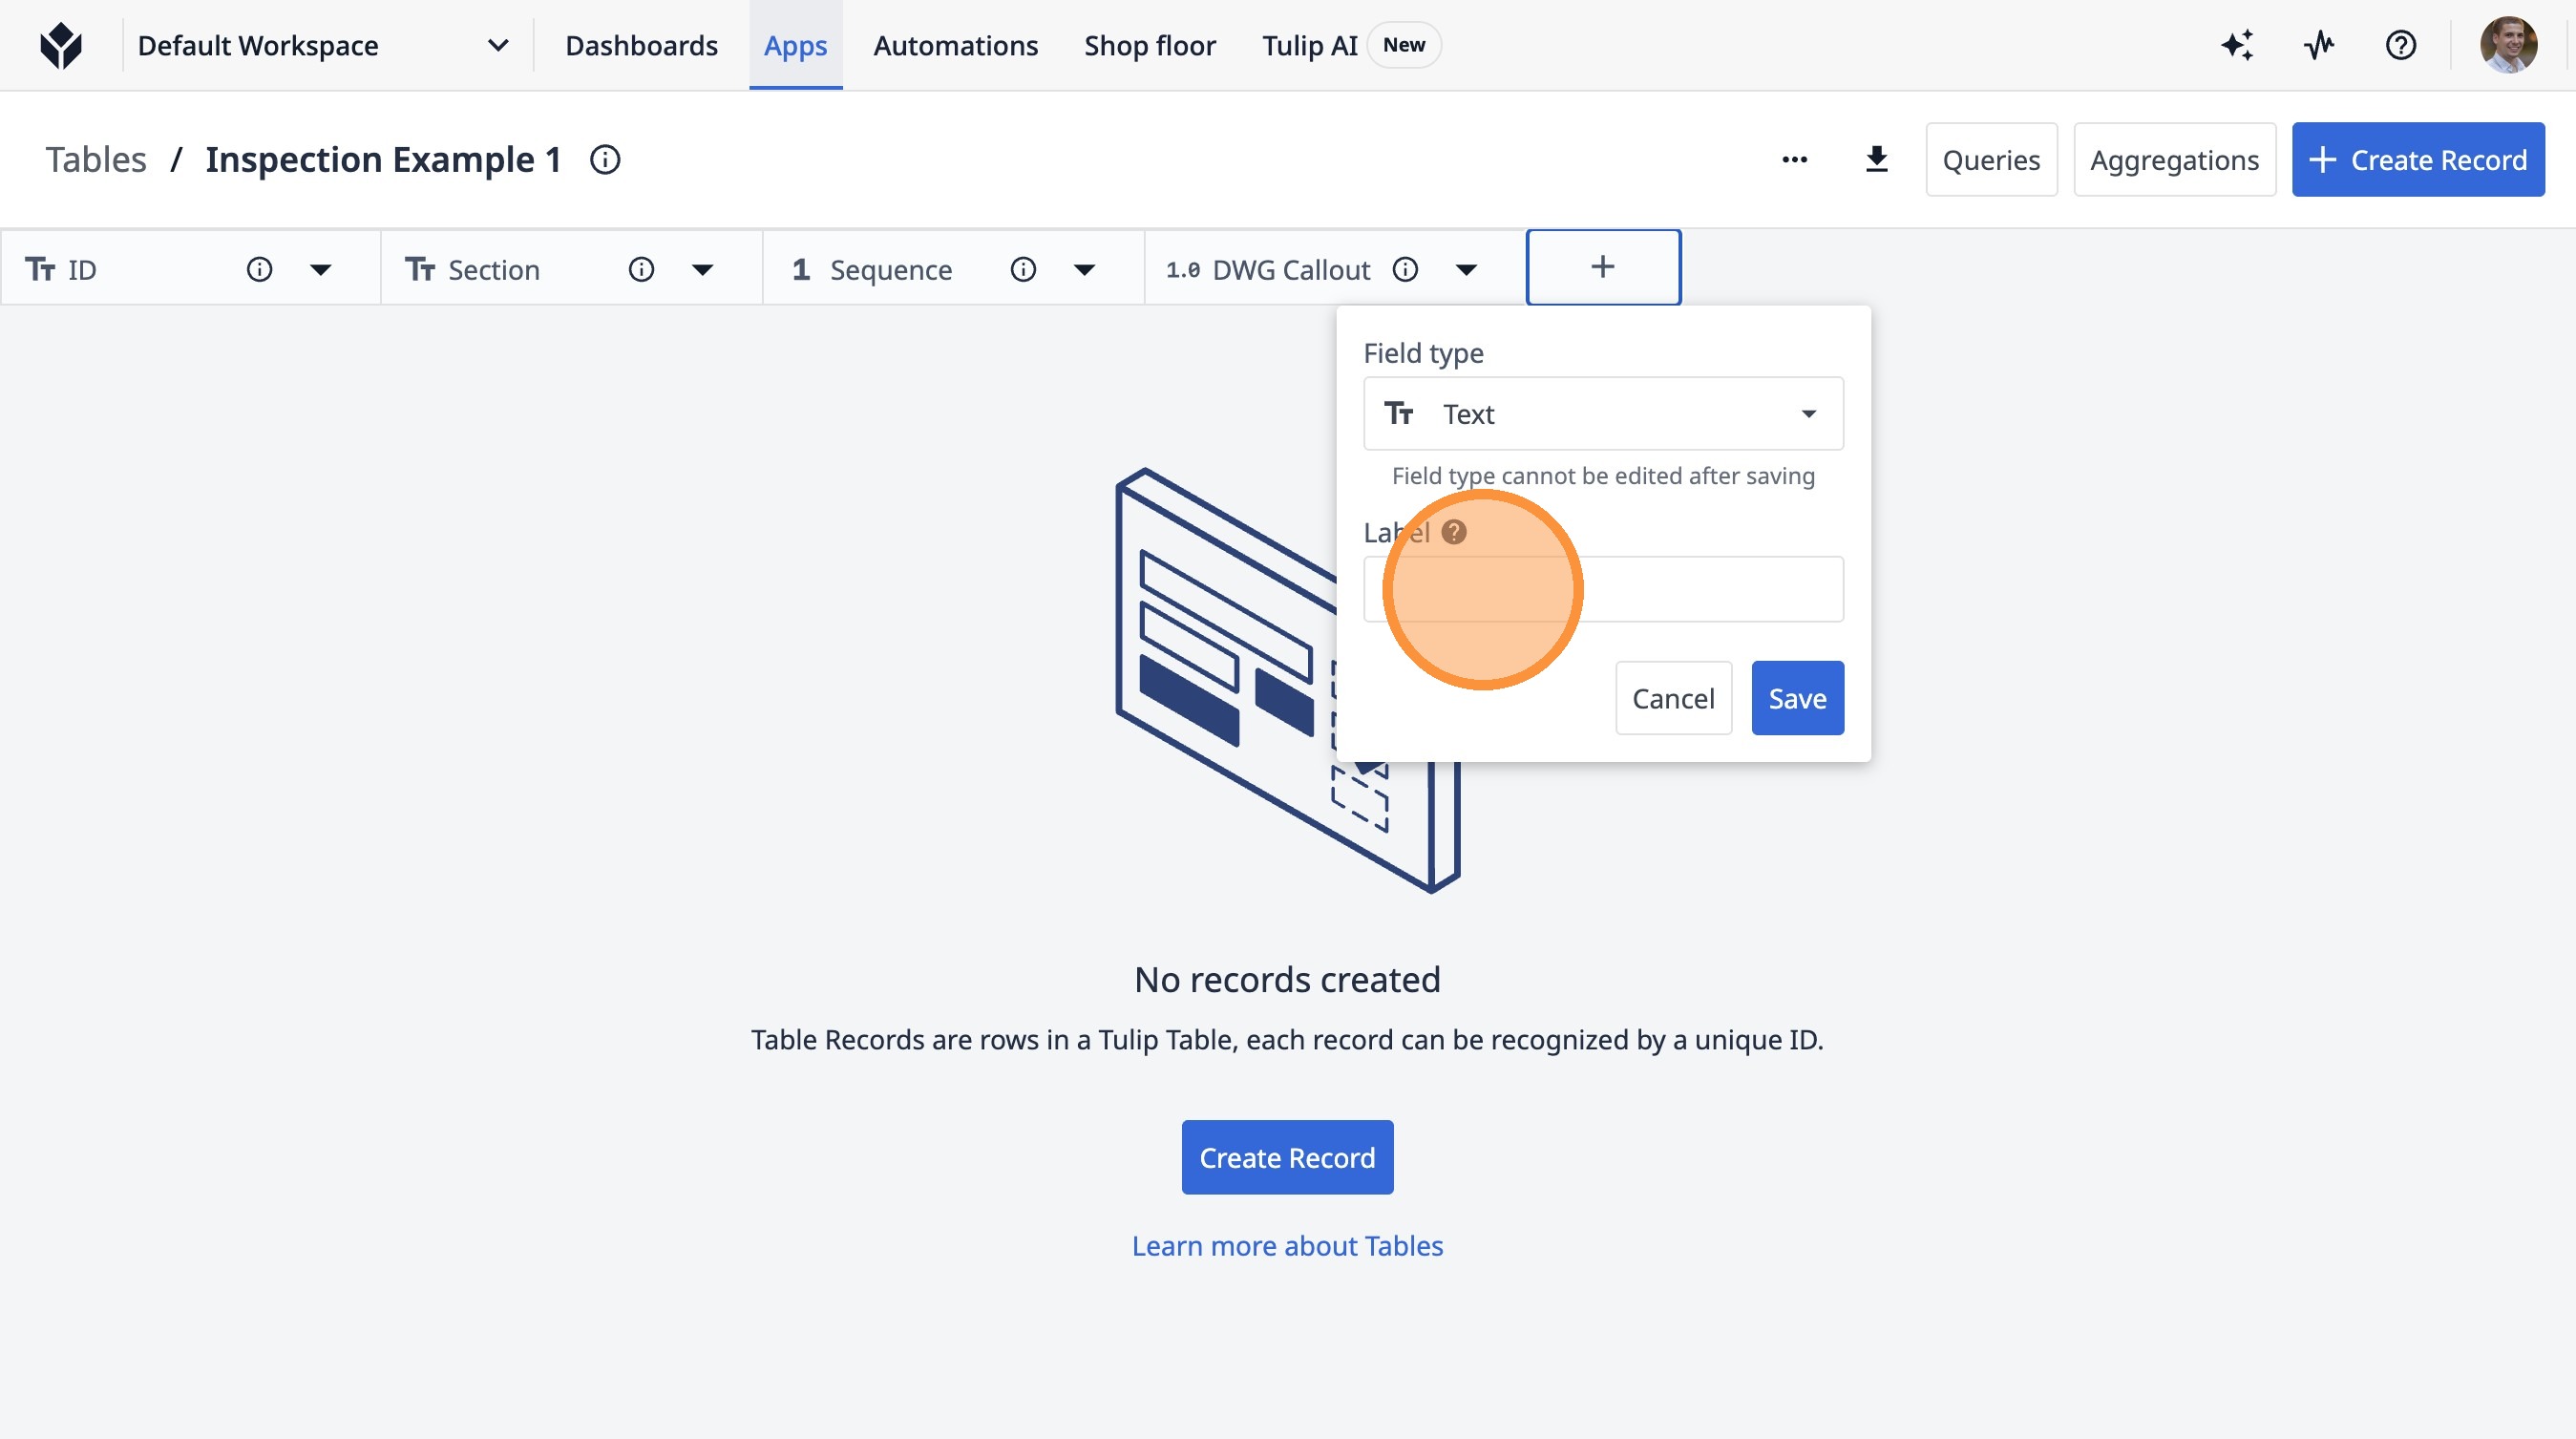
32. Type "Tolerance- Low"
33. Click "Text"
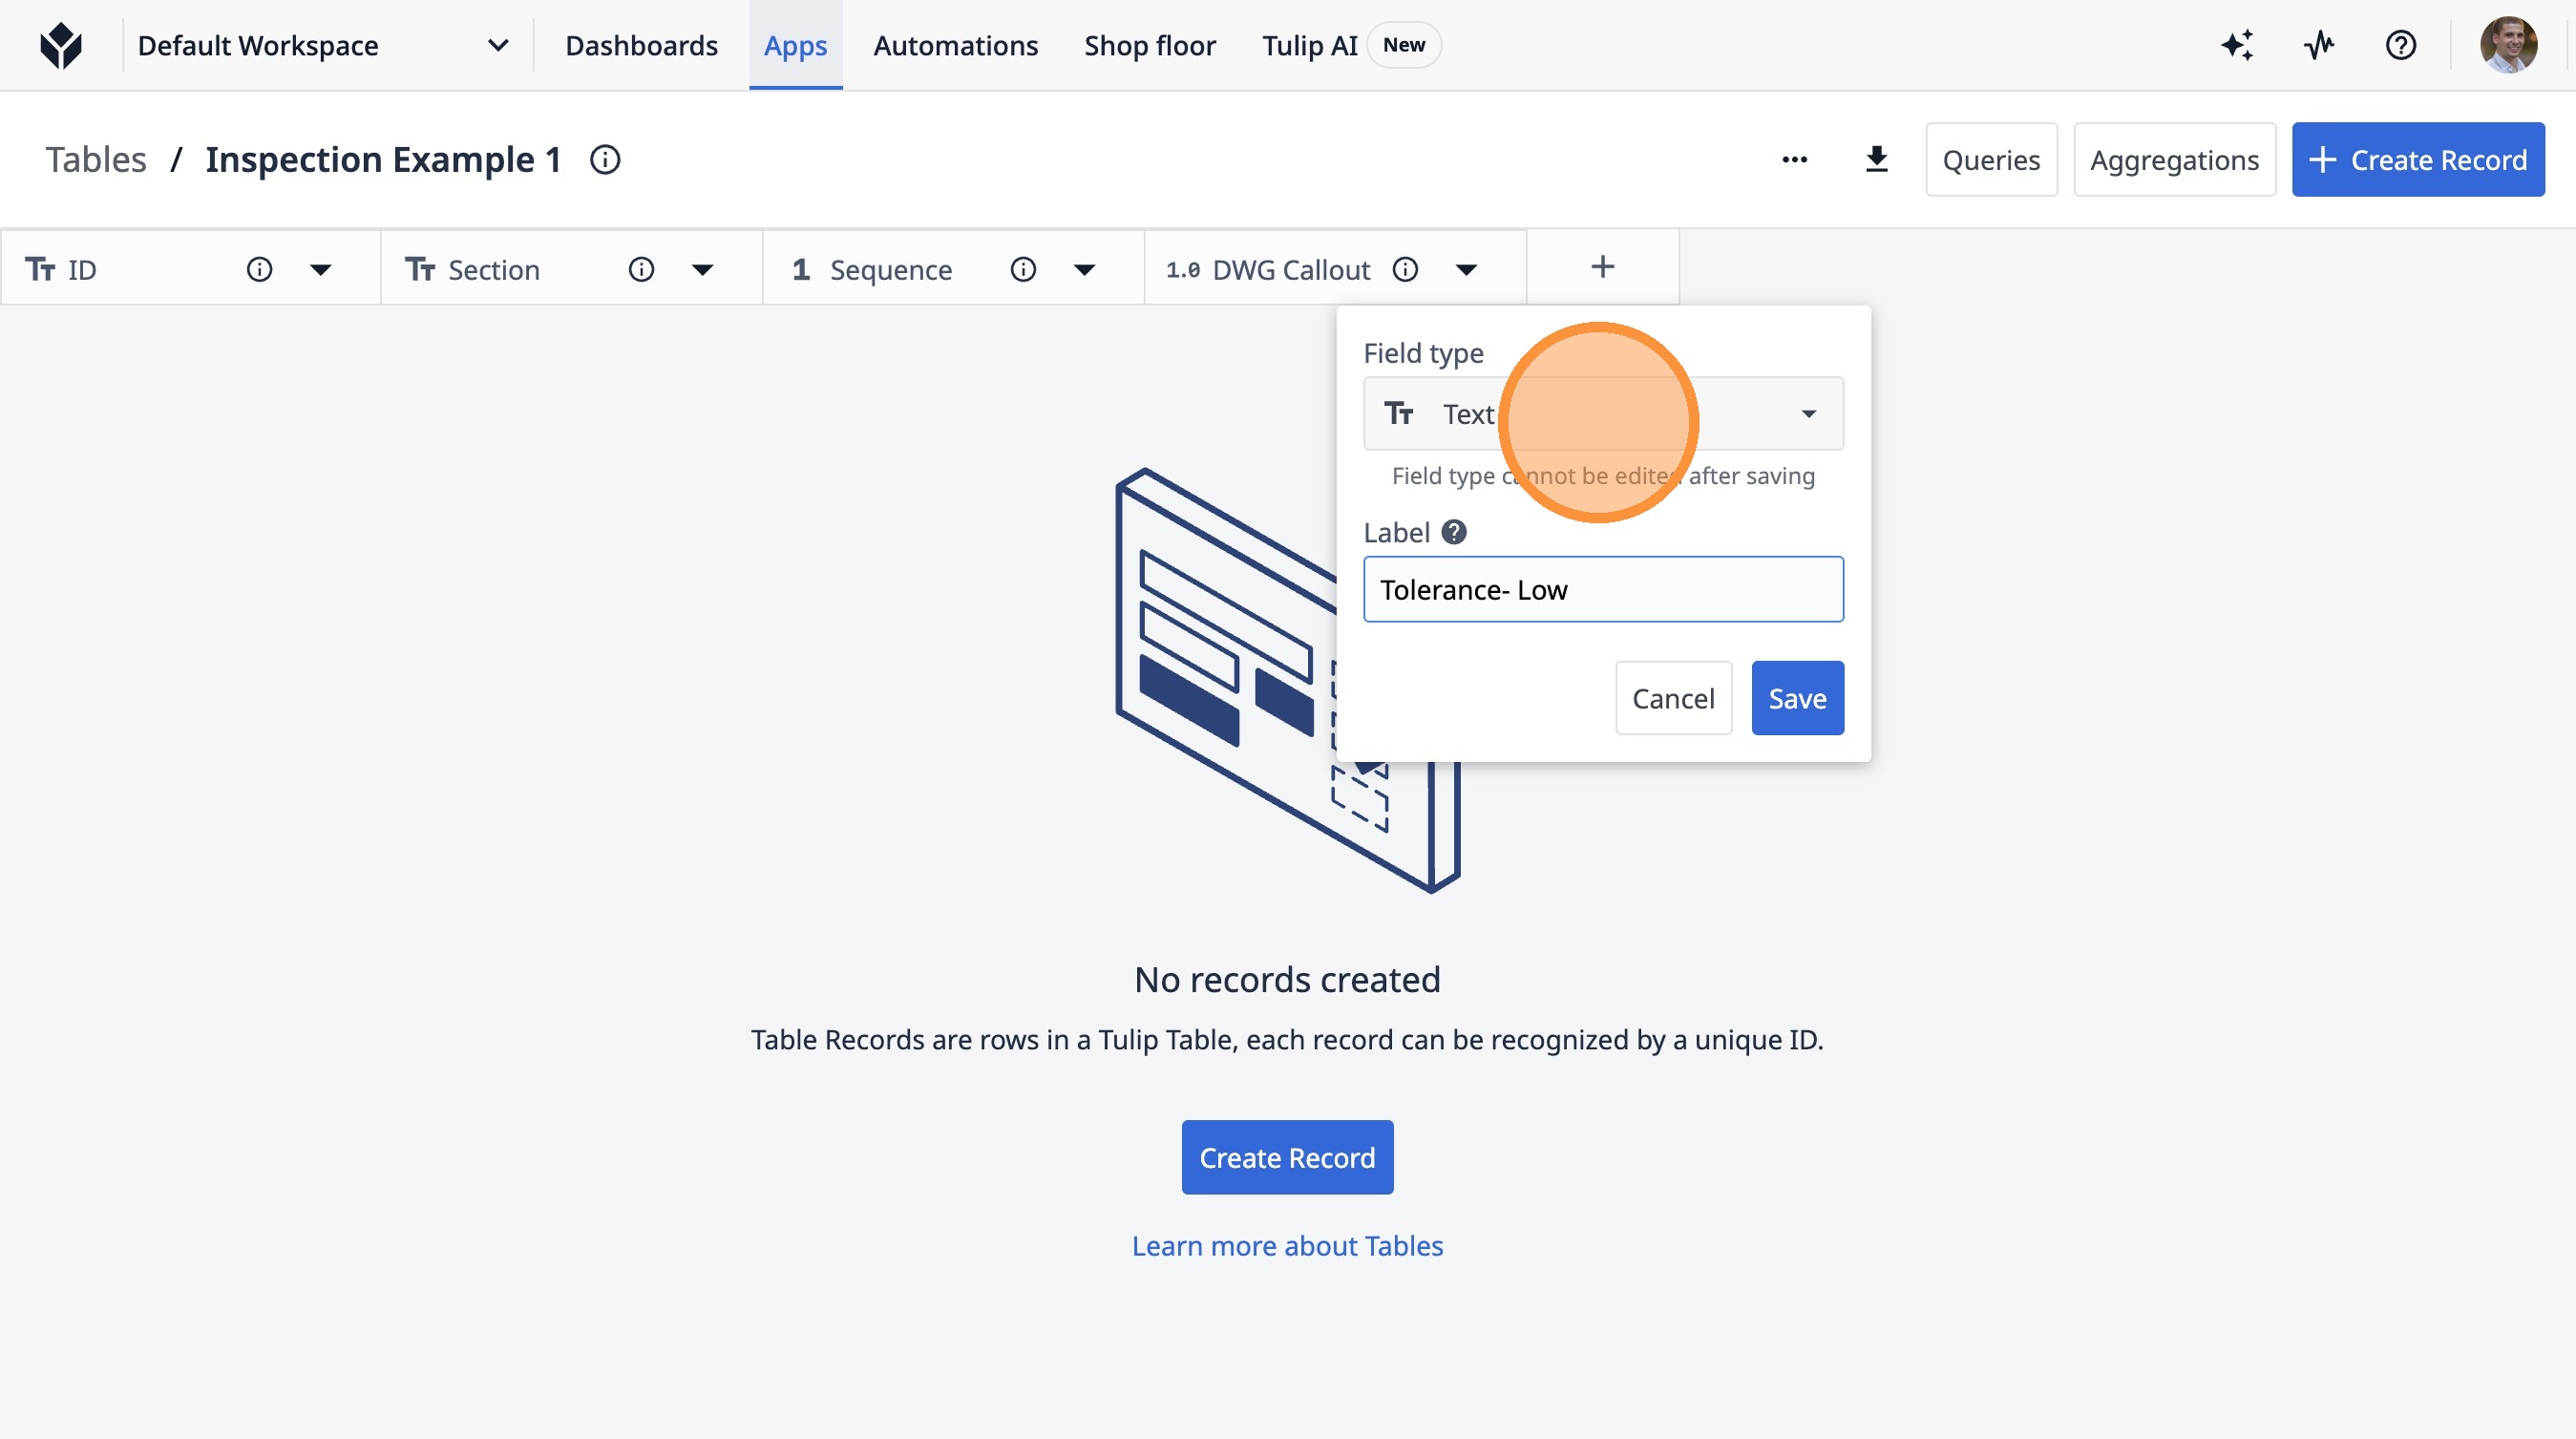
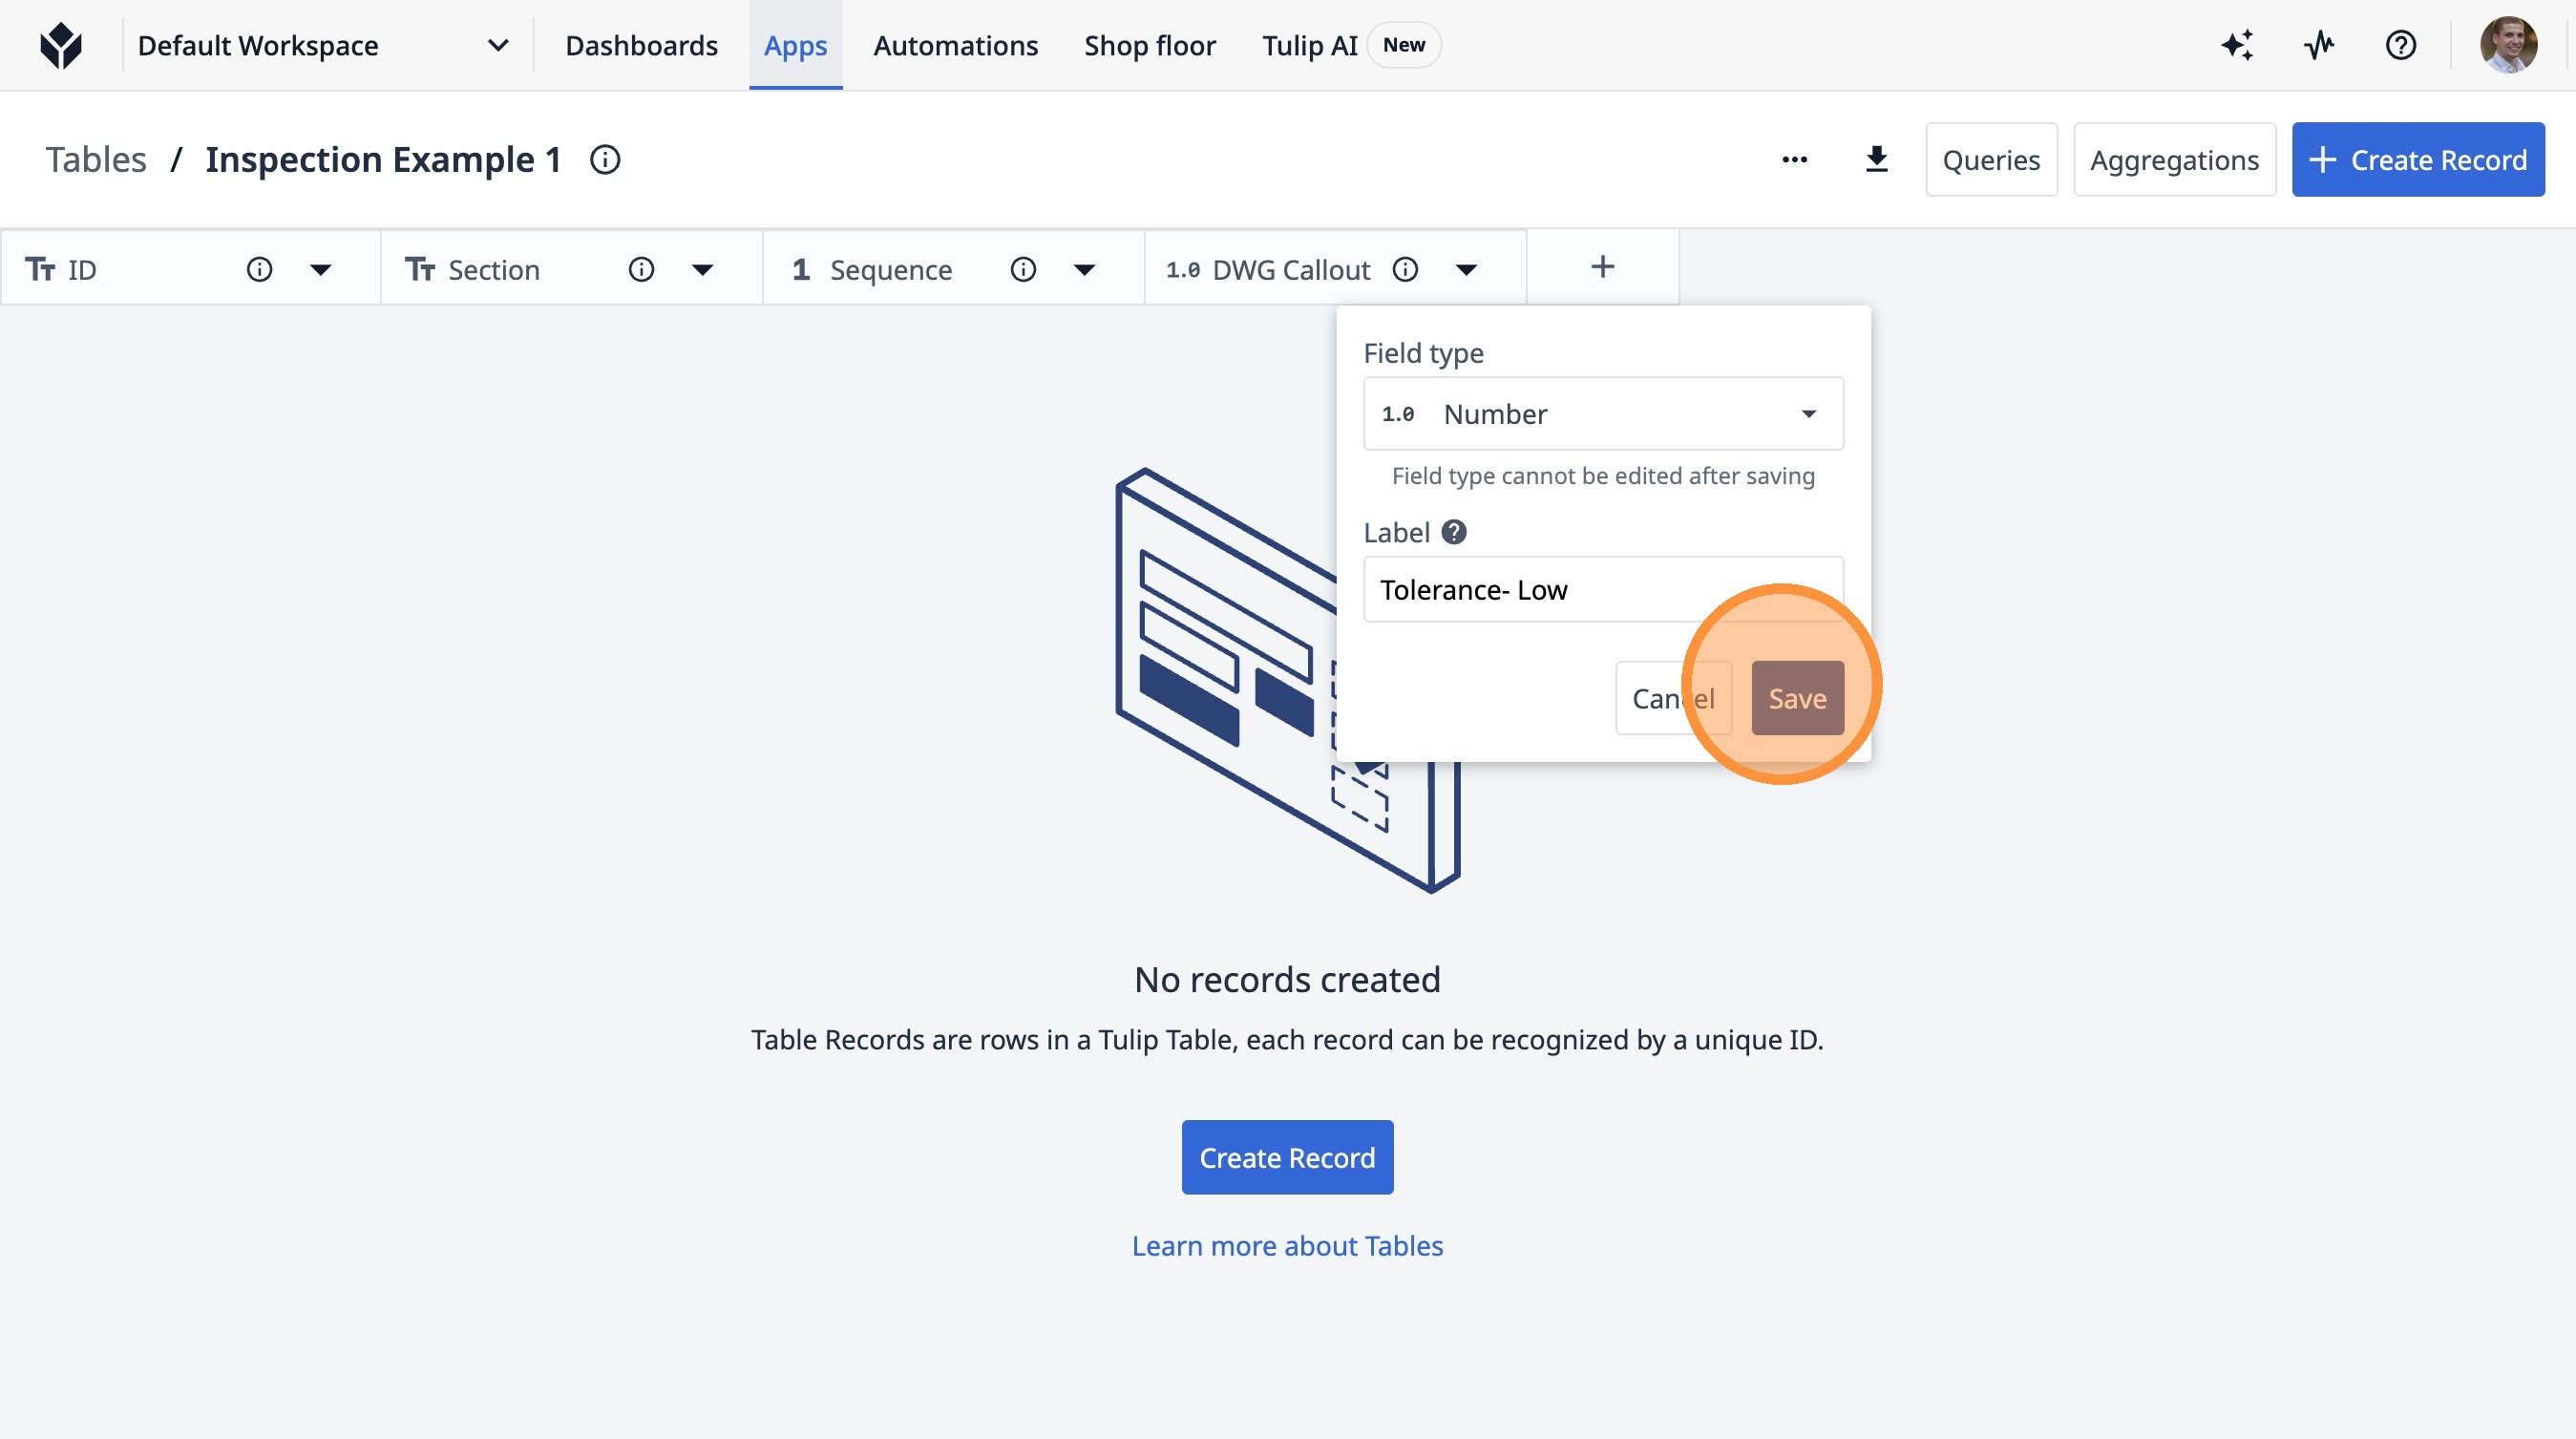
34. Click "Number"
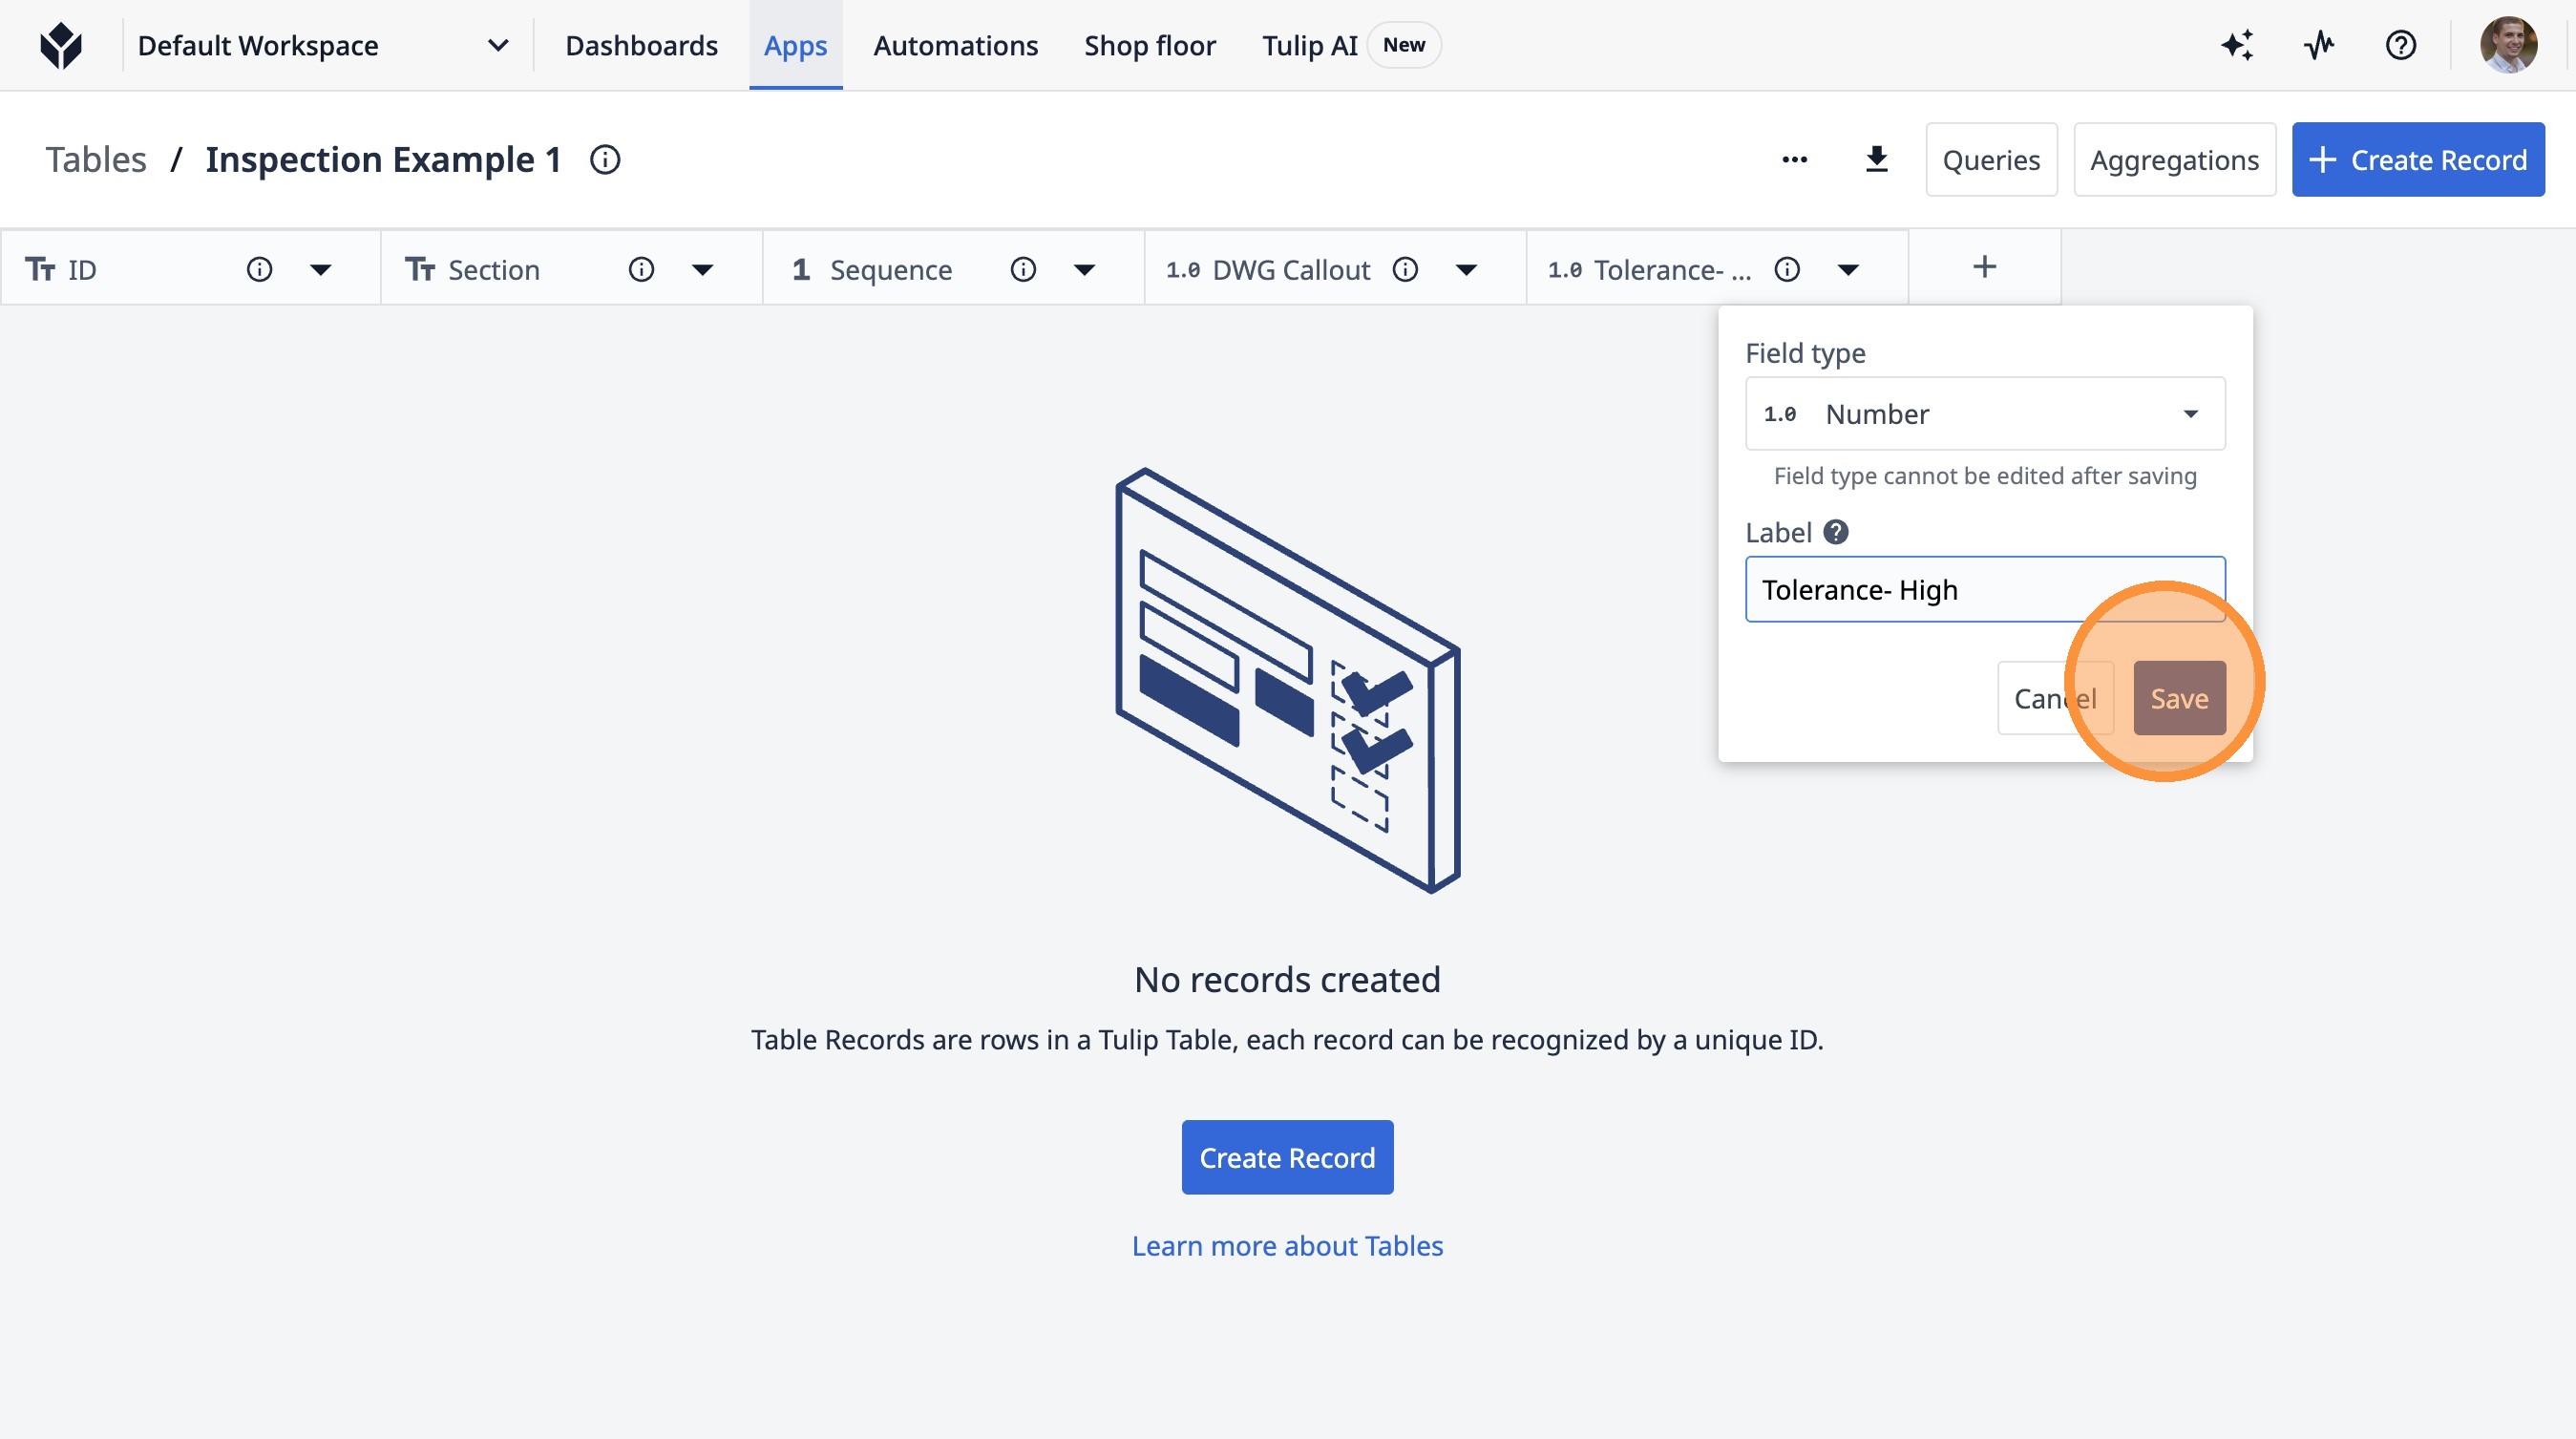
35. Click "Save"
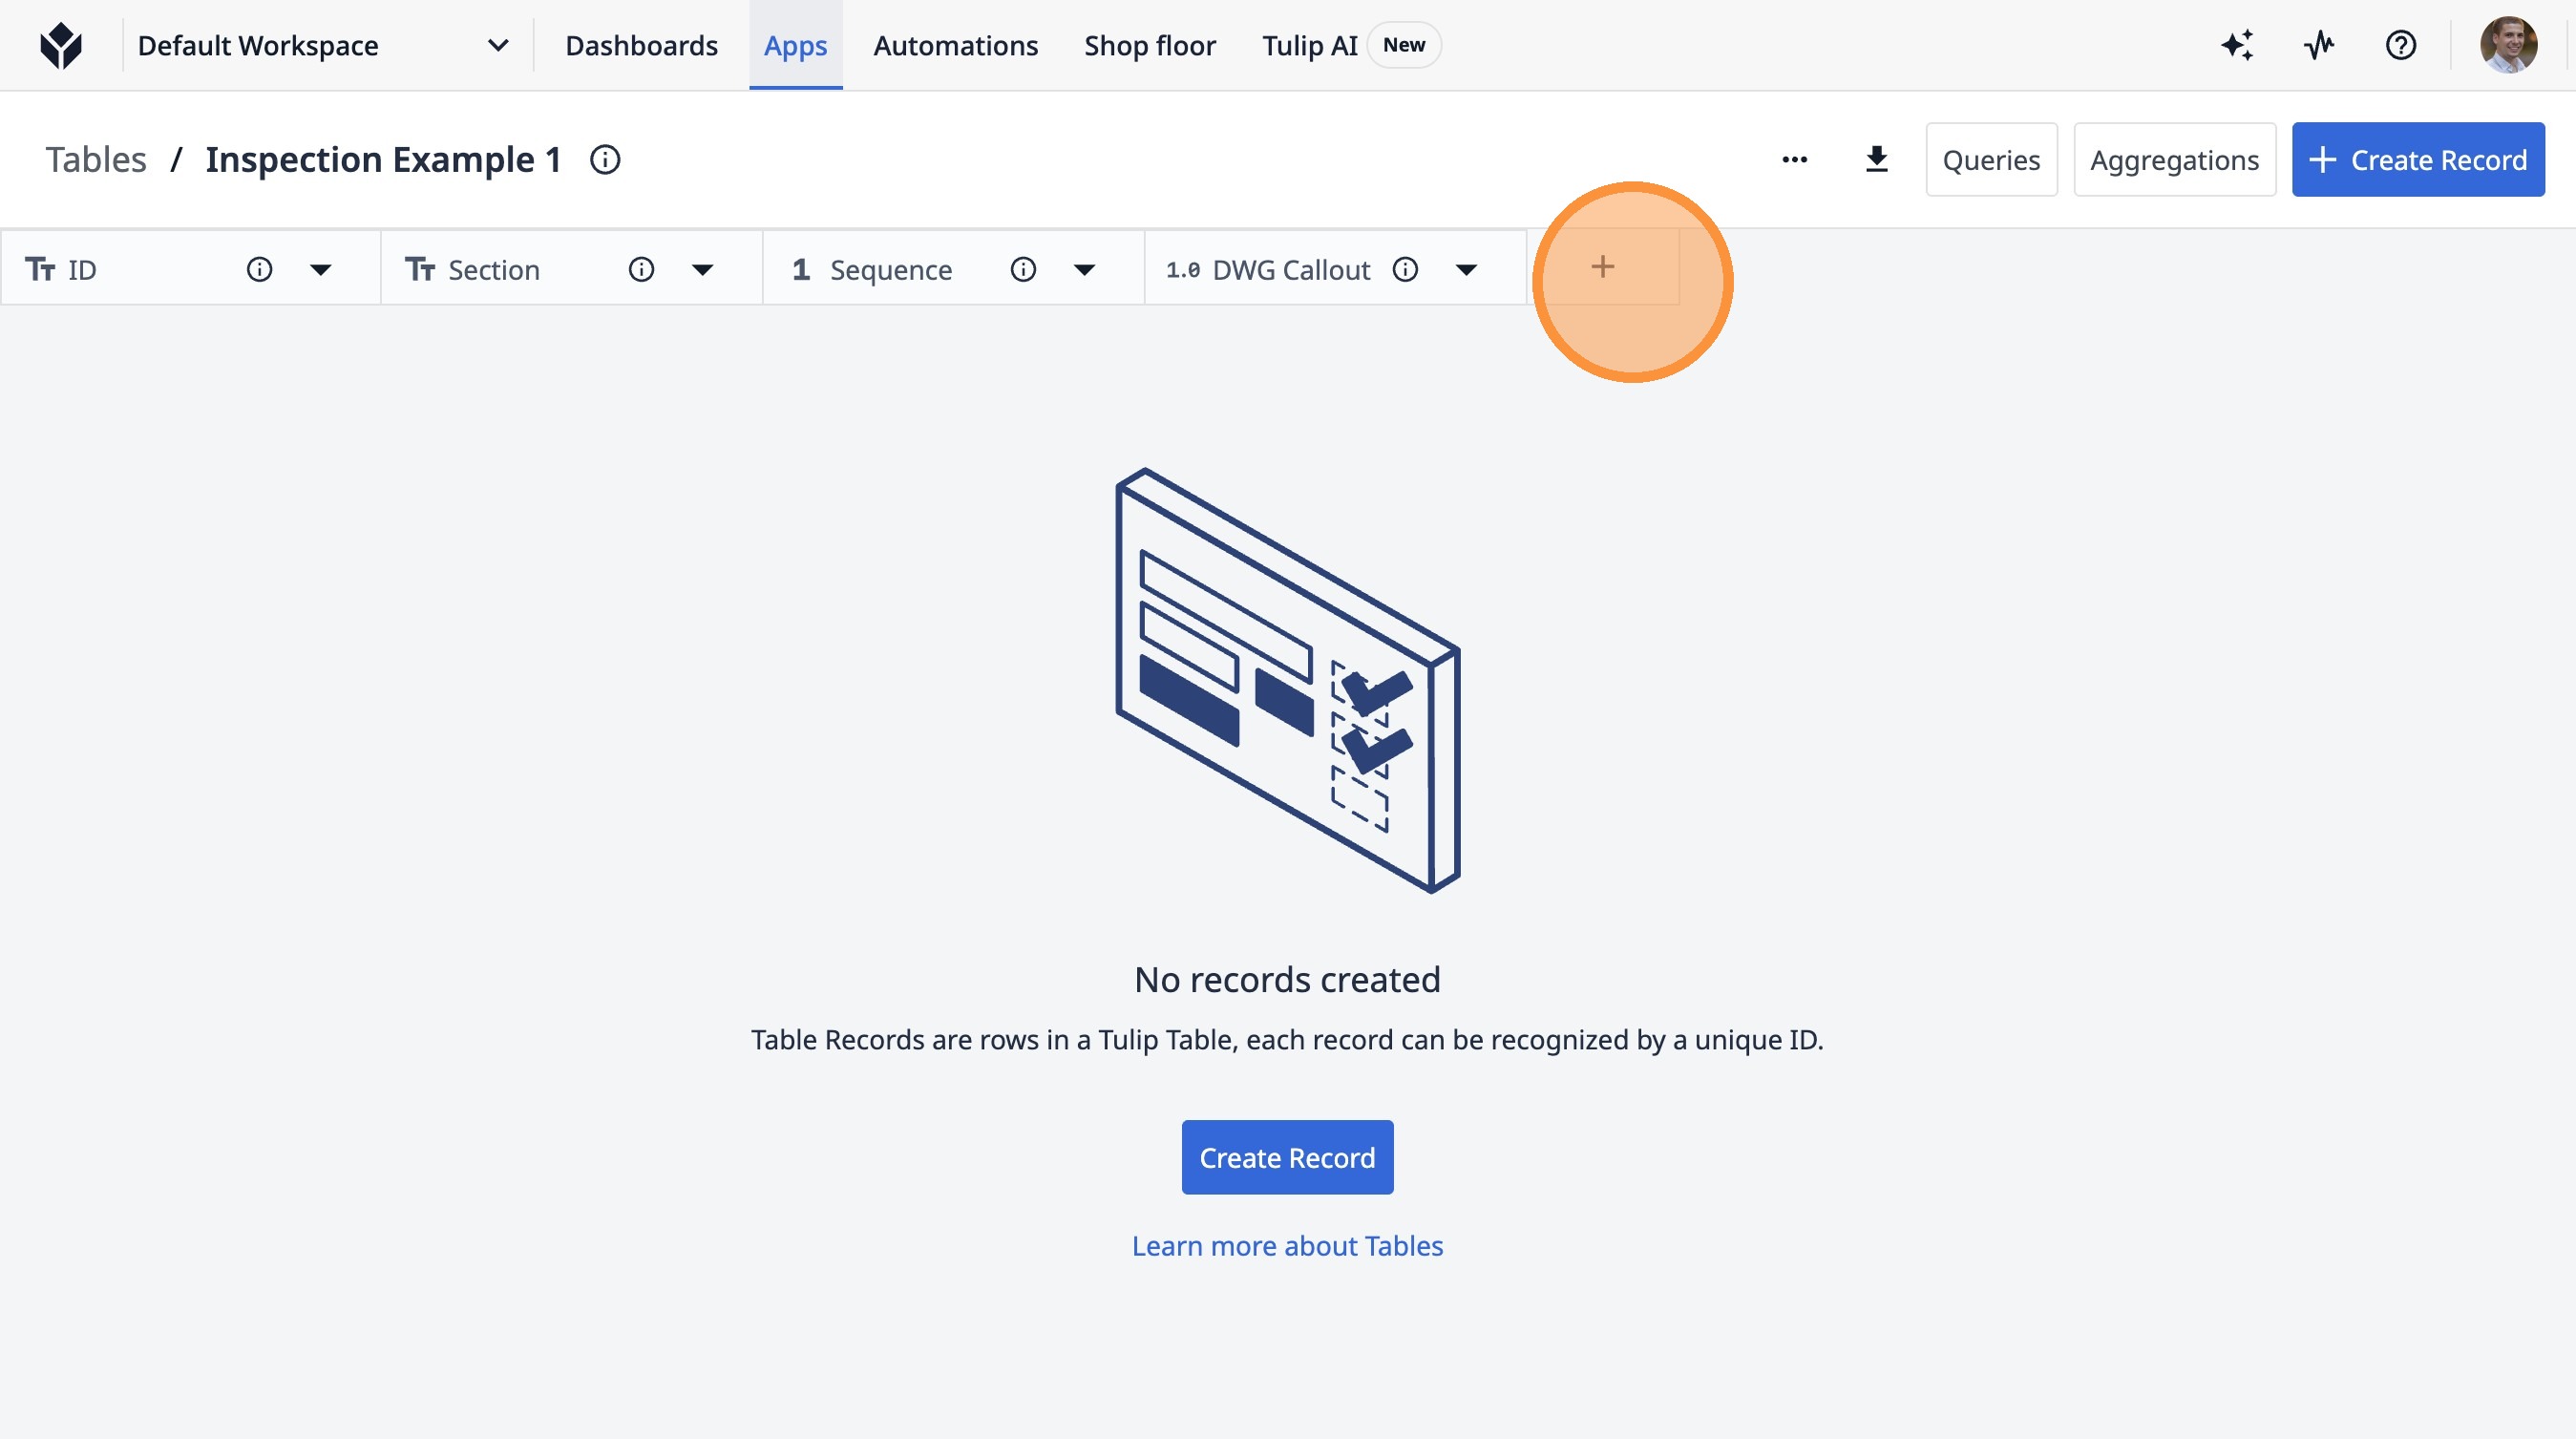
36. Click this icon.
37. Click "Text"
38. Click "Number"
39. Click this text field.
40. Type "Tolerance- High"
41. Click "Save"
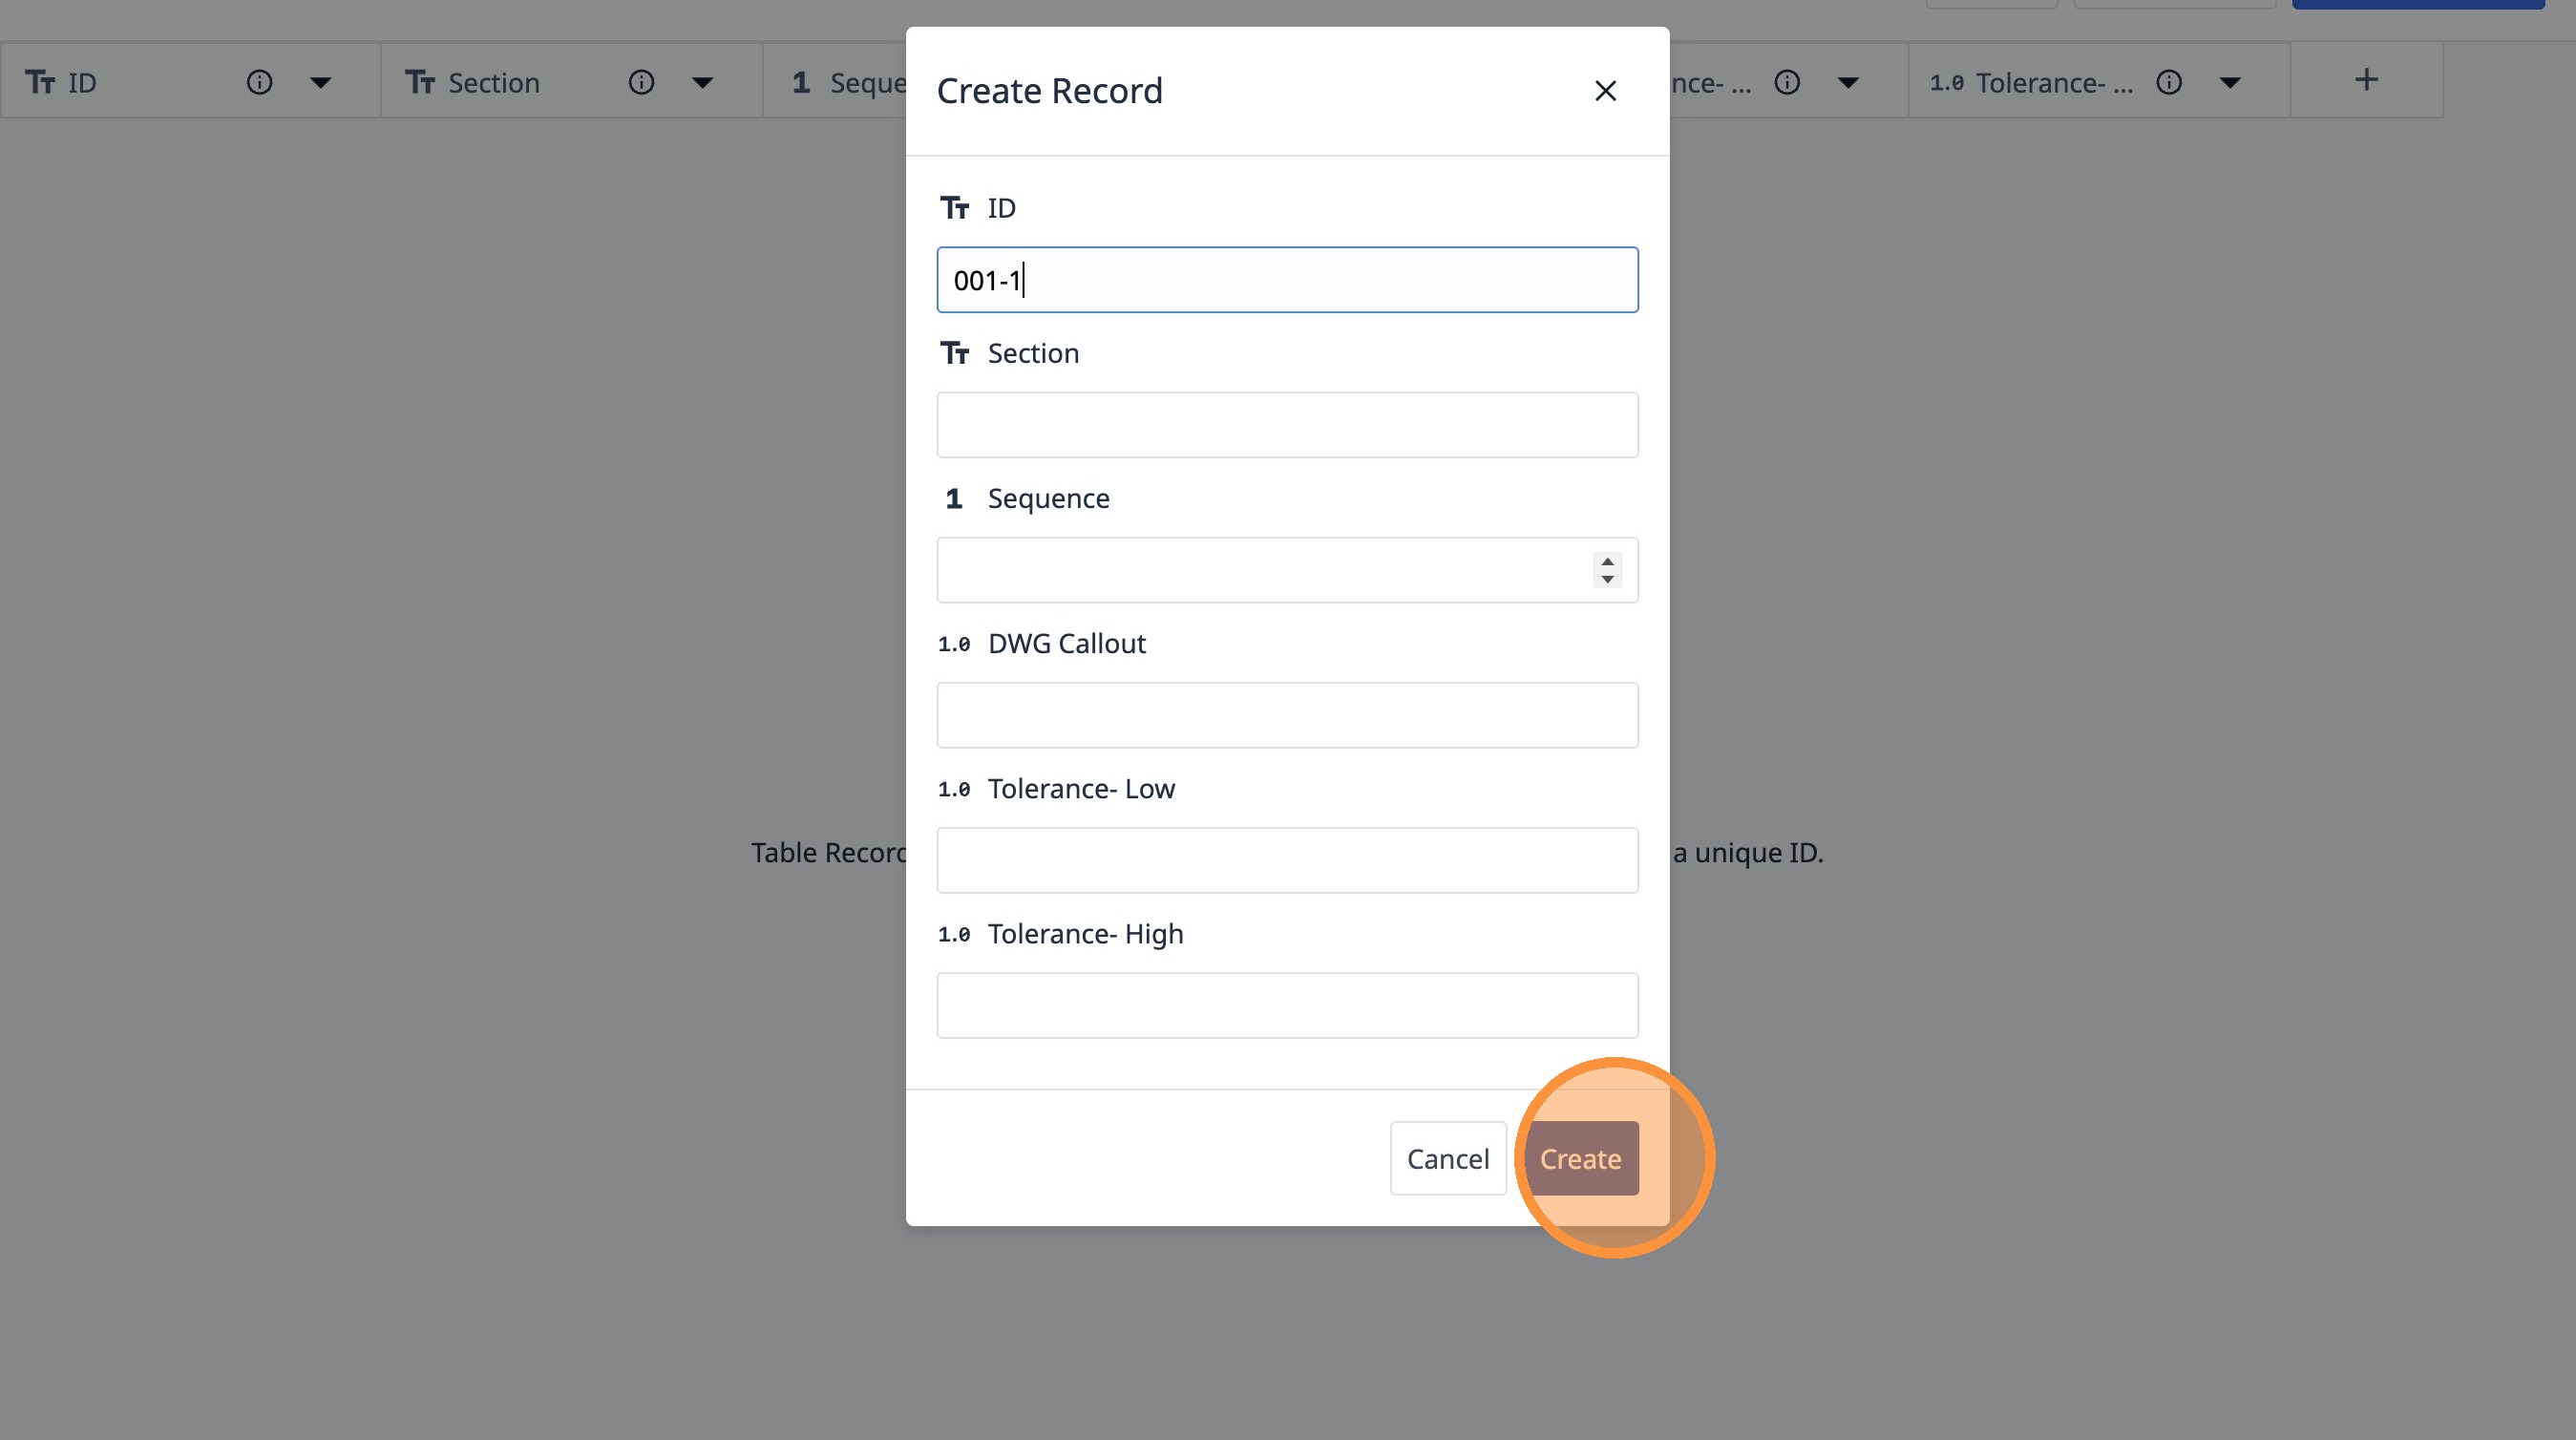
42. Click "Create Record"

43. Click this text field.
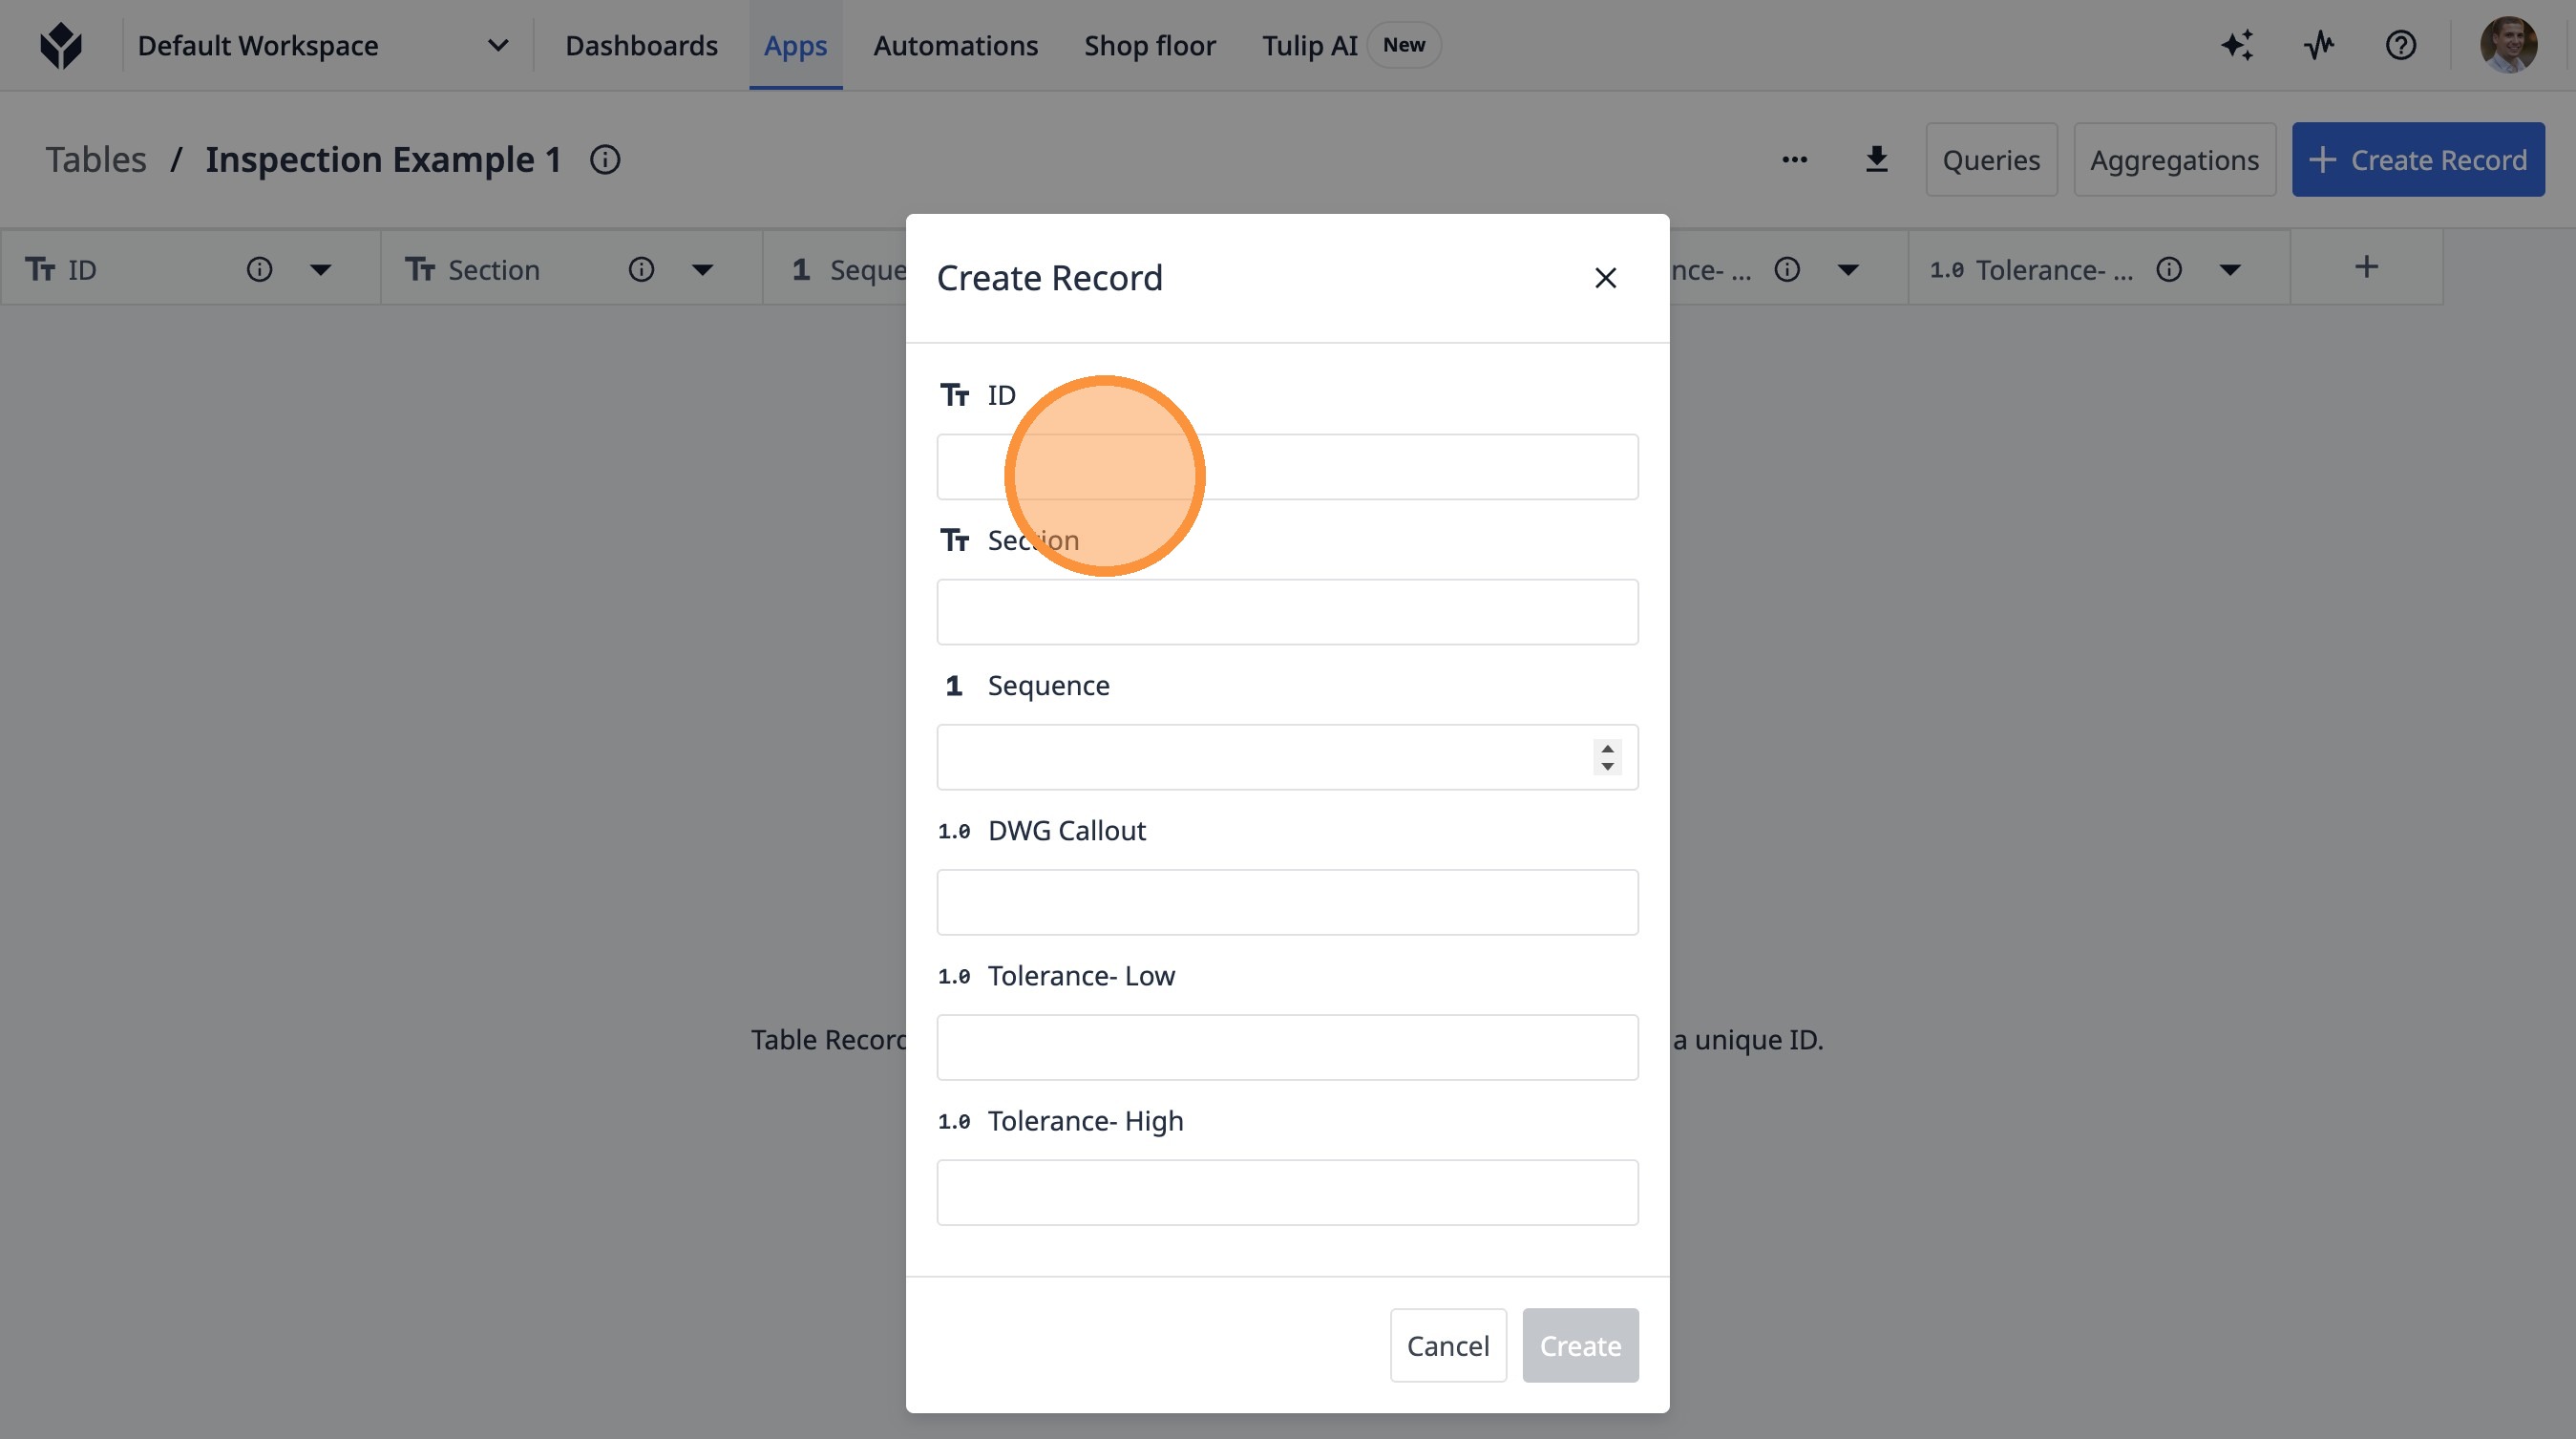
44. Type "001-1"
45. Click "Create"