Learn how to add two new tables, 'Example Work Order Table' and 'Units Example', to your Tulip application. This guide will walk you through the process of creating and configuring these tables for better data organization and management within your workflows.
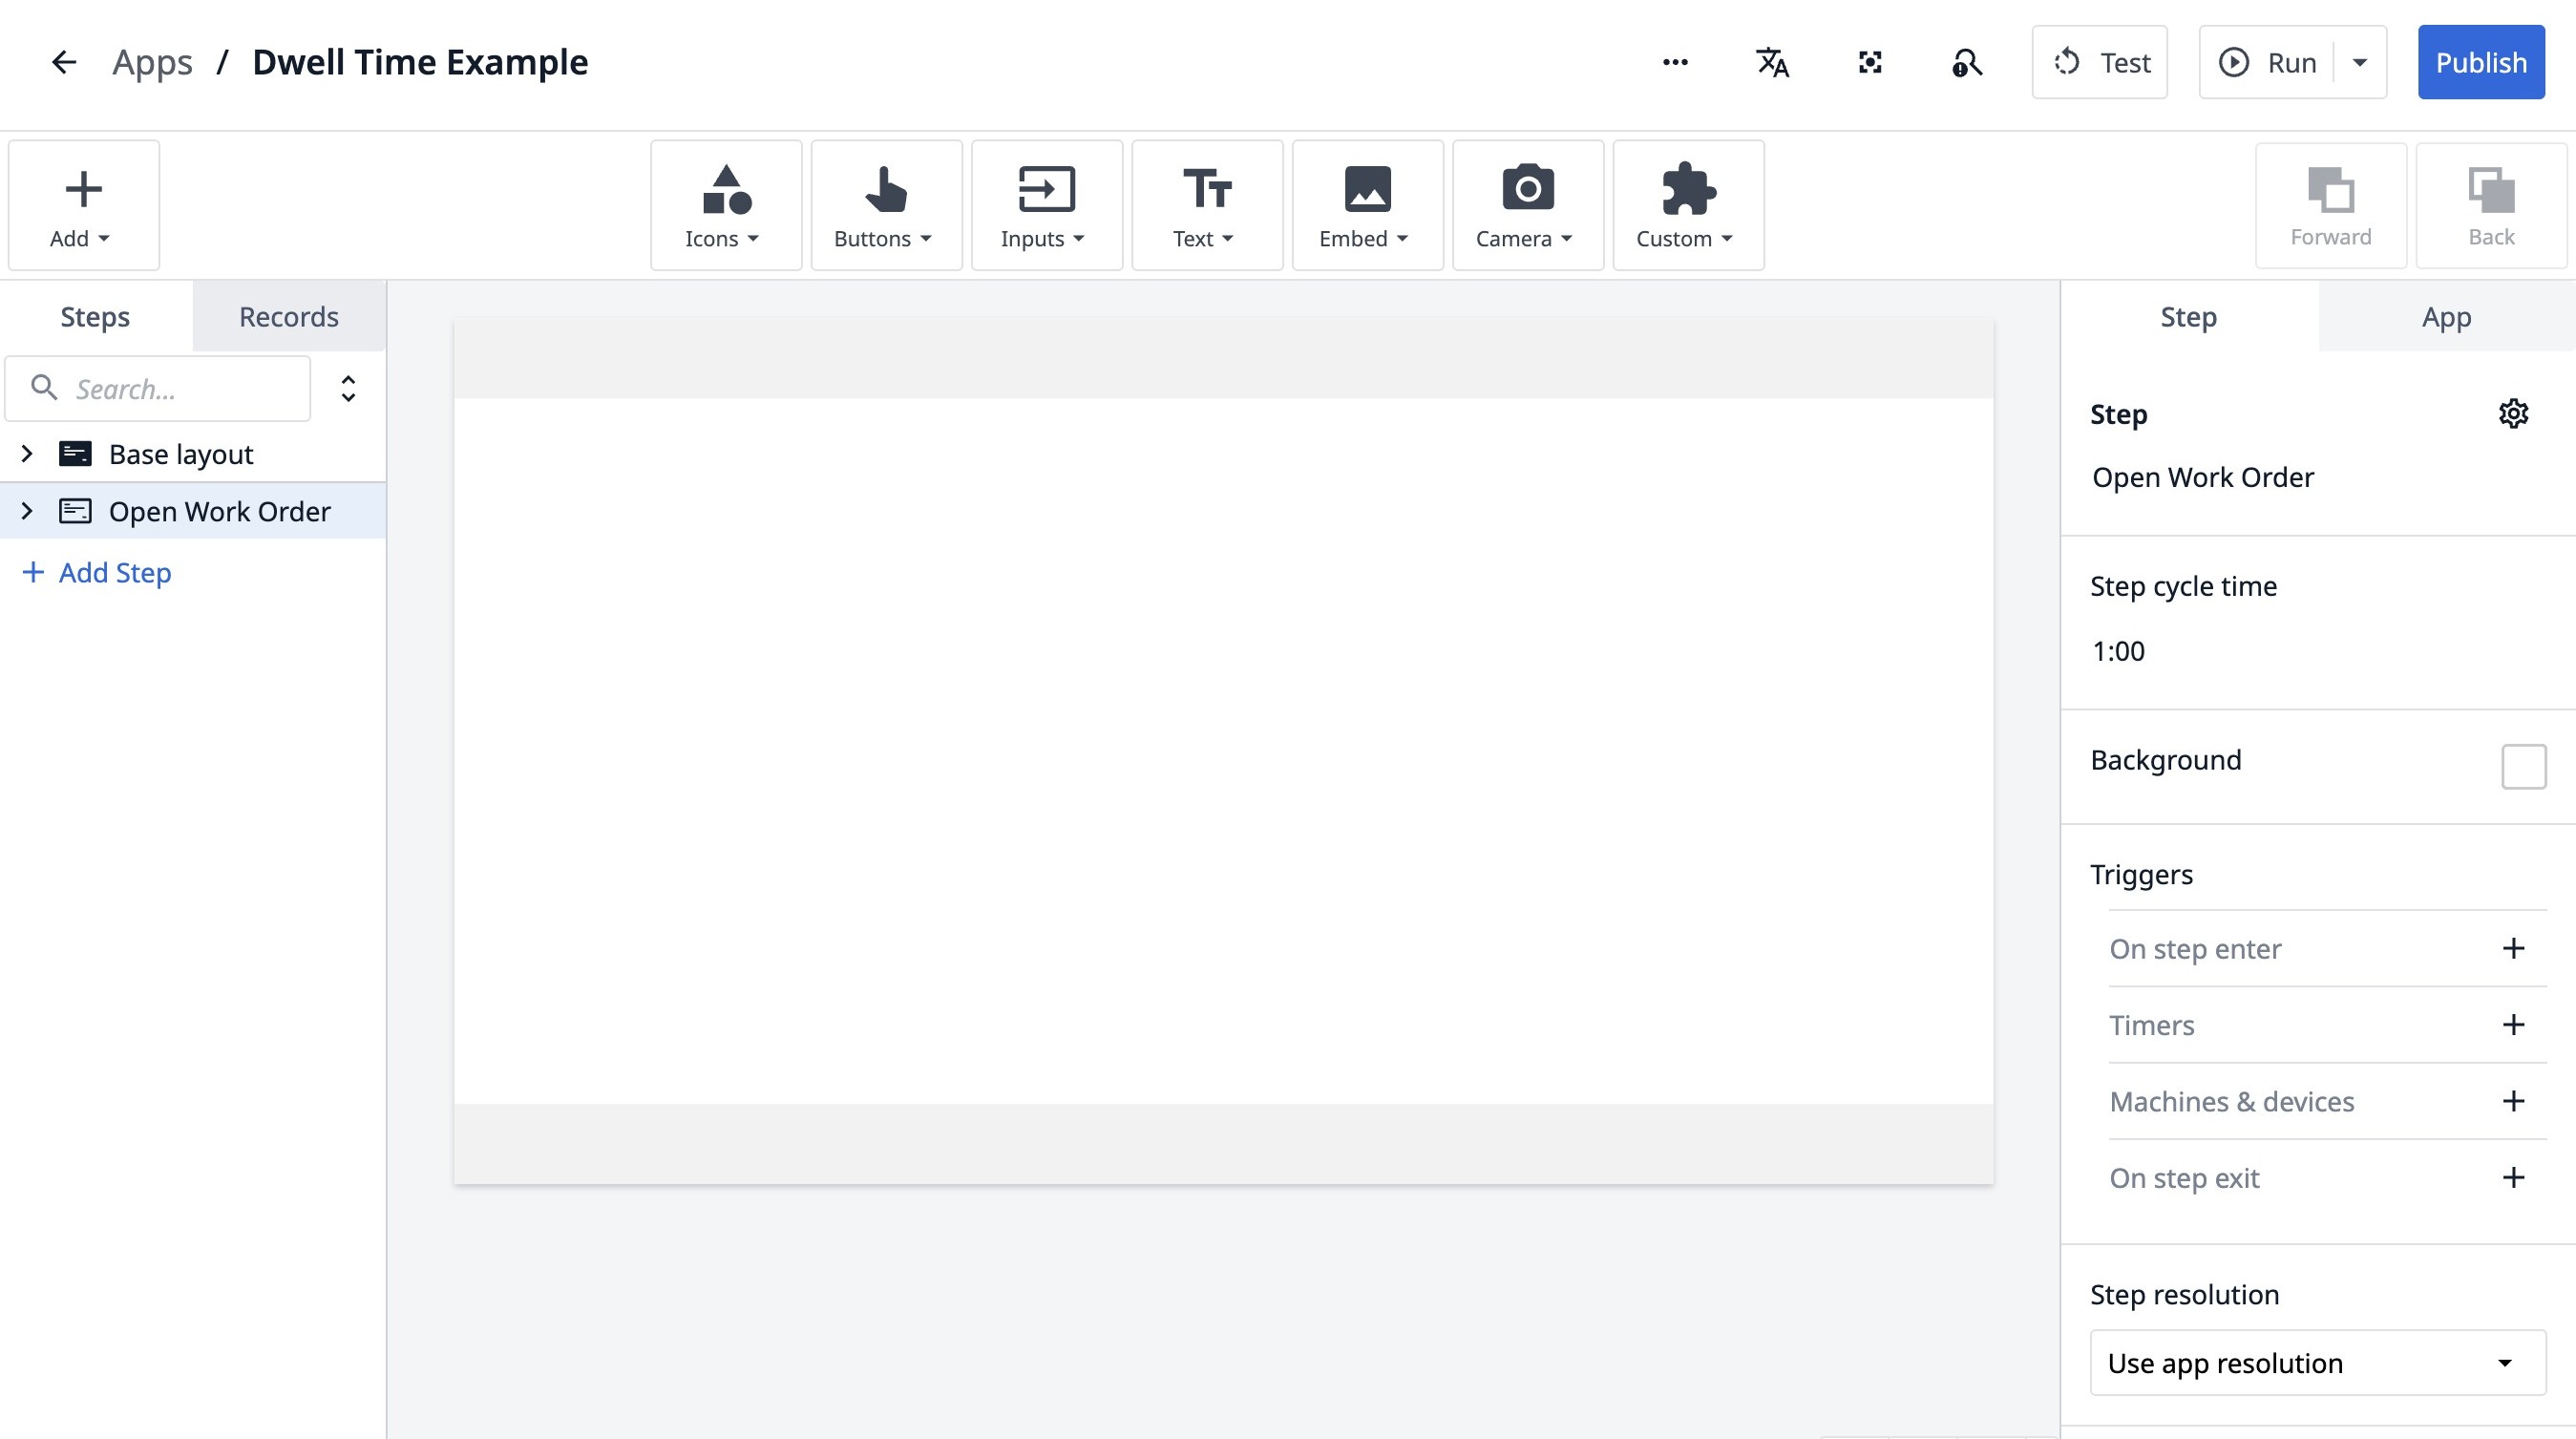
1. Navigate to the app builder.
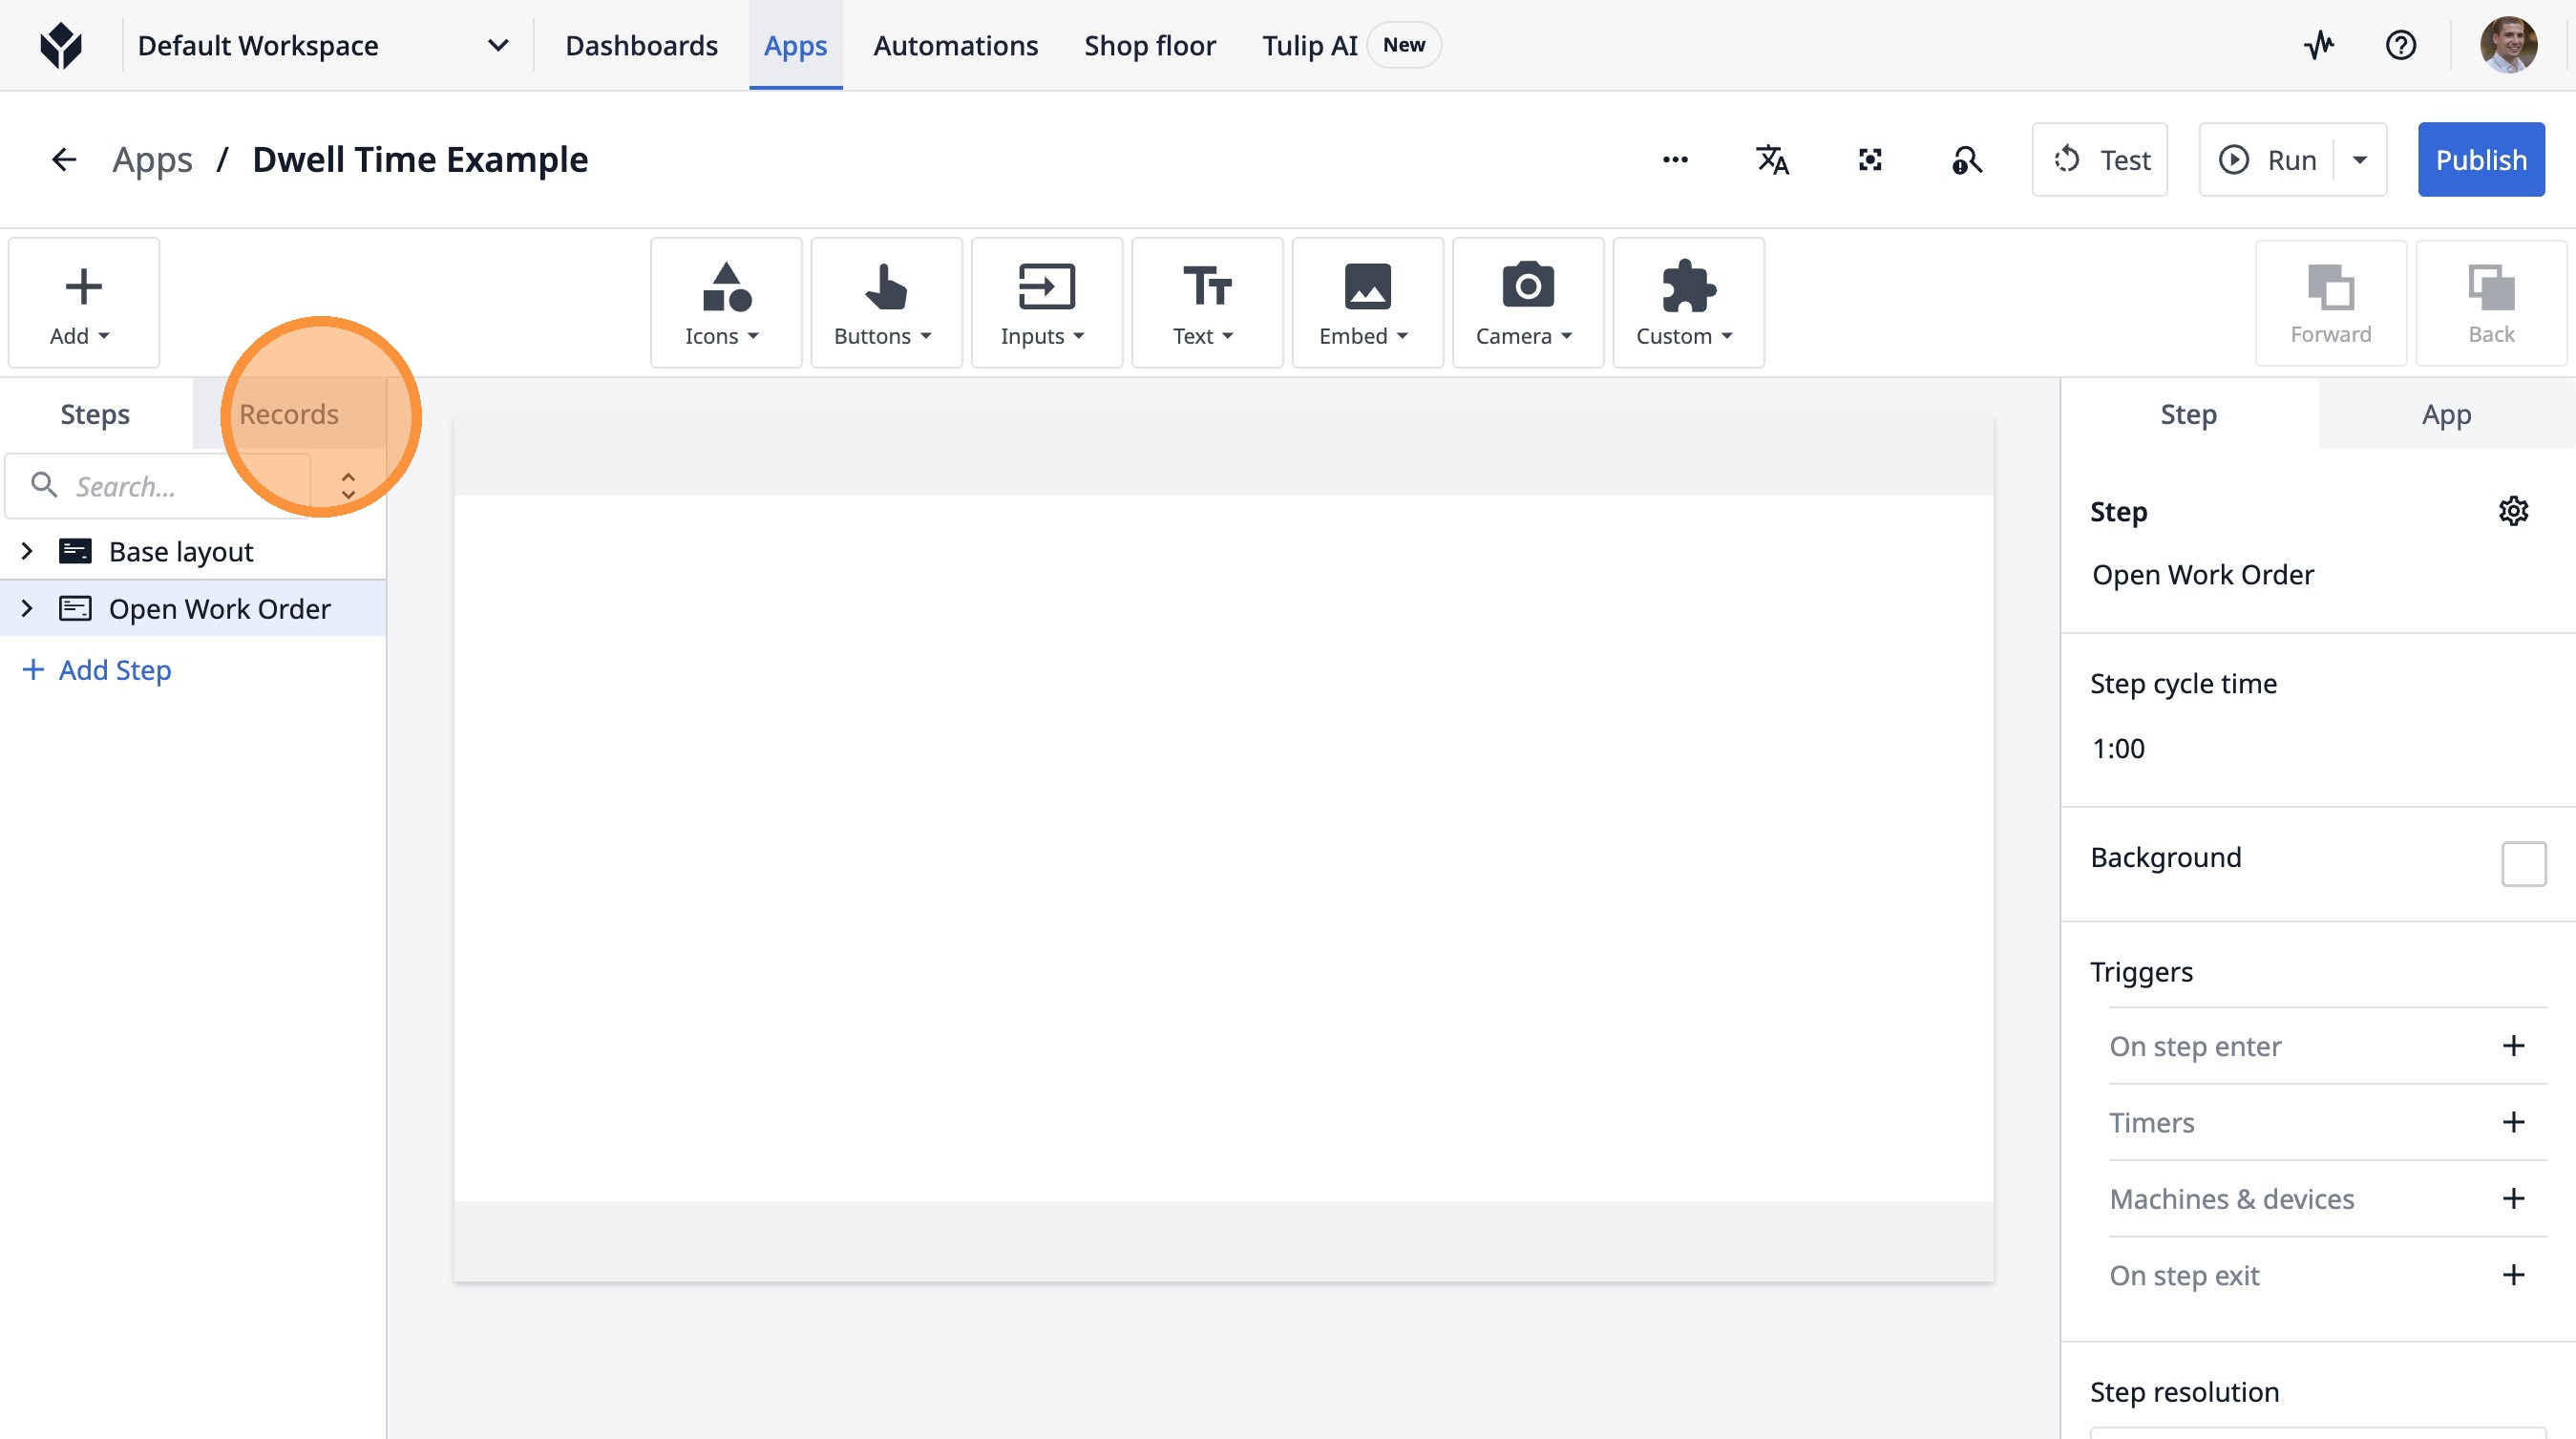
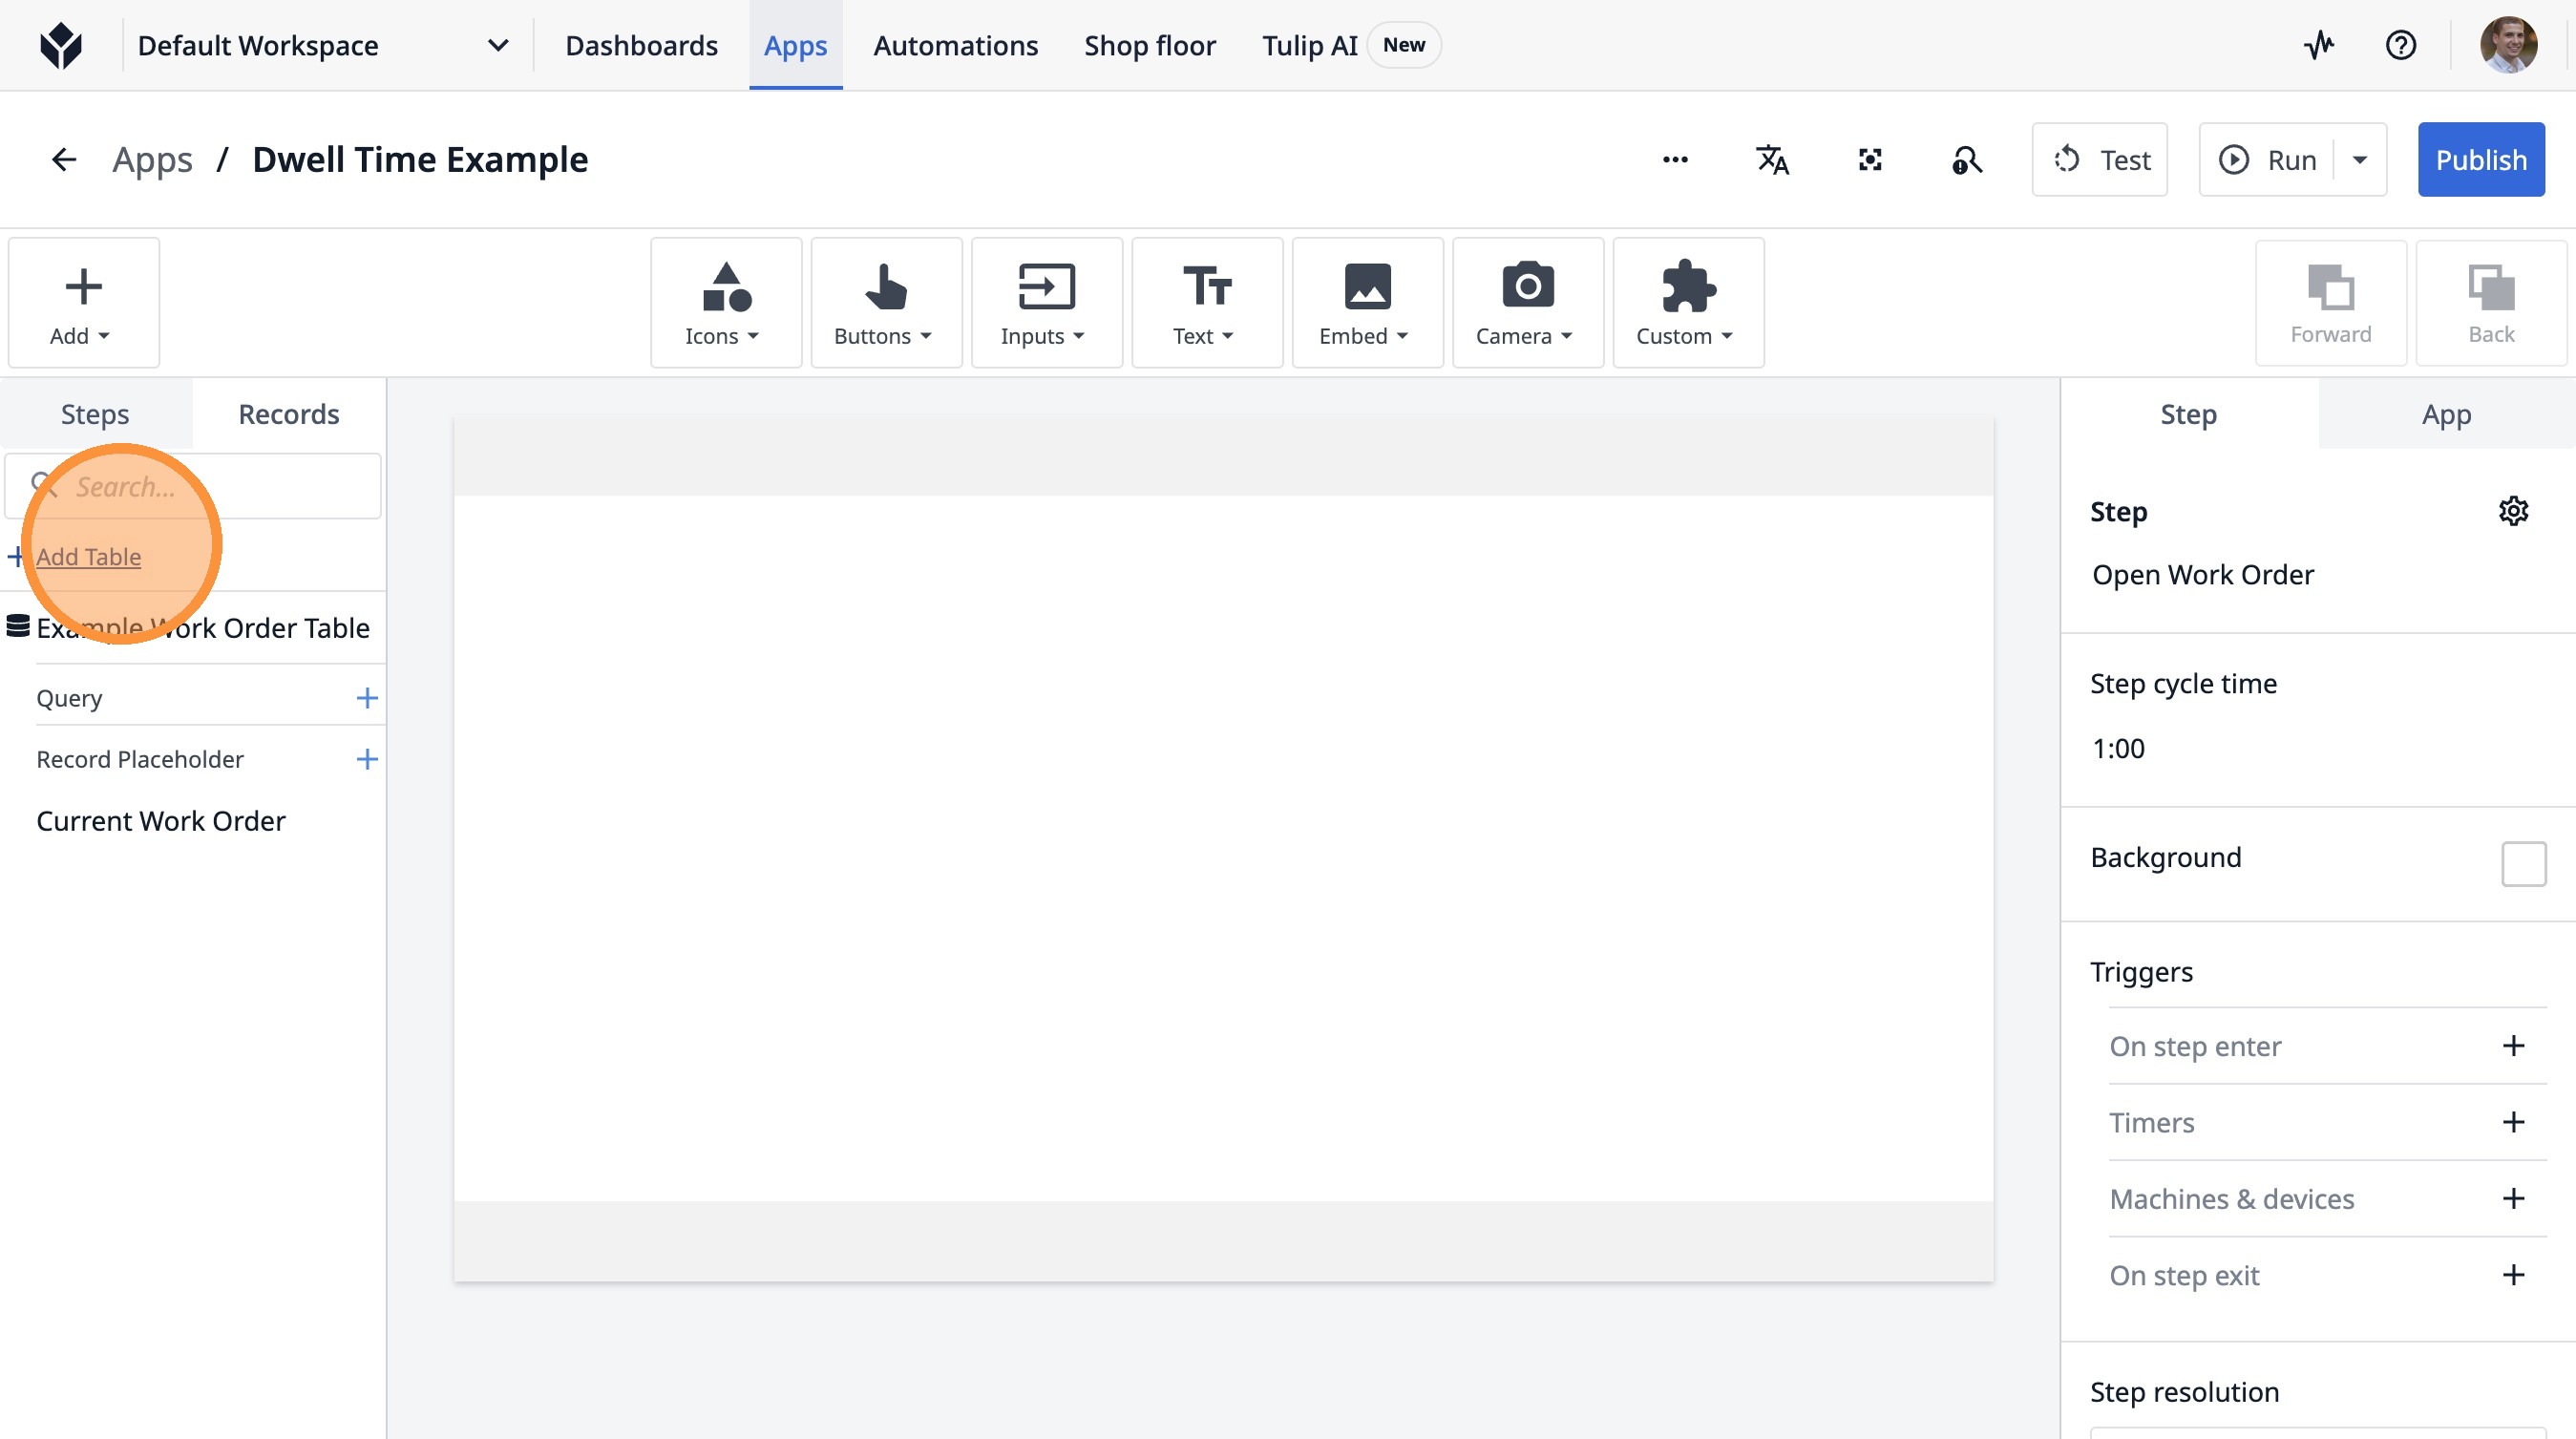
2. Click "Records"
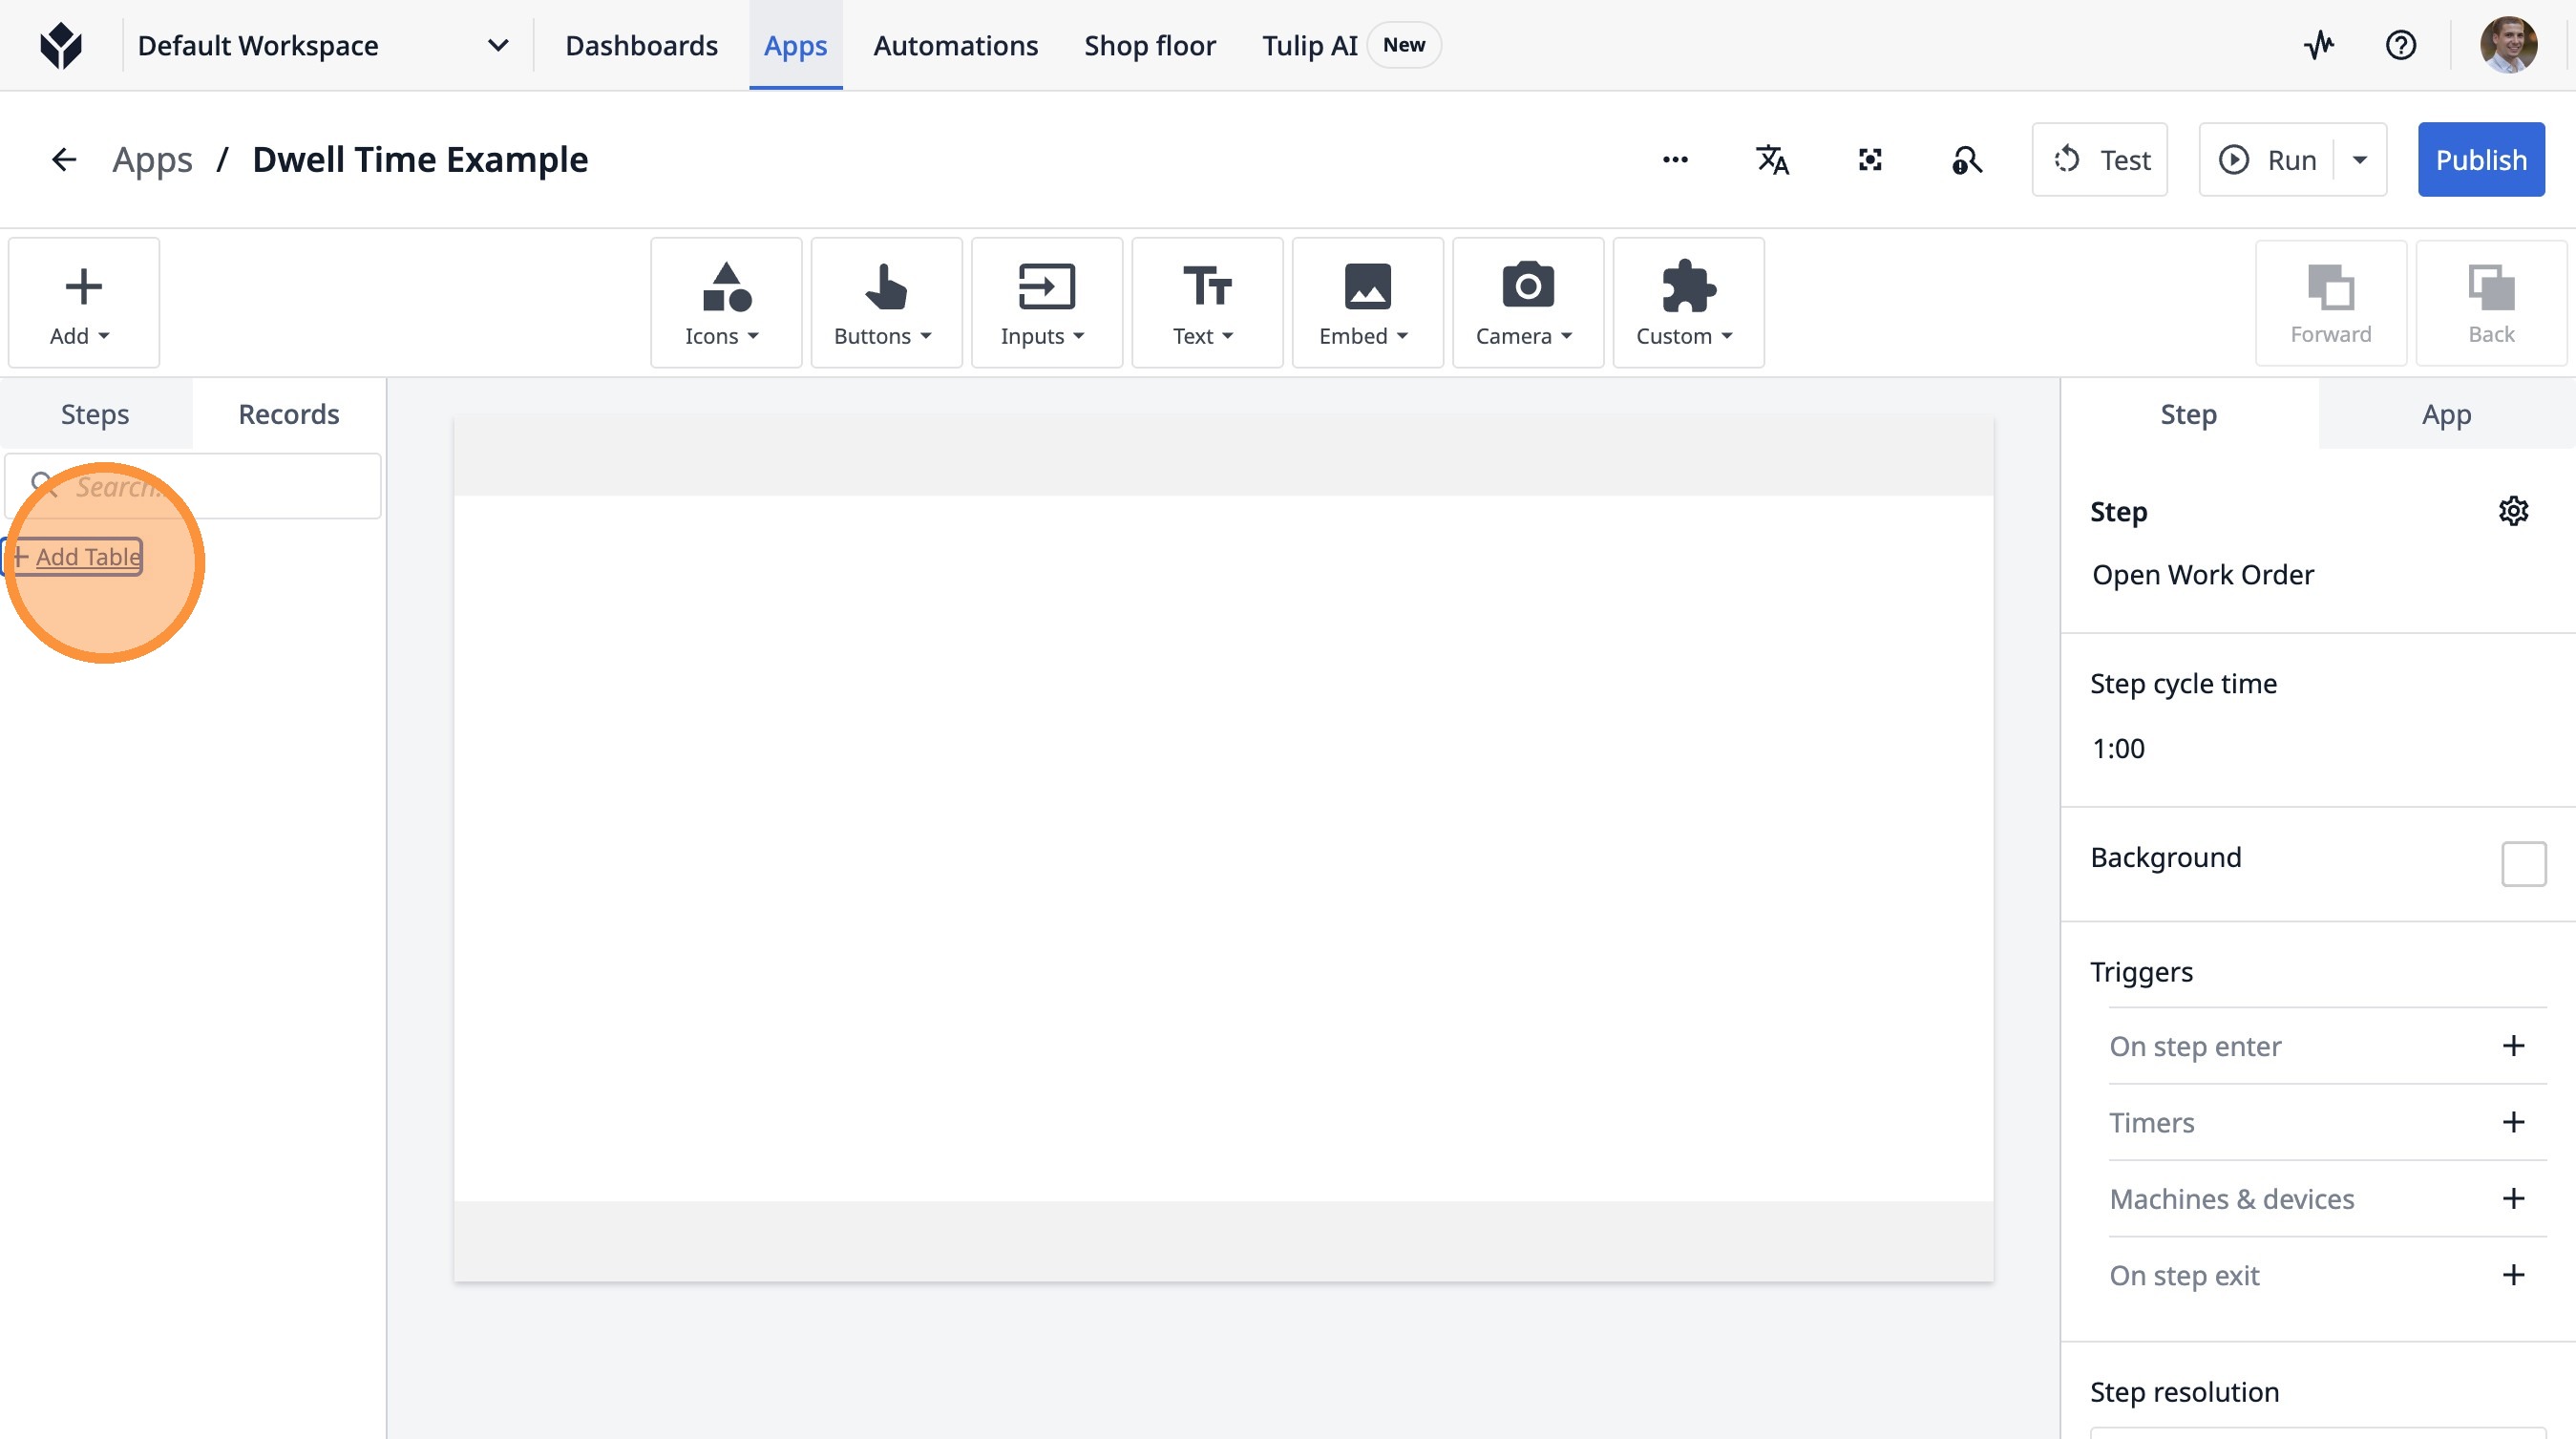
3. Click "Add Table"
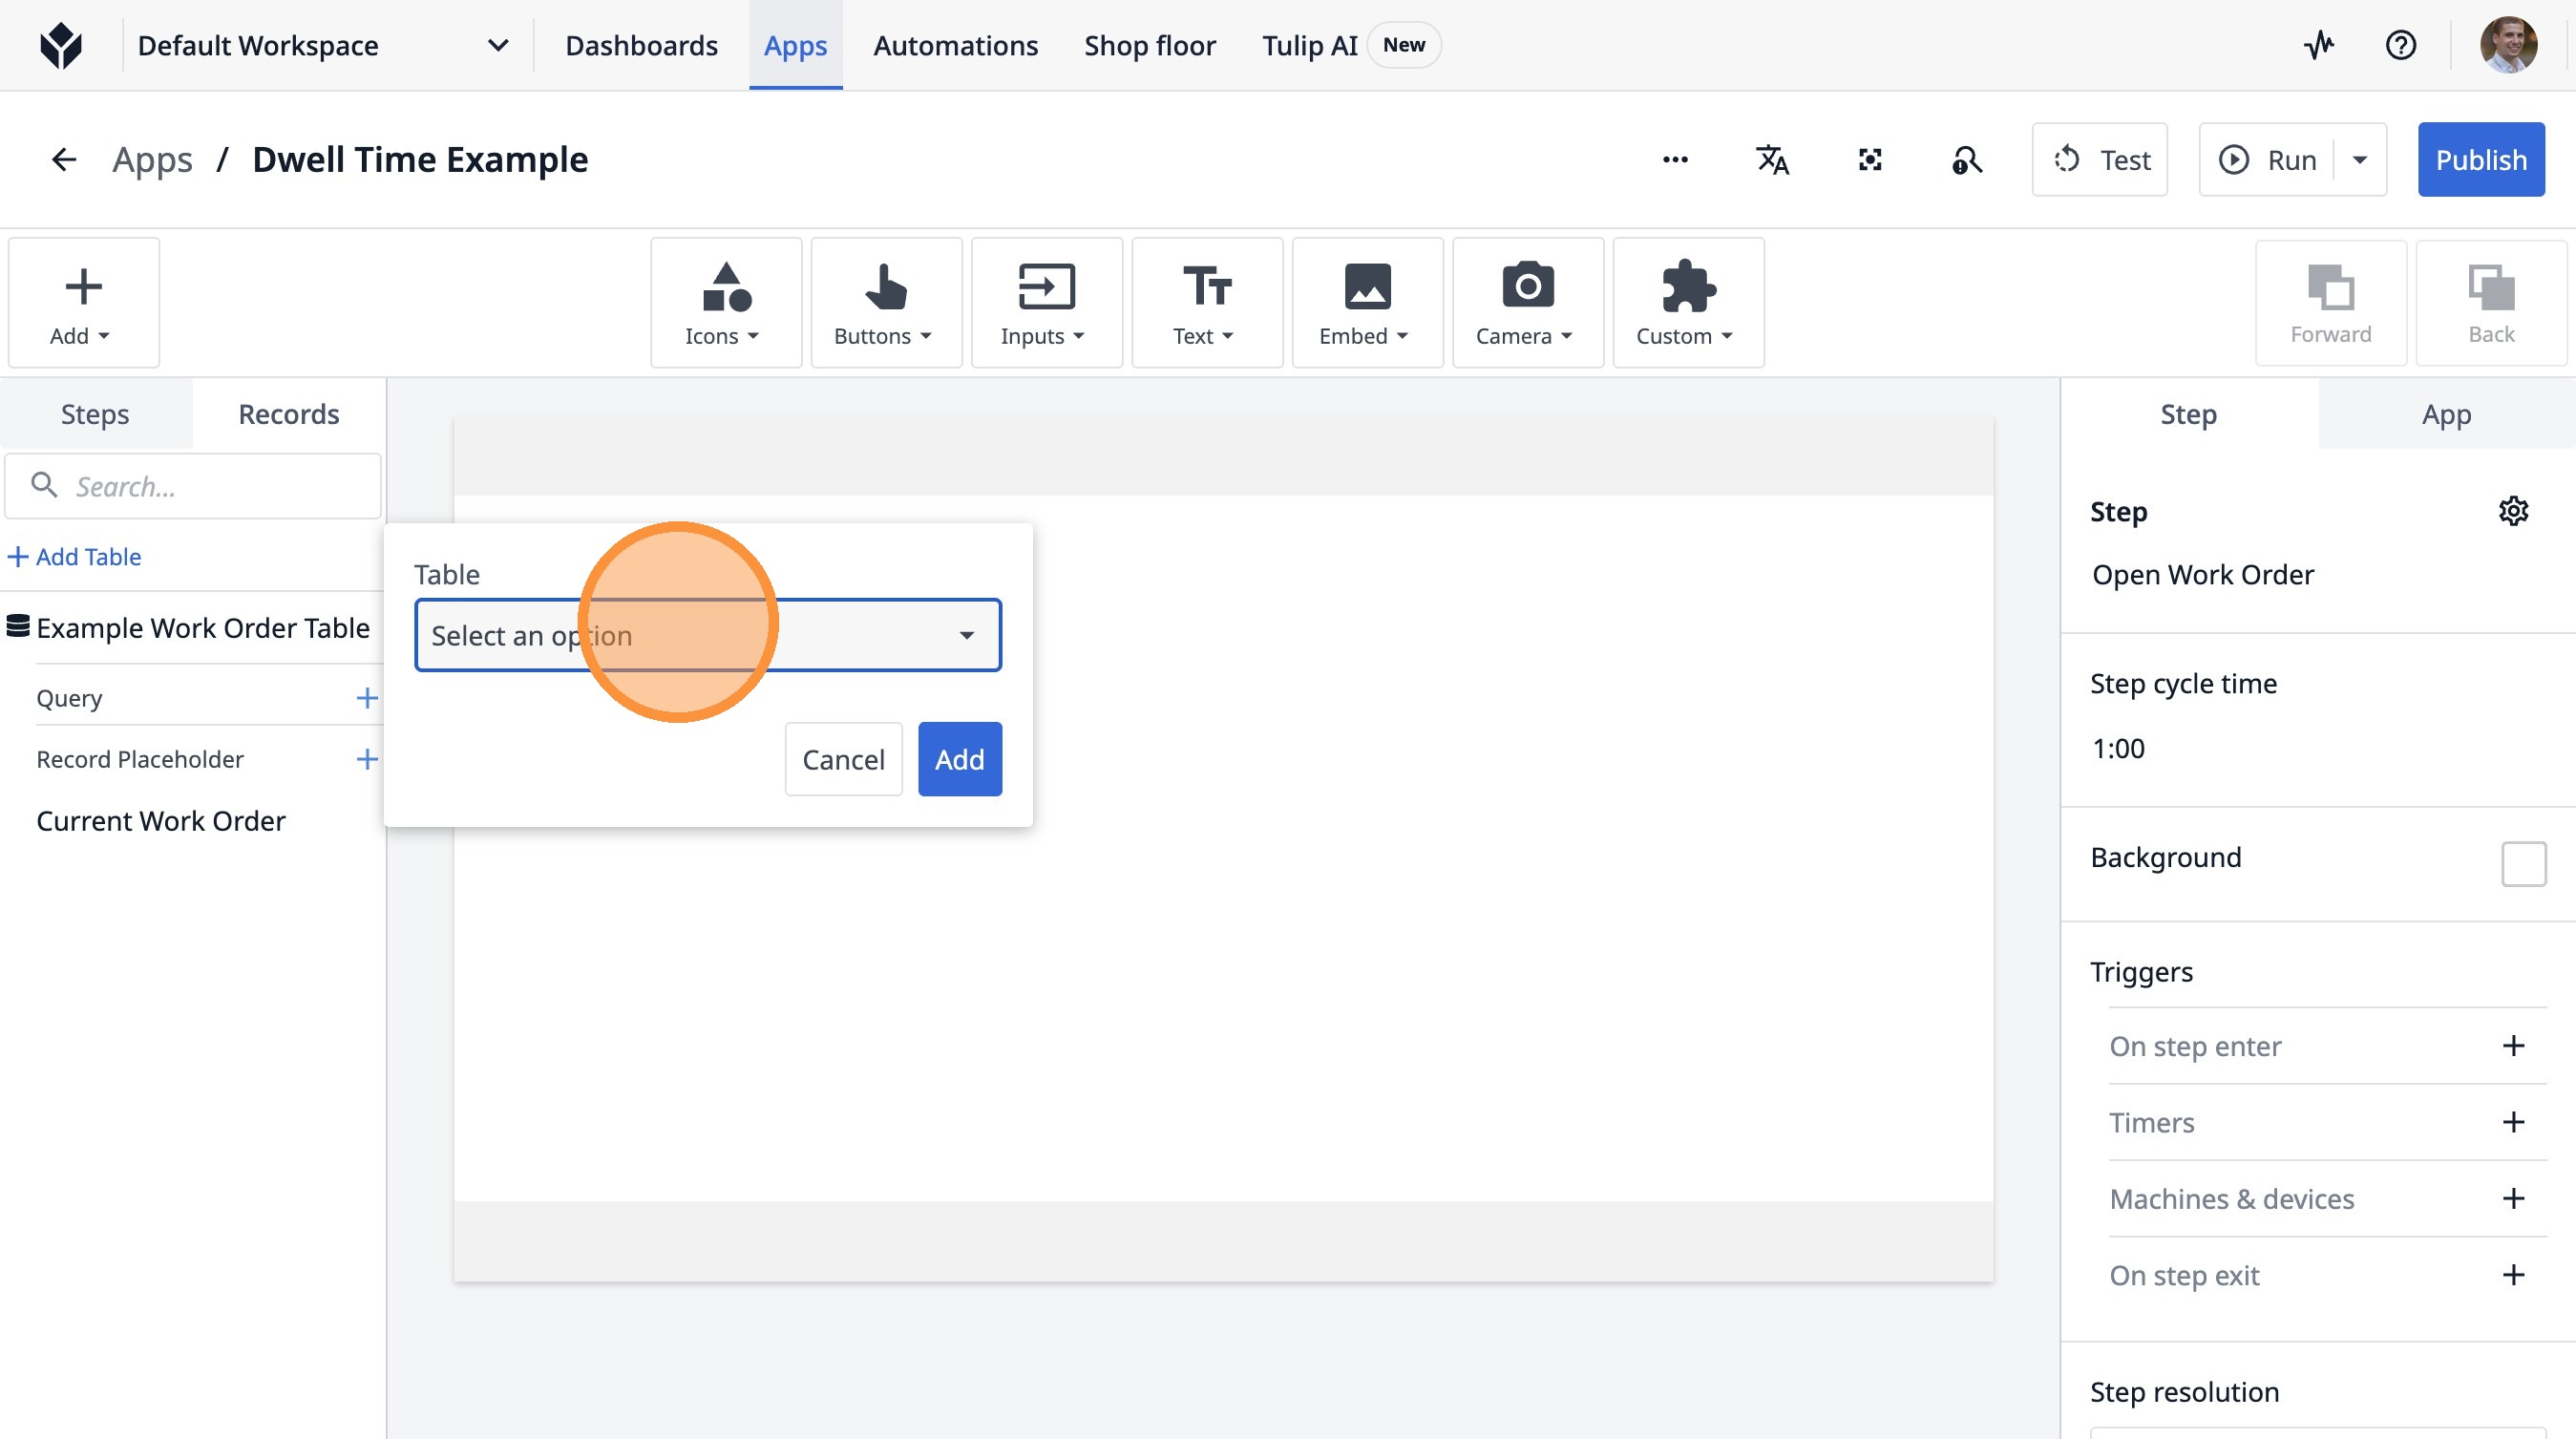
4. Click "Select an option"

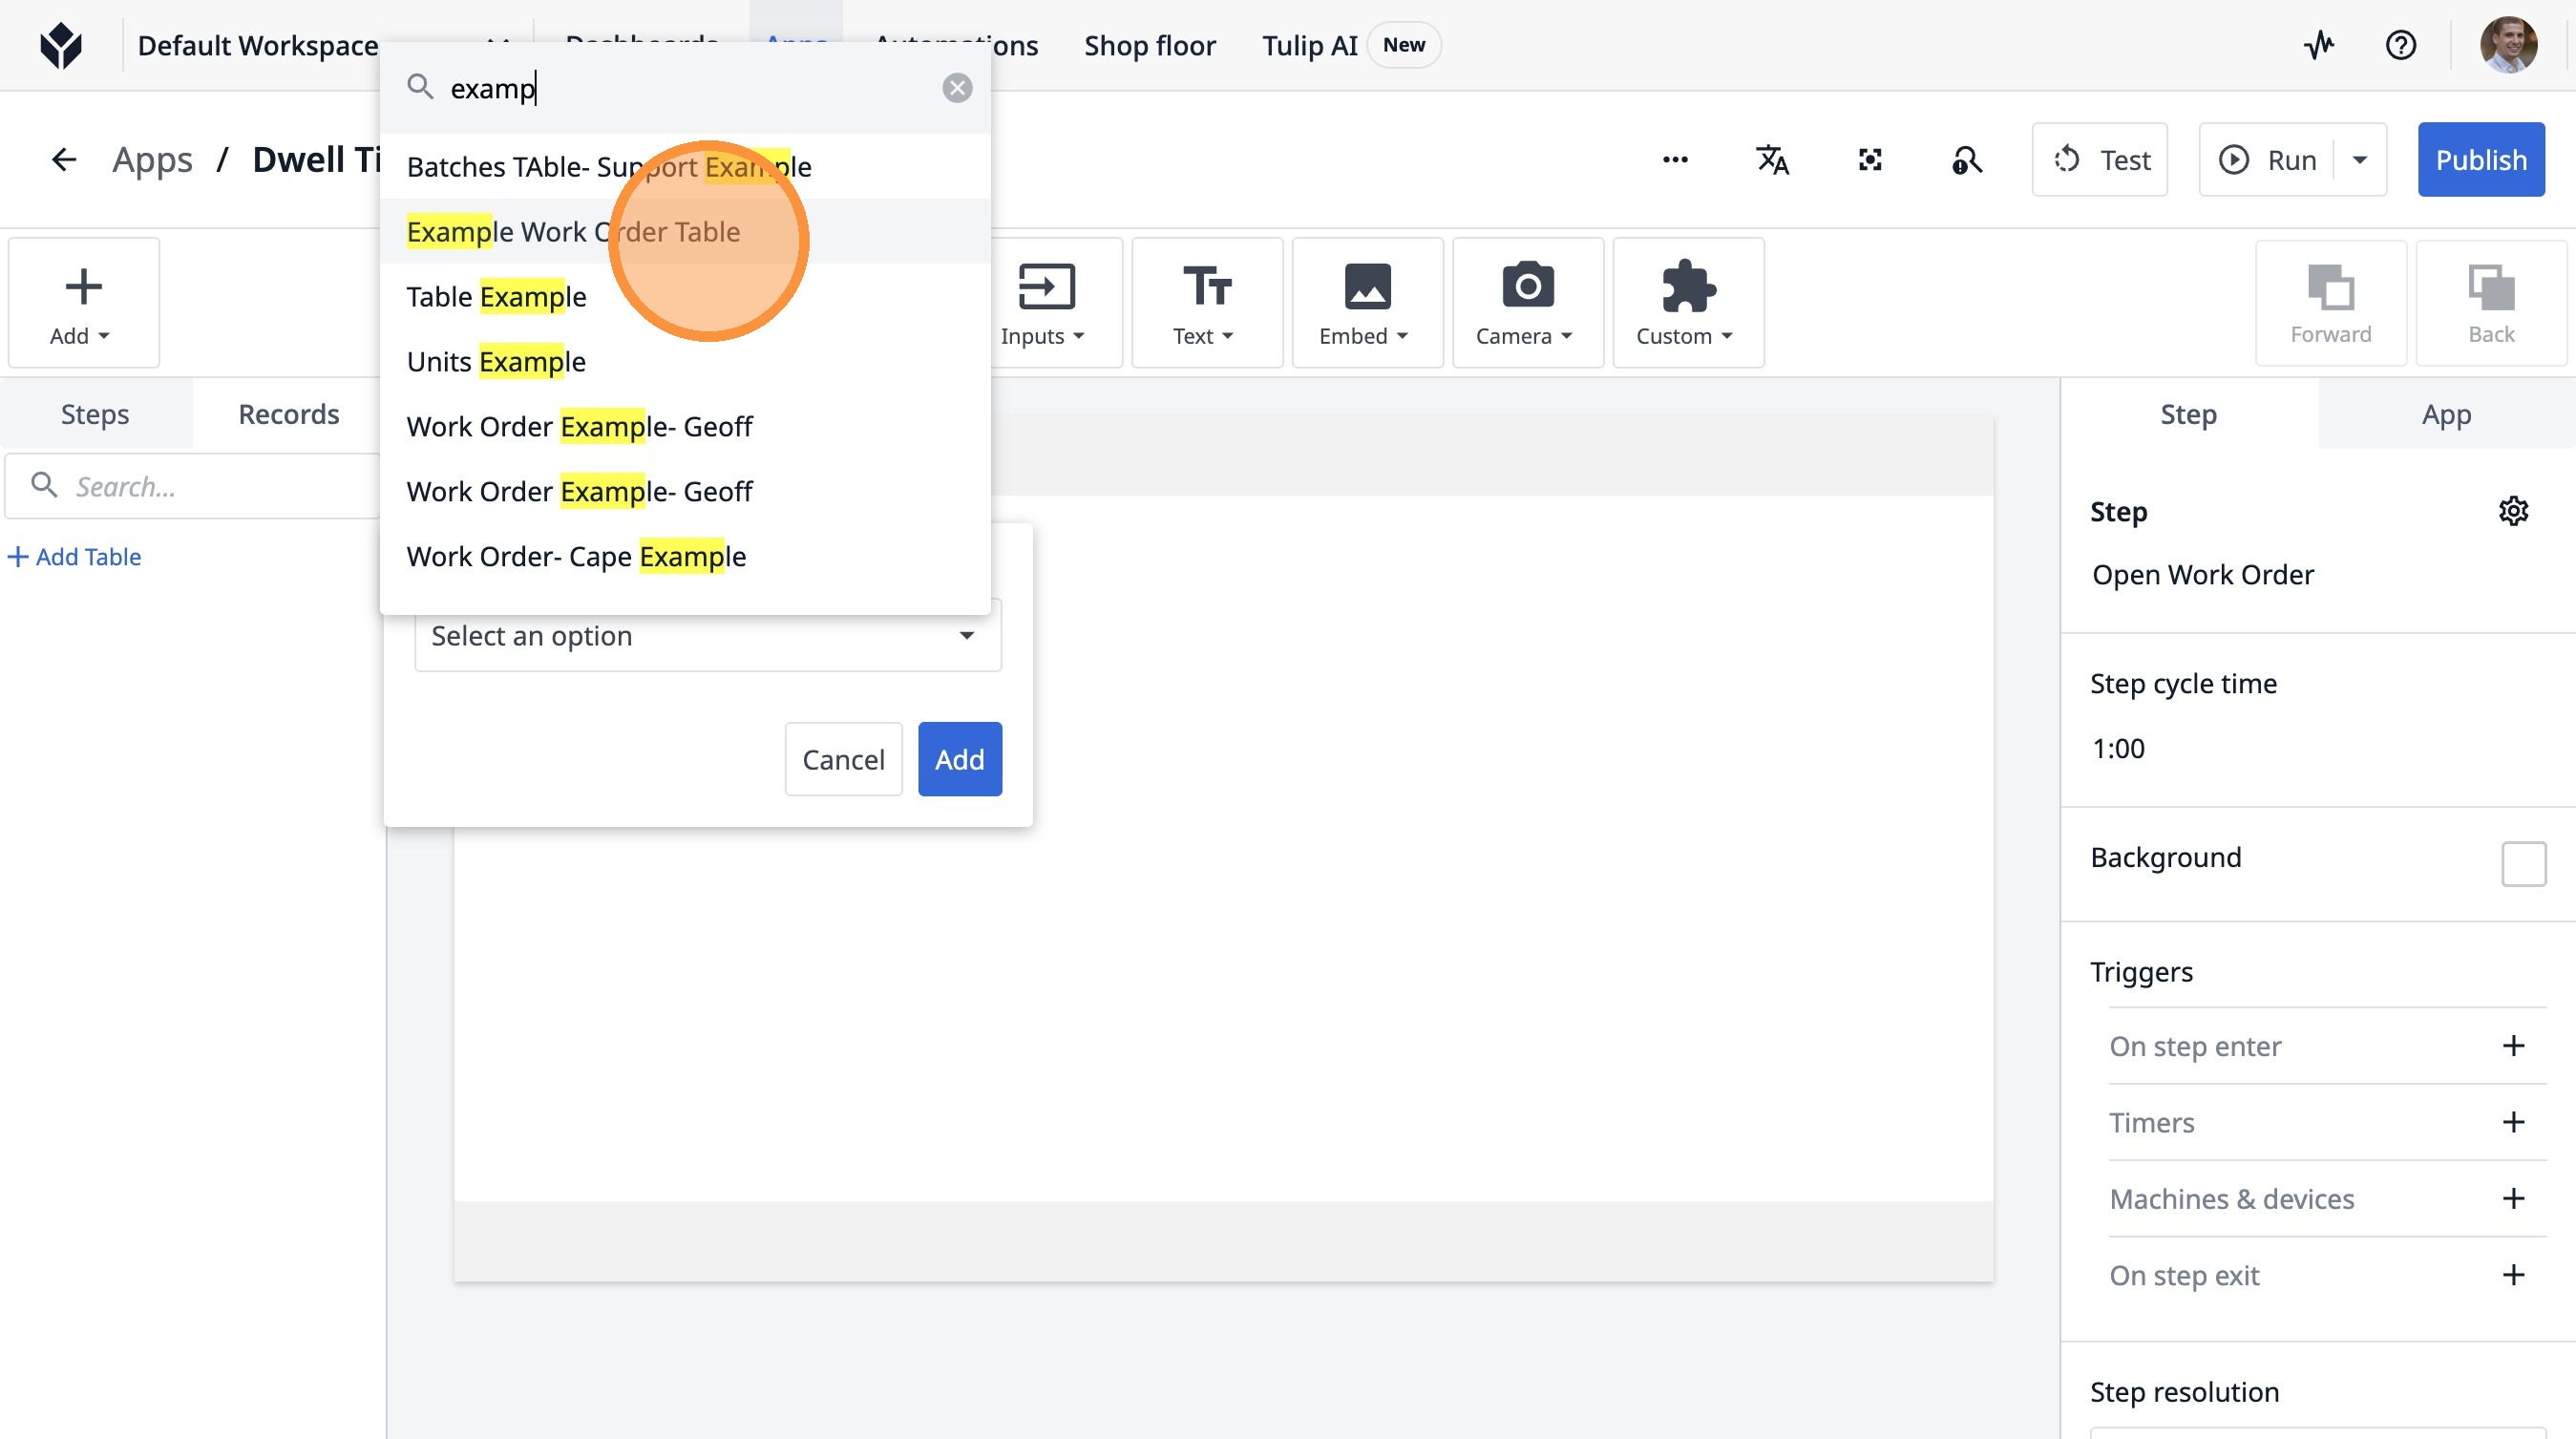
5. Type "examp"
6. Click "le Work Order Table"
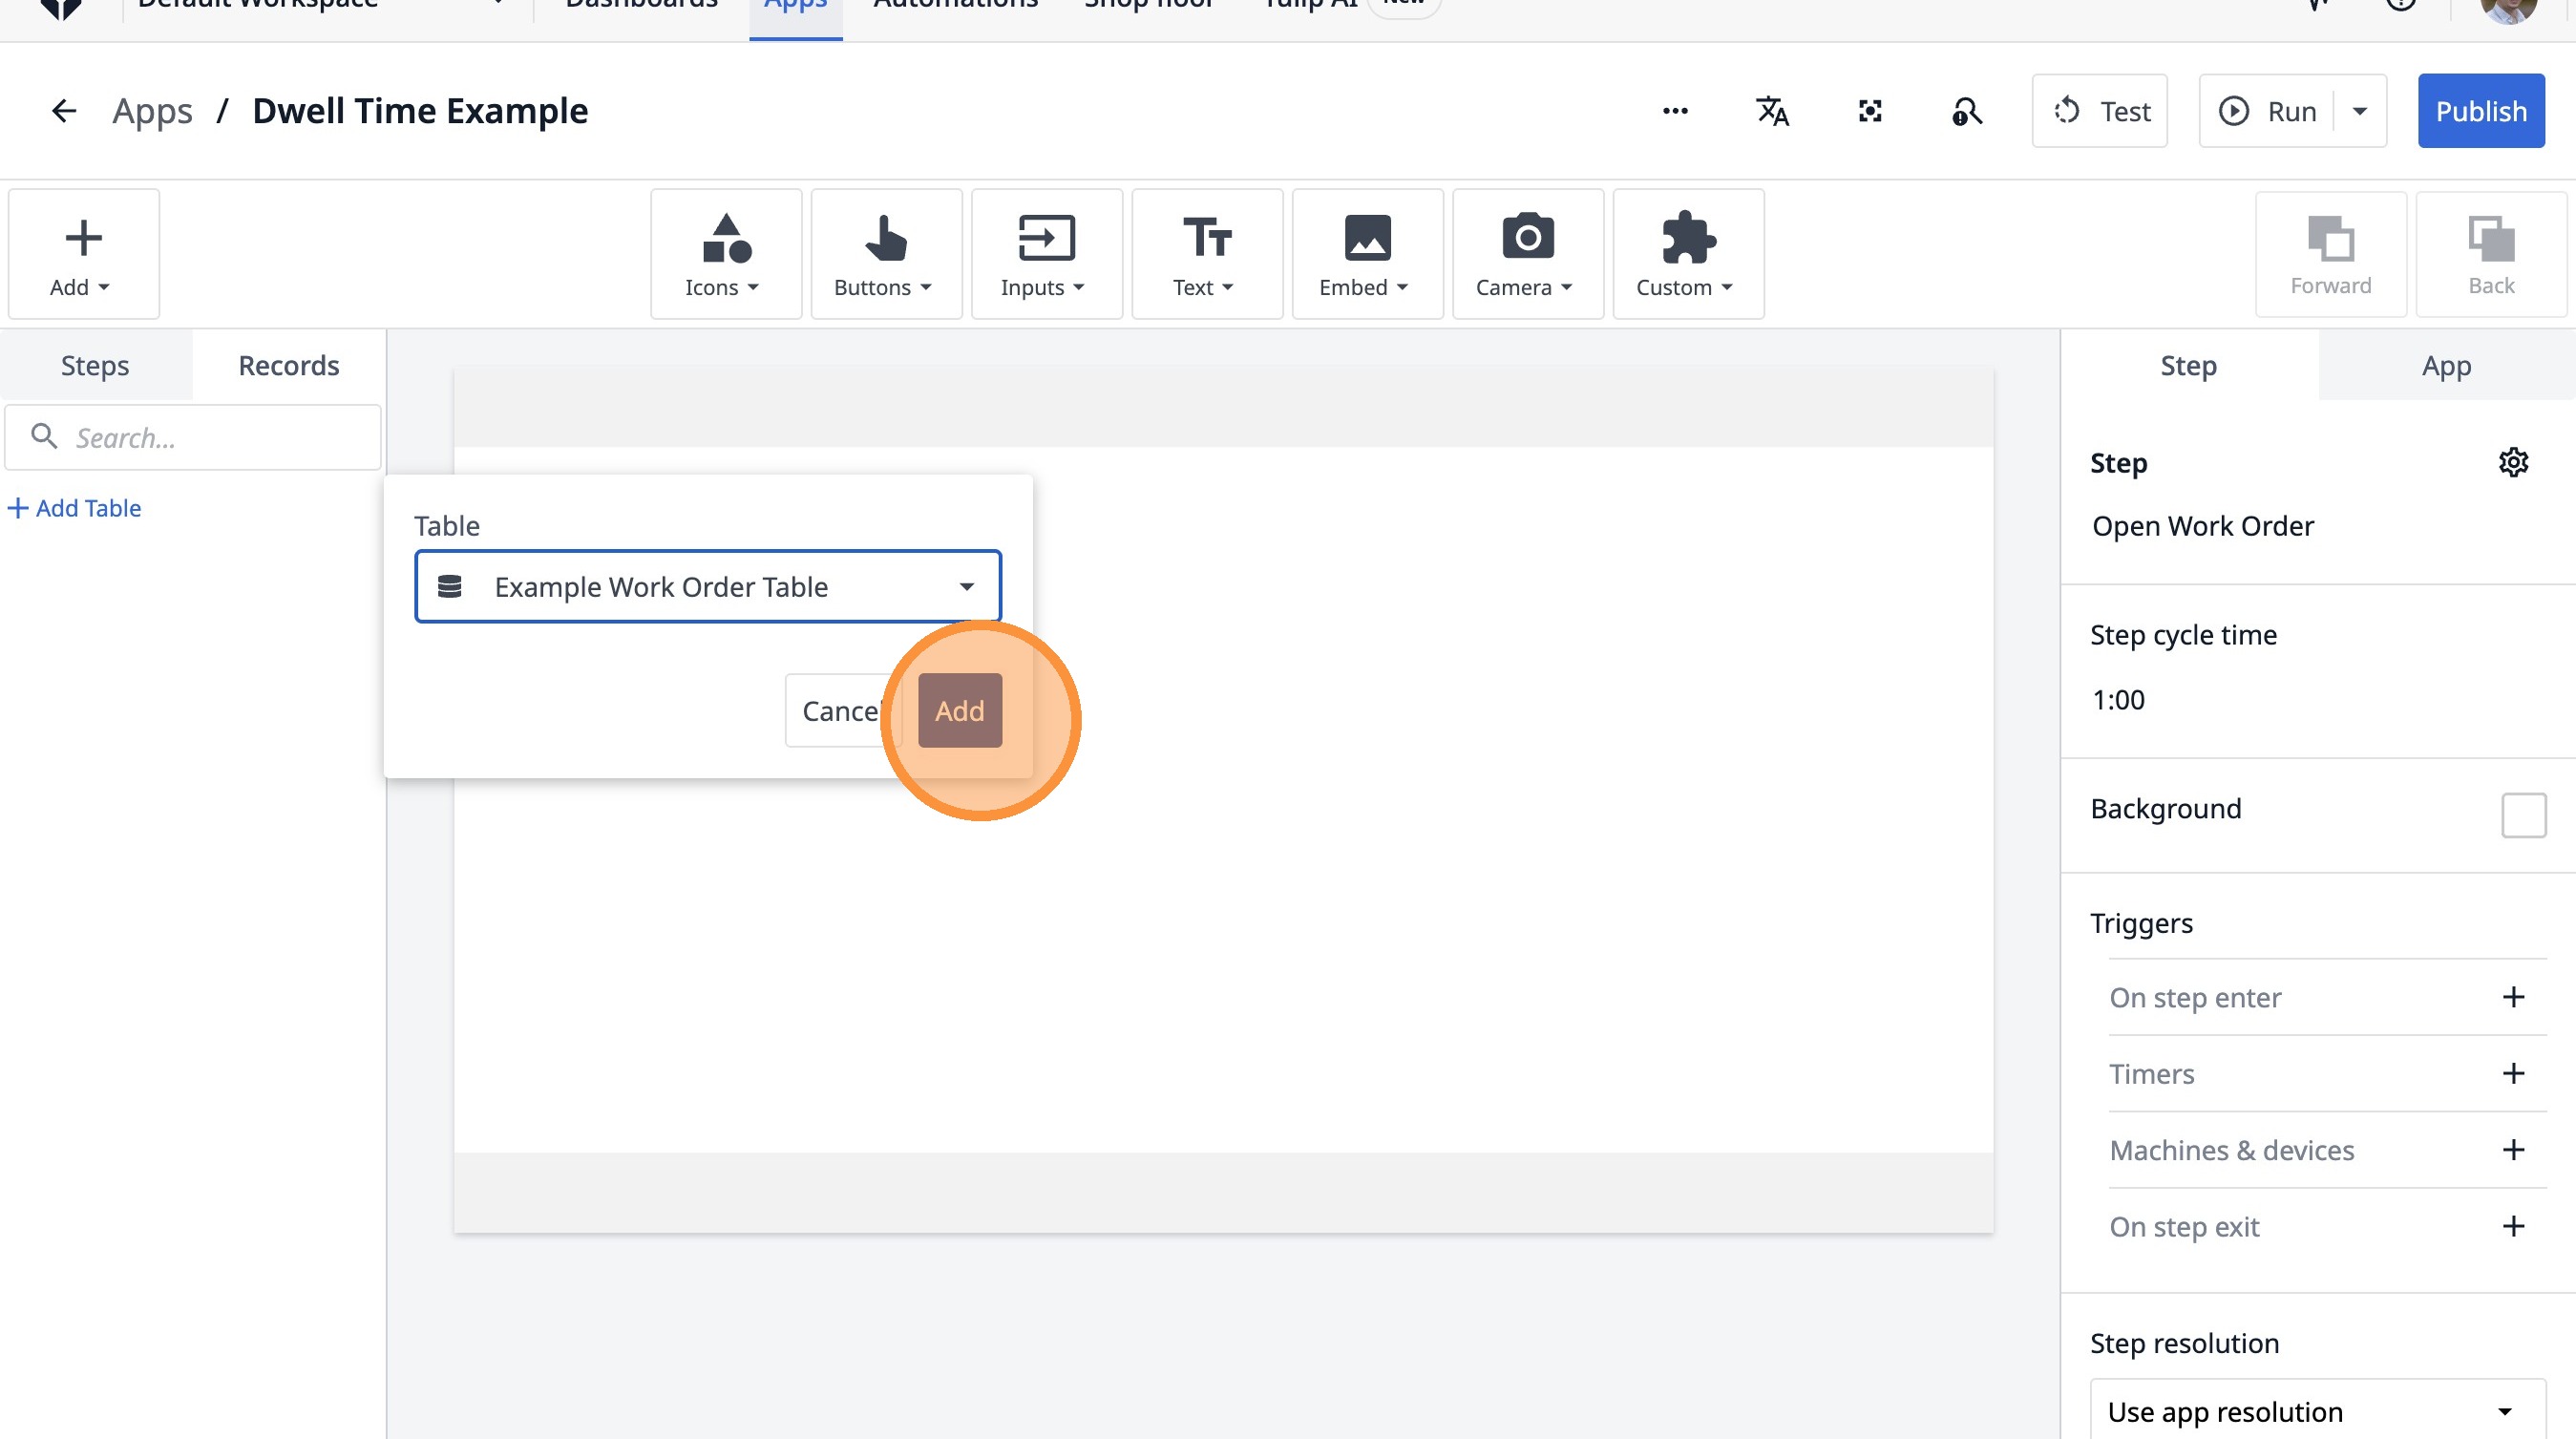
7. Click "Add"
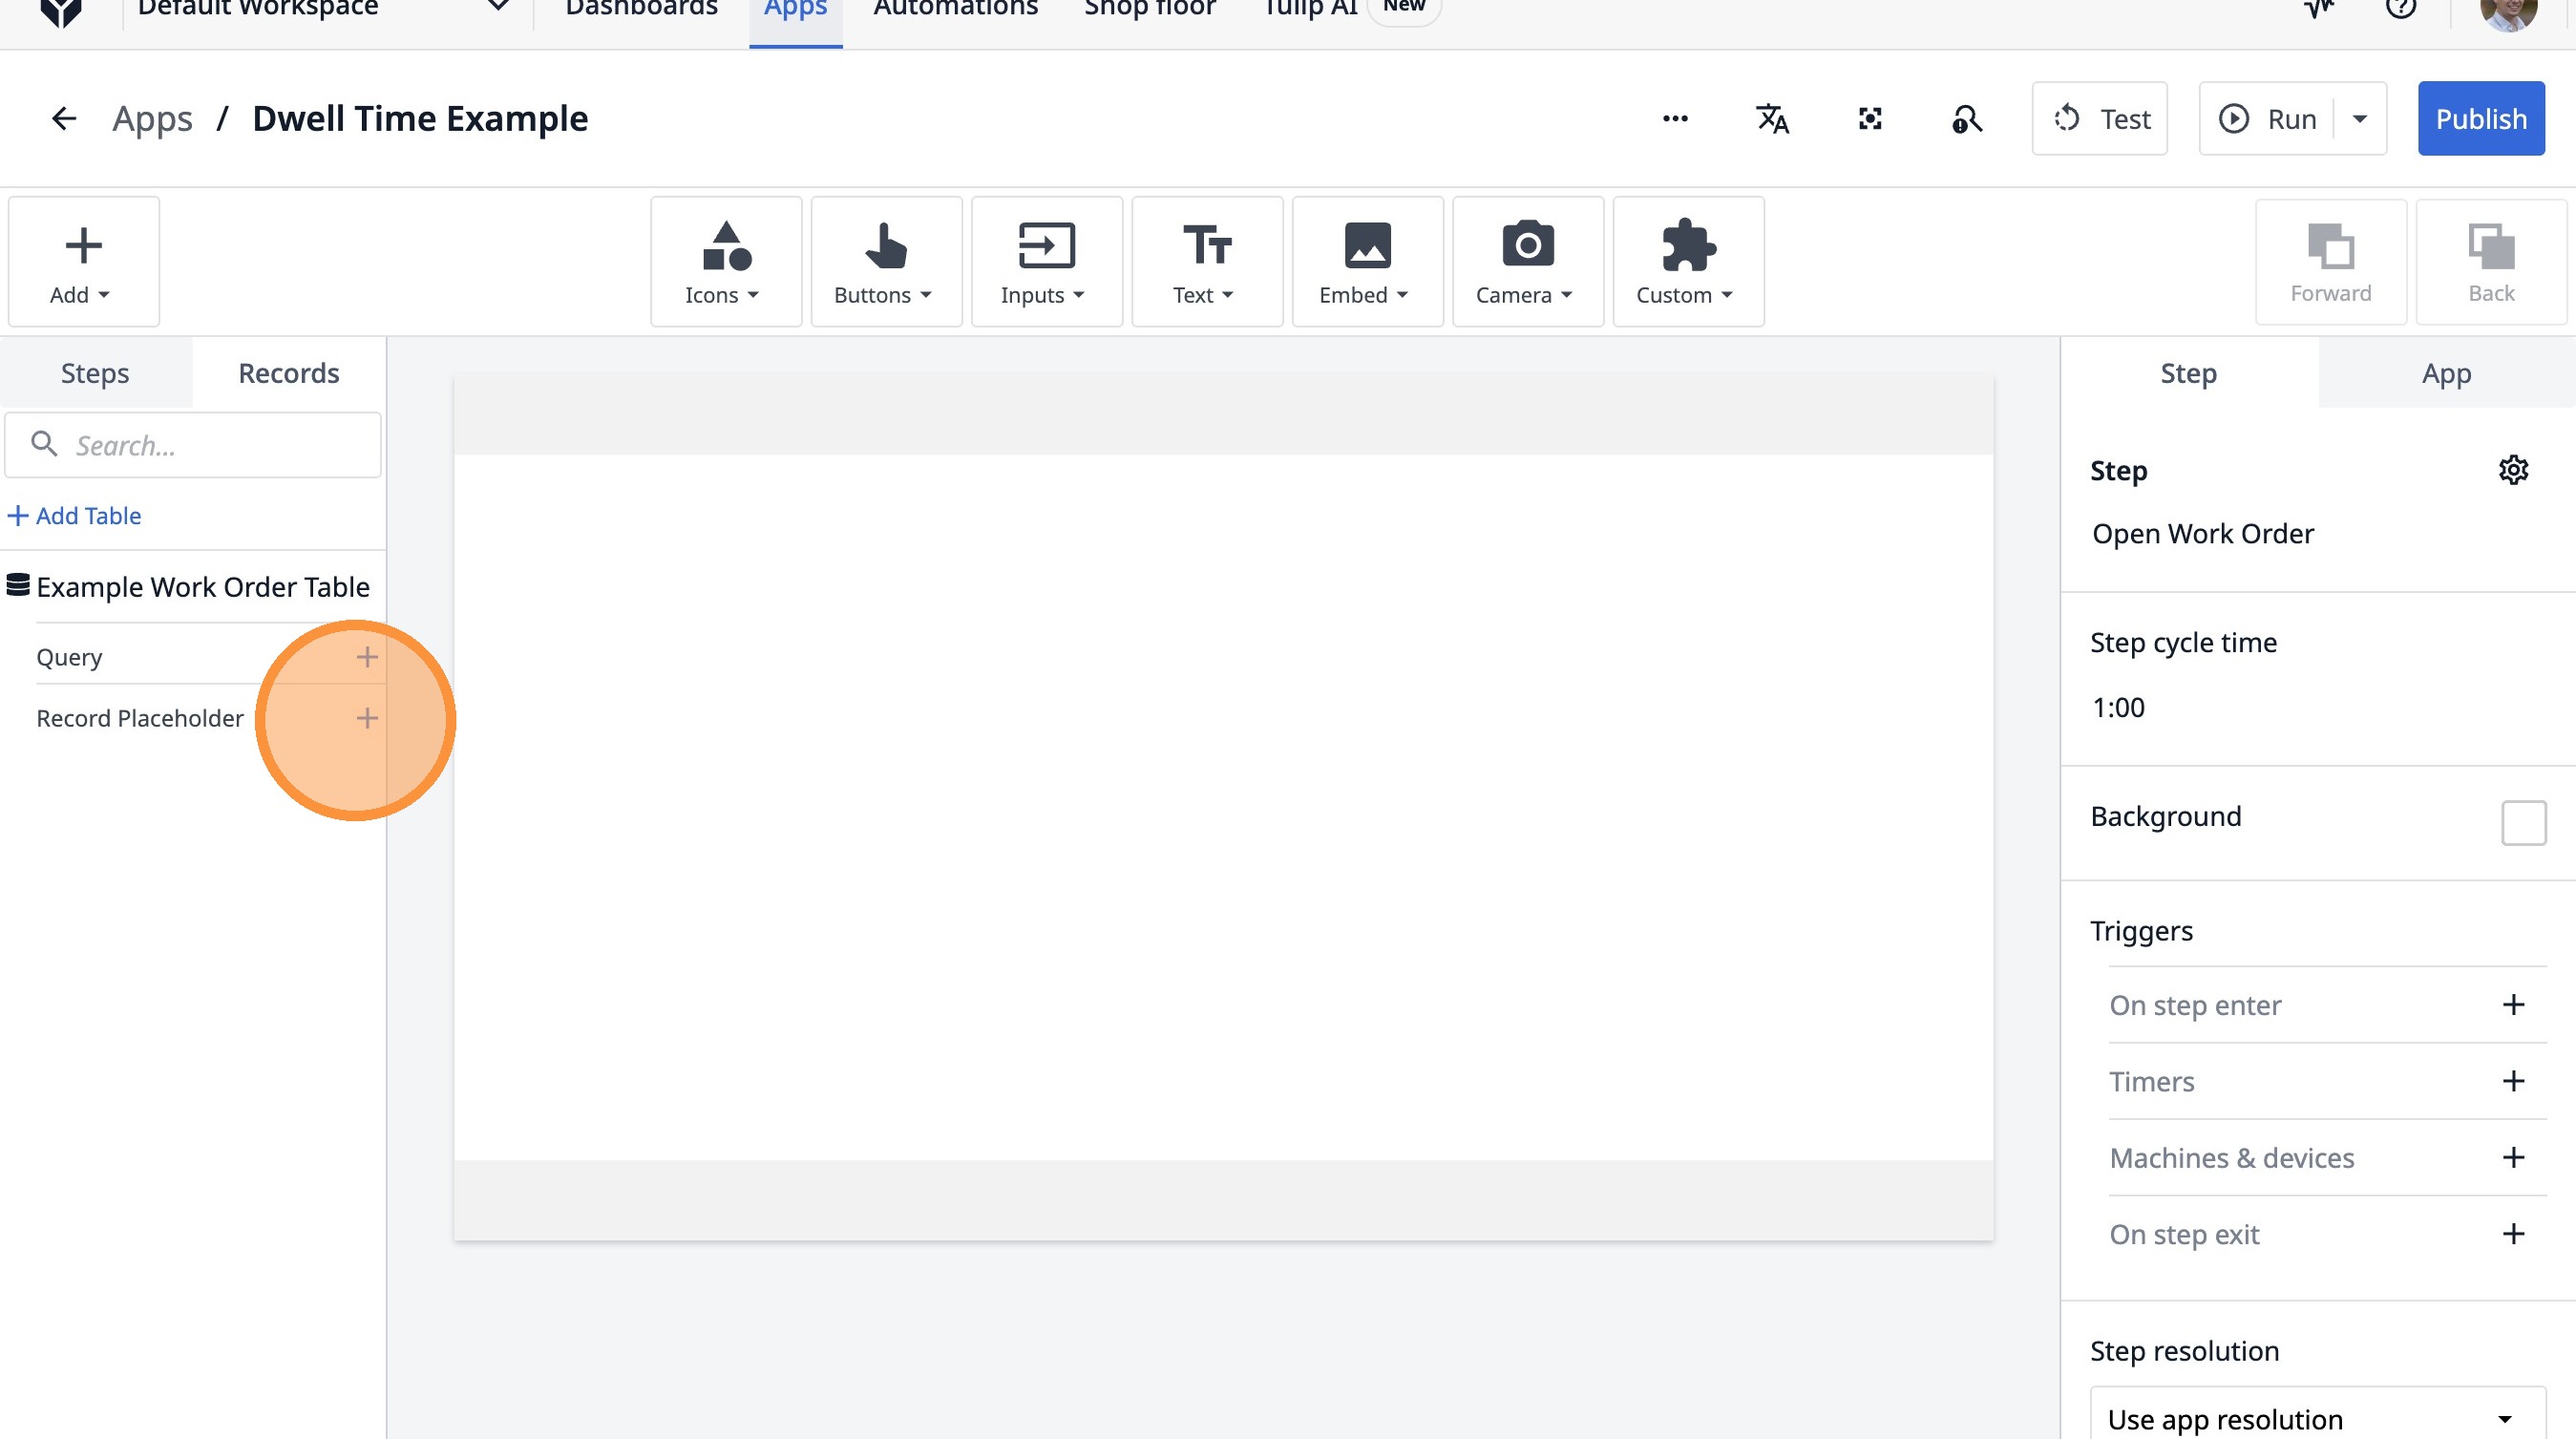
8. Click this icon.
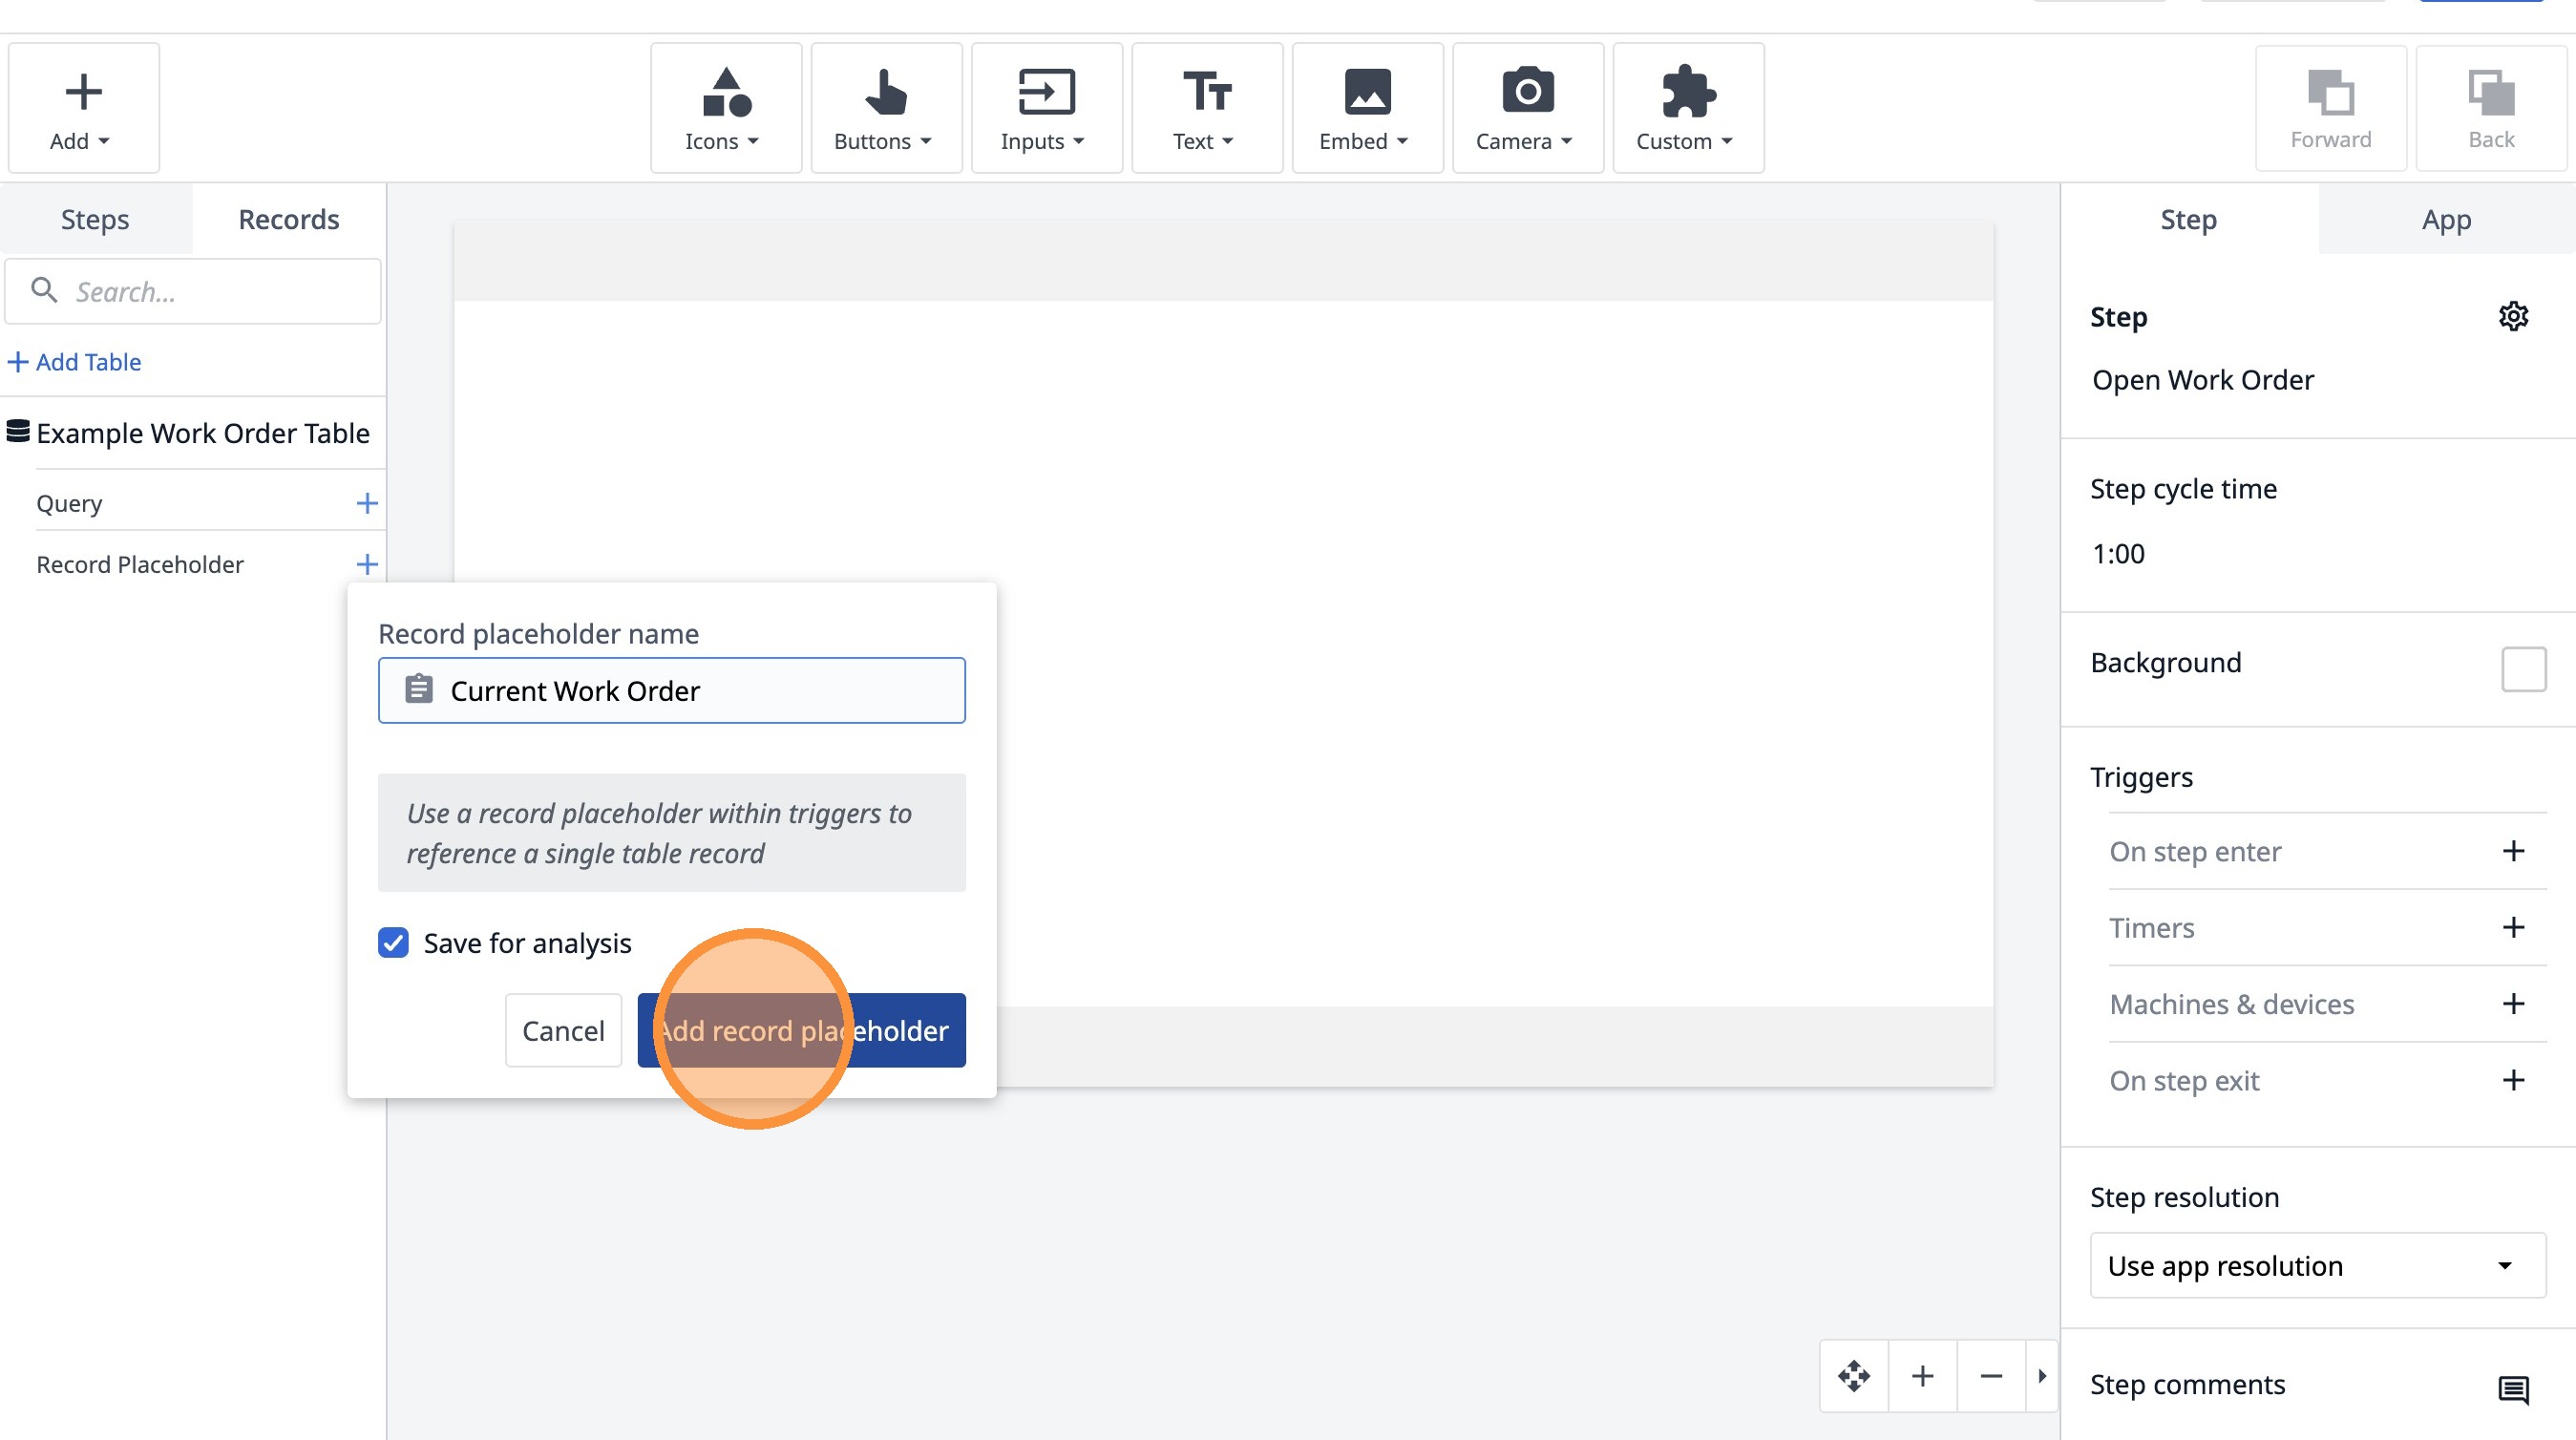
9. Click the "Current Example Work Order Table" field.
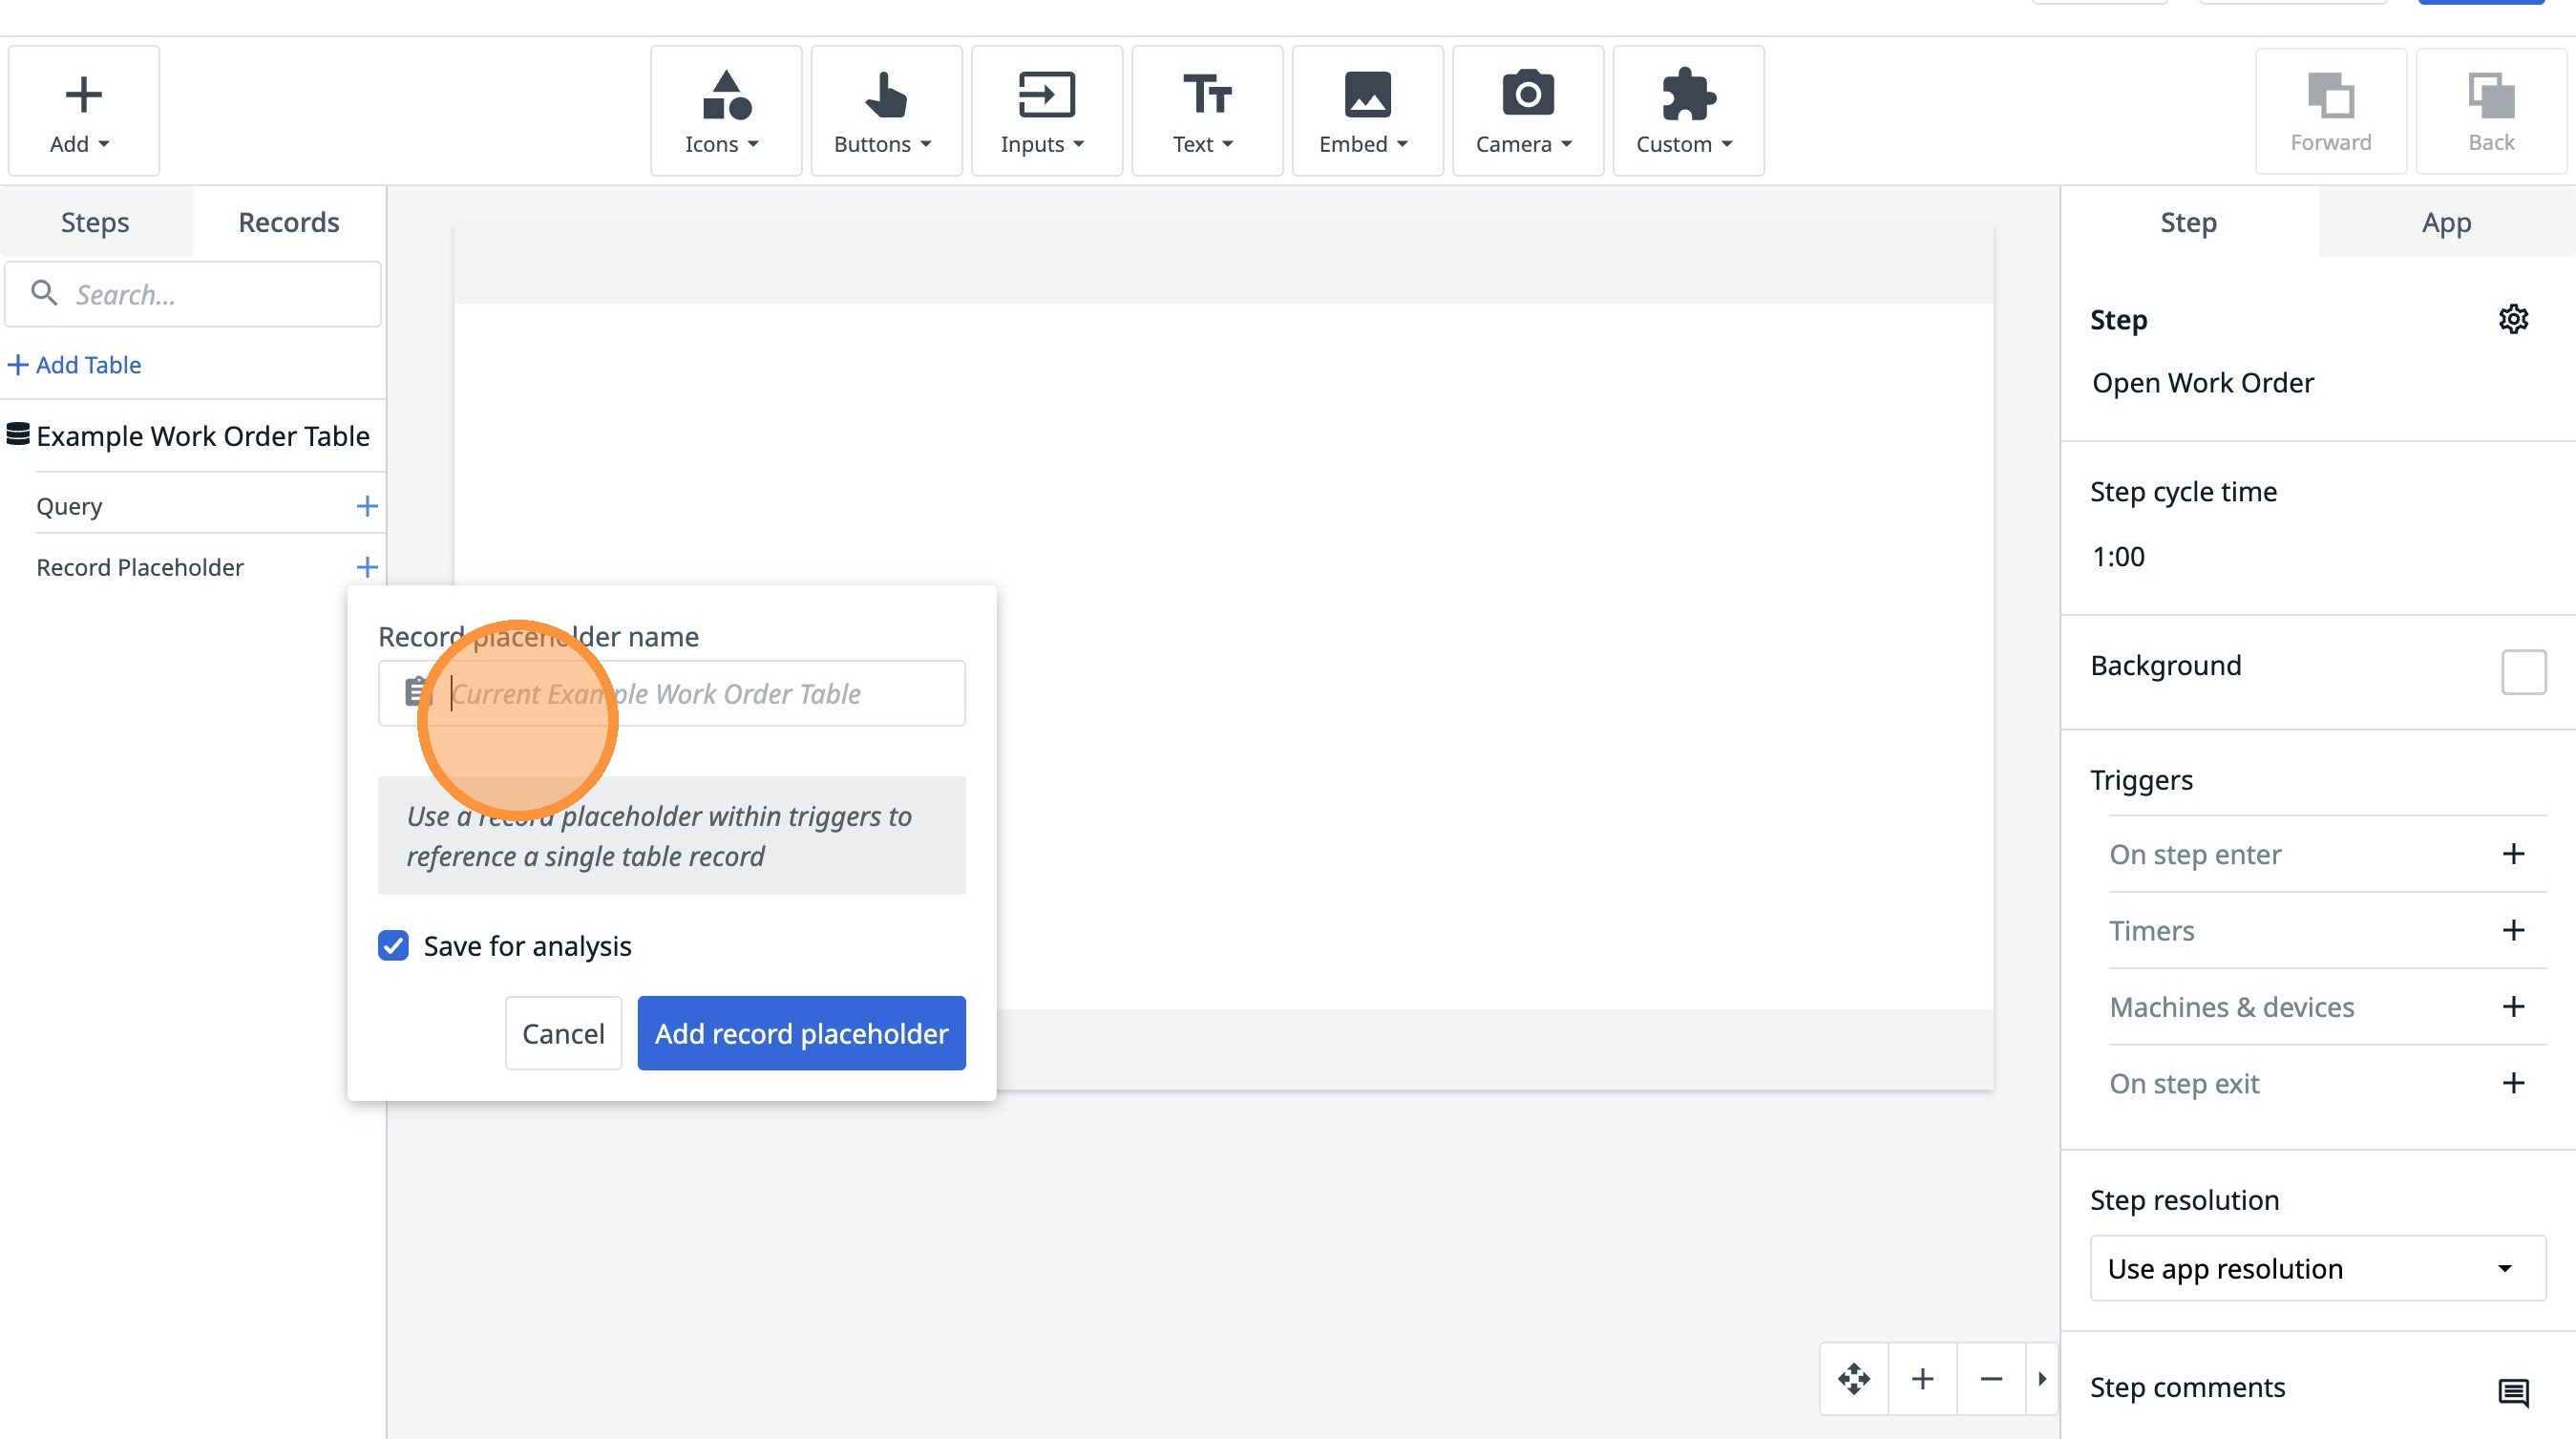
10. Type "Current Work Order"
11. Click "Add record placeholder"
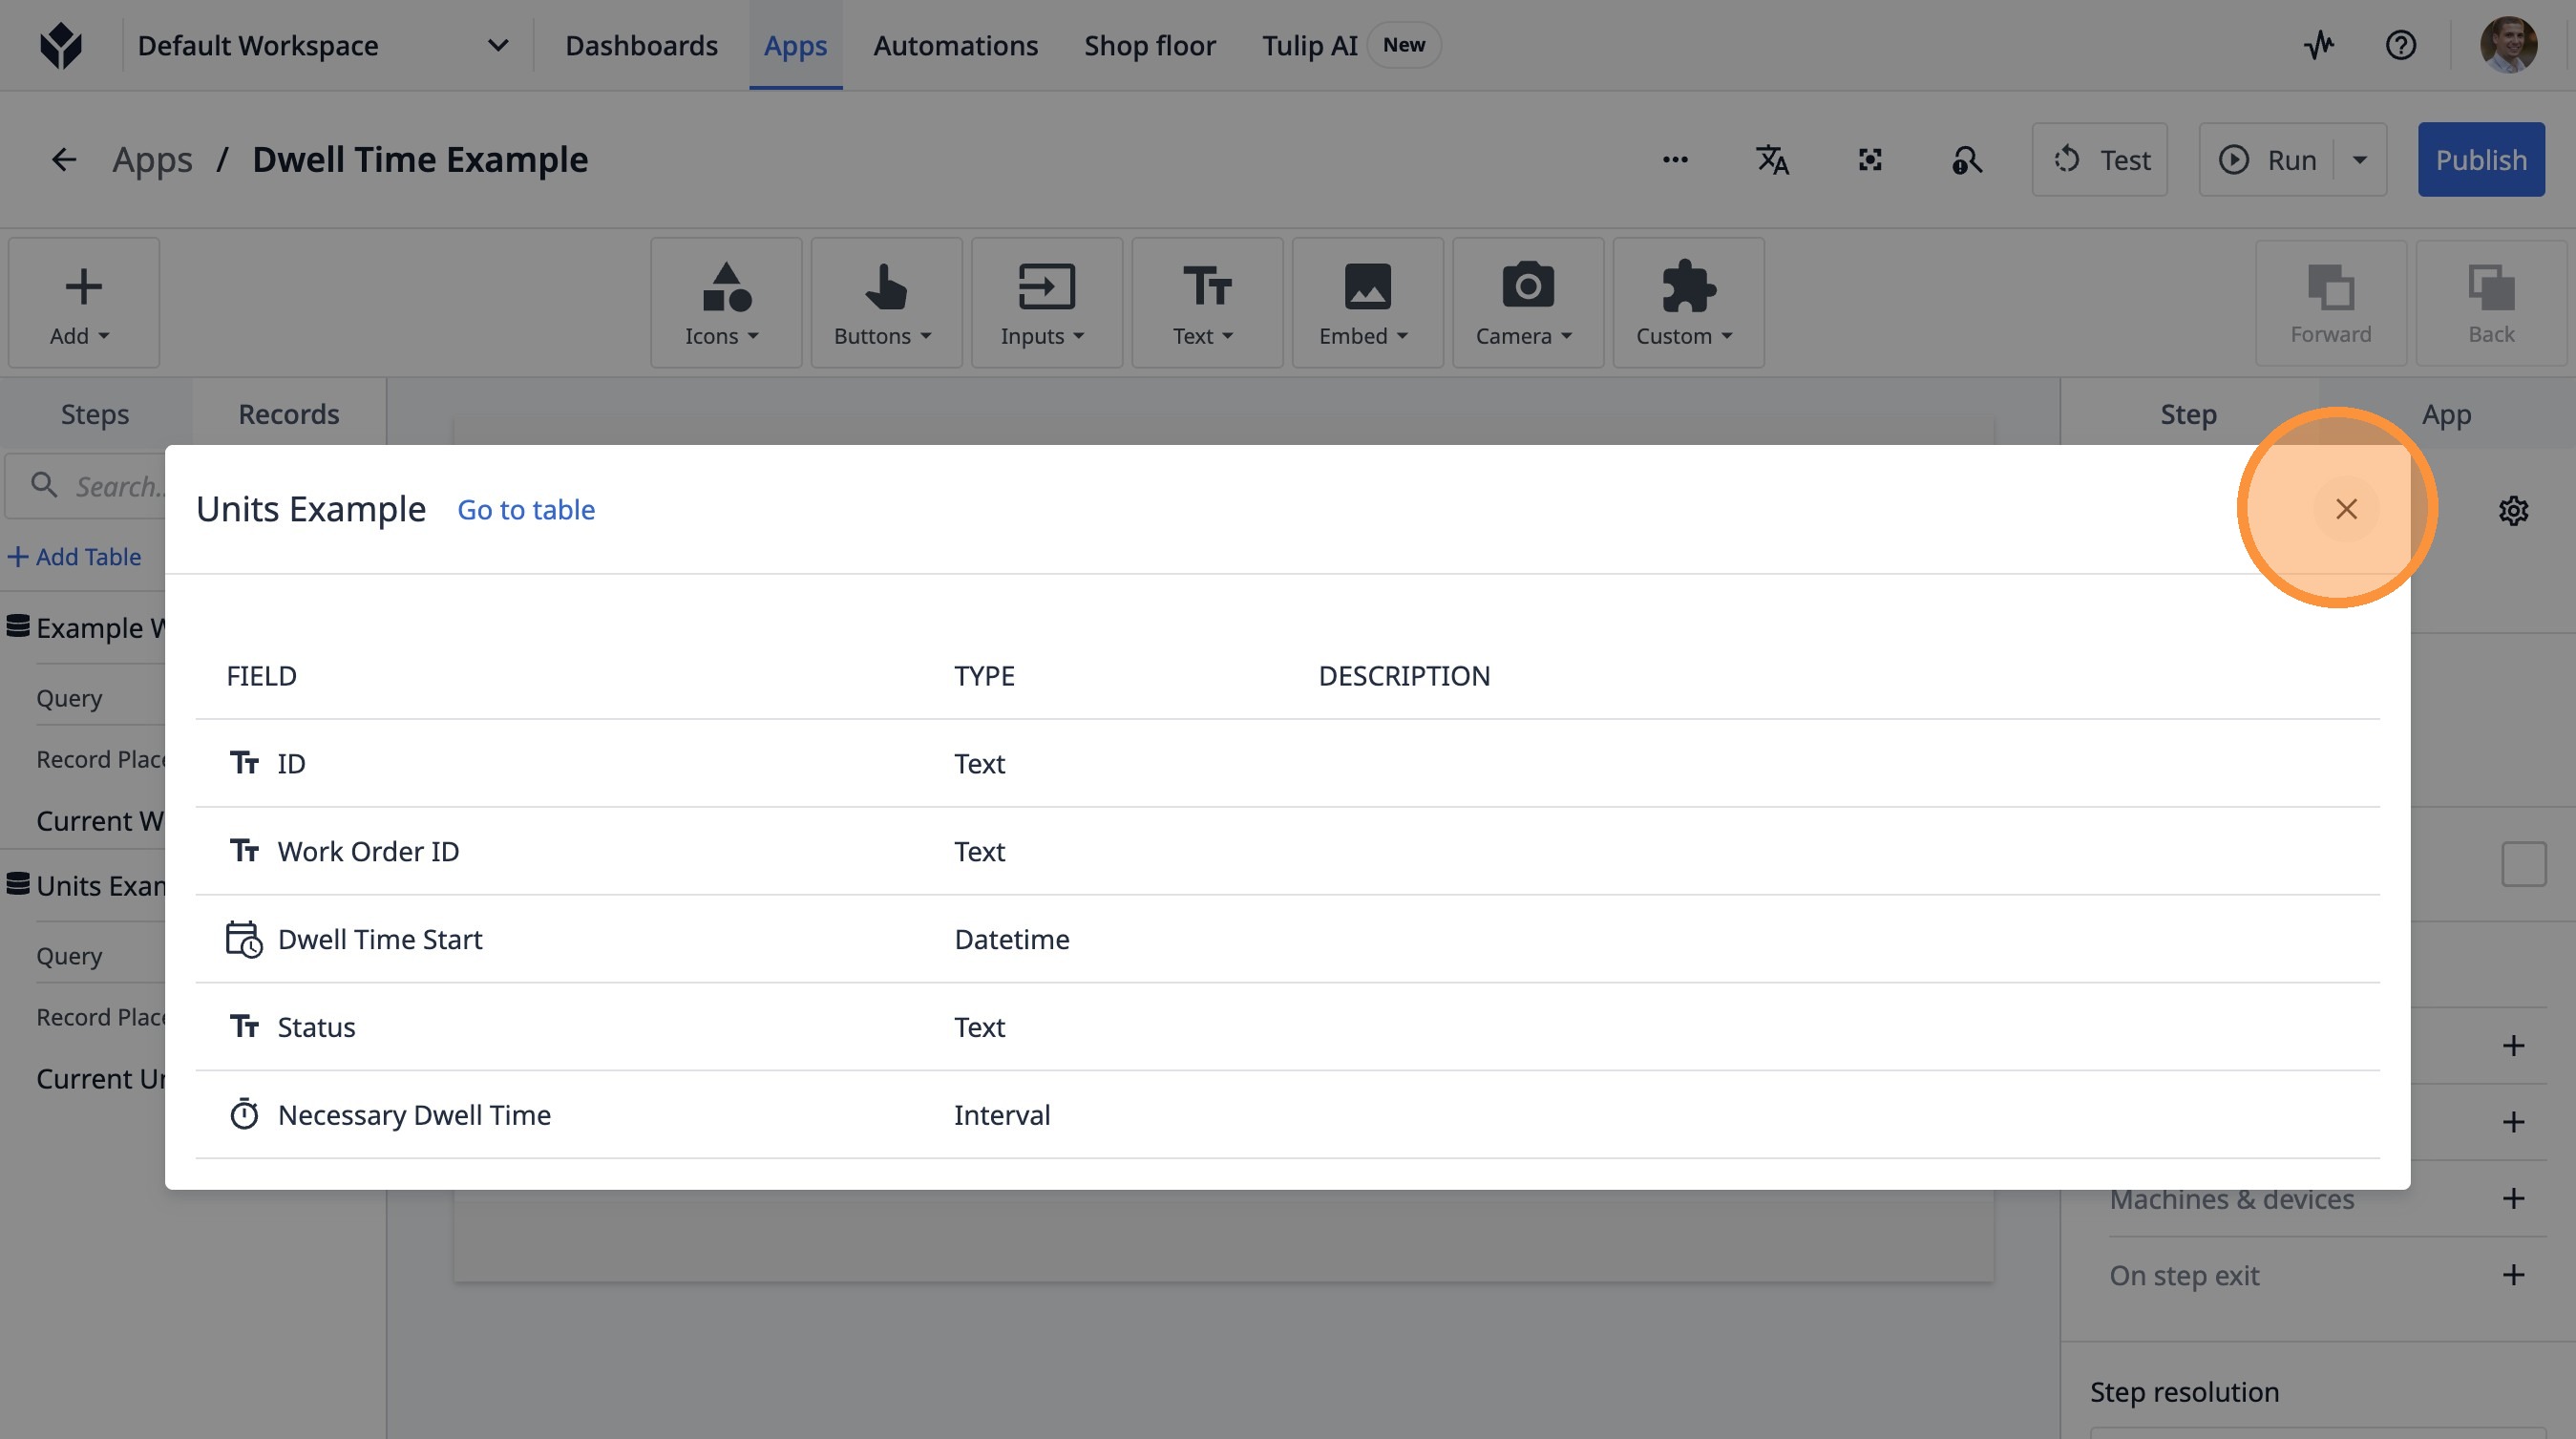
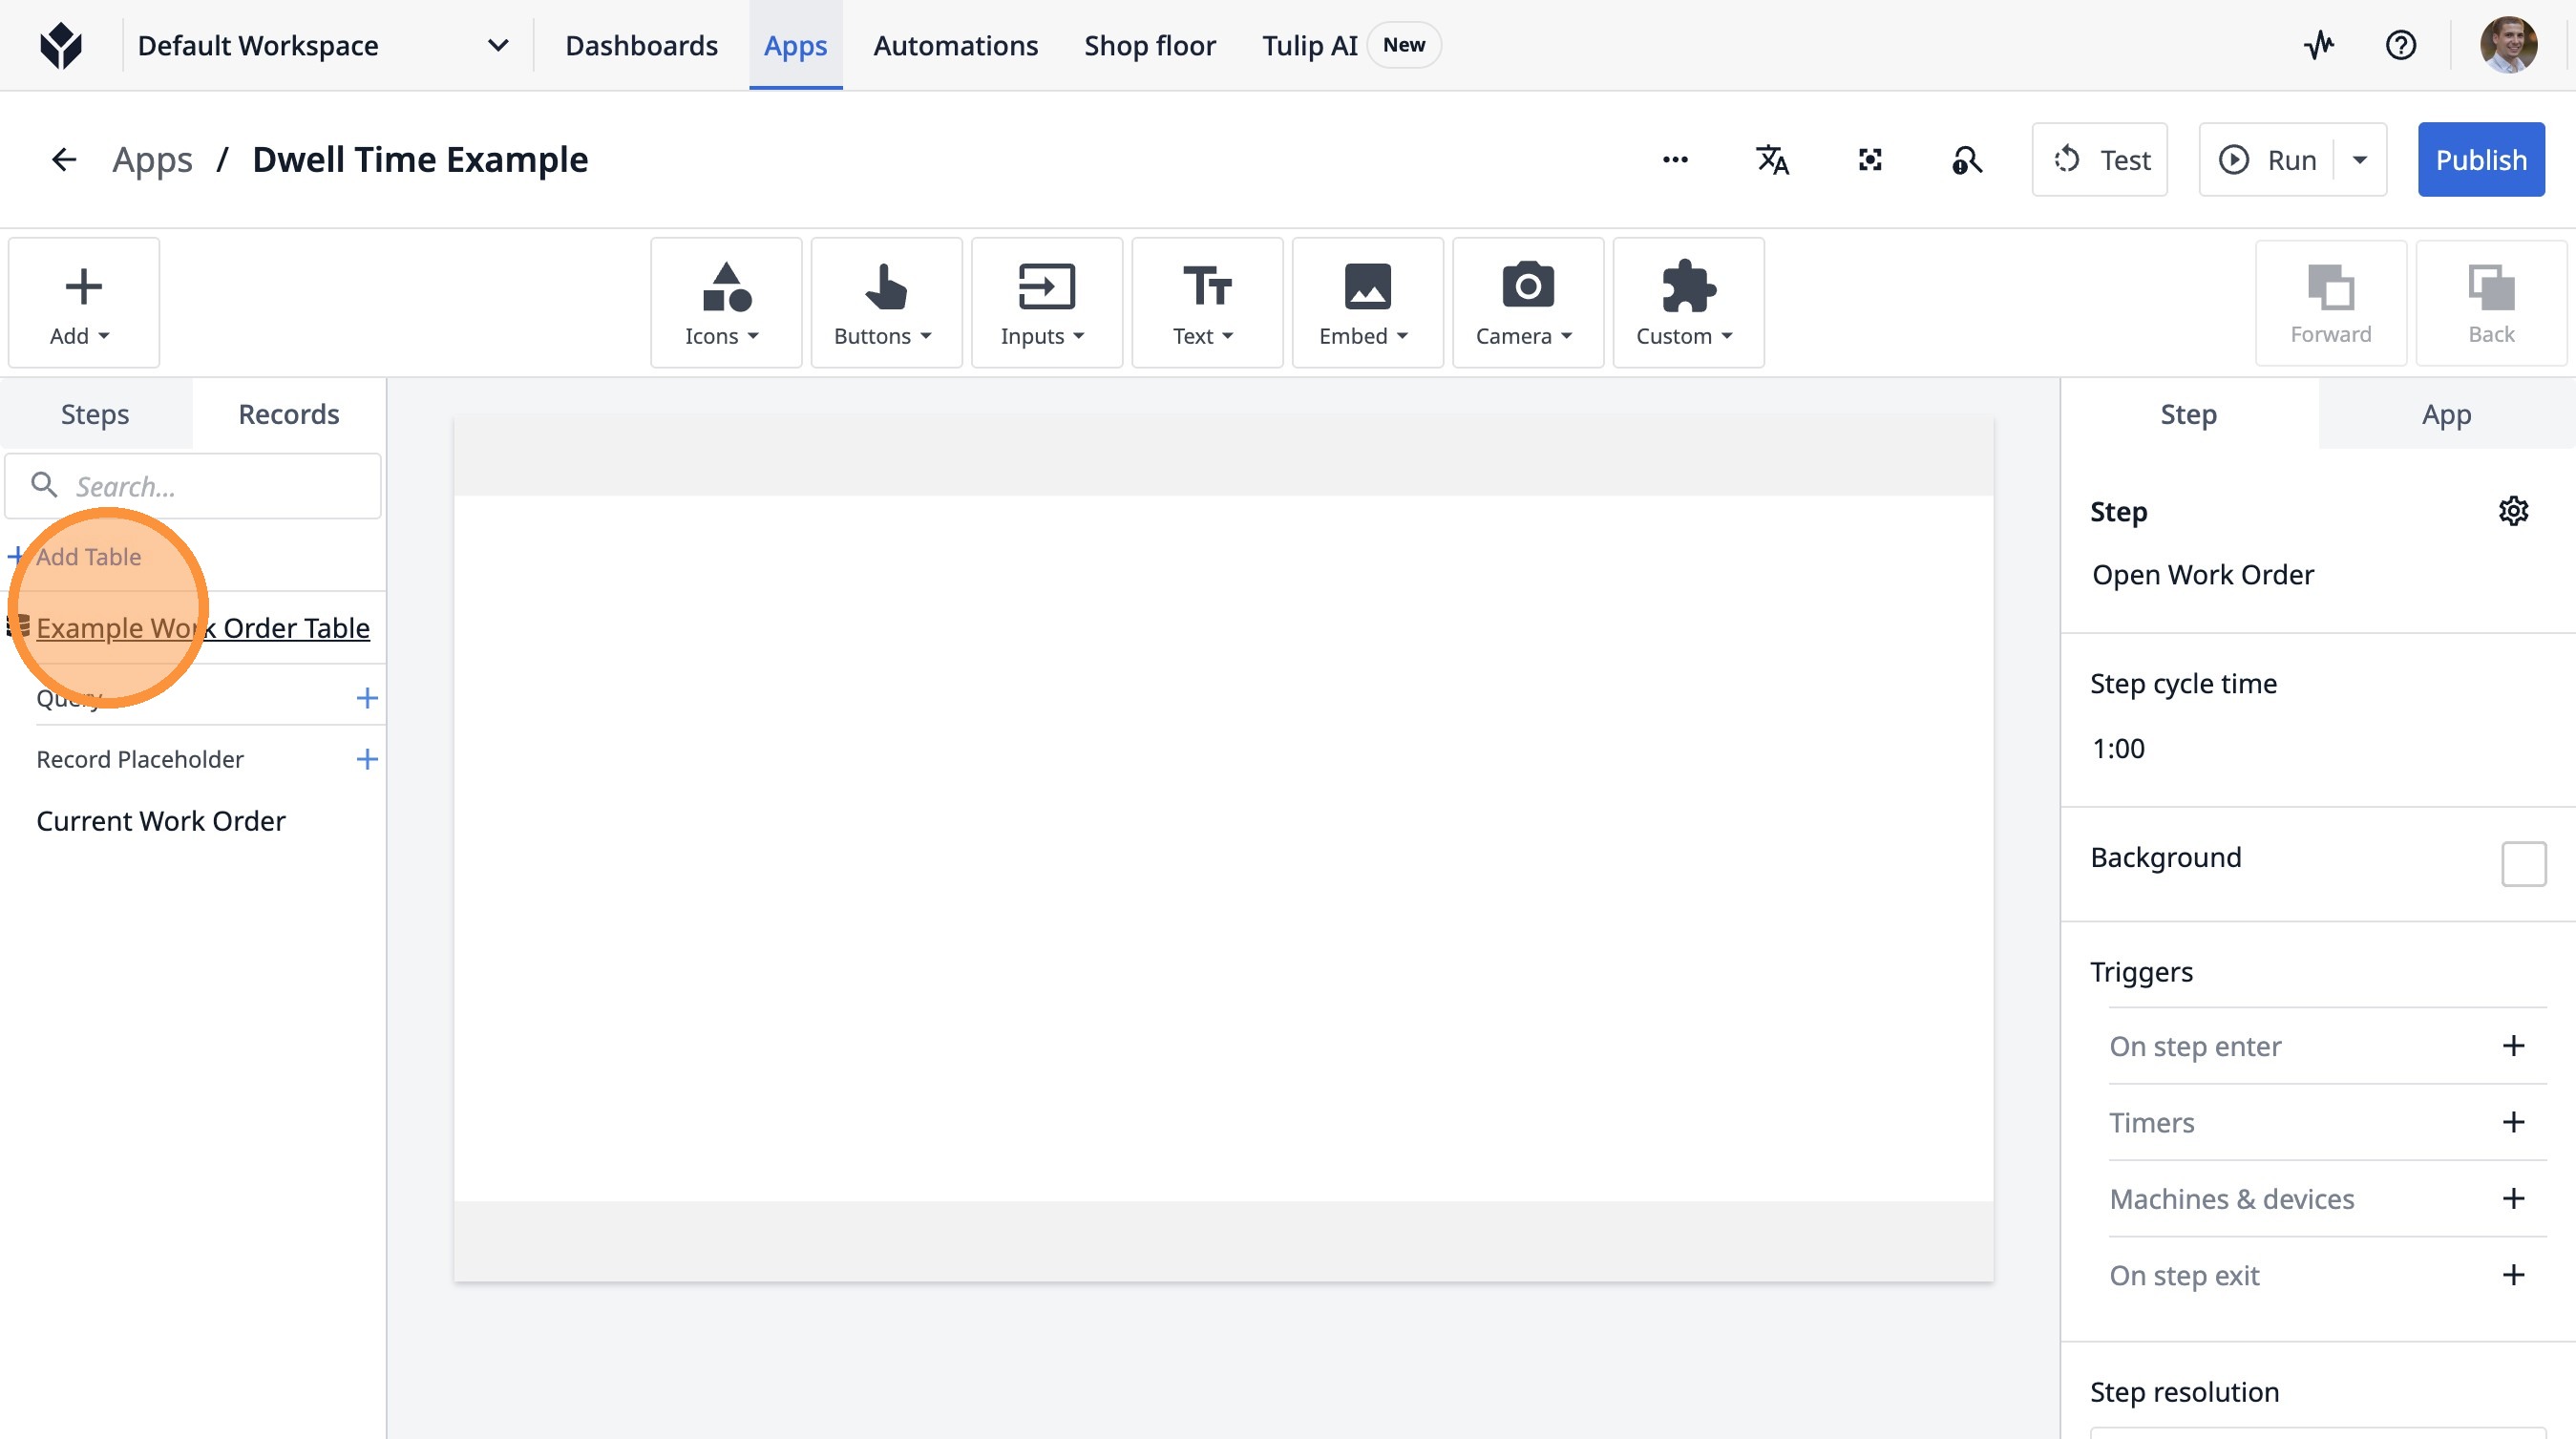
12. Click "Example Work Order Table"
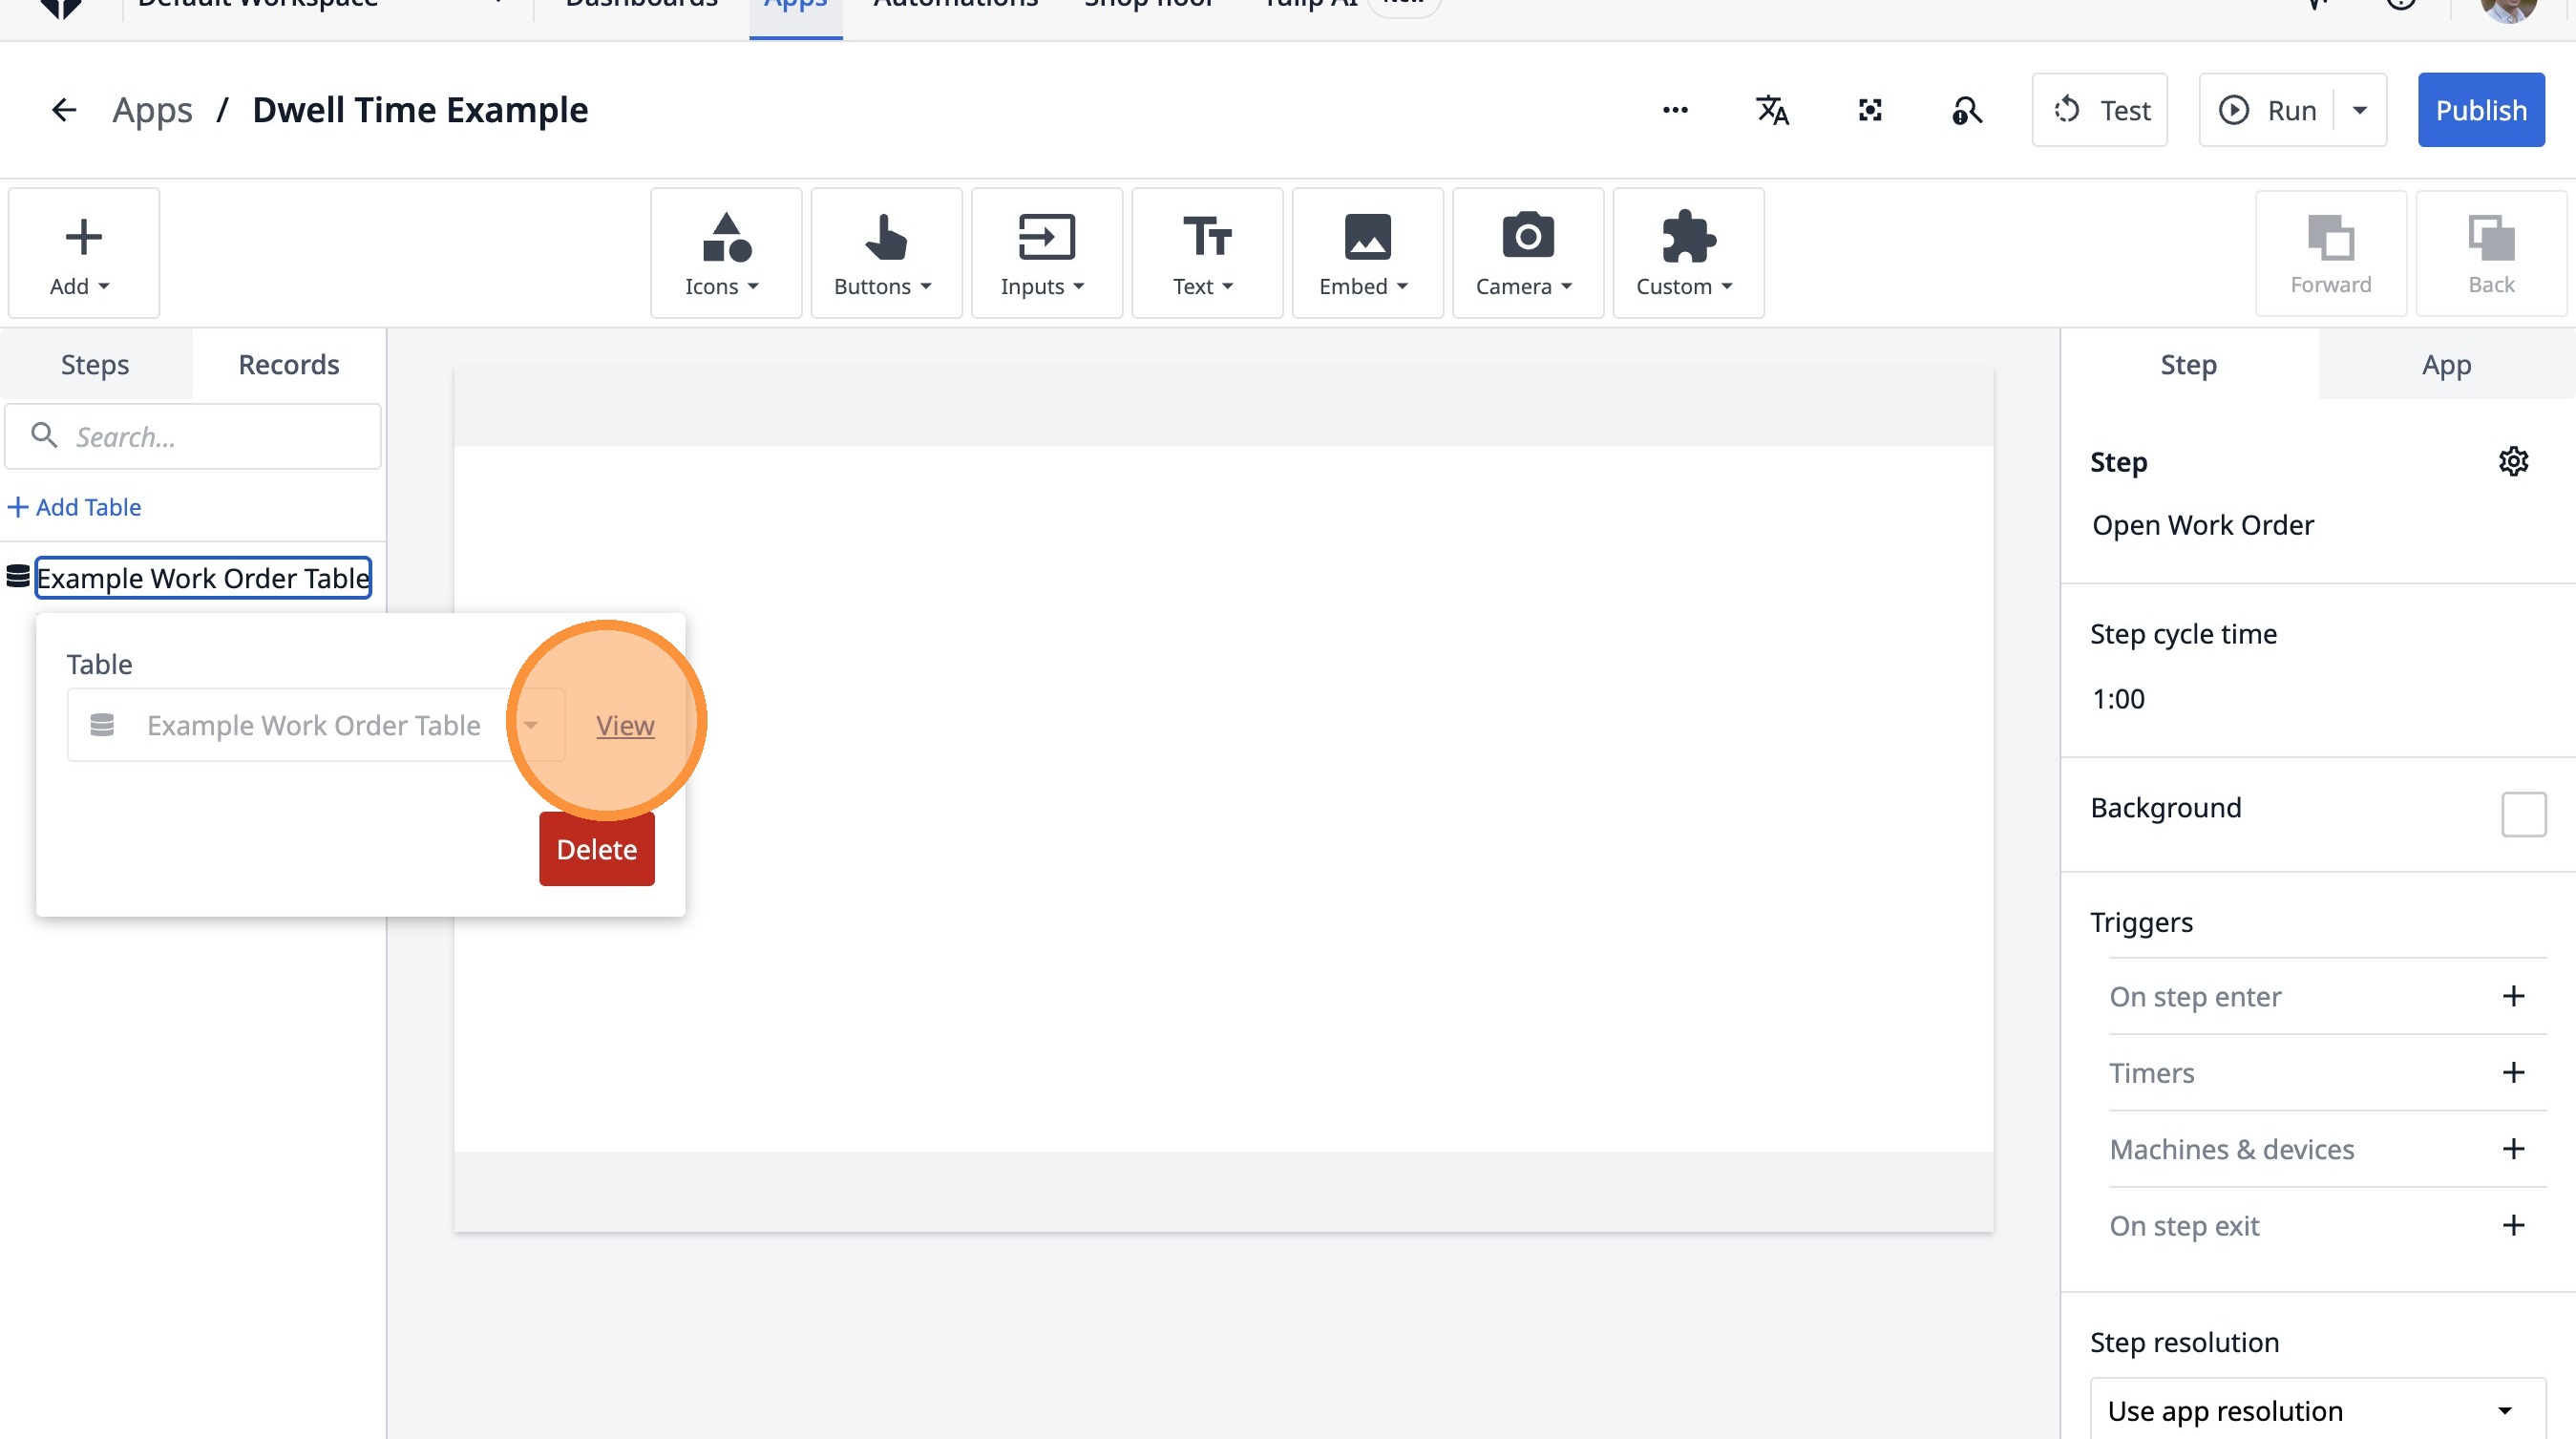
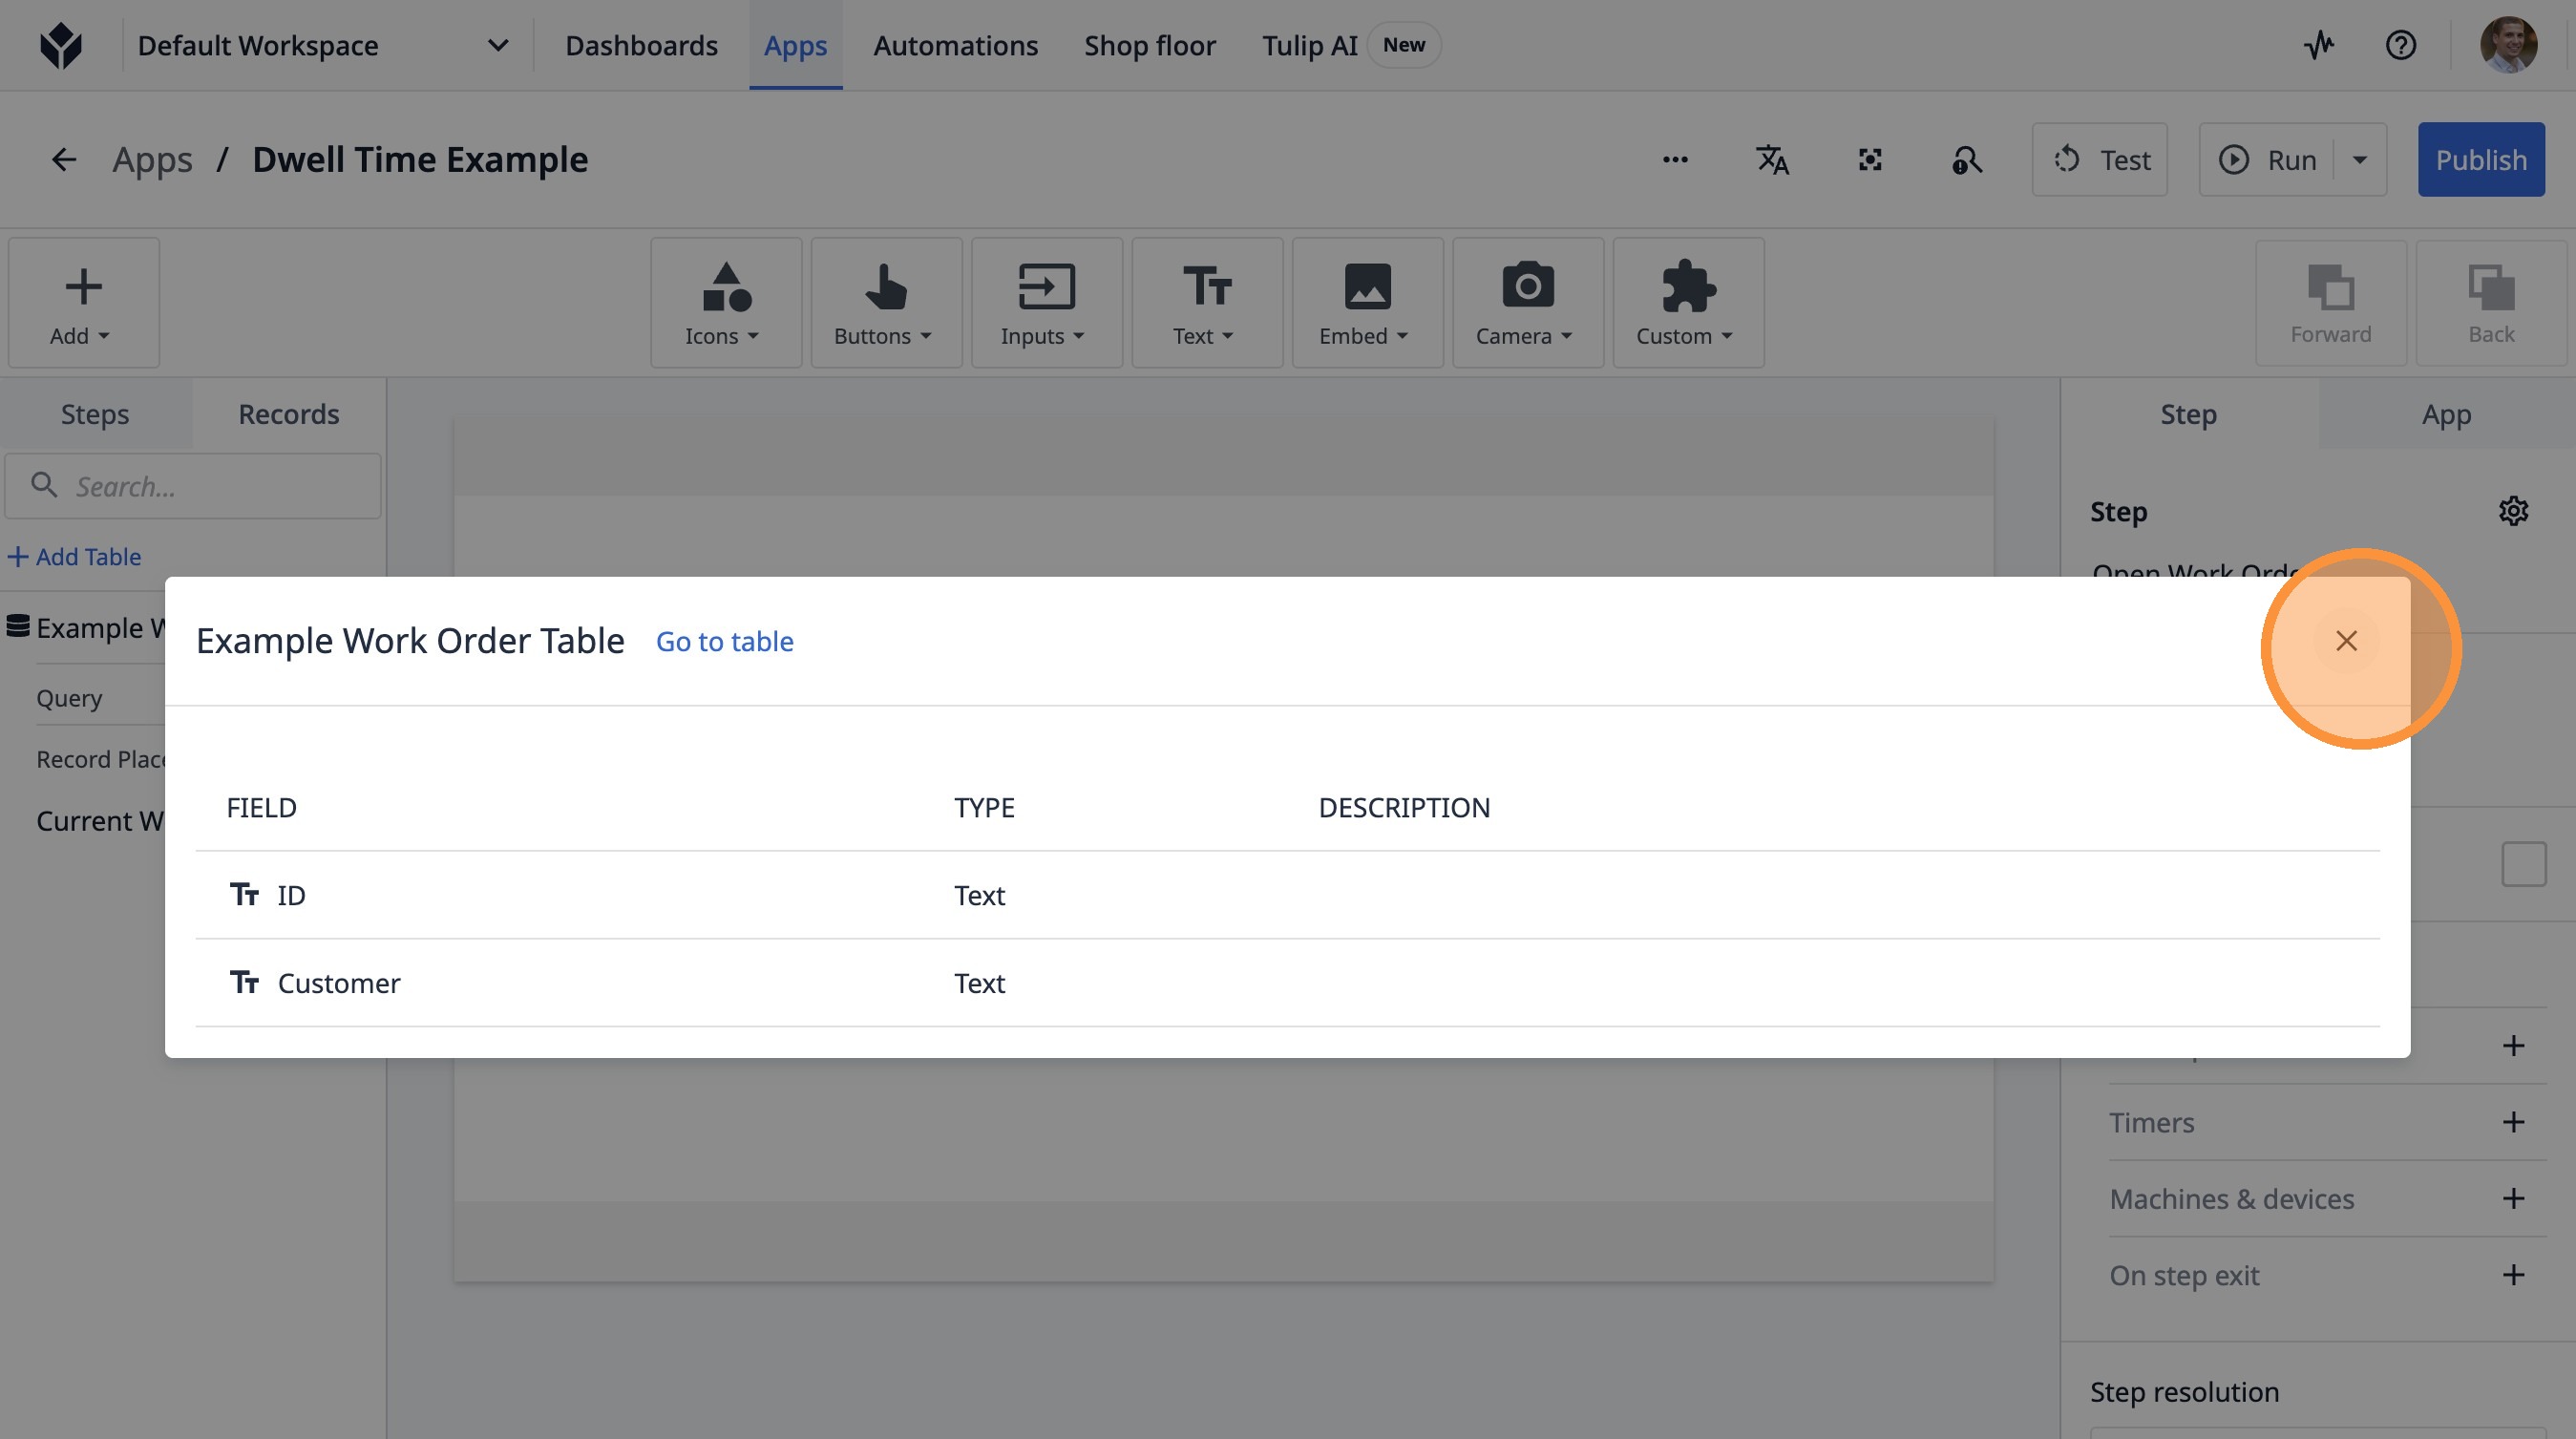
13. Click "View"
14. Click this icon.
15. Click "Add Table"
16. Click "Select an option"
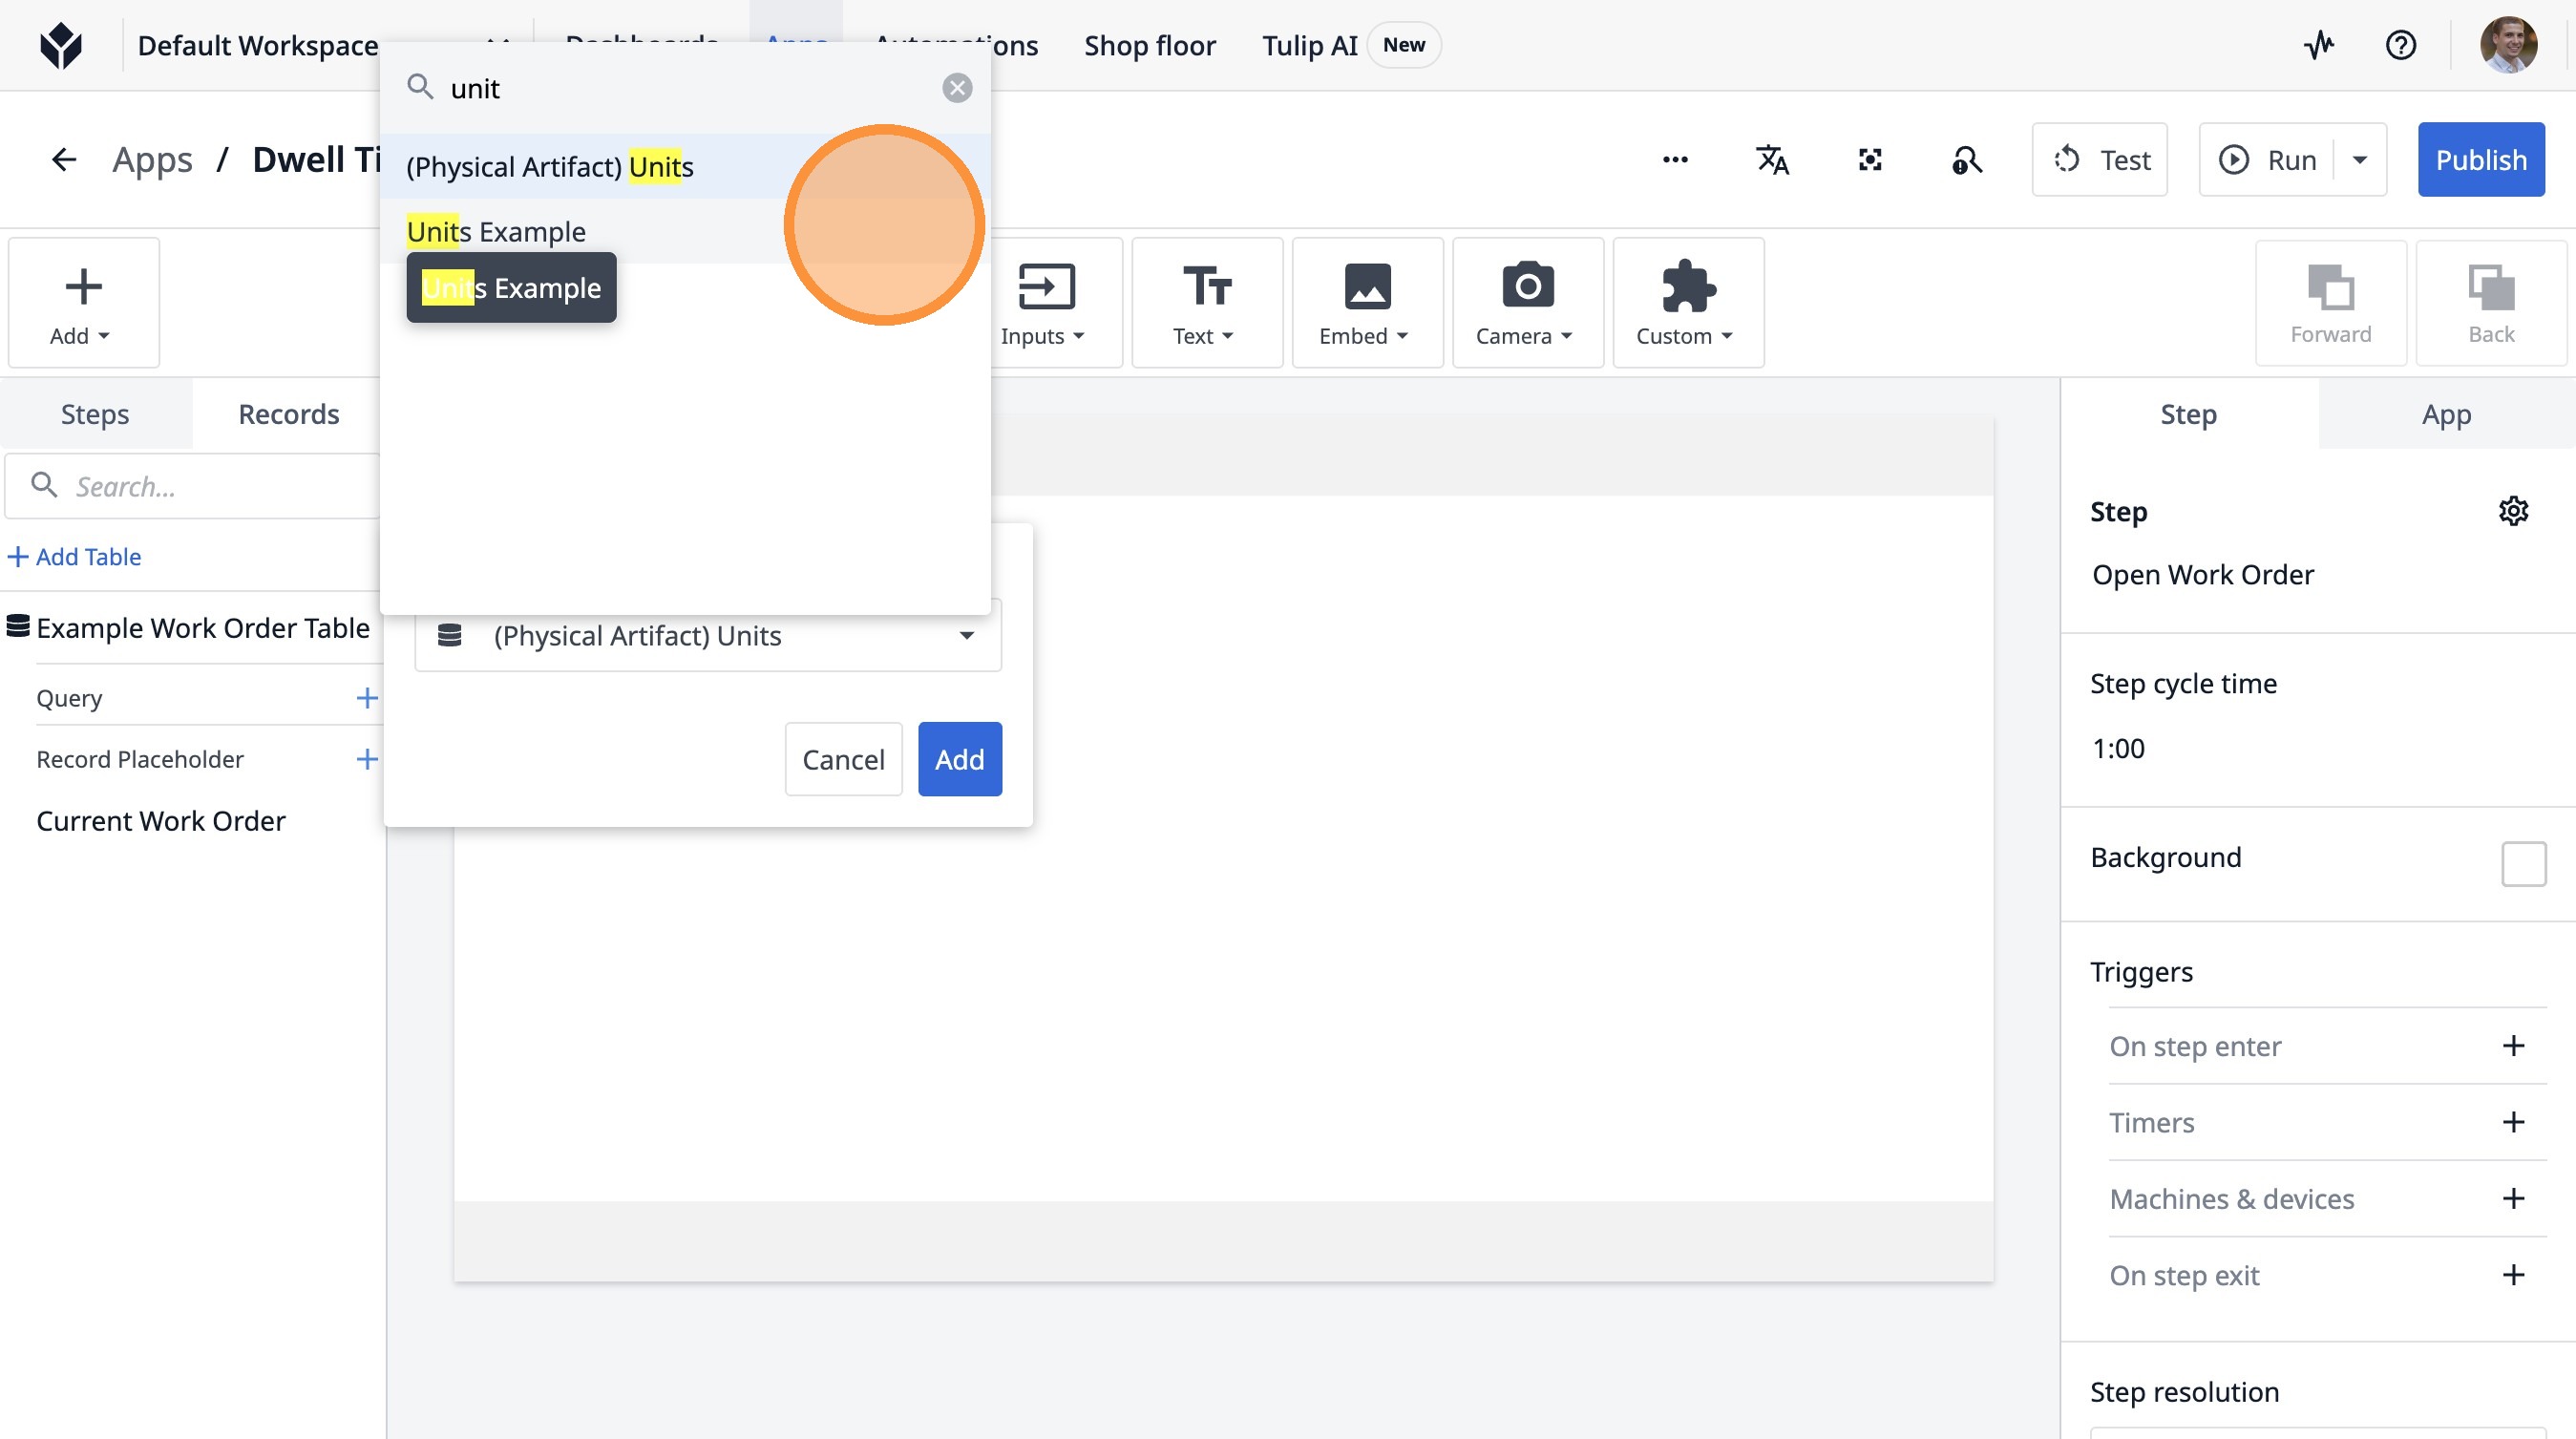
17. Type "unit"
18. Click "(Physical Artifact)"
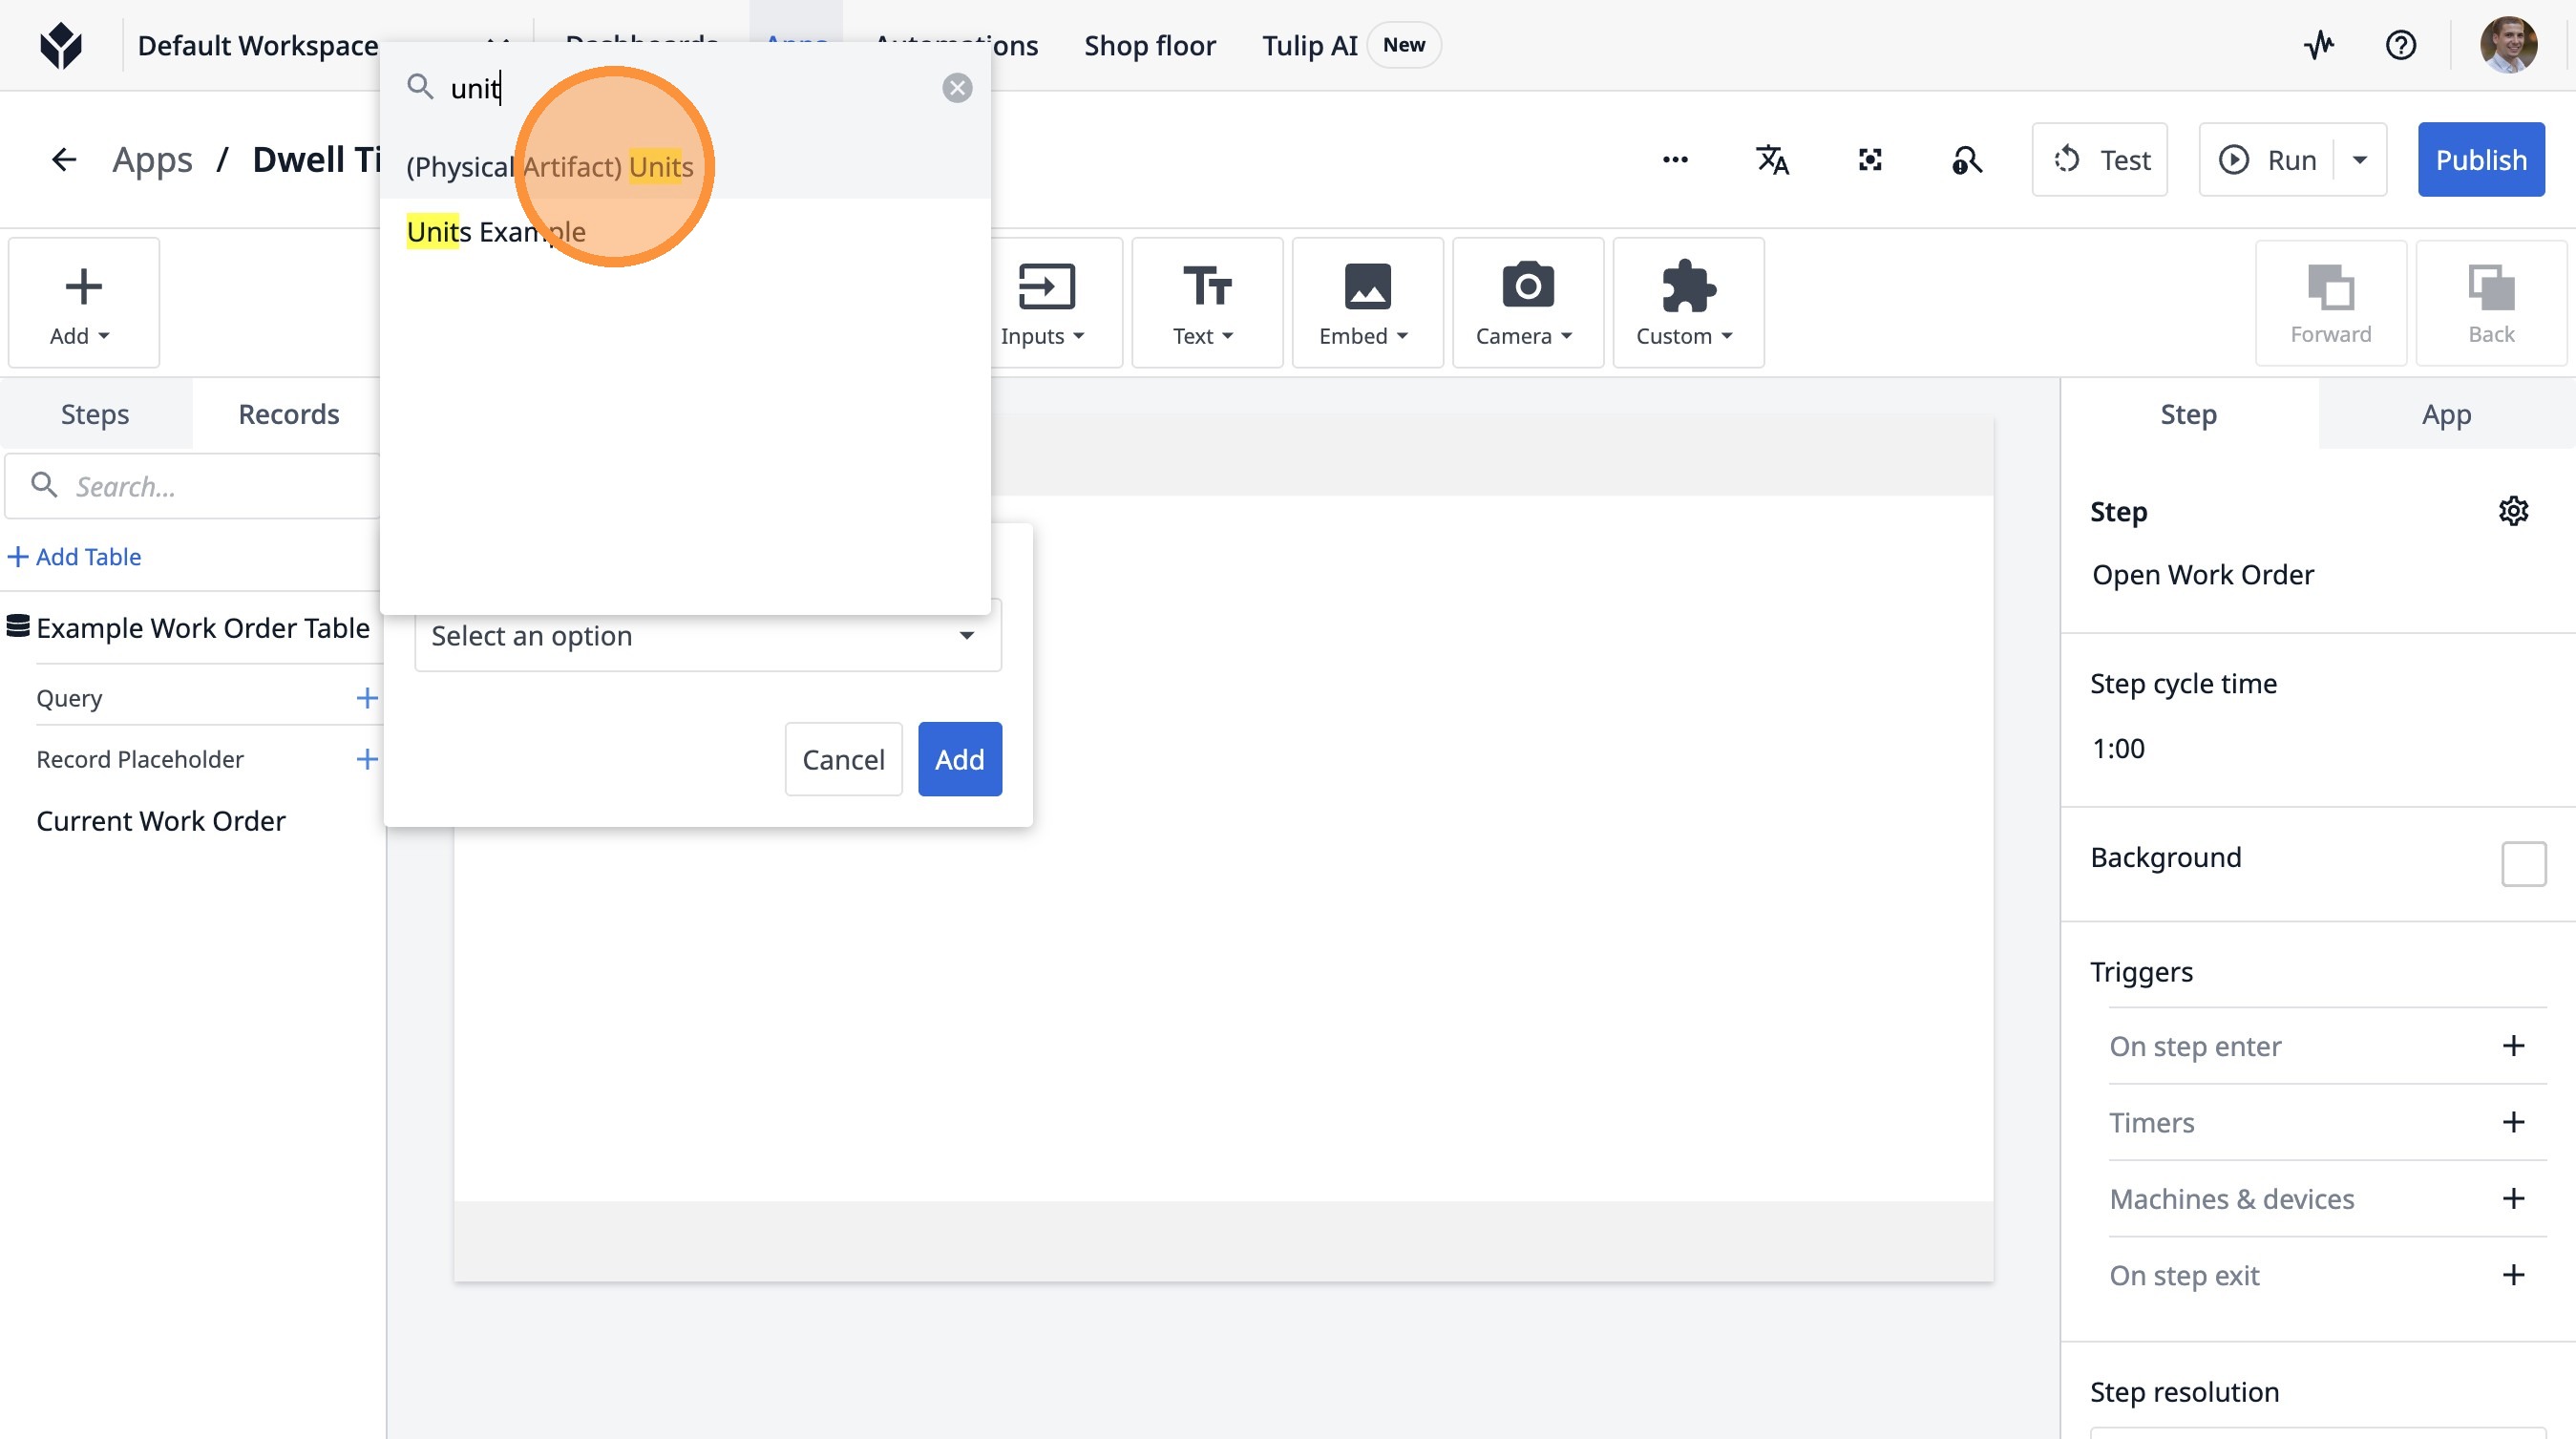
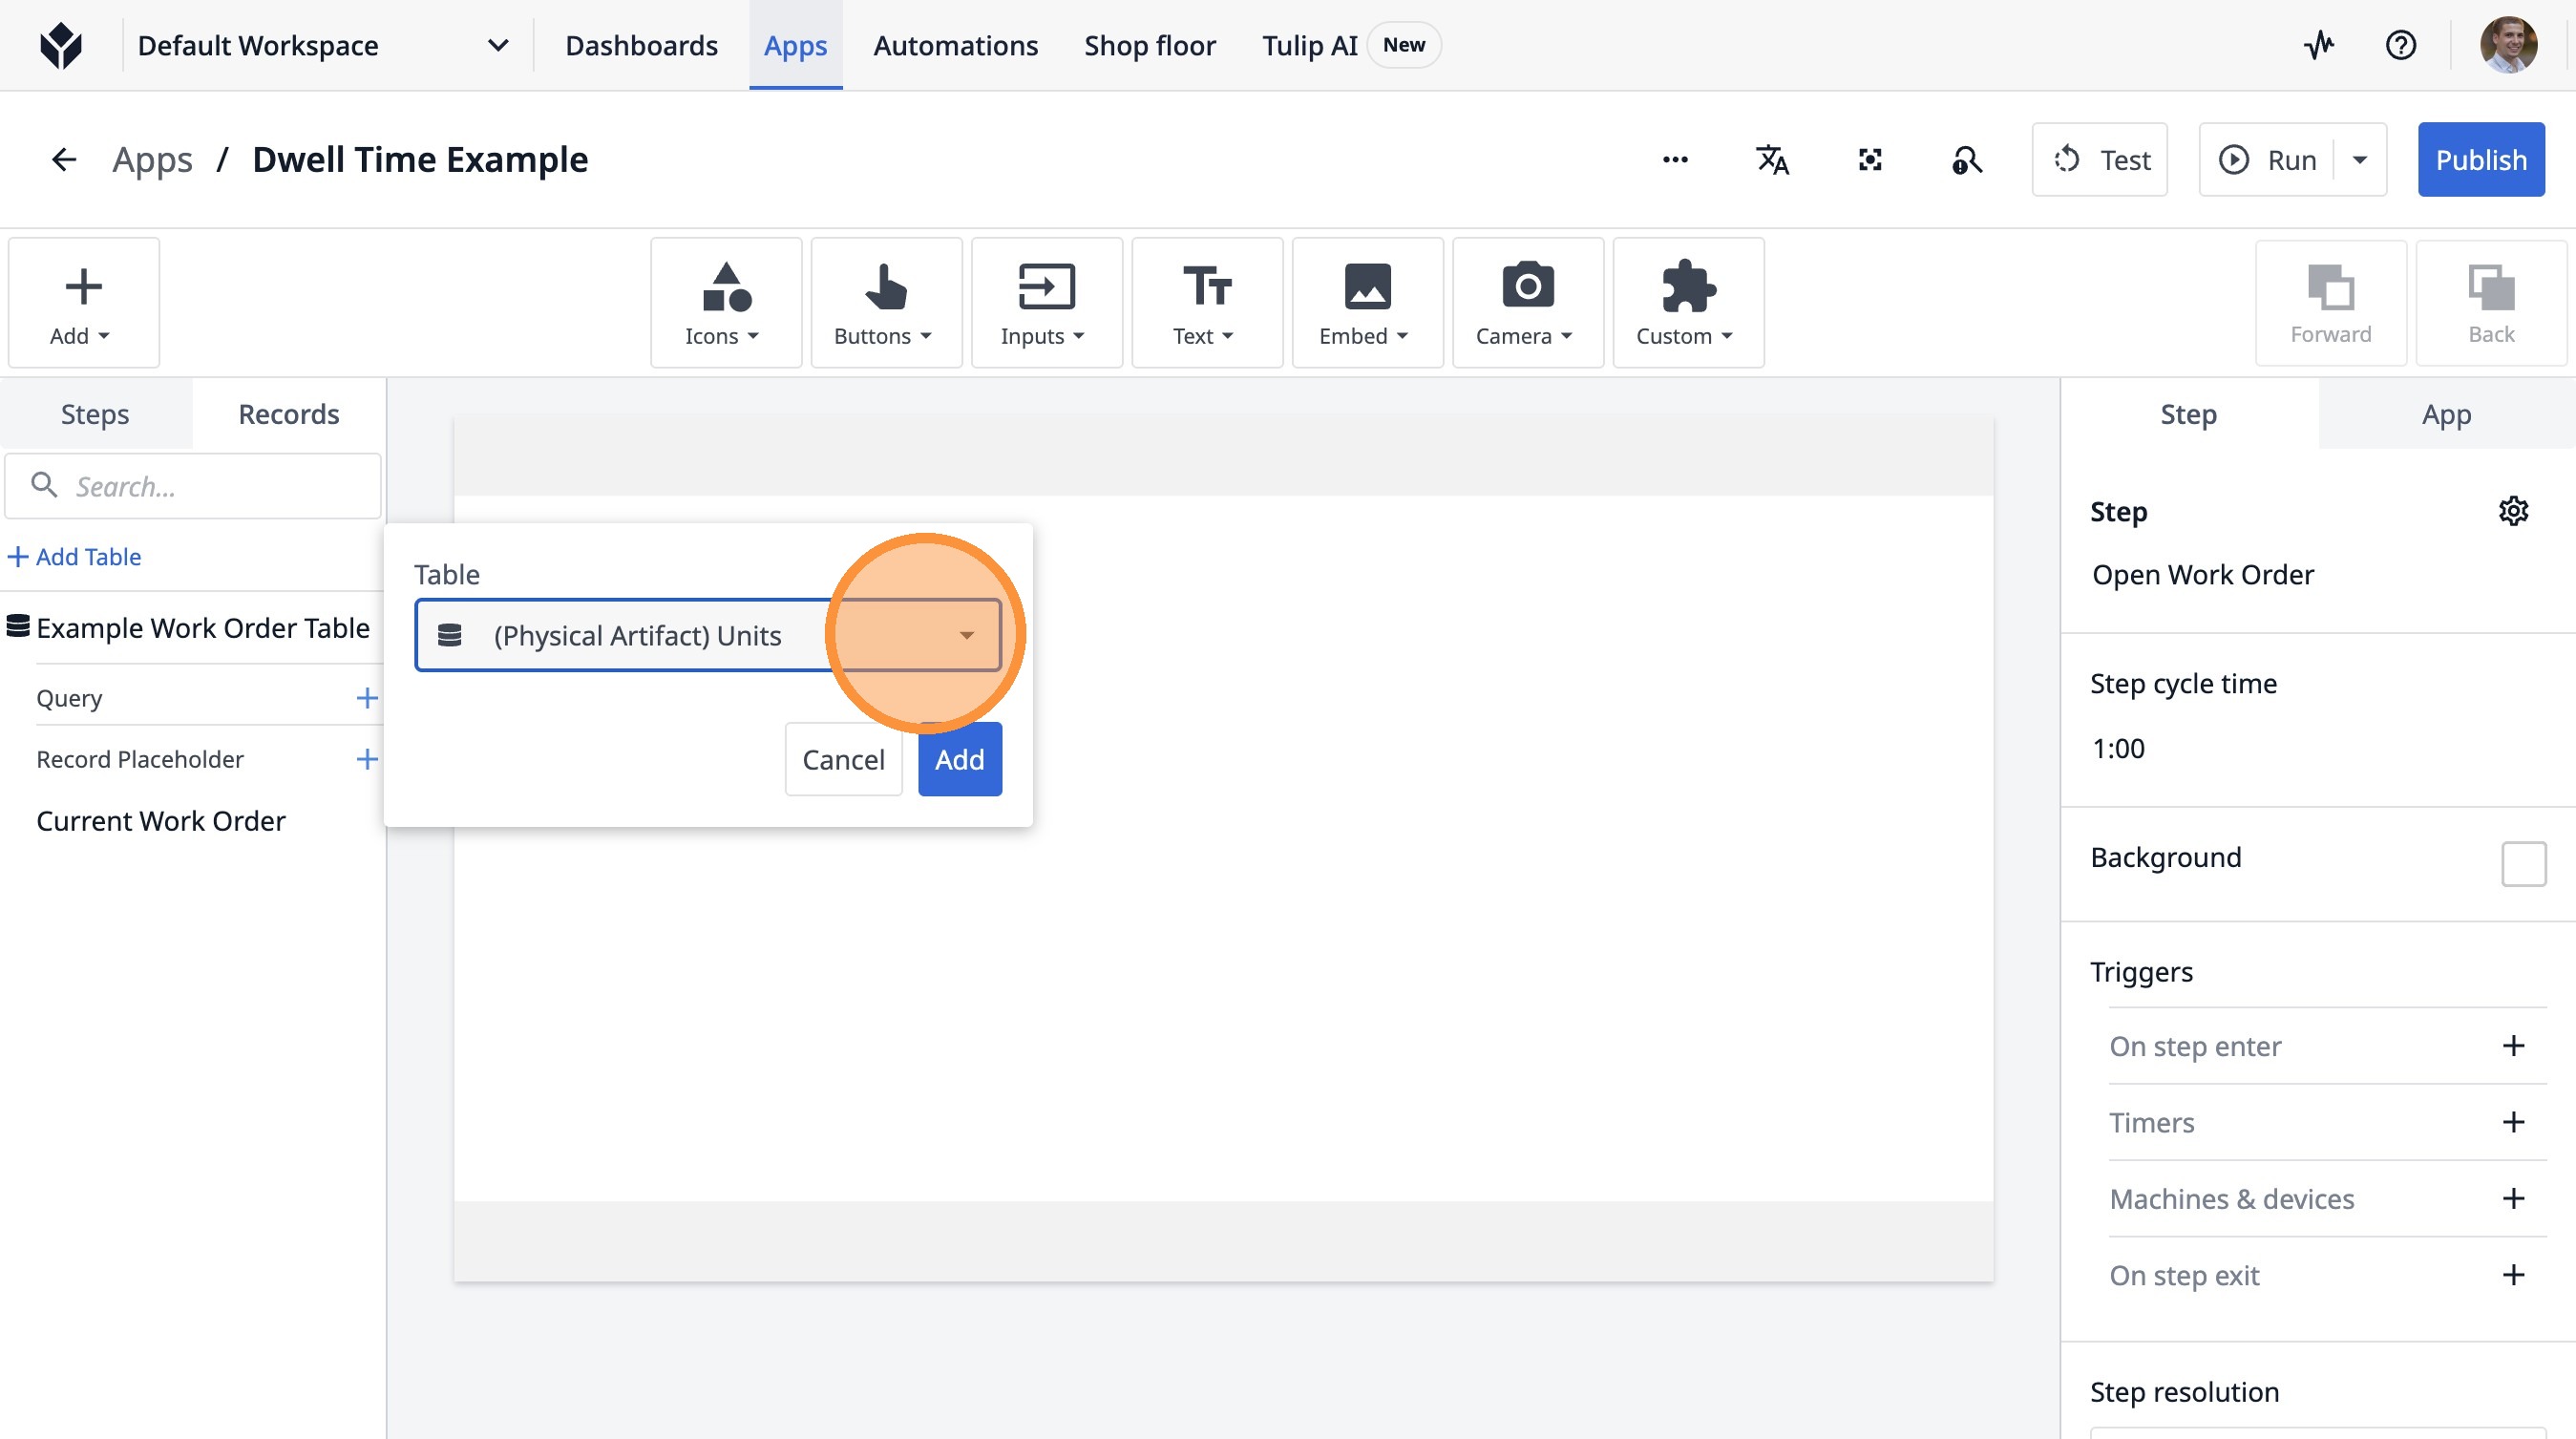
19. Click "(Physical Artifact) Units"
20. Type "unit"
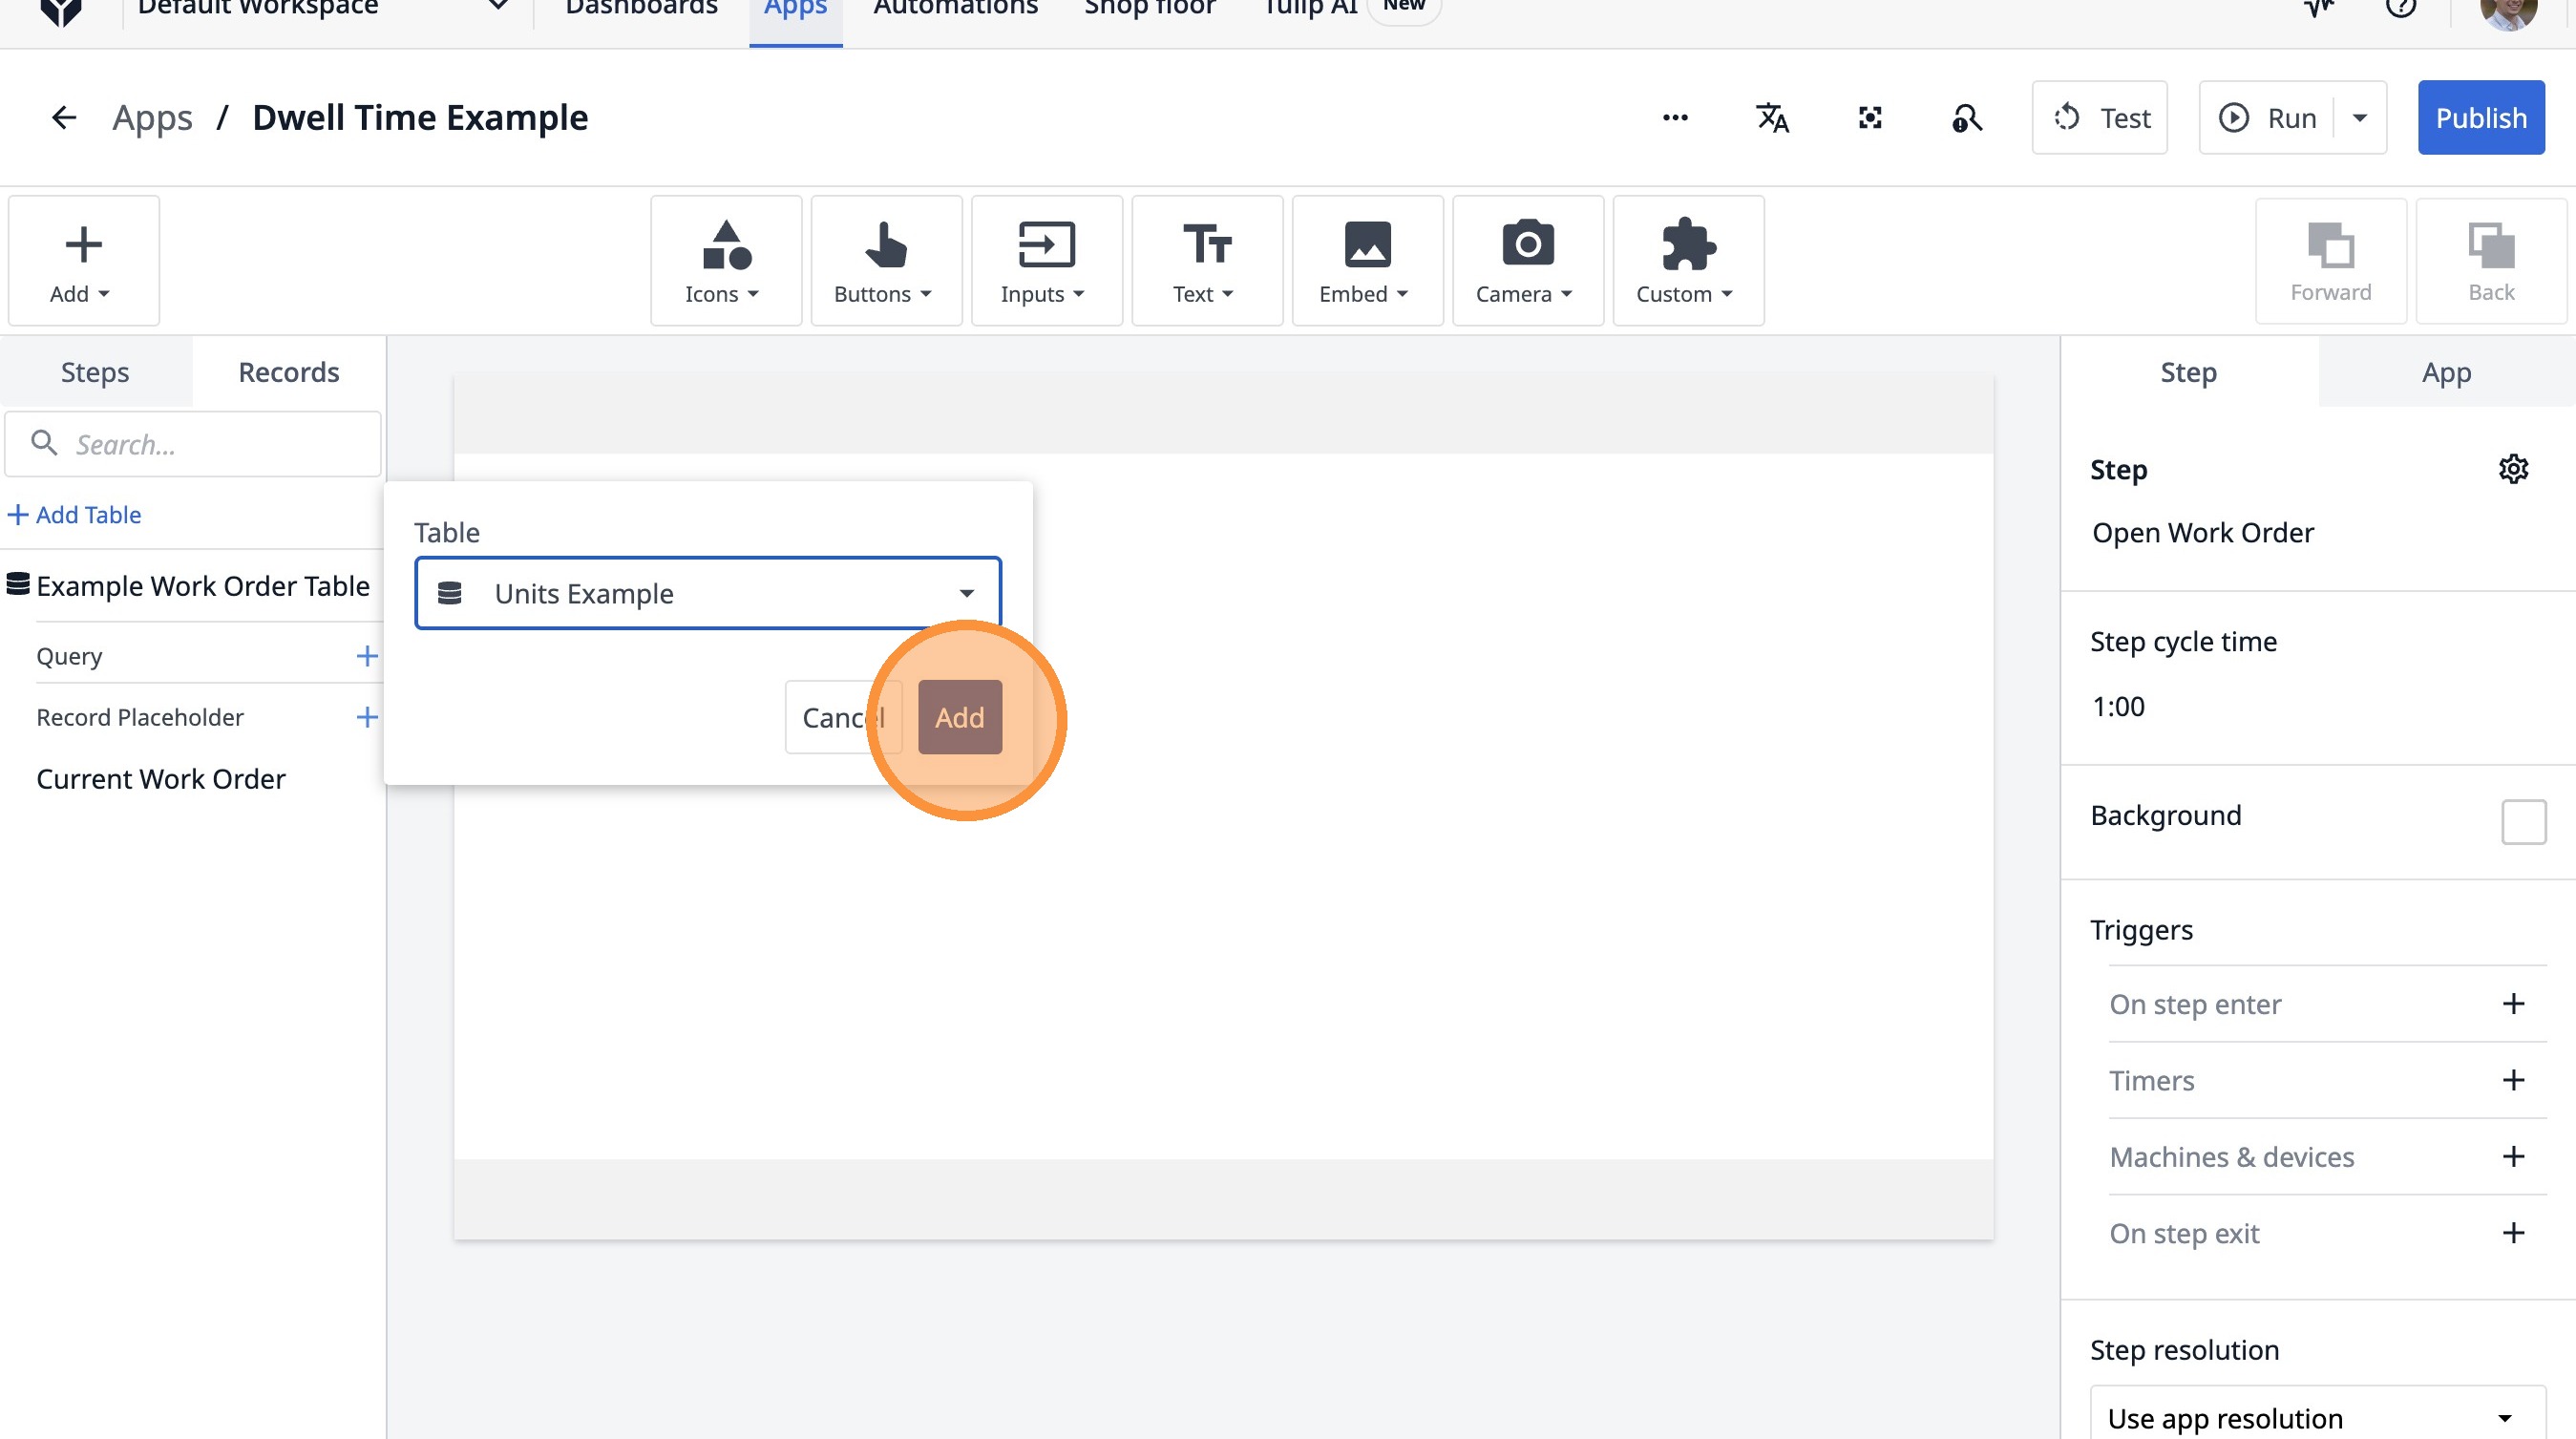
21. Click "Units Example"
22. Click "Add"
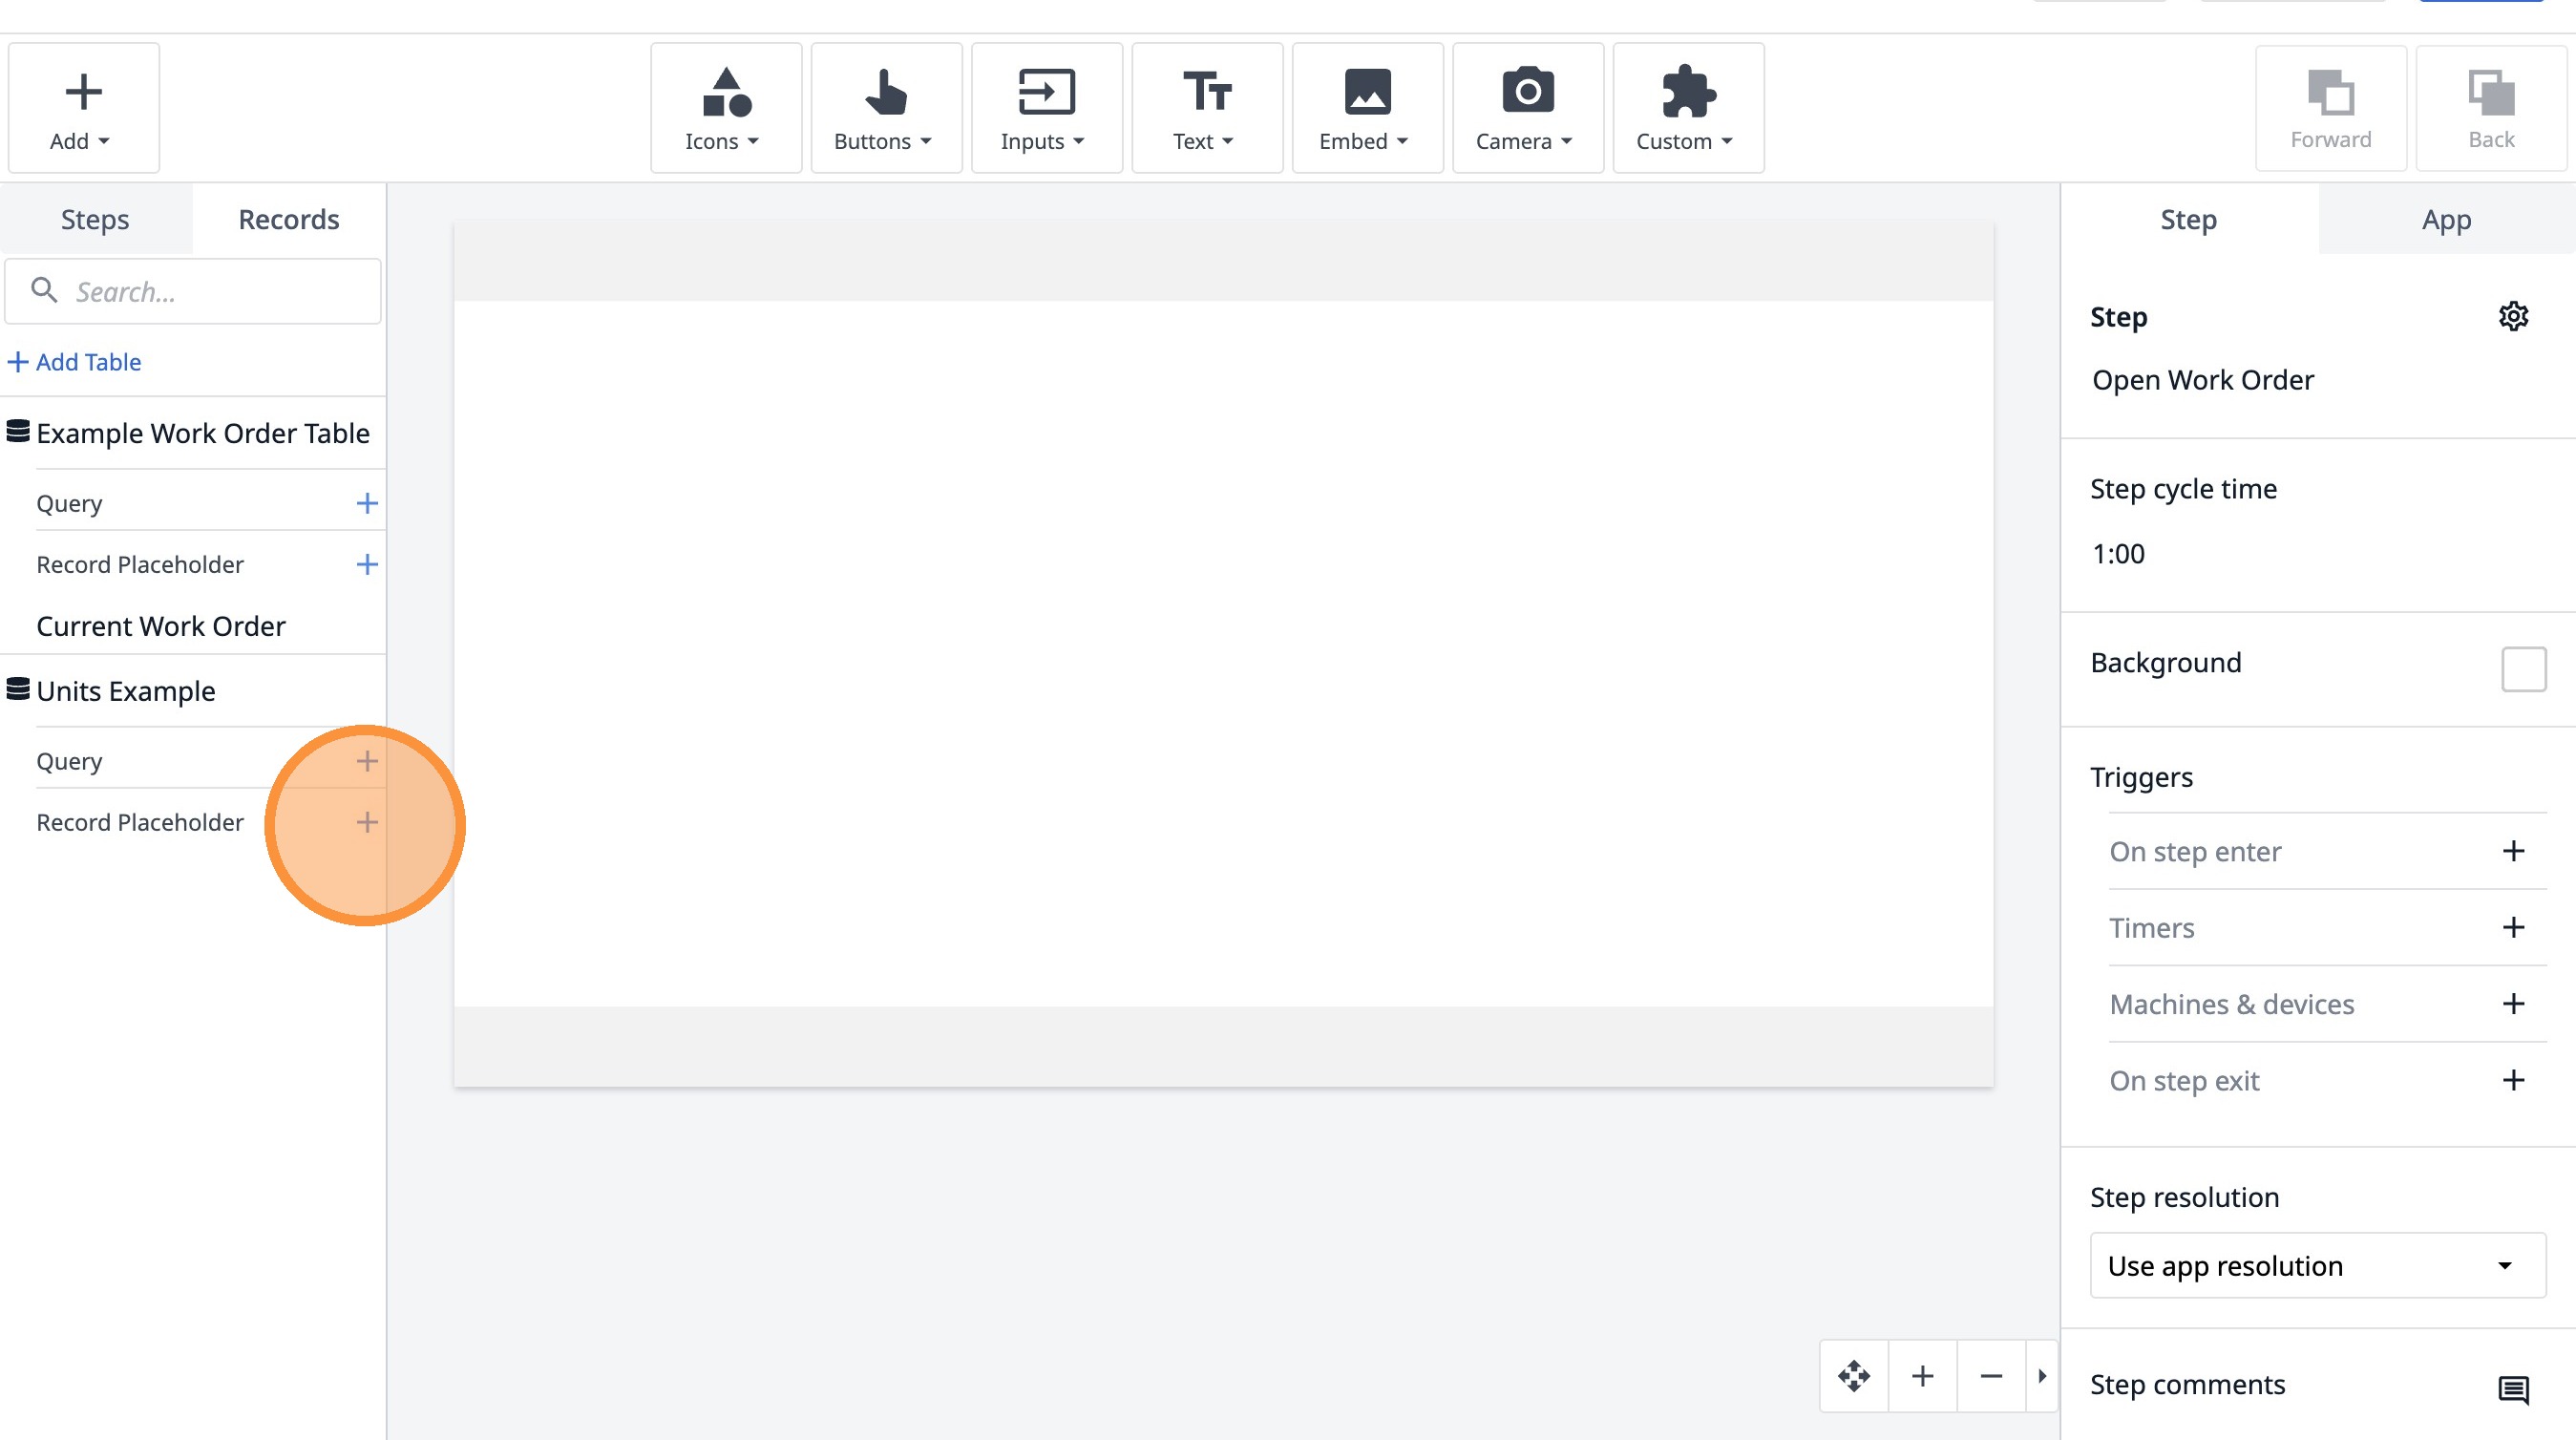
23. Click this icon.
24. Click the "Current Units Example" field.
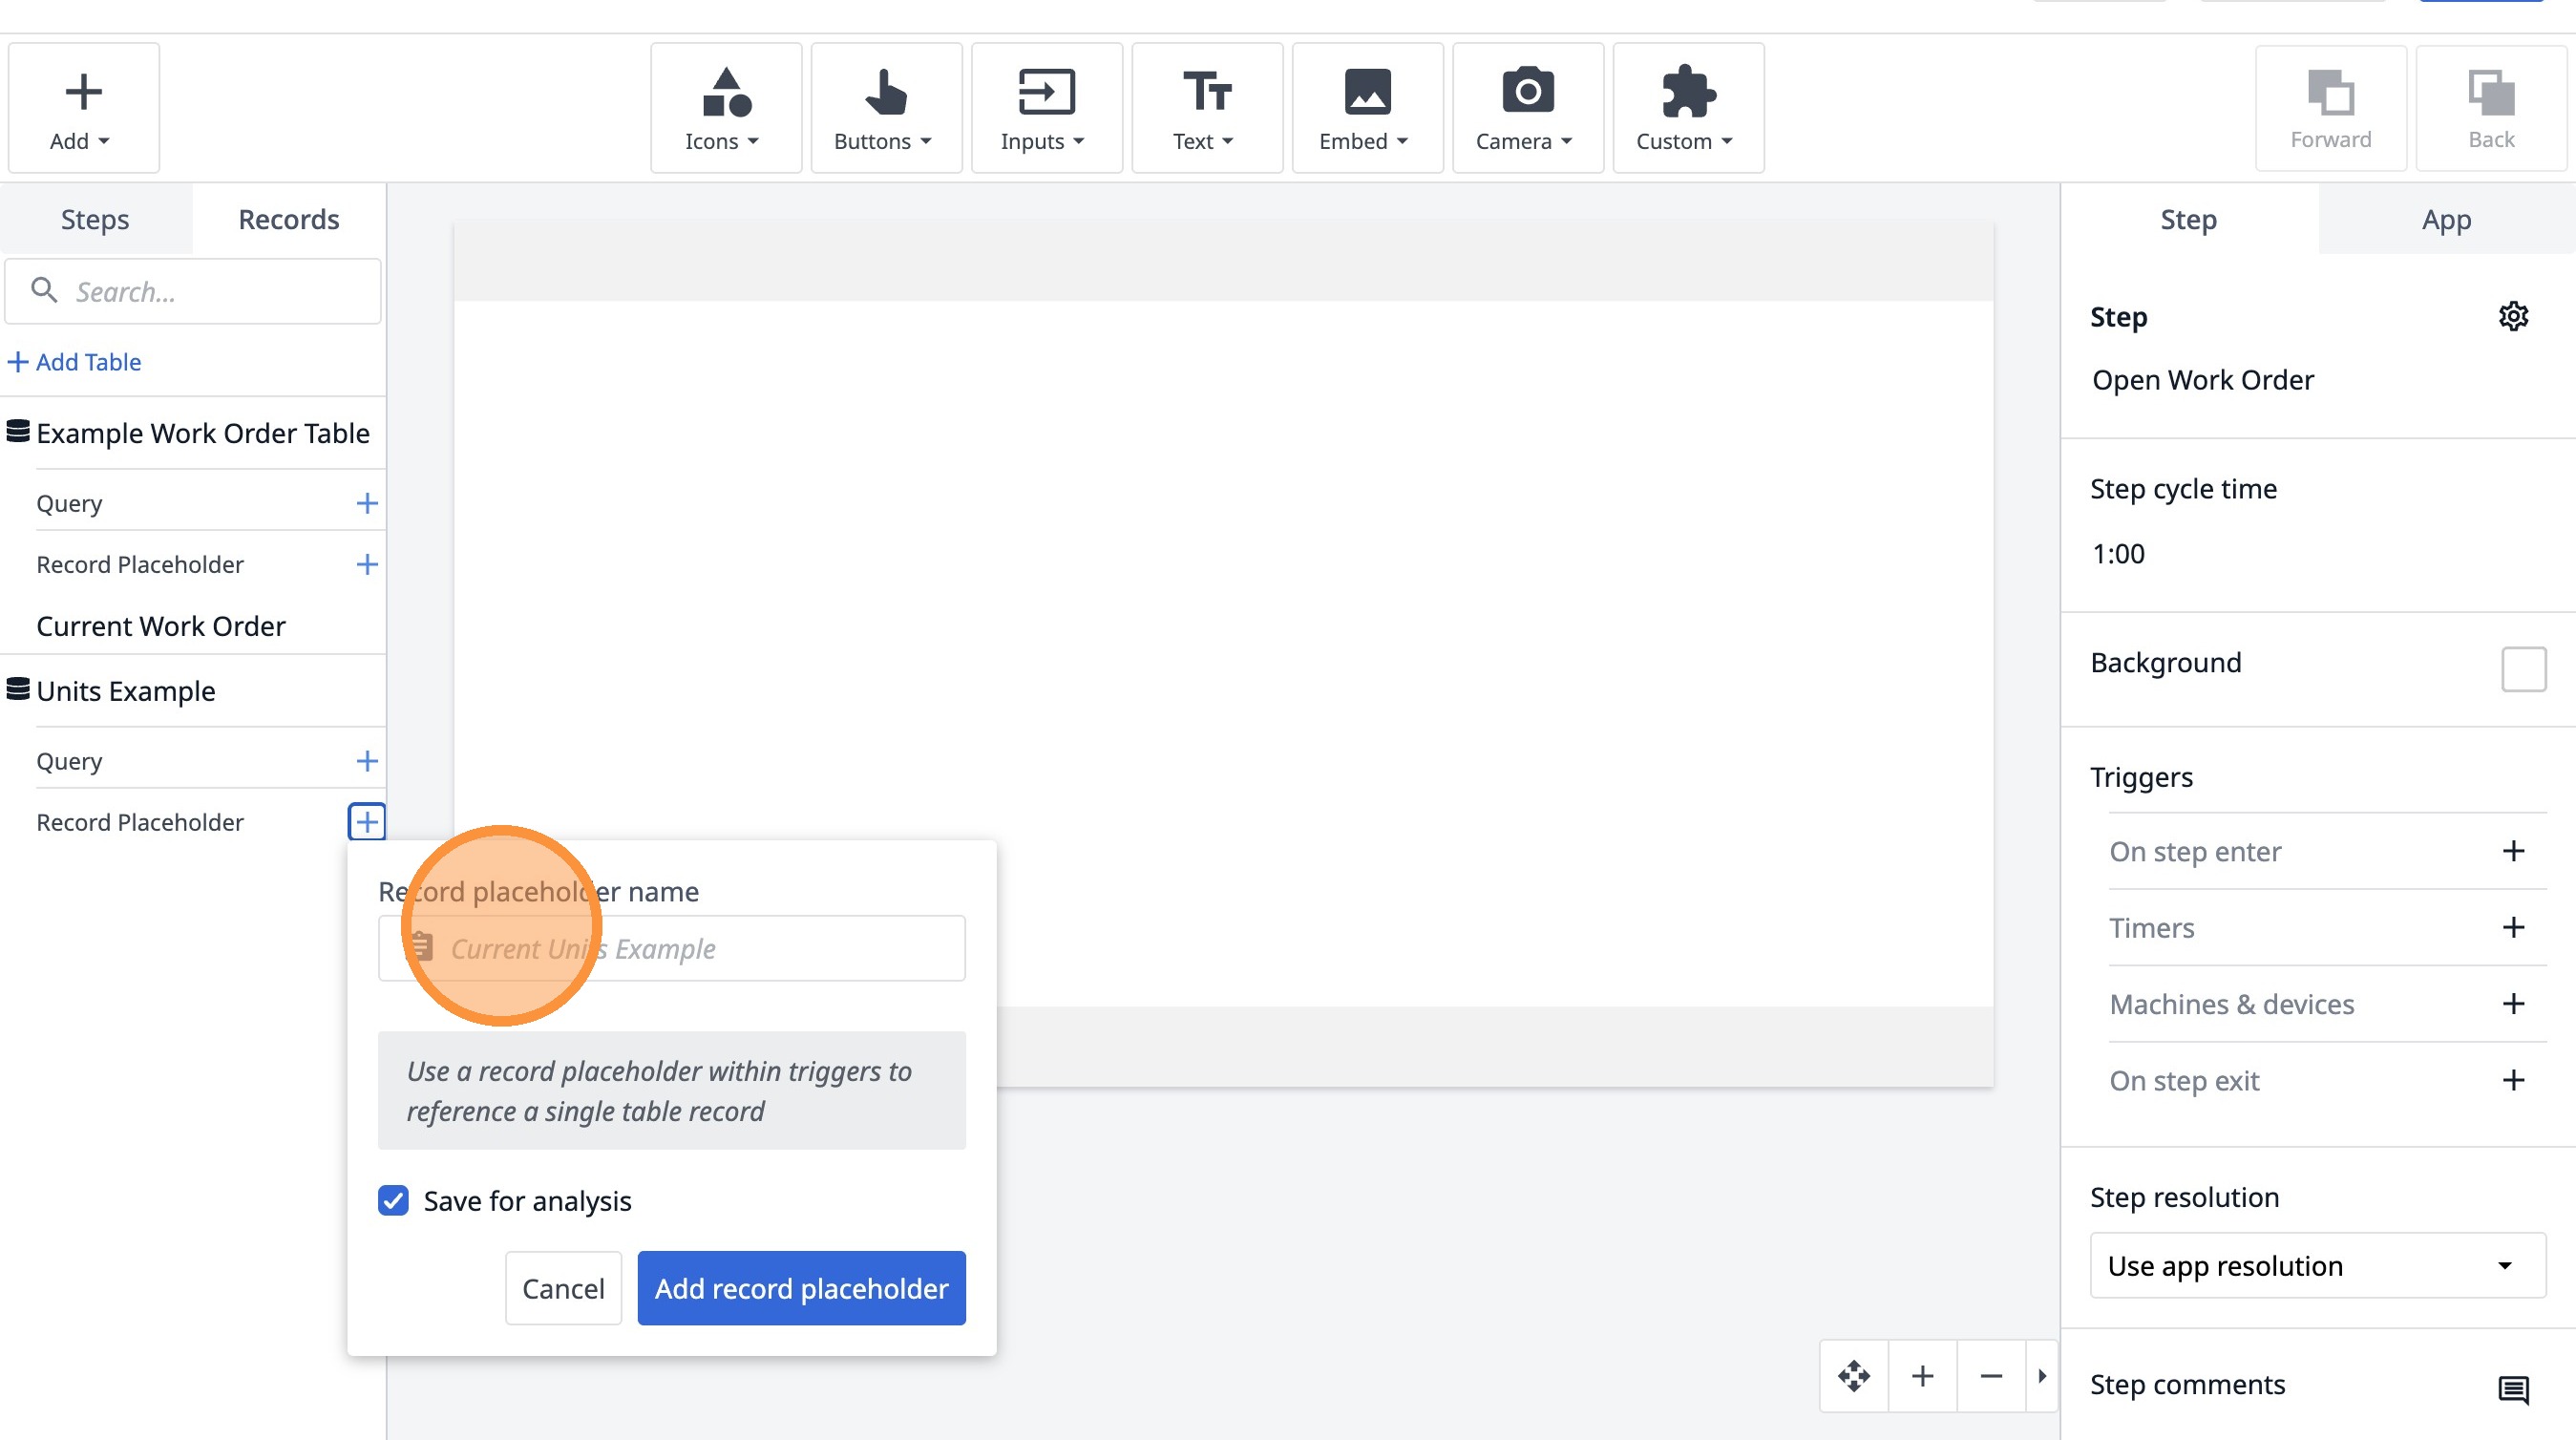
25. Type "Current Unit"
26. Click "Add record placeholder"

27. Click "Units Example"
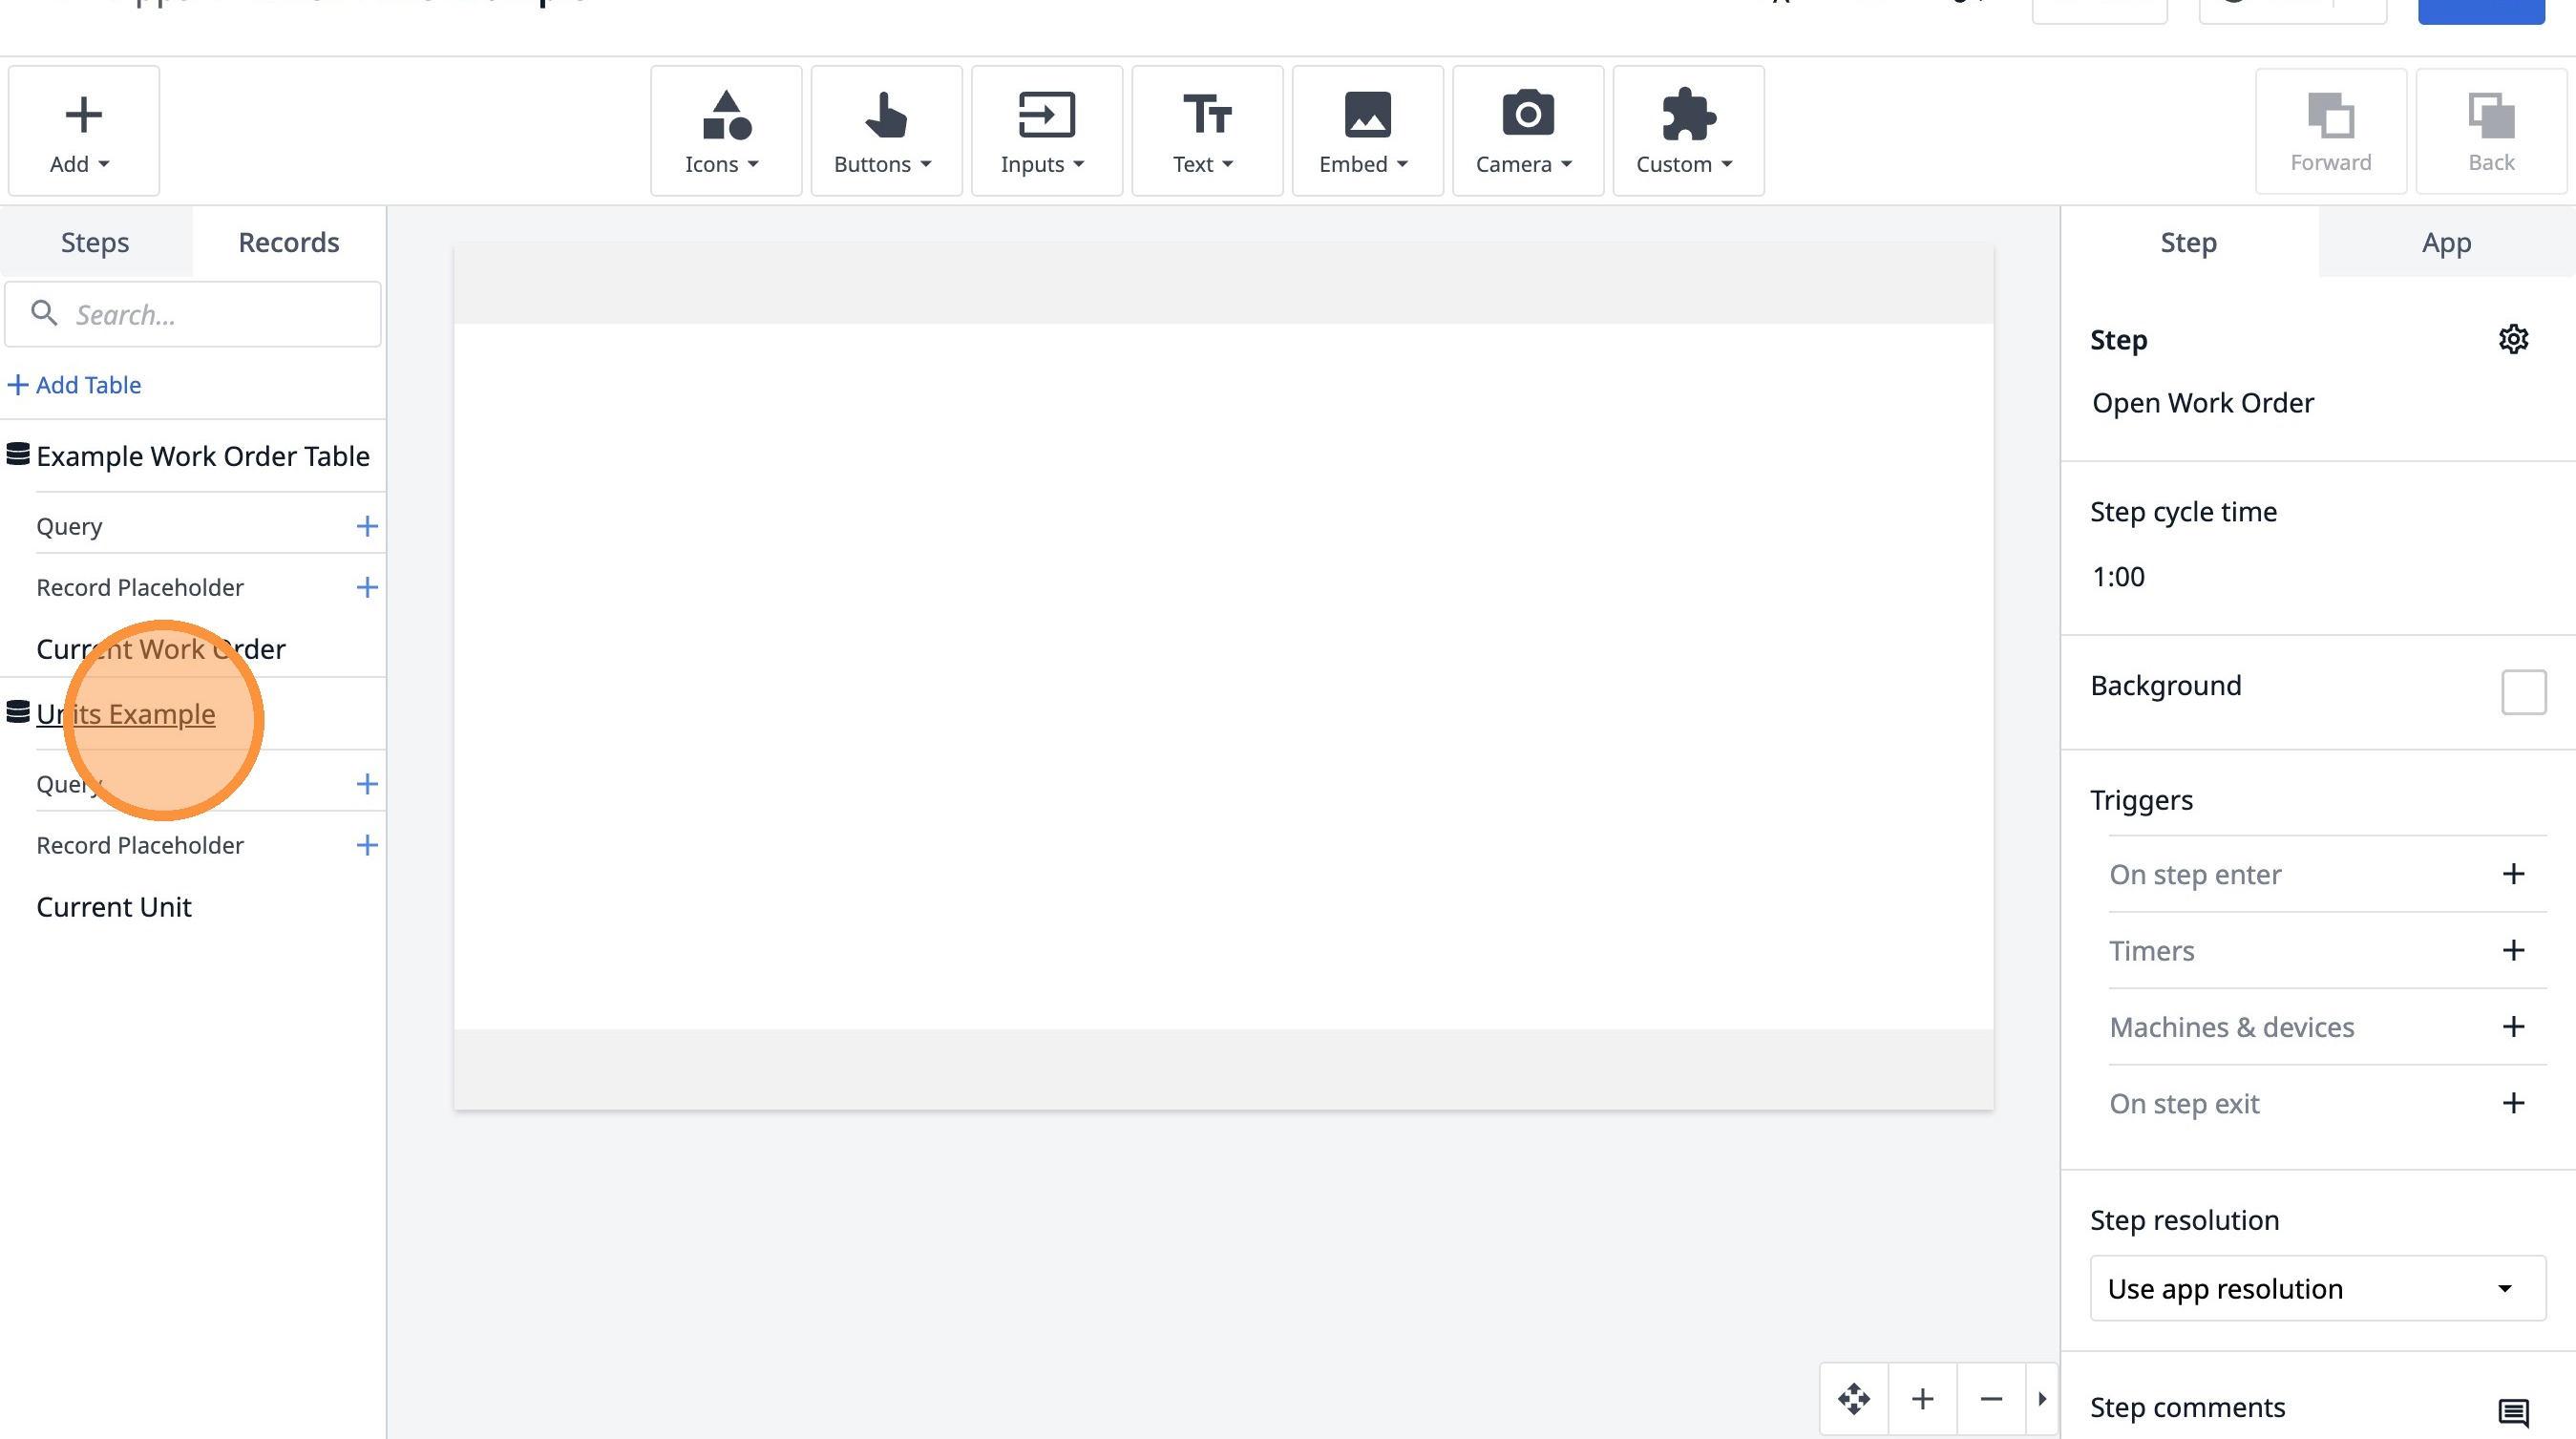
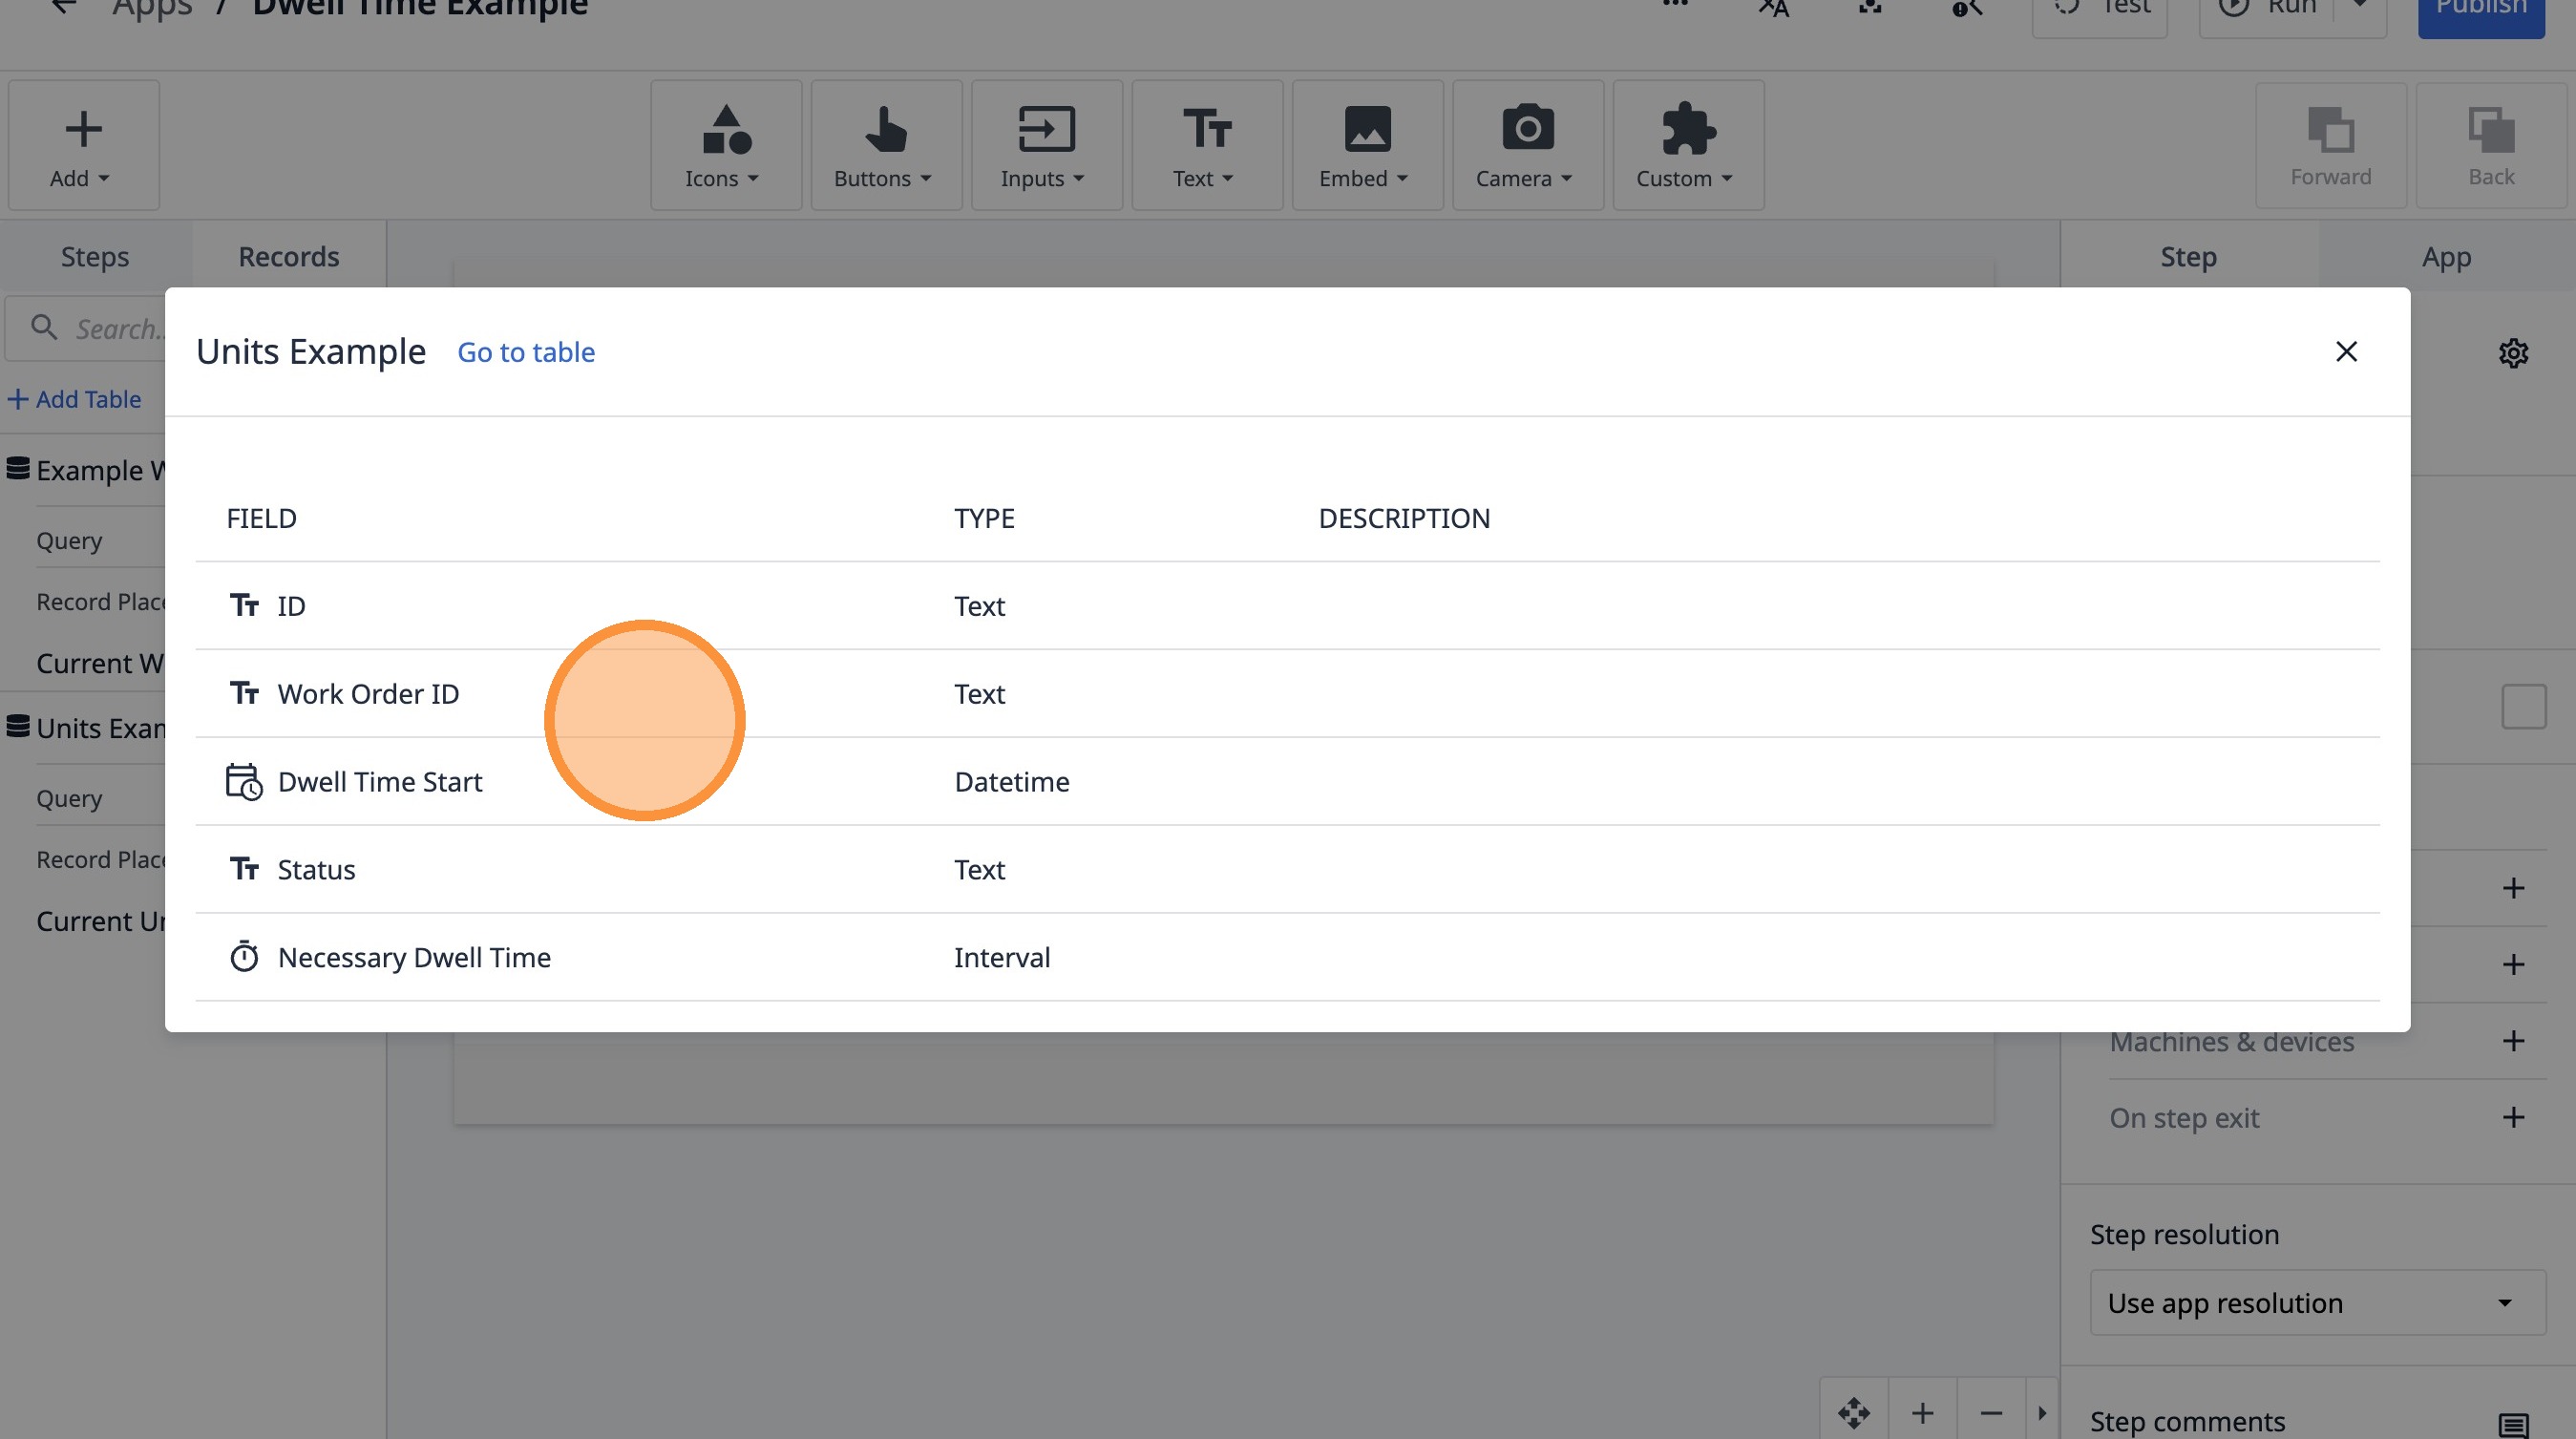
28. Click "View"

29. Click "Work Order ID"
30. Click this icon.