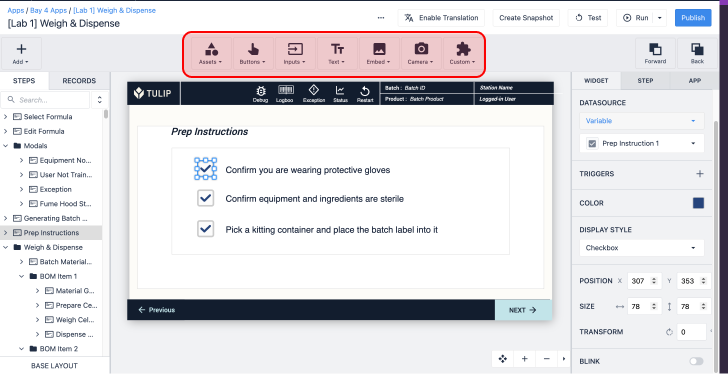
Build your own widgets in Tulip using HTML, CSS, and JavaScript
Users on Professional plans and above.
Please allow Outgoing access to Custom Widgets. See Networking requirements for a Tulip Cloud Deployment to learn more.
- *.tulip-custom-widgets.com
The items that you drag-and-drop into your app are called Widgets. These can be buttons, images, input boxes, and anything else available from the Toolbar.
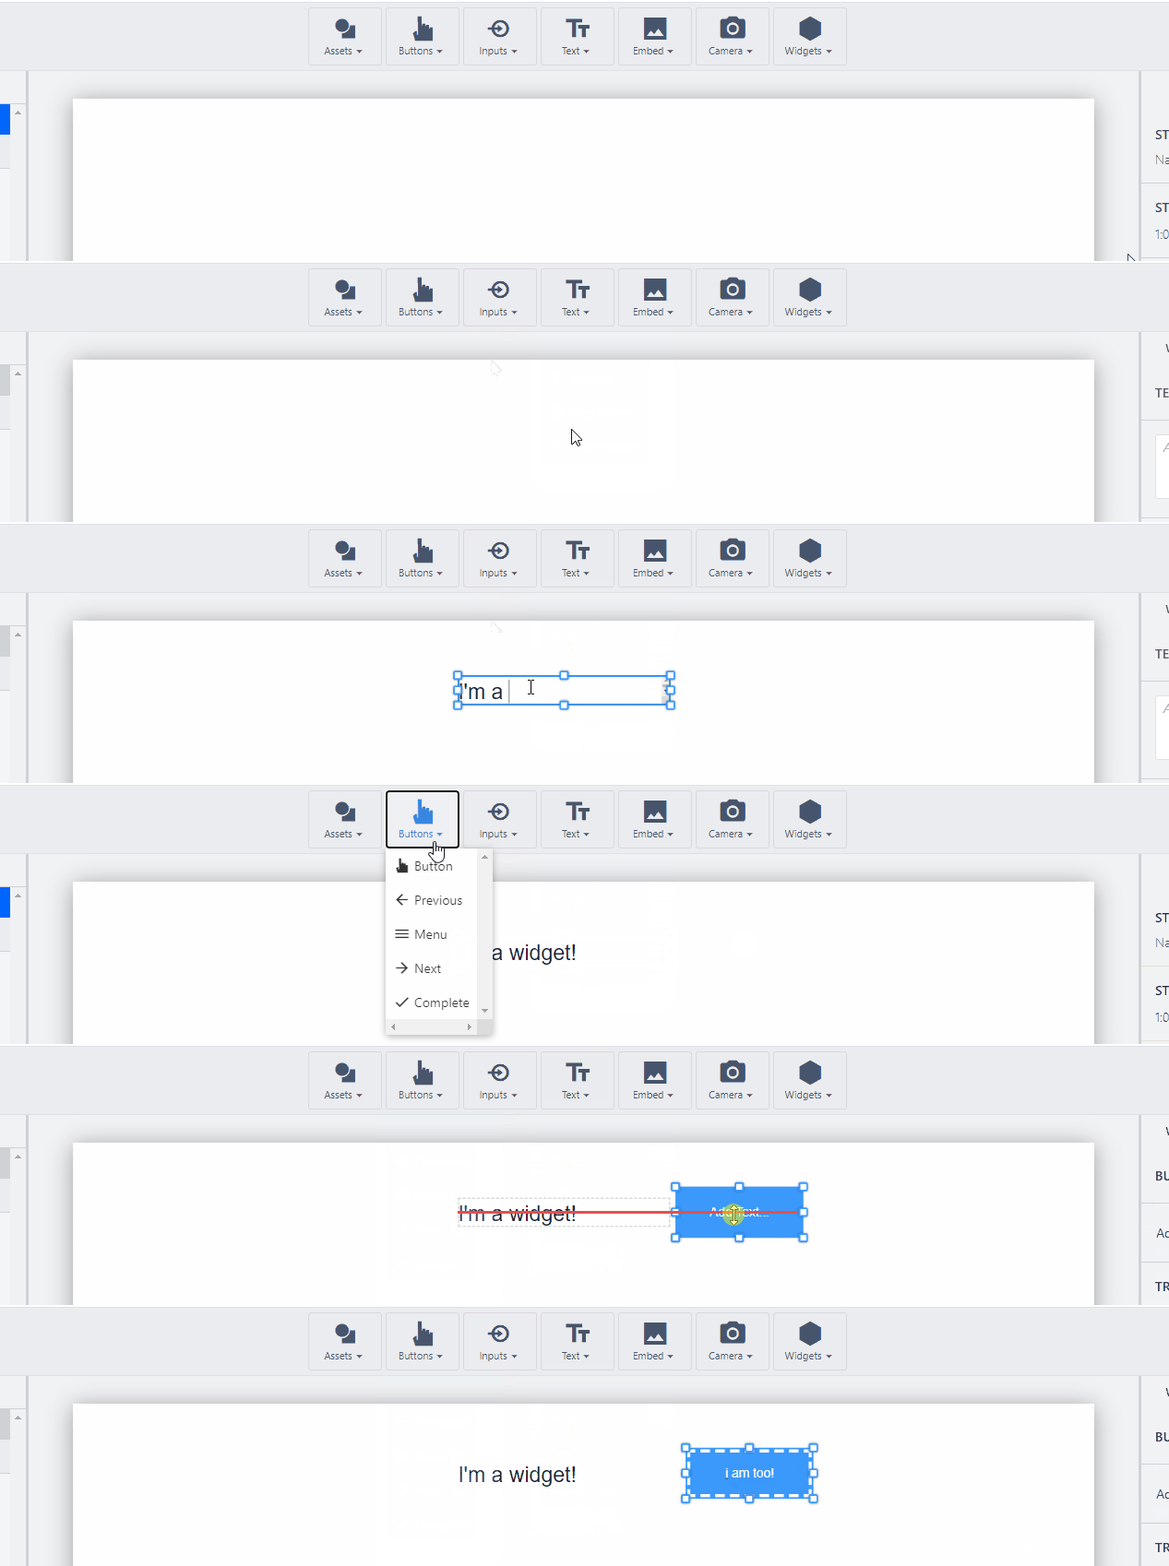
Custom widgets allow you to write your own code and create your own widgets that you can then drag and drop onto your application and interact with. This capability allows Tulip users to stretch the boundaries of what is possible in Tulip.
Watch the following video for an overview of this feature:
See the available custom widgets in the Tulip Library.
Custom widget basics
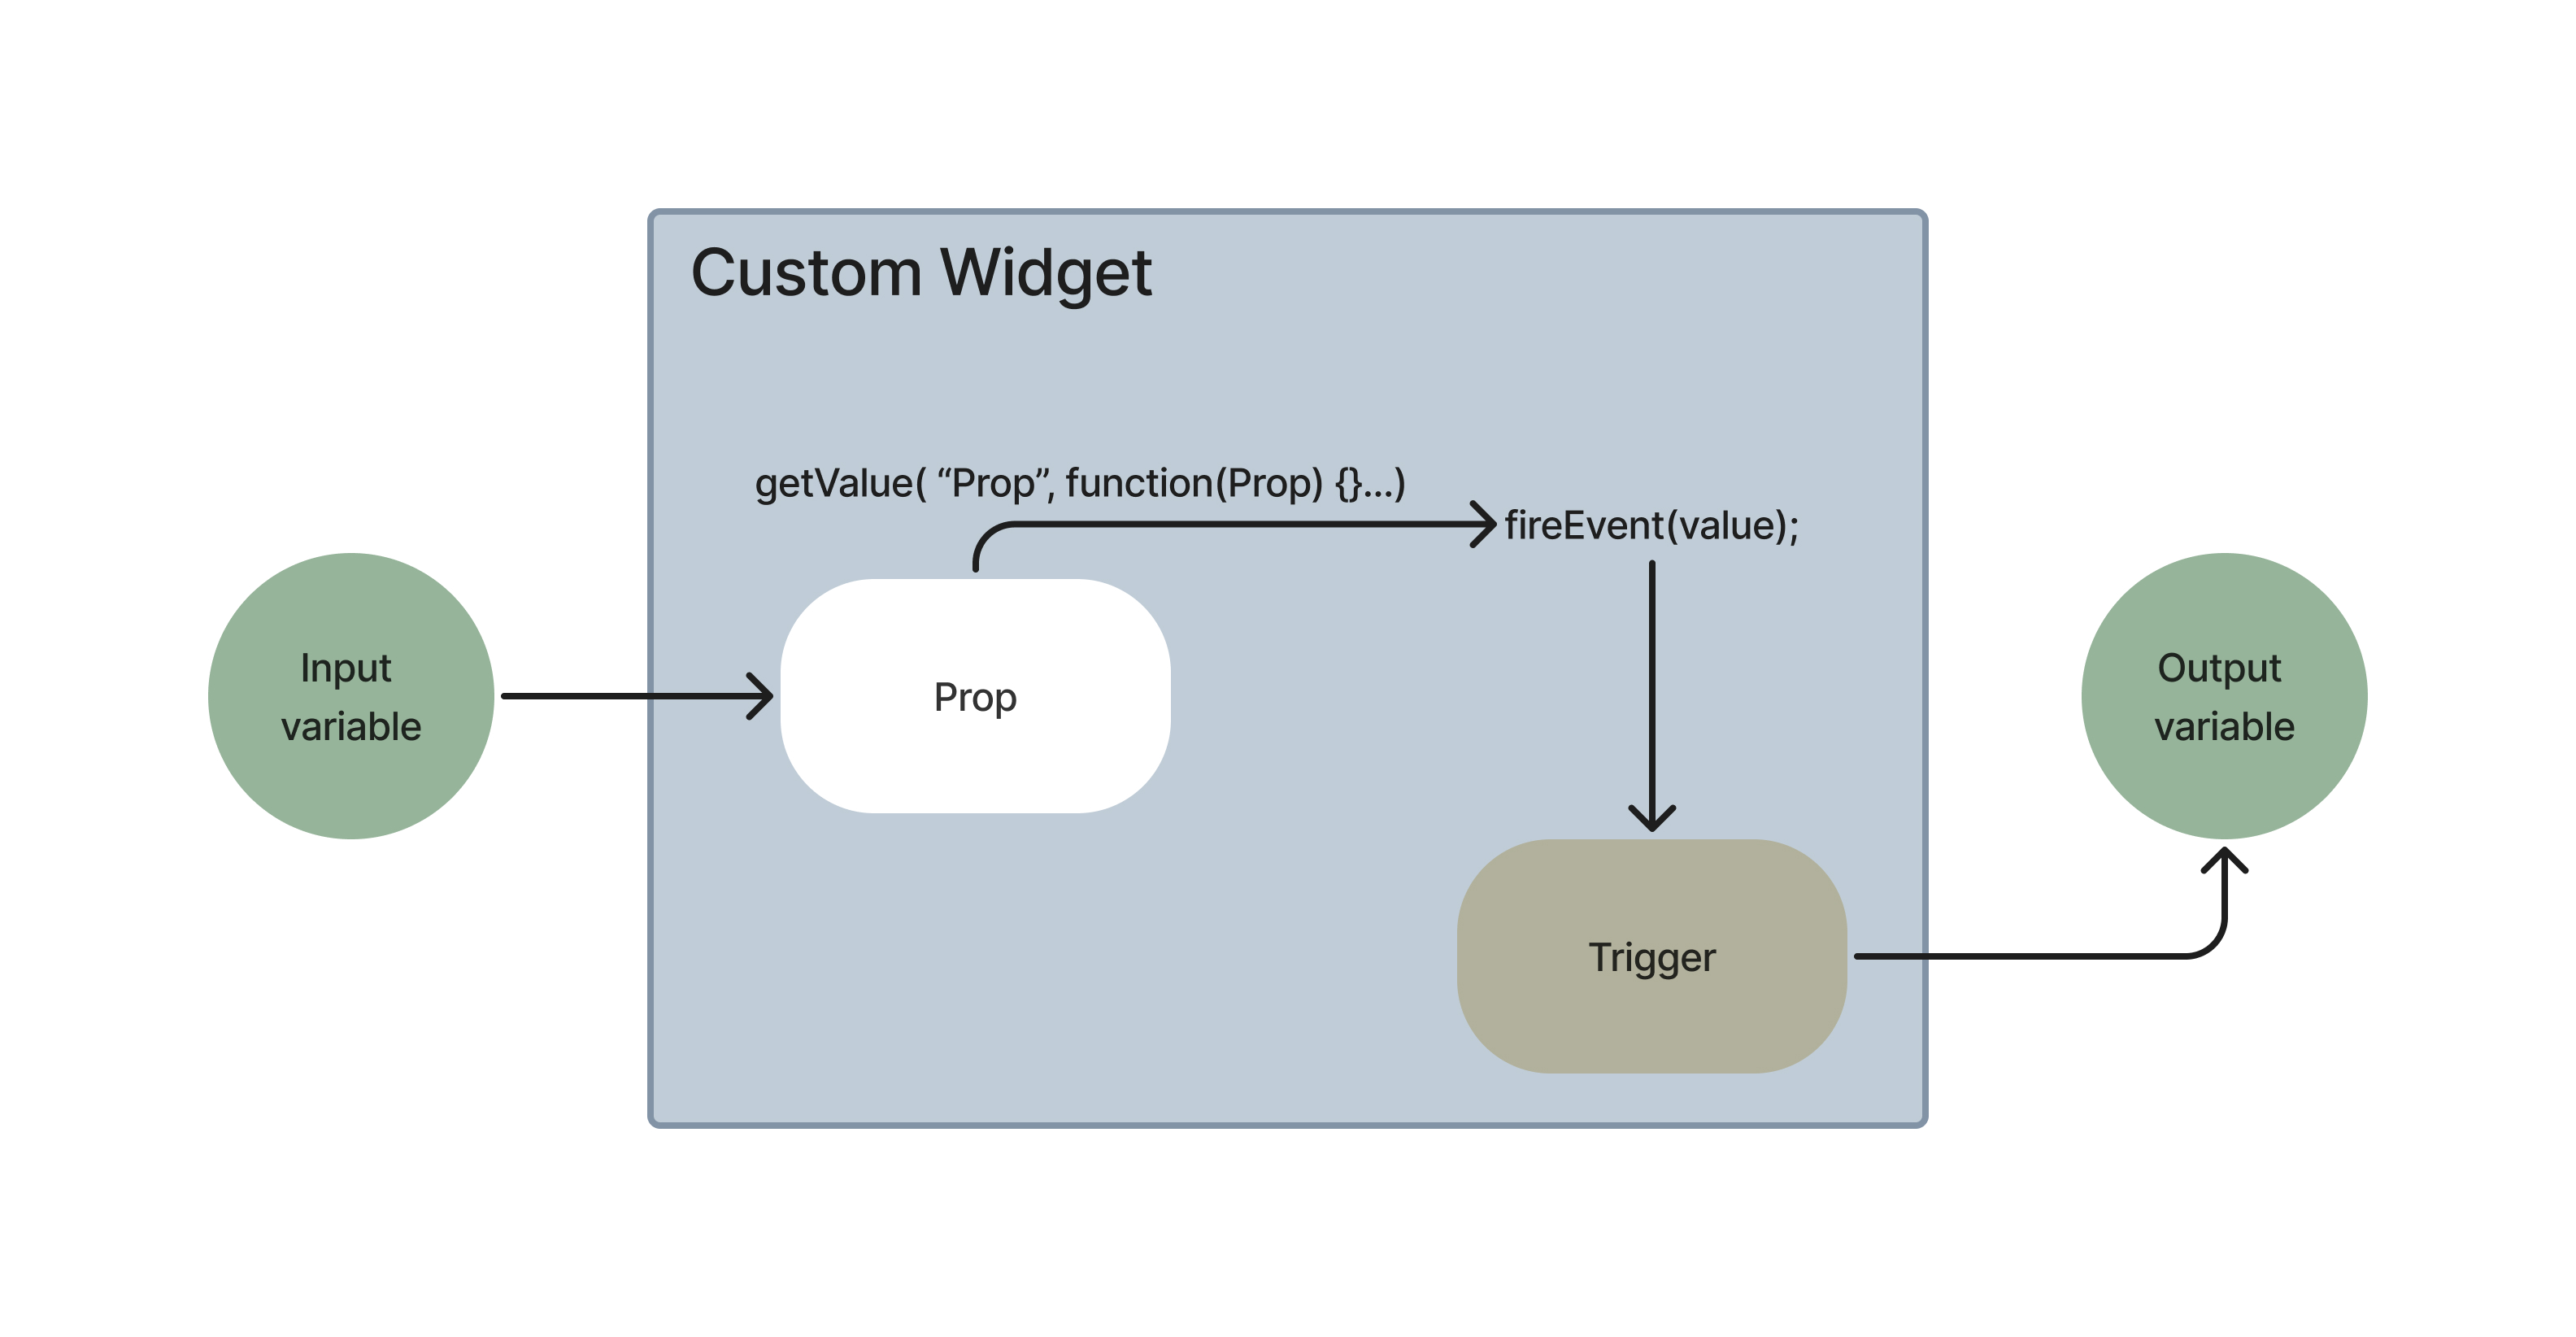
The custom Widget management screen can be found within your account settings page. This is where you can create and delete widgets. The custom widget editor allows you to write your widget code, create Props and Events, and preview your widget. Below is a diagram describing what props and events are:
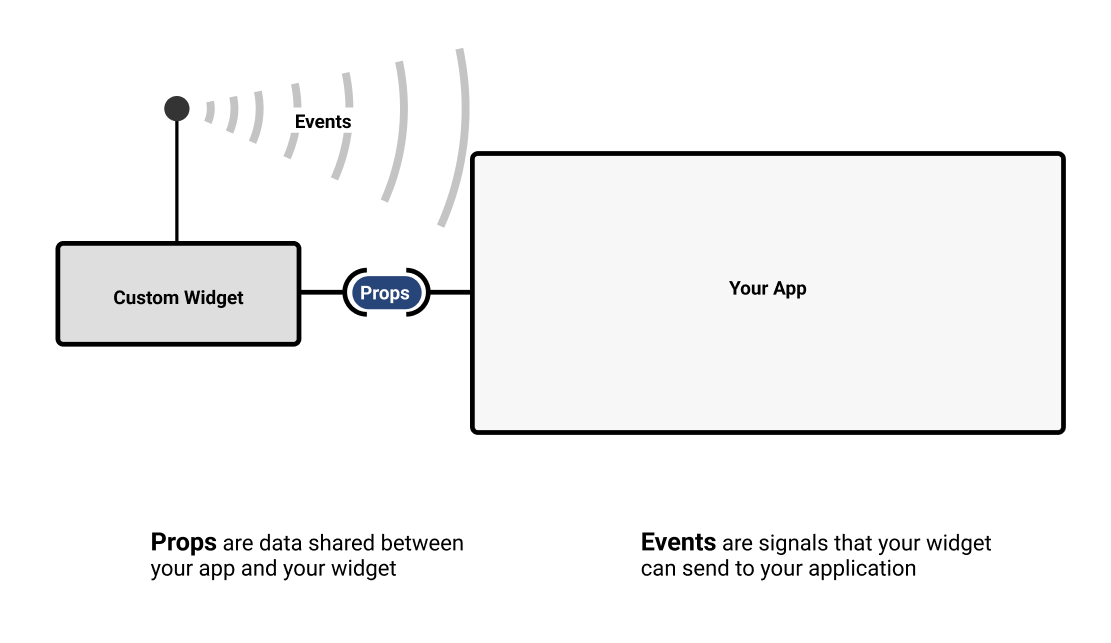
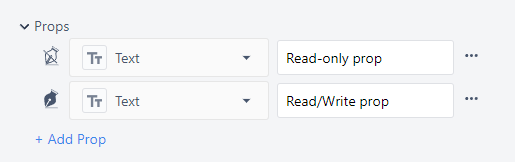
Props: Props are data that are shared between custom widgets and Tulip applications. Props will be exposed in the application editor and will allow app editors to select which variables, table records, or other information to associate with the prop.
Events: Events are signals that your Widget can send to your application. Events allow your application to respond with a trigger and can carry information along with them.
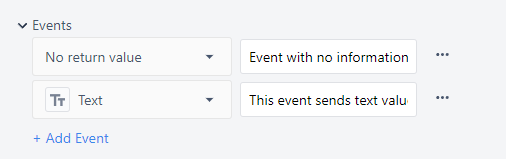
Custom widgets are accessible through the Custom down selector in the App Editor.

Create a widget
Only users with access to account settings (i.e. Account Owners) or users with specific permission to access the custom widget page can use the custom widget editor.
The Widget editor screen is broken down into four sections. Code that you write in the bottom left section will appear in the preview section once you click into the preview section. Prop values can be changed directly in the preview section for testing purposes.
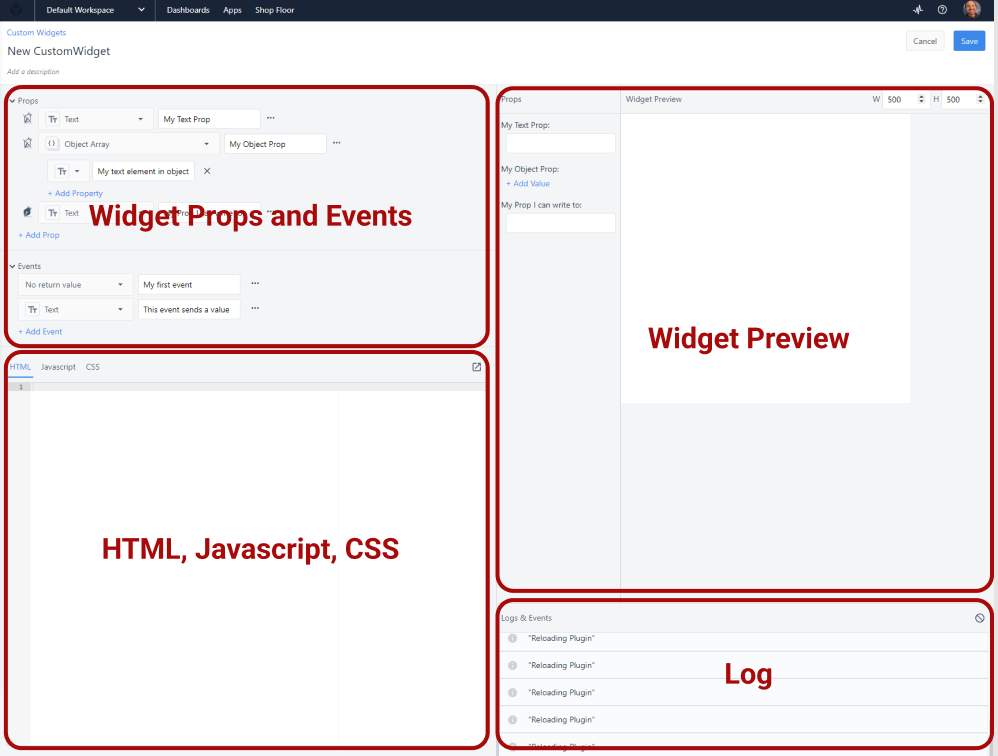
There are special functions for interacting with Props and Events.
Get the Value of Props
It is not guaranteed that the prop being used by a widget will load before that widget loads, so all props associated with Table record fields, Aggregations, or any other dynamic value should include logic to support cases where they are null at the point the widget is loaded. See this section for details on triggering logic when a prop changes.
//Getting the Value of a Prop
getValue('My Prop');
//Store prop to a variable
let myVariable = getValue('My Prop');
Do something when a Prop changes
//Do something anytime a prop value changes
getValue('My Prop', (internalVariable) => {
    doSomething(internalVariable);
});
Set the Value of a Prop
**Set the Value of a Prop**
setValue('My Prop', *value\_to\_set*);

//Set value of a text prop to 'hello!'
setValue('My Text Prop', 'hello!');

//set value of an item in an object
setValue('My Object Prop', { 'Key inside object': 'new value' });
Fire an event
**Fire an event**
fireEvent('event', *payload*);

//fire an event with no payload
fireEvent('My Event');

//fire event with payload
fireEvent('My Event', myVariable);
The following diagram illustrates the flow of information through a custom widget in an app. The input variable data stores to the prop. The value change signals an event where a trigger then stores data to the output variable.
Widget build demo
Import/Export apps
See Import & Export to learn more about this capability.
Export
- From the custom widget overview, select the three-dot menu next to the widget you want to export.
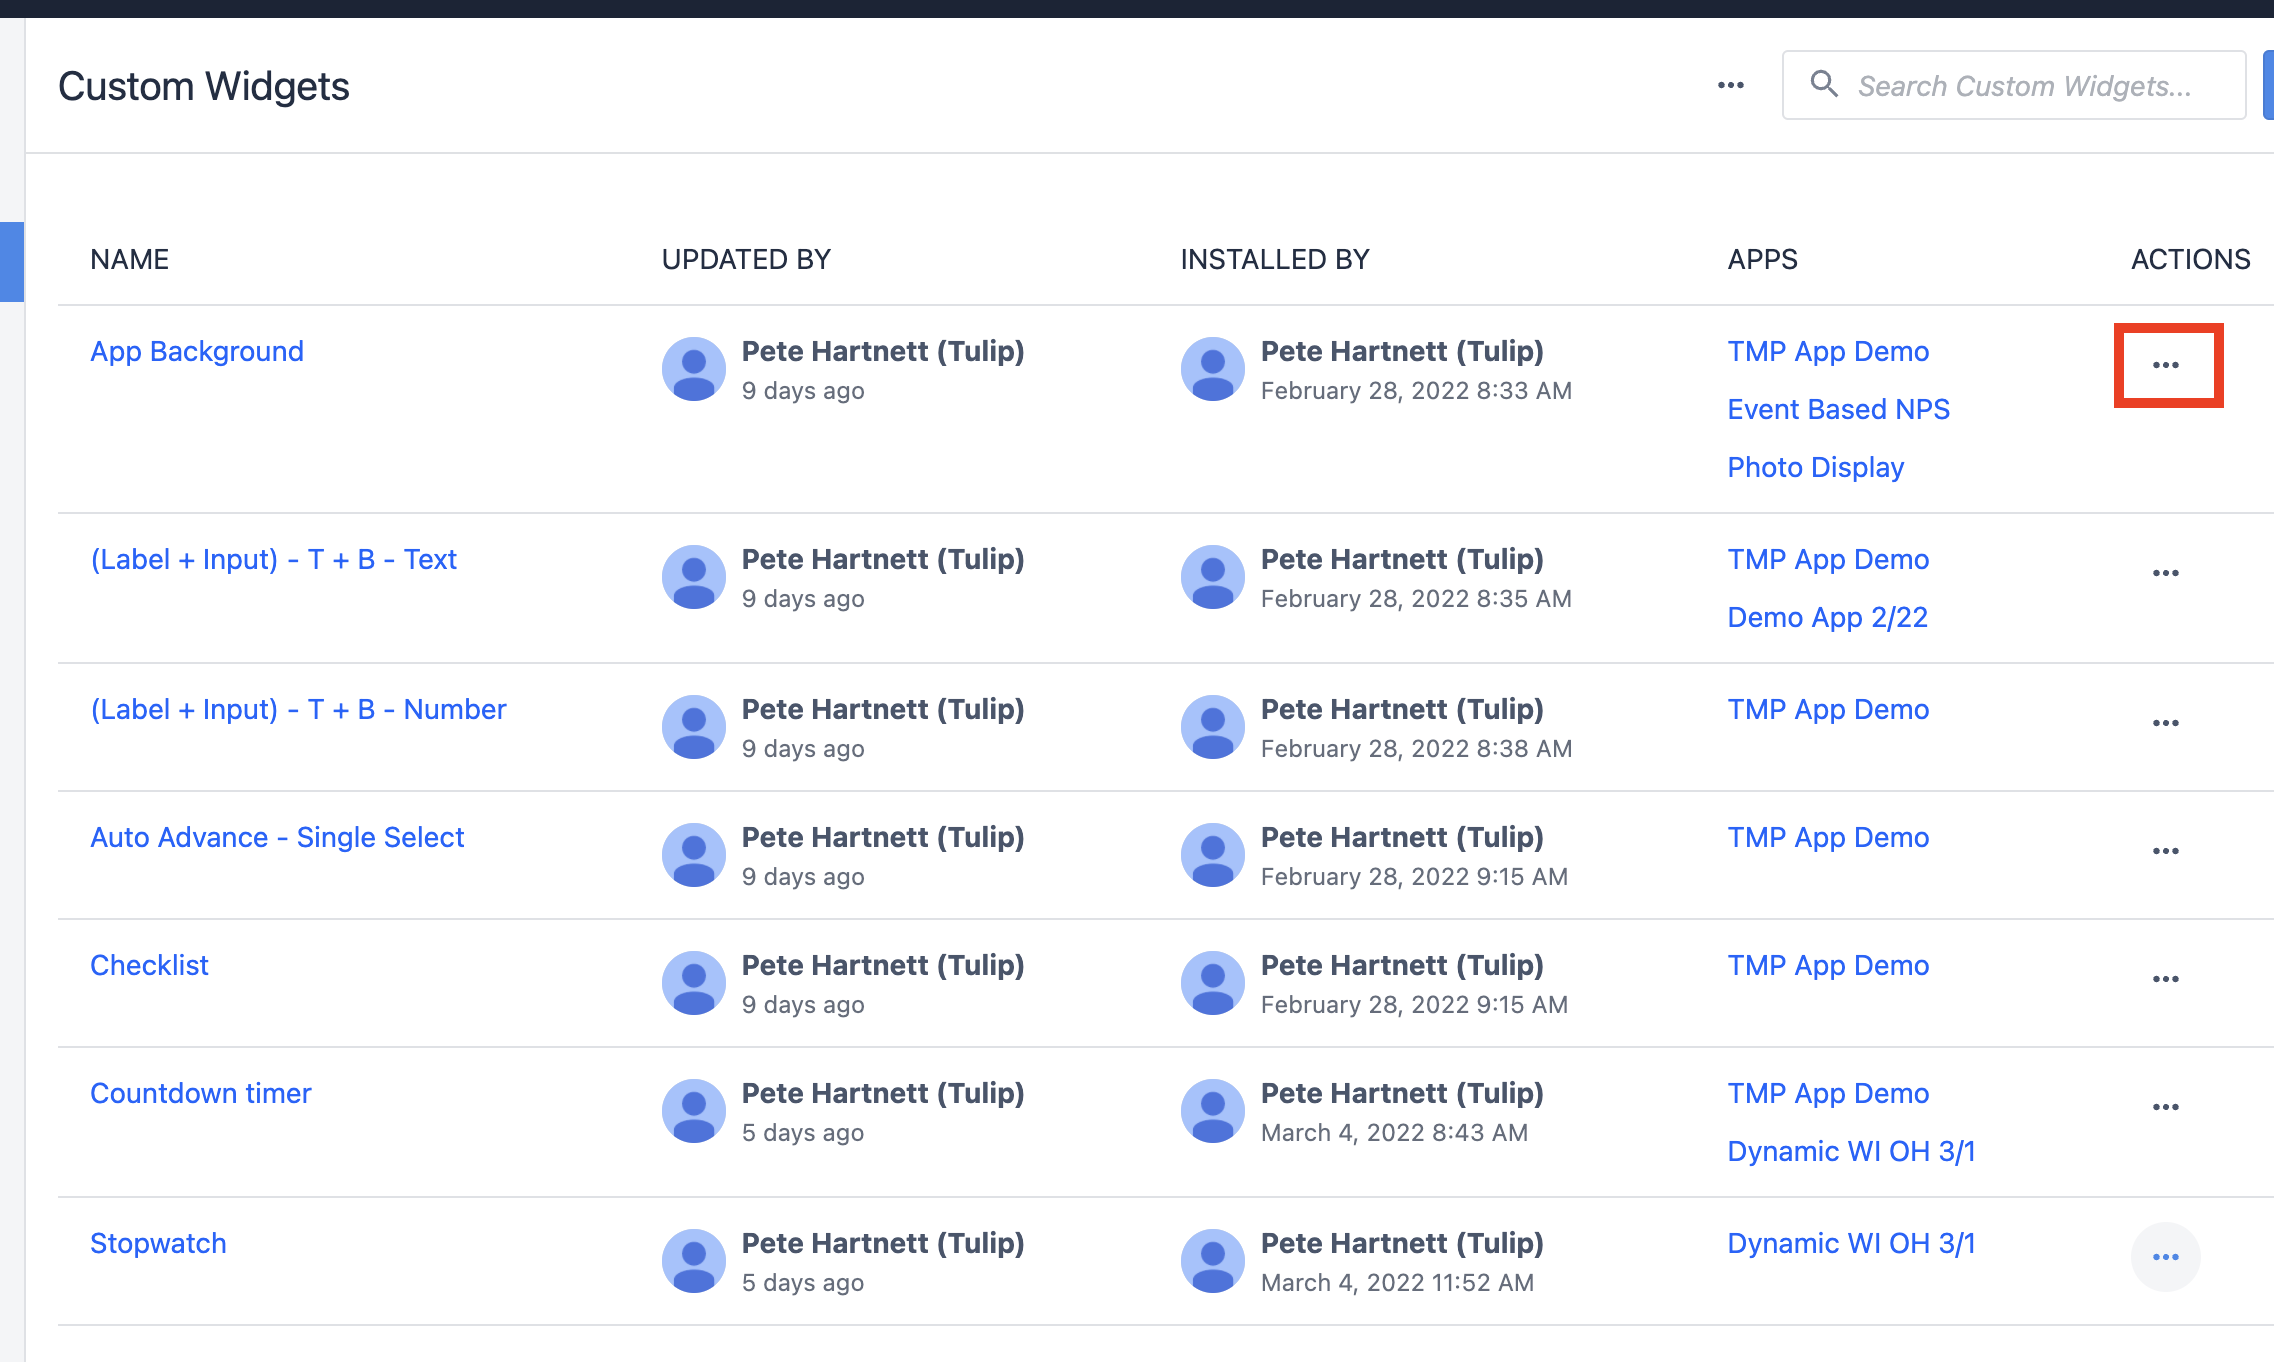
- Select Export.

Import
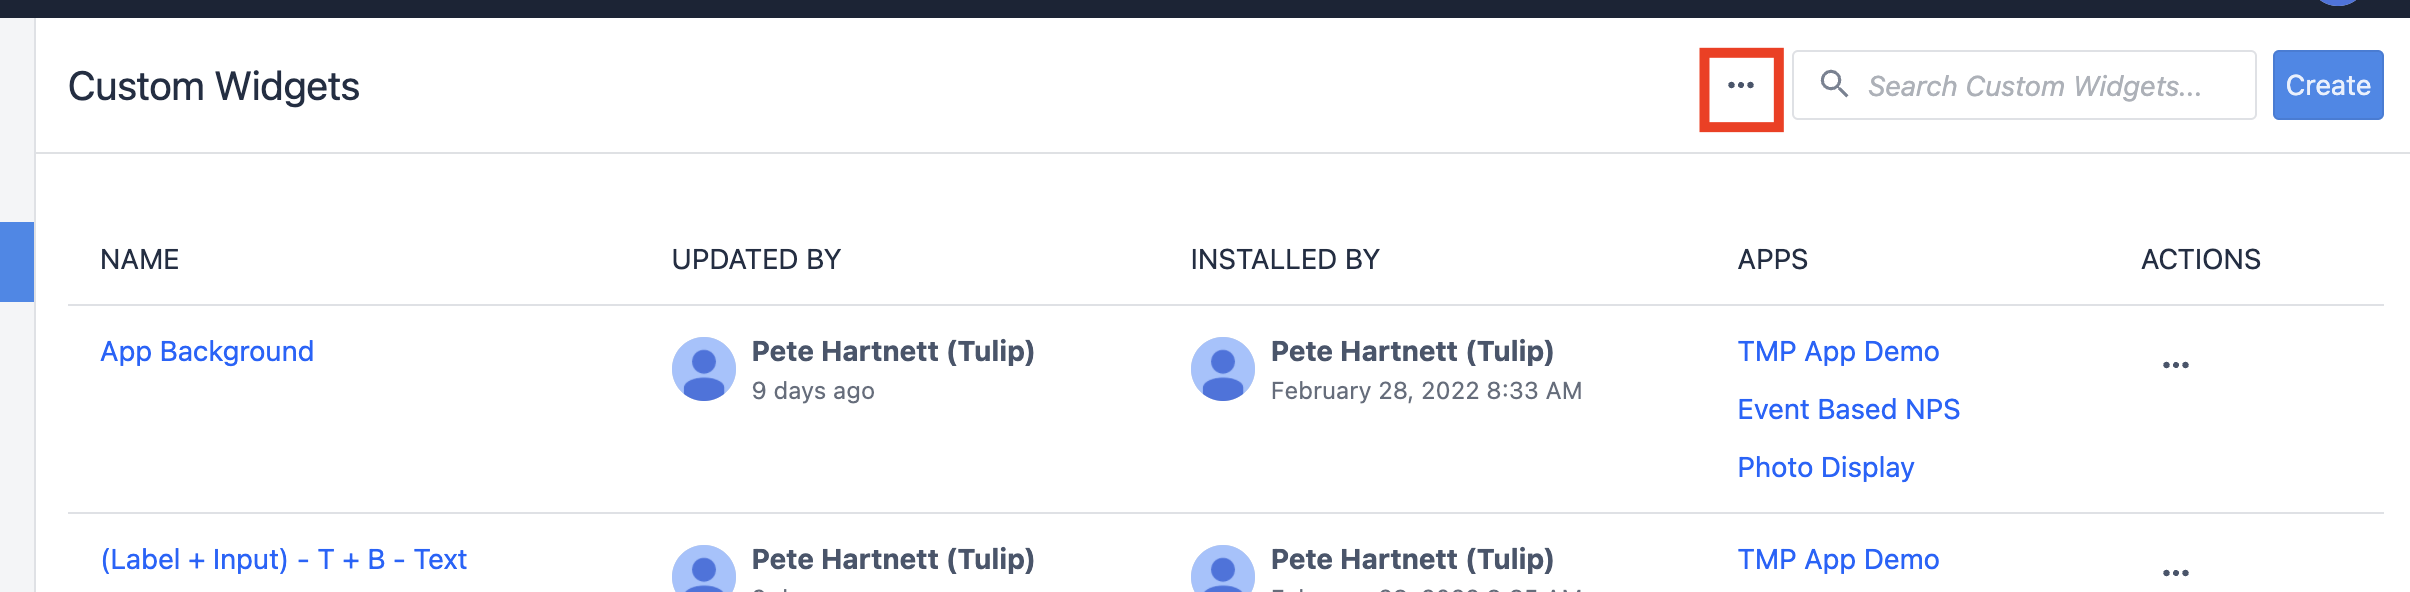
- From the custom widget overview screen, select the three-dot menu at the top.
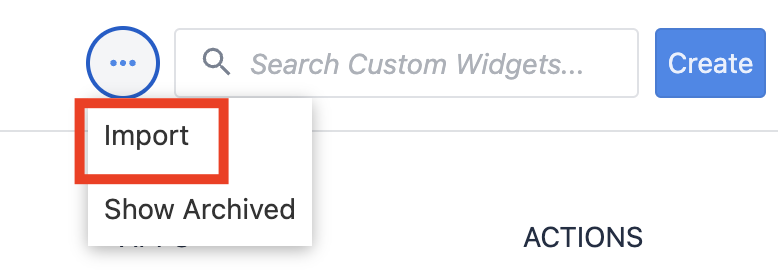
- Select Import.
- Find the .json custom widget file.
Enable external libraries
External libraries further extend what custom widgets can do. External libraries handle the manual work of writing HTML directly in JavaScript. External libraries must be enabled for each widget where you want to use them.
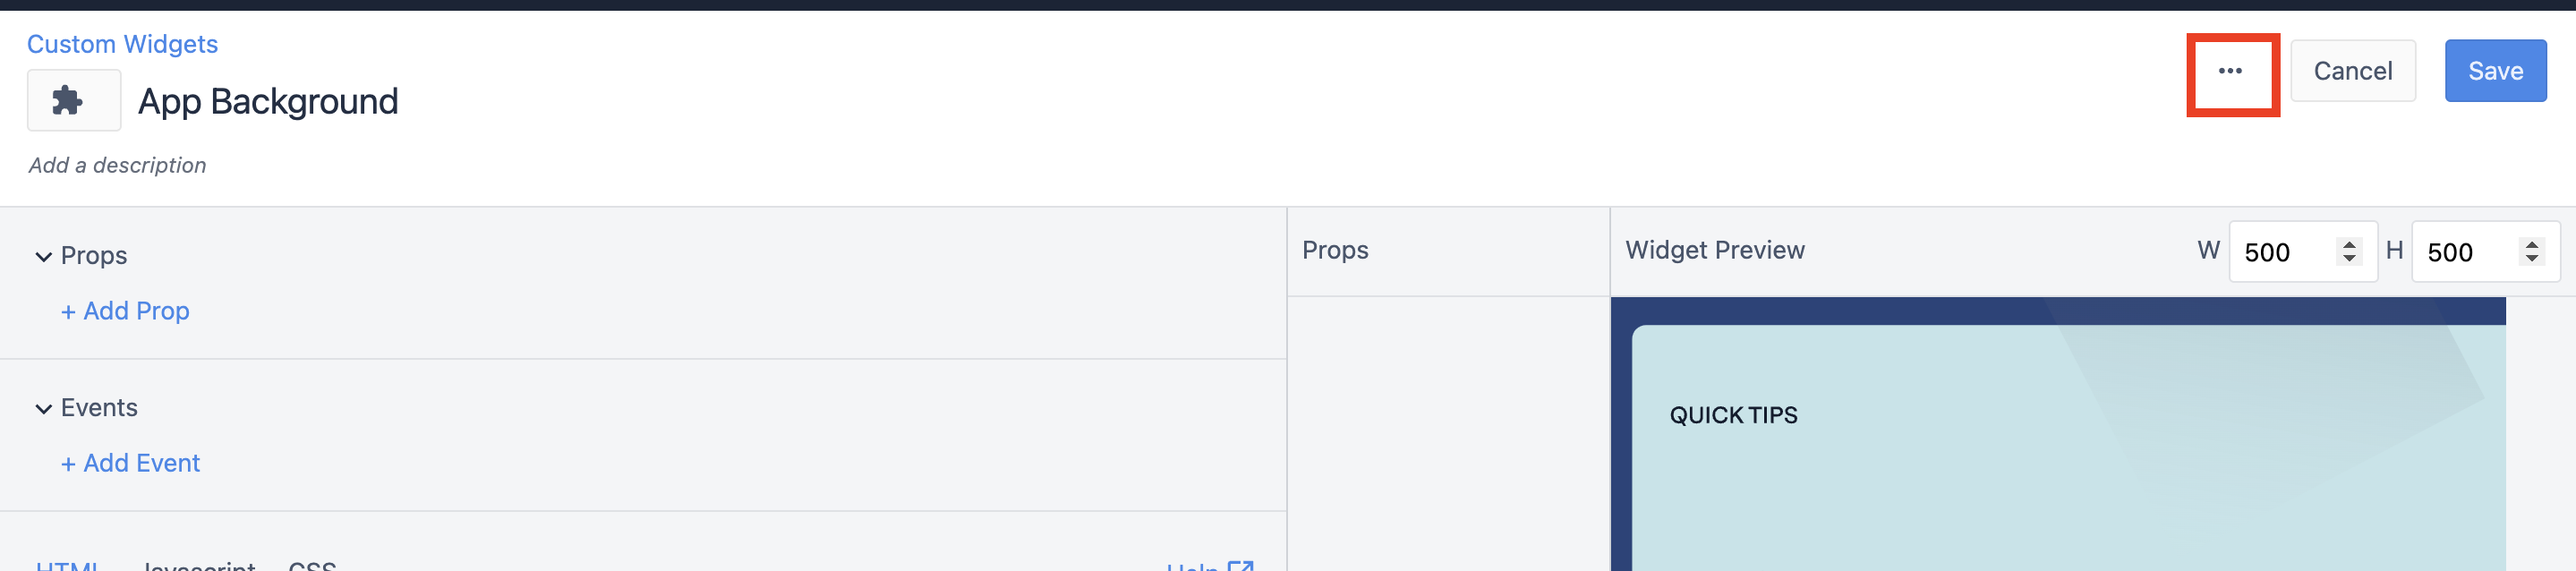
- While in your widget, click on the three-dot menu at the top-right of the page.
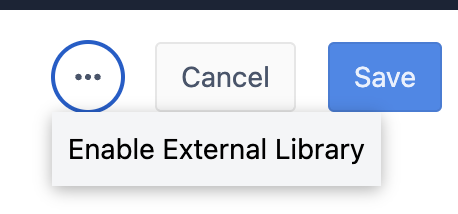
- Select Enable External Library.
- Select the extension you want to enable.
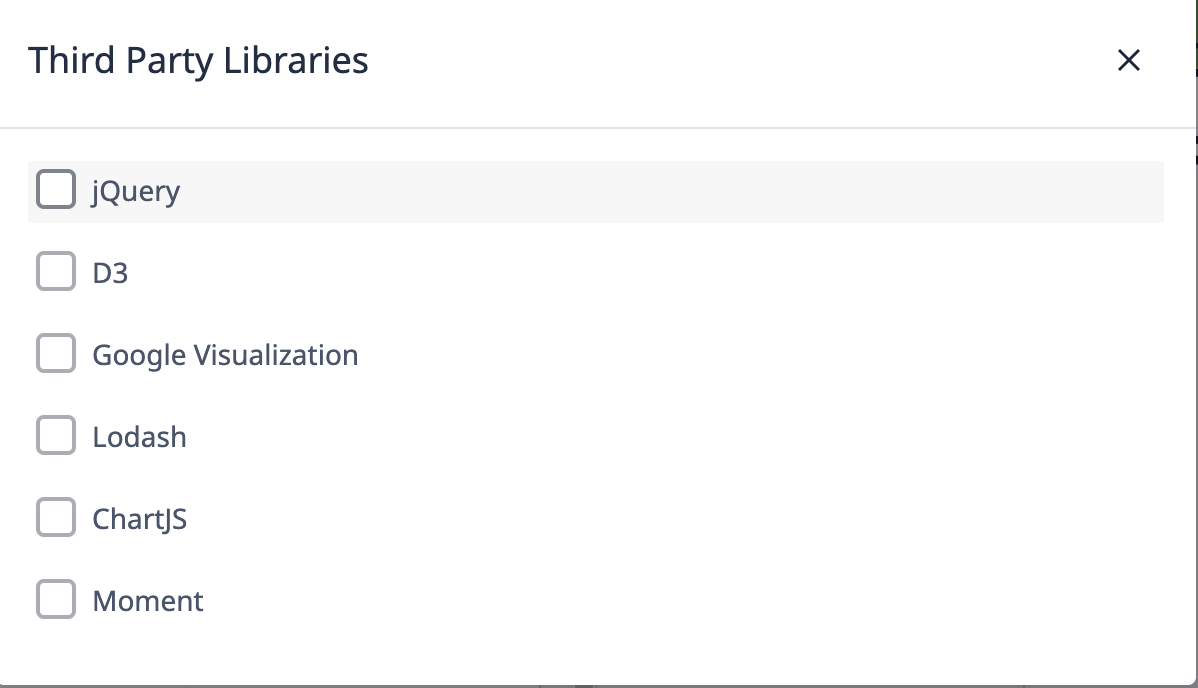
Here is a basic description of what each extension does:
- jQuery - enables more streamlined selection of html elements, along with element manipulation.
- D3 - The gold standard for visualization of data, a steep learning curve but tons of flexibility.
- Google Visualization - A great tool for doing as the name implies, visualization.
- Lodash - Lodash provides a ton of tools that make working with javascript datatypes easier.
- ChartJS - About the simplest graphing library possible with tons of online resources.
- Moment - Moment provides tons of tools to work with dates and times.
Runtime version
The way custom widgets load in the new runtime has been updated (see Custom widget improvements). This change affects when you can reliably access your widget's properties, like those retrieved with getValue().
To see which version of runtime your widget uses:
- On the Custom Widget list page or in the editor, if the widget has a Legacy badge next to its name, the widget uses the old runtime. If there is no badge, the widget uses the new runtime.
- In the Custom Widget information side panel, see the Runtime section.
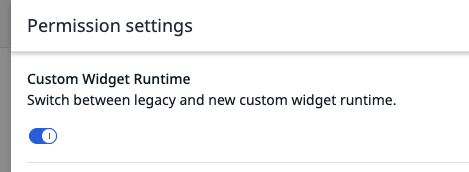
- In the Permission settings of a custom widget, if the Custom Widget Runtime toggle is on, then the widget is using the new runtime.
By default, newly created Custom Widgets use the old runtime.
To switch the runtime version for a custom widget, use the Custom Widget Runtime toggle in Permission settings.
Examples
Below are several custom widgets from the Tulip Library that illustrate the feature capabilities described above:
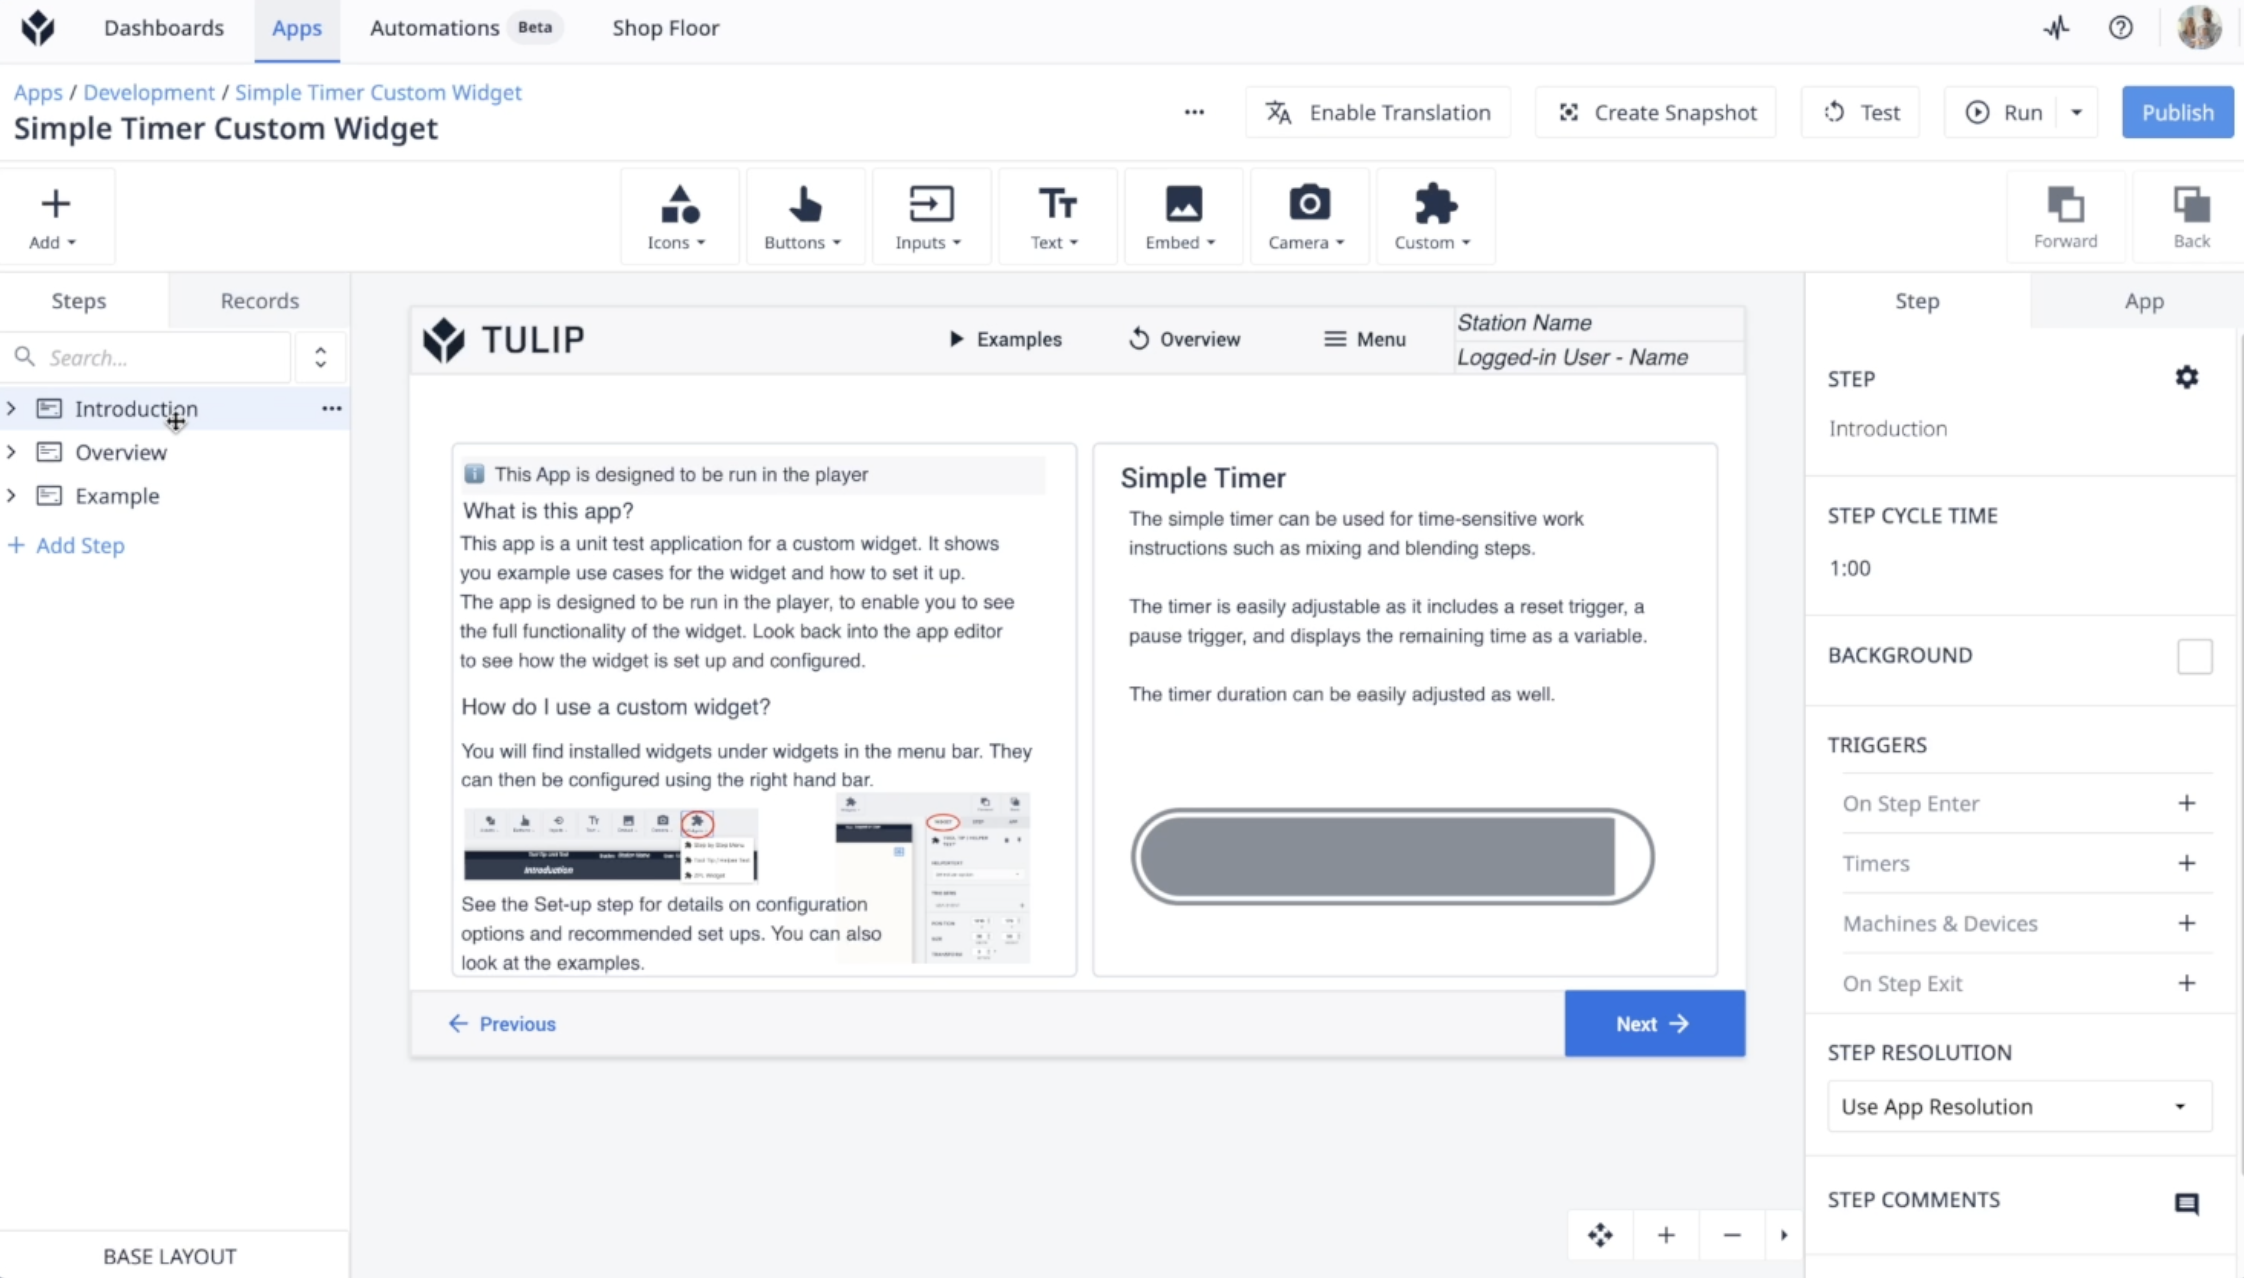
Simple timer widget
A user-friendly timer widget for tracking elapsed time during app workflows. Operators can start, stop, and reset the timer directly from the app interface, making it useful for timing tasks or processes.
Radial gauge widget
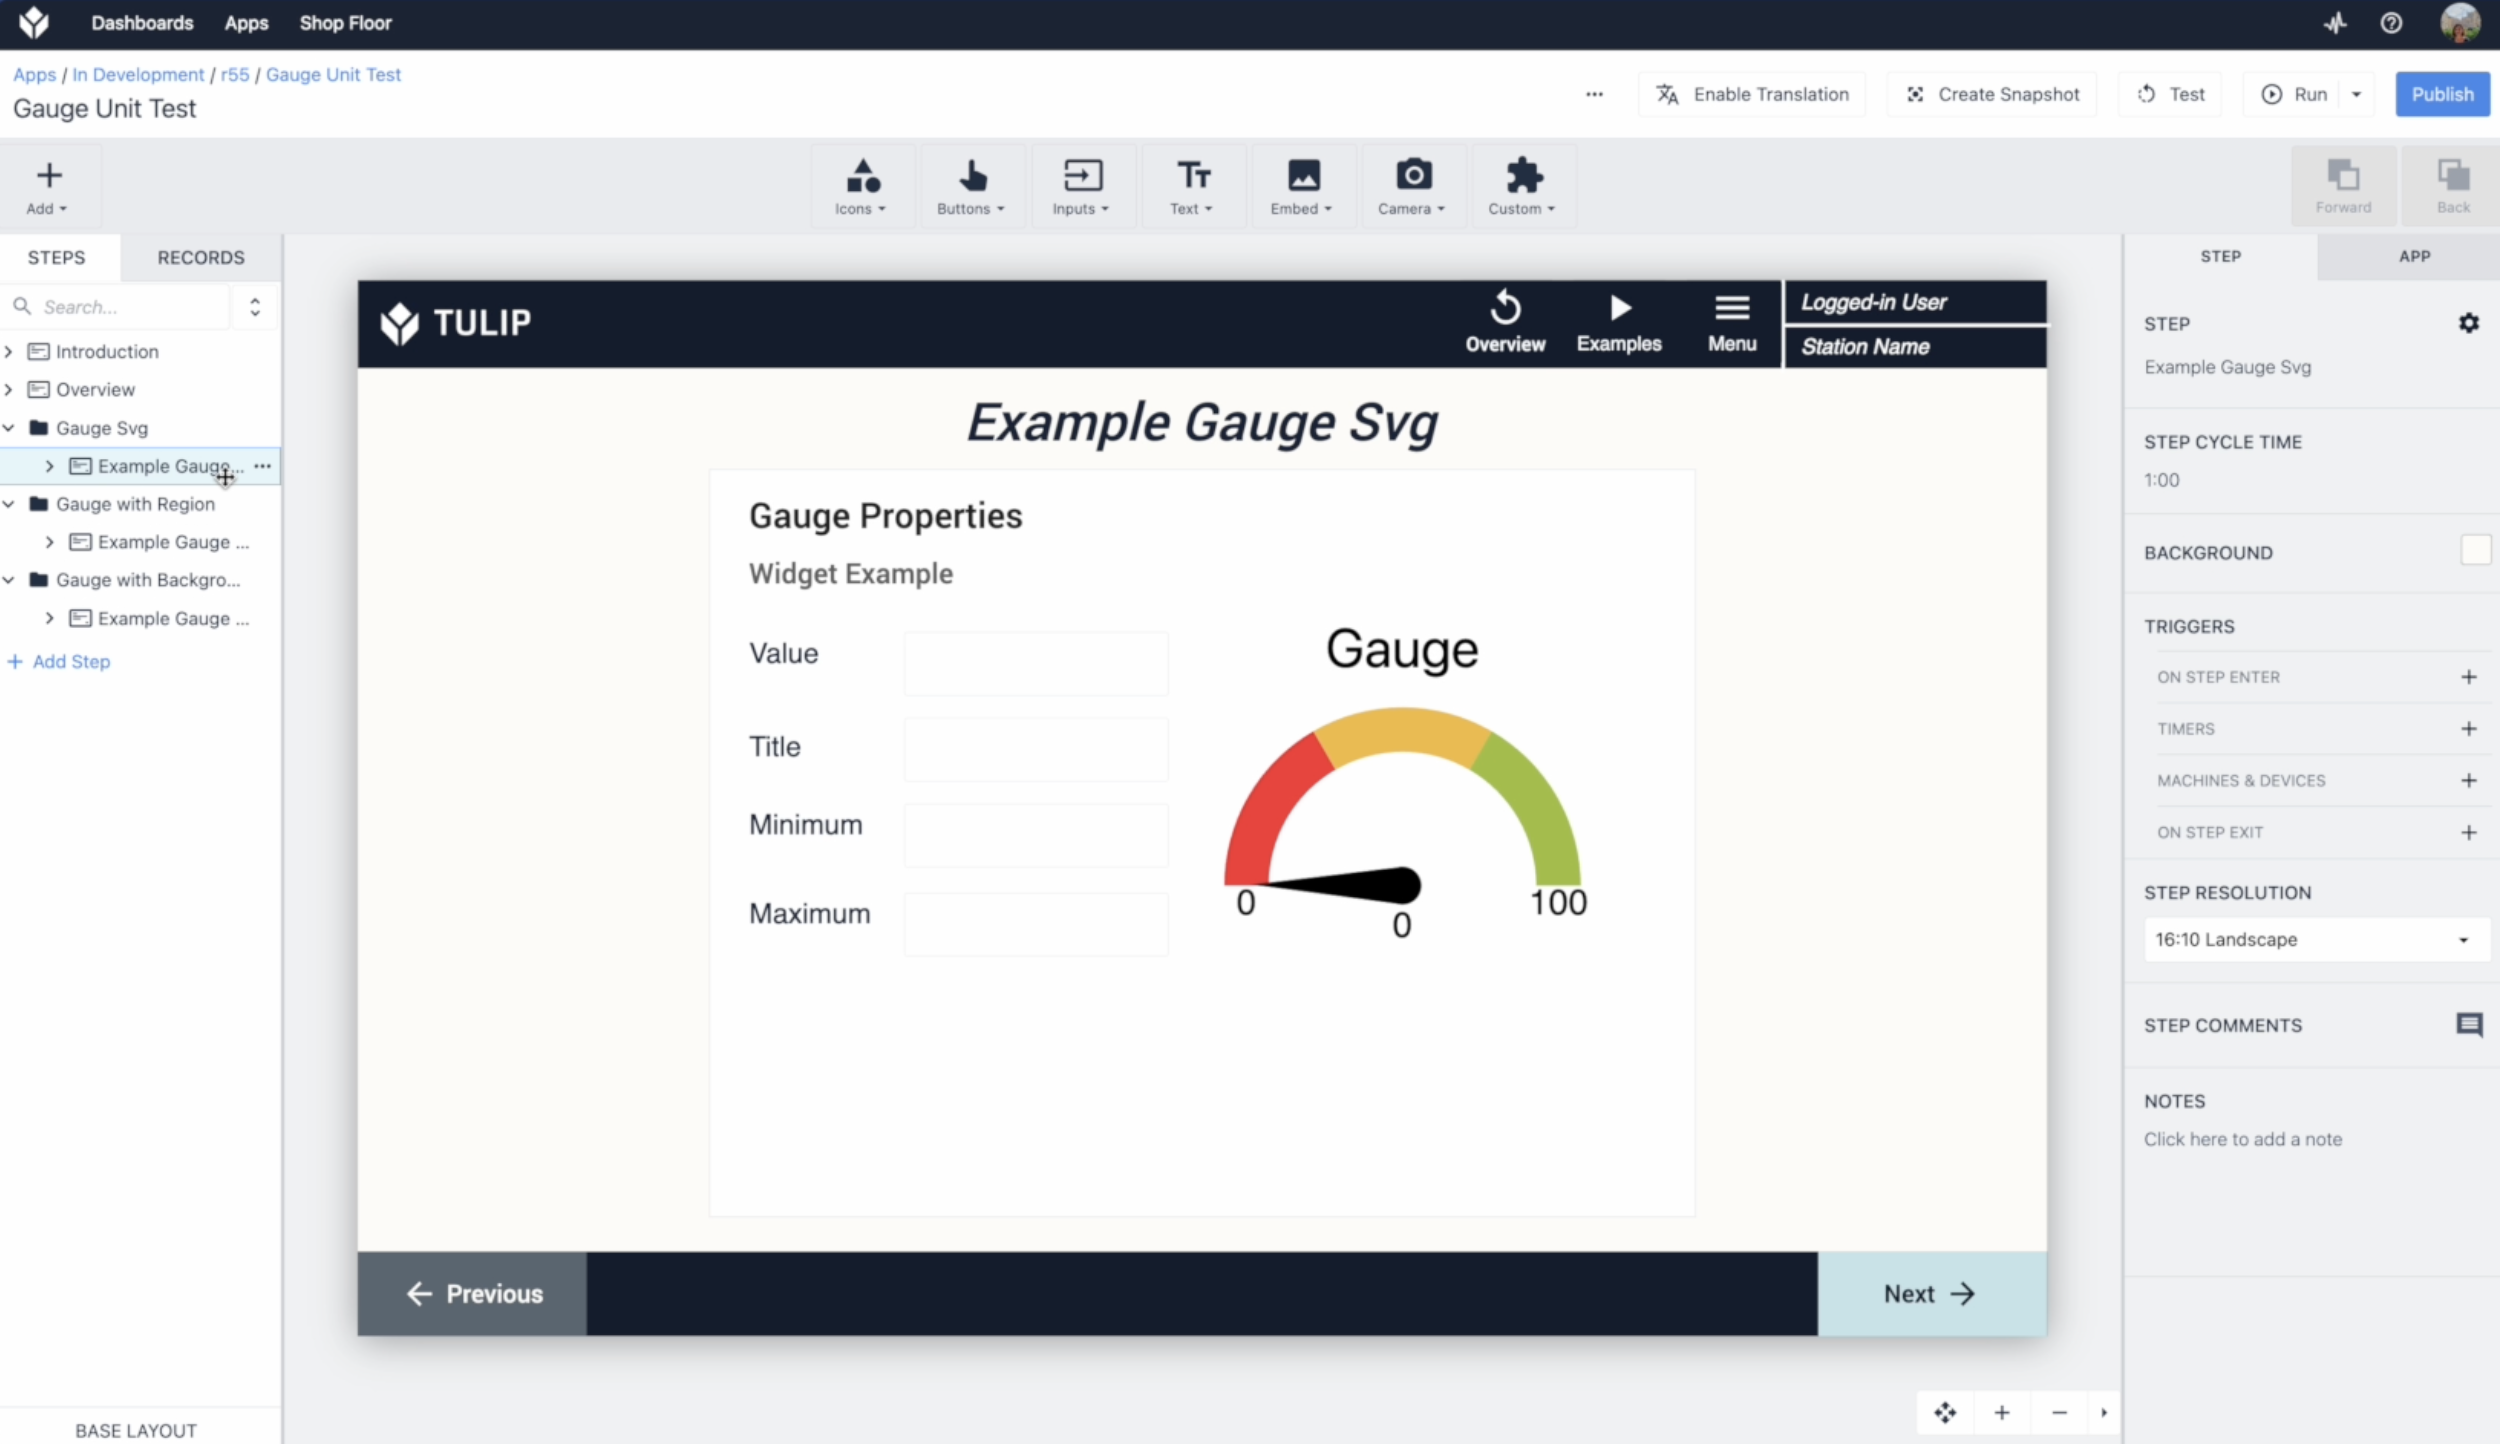
This widget visually represents numeric values with a customizable radial gauge. It’s ideal for displaying metrics like machine speed, temperature, or progress in a quick, easily understood format.
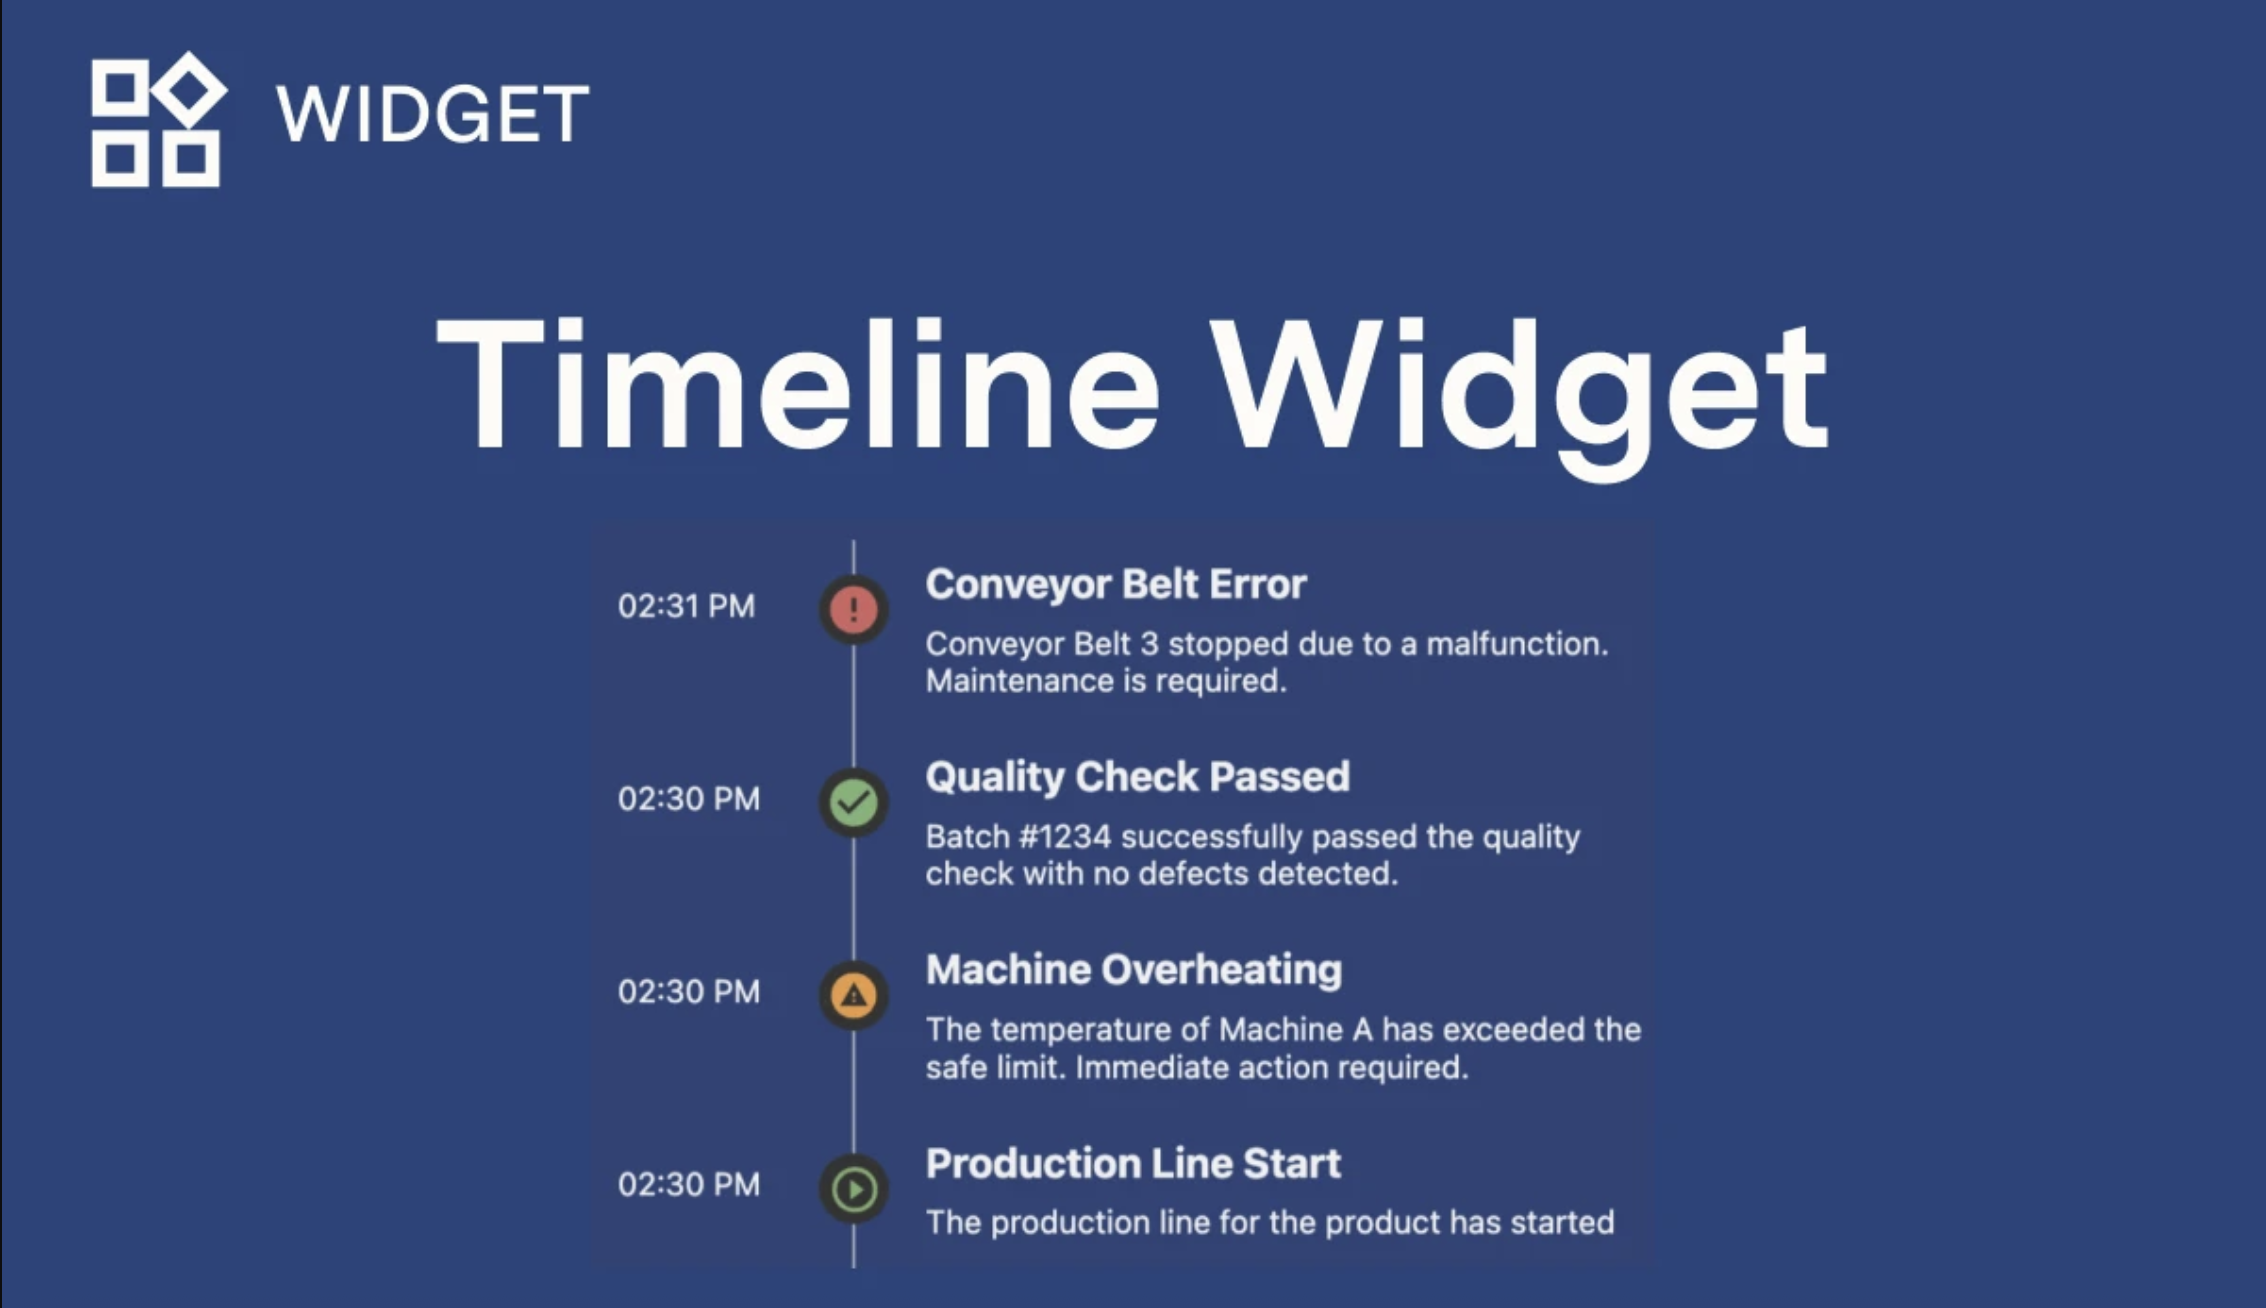
Timeline widget
Shows events or steps along a horizontal timeline, helping users visualize process stages, completed tasks, or time-based data at a glance.
Best practices
1. Prevent unintended side effects from widget code that runs on load
Tulip runs your widget's actual code any time it's rendered — not just in Player, but also in the Custom Widget editor, the App Editor, and a Station's Live Preview. This gives you an accurate, live preview of your widget. Any side-effecting code (e.g. API calls, table writes, notifications) at the top level of your script runs every time the widget is rendered, including each time the widget reopens in the editor or the preview reloads.
Gate anything with a real-world effect behind an explicit trigger (e.g.a button press, a fireEvent in response to a user action, or a Prop change) rather than firing it automatically on load.
// GOOD: only fires when the app explicitly asks it to
getValue('TriggerIncrement', (shouldIncrement) => {
  if (shouldIncrement) {
    fetch("https://api.example.com/increment-counter", { method: "POST" });
  }
});

// BAD: fires every time the widget loads, including in the editor and preview
fetch("https://api.example.com/increment-counter", { method: "POST" });
If a widget needs to load data automatically, use a read-only or idempotent endpoint so repeated loads don't cause unwanted effects.
2. Test iteratively without triggering real side effects
While developing a widget that calls a production API with real side effects, point to a test or staging endpoint until you're done iterating, then switch to a production endpoint before publishing. This prevents duplicate records, notifications, or other side effects of editing and previewing your widget.
For actions that must happen against production even after publishing,build confirmation into the widget's own UI rather than relying on load timing. By requiring a visible action (e.g. a button click), the person viewing the widget has control over when the effect happens.
// Requires an explicit click before the real action fires,
// regardless of how many times the widget itself has been rendered
document.getElementById('submitBtn')?.addEventListener('click', () => {
  fetch("https://api.example.com/submit-order", { method: "POST" });
});
3. Prop management - Validate the prop value
Ensure your custom widget handles data reliably. Props are a way to pass information into your widget, but their values can change or might be initially undefined. Even though props have a set type, they could initially be undefined and that might cause errors in your custom widget code. Following a good pattern prevents errors and makes your widget more robust.
The example below uses a callback function as the second parameter for the getValue. This callback will run every time the custom widget receives the updated prop value.
Because the initial value of the prop might be undefined and later it could receive the updated value, you want to ensure that you apply the configuration once the updated value is received. Using getValue without the callback function returns the value of the prop at that point of code execution.
getValue('config', function(config) {
    if (config) {
        applyConfiguration(config);
    }
});
The following example is not recommended because initial value of the prop may be undefined:
const config = getValue('config');
applyConfiguration(config);
4. Event handling - Validate data
Event data has a type. While firing an event with an incorrect data type won’t crash or stop your custom widget code execution, it is a good practice to have your own guards to ensure that data being sent in the fireEvent is validated and of correct type.
This practice prevents unexpected behavior and makes your code more predictable.
if (data != null && typeof data === 'string') {
    fireEvent(eventName, data);
} else {
    // Optionally handle the invalid data case.
}
5. Use a callback function for asynchronous prop access
When you call setValue(), the prop update is asynchronous. This means it doesn't happen immediately because your custom widget is communicating with the main application from an iframe. The setValue() request is sent, but your code continues to run without waiting for the change to take effect. If you try to use getValue() right after, you'll likely get the old value.
To get the most up-to-date data, always use getValue() with a callback function. The callback is only executed when the prop has been successfully updated, which guarantees you're working with the latest information.
The following example shows this best practice:
// GOOD: Access a prop's value asynchronously
const newConfig = { setting: 'value' };
setValue('config', newConfig);

// The callback function will run when the prop update is complete.
getValue('config', function(updatedConfig) {
  console.log('The prop has been updated. New config is:', updatedConfig);
  // Do something with the guaranteed new value
  applyConfiguration(updatedConfig);
});
The following example shows what you should avoid:
// BAD: This might not work as expected
const newConfig = { setting: 'value' };
setValue('config', newConfig);

// This will likely log the old value, not the new one.
const currentConfig = getValue('config');
6. Use supported headers for API Calls
When making external API calls from custom widgets, be careful with HTTP headers to avoid CORS (Cross-Origin Resource Sharing) issues. Custom widgets run in an iframe environment with specific security restrictions.
Only use headers that are explicitly supported. Setting unsupported headers like Content-Type or other custom headers can trigger CORS errors and prevent your API calls from working.
The following example shows this best practice:
// GOOD: Simple API call without custom headers
fetch("https://akhatri.bulb.cloud/api/v3/w/1/tables", {
  headers: {
    Authorization: "<API key>",
  },
})
  .then((response) => response.json())
  .then((data) => console.log(data))
  .catch((error) => console.error("Error:", error));
The following example shows what you should avoid:
// BAD: Setting Content-Type header will cause CORS issues
fetch("https://api.example.com/data", {
  headers: {
    Authorization: "<API key>",
    "Content-Type": "application/json", // This will cause CORS errors
  },
})
If you encounter CORS errors, first remove any custom headers you've set (especially Content-Type) and test with minimal headers. The iframe security model restricts which headers can be set from custom widgets.
7. Initialize widgets based on your runtime
See Runtime version for more information.
New runtime
In the new runtime, the src attribute returns an empty shell HTML file. Once loaded, this shell file sends a message to the parent app. The parent app sends the custom widget code, the utility functions (such as getValue()), and the initial prop values to inject into the iframe.
Because of this, DOMContentLoaded and window.onload fire when the empty shell loads, before your widget code is injected. Any handler attached to these events is registered too late: the event has already fired, so the callback never runs. Code inside those handlers is silently skipped, as shown in the example below:
document.addEventListener('DOMContentLoaded', function() {
    // Fires when SHELL loads, before user code injection
    // User code hasn't even been injected yet!
    const myProp = getValue('myProp'); // ERROR: getValue is not defined
});
You do not need to use DOMContentLoaded or window.onload in custom widgets. Tulip loads resources in the following order: third-party libraries, user HTML, and then JavaScript. By the time your JavaScript runs, the DOM is already available. You can access DOM elements directly without waiting for a load event, shown in the example below:
// Safe to call directly — the DOM is already loaded when this runs.
const btn = document.getElementById('my-btn');
Old runtime
In the old runtime, the srcDoc attribute injects the custom widget code into the iframe, along with utility functions such as getValue() and the initial prop values. Because the widget code is part of the document from the start, getValue() and your props are available as soon as the iframe content loads.
As a result, DOMContentLoaded and window.onload work as expected in the old runtime, shown in the following example:
document.addEventListener('DOMContentLoaded', function() {
    // Fires when user's HTML is ready
    // Props are already available
    const myProp = getValue('myProp'); // Works immediately
});
Did you find what you were looking for?
You can also head to community.tulip.co to post your question or see if others have solved a similar topic!