
In this walkthrough, you will:
- Display a message on a step
- Input a custom message
- Create a count of messages
- Document the date and time of the most recent message display
In this walkthrough, you’ll learn the basics of apps by building multiple, functional app components.
At the end of the exercises, you’ll have a Hello World app that will look like this:
Exercise 1: Create a Hello World app
In this exercise, you will create a simple app that displays a message from a button trigger.
Create an app
-
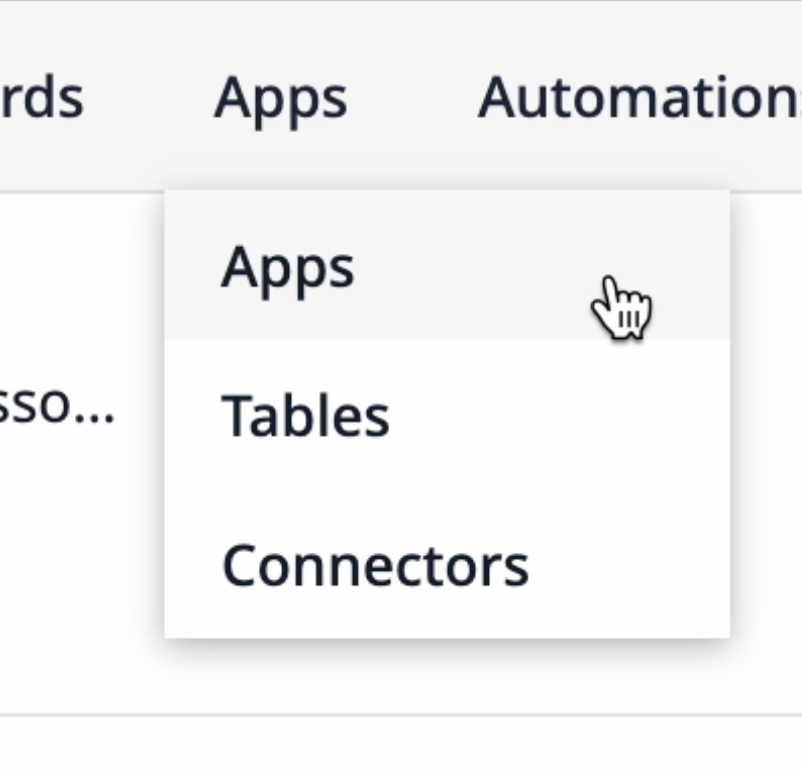
In the Apps tab, click Apps.
-
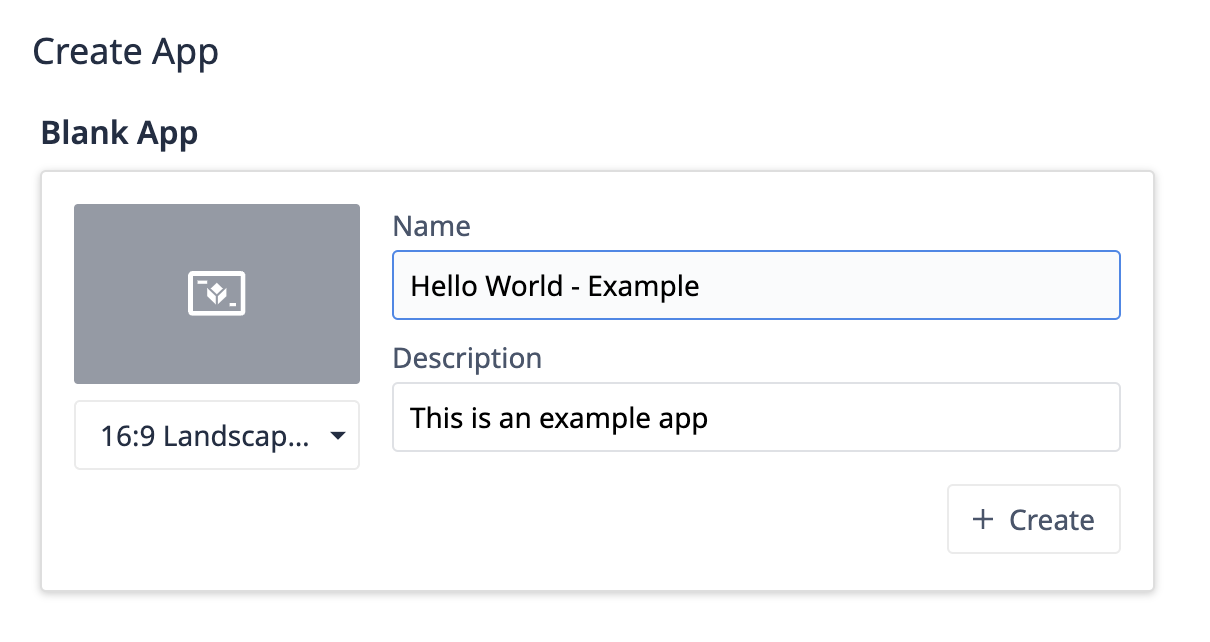
Click + Create App in the top right corner.
-
Name the app “Hello World - Example”. Optionally, you can add a description so other users know what this app is for.
-
Click + Create.
From the app details page, you can either click Edit in the top right corner, or click the Untitled Step name to enter the App Editor.
Before we build anything, let’s add some basic design elements to the base layout.
Design a base layout
-
From the Steps tab on the left, select Base Layout.
-
Click Icons, and select a rectangle shape. Adjust the width of the rectangle to span across the app screen, then click and drag it to the top of the screen. To change the rectangle’s color, click the Fill square in the Widget tab and select the color faint gray.

-
Select the shape and press CTRL/CMD + C to copy. Drag the second rectangle to the bottom of the screen.
-
Click Input and select Variable. In the Widget tab, click in the Select a data source field. Click the arrow next to App Info and select App name.
-
Click and drag the variable to the top left corner, on top of the rectangle.
-
Add two more variables:
- Select Step name from the app info data source list. Position this variable in the top right corner.
- Select Logged-in user from the app info data source list. Position this variable in the bottom left corner.
- Lastly, click Buttons and select Menu. Click and drag the button to the bottom of the screen.
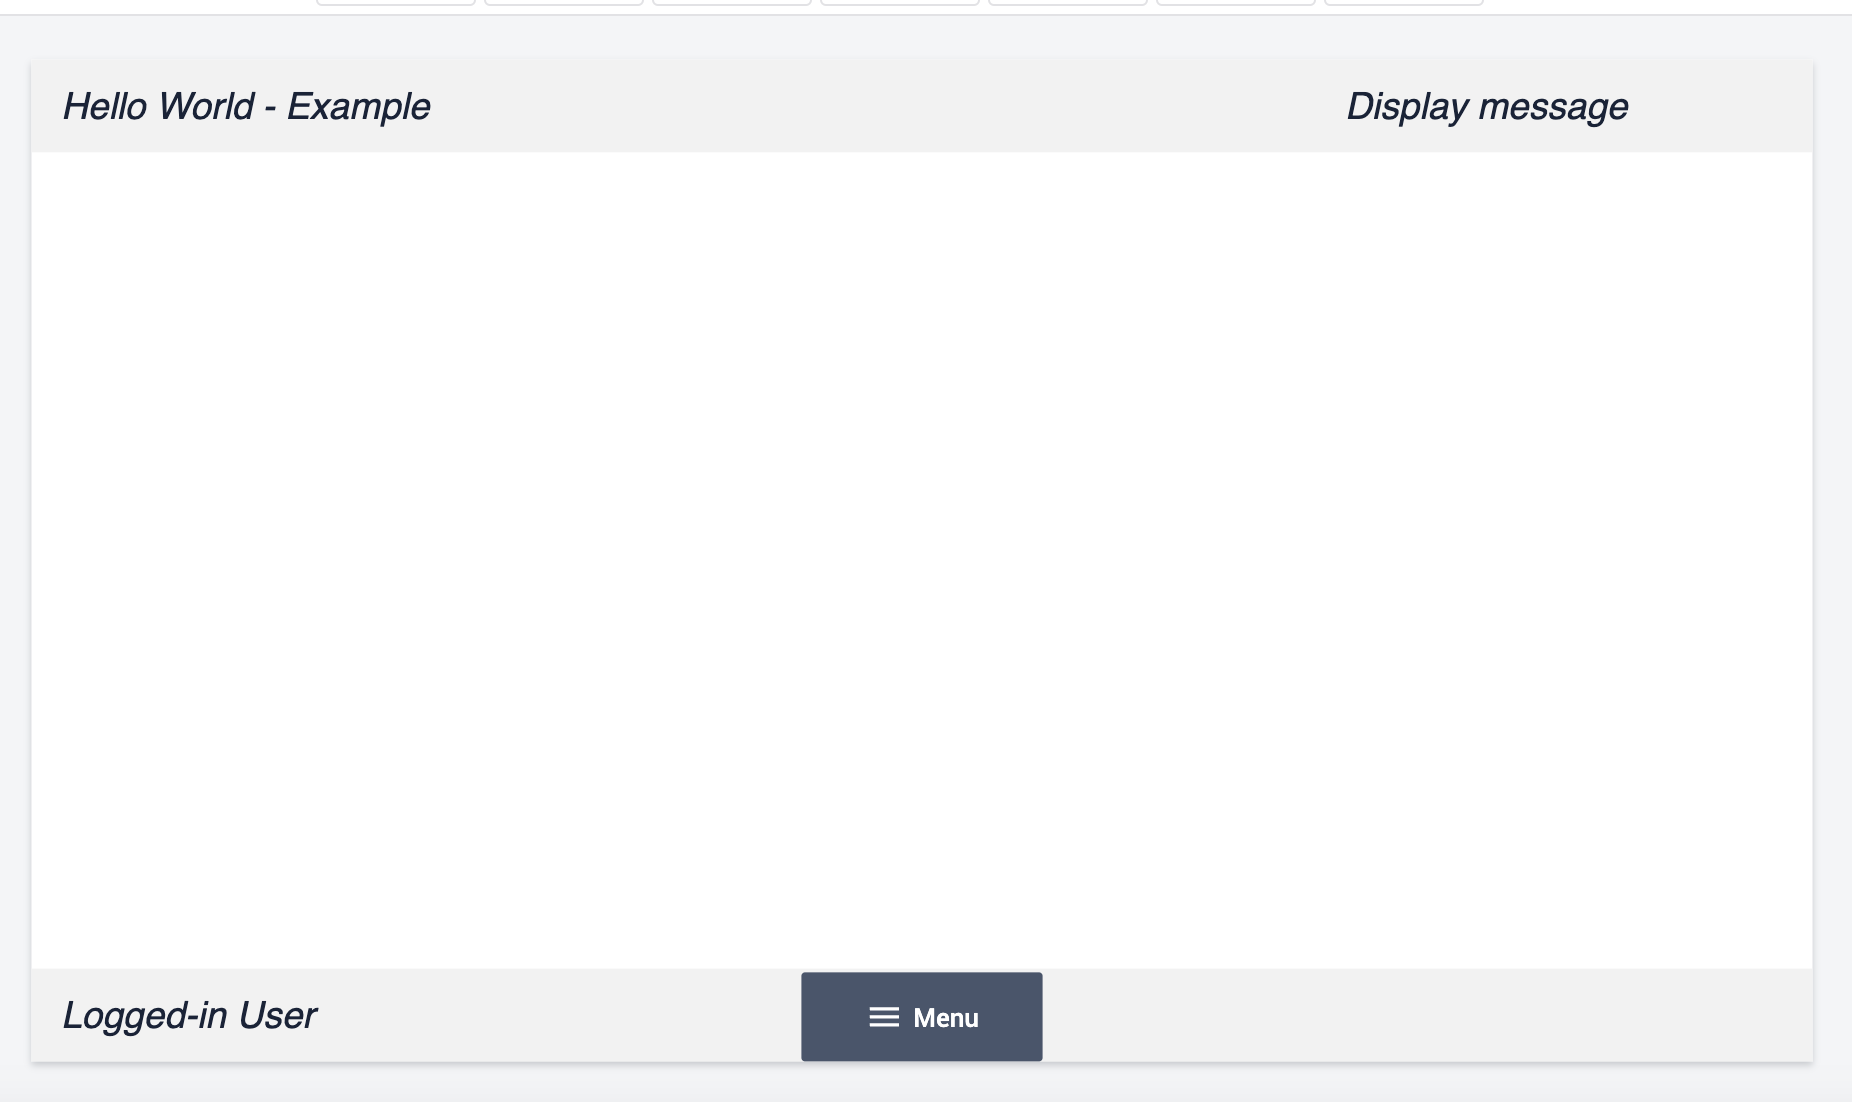
Your base layout will look like this:
Next, we’ll build functionality on a step.
Add hello world button
-
In the Steps tab, select Untitled Step. Double-click on it to rename it and type “Display message”.
-
Click Buttons and select the Button. Resize the button to be larger using the squares around the button. Position the button in the middle of the screen.
-
Add the following styling to the button:
- Text - “Hello World”
- Button color - Green
- Icon - Pan tool
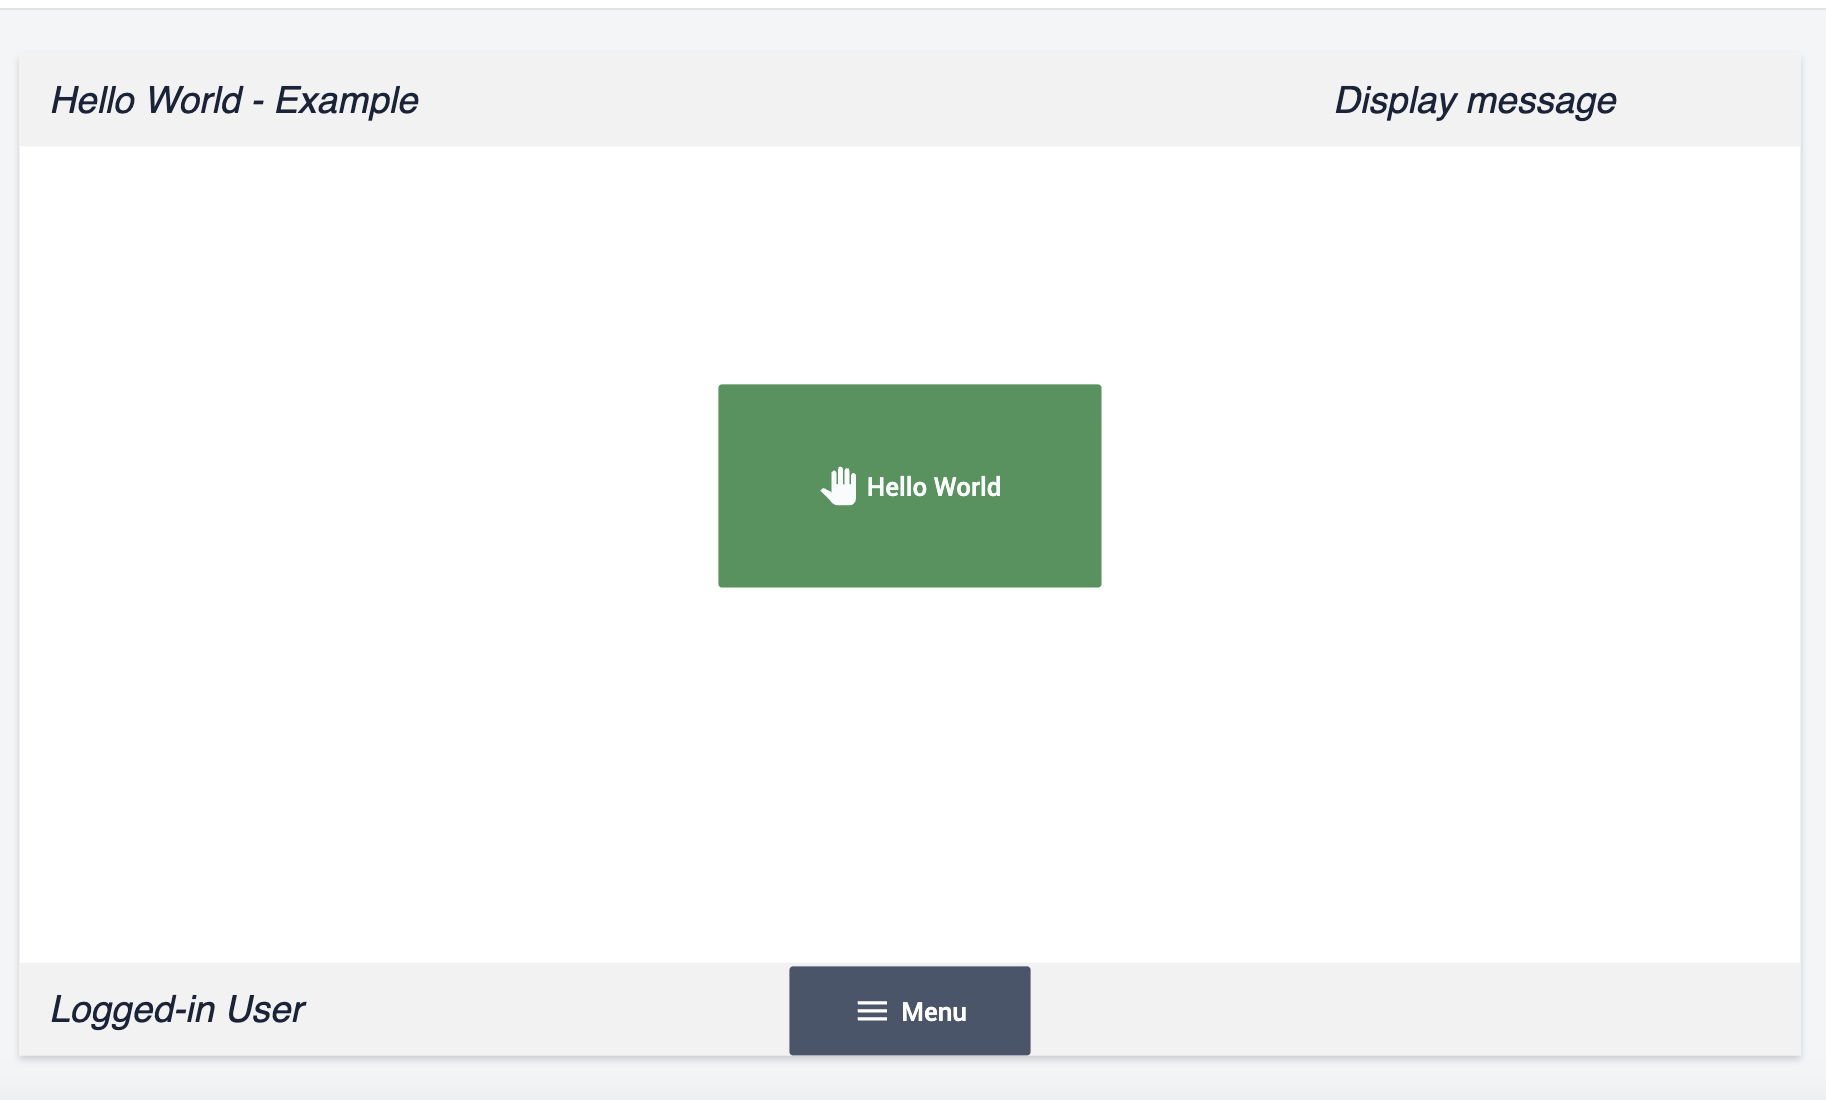
The button will look like this:
Next, we’ll add a trigger to this button to make it functionable.
Add a button trigger
-
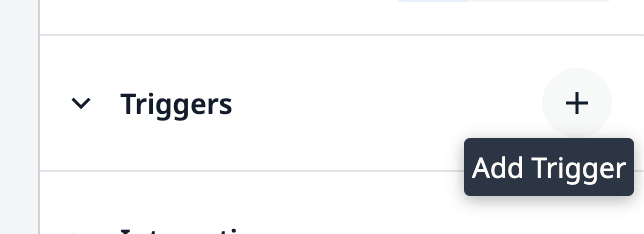
Select the Hello World button and navigate to the Triggers section in the Widget tab. Click + to add a new trigger.
-
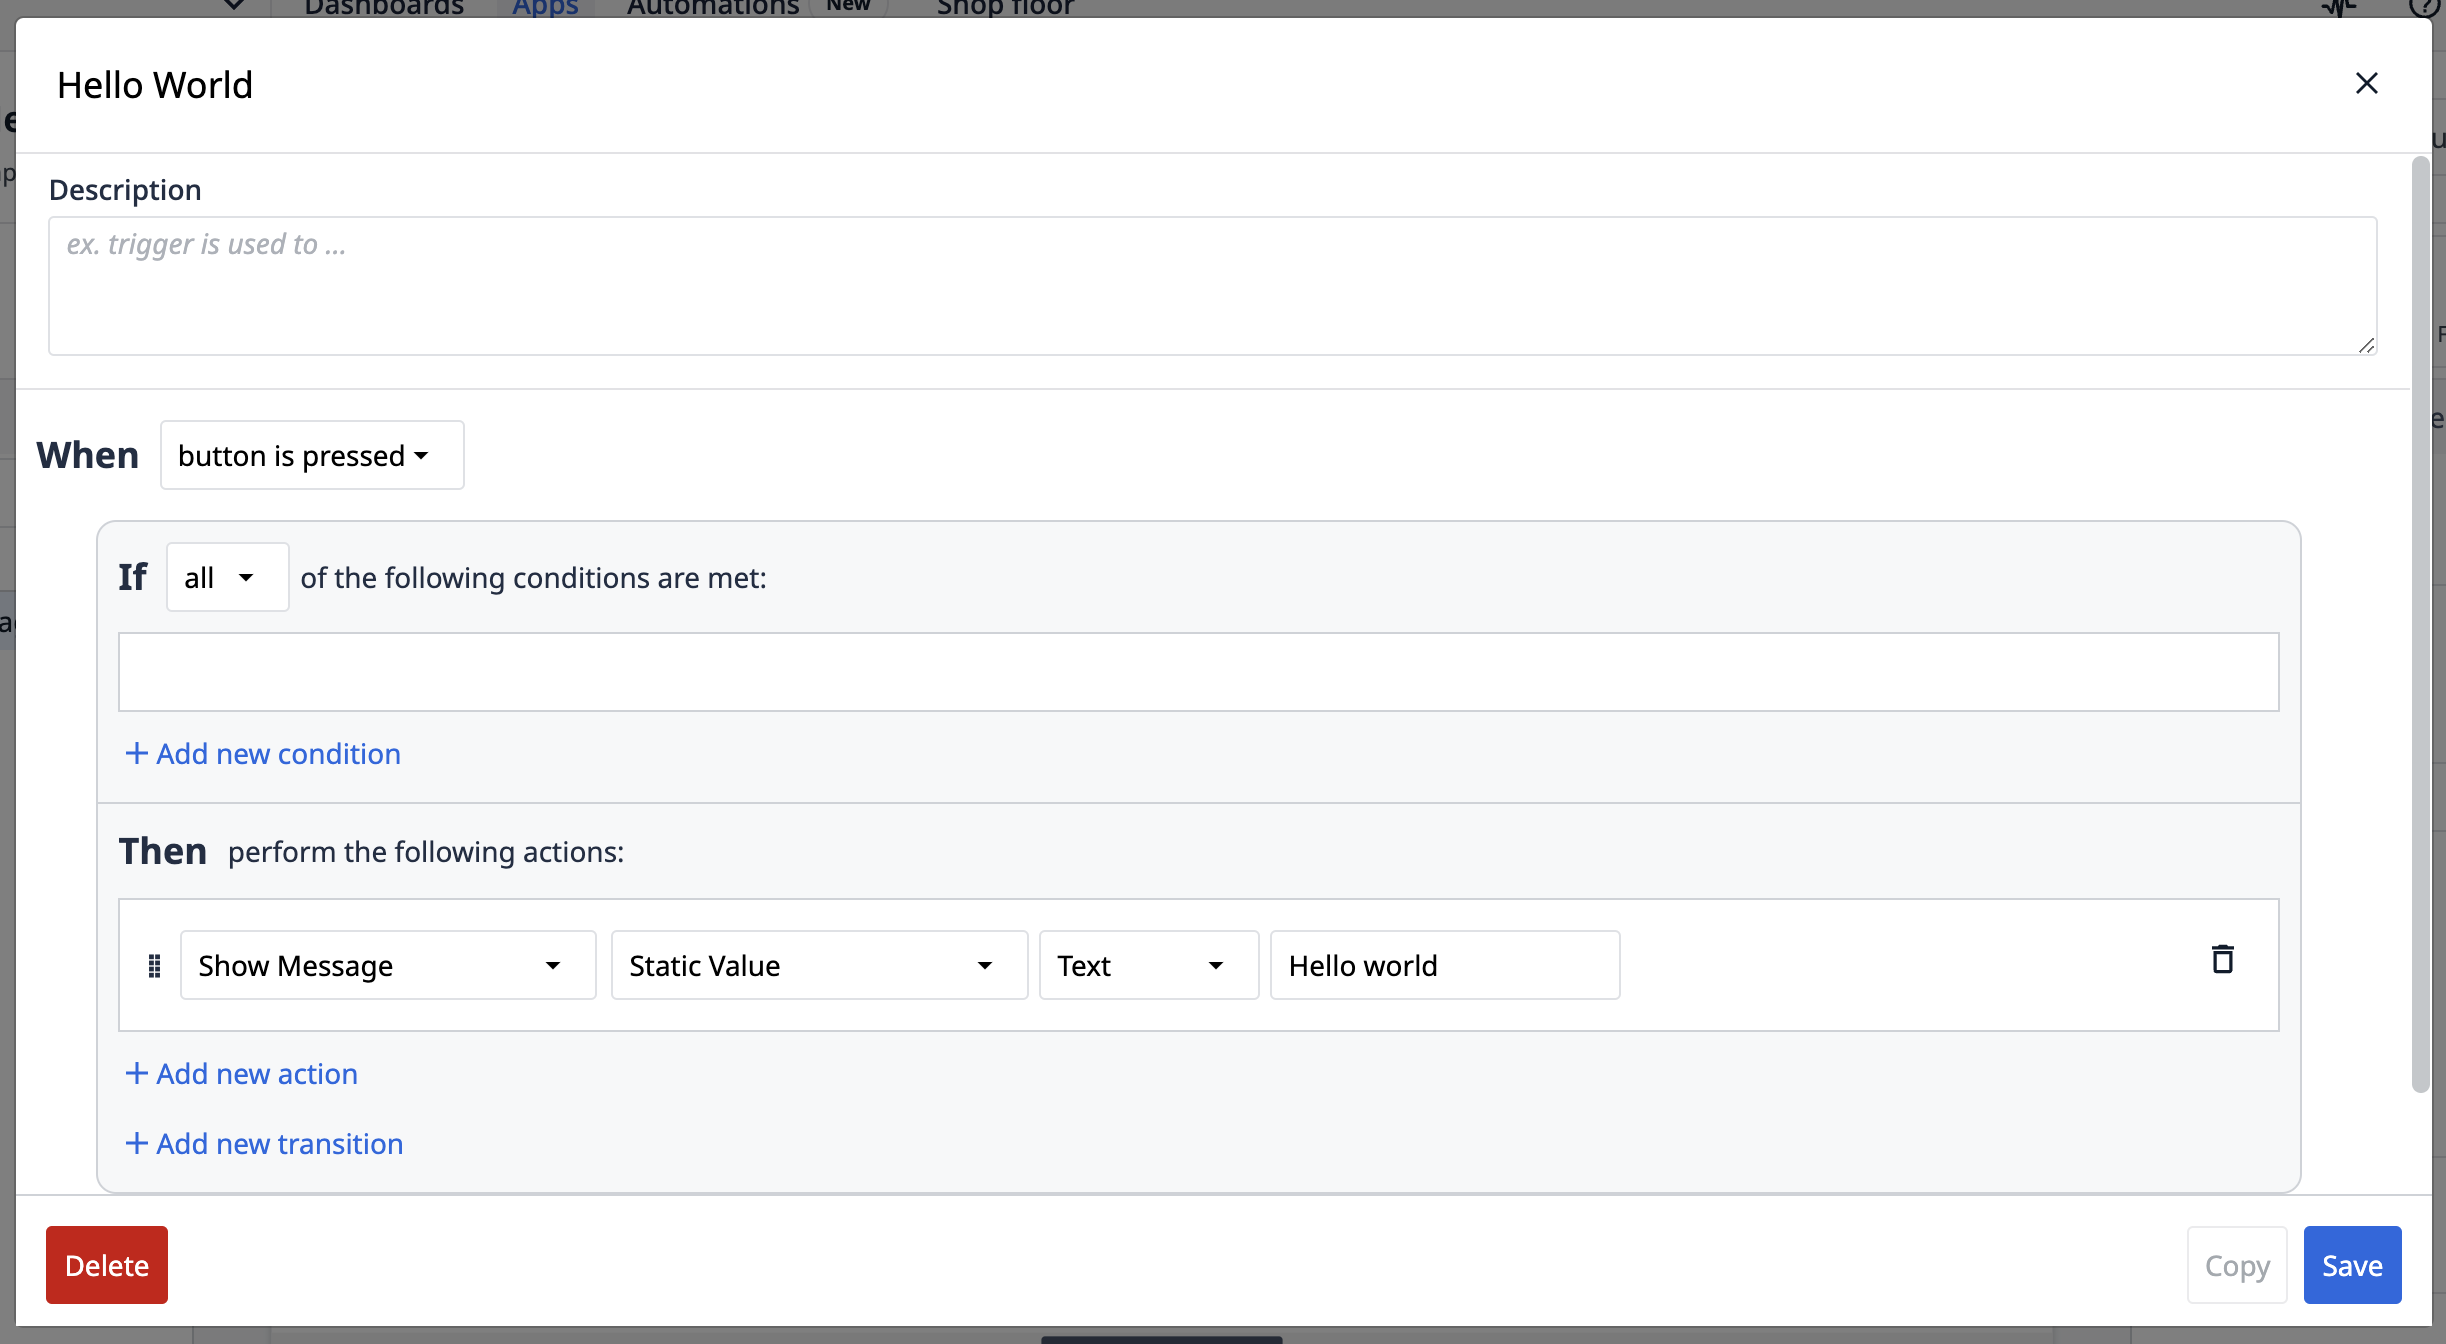
Name the trigger “Hello world”.
-
In the Then statement, add the following logic:
Show Message → Static Value → Text → “Hello World”
Your trigger should match the following:
- Click Save.
When you test the app, it will operate like this:
Exercise 2: Store input data
In this exercise, you will build logic that stores input text to a variable.
- Add a new step, and name it “Store message”.
- Click Input and select Text.
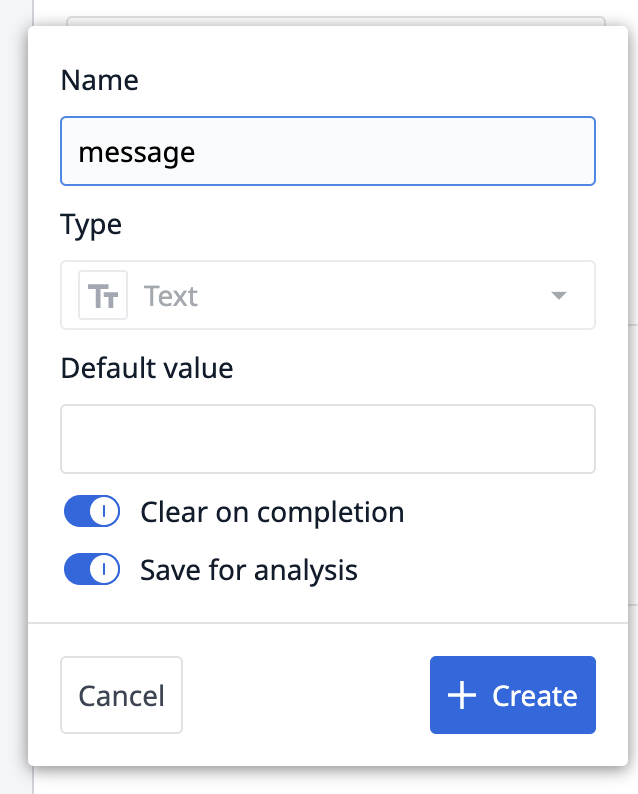
- In the Widget tab, click into the datasource box. Select + Add variable.
- Name the variable “message” and click + Create.
When you test the app, the text input saves into the variable “message”. You can see the stored value in the Variables panel on the left side of the Developer Mode window.
Exercise 3: Count the number of hellos
In this exercise, you will create an analysis that counts how many times the Hello world button was pressed.
-
On the Display message step, click Embed and select Analysis. Click and drag the widget to the left of the Hello world button.
-
Click Select an Analysis and then Create Analysis.
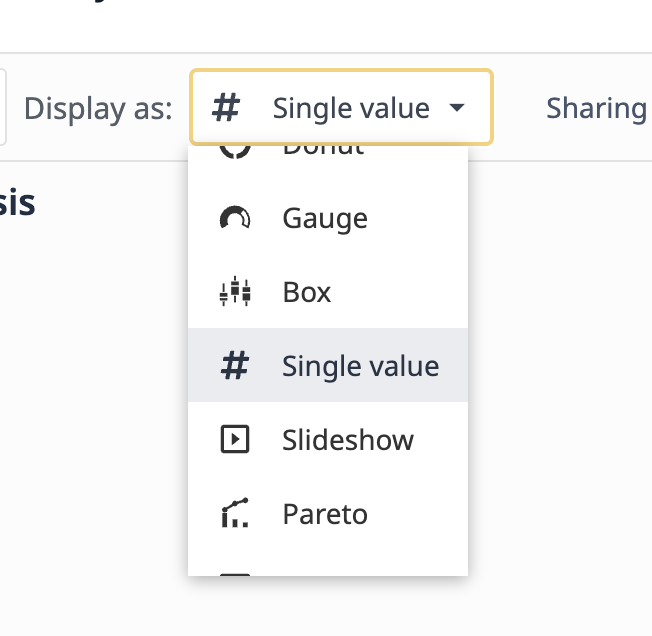
-
Click into the display types dropdown and select Single value.
-
Click the Operations tab and Add a new operation.
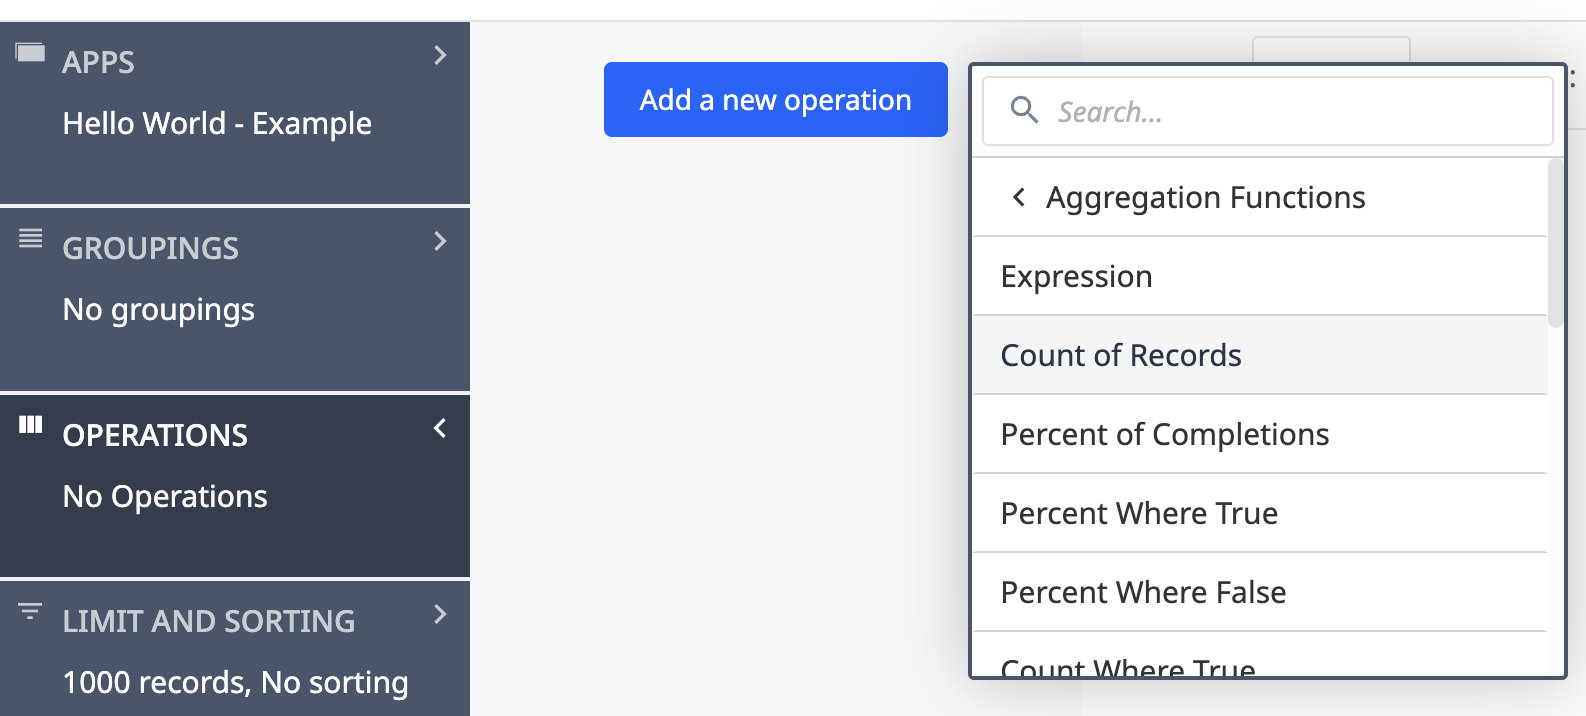
-
Select Aggregation Functions and then Count of Records.
-
Click the side arrow on the right side of the editor to expand the Visualization Pane. Below Value, click + Add field and select Count of Records.
-
Click on the analysis title and rename it “Count of hellos”, then click Save.
-
Click Save and Close in the top right corner.
Since completions do not save in Developer Mode, click Run to test this analysis in theTulip Player.
Exercise 4: Calculate last hello with an expression
In this exercise, you will write an expression in a trigger that stores to a variable to show the last time the app said hello.
-
In the Side Pane, navigate to the App Tab.
-
Next to Variables, select X.
-
Click + Create Variable.
-
Name the variable “Last time you said hello” and click + Create.
-
On the Display message step, click the Hello world button and add a new trigger.
-
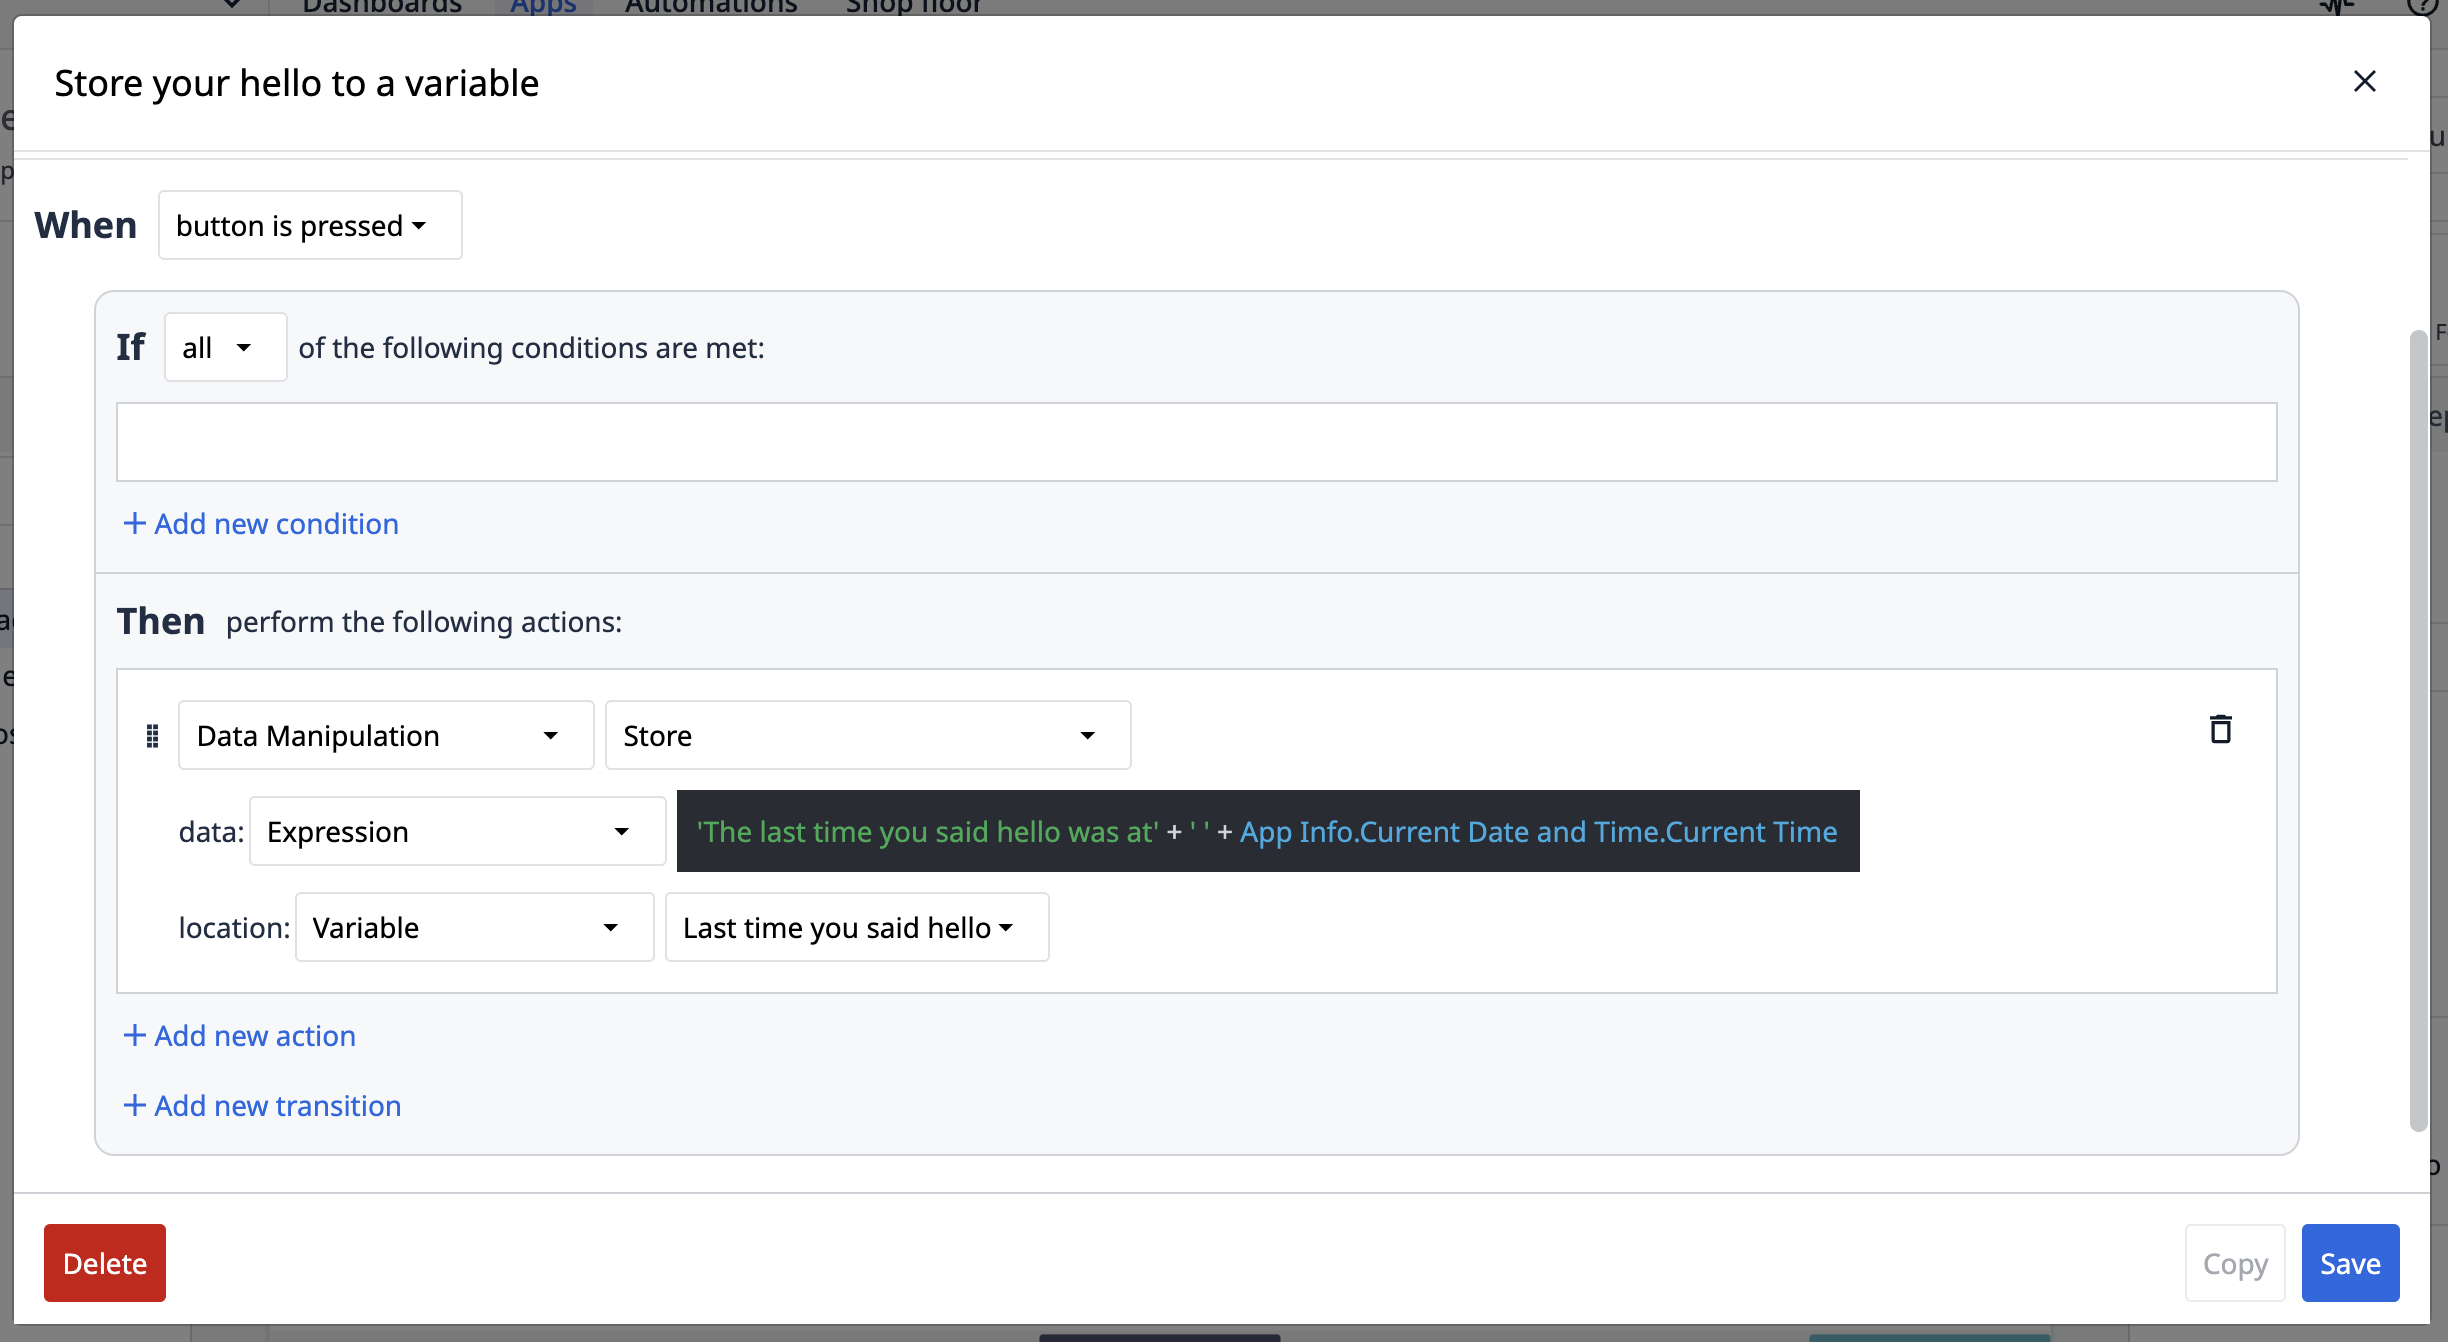
Add the following action to the trigger:
Data manipulation → Store → Expression: ‘The last time you said hello was at’ + ‘ ‘ + App Info.Current Date and Time.Current Time → Variable → Last time you said hello
-
On the Count of hellos step, click Text and select Variable.
-
In the Side Pane under Data options, click the blank Datasource field and then select the Last time you said hello variable.
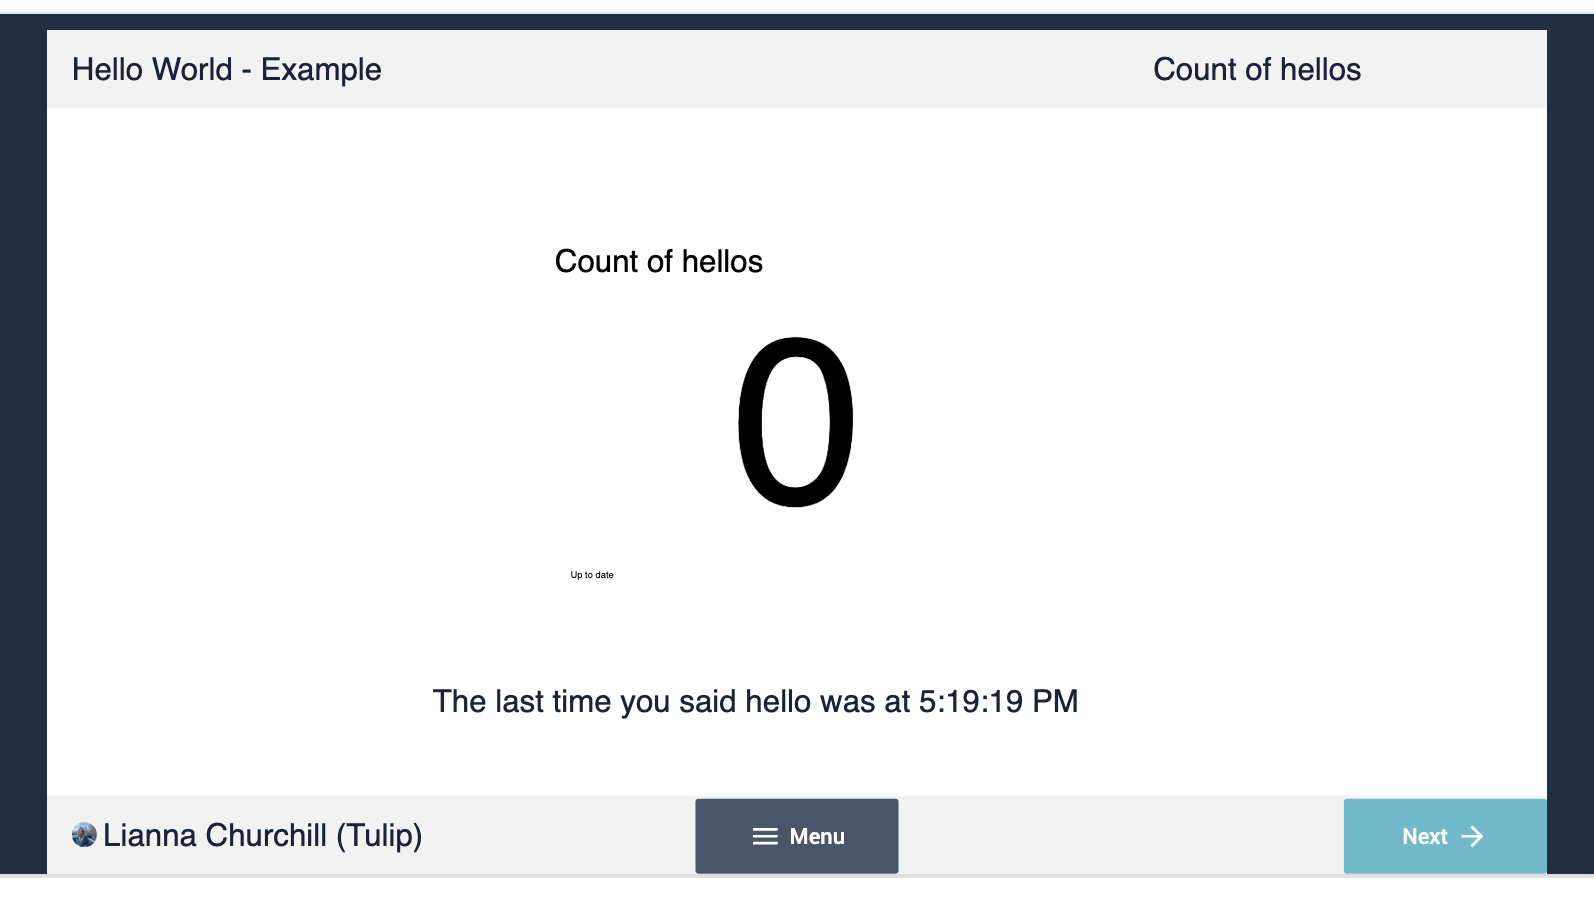
When you test the app, the expression saves into the variable Last time you said hello and appears as a timestamp.
Next Steps
Now that you've built your first app, learn how to publish and run it here.
Learn more about app building:
Become a Tulip certified app builder:
Basic app builder certification
Did you find what you were looking for?
You can also head to community.tulip.co to post your question or see if others have faced a similar question!