

Aprenda os conceitos básicos do recurso de tabelas do Tulip.
Visão geral
As tabelas permitem que você crie e edite seu próprio banco de dados no Tulip sem escrever nenhum código.
Em vez de escrever consultas SQL ou HTTP para se comunicar com fontes de dados externas, você pode criar tabelas e, em seguida, enviar e receber dados imediatamente em seus aplicativos.
Ao contrário das variáveis, que só podem rastrear dados dentro de um aplicativo, as tabelas permitem que você use dados em vários aplicativos.
Uma tabela se assemelha a uma planilha ou a uma tabela em SQL.
Campos
Cada coluna em uma tabela é chamada de Field. Os campos têm tipos especificados que determinam o tipo de dados.
Tipos de campo
- Texto: um campo de texto
- Number (Número): Um número com decimais
- Booleano: "true" (verdadeiro) ou "false" (falso)
- Inteiro: Um número inteiro
- Intervalo Uma quantidade de tempo em segundos, ou seja, segundos gastos em uma etapa
- Image (Imagem): Um URL de uma imagem ou uma imagem carregada de seu computador
- Vídeo: O URL de um vídeo ou um vídeo carregado de seu computador
- Arquivo: um arquivo carregado de seu computador com um dos formatos de arquivo suportados (pdf, stl, txt, xls, xlsx, doc, docx, step, stp, qif, nc, form, mp4, gif, png, svg, jpeg, jpg)
- Usuário: um administrador ou operador da Tulip
- Datetime Uma data + hora. Pode especificar manualmente um valor ou salvar a data/hora atual de um aplicativo
- Cor: uma única cor definida via colorpicker ou código hexadecimal.
- Registro vinculado: Vincular registros entre tabelas. Clique aqui para saber mais.
- Máquina: Variáveis da máquina
- Estação: Uma estação existente na instância do Tulip
Each table can have a maximum of 200 fields, which includes fields that have been deleted in the past. So, if 20 fields have been deleted previously, the table can have 180 fields.
Registros
Cada linha da tabela é chamada de registro. Um registro incluirá automaticamente todos os campos que você criar.
Um registro individual pode ser:
- Uma ordem de serviço
- UMA SKU
- Um lote de ingredientes
- Um conjunto de permissões para um operador
- Uma lista de materiais para um produto
Cada registro deve ter um valor de ID exclusivo. Isso permite que você carregue todos os dados de um registro individual em um aplicativo. O ID é um valor de texto, que acomoda ordens de serviço e SKUs que podem ser compostos de letras e números
Os IDs comuns incluem:
- ID do crachá do operador
- Número da ordem de serviço/SKU
- Número do lote
- Nome do produto
A Tulip recomenda que seu campo de ID seja um identificador exclusivo de artefatos do mundo real, como o ID do lote ou do equipamento.
É possível adicionar registros à tabela diretamente no editor de tabelas ou em um aplicativo que esteja conectado à tabela.
Learn how tables can be edited via an app here.
Configurar uma tabela
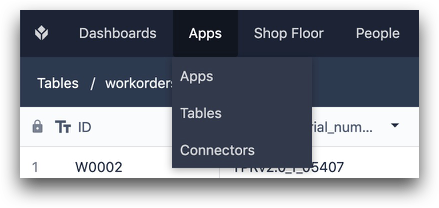
Para acessar Tables (Tabelas), clique na guia Apps (Aplicativos ) e selecione Tables (Tabelas).
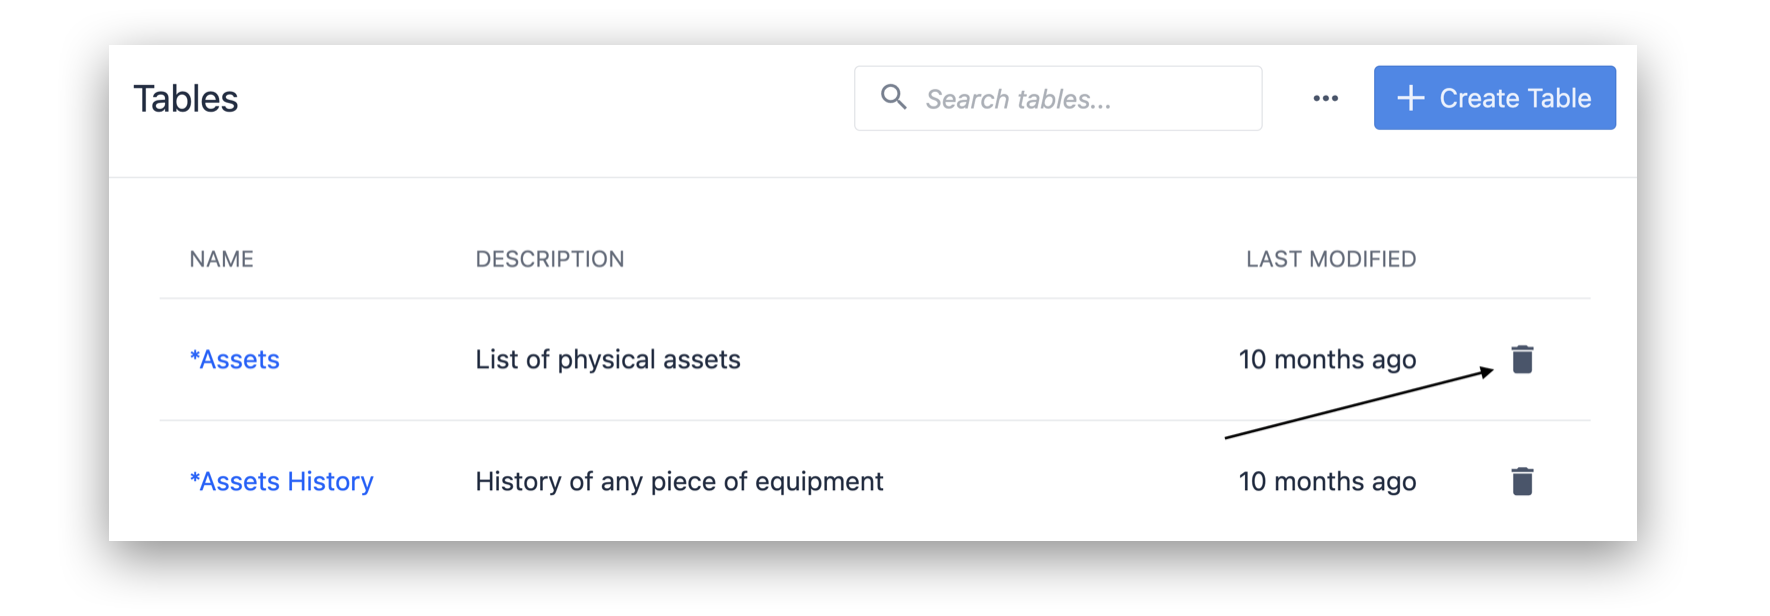
Você pode criar uma tabela no canto superior direito da tela ou arquivá-la usando o ícone da lixeira ao lado da tabela correspondente. Você também pode visualizar a lista de aplicativos que fazem referência a cada tabela e navegar até eles diretamente nessa página.

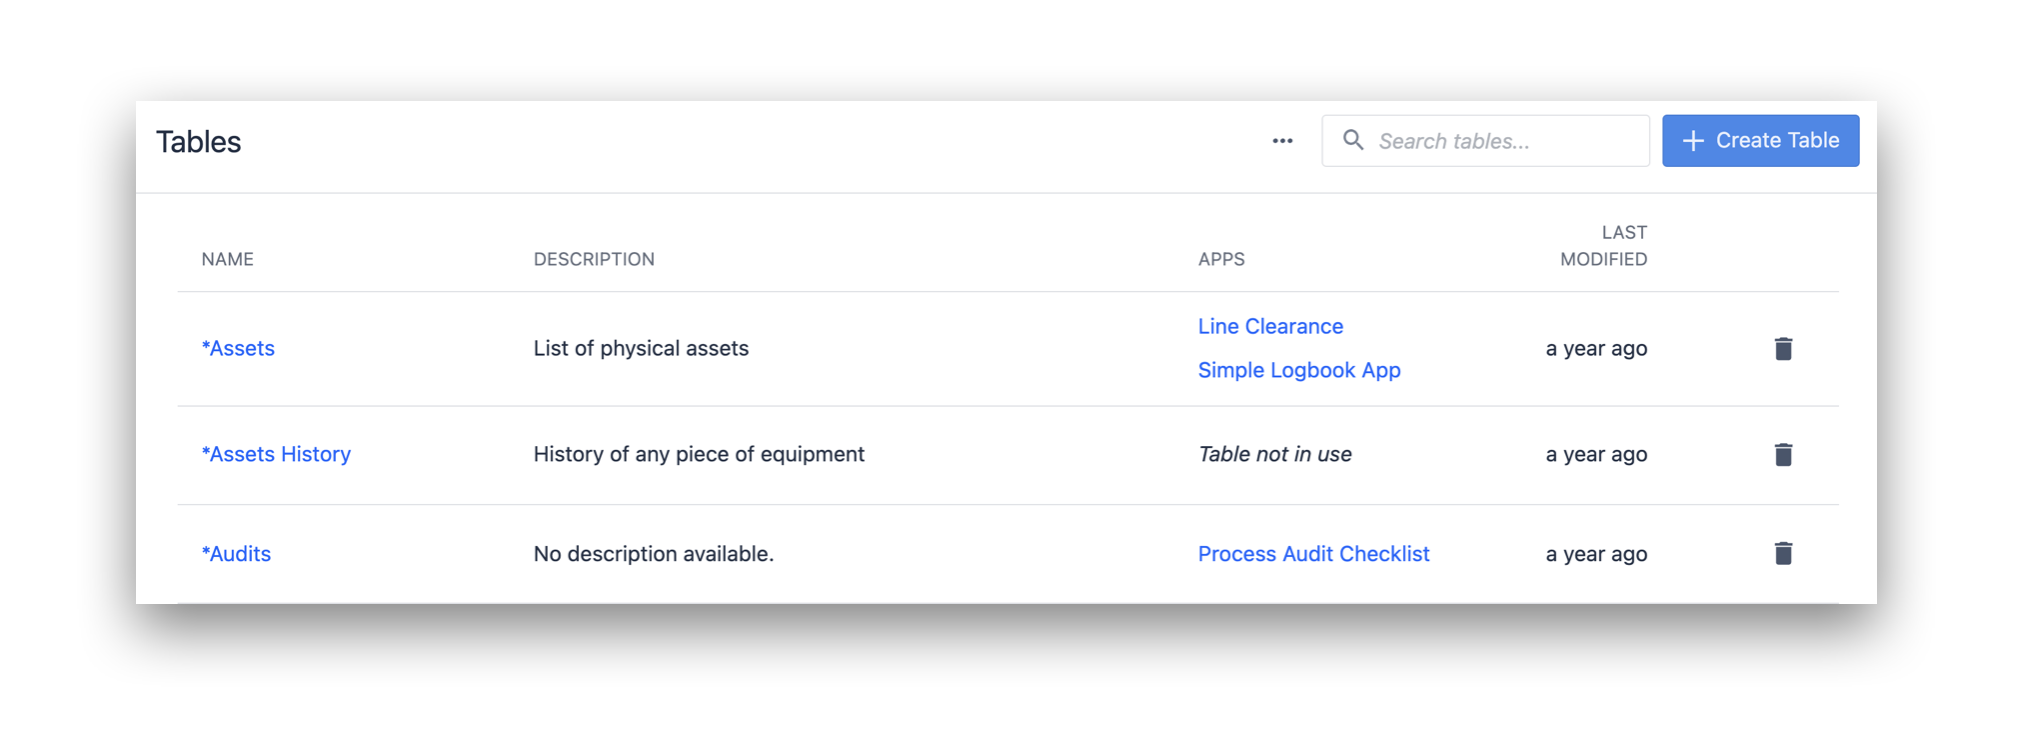
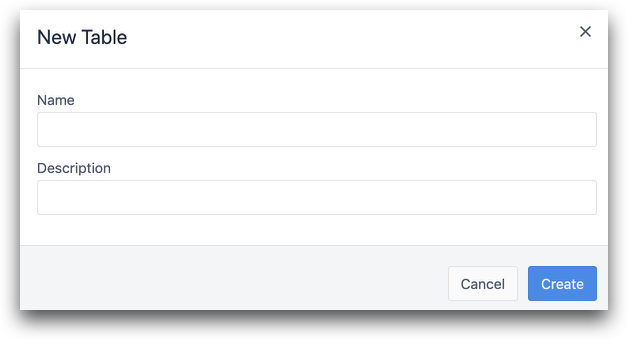
- Clique em + Criar tabela
- Adicione um nome e uma descrição e clique em Create (Criar).
Adicione campos de registro de tabela para todos os dados que você deseja rastrear. Um Field é como uma coluna individual em uma planilha.
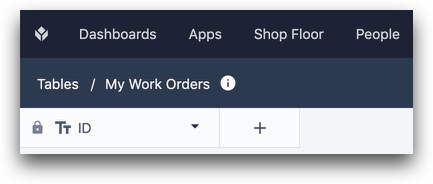
- Para criar um novo campo, clique no botão + ao lado de ID.
Você também pode adicionar um campo clicando na seta em um dos campos e, em seguida, em Inserir à esquerda ou Inserir à direita.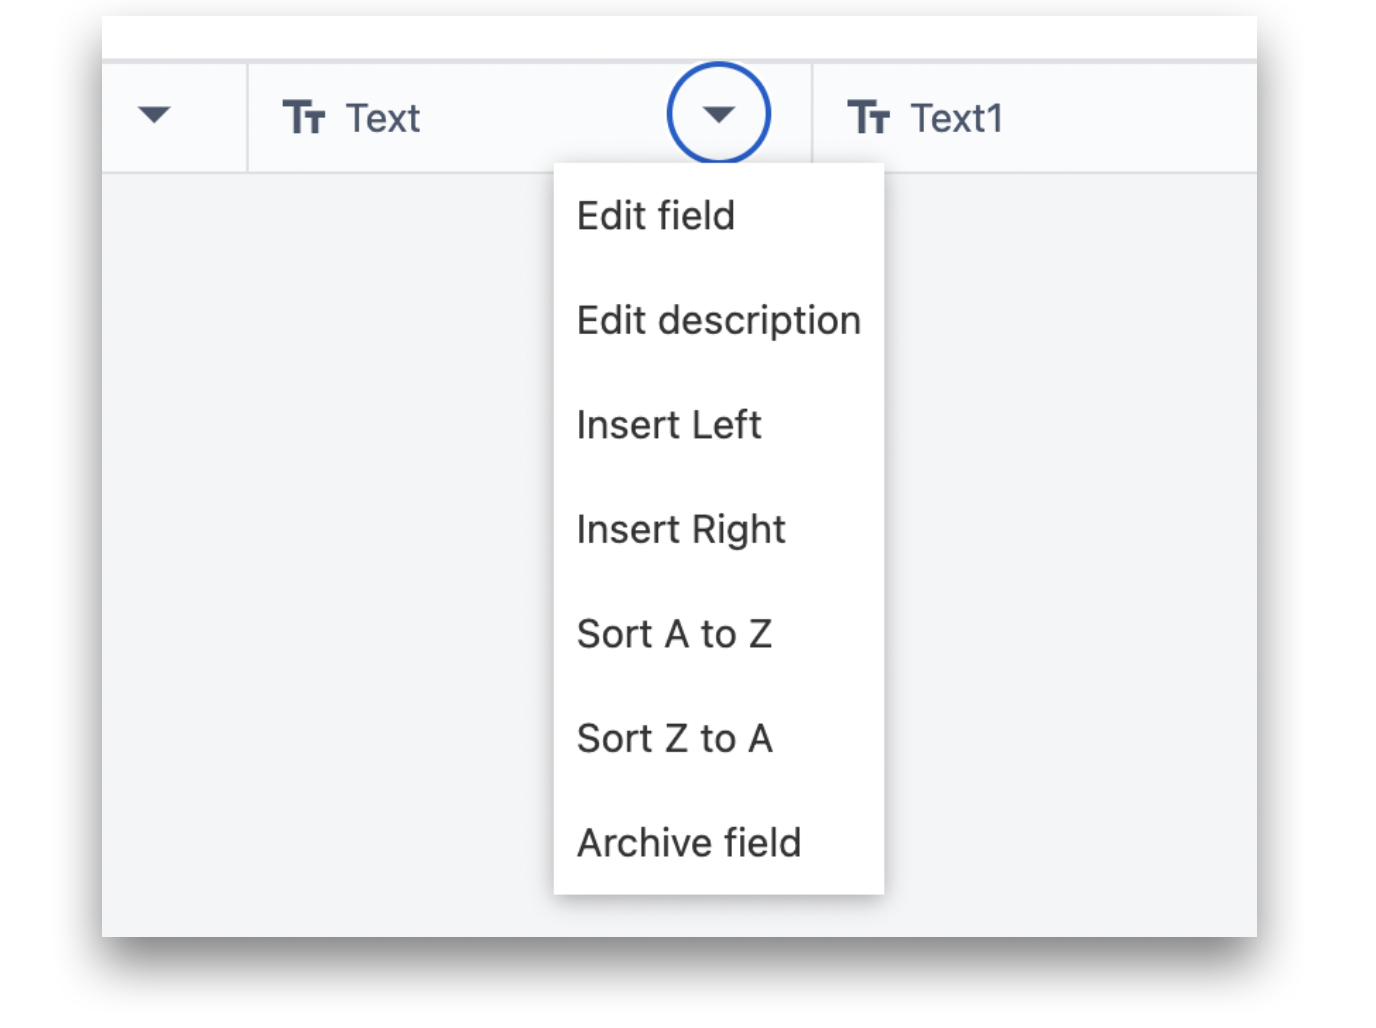
- Selecione um tipo de campo.
- Adicione um rótulo e clique em Save (Salvar).
Editar uma tabela
Você sempre pode editar os campos posteriormente, inclusive o campo ID, clicando na seta para baixo ao lado do nome do campo. Se você quiser remover um campo da tabela, clique em Arquivar campo.

Clicar no ícone de informações ao lado do nome da tabela fornece informações sobre o número de campos nessa tabela.

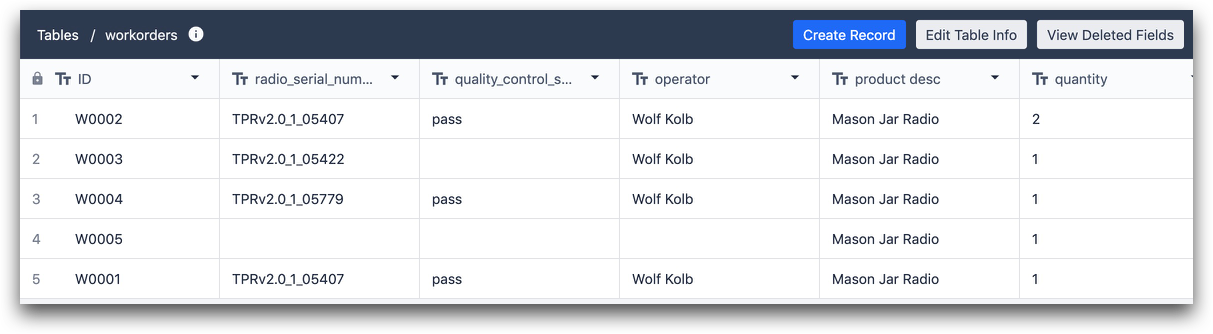
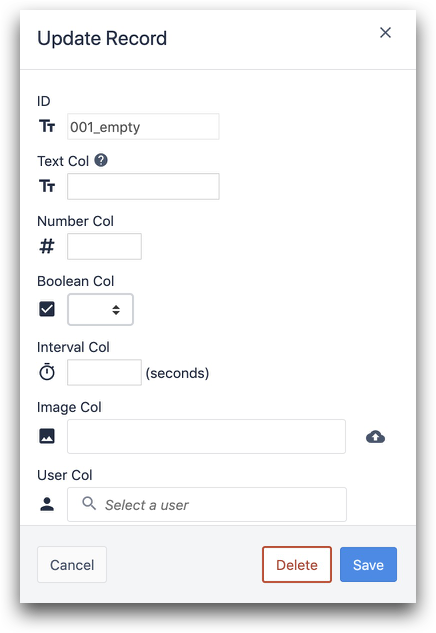
O campo ID é o único campo obrigatório ao criar um novo registro na página Table (Tabela). É possível limpar ou editar um registro clicando nele.
A posição da coluna ID será travada no lugar para facilitar a visualização e a edição dos registros. A linha do cabeçalho também é bloqueada quando você rola a tabela para baixo.
Excluir um registro
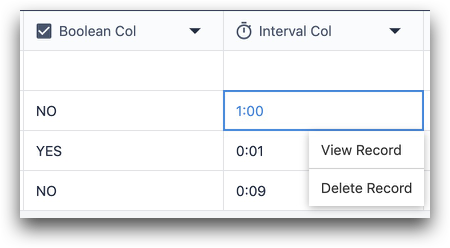
Há três maneiras de excluir registros em uma tabela.
- Clique com o botão direito do mouse no registro e selecione Excluir registro.
- Clique com o botão esquerdo do mouse no registro e clique em Excluir na parte inferior.
- Use a ação de acionamento Excluir registro no para excluir registros dinamicamente em um aplicativo.
ID fields cannot be deleted.
Exportar dados de uma tabela
Depois de começar a armazenar e atualizar registros em uma tabela, há duas maneiras de exportar os dados a qualquer momento.
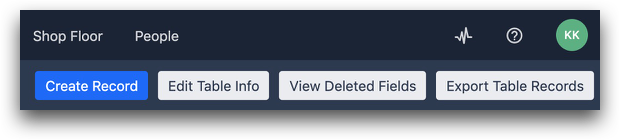
- Use o botão Exportar registros de tabela para exportar todos os registros e seus campos para um CSV.
- Quando um registro de tabela é carregado em um aplicativo, os campos desse registro de tabela são armazenados com a conclusão do aplicativo. Portanto, se você quiser ver os valores em um registro de tabela quando um aplicativo específico foi concluído, consulte este guia separado sobre como exportar dados de aplicativos para um CSV.
Exibir metadados de registro
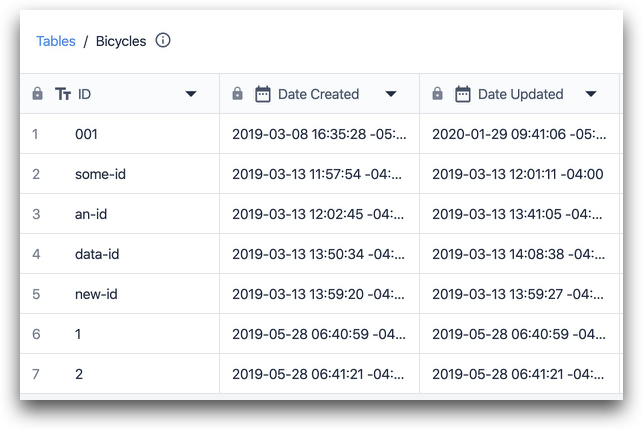
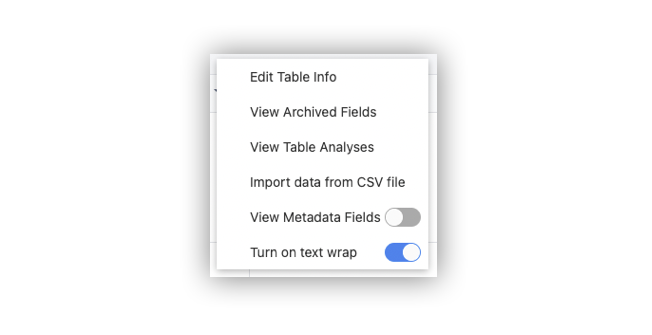
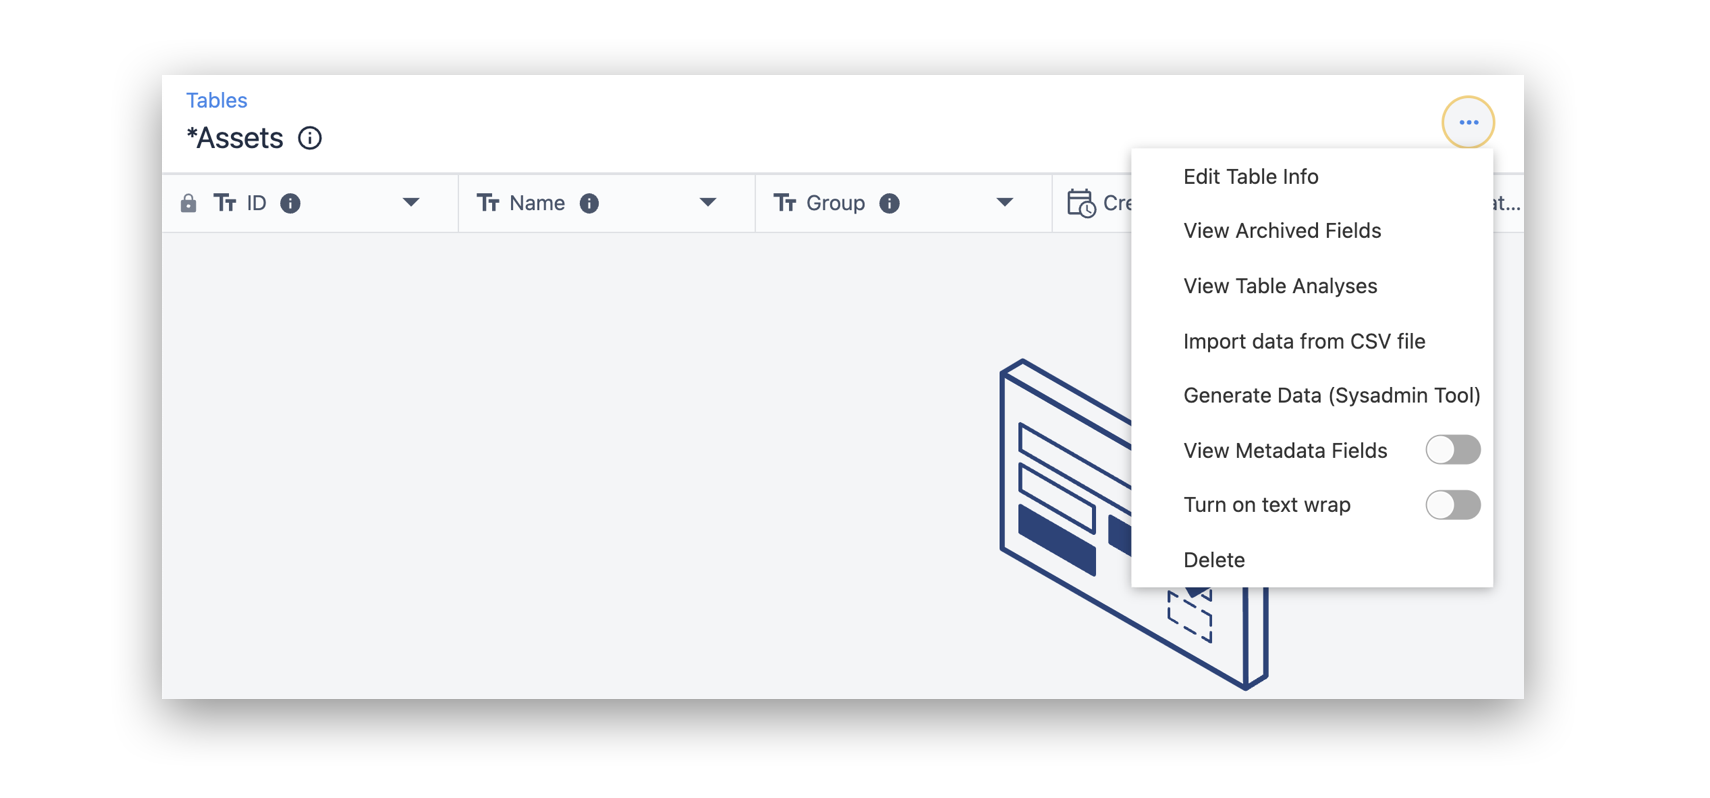
Você pode ver a hora em que cada registro foi criado e atualizado usando View Metadata Fields (Exibir campos de metadados ) no canto superior direito da tela.

Alterne essa opção no botão ... e você verá duas novas colunas em sua tabela:
Os clientes da GXP também podem ver o ID exclusivo de cada campo na tabela por meio do símbolo de informações em cada campo. Aqui está um exemplo:
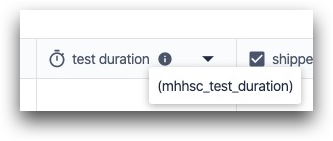
Entre em contato com o representante da sua conta Tulip se estiver interessado em ativar esse recurso na sua conta.
Registros de quebra de texto
Você também pode alternar o botão Text Wrap (quebra de texto) para quebrar o texto em uma nova linha.
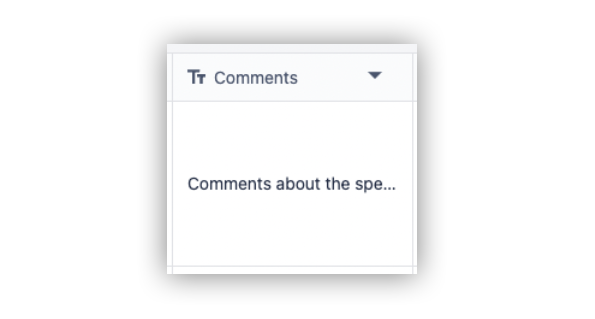
Exemplo antes da quebra de texto:
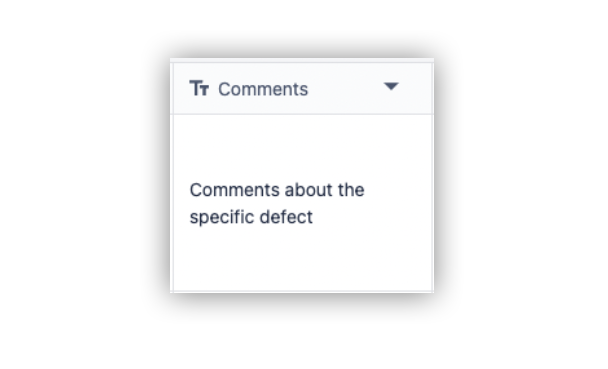
Exemplo após a quebra de texto:
Excluir uma tabela
As tabelas podem ser excluídas clicando no ícone Excluir na página de tabelas.
As tabelas também podem ser excluídas clicando no botão ... em uma tabela específica e clicando no botão Excluir.
Casos de uso
Aqui estão exemplos comuns de como usar tabelas:
- Ordens de trabalho: Se quiser ver o status em tempo real de uma ordem de serviço, você pode atualizar uma tabela sempre que a ordem de serviço passar por uma estação de trabalho no seu andar.
- Matriz de permissões/habilidades do operador Se quiser definir quais operadores têm permissão para acessar determinados aplicativos, você pode criar uma tabela com cada operador da sua equipe e definir suas permissões em todos os aplicativos.
- Lista de materiais: Rastreamento de diferentes listas de materiais por produto ou por SKU.
- Inventário: Rastreamento dos níveis atuais de estoque e dedução toda vez que um produto é concluído ou descartado.
- Genealogia de produtos: Rastrear os SKUs ou números de lote de todos os componentes de um produto.
Leitura adicional
- Crie sua primeira tabela (passo a passo)
- Como usar tabelas no App Editor
- Exibição de listas de registros em aplicativos
Encontrou o que estava procurando?
Você também pode ir para community.tulip.co para postar sua pergunta ou ver se outras pessoas tiveram uma pergunta semelhante!
.gif)