This article explains how to integrate your Netsuite instance to Tulip using Tulip's pre-built bundle RESTlet functions.
Purpose
The purpose of the Netsuite Bundle Unit test is to allow users to verify successful connection between Tulip and their Netsuite platform while being able to explore the common manufacturing functions provided by the Tulip pre-built RESTlet bundle.
Setup
For this integration, you will need:
- Permissions within your Netsuite instance to create and deploy a script
- Permissions within your Netsuite instance to create an integration user
- A Tulip instance with the Netsuite connector installed along with the Netsuite Unit Test application
Netsuite and Tulip support both token based authentication (commonly referred to as TBA built on top of the OAuth1.0 specification along with OAuth2.0 authentication. You may elect to authenticate with TBA as this authentication method provides a long lived token that can be used to authenticate with Netsuite. The OAuth2.0 authentication option provides a refresh token that is valid for 7 days and once expired, regeneration of the tokens must occur within Tulip otherwise your attempts to connect to Netsuite will fail with an INVALID_GRANT error. The steps below outline both options for authentication.
Step 1 - Install, Create and Deploy the Tulip Integration Bundle Script
To use the Tulip pre-built Netsuite RESTlet, you will need to download the Tulip Bundle integration script and create and deploy it within your Netsuite instance.
To import the script in your Netsuite instance, create a new script by navigating to
Customization -> Scripts -> New
Click the '+' next to the input field
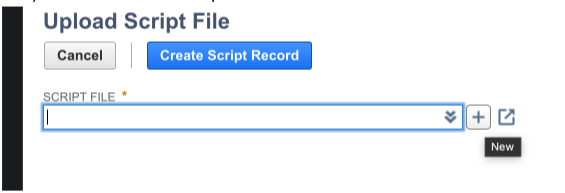
Fill in the required fields using the file downloaded above. Make sure the file name includes the .js extension otherwise the script will not work!
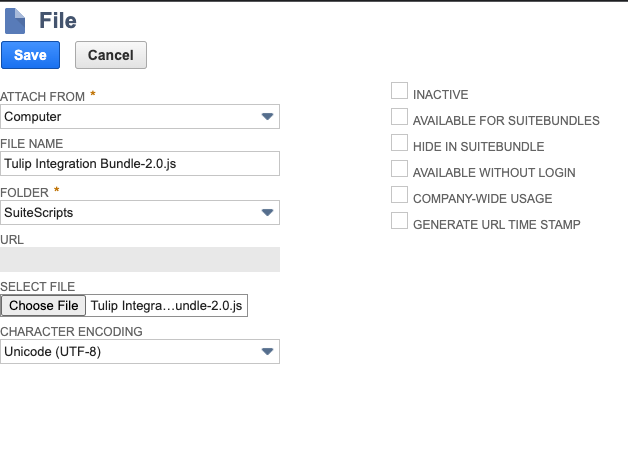
Save and press "Create Script Record" and then name the script and save.
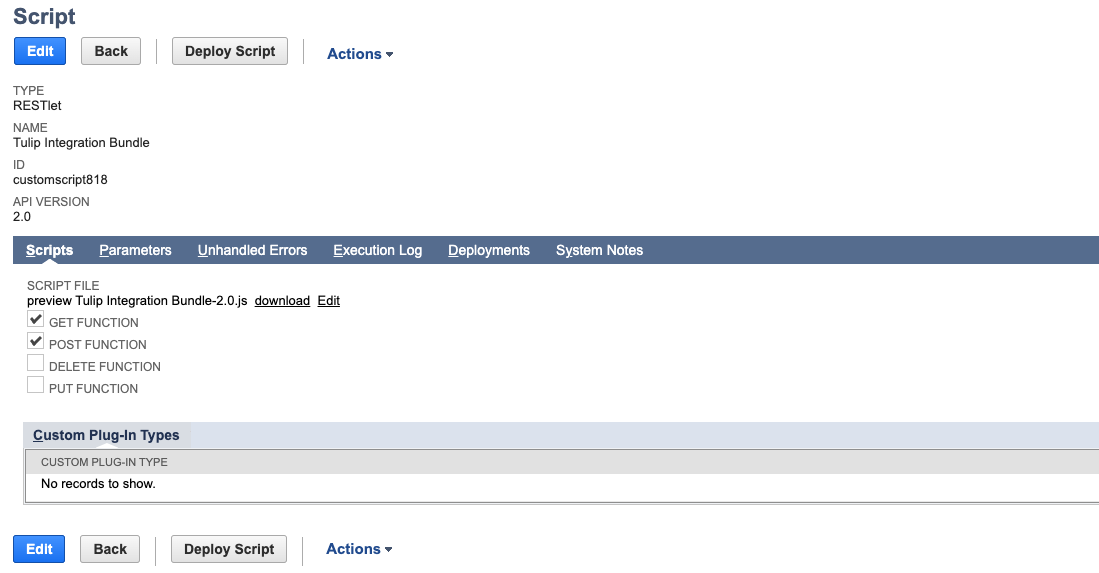
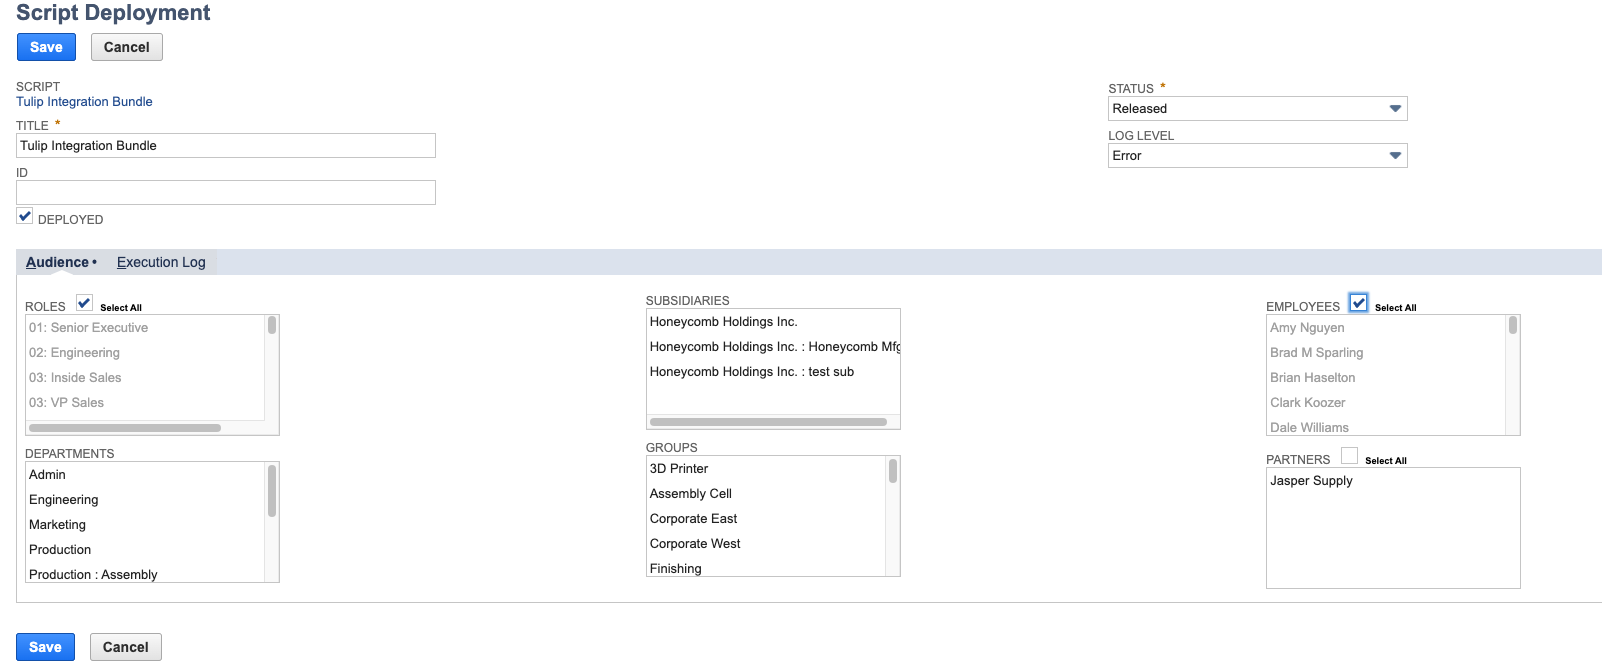
Deploy the script and then change status to released, select all roles and all employees and save
Step 2A - Netsuite Token Based Authentication Option
The following steps assume you have an understanding of how to configure token based authentication in Netsuite, which you can read more about here.
First, locate the downloaded Tulip Netsuite Bundle Connector in your Tulip instance to update the connector with your Netsuite environment details.
To configure your Tulip connector to use Netsuite TBA, select OAuth 1.0 as the authentication method for the HTTP Connector.
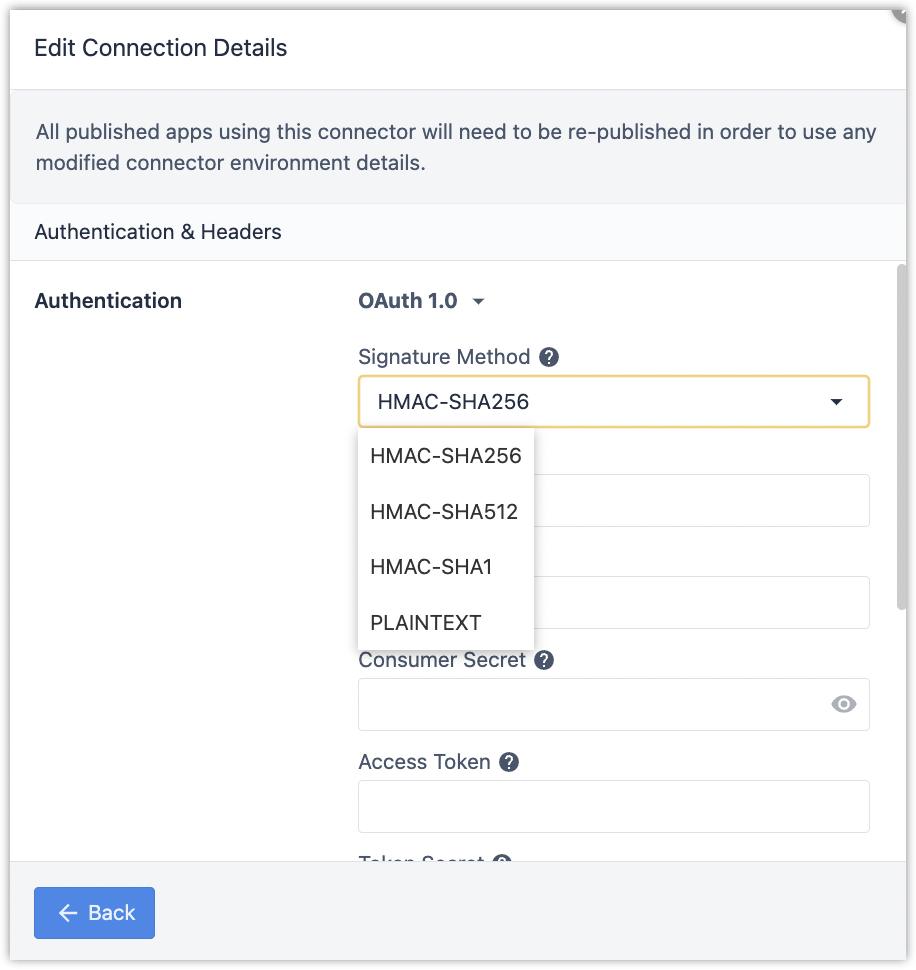
- For signature method, select HMAC-SHA256
- For version, ensure it is set to 1.0
- For consumer key, input the consumer key provided by the Integration User you set up in Netsuite
- For consumer secret, input the consumer secret provide by the Integration User you set up in Netsuite
- For access token, input the Token ID of the access token you set up in Netsuite. Note that this access token needs to be assigned to the integration user you set up previously.
- For token secret, input the token secret of the access token you set up in Netsuite. Note that this access token needs to be assigned to the integration user you set up previously
- For realm, input your Netsuite instance subdomain in uppercase (for example if use tstdrv123456.app.netsuite.com to log into Netsuite, your realm/subdomain will be TSTDRV123456). If you have a hyphen symbol in your Netsuite instance subdomain, you will need to input this as an underscore symbol (for example, sb1-123456 would be inputted as SB1_123456)
Once set, press the Test button within the connector configuration and click Save if the test passes. You are now ready to integrate RESTlets using Netsuite’s TBA method.
Step 2B - Netsuite OAuth2.0 Authentication Option
First, locate the downloaded Tulip Netsuite Bundle Connector in your Tulip instance to update the connector with your Netsuite environment details.
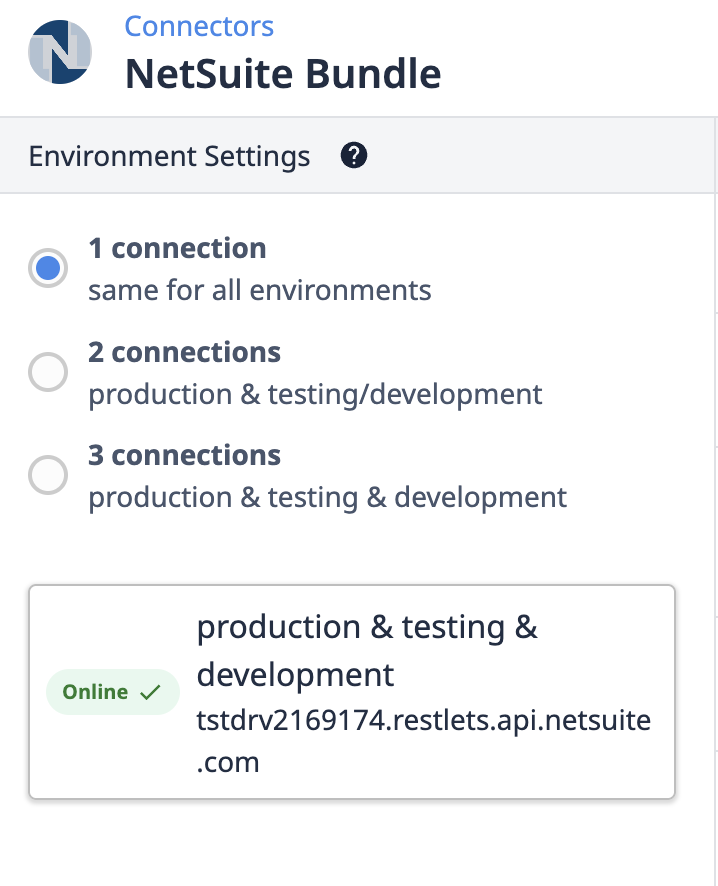
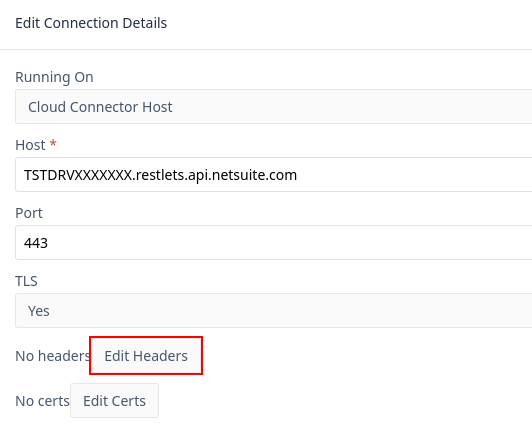
On the Connectors page for your NetSuite Connector, click on the Environment settings to open the connection information modal.
Then select Edit Headers on the resulting modal.
Finally, select OAuth 2 (Admin) for Authentication.
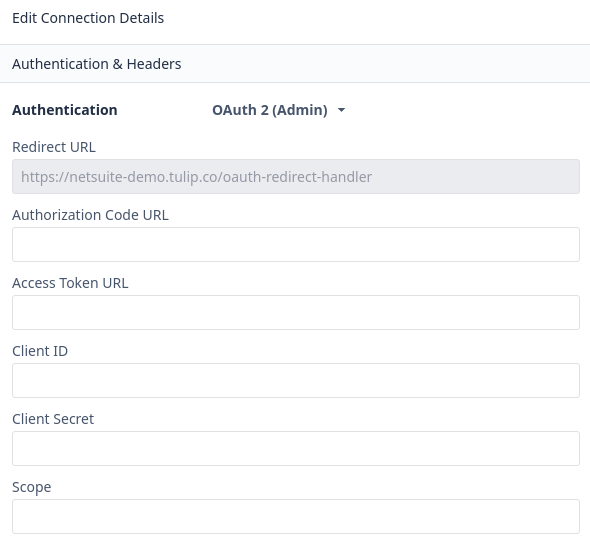
Provide the following values:
Authorization Code URL
https://<YOUR_SITE_ID>.app.netsuite.com/app/login/oauth2/authorize.nl
Access Token URL
https://<YOUR_SITE_ID>.suitetalk.api.netsuite.com/services/rest/auth/oauth2/v1/token
Scope
restlets
And finally, copy the redirect url value for your site (shown above as https://prodgroup.tulip.co/oauth-redirect-handler) and note it for later in the guide. Leave this window open as we now head into NetSuite to add our Integration Record.
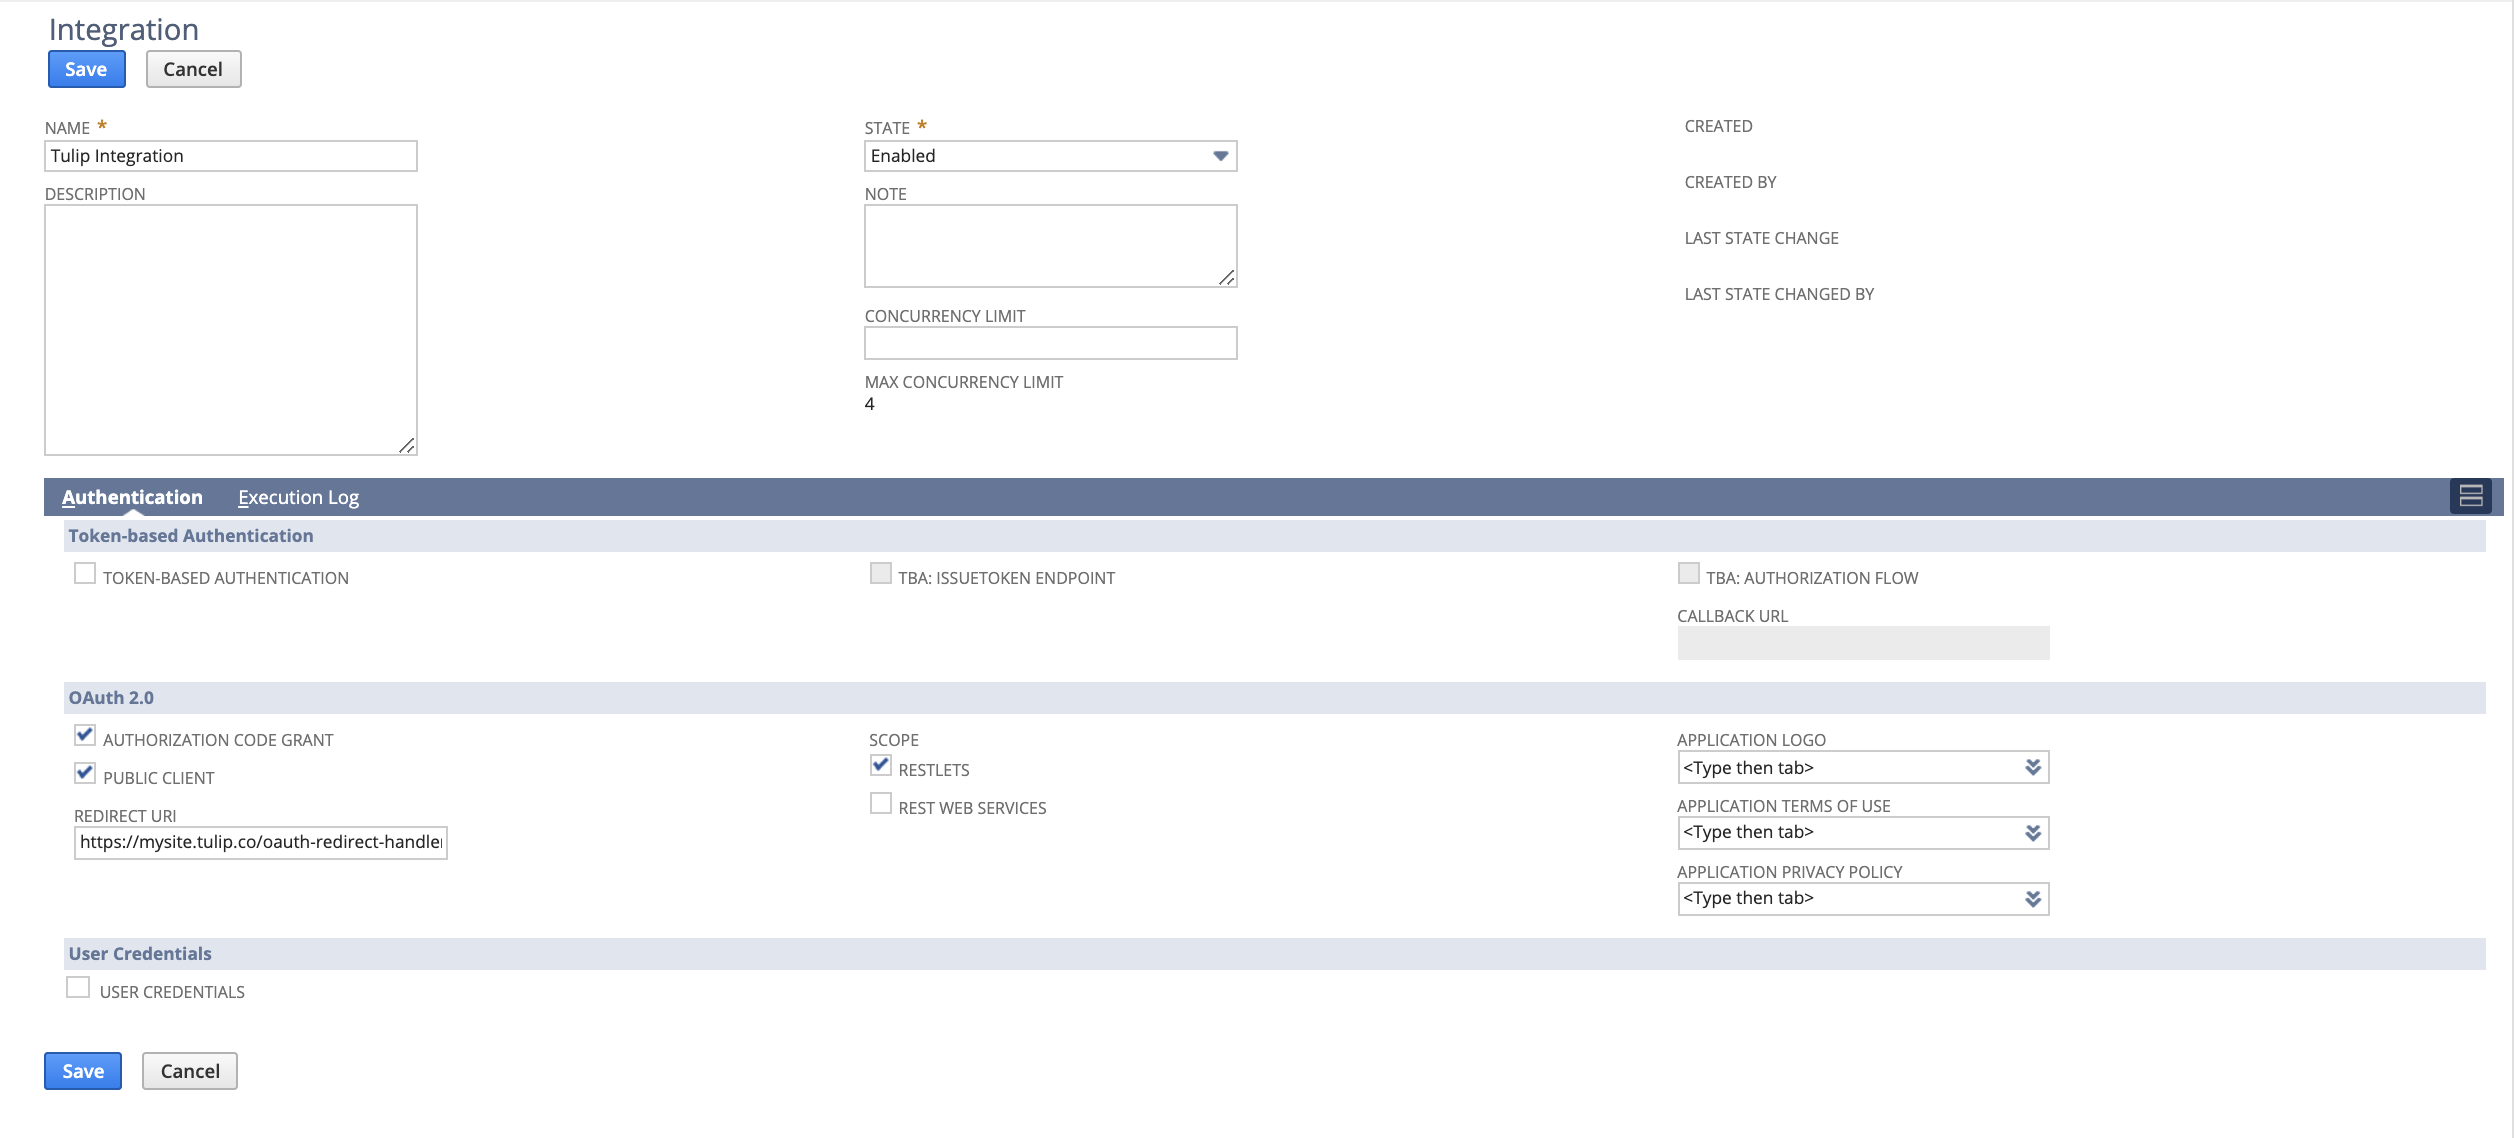
Start by creating a new Integration Record in NetSuite by going to:
Setup > Integration > Manage Integrations > New
You will be presented with a screen as shown below. Ensure that the OAuth 2.0 section allows the Authorization Code Grant, the RESTLET scope, the Redirect URI specific to your site (copied in Step 1), and the checkbox for Public Client is enabled.
After clicking Save, you are presented with a Client ID and Secret for your Integration in a section similar to what is shown below
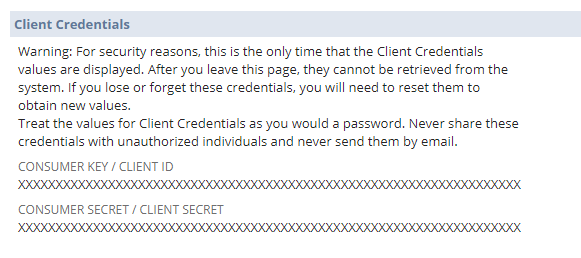
Copy and paste these values into the corresponding sections of your Tulip Connector Modal.
At this point, all of the available fields in the Tulip Connectors modal should be filled in. Click Test to start the authorization flow and then login with your NetSuite credentials.
Once completed successfully, click Back in the Tulip Connectors modal to return to the connection details screen and then press save to save this authentication. You are now ready to integrate RESTlets using Netsuite’s OAuth2.0 method.
Step 3 - Update Script and Deploy ID of Connector Functions
The Tulip Integration Bundle script should be installed and deployed at this point. Netsuite RESTlets require the unique script id and deploy id as part of the function call. More information regarding script ids can be found here.
To locate the unique identifiers in your Netsuite instance, navigate to scripts by going to:
Customization -> Scripting -> Scripts
Locate the Tulip Integration Bundle Script and click View. You will be presented with a screen similar as shown below.
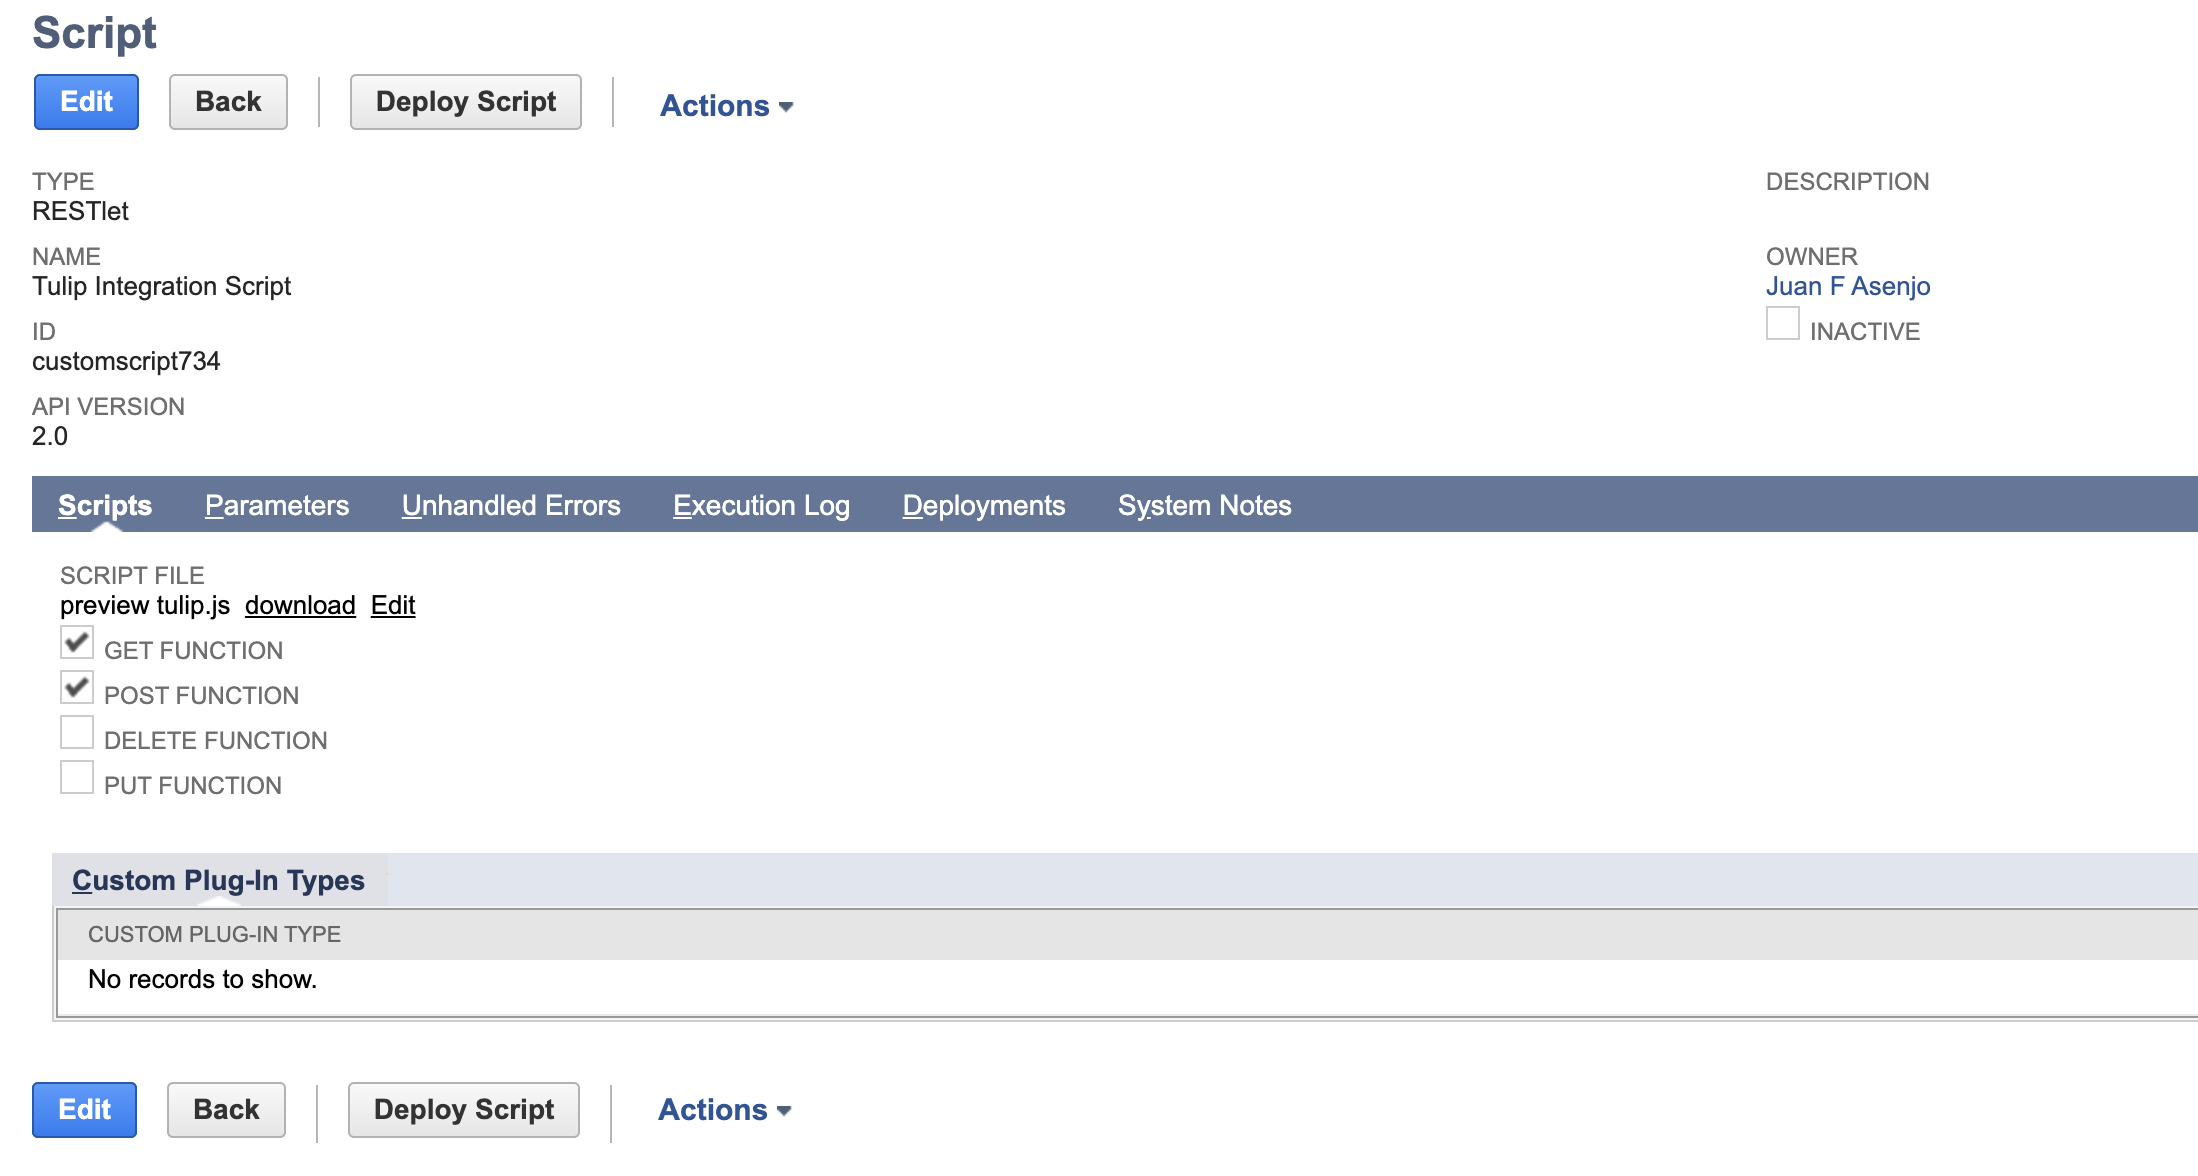
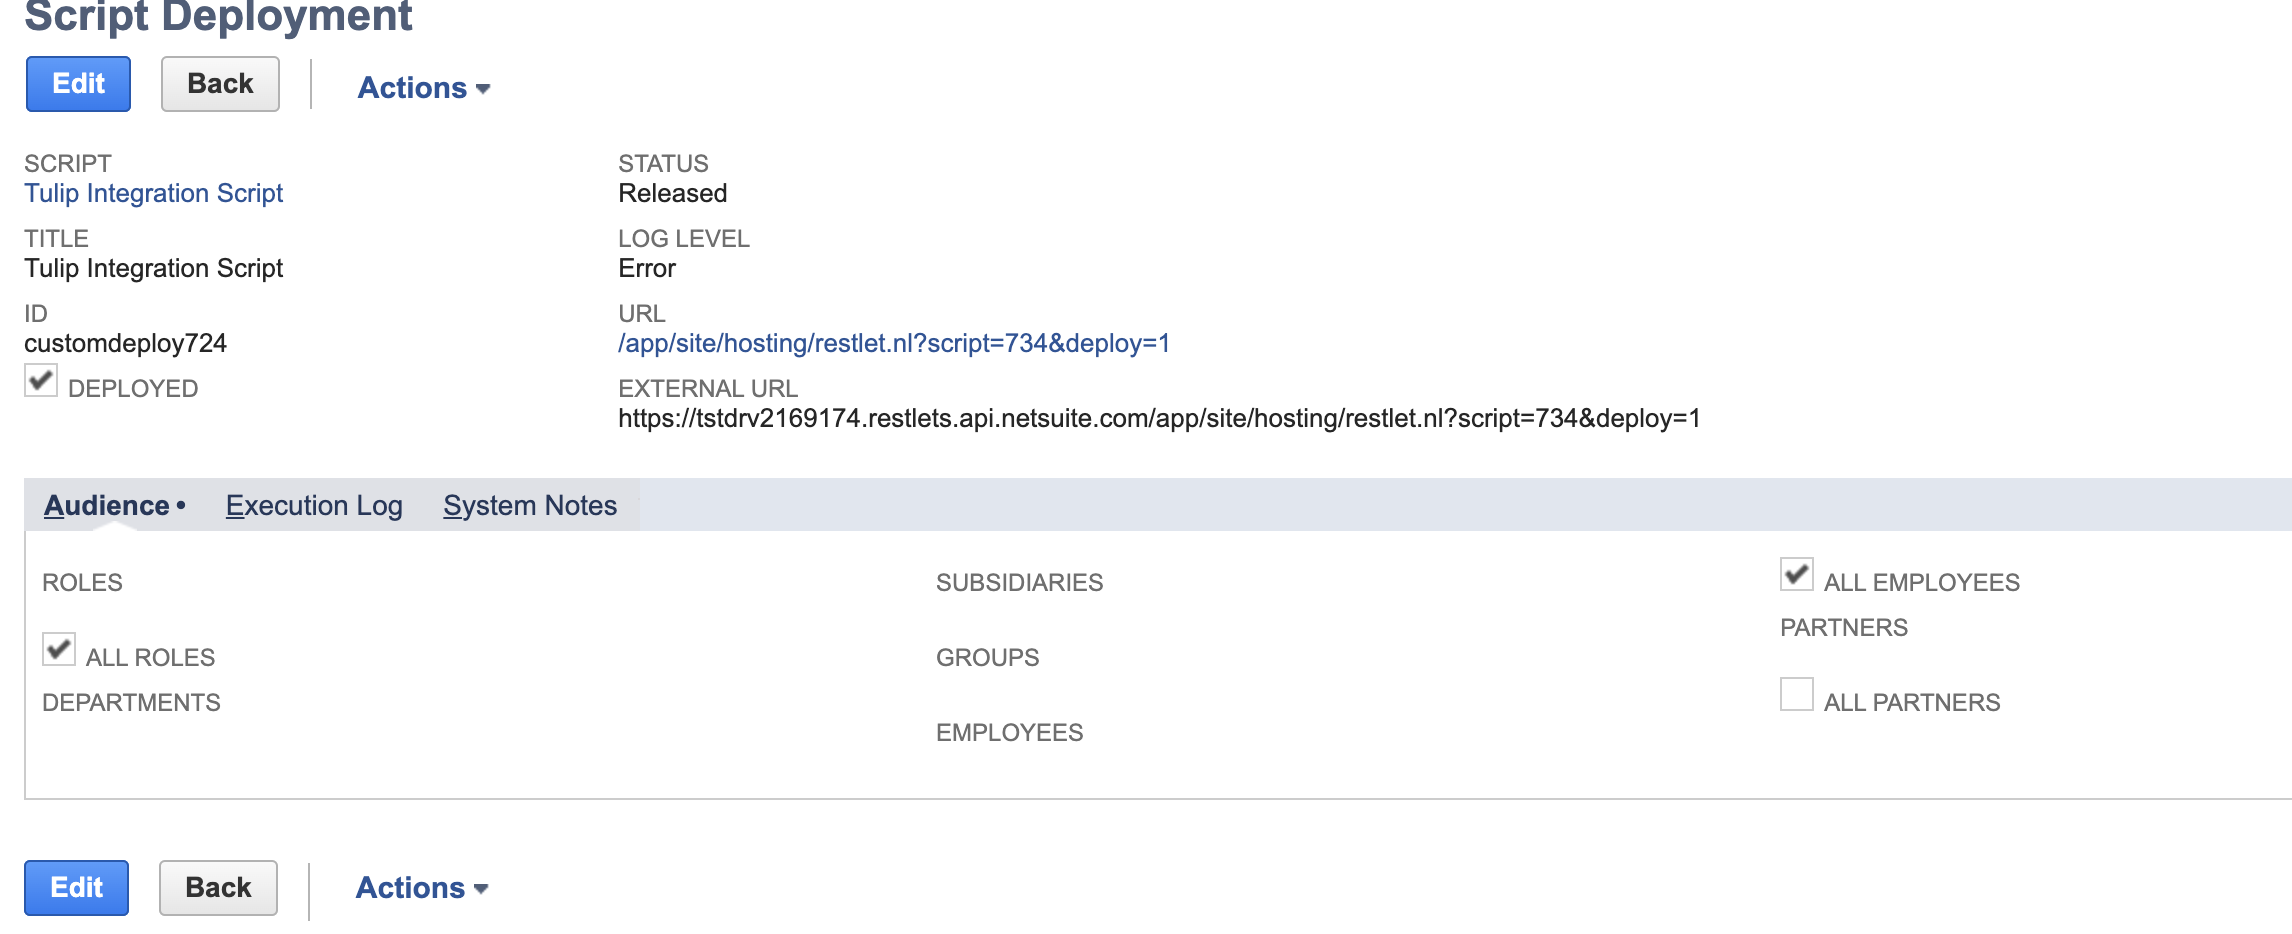
Click the Deployments tab and select the Tulip Integration Bundle Link under Title. The internal script id (734 in this case) and deploy id (1) are shown in the image below as part of the URL. Make note of these ids and navigate back to the Tulip Netsuite Bundle Connector.
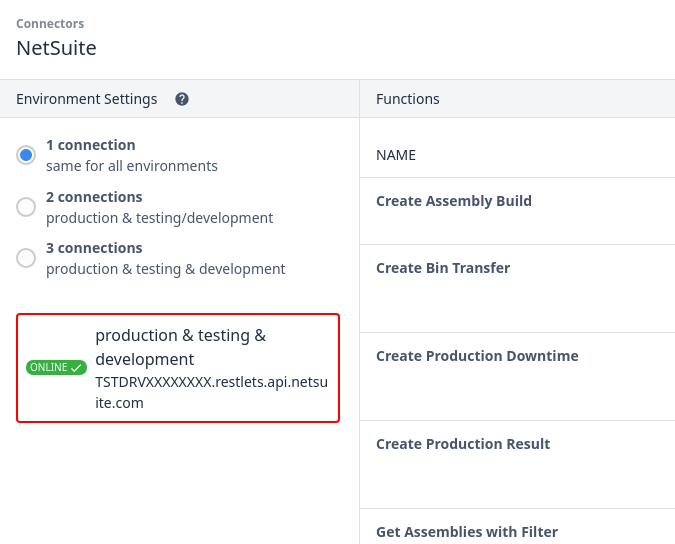
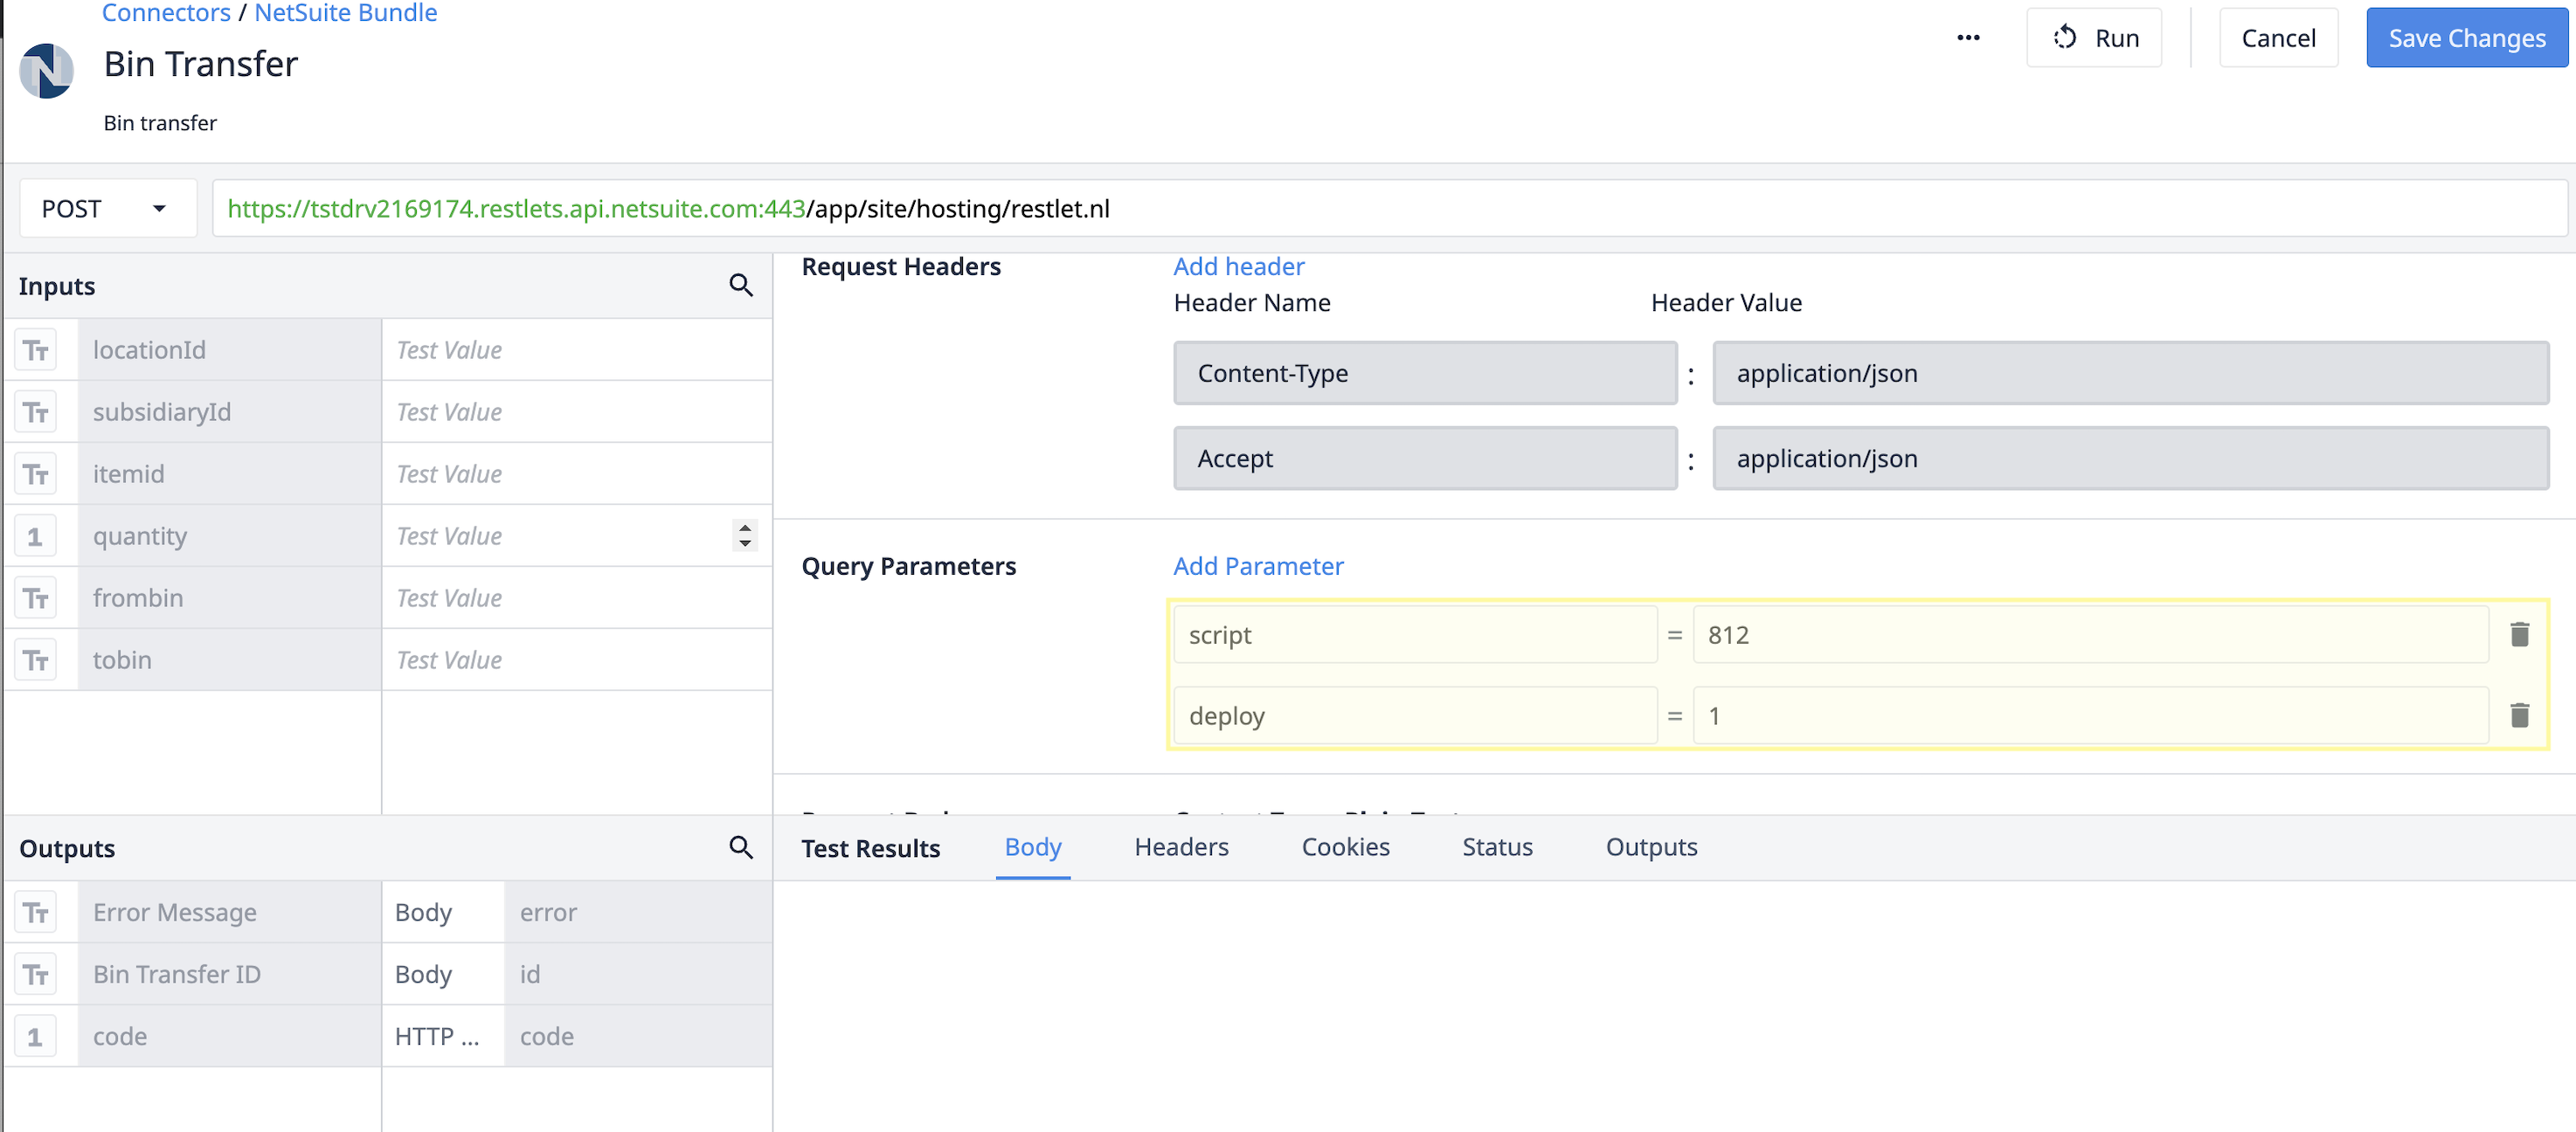
Open any of the functions within the bundle and update the script and deploy query parameters (highlighted below) to your specific ids that were identified above. Note ALL functions within the connector need to be updated with your unique script and deploy ids.
You are now ready to use the Netsuite Bundle and Unit Test Application!
How it works
The application, connector function and Tulip Integration Bundle script, together, offer a way to bi-directionally communicate basic manufacturing functions between Tulip and Netsuite. The Unit Test application demonstrates each of the function calls provided by the Tulip pre-built RESTlet.
Please refer to the Library Application for specific details of each connection and how they operate along with the Netsuite Apps and Connector article.