Manage Drivers for an Interface (Display Device)
- 09 Jul 2024
- 1 Minute to read
- Contributors


- Print
Manage Drivers for an Interface (Display Device)
- Updated on 09 Jul 2024
- 1 Minute to read
- Contributors
- Print
Article summary
Did you find this summary helpful?
Thank you for your feedback
Learn how to manage drivers for a given interface (display device) on your shop floor.
Feature update
From r283 onwards, display devices are renamed interfaces.
Why do I need to manage Drivers?
Drivers are small pieces of code included in your Tulip Player that allow the interface (display device) running apps on Player to communicate with 3rd party devices such as barcode scanners, foot pedals, cameras, and much more.
A driver needs to be "enabled" to allow the app on Player to communicate with a 3rd party device.
It is necessary to configure your Player to only enable drivers for devices that you are currently using in order to preserve performance.
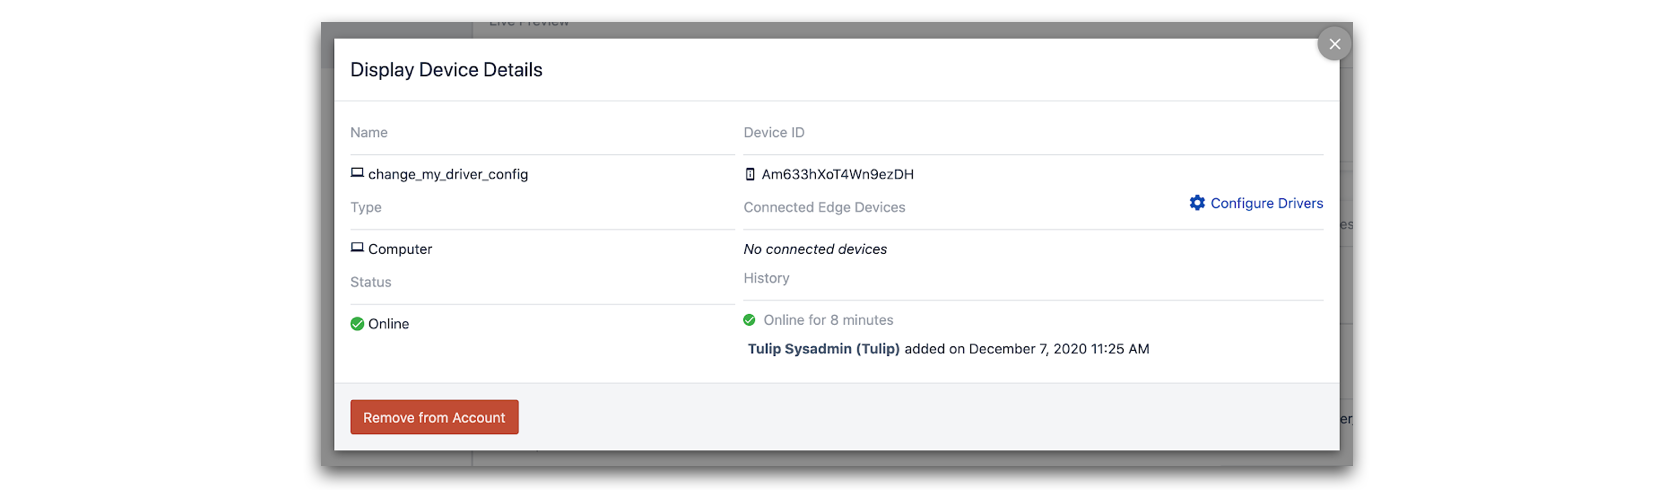
Configure Drivers from the Factory Shop Floor
To configure drivers for a specific Player, open the Factory instance that the Player is connected.
- In the Shop Floor tab dropdown, click Stations.

- Seelct the active interface.

- Click Configure Drivers.
- From the Driver Configuration page, select the drivers you wish to either enable or disable.

Toggle the switch right on turn the driver on or left to turn it off.

- Click Save to confirm your configuration and to send these changes to the Player.

- On Player, click Confirm on the Reload App? pop-up to propagate the changes that enabling the driver(s) could have on the running app.

While most drivers on Player can only be turned on and off, some drivers have more advanced configuration options.
One specific example is the “USB-BARCODE” driver, which allows you to add and remove custom devices to be associated with the driver itself. Here is an example of a barcode scanner being added to the “USB-BARCODE” driver configuration with a name, a product ID (PID) number, and a vendor ID (VID) number:

Was this article helpful?