Here's how to display clickable lists of records or objects in an app.
In this article, you will learn...
- How to display multiple table records based on a variable
- How to select a record from the list and load it into an app
- How to turn connector output into an interactive list
- How to fire trigger logic when an operator selects a row in an interactive list
Note: In order to use this tutorial, you must understand how to create a Table. Check out this separate guide if you have not done that before.
Do you need to display any of these common shop floor assets to your operators and technicians?
- A list of work order assignments by workstation
- Machines that need to be inspected
- Tools and their locations in your facility
- Issues logged at a station and their progress to resolution
- Material lists
If so, you will need to use the Embedded Table Widget in the App Editor.
The Embedded Table widget can be fed by the following data sources:
- Multiple rows of SQL output
- Array of objects from an HTTP connector
- Tulip Table Record
- User Fields
After setting up the data source, you can then show filtered lists to operators and allow them to click any row in the table. You can even fire Trigger logic after they choose a Record.
This guide will show you how to create interactive tables for each use data source above.
If you want to see an example in context, check out this guide to process visibility of work orders by station
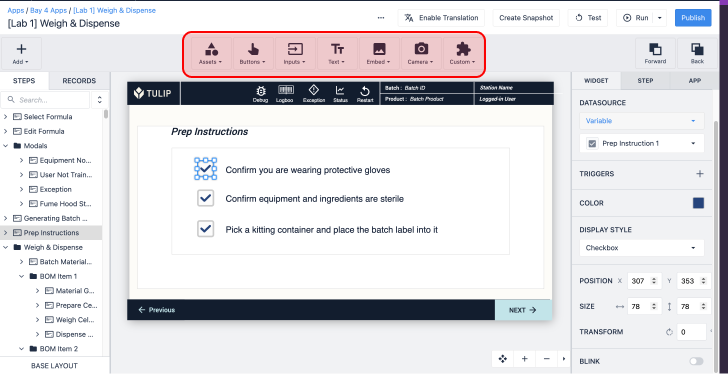
Adding the Embedded Table Widget
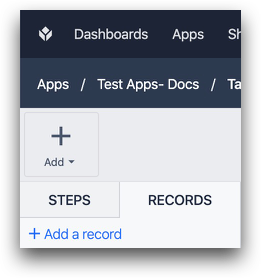
Tables
First, create a Record Placeholder on the left side of the screen. This will allow you to load one record from the list into the app.
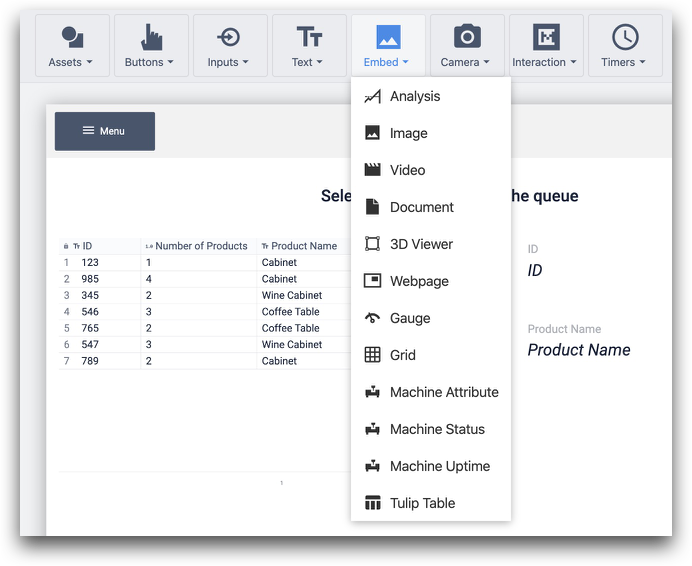
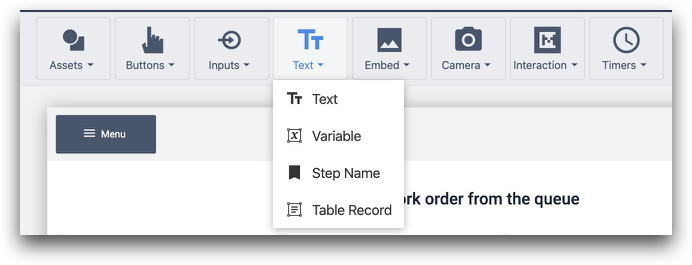
Then, add the widget to a step by selecting "Embed" from the Toolbar and then choosing "Tulip Table".
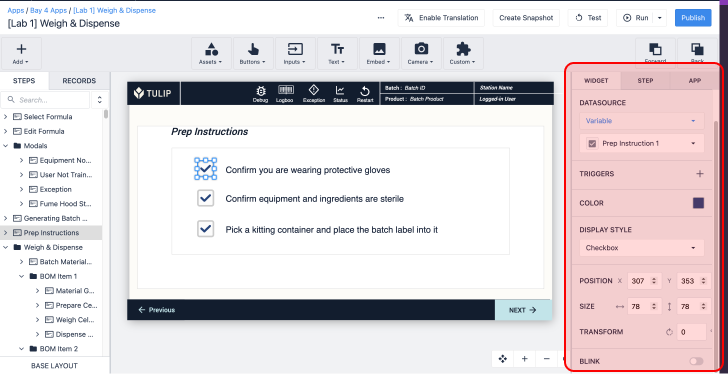
Then, link it to a Tulip Table via the "Data Source" dropdown:

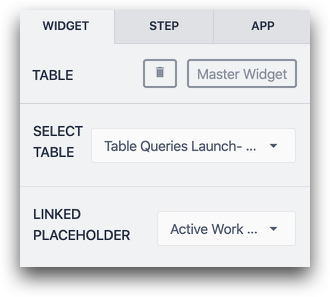
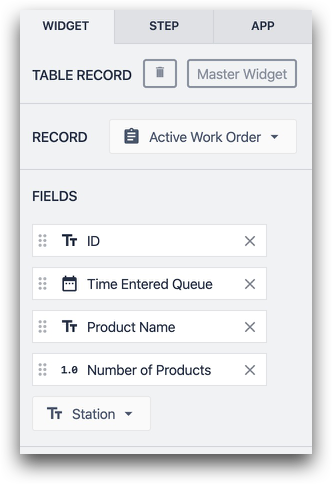
After that, you can link the Embedded Table to a Record Placeholder and begin adding filters in the Side Pane. Here is what that looks like:
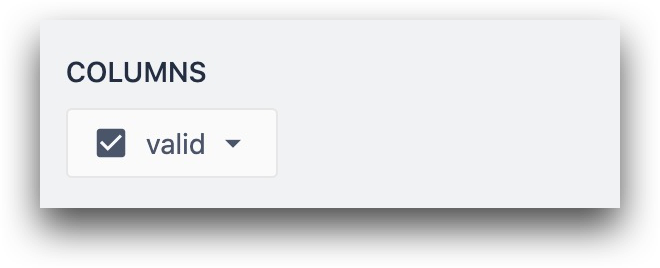
To add columns, select them from the dropdown list to add them one at a time.

You can change the layout of the Table by dragging each column in the App Editor or Player to change the width of columns.
Connector Output
Here's how to create interactive lists from Connector output.
First, set up a connector that sends an array to your Tulip app. Learn how to configure the connection between connectors and apps here
Then, add the Embedded Table to a step as shown above.
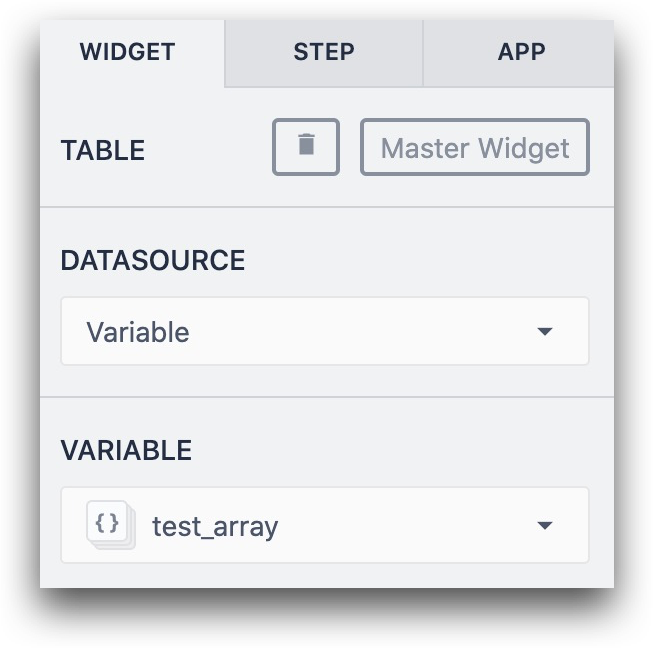
Then, select "Variable" as the data source and choose the variable that stores the output array from a connector function.
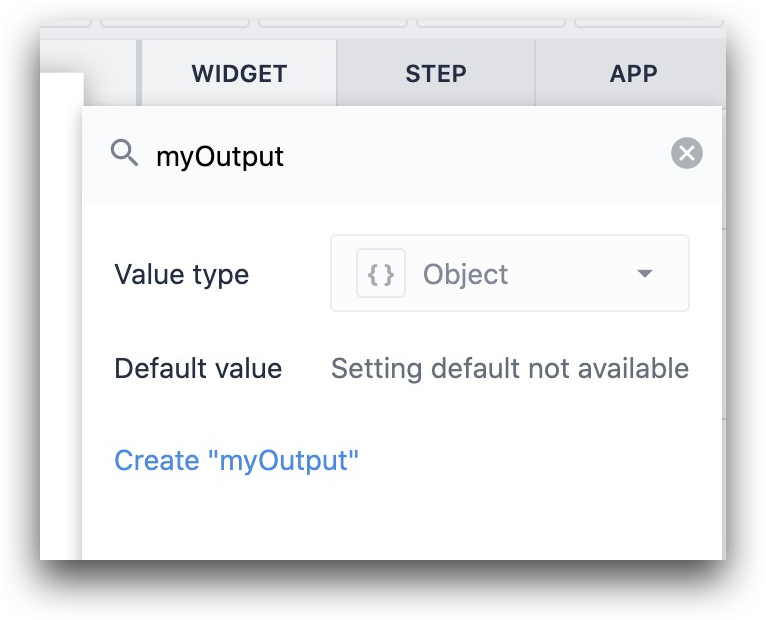
Finally, choose a Variable of type "Object" to store the output or create one within the "Linked Variable" dialog.
Then, select a column for each property within the object that you would like to display.
Firing Trigger Logic and Designing a Step
After you have set up your Embedded Table, there are two ways to use it:
- Immediately fire a trigger Action when an operator presses a row
- Update a Variable or Record Placeholder and do not fire any trigger.
This section will show you how to set up both of those situations in your app.
Firing Trigger Logic
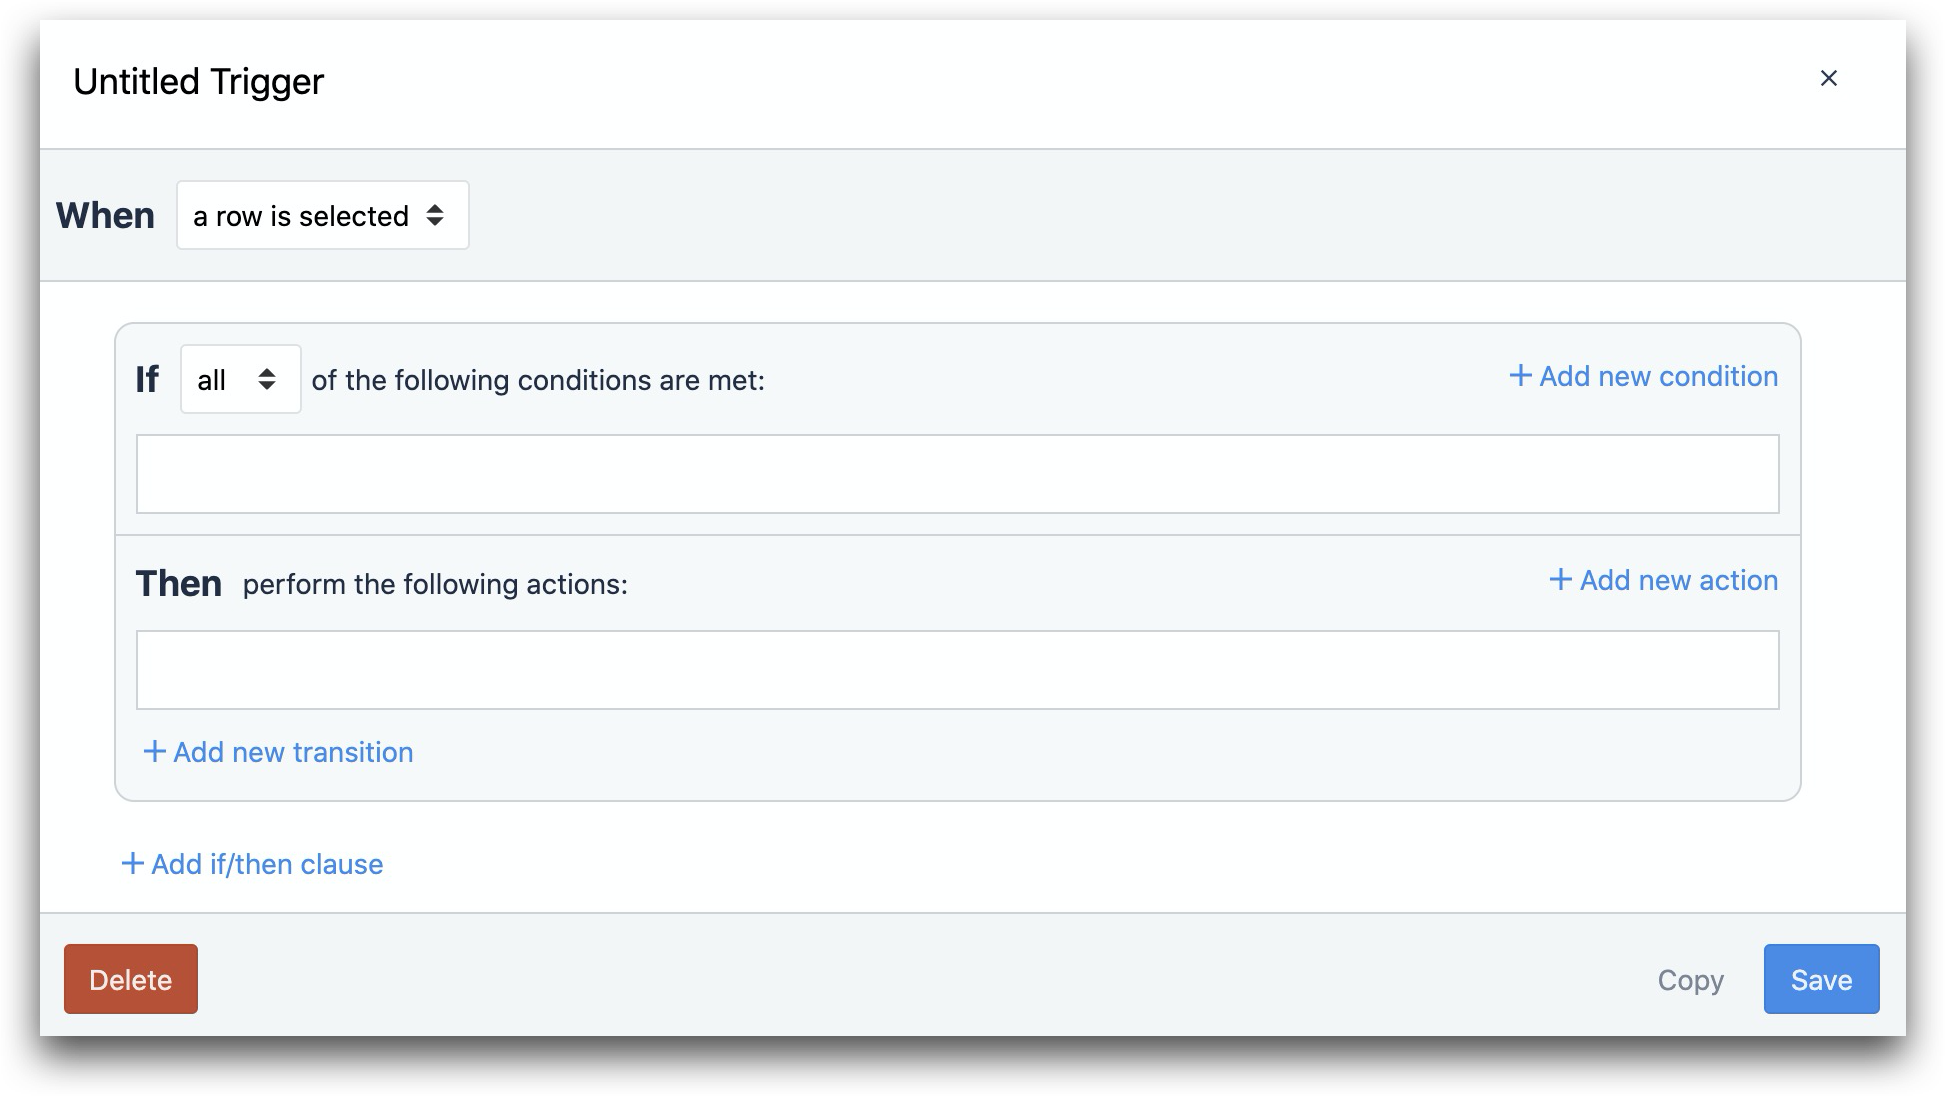
To add a Trigger that fires when a row is pressed or clicked in the Player, click the "+" button next to the Trigger label in the Side Pane. You will see the Trigger Editor open with the "When" clause set to "when a row is selected".
Designing A Step
Here's an overview of a popular way to use the Embedded Table in the Player:
The Embedded Table is being used alongside two other Widgets:
- The text widget to instruct the operator to click or press a record.
- The Table Record widget to show which record has been selected.
In order to select a record, the operator must press a record, but you will probably want to give them some feedback that they have successfully selected the correct record.
To do this, add the "Table Record" text widget to the Step.
Then, link it to the same Record Placeholder as the Embedded Table in the Side Pane:
Test it out in the Player, and the record placeholder should update in real-time.
Changing the Display Of the Embedded Table
Row Size
By default, the row size is optimized for being clicked on a laptop or desktop. However, you may want to make each row bigger so that it can be easily pressed on a tablet or mobile device.
In order to do this, change the "Font Size" in the Side Pane. This will automatically increase the height of the row to accomodate the font size.
Buttons For Each Row
To remove the button next to each row, toggle the "Select Button" option to show or hide the buttons.
Regardless of whether, you toggle the "Select Button" on or off, rows can be selected by pressing or clicking any part of the row.
Row Index
When enabled, the index of the Record will display within the Table.
Rows Per Page
Determine how many rows should be available at a time in the table
Setting Up Filters and Sorting on the Widget
This section only applies to Embedded Tables that are connected to Tulip Tables and User Fields.
You will probably want to filter the list of records that are shown to the operator. You might want to filter it based on:
- The Station that is running the app
- The operator using the app
- A value in a Variable in the app
- Something else!
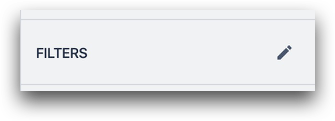
Click the "Edit" icon next to the Filters option to set up a filter.
Filter Options Include:
- Static Value
- Variable
- Tulip Table Record
- App Info
First, choose the field from the table where you would like to set up a filter. Then, choose a condition. Within the "Variable" option, you will see both app metadata like user and station as well as variables related to the app.
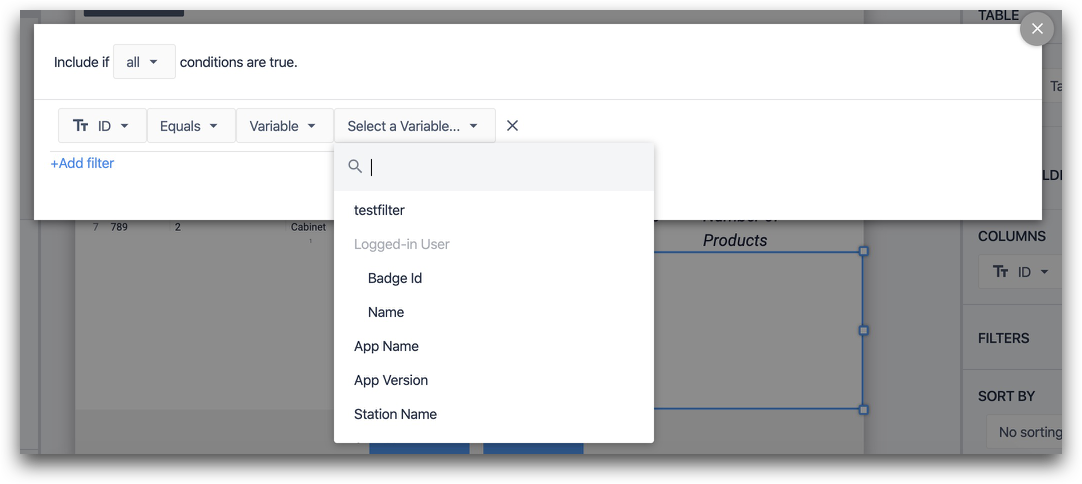
After you have selected a filter, click the "X" in the top right of the modal.
You can set up sorting for the Embedded Table with the "Sort By" option.

Further Reading
- How To Use Table Records in the App Editor
- How To Access Output from Connector Functions in Apps
- How To Get Real Time Visibility of Work Orders by Station
Did you find what you were looking for?
You can also head to community.tulip.co to post your question or see if others have faced a similar question!
.gif)