Learn how to setup the Zebra Printer driver and trigger new print jobs from frontline operations apps.
In this article, you will learn…
- How to set up the Zebra Printer driver via the Device Portal
- How to add dynamic values to your print labels in Tulip
- How to use Triggers to print jobs in Tulip apps
Do you have a shipping or packing station on your production line? Are you able to print out customized labels in real-time as products are ready to be packed and shipped?
You can use a Zebra printer to create shipping labels in real-time with dynamic data from Tulip apps.
This guide will help connect your Zebra printer to the Edge Device and create a simple app that takes user input and creates a customized label.
Capabilities and Requirements
Zebra printers can be called directly from Tulip in a few different ways depending on the type of device running the Tulip Player and the printer capabilities. See below for a matrix:
Networked Zebra printers can be integrated with Tulip either via the Zebra Network Printer driver (for Windows Player) or the Zebra Printer driver (for Tulip Edge Devices). RS-232 capable Zebra Printers can be integrated instead via either the Serial (Player Only) driver (for Windows Player) or the Generic Serial driver (for Tulip Edge Devices).
Tulip Edge Devices can also connect to Zebra Printers over RS-232 via Node-RED, enabling greater flexibility for more advanced users.
Finally, all connections methods listed here can accommodate any number of Zebra Printers, with the only restriction being hardware port availability in the case of RS-232 communication.
Connecting Your Zebra Printer to an Edge Device
First, you need the IP address of the printer. In order to get this, you need to print a network card which will include the printer’s IP address.
The easiest way to do this is to press and hold the button on the zebra printer until the led flashed once, then release. It'll print out a string of labels.
If the topmost label does not specify an IP address, the zebra printer is not yet networked. If it's newly turned on, give it a second to start up. If it's been on for a while, check connection
Careful! This label will include leading zeroes in the IP address so that each byte is three characters long. Tulip will not like this! You have to remove the leading zeroes - e.g. 010.128.000.005 becomes 10.128.0.5
If that doesn't work, follow these instructions to get a network card.
In either case, it will look something like this:
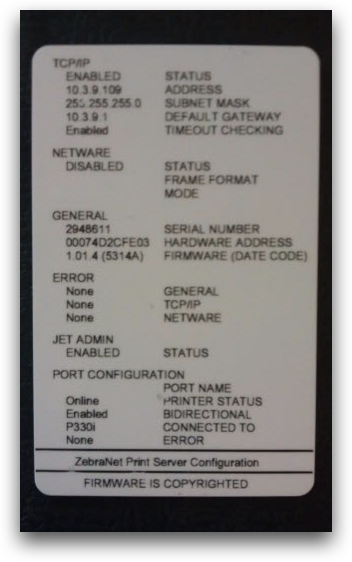
If your network resets, your printer may get a new IP address. If that happens, you will need to redo this tutorial with the new IP address.
Then, sign into the Device Portal on your computer, and choose the “Drivers” option on the left menu.
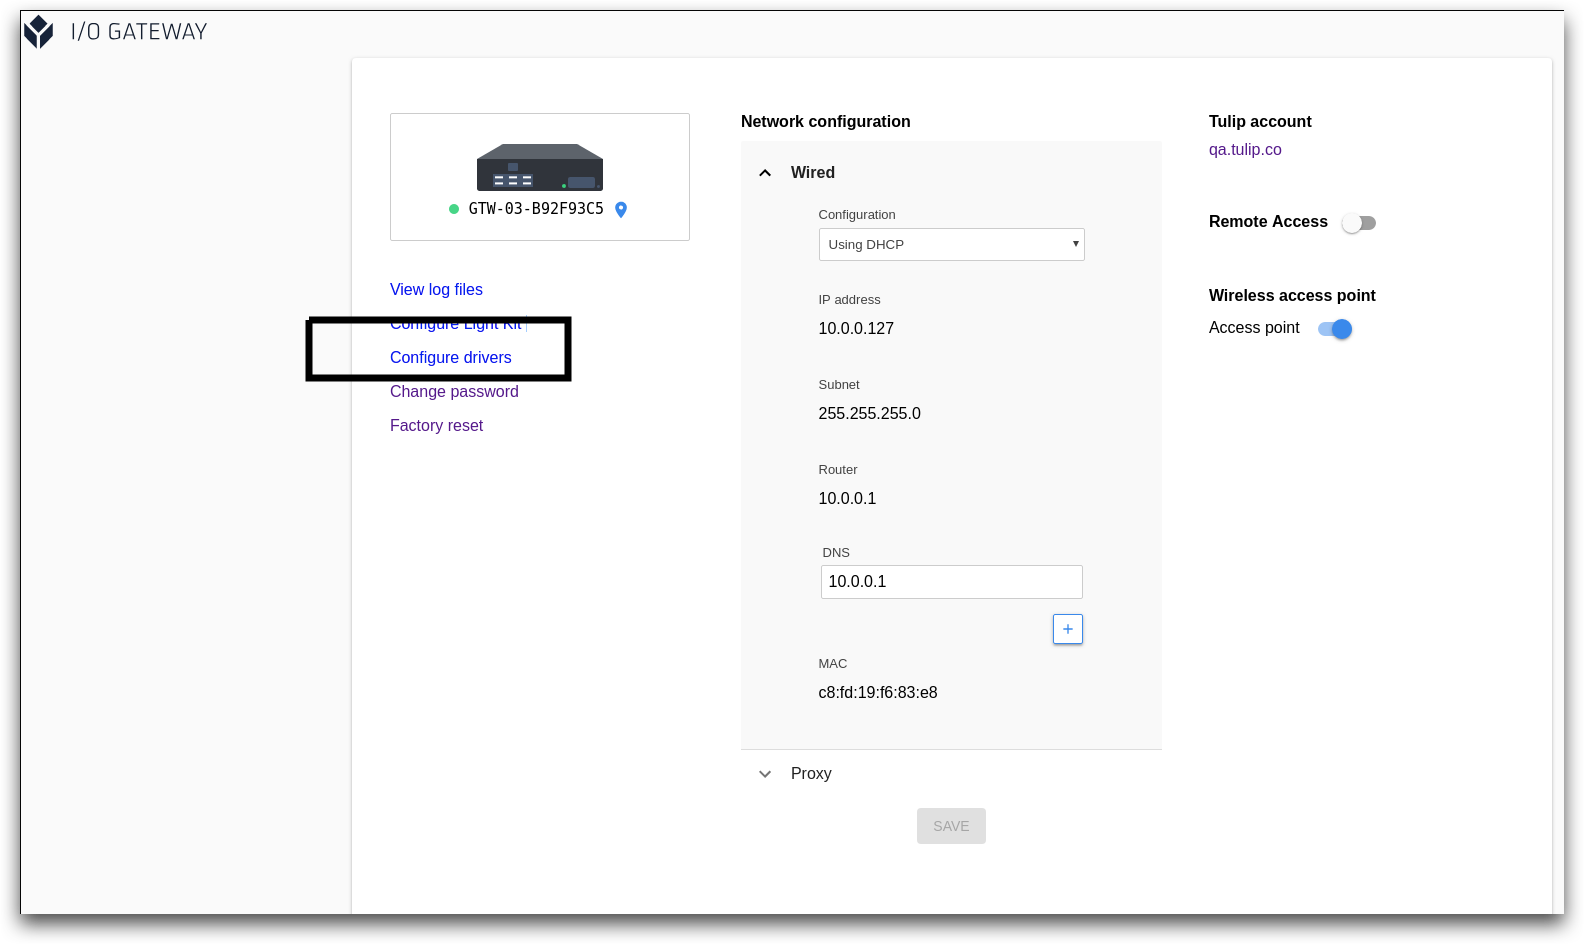
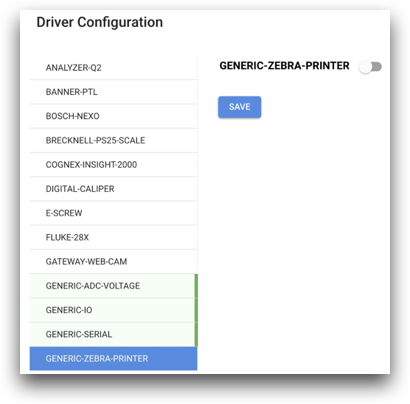
Then, select the Zebra Printer from the list of drivers and move the switch to on.
Connection Methods
When connecting your Zebra printer, the only factor to consider is the port that you're plugging into.
RJ-45
Use this type of connection for network communication. You can achieve this with:
- Zebra Network Printer Driver - from Player
An easy to use method because you can do all ZPL configuration in the Trigger Editor. Device configuration is not required. Any Player on the same network can address any printer, which makes it easy to swap or call to the device from a distance.
Note that depending on the site's DHCP settings, the connection could break if the IP address changes. For this, we recommend setting a static IP or regularly checking IP configuration.
- Zebra Printer Driver - from Edge Devices
Using the LAN port on edge devices means it's easy to find the printer's IP and the IP is effectively static, or won't change. This method requires pre-made templates in the driver config.
The inputs that you write in the app are a single string, split by the pipe character. For example: var1|var2|var3
This connection method can break when:
- The IP address of the printer changes
- The IP address is input with leading zeroes
- The printer is plugged into WAN, not LAN (Edge Device only)
- The printer is not accessible by the device sending the networked message (e.g. they’re on different networks but are trying to use a local IP)
DB9
Use this type of connection for RS-232 communcation. This is achievable by:
- Player (Serial Only) driver
This will appear as a COM device on your Windows computer. All configuration/changes/writing of zcode happens in the Trigger Editor. - Generic Serial driver (from Edge Devices)
All configuration must occur in the device’s Driver Config page. - Node-RED
This allows the greatest amount of flexibility.
This connection method can break when:
- You change the port that the printer plugs into from the originally specified port
- You send a null string. For example, if you have any variable in your Expression that is null, the whole expression will compile as null. Tulip will not fire an error, but the printer won’t print anything.
USB
This method is not supported by Tulip.
This connection method is for talking with computers, and it requires drivers. You should only use this for configuring label printing.
Configuring the Zebra Printer Driver
First, add the IP address of your printer in the appropriate text box. If the IP address contains leading 0s, ie 000, you should reduce them to a single zero.
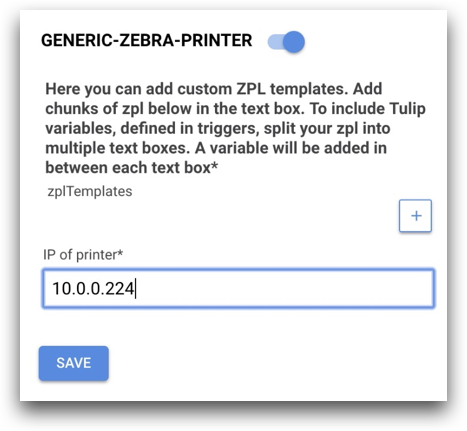
For example, the IP address above was actually 010.000.000.224.
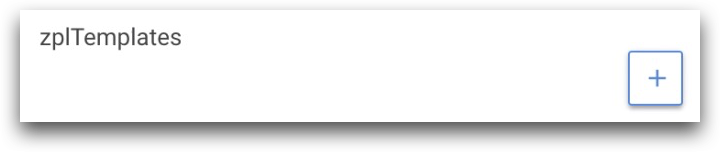
After that, click the + button next to the zplTemplates label to customize the driver. If you want to print multiple types of labels, you will want to create multiple templates.
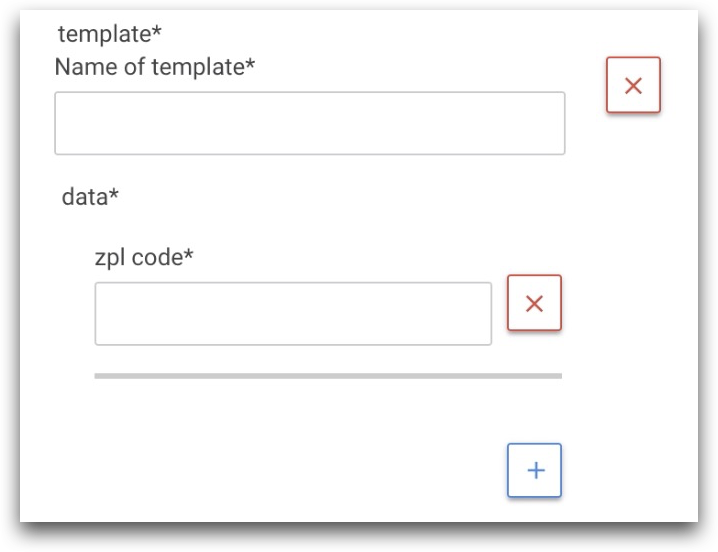
Then, you will see two sections:
- name of template
- data
Data will have a subfield called zpl code.
In order to proceed, you must be able to add the zpl code for the label you would like to produce. If you need to learn how to write ZPL code, check out their documentation.
If you want to include Variables from Tulip apps in the ZPL code, you should add multiple zpl code fields. You will need to break up the code based on where you want the Tulip variables to fit in.
For example, imagine that you wanted to create the following label.
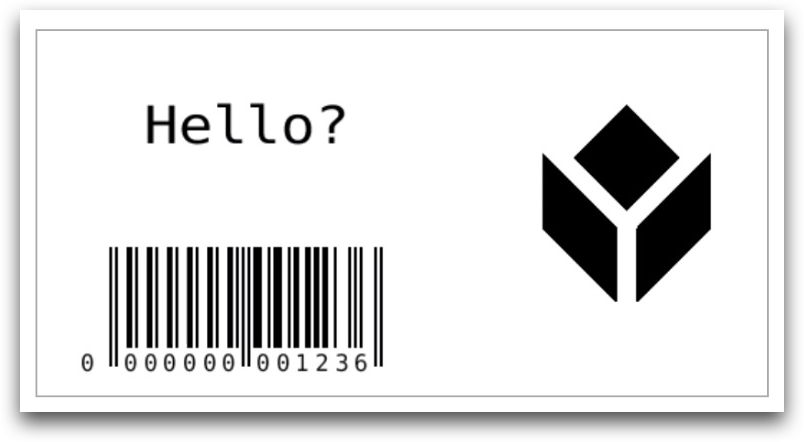
It has two custom fields:
- a title of “Hello?”
- a custom barcode value.
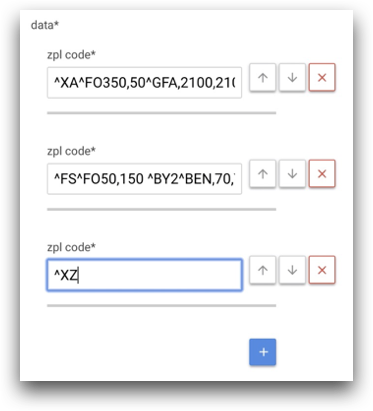
In order to allow Tulip Variable values to be inserted into these areas on the barcode, you must break the code up into three separate ZPL code fields.
Here’s what that looks like in Tulip:
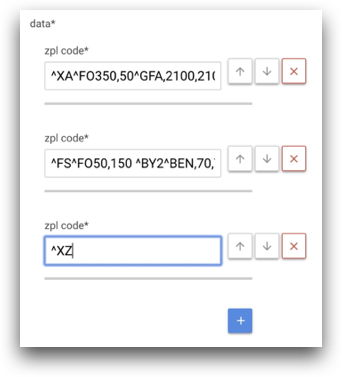
In between each ZPL code field, you will be able to add a variable value in the App Editor. The last field contains ^XZ, which indicates the end of the script.
If you want to experiment with different values in your ZPL code, we recommend Labelary. It has a text editor for editing ZPL. Make sure that the dots per inch (DPI) value matches the value on your printer.
Here’s an example from Labelary showing the “Hello?” text in place of a variable value from Tulip.
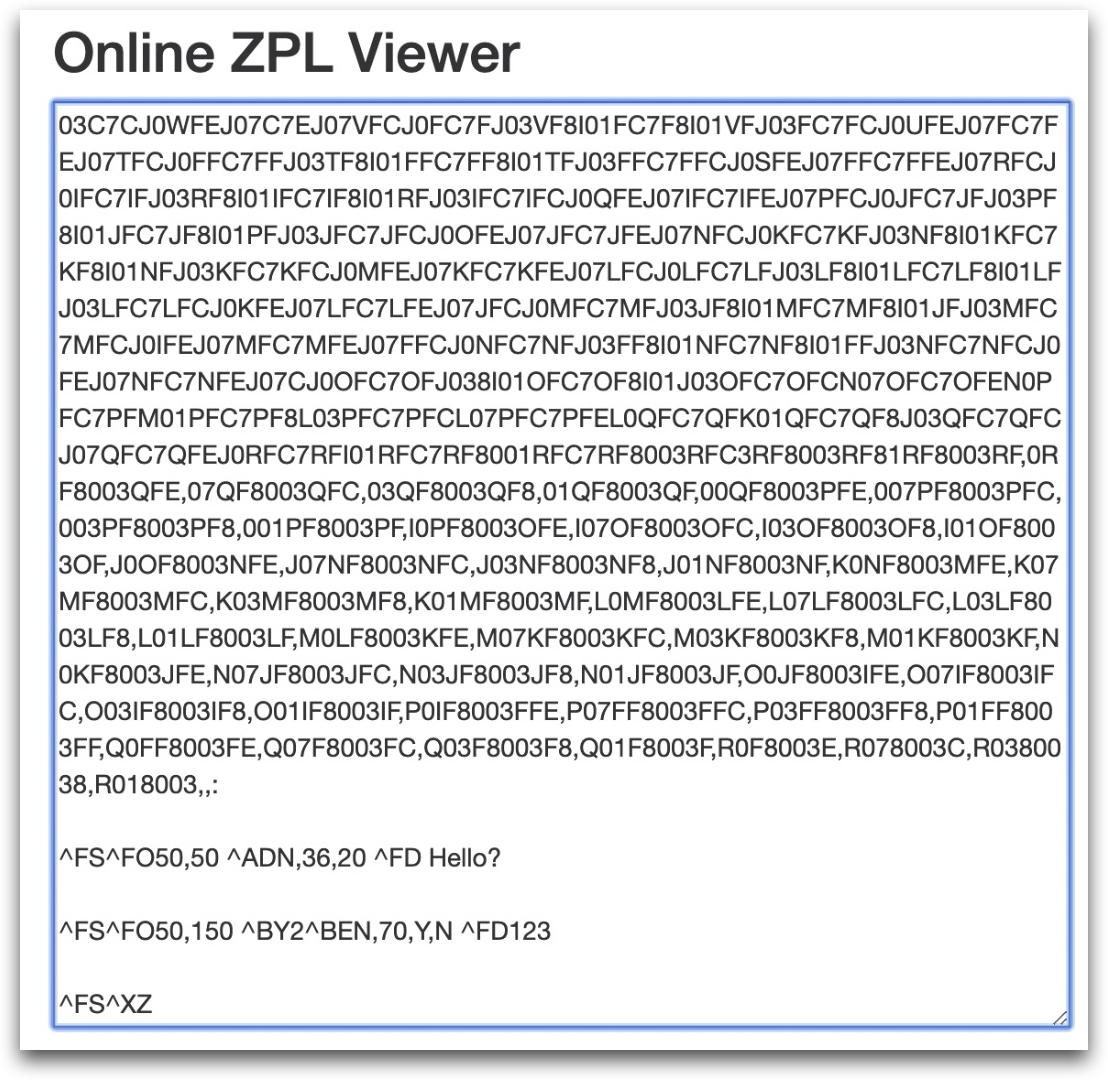
In the above example, if you are using “Hello?” as the first variable value from Tulip, you would copy all the code before “Hello?” into the first ZPL code field.
Click Save on the Zebra Printer driver page in the Device Portal, and then you are ready to set up your printing logic in an app.
Additionally, you can also use the ZebraDesigner 3 software to design your labels in a very seamless way. This software generates the ZPL code for your design automatically and you can copy/paste this directly into your Tulip app. This Zebra software is only available for Windows devices right now. You will have to download Zebra Designer 3 and also download the appropriate driver for the printer you intend to use.
Save the designed label and open in Notepad to copy the ZPL code into your Tulip triggers.
Printing A Label From An App
As of r235, Form steps have been disabled for all new Tulip Instances.
Let’s create a quick test app that requires an operator to add 2 custom values via a Form Step, and then prints them in a pre-configured label. Reminder: this means that your Zebra driver should have three ZPL code fields.
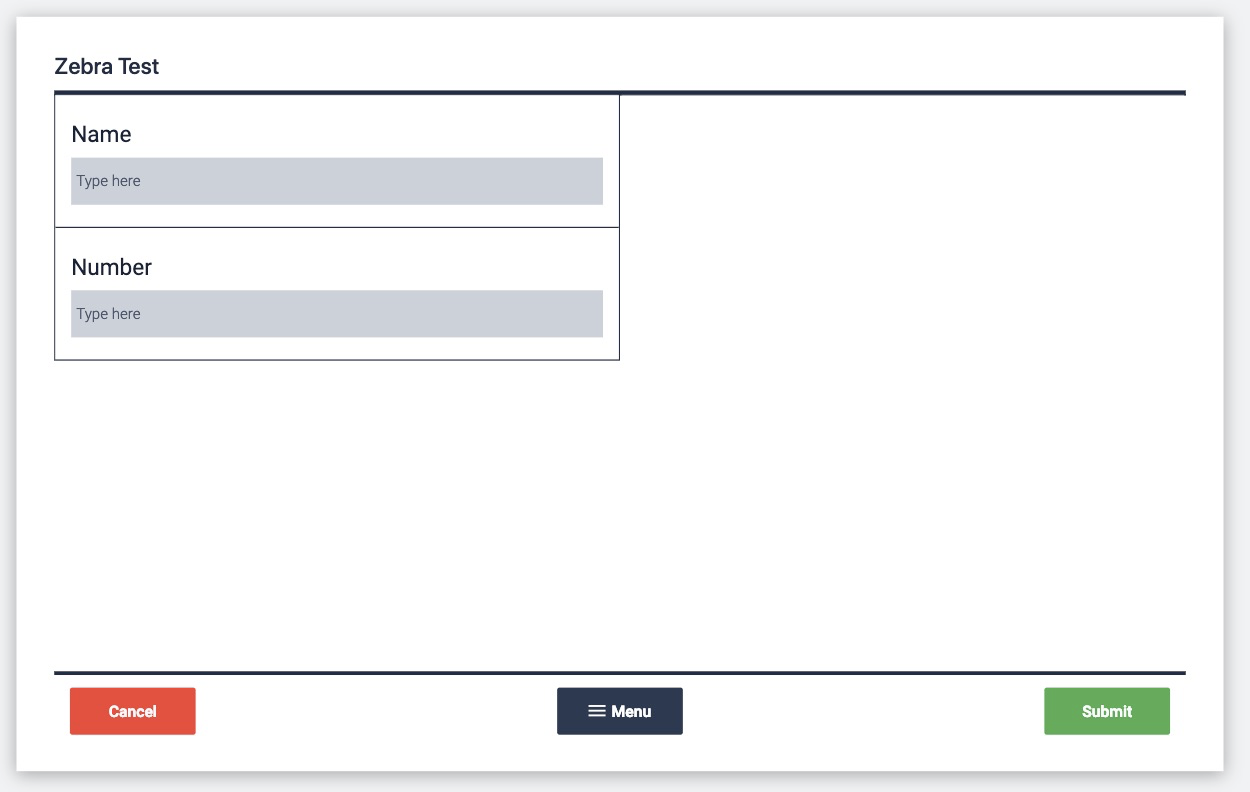
Create a new app, and then create a form step with two fields:
- name
- number
Both should be text fields. Save those fields in Variables called “name” and “number” as well.
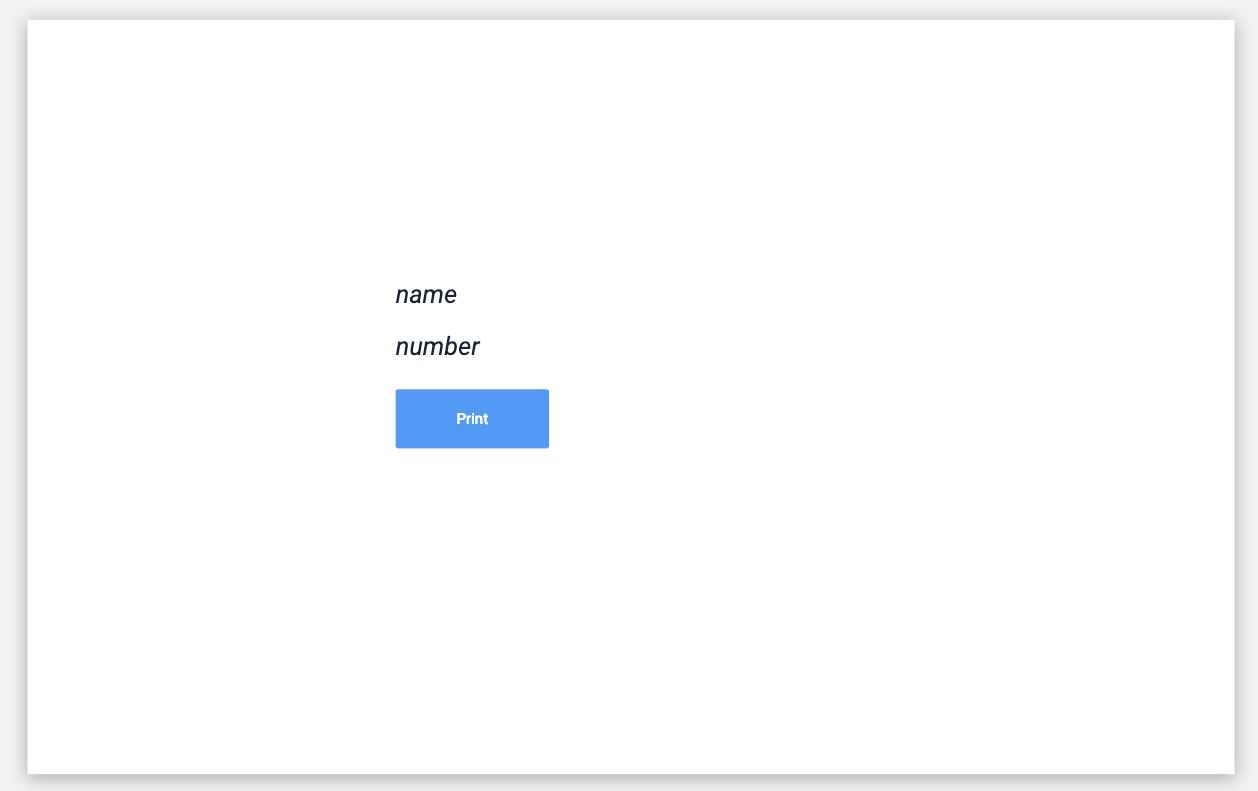
Then, add a Step with variable text for each of those two fields, and a button named “Print”.
Create a Trigger that fires when the button is pressed. The Then statement should start like this:

- "Run Device Function"
- "Zebra Printer"
- "Custom template"
- "At this station."
Since Tulip will communicate with the Zebra printer via the driver running on the Device Portal, you must attach the Edge Device to the same station that is running the test app in the Shop Floor tab.
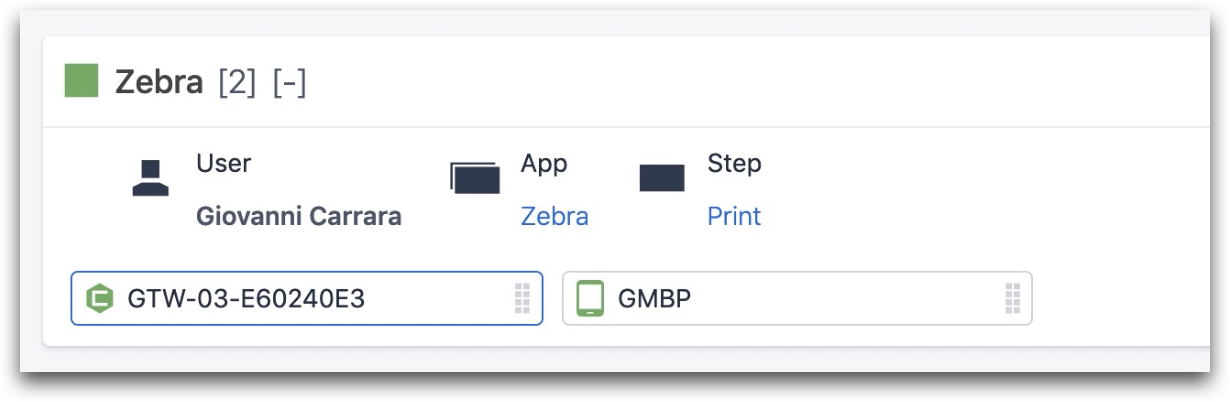
Next, in the same then statement, you will see this line:

In this case, you are accessing a ZPL template called “kevin Demo”. Here’s the last line of the statement:

This is the line where you will add all the custom values from the app via the static text option. You must include a pipe operator “|” between each value, and add them in the order that you would like them to be inserted into the ZPL code.
In this case, you would add:
variable.name | variable.number
This means that the value in the “name” variable would be inserted between the first two fields of ZPL code, and the “number” variable would be inserted between the second and third fields of ZPL code.
Here’s what the ZPL code looks like:
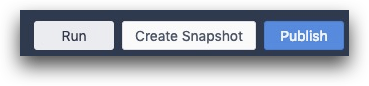
Now it’s time to test the app. In order to do this, you need to publish the latest version of the app, since that is what will run at the Station.
After publishing the app, open the app in the Tulip Player and add fill out the form. Check to make sure that both fields appear in variable text in the following step, then press “Print”. Your label should print immediately on your Zebra printer.
Troubleshooting the Process
If your label does not print immediately, here are some things you can investigate:
- Is the Zebra Printer connected to the same network as the Edge Device via Ethernet?
- Have you created a Station that has both the Edge Device and the App running?
- Do your custom values map to the open spaces in the ZPL code running in the driver?
Did you find what you were looking for?
You can also head to community.tulip.co to post your question or see if others have faced a similar question!