Learn how to create a new table in Tulip, define its fields, and populate it with initial data. This guide is perfect for setting up your inspection tracking system.
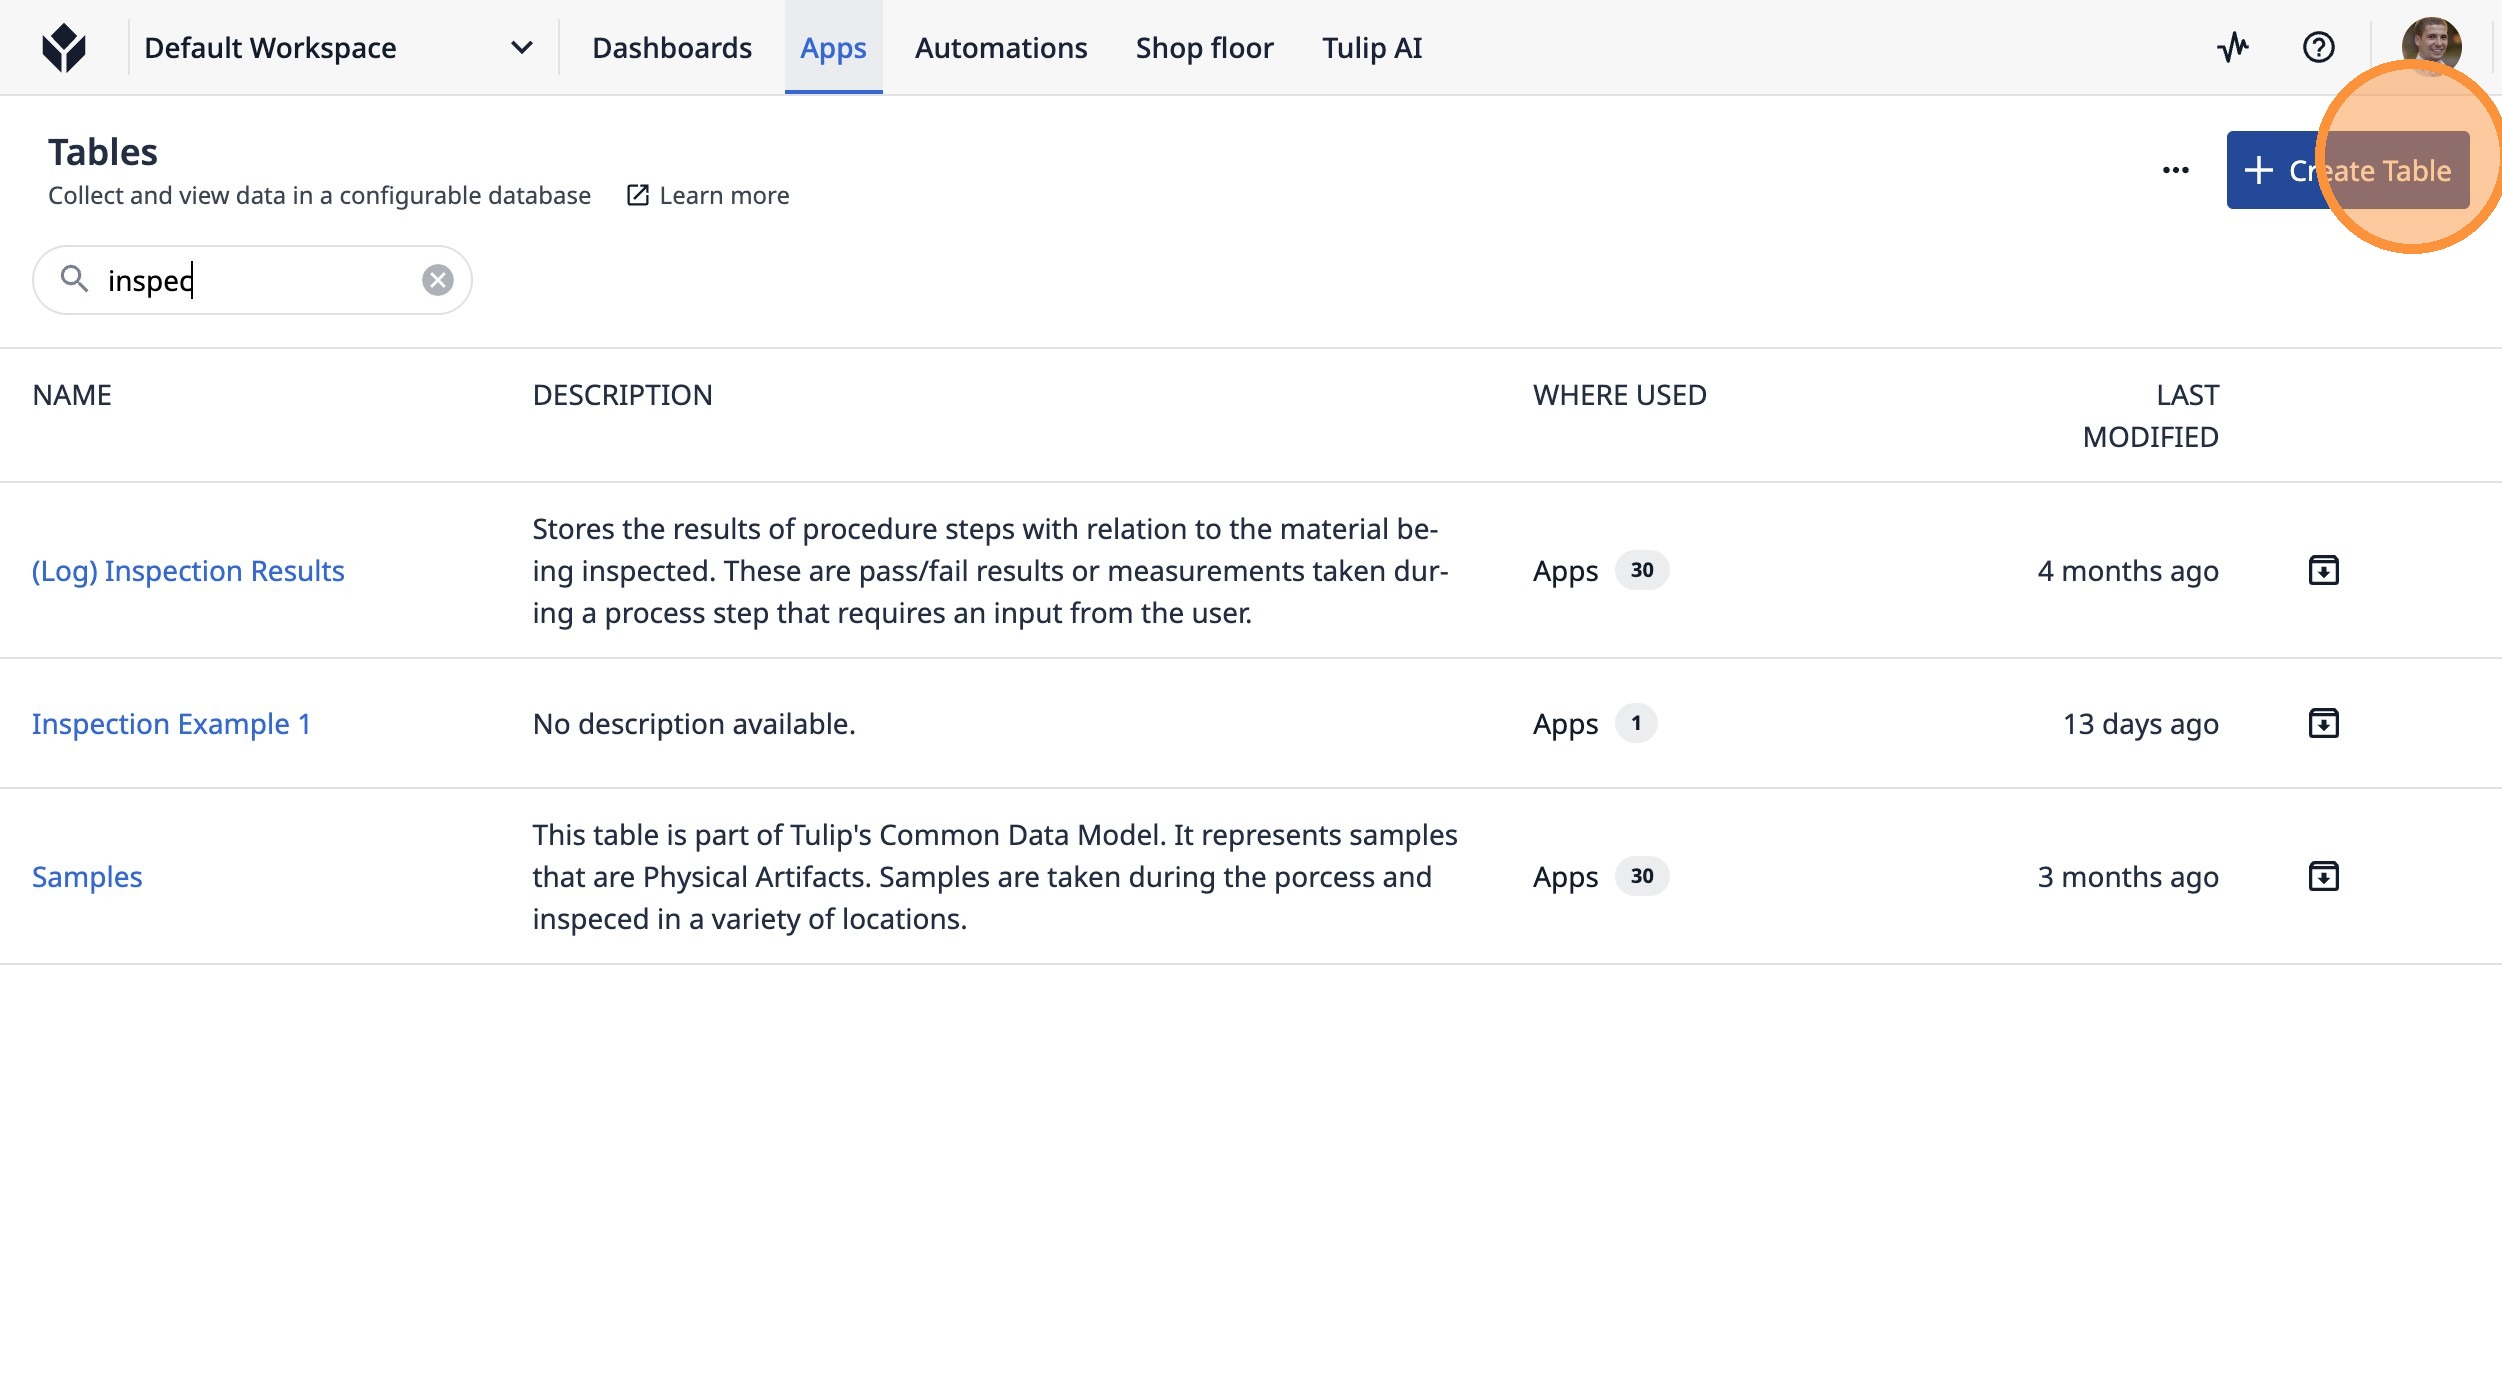
1. Click "Create Table"
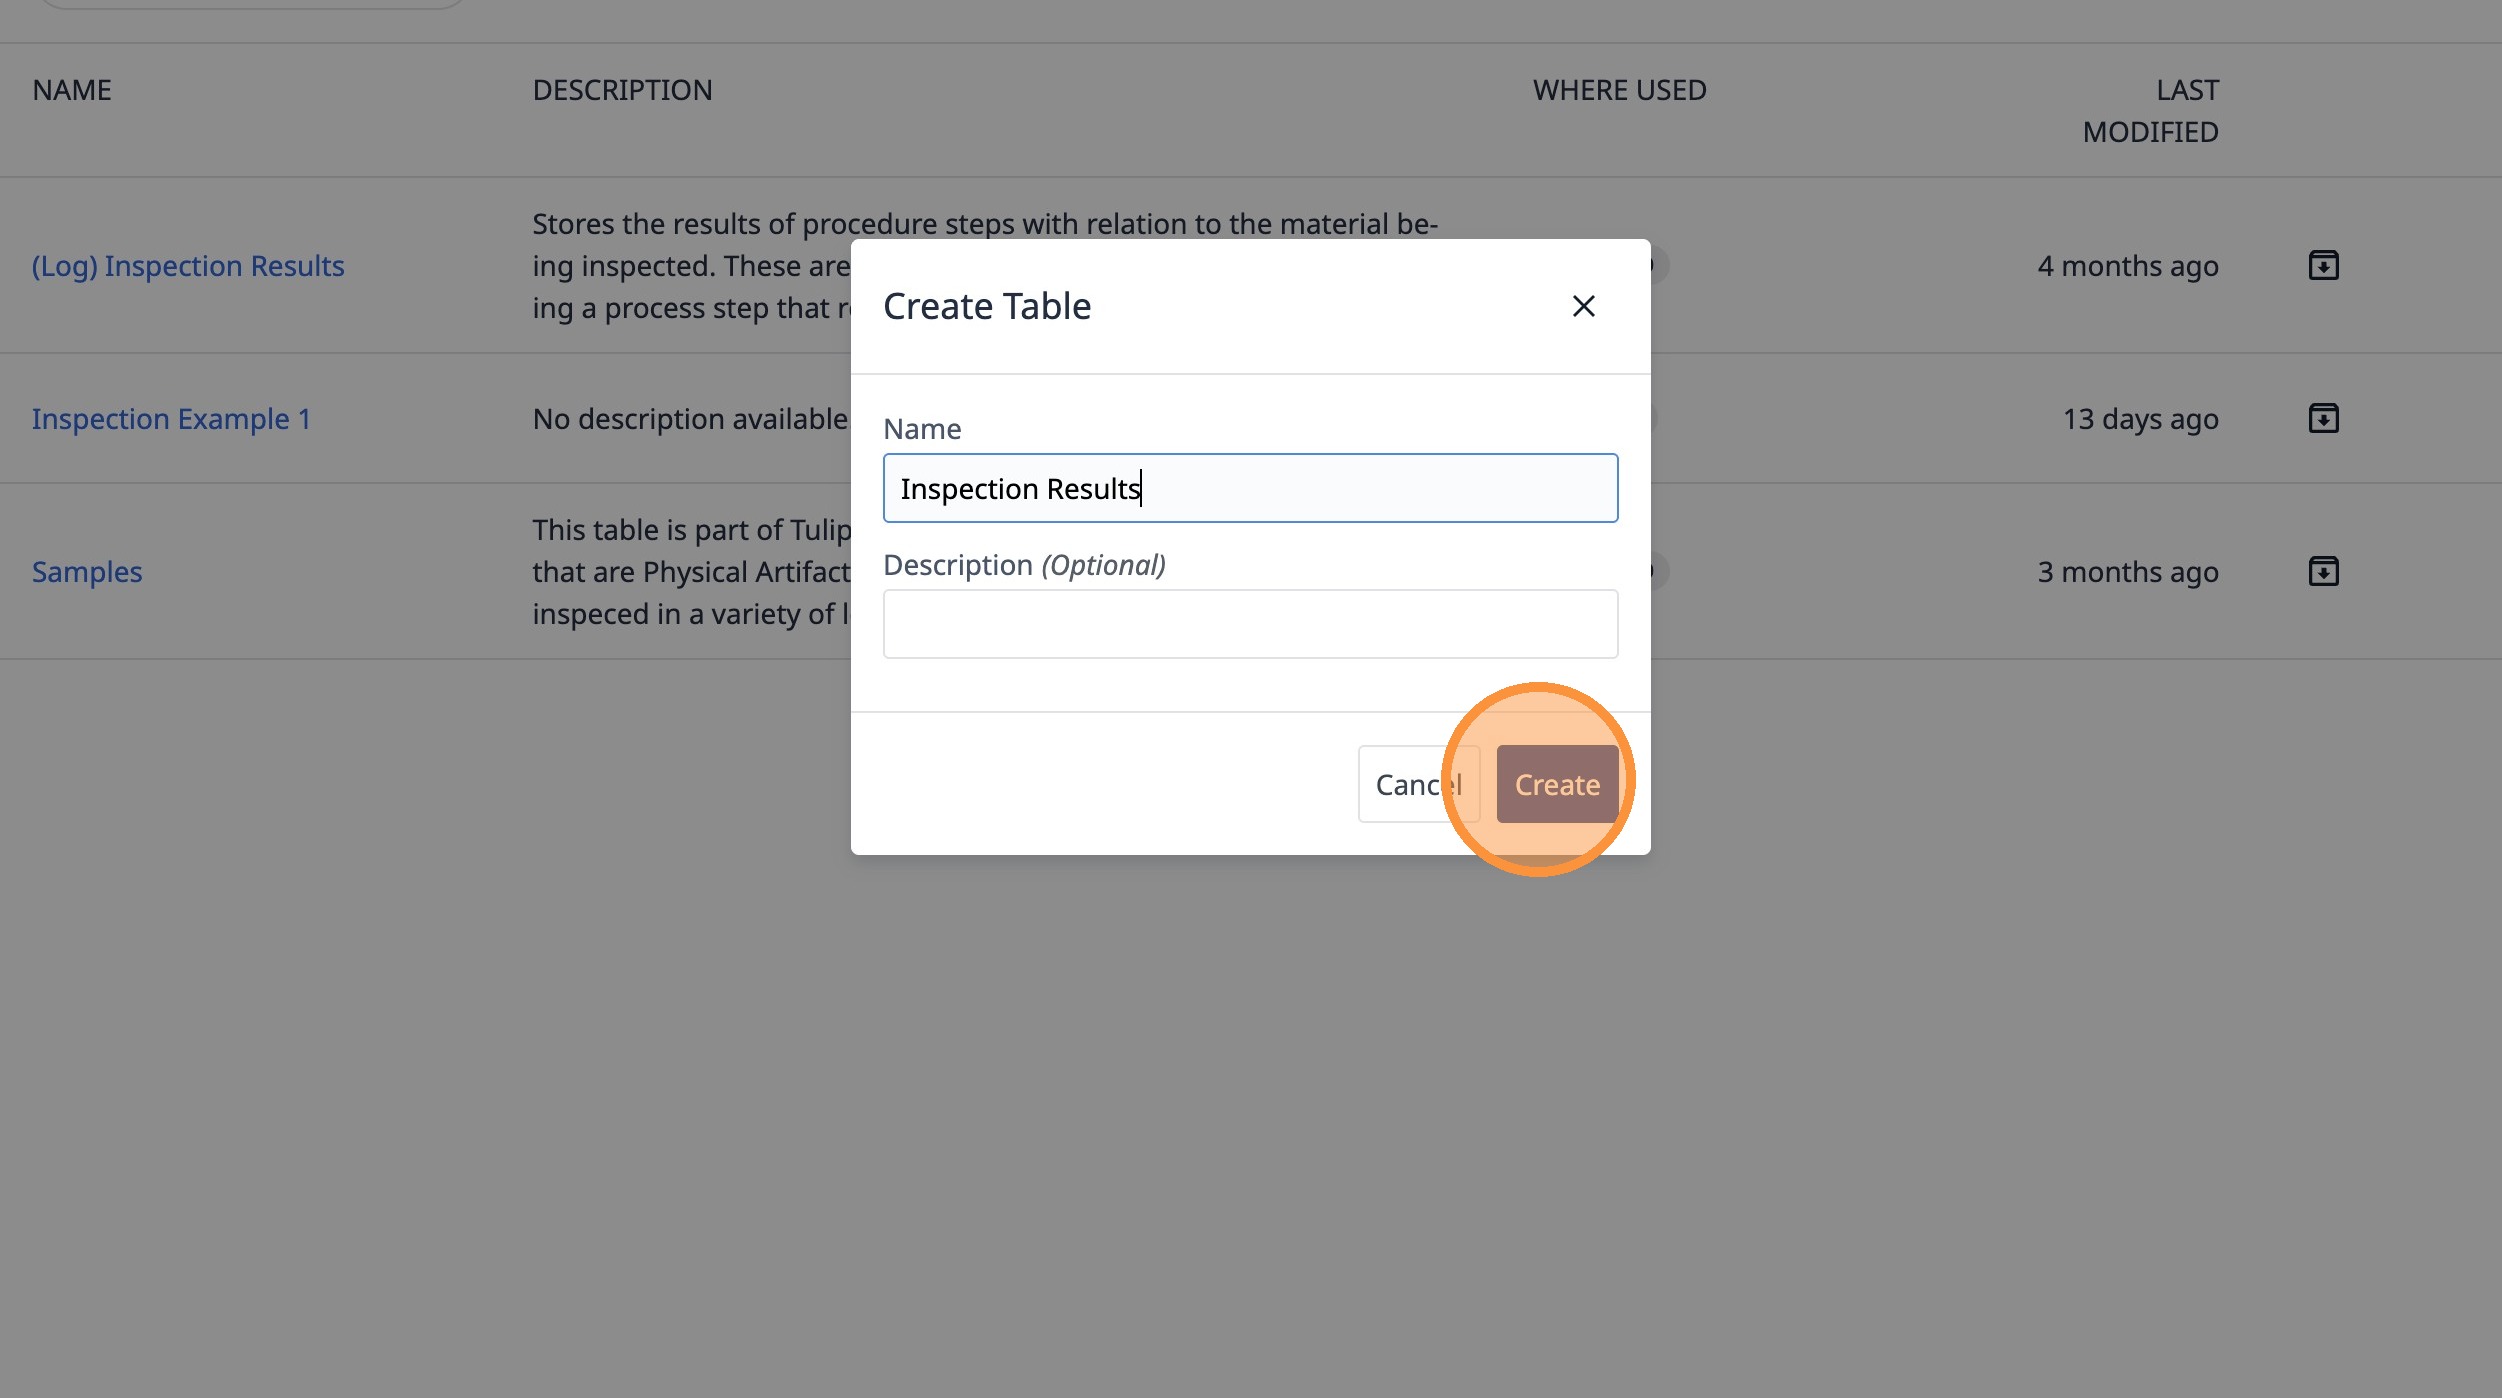
2. Type "Inspection Results"
3. Click "Create"
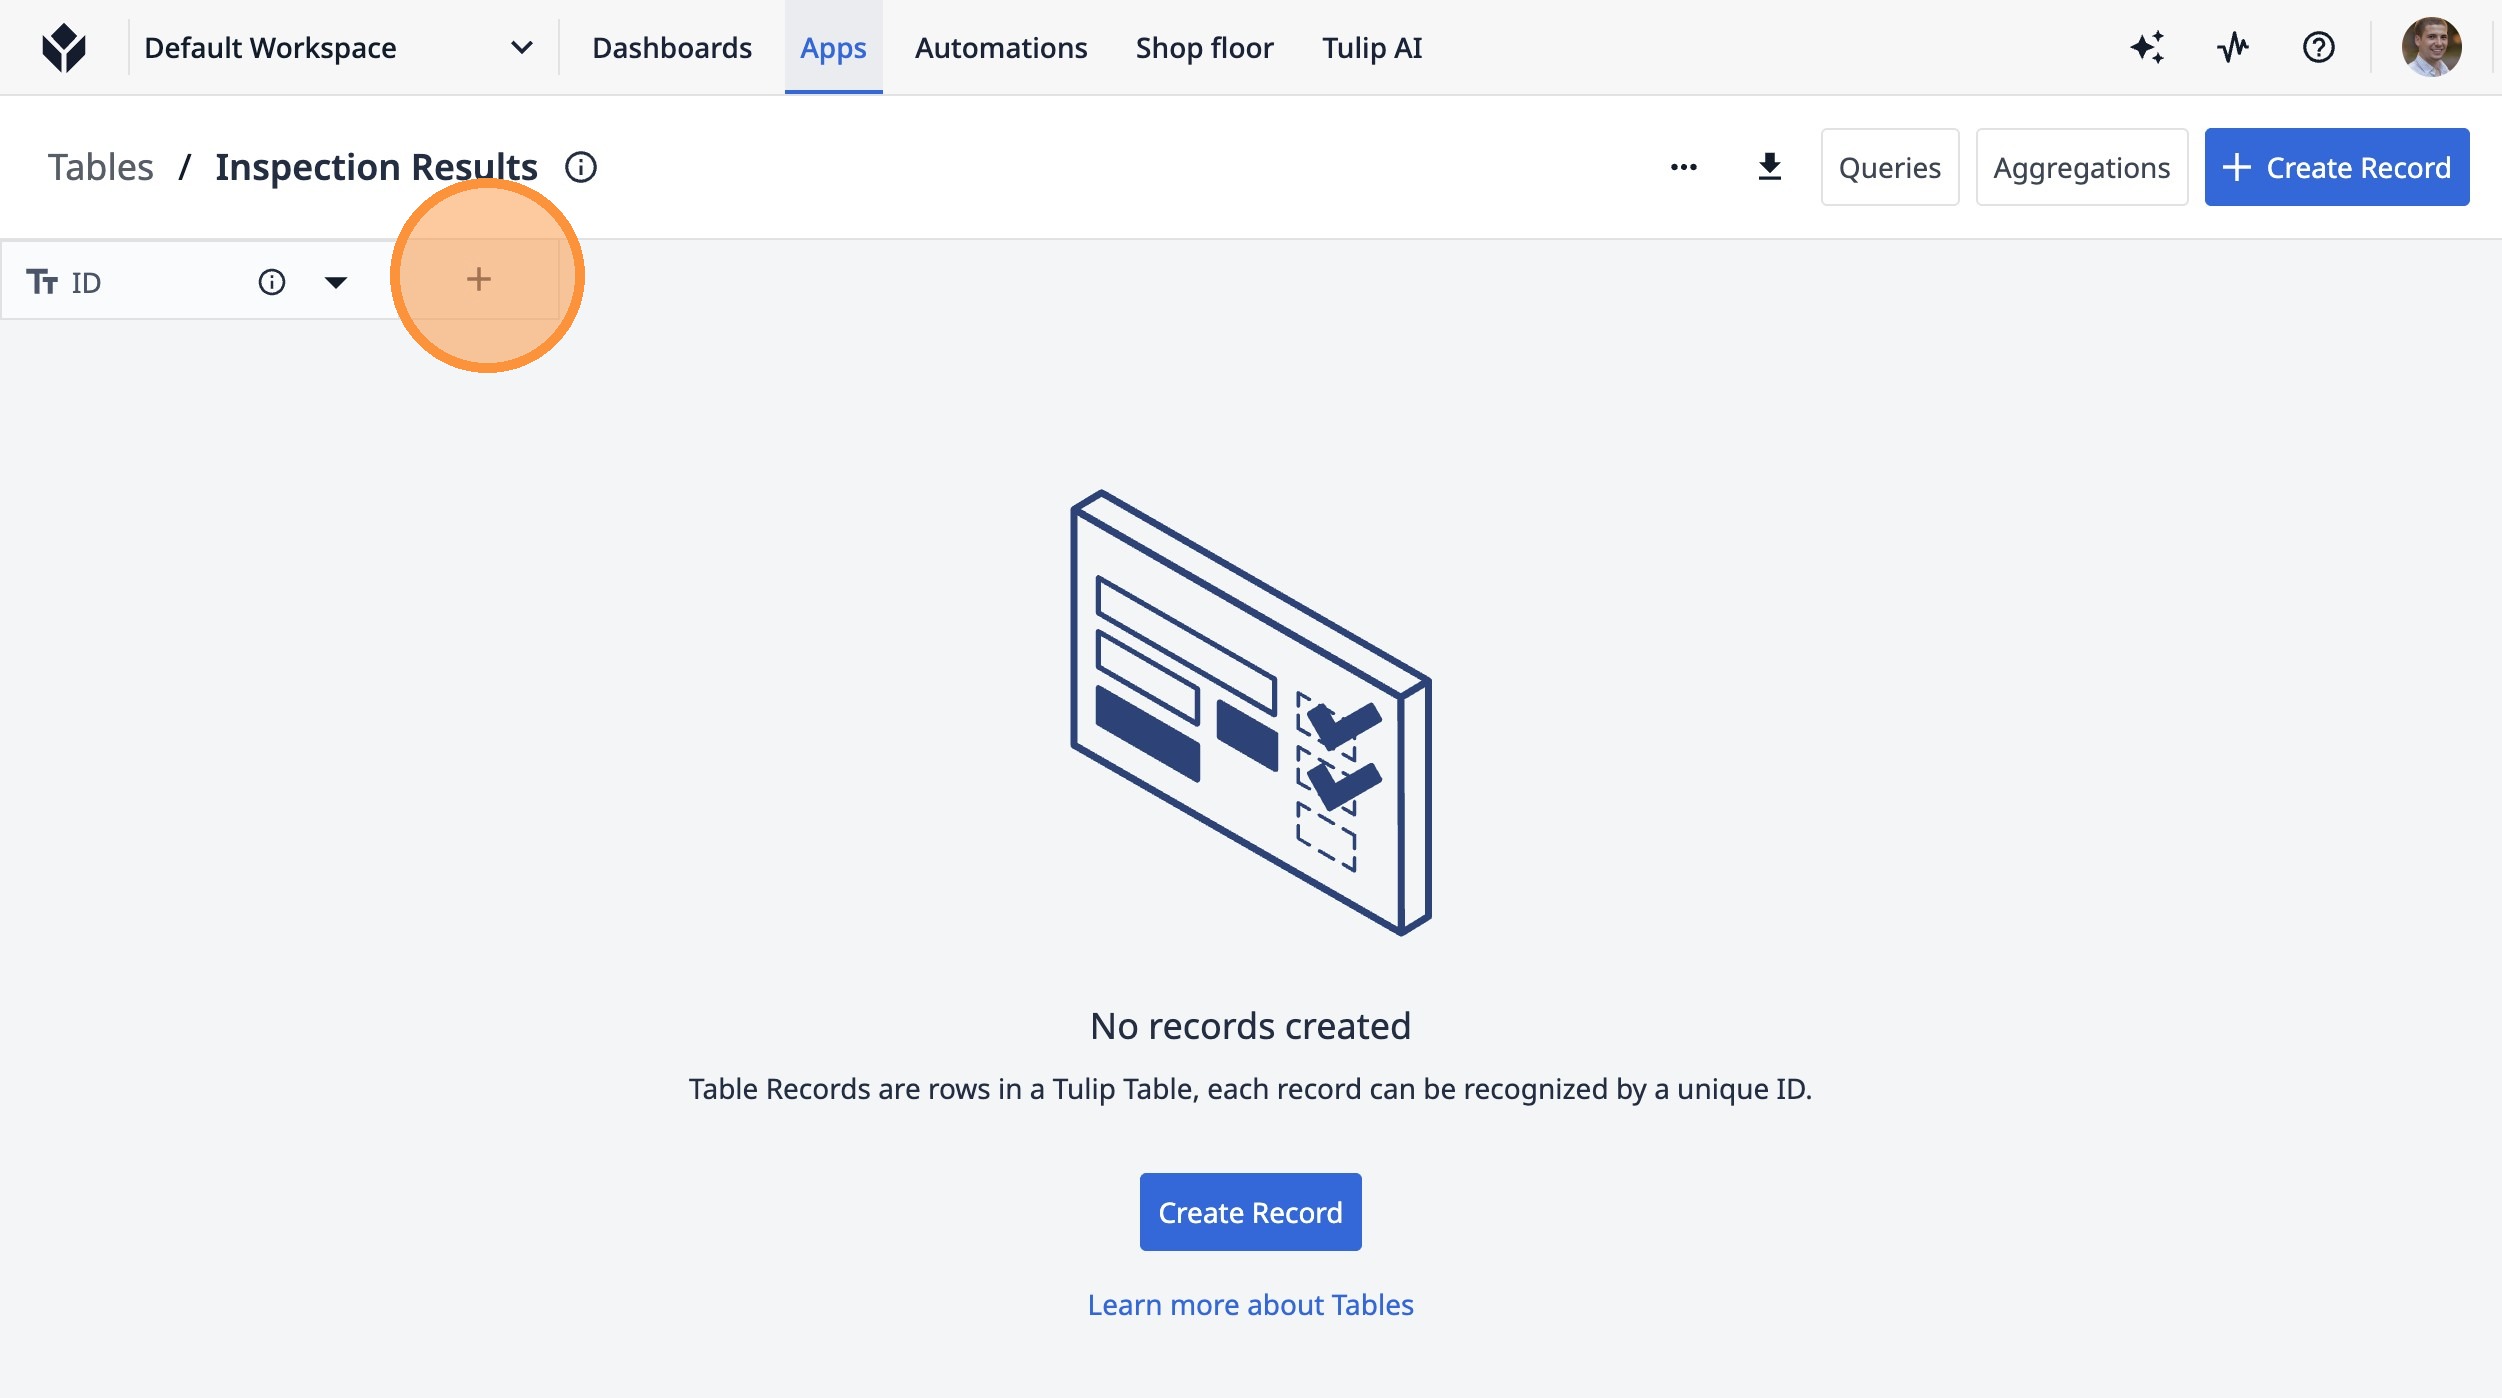
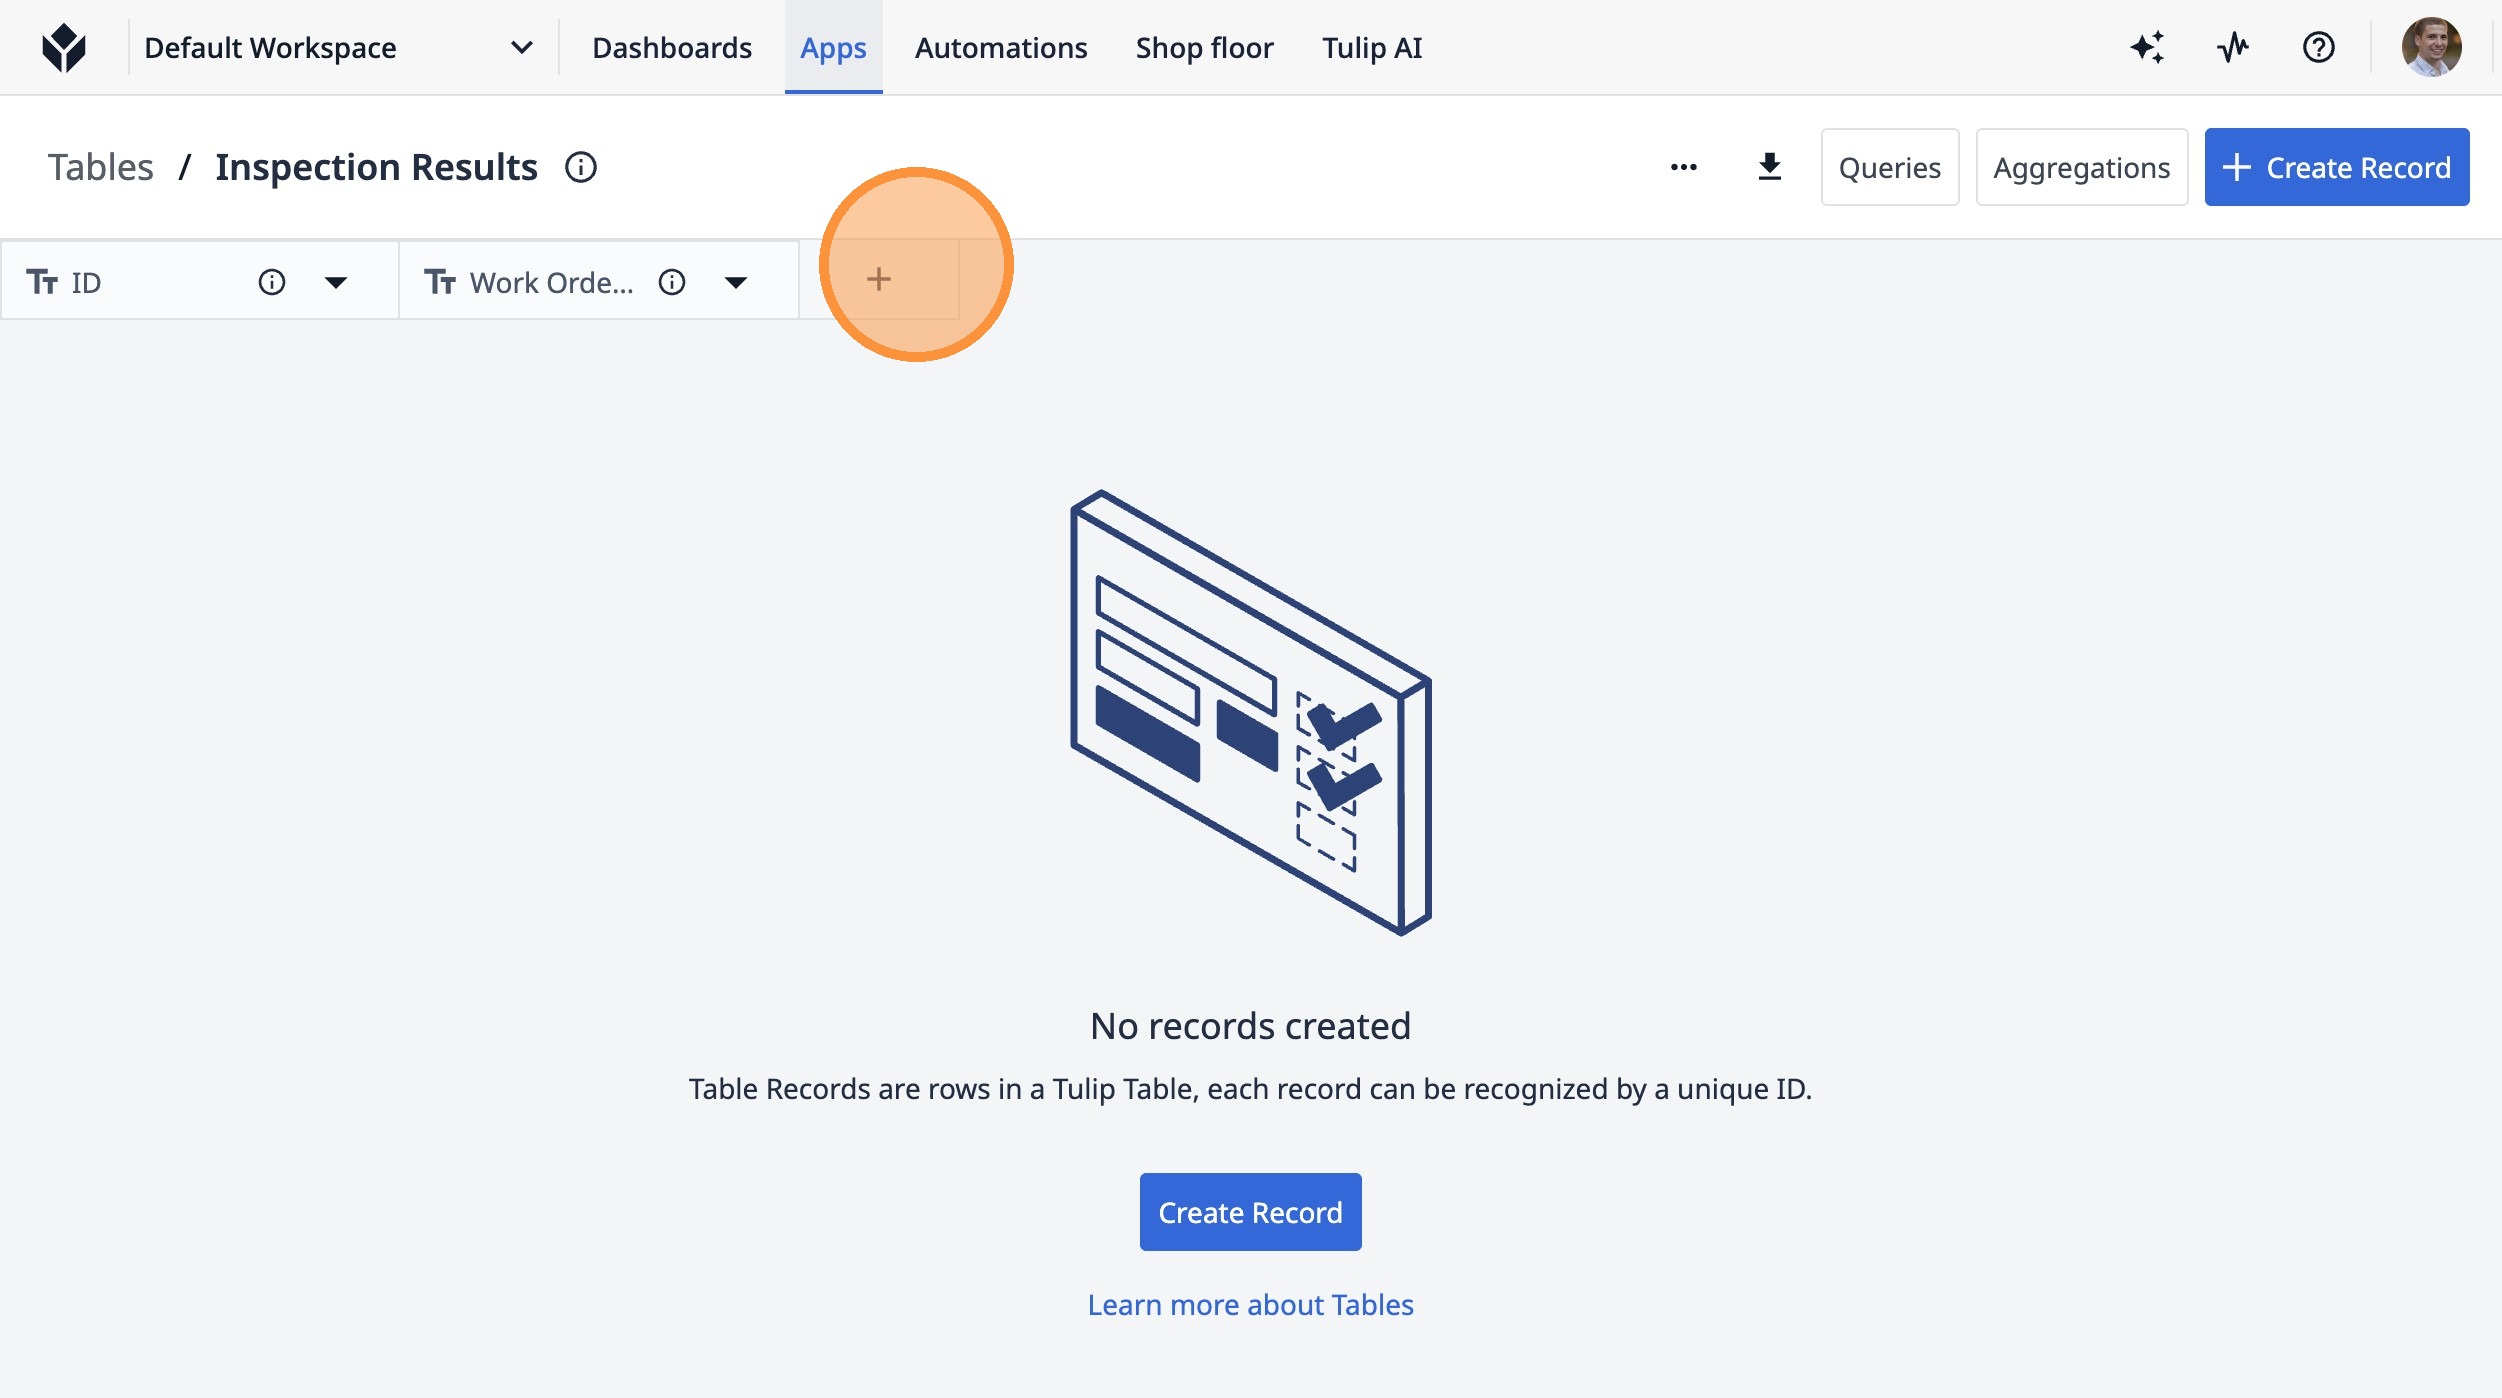
4. Click this icon.
5. Type "Work Order ID"
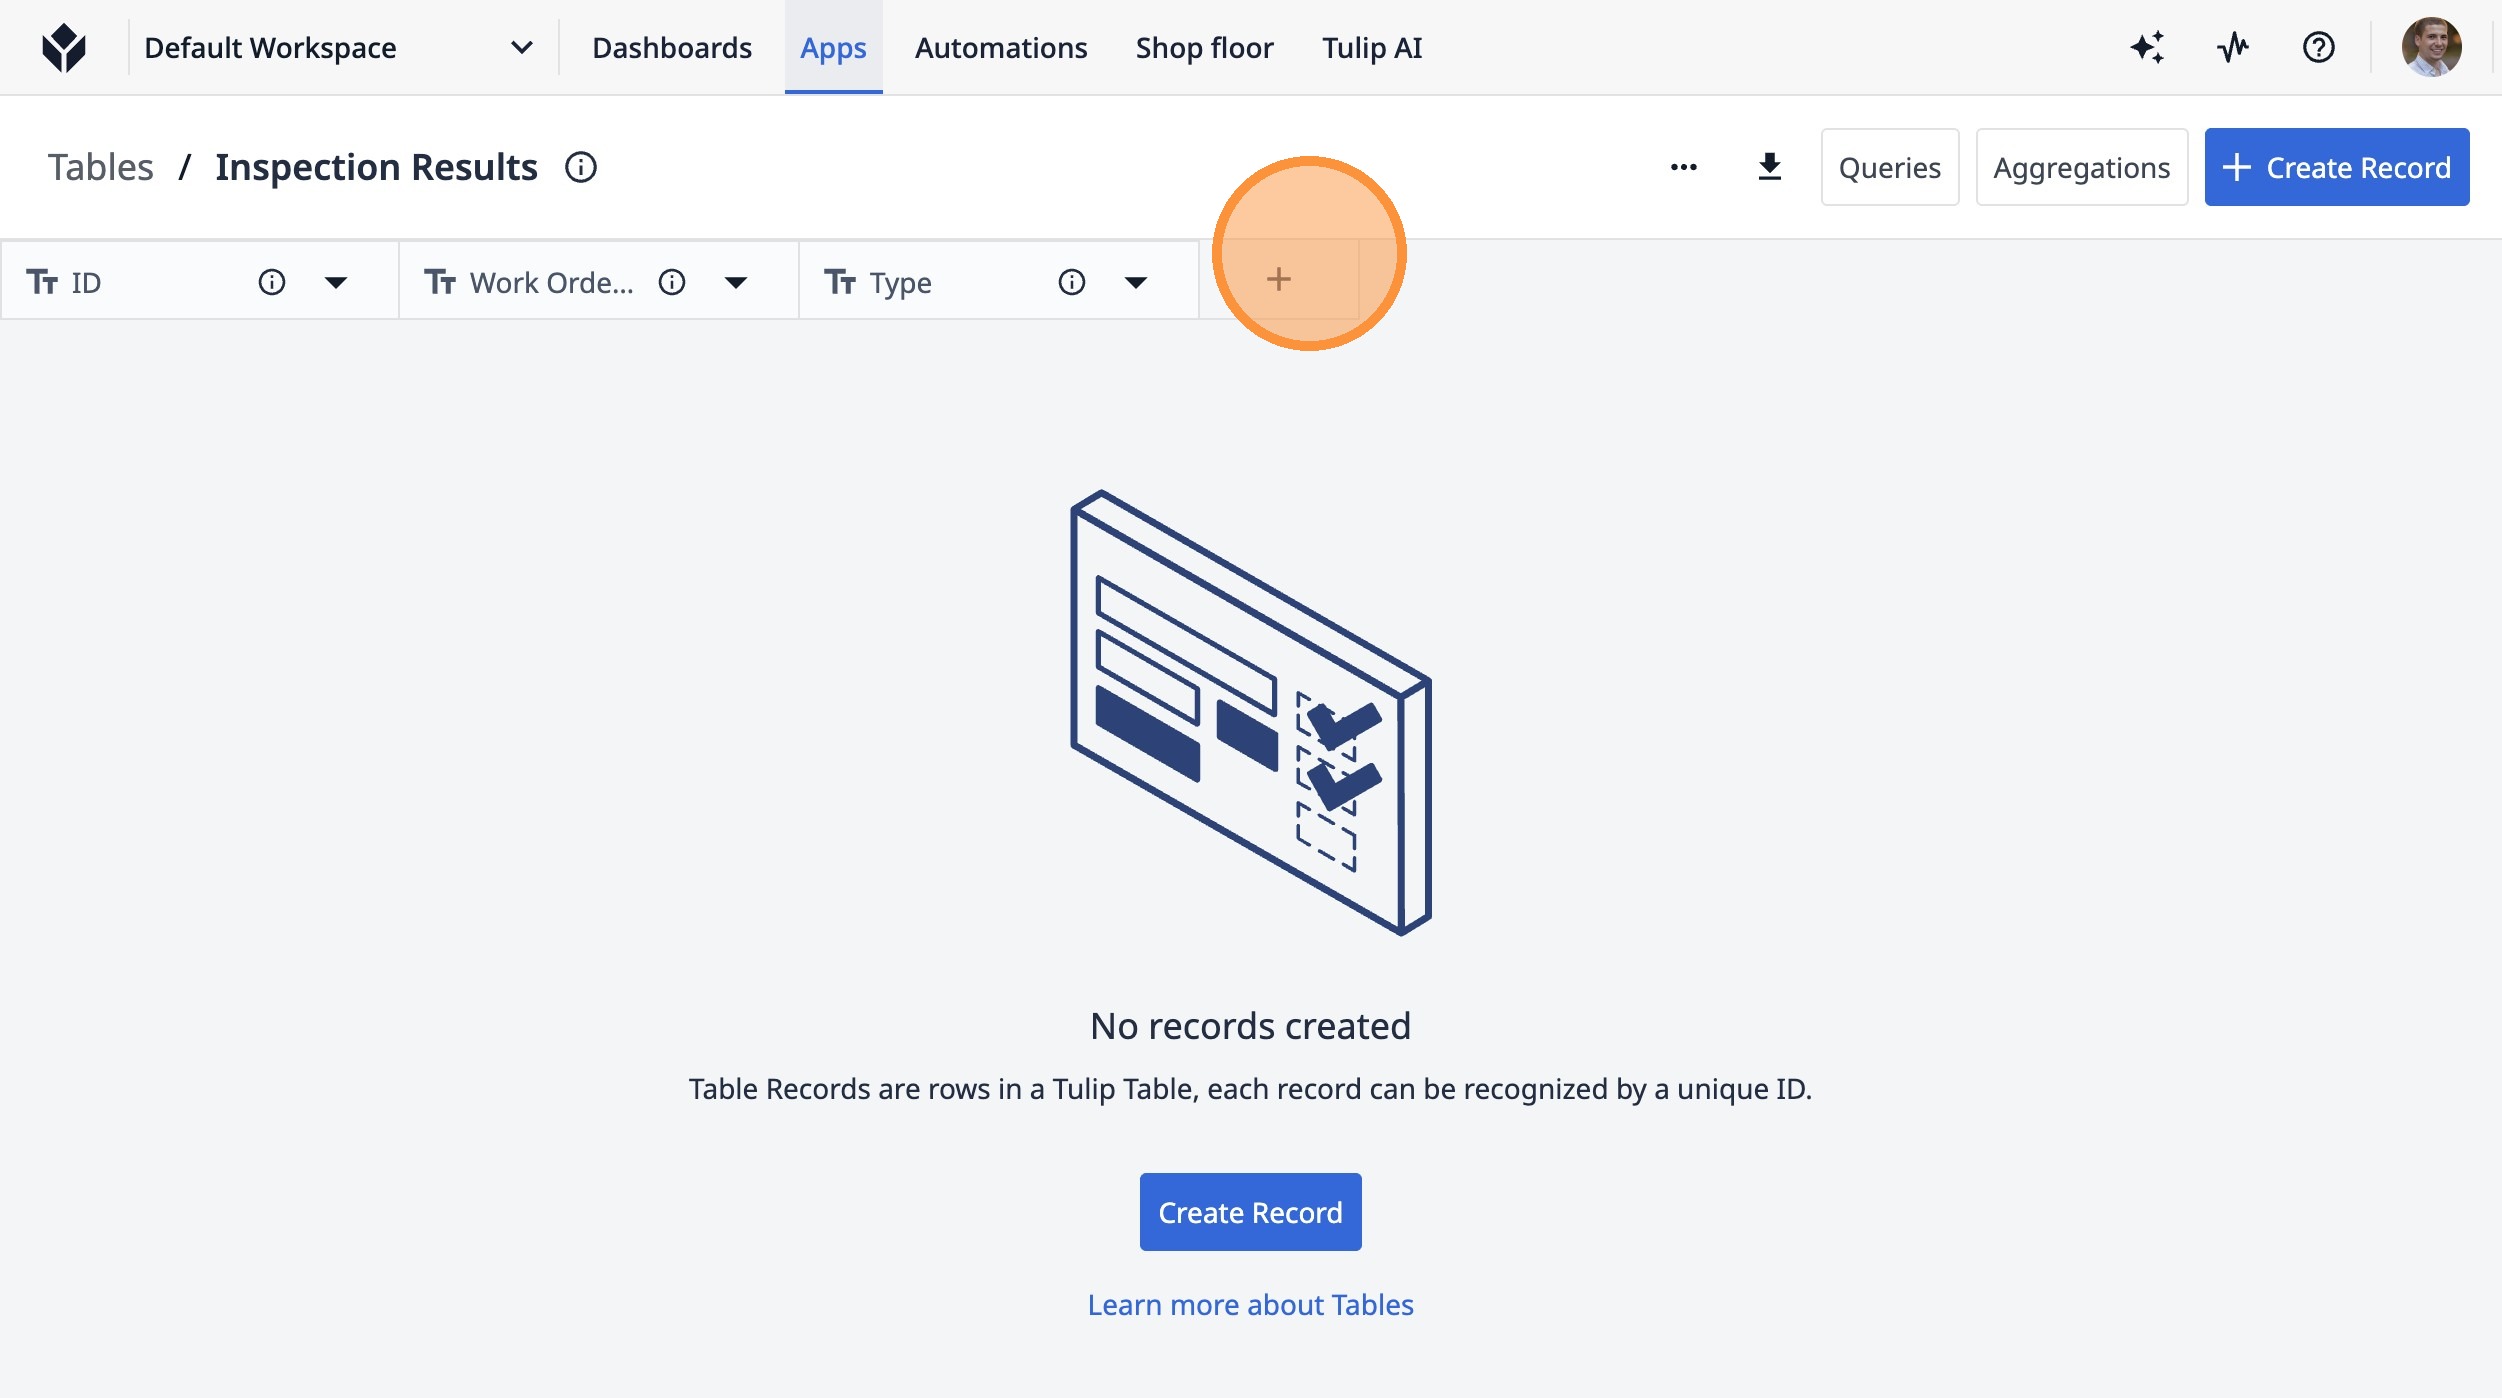
6. Click this button.
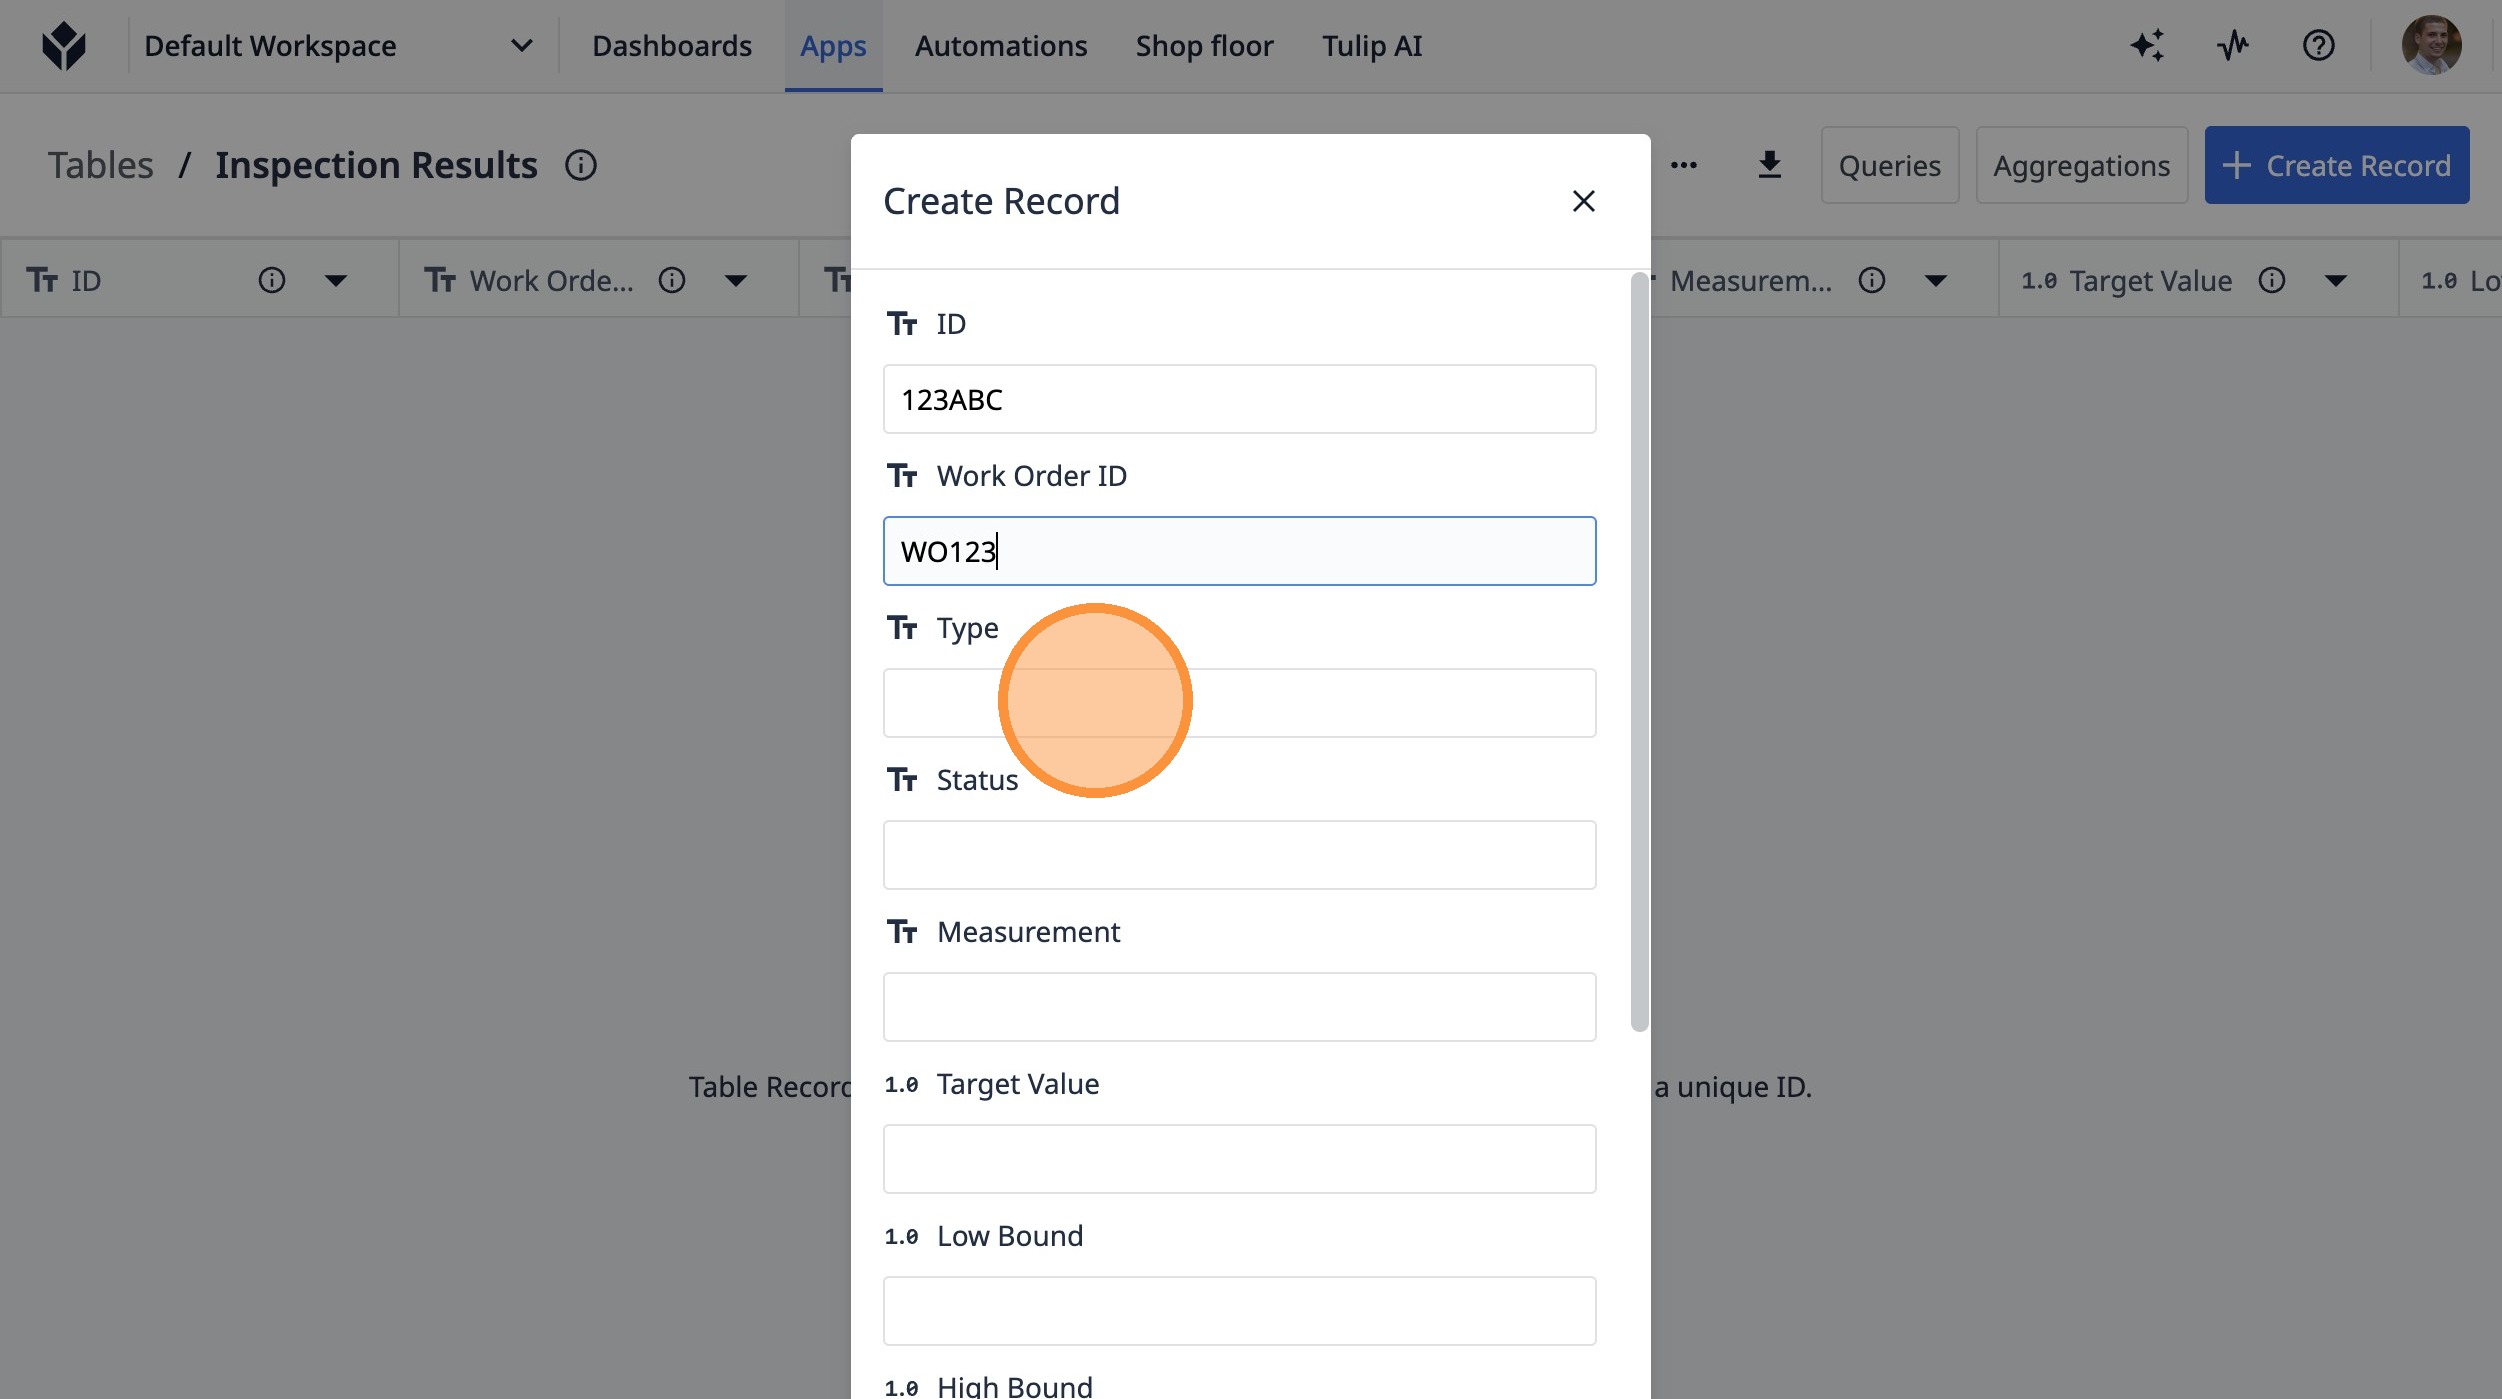
7. Type "Type"
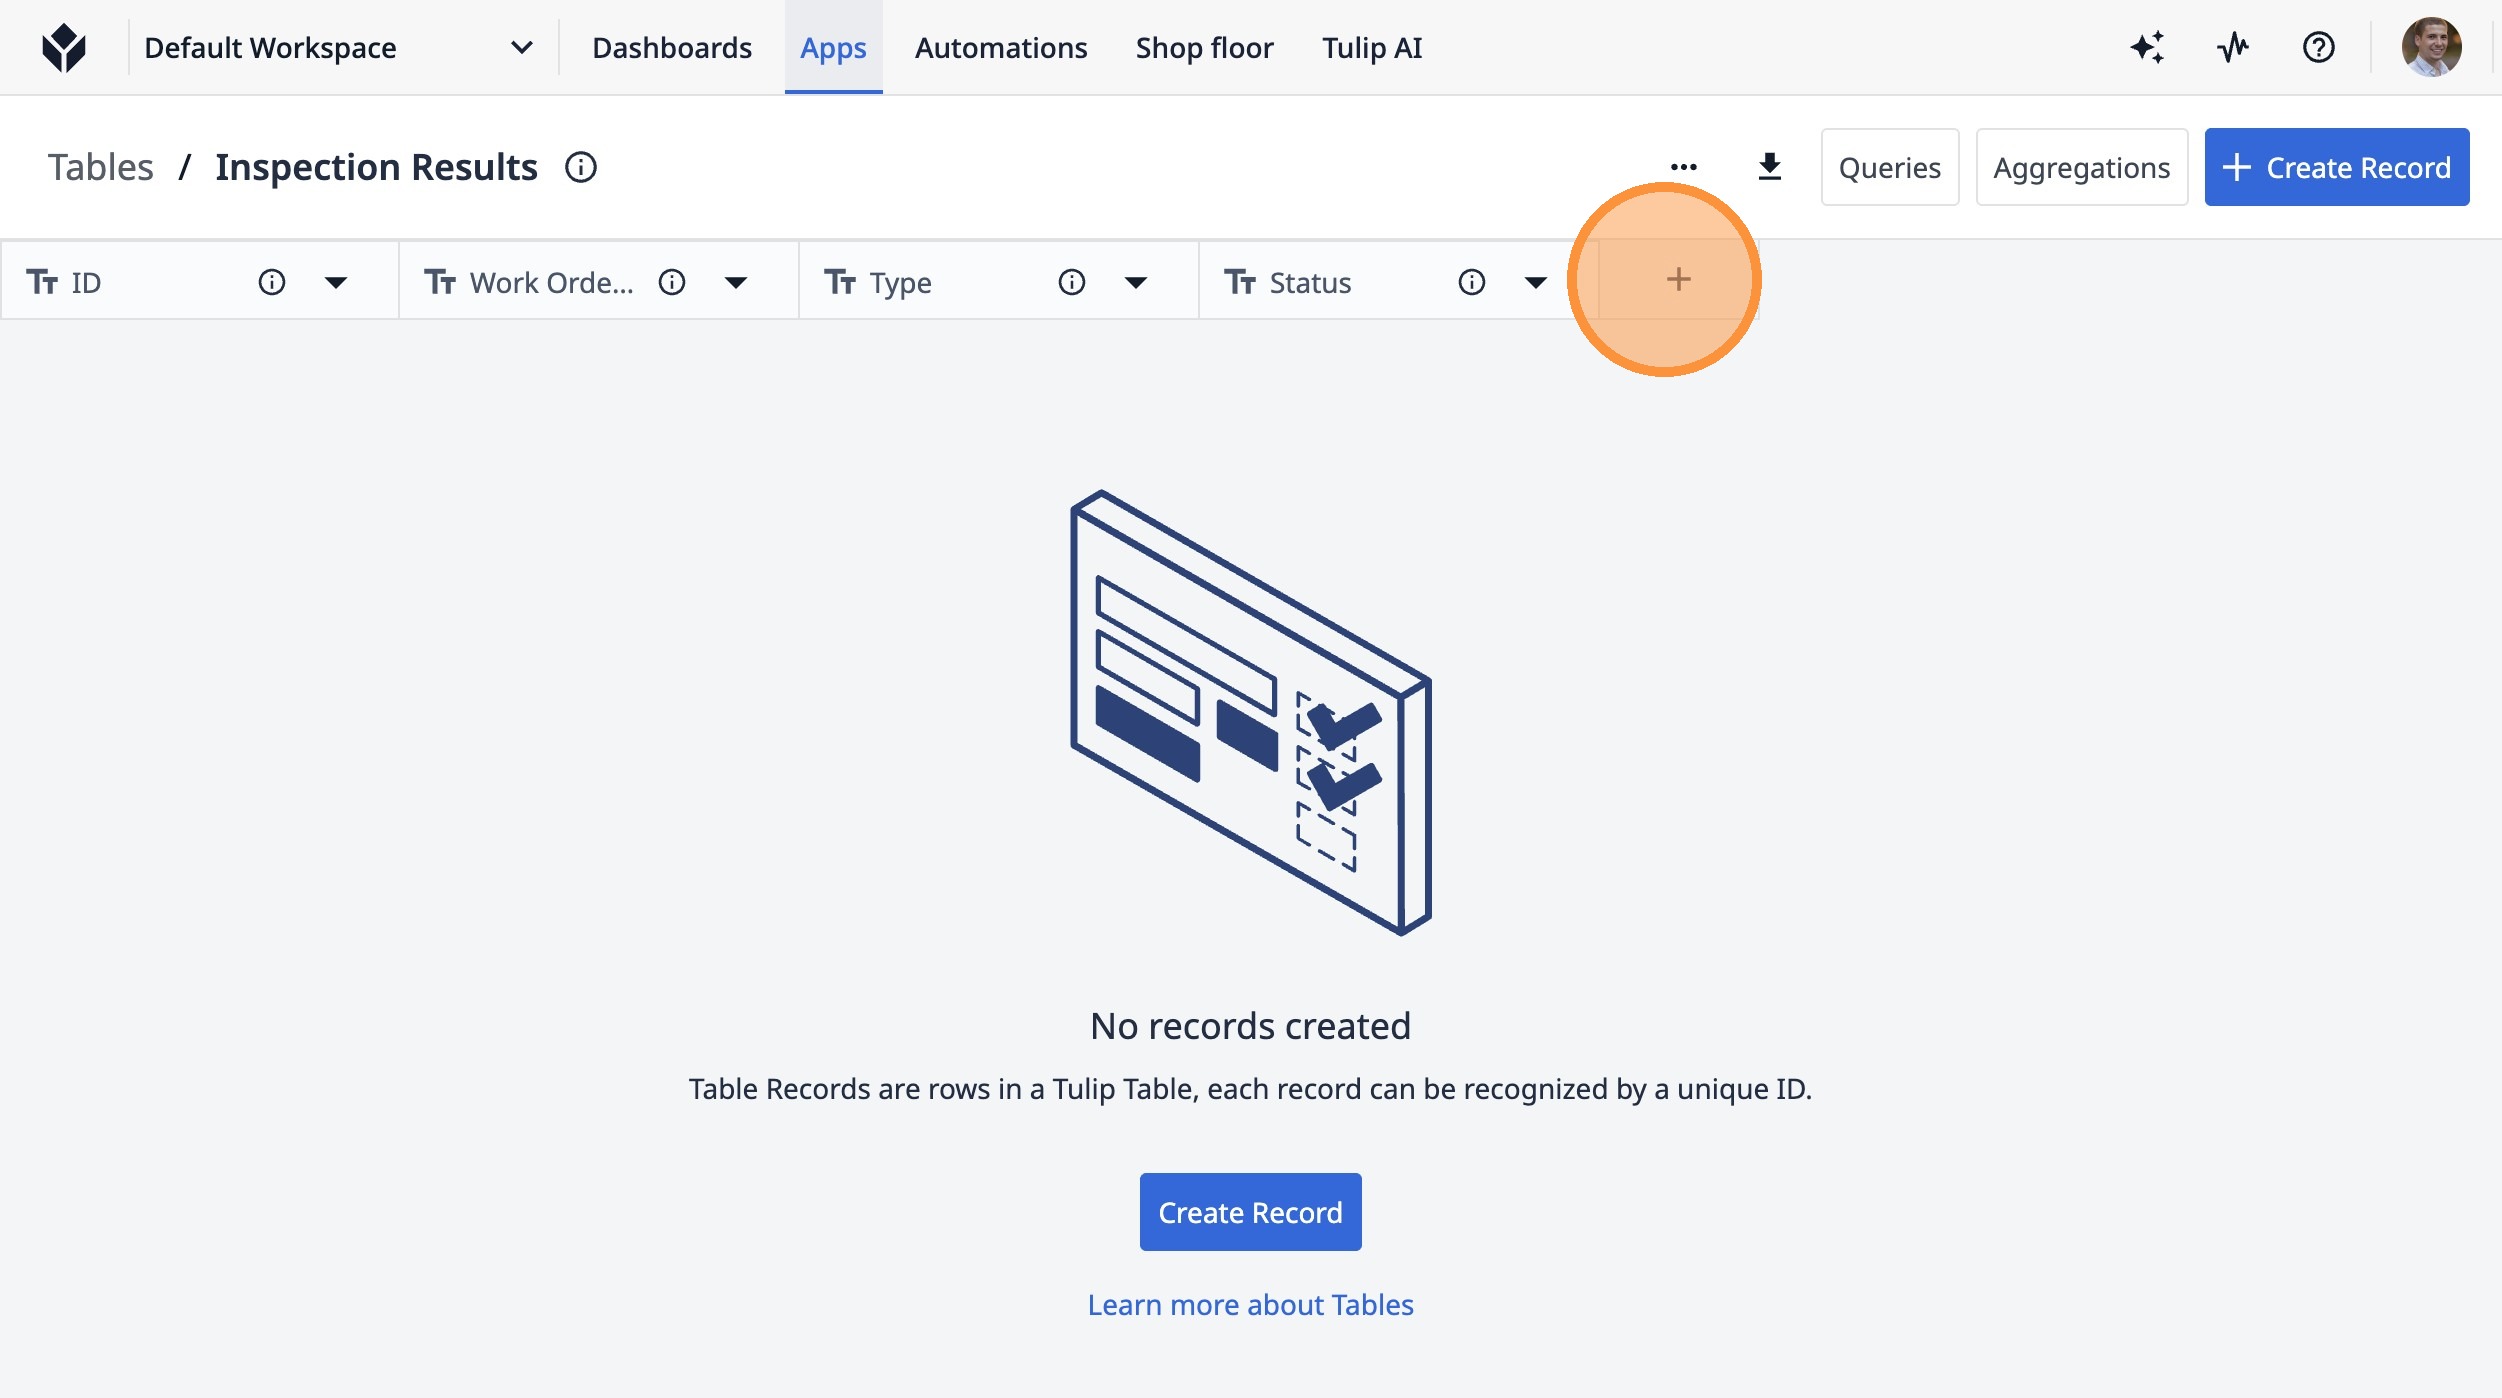
8. Click this button.
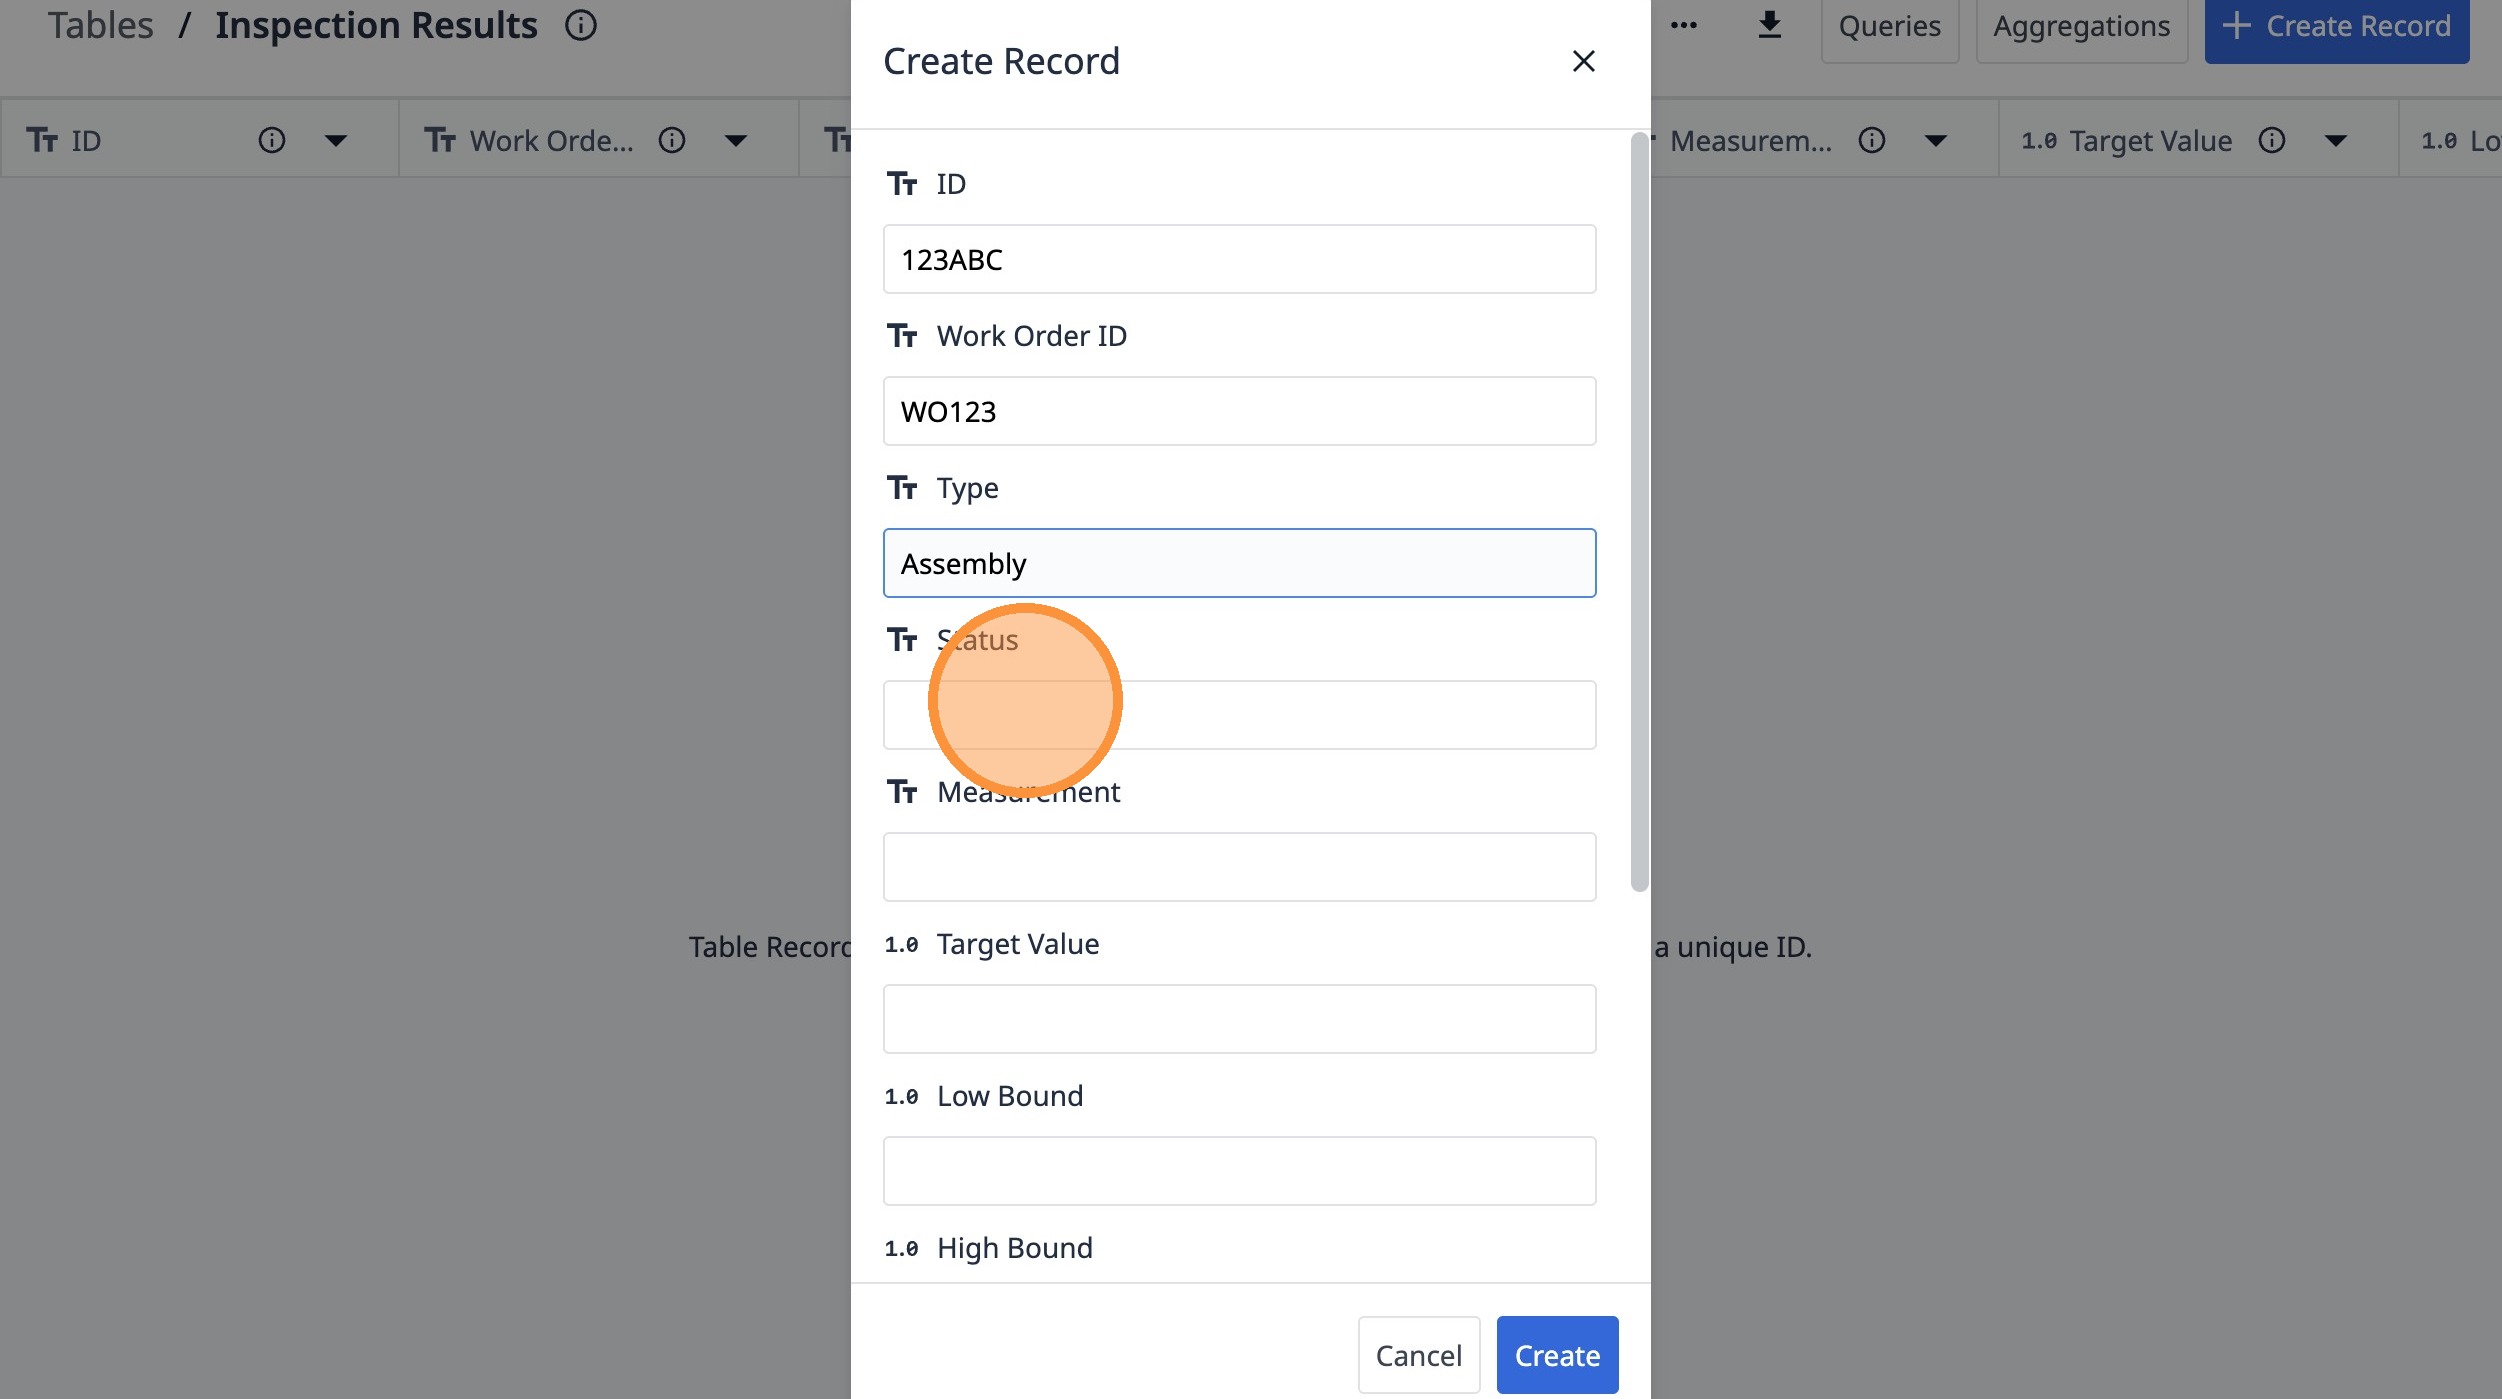
9. Type "Status"
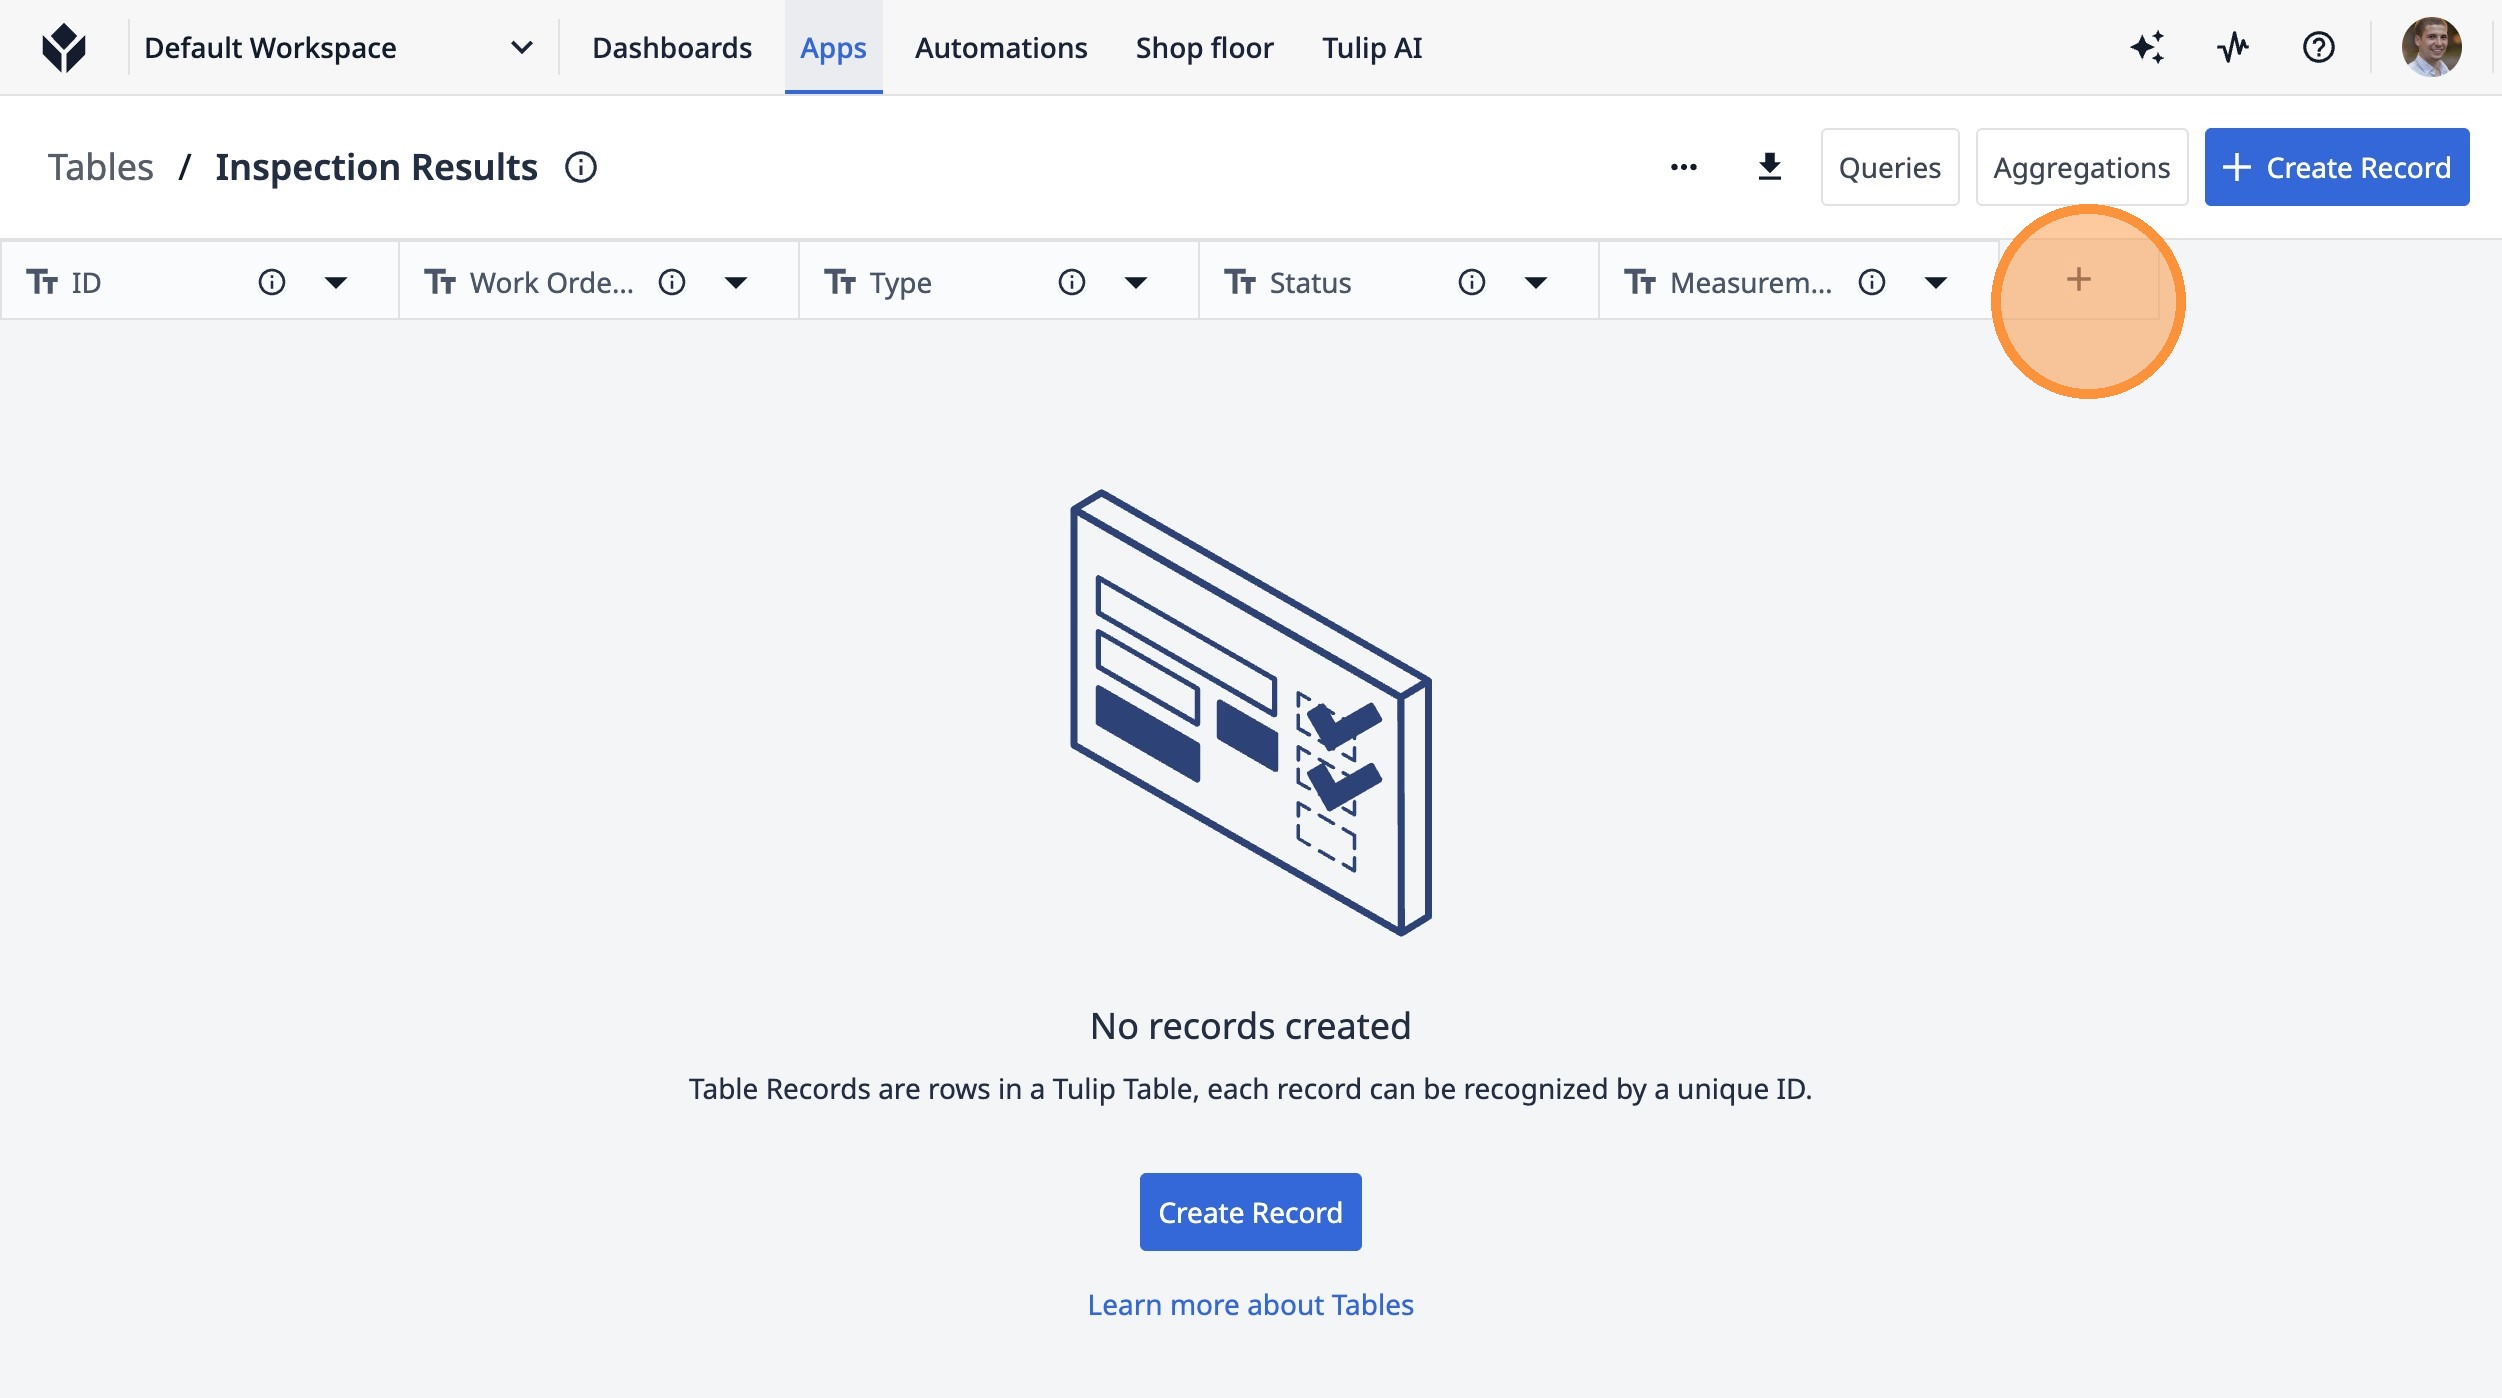
10. Click this icon.
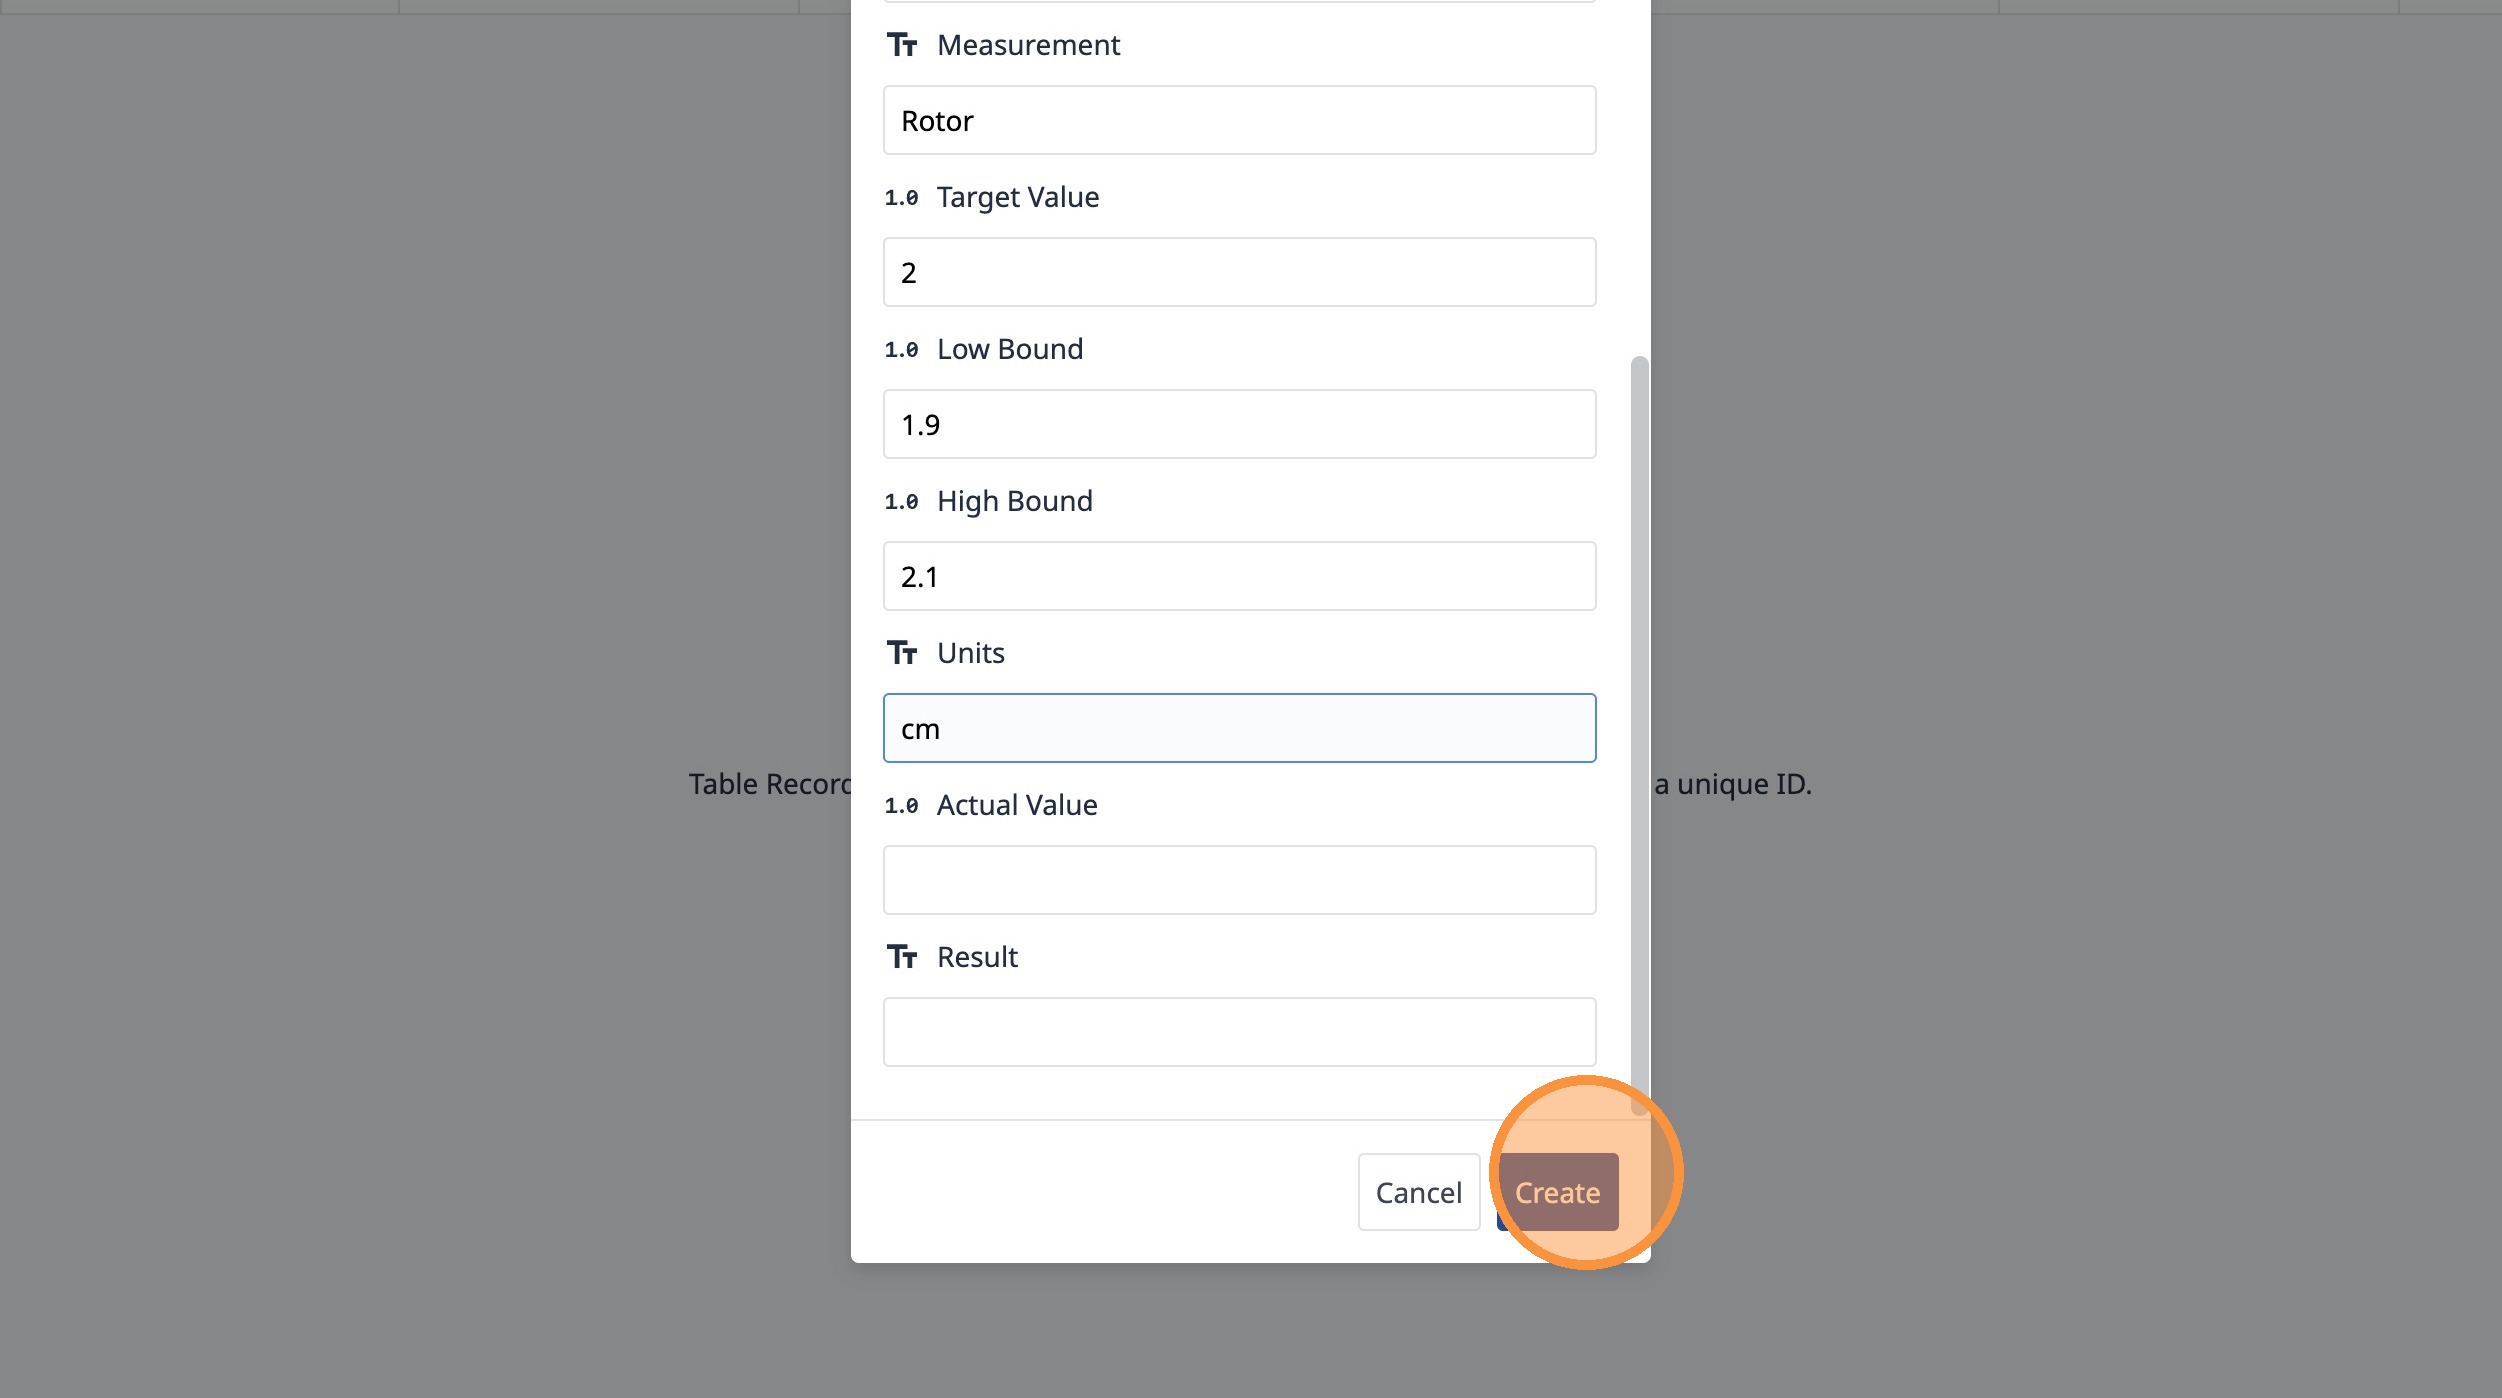
11. Type "Measurement"
12. Click this button.
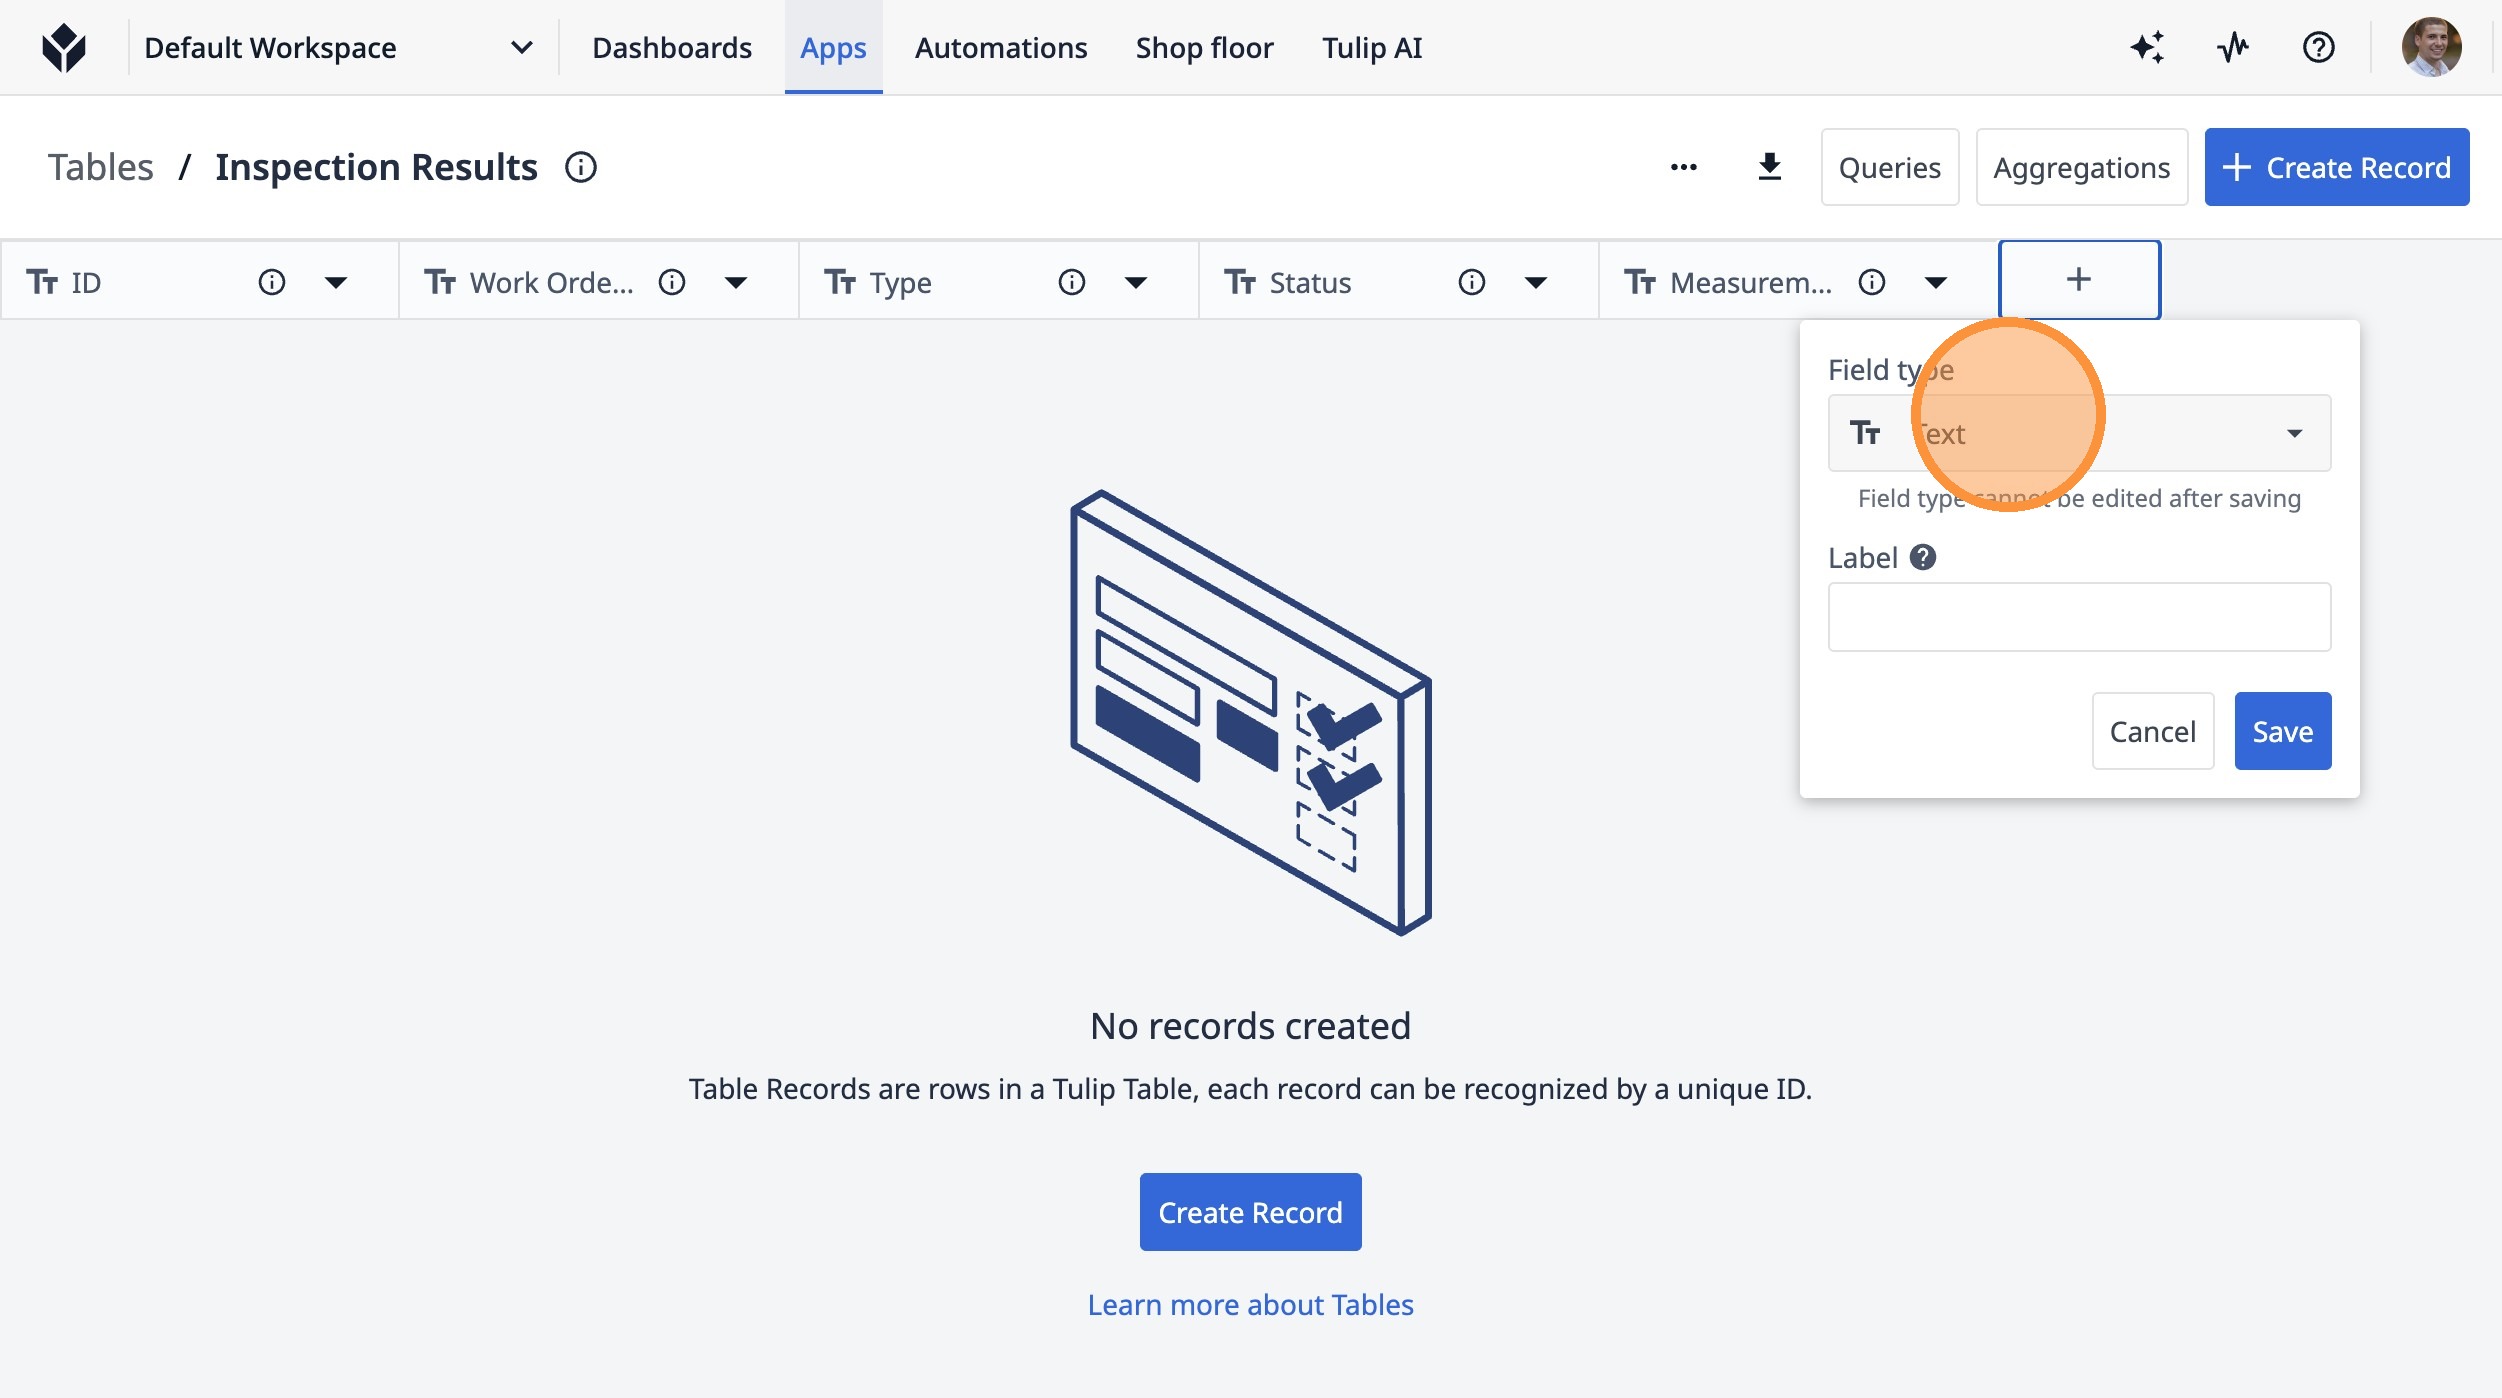
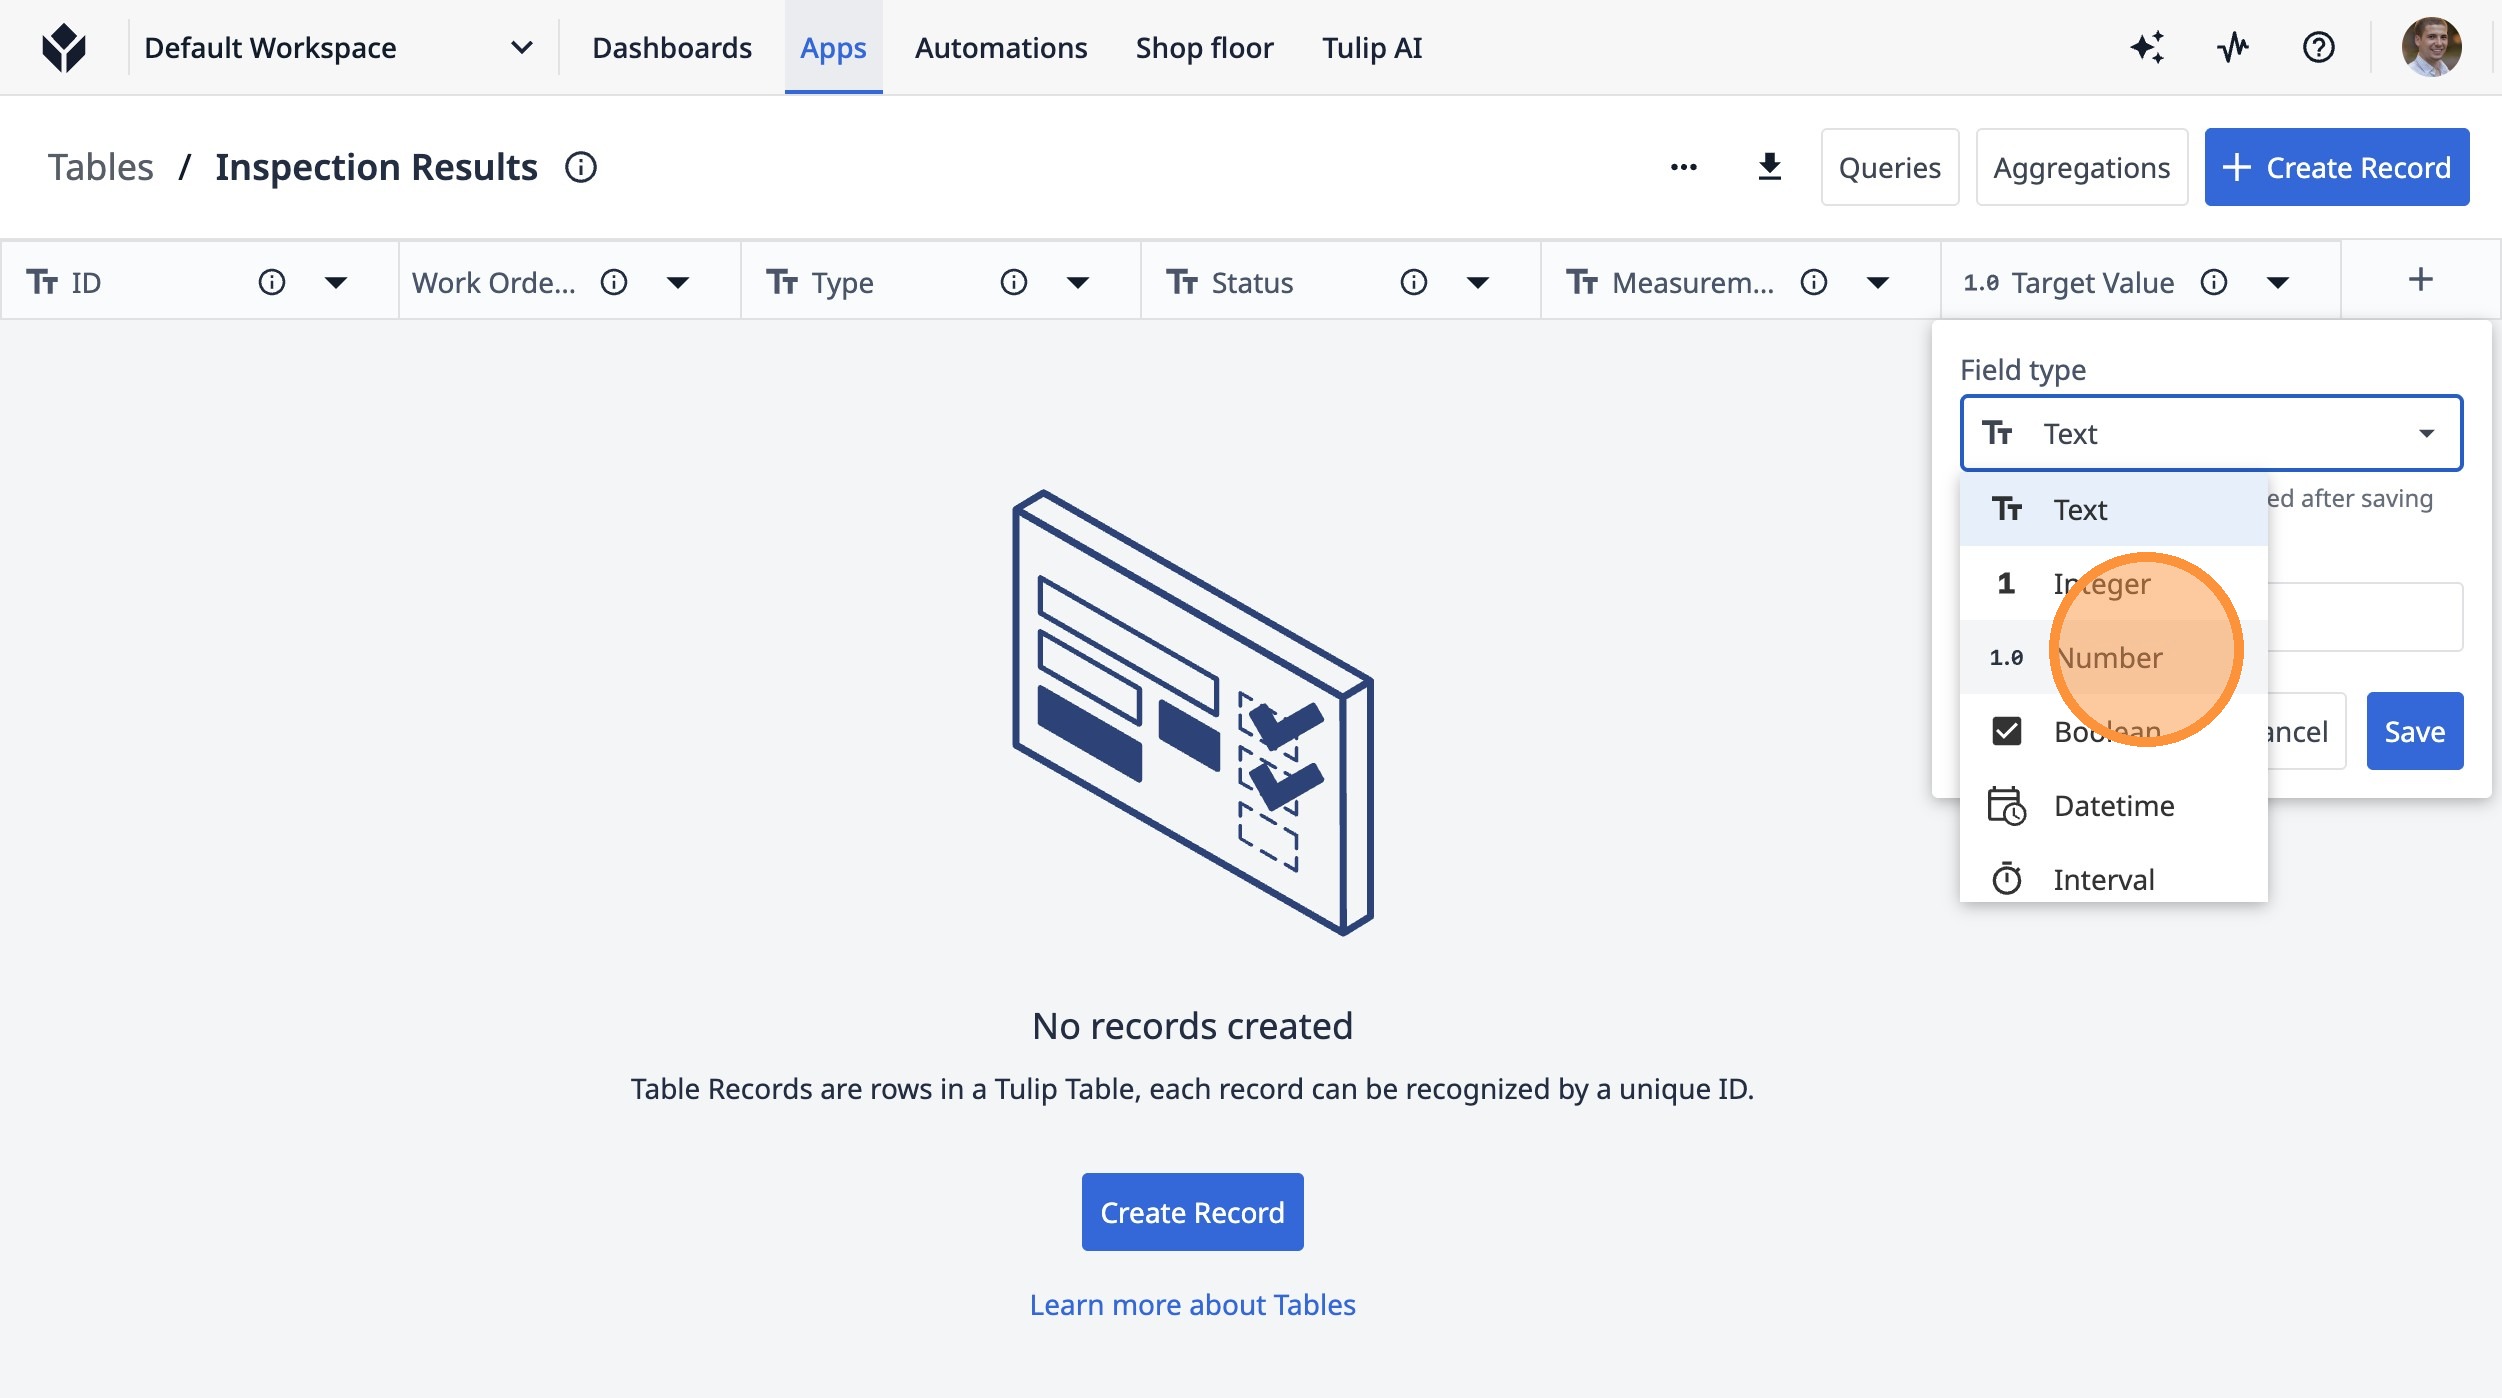
13. Click "Text"
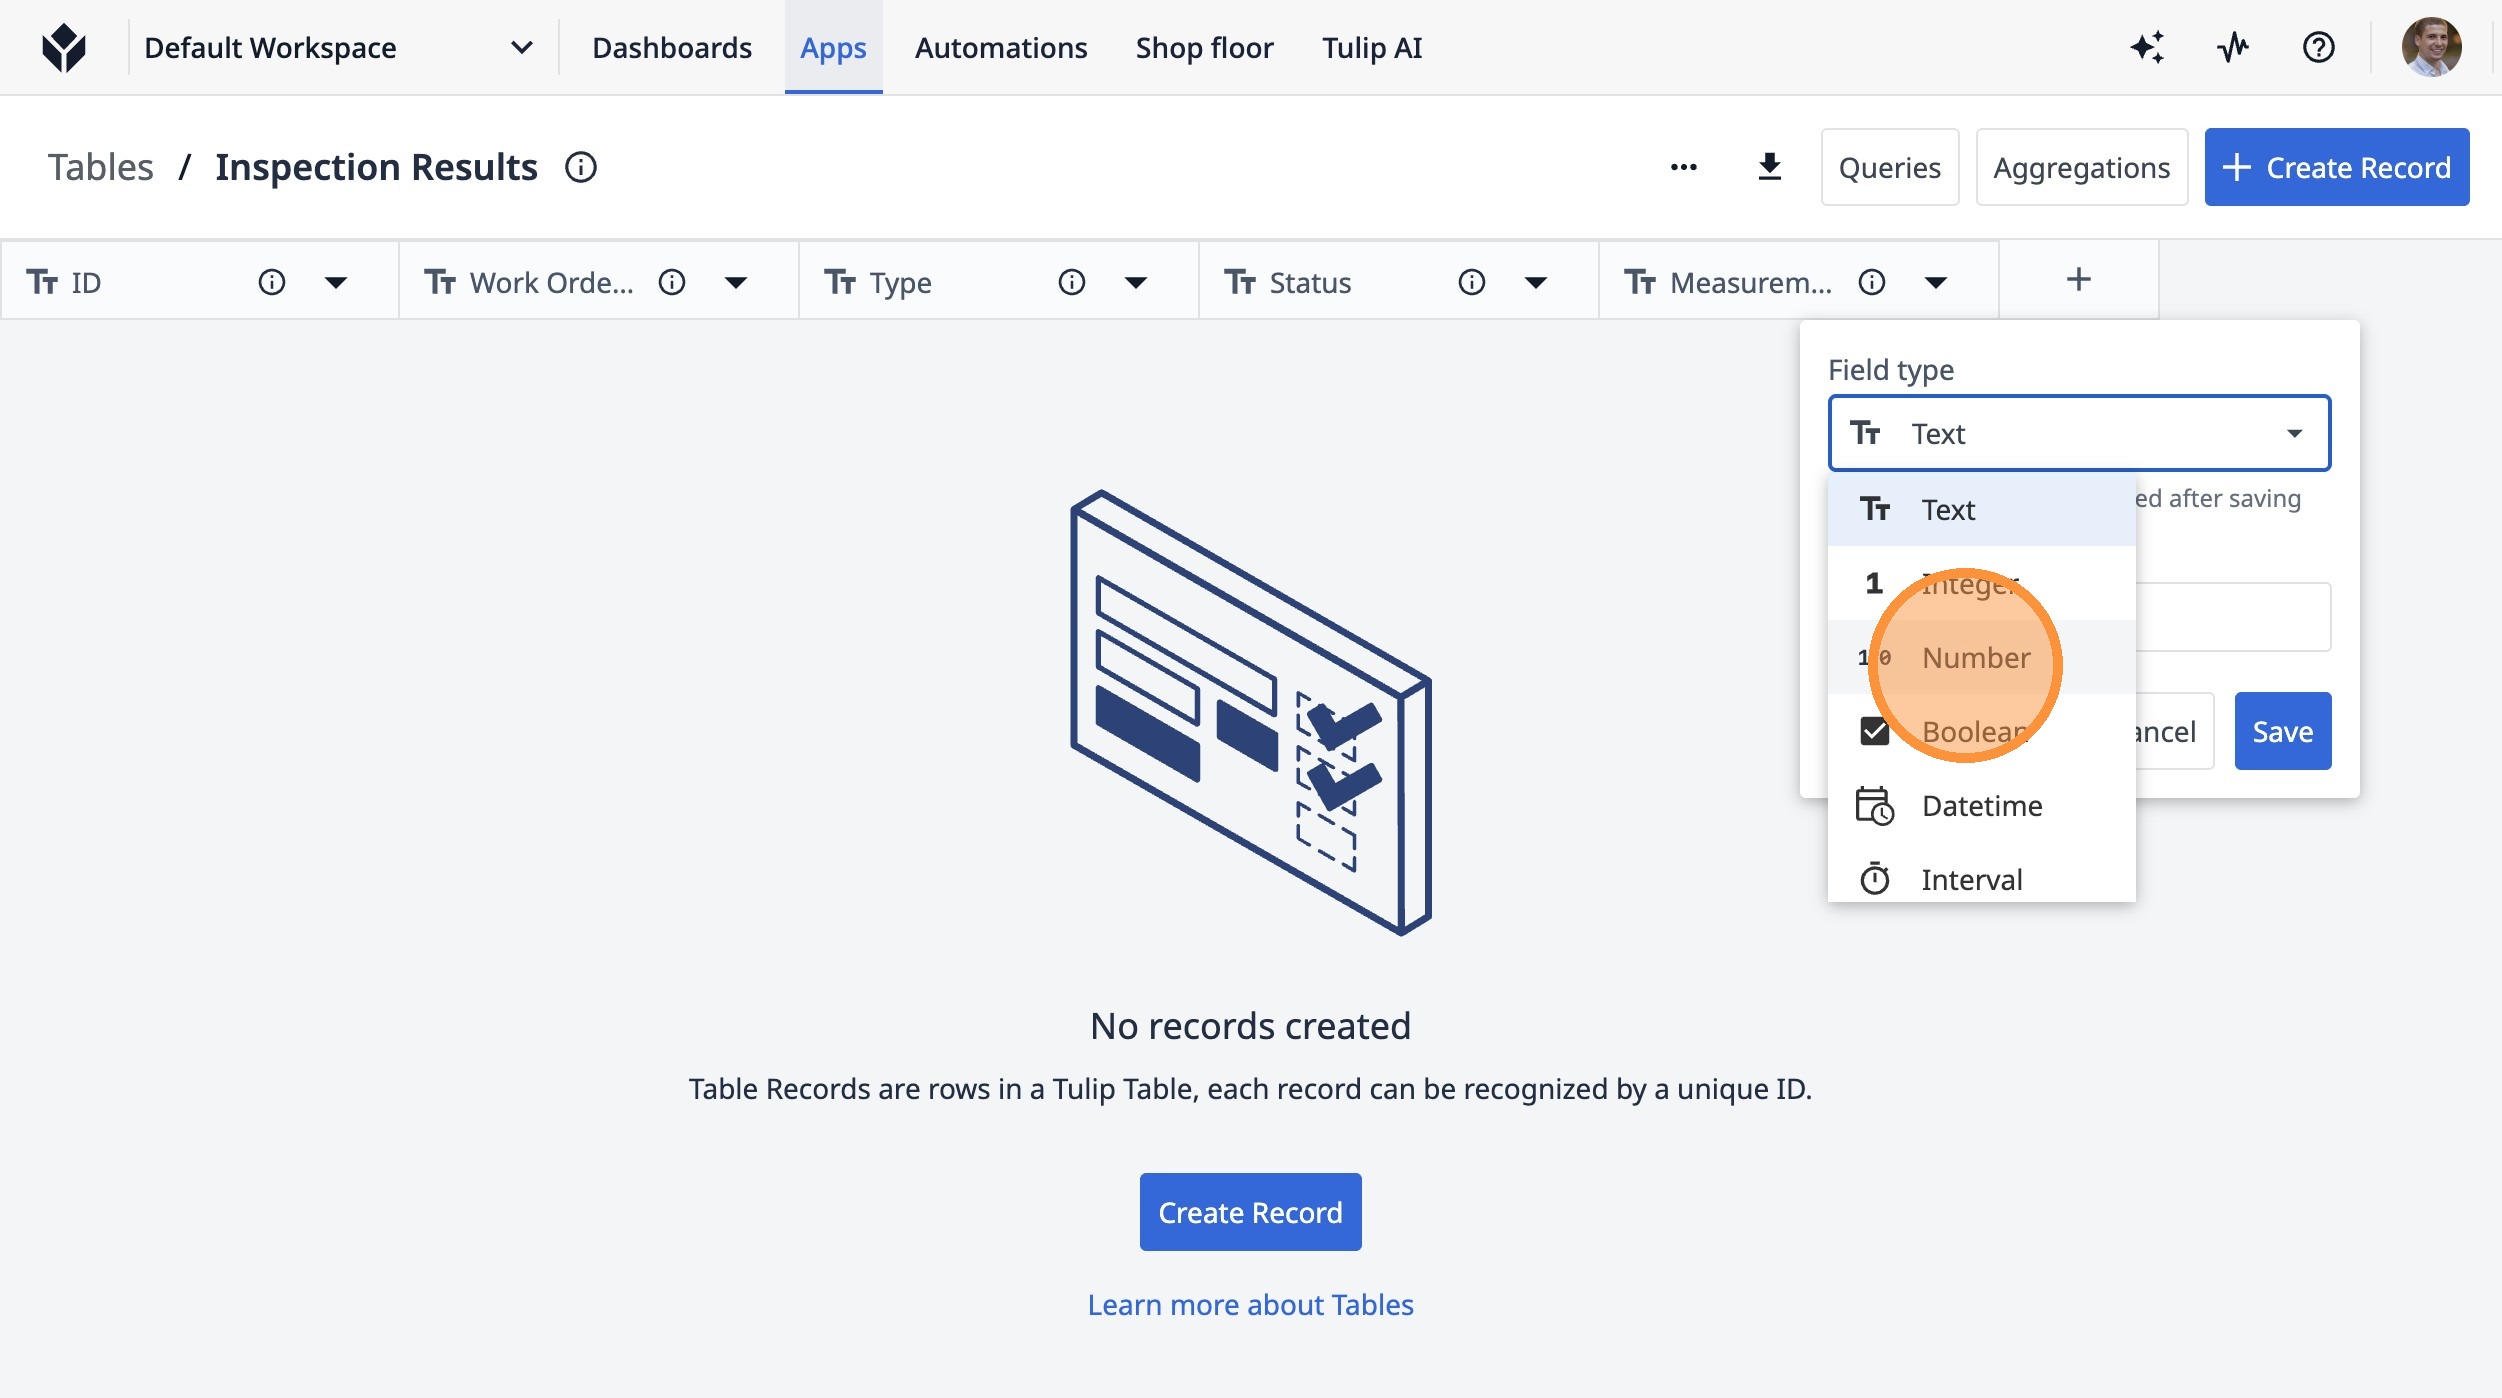
14. Click "Number"
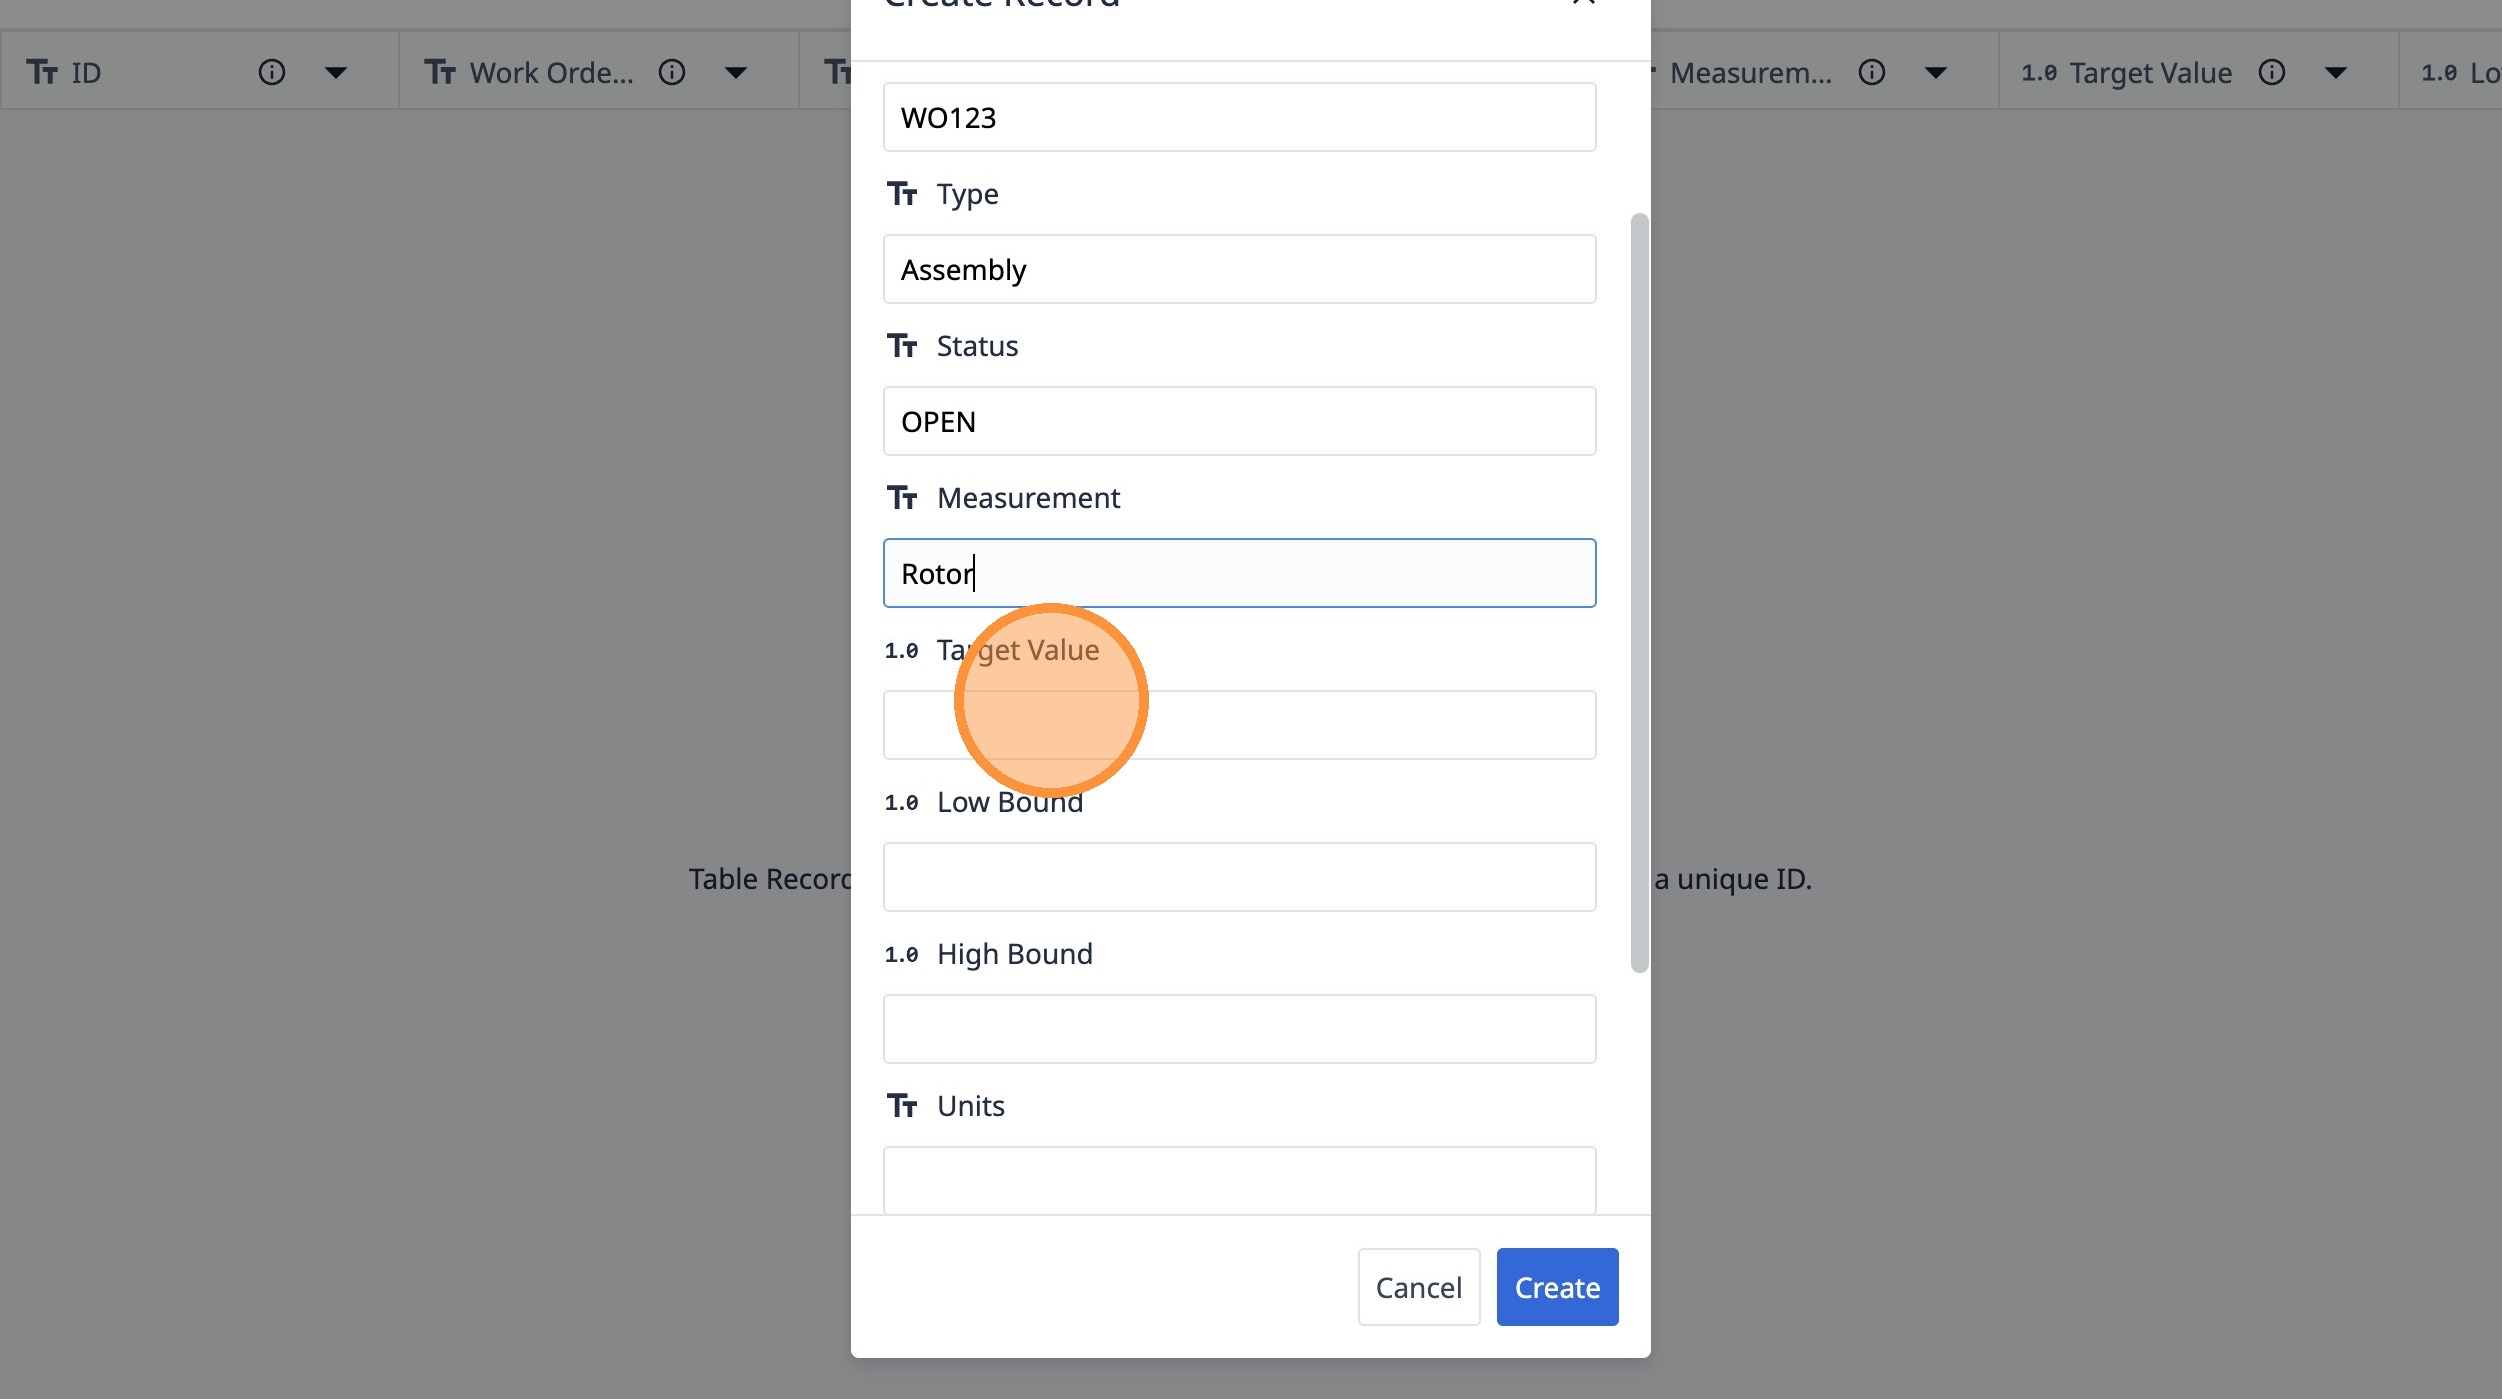
15. Type "Target Value"
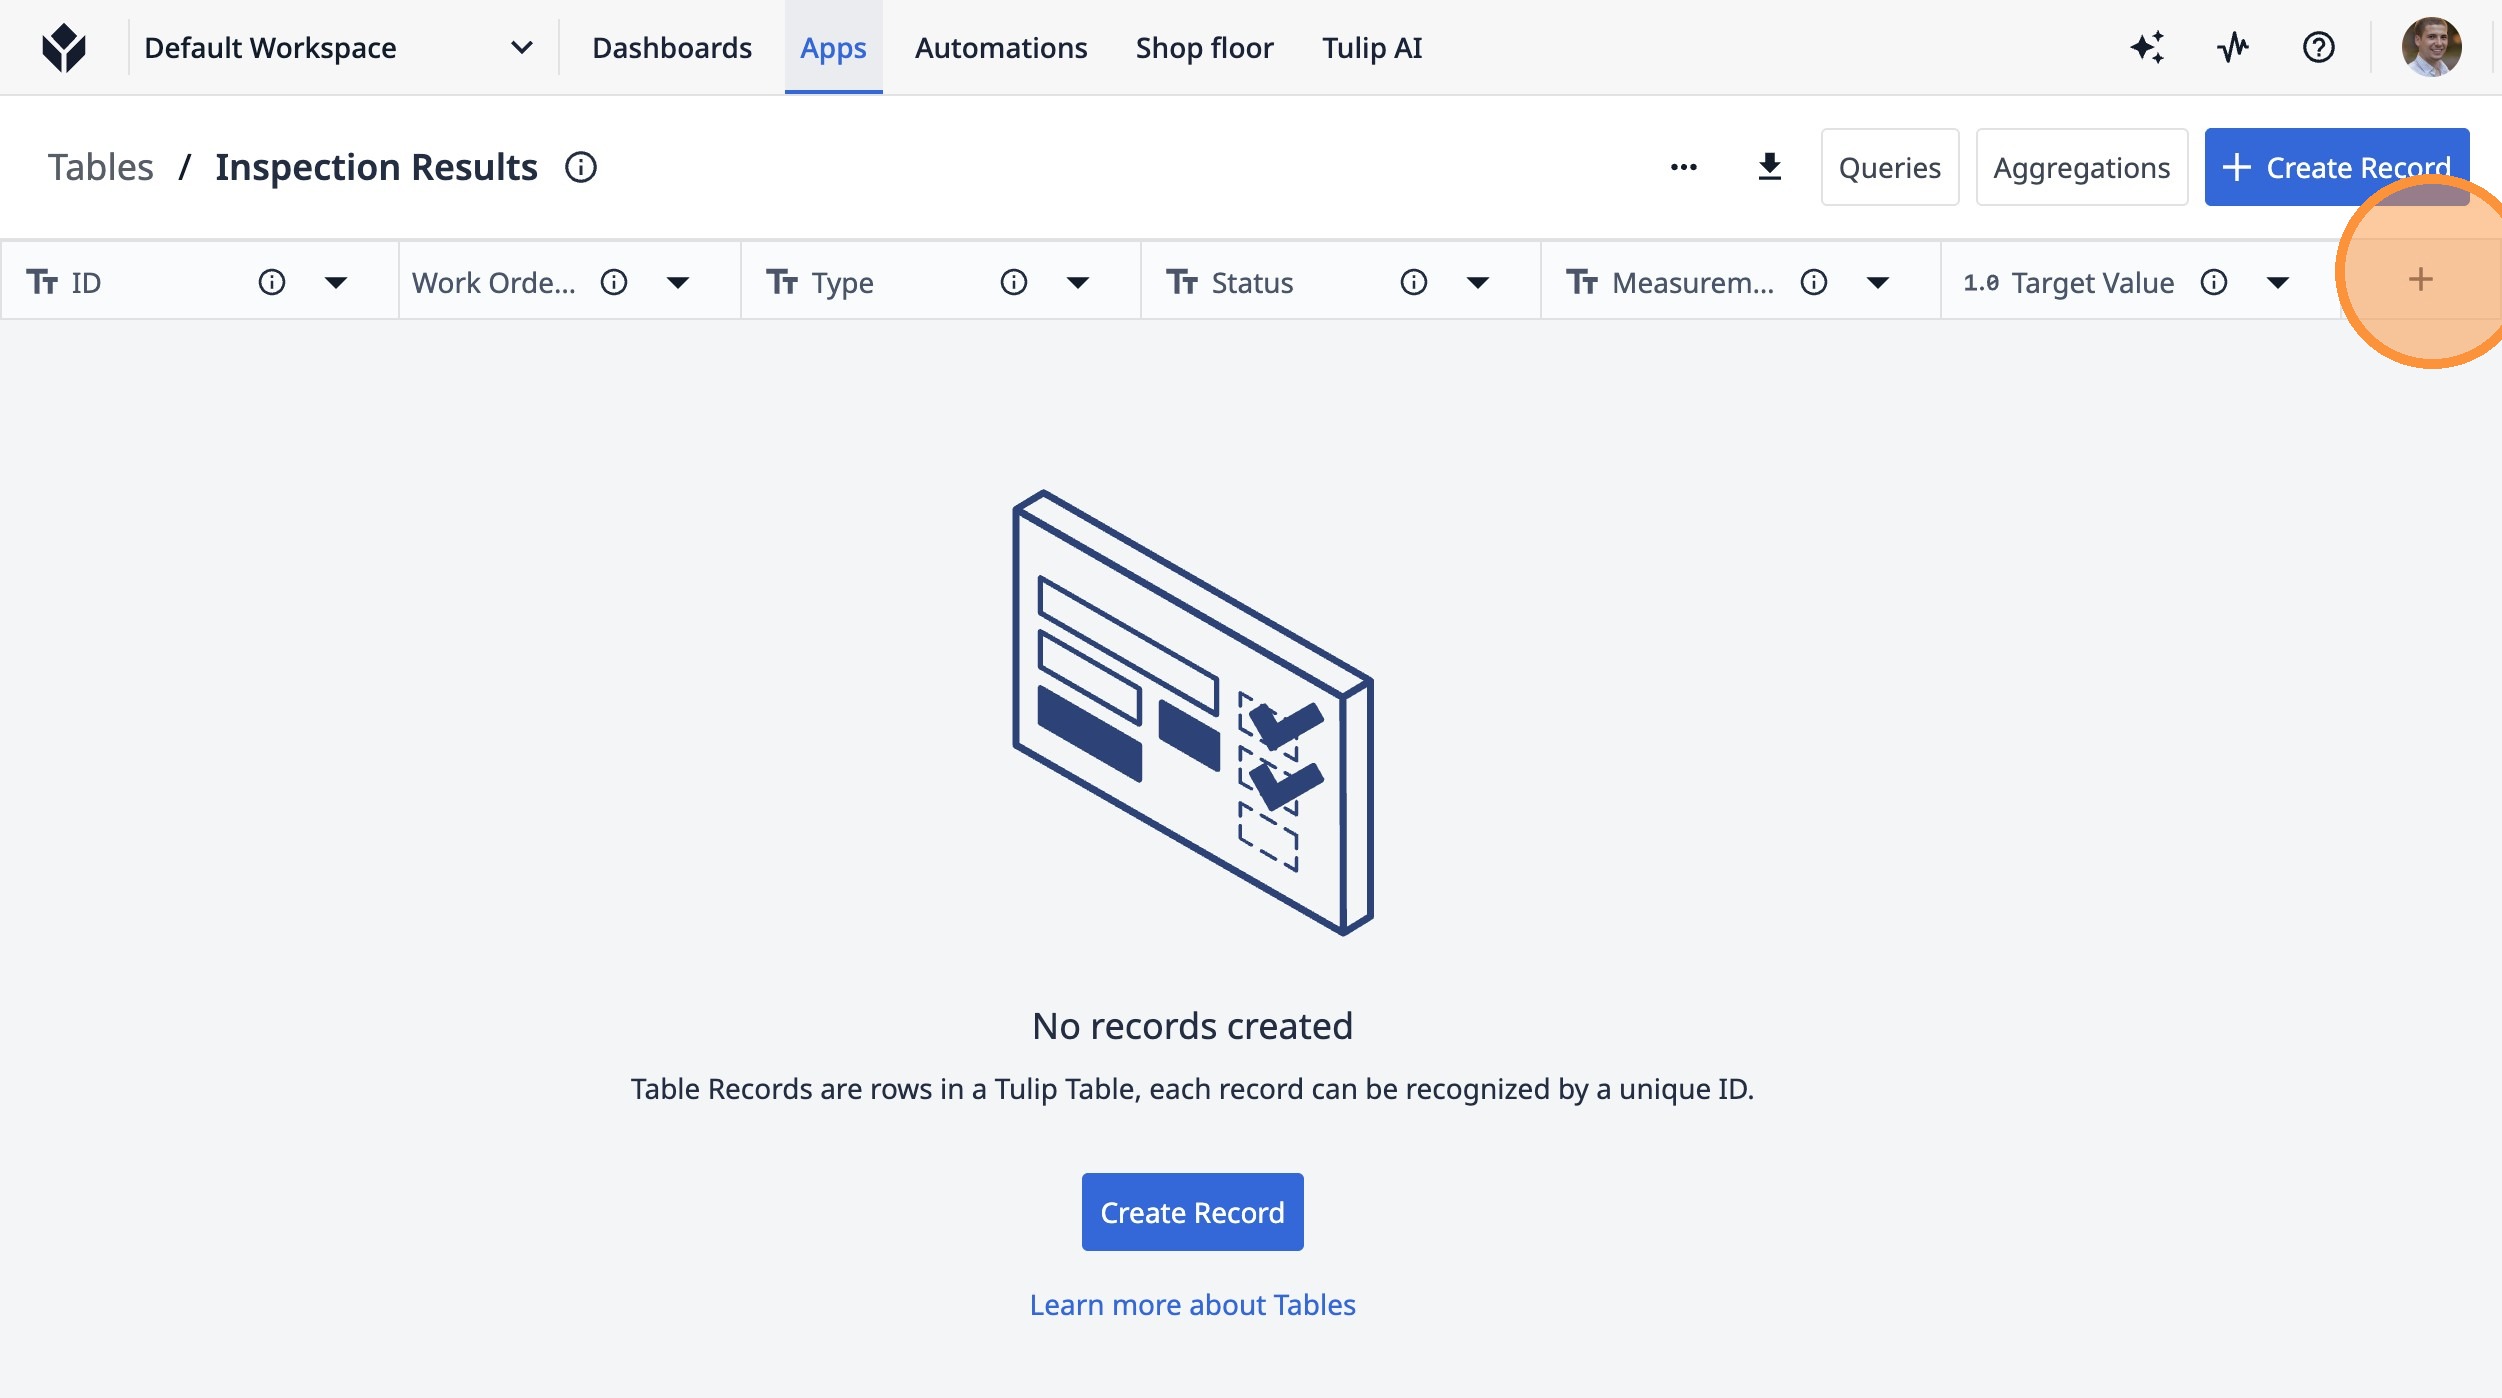
16. Click this icon.
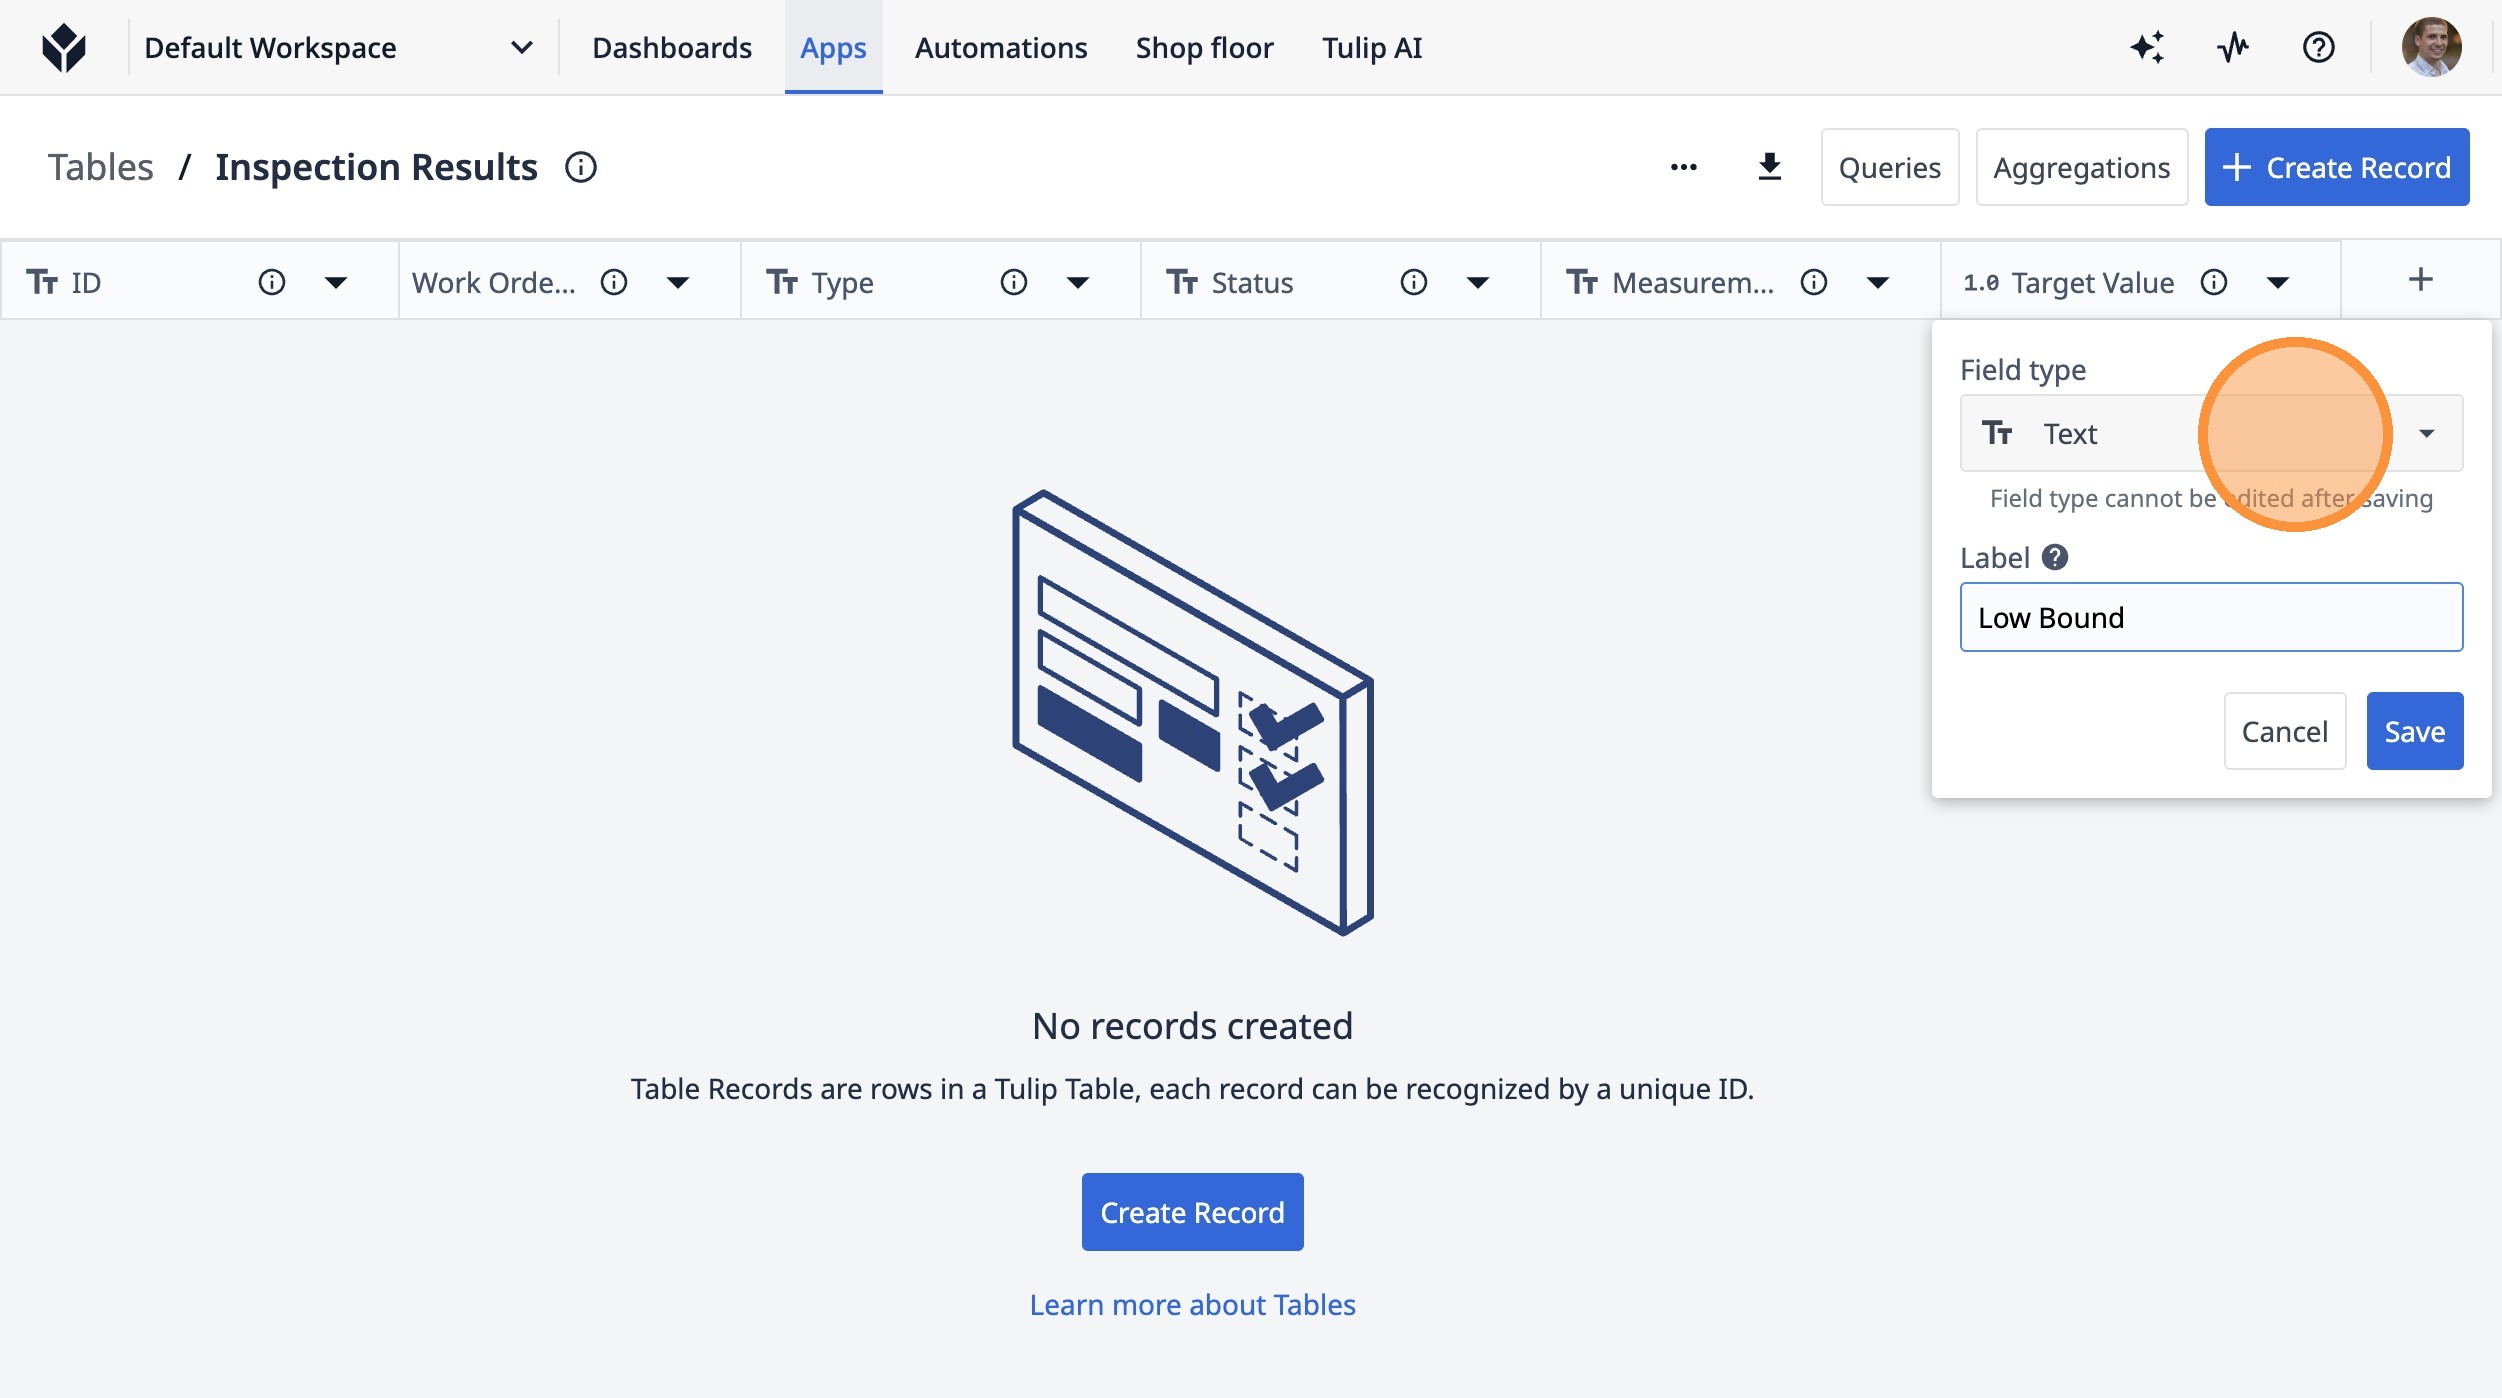
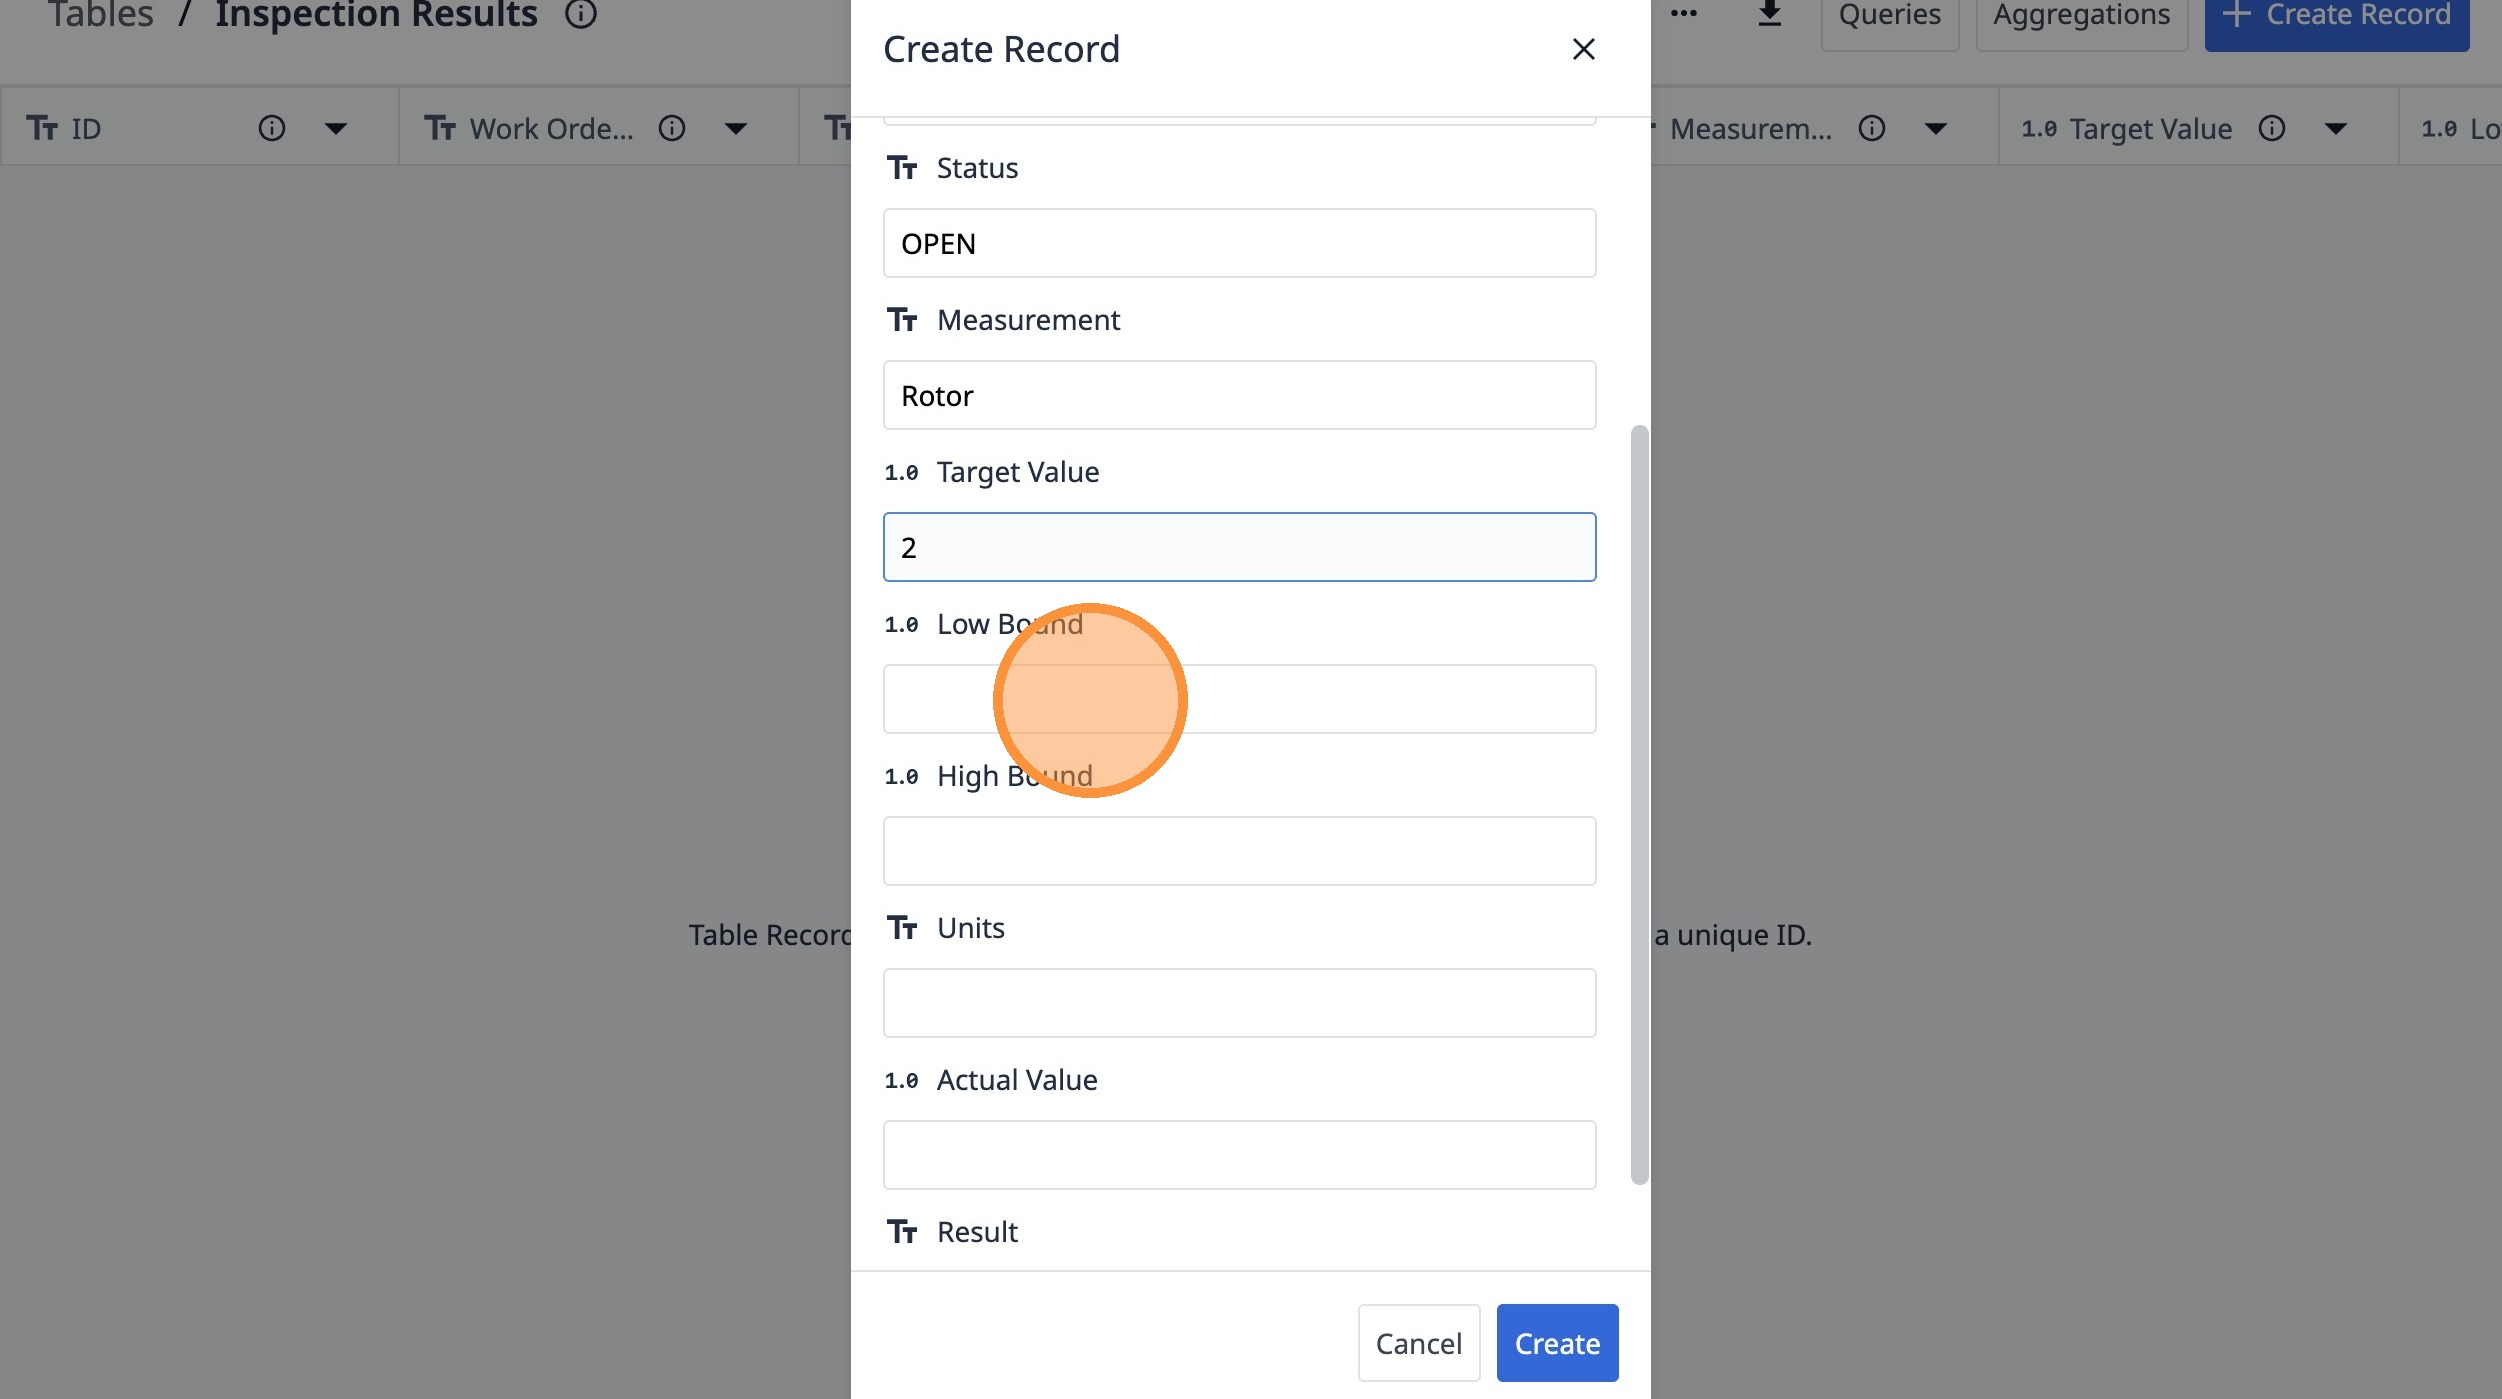
17. Type "Low Bound"
18. Click "Text"
19. Click "Number"
20. Click this icon.
21. Click "Text"
22. Click "Number"
23. Type "High Bound"
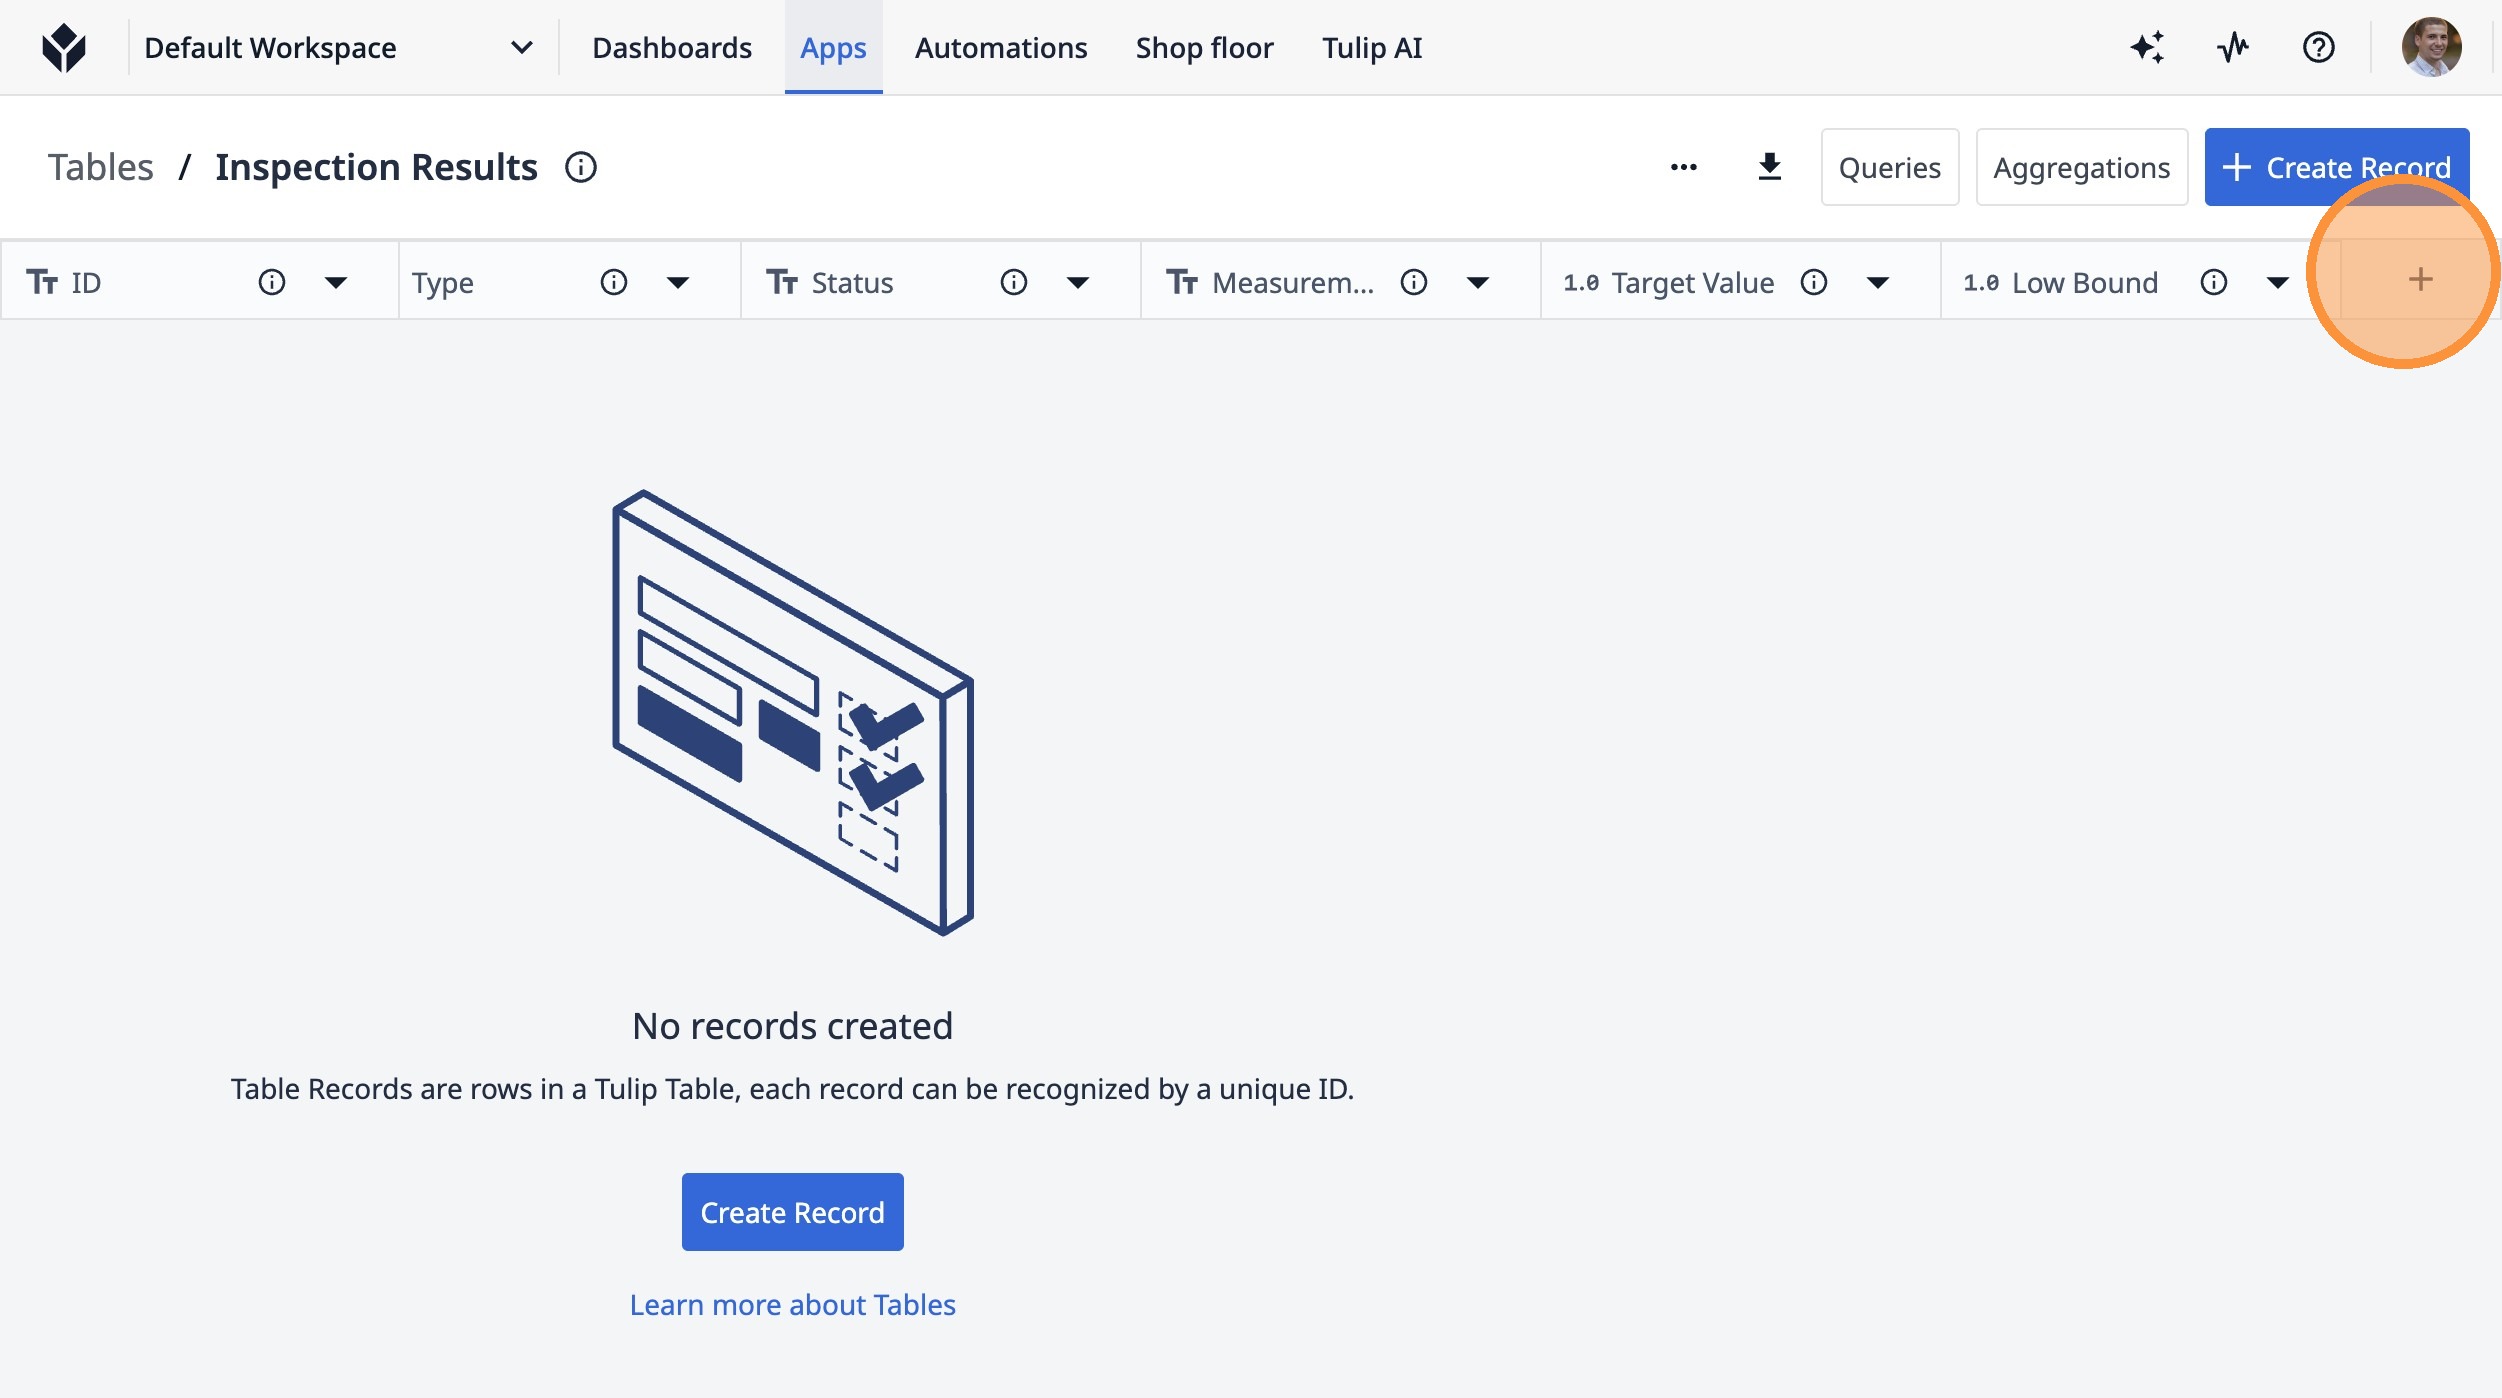
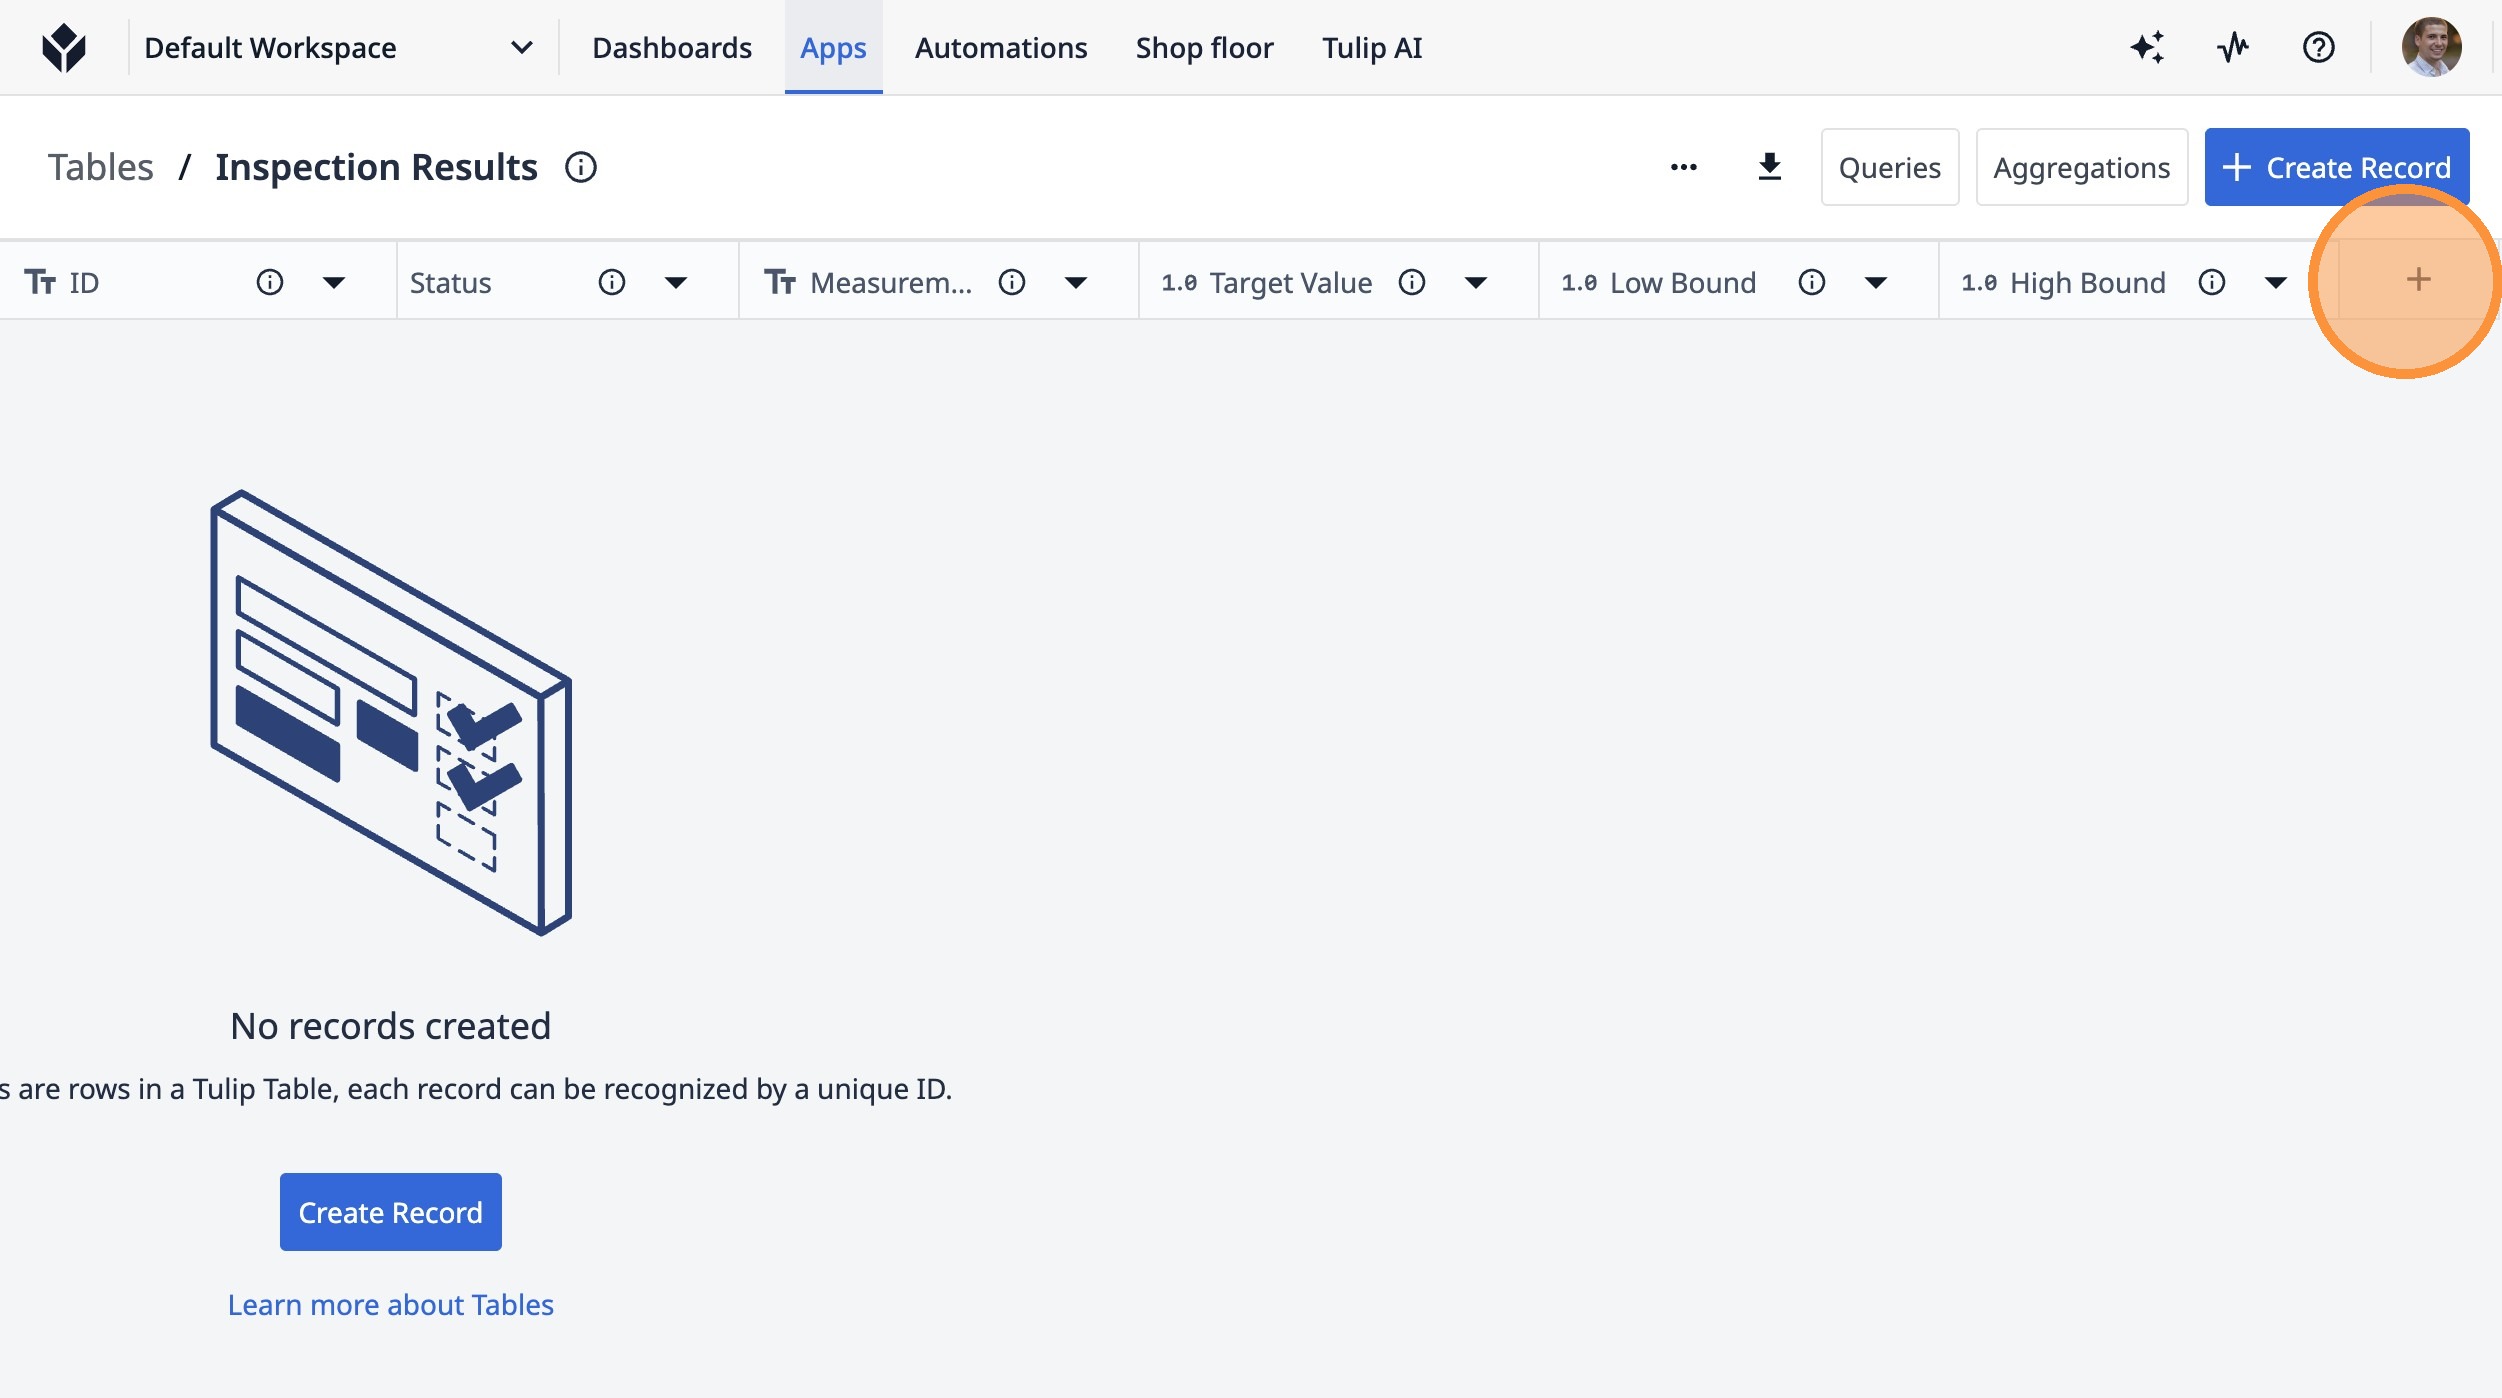
24. Click this icon.
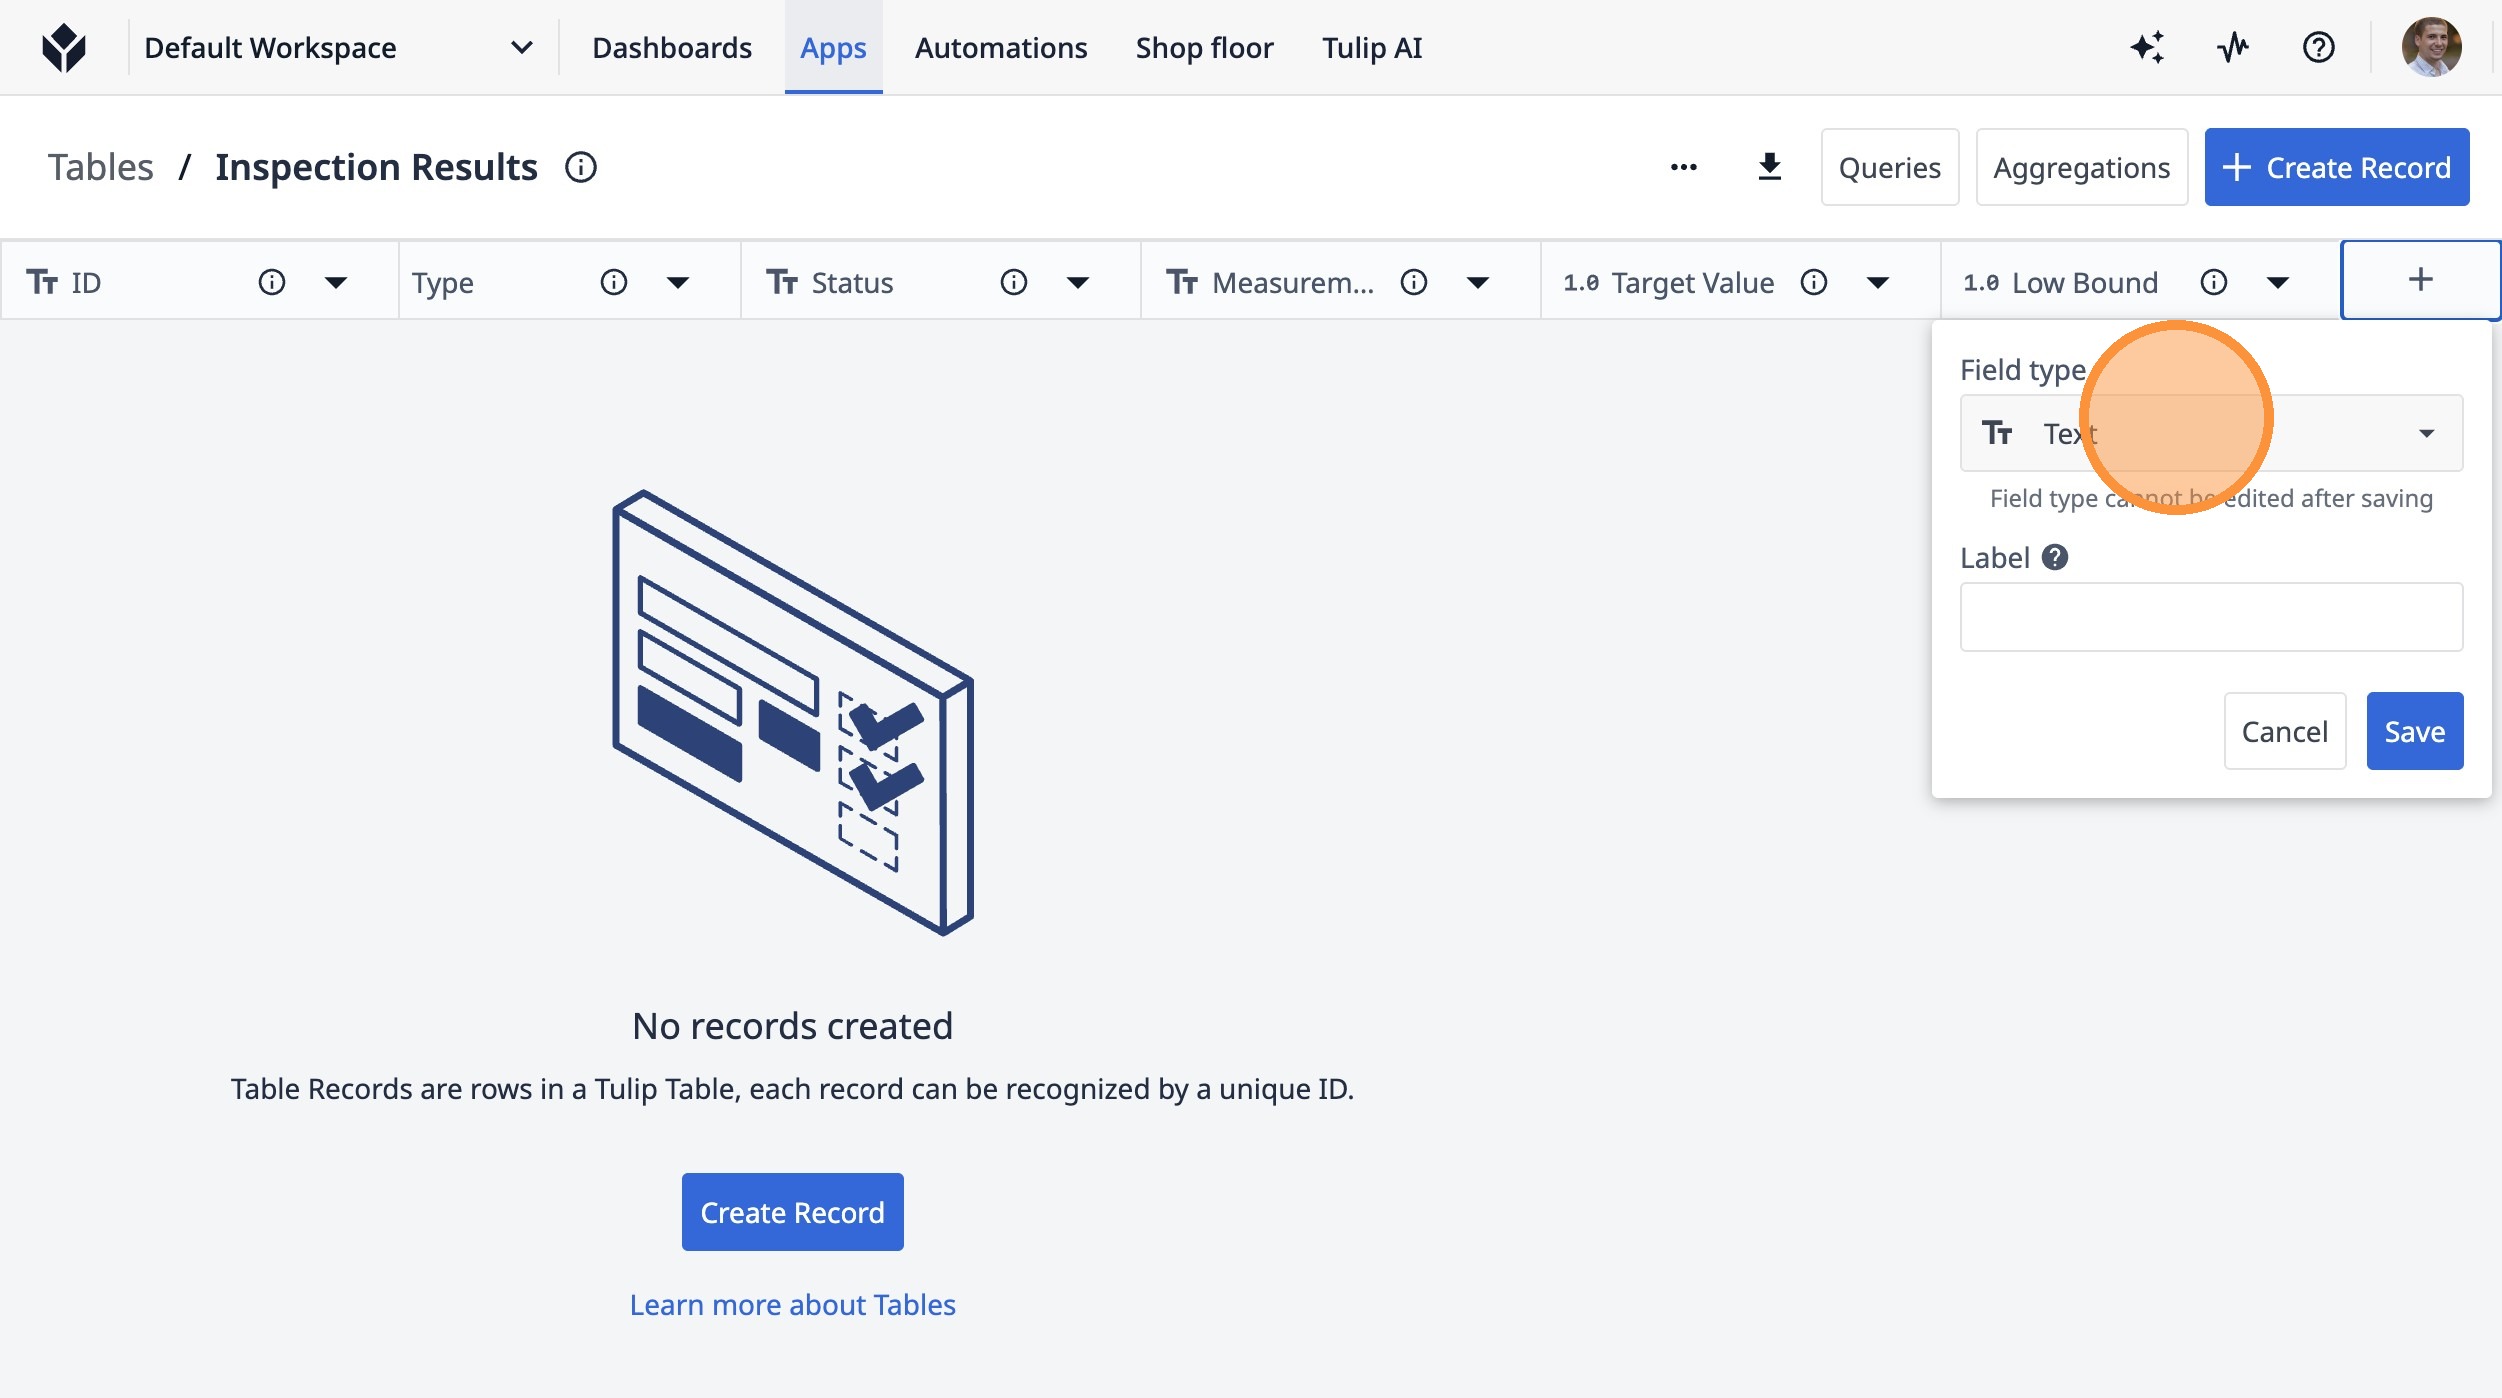
25. Type "Units"
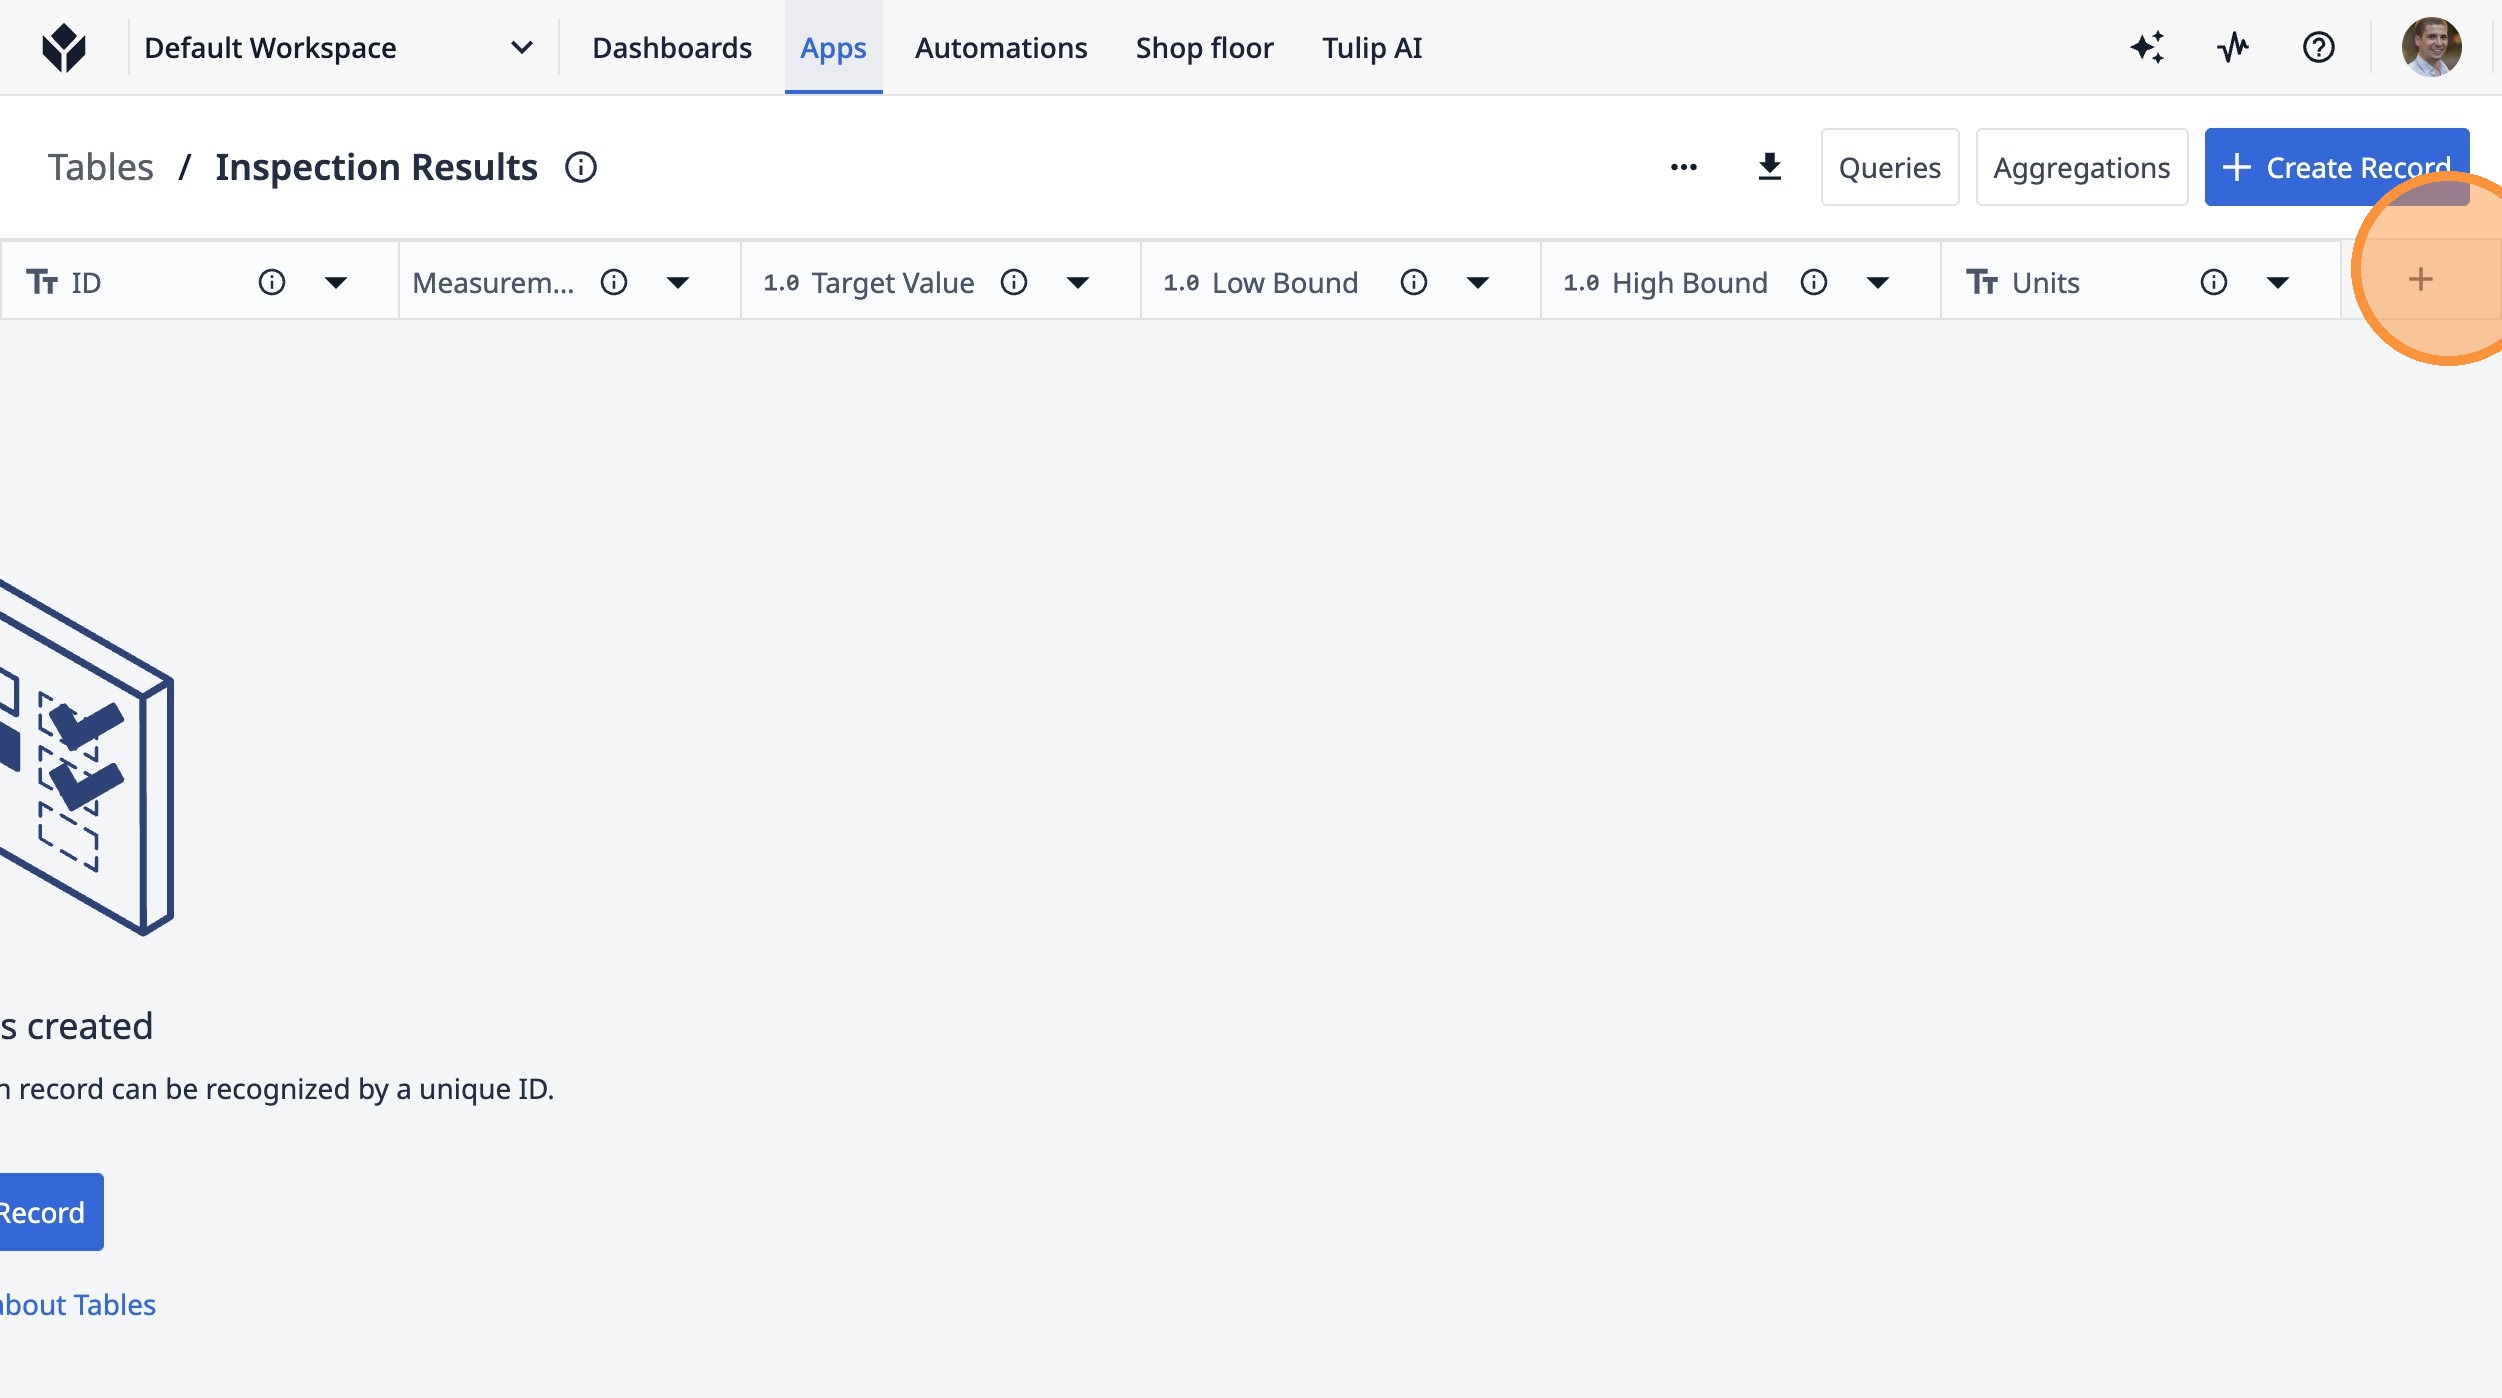
26. Click this button.
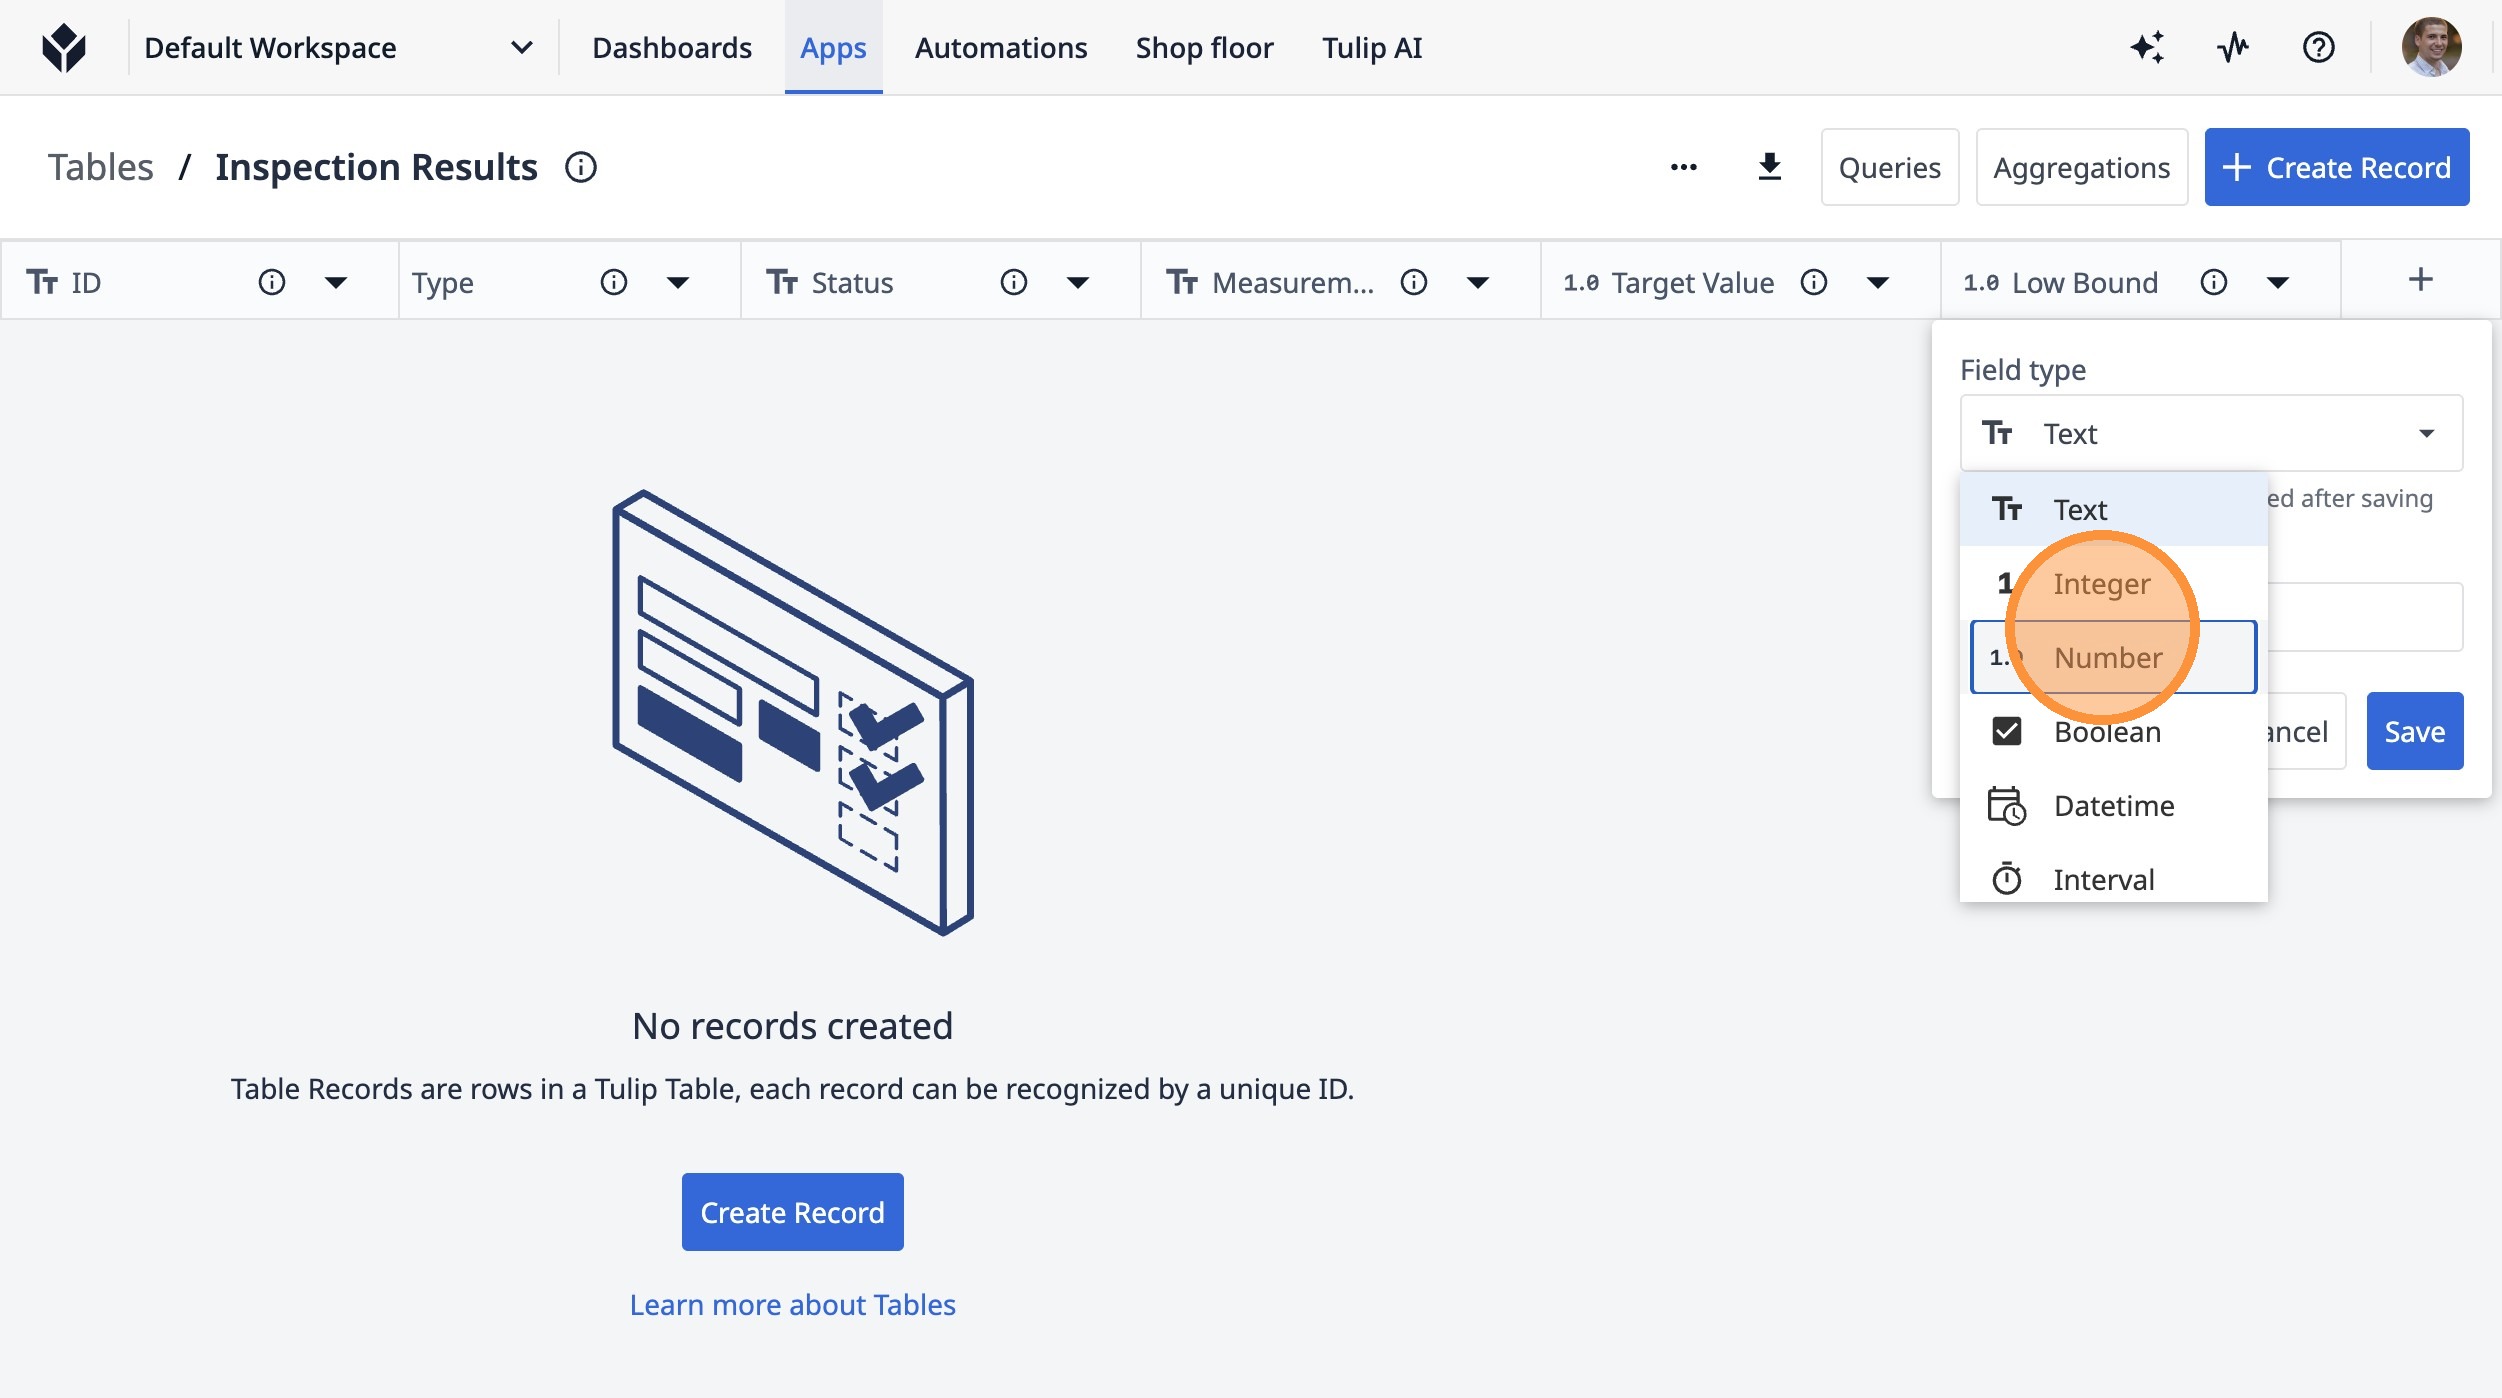
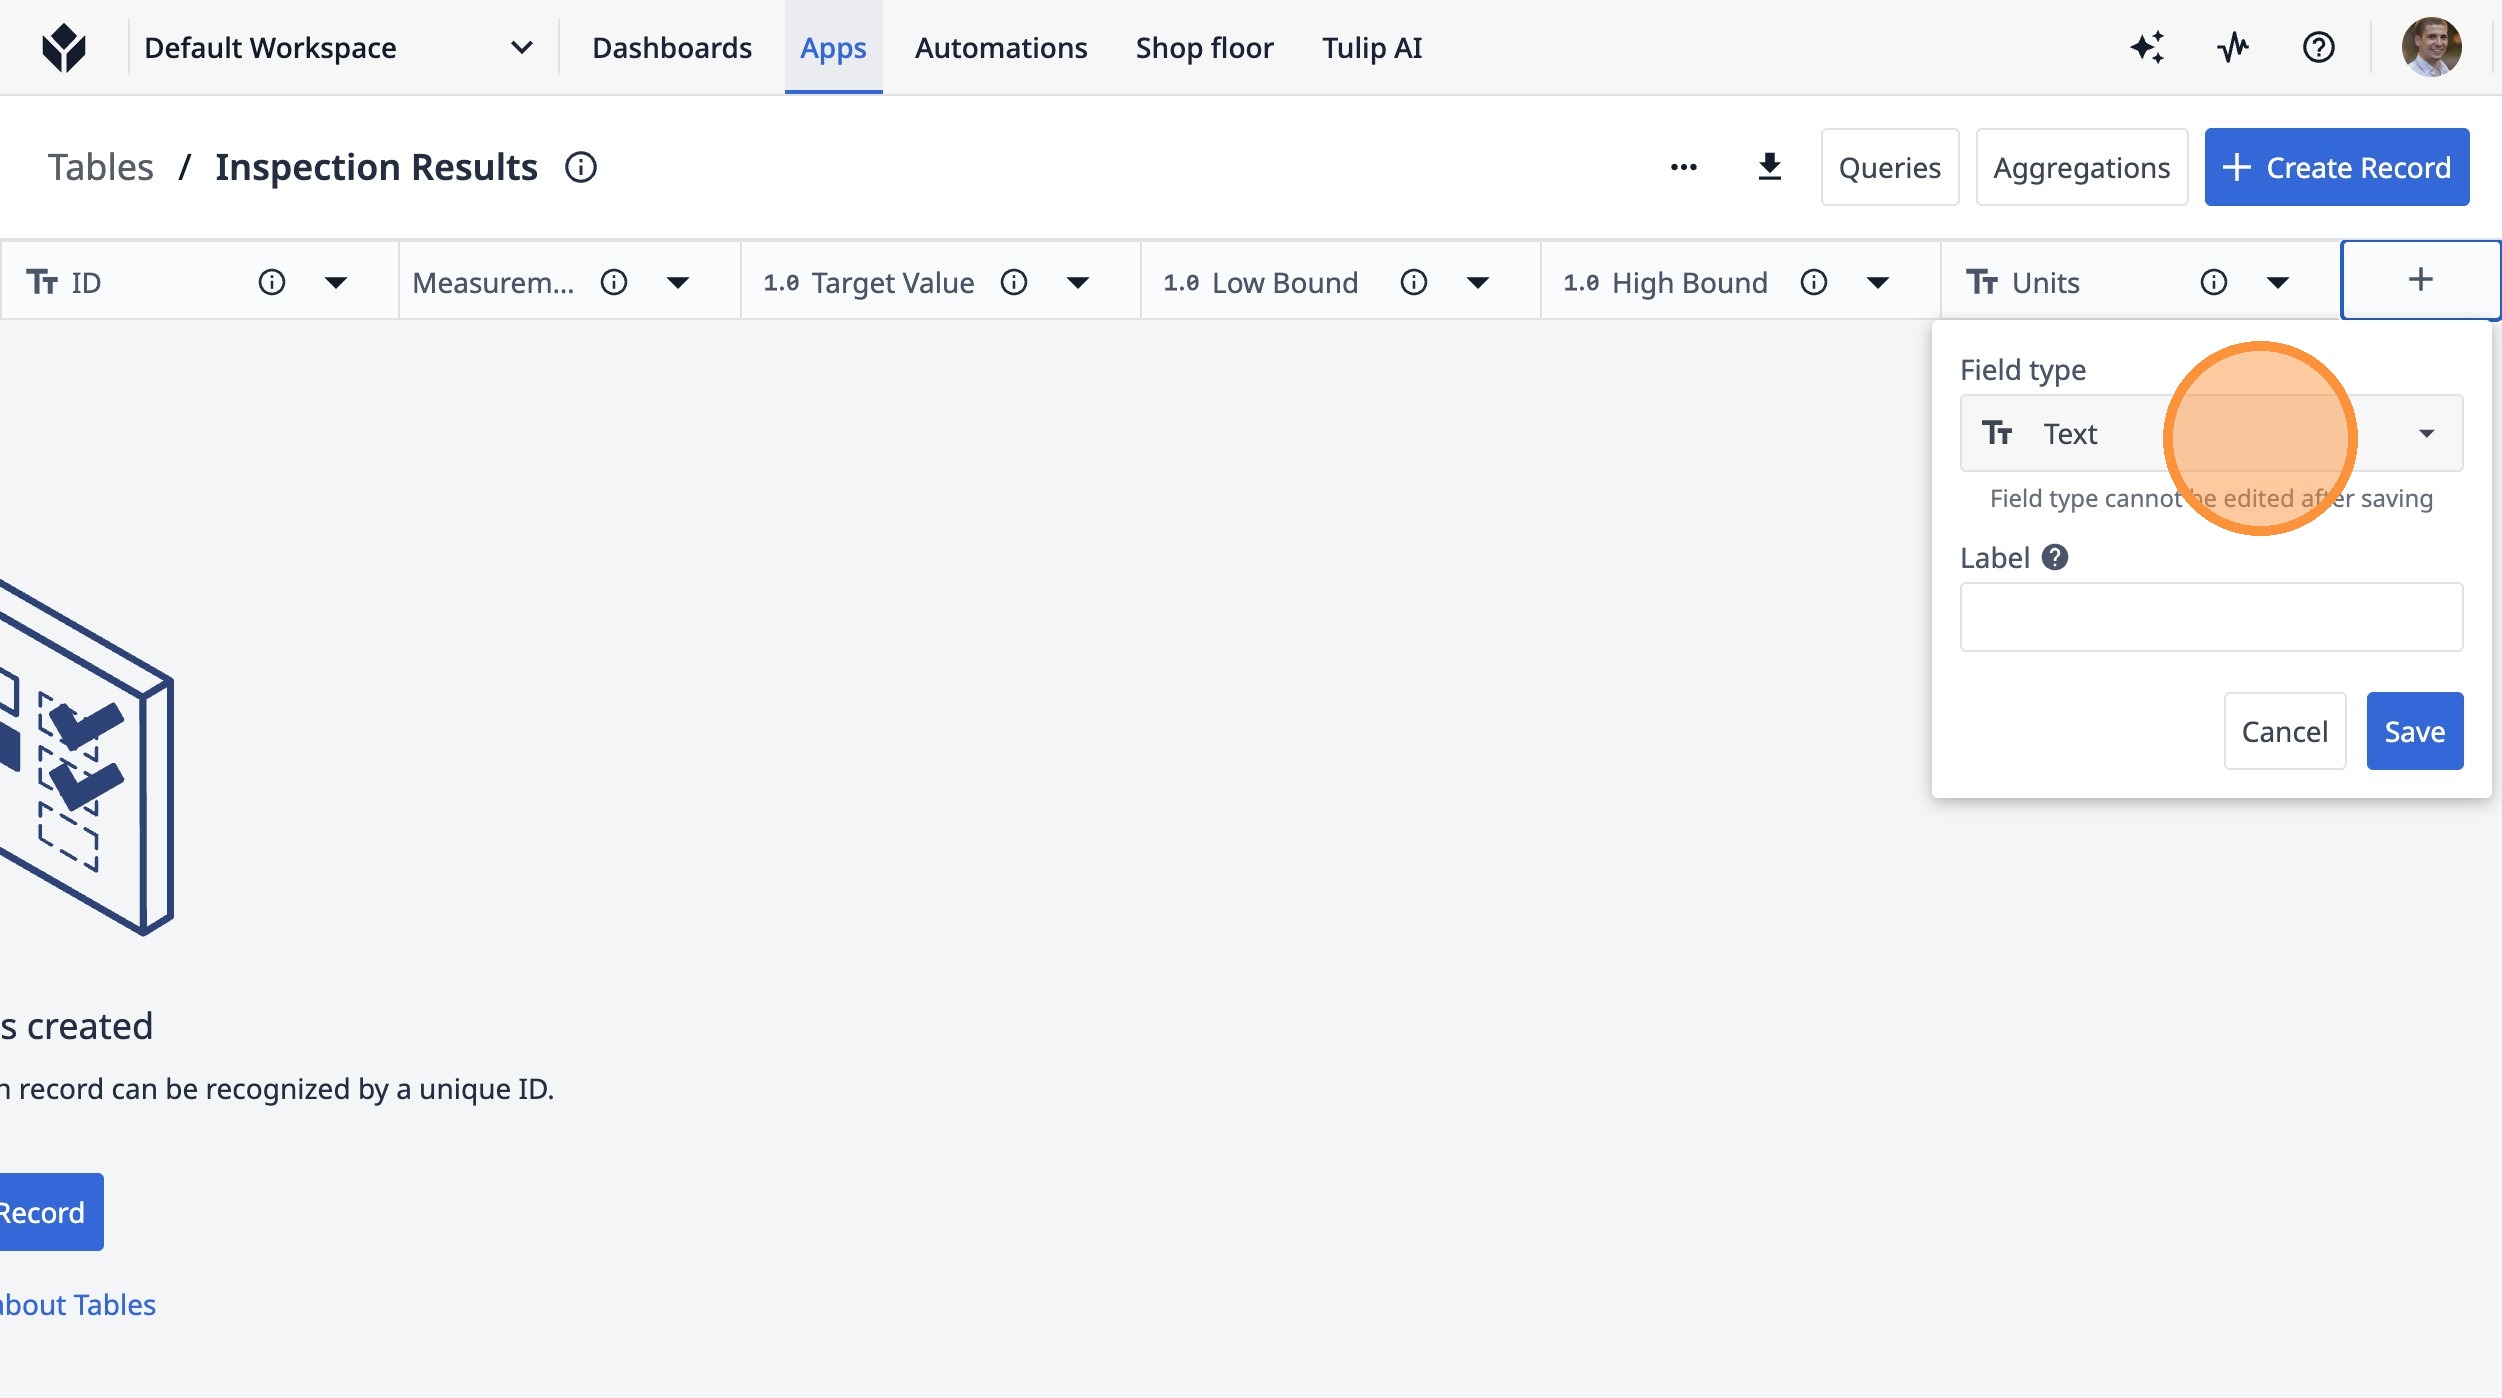
27. Click "Text"
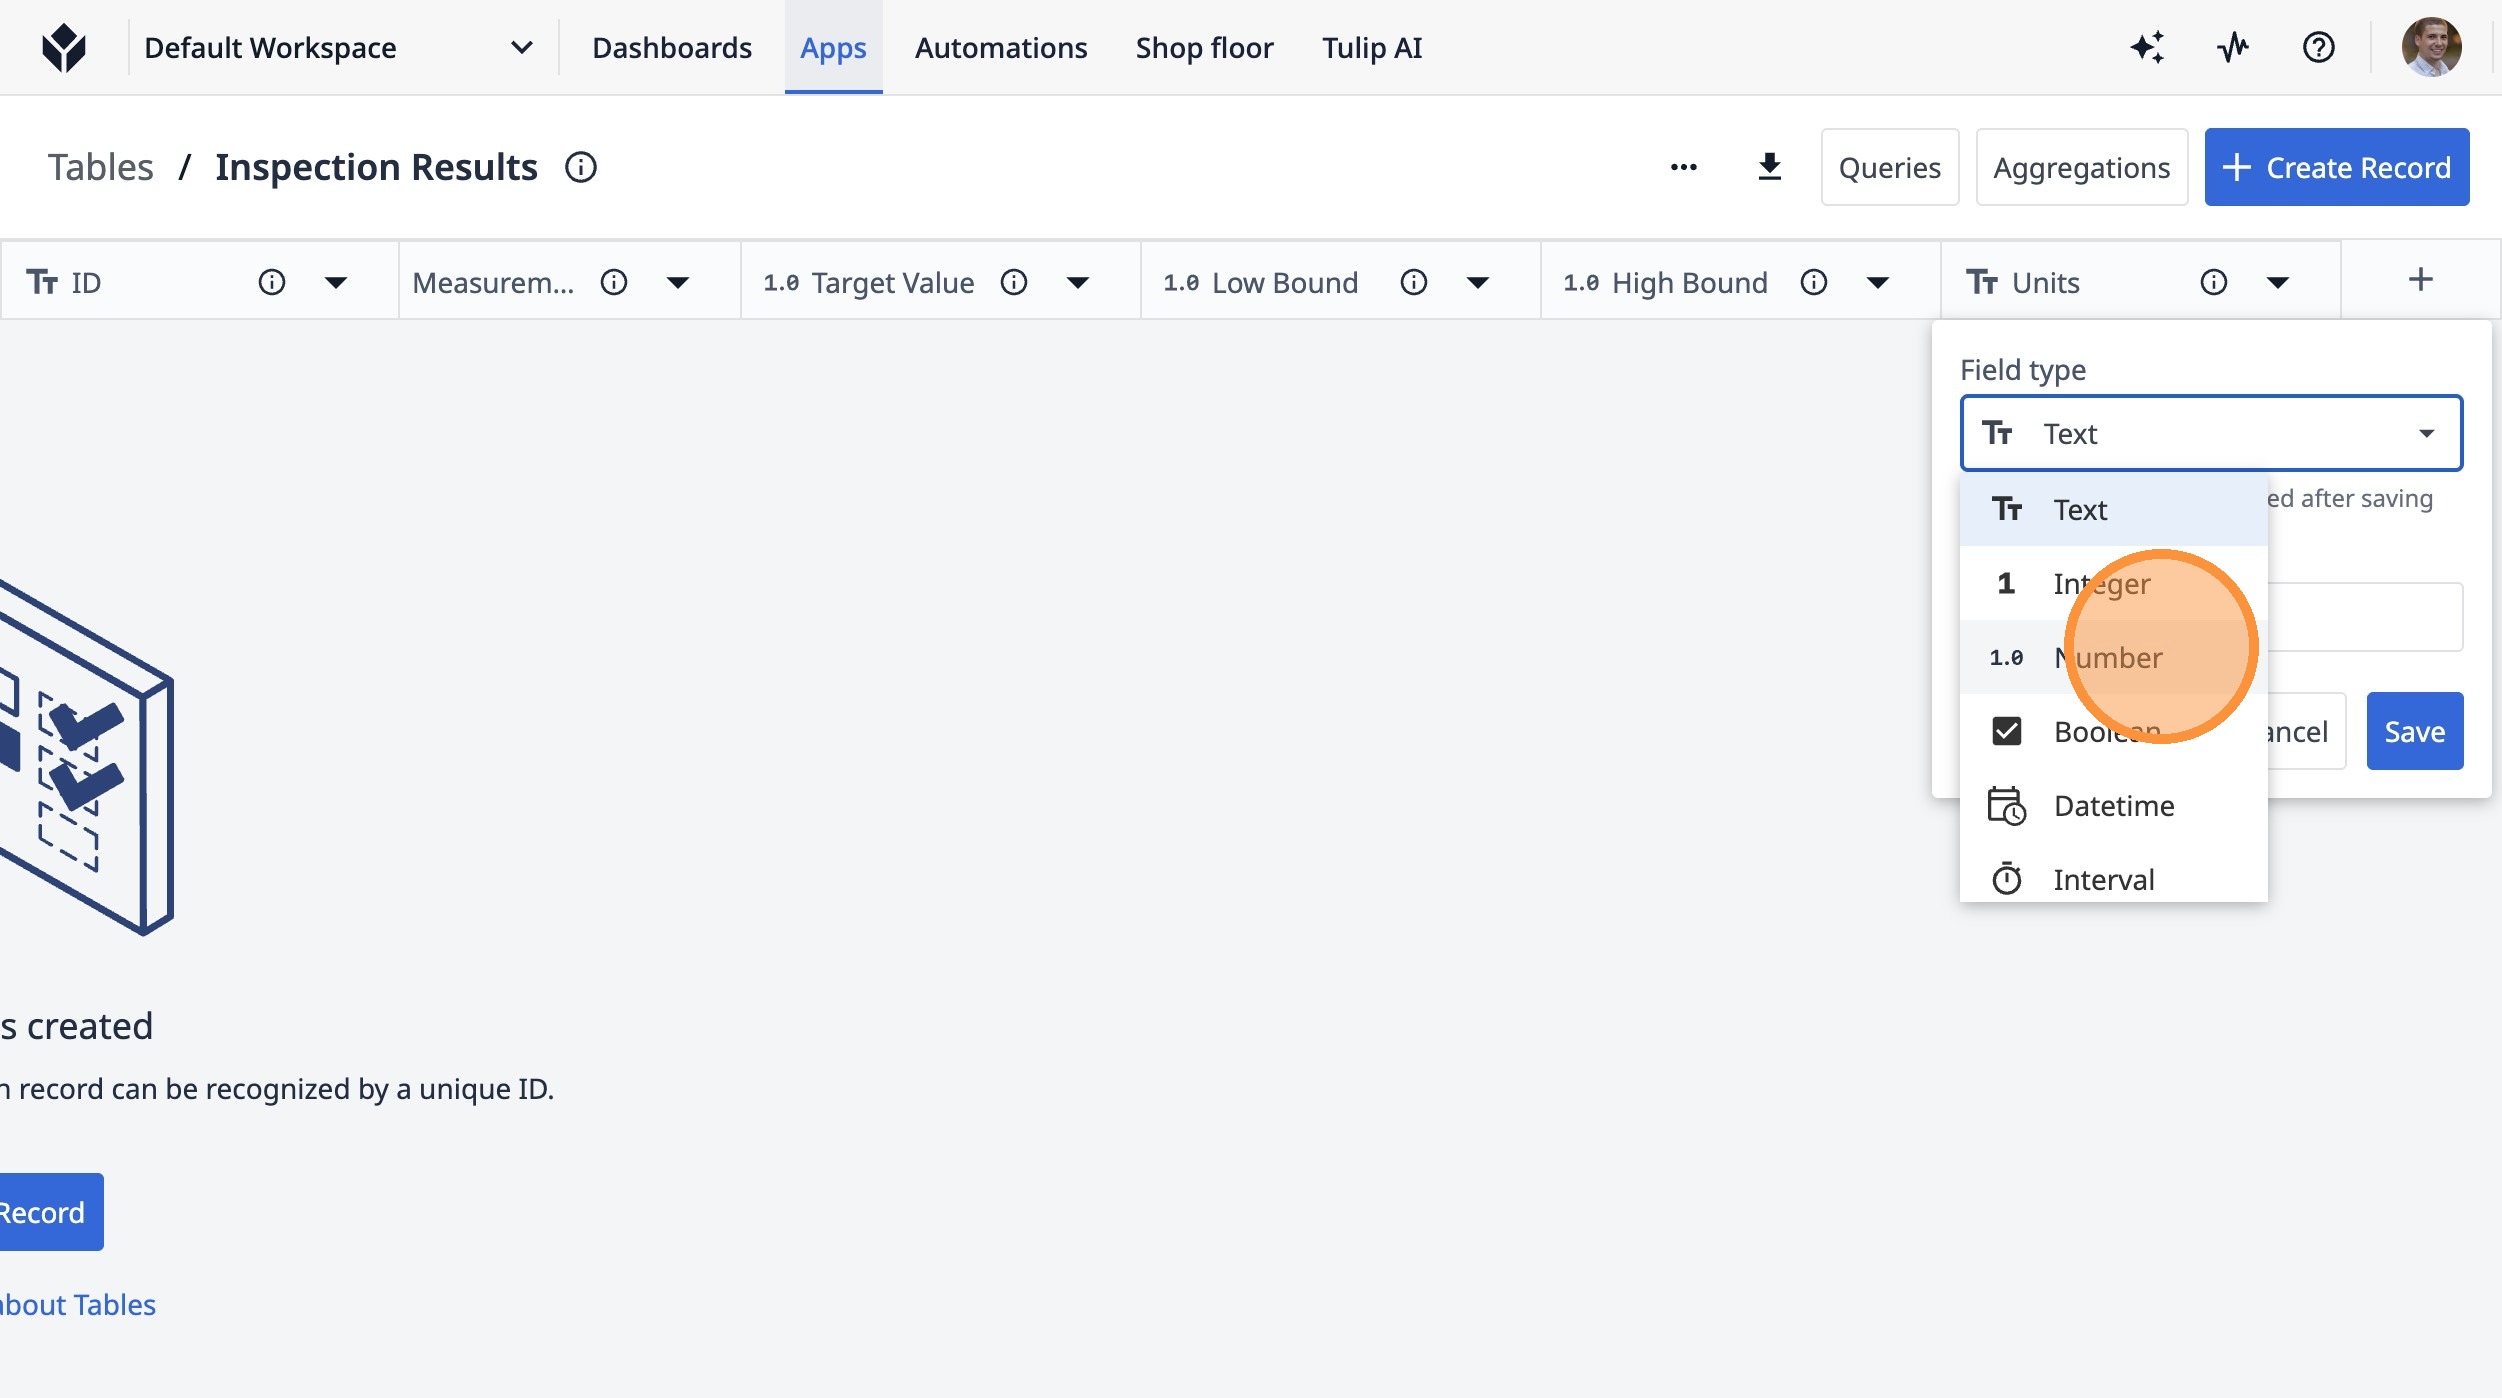
28. Double-click "Number"
29. Type "Actual Value"
30. Click this button.
31. Type "Result"
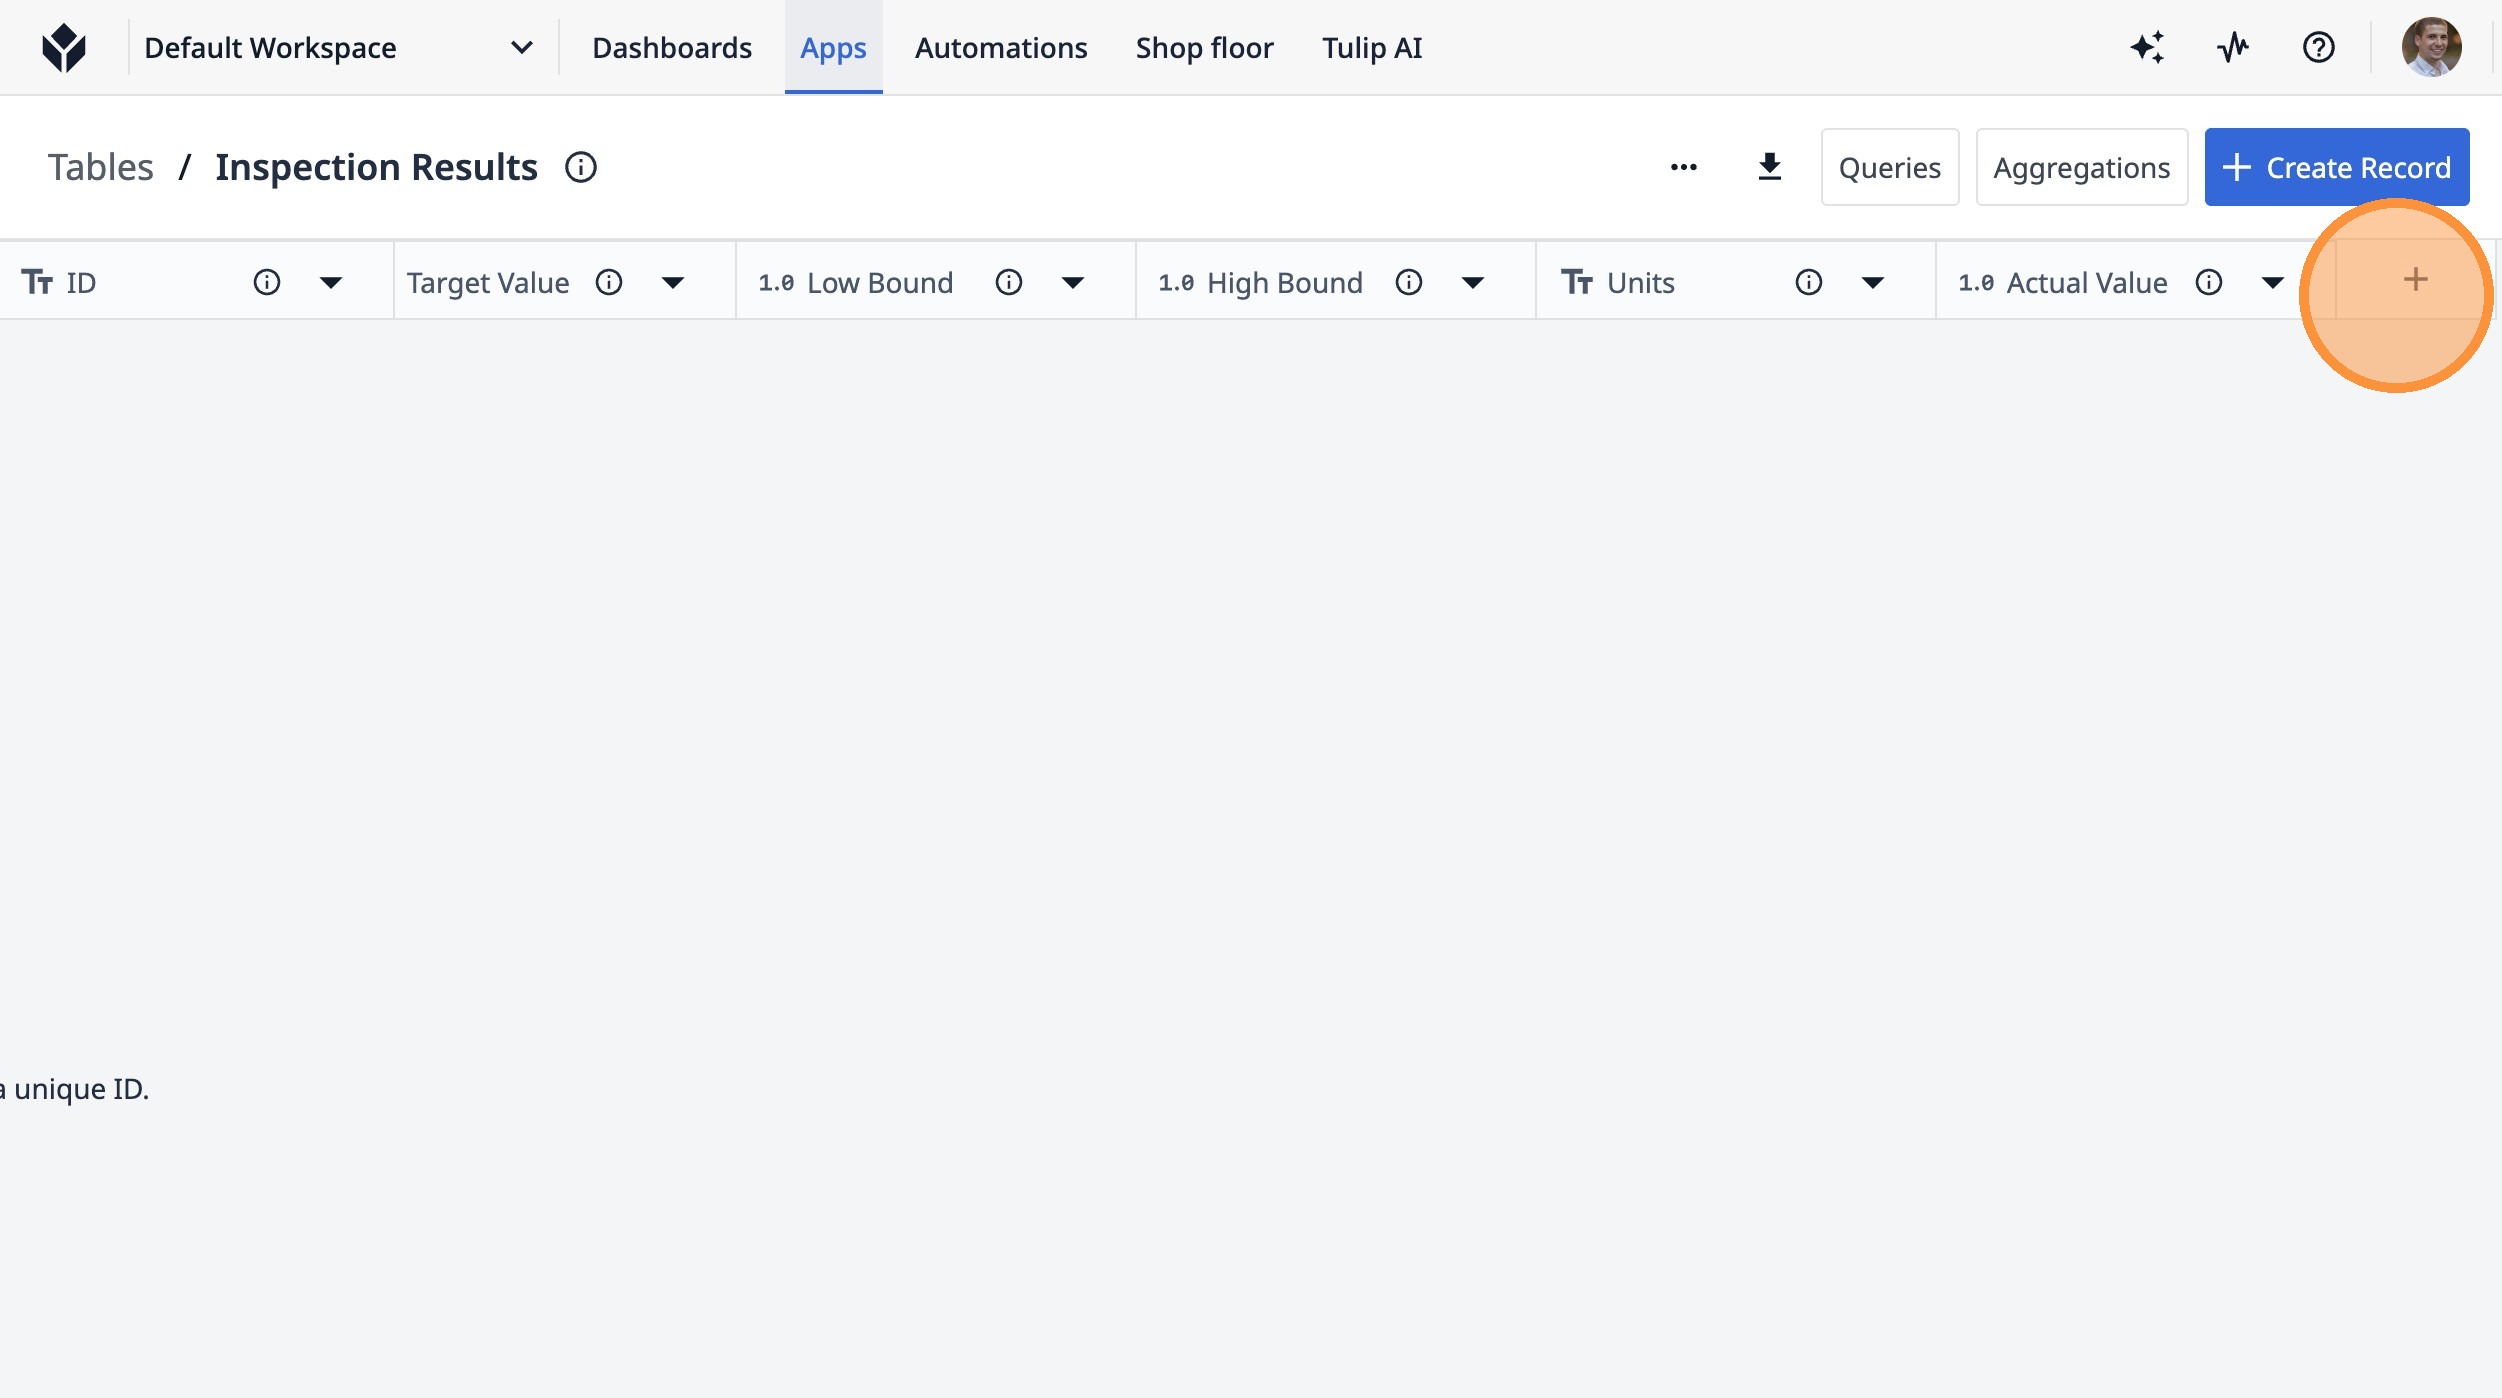
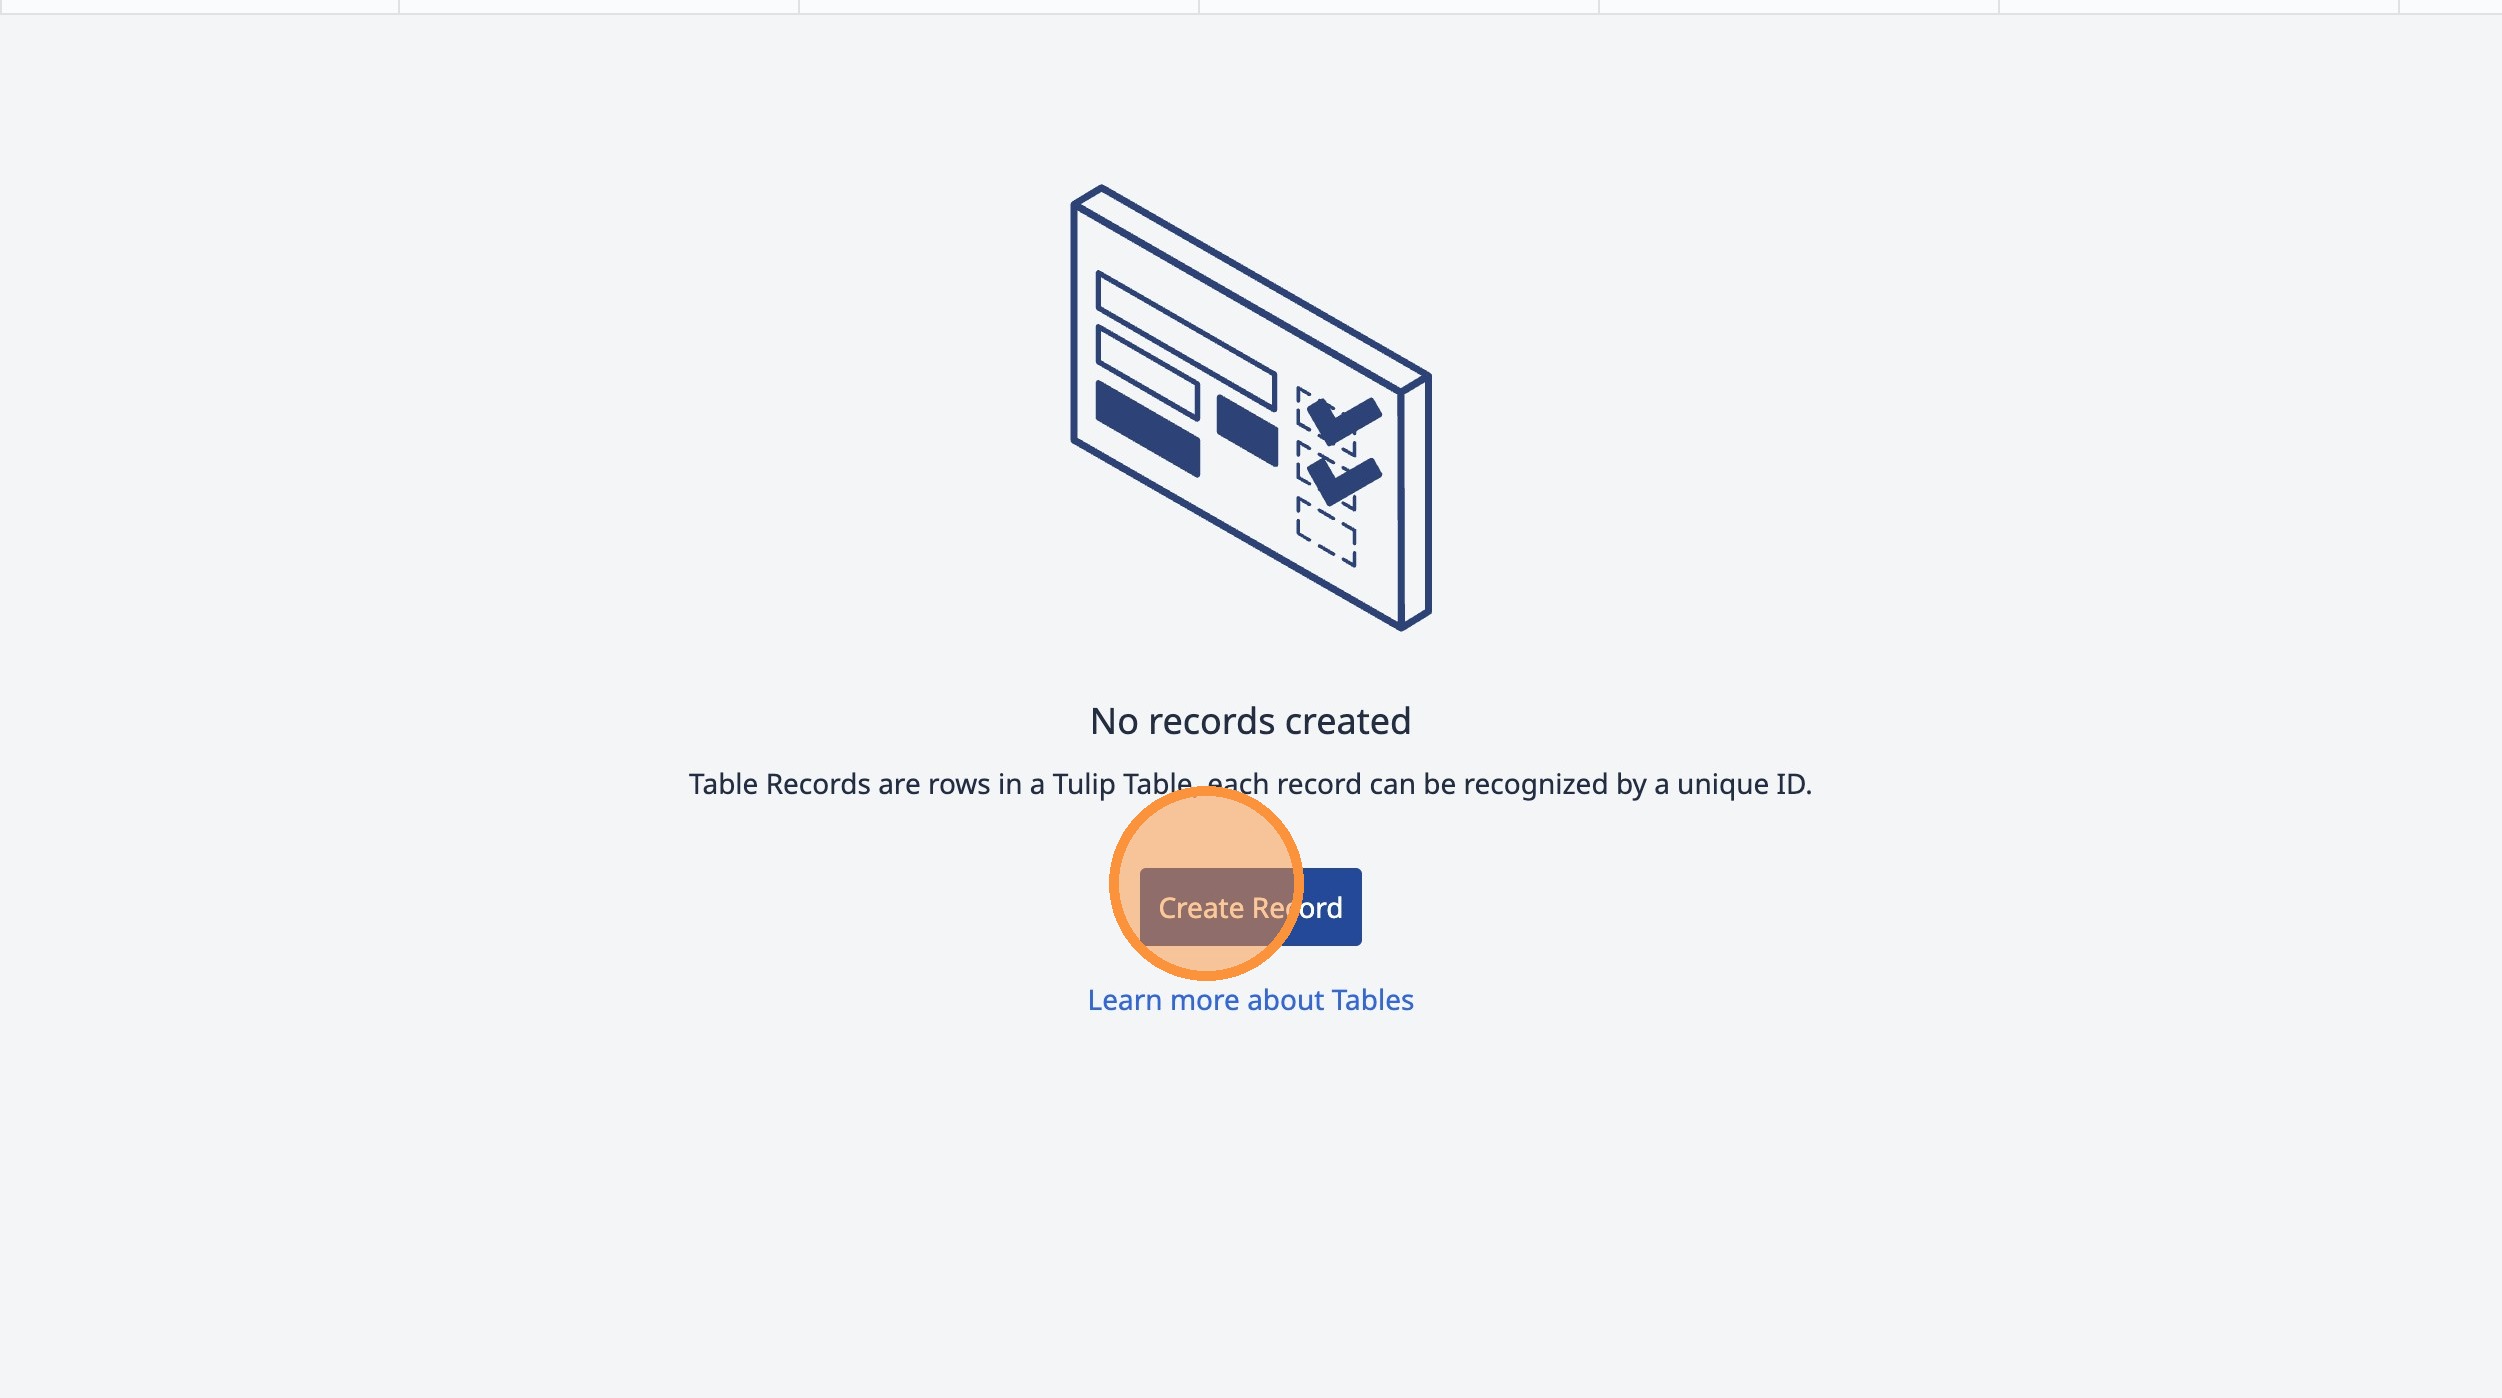
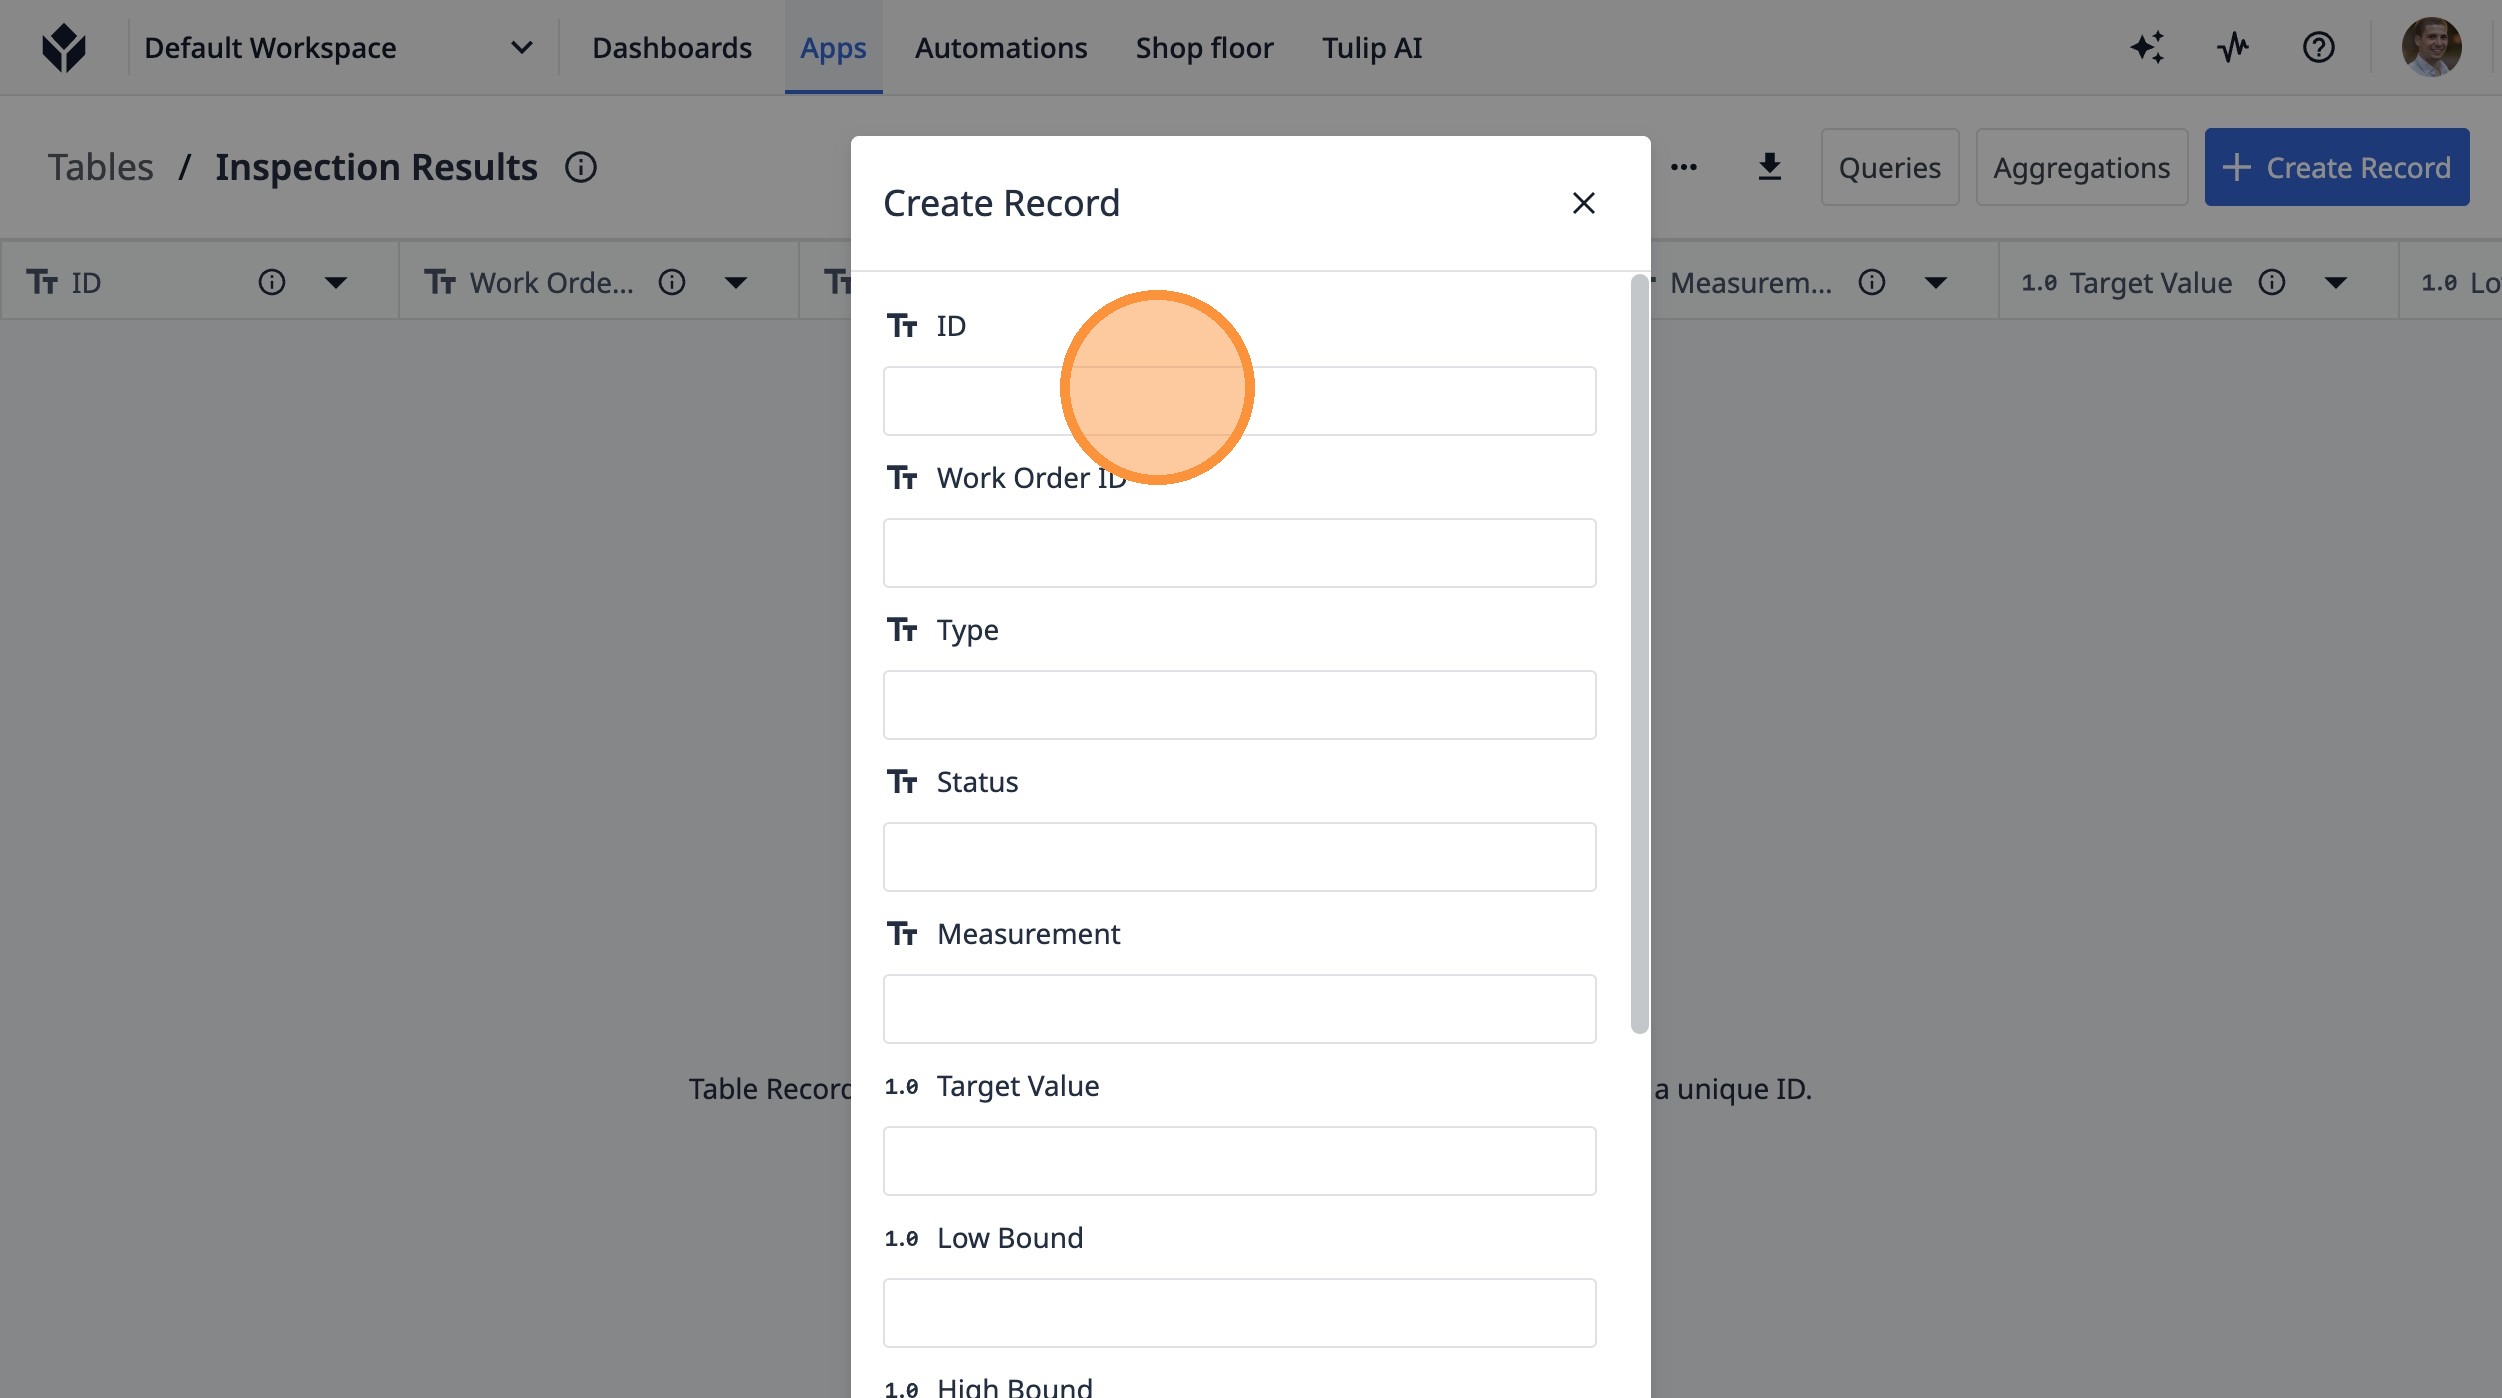
32. Click "Create Record"
33. Click this text field.
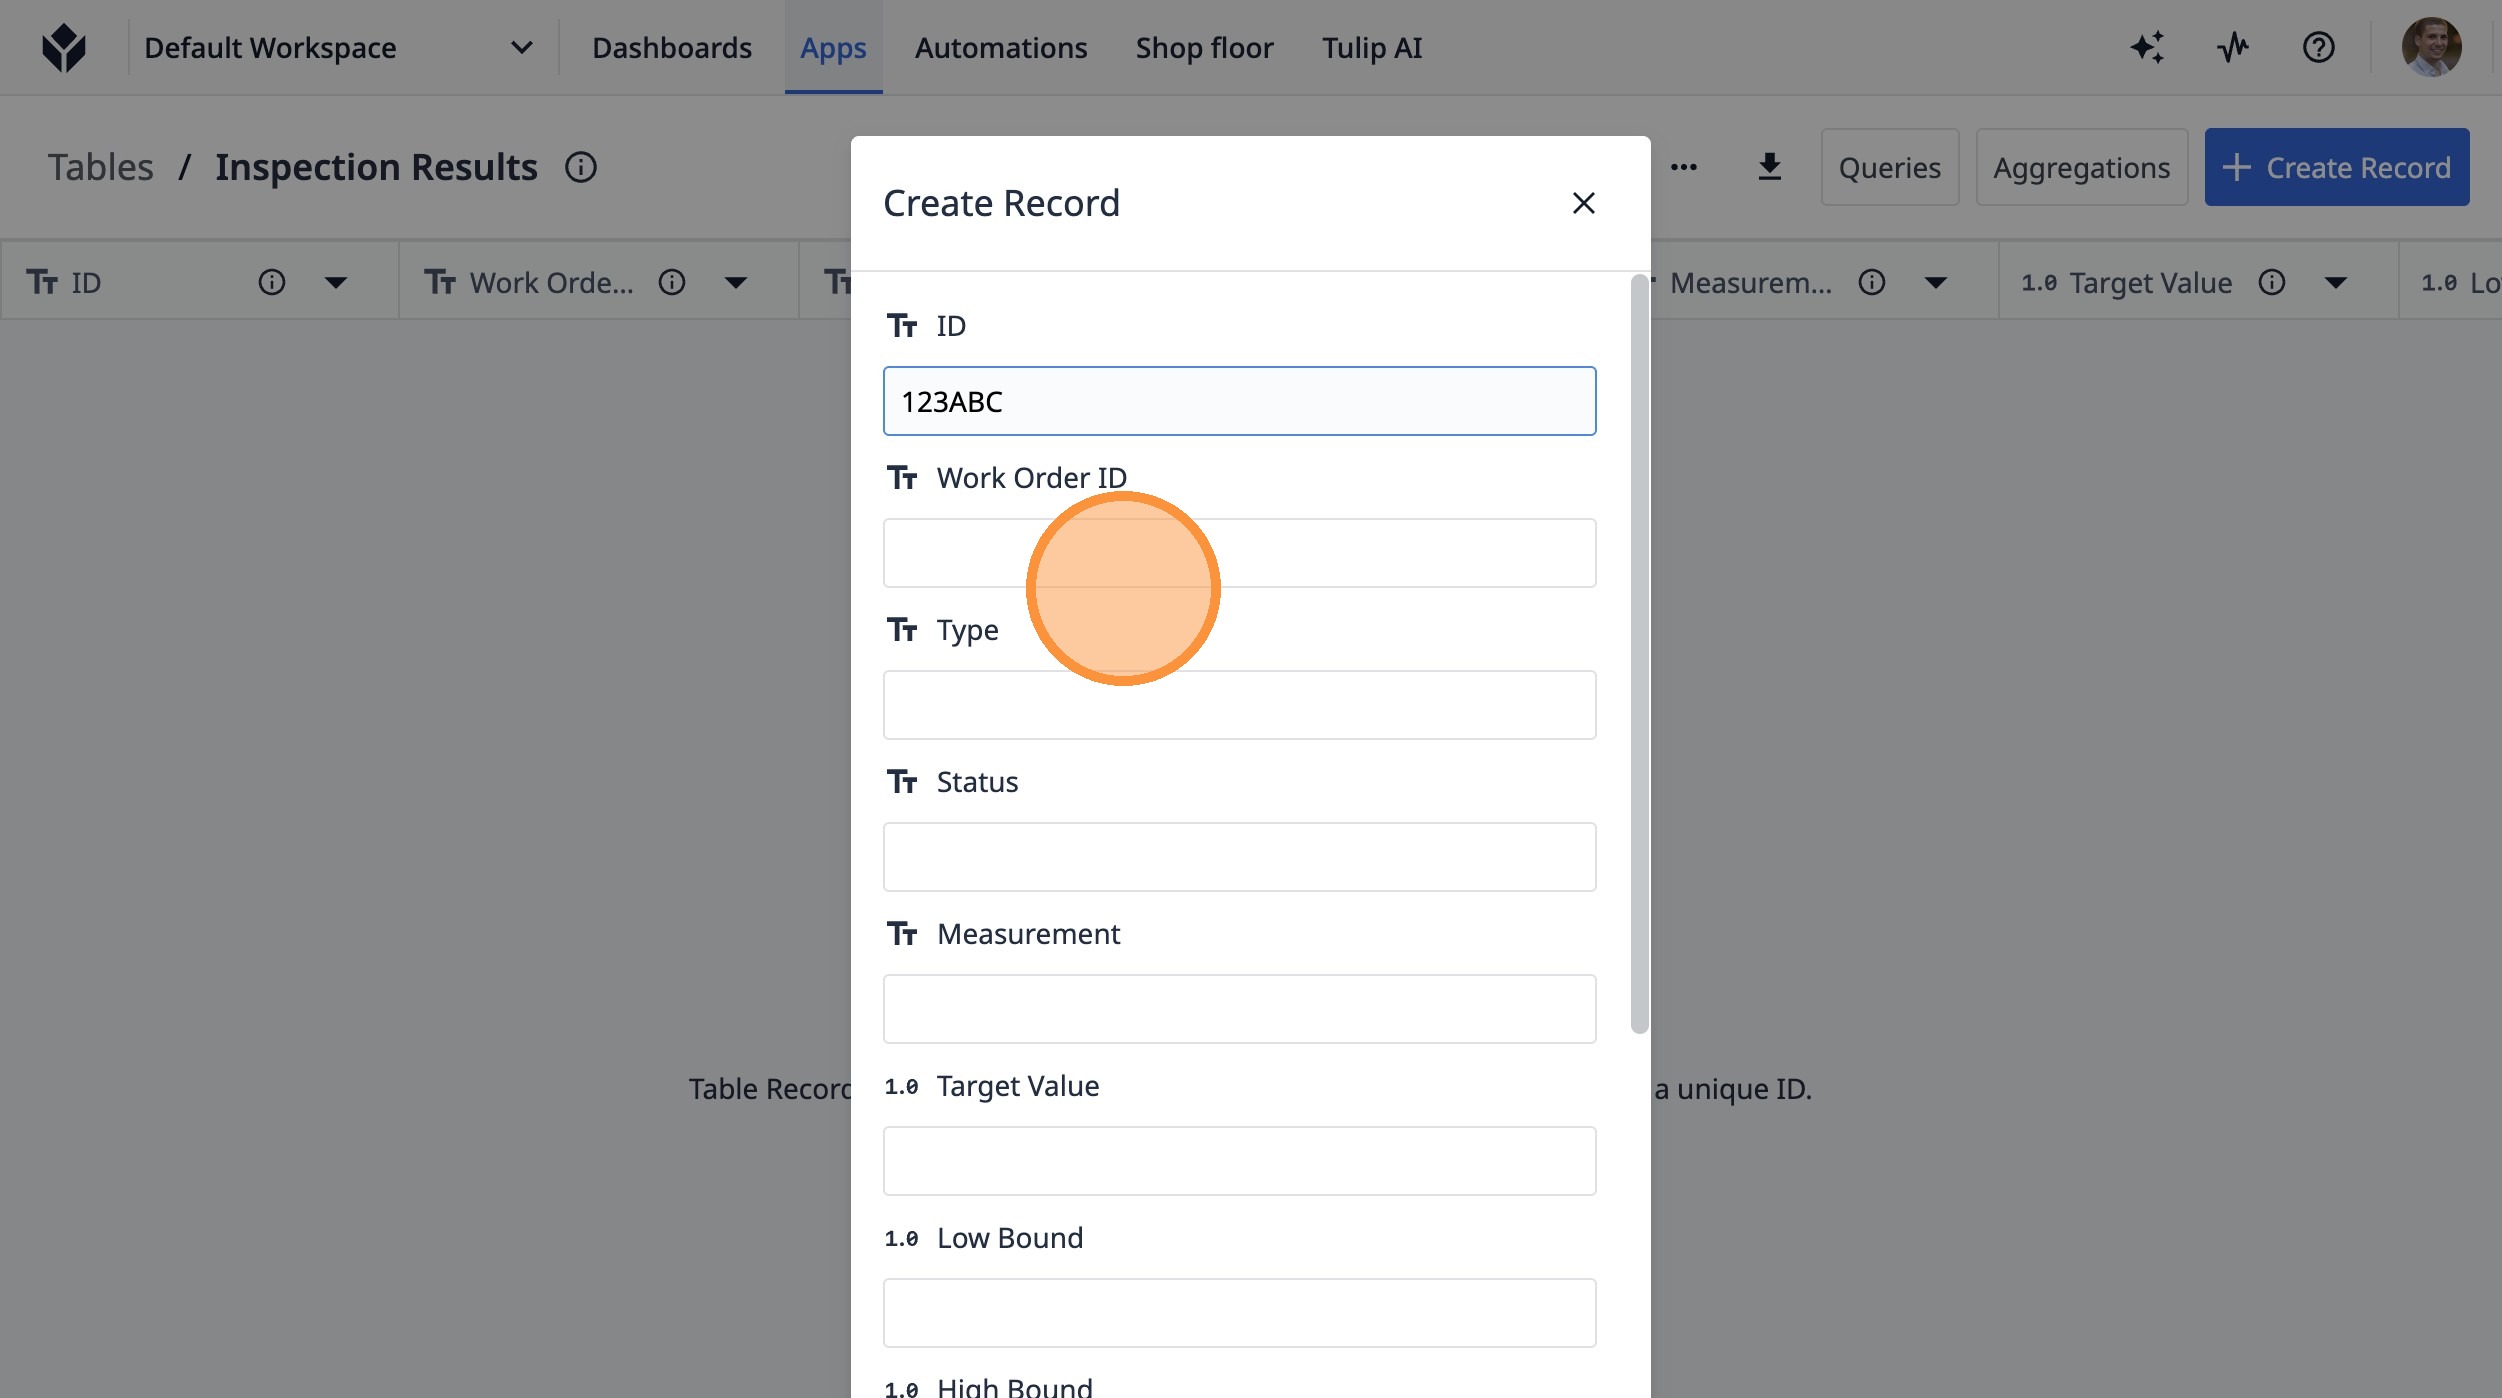
34. Type "123ABC"
35. Click this text field.
36. Type "WO123"
37. Click this text field.
38. Type "Assembly"
39. Click this text field.
40. Type "OPEN"
41. Click this text field.

42. Type "Rotor"
43. Click this text field.
44. Type "2"
45. Click this text field.
46. Type "1.9"
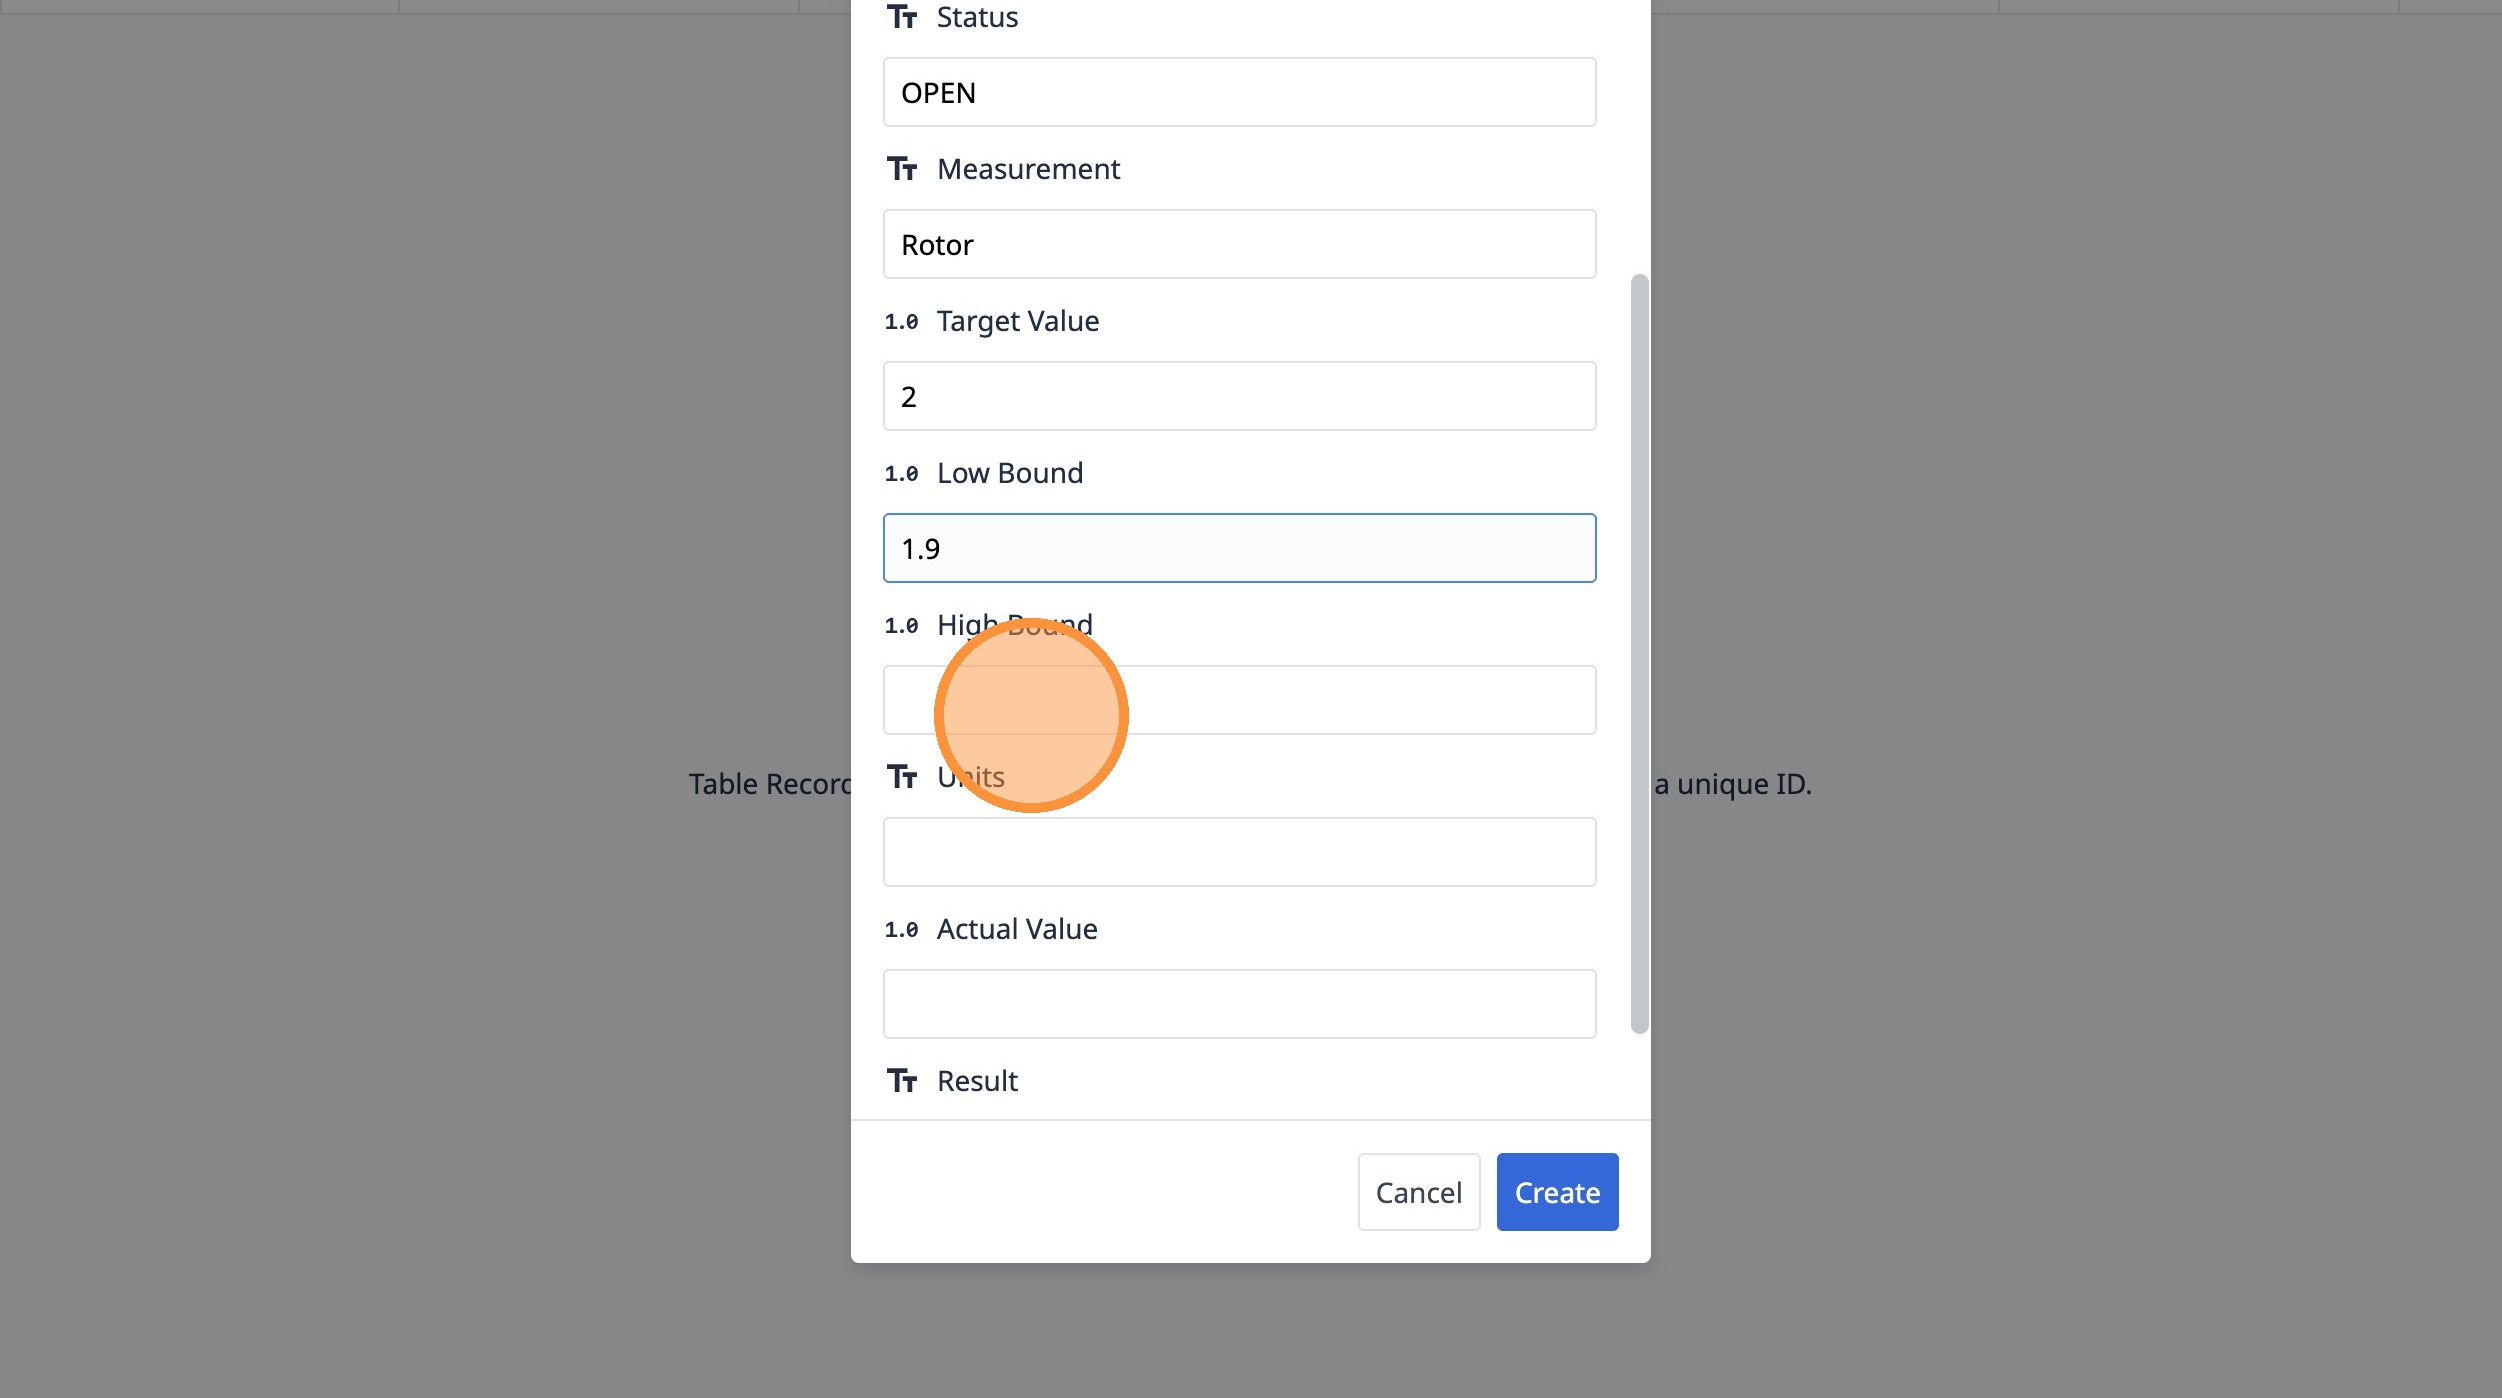
47. Click this text field.
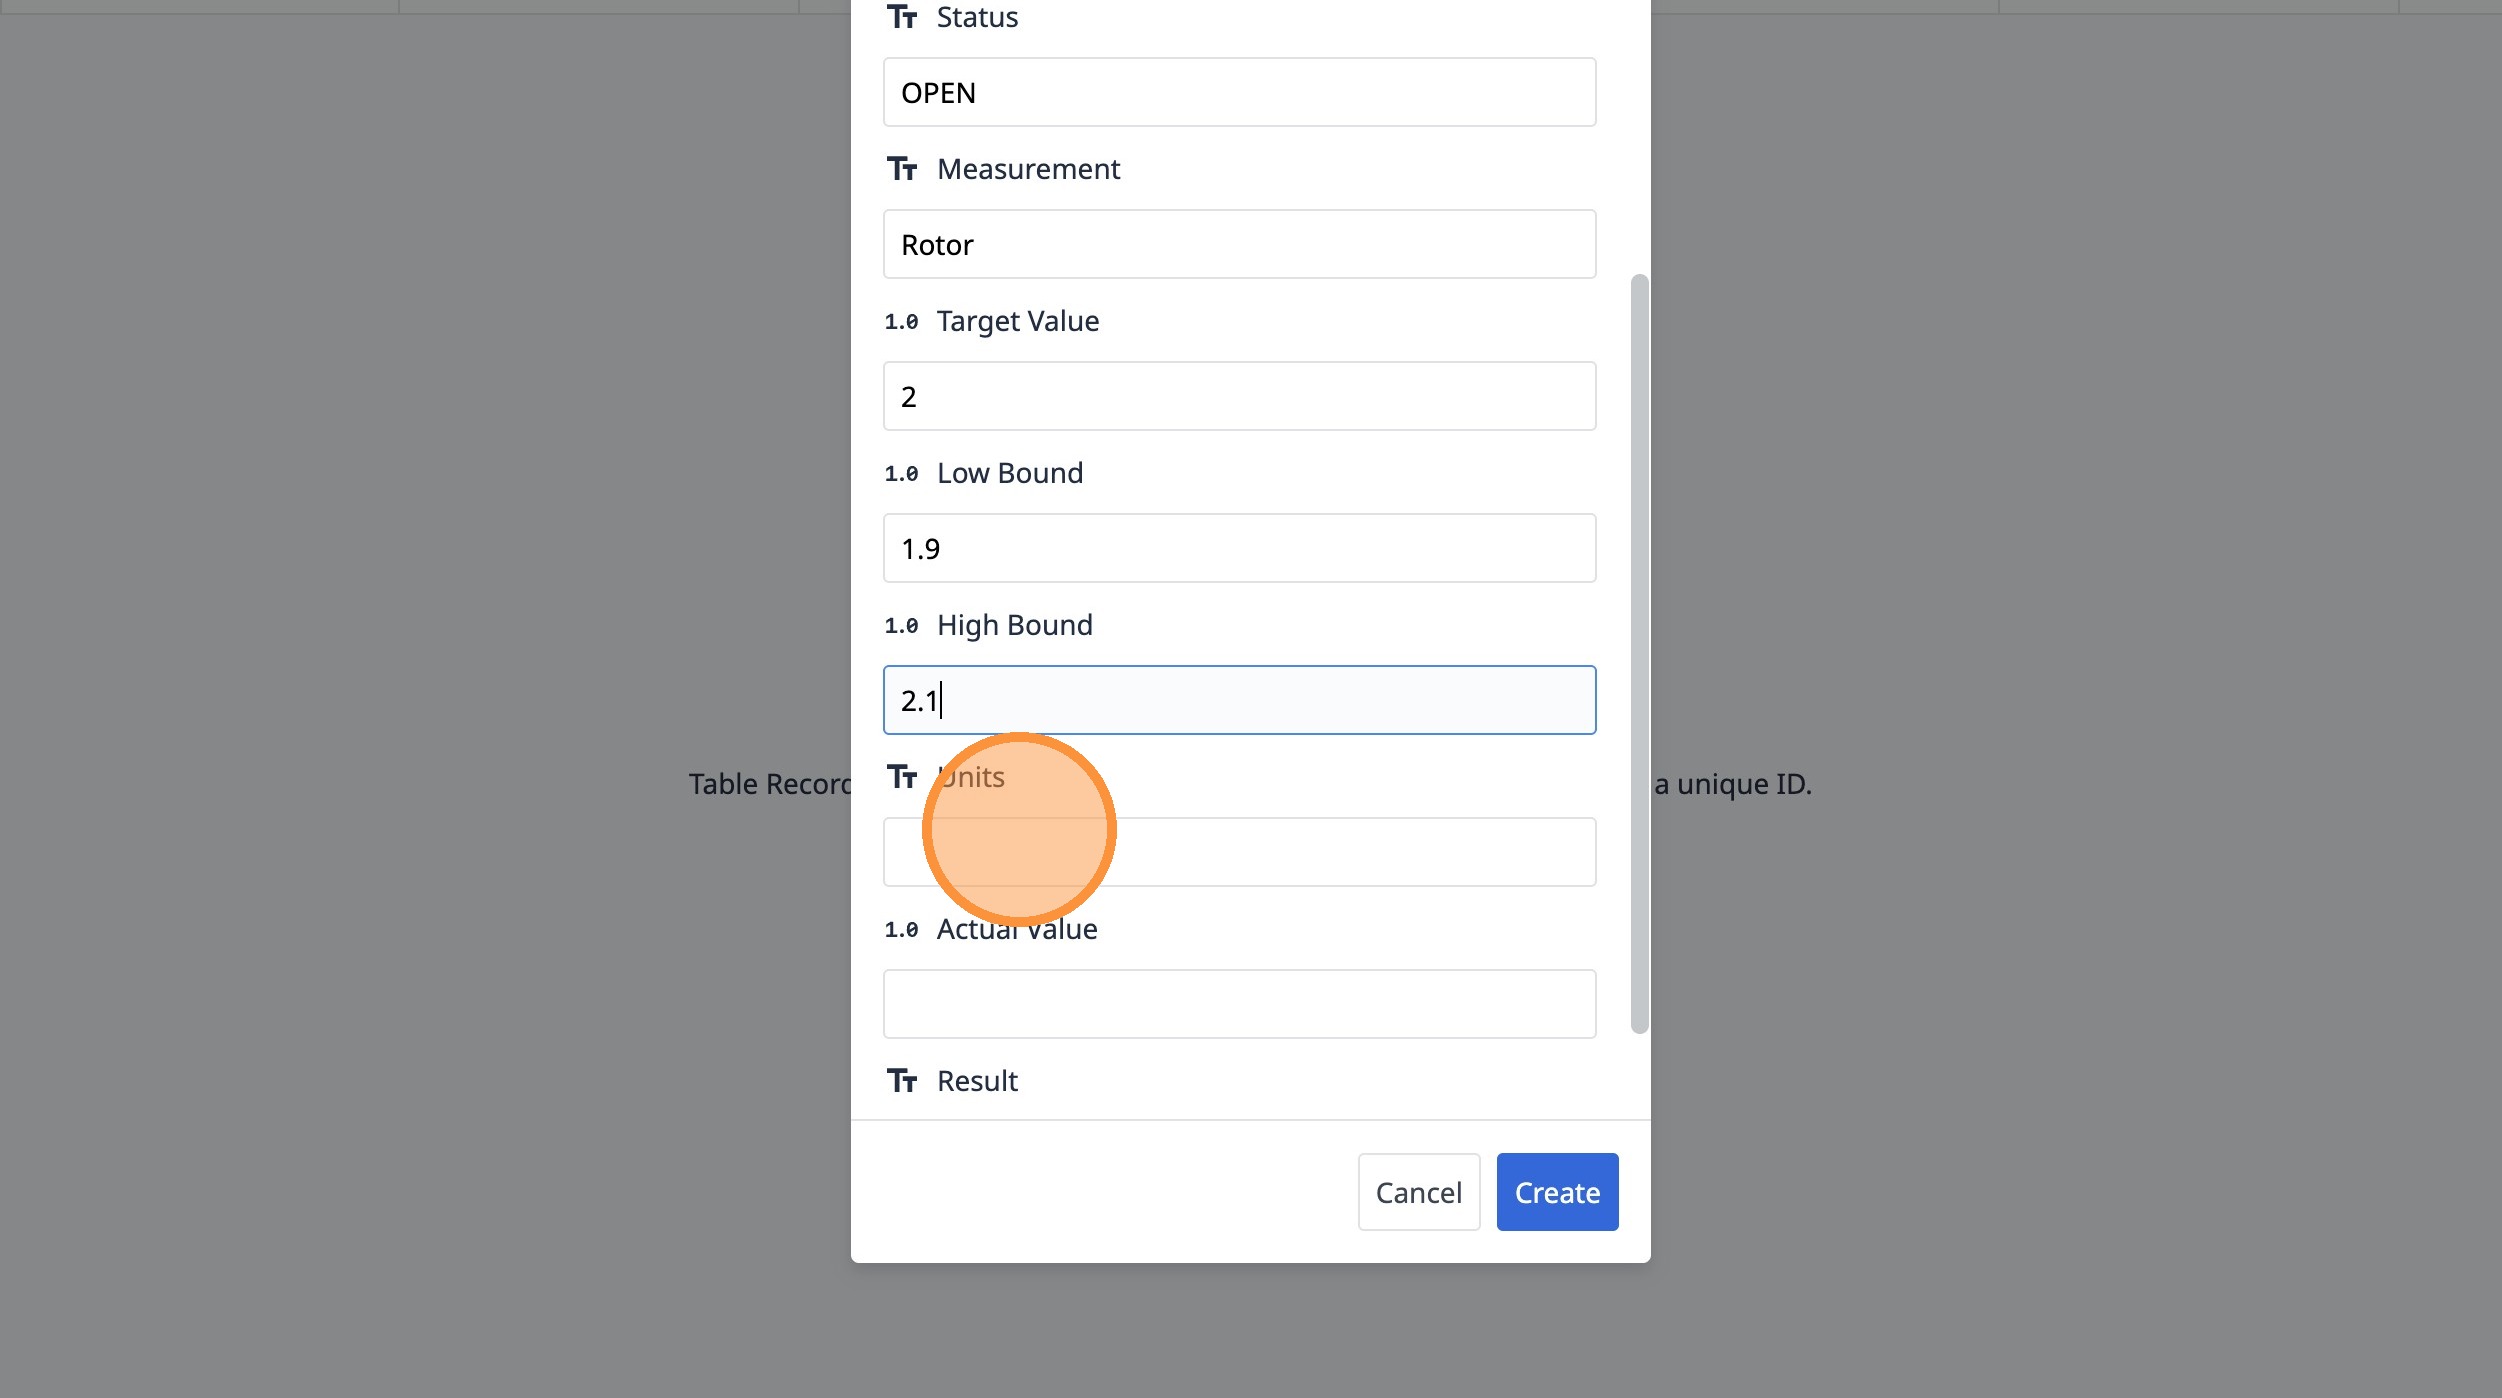
48. Type "2.1"
49. Click this text field.
50. Type "cm"
51. Click "Create"